
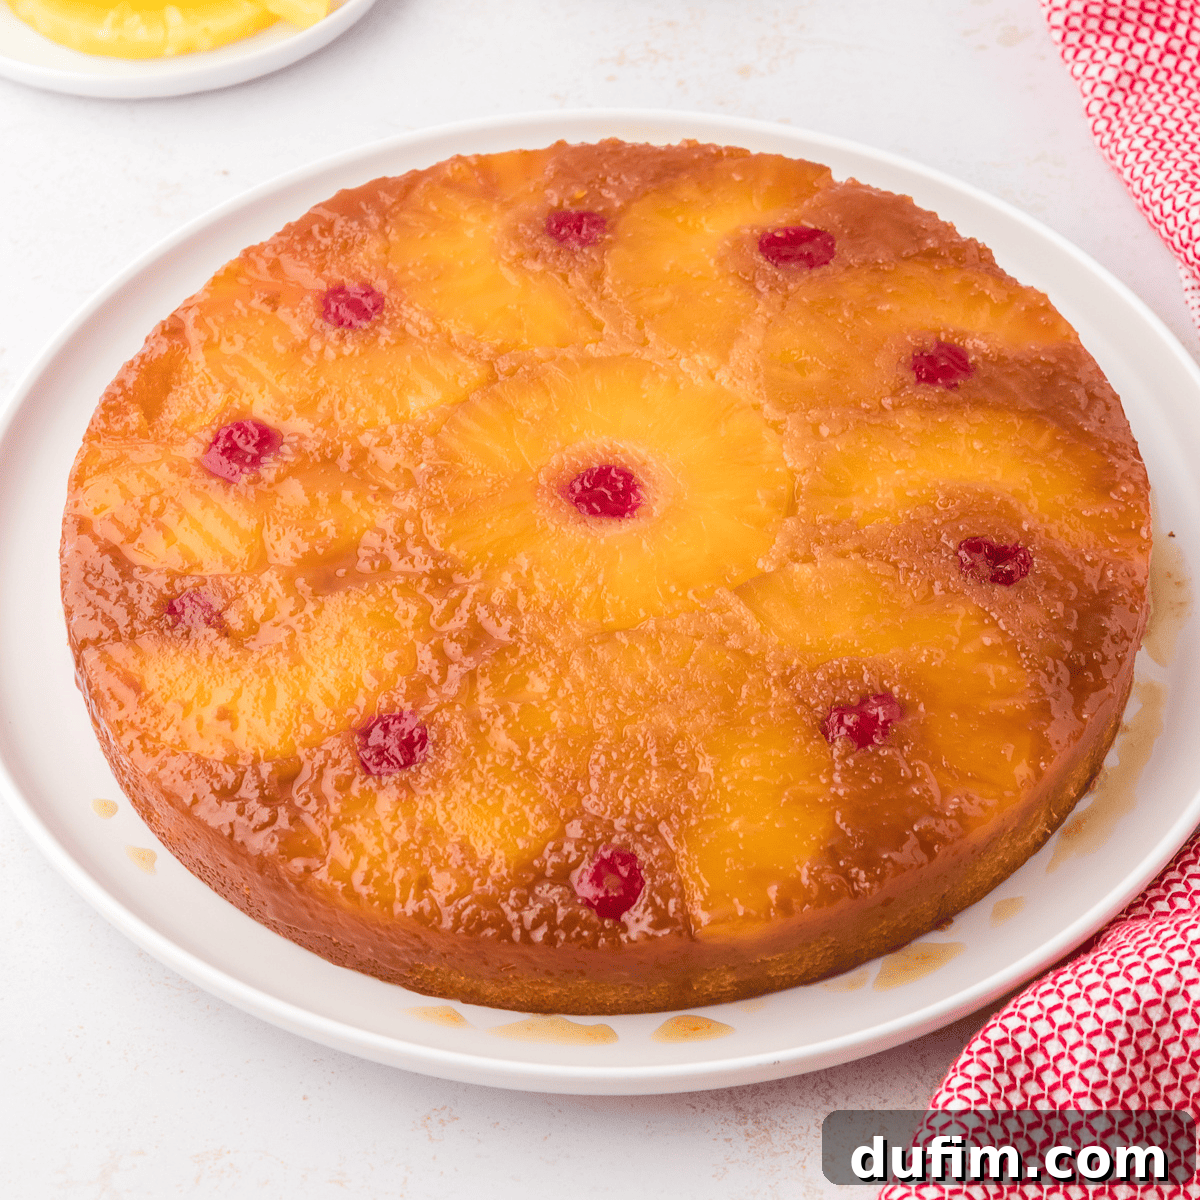
Dive into a slice of pure nostalgia with this classic Pineapple Upside-Down Cake. Years of dedicated testing and refining have gone into perfecting this recipe, ensuring every bite is moist, fluffy, and never soggy. From key techniques like blotting the fruit to using softened (not melted) butter, we’ve uncovered the secrets to a truly foolproof cake. Prepare to bake a dessert that’s not just beautiful and delicious, but also steeped in cherished memories, making it an instant family favorite.
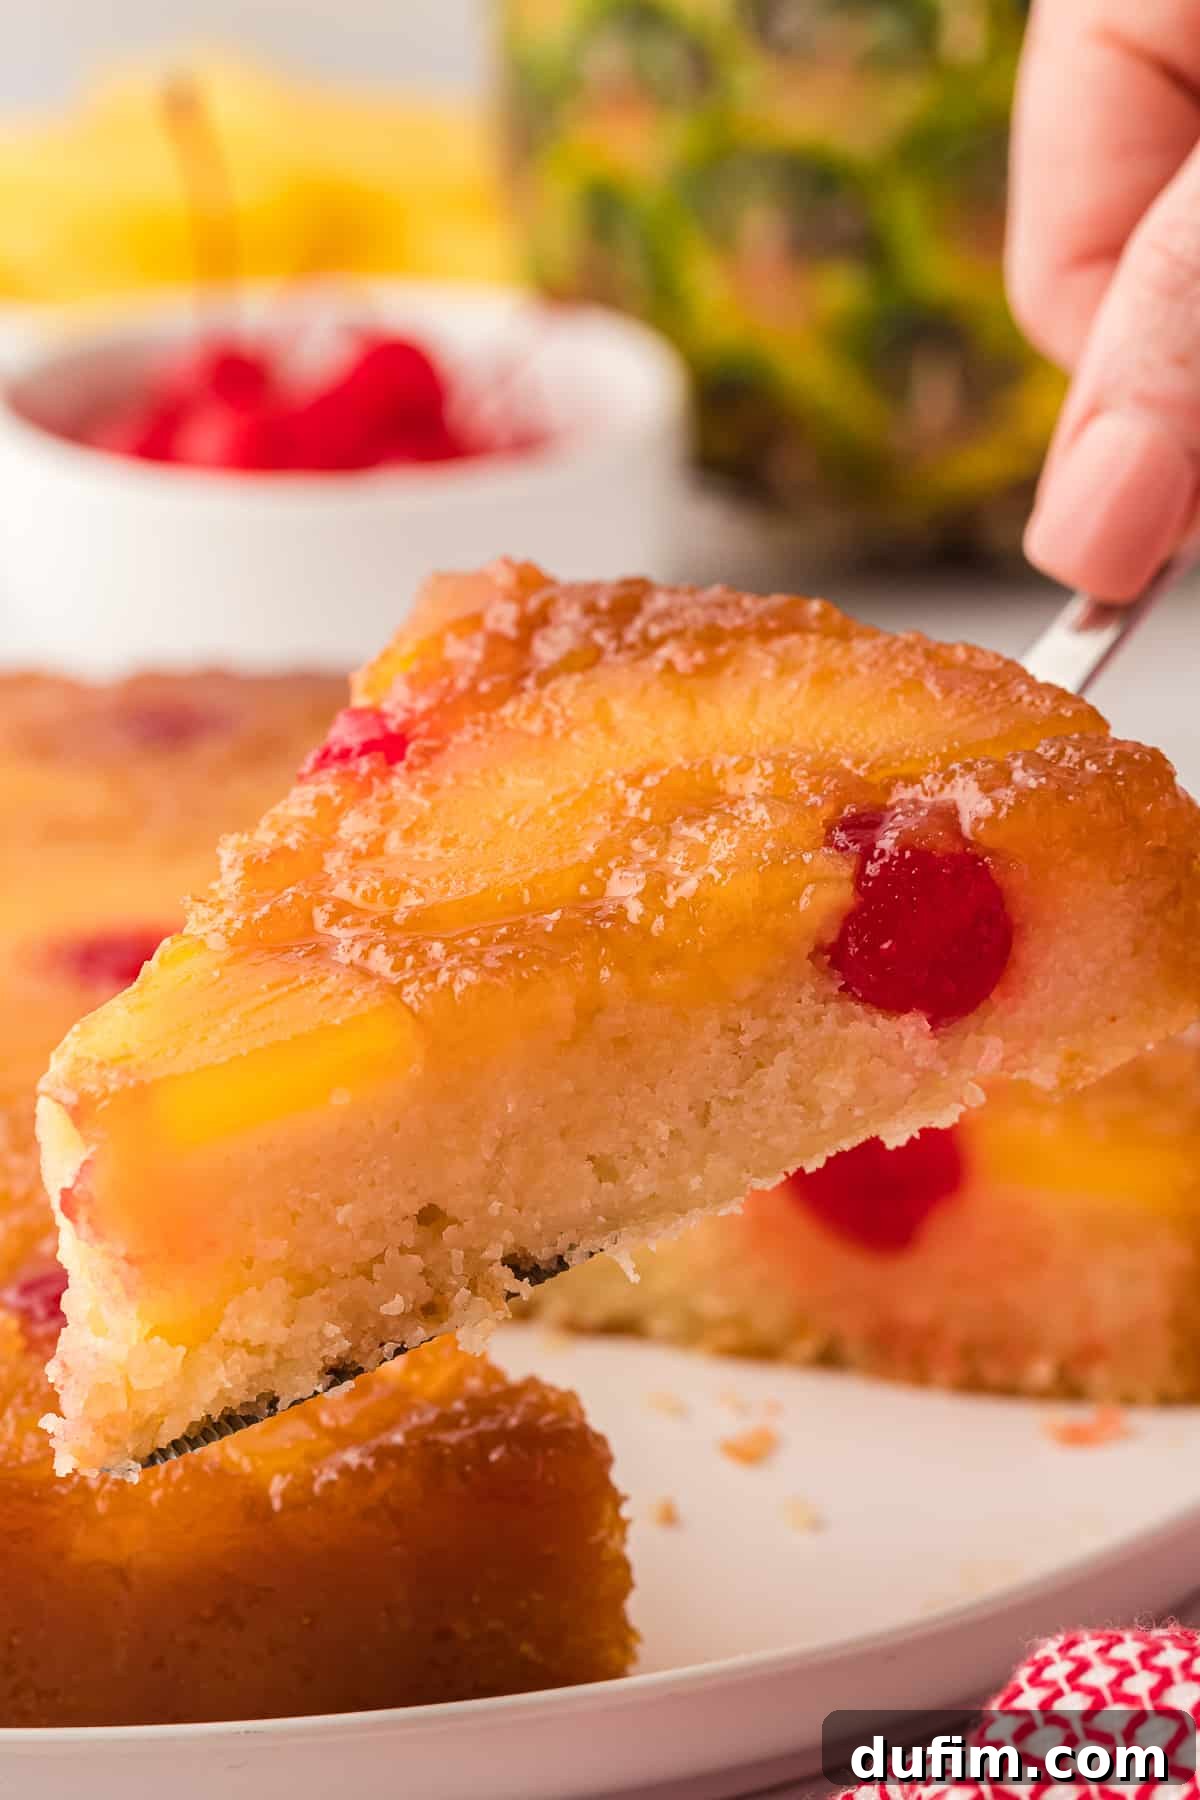
It’s just the cake I remember from my childhood. Super moist and delicious!
-Karin
The Best Foolproof Pineapple Upside-Down Cake Recipe
Having dedicated years to perfecting the art of pineapple upside-down cake, I can confidently say this recipe delivers every single time. My extensive testing, involving various pan sizes, butter types, and baking techniques, has culminated in a definitive guide to achieving a cake that is consistently moist, bursting with flavor, and impeccably presented without sticking to the pan. This isn’t just another recipe; it’s a meticulously crafted formula designed for success, transforming a simple dessert into a showstopper that will earn rave reviews.
During my recipe development, I experimented with both 8-inch and 9-inch cake pans, including springform pans. While an 8-inch pan yields a taller, more dramatic cake, it often leads to crowded pineapple rings, which can compromise the visual appeal and even the even distribution of the caramelized topping. A 9-inch pan, on the other hand, provides ample space for arranging the fruit beautifully, ensuring each slice has a generous and aesthetically pleasing topping. If you opt for a springform pan, be mindful that a small amount of butter might seep through, so placing a baking sheet underneath is a wise precaution to prevent any mess.
One of the most crucial steps to achieving a perfectly non-soggy topping is to blot the pineapple and maraschino cherries thoroughly with paper towels before placing them in the pan. This simple action removes excess moisture that could otherwise dilute the luscious brown sugar caramel and lead to a wet cake bottom. For an effortlessly released, golden caramelized topping, I always prepare the pan by brushing it generously with melted butter and then sprinkling an even layer of brown sugar. This creates a protective, flavorful barrier that not only prevents sticking but also forms that irresistible sticky-sweet crust synonymous with this classic dessert.
For the cake batter itself, the choice of butter is paramount. I rigorously tested both melted and softened butter and found that using softened (not melted) unsalted butter is key. Softened butter creamed with sugar incorporates air, resulting in a light, tender, and incredibly fluffy crumb. Melted butter, by contrast, tends to create a denser, potentially oily texture that detracts from the cake’s delicate structure. This commitment to precise techniques ensures that this classic recipe lives up to its nostalgic reputation, delivering a consistently flawless experience. As one delighted reader, Karin, shared:
It’s just the cake I remember from my childhood – super moist and delicious!
This dessert is versatile enough for any occasion—it’s gorgeous enough to grace a party spread yet easy enough to whip up on a whim. If you’re a true pineapple enthusiast, you might also enjoy a lighter treat like a two-ingredient pineapple angel food cake. This pineapple upside-down cake is more than just a sweet treat; it’s a comforting classic that brings joy with every serving.
Essential Ingredients for Your Easy Homemade Pineapple Upside-Down Cake
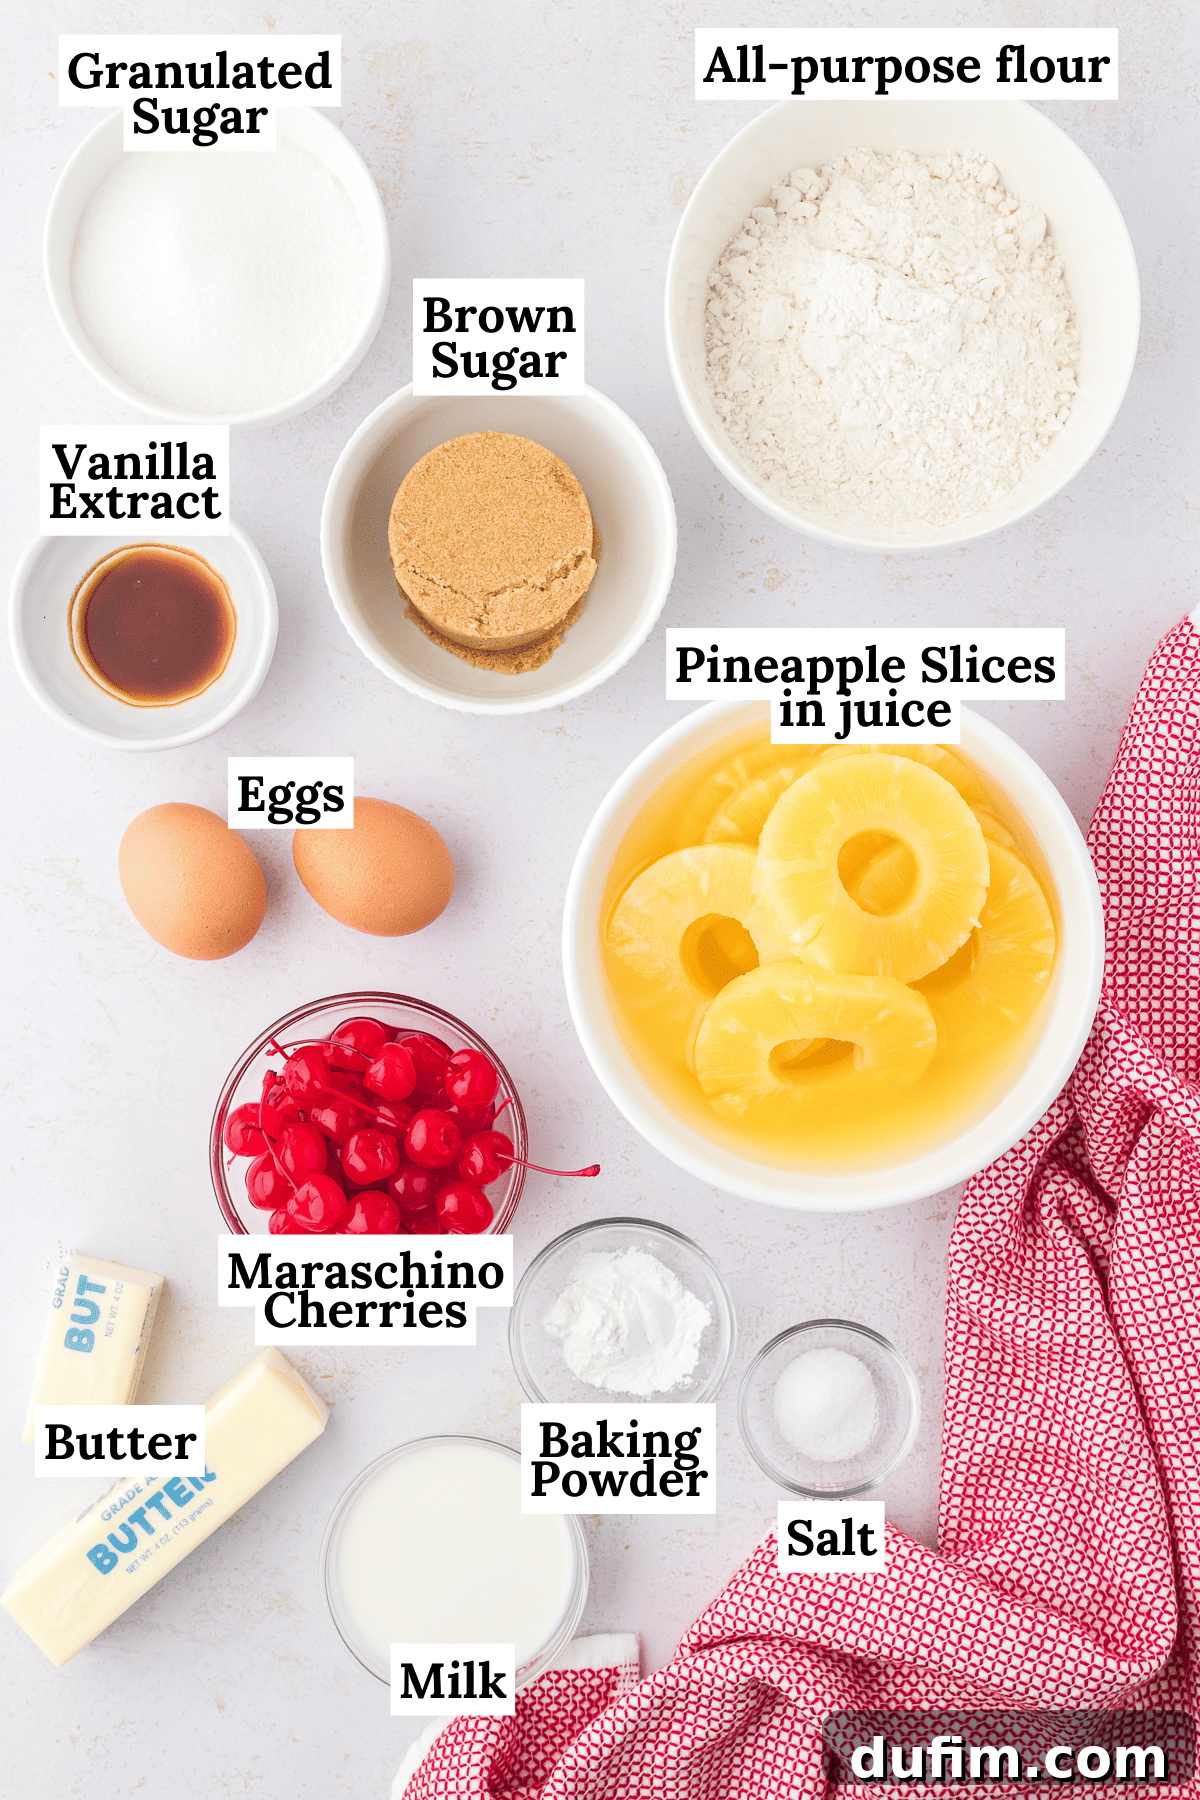
Crafting this delicious pineapple upside-down cake relies primarily on common pantry staples, making it an accessible and delightful dessert you can prepare anytime. The simplicity of the ingredients belies the incredible depth of flavor and texture achieved, proving that classic recipes often use the best, most straightforward components. Here’s a breakdown of what you’ll need and why each element is important for achieving that perfect, nostalgic taste and texture:
For the Irresistible Topping:
- Pineapple Slices in Juice: While fresh pineapple might seem appealing, canned pineapple slices in their juice are highly recommended for this recipe. The reserved juice from the can is a critical component of the cake batter, infusing it with authentic pineapple flavor and enhancing moisture. Using canned slices ensures you have this vital juice and a consistent sweetness perfect for caramelization. Be sure to select pineapple in juice, not syrup, to control the sugar content.
- Maraschino Cherries: These vibrant red cherries not only add a beautiful pop of color but also a subtle, sweet tang to the topping. Critically, remember to blot them thoroughly dry with paper towels before baking. Any excess moisture will prevent proper caramelization and could lead to a soggy bottom layer, undermining the cake’s perfect texture.
- Unsalted Butter (Melted): Melted butter forms the foundational layer of the topping. Brushing it over the bottom and sides of your pan is crucial for two reasons: it prevents the cake from sticking to the pan upon inversion and contributes a rich, buttery flavor that melds beautifully with the brown sugar and pineapple.
- Brown Sugar: This is the magic ingredient for the signature sticky-sweet caramel topping. When sprinkled over the melted butter, brown sugar caramelizes beautifully as it bakes with the fruit, creating a gooey, irresistible layer that coats the pineapple and forms the cake’s delectable top crust. Its molasses content adds depth and a tender texture to the caramel.
For the Light and Fluffy Cake:
- All-Purpose Flour: The structural backbone of our cake. Ensure it’s spooned and leveled for accurate measurement, which is essential for the right cake consistency.
- Baking Powder: Our primary leavening agent. For proper rise and a light crumb, always check that your baking powder is fresh and active. Old baking powder can lead to a dense, flat cake.
- Salt: A small but mighty ingredient that balances the sweetness and enhances all the other flavors in the cake. Don’t skip it!
- Softened Unsalted Butter: This is arguably the most critical ingredient for the cake’s texture. Softened butter (not melted!) is creamed with sugar, which incorporates tiny air pockets into the batter. This aeration is what gives the cake its incredibly light, tender, and airy crumb. Melted butter would result in a much denser, potentially greasy cake.
- Granulated Sugar: Provides sweetness and also aids in creating a tender crumb when creamed with the softened butter.
- Large Eggs: Eggs serve multiple vital roles: they bind the batter, add richness, and contribute to the cake’s structure and stability. Using room-temperature eggs is important, as they emulsify more easily with the butter and sugar, creating a smoother, more uniform batter. Take them out of the fridge at least 30 minutes before you start baking.
- Vanilla Extract: A classic flavor enhancer that complements the pineapple beautifully and adds a warm, aromatic depth to the cake.
- Milk: Adds essential moisture to the cake batter, contributing to its tender texture. Full-fat milk often provides the best richness.
- Pineapple Juice: The reserved juice from your canned pineapple slices is crucial here. A thoughtful blend of milk and pineapple juice ensures the cake has the perfect amount of moisture and a delicate, pervasive pineapple flavor throughout. Using both provides a superior balance of richness and fruitiness compared to using just one liquid.
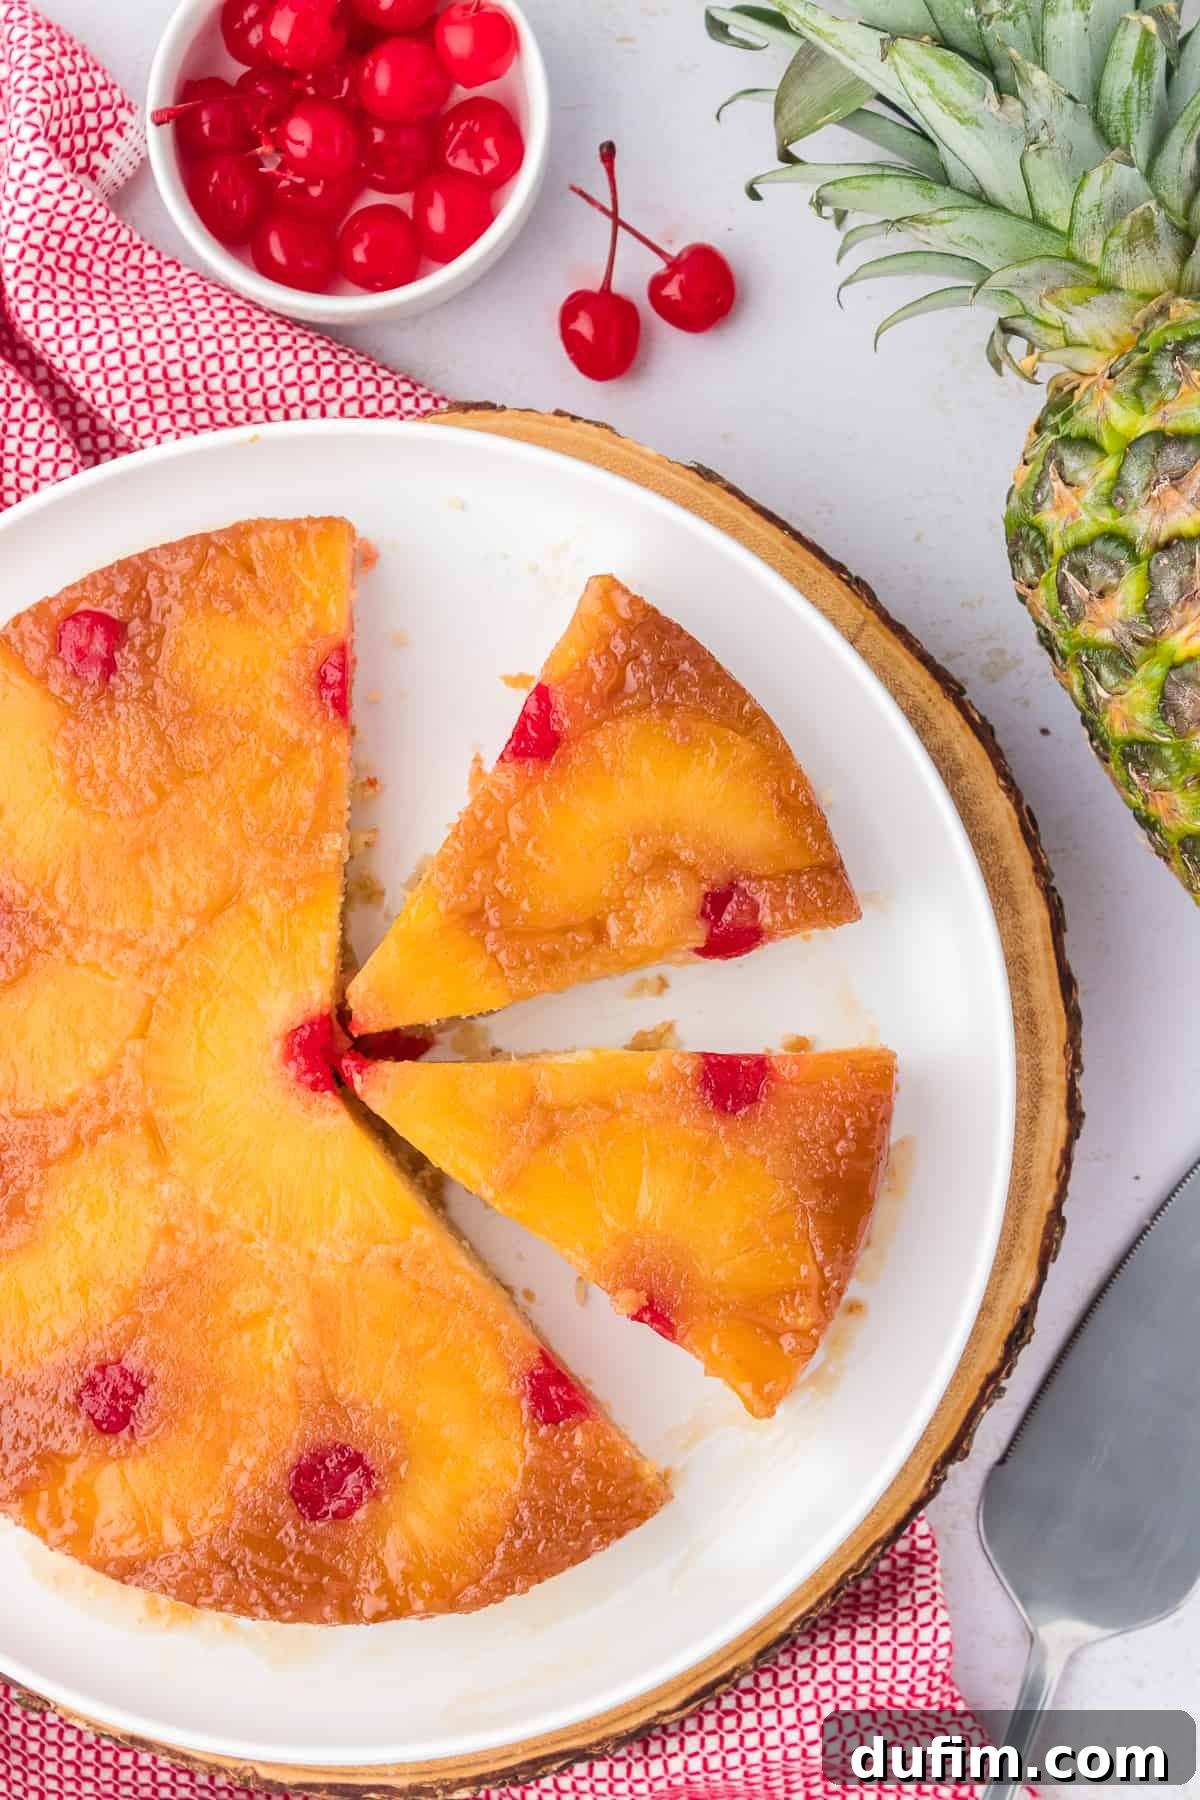
How to Make the Best Pineapple Upside-Down Cake Recipe From Scratch
Baking this classic pineapple upside-down cake from scratch is a rewarding experience, yielding a dessert that’s both incredibly tasty and visually stunning. Follow these easy, detailed steps to ensure your cake turns out perfectly every time.
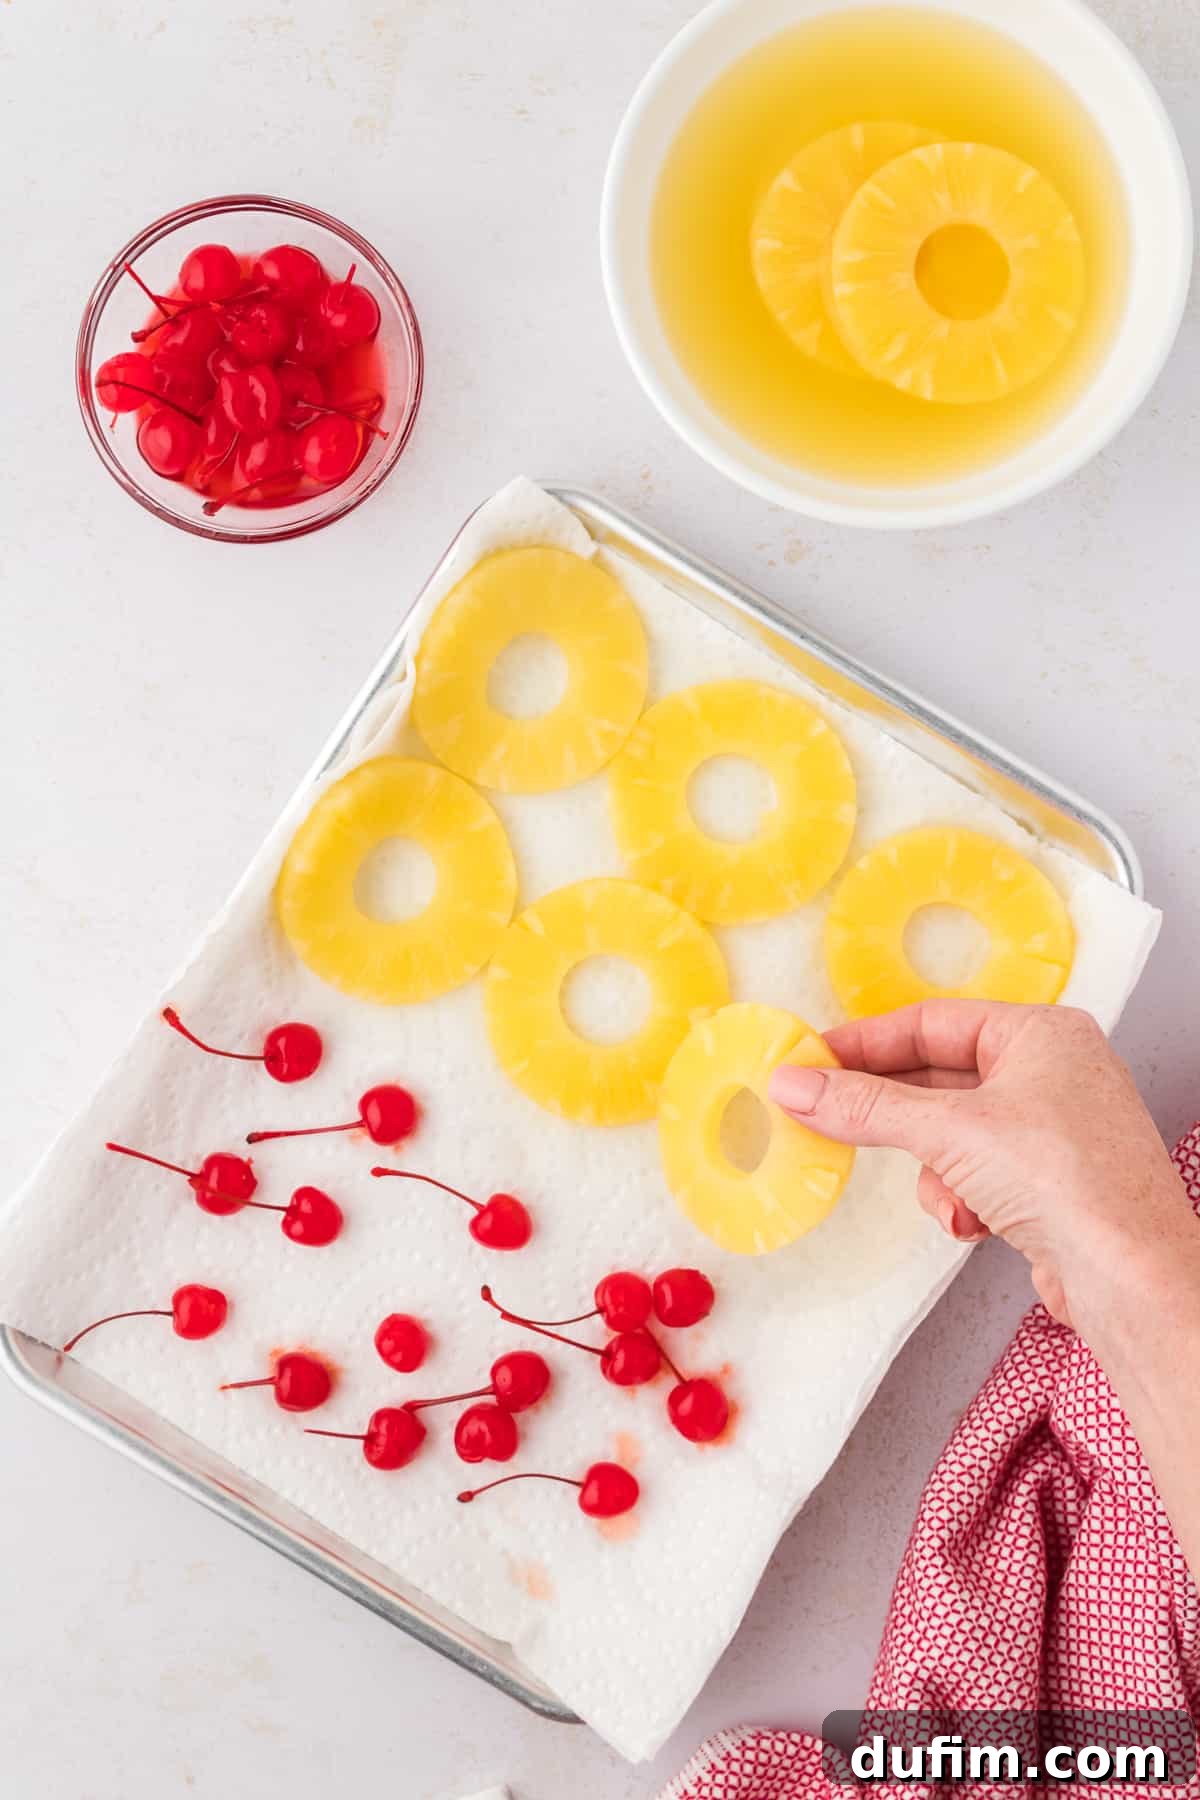
- Prepare the Fruit: Begin by lining a tray or a clean counter space with several layers of paper towels. Carefully place your pineapple slices (remember to save all the juice from the can!) and maraschino cherries onto the paper towels. Allow them to sit for a few minutes, giving the paper towels time to absorb excess moisture. Then, flip the fruit over and repeat the blotting process. This critical step is vital for preventing a soggy cake bottom and ensuring your caramelized topping is perfectly gooey, not watery.
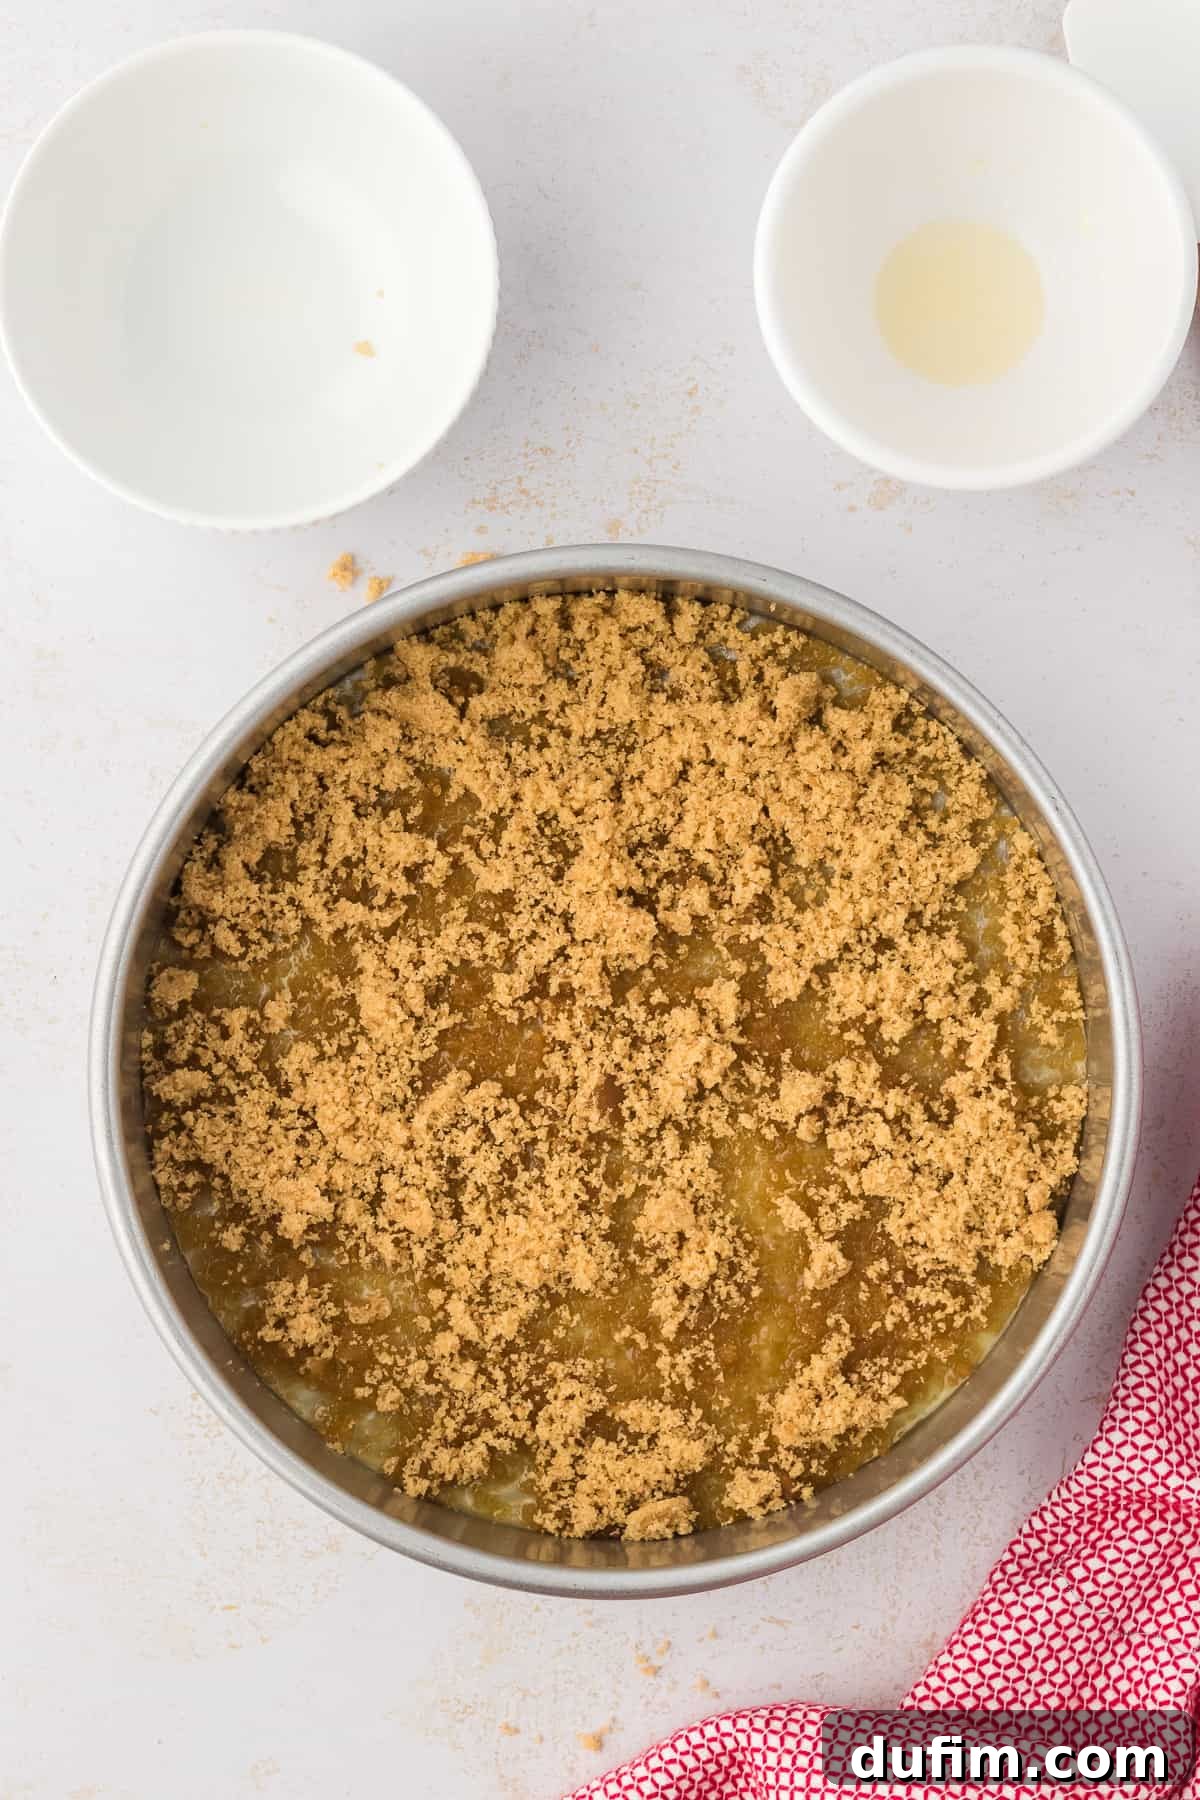
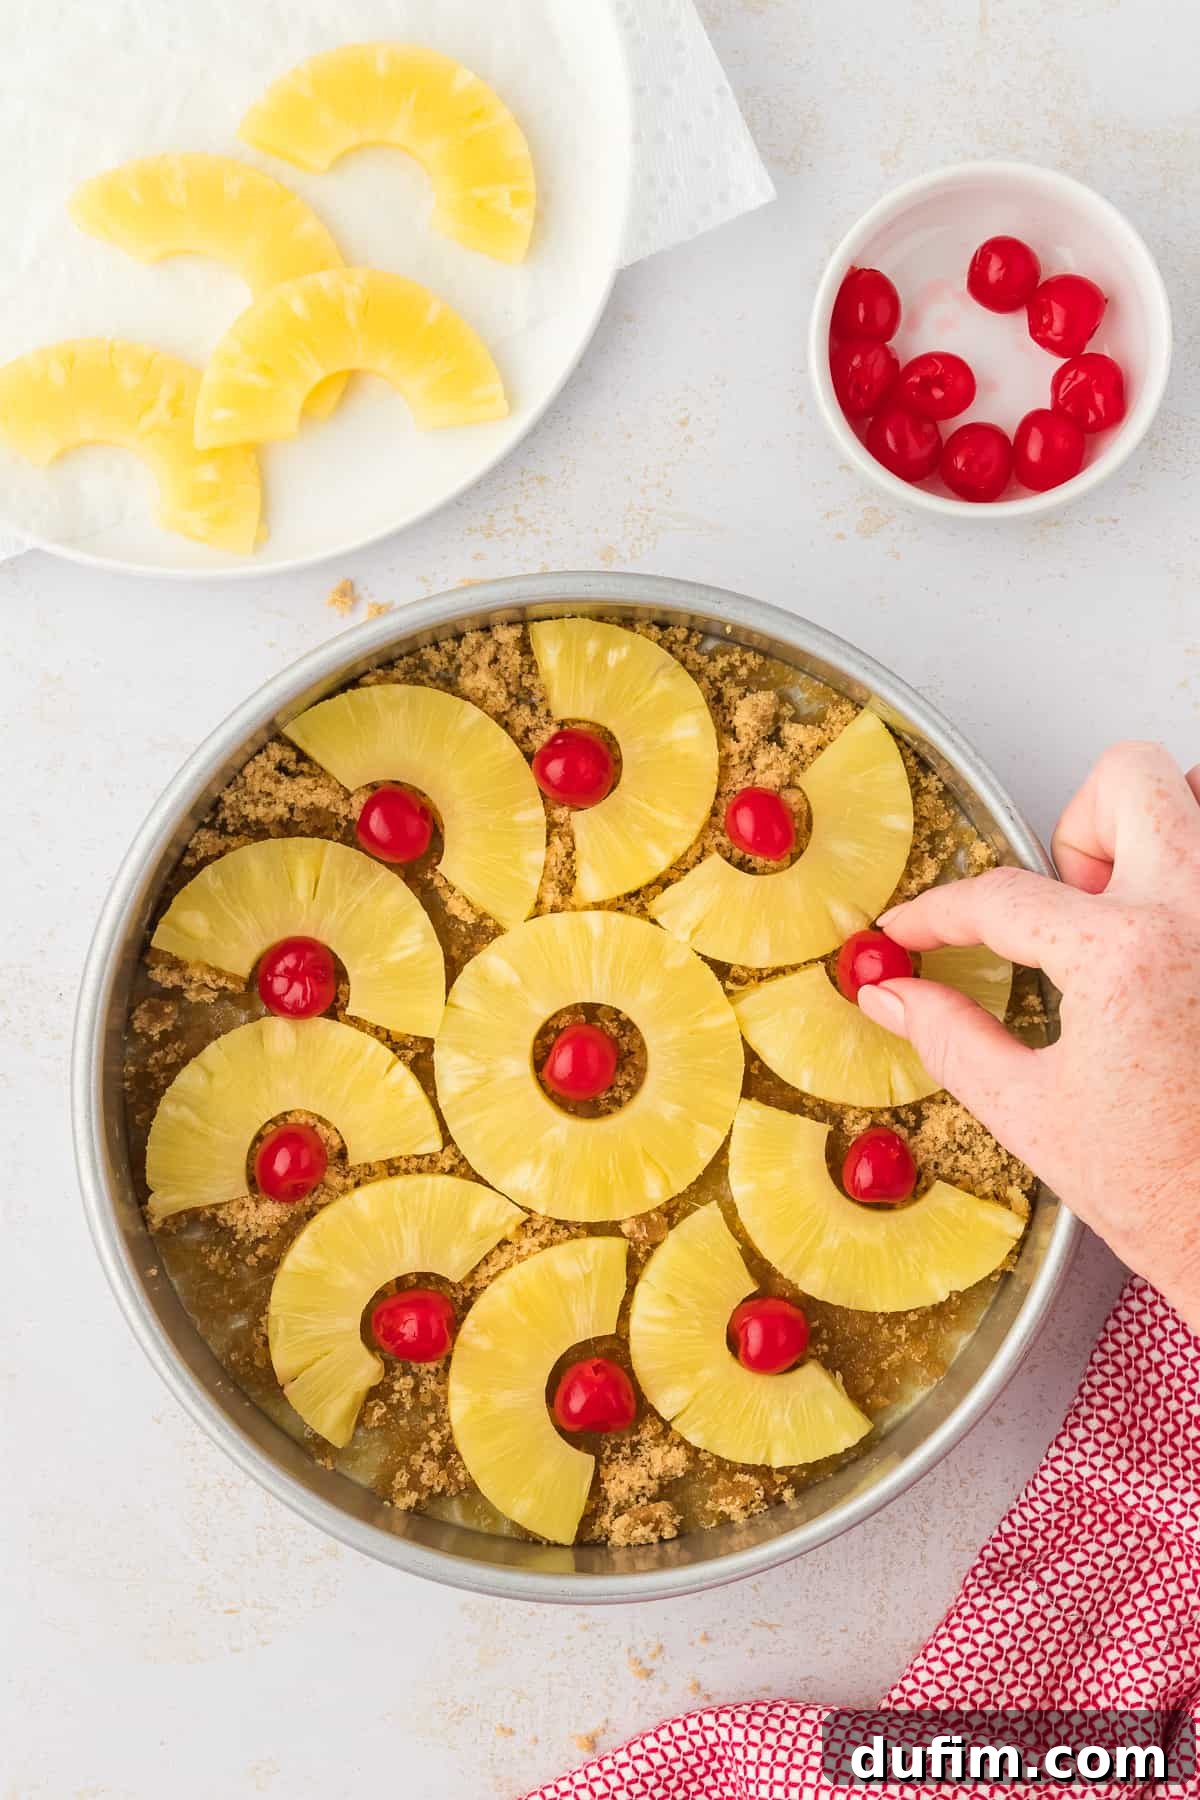
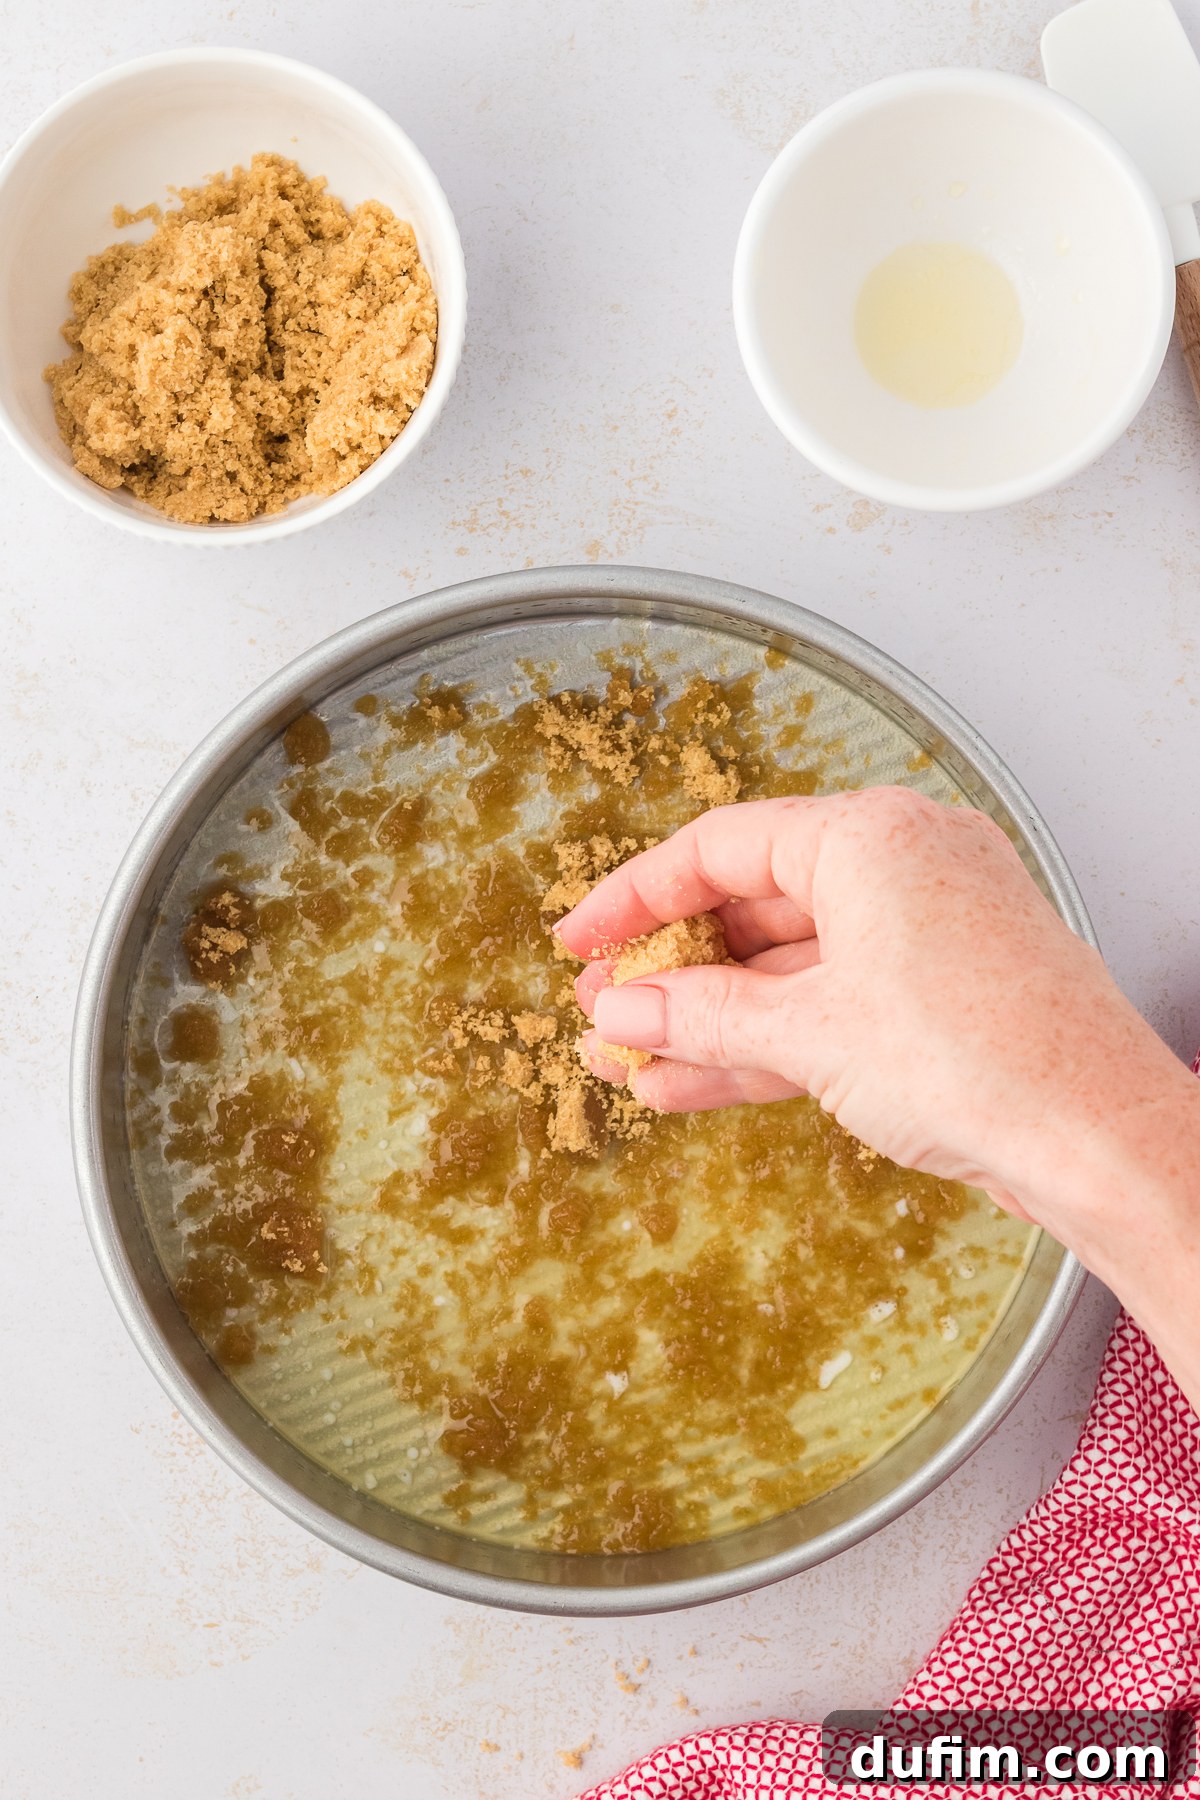
- Prepare the Pan: Preheat your oven to 350ºF (175ºC). Take a 9-inch round cake pan or a 9-inch pie pan. Pour the melted butter into the pan and use a spatula or pastry brush to evenly coat the entire bottom and up the sides. Next, generously sprinkle the brown sugar over the melted butter. Don’t worry about it being perfectly even at this stage; the sugar will melt and spread beautifully during baking.
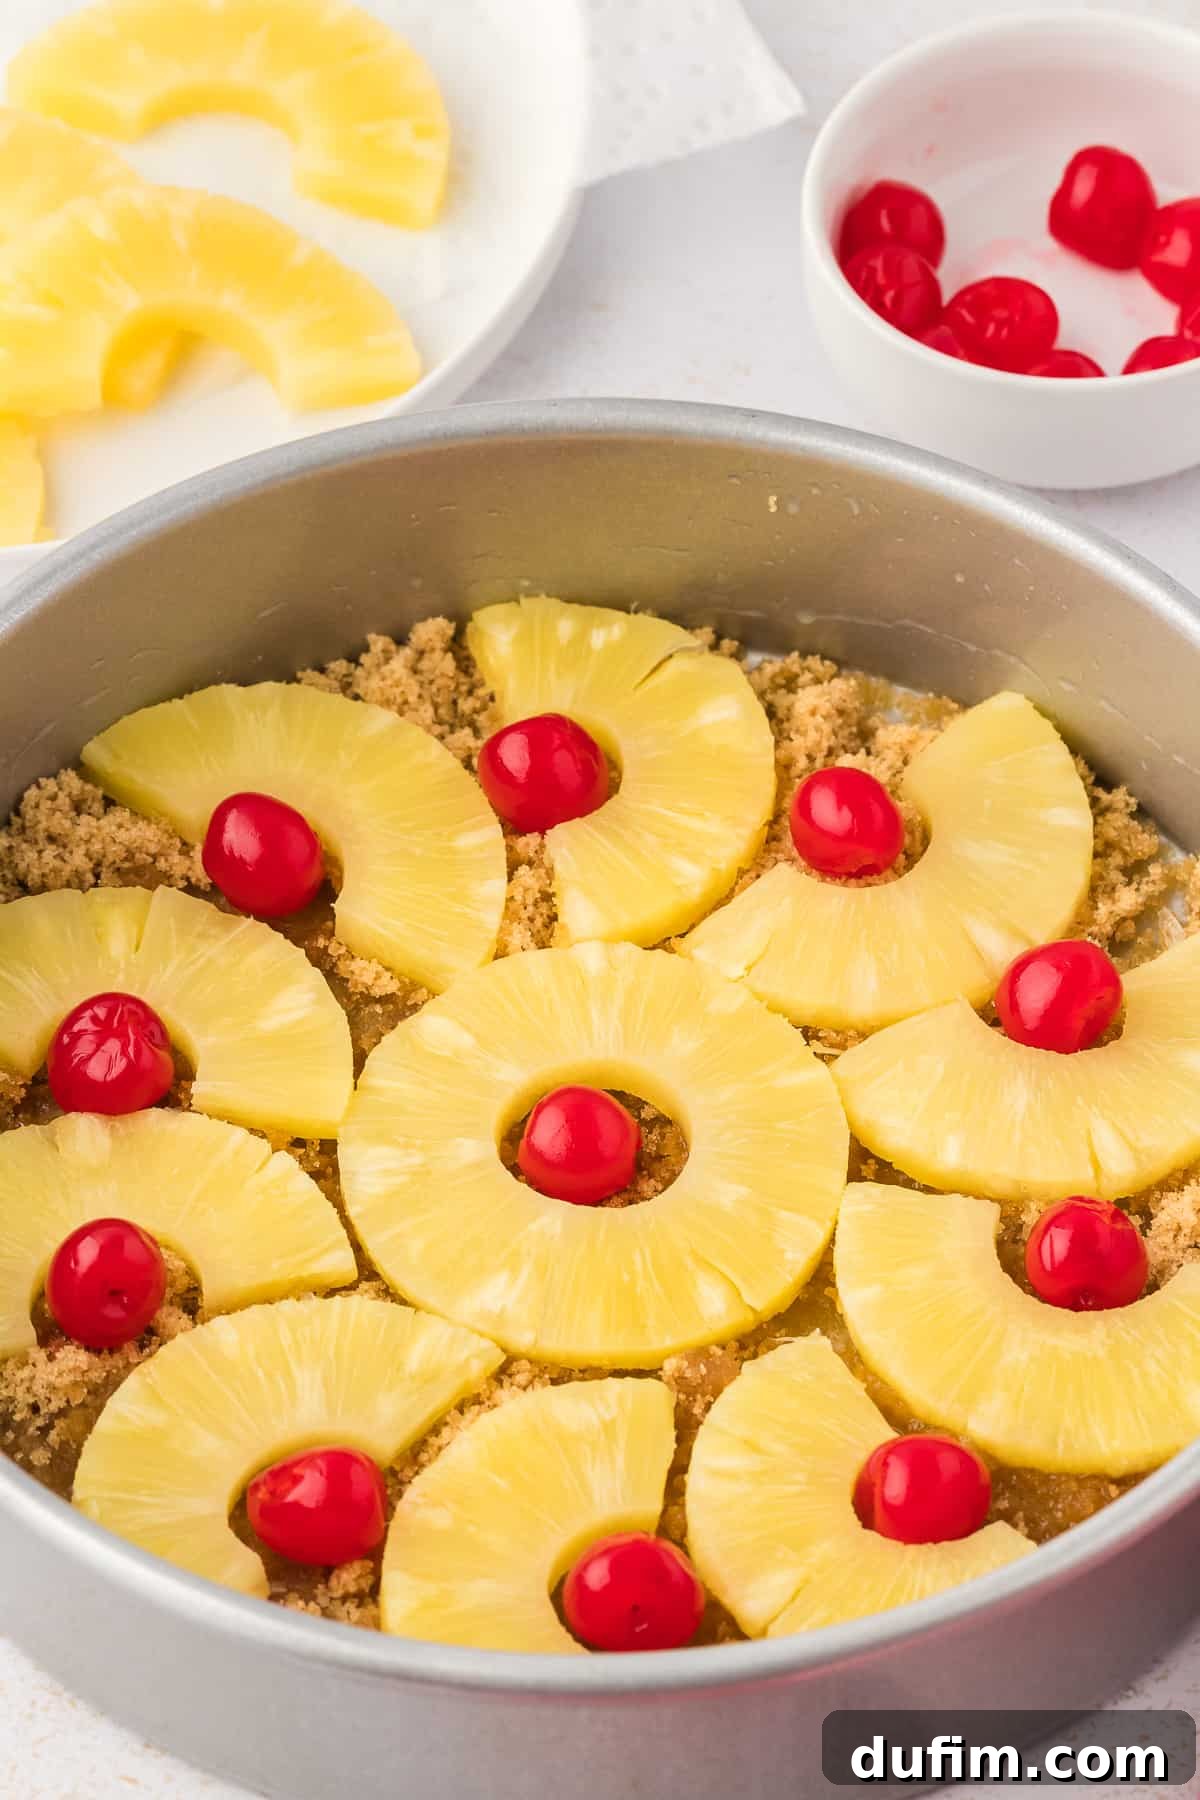
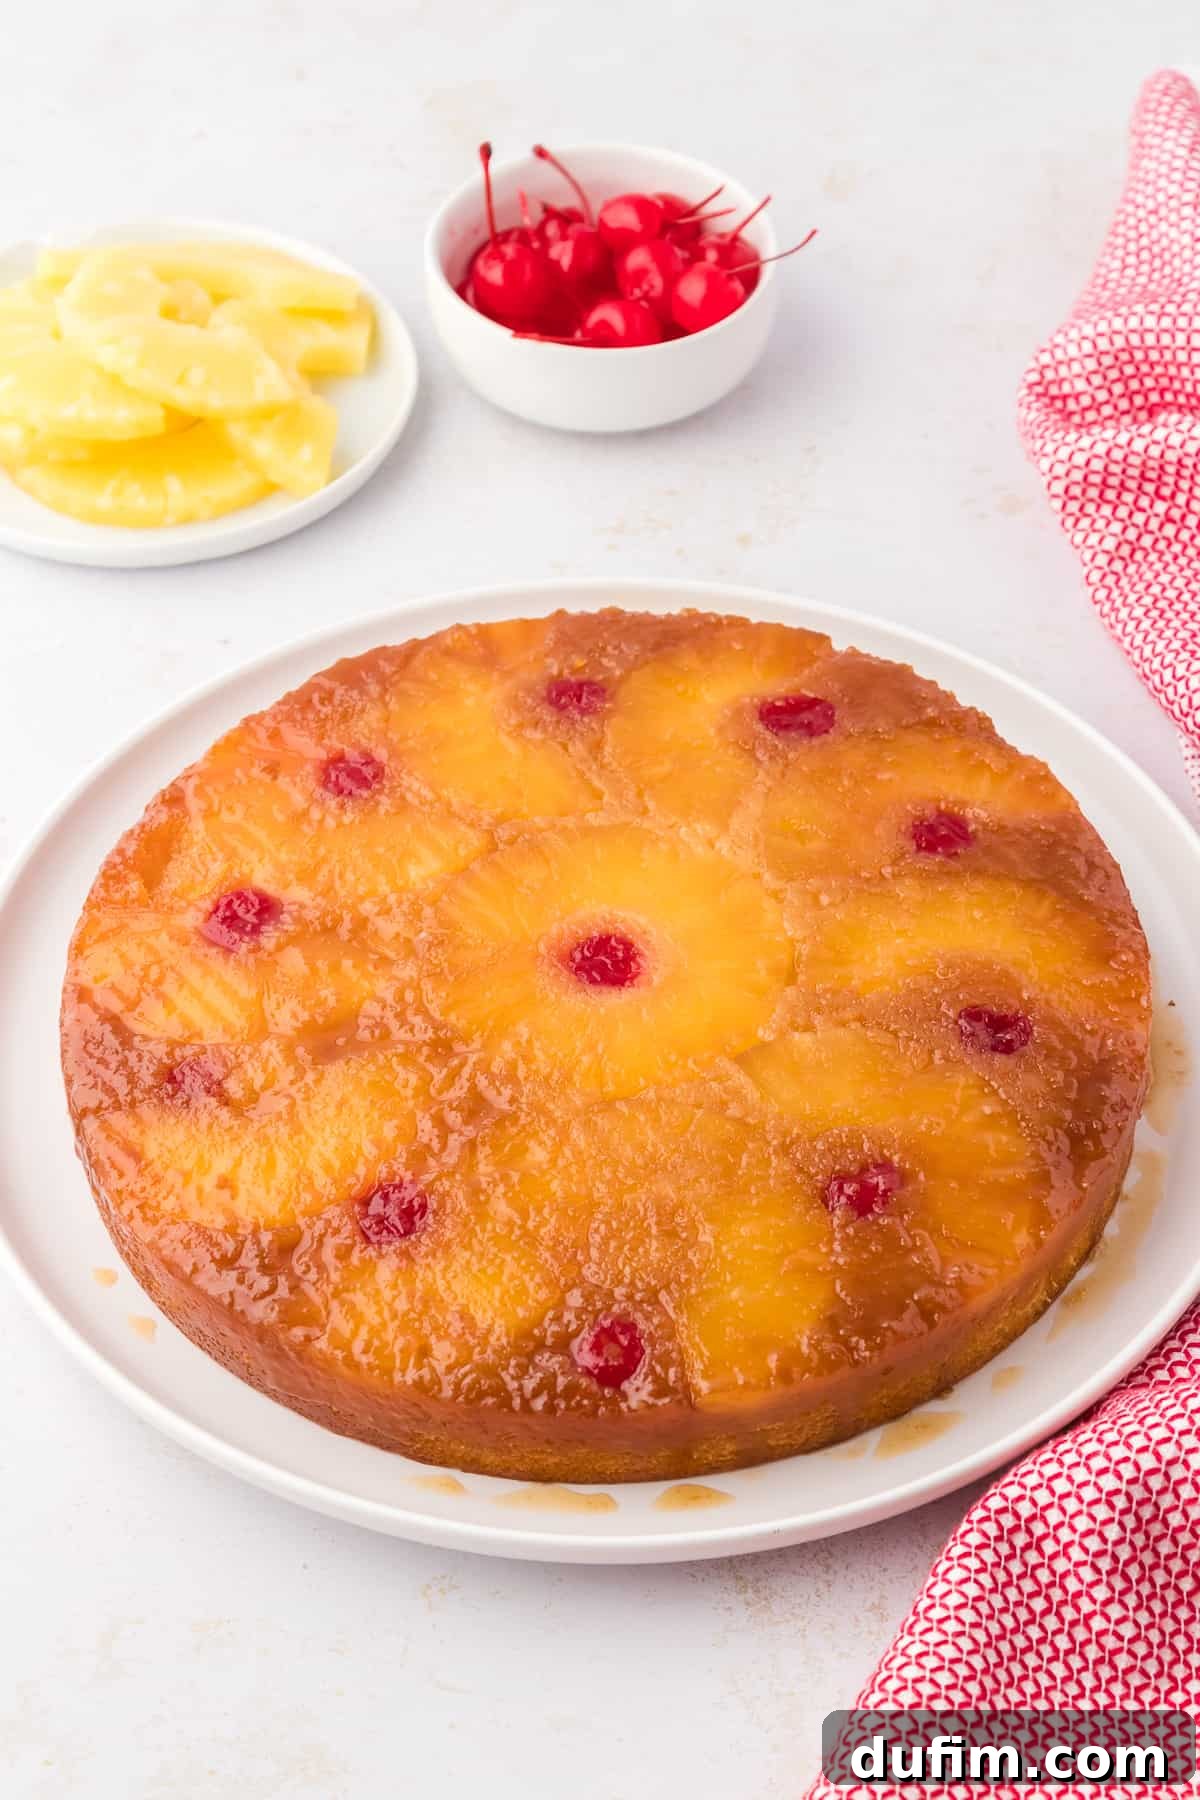
- Arrange the Fruit: Place a single whole pineapple slice precisely in the center of the pan. Gently nestle one maraschino cherry into the center of this pineapple ring. Next, cut a few additional pineapple slices in half. Arrange these half-slices around the outside edge of the pan, forming a decorative circle. Place a maraschino cherry next to each half-slice, or within their centers, depending on your desired look. For optimal setting of this fruit arrangement, refrigerate the prepared pan for a few minutes while you move on to making the cake batter. This helps prevent the fruit from shifting when the batter is poured in.
- Combine Dry Ingredients: In a medium mixing bowl, whisk together the all-purpose flour, baking powder, and salt until thoroughly combined. Set this dry mixture aside.
- Cream Wet Ingredients: In a separate, larger mixing bowl (or the bowl of a stand mixer), combine the softened unsalted butter and granulated sugar. Beat them with an electric mixer on medium-high speed for approximately 1 minute, until the mixture is light and fluffy. Next, add the large eggs one at a time, beating well after each addition. Stir in the vanilla extract, beating for about 30 seconds on medium speed until fully incorporated.
- Alternate Wet and Dry: Gradually add the flour mixture to the wet ingredients, mixing on low speed until just combined. Be careful not to overmix, as this can lead to a tough cake. Once the flour mixture is mostly incorporated, slowly pour in the milk and the reserved pineapple juice. Continue mixing on low speed until the batter is smooth and no streaks of flour remain.
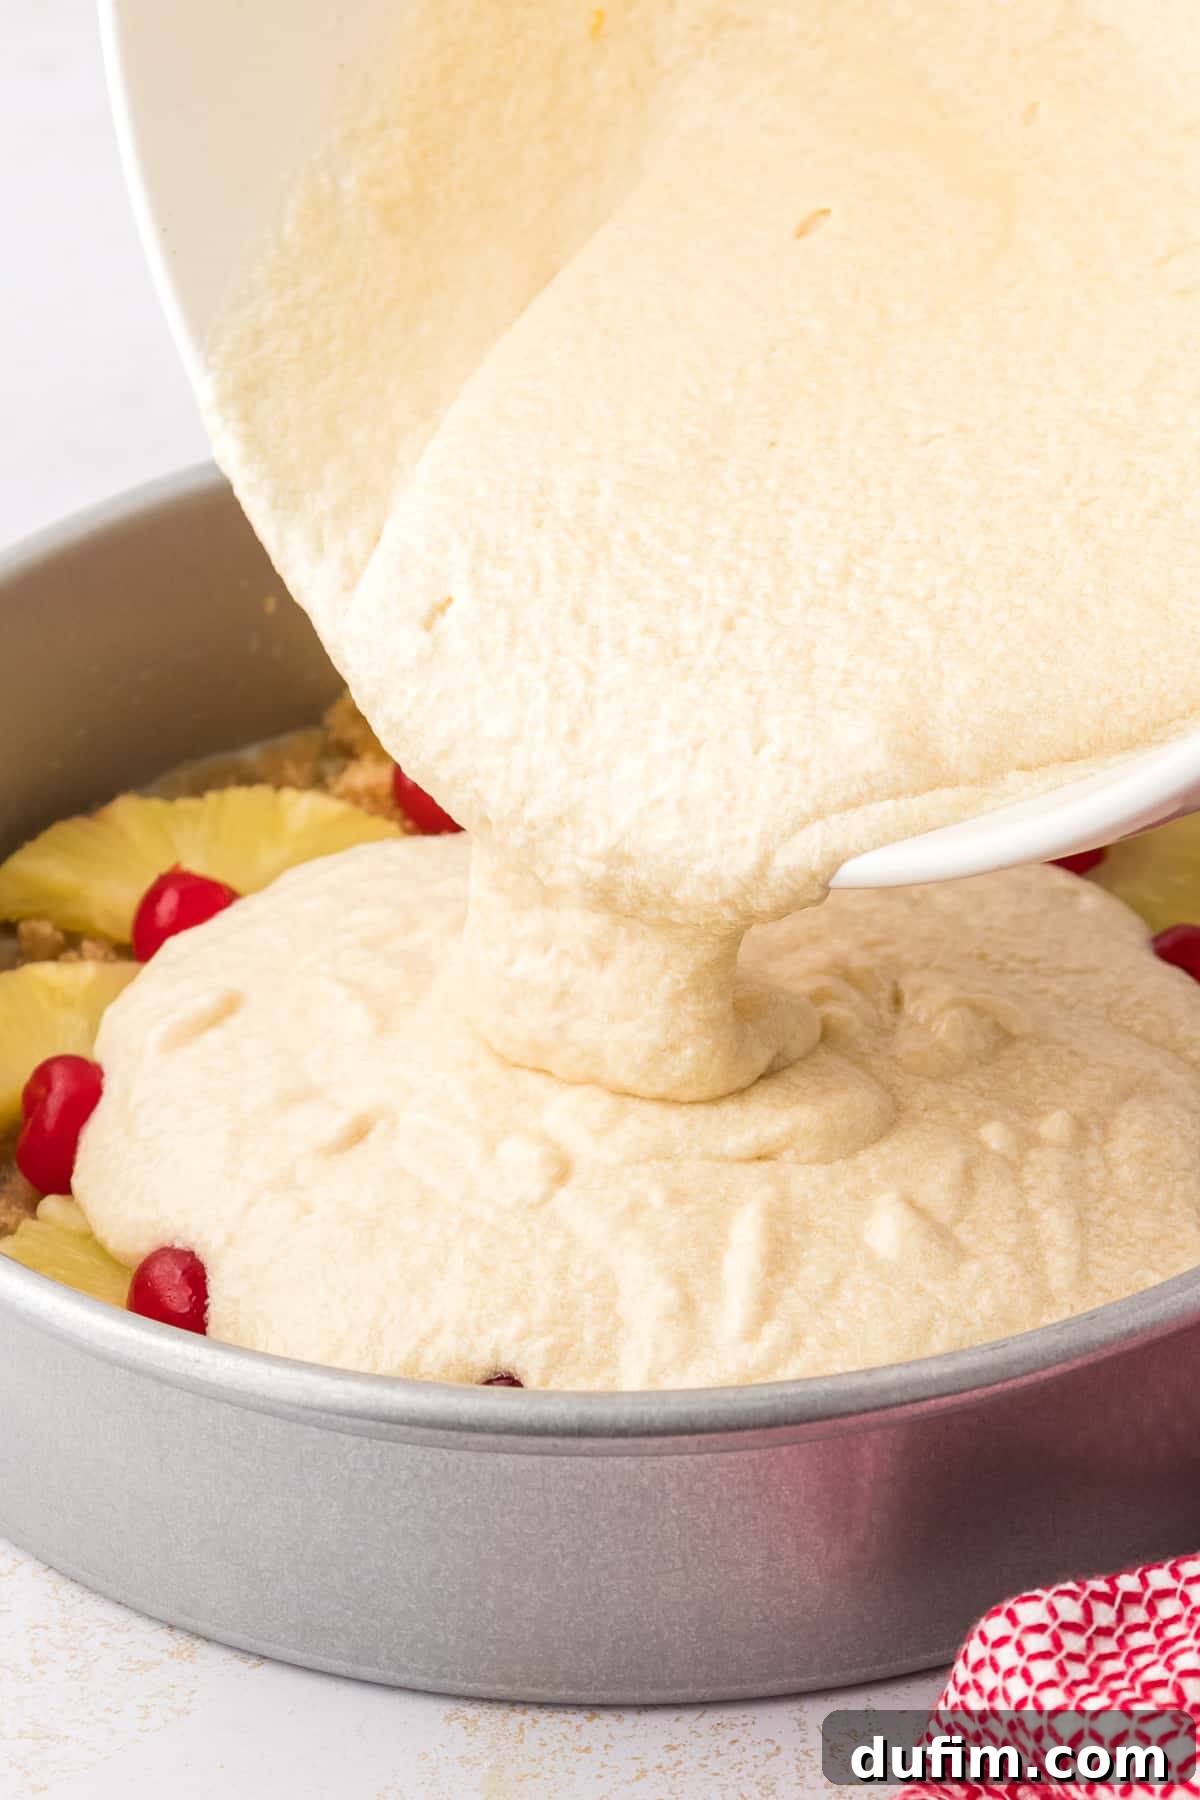
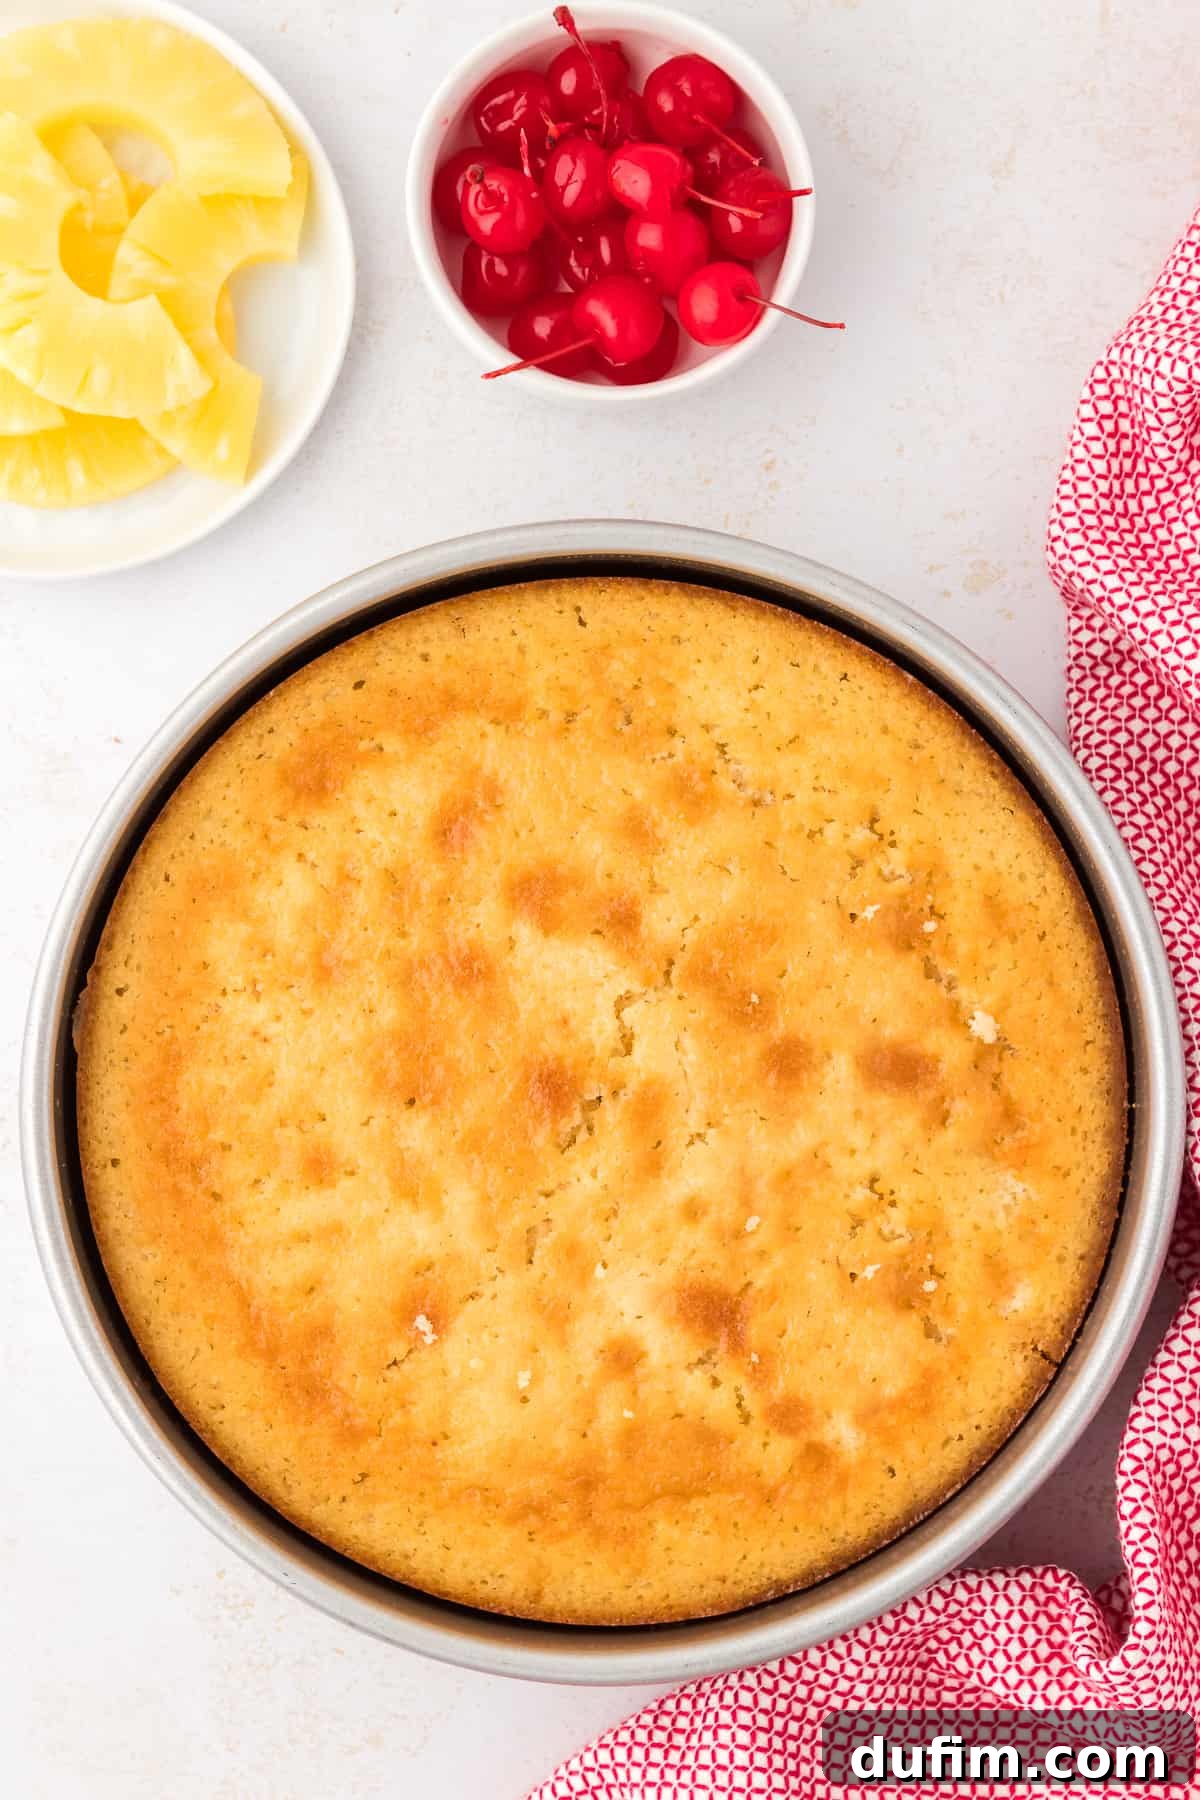
- Bake the Cake: Retrieve the prepared pan with the fruit from the refrigerator. Evenly pour the cake batter over the pineapple and cherries. Place the pan in the preheated oven and bake at 350ºF (175ºC) for 30 minutes. After this initial baking period, carefully remove the pan and loosely cover it with aluminum foil. This prevents the top of the cake from over-browning while the interior finishes baking. Return the cake to the oven and continue baking for another 13-17 minutes, or until a toothpick inserted into the center of the cake comes out mostly clean. A few moist crumbs clinging to the toothpick are perfectly normal and indicate a moist cake.
- Cool and Invert: Once baked, remove the cake from the oven and allow it to cool in the pan on a wire rack for precisely 20 minutes. This cooling period is crucial; it allows the caramelized topping to set properly and helps prevent the cake from sticking or breaking apart during inversion.
- Flip and Serve: After 20 minutes, run a thin knife carefully along the inside edge of the pan to loosen any stuck bits. Place a large serving plate or platter firmly on top of the cake pan. With a quick, confident motion, flip the cake pan and the plate together. If needed, gently tap the bottom of the pan to encourage the cake to release. Lift the pan slowly to reveal your beautiful pineapple upside-down cake. Allow the cake to cool completely before slicing and serving. Store any leftover cake covered tightly in the refrigerator to maintain freshness.
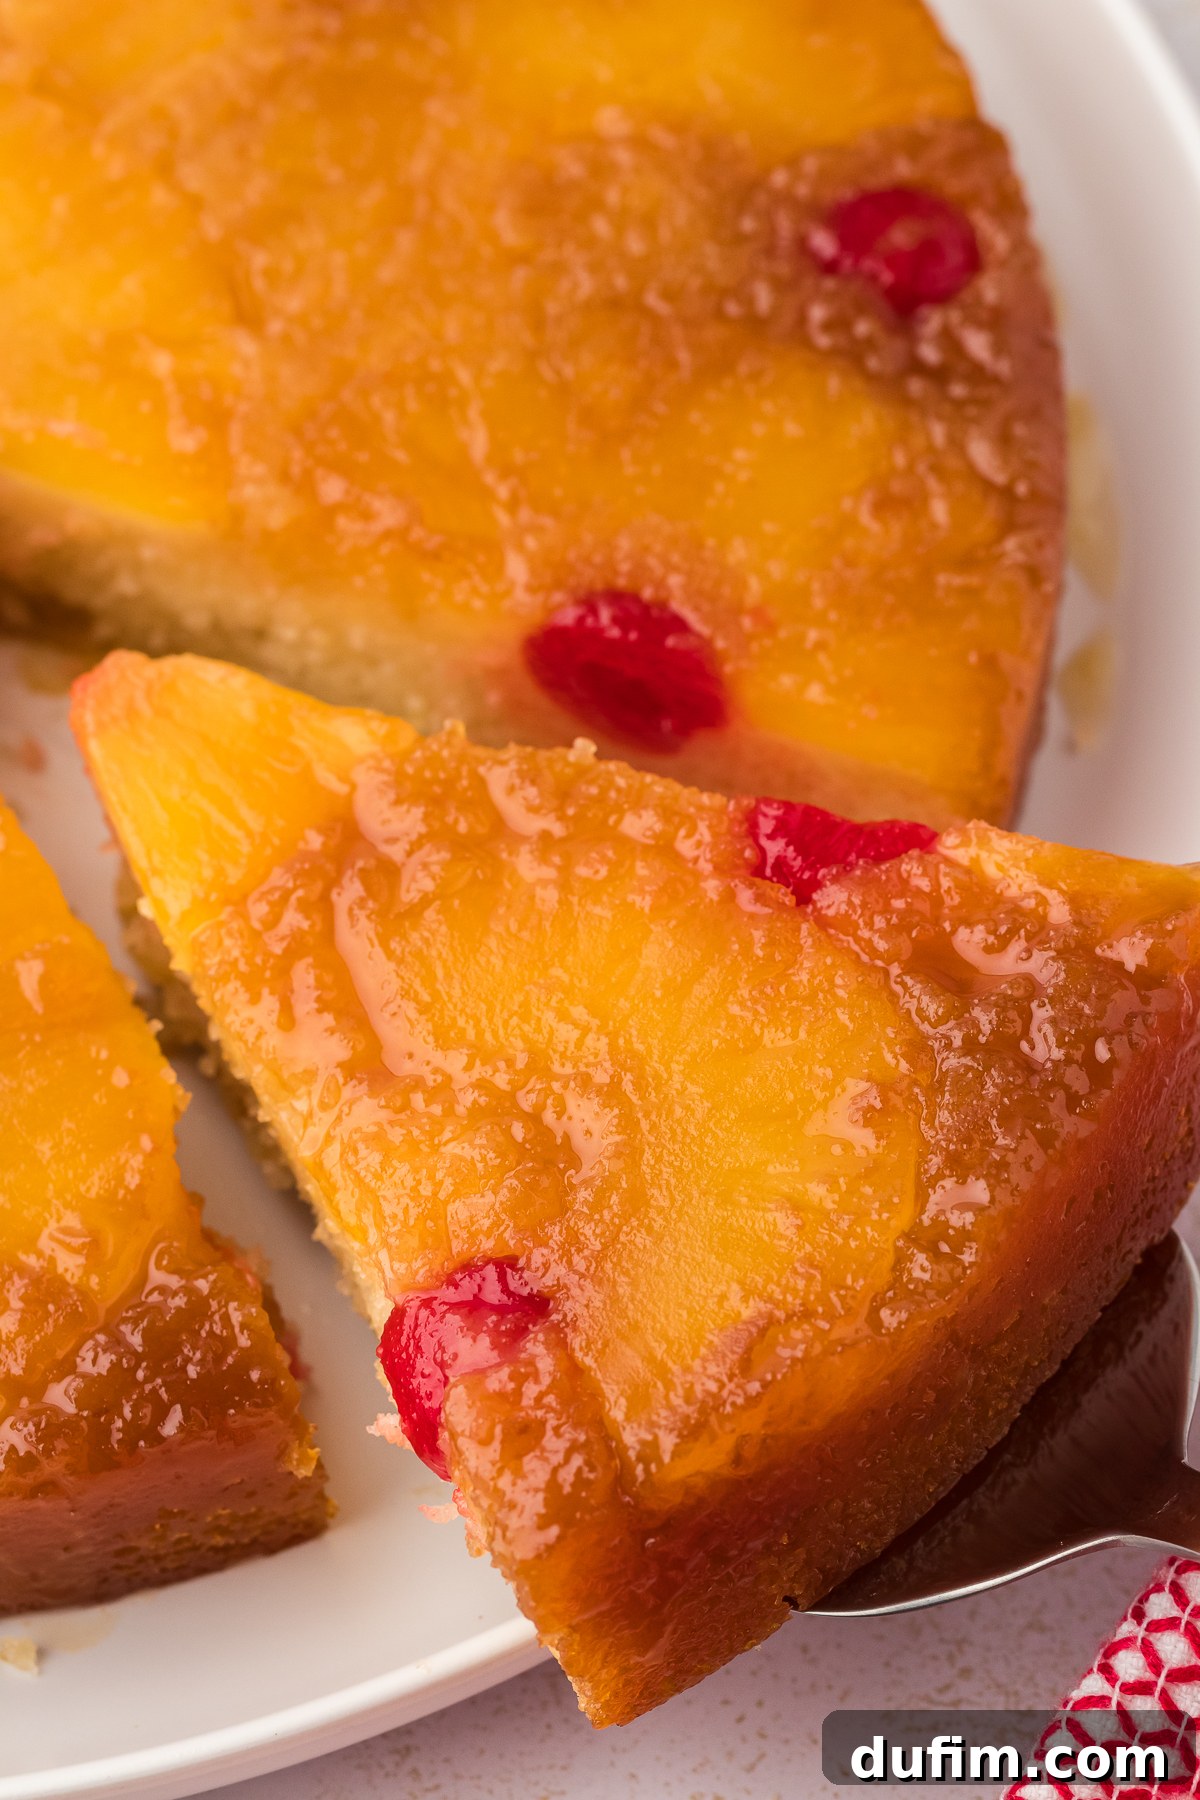
Pineapple Upside-Down Cake Variations
While the classic pineapple upside-down cake is perfect on its own, there are many delightful ways to customize it and enhance its flavors. Experiment with these variations to find your new favorite:
- Spice It Up: Before baking, sprinkle a pinch of ground cinnamon, nutmeg, or even a hint of cardamom over the brown sugar and butter layer for an added layer of warmth and complexity.
- Tropical Twist: Replace a portion of the milk with coconut milk for a subtle, creamy tropical flavor that pairs beautifully with pineapple. You could also sprinkle a few toasted coconut flakes onto the topping just before baking.
- Nutty Crunch: Add a layer of chopped pecans or walnuts over the brown sugar before arranging the pineapple for a delightful textural contrast and rich, nutty flavor. Almonds or macadamia nuts would also be delicious.
- Citrus Zest: Grate a little orange or lime zest into the cake batter for a bright, refreshing lift that complements the pineapple’s sweetness.
- Rum or Brandy Infusion: For an adult twist, lightly brush the baked pineapple slices with a tablespoon or two of dark rum or brandy while the cake is still warm (before flipping).
Serving Suggestions:
- Warm Caramel Sauce: Drizzle extra warm caramel sauce over individual slices to amplify that rich, caramelized flavor. A homemade butterscotch sauce works wonders too.
- Vanilla Ice Cream: A classic pairing! A generous scoop of creamy vanilla bean ice cream melts slightly into the warm cake, creating an irresistible combination of temperatures and textures.
- Fresh Whipped Cream: Light and airy homemade whipped cream provides a lovely contrast to the dense, sweet cake. Consider flavoring it with a touch of vanilla or coconut extract.
- A Hint of Spice: For those who love a bit more warmth, a tiny sprinkle of cinnamon or nutmeg directly on top of your slice, perhaps with a dollop of cream, can elevate the experience.
Expert Tips for a Perfect Pineapple Upside-Down Cake
Achieving a truly remarkable pineapple upside-down cake comes down to a few key techniques. These expert tips, honed over years of baking, will guide you to a consistently moist, fluffy, and perfectly caramelized dessert every time.
- Softened Butter is Non-Negotiable for the Cake: For the cake batter itself, always use softened unsalted butter, not melted butter. Creaming softened butter with sugar incorporates air, which is essential for a light, fluffy, and tender cake crumb. Melted butter, conversely, will result in a denser, potentially oily texture.
- Choose the Right Pan for Your Vision: An 8-inch round cake pan will yield a taller cake with a more dramatic height, but it will crowd the pineapple rings, potentially affecting their arrangement and caramelization. A 9-inch pan provides more surface area, allowing for a more spacious and decorative fruit arrangement. If you’re using a springform pan, be aware that some butter from the topping may drip out; place a baking sheet underneath to catch any overflow and prevent oven mess.
- Blot the Fruit to Prevent Soggy Cake: This is a critical step often overlooked. Before arranging, thoroughly pat both sides of the pineapple slices and maraschino cherries with paper towels to remove as much excess moisture as possible. This prevents the fruit juices from leaching into the cake batter and creating a soggy bottom layer, ensuring your caramelized topping is perfectly sticky and rich.
- The Butter and Brown Sugar Base is Your Best Friend: For a cake that releases cleanly and boasts that iconic caramelized topping, don’t skimp on the pan preparation. Generously brush the bottom and sides of your chosen pan with melted butter, then sprinkle an even layer of brown sugar over the butter. This creates a sweet, protective barrier that caramelizes beautifully with the fruit and ensures an easy, flawless flip.
- Arrange the Fruit with Care: The appearance of your upside-down cake is just as important as its taste. Start with a whole pineapple ring in the center, placing a maraschino cherry in its middle. Then, cut additional pineapple rings in half and arrange them around the central ring, filling any gaps for a beautiful, full design. This careful arrangement guarantees a picture-perfect presentation when the cake is inverted.
- Allow Sufficient Cooling Before Flipping: Patience is a virtue when baking this cake. After removing it from the oven, let the cake cool in the pan on a wire rack for a full 20 minutes. This crucial resting period allows the hot, gooey caramelized topping to set slightly, making it much more stable and less prone to tearing or sticking when you invert the cake.
- Parchment Paper for Extra Confidence (Optional): If you’re particularly nervous about the cake sticking, you can cut a circle of parchment paper to fit the bottom of your pan. Place it over the melted butter and brown sugar layer before arranging the fruit. This provides an additional layer of non-stick insurance, though with proper butter and sugar application, it’s often not strictly necessary.
- Don’t Overmix the Batter: Overmixing develops the gluten in the flour too much, leading to a tough and chewy cake. Mix the dry ingredients into the wet ingredients only until just combined, with no visible streaks of flour. A light hand will result in a tender, moist crumb.
What is the trick to flipping pineapple upside-down cake?
The secret to successfully flipping a pineapple upside-down cake lies in timing and technique. First, ensure the cake has cooled in its pan for at least 20 minutes; this allows the caramelized topping to firm up slightly. Next, gently run a thin knife around the entire inside edge of the pan to loosen any cake or pineapple that might be clinging. Place a large, flat serving plate or platter upside down on top of the cake pan. Hold both the pan and the plate firmly together and, with a swift, confident motion, flip them over. If the cake doesn’t immediately release, gently tap the bottom of the pan a few times. Slowly lift the pan to reveal your beautifully inverted cake.
How to Serve Homemade Pineapple Upside-Down Cake
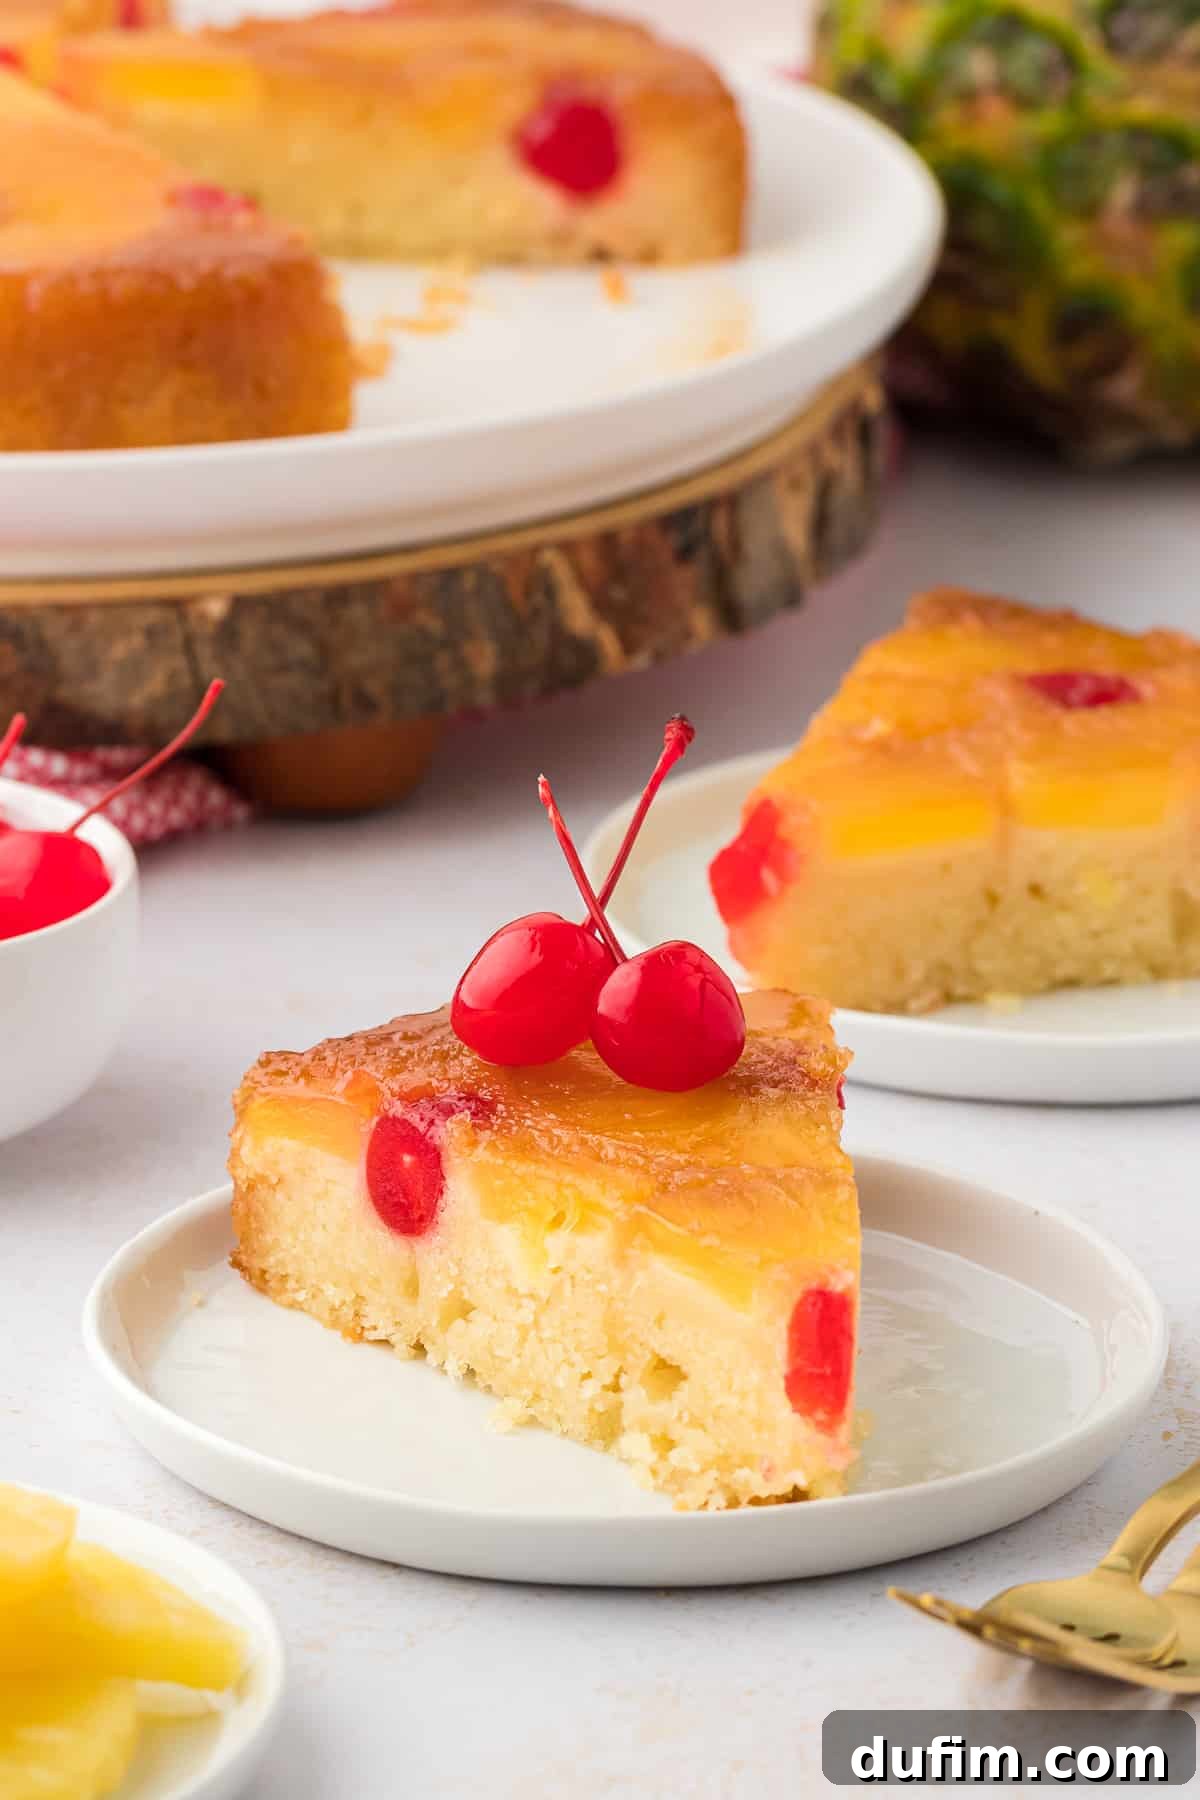
This homemade pineapple upside-down cake is truly at its best when served warm, shortly after it has cooled enough to handle without burning. At this stage, the caramelized pineapple and brown sugar topping will be perfectly gooey and glistening, releasing its rich aromas. Carefully cut the cake into individual slices, ensuring each piece gets a generous portion of that delectable fruit topping.
While the cake is undeniably delicious on its own, many people enjoy enhancing the experience with complementary toppings. A classic choice is a scoop of rich vanilla ice cream, which melts slightly into the warm cake, creating a delightful contrast in temperatures and textures. Alternatively, a dollop of freshly whipped cream provides a lighter, airy counterpoint to the cake’s sweetness. For an extra touch of decadence, a drizzle of warm caramel sauce can elevate the flavors even further. Serve with a cup of coffee or a glass of milk for the ultimate comforting dessert experience.
How to Store Homemade Pineapple Upside-Down Cake
Proper storage is essential to keep your homemade pineapple upside-down cake fresh and delicious for as long as possible. Given its moist fruit topping and dairy-containing batter, refrigeration is key.
For Short-Term Storage (Refrigerator): The best way to store leftover pineapple upside-down cake is to cover the serving platter or place individual slices in an airtight container. Refrigerate the cake for 3-5 days. This prevents the cake from drying out and inhibits bacterial growth, particularly due to the fruit and dairy ingredients. If you prefer to enjoy it warm later, you can gently reheat individual slices in the microwave for 20-30 seconds, or in a preheated oven at 300°F (150°C) for about 5-10 minutes, until just warmed through.
For Long-Term Storage (Freezer): Yes, you can freeze leftover pineapple upside-down cake! To do so effectively, it’s best to slice the cake into individual portions. Wrap each slice tightly in plastic wrap, then place the wrapped slices in an airtight freezer-safe container or a heavy-duty freezer bag. This method prevents freezer burn and makes it easy to thaw only what you need. The cake can be stored in the freezer for up to 3 months. When you’re ready to enjoy a slice, simply thaw it at room temperature for a few hours. If you prefer it warm, heat it in the microwave for 20-30 seconds after thawing.
Do you need to refrigerate pineapple upside-down cake?
Yes, pineapple upside-down cake absolutely needs to be refrigerated. This is due to the perishable nature of its ingredients, including eggs, milk, and butter in the cake batter, as well as the moist fruit topping. Refrigeration slows down spoilage and bacterial growth, keeping your cake safe and delicious for several days. Leaving it at room temperature for extended periods could lead to bacterial contamination and a much shorter shelf life.
Homemade Pineapple Upside-Down Cake FAQs
An 8-inch or 9-inch round cake pan or pie pan is best for pineapple upside-down cake. An 8-inch pan will give you a taller cake, but the pineapple rings might be more crowded. A 9-inch pan allows for a more spread-out and decorative fruit arrangement. If you choose to use a springform pan, be aware that some of the melted butter and brown sugar may leak through the bottom seal, so it’s wise to place a baking sheet underneath it in the oven to catch any drips and prevent a mess.
Preventing a soggy pineapple upside-down cake involves a few key steps. First and foremost, meticulously blot the pineapple slices and maraschino cherries dry with paper towels before placing them in the pan; excess moisture is the primary culprit. Secondly, ensure your pan is well-greased with melted butter and thoroughly coated with brown sugar, which helps create a caramelized barrier. Finally, after baking, allow the cake to cool in the pan for at least 20 minutes before flipping. This crucial cooling time allows the hot, gooey caramelized topping to set and firm up, making it less likely to seep into the cake or stick to the pan upon inversion. This cake is best enjoyed fresh, as the topping may naturally become slightly softer the longer it sits.
A sinking middle in a pineapple upside-down cake can be caused by several factors. Over-mixing the cake batter is a common reason, as it develops the gluten too much, leading to a collapse. Using expired or inactive leavening agents (baking powder) will also prevent the cake from rising properly and holding its structure. Additionally, not adequately drying the pineapple slices and cherries can introduce too much moisture, weighing down the center. Opening the oven door too frequently or too early during baking can cause a sudden temperature drop, leading to a sink. Incorrect oven temperature or using a pan that is too large or too small for the recipe can also contribute. To avoid this, ensure precise ingredient measurements, use fresh baking powder, blot your fruit dry, mix the batter only until just combined, and resist opening the oven door until the final stages of baking.
It is crucial to allow pineapple upside-down cake to cool in its pan for a minimum of 20 minutes before attempting to flip it. This cooling period is essential because it gives the hot, liquid caramelized topping time to set and solidify slightly. Flipping the cake too soon, while the caramel is still very hot and liquid, significantly increases the risk of the topping sticking to the pan, breaking apart, or running off the cake, resulting in a less-than-perfect presentation.
To prevent your pineapple upside-down cake from sticking to the pan, meticulous pan preparation is key. First, generously brush the entire bottom and sides of your cake pan with melted butter. Ensure every inch is coated. Second, sprinkle an even layer of brown sugar over the melted butter; this not only forms the signature caramelized topping but also creates a non-stick barrier. After baking, allow the cake to cool in the pan for 20 minutes before flipping, as this gives the caramel time to set and detach more easily. Then, run a thin knife around the edge of the cake to loosen it before inverting it onto your serving plate. For ultimate peace of mind, especially if using an older or less reliable pan, you can cut a circle of parchment paper to fit the bottom of the pan and place it over the butter and sugar layer before arranging the fruit.
More Delightful Pineapple Recipes
If you love the sweet and tangy flavor of pineapple, explore these other fantastic recipes:
- Pineapple Fluff: A light and airy dessert perfect for a quick sweet treat.
- Pineapple Angel Food Cake: A lighter cake option with vibrant pineapple notes.
- Pineapple Whipped Cream: A unique and flavorful topping for various desserts.
- Pineapple Buttercream Cupcakes: Delicious cupcakes crowned with a tropical buttercream.
Enjoyed by 5 out of 5 ratings!
Pineapple Upside-Down Cake Recipe From Scratch
By: Beth
Prep Time: 30 minutes
Cook Time: 45 minutes
Cooling Time: 1 hour
Servings: 12
Moist, fluffy pineapple upside-down cake made with tested tips—no soggy fruit, no sticking, just a perfect nostalgic dessert every time.
Equipment
- Glass Mixing Bowl
- My favorite spatula!
- Kitchen Scale
Ingredients
- 1 (20 oz) can pineapple slices in juice
- 13-19 maraschino cherries
- ¼ cup (57g) unsalted butter, melted
- ½ cup (107g) brown sugar
- 1 ½ cups (180g) all-purpose flour
- 1 ½ tsp baking powder
- ½ tsp salt
- ½ cup (113g) unsalted butter, softened (1 stick)
- ¾ cup (149g) granulated sugar
- 2 large eggs
- 1 tsp vanilla extract
- ¼ cup (59ml) milk
- ¼ cup (59ml) pineapple juice (from the can)
Instructions
- Line a tray or counter with paper towels. Place the pineapple slices (save the juice from the can!) and maraschino cherries on the paper towels. Let the moisture absorb for a few minutes, then flip them over and repeat. This step helps prevent the cake from becoming too wet.
- Preheat the oven to 350ºF (175ºC). In a 9-inch round cake pan or 9-inch pie pan, add the melted butter and use a spatula to brush it over the sides and bottom. Sprinkle the brown sugar evenly over the butter. It doesn’t need to be perfectly neat, as the brown sugar will melt while baking. Place a single whole pineapple slice and one maraschino cherry in the center of the pan. Cut a few pineapple slices in half. Line them around the outside, placing a maraschino cherry by each one. While you prepare the cake batter, refrigerate the pan for a few minutes. This helps to set the arrangement of the pineapple and cherries.
- Prepare the batter: In a mixing bowl combine the all-purpose flour, baking powder, and salt. Whisk briefly and set aside.
- In a separate mixing bowl (or stand mixer), combine the softened unsalted butter and granulated sugar. Beat with an electric mixer on medium-high speed for 1 minute until light and fluffy. Beat in the eggs one at a time, followed by the vanilla extract, mixing on medium speed for about 30 seconds until well combined.
- Gradually add the flour mixture to the wet ingredients, mixing on low speed until just combined. Add in the milk and pineapple juice, continuing to mix on low speed until the batter is smooth and fully incorporated, being careful not to overmix.
- Remove the pan from the fridge and pour the cake batter evenly over the topping. Bake at 350ºF (175ºC) for 30 minutes. Then, remove the pan from the oven and loosely cover it with aluminum foil. This helps prevent the cake from over-browning. Return to the oven to bake for another 13-17 minutes, or until a toothpick inserted into the center comes out mostly clean; a few moist crumbs are normal.
- Allow the cake to cool for 20 minutes in the pan on a wire rack. This is a crucial step for the topping to set.
- Run a knife along the edge of the pan to loosen the cake. Place a large serving plate firmly on top of the pan and, holding both securely, flip them over together. Gently tap the back of the pan if needed to help release the cake. Carefully lift the pan off. Allow the cake to cool completely before cutting and serving. Store leftover cake covered in the refrigerator.
Video
Notes
If you bake the cake in an 8-inch pan, it will result in a taller cake; however, the pineapple rings will be more crowded. During recipe testing, I baked this in a 9-inch springform pan, and some of the butter dripped through, so be aware of that if you use a springform pan and place a baking sheet underneath.
Nutrition
Calories: 298kcal | Carbohydrates: 44g | Protein: 3g | Fat: 13g | Saturated Fat: 8g | Polyunsaturated Fat: 1g | Monounsaturated Fat: 3g | Trans Fat: 0.5g | Cholesterol: 62mg | Sodium: 169mg | Potassium: 118mg | Fiber: 1g | Sugar: 31g | Vitamin A: 434IU | Vitamin C: 5mg | Calcium: 65mg | Iron: 1mg
Nutrition Disclosure
All nutritional values are approximate and provided to the reader as a courtesy. Changing ingredients and/or quantities will alter the estimated nutritional calculations.
Like this recipe? Rate and comment below!