
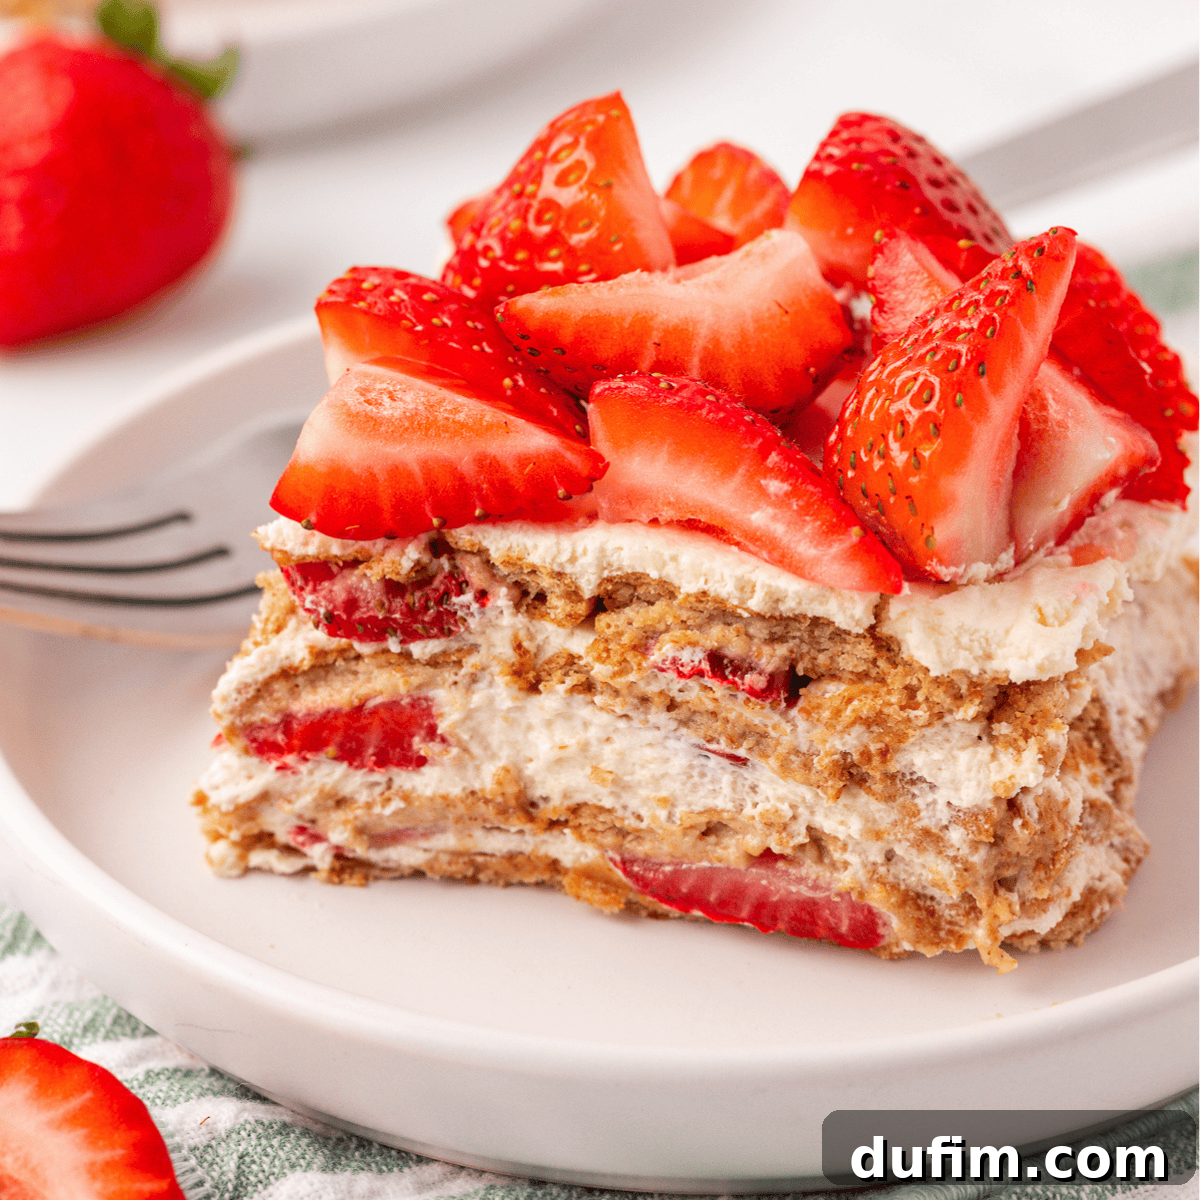
This strawberry icebox cake is a tried-and-true, crowd-pleasing classic. Crafted with our special stabilized whipped cream and an abundance of fresh, sweet berries, it layers beautifully and cuts into perfect, clean slices every single time. Get ready to impress with minimal effort!
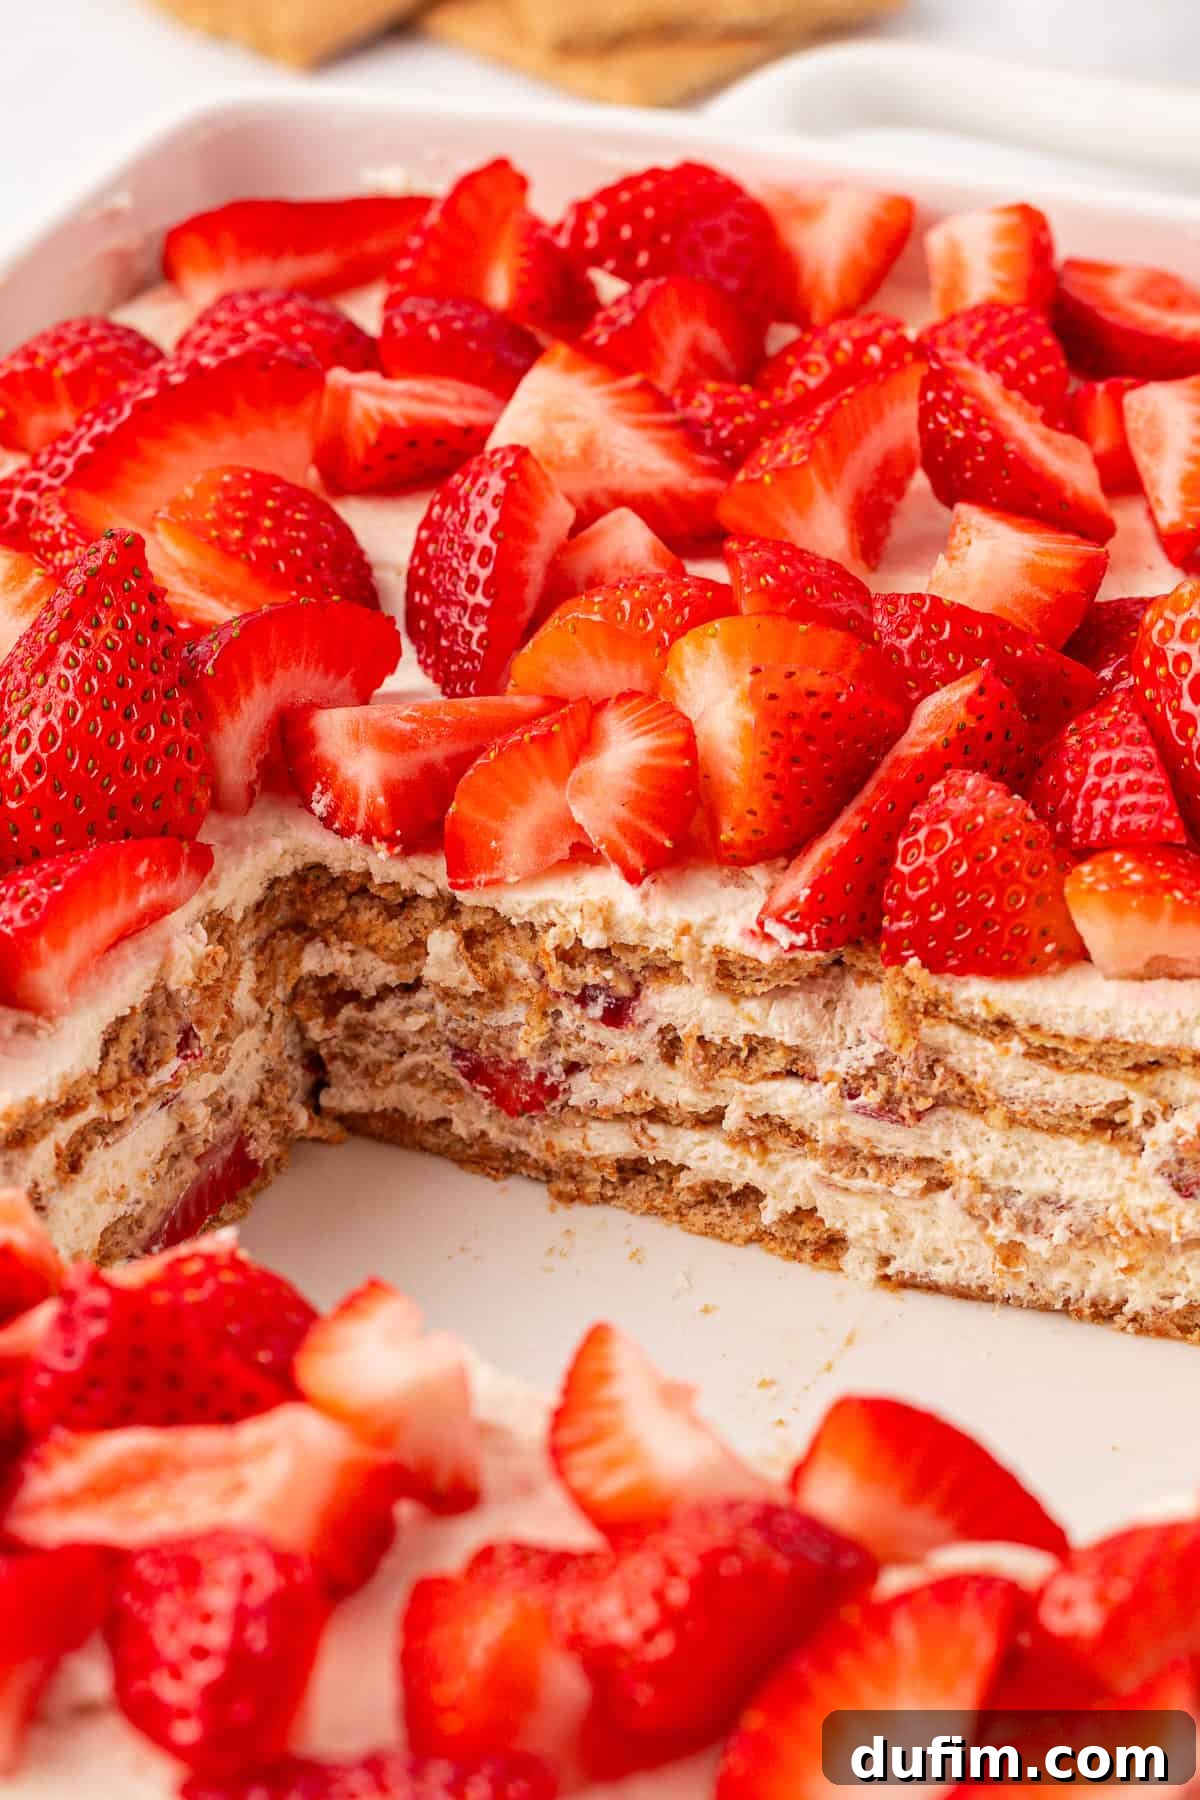
No-Bake Strawberry Cream Cheese Icebox Cake: The Ultimate Summer Treat
This strawberry icebox cake recipe is a true gem, one I am always eager to share with fellow home bakers. It embodies everything I love in a dessert: simplicity, unwavering reliability, and layers bursting with fresh, vibrant flavor. And yes, I’ve meticulously tested and perfected every detail to ensure your success.
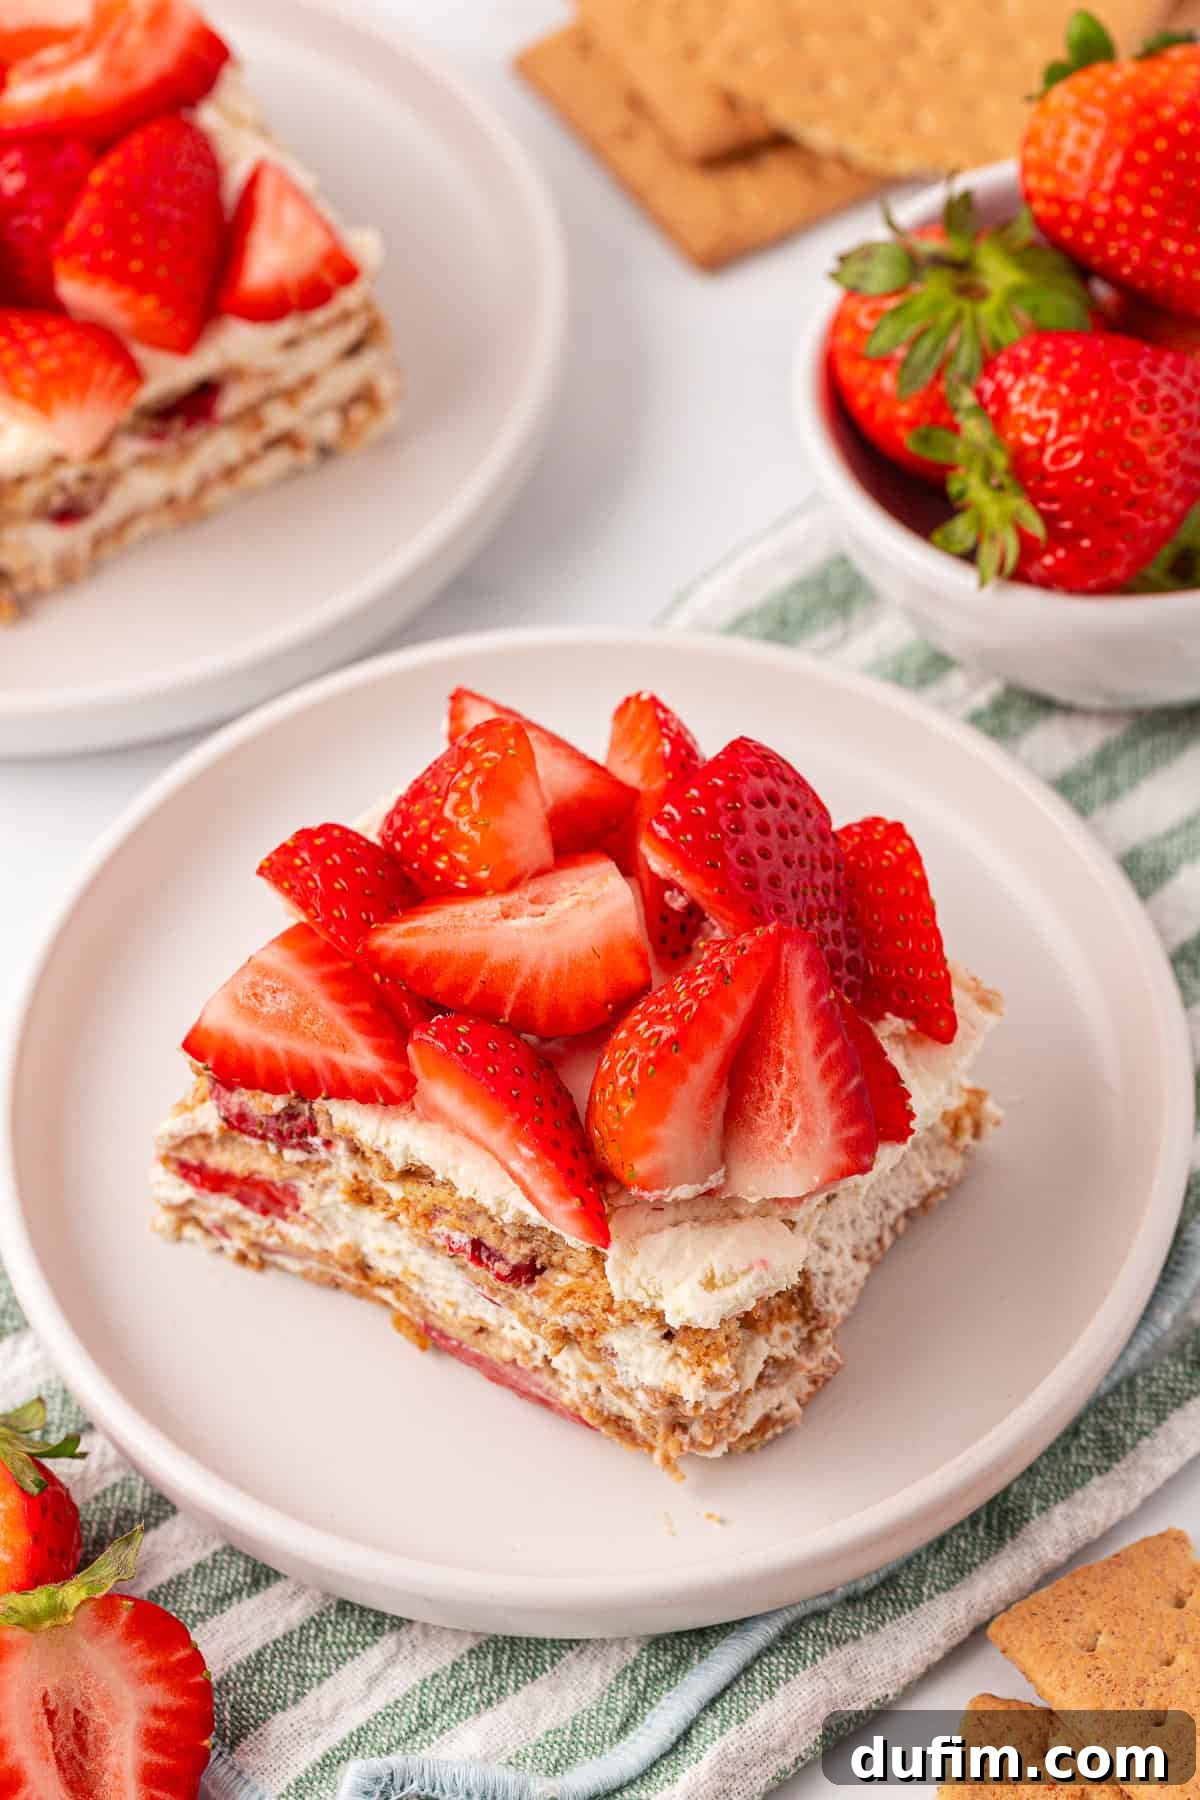
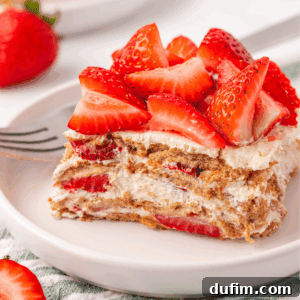
Whether you choose to assemble this delightful cake in a practical 9×13-inch baking pan or arrange it with rustic charm on a large serving platter, the outcome remains consistently spectacular. Imagine soft, cake-like layers formed by tenderized graham crackers, interspersed with clouds of fluffy, homemade whipped cream, and abundant slices of sweet, juicy strawberries in every single bite. It’s a symphony of textures and flavors that captivates with its nostalgic charm and undeniable freshness.
What truly elevates this particular icebox cake above the rest is its signature whipped cream. I’ve developed a unique method that combines rich heavy cream with a touch of cream cheese and a hint of powdered sugar. This ingenious blend naturally stabilizes the whipped cream, ensuring it holds its magnificent structure without any deflating or “weeping”—even after a full night (or longer!) in the refrigerator. This stability is key to achieving those beautifully defined layers and that satisfying, sturdy slice.
To achieve that wonderfully thick, airy, and resilient texture in your whipped cream, I highly recommend using a stand mixer. The consistent, powerful whipping action of a stand mixer incorporates ample air and develops the necessary structure for clean, distinct layers and a cake that slices like a dream. While a hand mixer can be used, it often struggles to whip in enough air to provide the same impressive lift and crucial stability, which can compromise the overall integrity and presentation of your finished icebox cake. Investing in a stand mixer for this recipe, if you have one, will truly make a difference.
I’ve meticulously experimented with ingredient proportions, optimal chill times, and the precise layering order to guarantee that you achieve that desired tender, perfectly sliceable texture every single time you make this dessert. If you’re new to the wonderful world of icebox cakes, this recipe is an absolutely fantastic place to begin your journey. There’s no oven involved, which means no baking stress. Just a guaranteed crowd-pleaser that evokes a sense of comforting nostalgia while feeling incredibly fresh and contemporary.
The Magic Behind the Layers: A Visual Guide to Assembling Your Icebox Cake
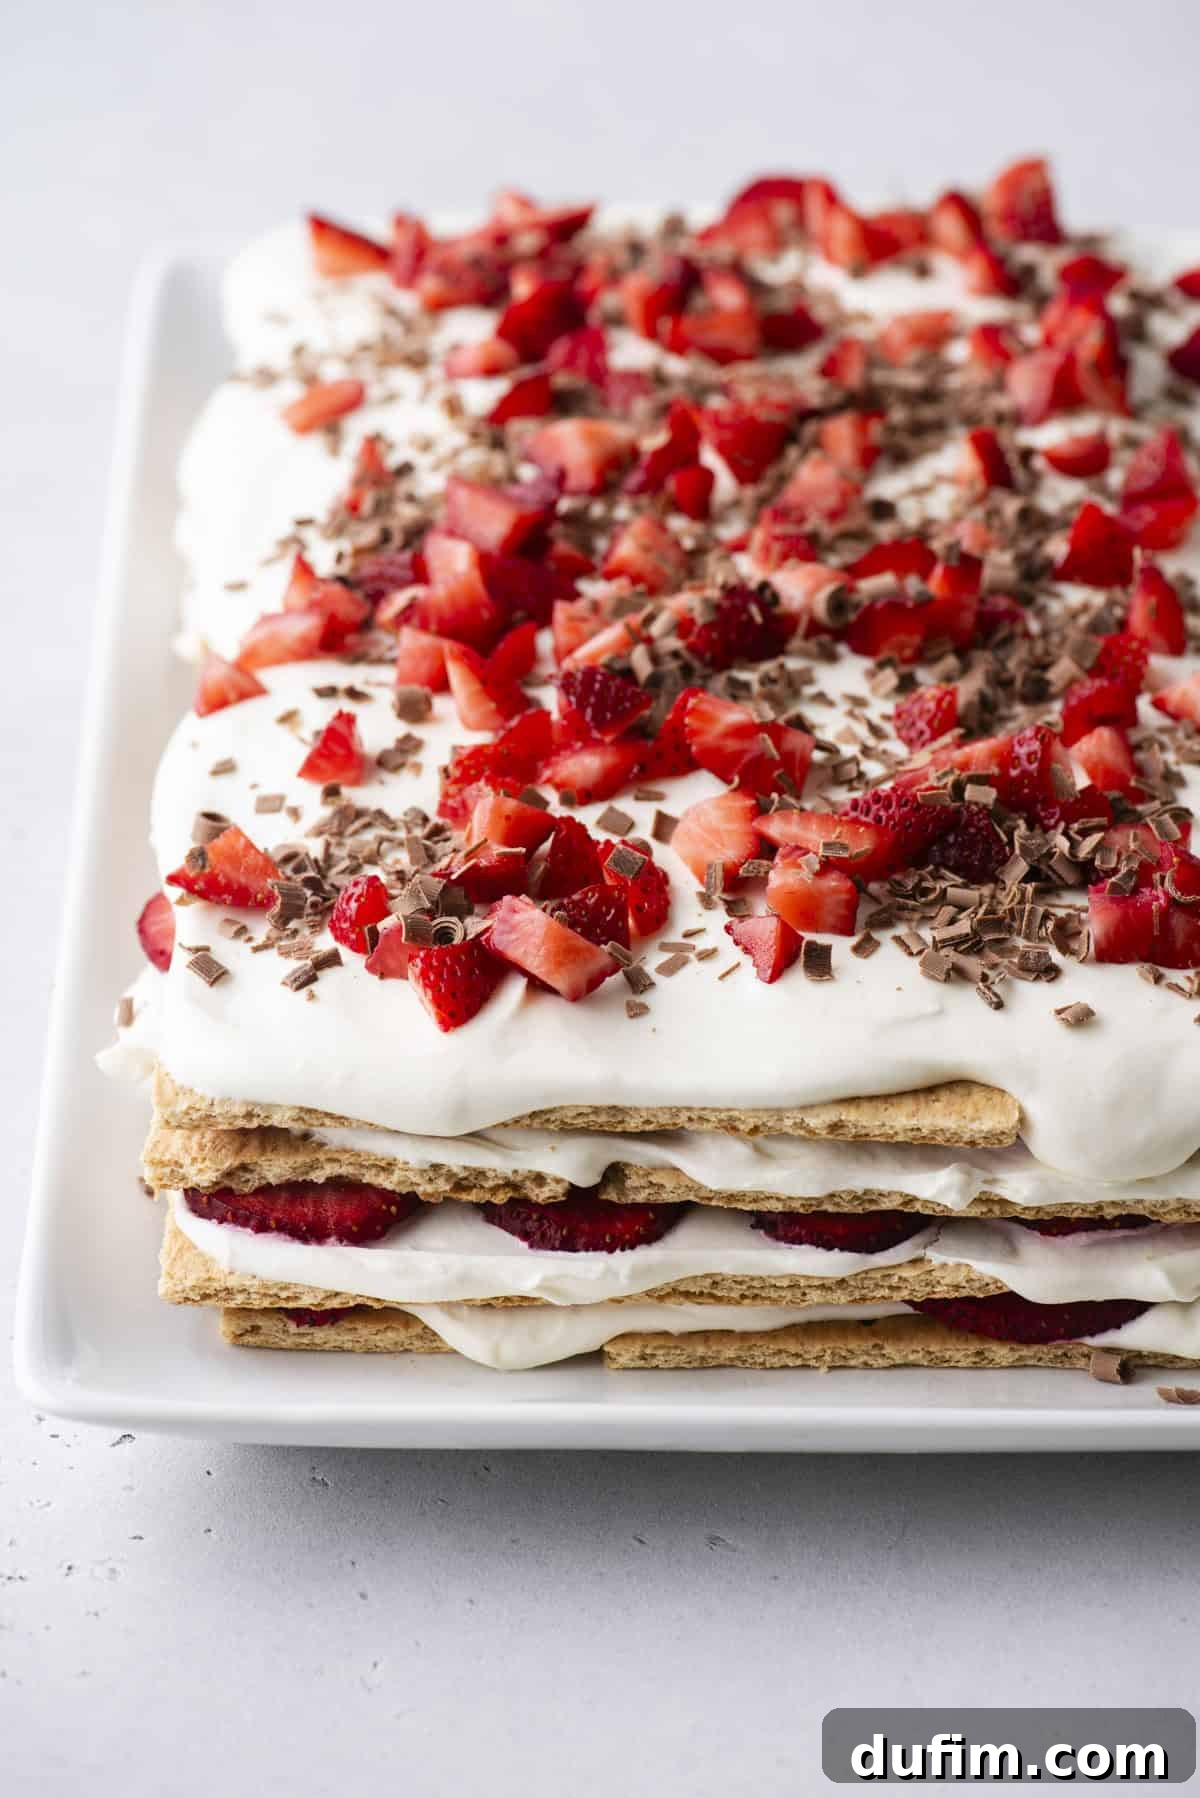
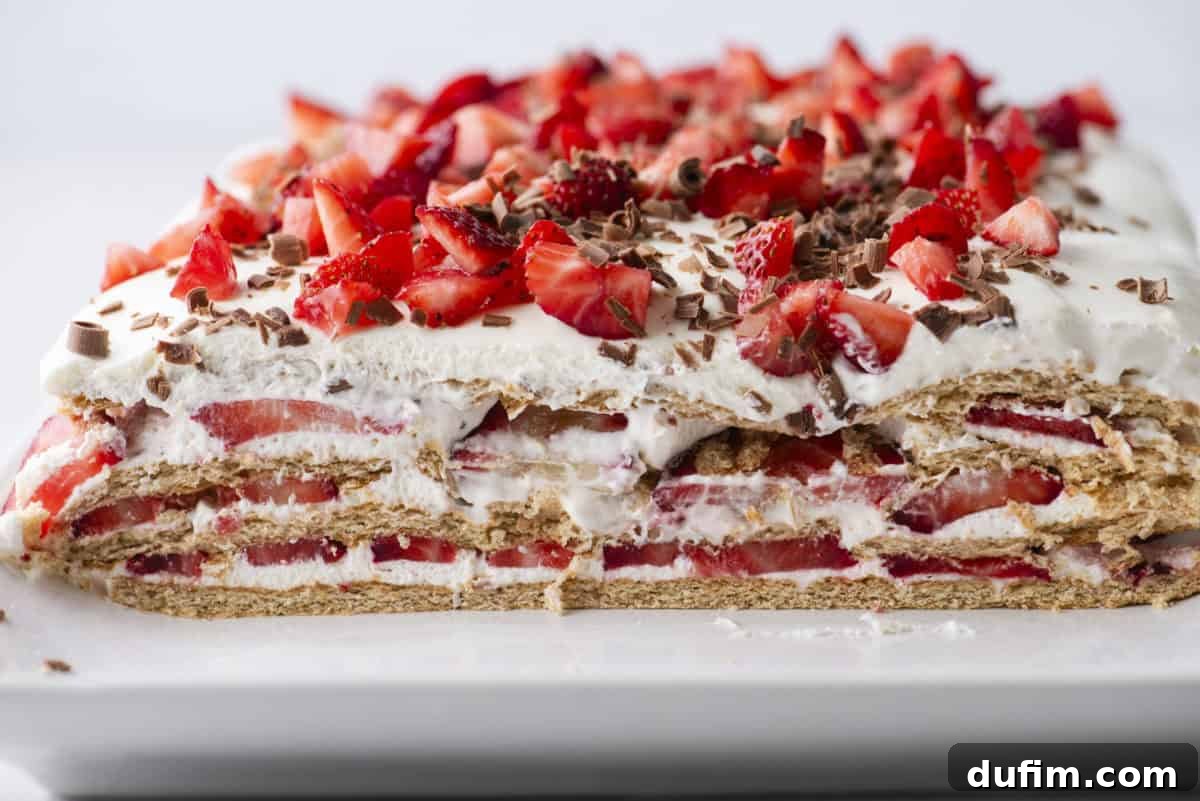
If you appreciate a quick visual overview before diving into the detailed instructions, here’s a clear, layer-by-layer breakdown of how this magnificent strawberry icebox cake comes together, building from the very bottom to the deliciously decorated top:
- A solid foundation of crisp graham crackers.
- A generous, creamy layer of our signature stabilized whipped cream.
- Plenty of vibrant, thinly sliced fresh strawberries.
- Another sturdy layer of graham crackers.
- More decadent whipped cream.
- An additional scattering of fresh strawberry slices.
- The third layer of graham crackers.
- Yet another luxurious application of whipped cream.
- A final, colorful layer of sliced strawberries.
- The penultimate layer of graham crackers, setting the stage.
- And finally, a sumptuous, smooth top layer of whipped cream.
That final, smooth layer of whipped cream isn’t just for taste; it creates the ideal canvas for decorating your cake. Just before serving, adorn it with extra fresh strawberries, chocolate shavings, or a sprinkle of graham cracker crumbs to make it truly spectacular!
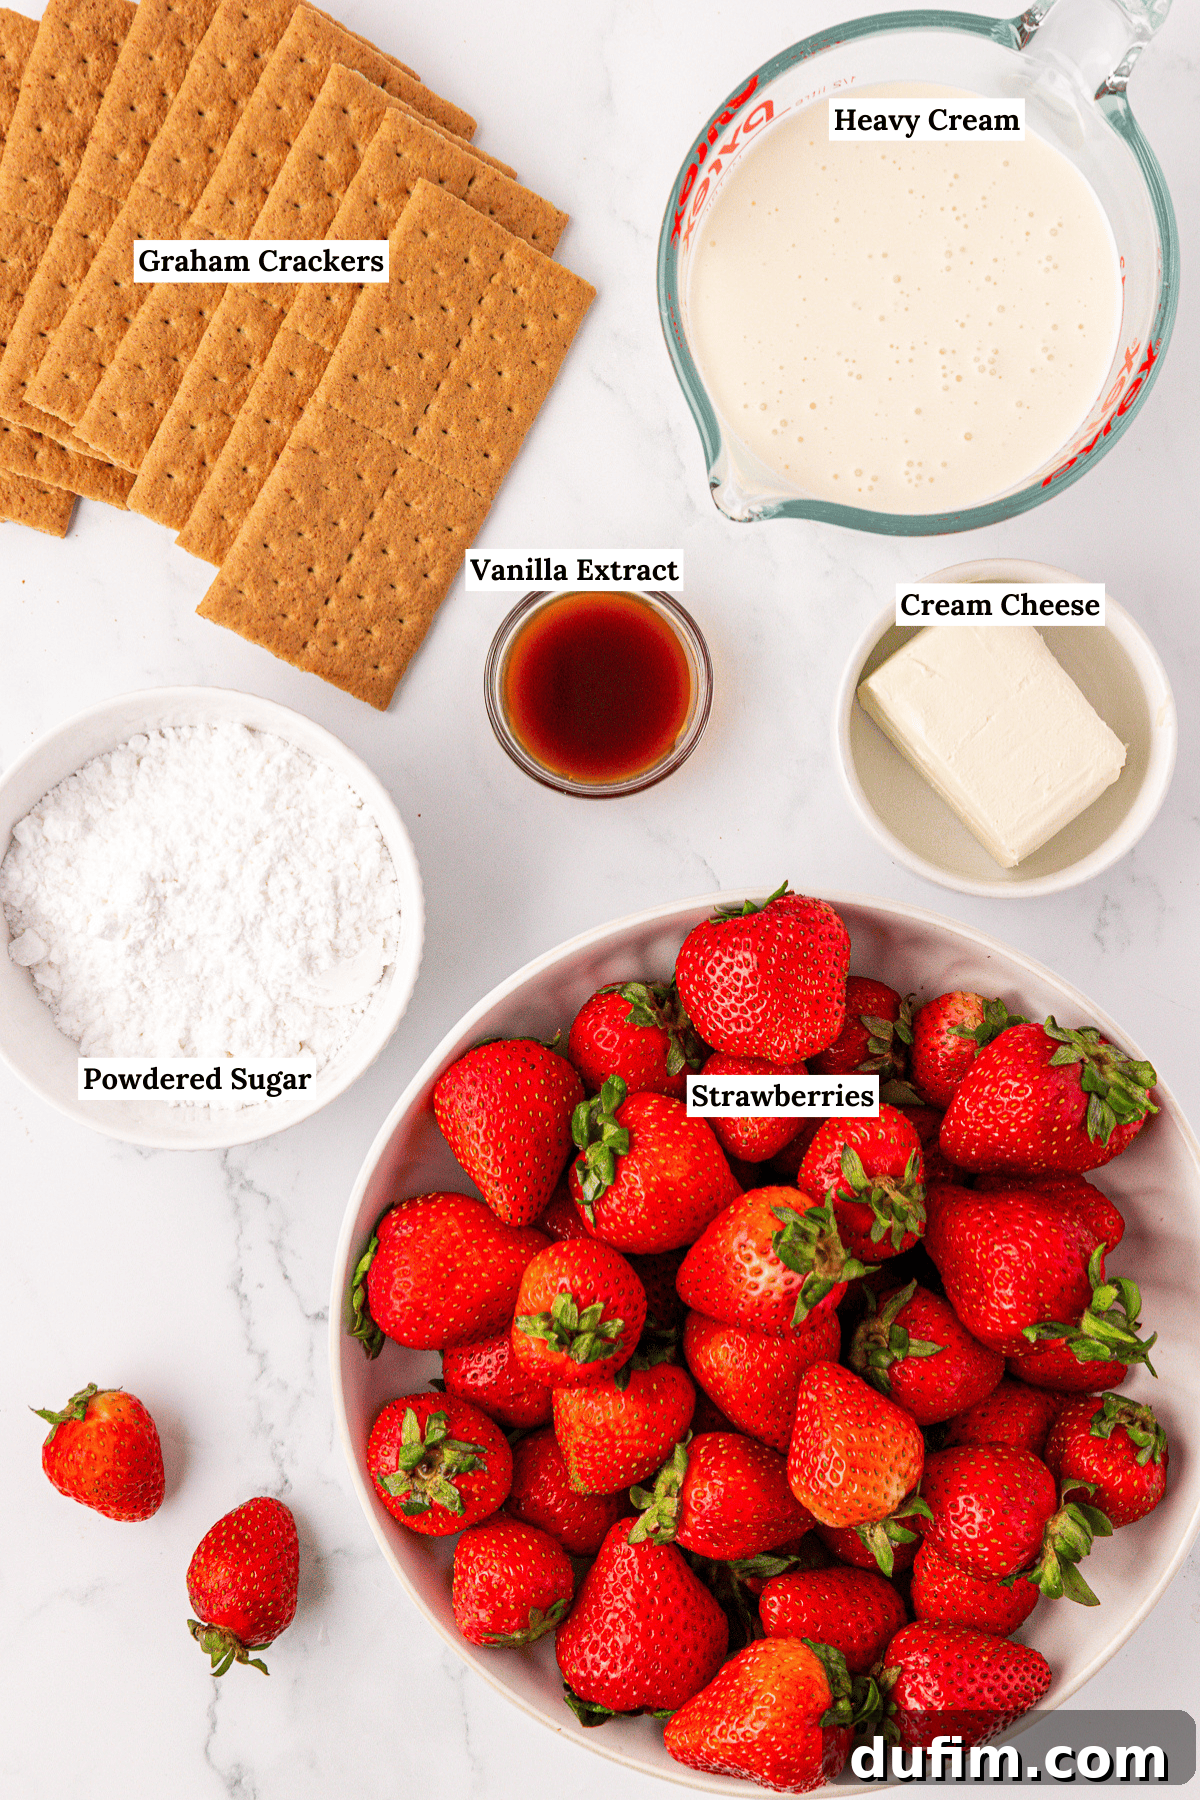
How to Make No-Bake Strawberry Icebox Cake: A Simple Guide
You absolutely cannot go wrong with this no-bake strawberry icebox cake recipe. It’s an effortless crowd-pleaser, making it perfect for summer celebrations, picnics, or simply a delightful weekend treat. Follow these straightforward steps to create your own:
Preparing the Signature Stabilized Whipped Cream
- Chill Your Equipment: For best results, place a metal or glass mixing bowl and your electric mixer beaters in the freezer for at least 15 minutes. This helps the cream whip up faster and achieve maximum volume and stability.
- Combine Cream Cheese and Powdered Sugar: Remove the chilled bowl from the freezer. Add the softened cream cheese and powdered sugar to the bowl. Beat with an electric mixer on medium-high speed for about 1 minute, or until the mixture is completely smooth, light, and creamy with no lumps. Scrape down the sides of the bowl as needed to ensure everything is well combined.
- Mix in Remaining Ingredients to Stiff Peaks: Pour in the cold heavy whipping cream and vanilla extract. Increase the mixer speed to high and beat for 5-7 minutes. Continue beating until stiff peaks form—this means when you lift the beaters, the whipped cream stands up firmly on its own. It should be scoopable with a spoon and hold its shape perfectly. Be careful not to overmix, or it may become grainy.
Assembling Your Dreamy Icebox Cake
- Prepare Your Strawberries: Wash and hull your fresh strawberries, then cut them into uniformly thin slices. Set them aside; they’ll be ready for layering.
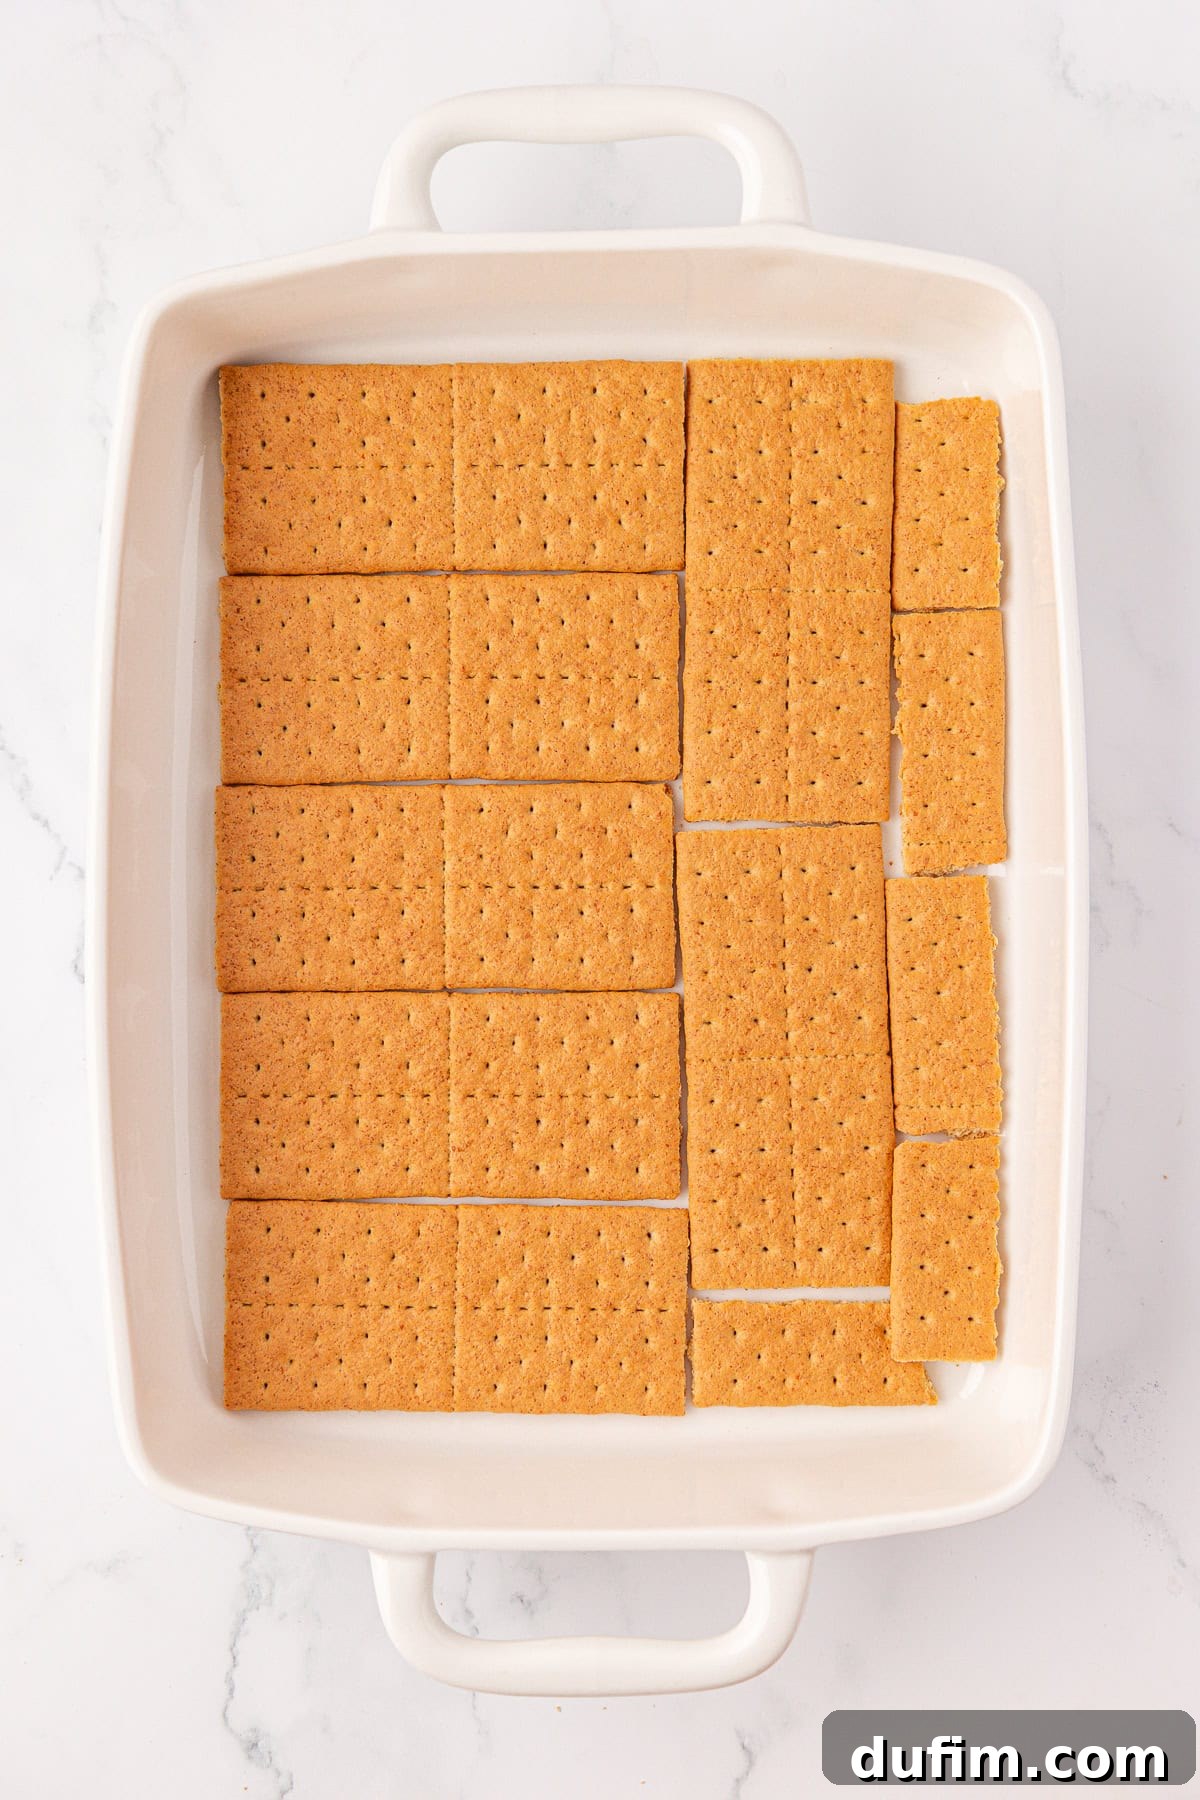
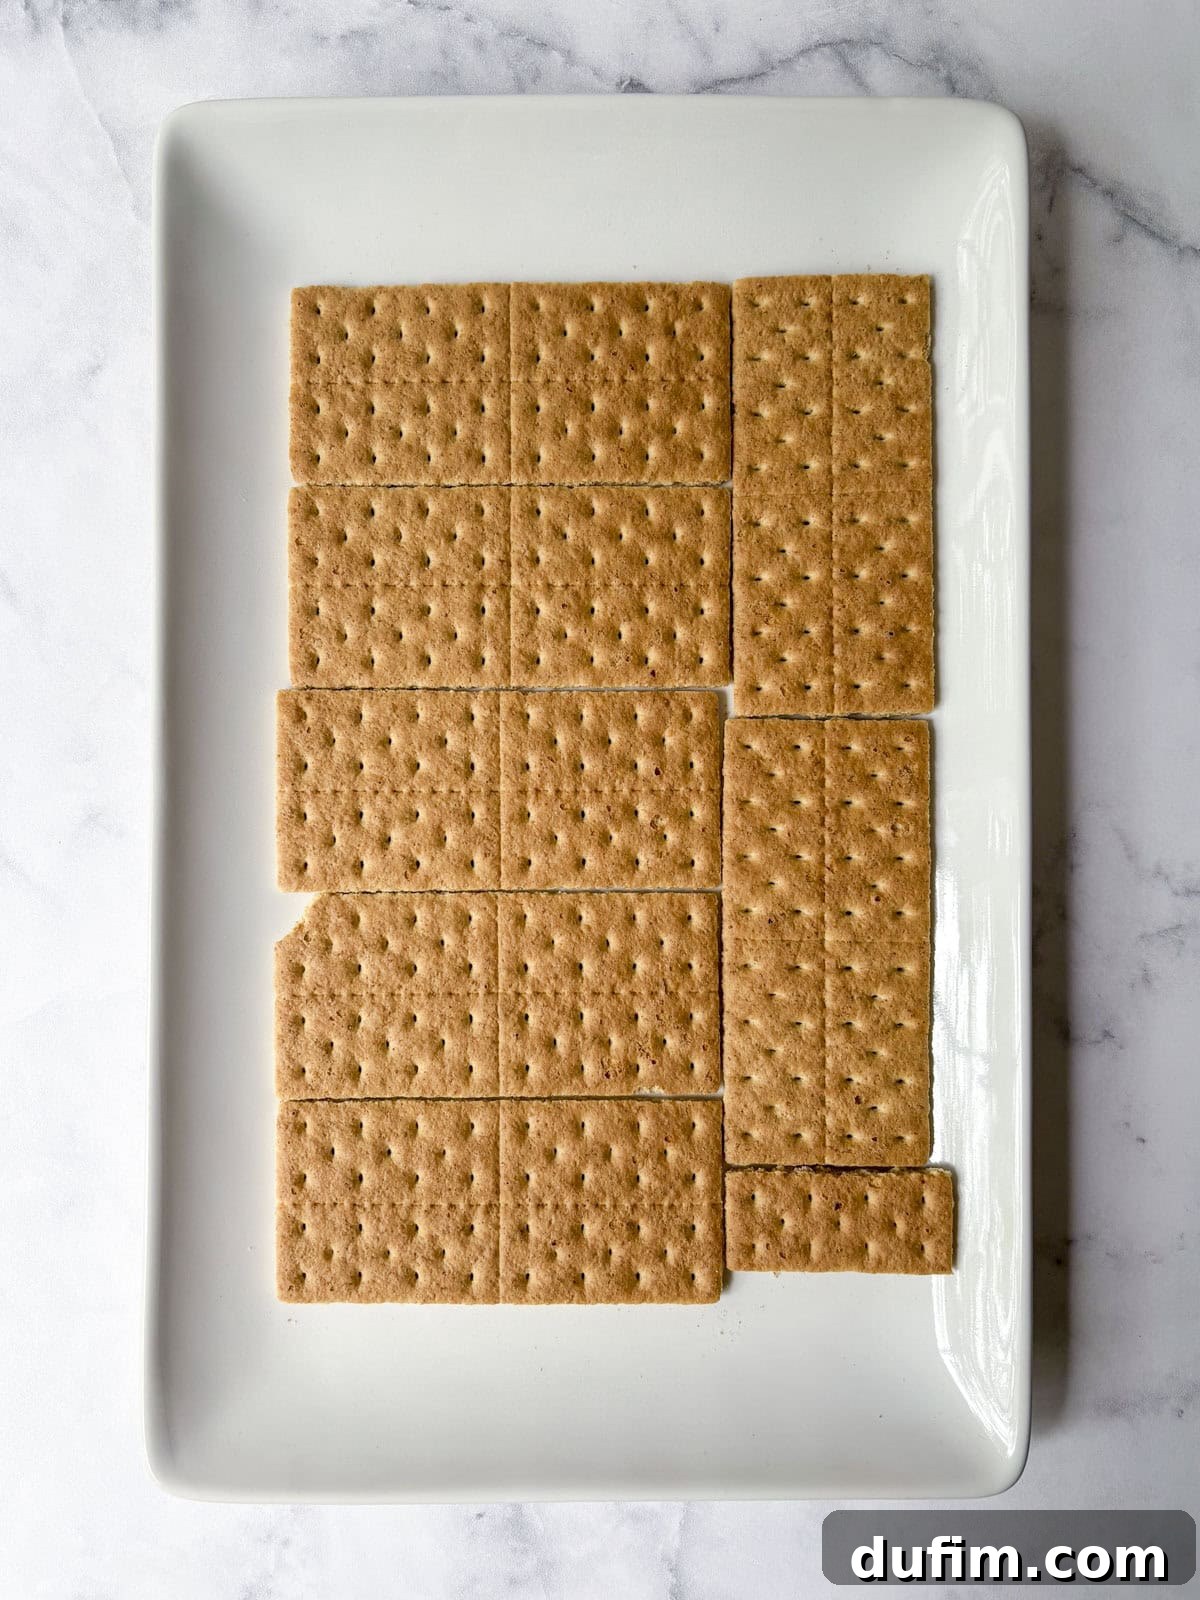
- Create the First Graham Cracker Layer: In a 9×13-inch baking pan or on a large, flat serving platter, arrange a single, even layer of graham crackers to completely cover the bottom. Don’t be afraid to break the graham crackers into smaller pieces as needed to fill in any bare spots and create a seamless base.
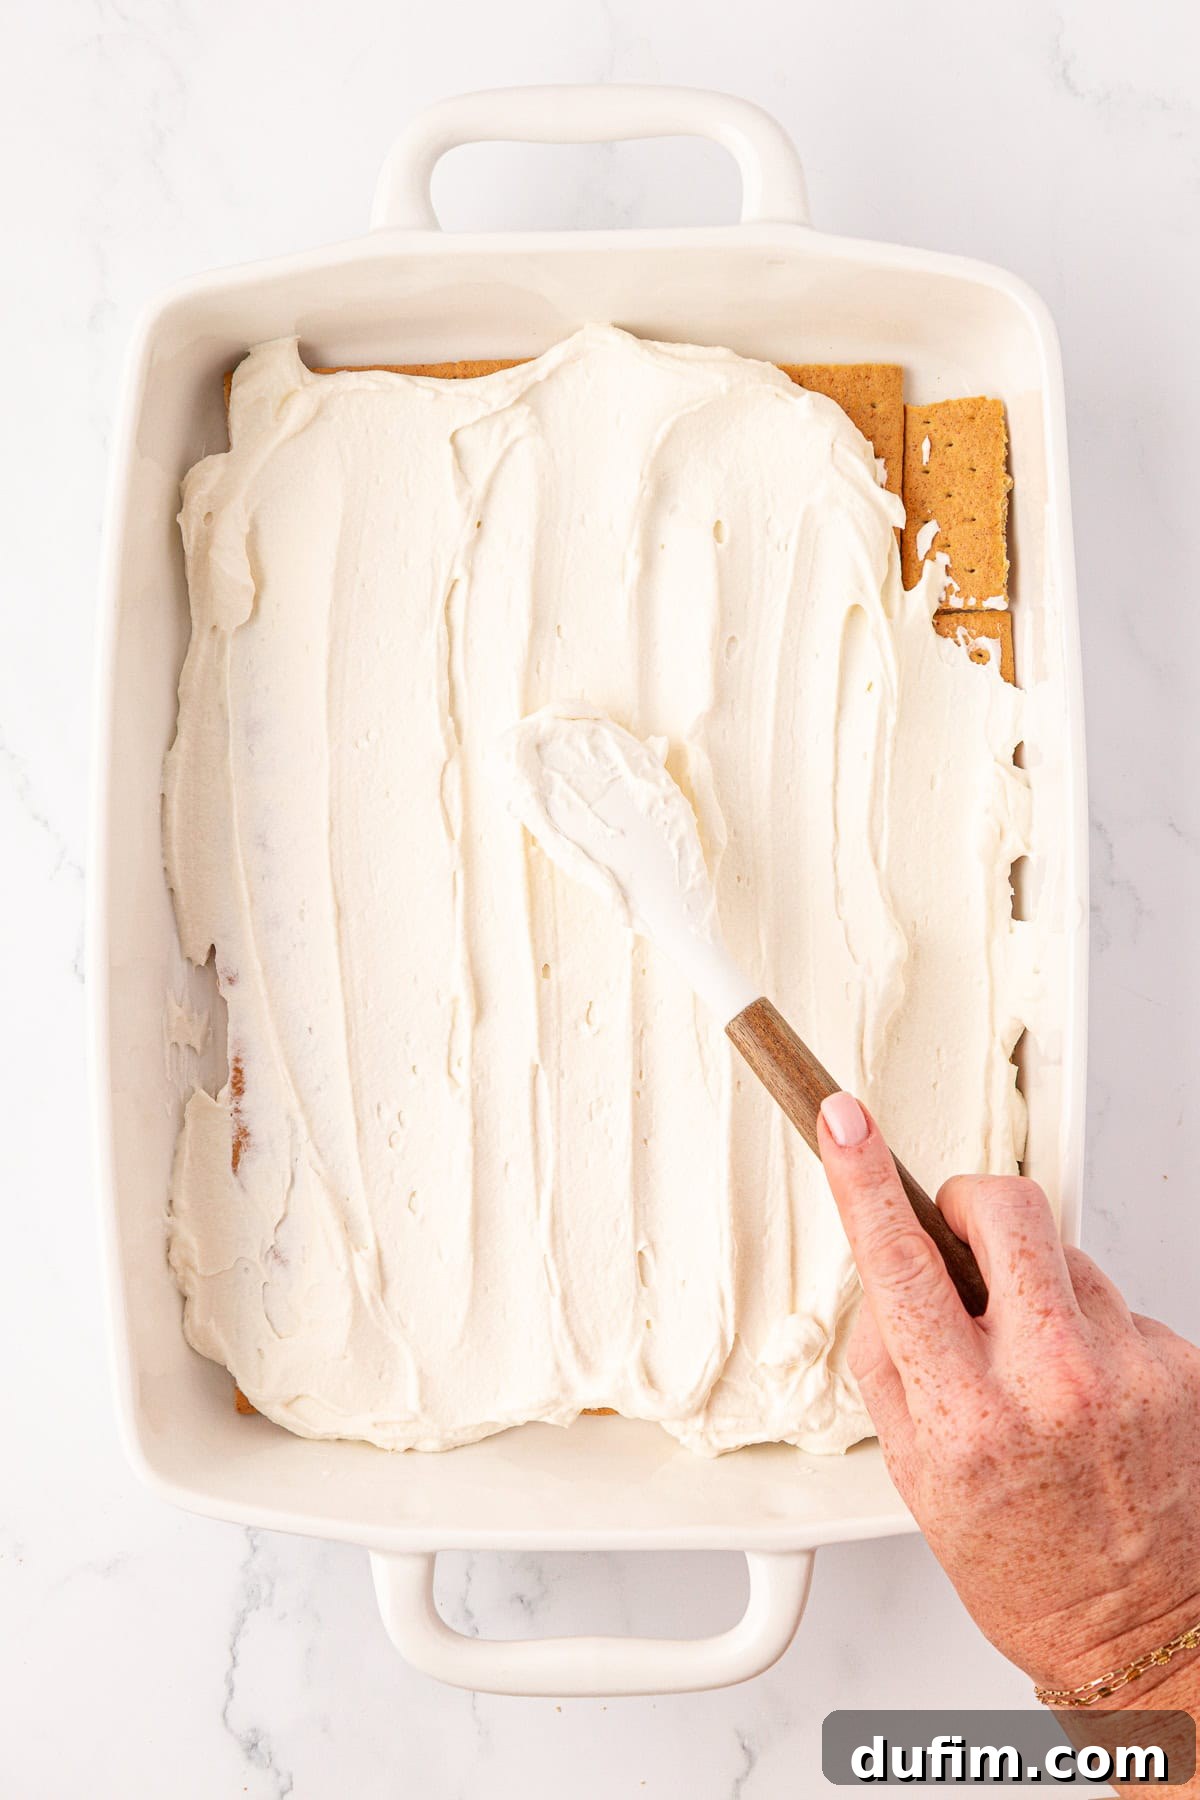
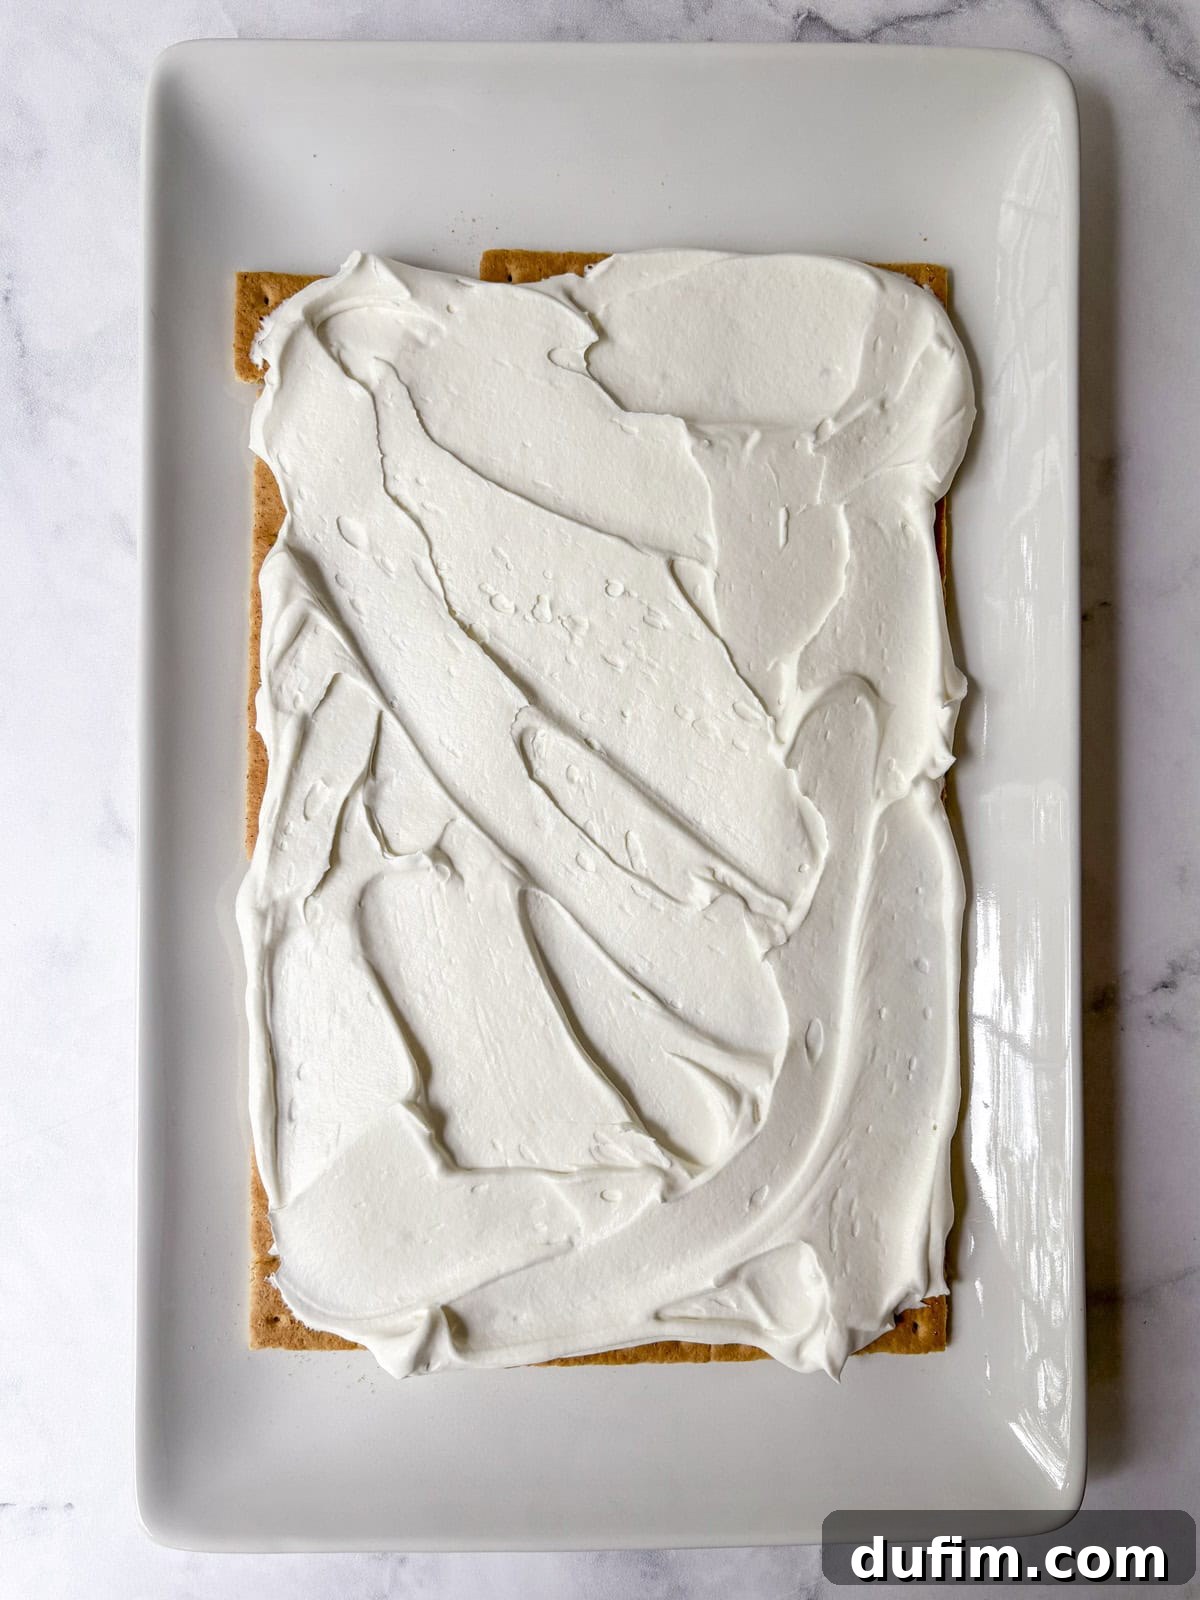
- Add the First Whipped Cream Layer: Gently spread approximately one-quarter of your prepared stabilized whipped cream evenly over the layer of graham crackers. Use an offset spatula for a smooth finish.
- Layer with Strawberries: Arrange a single, neat layer of your thinly sliced strawberries over the whipped cream. Ensure they cover the surface for even distribution of flavor in every bite.
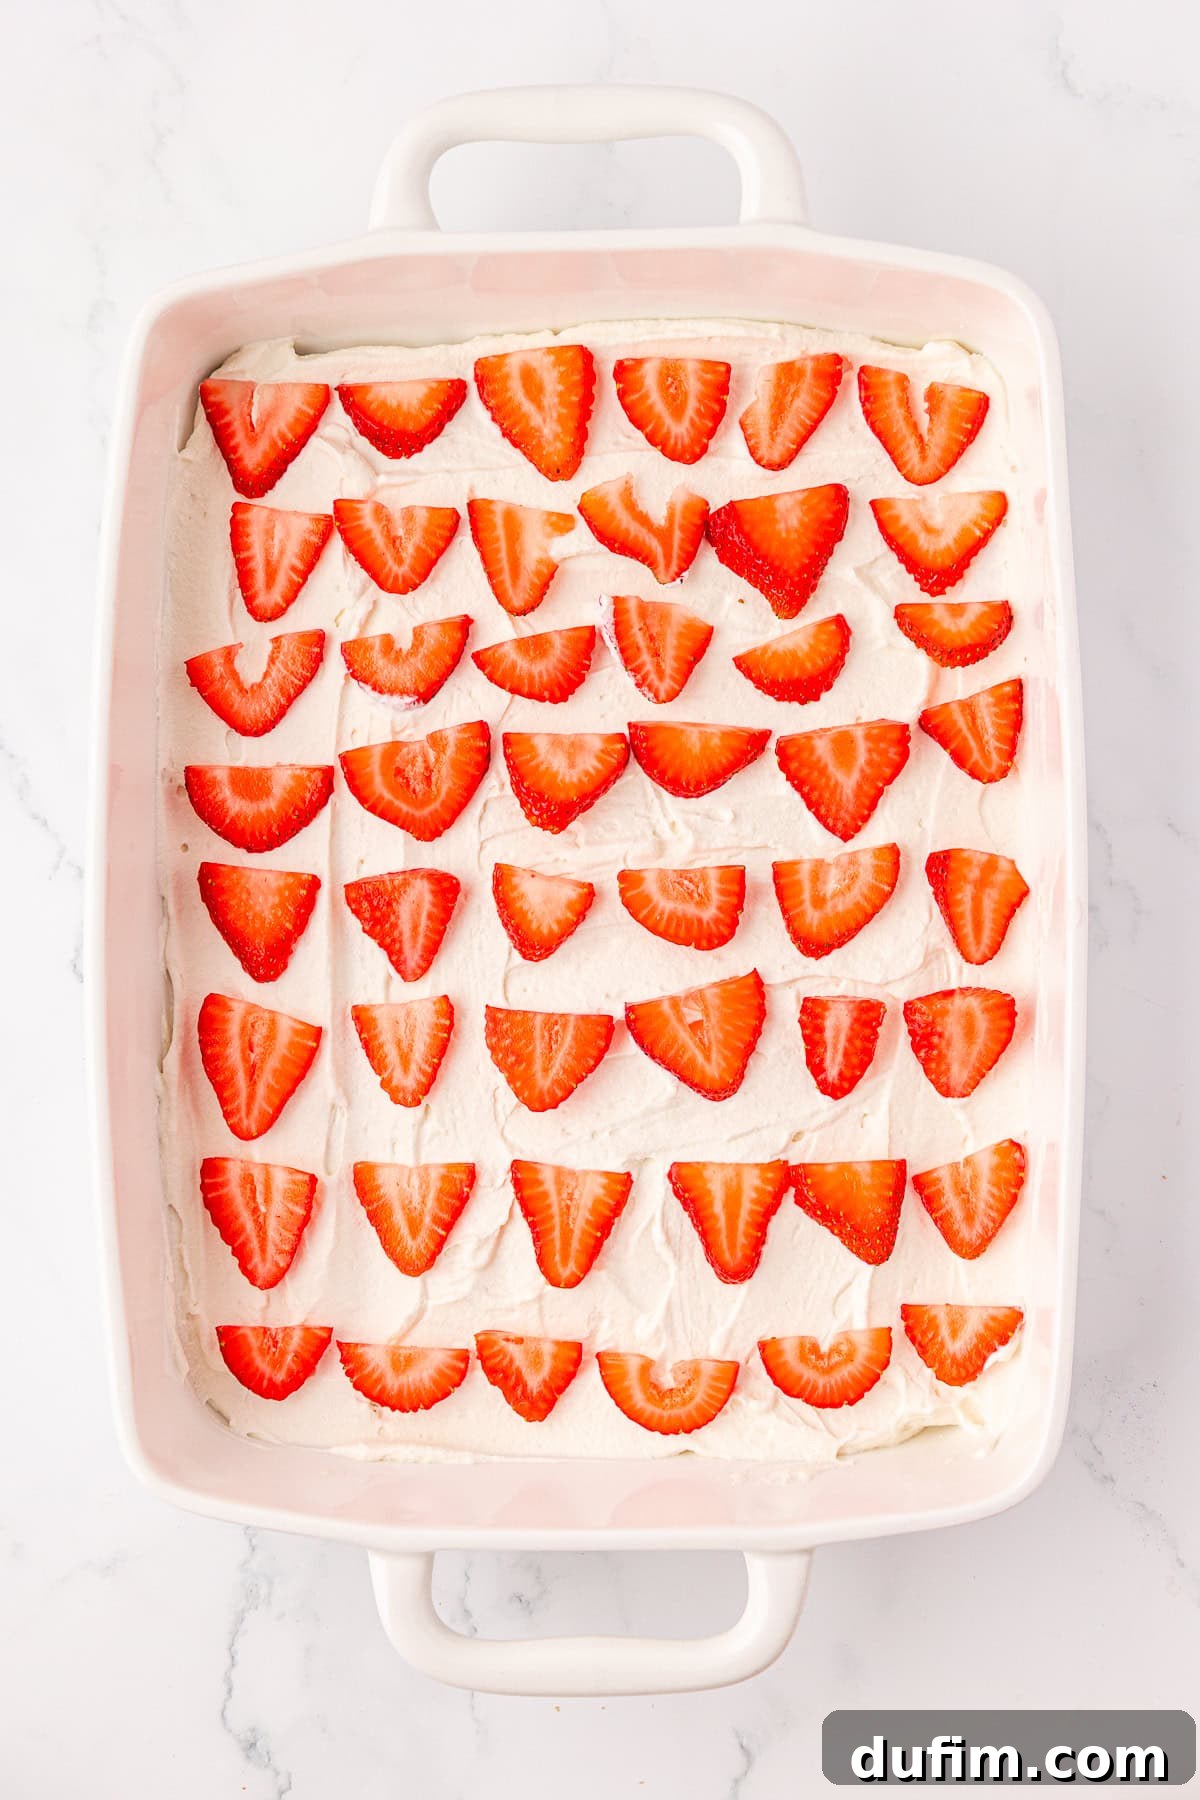
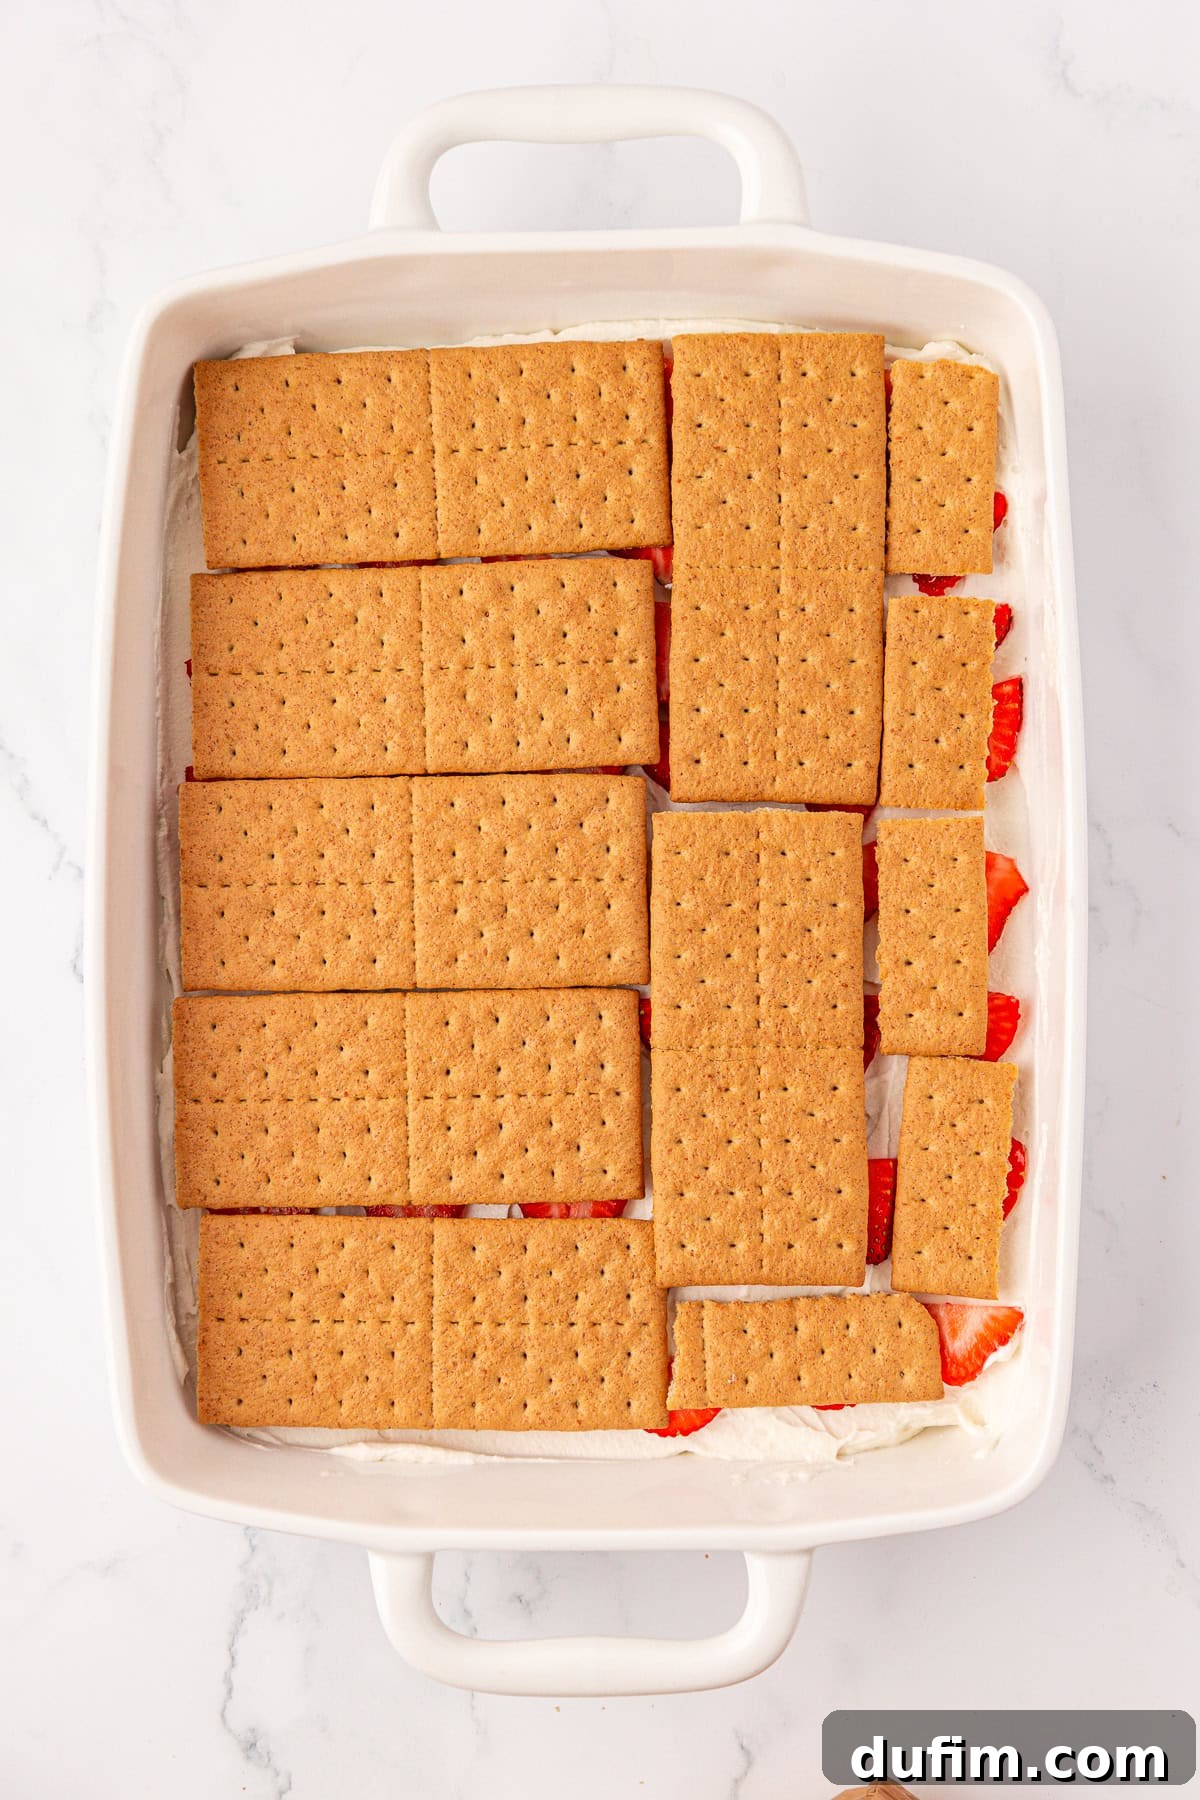
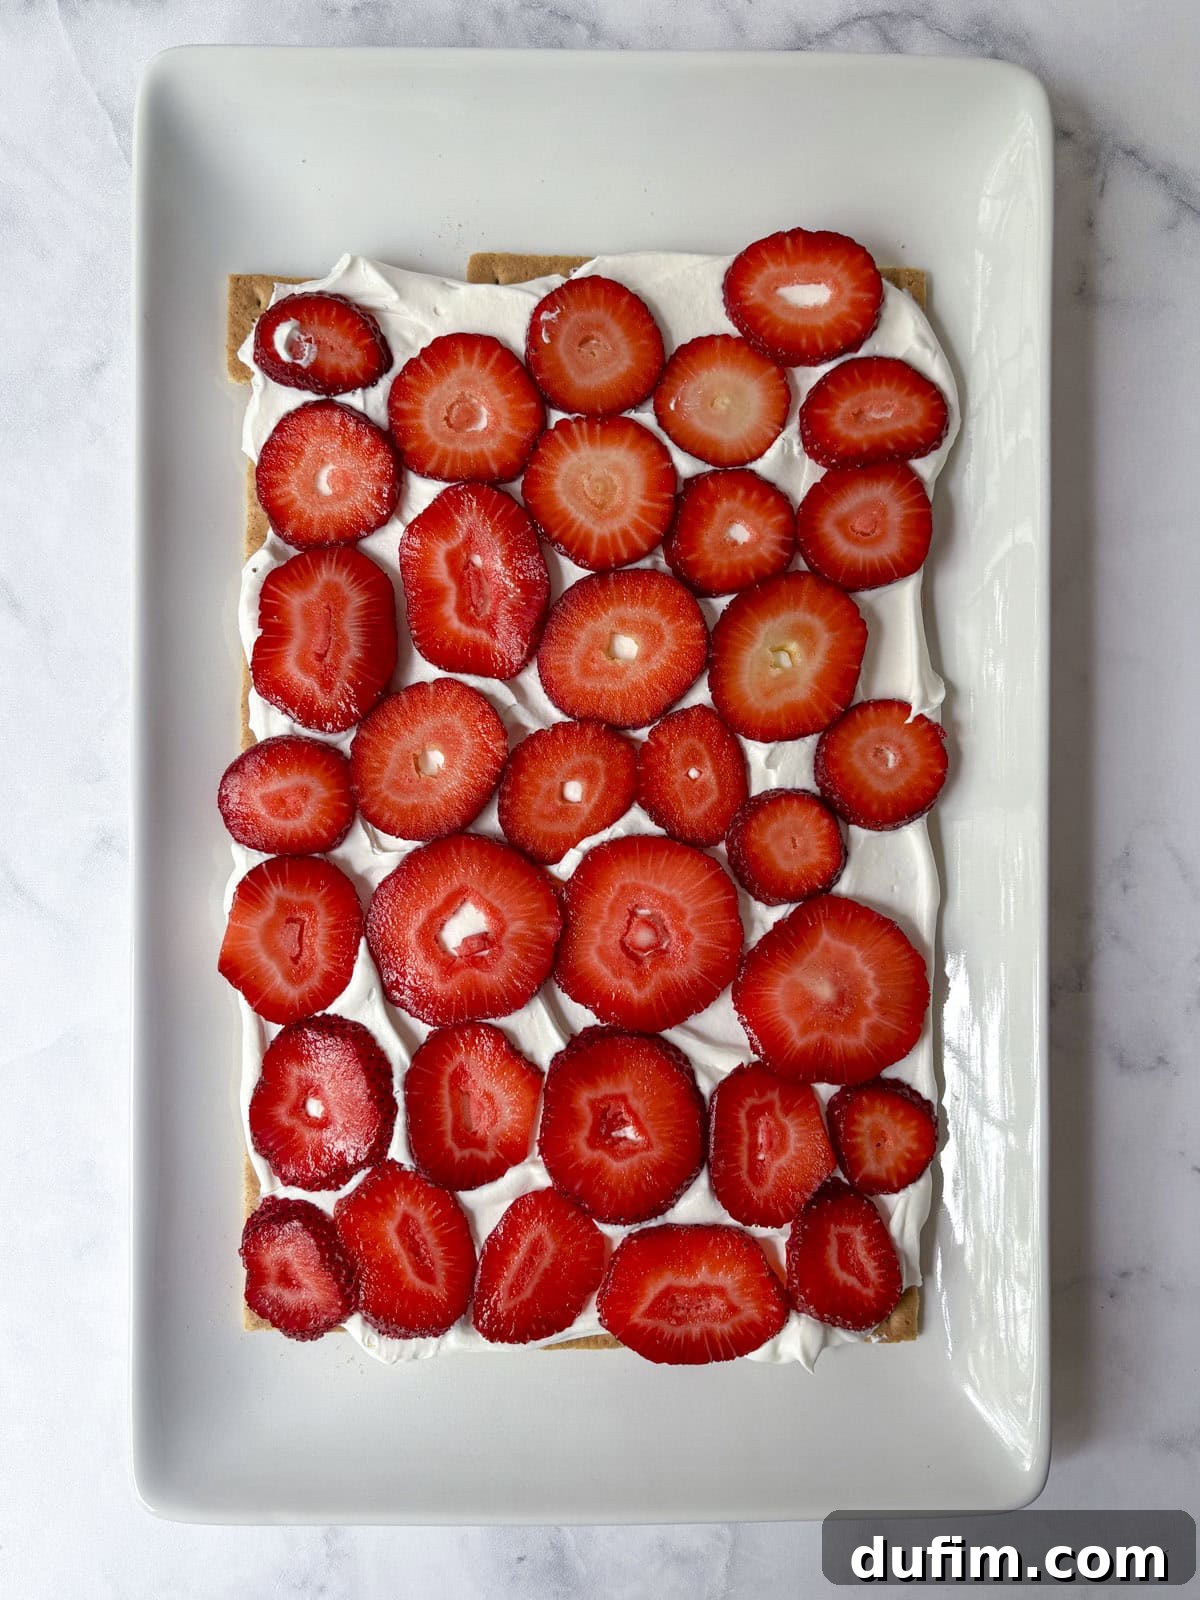
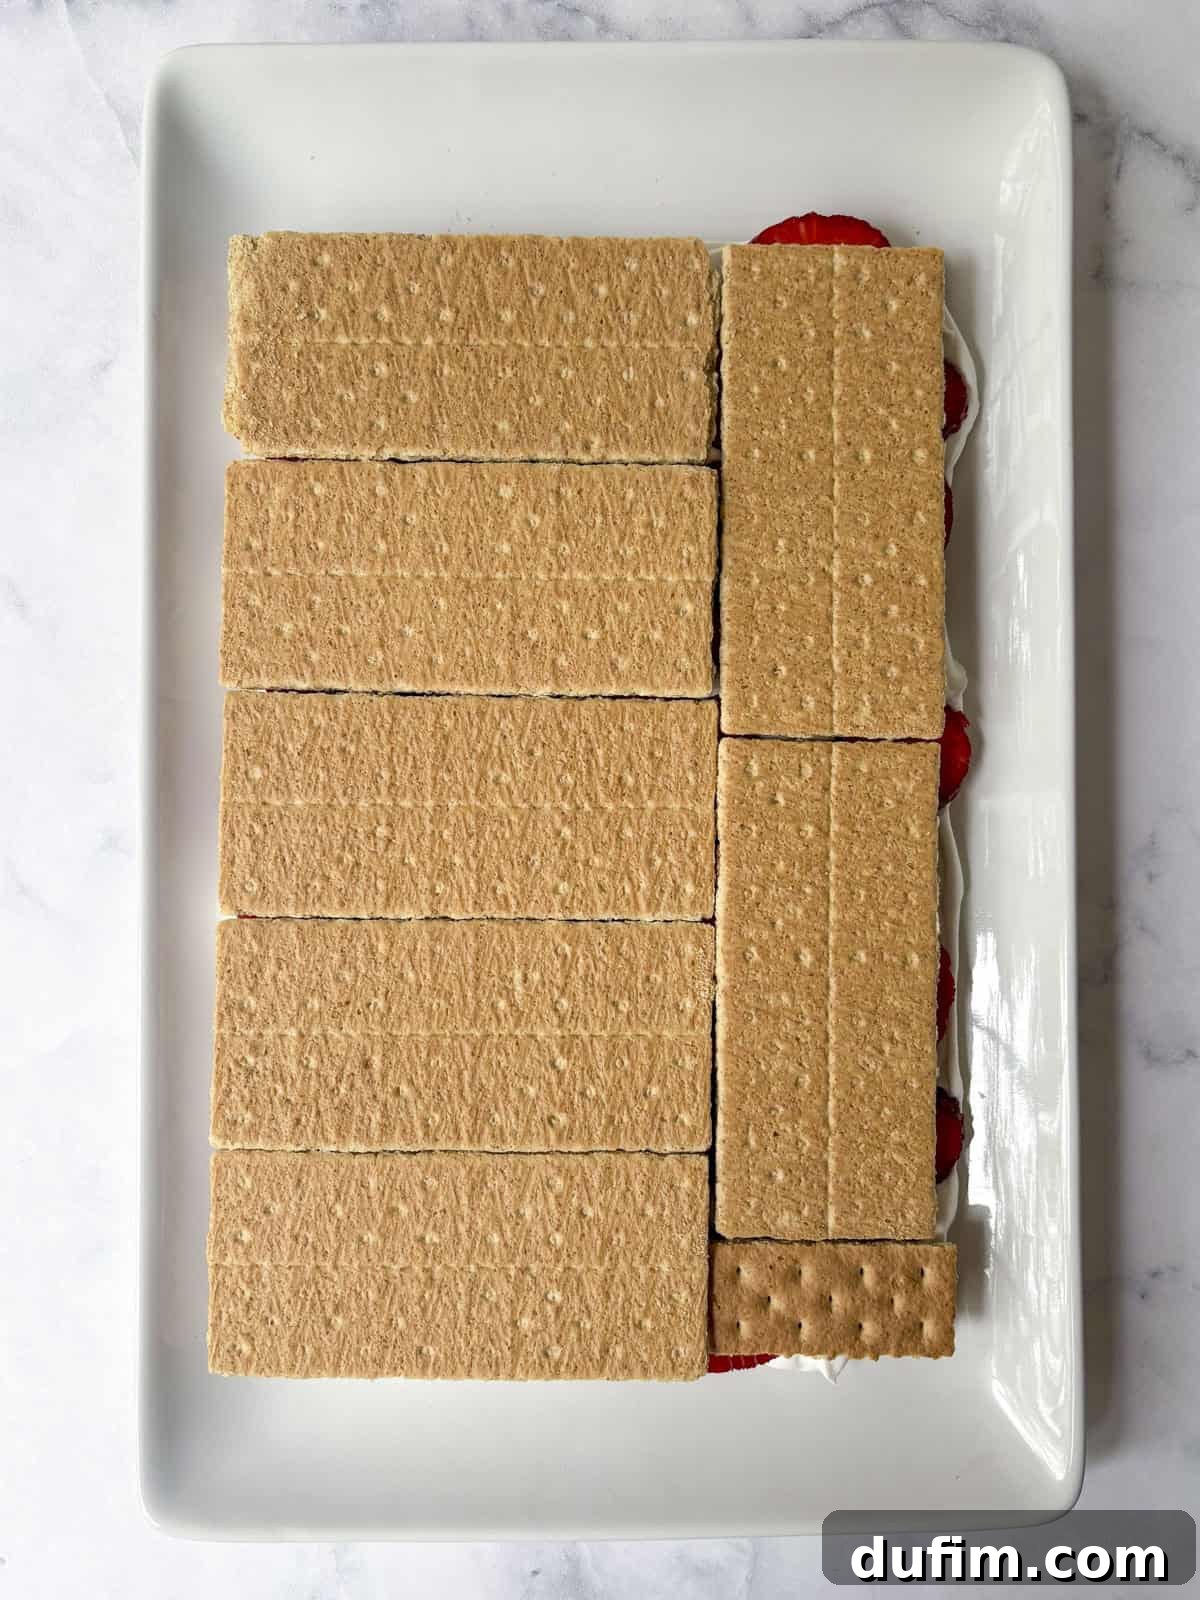
- Repeat the Layers: Continue building your cake by repeating the sequence: another layer of graham crackers, followed by one-quarter of the whipped cream, and then more sliced strawberries. Do this sequence once more, effectively creating three full layers of graham crackers, whipped cream, and strawberries.
- Add Final Topping Layers: Place a final layer of graham crackers over the last strawberry layer. Then, carefully spread the remaining whipped cream evenly over the top of the cake, creating a smooth and inviting finish.
- Chill for Transformation: If you used a 9×13-inch pan, cover it securely with aluminum foil or plastic wrap to prevent any odors from the refrigerator from affecting the cake and to maintain moisture. If you assembled the cake on an open serving tray, do not cover it—this allows for a slightly firmer set. Refrigerate for a minimum of 4 hours, or ideally, overnight. This crucial chill time allows the graham crackers to absorb moisture from the whipped cream and strawberries, softening beautifully into a tender, cake-like texture.
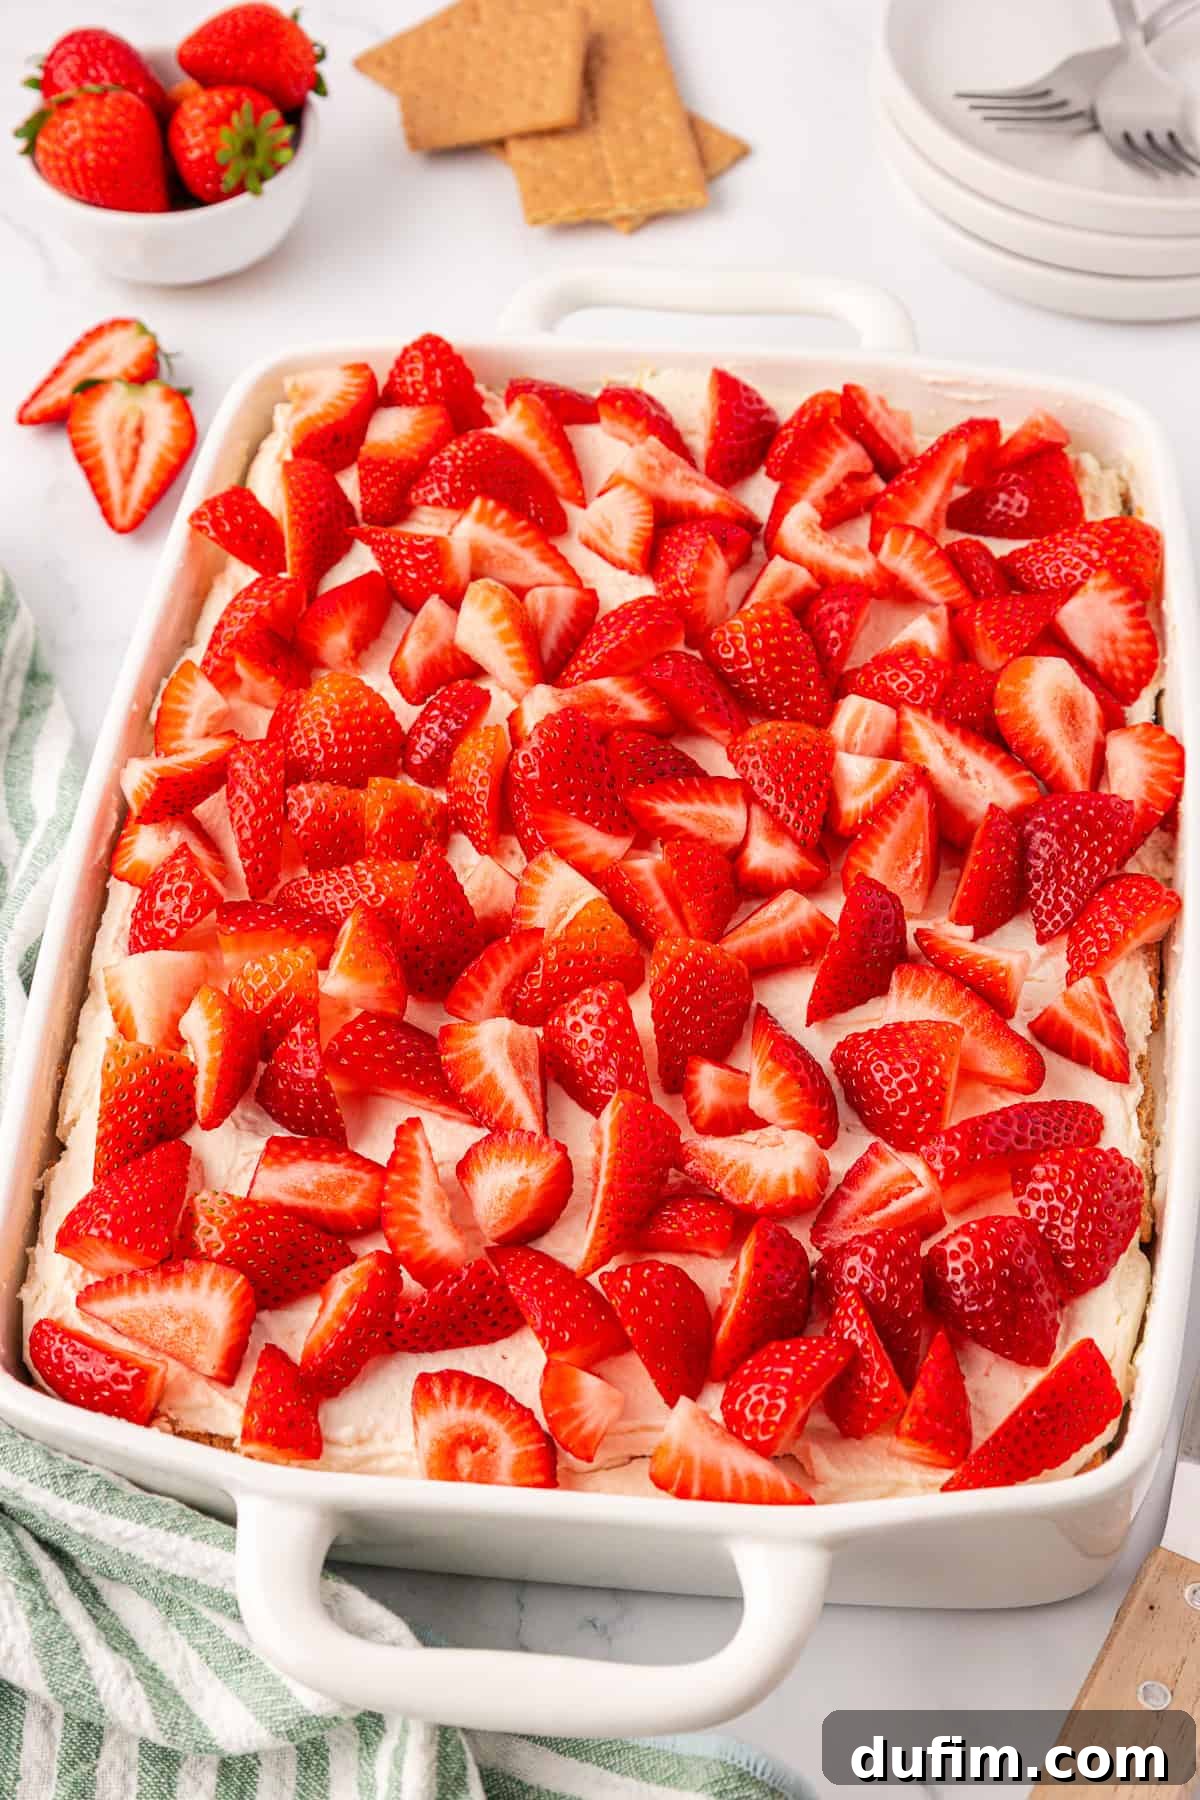
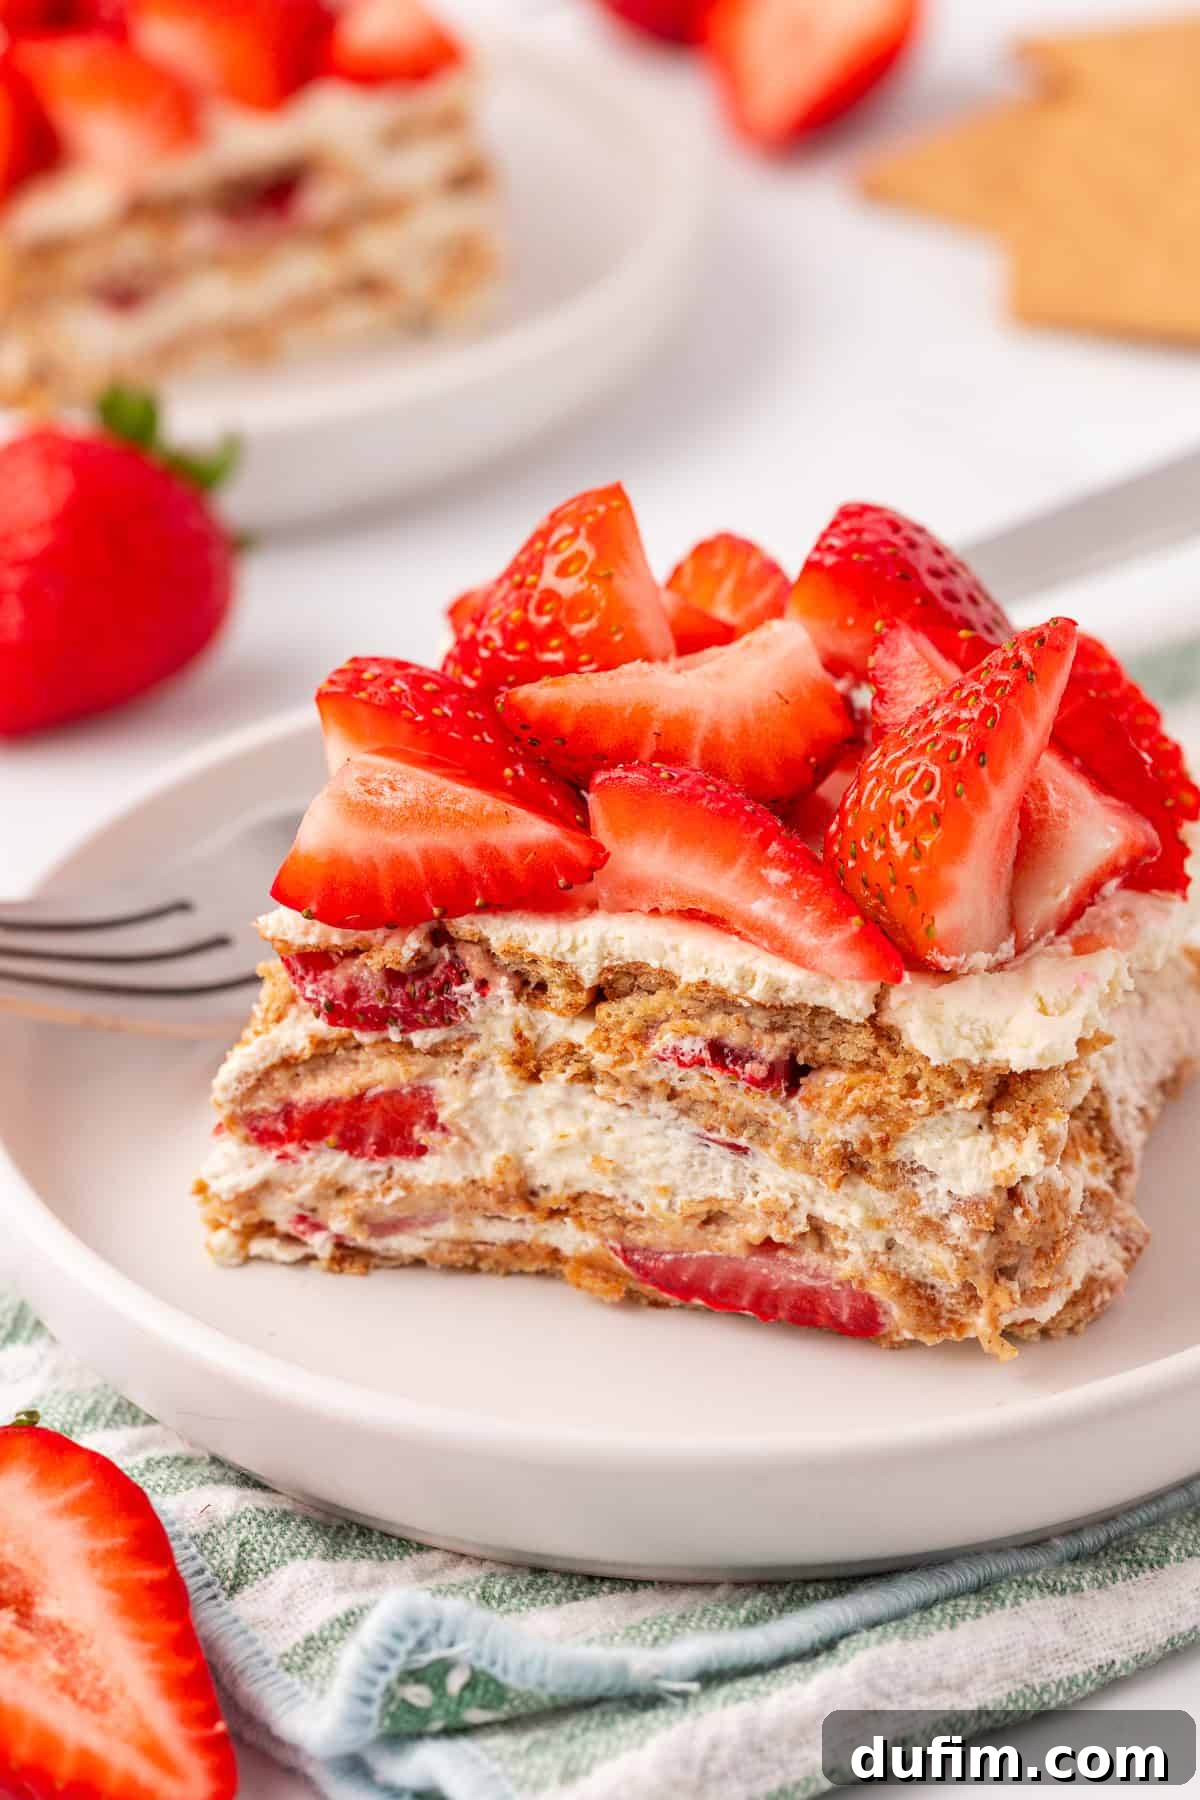
- Garnish, Slice, and Enjoy: Just before you’re ready to serve your magnificent creation, enhance its beauty and flavor by topping it with extra fresh sliced strawberries, a sprinkle of chocolate shavings, or a dusting of powdered sugar if desired. Slice into generous portions and savor this delightful, perfectly chilled no-bake treat!
Creative Twists & Delicious Variations for Your Icebox Cake
While this classic strawberry icebox cake is perfect as is, it’s also incredibly versatile! Looking to add your own personal touch or experiment with different flavors? Here are some fantastic ideas to inspire you:
- Explore Different Crackers or Cookies: The graham cracker base is wonderful, but don’t limit yourself! You could easily swap them for chocolate graham crackers for a richer flavor, delicate vanilla wafers for a lighter texture, or even Biscoff cookies for a spiced, caramel note. Chocolate chip cookies, shortbread, or even thin gingersnaps could also offer exciting variations.
- Consider Whipped Cream Alternatives: While our homemade stabilized whipped cream truly makes this recipe shine, if you’re in a pinch or prefer a different taste profile, you could opt for a store-bought whipped topping like Cool Whip. Be aware, however, that using a pre-made alternative will significantly alter the flavor and texture, as the cream cheese whipped cream is central to the unique richness and stability of this particular recipe. You might also experiment with infusing the homemade whipped cream with a different extract, like almond or lemon, for an extra layer of flavor.
- Get Creative with the Garnish: The final presentation is your chance to really make this cake your own! Beyond extra fresh strawberries, the possibilities are endless. Consider adding mini chocolate chips or delicate chocolate curls for a touch of elegance. A sprinkle of fresh lemon zest can provide a bright, zesty contrast, while crumbled cookie or graham cracker pieces add textural interest and a hint of crunch. Toasted coconut flakes, a drizzle of chocolate sauce, or a few fresh mint leaves can also elevate your dessert.
- Introduce Other Fruits: While strawberries are the star, you could easily incorporate other berries like raspberries or blueberries, or even thinly sliced bananas or peaches for a delightful mixed-fruit experience. Just ensure any added fruits are ripe and thinly sliced for optimal layering.
Storing Your Strawberry Icebox Cake for Lasting Freshness
Proper storage is key to enjoying your delicious strawberry icebox cake for as long as possible. To keep it fresh and flavorful, ensure it is well covered. If it’s in a baking pan, use aluminum foil or plastic wrap, making sure it’s airtight. Alternatively, transfer any remaining cake to an airtight container before placing it in the refrigerator. This cake is best enjoyed within 3 to 4 days, though you may find that the graham cracker layers continue to soften and meld with the cream and fruit over time, creating an even more tender consistency.
Did you know this cake also freezes wonderfully? It’s a fantastic option for making ahead or saving leftovers. To freeze, wrap the entire cake (or individual slices) tightly first in plastic wrap, ensuring every surface is covered, and then follow with a layer of heavy-duty aluminum foil. For extra protection against freezer burn, you can also transfer the wrapped cake to a freezer-safe container. It can be stored in the freezer for up to 3 months without compromising flavor or texture. When you’re ready to indulge, simply let the frozen cake thaw in the refrigerator for a few hours, or ideally, overnight, until it’s perfectly soft and chilled. It will taste just as fresh and delightful as the day you made it!
Explore More Refreshing Strawberry Summer Recipes
If you’re a fan of fresh strawberries and delightful summer treats, you’ll love these other recipes:
- Homemade Strawberry Lemonade
- Light & Fluffy Strawberry Fluff Salad
- Creamy Strawberry Kiwi Popsicles
- Sweet & Salty Strawberry Pretzel Salad
Strawberry Icebox Cake Recipe
No ratings yet.
Rate this recipe!
By: Beth
Prep Time: 10 minutes
Chill Time: 3 hours
Servings: 12 slices
This strawberry icebox cake is a tested, crowd-favorite classic. With stabilized whipped cream and fresh berries, it layers beautifully and slices like a dream.
Ingredients
- 3 oz (85g) cream cheese, softened to room temperature
- ¾ cup (86g) powdered sugar
- 3 cups (710ml) cold heavy whipping cream
- 1½ tsp vanilla extract
- 2 (14.4 oz) boxes graham crackers
- Strawberries, cut into thin slices (at least two 16oz containers, for layering and garnish)
Instructions
Whipped Cream
- Place a metal or glass mixing bowl and beaters in the freezer for 15 minutes.
- Remove the bowl from the freezer. Add the cream cheese and powdered sugar; beat with an electric mixer for 1 minute or until smooth and creamy.
- Add in the cold heavy whipping cream and vanilla extract. Beat with an electric mixer on high speed for 5-7 minutes, or until stiff peaks form and the cream holds its shape.
Assemble
- Cut the strawberries into thin slices. Set aside.
- In a 9×13-inch pan or on a large serving tray, add a single layer of graham crackers to cover the bottom. Break graham crackers if needed to cover bare spots.
- Spread ¼ of the whipped cream evenly over the graham crackers.
- Top with a layer of sliced strawberries.
- Repeat the layers: graham crackers, ¼ of the whipped cream, sliced strawberries. Do this sequence two more times to create three full layers.
- Add a final layer of graham crackers, then top with the remaining whipped cream. Smooth the top with an offset spatula.
- If using a 9×13-inch pan, cover the pan with aluminum foil or plastic wrap. If you assembled on a serving tray, you may leave it uncovered. Refrigerate for at least 4 hours, or preferably overnight, to allow the graham crackers to soften into a cake-like texture.
- Just before serving, top with extra sliced strawberries if desired. Slice and enjoy chilled.
Notes
This recipe can be made in either a 9×13-inch baking pan or beautifully arranged on a large serving platter.
Nutrition Information
Serving: 1 slice | Calories: 258kcal | Carbohydrates: 10g | Protein: 2g | Fat: 24g | Saturated Fat: 15g | Polyunsaturated Fat: 1g | Monounsaturated Fat: 6g | Cholesterol: 74mg | Sodium: 39mg | Potassium: 67mg | Sugar: 9g | Vitamin A: 970IU | Vitamin C: 0.4mg | Calcium: 46mg | Iron: 0.1mg
Nutrition Disclosure
All nutritional values are approximate and provided to the reader as a courtesy. Changing ingredients and/or quantities will alter the estimated nutritional calculations.