
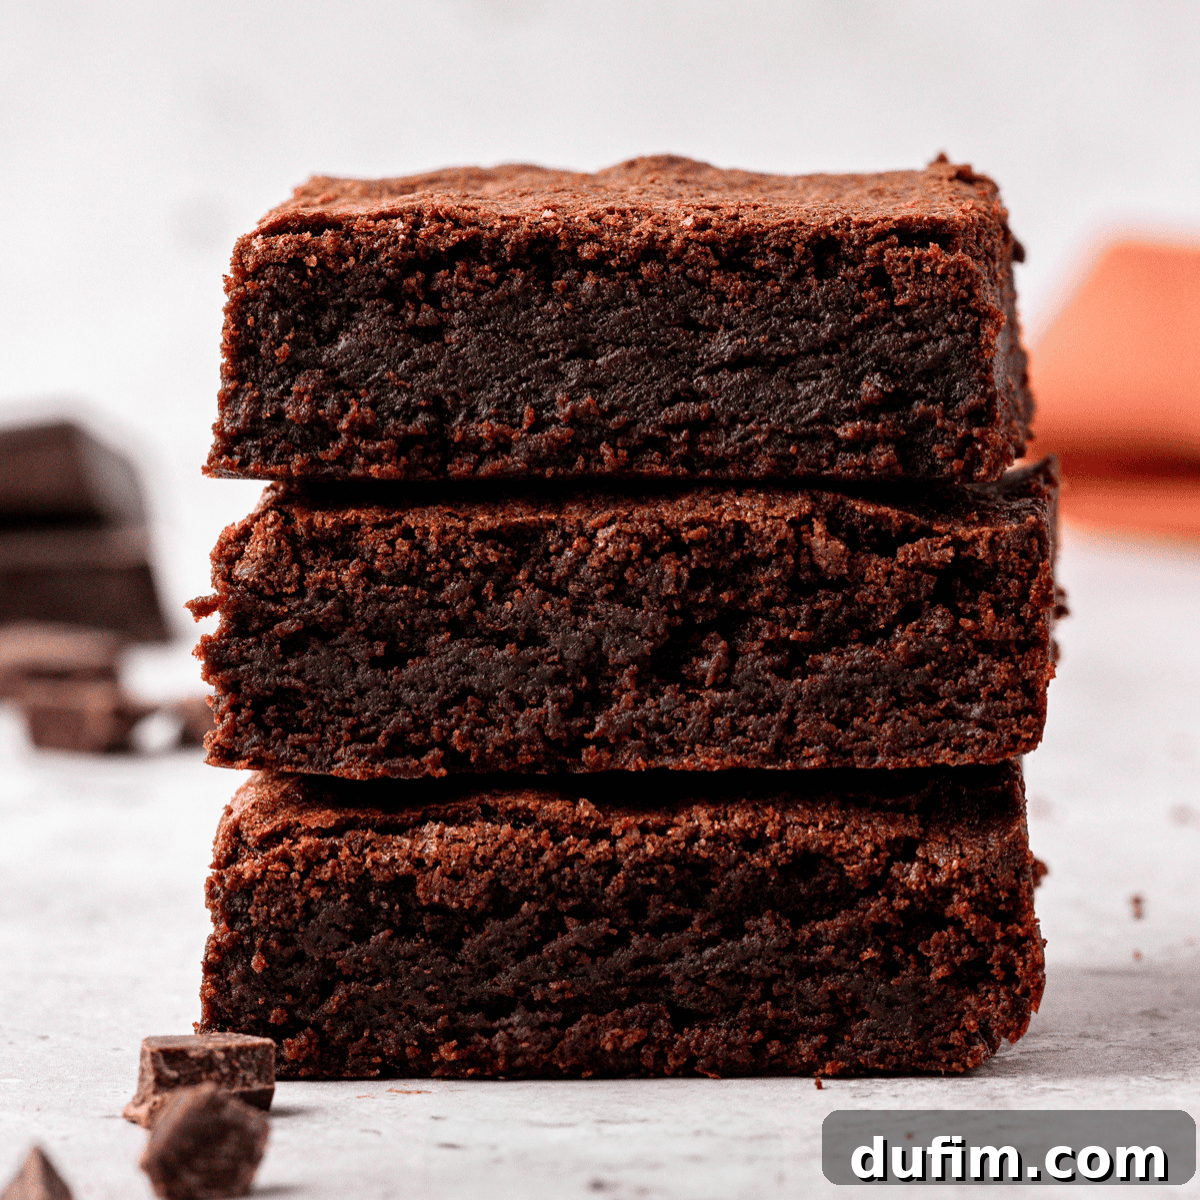
The Ultimate Classic Homemade Brownies: Fudgy, Chewy, and Perfectly Shiny
Embarking on the quest for the quintessential “classic brownie” often feels like navigating a delicious, yet complex, labyrinth. Everyone has their own definition of perfection – some crave a molten, ultra-fudgy square, while others prefer a cakier bite. My own brownie journey began with a recipe overflowing with melted chocolate, yielding an intensely fudgy result. While undeniably delicious, I discovered my true preference through dedicated experimentation. After five delightful, messy, and insightful test batches, I found the sweet spot: reducing the melted chocolate slightly and increasing the unsweetened cocoa powder. This adjustment created the perfect harmony of textures – still wonderfully fudgy, but now with that satisfying, slightly chewy bite that I adore.
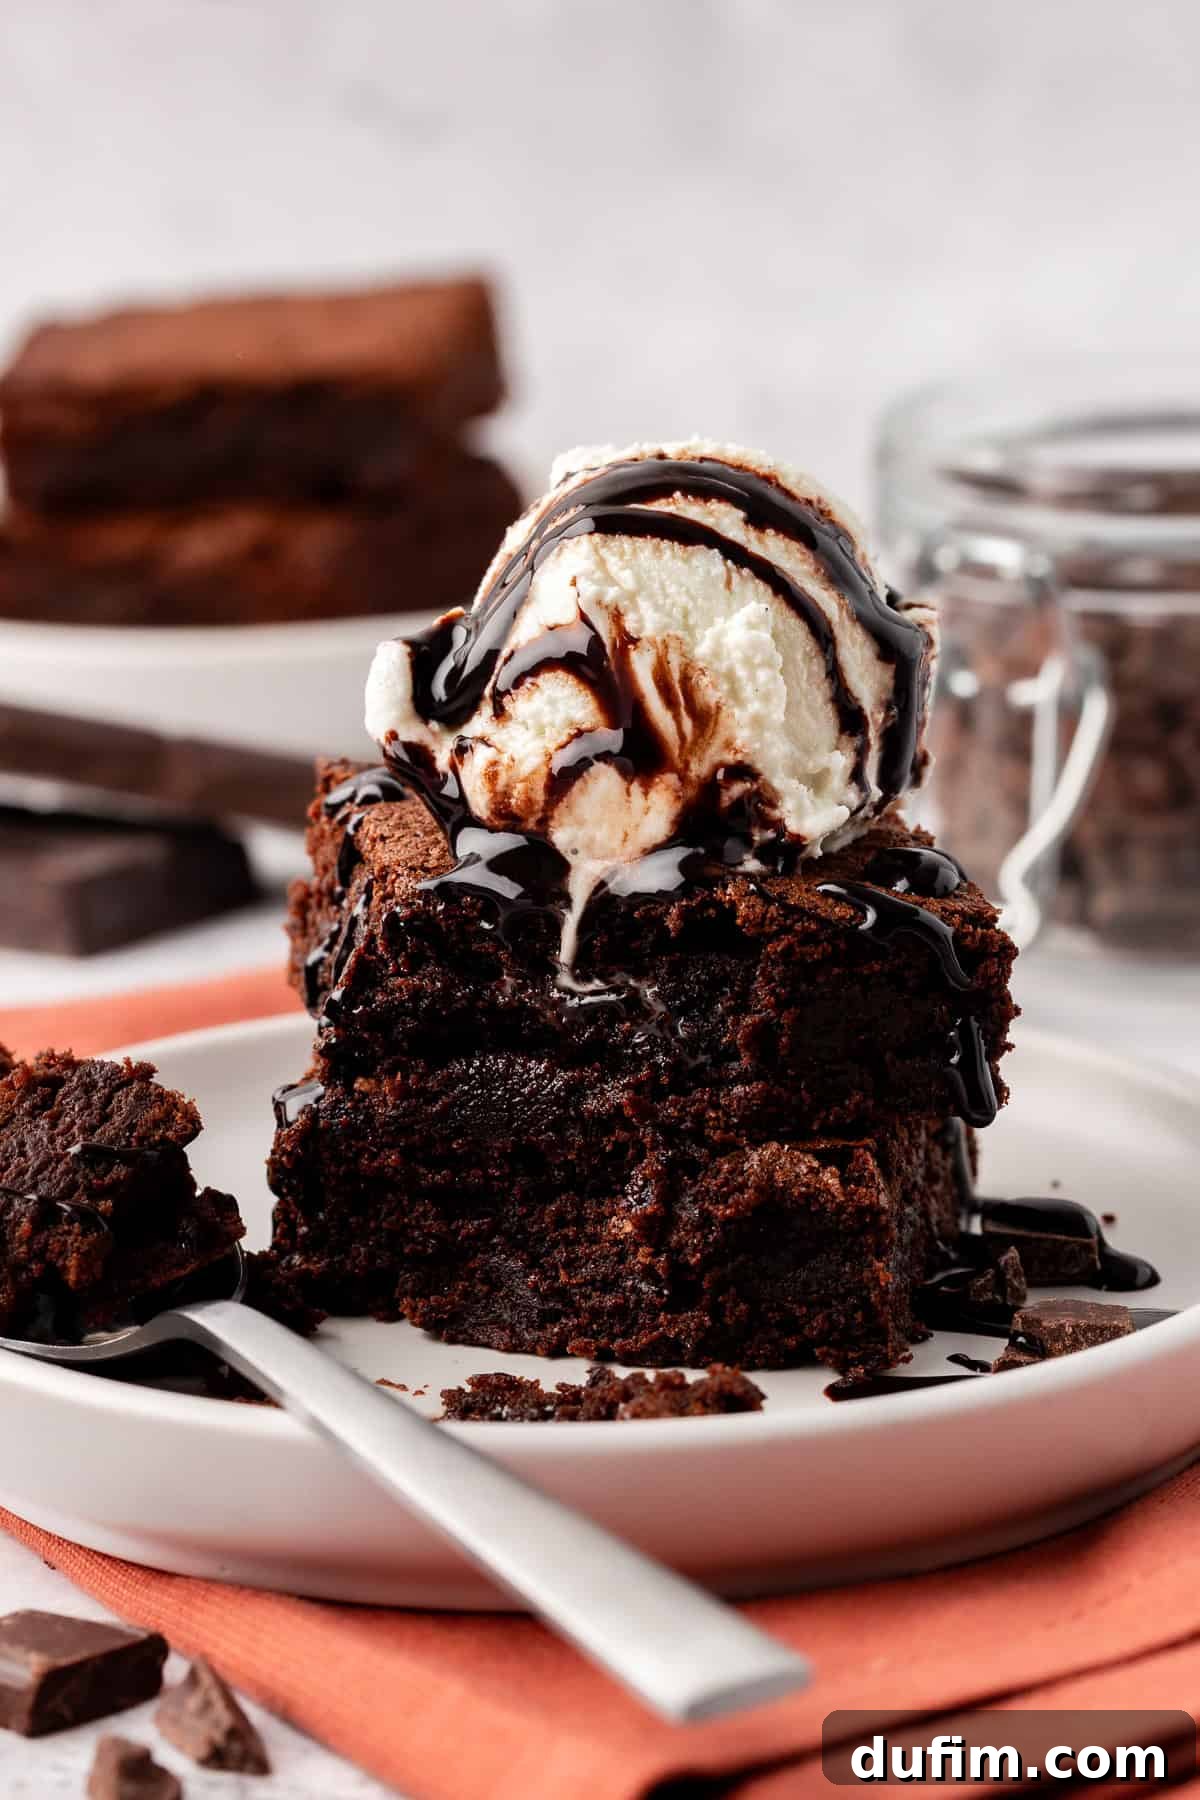
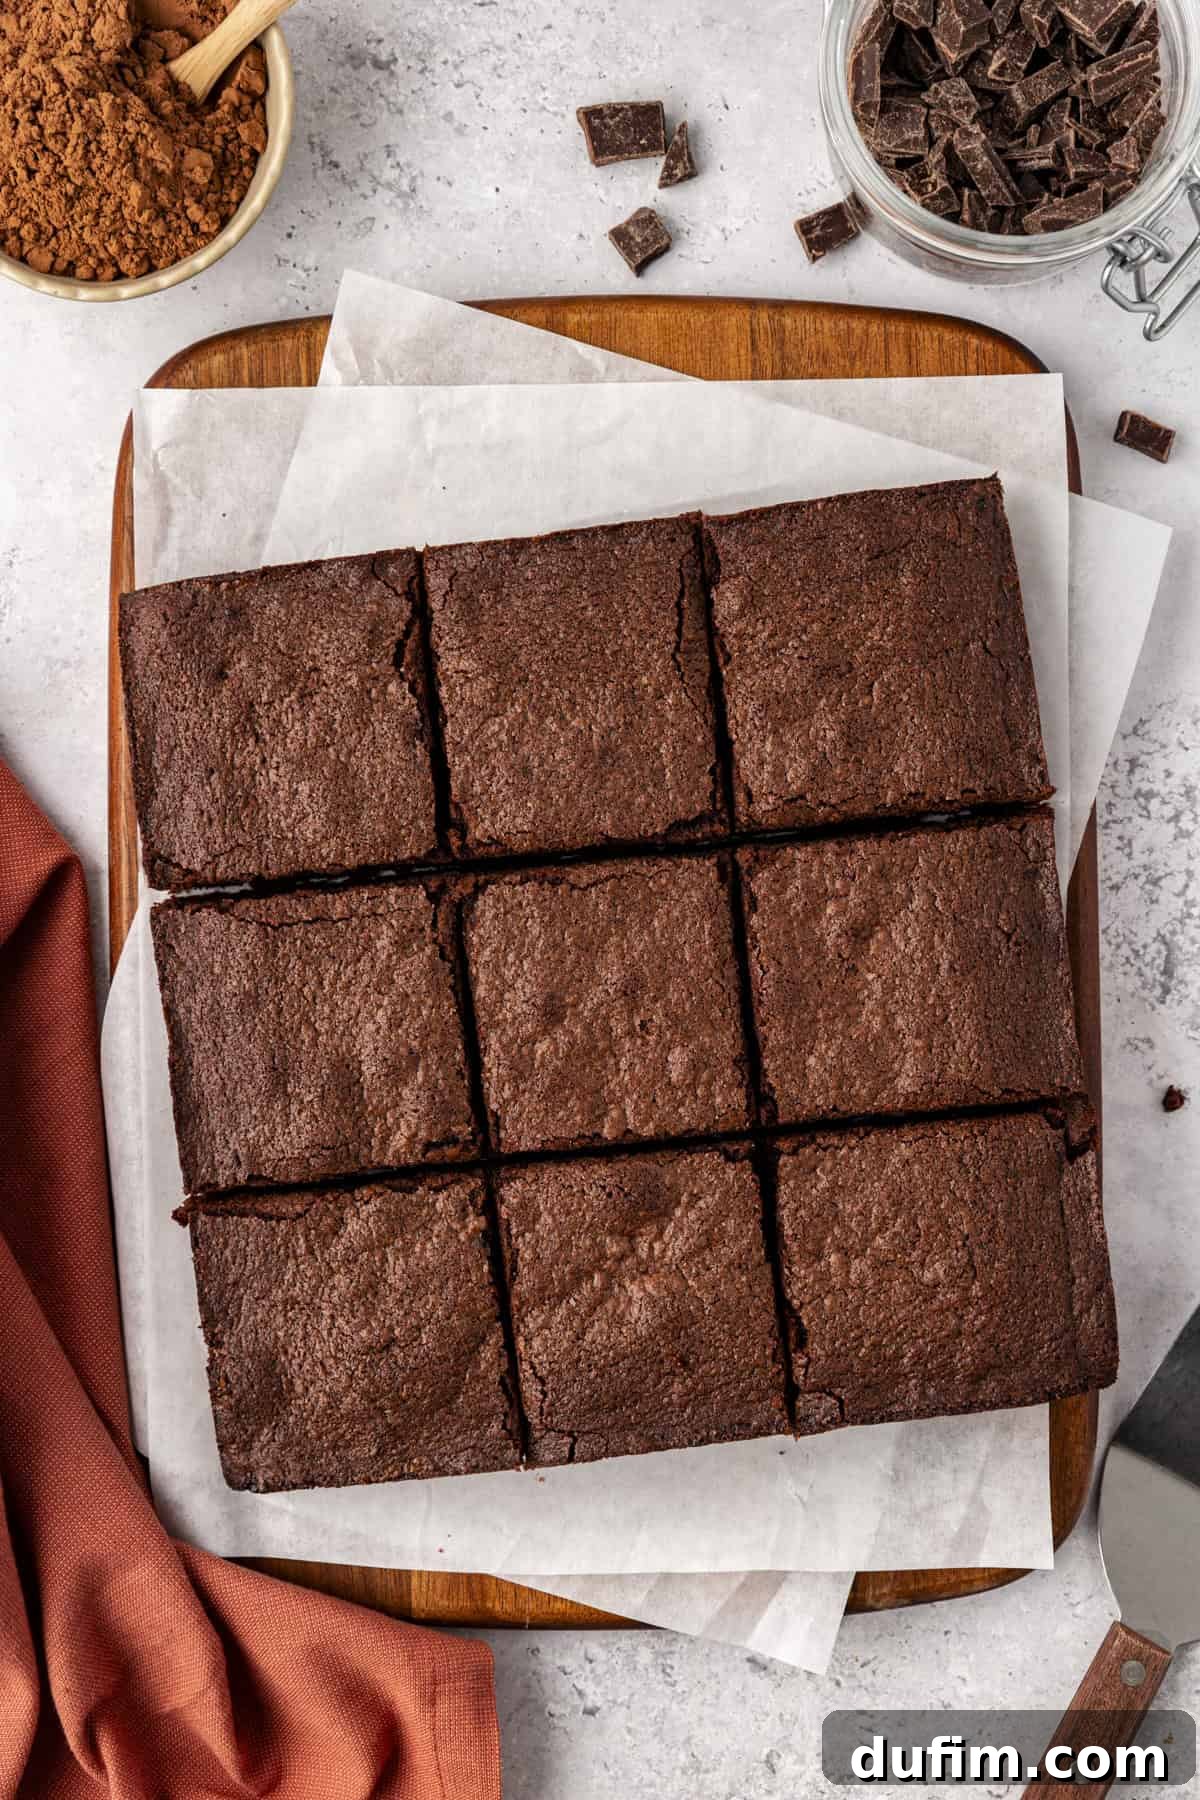
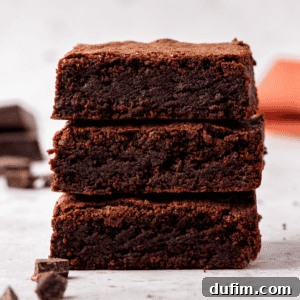
This isn’t just *a* brownie recipe; it’s *the* brownie recipe that defines perfection in my kitchen. With its signature crispy, shiny top and a rich, dense interior that’s just chewy enough to beautifully absorb a scoop of cold vanilla ice cream, these homemade brownies are simply divine. They’re everything a classic brownie should be, and then some!
“These are my husband’s favorite brownies! Thank you so much for sharing!”
– Sarah
The Quest for the Perfect Classic Brownie
The very notion of crafting a “classic” brownie recipe can be quite intimidating. Ask ten different bakers, and you’ll get ten different ideas of what makes a brownie truly classic. Is it ultra-fudgy, delightfully chewy, light and cakey, crispy on the outside, moist throughout, or intensely chocolatey? Each characteristic has its devoted fans, making the endeavor feel like an uphill battle against varied expectations.
At the outset of this culinary adventure, I found myself in a surprising position: I didn’t even know what my *own* favorite kind of brownie was. How could I possibly create *my* perfect classic brownie if I wasn’t entirely sure what texture and flavor profile I was striving for?
And so, the rigorous brownie testing commenced. It was a delicious, albeit meticulous, process that involved countless adjustments and endless tasting sessions.
My Brownie Testing Journey: Five Batches to Perfection
Over the course of five distinct batches, I systematically tweaked the ratios of key ingredients, experimented with different baking times, and refined techniques. My initial attempts leaned heavily into the super fudgy end of the spectrum, almost molten in their richness. While undeniably decadent, I soon discovered a deeper appreciation for a brownie with a bit more structural integrity – one that offered a satisfying chew before melting in the mouth. This revelation became the guiding principle for the subsequent iterations.
After this extensive testing and fine-tuning, I finally landed on what I proudly present as the perfect classic brownie. It’s a recipe born from a genuine passion for baking and a commitment to achieving an exceptional result every single time.
So, how do I define my classic brownie recipe?
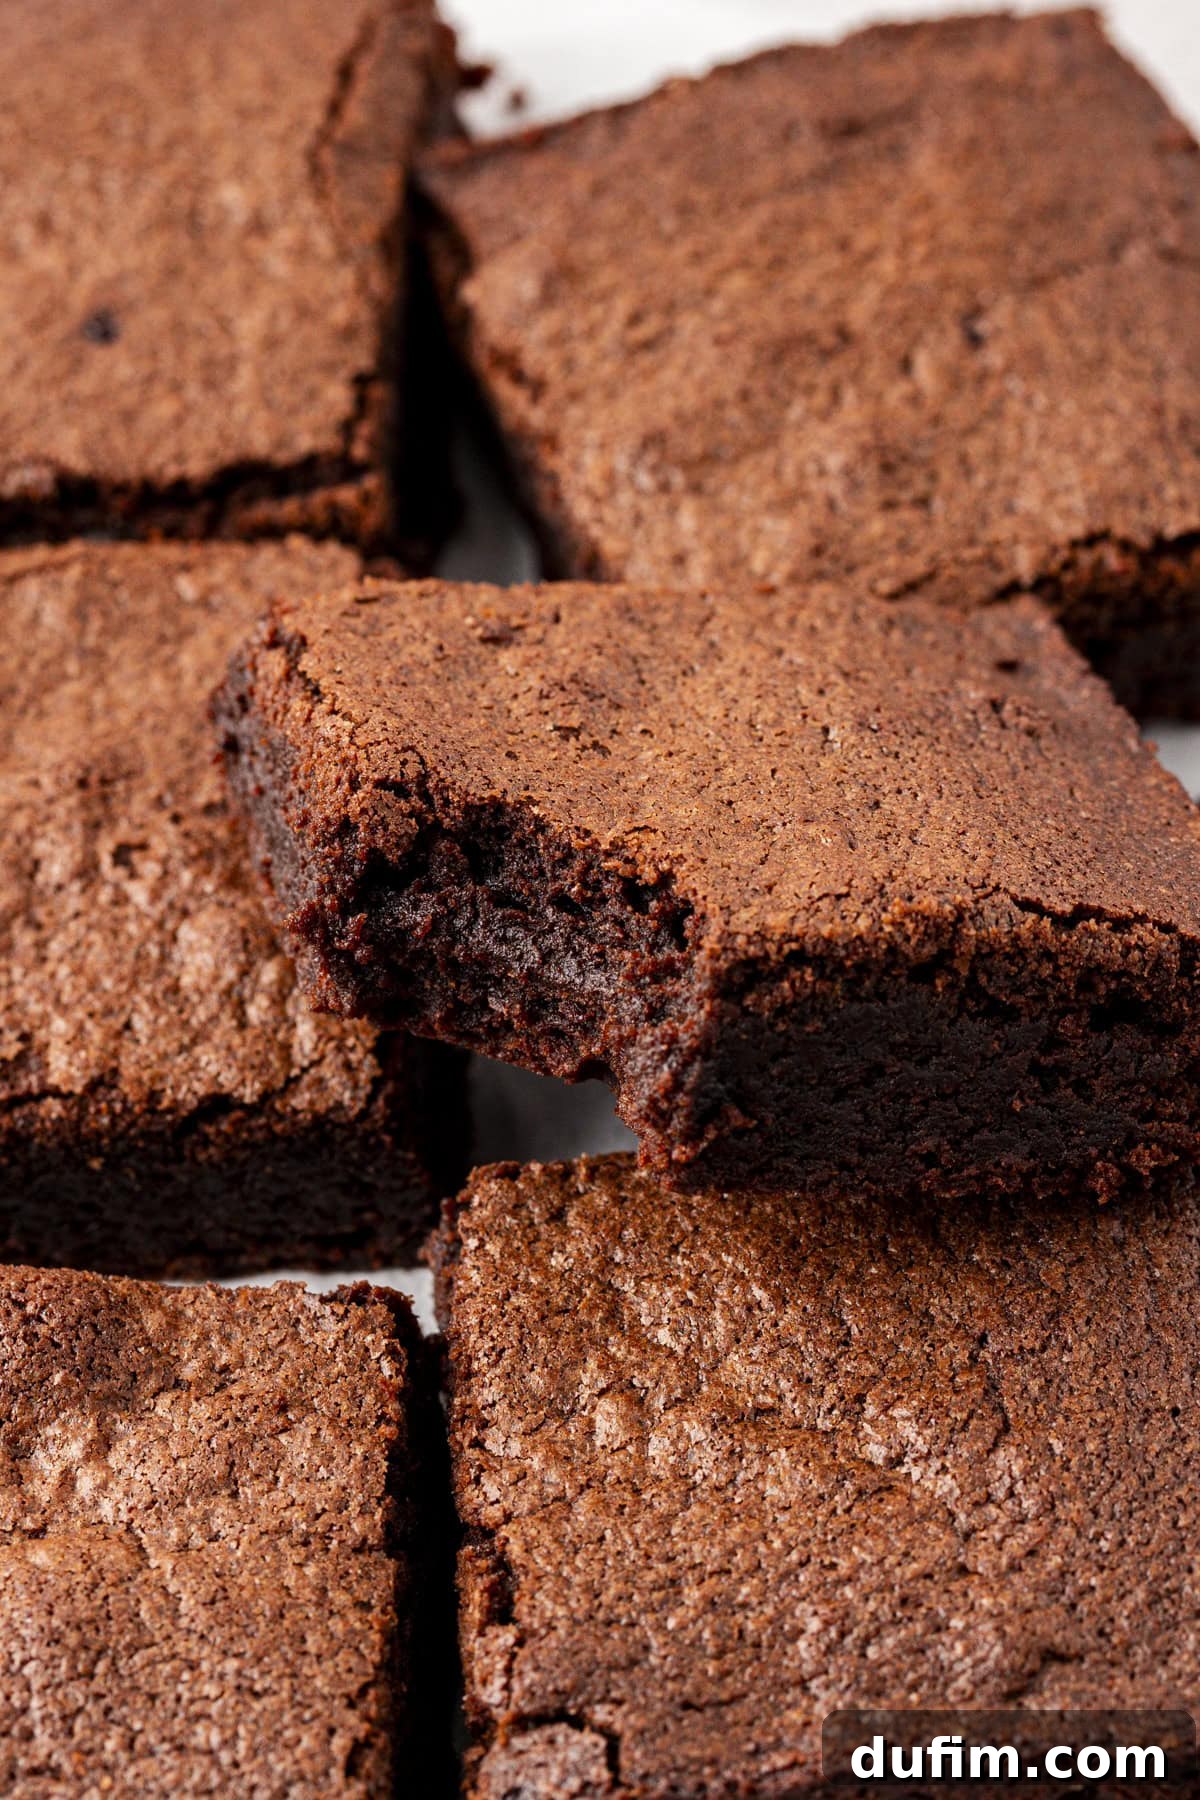
It strikes a masterful balance: it’s richly fudgy, but not overly gooey like molten chocolate. It’s distinguished by a wonderfully crispy and visibly shiny top – a hallmark of a truly great brownie. And, crucially, it possesses that slight, irresistible chewiness that makes it the ideal companion for a scoop of cold, creamy vanilla ice cream!
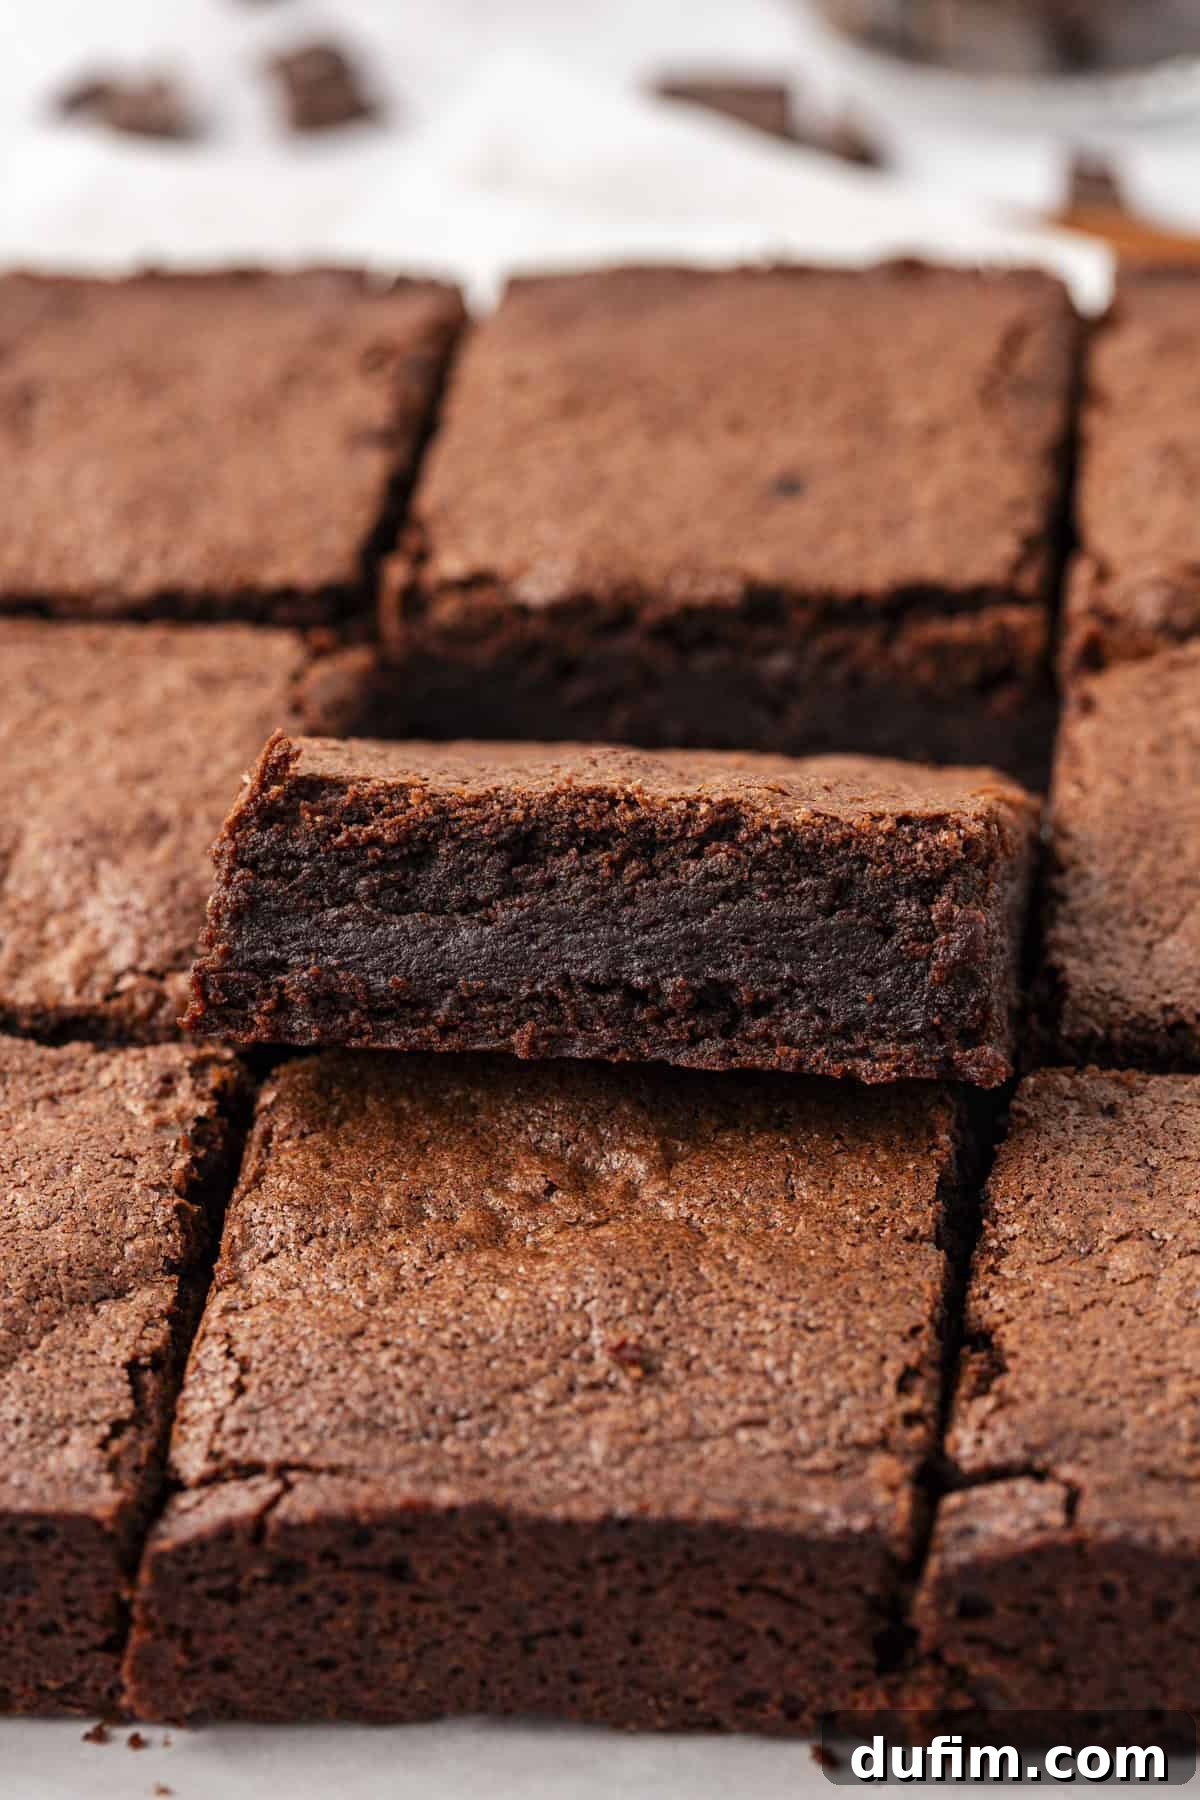
You can rest assured that all the hard work, extensive testing, and meticulous adjustments have been done for you. From experimenting with precise amounts of melted chocolate and cocoa powder to perfecting the technique for that coveted shiny, crispy top, no detail has been overlooked. This recipe has been thoroughly vetted and perfected to ensure you can confidently bake up the most delicious classic brownies, achieving that ideal balance of fudgy and chewy textures, every single time.
Key Ingredients for Irresistible Homemade Brownies
Crafting the perfect brownie starts with high-quality ingredients and understanding how each component contributes to the final masterpiece. Here’s what you’ll need for these outstanding classic homemade brownies:
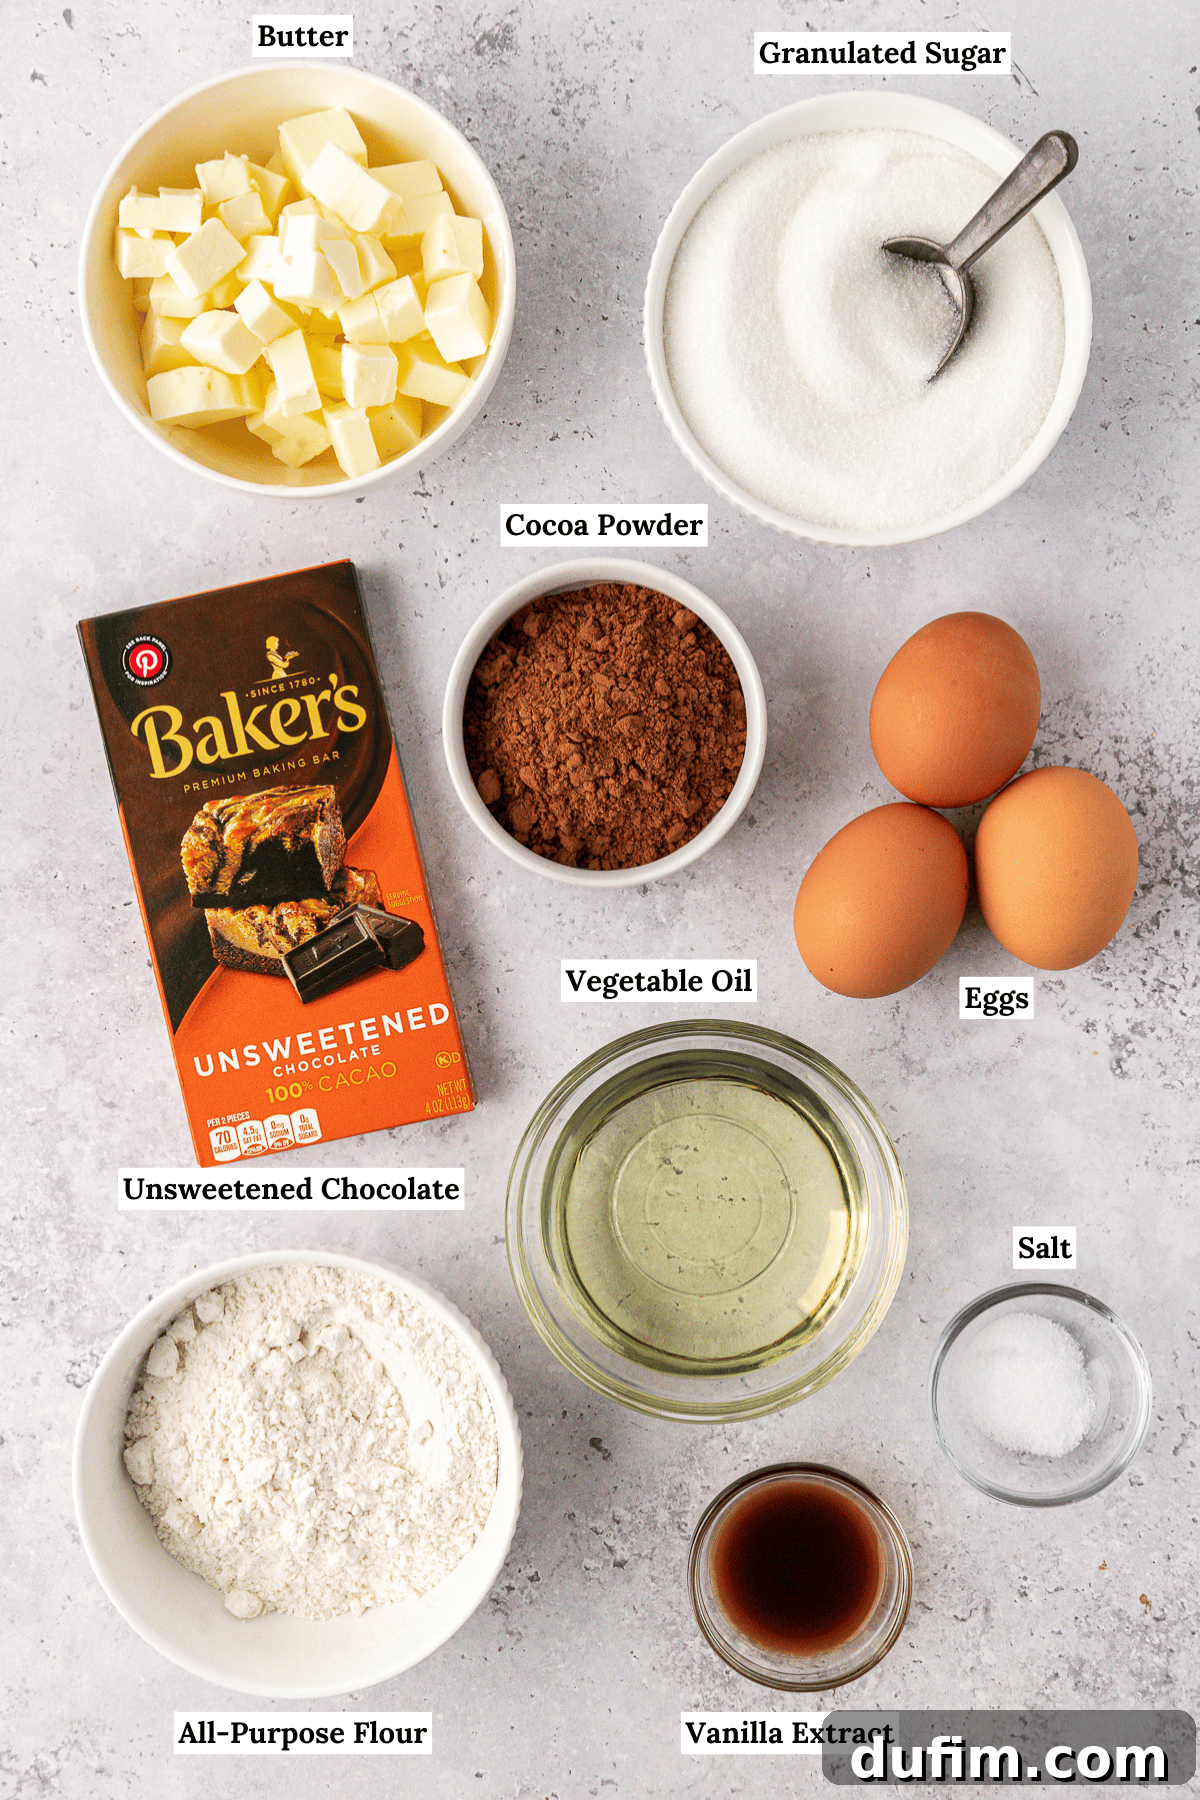
Homemade Brownies Ingredients List
- ¾ cup (90g) all-purpose flour
- ½ tsp salt
- ⅓ cup (28g) unsweetened natural cocoa powder
- 2 oz unsweetened chocolate, chopped
- ½ cup (113g) unsalted butter, cubed (1 stick)
- 1 ¼ cups (248g) granulated sugar
- 2 large eggs
- 1 large egg yolk
- ¼ cup (59ml) vegetable oil
- 1 tsp vanilla extract
How to Make the Best Homemade Brownies: Step-by-Step
Follow these detailed steps to bake truly exceptional classic brownies that are guaranteed to impress!
- Prepare your oven and pan: Preheat your oven to 350°F (175°C). Lightly grease an 8×8-inch baking pan with non-stick spray, or line it with parchment paper for easy removal and clean-up.
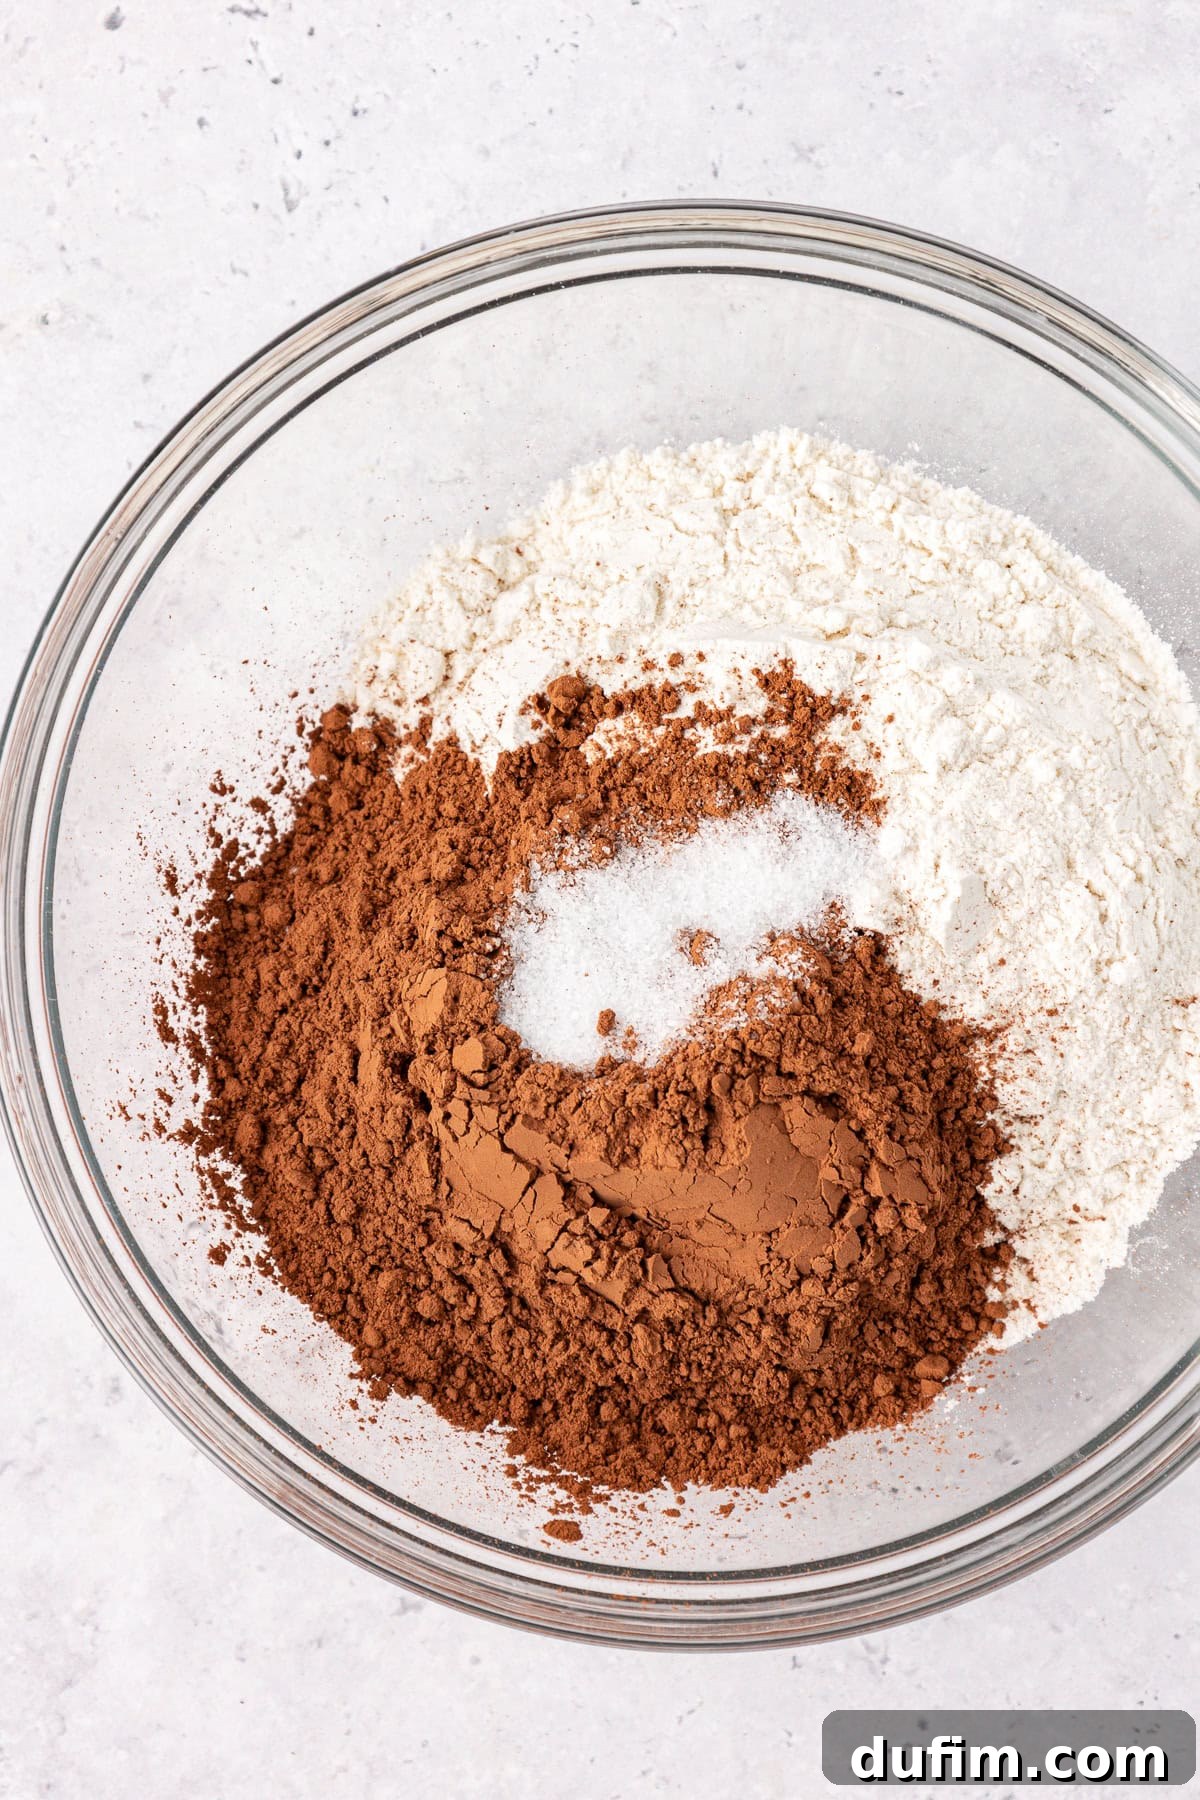
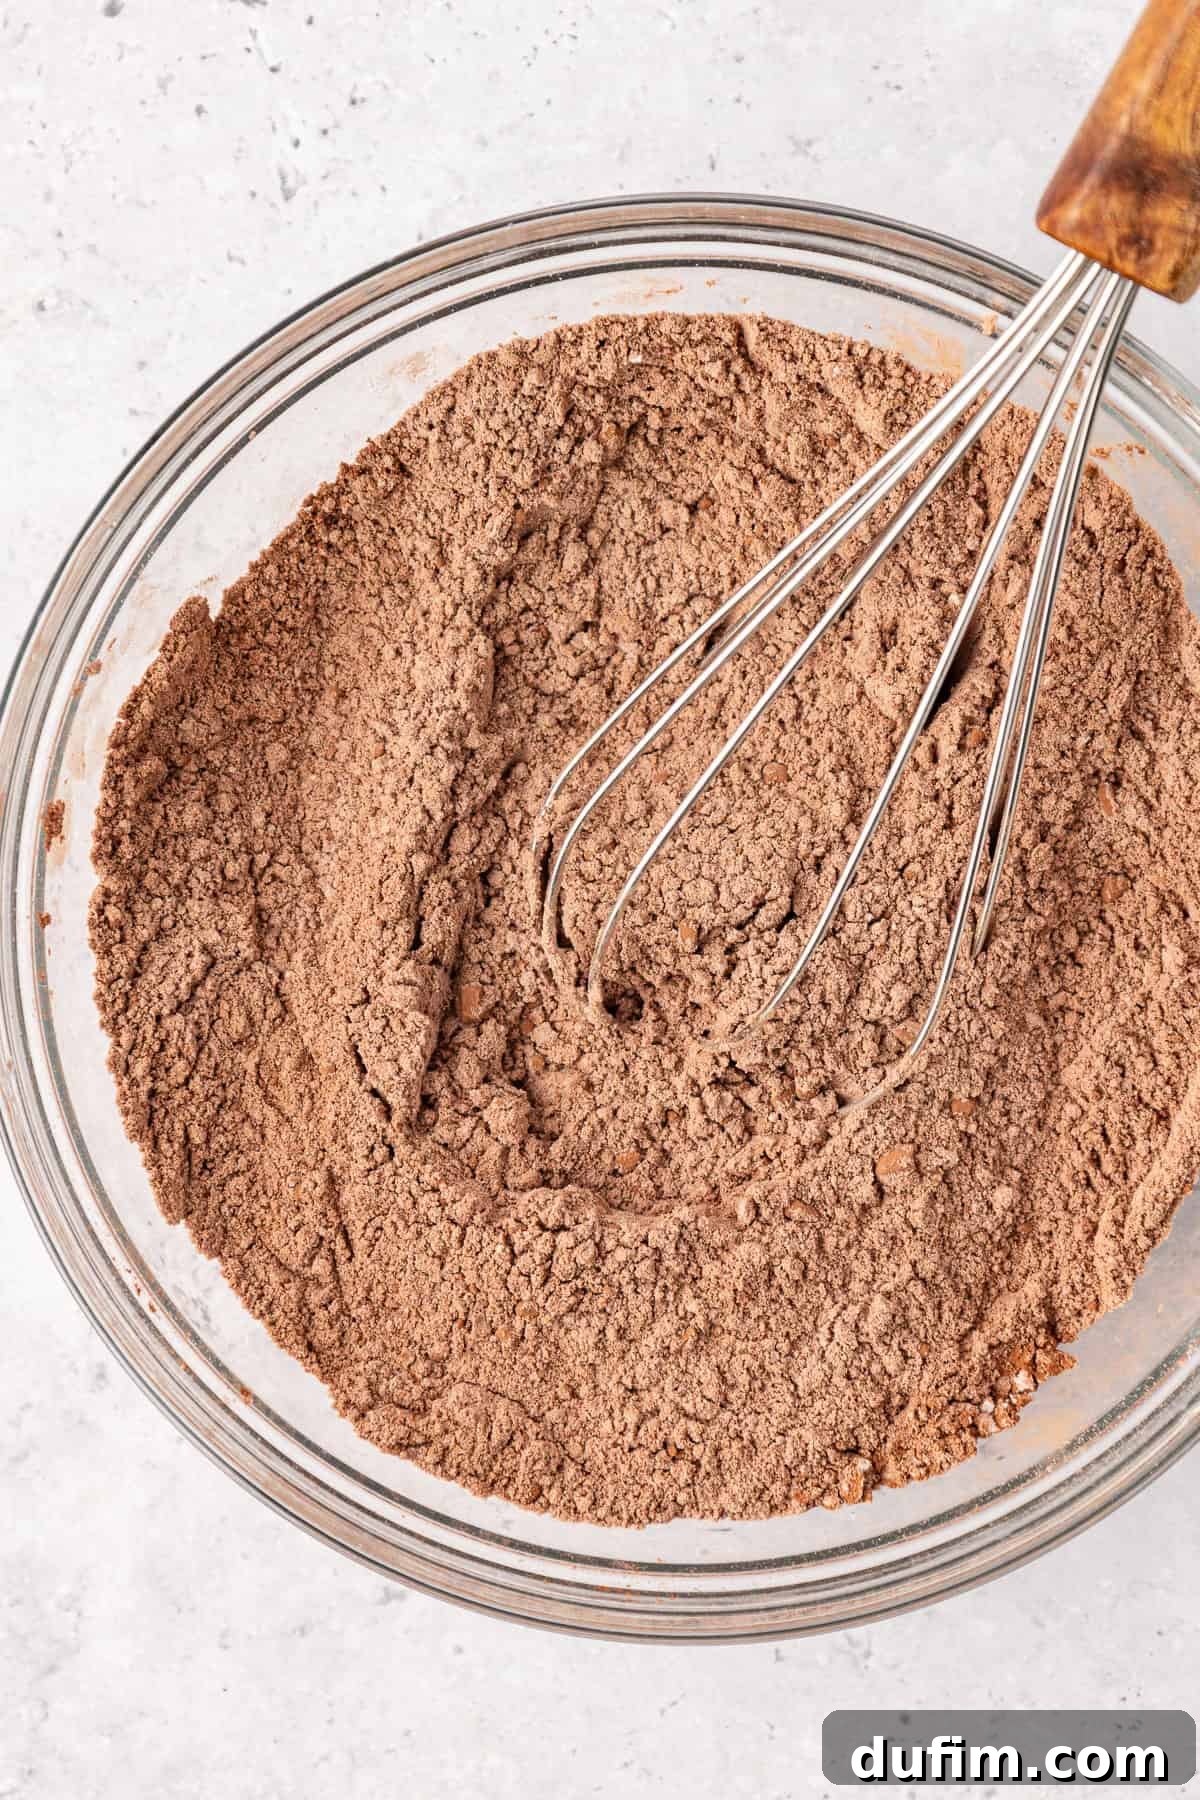
- Whisk dry ingredients: In a medium-sized mixing bowl, combine the all-purpose flour, salt, and unsweetened natural cocoa powder. Whisk them together thoroughly until well combined and lump-free. Set aside.
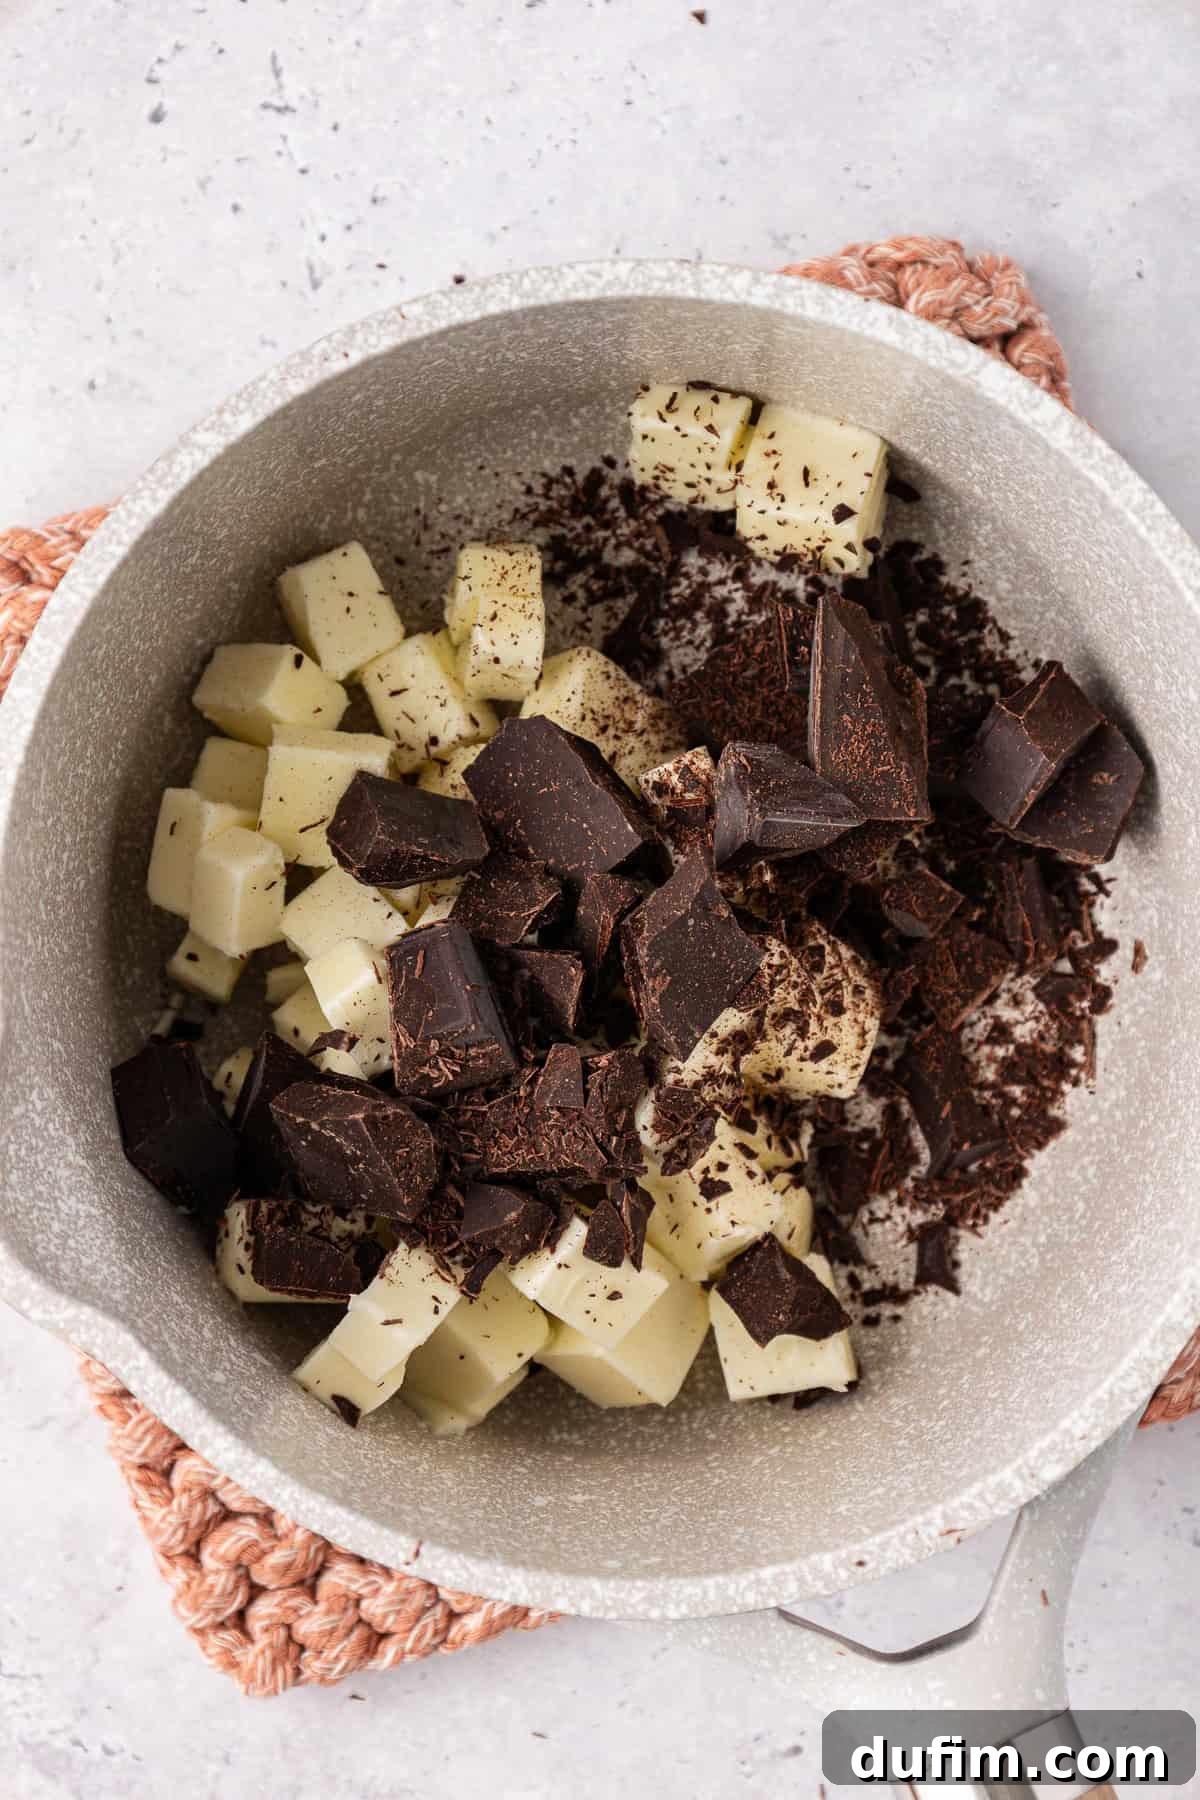
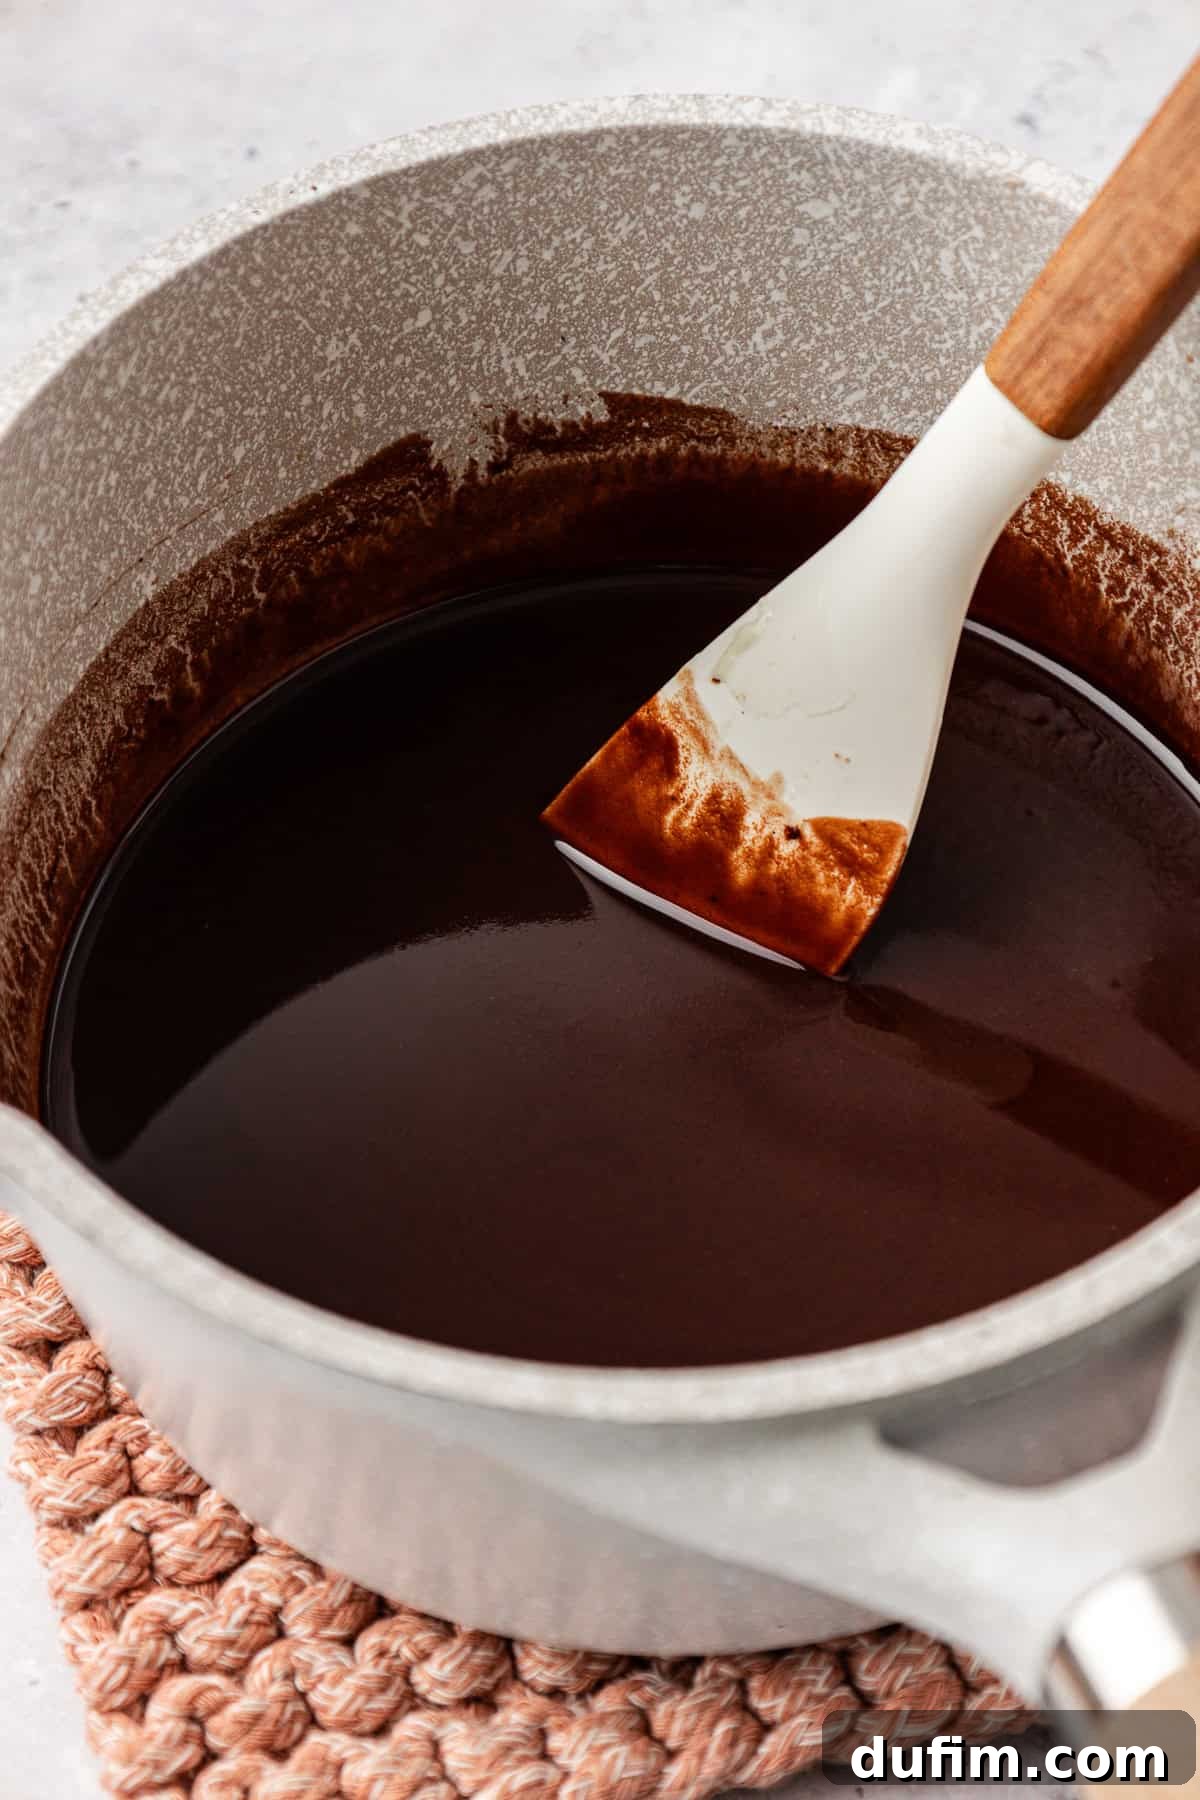
- Melt chocolate and butter: In a small saucepan, melt the chopped unsweetened chocolate and cubed unsalted butter over low heat. Stir occasionally to prevent scorching. This process should take about 5 minutes, resulting in a smooth, glossy chocolate mixture. Remove from heat and let it cool slightly.
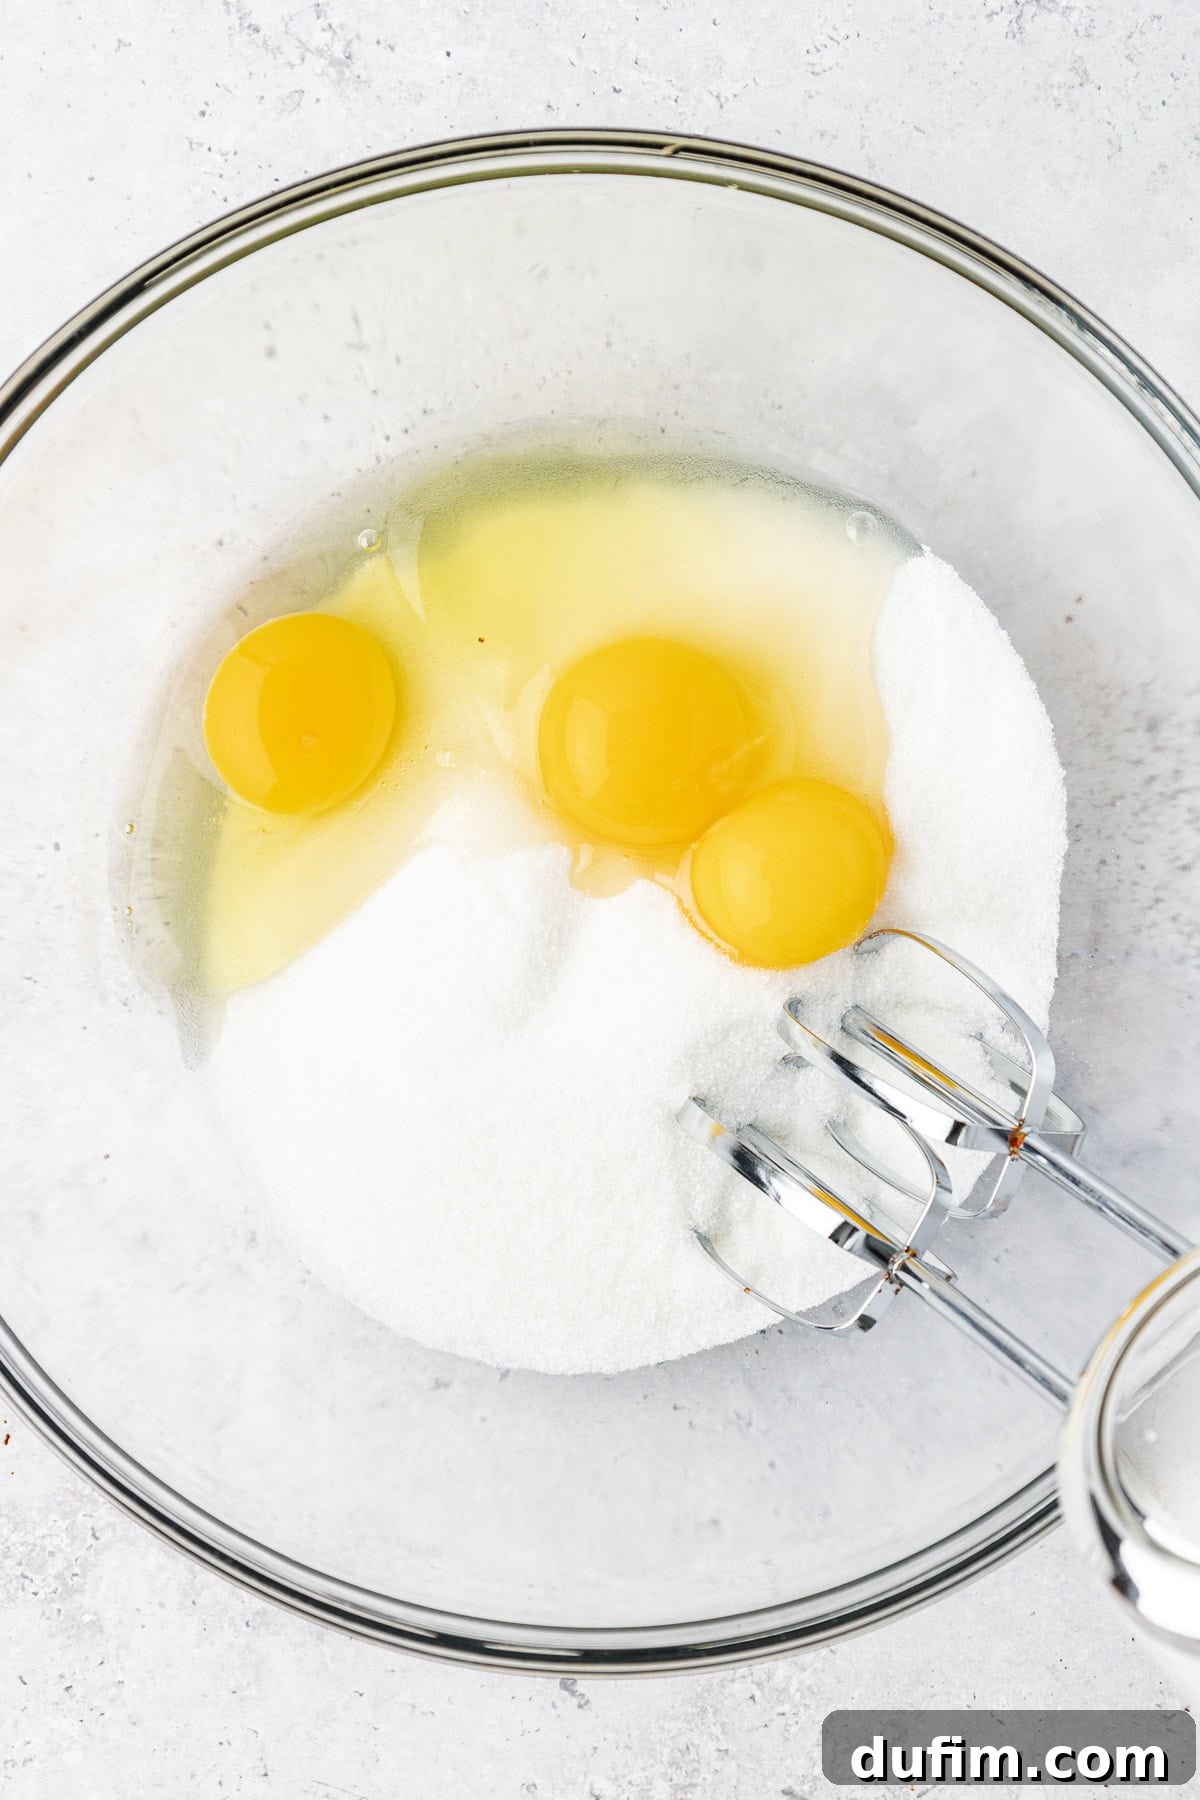
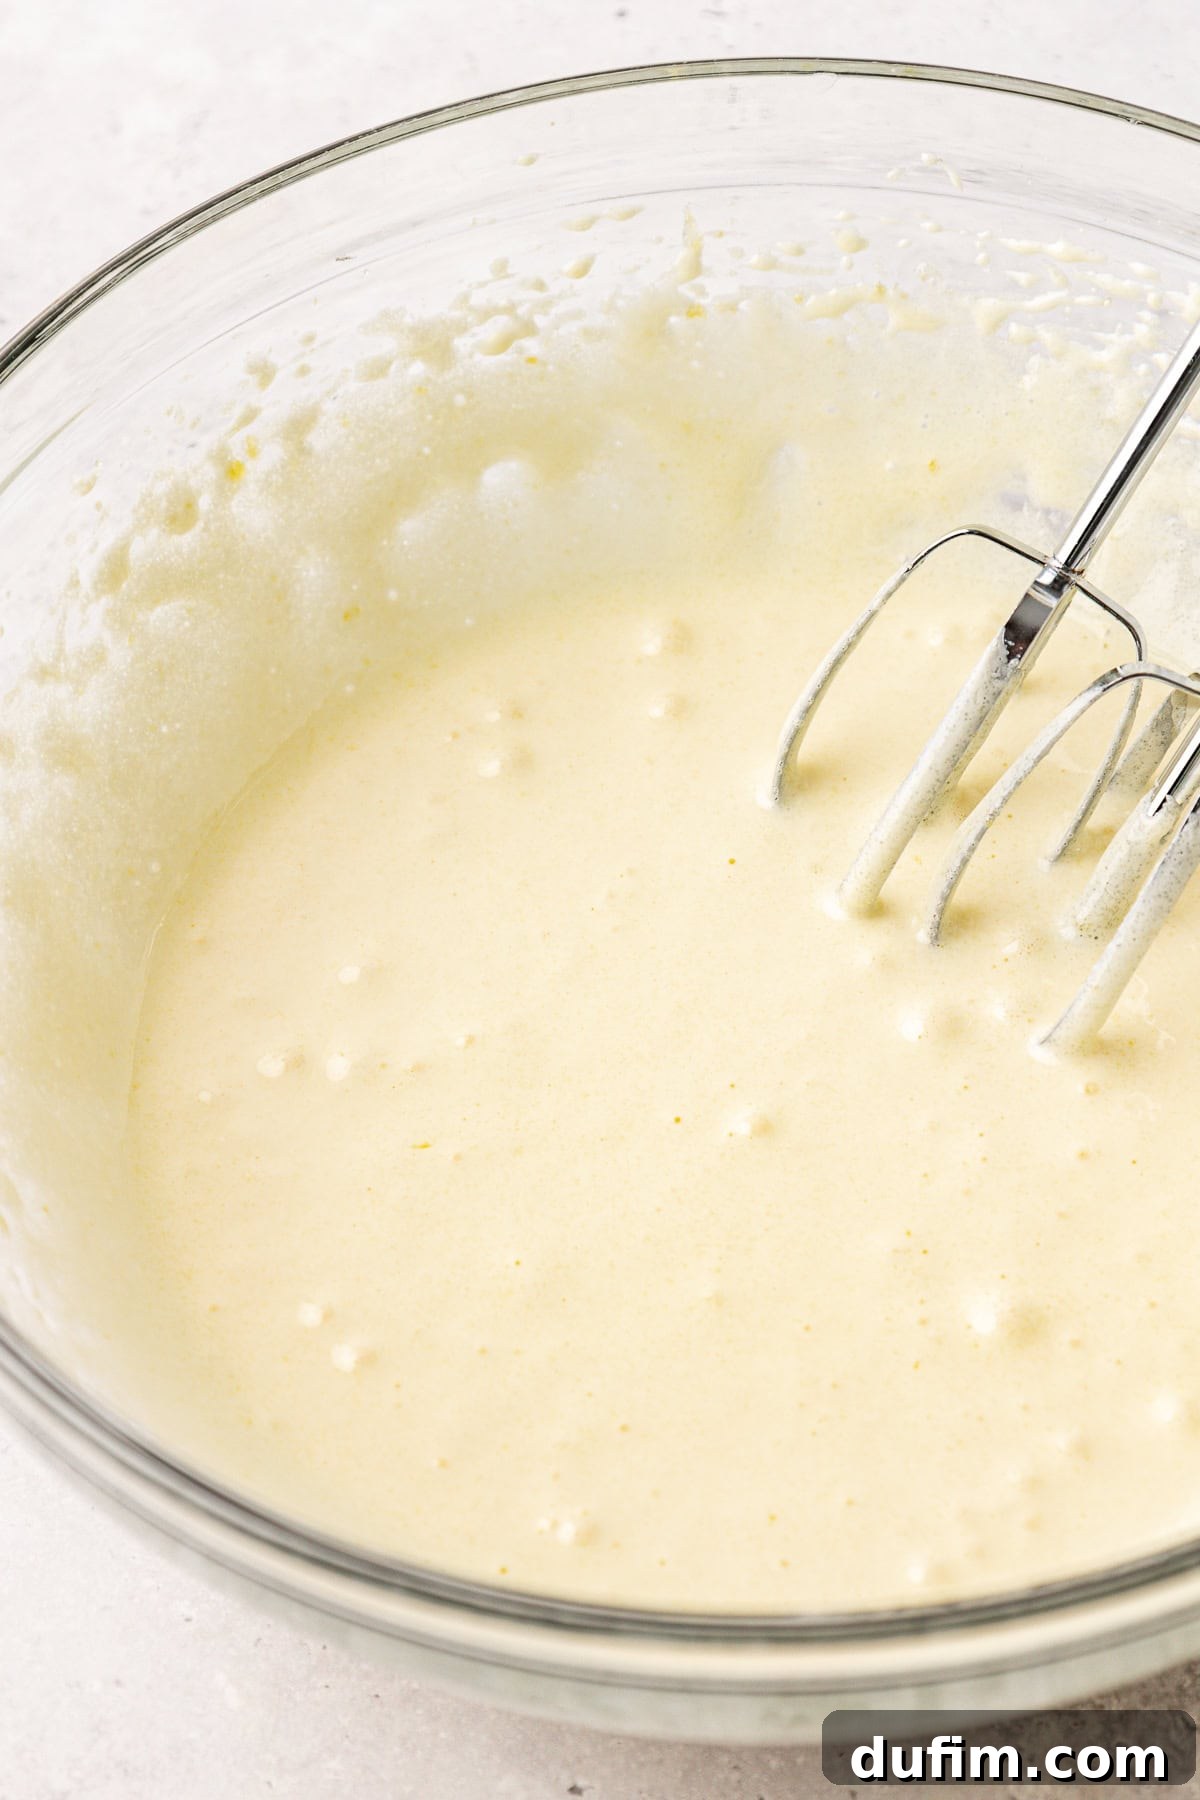
- Whip eggs and sugar: In the bowl of a stand mixer fitted with the whisk attachment (or using a hand mixer), combine the granulated sugar, large eggs, and the extra large egg yolk. Beat this mixture on medium-high speed for a full 60 seconds. This crucial step incorporates air, resulting in a pale yellow, doubled-in-volume mixture that is key to achieving that desirable shiny, crackly top on your brownies.
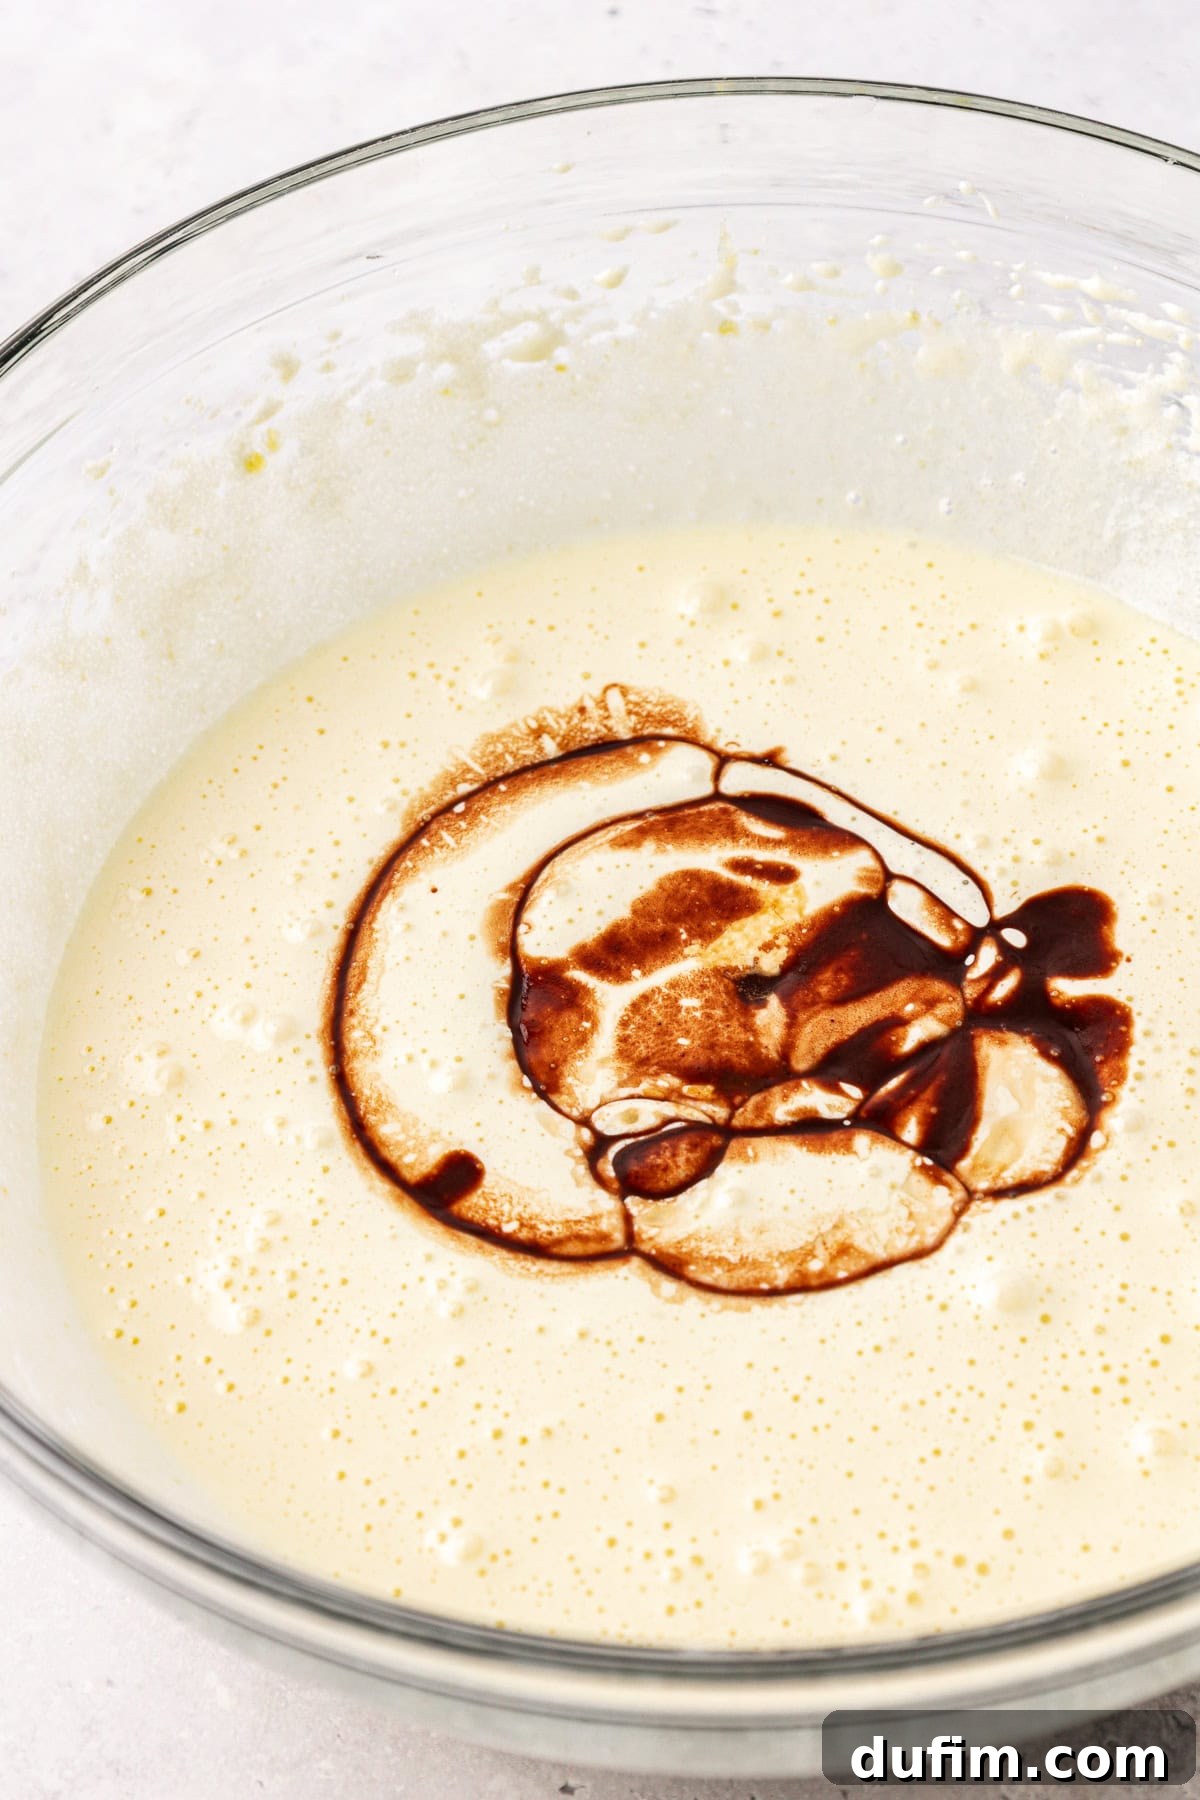
- Combine wet ingredients: With the mixer running on low speed, gradually pour the slightly cooled melted chocolate and butter mixture into the whipped egg and sugar mixture. Mix until just combined. Then, add the vegetable oil and vanilla extract, continuing to mix on low speed until everything is incorporated. Be careful not to overmix at this stage.
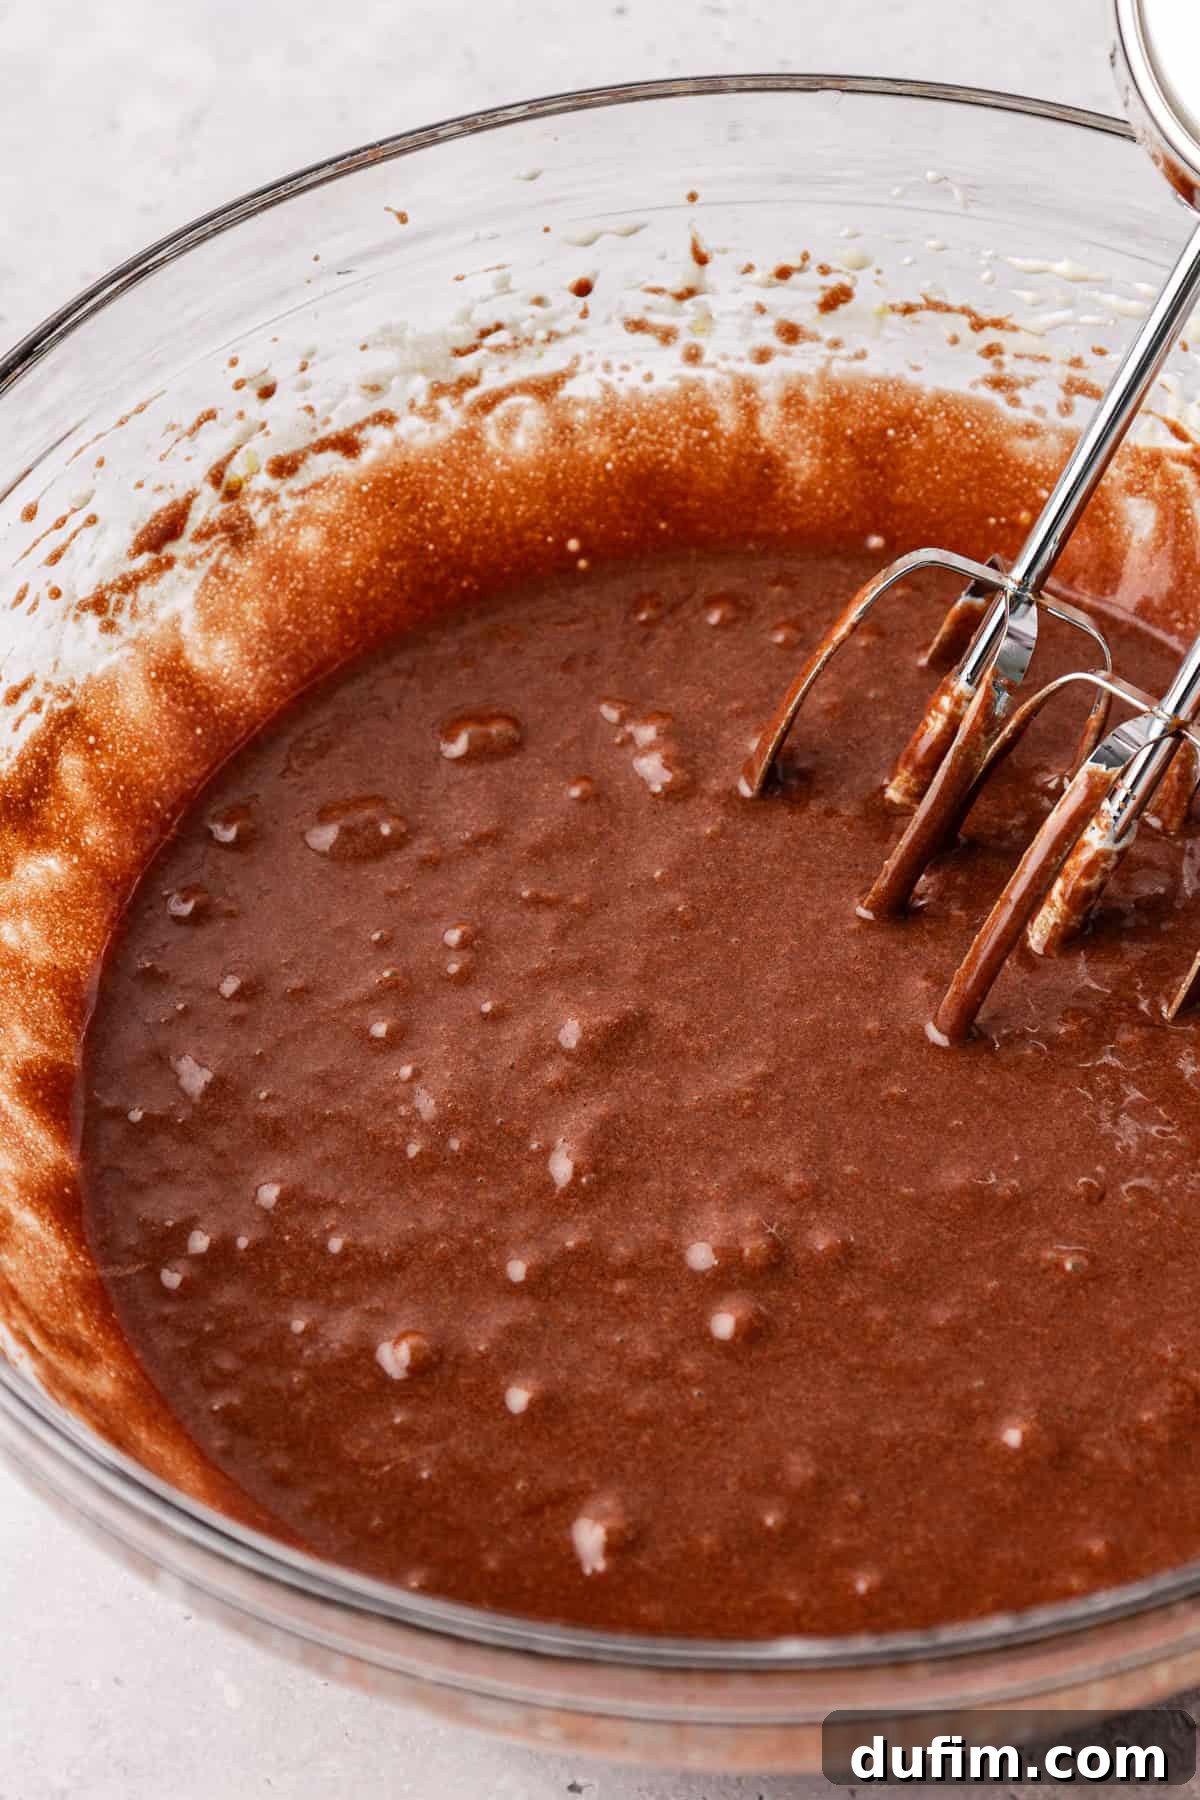
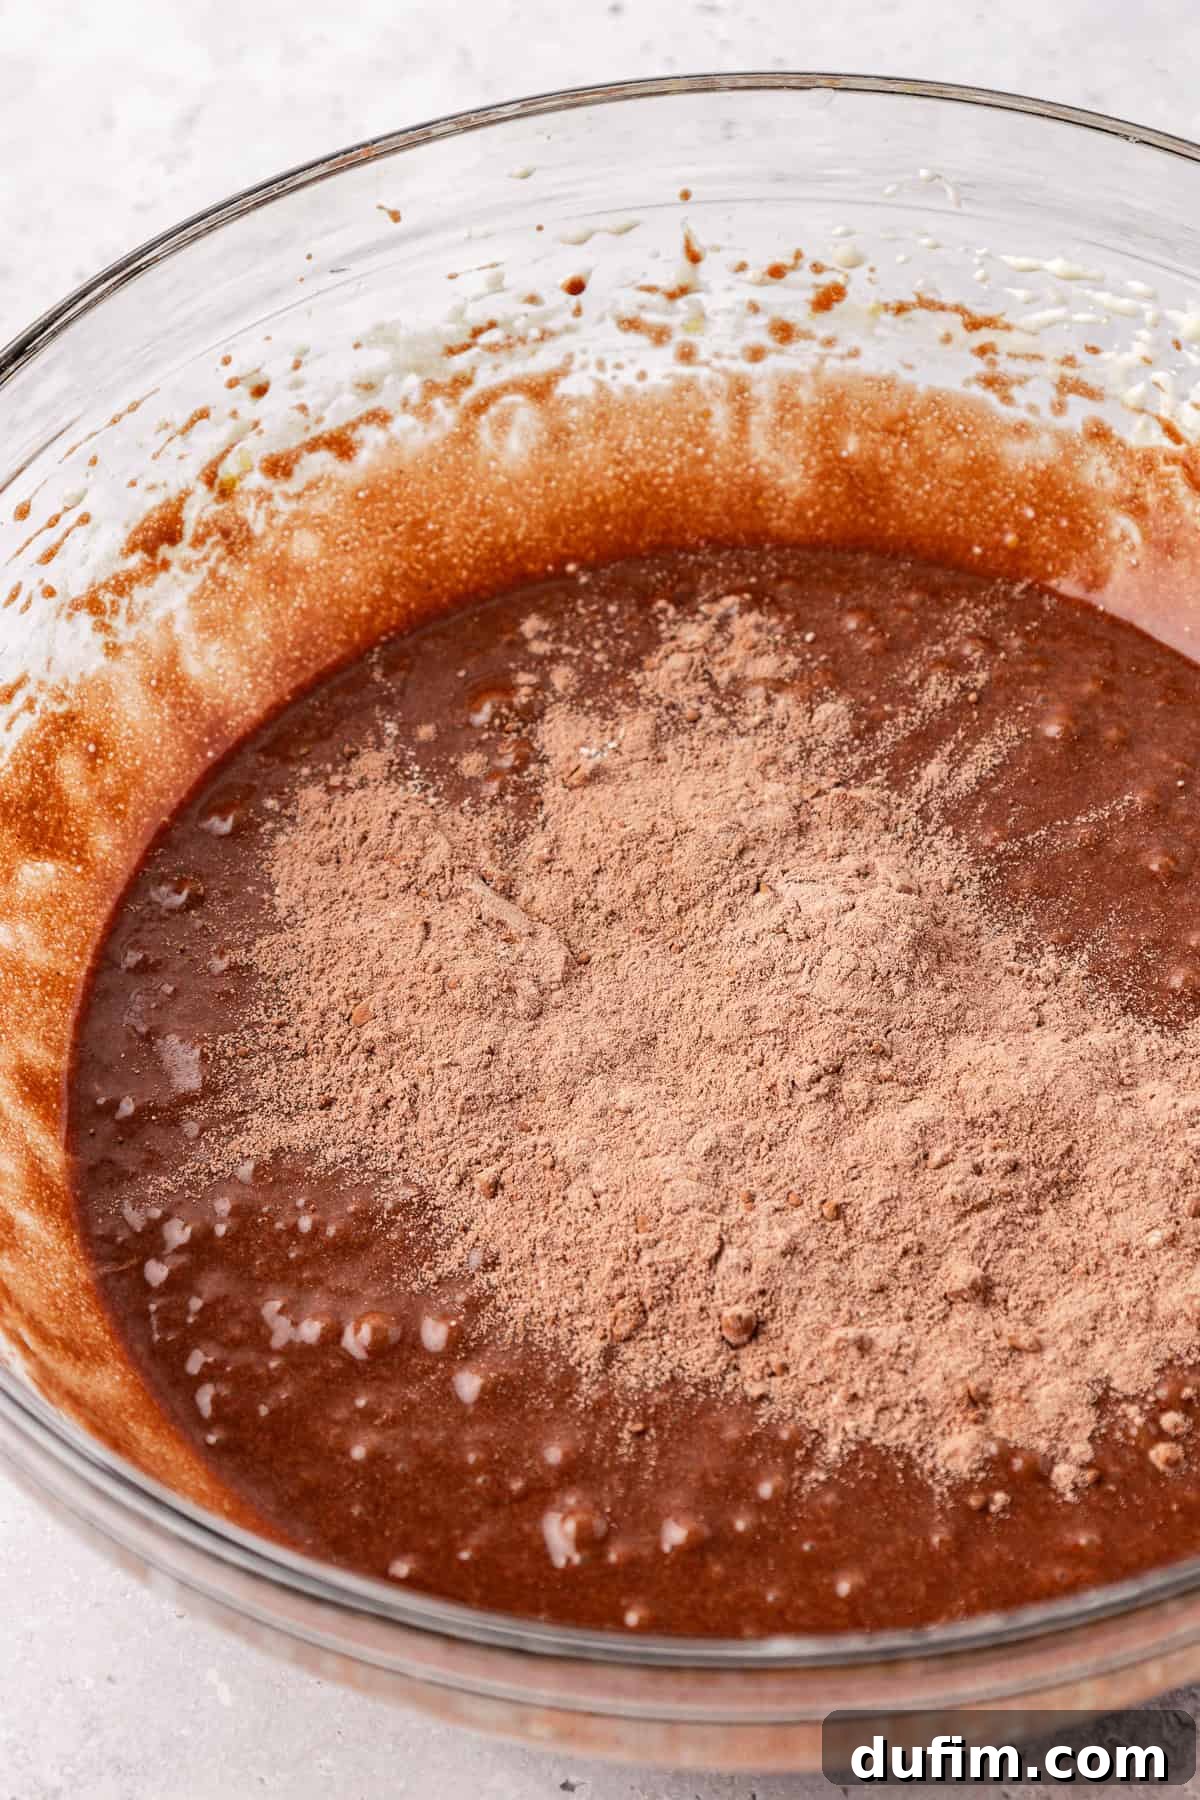
- Add dry to wet: Slowly add the reserved dry ingredients (flour, salt, cocoa powder) to the wet mixture. Mix on the lowest speed or by hand with a spatula until just combined. Overmixing the flour can lead to tough brownies, so stop as soon as no streaks of flour remain.
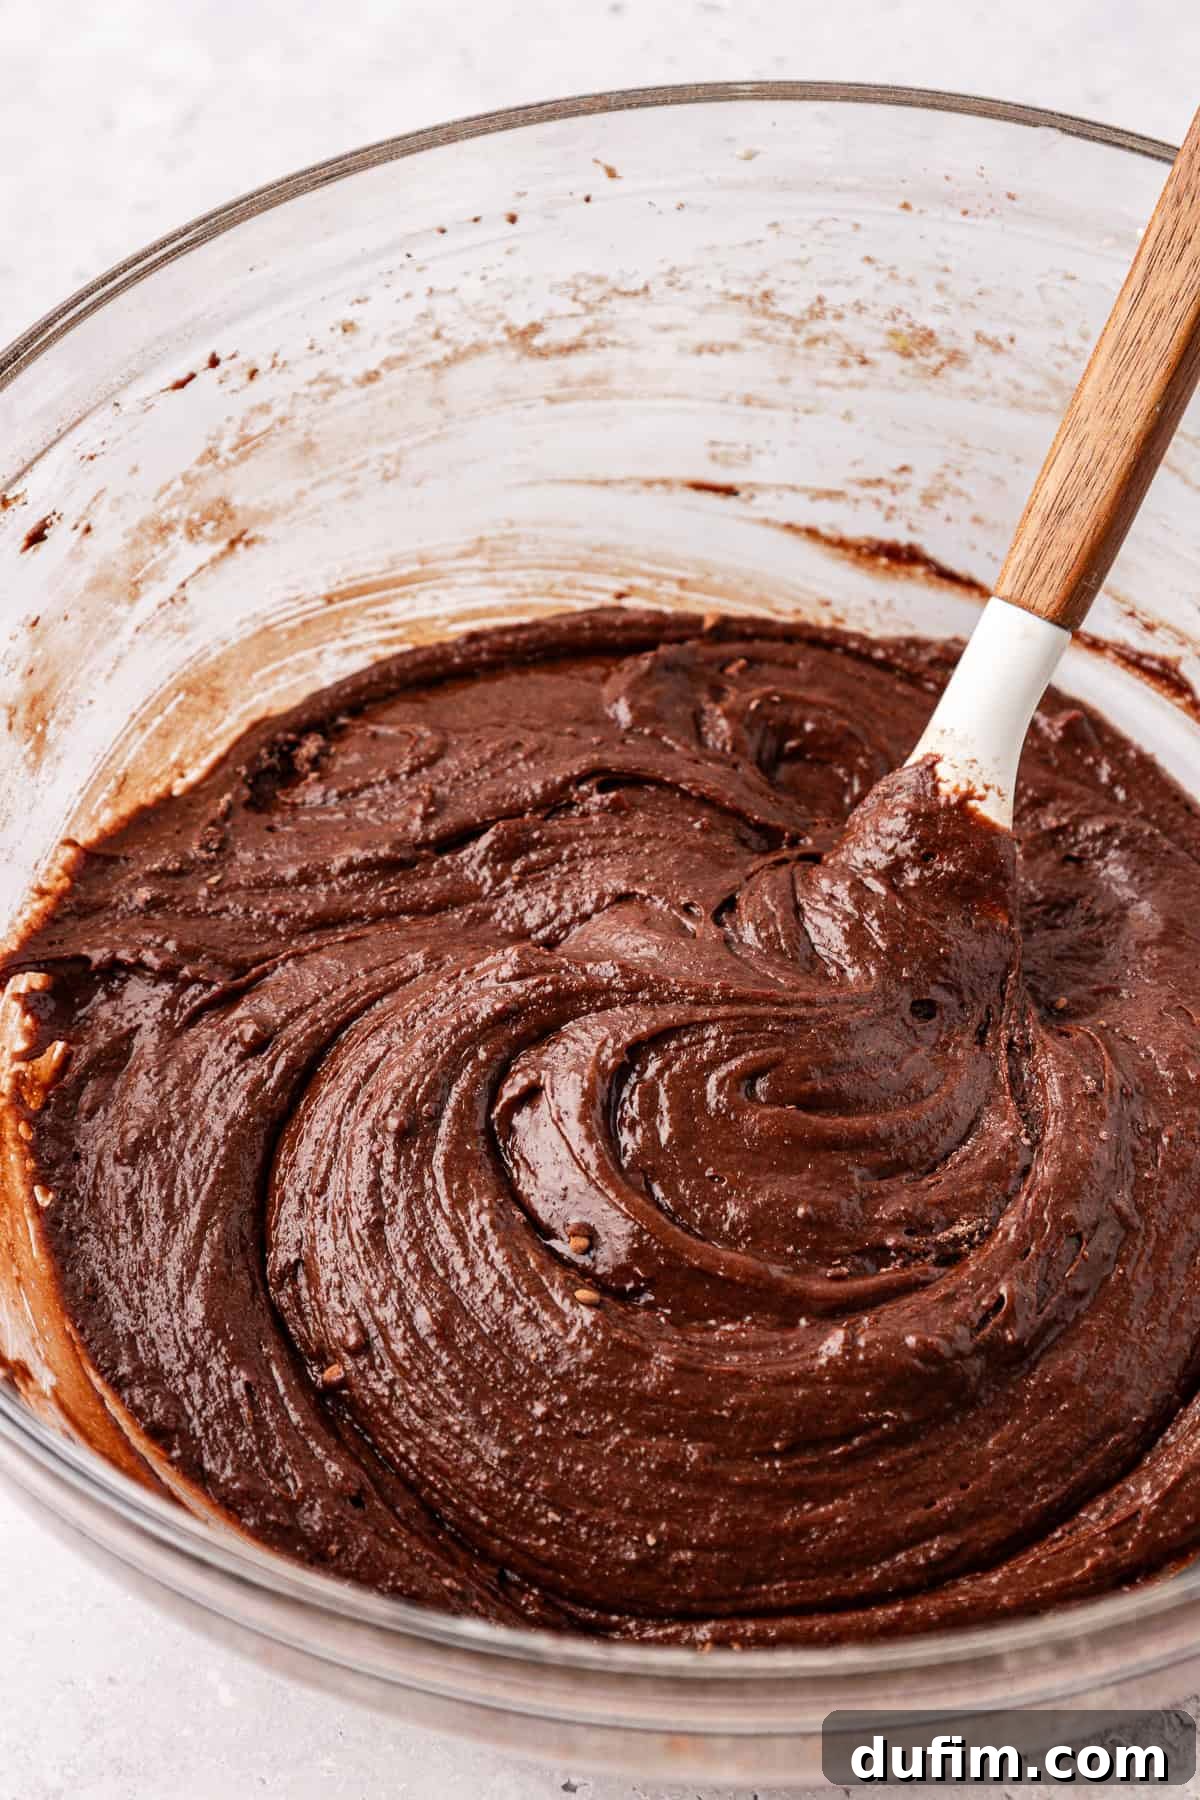
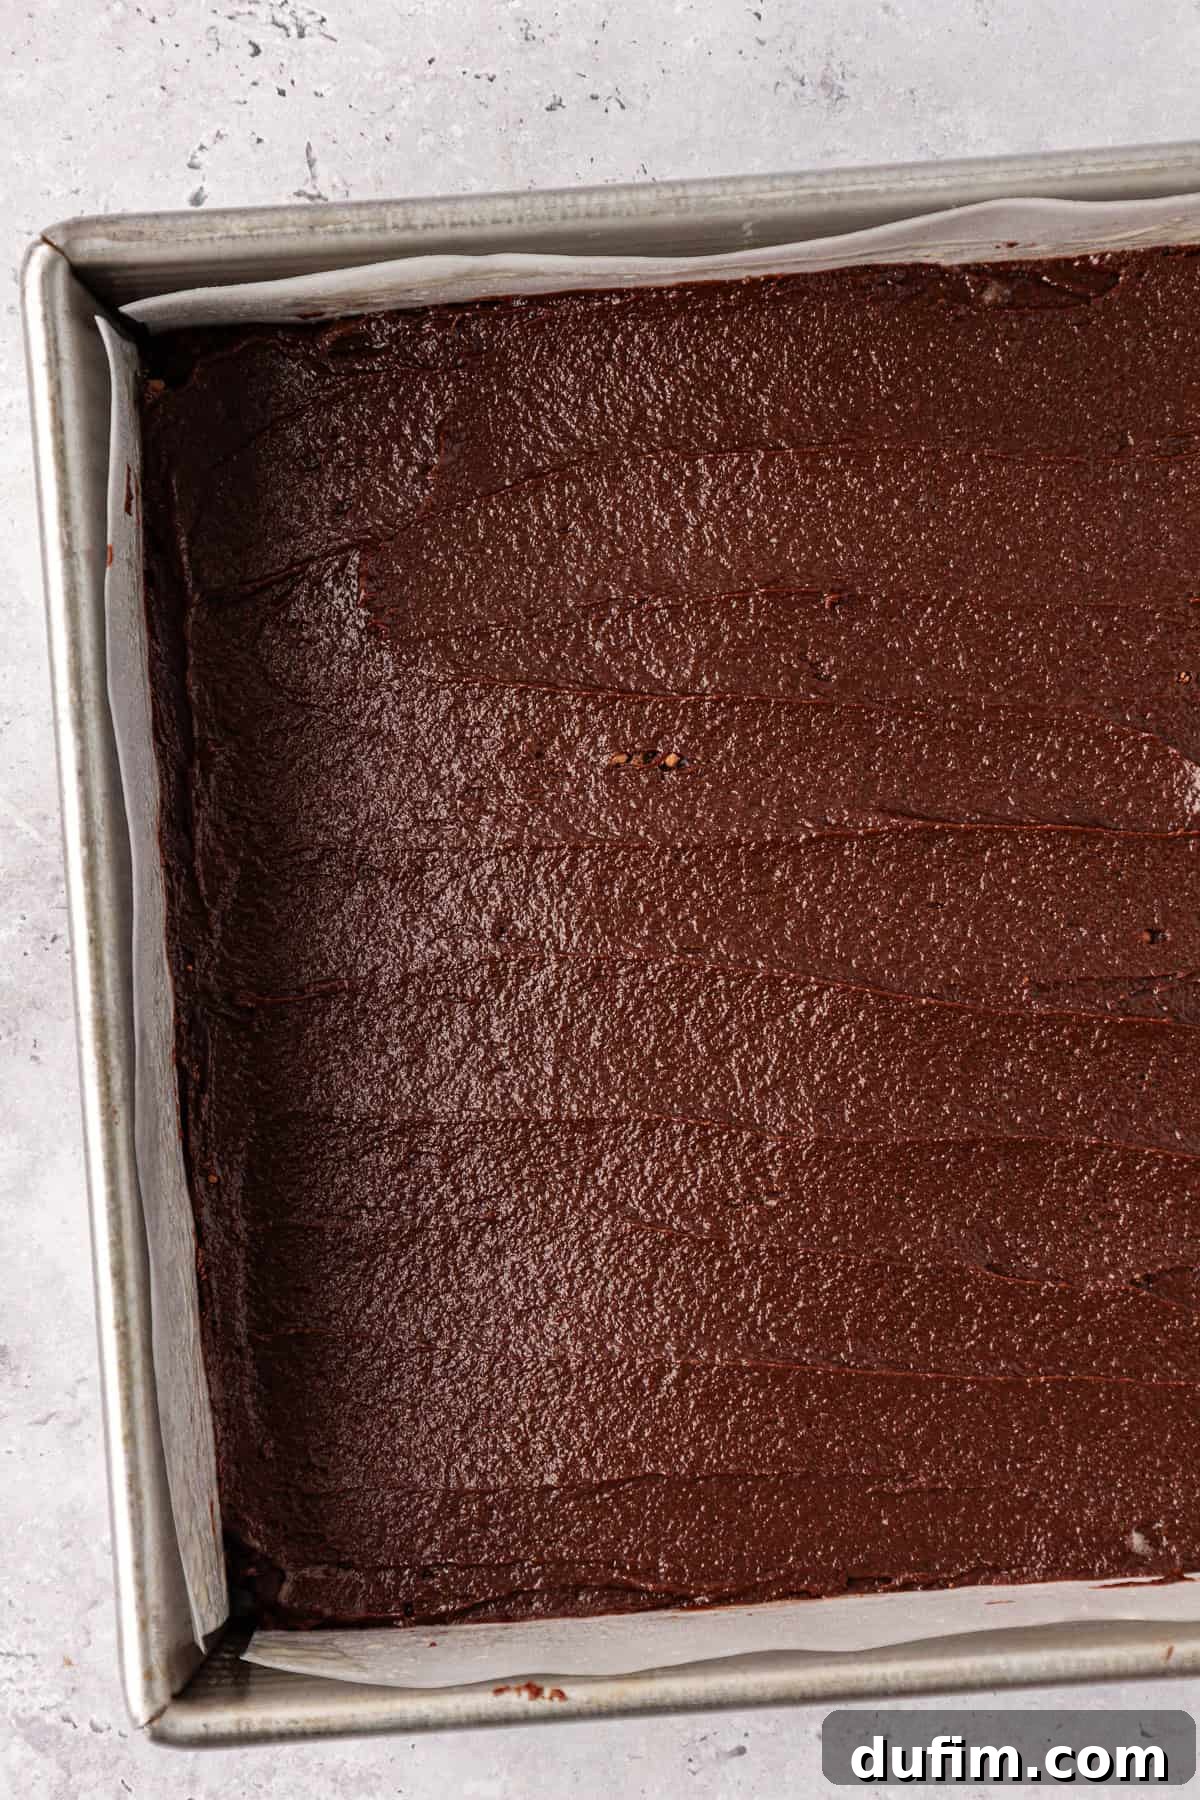
- Bake the brownies: Pour the luscious brownie batter evenly into your prepared 8×8-inch pan.
- Baking times:
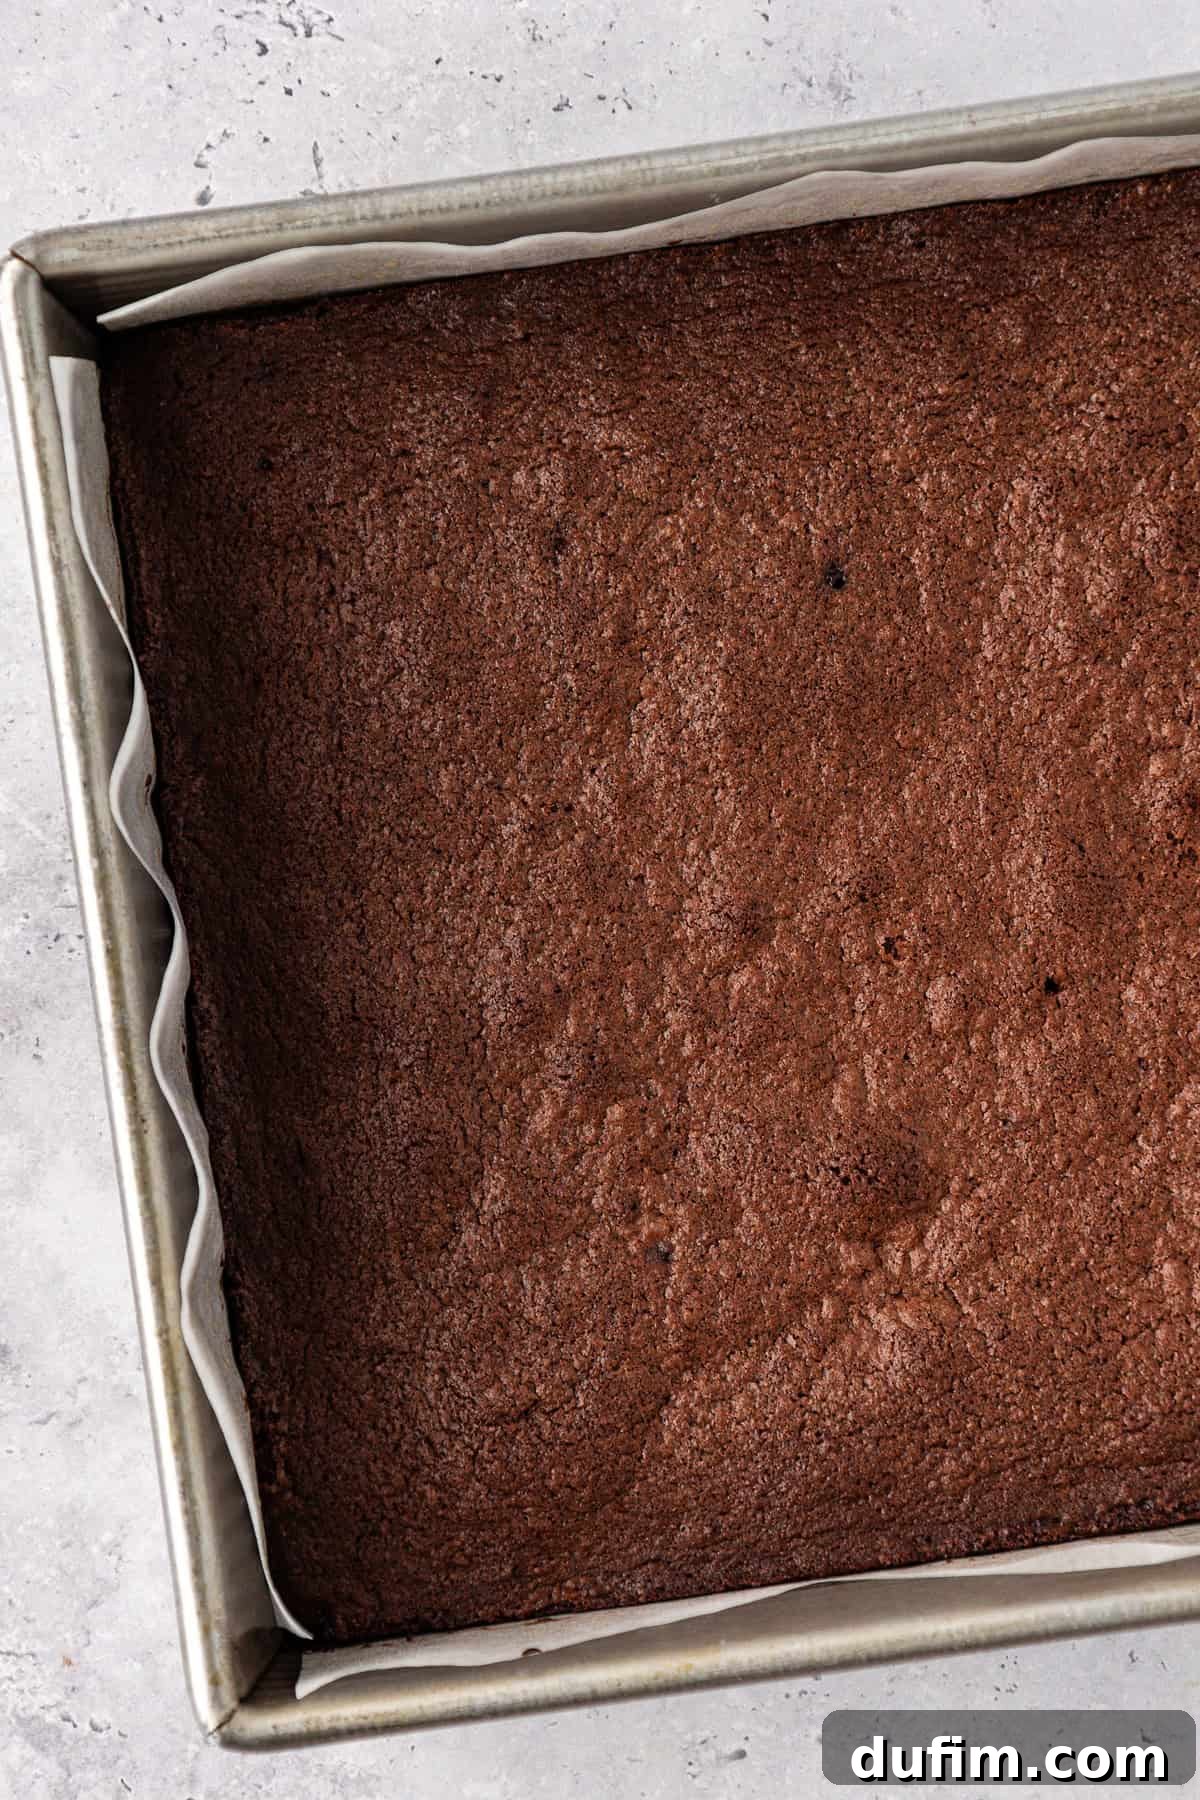
- For a standard fudgy brownie, bake for 30-33 minutes if using a glass pan, or 25-27 minutes if using a metal pan. The brownies are done when a toothpick inserted into the center comes out with moist crumbs, but not wet batter.
- For a slightly chewier brownie, extend the baking time to 35-37 minutes for a glass pan, or approximately 30 minutes for a metal pan.
Keep in mind that oven temperatures can vary, so always trust your toothpick test!
The Science of Brownie Perfection: My Top Baking Secrets
Achieving that ideal brownie texture and appearance is all about understanding the roles of key ingredients and techniques. Here are the secrets I uncovered during my extensive testing:
How to Make Chewy Homemade Brownies
As mentioned, my initial batches were intensely fudgy due to a higher ratio of melted chocolate. To introduce that delightful chewiness without sacrificing richness, I made a strategic adjustment: I slightly reduced the amount of melted chocolate and simultaneously increased the unsweetened cocoa powder. Cocoa powder, being a dry ingredient, contributes to structure and a drier, chewier crumb, while still delivering intense chocolate flavor. This balance is critical for the “fudgy-chewy” sweet spot.
How to Make a Brownie with a Crispy, Shiny Top
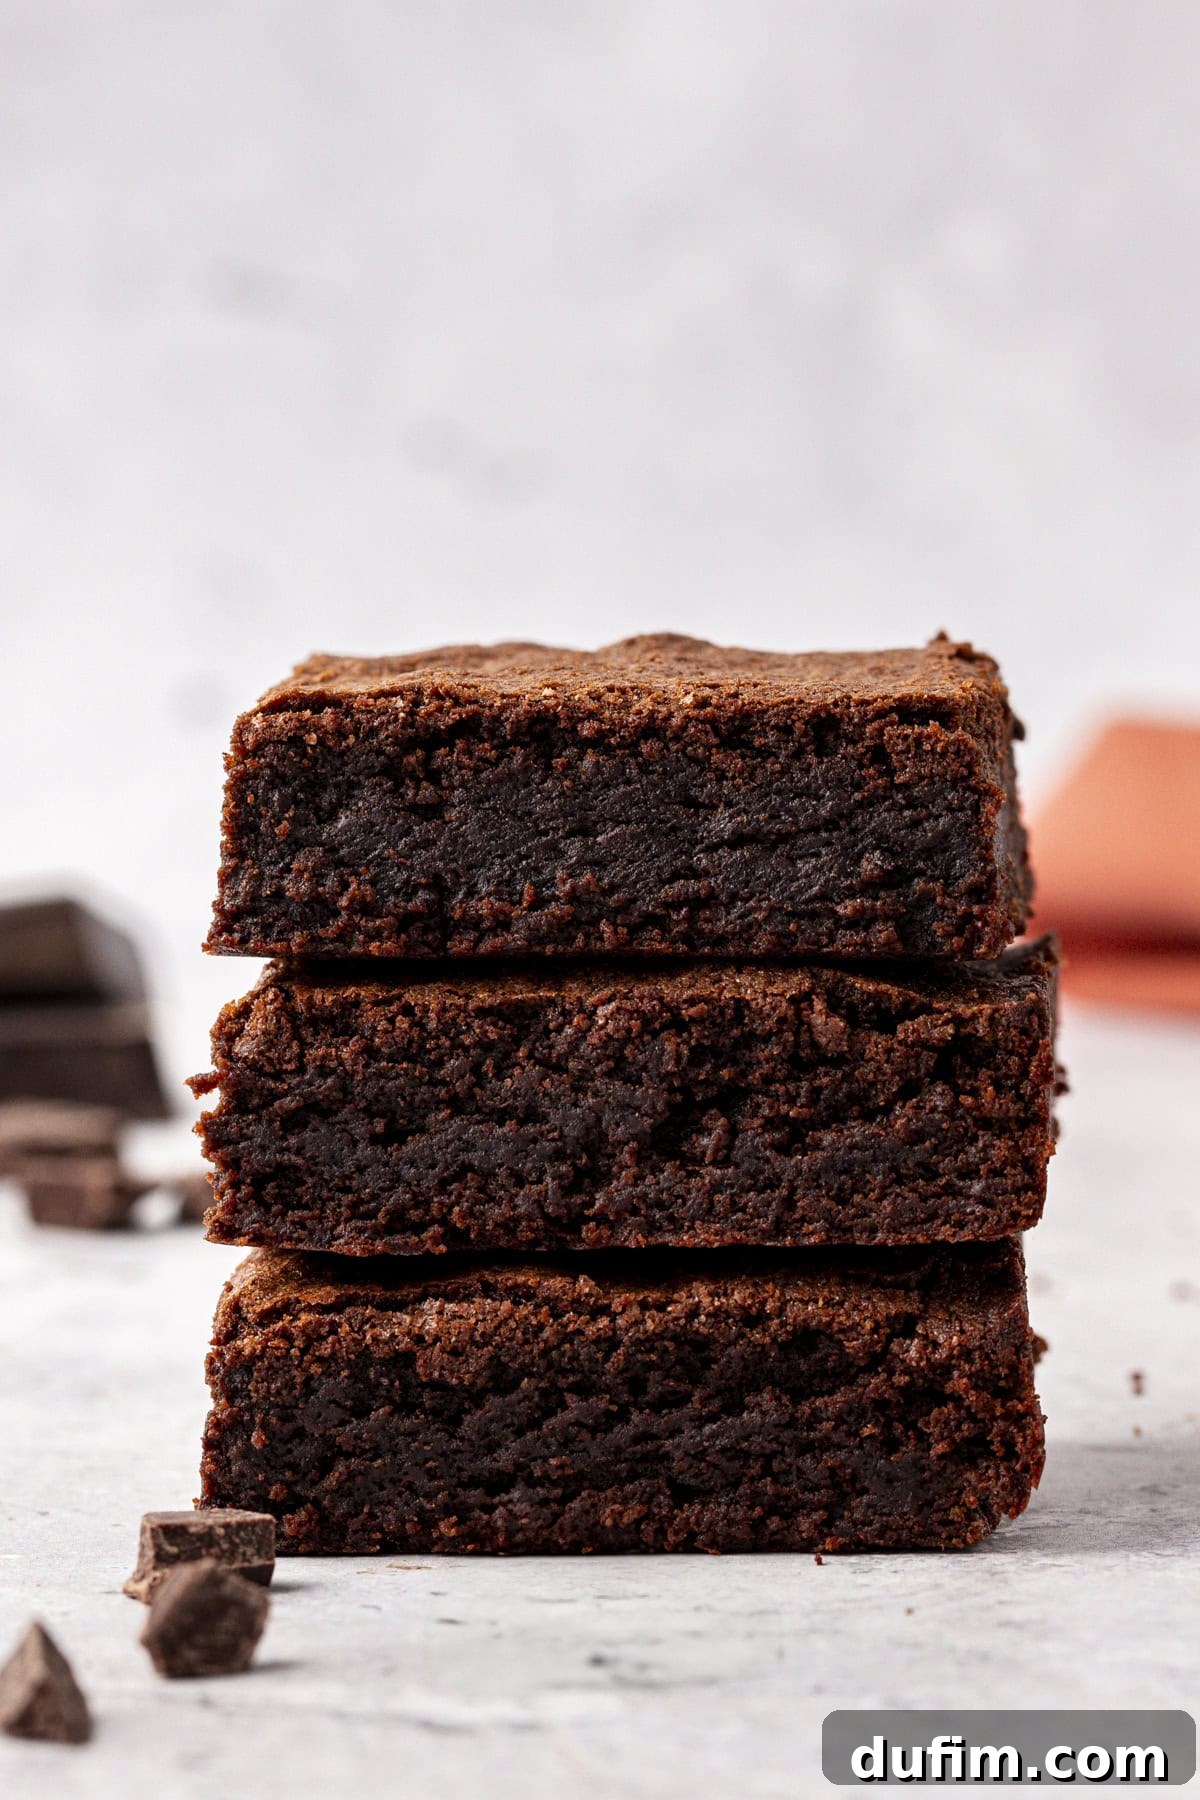
That beautiful, crinkly, shiny crust is often considered the hallmark of a truly professional-looking brownie. After extensive research and testing, I discovered the undeniable key: vigorously beating the granulated sugar with the eggs. This step is crucial for two reasons:
- **Dissolving Sugar:** Beating helps dissolve the sugar crystals into the eggs, creating a syrup that, when baked, forms a thin, glassy layer on top.
- **Incorporating Air:** This process also incorporates a significant amount of air into the egg-sugar mixture, which helps create a stable foam. As the brownies bake, this foam rises and then sets, resulting in that distinctively crisp and shiny crust.
The precise amount of granulated sugar in this recipe is also carefully calibrated to optimize this effect, ensuring a perfect shiny top every time.
Butter vs. Oil in Brownies: The Best of Both Worlds
The debate between using butter or oil in brownies is a classic one, each fat offering distinct advantages. For my ideal brownie, I found that a thoughtful blend of both unsalted butter and neutral vegetable oil yields the absolute best results. Here’s why:
- **Butter’s Flavor Boost:** Butter is unmatched for its rich, dairy flavor, which significantly enhances the overall chocolate profile of the brownies. It adds a depth of taste that oil alone cannot replicate.
- **Oil’s Chewy Texture:** Vegetable oil, on the other hand, contributes to a wonderfully moist and chewier texture. Unlike butter, which contains water and milk solids that can toughen baked goods, oil is 100% fat. This means it interferes less with gluten development, resulting in a more tender and pliable crumb.
Using both creates a brownie that is not only packed with deep chocolate-butter flavor but also boasts that coveted chewy, fudgy texture.
How Many Eggs To Put In Brownies: The Extra Yolk Advantage
Eggs are crucial binders and leaveners in brownies, but their quantity and form can significantly alter the outcome. After various trials, I discovered that my favorite combination for the ultimate classic brownie is 2 whole large eggs plus an additional large egg yolk. This precise ratio offers several benefits:
- **Structure from Whites:** The two whole eggs provide sufficient protein to give the brownies structure and a slight lift.
- **Fudginess from Yolk:** The extra egg yolk is the secret weapon for enhanced fudginess. Egg yolks are rich in fat and lecithin, an emulsifier. Adding an extra yolk introduces more fat into the batter without adding extra liquid from an egg white. This results in a brownie that is noticeably richer, denser, and more fudgy, contributing to that luxurious melt-in-your-mouth experience.
Baking Gear: Should I Bake Brownies in a Glass or Metal Pan?
The type of baking pan you use can definitely influence your brownie’s final texture and baking time. I personally opted for an 8×8-inch glass baking pan because it’s a staple in my kitchen. Glass pans conduct heat differently than metal, typically heating up more slowly but retaining heat longer. This can sometimes lead to a slightly longer baking time.
If you prefer using a metal pan, which heats up faster and can produce a slightly chewier edge, I recommend reducing the baking time by about 5 minutes. Metal pans often promote quicker crust formation and a slightly firmer set. Always keep a close eye on your brownies and perform the toothpick test to ensure they are baked to your preferred doneness.
Customize Your Brownies: Add-Ins and Variations
These classic brownies are perfect as is, but they also serve as an excellent base for your favorite additions! Unleash your creativity and personalize your batch.
Feel free to incorporate about ½ cup to ¾ cup of your chosen add-ins into the batter during the final mixing stage. Some fantastic options include:
- **Chopped Nuts:** Walnuts, pecans, almonds, or even hazelnuts for an extra layer of crunch and flavor.
- **Chocolate Chips:** Milk chocolate, semi-sweet, dark chocolate, or white chocolate chips can enhance the chocolate experience or add a contrasting sweetness.
- **Candy Pieces:** Peanut butter chips, mint pieces, caramel bits, or even crushed Reese’s Pieces for a fun twist.
- **Dried Fruits:** Cherries, cranberries, or even chopped dates can add a delightful chewiness and fruity note.
- **Flaky Sea Salt:** A sprinkle on top before baking can elevate the chocolate flavor and add a gourmet touch.
Gluten-Free Homemade Brownies: A Tested Success!
For those with gluten sensitivities or preferences, you’ll be delighted to know that this recipe adapts beautifully to a gluten-free diet. I’ve personally tested this recipe multiple times with King Arthur’s Measure for Measure All-Purpose Gluten-Free Flour, and the results have been consistently outstanding. The brownies retain their fudgy, chewy texture and delicious flavor, making them an accessible treat for everyone.
Serving and Storage Tips
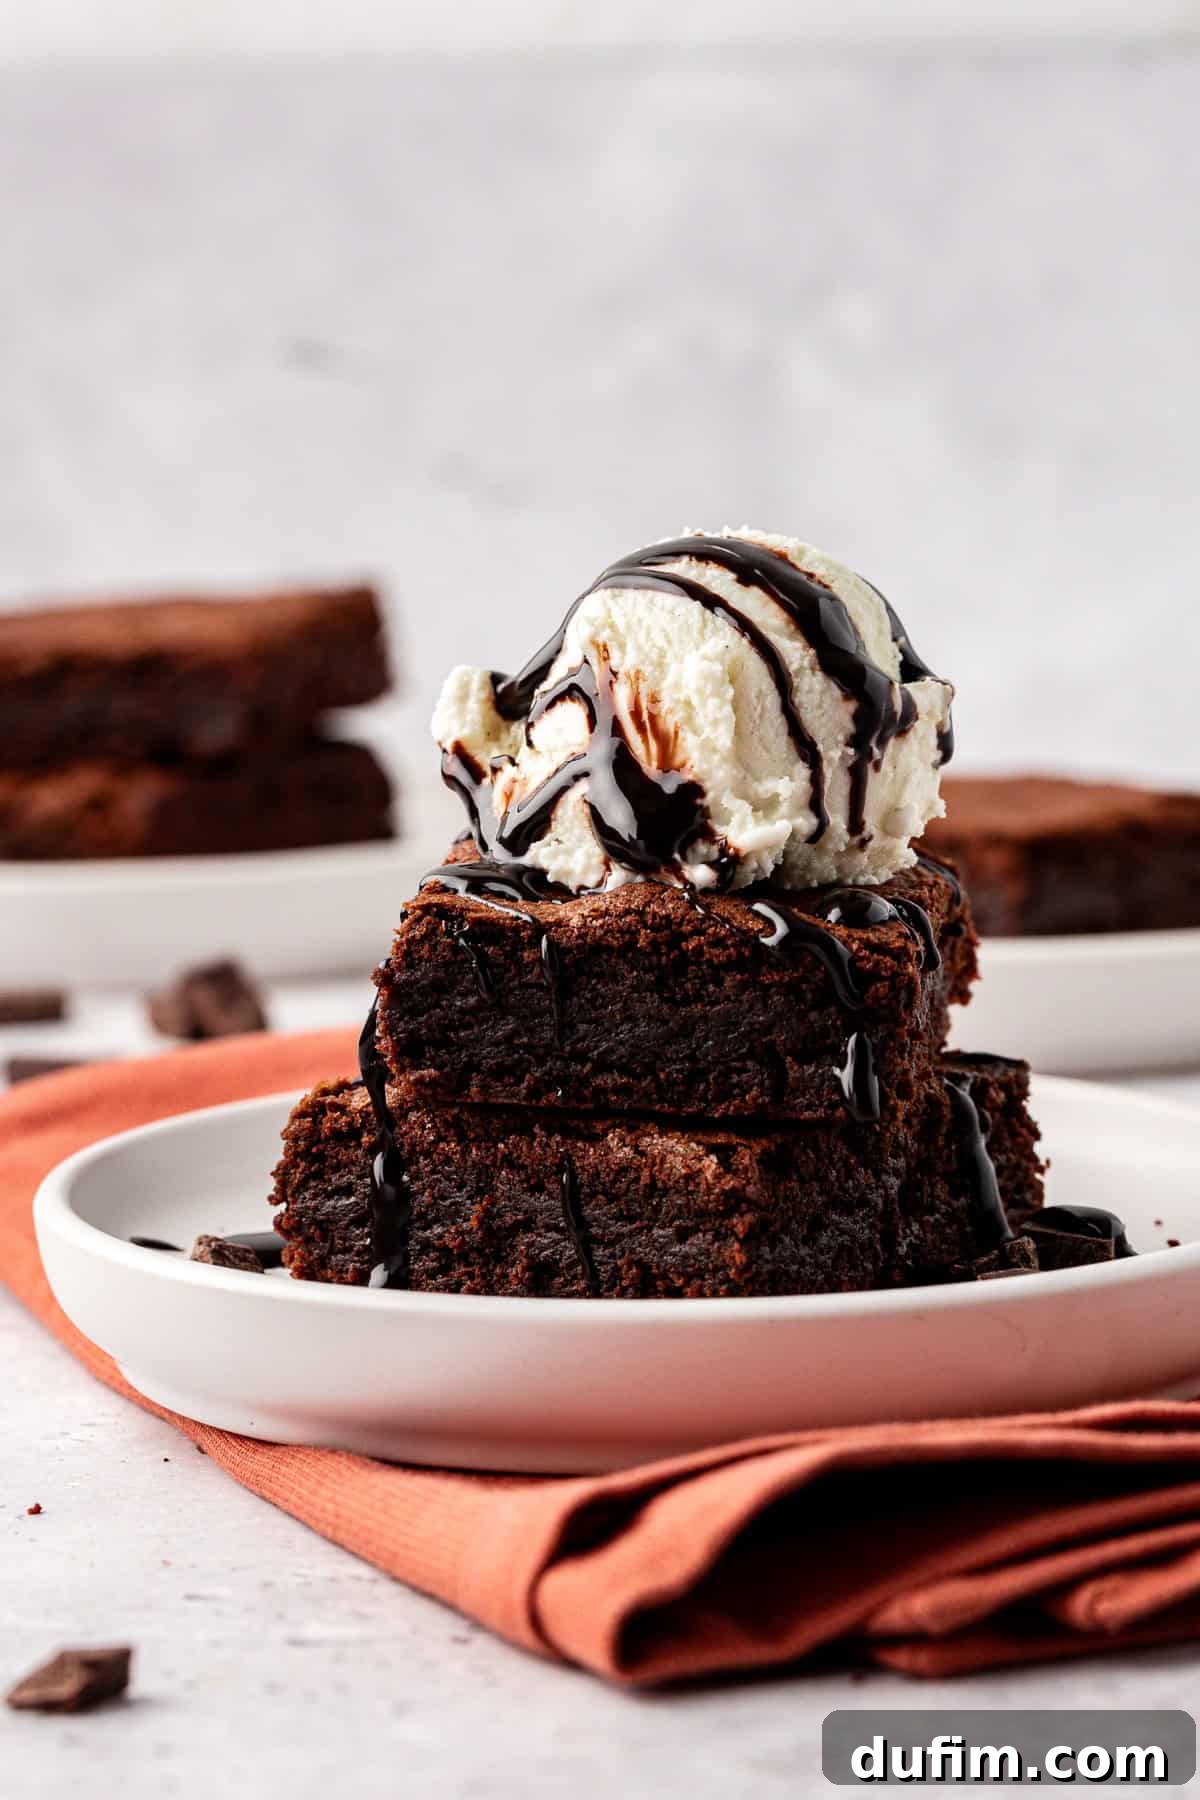
These classic homemade brownies are best enjoyed after they’ve had a chance to cool completely in the pan. This allows them to set properly, making them easier to cut and ensuring that perfect fudgy-chewy texture. Once cooled, slice them into squares.
- **Serving Suggestions:**
- **Classic:** Warm slightly and serve with a scoop of vanilla bean ice cream and a drizzle of chocolate sauce or caramel.
- **Simple:** Enjoy them plain with a glass of cold milk or a hot cup of coffee.
- **Decadent:** Top with whipped cream, fresh berries, or a sprinkle of flaky sea salt.
- **Storage:**
- Store leftover brownies in an airtight container at room temperature for up to 3-4 days.
- For longer storage, wrap individual brownies tightly in plastic wrap and then aluminum foil, and freeze for up to 3 months. Thaw at room temperature or warm gently in the microwave before serving.
More Irresistible Dessert Recipes
If you loved these classic brownies, you’ll surely enjoy exploring some of my other tried-and-true dessert favorites:
- Cookies and Cream Cupcakes
- Earthquake Cake
- Classic Cheesecake
- Bakery Style Banana Bread Muffins
Enjoy this recipe!
Classic Homemade Brownies
Beth
10 minutes
30 minutes
40 minutes
12 servings
Print Recipe
Equipment
-
Glass Mixing Bowl
-
My favorite spatula!
-
Kitchen Scale
Ingredients
- ¾ cup (90g) all-purpose flour
- ½ tsp salt
- ⅓ cup (28g) unsweetened natural cocoa powder
- 2 oz unsweetened chocolate, chopped
- ½ cup (113g) unsalted butter, cubed, 1 stick
- 1 ¼ cups (248g) granulated sugar
- 2 large eggs
- 1 large egg yolk
- ¼ cup (59ml) vegetable oil
- 1 tsp vanilla extract
Instructions
-
Preheat the oven to 350°F (175°C). Grease an 8×8-inch pan with non-stick spray or line with parchment paper.
-
In a medium bowl, whisk together the flour, salt, and cocoa powder.
-
In a small saucepan over low heat, melt the chopped unsweetened chocolate and cubed butter, stirring occasionally for about 5 minutes until smooth.
-
In a stand mixer or with a hand mixer, beat the granulated sugar, eggs, and egg yolk for 60 seconds until pale yellow and doubled in volume.
-
Gradually pour the melted chocolate mixture into the egg mixture while mixing on low speed. Add the vegetable oil and vanilla extract, continuing to mix on low until just combined.
-
Slowly add the dry ingredients to the wet mixture, mixing until just fully combined (do not overmix).
-
Pour the batter into the prepared pan. Bake for 30-33 minutes in a glass pan or 25-27 minutes in a metal pan, or until a toothpick inserted in the center comes out with moist crumbs. For chewier brownies, bake for 35-37 minutes (glass) or 30 minutes (metal).
Notes
Nutrition (Approximate per serving)
Carbohydrates: 30g |
Protein: 3g |
Fat: 12g |
Saturated Fat: 7g |
Polyunsaturated Fat: 1g |
Monounsaturated Fat: 3g |
Trans Fat: 1g |
Cholesterol: 66mg |
Sodium: 112mg |
Potassium: 100mg |
Fiber: 2g |
Sugar: 21g |
Vitamin A: 299IU |
Calcium: 18mg |
Iron: 2mg
Nutrition Disclosure
All nutritional values are approximate and provided to the reader as a courtesy. Changing ingredients and/or quantities will alter the estimated nutritional calculations.