
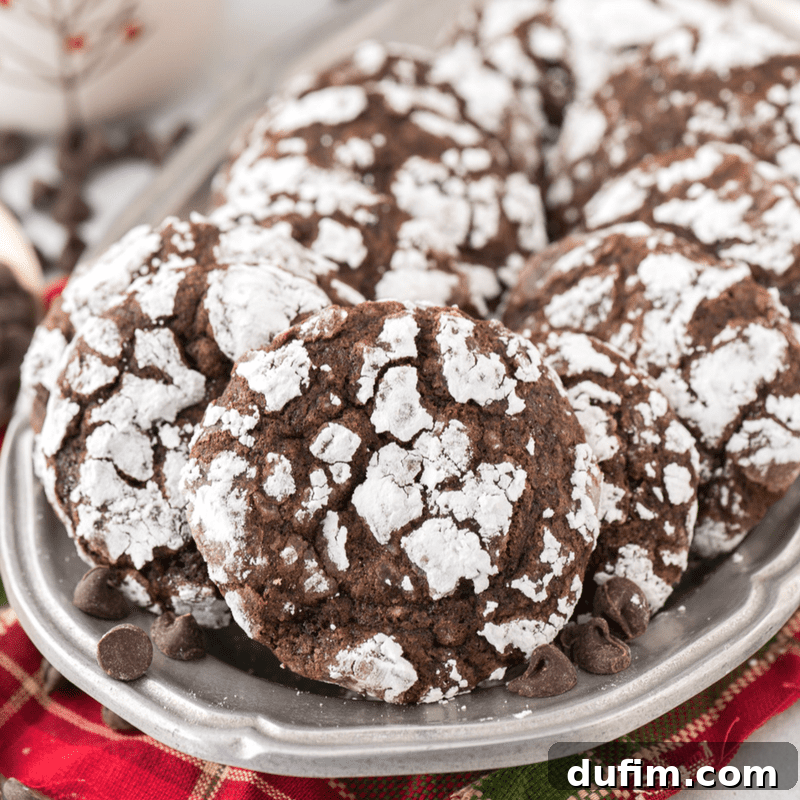
Step into the wonderful world of holiday baking with a recipe that promises to elevate your cookie game: the ultimate chocolate crinkle cookies! Prepare to be amazed by these irresistibly fudgy and deeply chocolatey delights, perfected with all my insider tips to achieve that iconic crinkled appearance. Whether you’re a seasoned baker or just starting your culinary journey, this recipe guarantees a show-stopping dessert with absolutely no prior baking experience required.
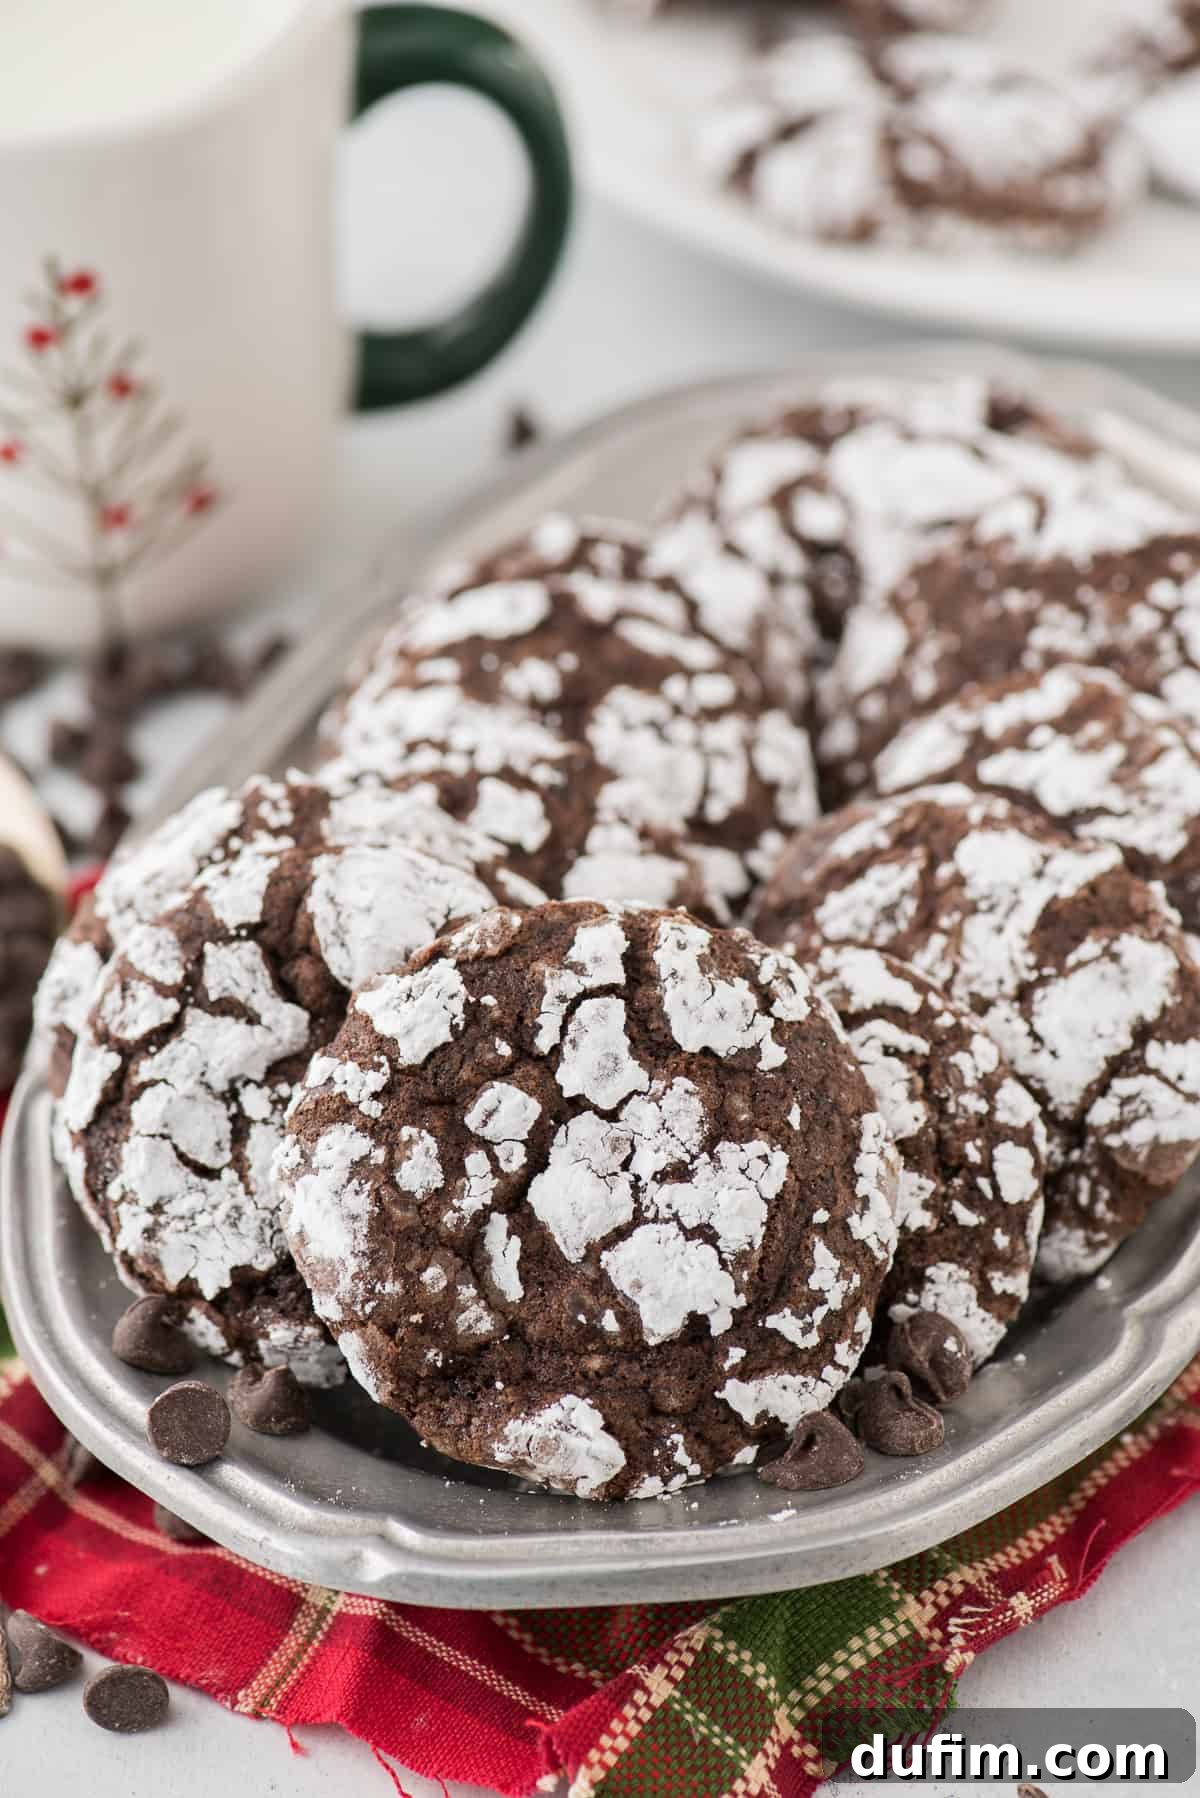
“We made these last night and they not only look incredibly pretty but taste absolutely delicious! We even added a little peppermint Hershey’s kiss for an extra Christmas twist, and they turned out really cute!!”
-Fabi, a delighted baker
Why This Chocolate Crinkle Cookies Recipe Will Become Your Family’s Favorite
For years, I surprisingly overlooked chocolate crinkle cookies, and I can hardly believe what I was missing! It’s a confession I make with a mix of regret and newfound joy: I don’t think I ever truly experienced one until I baked these. My misguided assumption was that, because they were rolled in powdered sugar, they would share a similar dry texture with Russian tea cakes. And honestly, who desires a dry Christmas cookie?
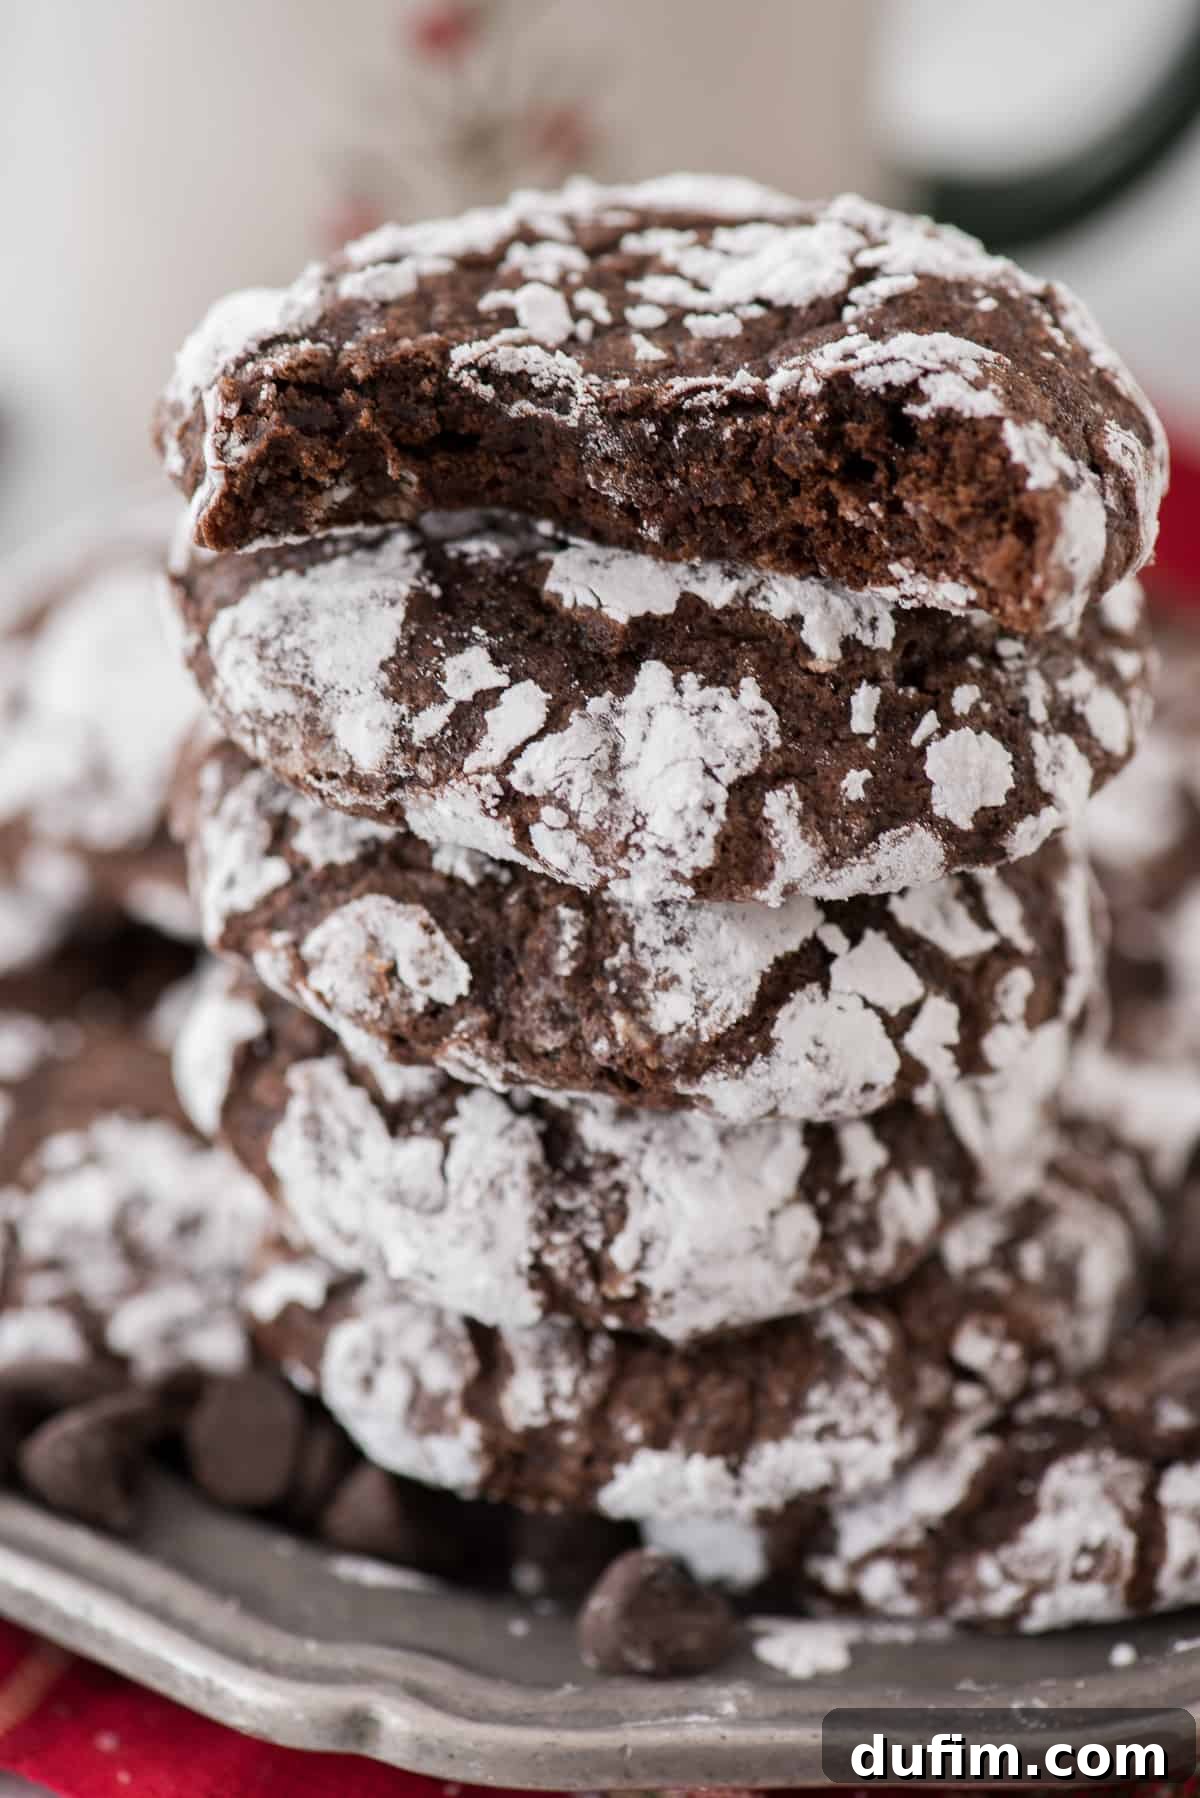
I’ve now seen the light! This chocolate crinkle cookie recipe is an absolute revelation, bearing no resemblance to a dry tea cake. In fact, they are the exact opposite – moist, tender, and incredibly satisfying. I had been missing out on the most FUDGY and CHOCOLATE-RICH cookie of my entire life, and now I’m making up for lost time!
When I say fudgy and chocolatey, I truly mean it. These cookies are so decadent, you’ll definitely want a tall glass of milk (or your beverage of choice) to accompany them. I confess, I’m not typically a milk drinker, unless it’s swirling in a bowl of cereal. So, yes, you might find me being the “weirdo” enjoying these phenomenal cookies with a glass of cool water, letting their intense chocolate flavor shine through.
What Exactly Are Chocolate Crinkle Cookies?
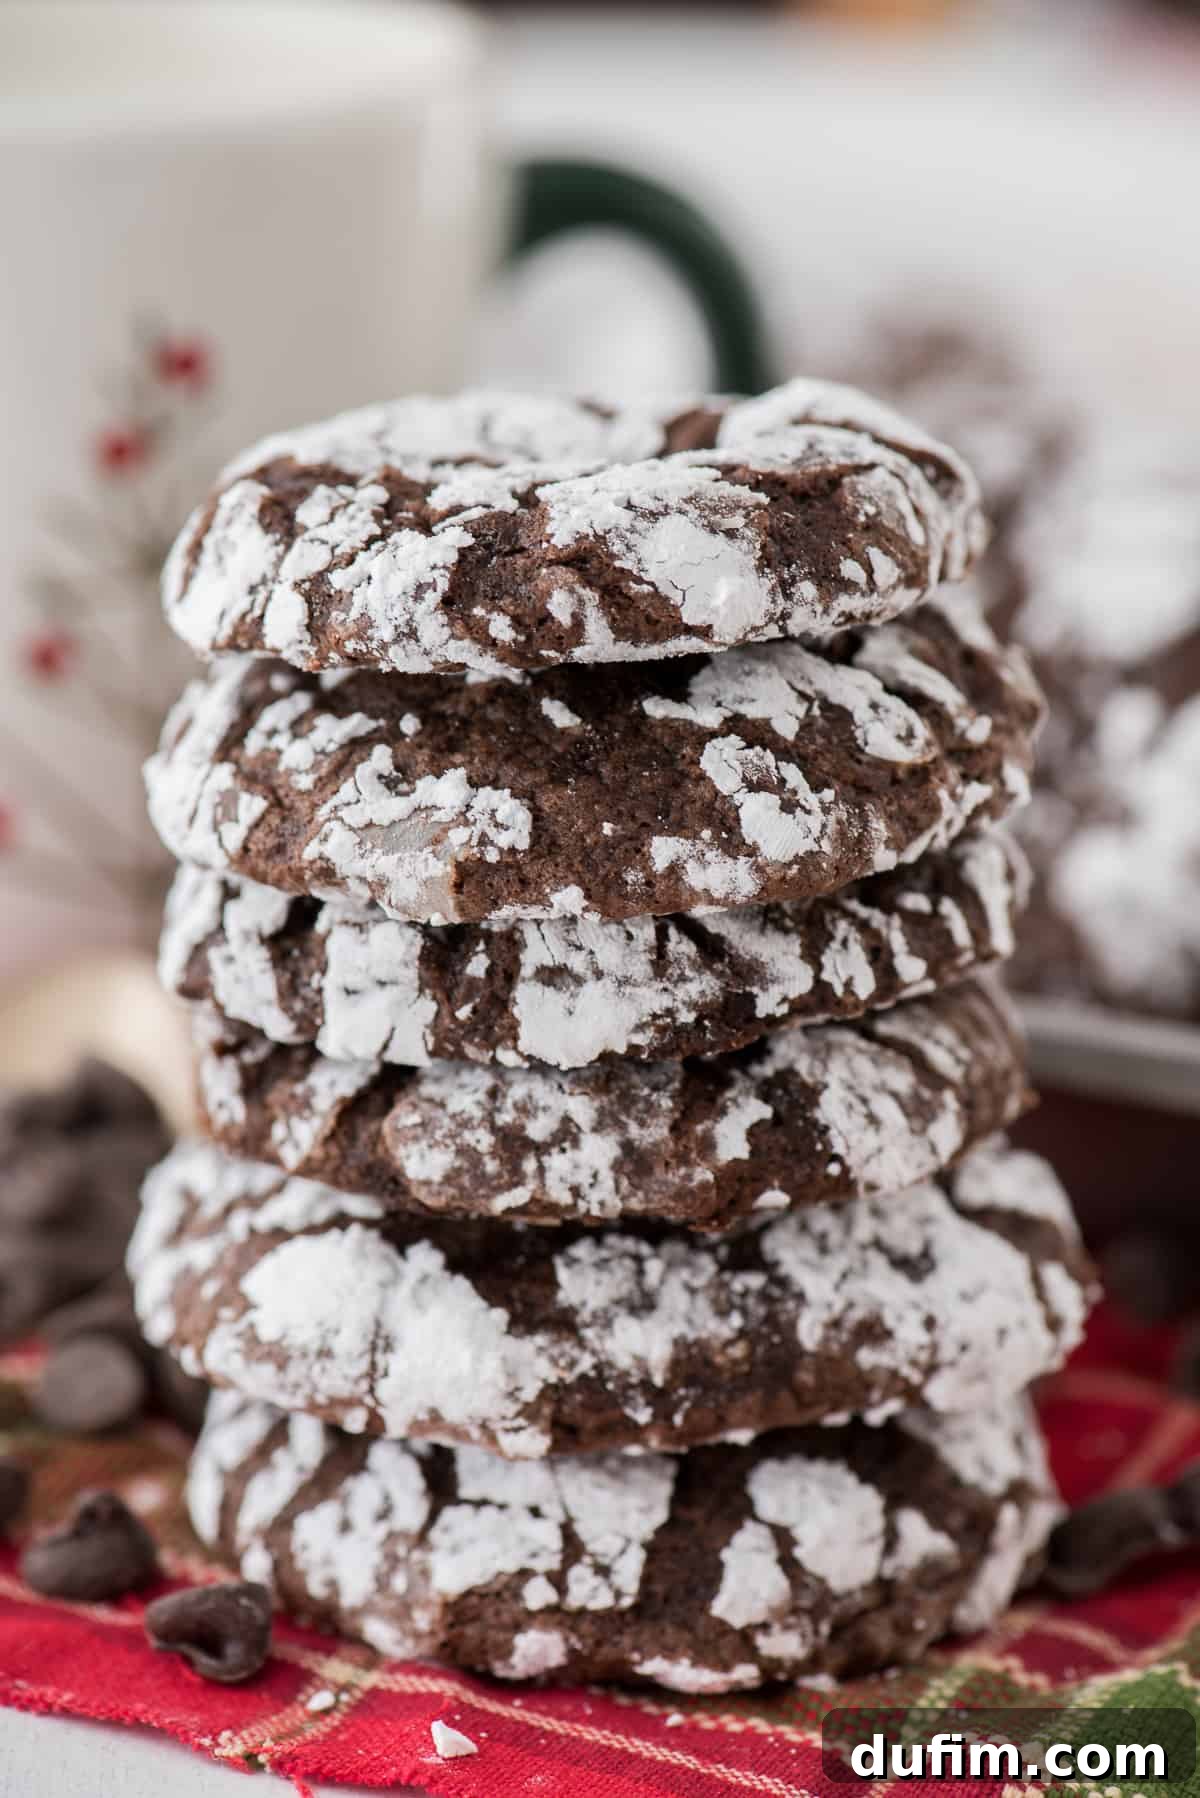
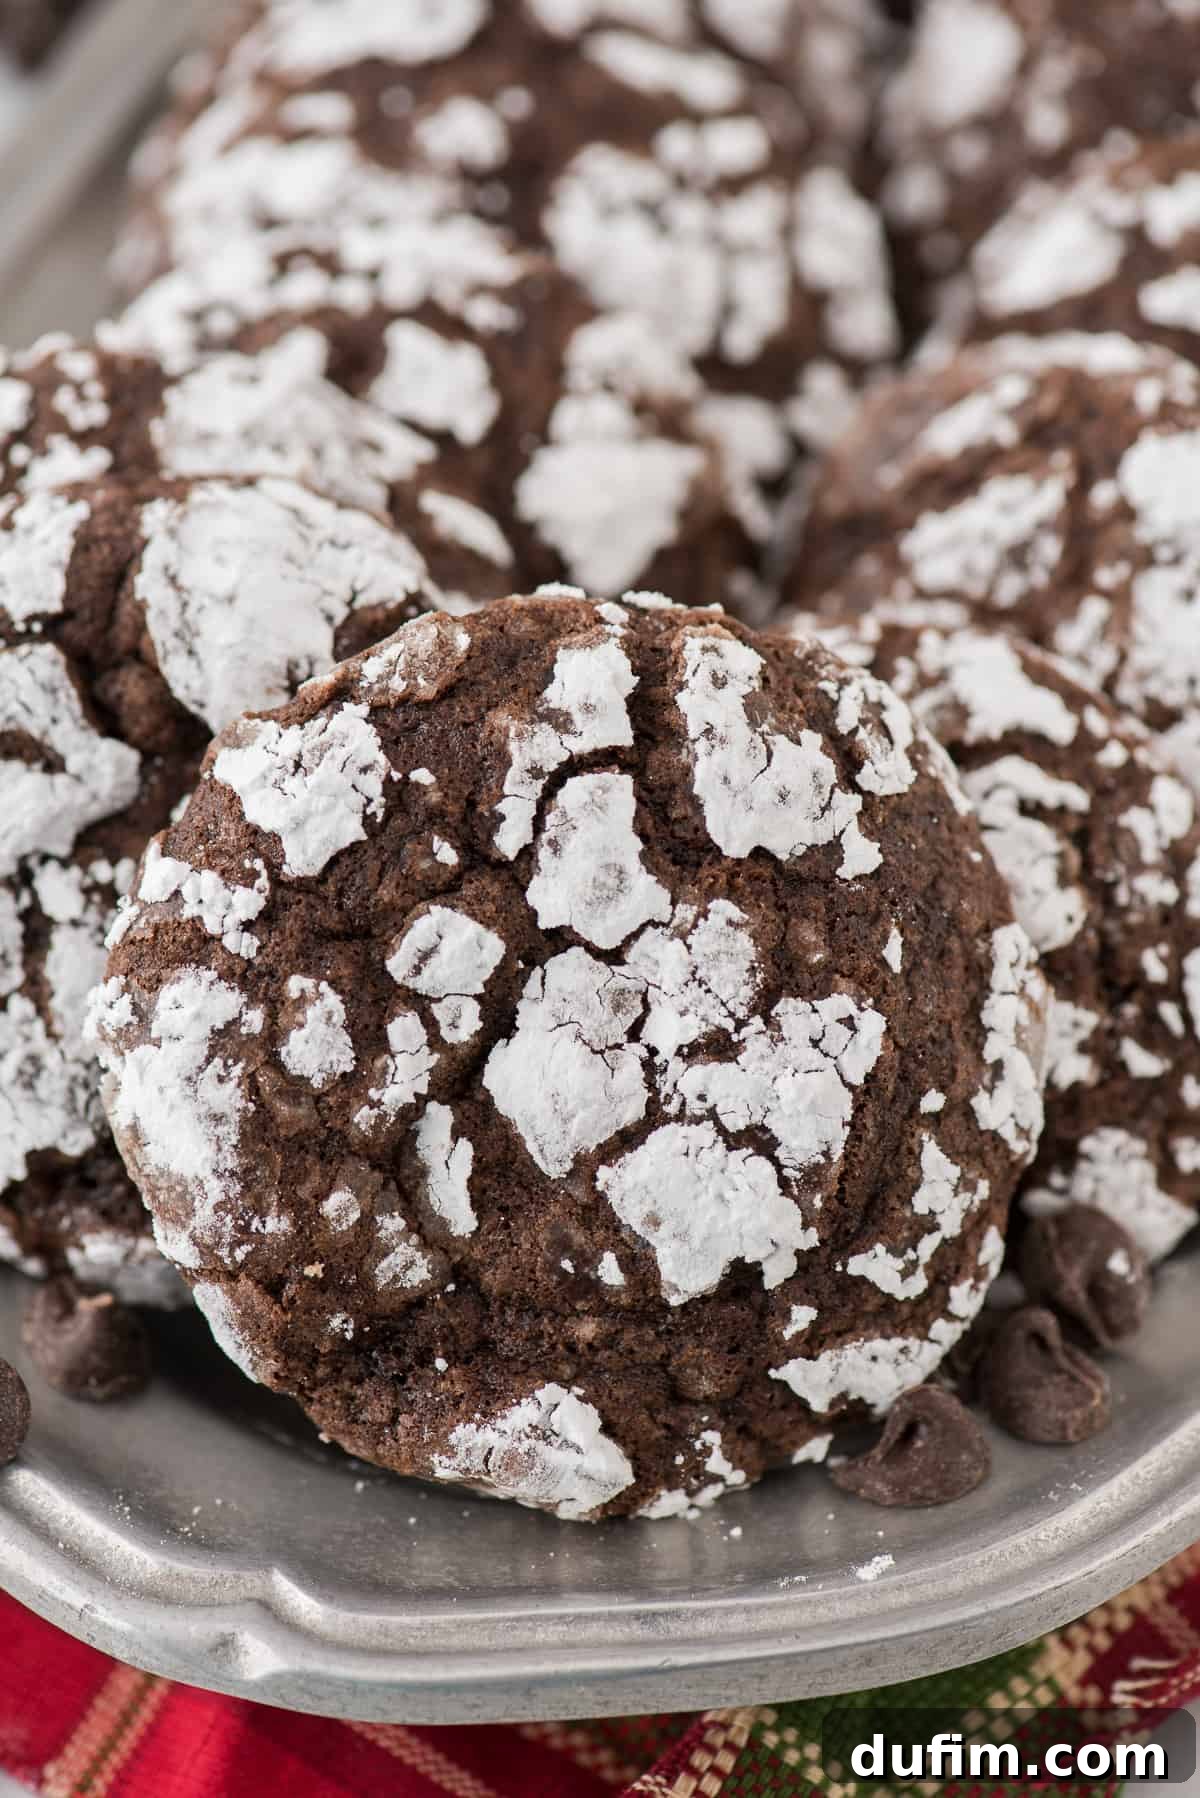
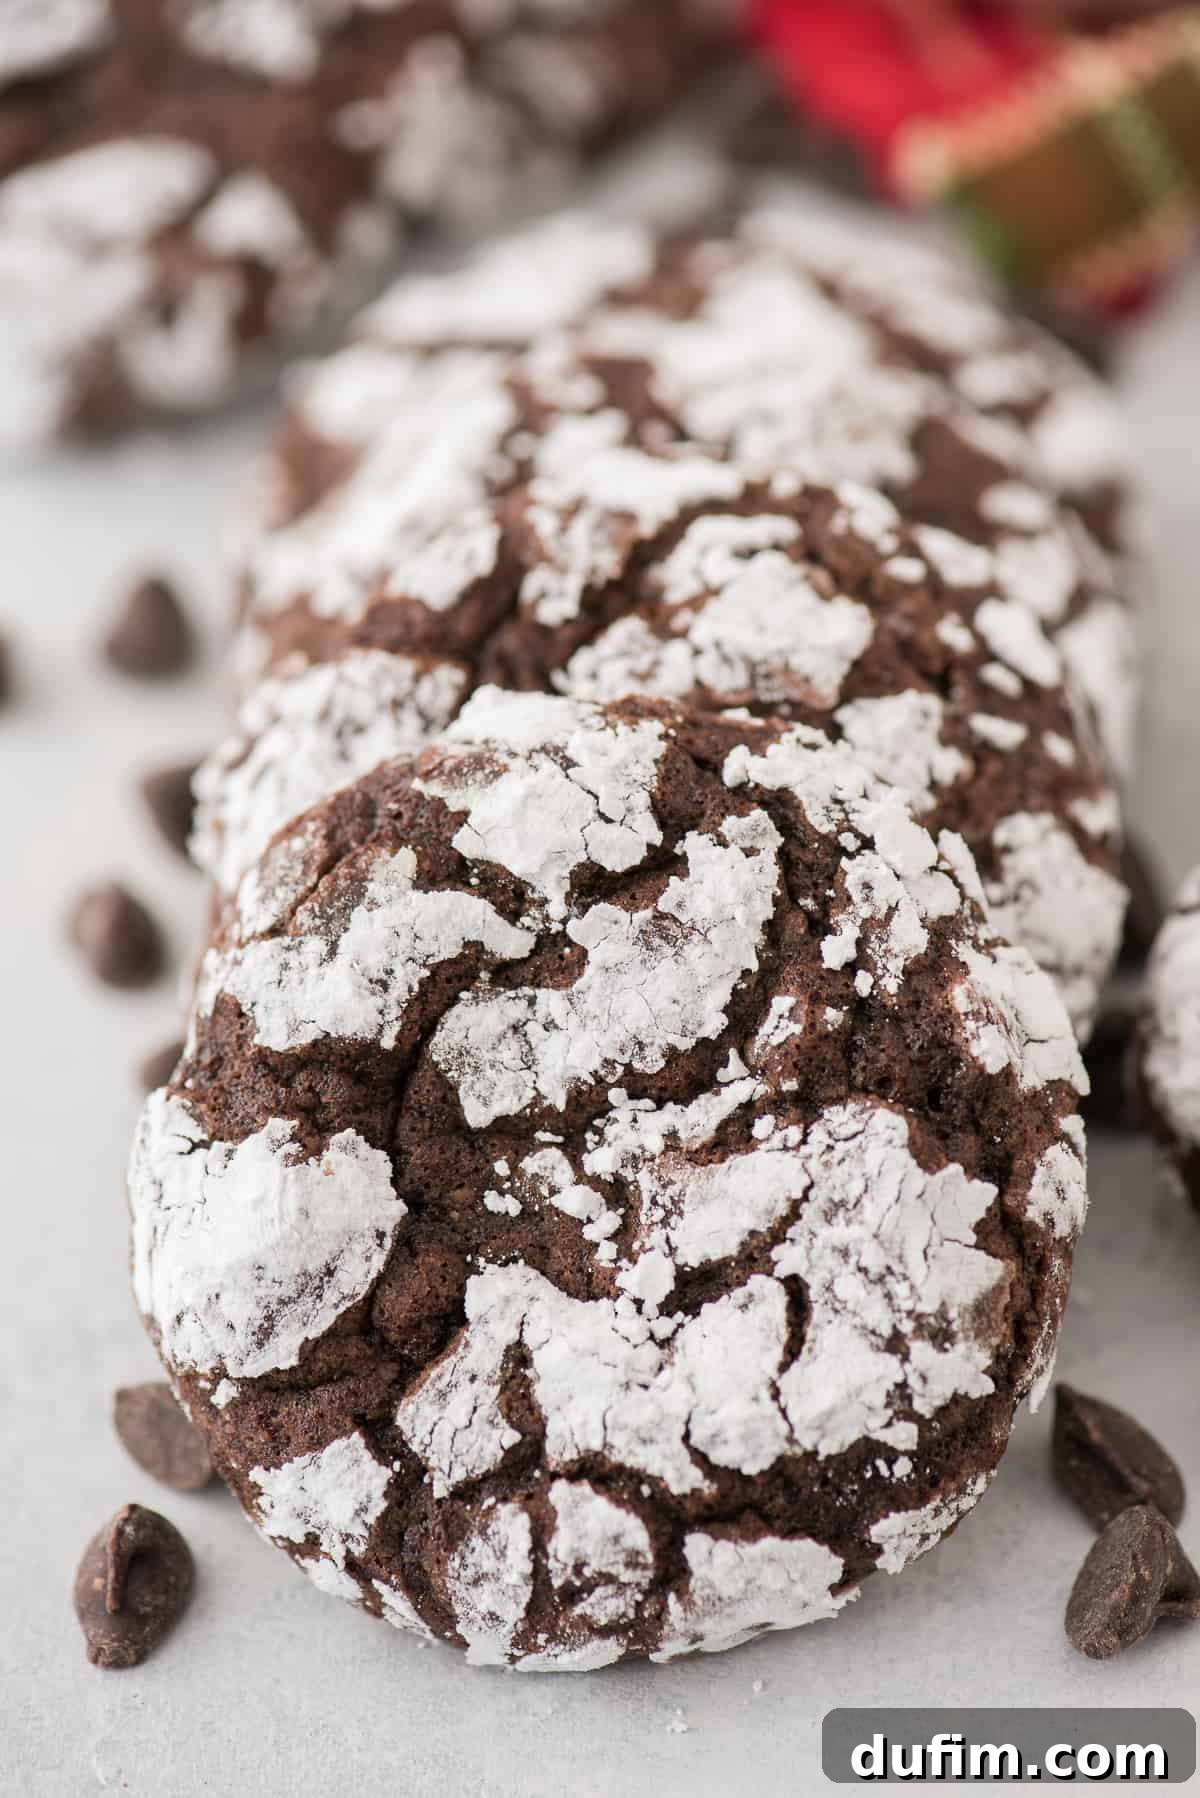
Imagine the best qualities of a classic chocolate cookie combined with the moist, dense chewiness of a perfect brownie. That’s precisely what a chocolate crinkle cookie delivers! These delightful treats boast slightly chewy edges, characteristic of a well-baked cookie, while their interior remains incredibly fudgy and soft, much like a gourmet brownie. The signature “crinkle” comes from rolling the dark chocolate dough generously in powdered sugar before baking. As the cookies expand in the oven, the powdered sugar coating cracks, creating a beautiful, snowy, and distinctive pattern that’s as appealing to the eye as it is to the palate.
Why This is The Best Chocolate Crinkle Cookie Recipe You’ll Find
There are countless reasons to fall in love with this particular recipe. It’s not just another cookie; it’s an experience:
- Intensely Chocolatey Flavor: This recipe calls for both melted unsweetened chocolate and rich cocoa powder, creating a double-whammy of deep, complex chocolate flavor that truly sets these cookies apart from simpler versions. Every bite is an explosion of rich, satisfying cocoa.
- Made with Simple Pantry Staples: You’ll appreciate that this recipe relies on common ingredients you likely already have in your kitchen. No need for special trips to specialty stores; just gather your flour, sugar, butter, eggs, and chocolate, and you’re ready to bake!
- Unrivaled Soft and Chewy Texture: The texture of these chocolate crinkle cookies is simply divine and absolutely out of this world! They are incredibly soft in the center with just the right amount of chewiness, reminding many of our famous homemade brownies. This perfect balance makes them utterly addictive.
- Visually Stunning Crinkles: With our specific tips for rolling the dough, you’ll achieve those picture-perfect, snowy cracks every single time, making them a beautiful addition to any dessert platter, especially during the festive season.
- A Versatile Crowd-PlePleaser: Whether you’re baking for a holiday party, a casual get-together, or just satisfying a sudden sweet craving, these crinkle cookies are universally loved and disappear quickly!
Essential Chocolate Crinkle Cookies Recipe Ingredients
Gathering your ingredients is the first step towards baking these delightful cookies. Here’s what you’ll need:
- All-Purpose Flour: The foundational dry ingredient, providing structure. (Alternatively, you can use all-purpose gluten-free flour for a gluten-free option.)
- Unsweetened Cocoa Powder: Crucial for that deep, rich chocolate flavor and dark color.
- Baking Powder: A leavening agent that helps the cookies puff up and achieve their characteristic crinkled texture.
- Salt: Enhances all the flavors and balances the sweetness.
- Unsalted Butter: Adds richness, moisture, and helps create that fudgy texture.
- Unsweetened Chocolate Bar: Provides intense chocolate flavor and contributes to the decadent, brownie-like consistency when melted.
- Eggs: Act as binders and add richness, moisture, and structure to the cookie dough.
- Granulated Sugar: Sweetens the cookies and helps with chewiness.
- Powdered Sugar: The key ingredient for rolling, creating the signature white “crackle” finish.
How to Make Perfect Chocolate Crinkle Cookies: A Step-by-Step Guide
Follow these detailed steps to bake your own batch of fudgy, perfectly crinkled chocolate cookies:
- Prepare Your Dry Ingredients: In a small mixing bowl, whisk together the all-purpose flour, unsweetened cocoa powder, baking powder, and salt. Ensure they are well combined to distribute the leavening and seasoning evenly throughout the dough. Set this mixture aside.
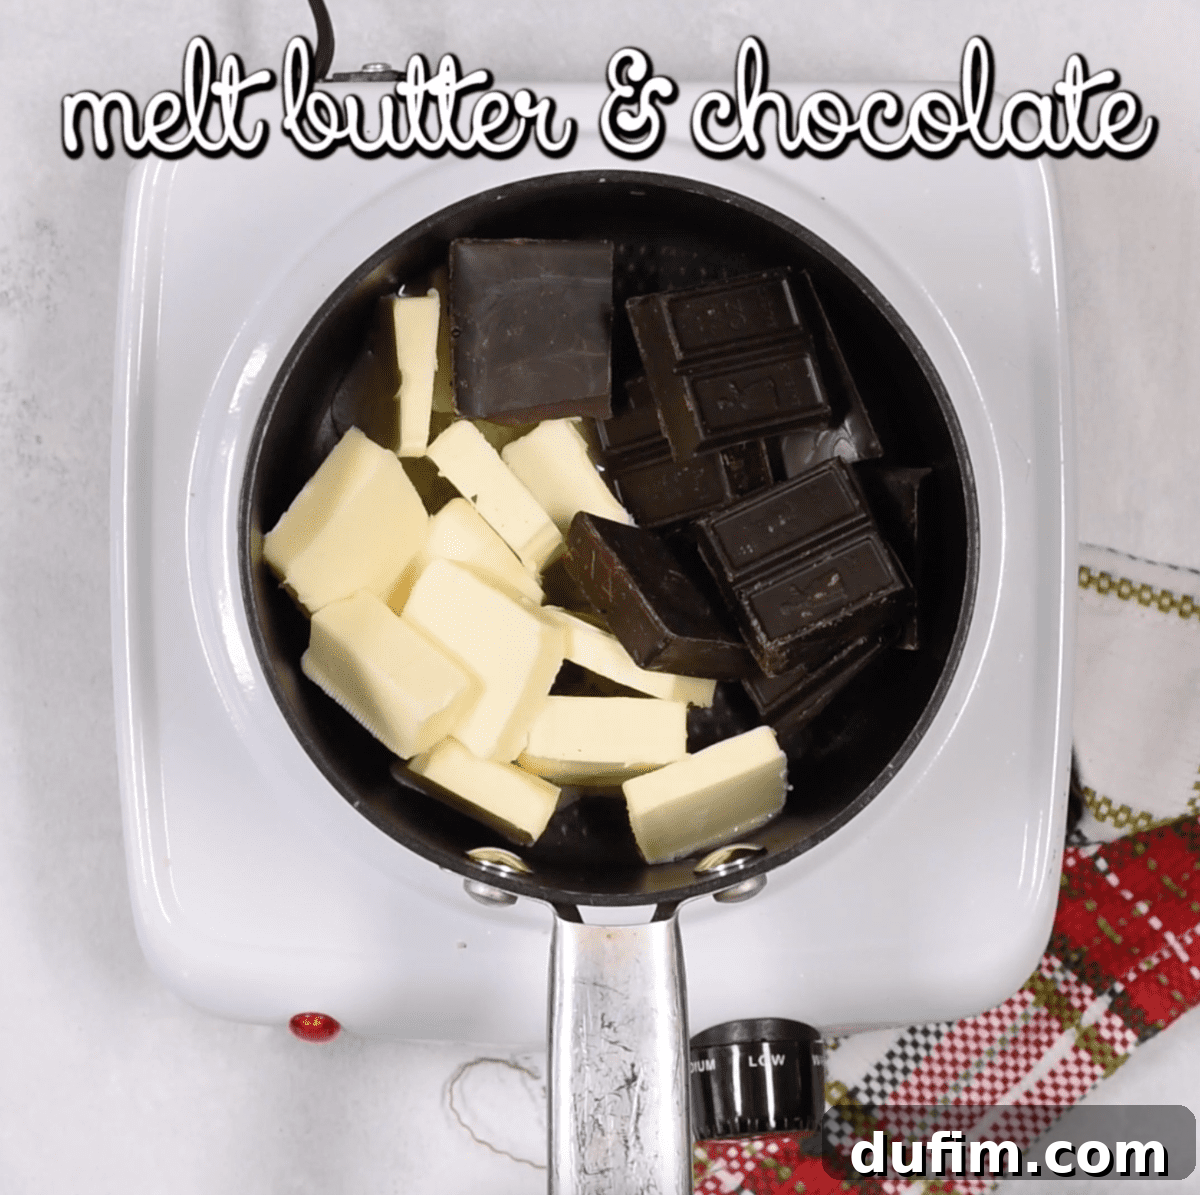
- Melt Chocolate and Butter: In a small saucepan, melt the unsalted butter and chopped unsweetened chocolate over medium-low heat. Stir frequently to prevent scorching and ensure a smooth, uniform mixture. Once completely melted and glossy, remove the pot from the heat and allow it to cool slightly while you prepare the wet ingredients.
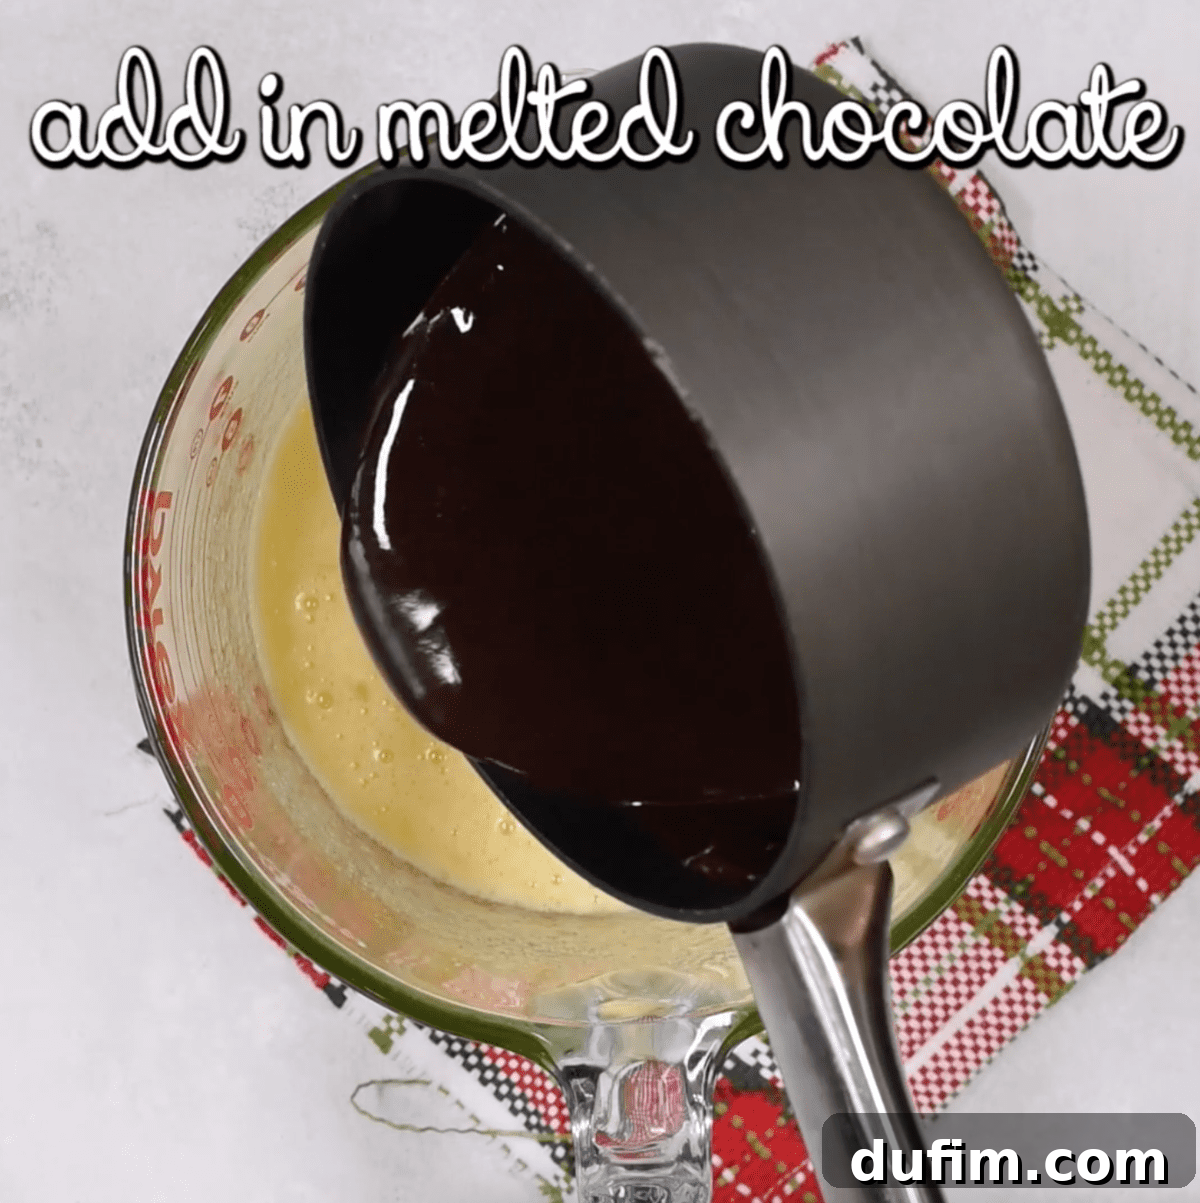
- Combine Wet Ingredients: In a large mixing bowl, vigorously whisk together the eggs and granulated sugar until they are light, frothy, and well combined. This aeration helps create a tender crumb. Then, gradually pour the slightly cooled melted chocolate and butter mixture into the egg and sugar mixture, whisking continuously until everything is thoroughly incorporated and smooth.
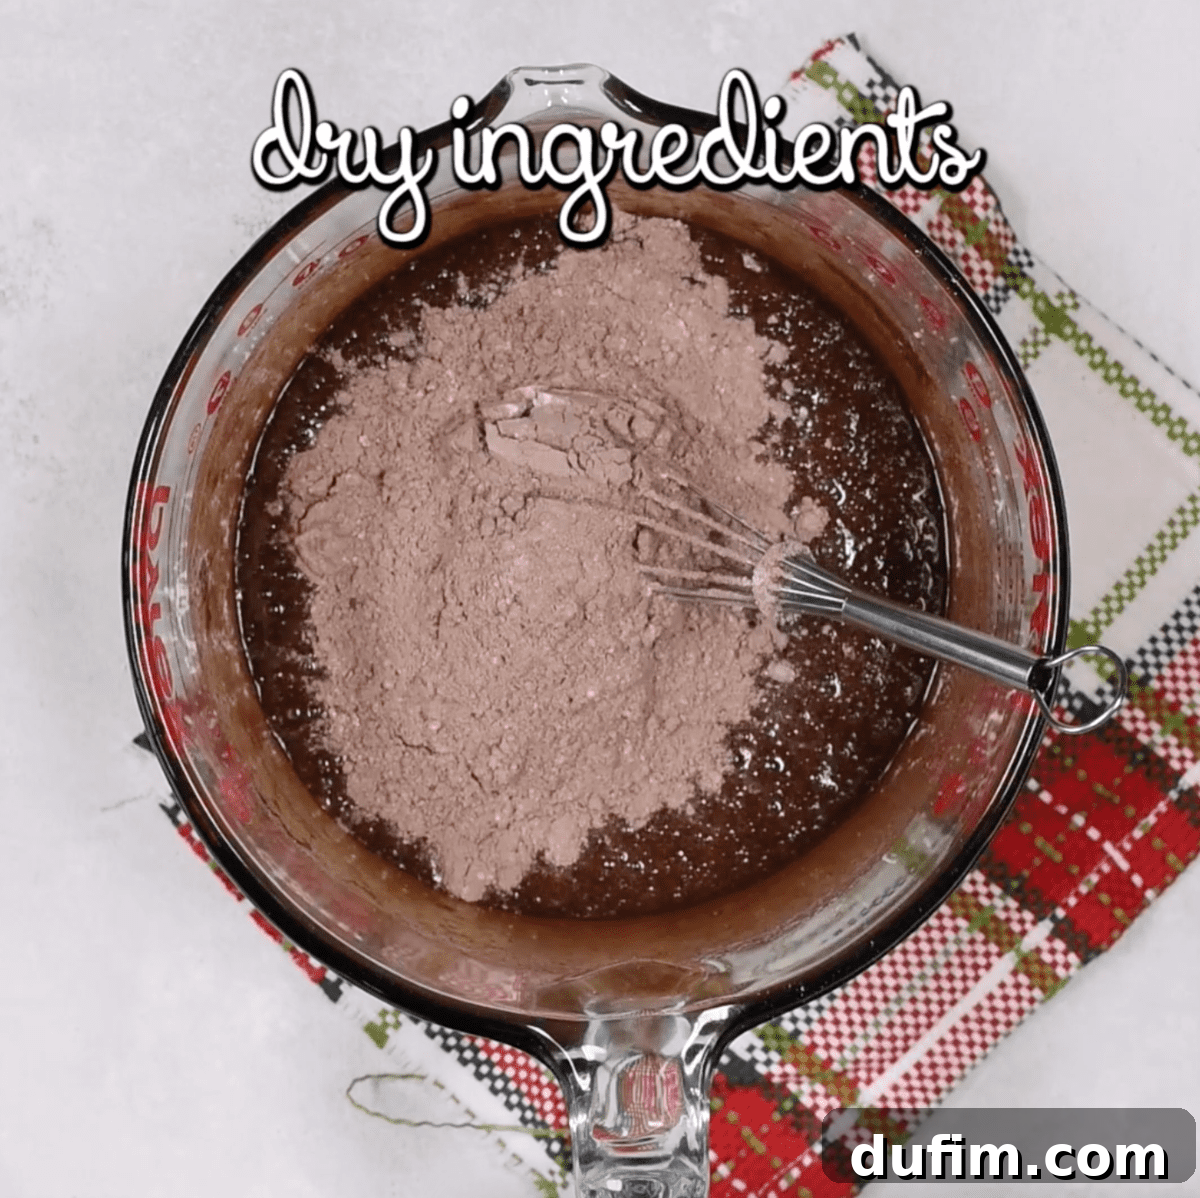
- Incorporate Dry Ingredients: Slowly add the reserved flour mixture to the wet chocolate mixture. Mix gently, either by hand with a spatula or on low speed with a stand mixer, just until the dry ingredients are fully moistened and no streaks of flour remain. Be careful not to overmix, as this can lead to tough cookies.
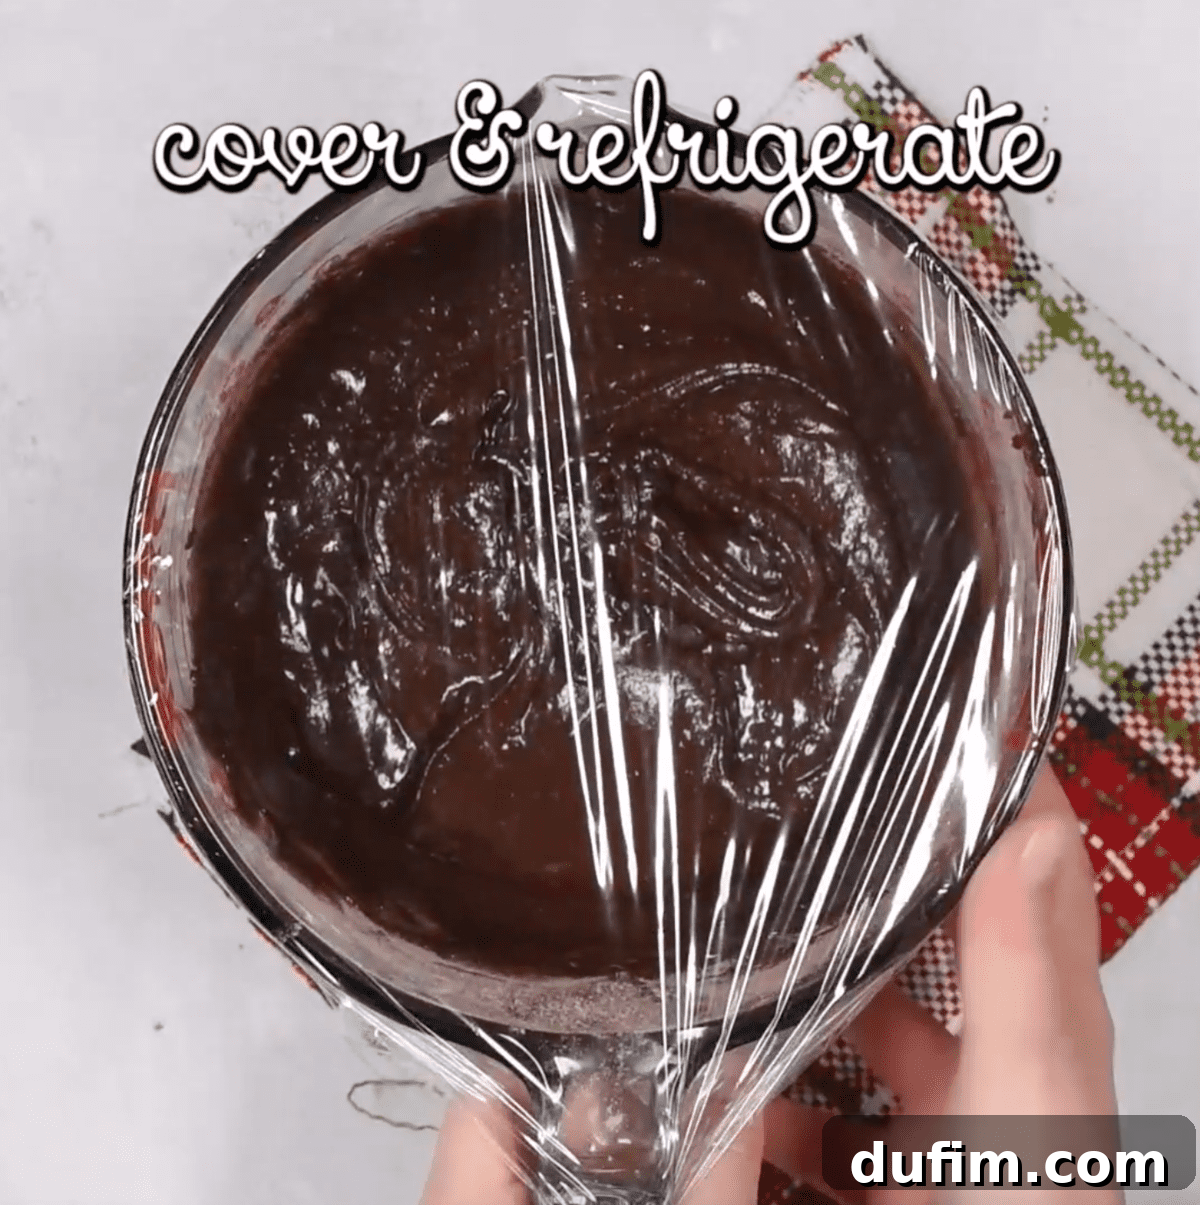
- Chill the Dough (Crucial Step!): Cover the bowl tightly with plastic wrap and refrigerate the cookie dough for a minimum of 2 hours. For best results and easier handling, you can even chill it overnight or up to 48 hours. This chilling process is essential for the dough to firm up, allowing for easy shaping and preventing the cookies from spreading too much during baking, which helps achieve those perfect crinkles.
- Scoop and Roll in Powdered Sugar: Once the dough is sufficiently chilled, preheat your oven to 350°F (175°C) and line a baking sheet with parchment paper or a silicone baking mat. Pour a generous amount of powdered sugar (about 1 cup) into a shallow bowl. Using a small cookie scoop (approximately 1 tablespoon size), form the firm dough into uniform balls. Roll each dough ball thoroughly in the powdered sugar, ensuring it’s completely coated, leaving no dark patches of dough showing. The more sugar, the more pronounced the crinkles will be.
- Bake to Perfection: Place the sugar-coated cookie balls about 2 inches apart on your prepared baking sheet. Bake for 16-20 minutes. The cookies will puff up and develop those beautiful, distinctive cracks on the surface, indicating they are done. They will still be very soft in the center when warm, which is exactly what we want for that fudgy texture.
- Cool Completely: This is vital for fudgy cookies! Allow the cookies to cool completely on the baking sheet before attempting to move them. This step allows them to set properly and prevents them from falling apart, as their fudgy nature makes them delicate when hot. Once cooled, transfer them to a wire rack to finish setting before serving.
Understanding the “Refrigerator Christmas Cookie”
This recipe falls into the category of a “refrigerator cookie,” meaning the dough requires a mandatory chilling period before it can be baked. I understand that the thought of halting your baking process for 2+ hours to chill dough can elicit groans from even the most patient bakers!
Even as a baker myself, I sometimes find recipes that call for extensive chilling a bit of a hurdle. However, once you embrace this step, it becomes much easier. The key is to plan ahead! If you know in advance that a recipe requires chilling, you can strategically use that downtime. It’s the perfect opportunity to prepare other holiday cookies, clean up your kitchen, or even catch up on episodes of your favorite show. The wait is truly worth it for the superior texture and less-spread results!
Mastering the Art of Measuring Flour
Properly measuring flour is critical for consistent baking results, especially for cookies. Too much flour can lead to dry, dense cookies, while too little can make them spread excessively. Follow these steps for accurate measurement:
- Whisk the Flour: Before scooping, gently whisk the flour in its container. This aerates it and breaks up any clumps, ensuring a lighter, more accurate measure.
- Spoon into Measuring Cup: Use a spoon to lightly scoop the whisked flour into your dry measuring cup. Do not pack it down.
- Level with a Knife: Use the flat side of a butter knife or a straight edge to level off the top of the measuring cup, removing any excess flour.
Important: Do not pack the flour down into the measuring cup. This adds significantly more flour than intended.
Important: Never stick the measuring cup directly into the flour bag and scoop it out. This method compacts the flour, resulting in a much heavier measure and a dry, crumbly cookie.
Expert Tips for Baking the Best Chocolate Crinkle Cookies
Achieving bakery-quality chocolate crinkle cookies is easy with these essential tips:
- Don’t Skip the Chill Time: Refrigerating the dough for at least 2 hours is non-negotiable. This firms up the butter and chocolate, preventing the cookies from spreading too thinly and ensures the signature cracks form beautifully. The dough can also be refrigerated overnight or up to 48 hours for ultimate convenience and flavor development.
- Be Generous with Powdered Sugar: When rolling the dough balls, don’t be shy! A thick, even coating of powdered sugar is key. The more powdered sugar adheres to the dough, the more dramatic and eye-catching your crinkles will be after baking. Aim for no cookie dough to be visible through the sugar coating before they go into the oven.
- Cool on the Baking Sheet: These cookies are incredibly fudgy and tender straight out of the oven. They need time to set. Allow them to cool completely on the baking sheet for at least 15-20 minutes (or until firm enough to handle) before transferring them. Attempting to move them too soon will result in them crumbling.
- Watch for Doneness: Crinkle cookies are done when they’ve puffed up, the edges are set, and the powdered sugar has cracked beautifully. The centers may still look slightly soft, but they will firm up as they cool, retaining that perfect fudgy texture. Overbaking will lead to dry cookies.
- Use Quality Chocolate and Cocoa: Since chocolate is the star here, using good quality unsweetened chocolate and natural cocoa powder will make a noticeable difference in the depth of flavor.
Time Required to Bake These Decadent Cookies
Planning your baking session is easy with this breakdown:
- Preparation & Assembly: Approximately 10-15 minutes to mix the cookie dough.
- Chilling the Dough: A mandatory 2 hours (or more) to firm up the dough.
- Baking Time: Each batch will take about 16-20 minutes in the oven.
- Cooling Time: Allow at least 15-20 minutes on the baking sheet per batch.
Storing Your Chewy Chocolate Crinkle Cookies
Keep your crinkle cookies fresh and delicious with these storage tips:
- Room Temperature Storage: Store baked chocolate crinkle cookies in an airtight container at room temperature for up to 1 week. This helps maintain their fudgy texture and prevents them from drying out.
- Freezing Baked Cookies: For longer storage, baked cookies can be frozen. Once completely cooled, place them in an airtight freezer-safe container or bag, separated by parchment paper, for up to 3 months. Thaw at room temperature before serving.
- Freezing Cookie Dough: You can also prepare the dough ahead of time and freeze it. Roll the dough into balls, generously coat them in powdered sugar, and then place them on a baking sheet to flash freeze for about 30 minutes until solid. Transfer the frozen dough balls to an airtight freezer-safe container or bag. When ready to bake, thaw the dough balls in the refrigerator overnight, then roll them in a fresh layer of powdered sugar (if needed) before baking as usual.
Frequently Asked Questions About the Best Chocolate Crinkle Cookies
How do you know when chocolate crinkle cookies are done?
You’ll know the cookies are perfectly done when they have puffed up significantly in the oven and have formed those famous, beautiful cracks or crinkles on their powdered sugar-coated surface. The edges will be set, but the centers should still appear soft, firming up as they cool.
Why is my cookie dough too sticky or wet to handle?
This dough is intentionally wet and sticky, primarily because it incorporates a generous amount of melted chocolate and butter. These liquid ingredients contribute to the cookies’ incredibly fudgy texture. This stickiness is why refrigeration is absolutely essential before you can successfully scoop and roll them. The chilling process firms up the fats, making the dough much more manageable.
Can I make crinkle cookies gluten-free?
Absolutely! I’ve personally made these delicious cookies multiple times using King Arthur’s Gluten-Free Measure for Measure Flour, and each time they have turned out with fantastic success, maintaining their fudgy texture and classic crinkled look. Feel free to use your preferred all-purpose gluten-free flour blend.
My cookies don’t have enough powdered sugar/crinkles, help!
The secret to prominent crinkles is a generous coating of powdered sugar. Make sure to roll the cookie dough balls very thoroughly in the powdered sugar, ensuring every surface is completely covered. You want a thick, visible layer of white sugar; no cookie dough should be showing through when the balls go into the oven. This ensures that as the cookies bake and expand, the sugar coating cracks, creating those beautiful, snowy crinkles.
Can I add flavor variations to these crinkle cookies?
Yes! For a festive twist, consider adding a teaspoon of peppermint extract for mint chocolate crinkles, or a pinch of cinnamon or chili powder for a Mexican hot chocolate flavor. A dash of espresso powder can also deepen the chocolate notes without adding coffee flavor. Get creative!
Explore More Christmas Cookies
Looking for more festive baking inspiration? Check out these other delightful holiday cookie recipes:
- Classic Cut-Out Sugar Cookies
- Irresistible Gingerbread Cookies
- Festive Christmas Sugar Cookies
- Charming Christmas Wreath Cookies
Tap stars to rate!
The Best Fudgy Chocolate Crinkle Cookies
Elevate your chocolate crinkle cookies to new heights! This recipe shares the secrets to the fudgiest, most intensely chocolatey crinkle cookies, complete with all the best tips to achieve that perfect powdered sugar crackle, even with no baking experience.
Equipment
- Glass Mixing Bowl
- KitchenAid 9-Speed Mixer (Optional, hand whisk works too)
- Favorite Spatula
- Baking Sheet
- Silicone Baking Mat or Parchment Paper
- Cookie Dough Scoop (Small)
- Small Saucepan
Ingredients
- 1 ⅔ cups (200g) all-purpose flour
- ⅓ cup (28g) unsweetened natural cocoa powder
- 2 tsp baking powder
- ½ tsp salt
- ½ cup (113g) unsalted butter (1 stick)
- 4 oz unsweetened chocolate, chopped
- 4 large eggs
- 1 ½ cups (297g) granulated sugar
- ~1 cup powdered sugar (for rolling the cookies)
Instructions
- In a small mixing bowl, combine the flour, cocoa powder, baking powder, and salt. Whisk well and set aside.
- In a small pot over medium-low heat, melt the butter and chopped unsweetened chocolate. Stir occasionally until completely smooth and melted. Remove from heat and let cool slightly.
- In a large mixing bowl, whisk together the eggs and granulated sugar until well combined. Pour the slightly cooled melted chocolate mixture into the egg and sugar mixture and whisk again until smooth.
- Gradually add the prepared flour mixture to the wet mixture, mixing with a spatula or on low speed just until combined. Be careful not to overmix.
- Cover the bowl with plastic wrap and refrigerate the dough for at least 2 hours. For best results, you can chill it overnight or up to 48 hours.
- Preheat your oven to 350ºF (175°C). Line a baking sheet with a silicone baking mat or parchment paper. Pour approximately 1 cup of powdered sugar into a shallow bowl.
- Using a small cookie scoop (about 1 tablespoon), form the chilled dough into balls. Roll each ball generously in the powdered sugar, ensuring it is completely coated. Place the coated cookies about 2 inches apart on the prepared baking sheet.
- Bake for 16-20 minutes. The cookies will puff up and the powdered sugar will crack, creating the signature crinkle effect. The centers will still be very fudgy.
- Allow the cookies to cool completely on the baking sheet before removing them. They are very delicate when warm due to their fudgy texture. Serve and enjoy!
Nutrition Information
All nutritional values are approximate and provided to the reader as a courtesy. Changing ingredients and/or quantities will alter the estimated nutritional calculations.
- Calories: 152kcal
- Carbohydrates: 21g
- Protein: 3g
- Fat: 7g
- Saturated Fat: 4g
- Polyunsaturated Fat: 1g
- Monounsaturated Fat: 2g
- Trans Fat: 1g
- Cholesterol: 41mg
- Sodium: 98mg
- Potassium: 80mg
- Fiber: 1g
- Sugar: 13g
- Vitamin A: 163IU
- Calcium: 33mg
- Iron: 2mg
Like this recipe? Rate and comment below!