
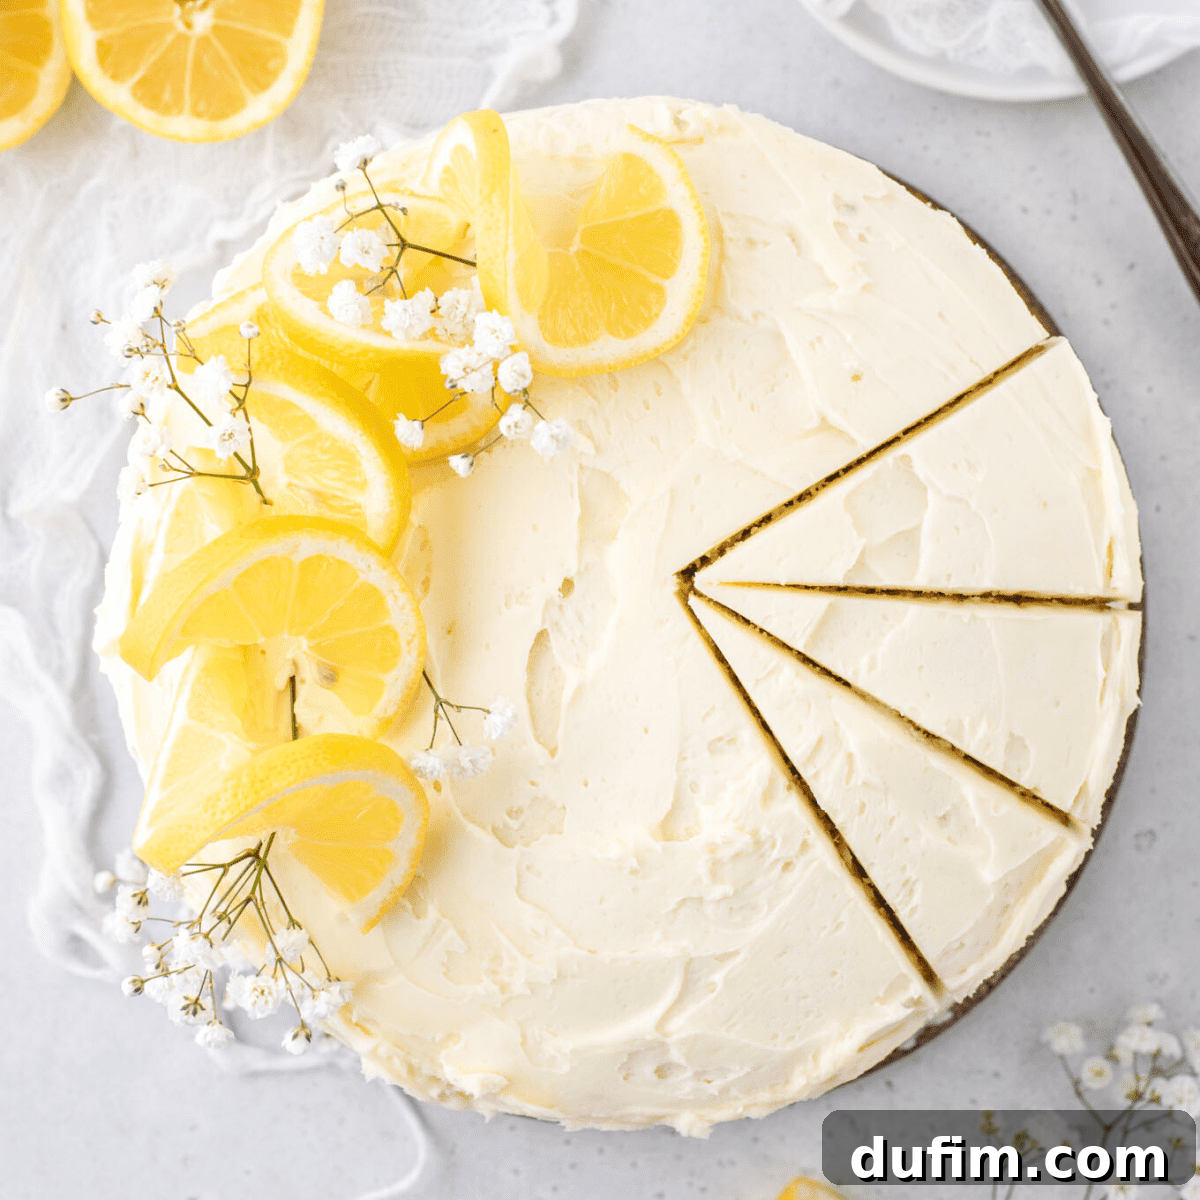
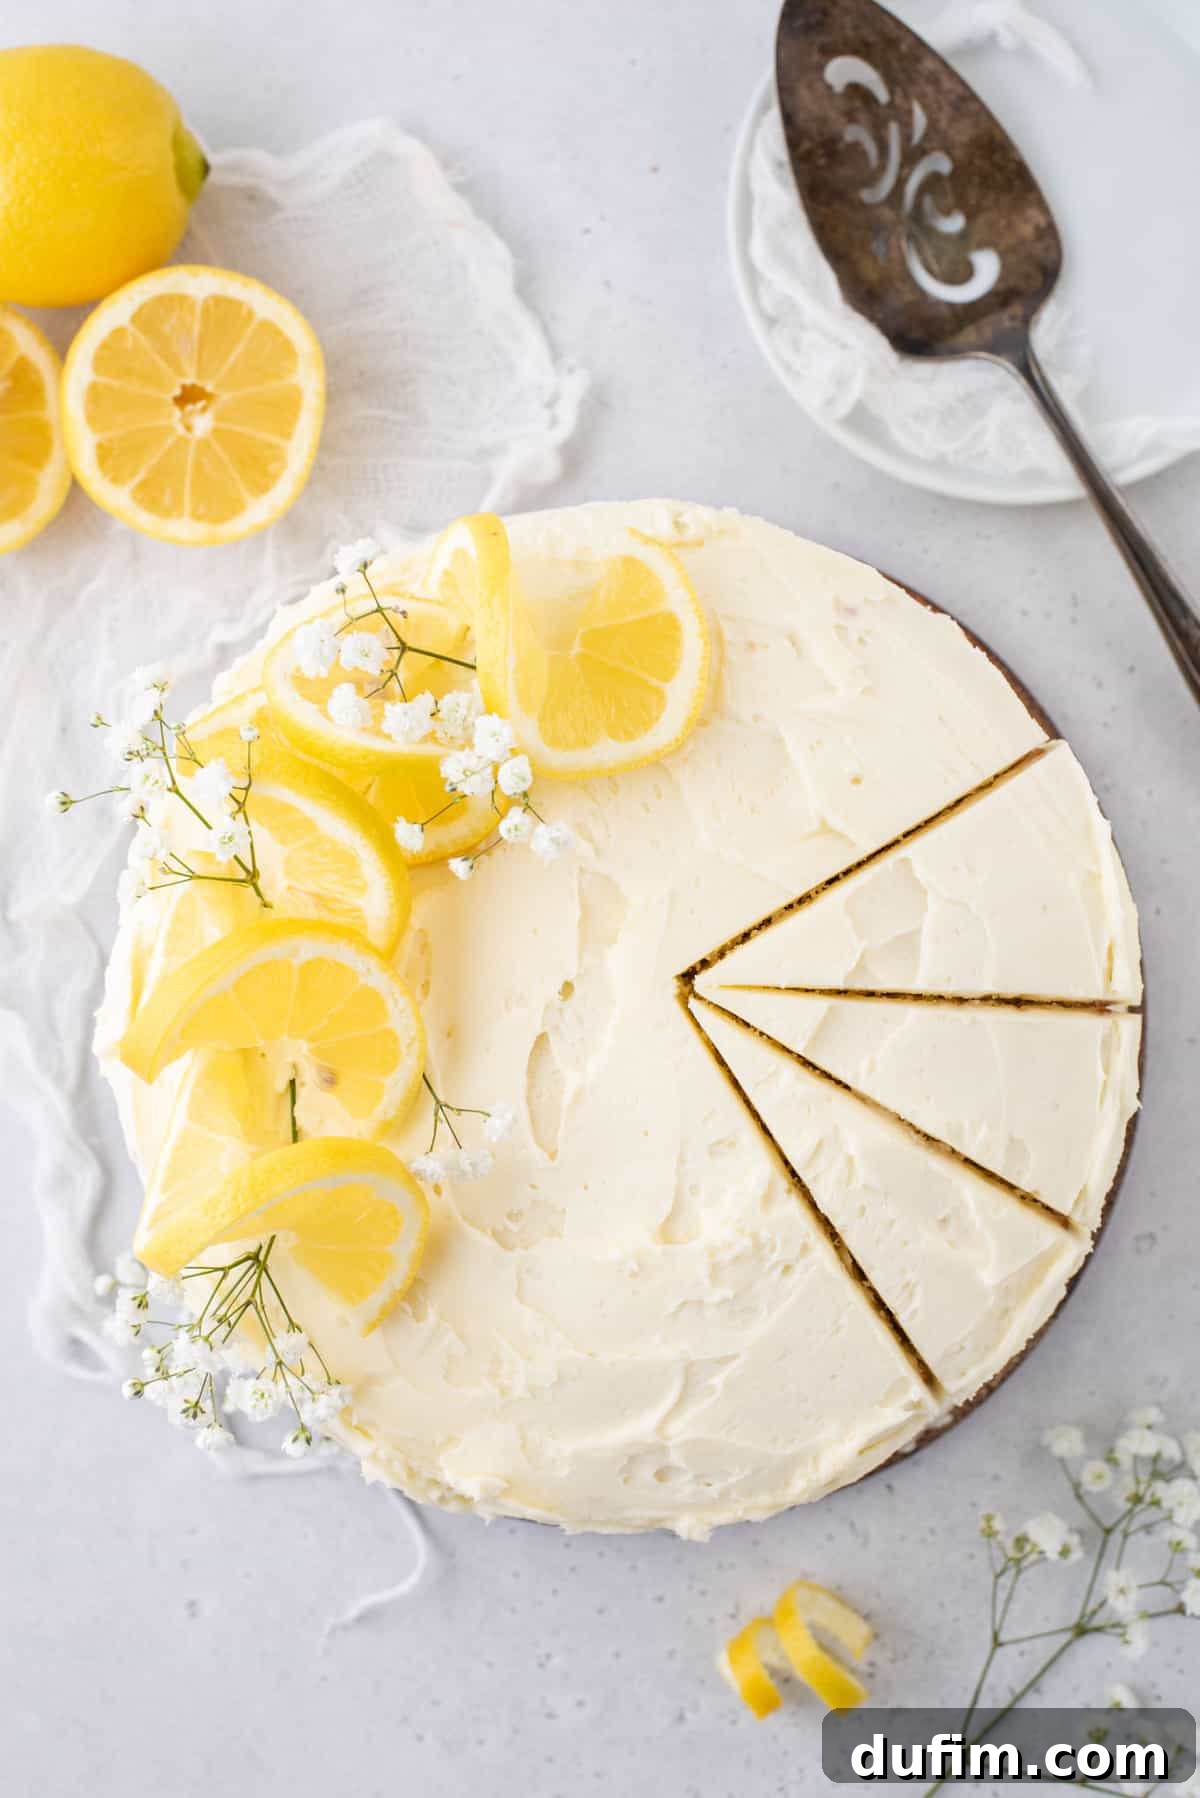
There’s nothing quite as disheartening as spending precious time baking a beautiful cake, only for it to turn out dry, dense, and lacking in flavor. We’ve all been there! That’s precisely why I’ve dedicated countless hours to meticulously testing and refining this lemon layer cake recipe. My goal was to create a cake that consistently delivers on every front: a cake that is exceptionally light, remarkably moist, and truly bursting with bright, vibrant citrus notes. And to elevate it further, it’s crowned with a sweet-yet-tangy homemade lemon buttercream that truly takes this dessert to an unparalleled level of deliciousness!
This recipe is incredibly easy to follow and absolutely delicious! It surpasses any boxed lemon cake mix.
– April
While rich chocolate desserts often steal the spotlight, there’s an undeniable charm and refreshing appeal to the sweet-tart taste of lemon. If sunshine itself had a distinct flavor, I am utterly convinced it would be lemon. It’s inherently vibrant, wonderfully bright, and, let’s be honest, its cheerful yellow hue perfectly mirrors the midday sun on a blissful summer day. This makes lemon an ideal choice for desserts that aim to uplift and delight!
My kitchen has seen its share of beloved lemon creations. I’ve previously shared popular recipes like my irresistible Lemon Muffins, perfectly chewy Lemon Sugar Cookies, and delightful Lemon Cupcakes. However, if your culinary quest is for a lemon dessert that isn’t just good, but an absolute show-stopper, a true centerpiece that commands attention, then look no further. This exquisite lemon layer cake is the ultimate answer to that craving!
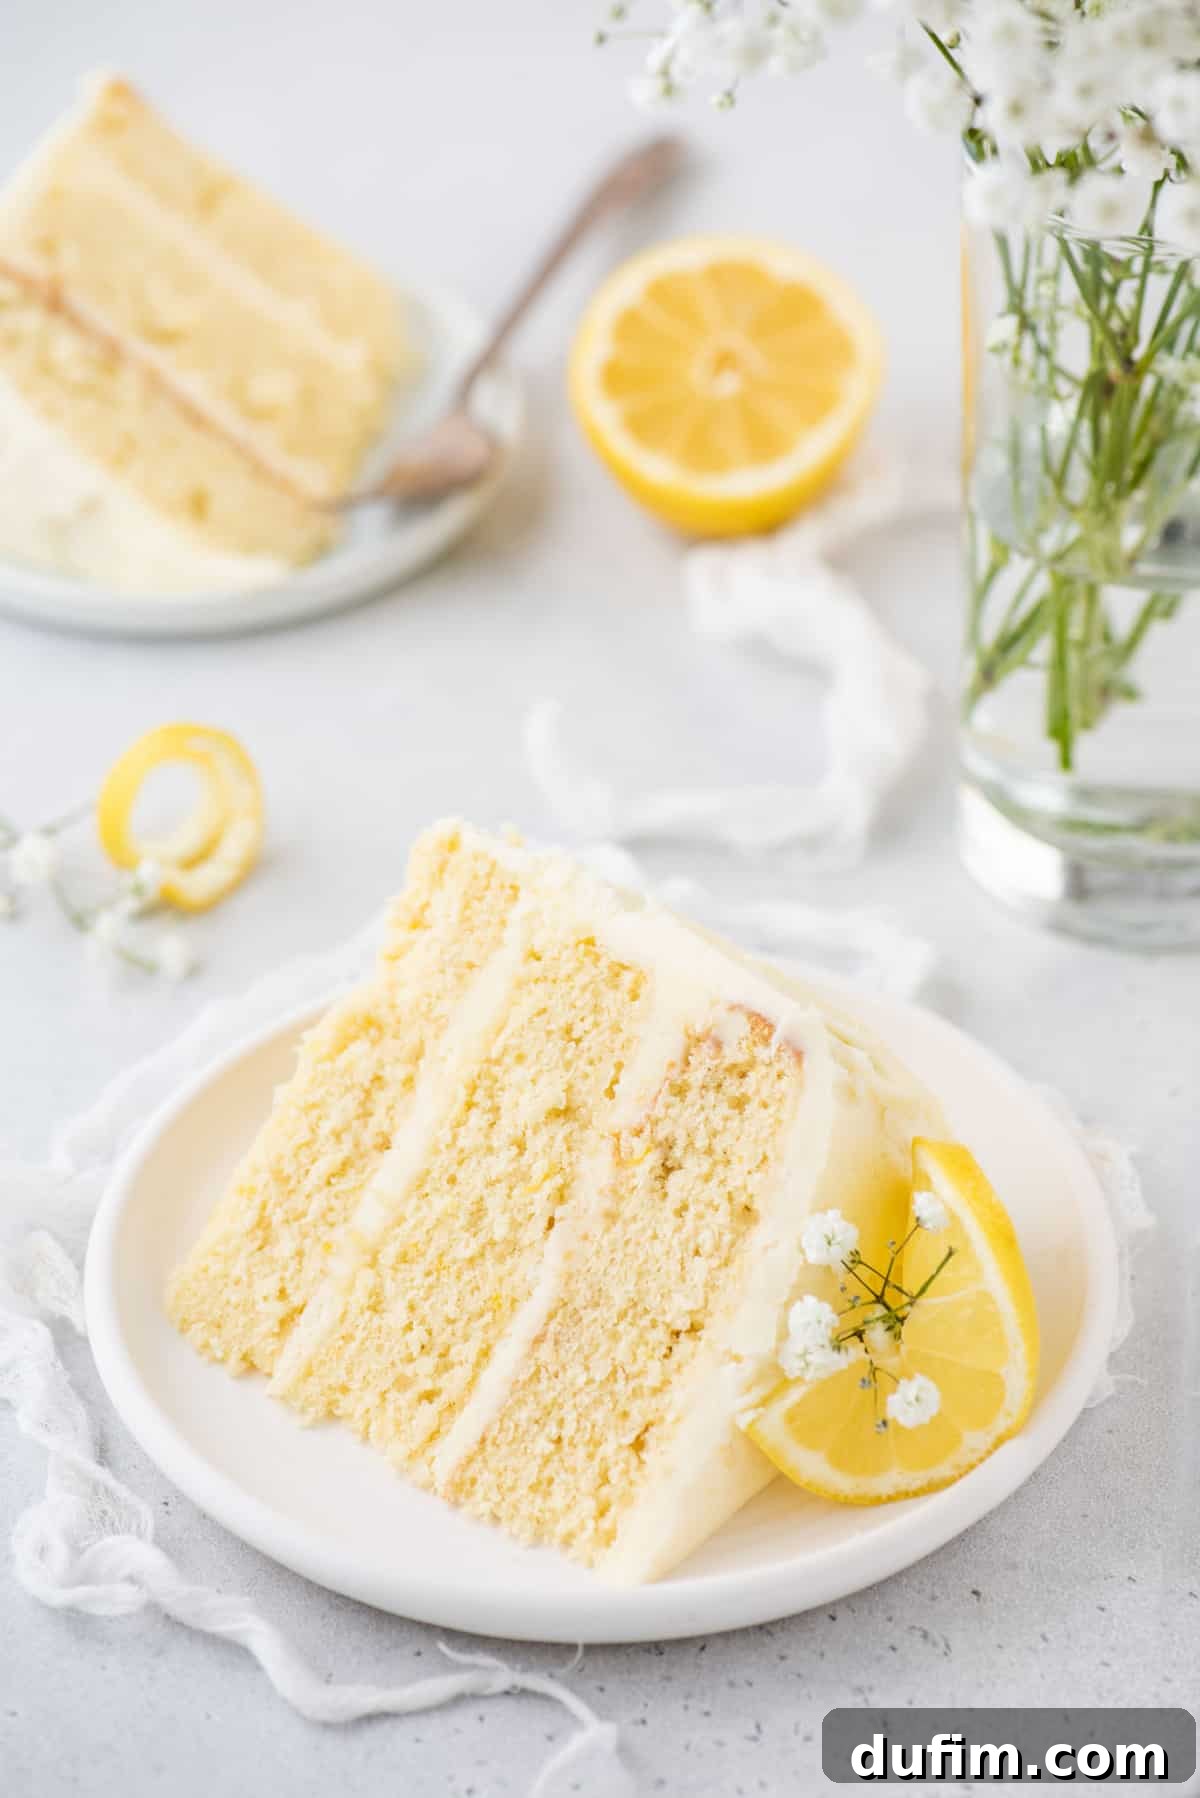
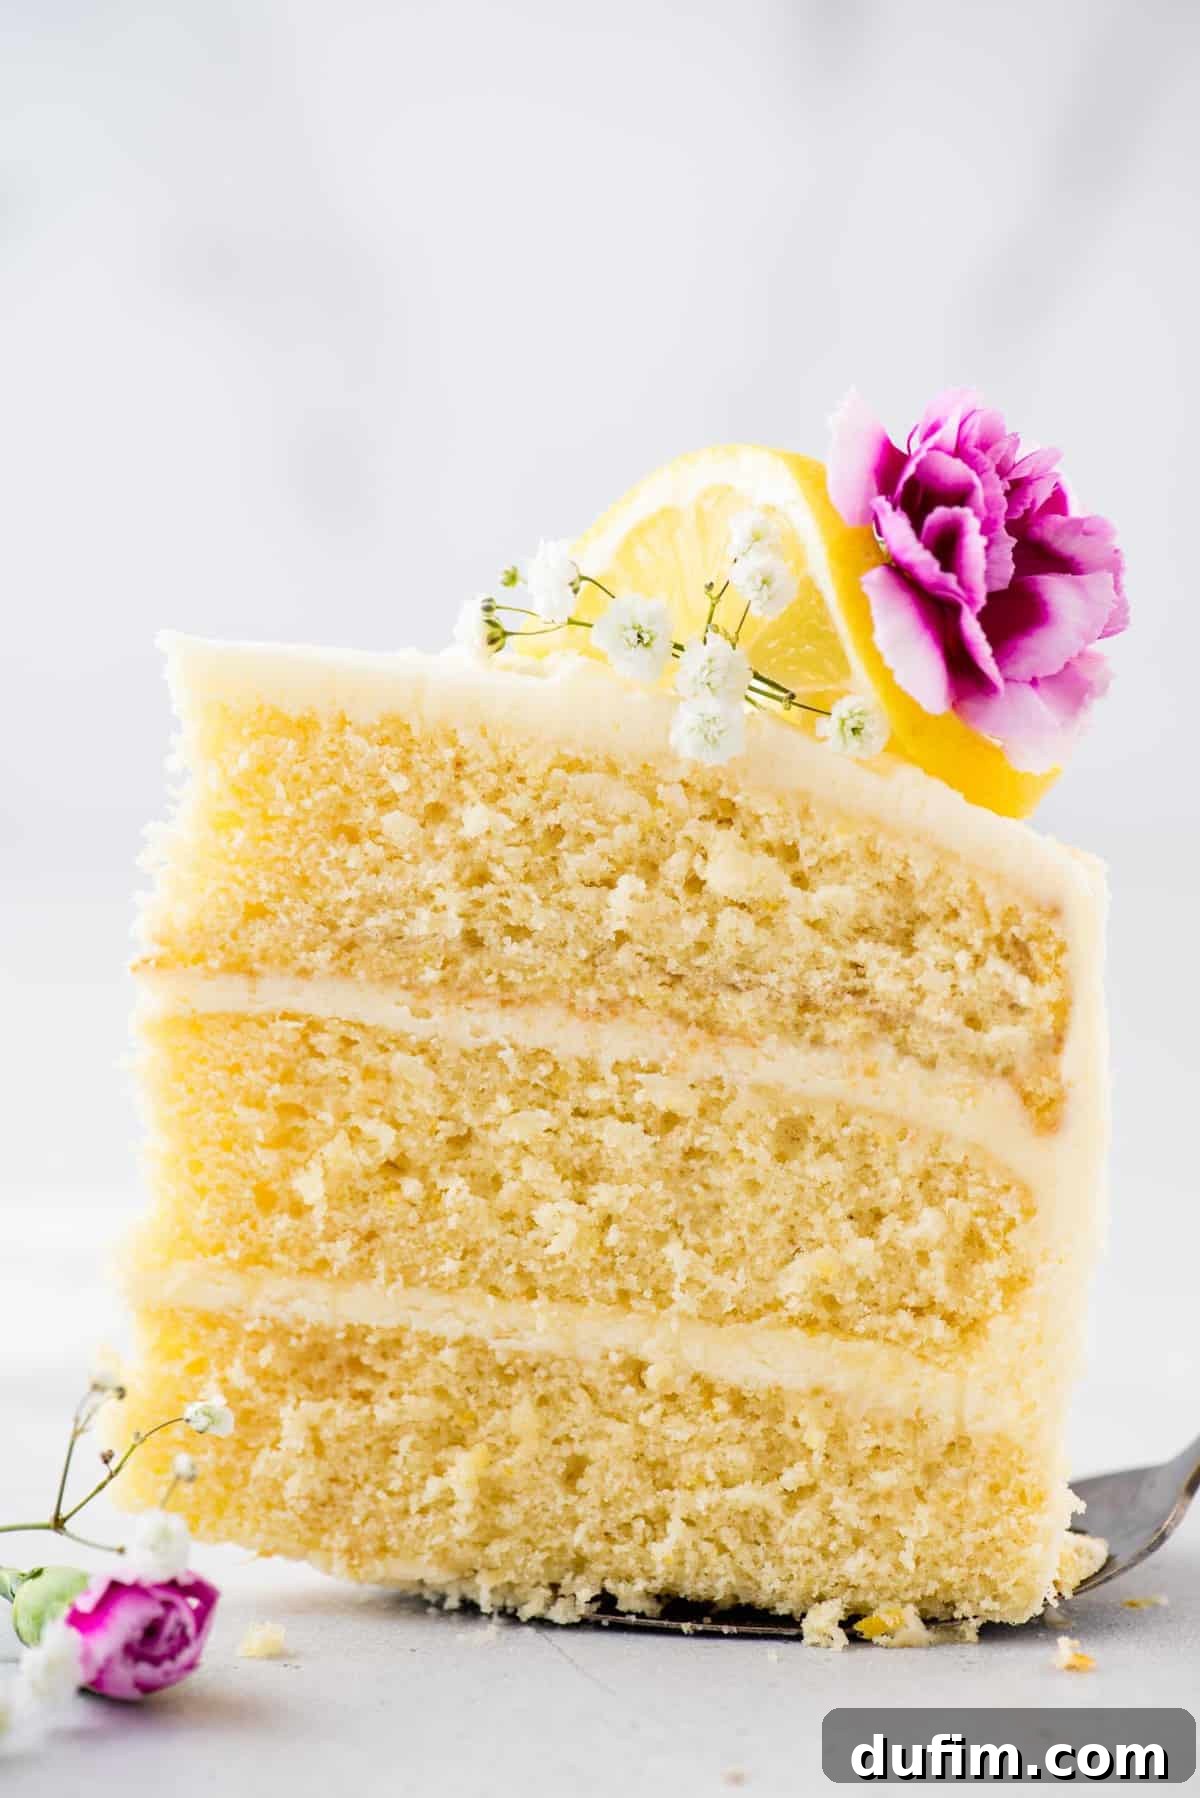
This magnificent cake masterfully combines a tender, moist lemon cake (boasting three impressive layers!) with the most ethereal and intensely lemony buttercream frosting you can imagine. What makes this recipe truly special is its magical ability to appear as if it was meticulously crafted in a professional bakery, yet in reality, this homemade lemon layer cake is much simpler to achieve than its elegant appearance might suggest. It’s a testament to achievable grandeur in your own kitchen.
Unveiling the Secrets: What Makes This The Best Lemon Cake Recipe?
This lemon cake recipe consistently earns the coveted title of “the best” for several compelling reasons, each contributing to its exceptional taste and texture:
- Perfectly Balanced Flavors: Our recipe meticulously incorporates both fresh lemon juice and finely grated lemon zest. This dynamic duo infuses the cake with a truly vibrant, authentic, and natural lemon flavor that is bright and zesty without ever becoming overpowering. The sweetness is perfectly balanced, allowing the refreshing citrus notes to shine through brilliantly, creating a harmonious taste profile that is both invigorating and comforting.
- Remarkably Tender and Moist Crumb: The secret to this cake’s irresistible melt-in-your-mouth texture lies in its simple yet effective blend of common, high-quality ingredients, particularly the strategic use of milk and butter. These components work in tandem to ensure each slice boasts a light, delicate, and profoundly moist crumb. It’s a cake that remains tender and delicious for days, avoiding the common pitfall of dryness often found in other recipes.
- Dreamy, Creamy Lemon Buttercream: The accompanying lemon buttercream frosting is nothing short of divine. It’s incredibly smooth, lusciously creamy, and perfectly complements the cake’s lemony essence. This frosting isn’t just an afterthought; it’s an integral part of the experience, offering a delightful contrast in texture and amplifying the overall citrusy goodness, creating a truly decadent finish.
- Overwhelmingly Positive Reviews: The proof is in the pudding, or rather, in the cake! This recipe has garnered countless glowing reviews from bakers and eaters alike. Many rave about its exceptional taste, its perfect balance of tart and sweet, and its wonderfully moist texture, consistently solidifying its reputation as the ultimate lemon cake recipe. It’s a crowd-pleaser that never disappoints.
Essential Ingredients for Your Perfect Lemon Layer Cake
To embark on this delightful baking journey, you’ll need a few standard baking tools, most notably three 8-inch round cake pans or springform pans, which are crucial for achieving those beautiful, even layers. For precise measurements and detailed quantities, make sure to refer to the complete recipe card provided below.
For the Exquisite Lemon Cake Layers:
- All-Purpose Flour: The foundational building block for our cake’s structure. Ensure you measure it correctly – fluff, spoon, and level for the best results, preventing a dense cake.
- Finely Grated Lemon Zest: This is where a significant portion of that vibrant lemon flavor resides! Grate only the yellow part of the peel, avoiding the bitter white pith.
- Baking Powder: Our primary leavening agent, responsible for giving the cake its beautiful rise and light, airy texture.
- Unsalted Butter: Crucial for richness and moisture. Remember to let it come to a true room temperature (soft enough to indent with a finger, but not melted) before you begin. This allows it to cream properly with sugar, incorporating air for a fluffy cake.
- Granulated Sugar: Sweetens the cake and aids in creating a tender crumb by interacting with the butter during the creaming process.
- Eggs: Provide structure, richness, and help with leavening. Like butter, room temperature eggs are vital. They emulsify more effectively with the butter and sugar, trapping more air, which results in a lighter, fluffier, and more voluminous cake.
- Vanilla Extract: A classic flavor enhancer that beautifully complements and rounds out the bright lemon notes, adding depth and warmth.
- Milk: Adds essential moisture and contributes to the cake’s tender crumb. You can use either 2% (reduced-fat) or whole milk; both yield excellent results.
For the Luxurious Lemon Buttercream Frosting:
- Unsalted Butter: Again, room temperature butter is key here. This ensures it whips up smoothly and effortlessly into a wonderfully creamy and dreamy frosting texture, free from lumps.
- Fresh Lemon Juice: Provides the essential tangy kick and bright flavor to our buttercream. Always use fresh for the best taste!
- Salt: A pinch of salt is vital for balancing the sweetness of the frosting and enhancing all the other flavors.
- Powdered Sugar: Also widely known as confectioners’ sugar. Its fine texture is what gives the buttercream its characteristic smooth and silky consistency.
Step-by-Step Guide: Crafting Your Own Lemon Layer Cake
I’ll be upfront: constructing a three-layer cake, particularly one as detailed as this, involves a series of steps. However, don’t confuse “involved” with “difficult.” It simply means it requires a bit of time and patience. If your schedule is tight and you can’t dedicate one large block of time, feel free to break the process down. You can confidently bake the cake layers one day and then assemble and frost everything the following day or even within a few days, thanks to their excellent storage capabilities.
Creating the Moist and Fluffy Cake Layers:
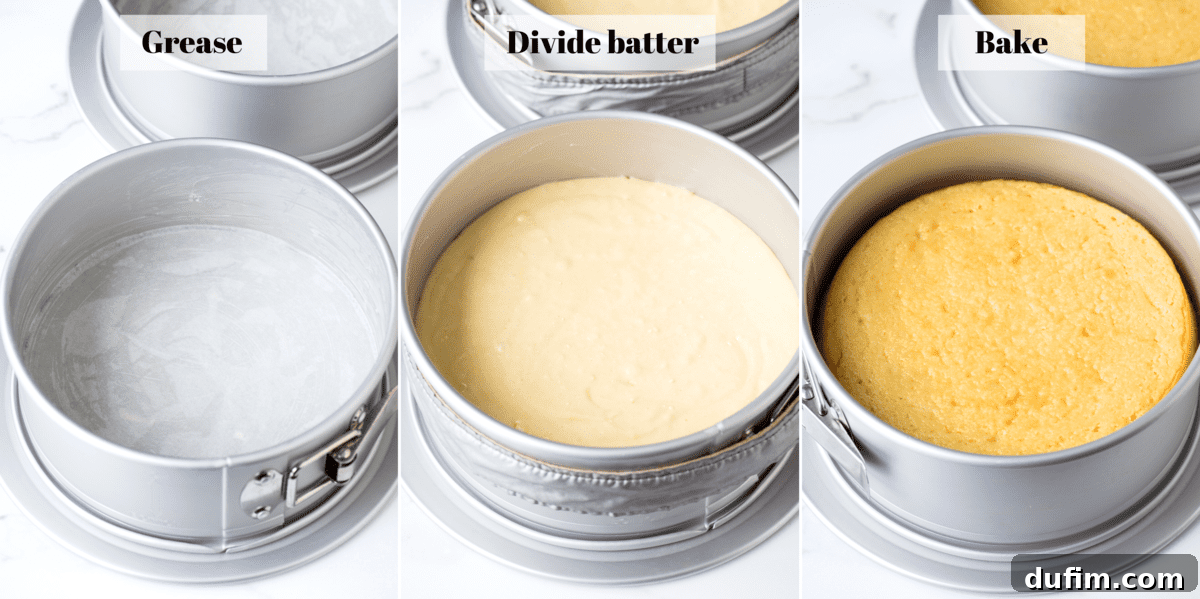
1. Prepare Your Pans and Preheat Oven: Begin by preheating your oven to a steady 350ºF (175ºC). Generously grease the bottoms and sides of your three 8-inch round cake pans or springform pans. This ensures easy release. For extra insurance against sticking and to facilitate perfect removal, line the bottoms of each pan with a precisely cut round piece of parchment paper. If you’re using a bake-even strip (highly recommended for level cakes!), now is the time to apply it. Set your prepared pans aside.
2. Whisk Together the Dry Ingredients: In a medium-sized mixing bowl, combine your all-purpose flour, finely grated lemon zest, baking powder, and salt. Use a whisk to thoroughly blend these dry components, ensuring the leavening agent and flavor are evenly distributed throughout the mixture. Set this bowl aside.
3. Cream the Wet Ingredients: In a separate, large mixing bowl, using an electric mixer set to medium-high speed, beat together the room temperature unsalted butter and granulated sugar until the mixture becomes wonderfully light, pale, and fluffy. This creaming process is crucial for incorporating air, contributing to the cake’s light texture. Next, beat in the eggs, adding them one at a time and mixing well after each addition until just combined. Finish by beating in the vanilla extract, ensuring the sides of the bowl are scraped down as needed to incorporate all ingredients evenly.
4. Combine Wet and Dry Mixtures: Reduce your mixer speed to low. Gradually add the prepared flour mixture to the wet ingredients in three separate additions, alternating with the milk in two additions. Always begin and end with the flour mixture. Mix on low speed only until the ingredients are just combined. Be careful not to overmix, as this can develop the gluten too much, leading to a tough cake.
5. Bake to Golden Perfection: Divide the luscious cake batter evenly among your three prepared cake pans. Aim for approximately 1 ¾ cups of batter in each pan, spreading it gently and evenly with a spatula to ensure uniform thickness. Place the pans in the preheated oven. If your oven racks don’t accommodate all three on a single level, position two on the upper rack and one on the bottom. Keep an eye on the cake on the bottom rack, as it may bake slightly faster, or rotate the pans halfway through the baking time. Bake for 23 to 27 minutes, or until a wooden toothpick inserted into the very center of a cake layer comes out clean, indicating it’s fully cooked.
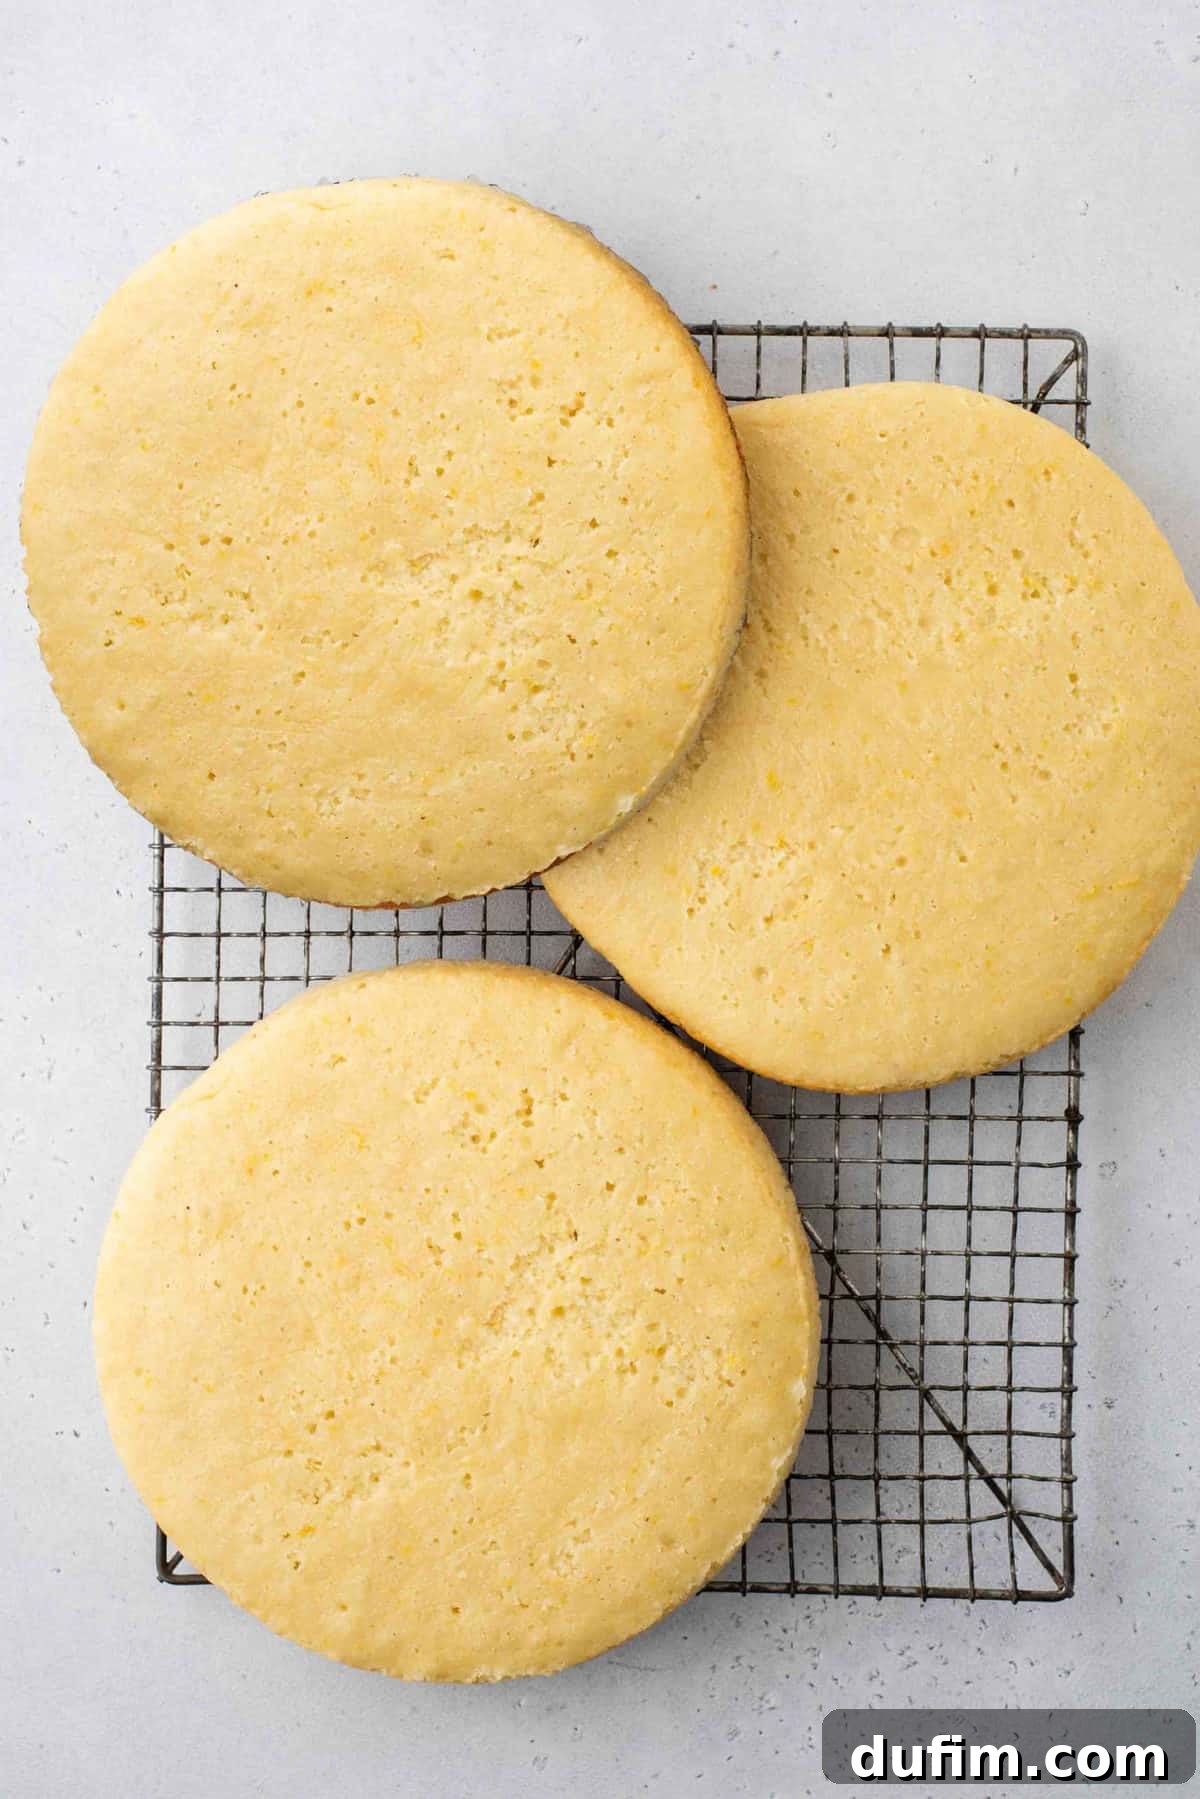
6. Cool and Prepare for Assembly: Once baked, remove the cake pans from the oven and allow them to cool on wire cooling racks for a crucial 10 to 20 minutes. This initial cooling in the pan helps the cakes firm up, making them easier to handle. After this period, carefully invert and remove the cakes from their pans, letting them finish cooling completely directly on the wire racks. Once entirely cool, gently peel away the parchment paper rounds from the bottoms. If any of your cake layers have domed tops, now is the ideal time to level them using a cake leveler or a long, serrated knife for perfectly flat layers. For convenience, you can wrap the cooled cake layers tightly in plastic wrap and refrigerate them for up to a week, or freeze them for longer storage until you’re ready to assemble.
Whipping Up the Zesty Lemon Buttercream:
1. Beat the Butter: In a large mixing bowl, place your room temperature unsalted butter. Using an electric mixer set to medium-low speed, beat the butter for 1-2 minutes until it transforms into a light, airy, and fluffy consistency. This step is essential for creating a smooth and pliable frosting.
2. Incorporate Remaining Ingredients: Add the fresh lemon juice and salt to the whipped butter, mixing until just combined. Next, begin gradually adding the powdered sugar, starting with approximately 2 cups. Continue to beat on low speed until the sugar is incorporated. Keep adding more powdered sugar (you may need between 4-6 cups total) until the frosting reaches your desired thickness and level of sweetness. Continue beating on low until the buttercream is perfectly fluffy and wonderfully smooth.
3. Adjust Consistency (If Needed): If you find that you’ve accidentally added a bit too much powdered sugar and the frosting has become overly thick, don’t despair! Simply beat in an additional splash of fresh lemon juice, a teaspoon at a time, until the buttercream achieves a creamy, spreadable consistency.
Assembling Your Masterpiece: The Lemon Layer Cake:
1. Prepare Your Base: For effortless frosting and a professional finish, I highly recommend assembling your cake on a rotating turntable. Begin by spreading a small dab of buttercream onto an 8-inch round cardboard cake circle (or directly onto your serving cake plate if you’re skipping the cardboard). This small amount of frosting acts as an adhesive. Carefully place your first cake layer directly on top of the buttercream on the cardboard or plate, gently pressing down to secure it.
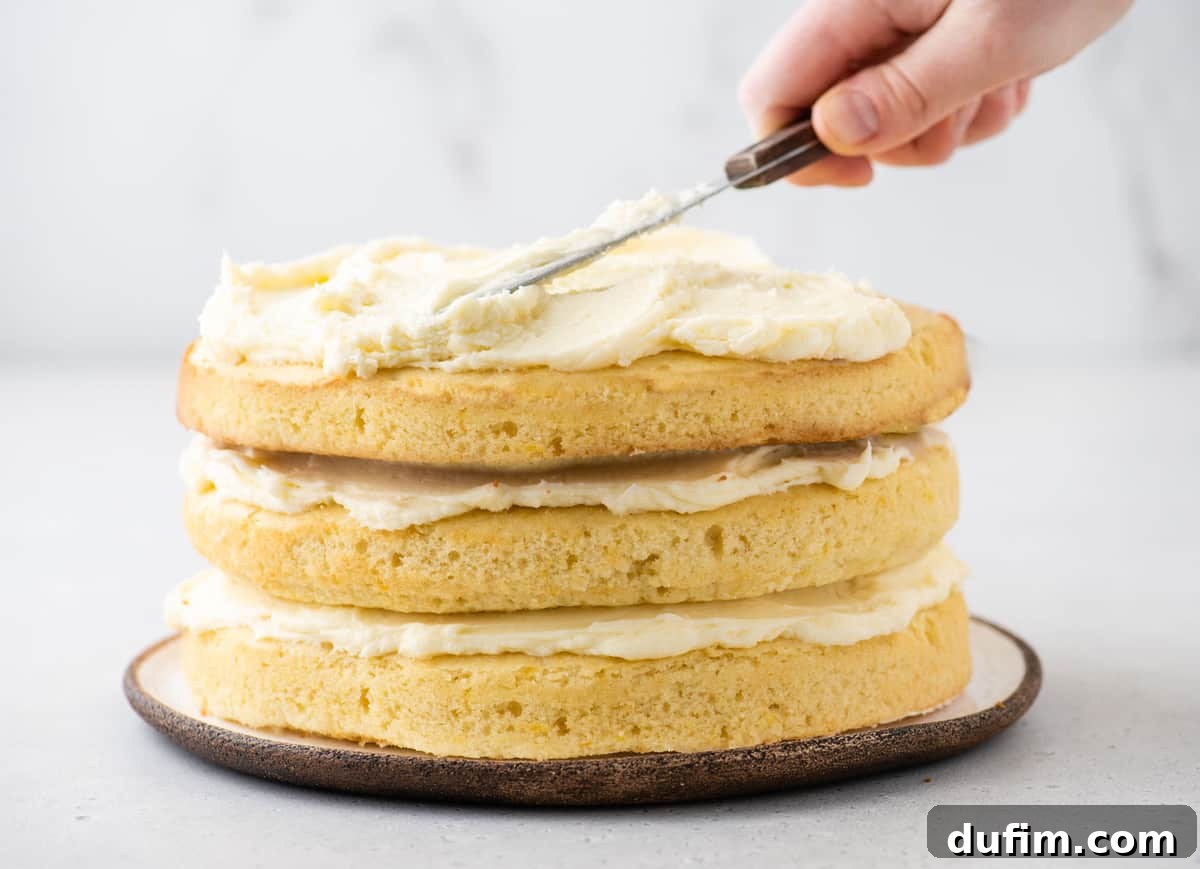
2. Stack and Fill Layers: Evenly spread about ¾ cup of your luscious lemon buttercream over the top of the first cake layer, extending it almost to the edges. Now, carefully place the second cake layer directly on top of the buttercream, pressing down lightly to ensure it adheres and is level. Repeat this process: spread another ¾ cup of frosting, then add the third and final cake layer, pressing gently once more.
3. Apply a Crumb Coat: Once all your cake layers are stacked, it’s time for the crucial “crumb coat.” This thin initial layer of buttercream serves to trap any loose crumbs, ensuring your final frosting layer is perfectly smooth and crumb-free. Using an offset spatula, spread a very thin, even layer of buttercream around the sides and over the top of the entire stacked cake. Don’t worry if it looks a bit messy; its purpose is purely functional.
4. Chill the Crumb Coat: Transfer the crumb-coated cake to the refrigerator for about 20 minutes. This chilling period allows the thin buttercream layer to firm up, effectively locking in all the crumbs and creating a stable surface for your final layer of frosting.
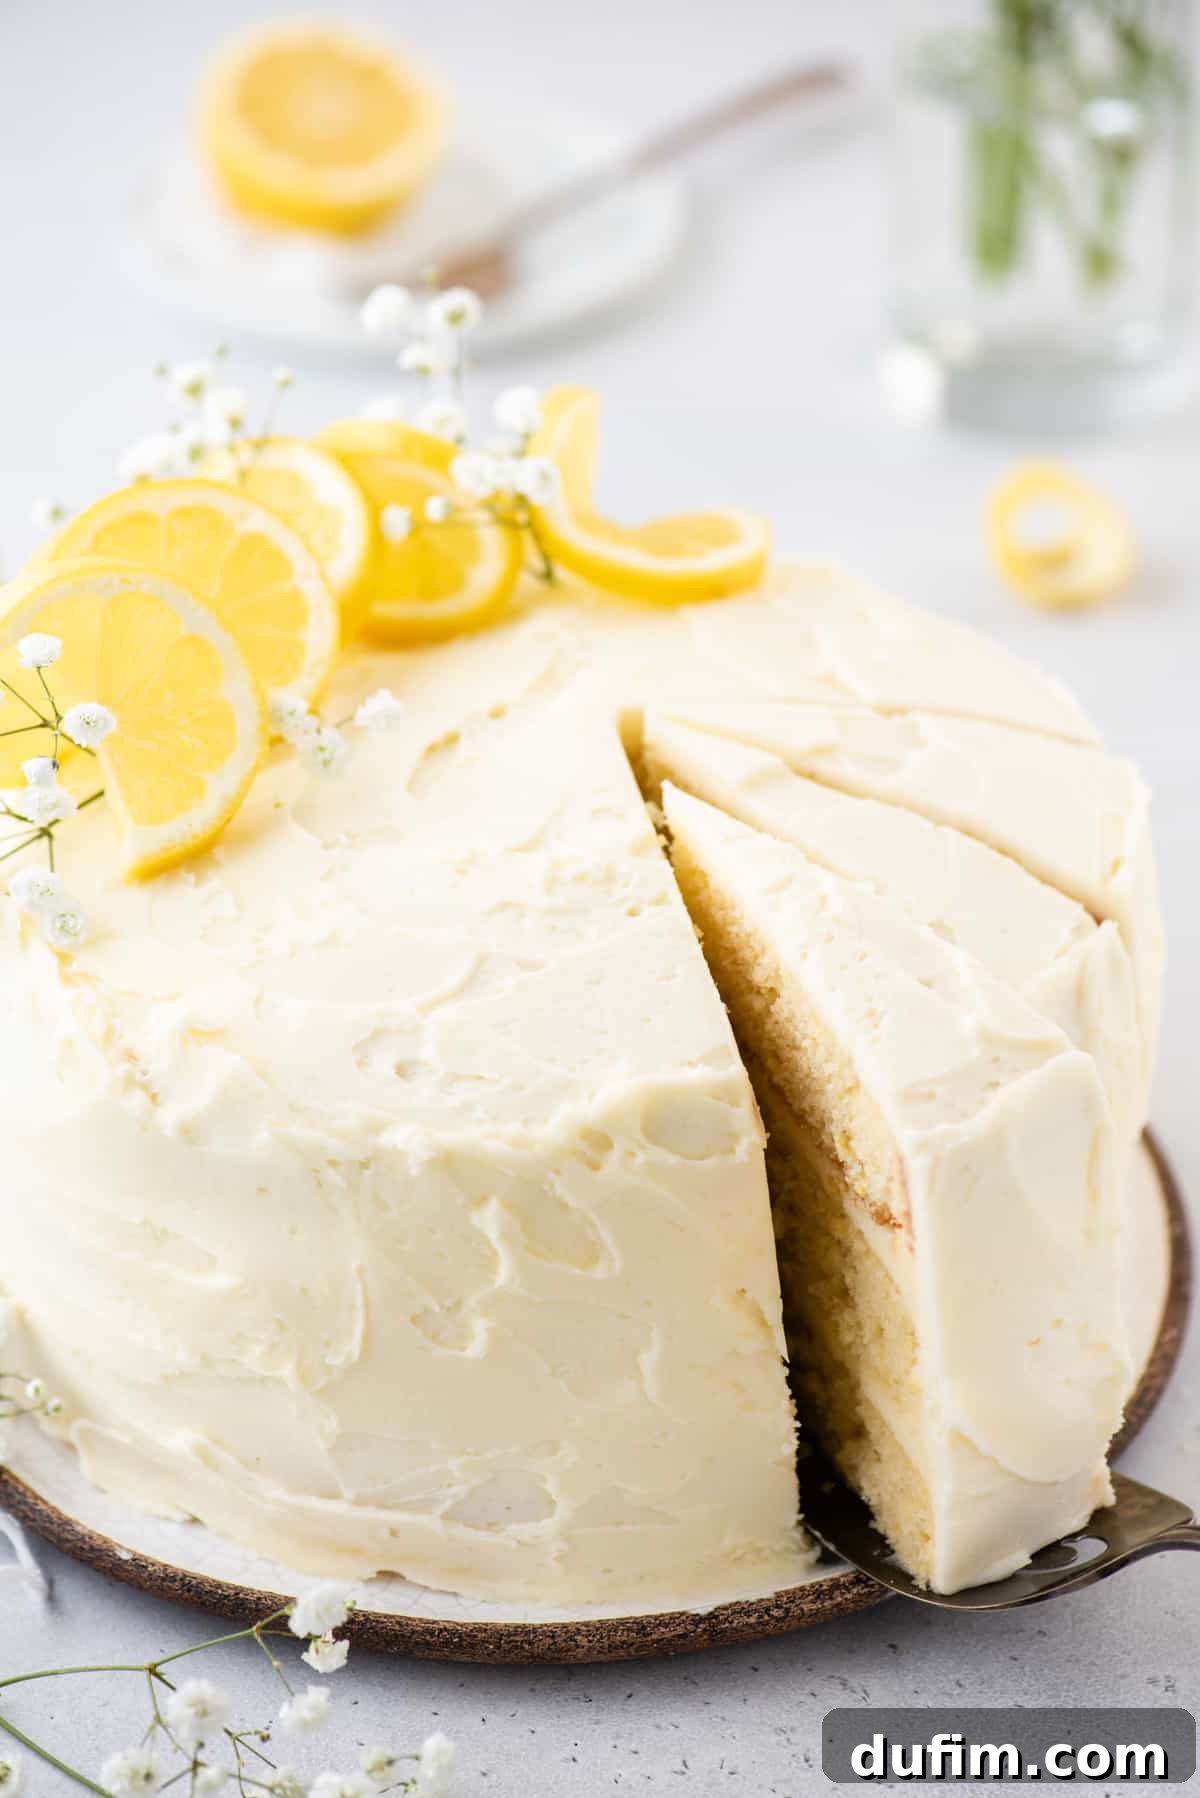
5. Finish Frosting: Once the crumb coat is thoroughly chilled and firm, remove the cake from the refrigerator. Now, use your offset spatula to spread the remaining buttercream evenly over the sides and top of the cake, creating a beautifully smooth and polished finish. Take your time to achieve your desired aesthetic. Slice, serve, and enjoy!
Expert Tips & Tricks for a Flawless Lemon Layer Cake
These invaluable hints and insider tips are designed to ensure your lemon layer cake turns out absolutely perfect, every single time, looking and tasting like it came straight from a gourmet bakery!
- Utilize a Bake-Even Strip: For consistently flat cake layers that are a dream to stack, a bake-even strip is your secret weapon. These strips, typically made of insulated fabric, wrap around the outside of your cake pans. They work by insulating the edges of the pan, causing the cake to bake more evenly from the outside in, preventing the edges from setting too quickly and allowing the center to rise uniformly without doming. You can purchase them, or easily make your own by cutting an old towel or thick cloth into strips that fit your pan’s circumference. Soak the fabric in water, squeeze out the excess, and secure it tightly around the pan with a safety pin or foil.
- Don’t Over-Cool Cakes in the Pan: While it might seem counterintuitive, allowing your cakes to cool for too long in their pans can actually make them more difficult to remove cleanly, as they tend to stick as they fully contract. The ideal window is 10 to 20 minutes; this allows the cakes to firm up just enough to be handled without falling apart, yet they retain enough warmth to release easily from the pan.
- Achieving Super Smooth Sides: For that coveted, professional bakery-style finish with impeccably smooth sides, a bench scraper is your best friend. After applying your final layer of frosting, gently hold a clean bench scraper perpendicular to the cake’s side. With steady pressure, rotate your cake turntable (or carefully move the scraper around the cake) to smooth out the buttercream, removing any excess and creating a perfectly even surface.
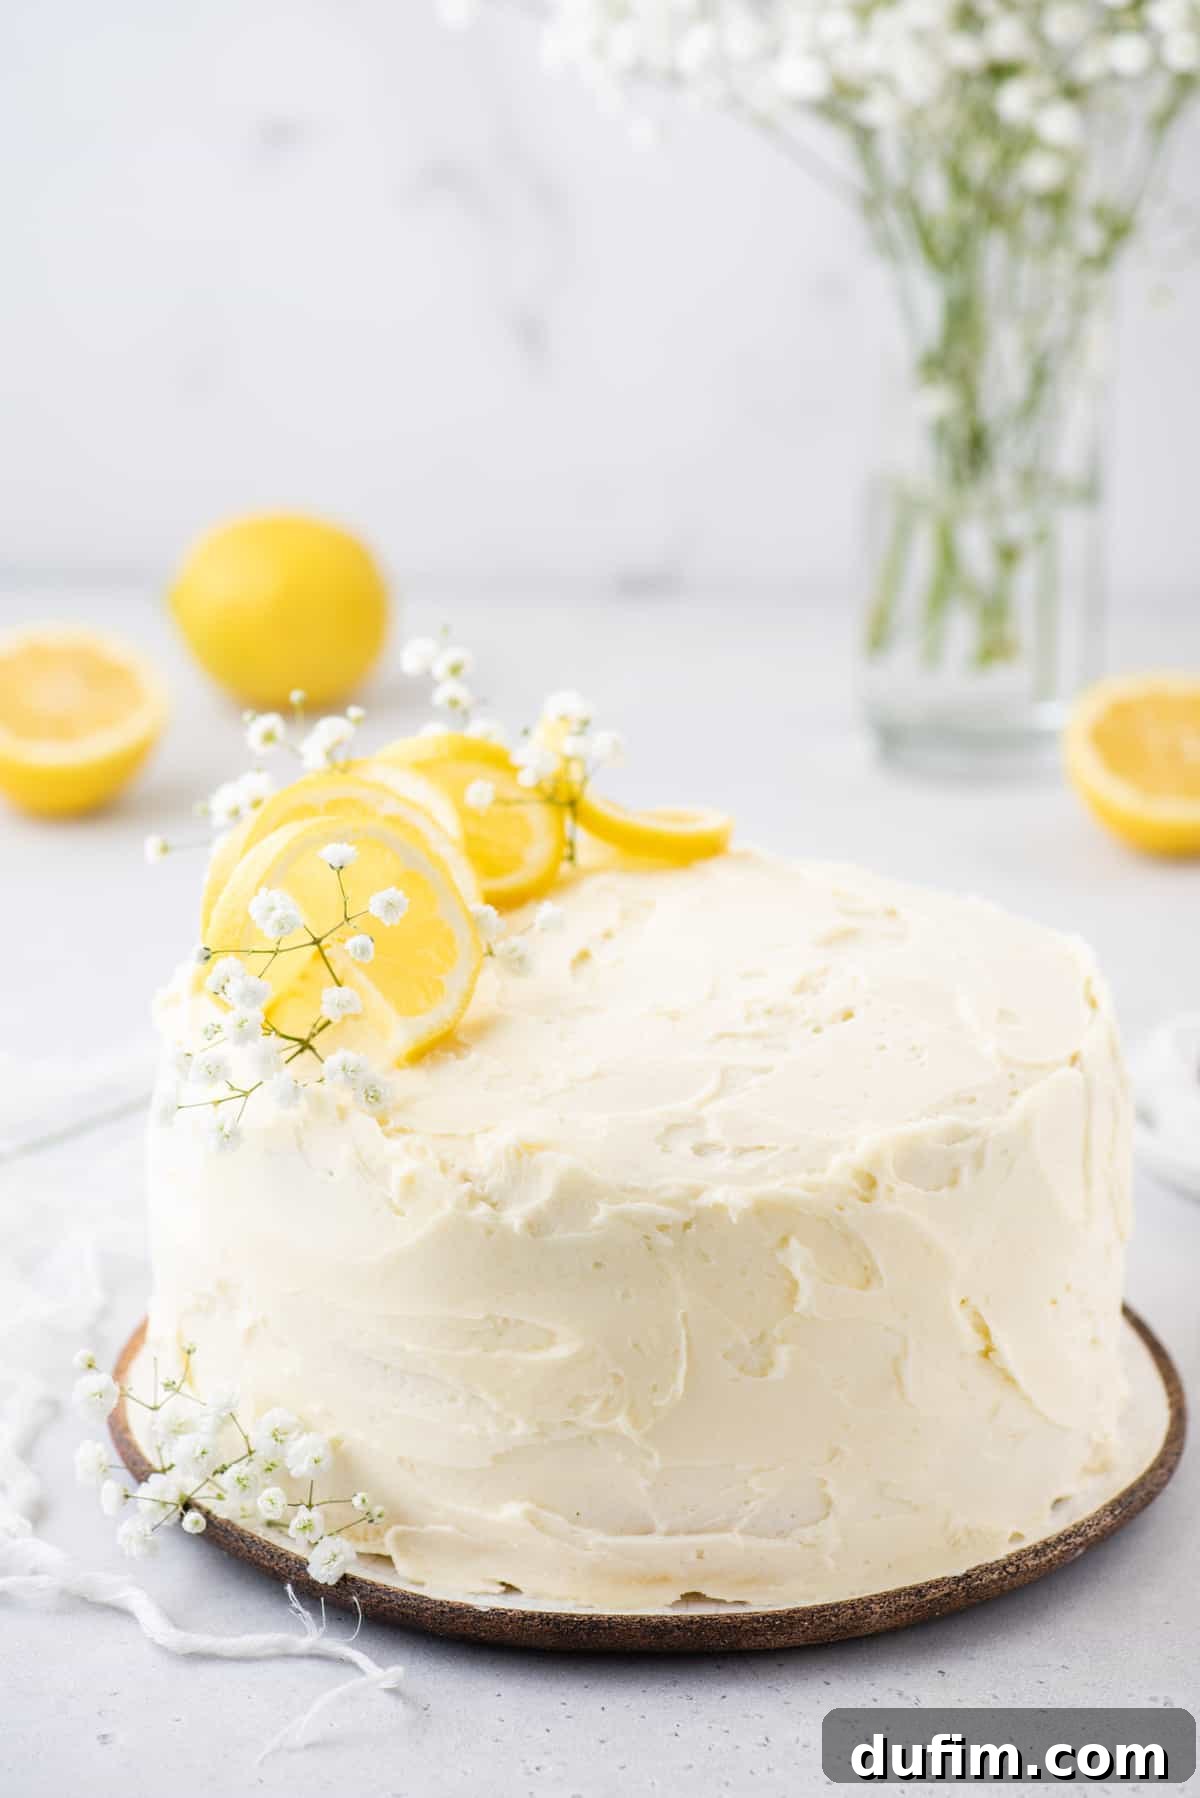
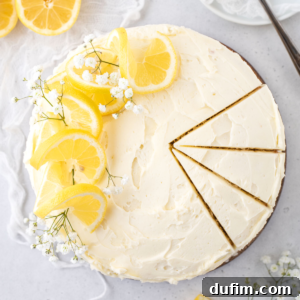
- Adding the Perfect Finishing Touch: Presentation is key! I personally adore decorating this cake with delicate fresh lemon slices and wisps of baby’s breath for an elegant, understated look. However, feel free to let your creativity soar! Other beautiful and delicious garnishes include edible flowers like vibrant pansies, a scattering of fresh berries (raspberries or blueberries would be stunning), elegant candied lemon slices, or intricate designs piped with leftover frosting.
Pro-Tip: Maximizing Lemon Juice Extraction
Here’s a fantastic little secret to help you extract the absolute maximum amount of juice from your fresh lemons, ensuring you get every last drop of that precious citrus liquid. Before juicing, place your whole lemons in the microwave and heat them for about 20-30 seconds. This quick burst of heat helps to break down the internal membranes. Immediately after microwaving, roll the lemons firmly on your kitchen counter under the palm of your hand for about 10-15 seconds. This rolling action further softens the fruit. Then, cut the lemon lengthwise (not crosswise!) and use a lemon reamer or juicer. As you ream, firmly hold the lemon and twist, making sure to break up the internal membranes, squeezing out the juice as you go. You’ll be amazed at how much more juice you get!
Exciting Variations: Customizing Your Lemon Layer Cake
While this classic lemon layer cake is perfect as is, it also serves as a fantastic canvas for creative culinary experimentation. Here are some delightful ideas to switch things up and make this cake uniquely yours, whether for a birthday celebration or any special occasion!
- Craft a Delectable Blueberry-Lemon Cake: For a popular and truly irresistible twist, incorporate fresh blueberries into your cake batter. A clever trick to prevent the blueberries from sinking to the bottom during baking is to gently toss them with a small amount (about 1-2 tablespoons) of all-purpose flour before folding them into the batter. The flour lightly coats the berries, helping them suspend evenly throughout the cake. This variation is an absolute must-try if you’re a fan of my delightful Lemon Blueberry Scones or my effortless Lemon Blueberry Dump Cake! You could even add a light lemon glaze over the top for an extra zing.
- Introduce a Luscious Filling: Instead of simply using buttercream between each cake layer, consider adding an exciting burst of flavor and texture with a specialty filling. A homemade lemon curd would intensify the citrus notes beautifully, offering a smooth and tangy surprise. Alternatively, a rich vanilla custard or a vibrant berry filling (such as raspberry or strawberry compote) would provide a wonderful contrast and added indulgence.
- Experiment with Alternative Frostings: While our lemon buttercream is truly divine, this versatile lemon cake also pairs exquisitely with other frosting flavors. A tangy and sweet Cream Cheese Frosting offers a delightful creaminess that complements the lemon perfectly. For a more subtle sweetness that still allows the lemon to shine, a classic vanilla buttercream would be an excellent choice. You could even try a coconut frosting for a tropical twist!
- Infuse with Herbs: For an unexpected yet sophisticated flavor, consider adding finely chopped fresh rosemary or thyme to your lemon zest for the cake layers, or infuse your simple syrup (if using one for extra moisture) with these herbs. This adds an aromatic depth that is truly gourmet.
- Glaze Instead of Frost: For a lighter, more rustic dessert, forgo the heavy buttercream and instead, create a simple yet elegant lemon glaze to drizzle over the cooled cake. This is perfect for brunches or when you want the lemon flavor to be the absolute star.
Proper Storage for Your Delicious Lemon Layer Cake
To ensure your homemade lemon layer cake remains as fresh and delectable as the day it was baked, proper storage is key. This beautifully frosted lemon layer cake can comfortably be left at room temperature for up to 3 days. To prevent it from drying out and to protect its delicate frosting, make sure to cover it loosely with plastic wrap or store any leftovers in an airtight cake container. Placing it in a cool, dry spot away from direct sunlight will also help maintain its quality and texture.
Can I Freeze This Lemon Layer Cake?
Absolutely, this lemon layer cake freezes wonderfully, making it perfect for preparing ahead or saving leftovers for a future treat. Here’s how to do it effectively:
- For a Whole Cake: If you plan to freeze an entire frosted cake, first place it on a sheet pan and transfer it to the freezer uncovered. Allow it to freeze completely until the buttercream is solid to the touch. This “flash freeze” prevents the frosting from sticking to the wrapping. Once completely frozen, carefully wrap the entire cake tightly in several layers of plastic wrap, followed by a layer of aluminum foil for extra protection against freezer burn. Return it to the freezer for long-term storage.
- For Leftover Cake Slices: To freeze individual slices of leftover cake, place each slice in an airtight container or a heavy-duty freezer bag. If you need to stack multiple slices within the same container, place small pieces of parchment paper between them to prevent sticking.
When you’re ready to enjoy your frozen cake, simply thaw it in the refrigerator. If you’re thawing a whole lemon layer cake, remember to loosen the plastic wrap slightly once it’s in the fridge. This prevents the plastic from sticking to the frosting as it gradually thaws and condensation forms. Allow several hours for a slice, and typically overnight for a whole cake to thaw completely before serving. Enjoying a slice of this cake weeks or even months later will feel like a fresh bake!
Average Rating: 4.33 from 31 ratings
Tap stars to rate! (Note: Interactive rating functionality is removed.)
Layered Lemon Cake
Print Recipe
This lemon layer cake is designed to be light, moist, and packed with bright citrus flavor, finished with a delightful sweet-and-tangy lemon buttercream.
Equipment
-
Three 8-inch Springform or Round Cake Pans
-
Electric Mixer (stand mixer or hand mixer)
-
Offset Spatula
-
Bake Even Cake Strips (optional, for level cakes)
-
Cake Decorating Stand / Turntable (optional)
Ingredients
Lemon Cake
- 3 cups (360g) all-purpose flour
- 2 Tbsp finely grated lemon zest (from about 2-3 lemons)
- 3 tsp baking powder
- ½ tsp salt
- 1 cup (226g) unsalted butter, 2 sticks, at room temperature
- 1 ½ cups (297g) granulated sugar
- 3 large eggs, at room temperature
- 2 tsp vanilla extract
- 1 cup (236ml) milk (2% or whole)
Lemon Buttercream Frosting
- 2 cups (452g) unsalted butter, 4 sticks, at room temperature
- 3 Tbsp fresh lemon juice (from about 1-2 lemons)
- ½ tsp salt
- 4-6 cups (454-678g) powdered sugar (confectioners’ sugar)
Instructions
Lemon Cake Layers
- Preheat oven to 350°F (175°C). Grease the bottoms and sides of three 8-inch round cake pans or springform pans. Line the bottom of each pan with a round piece of parchment paper. For even baking, consider placing a bake-even strip around each pan. Set aside.
- In a medium bowl, whisk together the all-purpose flour, lemon zest, baking powder, and salt. Set aside.
- In a large mixing bowl, using an electric mixer, beat the unsalted butter and granulated sugar on medium-high speed for 2 to 3 minutes, until light and fluffy. Beat in the eggs one at a time, mixing well after each addition. Then, beat in the vanilla extract, scraping down the sides of the bowl as needed.
- Reduce mixer speed to low. Add the flour mixture in 3 additions, alternating with the milk in 2 additions, always beginning and ending with the flour mixture. Mix on low speed just until combined; do not overmix.
- Divide the batter evenly among the prepared pans, pouring about 1 ¾ cups of batter into each. Spread evenly with a spatula. Place the pans in the oven. If all three don’t fit on one rack, place 2 on the upper rack and 1 on the bottom. Rotate pans halfway through baking for even cooking, or monitor the bottom rack as it might bake faster. Bake for 23-27 minutes, or until a toothpick inserted into the center of a cake comes out clean.
- Allow cakes to cool in their pans on a wire cooling rack for 10-20 minutes. After this initial cooling, carefully remove cakes from pans (if using springform, release the sides and bottom). Let them cool completely on the wire racks. Once fully cool, remove the parchment paper from the bottom. If desired, level the tops of your cakes using a cake leveler or a serrated knife for flat layers. If assembling later, wrap each cooled cake layer tightly in plastic wrap and refrigerate for up to 3 days.
Lemon Buttercream Frosting
- Place room temperature unsalted butter in a large mixing bowl. Using an electric mixer on medium-low speed, beat the butter for 1-2 minutes until it’s whipped and fluffy.
- Add the fresh lemon juice and salt. Gradually add the powdered sugar, starting with 2 cups, beating on low speed for 60 seconds. Continue adding more powdered sugar (up to 4 additional cups) until the frosting reaches your desired thickness and sweetness. Continue mixing on low until fluffy and smooth.
- If the frosting becomes too thick, add a splash more lemon juice (about ½ to 1 teaspoon at a time) and beat until creamy and smooth.
Assemble the Cake
- For easier assembly, use a cake turntable. Spread a small amount of buttercream on an 8-inch round cardboard cake circle or directly onto your serving cake plate. Place the first cake layer on top of the buttercream, gently pressing down to secure it.
- Evenly spread about ¾ cup of frosting on top of the first cake layer.
- Place the second cake layer on top of the frosting, gently pressing down. Spread another ¾ cup of frosting evenly on this layer.
- Add the third and final cake layer, pressing down lightly. Now, apply a crumb coat. Using your offset spatula, spread a very thin layer of buttercream around the sides and top of the entire cake. This traps any loose crumbs.
- Place the entire crumb-coated cake in the refrigerator for 20 minutes to allow the frosting to firm up.
- Once the crumb coat is chilled, remove the cake from the refrigerator. Spread the remaining frosting evenly over the sides and top of the cake, creating a smooth and beautiful finish. Slice and serve your magnificent lemon layer cake. Cover leftover cake tightly with plastic wrap and store at room temperature for up to 3 days.
Notes
Two-Layer Cake Option: If you prefer a two-layer cake, you can divide the batter into two 8-inch pans, with approximately 2 ½ cups of batter in each. The baking time will need to be increased slightly; start checking for doneness after 30-35 minutes.
How to Properly Measure Flour:
- Fluff the flour in its container with a fork or whisk.
- Use a spoon to lightly scoop the flour into your dry measuring cup.
- Use the flat edge of a butter knife or a straight spatula to level off the flour across the top of the measuring cup, removing any excess.
Sticking the measuring cup directly into the bag of flour can compact it, resulting in too much flour being added to the recipe, which is a common cause of dry cake.
Nutrition Information (Approximate per Serving)
Calories: 481 kcal | Carbohydrates: 54g | Protein: 3g | Fat: 29g | Saturated Fat: 18g | Polyunsaturated Fat: 1g | Monounsaturated Fat: 7g | Trans Fat: 1g | Cholesterol: 99mg | Sodium: 199mg | Potassium: 60mg | Fiber: 1g | Sugar: 39g | Vitamin A: 903IU | Vitamin C: 2mg | Calcium: 66mg | Iron: 1mg
Nutrition Disclosure
All nutritional values provided are approximate and are given as a courtesy to the reader. Please note that altering ingredients and/or quantities will affect the estimated nutritional calculations. This information is not a substitute for professional dietary advice.
Like this recipe? We’d love to hear your thoughts!
Share your experience and leave a comment below!