
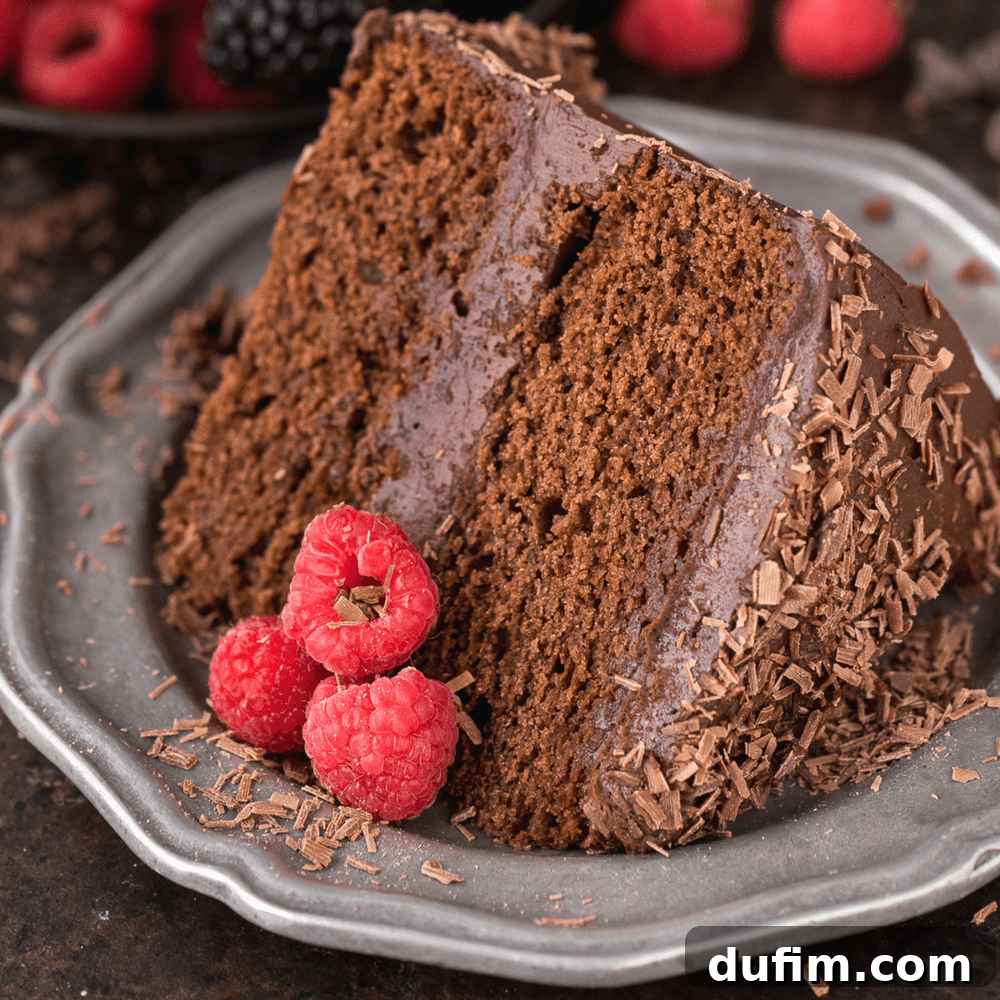
Ultimate Chocolate Velvet Cake: A Decadent Two-Layer Masterpiece
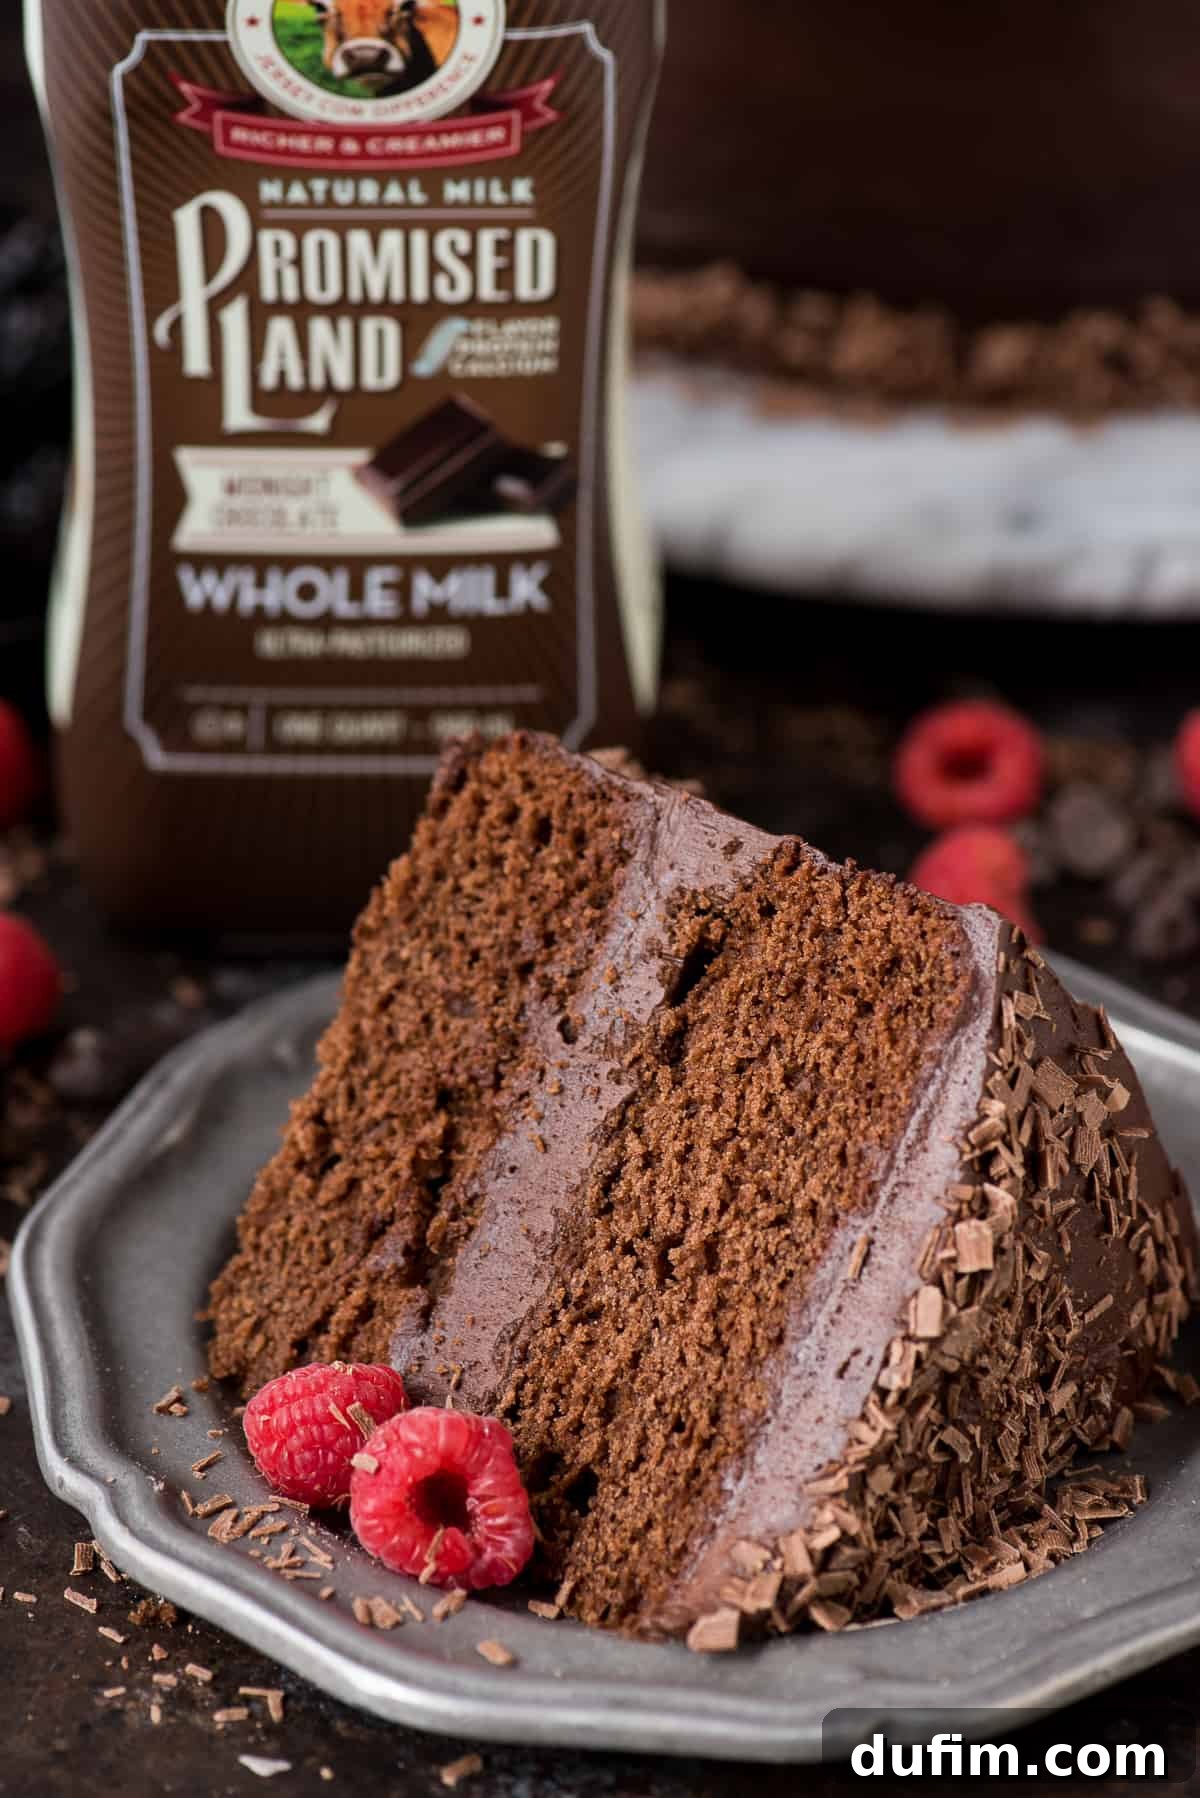
Indulge in this truly decadent and incredibly moist two-layer Chocolate Velvet Cake, enhanced with a secret ingredient: chocolate milk in the batter! Whether you crown it with fresh berries, delicate chocolate shavings, or a shower of chocolate chips, this cake is designed to impress and delight.
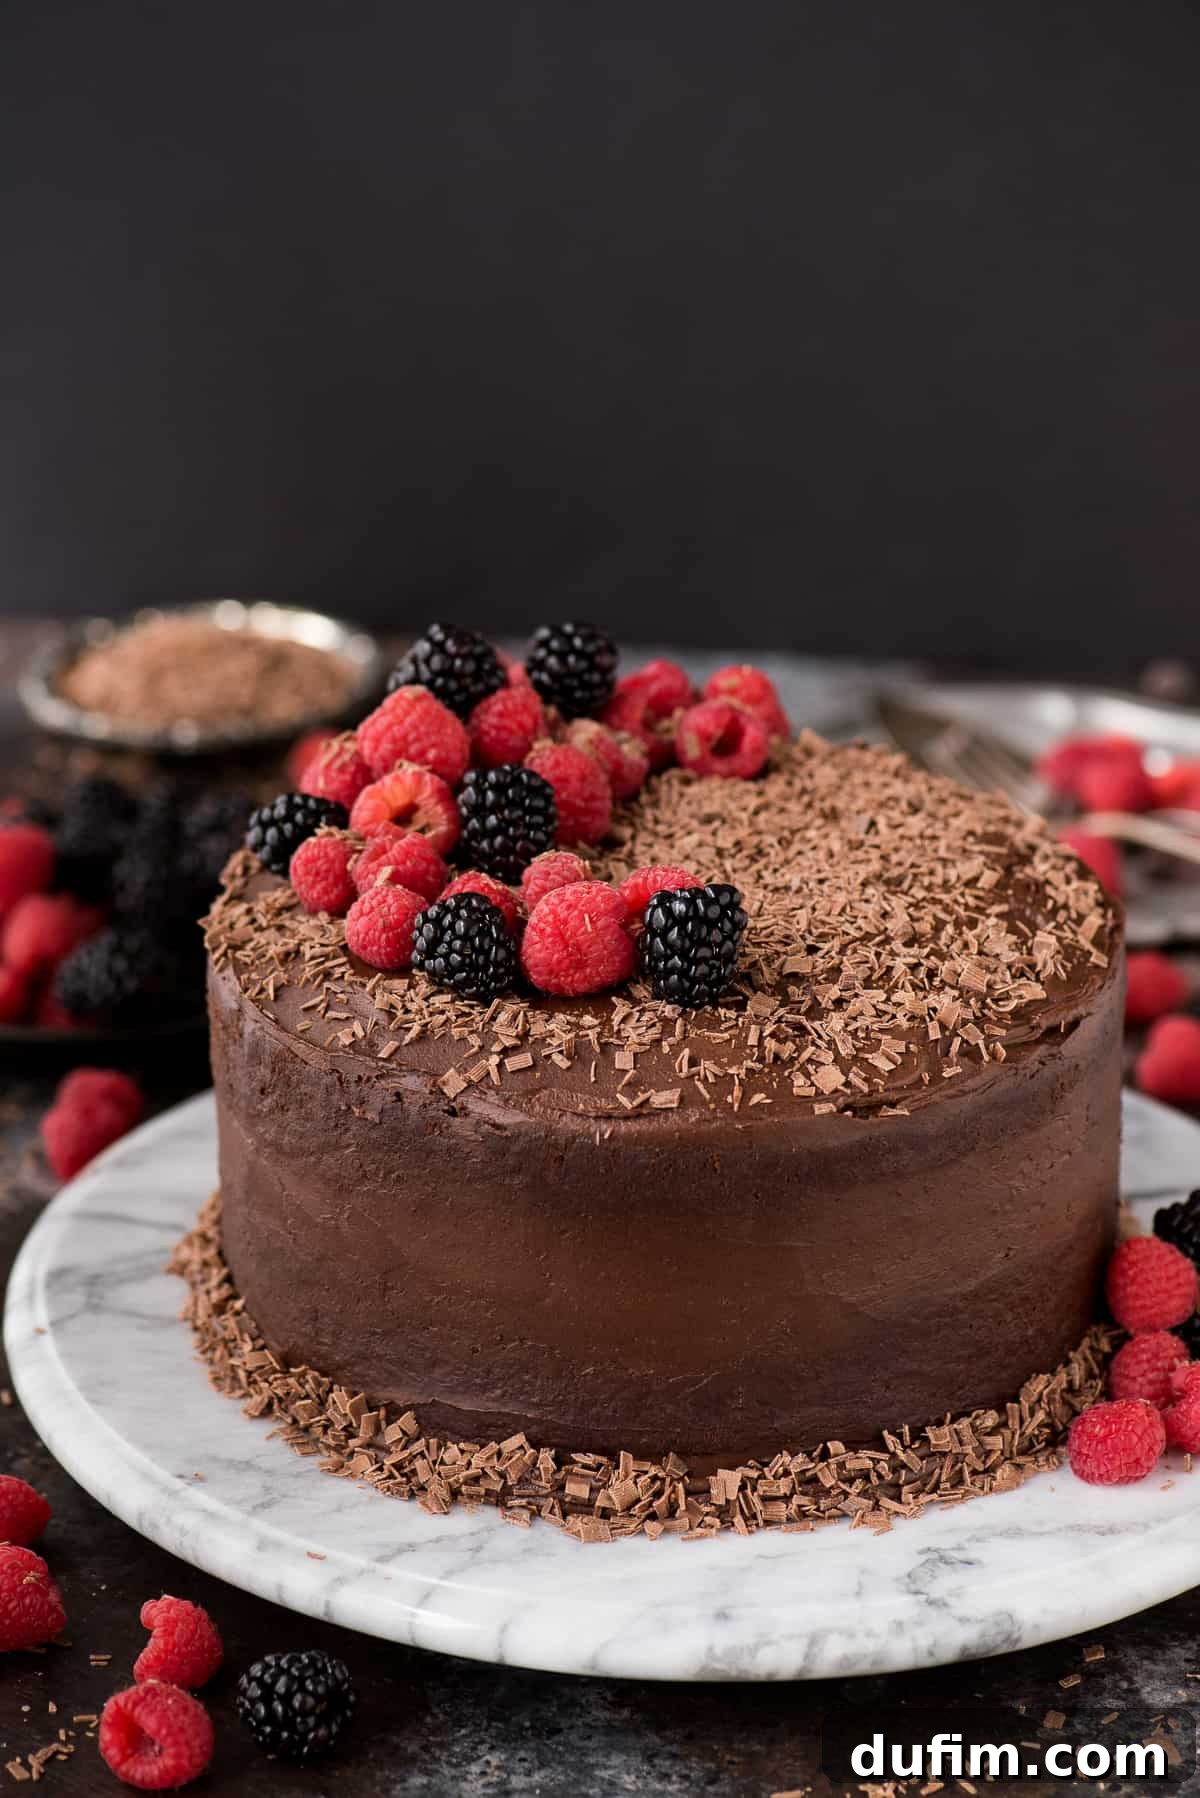
“I’ve never baked a double-layered cake before, but this recipe made it an absolute breeze! The cake itself was phenomenal – a wonderful depth of chocolate flavor without being overly rich. My only regret was not having a glass of milk readily available to wash down that first glorious slice. I’m already reaching for another!”
– Erin
This exquisite recipe was proudly created in partnership with Promised Land Dairy, whose rich chocolate milk adds an unparalleled tenderness and depth to every bite.
What is a Chocolate Velvet Cake?
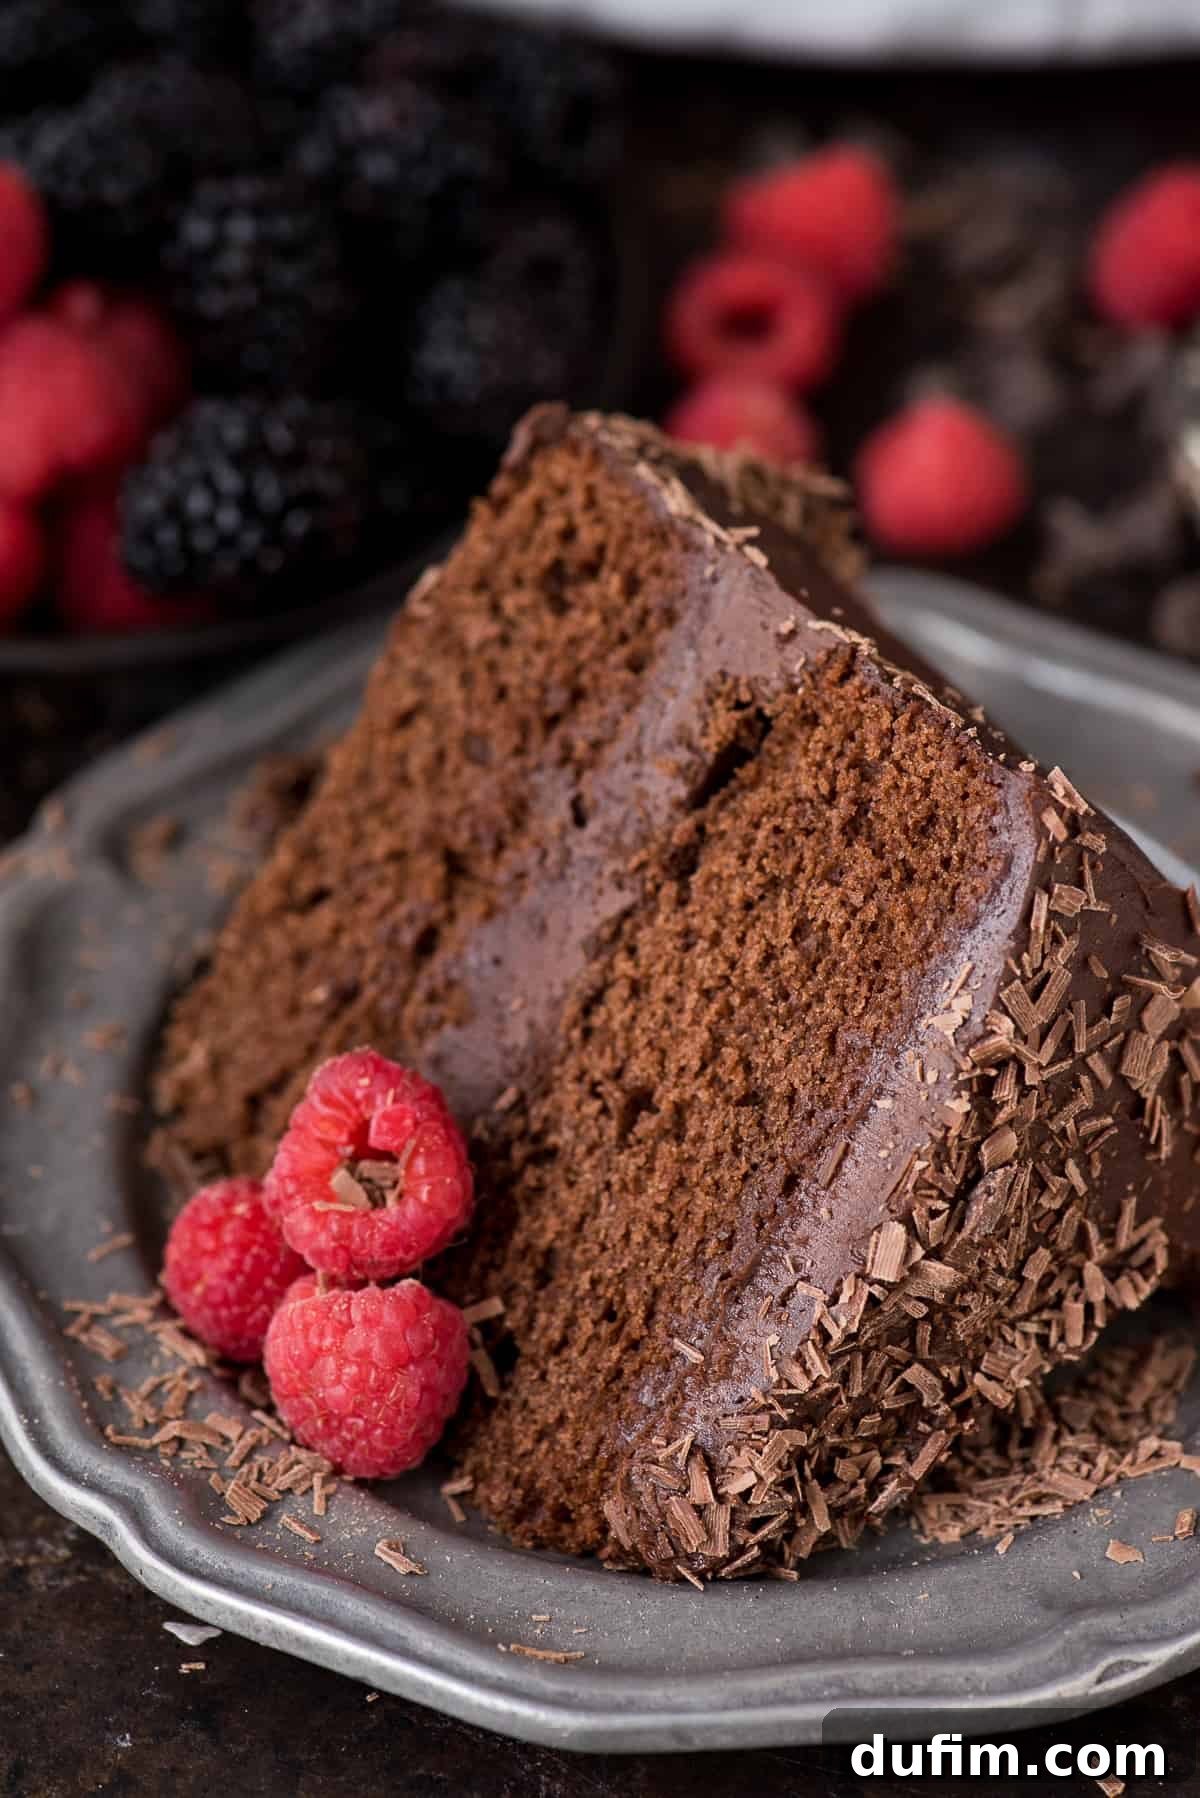
You might be asking, “What exactly makes a cake ‘velvet’?” A Chocolate Velvet Cake is more than just a chocolate cake; it’s an experience. The “velvet” in its name refers to its incredibly smooth, tender, and melt-in-your-mouth crumb. Unlike some dense chocolate cakes, a true velvet cake boasts a delicate texture that feels luxurious on the palate. Our version achieves this sublime texture by incorporating chocolate milk directly into the batter, ensuring an unmatched moistness and a wonderfully balanced chocolate flavor that isn’t overpoweringly sweet but deeply satisfying.
Decorating Your Chocolate Velvet Cake: The “Naked Cake” Approach and Beyond
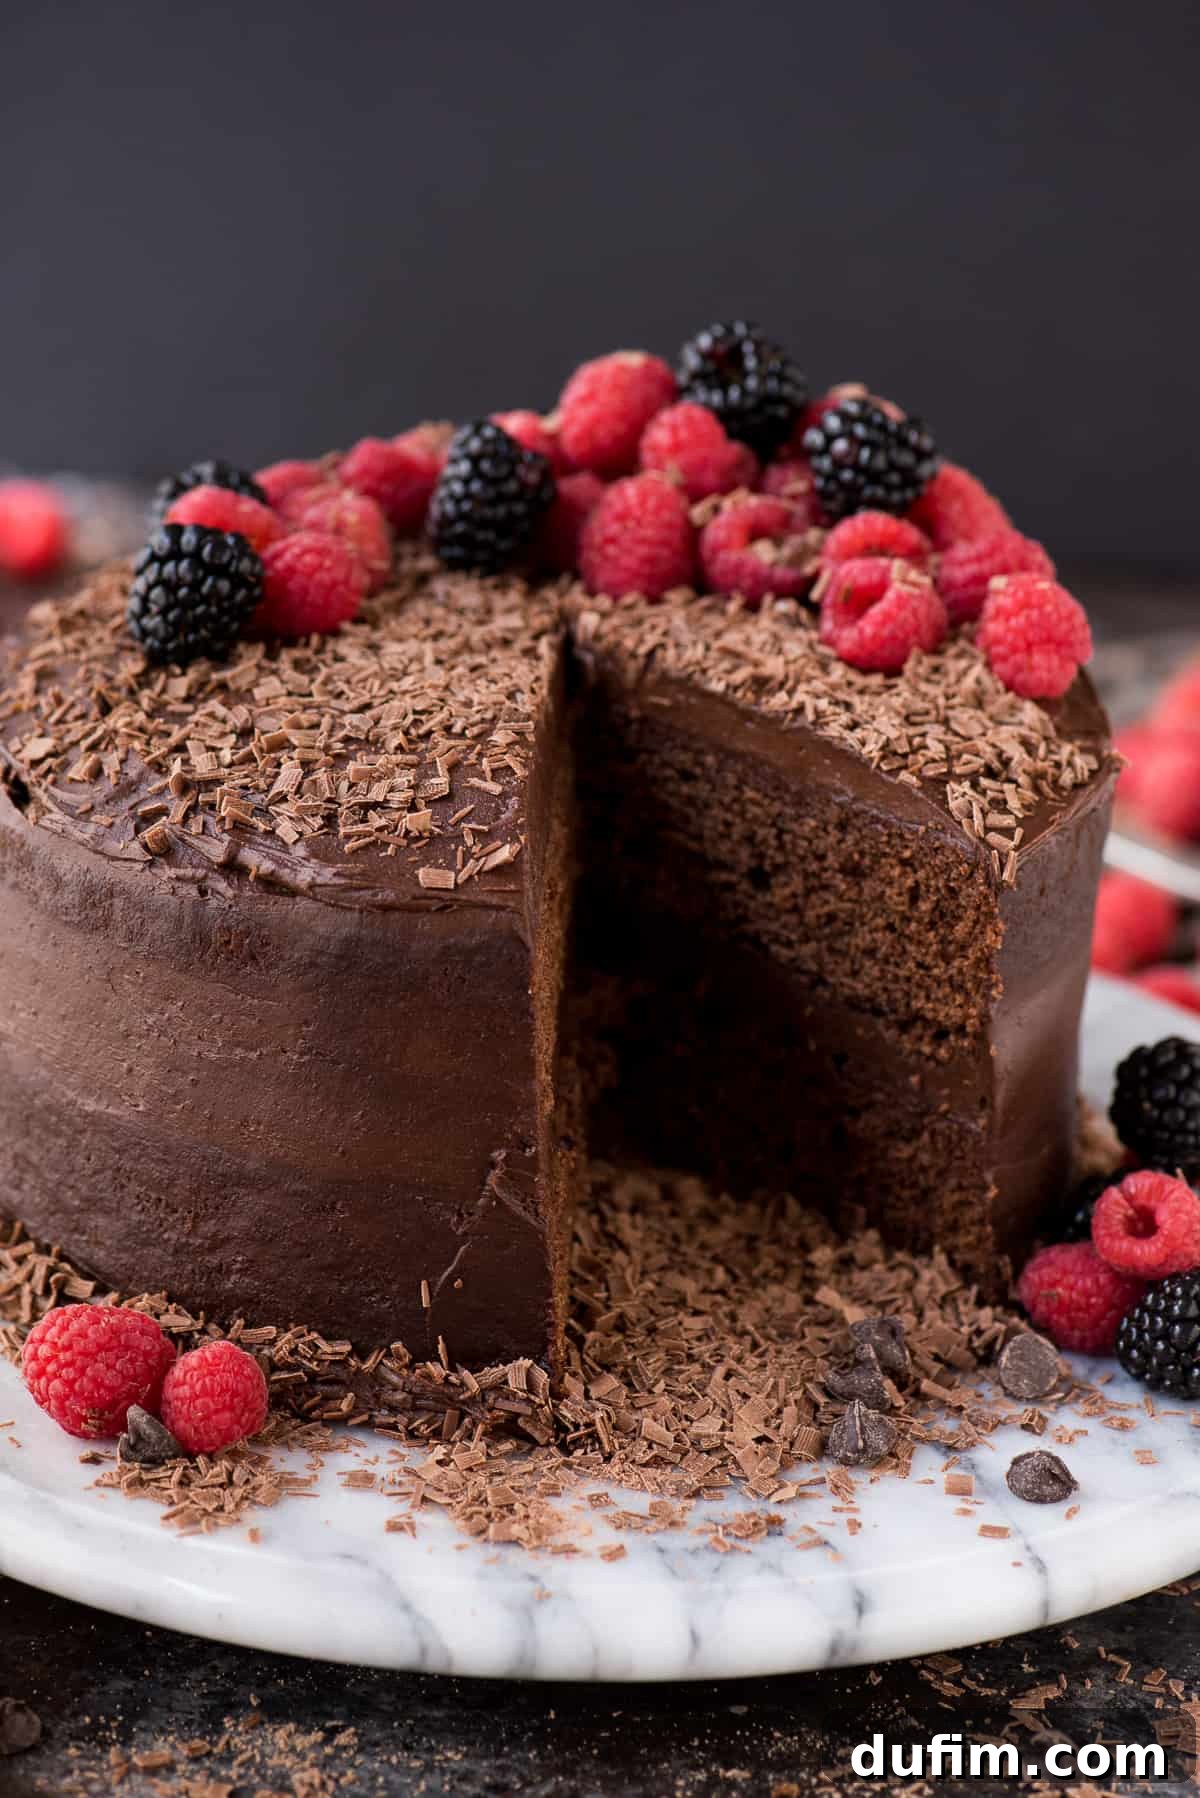
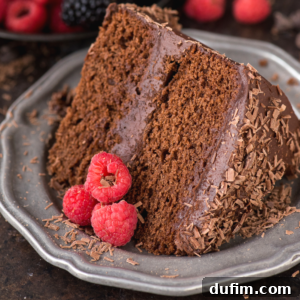
One of the many joys of baking a beautiful cake, second only to savoring each delicious forkful, is the freedom to adorn it exactly as you wish! For this particular Chocolate Velvet Cake, I embraced the aesthetic of a “naked cake.” This style, while subtle given the rich chocolate hue of both the cake and the buttercream, allows the beautiful layers of the cake to peek through, creating an elegant and rustic charm.
Embracing the Naked Cake Trend
A naked cake is characterized by its minimal frosting on the sides, revealing the individual cake layers and sometimes even the filling between them. It offers a more natural, less formal appearance compared to heavily frosted cakes, highlighting the artistry of the layers themselves. If you’re curious to explore more of this minimalist decorating style, you can find other inspiring naked cake examples here.
Creative Topping Ideas
For this specific rendition, I chose to top the cake with a vibrant assortment of fresh raspberries and blackberries, providing a lovely contrast in color and a burst of tartness against the rich chocolate. Alongside the berries, I added a generous sprinkling of delicate chocolate shavings. And here’s a little secret for achieving perfect, effortless chocolate shavings: simply use a good quality chocolate bar and a vegetable peeler! It’s an incredible time-saver and delivers beautifully curled shavings every time, elevating your cake’s presentation instantly. Don’t limit yourself, though! Feel free to experiment with other toppings like:
- **Chocolate Chips or Curls:** For an extra layer of chocolatey goodness.
- **Chopped Nuts:** Toasted pecans, walnuts, or almonds add a delightful crunch.
- **Edible Flowers:** For a touch of sophistication and color.
- **Dusting of Cocoa Powder or Powdered Sugar:** A simple yet elegant finish.
- **A Drizzle of Ganache:** For an even more intense chocolate experience.
Essential Baking Techniques for a Perfect Cake
Mastering Flour Measurement for Ultimate Moisture
Accurate ingredient measurement is paramount in baking, especially when it comes to flour. Incorrectly measured flour is one of the most common culprits behind dry, dense cakes. Here’s the correct method to ensure your cake is always perfectly moist and tender:
- **Fluff the Flour:** Before scooping, use a fork or whisk to aerate the flour in its container. This lightens it up and prevents it from being too compact.
- **Spoon into Measuring Cup:** Gently spoon the fluffed flour into your dry measuring cup. Do not pack it down.
- **Level Off:** Use the straight edge of a butter knife or an offset spatula to level off the excess flour from the top of the measuring cup.
**Why this matters:** Sticking your measuring cup directly into a bag of flour can pack in an excessive amount, sometimes up to 25% more than needed. This extra flour absorbs too much moisture from the batter, leading to a cake that is dry, crumbly, and lacks the desired velvet texture.
Preparing Your Cake Pans for Seamless Release
Properly preparing your cake pans is a crucial step that ensures your beautifully baked cake releases cleanly without sticking or tearing. While non-stick cooking sprays are convenient, I highly recommend using butter or shortening for greasing your pans, as they provide a superior non-stick barrier.
Here’s my preferred method for preparing your pans:
- **Generously Grease:** Take about half a tablespoon of softened butter or shortening. For a mess-free application, you can place your hand inside a Ziploc bag or wrap it in a paper towel, then liberally coat the entire inside surface of the cake pan – bottom and sides. Ensure every crevice is covered.
- **Parchment Paper for Easy Removal:** For ultimate peace of mind and super easy cake removal, cut a circle of parchment paper that matches the exact size of your pan’s bottom. After greasing the pan, place this parchment circle firmly at the bottom. The grease will help it adhere. To get a perfect circle, simply trace the bottom of your springform pan onto the parchment paper and cut it out.
- **Optional Flour Dusting:** For extra insurance, especially with intricate pans, after greasing and lining with parchment, you can lightly dust the pan with a tablespoon of flour. Tap the pan to ensure an even coating, then invert it and tap out any excess flour.
Recommended Cake Baking Tools
Having the right tools can make all the difference in your baking journey. These specific items are highly recommended for achieving professional-looking and tasting results with your Chocolate Velvet Cake:
- 8 inch Springform pan: Ideal for easy cake removal and maintaining perfect round shapes.
- Bake even cake strips: Essential for perfectly flat cake layers.
- Cake leveler: For trimming and leveling your cake layers for a polished look.
- Parchment paper: An indispensable aid for preventing sticking and ensuring smooth cake release.
Achieving Perfectly Even, Flat Cake Layers
No one wants a domed cake that requires excessive trimming and leads to wasted cake! Achieving flat, even cake tops is key for a beautifully stacked layered cake. My go-to secret for this is using **bake-even cake strips** around the outside of my springform pans. These strips work by insulating the sides of the pan, causing the cake to bake more evenly from the edges to the center, preventing the familiar dome. They are a game-changer and readily available (a 2-pack typically costs around $10 on Amazon!).
Alternatively, if you don’t have bake-even strips or prefer a DIY approach, you can create your own: simply cut an old towel or thick cloth into strips long enough to wrap around your pan. Get the fabric thoroughly wet, squeeze out the dripping water (but don’t wring it completely dry), and secure it tightly around the cake pan with a safety pin or kitchen twine. This homemade method functions similarly by keeping the edges cooler.
Even with bake-even strips, sometimes a slight dome can form. In such cases, a **cake leveler** or a long, **serrated knife** can be used to expertly trim the tops of your cooled cake layers, ensuring they are perfectly flat and ready for stacking and frosting.
Make-Ahead Tips for Stress-Free Baking
This Chocolate Velvet Cake recipe is wonderfully accommodating if you need to prepare elements in advance, making it perfect for entertaining or busy schedules:
- **Cake Layers:** Once your cake layers are baked, allow them to cool completely on a wire rack. Then, wrap each layer tightly in several layers of plastic wrap to prevent air exposure, which can dry out the cake. The wrapped layers can be refrigerated for up to 2 days or frozen for up to 3 months. If freezing, consider adding a layer of aluminum foil over the plastic wrap for extra protection against freezer burn. Thaw frozen cakes overnight in the refrigerator before frosting.
- **Chocolate Buttercream:** The rich chocolate buttercream can also be prepared ahead of time. Transfer it to an airtight container or cover the mixing bowl tightly with plastic wrap and refrigerate for up to 2 days. When you’re ready to use it, allow the buttercream to come to room temperature for at least 30-60 minutes. Then, beat it briefly with an electric mixer on medium-low speed until it’s light, fluffy, and smooth again, ensuring it’s easy to spread.
Optimal Frosting Quantity Between Cake Layers
For an 8-inch, two-layer cake like this Chocolate Velvet Cake, I recommend using approximately 3/4 to 1 cup of frosting between the cake layers. This amount creates a generous and satisfying filling without causing the layers to slide or creating an overly sweet balance. The remaining buttercream will then be perfectly sufficient for frosting the sides and top of the cake, allowing you to achieve either a full coverage or the elegant naked cake look.
Total Time Required for Your Chocolate Velvet Cake
While the overall process might seem involved, breaking down the steps reveals it’s quite manageable:
- **Prep the Cake Batter:** Approximately 15 minutes of active preparation.
- **Bake Time:** 35-40 minutes in the oven.
- **Cooling Time:** 1+ hour for the cake to cool completely (essential before frosting!).
- **Make the Frosting:** Approximately 5 minutes to whip up the buttercream.
- **Assemble and Frost:** 10-20 minutes for final assembly and decoration.
This breakdown shows that much of the time is passive (baking and cooling), making this a rewarding project that can be spread out if needed.
More Delicious Cake Recipes to Explore
If you’ve enjoyed baking this Chocolate Velvet Cake, you might love exploring these other delightful cake recipes:
- Classic Yellow Cake Recipe
- Decadent Chocolate Bundt Cake
- Rich Chocolate Mud Cake
- Irresistible Oreo Cake
Tap stars to rate!
Chocolate Velvet Cake
Beth
20 minutes
30 minutes
20 minutes
1 hour 10 minutes
16 servings
Rate
Equipment
-
8 inch cake pan
-
Glass Mixing Bowl
-
KitchenAid 9-Speed Mixer
-
My favorite spatula!
Ingredients
Chocolate Cake
- 2 ¼ cups (270g) cake flour *see note below
- 2 ½ tsp baking powder
- 1 tsp salt
- ½ cup (113g) unsalted butter, 1 stick, room temperature
- 1 ½ cups (297g) sugar
- 3 oz unsweetened baking chocolate, melted & cooled
- 2 large eggs
- ¼ tsp baking soda
- 2 Tbsp hot tap water
- 1 cup (236ml) chocolate milk
Chocolate Buttercream
- 2 cups (452g) unsalted butter, 4 sticks, room temperature
- 1 ½ cups (126g) cocoa powder
- 3-4 cups (339-454g) powdered sugar
Instructions
Chocolate Cake
- Preheat the oven to 350ºF (175°C).
- Using butter, grease the bottom and sides of two 8-inch round cake pans or springform pans. Line the bottoms with a round piece of parchment paper. To ensure even baking and flat tops, place a bake-even strip around each pan. (Alternatively, you can make your own homemade bake-even strip by cutting a towel or shirt to fit the size of your pan, getting it very wet, squeezing out excess water, and securing it around the pan with a safety pin).
- In a small mixing bowl, combine the cake flour, baking powder, and salt. Whisk briefly to combine and set aside. (Ingredients: 2 1/4 cups (270g) cake flour, 2 1/2 tsp baking powder, 1 tsp salt)
- In a larger mixing bowl, combine the softened unsalted butter and sugar. Beat with an electric mixer on medium speed until the mixture is light and fluffy, about 2 minutes. Add in the cooled melted unsweetened baking chocolate and large eggs, continuing to beat until fully combined. (Ingredients: 1/2 cup (113g) unsalted butter, 1 1/2 cups (297g) sugar, 3 oz unsweetened baking chocolate, 2 large eggs)
- Place the 2 tablespoons of hot tap water in a small bowl, stir in the baking soda until dissolved, then add this mixture to the wet batter. Add half of the chocolate milk to the batter and gently stir by hand with a spatula until just combined. Gradually add half of the dry flour mixture, mixing lightly until no streaks remain. Repeat with the second half of the chocolate milk and the remaining flour mixture, mixing just until fully incorporated. Be careful not to overmix. (Ingredients: 1/4 tsp baking soda, 2 Tbsp hot tap water, 1 cup (236ml) chocolate milk)
- Divide the batter evenly between both prepared pans, aiming for about 2 & 1/4 cups of batter in each. Bake for 30-32 minutes, or until a wooden toothpick inserted into the center of the cake comes out clean or with a few moist crumbs attached.
- Once baked, allow the cake to cool in the pans on a wire cooling rack for 10 minutes. After 10 minutes, carefully remove the cakes from their pans. If using springform pans, release the sides and bottom. Allow the cake layers to cool completely on the cooling rack. Once fully cool, gently peel off the parchment paper rounds from the bottoms of the cakes. If necessary, use a cake leveler or a serrated knife to level the tops of your cake layers for even stacking.
- Ensure the cake layers are completely cool before proceeding with frosting. If preparing ahead, wrap cooled cake layers tightly in plastic wrap and refrigerate for up to 2 days, or freeze for up to 3 months.
Chocolate Buttercream
- In a large mixing bowl, beat the room temperature unsalted butter with an electric mixer until it’s light and fluffy. Add in the cocoa powder and gently mix by hand with a spatula to prevent a “cocoa cloud” before continuing with the electric mixer. (Ingredients: 2 cups (452g) unsalted butter, 1 1/2 cups (126g) cocoa powder)
- Begin adding the powdered sugar, about 1-2 cups at a time, mixing by hand first to incorporate, then with the electric mixer on low speed. Continue adding powdered sugar until the frosting reaches your desired consistency and sweetness. Beat on medium-high for a minute or two until light and airy. (Ingredients: 3-4 cups (339-454g) powdered sugar)
How To Assemble Your Cake
- Spread a small dollop of chocolate buttercream onto an 8-inch round cardboard cake circle (or your chosen serving platter). This acts as an anchor. Carefully place your first cooled cake layer on top of the cardboard, centering it.
- Add a generous amount (about 3/4 to 1 cup) of chocolate buttercream on top of the first layer. Use an offset spatula or the back of a spoon to spread it into an even, level layer across the cake.
- Gently place the second cake layer directly on top of the frosted first layer, aligning it carefully. Evenly cover the top of this second layer with buttercream, smoothing it out.
- For a “naked cake” look, use a small offset spatula to add a very thin, translucent layer of buttercream to the sides of the cake, allowing the cake layers to remain visible through the frosting. If you prefer a fully frosted cake, simply apply more buttercream to completely cover the sides.
- Finally, add your desired toppings: fresh raspberries, blackberries, and delicate chocolate shavings are highly recommended for both flavor and visual appeal.
- Slice your magnificent Chocolate Velvet Cake and serve immediately to appreciative guests!
Notes
Nutrition Information (Approximate Per Serving)
Calories: 544 kcal | Carbohydrates: 62g | Protein: 6g | Fat: 34g | Saturated Fat: 21g | Polyunsaturated Fat: 1g | Monounsaturated Fat: 9g | Trans Fat: 1g | Cholesterol: 101mg | Sodium: 255mg | Potassium: 229mg | Fiber: 4g | Sugar: 42g | Vitamin A: 932IU | Vitamin C: 1mg | Calcium: 85mg | Iron: 2mg
Nutrition Disclosure
All nutritional values provided are approximate and offered to the reader as a courtesy. Please note that changing ingredients and/or quantities will alter the estimated nutritional calculations.
Like this recipe? We’d love to hear from you! Rate and leave a comment below!