
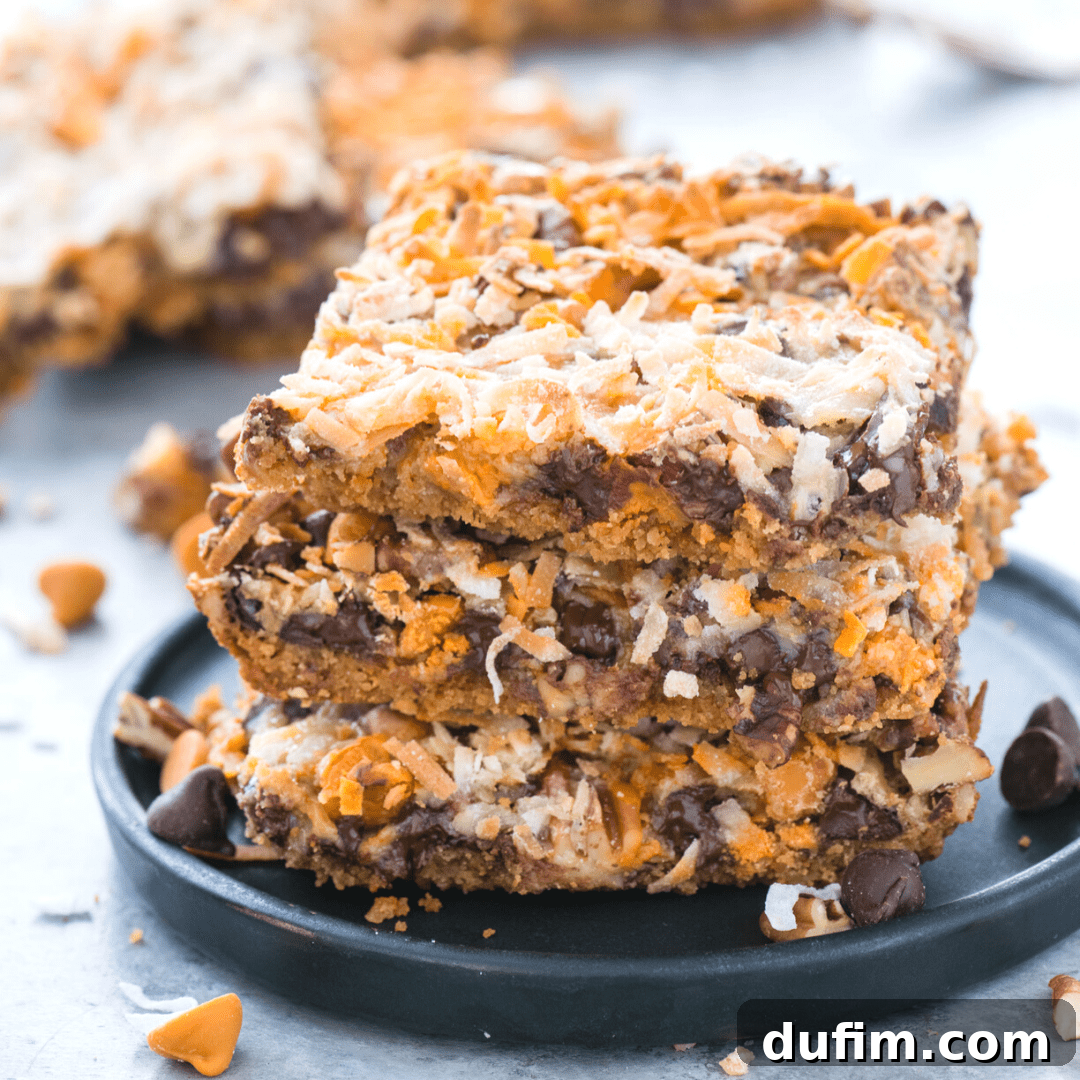
Welcome to the ultimate guide to 7 Layer Bars! For years, these delightful dessert bars have been a staple in my kitchen, bringing smiles to countless faces. I’m thrilled to share not just the classic, time-tested recipe, but also **8 fantastic and easy substitutions** that allow you to customize these treats to perfectly match your taste or whatever ingredients you have on hand. Whether you’re thinking of swapping out the nuts, trying a different chocolate, or experimenting with unique mix-ins, I’ve thoroughly tested a variety of variations to help you craft your absolute favorite version. Get ready to discover the magic and versatility of these incredible bars!
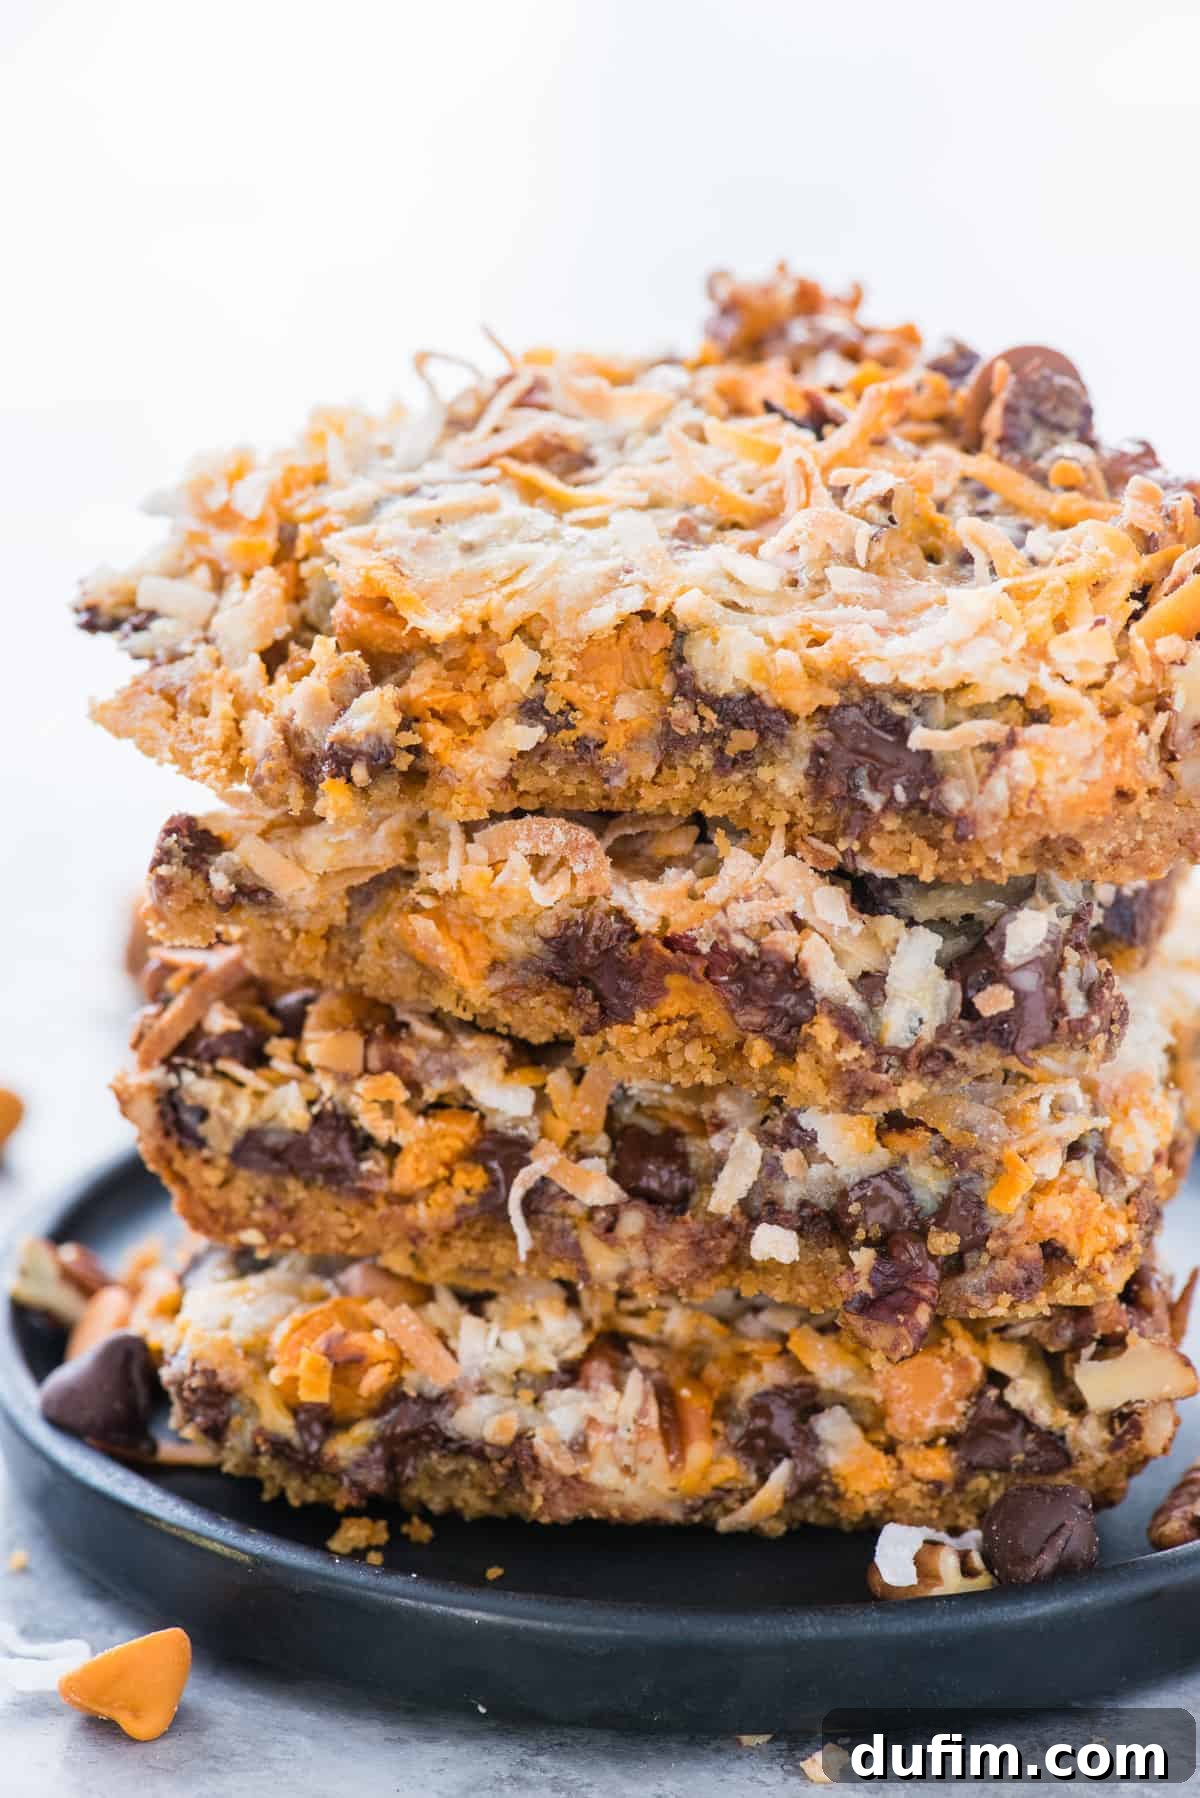
Made these cookies twice during Christmas and gave as gifts. They are one of my favorites!
-Jeanne
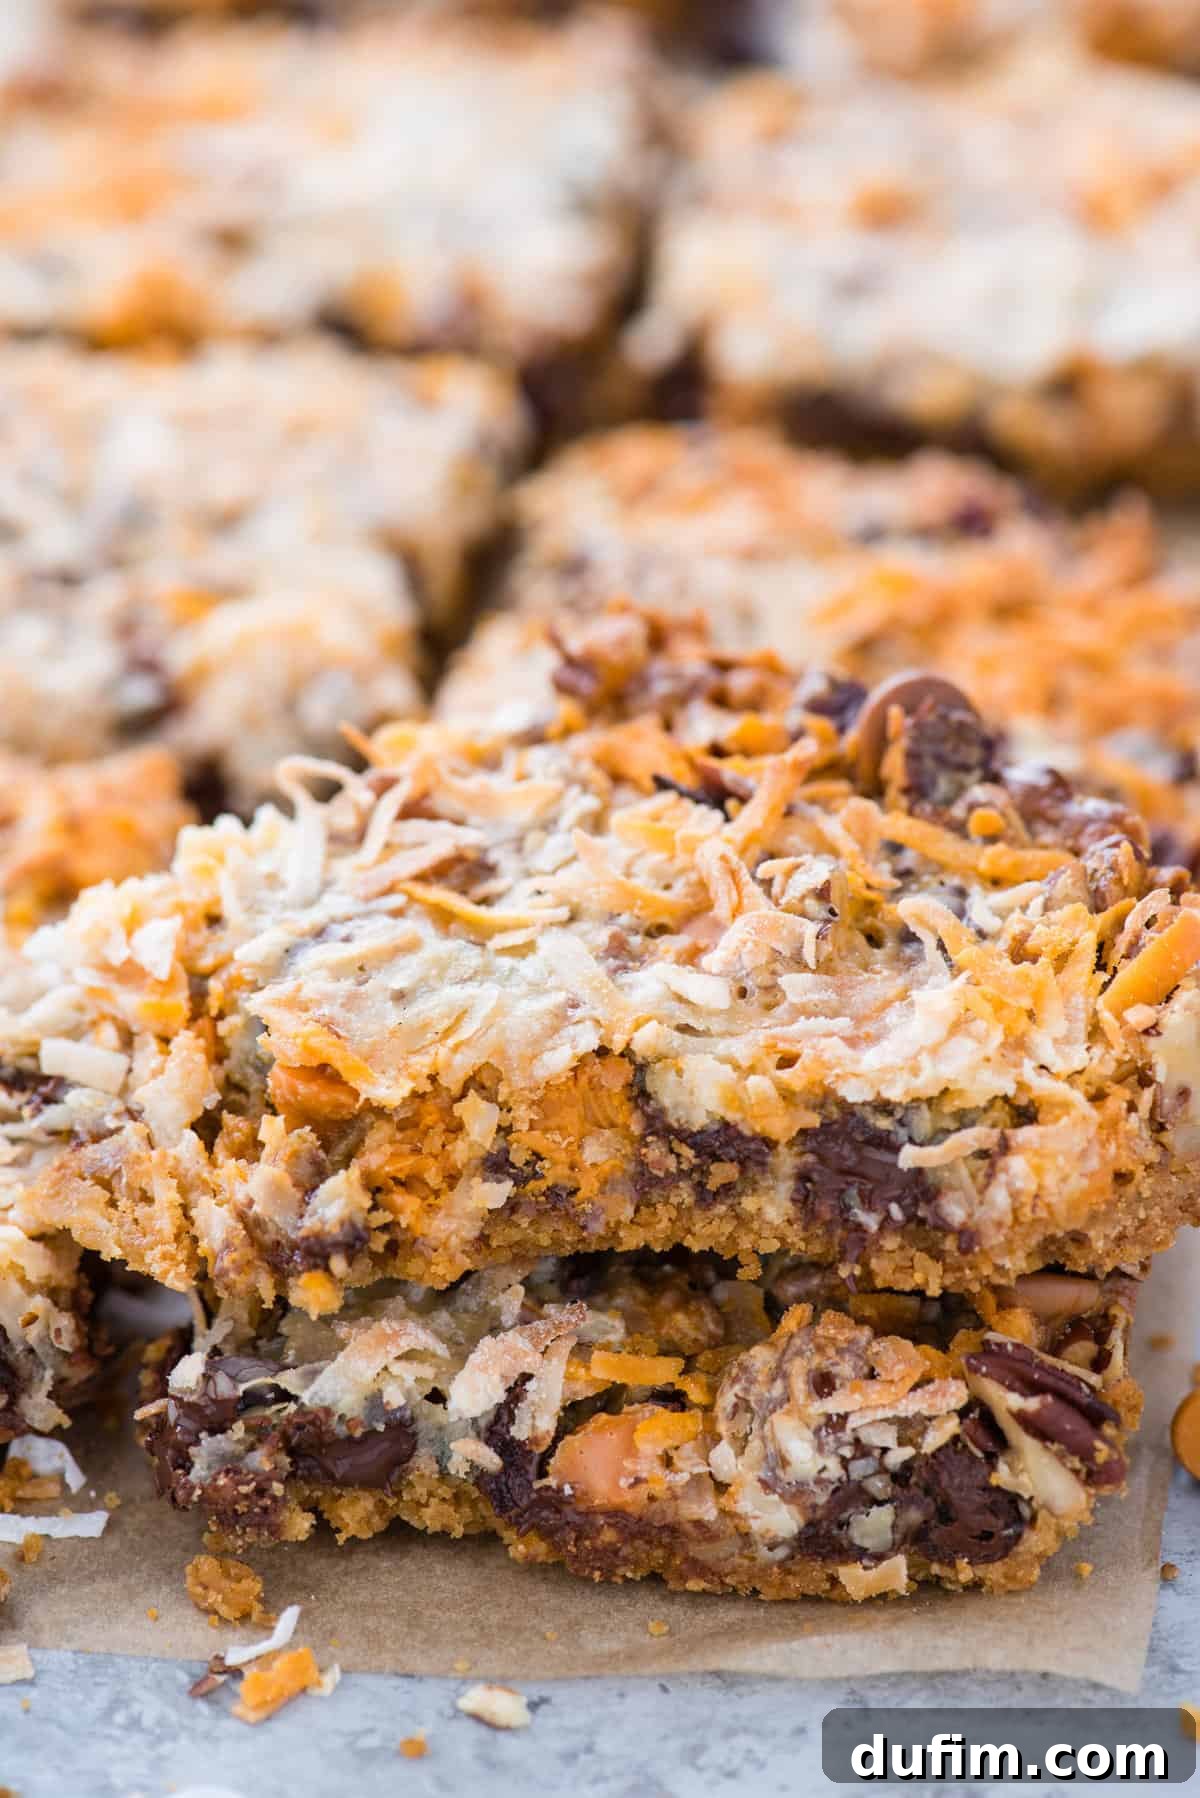
Seven Layer Bars, often lovingly known as Magic Bars or Hello Dolly Bars, hold a special place in the hearts of dessert enthusiasts across generations. These irresistible treats frequently appear at church potlucks, bustling bake sales, and cherished family gatherings, becoming an instant crowd-pleaser wherever they go. Growing up in the Midwest, we always referred to them as ‘7 Layer Bars,’ a name that perfectly describes their layered composition. However, depending on your region or family tradition, you might hear them called Magic Bars, Hello Dolly Bars, or even Coconut Dream Bars. Regardless of the name, the enchantment lies in their distinct layers, which come together to create a symphony of textures and flavors.
These bars are a true dessert icon—rich, wonderfully chewy, and bursting with a delightful blend of sweet and nutty notes. Their enduring popularity is no surprise; they offer a satisfying mix of crunch from the graham cracker crust, gooey sweetness from the condensed milk, and delightful texture from the chocolate, butterscotch, nuts, and coconut. They are incredibly easy to prepare, making them an ideal choice for busy bakers or anyone new to the kitchen. If you’re searching for a guaranteed hit for your next social event, these bars are always a showstopper. And if you’re in the mood to explore other nostalgic bar desserts, a butterscotch brownie offers a similarly comforting and easy-to-make experience.
Understanding 7 Layer Bars: The Classic Composition
The name “7 Layer Bars” accurately reflects the delightful construction of these indulgent treats, which are famously composed of seven distinct layers, each contributing a unique element to the overall flavor and texture profile. When properly assembled, these layers create a harmonious blend that is both rich and satisfying. Let’s break down the classic components:
- **Melted Butter:** Forms the foundational binder for the crust, ensuring it’s rich and holds together beautifully.
- **Graham Cracker Crust:** A buttery, crumbly base that provides a subtle sweetness and a satisfying crunch. This layer is pressed firmly into the pan to form a sturdy foundation for the layers above.
- **Chocolate Chips:** Typically semi-sweet, these melt into pockets of rich, dark chocolate goodness, offering a classic flavor that everyone loves.
- **Butterscotch Chips:** These add a distinct, creamy, and slightly salty-sweet caramel note that complements the chocolate perfectly, giving the bars their signature “magic” taste.
- **Chopped Nuts:** Pecans or walnuts are most common, providing a delightful crunch and an earthy flavor that balances the sweetness of the chips and condensed milk.
- **Sweetened Condensed Milk:** This is the “magic” binder! Poured over all the other layers, it caramelizes during baking, creating a wonderfully chewy, gooey, and rich topping that holds everything together.
- **Shredded Coconut:** Often sweetened, this layer adds a tropical aroma, a unique chewiness, and a slightly toasty flavor once baked, forming a beautiful golden top.
Together, these seven simple ingredients transform into a complex and utterly addictive dessert bar that’s much greater than the sum of its parts. Each bite delivers a delightful interplay of soft, crunchy, sweet, and rich elements.
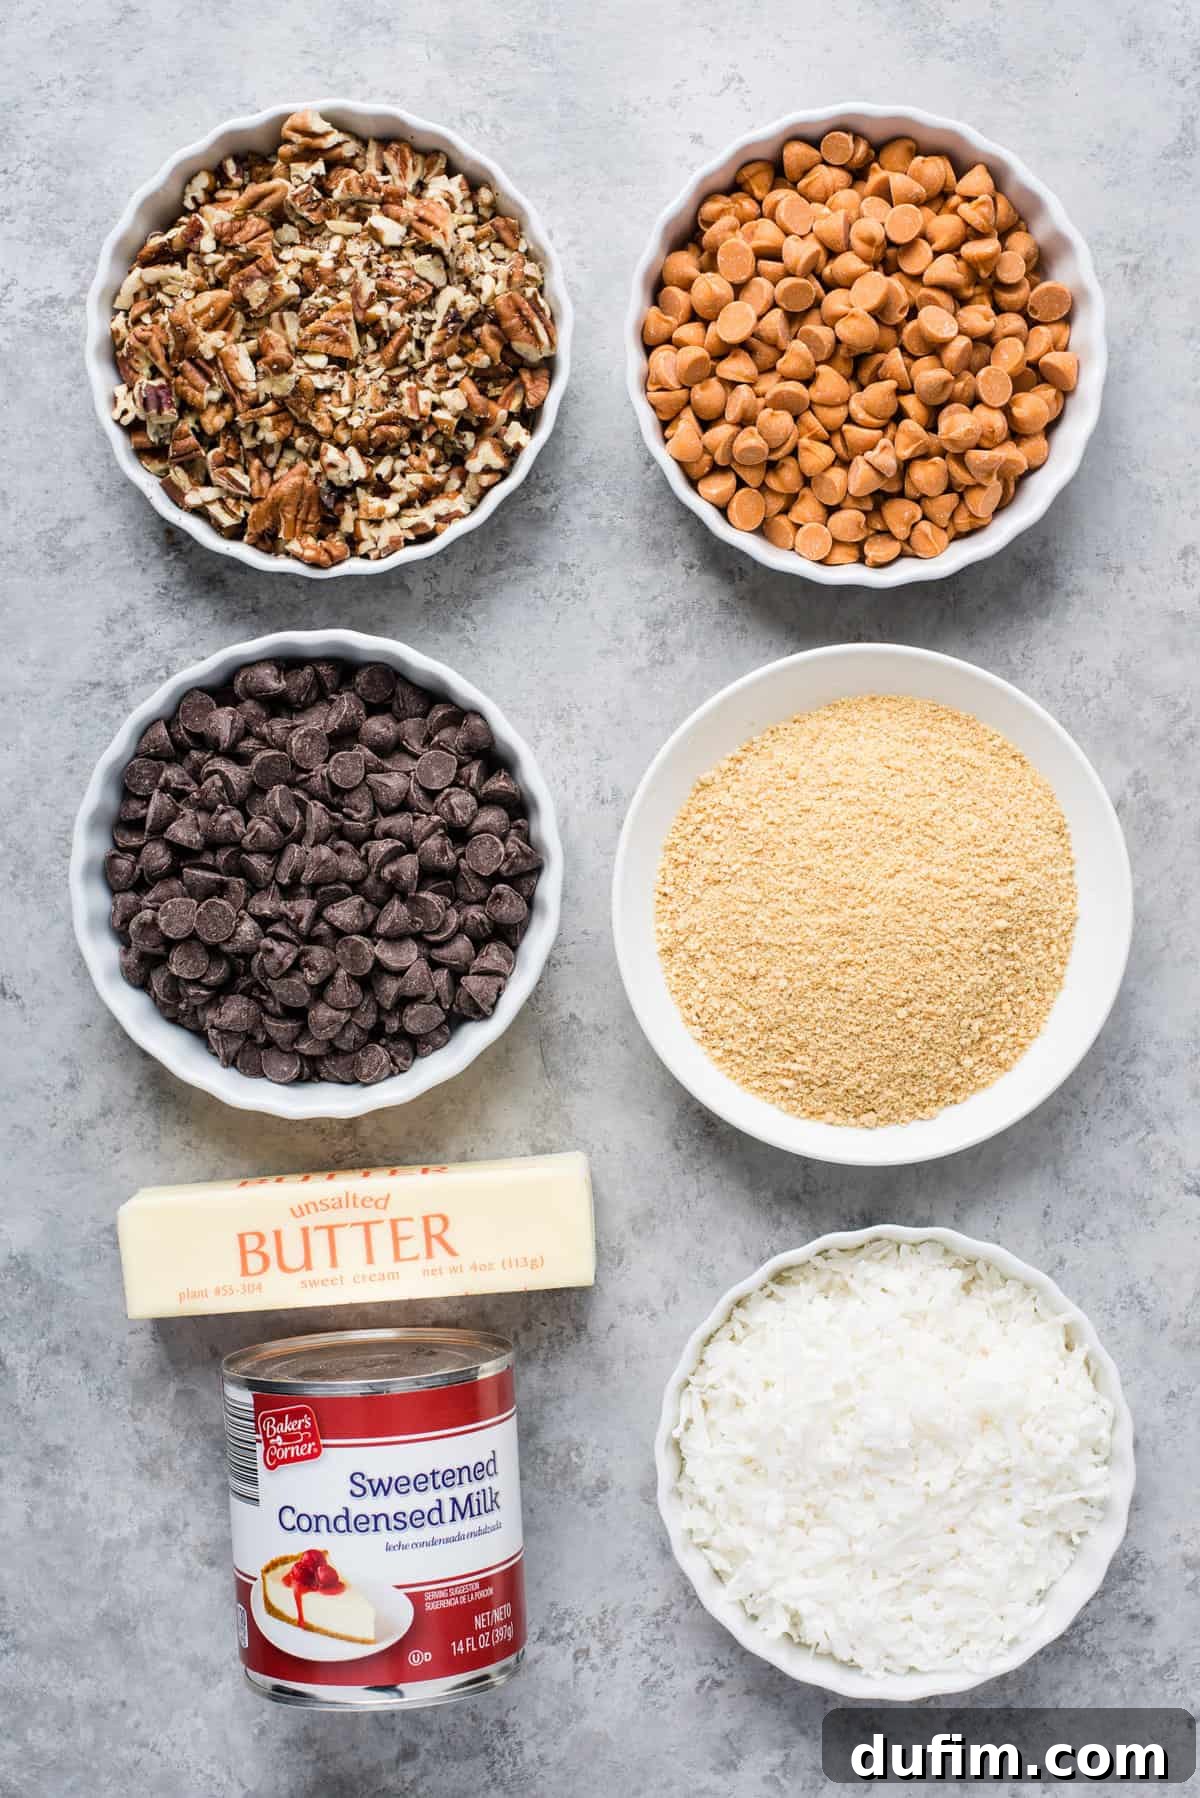
Essential Ingredients for Classic 7 Layer Bars
Making these bars requires a handful of pantry staples that are easy to find. Here’s a quick list of what you’ll need to gather:
- Graham cracker crumbs (or whole graham crackers to crush)
- Unsalted butter (for the crust)
- Semi-sweet chocolate chips
- Butterscotch chips
- Chopped pecans or walnuts
- Sweetened condensed milk (ensure it’s not evaporated milk!)
- Shredded sweetened coconut
With these ingredients, you’re just a few steps away from baking a tray of pure delight!
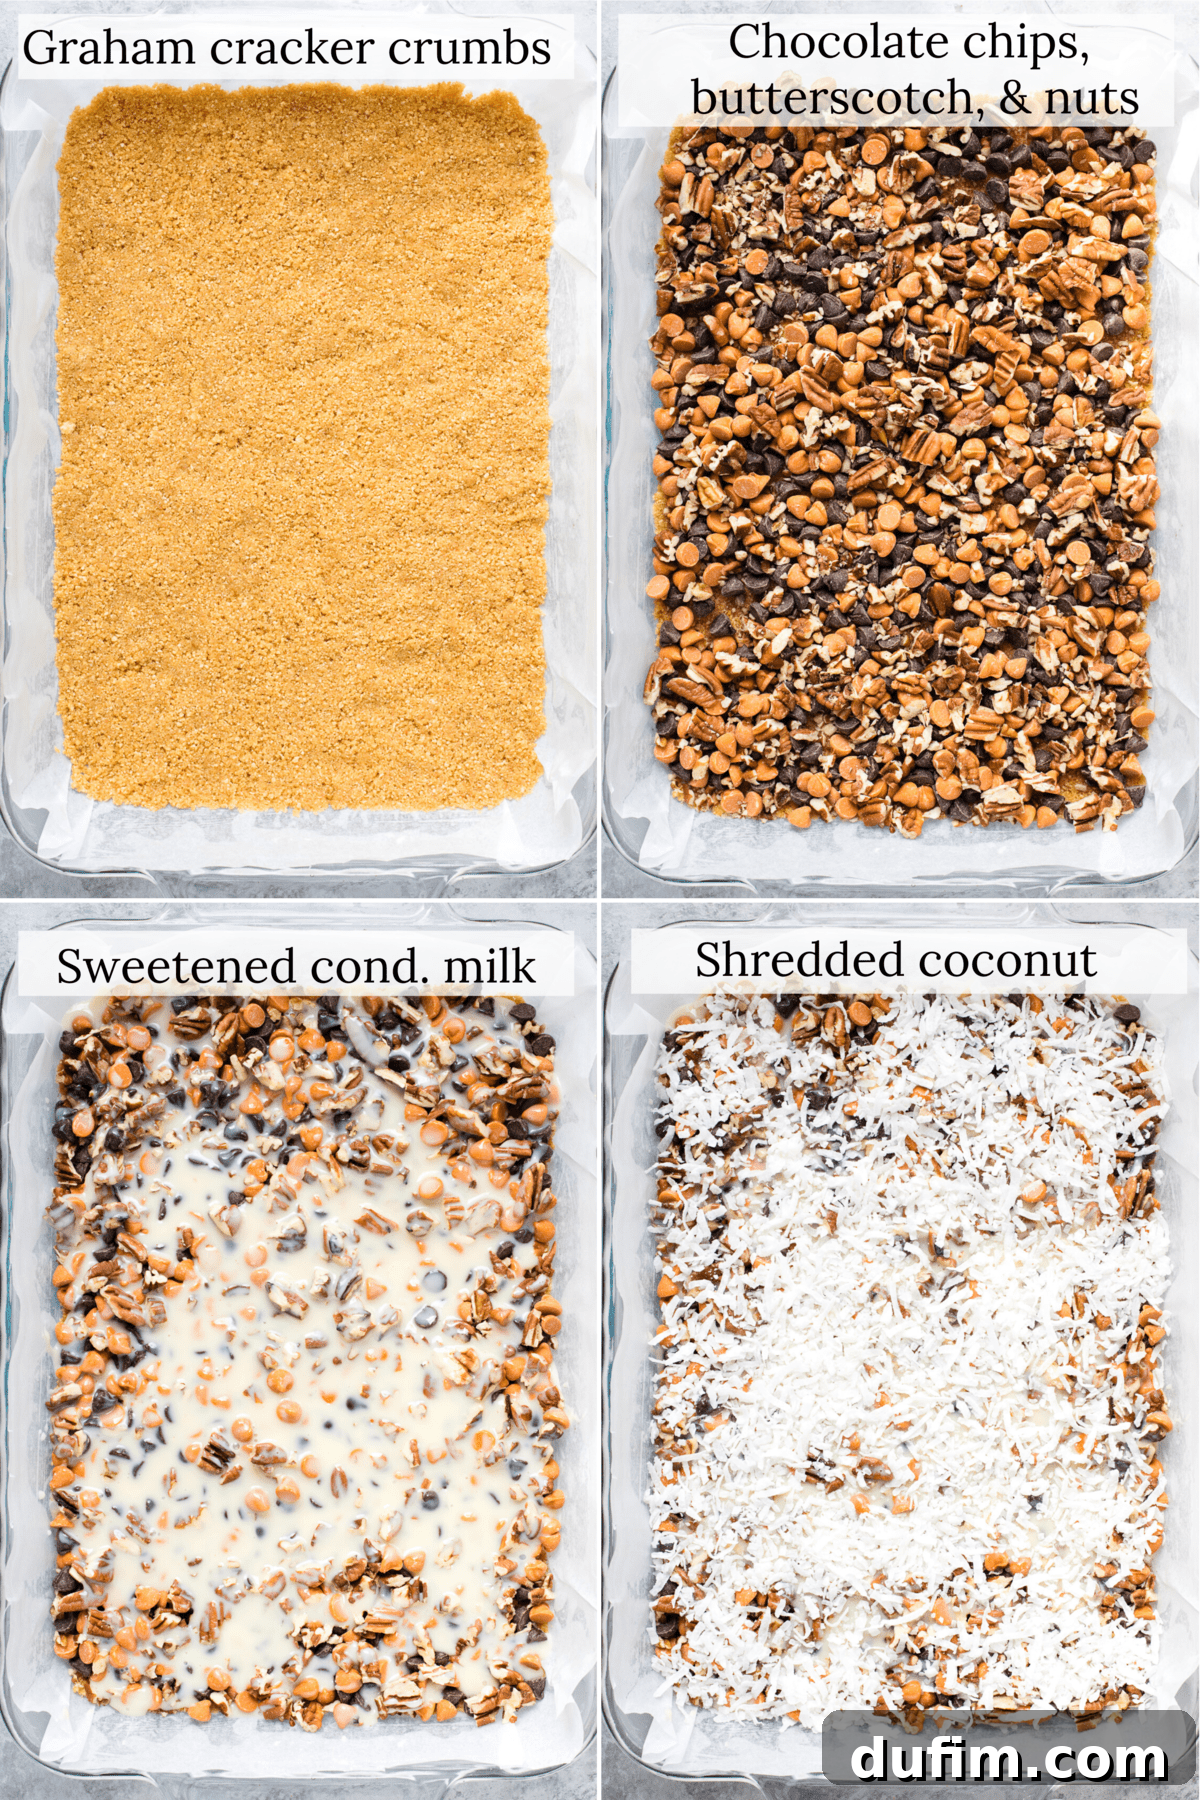
Baking Perfection: A Step-by-Step Guide to 7 Layer Bars
Creating these “magic” bars is incredibly straightforward, even for novice bakers. The beauty of this recipe lies in its simplicity and the minimal effort required for such a delicious outcome. Follow these easy steps to bake a batch of heavenly 7 Layer Bars:
- **Prepare Your Baking Pan:** Begin by preheating your oven to 350°F (175°C). Line a 9×13 inch baking pan with parchment paper. This crucial step is key for easy removal and neat slicing later. To help the parchment paper adhere smoothly, lightly butter the bottom and sides of the pan before pressing the paper in place. Allow the parchment paper to extend over the sides of the pan to create “handles” for lifting the baked bars.
- **Craft the Graham Cracker Crust:** In a small mixing bowl, combine the melted unsalted butter with the graham cracker crumbs. Stir until the crumbs are evenly moistened. Transfer this mixture to your prepared baking pan. Using your hands or the bottom of a flat-bottomed glass, firmly press the crumbs into an even layer across the bottom of the pan. A well-compacted crust prevents crumbling when sliced.
- **Layer the Goodies:** This is where the layers begin to form! Evenly sprinkle the chocolate chips, butterscotch chips, and chopped nuts (pecans or walnuts work best for the classic flavor) over the pressed graham cracker crust. Aim for an even distribution so every bite has a mix of these delightful elements. Don’t press them down; just let them rest on the crust.
- **Drizzle the Sweetness:** Open your can of sweetened condensed milk. For easier and more even drizzling, transfer the condensed milk to a microwave-safe bowl and warm it slightly in the microwave for about 30 seconds. This thins it out just enough to spread beautifully. Pour the warmed sweetened condensed milk evenly over the chips and nuts. This rich, sticky layer will bind all the ingredients together and caramelize during baking.
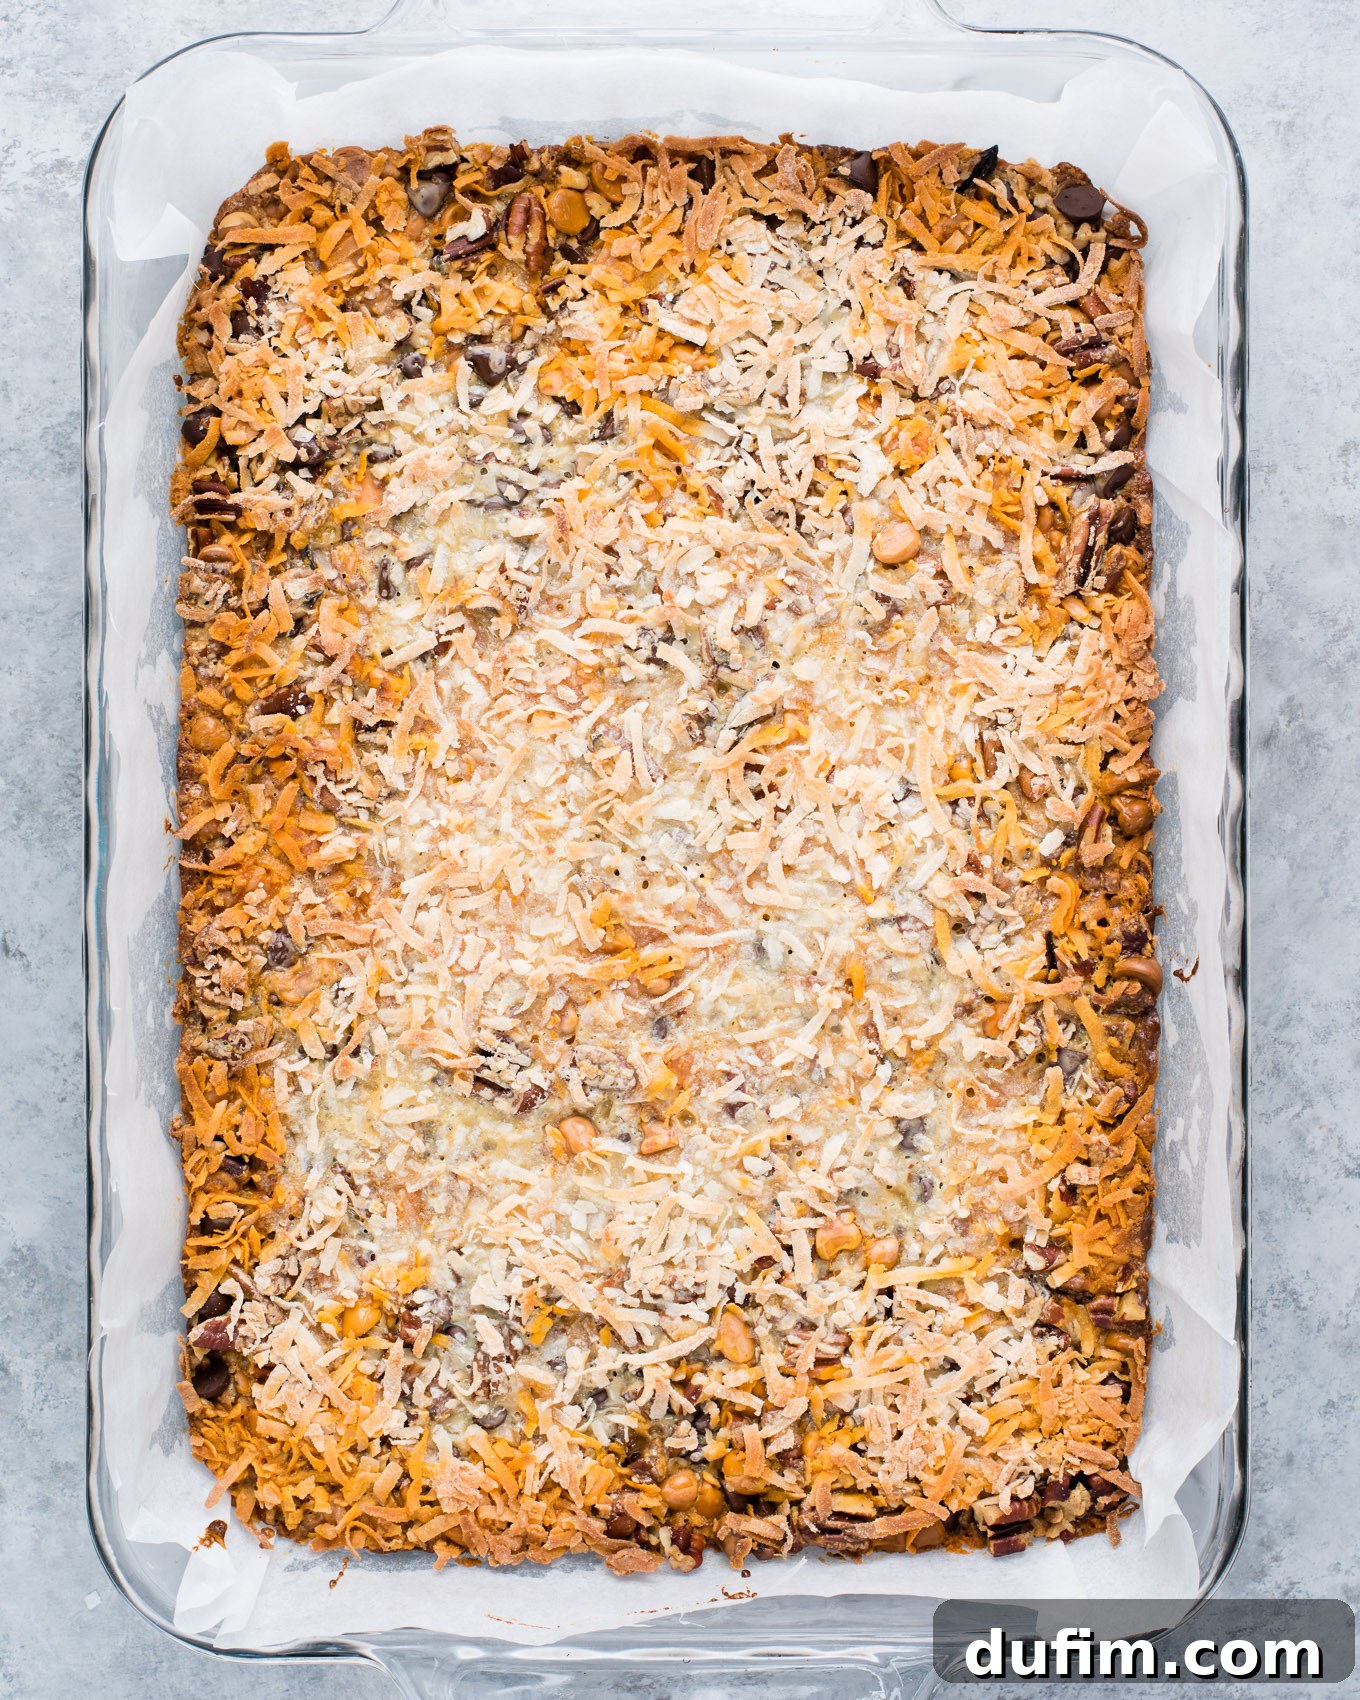
- **Add the Coconut Topping:** Finally, sprinkle the shredded sweetened coconut evenly over the drizzled condensed milk. Once distributed, gently use the back of a fork or your fingers to lightly press the coconut into the condensed milk. This ensures the coconut adheres and becomes nicely toasted, rather than burning, during baking.
- **Bake to Golden Perfection:** Place the pan in your preheated oven and bake for 25-35 minutes, or until the top layer of coconut is golden brown and the edges are bubbly. The exact baking time may vary slightly depending on your oven. Once baked, remove the pan from the oven and allow the bars to cool completely to room temperature. This cooling period is absolutely essential before slicing, as it allows the layers to set and firm up, preventing a messy outcome.
Patience during the cooling stage will be rewarded with perfectly structured, irresistibly delicious 7 Layer Bars!
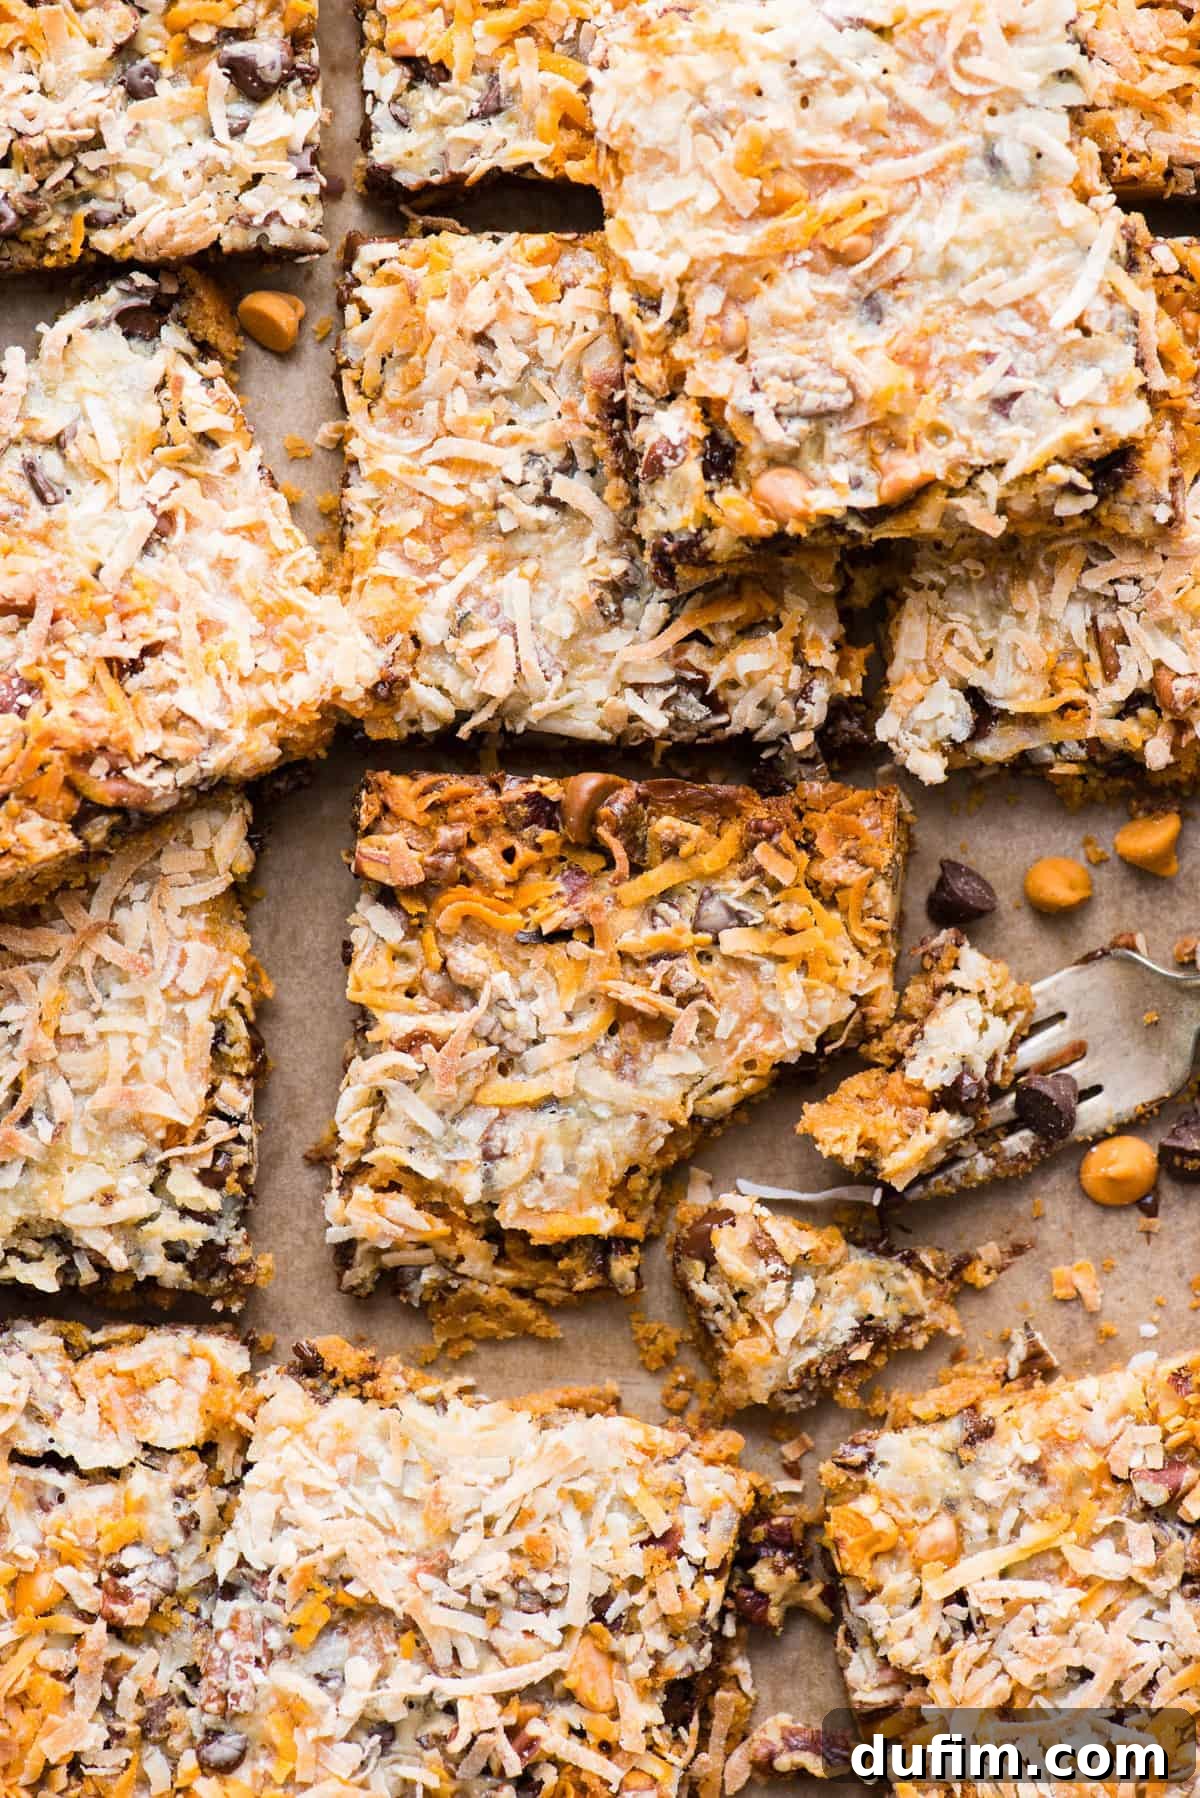
Achieving Perfect Slices: Tips for Neatly Cutting 7 Layer Bars
After all the effort of baking, you want your 7 Layer Bars to look as good as they taste! Cutting these gooey, multi-layered treats neatly can be a bit of a challenge, but with a few simple tricks, you can achieve clean, appealing squares every time. The key is to ensure the bars are properly set before you begin.
- **Leverage Parchment Paper:** The parchment paper you used to line the pan is your best friend here. Once the bars have cooled completely, gently lift the entire slab out of the baking pan using the parchment paper “handles.” Place the slab on a flat cutting surface, such as a large cutting board. This allows you to work more easily and prevents scratching your baking dish.
- **The Warm Knife Method:** For the cleanest cuts, use a large, sharp knife. Before each cut, dip your knife into a tall glass of hot water, then wipe it clean with a paper towel. The warm, clean blade will glide through the sticky layers more smoothly, minimizing pulling and crumbling. Repeat this process—warm, wipe, cut—for every single slice to maintain pristine edges.
- **Chill for Precision:** An excellent strategy for extra-clean cuts is to refrigerate the fully cooled bars for at least 1 hour before slicing. Chilling helps the condensed milk and melted chips firm up considerably, making the bars much more stable and less prone to sticking to the knife. This method is particularly recommended if you’re aiming for presentation-perfect squares.
- **Steady Pressure and Straight Lines:** When cutting, apply steady, firm pressure in a single, decisive motion rather than sawing back and forth. This helps prevent jagged edges and ensures a smooth cut through all seven layers.
By following these tips, your 7 Layer Bars will not only be delicious but also beautifully presented, making them even more inviting for sharing!
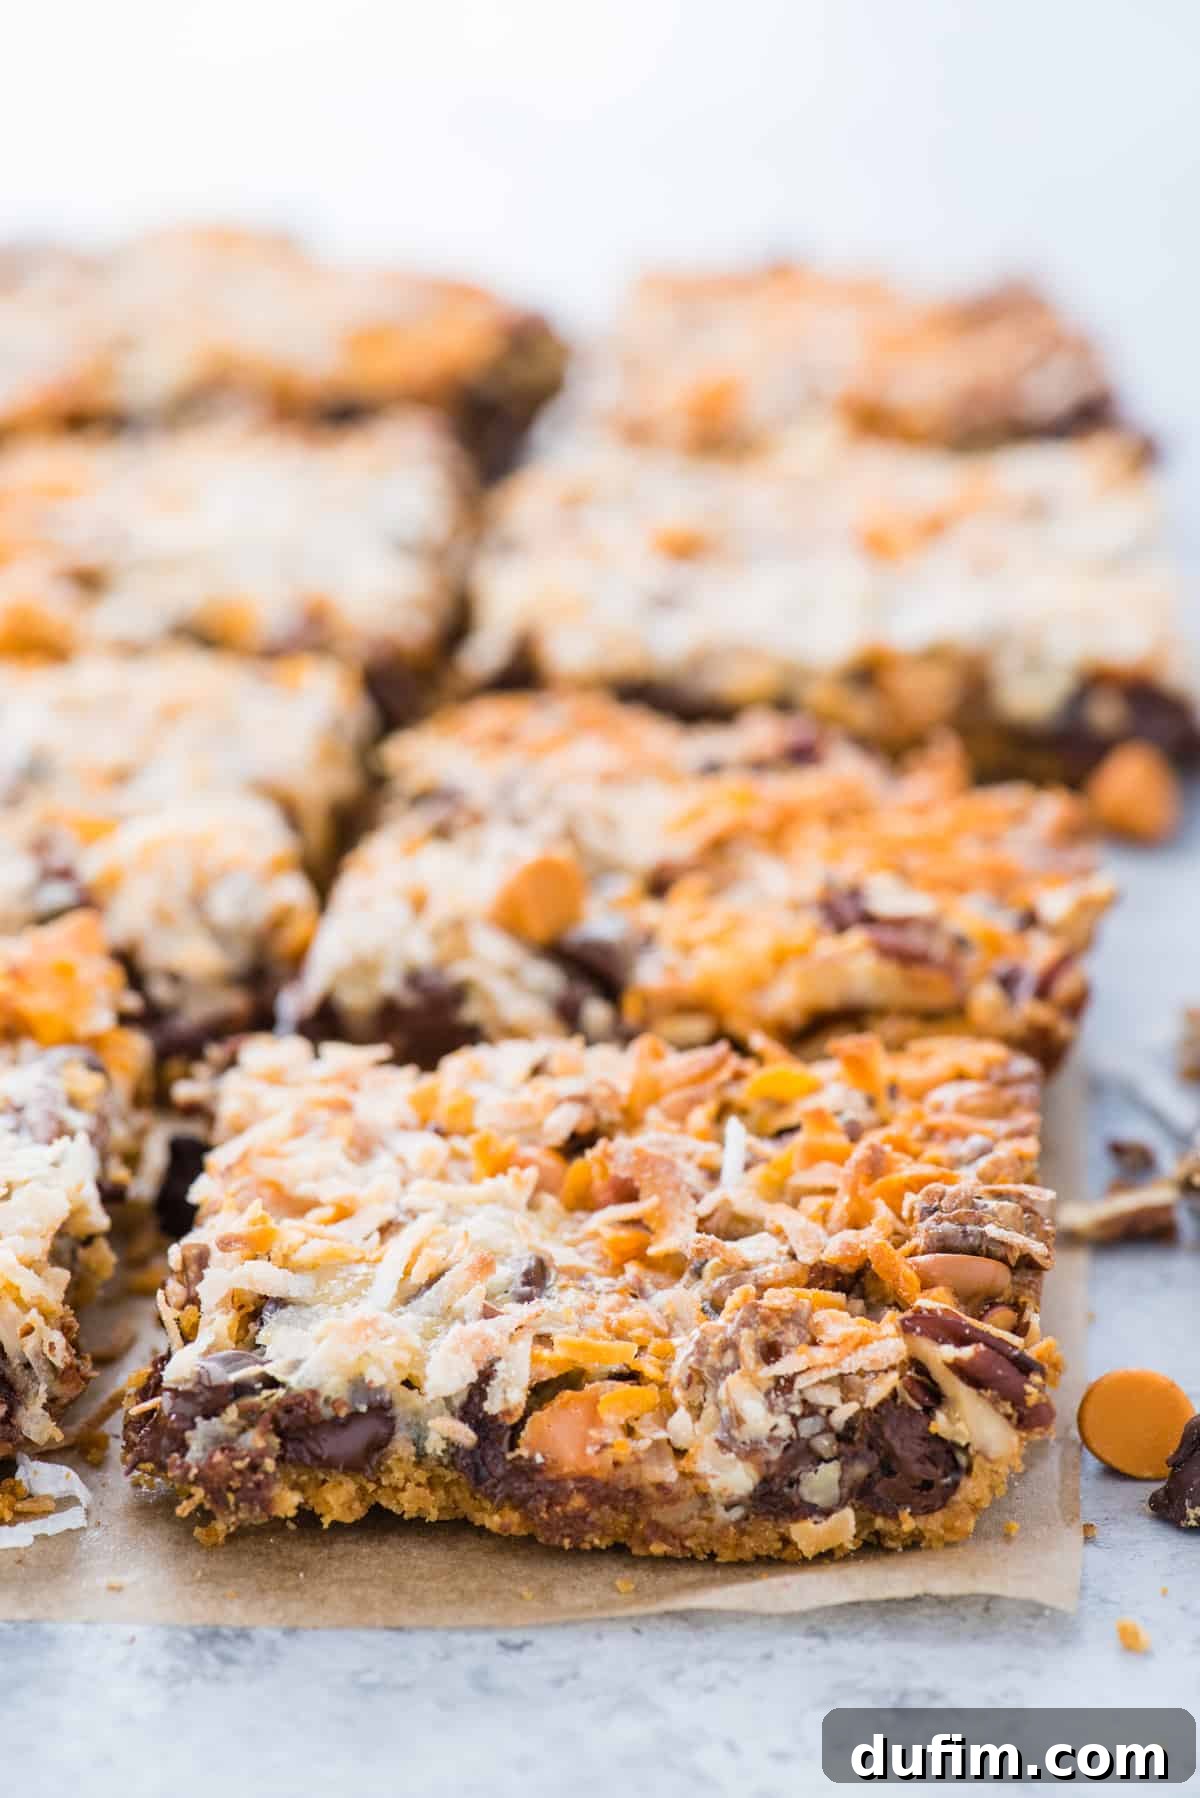
Unleash Your Creativity: 8 Easy 7 Layer Bar Substitutions
One of the most exciting aspects of 7 Layer Bars is their incredible adaptability. While the classic recipe is undeniably delicious, it’s also a fantastic canvas for experimentation. Don’t be afraid to get creative and swap out ingredients to suit your preferences or to make use of what you have in your pantry. Here are 8 easy substitutions to inspire your next batch:
Feeling adventurous? Feel free to substitute any of the following for the ingredients listed in the classic recipe. Mix and match to discover your favorite combinations!
- **Peanut Butter Chips:** Replace butterscotch chips with an equal amount of peanut butter chips for a rich, nutty flavor profile that pairs wonderfully with chocolate. This is a fantastic choice for peanut butter lovers!
- **Peanuts:** Instead of pecans or walnuts, use chopped salted peanuts. The salty crunch adds an intriguing contrast to the sweetness of the other layers, enhancing the overall flavor.
- **Oatmeal:** For a chewy, heartier texture and a touch of wholesome goodness, you can mix about ½ cup of quick-cooking oats into your graham cracker crust or sprinkle them over the chip layer. This adds another dimension of texture.
- **Caramel Pieces (or Bits):** Replace the butterscotch chips with soft caramel pieces or caramel bits. These will melt into gooey pockets, adding a luscious, rich caramel chewiness to every bite.
- **White Chocolate Chips:** Swap out some or all of the semi-sweet chocolate chips for white chocolate chips to create a creamier, milder chocolate flavor. This is particularly good if you find semi-sweet too intense.
- **Reese’s Pieces:** For a fun, colorful, and intensely peanut buttery twist, sprinkle Reese’s Pieces over the chip layer. They’ll retain some of their crunch and melt slightly, offering bursts of flavor.
- **Mini Peanut Butter Cups:** Chop up mini peanut butter cups and use them in place of some of the nuts or chips. These add a delightful combination of chocolate and peanut butter in every bite.
- **M&M’s:** Introduce a pop of color and a familiar candy crunch by using M&M’s. They’re especially fun for holiday-themed bars, where you can use specific colored M&M’s (e.g., red and green for Christmas).
Remember, the beauty of these bars is their flexibility. You can even combine substitutions, like using white chocolate chips with peanuts, or caramel bits with M&M’s. Don’t be shy about experimenting!
Pro Tips for Irresistible 7 Layer Bars
While 7 Layer Bars are inherently simple, a few expert tips can elevate your baking experience and ensure your bars turn out perfectly every time:
- **Sweetened Condensed vs. Evaporated Milk:** This is perhaps the most critical tip! Always, always use *sweetened condensed milk*, not evaporated milk. Sweetened condensed milk is thick and sugary, creating that signature gooey, caramelized layer. Evaporated milk is unsweetened and much thinner, and will not yield the same result.
- **Warm the Condensed Milk:** As mentioned in the instructions, warming the sweetened condensed milk in a microwave-safe bowl for about 30 seconds before drizzling makes a significant difference. It thins the milk slightly, allowing for a much more even pour and distribution over the other layers. This ensures every piece of your bar gets that magical gooey coating.
- **The Parchment Paper Advantage:** Never skip lining your pan with parchment paper, leaving an overhang on the sides. This isn’t just a suggestion; it’s a game-changer! It allows you to effortlessly lift the entire slab of cooled bars out of the pan, making cutting a breeze and preventing any sticky residue in your baking dish.
- **Don’t Overbake:** Keep a close eye on your bars during the last few minutes of baking. You want the coconut to be golden brown, not dark brown or burnt. Overbaking can lead to dry, hard bars instead of the perfectly chewy texture you’re aiming for.
- **Cool Completely:** Patience is a virtue when it comes to 7 Layer Bars. It’s tempting to dig in as soon as they come out of the oven, but allowing them to cool completely at room temperature (and ideally chilling them) is crucial. This gives the layers, especially the condensed milk, time to set and firm up, resulting in clean, well-defined slices that hold their shape.
By keeping these simple tips in mind, you’ll consistently bake batch after batch of perfect, crowd-pleasing 7 Layer Bars!
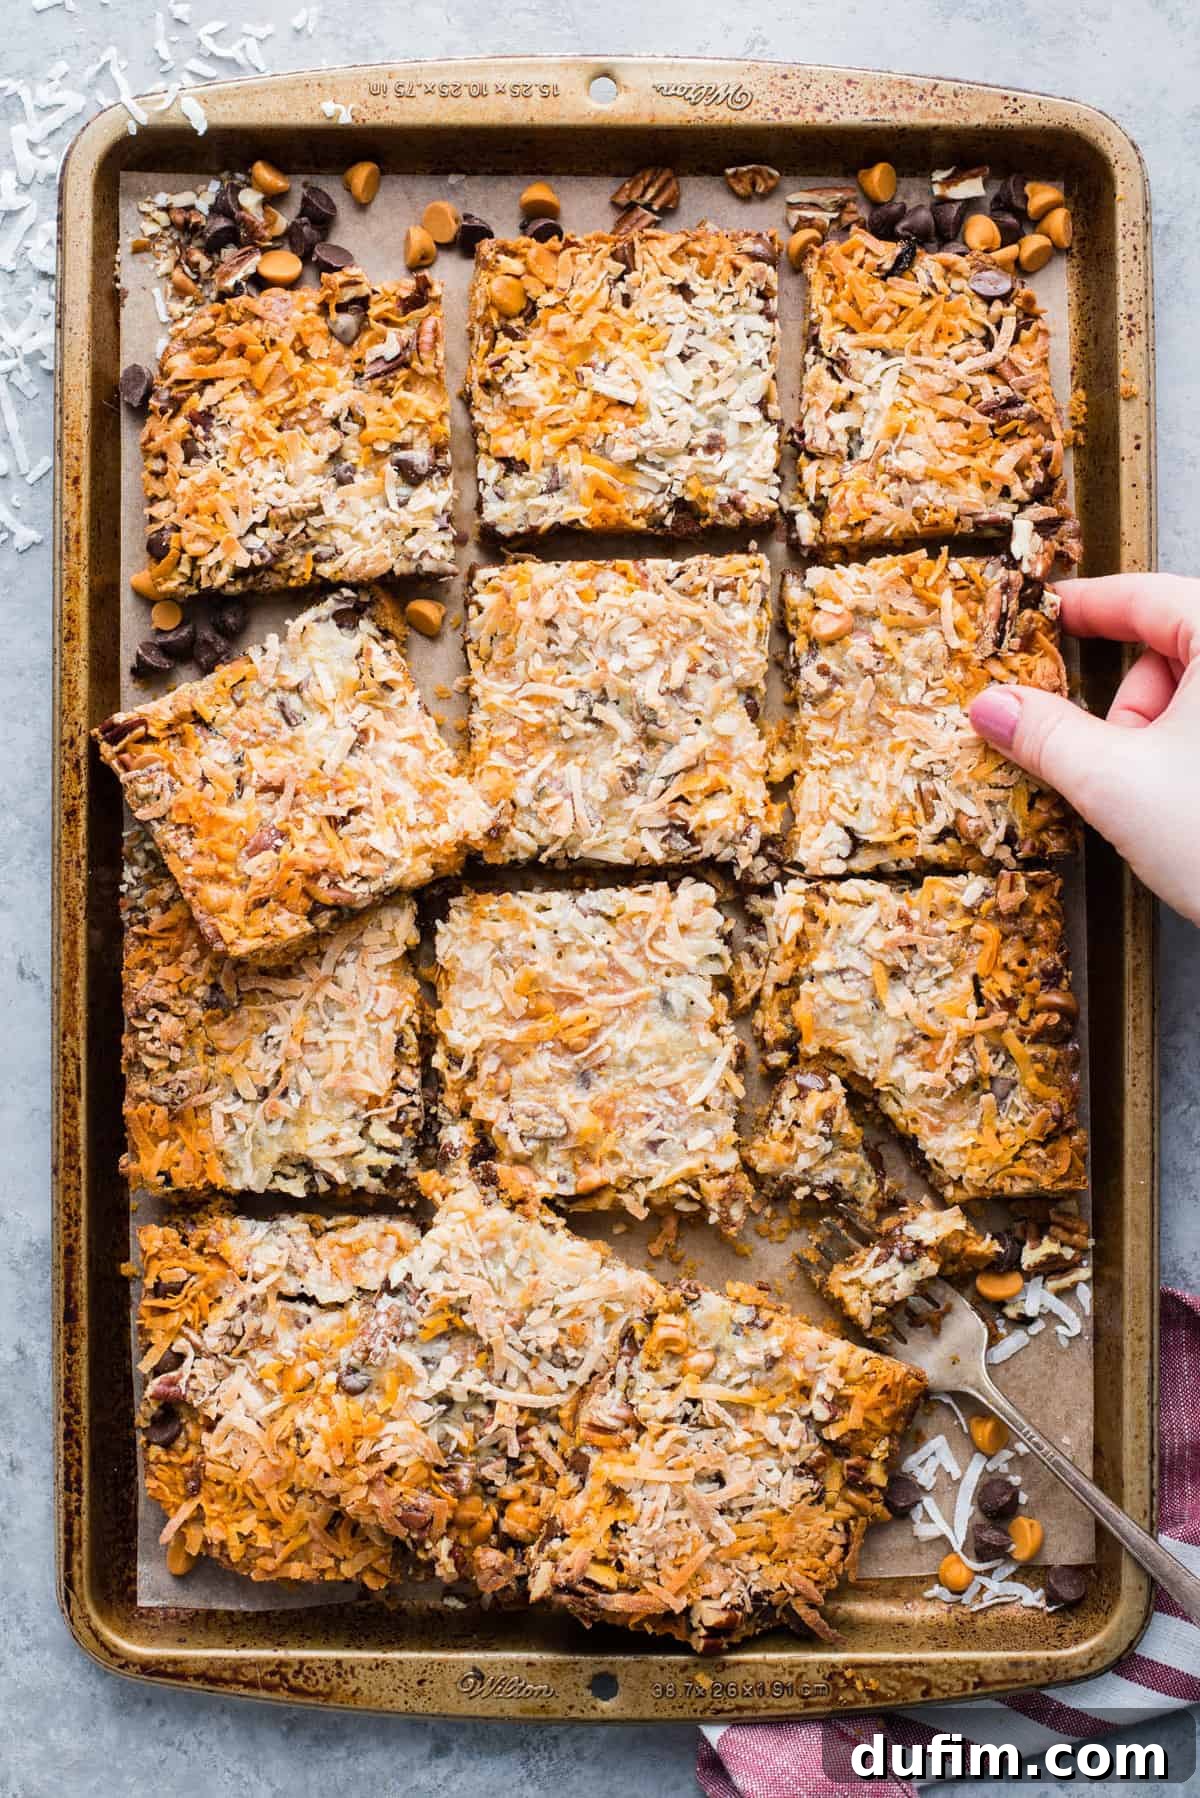
Storing Your Delicious 7 Layer Bars for Freshness
Once you’ve baked a batch of these irresistible 7 Layer Bars, you’ll want to ensure they stay fresh and delicious for as long as possible. Proper storage is key to maintaining their optimal texture and flavor.
Do 7 Layer Bars Need To Be Refrigerated?
No, you typically do not need to refrigerate seven layer bars. Thanks to their ingredients, particularly the sweetened condensed milk which acts as a preservative, these bars are quite stable at room temperature. They can be stored in an airtight container on your kitchen counter for up to 5 days. Ensure the container is truly airtight to prevent them from drying out and to keep their chewy texture intact. If you live in a very warm or humid climate, or if your kitchen tends to get very warm, you might opt for refrigeration, but it’s generally not necessary for food safety.
How To Freeze 7 Layer Cookie Bars for Long-Term Enjoyment
7 Layer Bars freeze exceptionally well, making them an excellent make-ahead dessert or a treat to enjoy over time. You have two convenient options for freezing, depending on how you plan to serve them later:
Option 1: Freeze as an Entire Slab
If you prefer to cut them fresh before serving, or need to transport them, freezing the entire slab is a great choice. Allow the bars to cool completely to room temperature after baking. Once cool, wrap the entire slab snugly in several layers of plastic wrap, ensuring no air pockets. Then, place the plastic-wrapped slab into a large freezer-safe ziplock bag or wrap it again in aluminum foil for extra protection against freezer burn. This method keeps the bars fresh for up to 3 months.
Option 2: Freeze Individual Squares
For grab-and-go portions or easier thawing, freezing the bars already cut into squares is ideal. Allow the bars to cool completely and then cut them into your desired serving sizes. Once cut, arrange the squares in a single layer on a baking sheet lined with parchment paper and freeze for about 30 minutes, or until firm. This prevents them from sticking together. Once firm, you can stack them. Wrap bundles of 4-5 squares well in plastic wrap, then place them in a freezer-safe ziplock bag or airtight container. This allows you to pull out just a few at a time. They will remain fresh for up to 3 months.
To Thaw Frozen Bars:
To enjoy your frozen 7 Layer Bars, simply transfer them from the freezer to the refrigerator overnight. Alternatively, you can place them on your kitchen counter for a few hours to thaw at room temperature. They’ll be ready to enjoy as if they were freshly baked!
More Delicious Bar Desserts to Explore
If you love the ease and versatility of bar desserts, there’s a whole world of treats waiting for you to discover! Here are a few other fantastic bar recipes that are sure to become new favorites:
- How to make box brownies better
- S’mores Bars
- Sugar Cookie Bars
Tap stars to rate!
7 Layer Bars
I’ve made countless batches of 7 Layer Bars and am excited to share the classic recipe plus 8 easy swaps to customize them—whether you want to change the nuts, chocolate, or other mix-ins!
Equipment
- 9×13 glass pan
- Kitchen Scale
Ingredients
- 1 ½ cups (170g) graham cracker crumbs (approximately 1 sleeve or 12 crackers)
- ½ cup (113g) unsalted butter, melted (1 stick)
- 1 cup (170g) semi-sweet chocolate chips
- 1 cup (170g) butterscotch chips
- 1 cup (114g) chopped pecans or walnuts
- 1 can sweetened condensed milk (14 oz)
- 1 cup (85g) shredded sweetened coconut
Instructions
- Preheat the oven to 350º F (175°C). Line a 9×13 inch baking pan with parchment paper. To get the parchment paper to stick to the pan, lightly butter the bottom and sides of the pan, then press the parchment paper into the pan, leaving an overhang for easy removal.
- In a small mixing bowl, combine the melted butter and graham cracker crumbs. Press the crumbs evenly into the prepared pan, using either your hands or the bottom of a flat-bottomed cup to pack the crust down firmly.
- Evenly sprinkle the semi-sweet chocolate chips, butterscotch chips, and chopped nuts (pecans or walnuts) over the graham cracker crust. Ensure a good distribution across the entire surface.
- Evenly drizzle the sweetened condensed milk over the chips and nuts. Then, evenly sprinkle the shredded sweetened coconut over the milk. Use a fork to gently press the coconut into the condensed milk to ensure it adheres and toasts nicely.
- Bake for 25-35 minutes, or until the top is golden brown and the edges are bubbly. The exact time may vary by oven. Allow the bars to cool completely to room temperature before slicing for best results.
Notes
Nutrition
Nutrition Disclosure
All nutritional values are approximate and provided to the reader as a courtesy. Changing ingredients and/or quantities will alter the estimated nutritional calculations.
We hope you love this classic 7 Layer Bar recipe as much as we do! Don’t forget to experiment with the substitutions to create your own signature version. If you try this recipe, we’d love for you to rate it and share your thoughts in the comments below!