
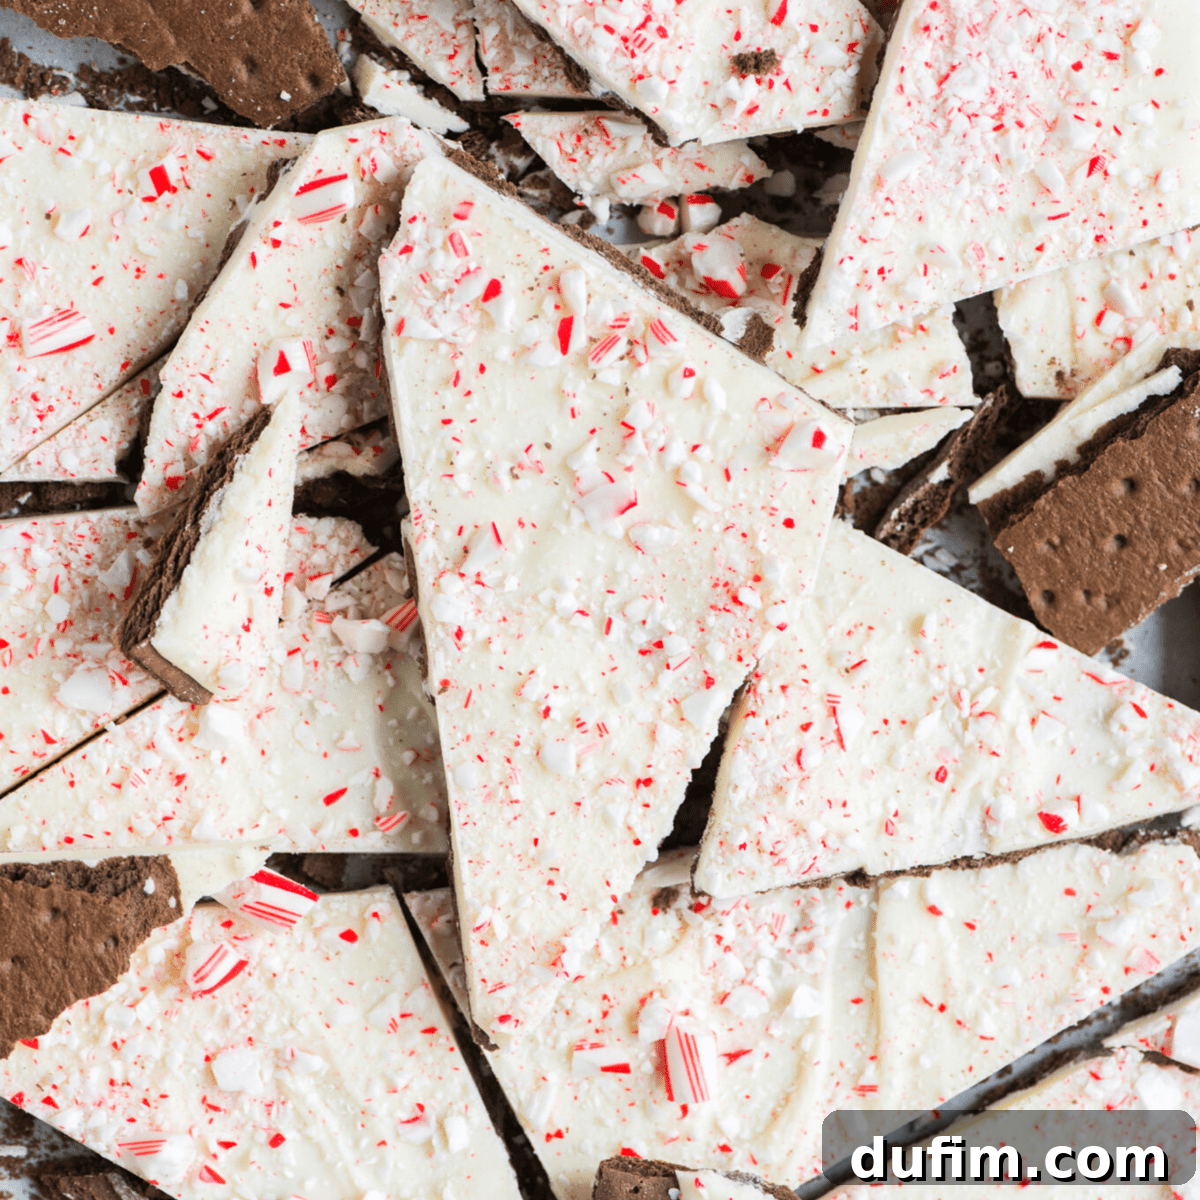
Effortless Chocolate Peppermint Bark: Your Go-To Holiday Treat
Prepare to delight your taste buds with the ultimate easy Christmas candy: homemade chocolate peppermint bark!
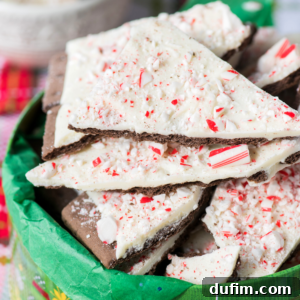
This festive and incredibly simple holiday treat requires minimal effort and delivers maximum festive cheer. Crafted with a foundation of rich chocolate graham crackers, a smooth layer of vanilla almond bark, and a generous sprinkle of crushed candy canes, it comes together in just about 10 minutes of active prep time. It’s the perfect no-bake solution for busy holiday schedules!

I made the peppermint bark!!! It was simple and yummy!!!
– Karen
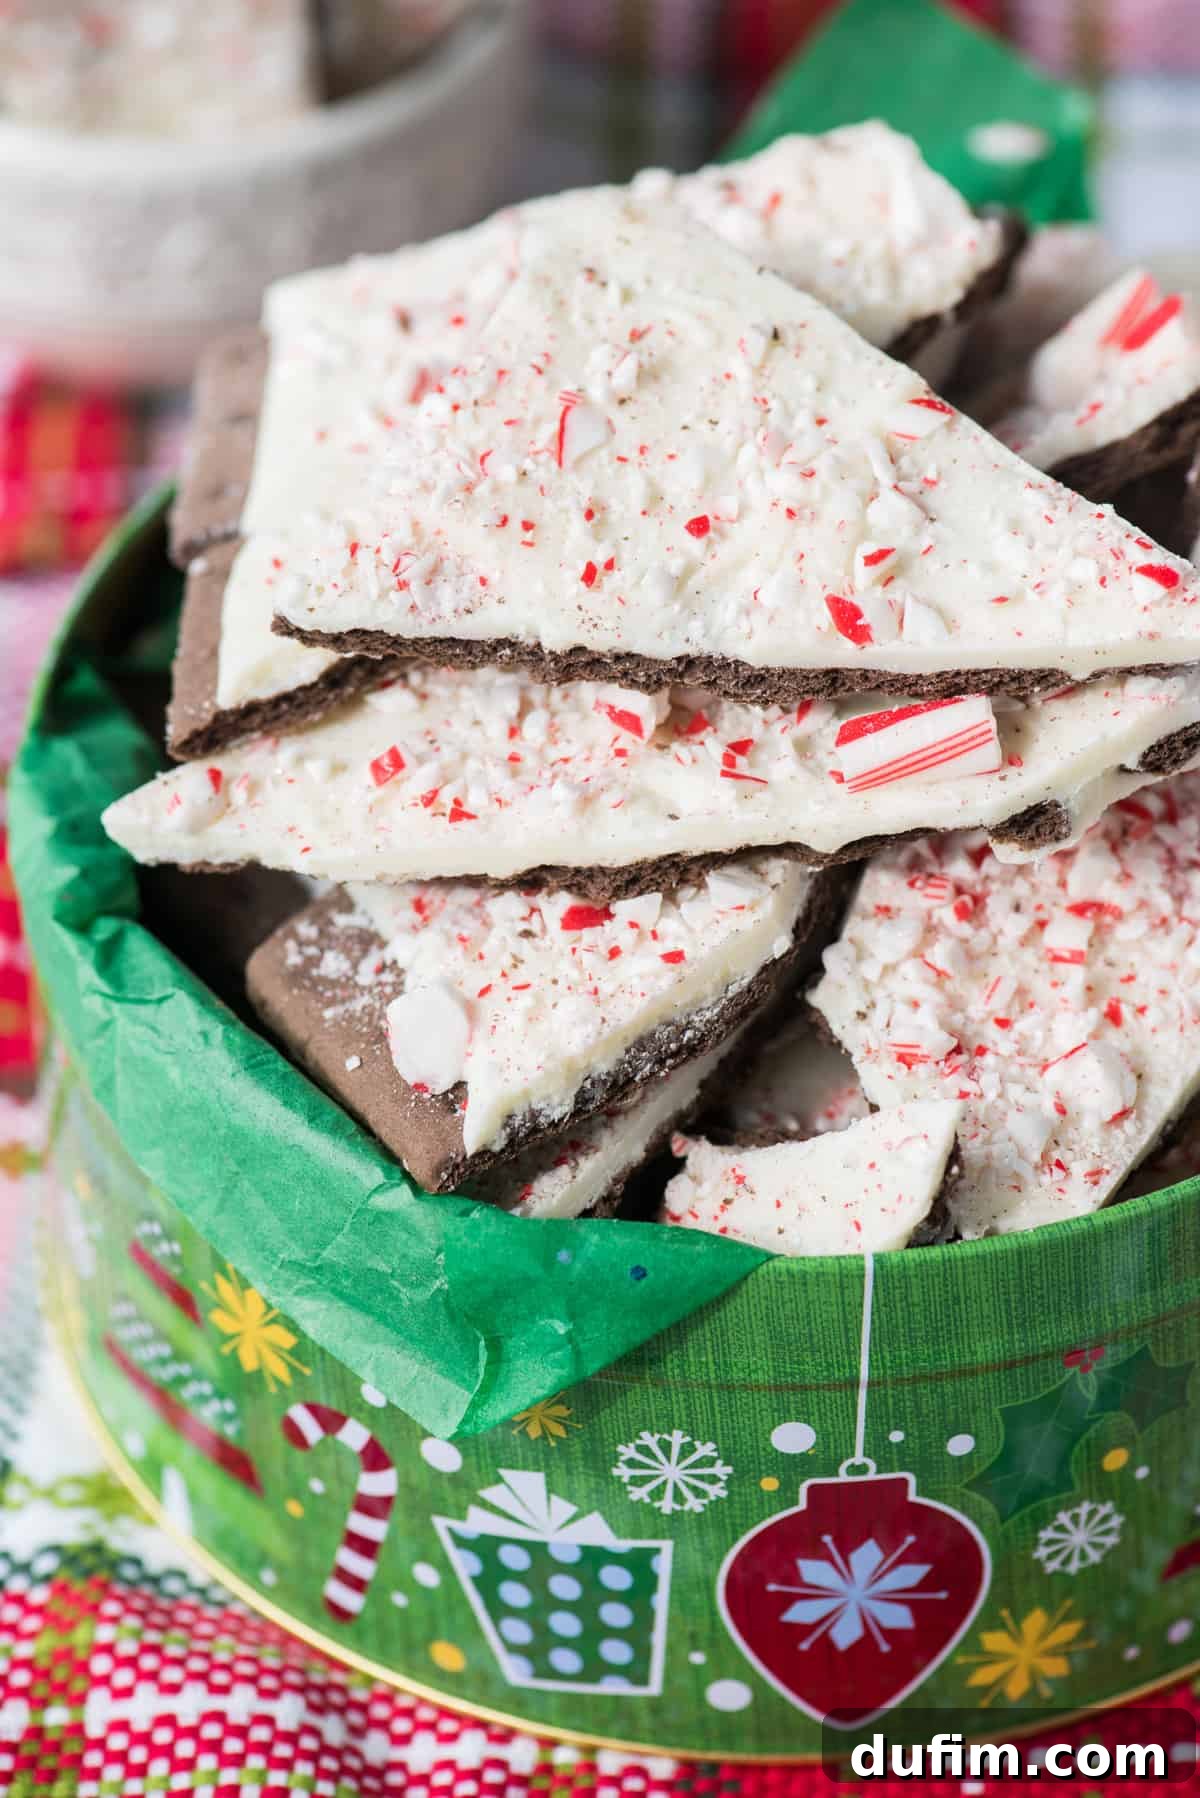
When the holiday season arrives, filling our homes with warmth and cheer, there’s nothing quite like sharing homemade treats. Among our most cherished traditions is assembling cookie tins for friends, family, and neighbors. And without fail, our homemade peppermint bark always finds a place in these festive assortments. Why? Because it’s incredibly easy to make, beautifully festive, and universally adored as a classic Christmas treat that truly captures the spirit of the season!
What makes this particular holiday treat so special is its elegant simplicity. Forget complicated baking steps or obscure ingredients. This delightful bark is built on a foundation of readily available components: crunchy chocolate graham crackers, creamy vanilla almond bark, and the vibrant, refreshing crunch of crushed candy canes. That’s genuinely it – three simple ingredients for an extraordinary festive delight!
Why This Chocolate Peppermint Bark Will Be Your New Holiday Favorite
This chocolate peppermint bark isn’t just another dessert; it’s a holiday lifesaver and a crowd-pleaser rolled into one. Here’s why you’ll absolutely adore making (and eating!) it:
- Effortless Perfection: An easy recipe with just 3 core ingredients means less time shopping and more time celebrating.
- No Baking Required: Keep your oven free for other holiday dishes! This recipe is entirely no-bake, simplifying your festive preparations.
- Lightning-Fast Prep: Ready in less than 10 minutes, making it ideal for last-minute gifts or spontaneous holiday cravings.
- Scalable Goodness: Can easily be doubled (or tripled!) for a larger batch, perfect for holiday parties, school events, or extensive gift lists.
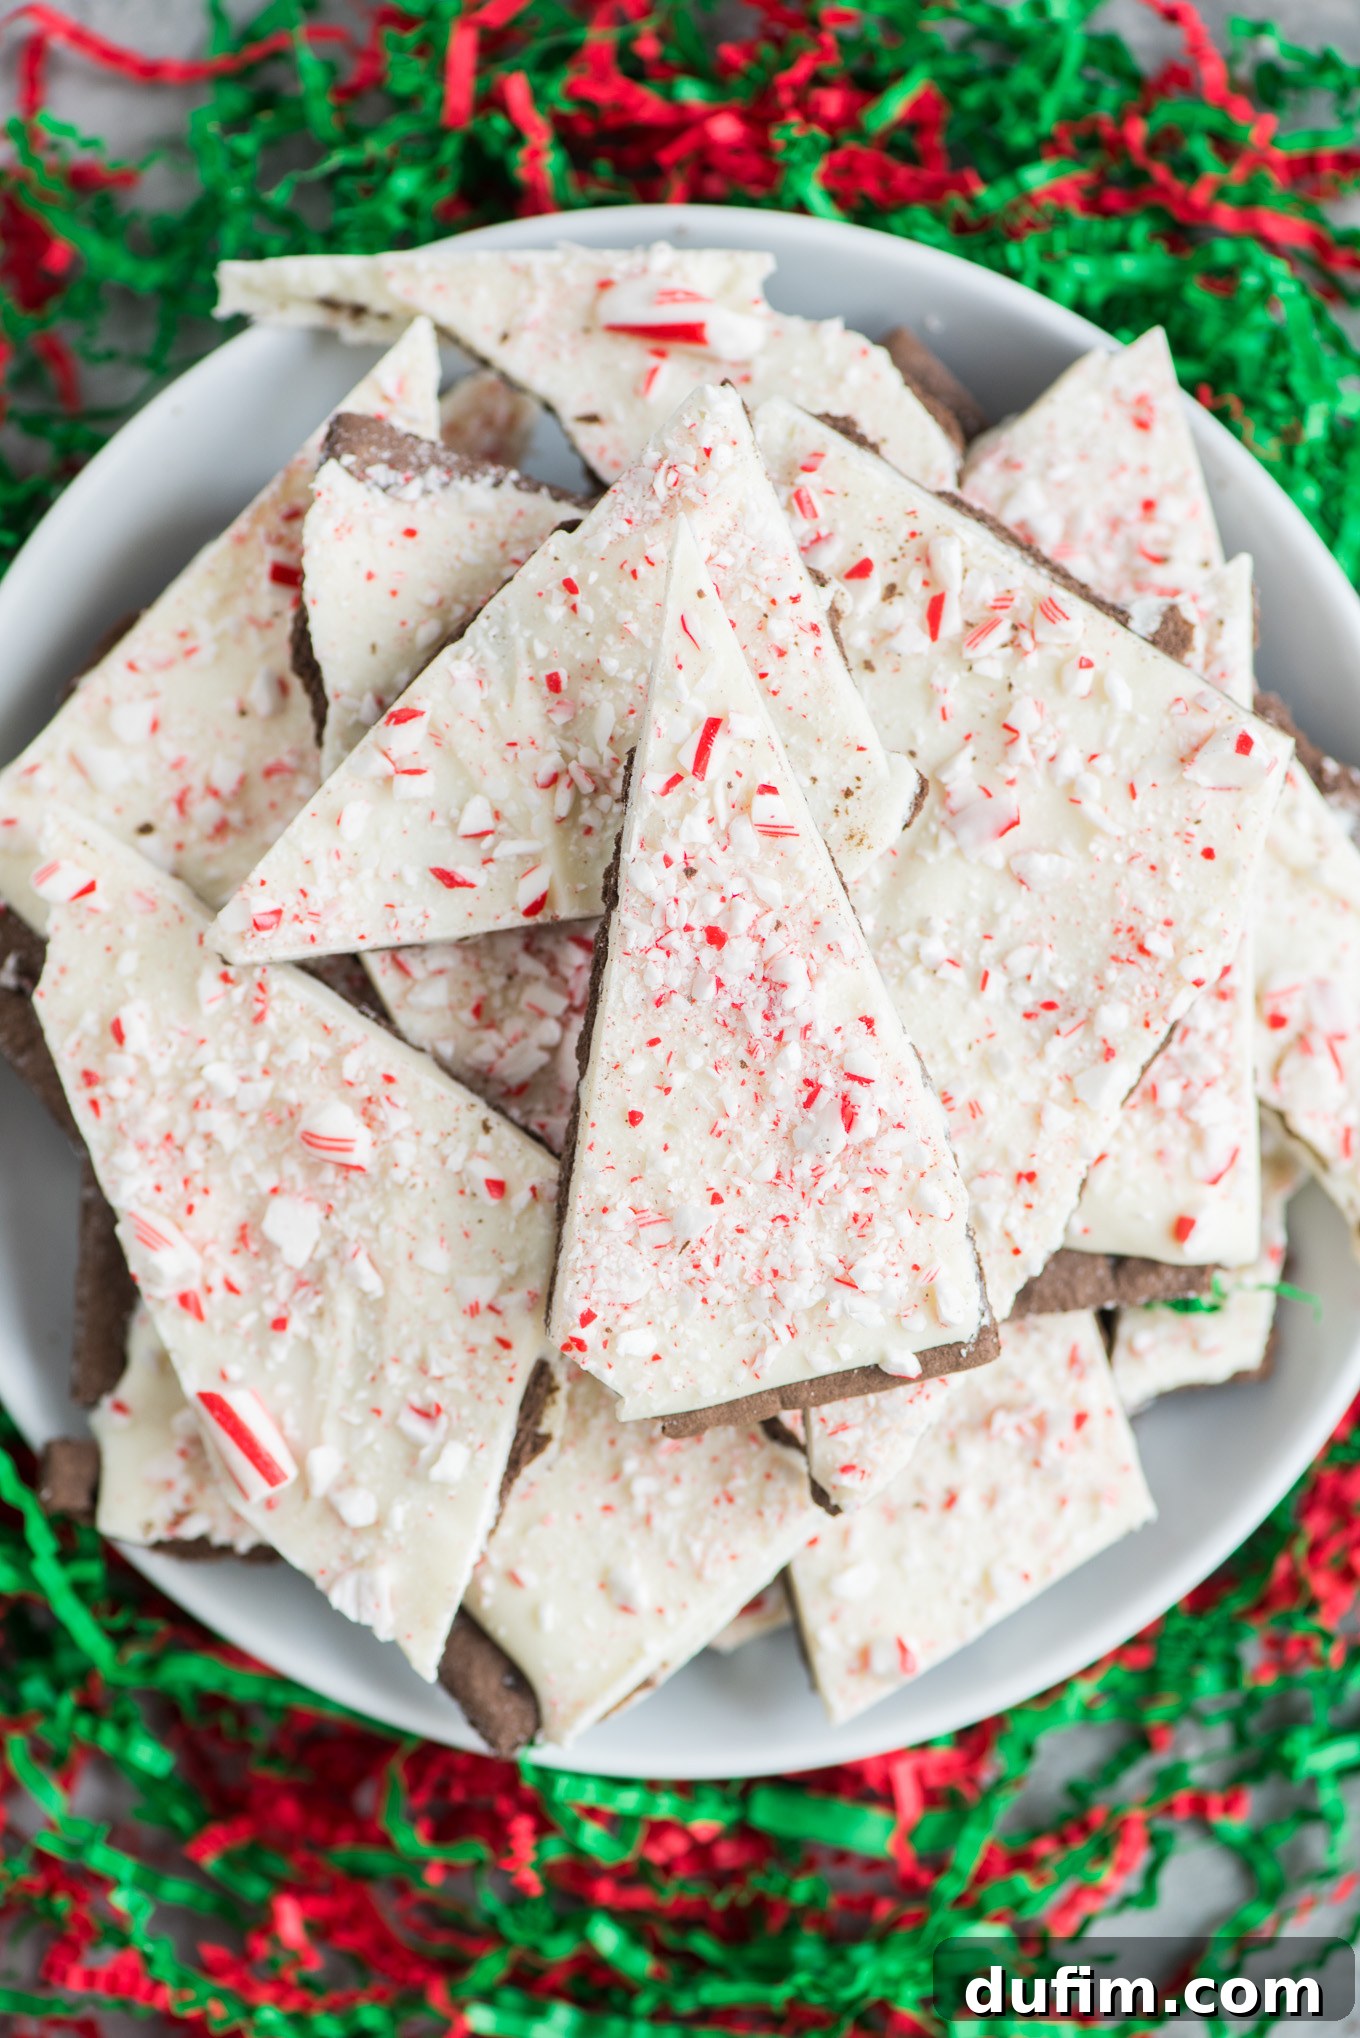
The beauty of this Christmas treat lies in its versatility and speed, making it the perfect addition to any cookie plate or dessert spread. Its distinct layers and festive colors also make it an attractive and thoughtful edible gift. If you’re searching for more delicious and easy edible holiday gifts to pair with your peppermint bark, consider our irresistible Tiger Butter, classic Peanut Butter Balls, and rich, decadent Chocolate Fudge.
Essential Ingredients for Your Peppermint Bark
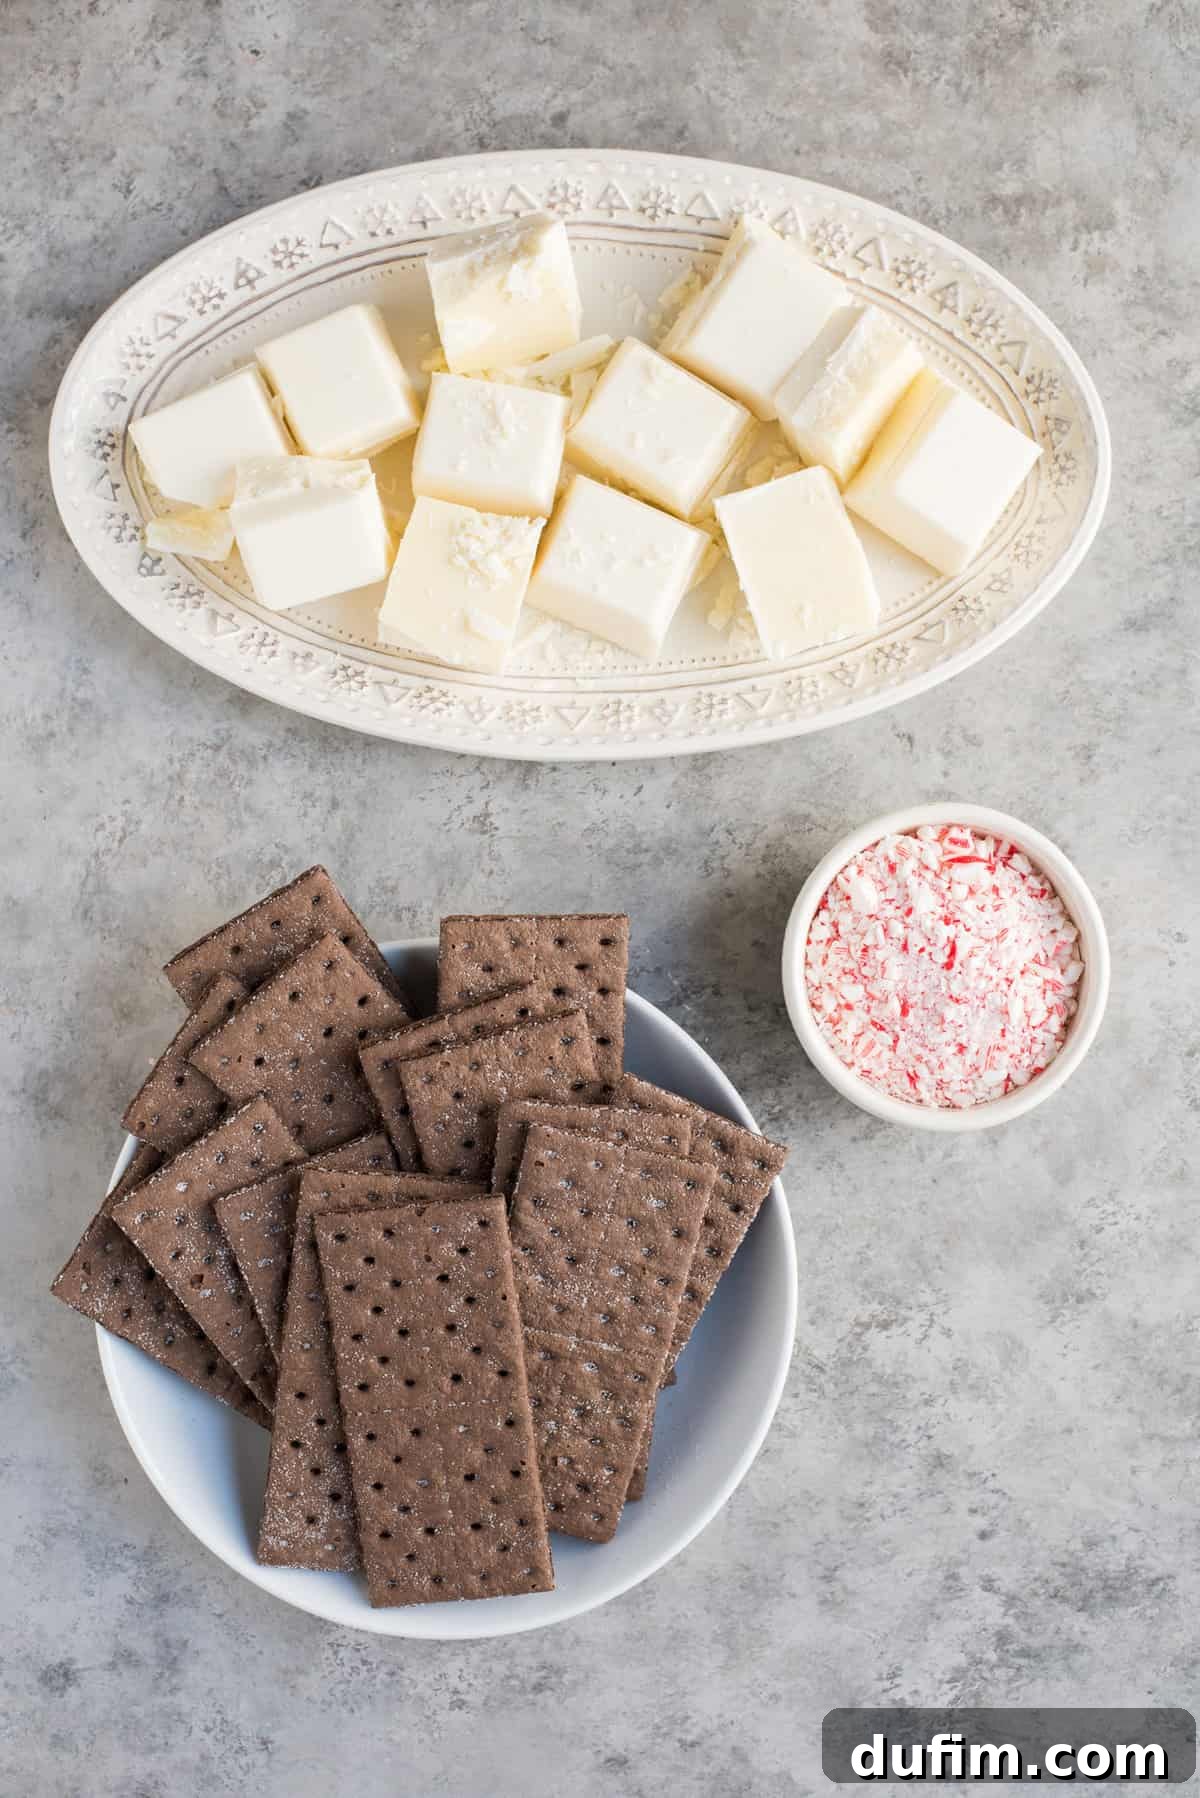
Crafting this festive chocolate peppermint bark is incredibly straightforward, thanks to its minimal ingredient list. You don’t need fancy gourmet items; just a few quality staples will do the trick. For the complete, detailed recipe with step-by-step instructions, please refer to the comprehensive recipe card further down this page.
- 1 box of chocolate graham crackers: These form the crunchy, chocolatey base of your bark. Their pre-made convenience is a key factor in this recipe’s ease.
- 24 oz vanilla almond bark: This is your melting magic! Almond bark melts smoothly and sets quickly, providing that creamy white chocolate layer without the fuss of tempering real chocolate.
- 6 candy canes, crushed: The star of the show for that signature peppermint crunch and festive red and white color. Choose your favorite brand for the best flavor.
Choosing quality ingredients, even for a simple recipe, can make a noticeable difference in the final taste and texture of your peppermint bark. Look for a brand of almond bark that melts smoothly and has a pleasant vanilla flavor, and fresh candy canes will give you the best peppermint kick.
Crafting Your Chocolate Peppermint Bark: A Step-by-Step Guide
Creating this stunning chocolate peppermint bark is so simple, you’ll wonder why you haven’t made it sooner! Follow these easy steps to bring this holiday magic to life:
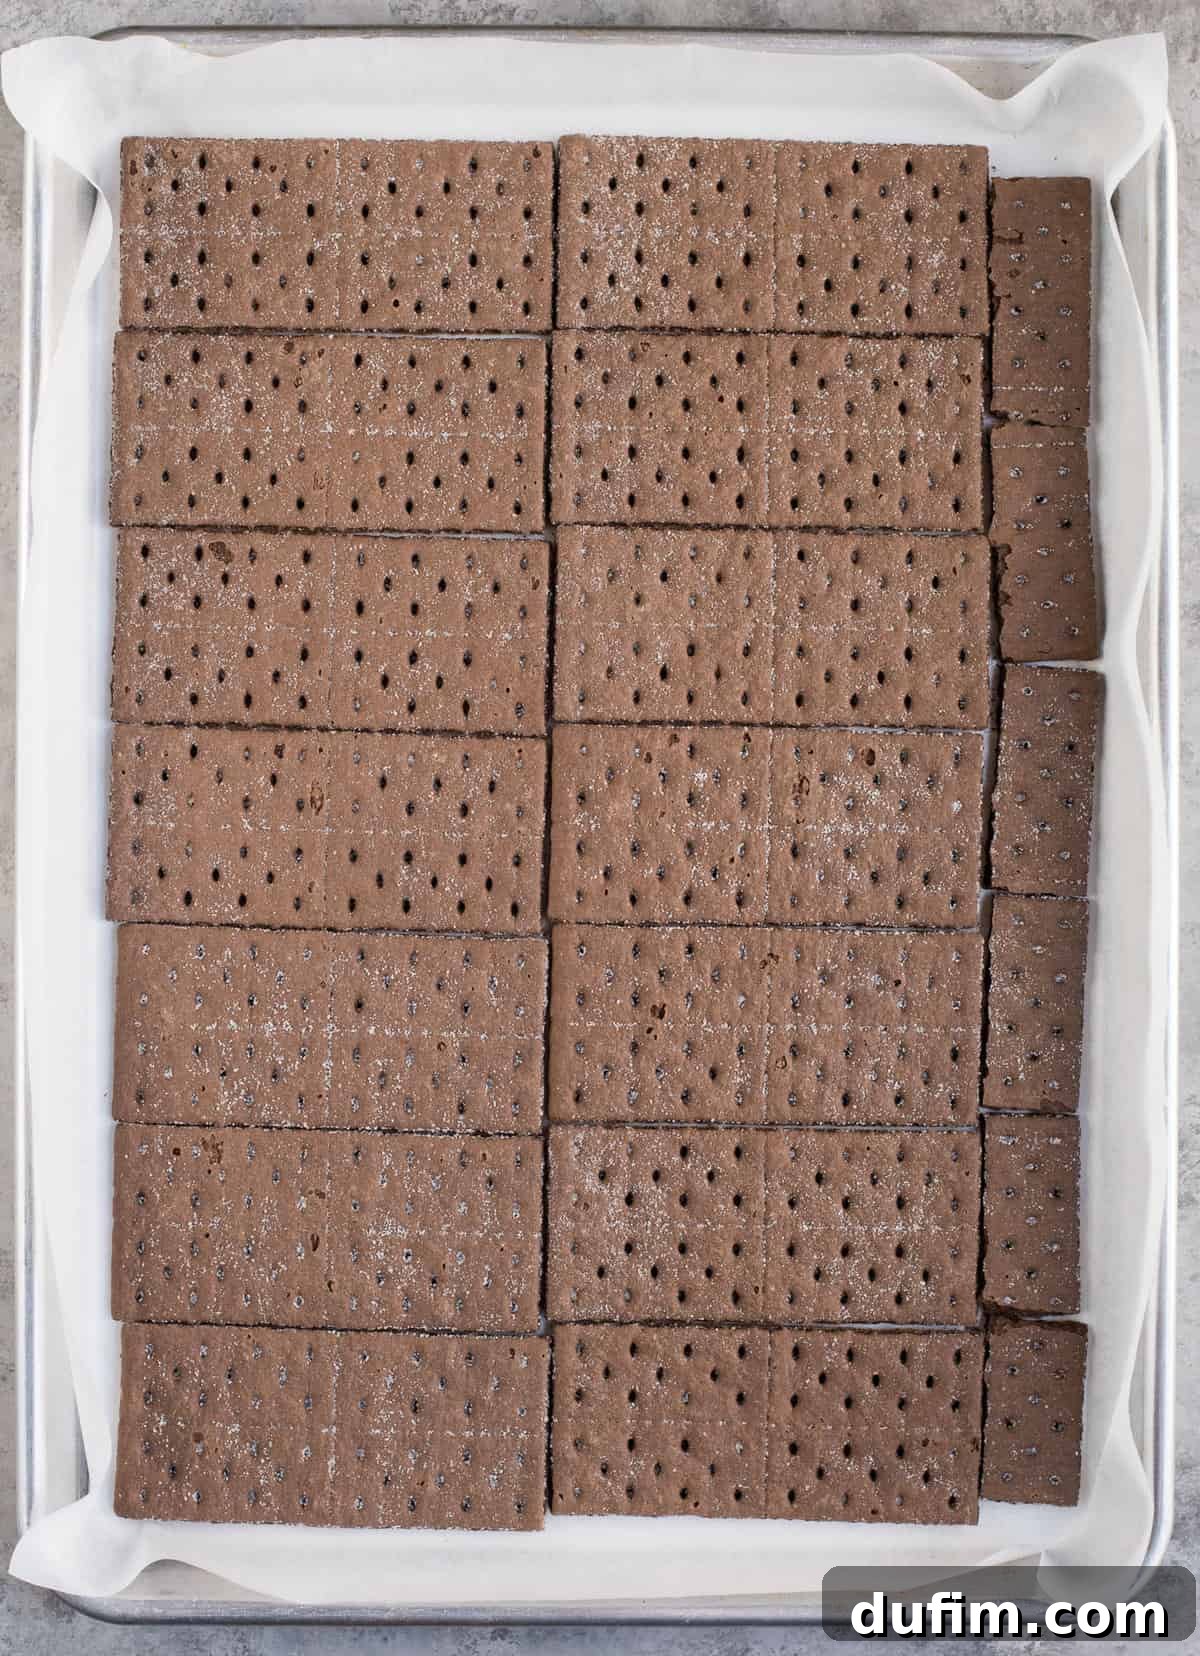
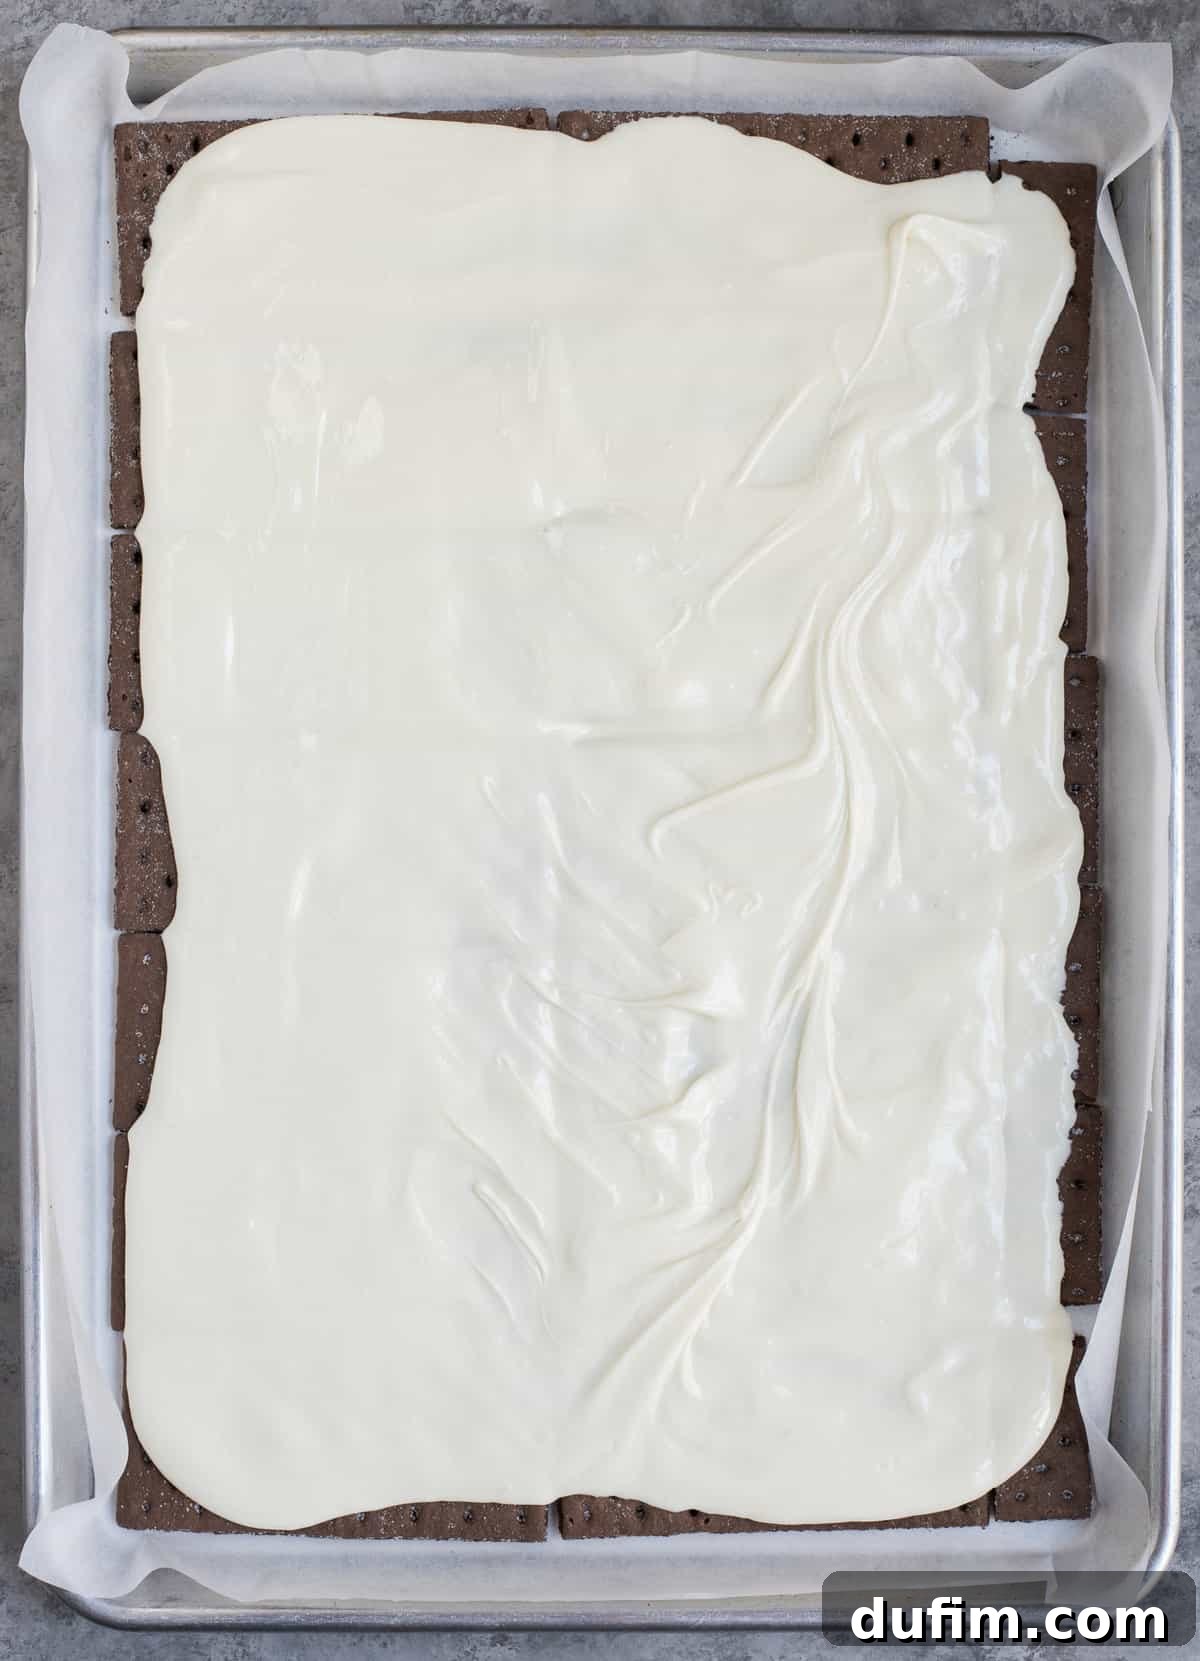
- Prepare Your Baking Sheet: Begin by lining a standard baking sheet (approximately 10×15 inches, though any size works) with parchment paper, wax paper, or a silicone baking mat. This crucial step prevents sticking and makes for effortless removal of your finished bark. Once lined, carefully arrange your chocolate graham crackers in a single, even layer across the bottom of the pan. You might need to break a few crackers to fit snugly and cover the entire surface without large gaps.
- Melt and Spread the White Chocolate: Once your white chocolate (vanilla almond bark) is perfectly melted and smooth (see our melting tips below for best results), gently pour it over the prepared layer of graham crackers. Use an offset spatula or the back of a spoon to carefully spread the melted chocolate into an even layer, ensuring all the crackers are fully coated. Work quickly but gently; if the crackers shift, just nudge them back into place.
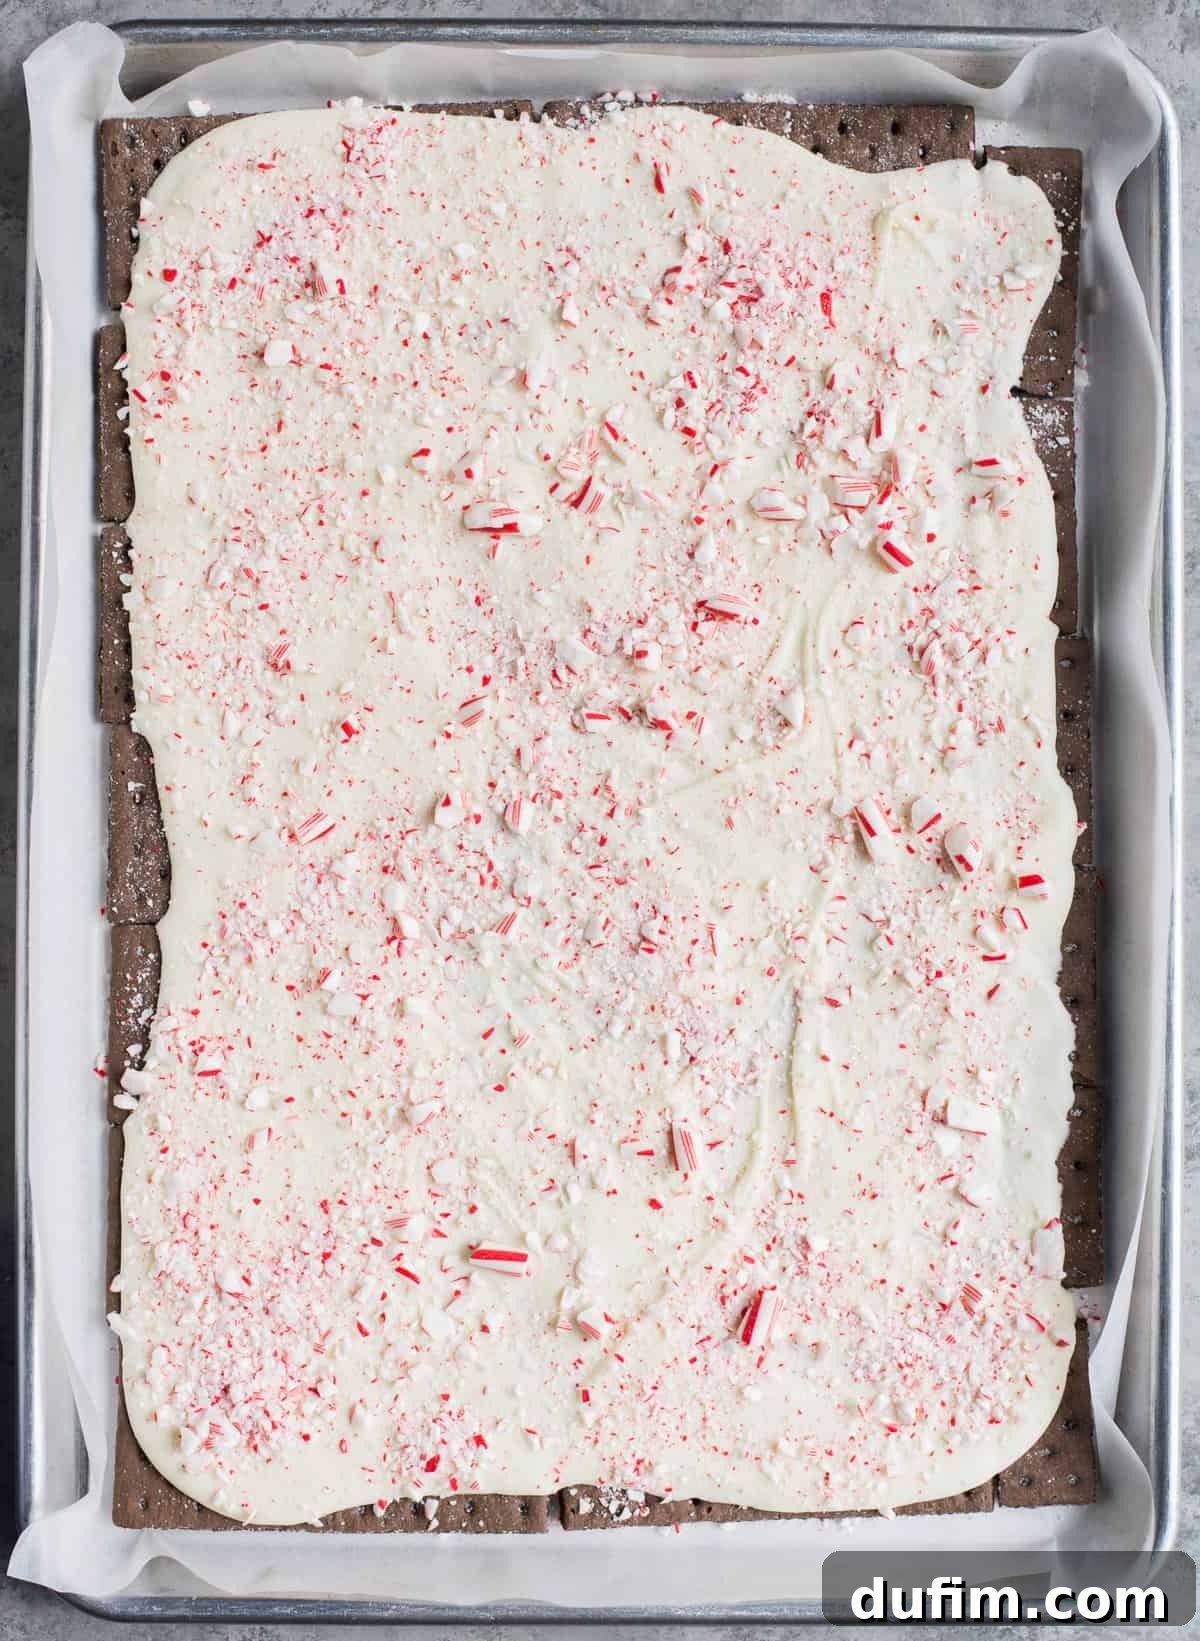
- Add the Festive Topping: While the white chocolate layer is still warm and wet, generously sprinkle your crushed candy canes over the entire surface. This is where the visual appeal and signature peppermint crunch come in! Don’t be shy; ensure good coverage for maximum flavor and festive color.
- Set and Break: Allow the bark to set completely. This can be done at room temperature (which takes about 2-3 hours) or, to speed things up considerably, you can place the baking sheet in the refrigerator for about an hour. Once the bark is firm and hard, it’s time for the satisfying part: breaking or cutting it into irregular or neat pieces. Refer to our “How to Break Peppermint Bark” section for tips on achieving your desired look.
Mastering the Melt: Tips for Smooth Almond Bark
Achieving a perfectly smooth, pourable almond bark is key to a beautiful finish. While the package directions are a great starting point, here are some pro tips to ensure your melting process is foolproof:
- Chop for Speed and Evenness: I always recommend chopping the almond bark into smaller, more uniform pieces before melting. This significantly speeds up the melting process and helps ensure the chocolate melts evenly, preventing scorching.
- Microwave Method (Recommended): Place your chopped almond bark in a microwave-safe glass bowl. Microwave it in short bursts at reduced power – start with 3 minutes at 50% power. After the first interval, stir the chocolate even if it doesn’t look fully melted. Continue microwaving at 50% power in 30-second to 1-minute intervals, stirring thoroughly after each, until the bark is mostly melted. The residual heat will finish the job.
- Stir Until Silky Smooth: Once mostly melted, remove the bowl from the microwave and continue stirring vigorously with a rubber spatula. The chunks will often melt completely into a silky smooth consistency with just a bit of stirring. Avoid over-microwaving, as this can cause the bark to seize or burn.
- Double Boiler Method (Alternative): For a more controlled melt, you can use a double boiler. Place the chopped almond bark in a heat-safe bowl set over a saucepan of simmering water (ensure the bowl doesn’t touch the water). Stir continuously until the bark is fully melted and smooth. This method offers gentler heat and is less prone to scorching.
Effortlessly Crushing Candy Canes for Perfect Peppermint Sparkle
The delightful crunch of crushed candy canes is integral to peppermint bark, and there are a couple of popular methods to achieve the perfect texture, depending on your preference for size and your equipment at hand.
For Finer Pieces & Less Crunch: The Blender or Food Processor Method
If you prefer smaller, more uniform pieces of peppermint that blend seamlessly into the chocolate and aren’t overly crunchy, a blender or food processor is your best friend. Simply unwrap your candy canes, break them into smaller segments (if too large for your appliance), and pulse until you reach your desired consistency. Be careful not to over-process, or you’ll end up with peppermint dust instead of delightful bits.
For Rustic Chunks & Satisfying Whacks: The Rolling Pin or Meat Mallet Method
If you enjoy larger, more substantial candy cane pieces that offer a satisfying crunch with every bite, or if you just want to release some holiday stress, my favorite method involves a good old-fashioned rolling pin or a sturdy meat mallet!
Here’s how to do it: Place your unwrapped candy canes into a durable freezer-safe ziplock bag. Zip the bag closed, making sure to remove as much air as possible. To contain any rogue candy fragments and minimize noise, cover the bag with a kitchen towel. Now, unleash your inner chef by whacking the candy canes with your rolling pin or mallet. It’s surprisingly therapeutic and delivers wonderfully varied pieces, from fine shards to delightful chunks. Magic!

Setting Time for Peppermint Bark: Patience or Speed?
Once your beautiful chocolate peppermint bark is assembled, the crucial next step is allowing it to set properly. This means waiting until the white chocolate layer is completely firm and hard, which prevents the layers from melding together and ensures clean breaks. The setting time can vary based on your environment and preferred method:
- Room Temperature Setting: If you’re not in a rush, allowing the peppermint bark to set at room temperature is perfectly fine. This typically takes approximately 2-3 hours, depending on the warmth of your kitchen. Ensure it’s placed in a cool, dry spot away from direct sunlight.
- Accelerated Setting (Refrigerator): To significantly speed up the process, place your baking sheet with the bark into the refrigerator. In a chilled environment, the bark will set much faster, usually within an hour. This is my preferred method, especially when short on time or when dealing with larger batches.
- The “Midwest Fridge” Hack: For those who find themselves with a refrigerator overflowing with holiday groceries and dishes, especially in colder climates, a practical trick is to utilize your garage! If you live in a cold climate, placing the peppermint bark inside your garage can serve as an excellent temporary “second fridge” during the winter months.
You know you’re from the Midwest when you use the garage as a second fridge during the winter – it’s a time-honored tradition for keeping holiday treats perfectly chilled!
Breaking Your Bark: Rustic or Refined?
Once your chocolate peppermint bark is fully set and wonderfully hard, it’s time to transform that solid sheet into individual, delectable pieces. You have two main approaches, each offering a distinct aesthetic:
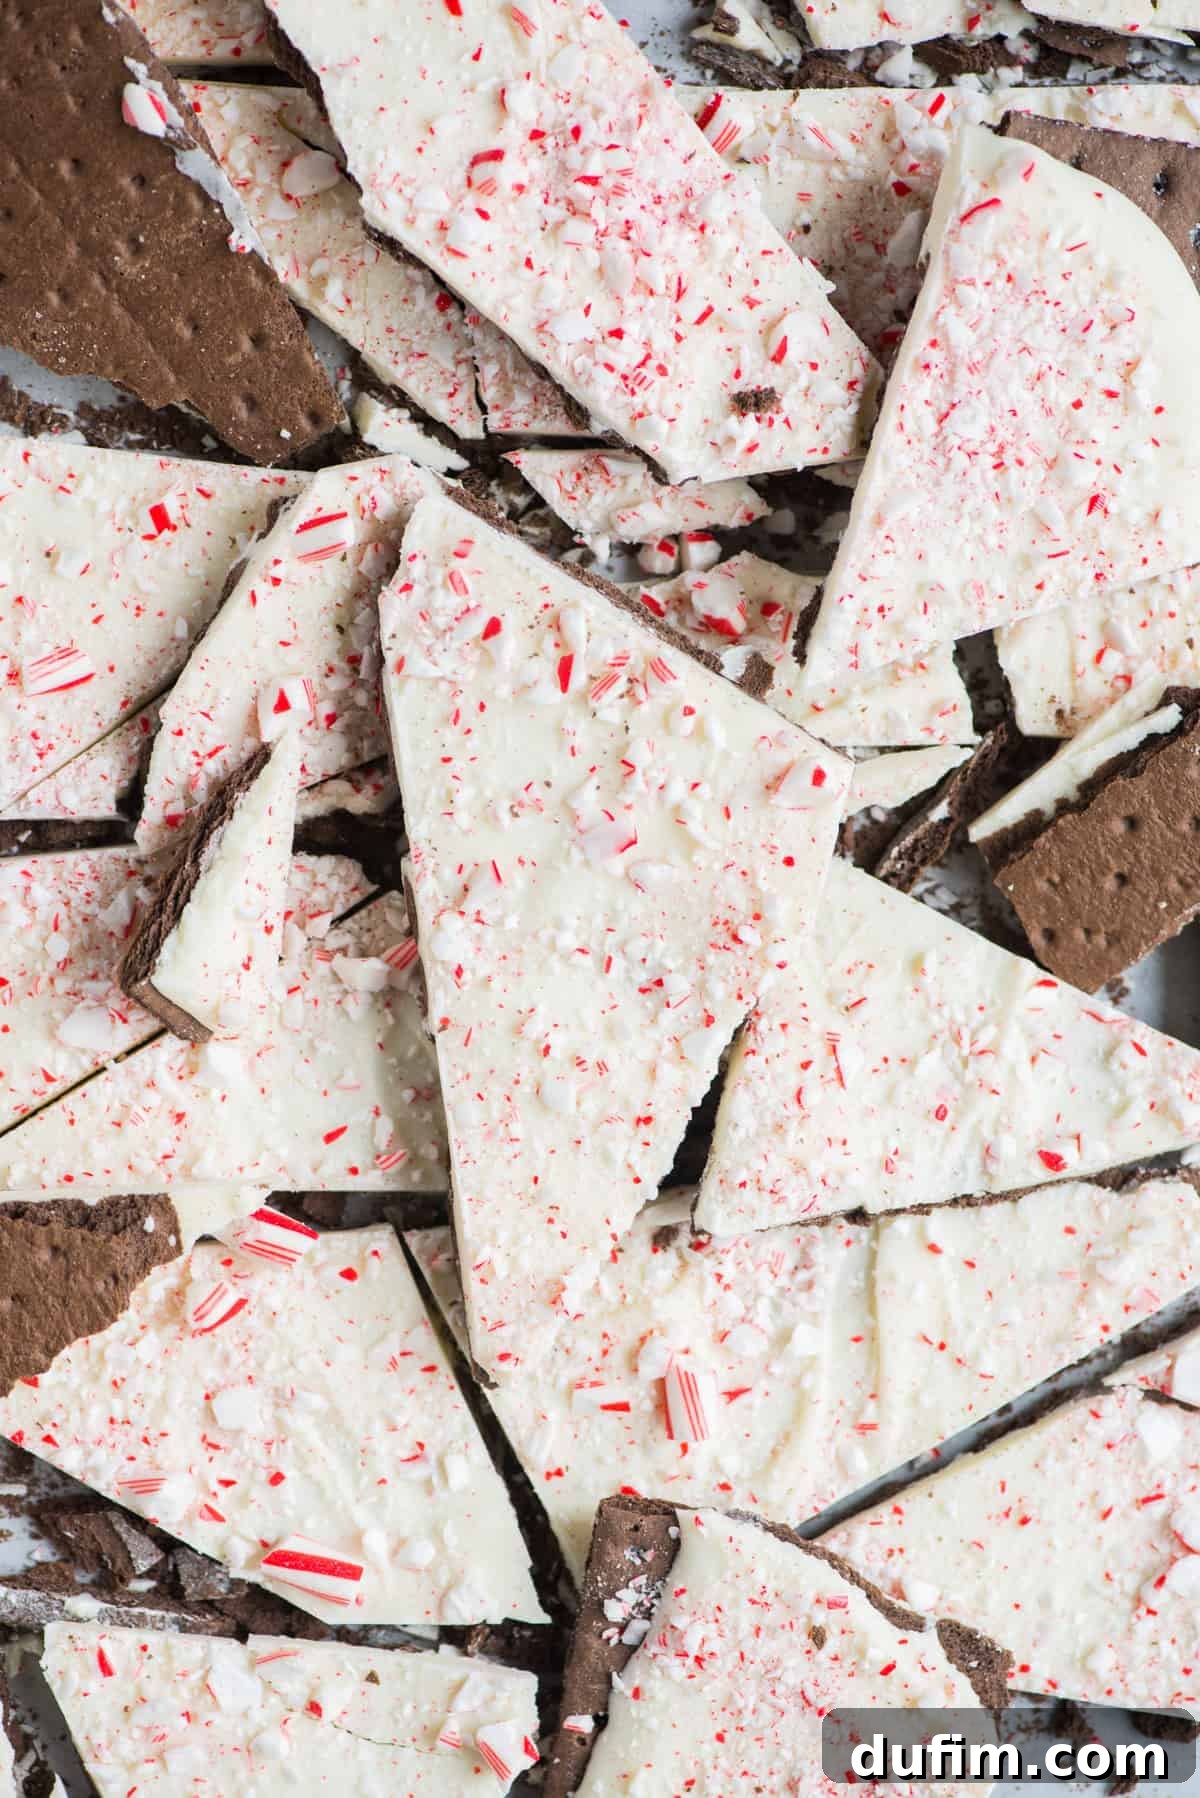
- The Rustic Break: For a charming, homemade look, simply use your hands to gently break the bark into irregular, rustic pieces. This method often results in unique shapes and jagged edges, adding to its artisanal appeal. Apply pressure evenly to avoid crumbling the graham cracker base too much.
- The Clean Cut: If you prefer more uniform pieces with clean edges, a sharp knife is your best tool. Carefully score and then cut the bark into squares, rectangles, or even triangles. A chef’s knife or a serrated knife can work well. If the bark is very cold from the fridge, let it sit for a few minutes at room temperature before cutting to prevent cracking.
Whichever method you choose, the result will be a delightful treat ready for serving or packaging!
Creative Variations to Elevate Your Peppermint Bark
While the classic chocolate peppermint bark is absolutely perfect as is, it also serves as a fantastic canvas for creative twists and personalized touches. Don’t hesitate to experiment with these delicious variations to make it uniquely yours:
- Chocolate Chips instead of Almond Bark: While vanilla almond bark is chosen for its smooth melt and quick set, you can certainly substitute it with high-quality white chocolate chips. If using white chocolate chips, add 1-2 teaspoons of vegetable oil or paramount crystals to aid in a smoother melt and flow, as white chocolate can be thicker.
- Boost the Peppermint Flavor with Oil: For an intensified peppermint punch, consider adding a touch of pure peppermint extract or peppermint oil to your melted white chocolate. I recommend starting with about 1/4 teaspoon and tasting as you go. Remember, extracts and oils are potent, so a little goes a long way!
- A Dash of Holiday Sprinkles: To make your bark even more festive and visually appealing, sprinkle some holiday-themed sprinkles over the melted white chocolate along with or instead of the crushed candy canes. Red, green, silver, or gold sprinkles can add extra sparkle.
- Go Beyond Candy Canes: If you love the chocolate-mint combination but prefer to skip the crunch of candy canes, simply omit them. Instead, rely on peppermint extract or oil added to the white chocolate for your minty flavor. You can also add other toppings like chopped nuts or mini chocolate chips for different textures.
- Layered Chocolate Base: For a truly decadent treat, consider adding another layer! Instead of using chocolate graham crackers, you could spread a thin layer of melted dark or milk chocolate directly onto your parchment paper first, let it set, and then add the vanilla almond bark and crushed candy canes on top.
- Different Graham Cracker Flavors: While chocolate graham crackers are fantastic, you could experiment with plain honey graham crackers or even cinnamon graham crackers for a subtle flavor variation that still pairs wonderfully with peppermint.
Essential Tips for Peppermint Bark Perfection
To ensure your chocolate peppermint bark turns out perfectly every single time, keep these key tips in mind:
- Always Line Your Pan: Whether you choose a silicone mat, parchment paper, or wax paper, lining your cookie sheet is non-negotiable. It prevents sticking and ensures your bark lifts off easily without any frustration.
- Achieve the Right Candy Cane Texture: Use either a blender/food processor for fine, even pieces or the rolling pin method for a mix of textures. Ensure the pieces are small enough to be pleasant to eat but not so fine they dissolve too quickly.
- Don’t Rush the Set: Give your bark ample time to set completely before attempting to break or cut it. A properly set bark will have clean edges and a satisfying snap. Rushing this step can result in a messy, sticky outcome.
- Even Spreading is Key: When spreading the melted white chocolate over the graham crackers, aim for an even layer. This ensures that each piece of bark has a consistent thickness and chocolate-to-cracker ratio.
- Consider Presentation: For a truly stunning presentation, sprinkle a few extra, larger pieces of crushed candy cane on top right after spreading the white chocolate. This adds visual appeal and highlights the key ingredient.
- Proper Storage: Once your bark is ready, store it correctly to maintain its freshness and crispness. An airtight container at room temperature is usually best, but refrigeration can extend its shelf life.
Frequently Asked Questions About Chocolate Peppermint Bark
This easy peppermint bark recipe can be stored in an airtight container at room temperature for up to 2 weeks. For best results and to prevent the peppermint from softening, keep it in a cool, dry place away from direct sunlight or heat sources.
Yes, absolutely! Peppermint bark freezes beautifully, making it an excellent make-ahead treat. Place it in an airtight container or a heavy-duty freezer bag, separating layers with parchment paper to prevent sticking. It can be frozen for up to 3 months. When you’re ready to enjoy, simply thaw it in the refrigerator overnight or at room temperature for a few hours.
Chocolate seizes (becomes thick and grainy) when it comes into contact with even a tiny amount of water or when it’s overheated. To prevent this, ensure your bowl and spatula are completely dry. When microwaving, use low power and stir frequently. If using a double boiler, make sure no steam or water splashes into the chocolate.
While you can use high-quality white chocolate bars or chips, almond bark is formulated to melt smoothly and set firmly without needing to temper the chocolate. If using regular white chocolate, you might need to add a small amount of shortening or vegetable oil (1-2 teaspoons per 12 oz) to achieve a similar consistency and prevent it from becoming too brittle or soft.
More Festive Christmas Treats to Explore
If you’re in the mood for more holiday baking and no-bake delights, be sure to check out these other fantastic Christmas treat recipes from our collection:
- Classic Christmas Sugar Cookies
- Easy Christmas Toffee
- Peanut Butter Blossom Cookies
- Festive Christmas Oreo Balls
- Crunchy Haystack Cookies
Tap stars to rate! (Note: Rating functionality is dynamic via JavaScript and not included in this static HTML. Displayed values are from original content.)
Chocolate Peppermint Bark Recipe
Total Time: 10 minutes
Servings: 30
Chocolate peppermint bark is an easy Christmas candy to make! Use chocolate graham crackers, vanilla almond bark, and crushed candy canes to make this festive 10-minute holiday treat.
Pin Recipe |
Rate This Recipe |
Print Recipe
Equipment
- Glass Mixing Bowl
- Rubber Spatula
- Baking Sheet
- Silicone Baking Mat or Parchment Paper
Ingredients
- 1 box chocolate graham crackers, 14.4 oz
- 24 oz vanilla almond bark
- 6 candy canes, crushed
Instructions
- Crush the candy canes. You can use two methods:
1. Blend in a food processor or blender for finer pieces.
2. Place unwrapped candy canes into a ziplock bag, zip it closed, cover with a towel, and whack with a rolling pin or meat mallet for larger, rustic pieces. - Cover a 10 x 15 inch baking sheet (or any size) with parchment paper or a silicone baking mat. Line the baking sheet with a single layer of chocolate graham crackers. (Approximately 14 whole graham crackers and 6 quarter pieces are usually needed to fill a standard pan.)
- Chop the almond bark into smaller pieces for quicker and more even melting. Place the chopped chocolate in a microwave-safe glass bowl. Microwave for 3 minutes on 50% power. Stir, then continue to microwave on 50% power in 30-60 second intervals, stirring after each, until mostly melted. Stir the chocolate vigorously with a rubber spatula until fully melted and smooth.
- Pour the melted chocolate over the graham crackers and spread it into an even layer using an offset spatula or the back of a spoon. If the graham crackers slide, gently push them back together. Immediately sprinkle the crushed candy canes generously on top of the wet chocolate layer.
- Allow the bark to set completely. At room temperature, this will take approximately 2-3 hours. To speed up the setting process, place the baking sheet in the refrigerator, where it will firm up within an hour.
- Once the bark is fully set and hard, break it into pieces with your hands for a rustic look, or use a sharp knife to cut it into more uniform pieces. Store in an airtight container.
Video Tutorial
Watch a quick video tutorial on how to make this delicious chocolate peppermint bark:
Download Video
Nutrition Info (Approximate)
Nutrition
Carbohydrates: 29g
Protein: 1g
Fat: 8g
Saturated Fat: 7g
Polyunsaturated Fat: 1g
Monounsaturated Fat: 1g
Sodium: 96mg
Potassium: 24mg
Fiber: 1g
Sugar: 21g
Calcium: 11mg
Iron: 1mg
Nutrition Disclosure
All nutritional values are approximate and provided to the reader as a courtesy. Changing ingredients and/or quantities will alter the estimated nutritional calculations. This information is for guidance only and not intended as medical or dietary advice.
Like this recipe? We’d love to hear from you! Please rate and comment below! Your feedback helps us create more delicious content.