
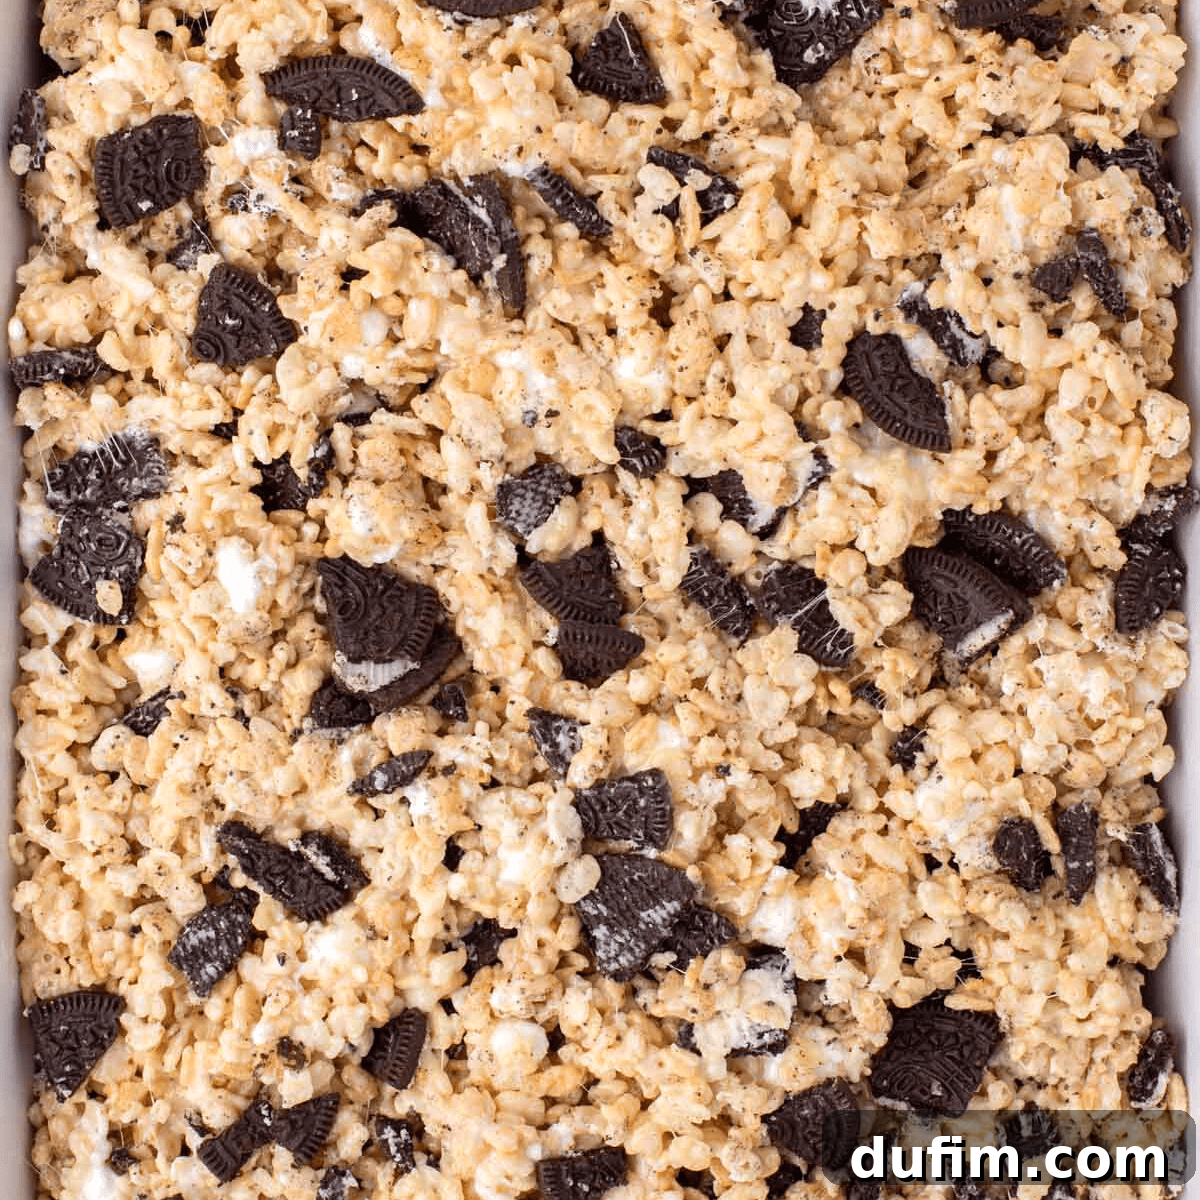
Prepare for the ultimate dessert experience with these **Irresistible Oreo Rice Krispie Treats**! Imagine crunchy Rice Krispies cereal, generously studded with chunks of America’s favorite cookie, all bound together in a luscious, gooey embrace of melted marshmallow. This isn’t just any treat; it’s a magnificent upgrade to the classic rice krispie treat recipe, promising a delightful mashup of textures and flavors that will captivate your taste buds and leave you craving more.
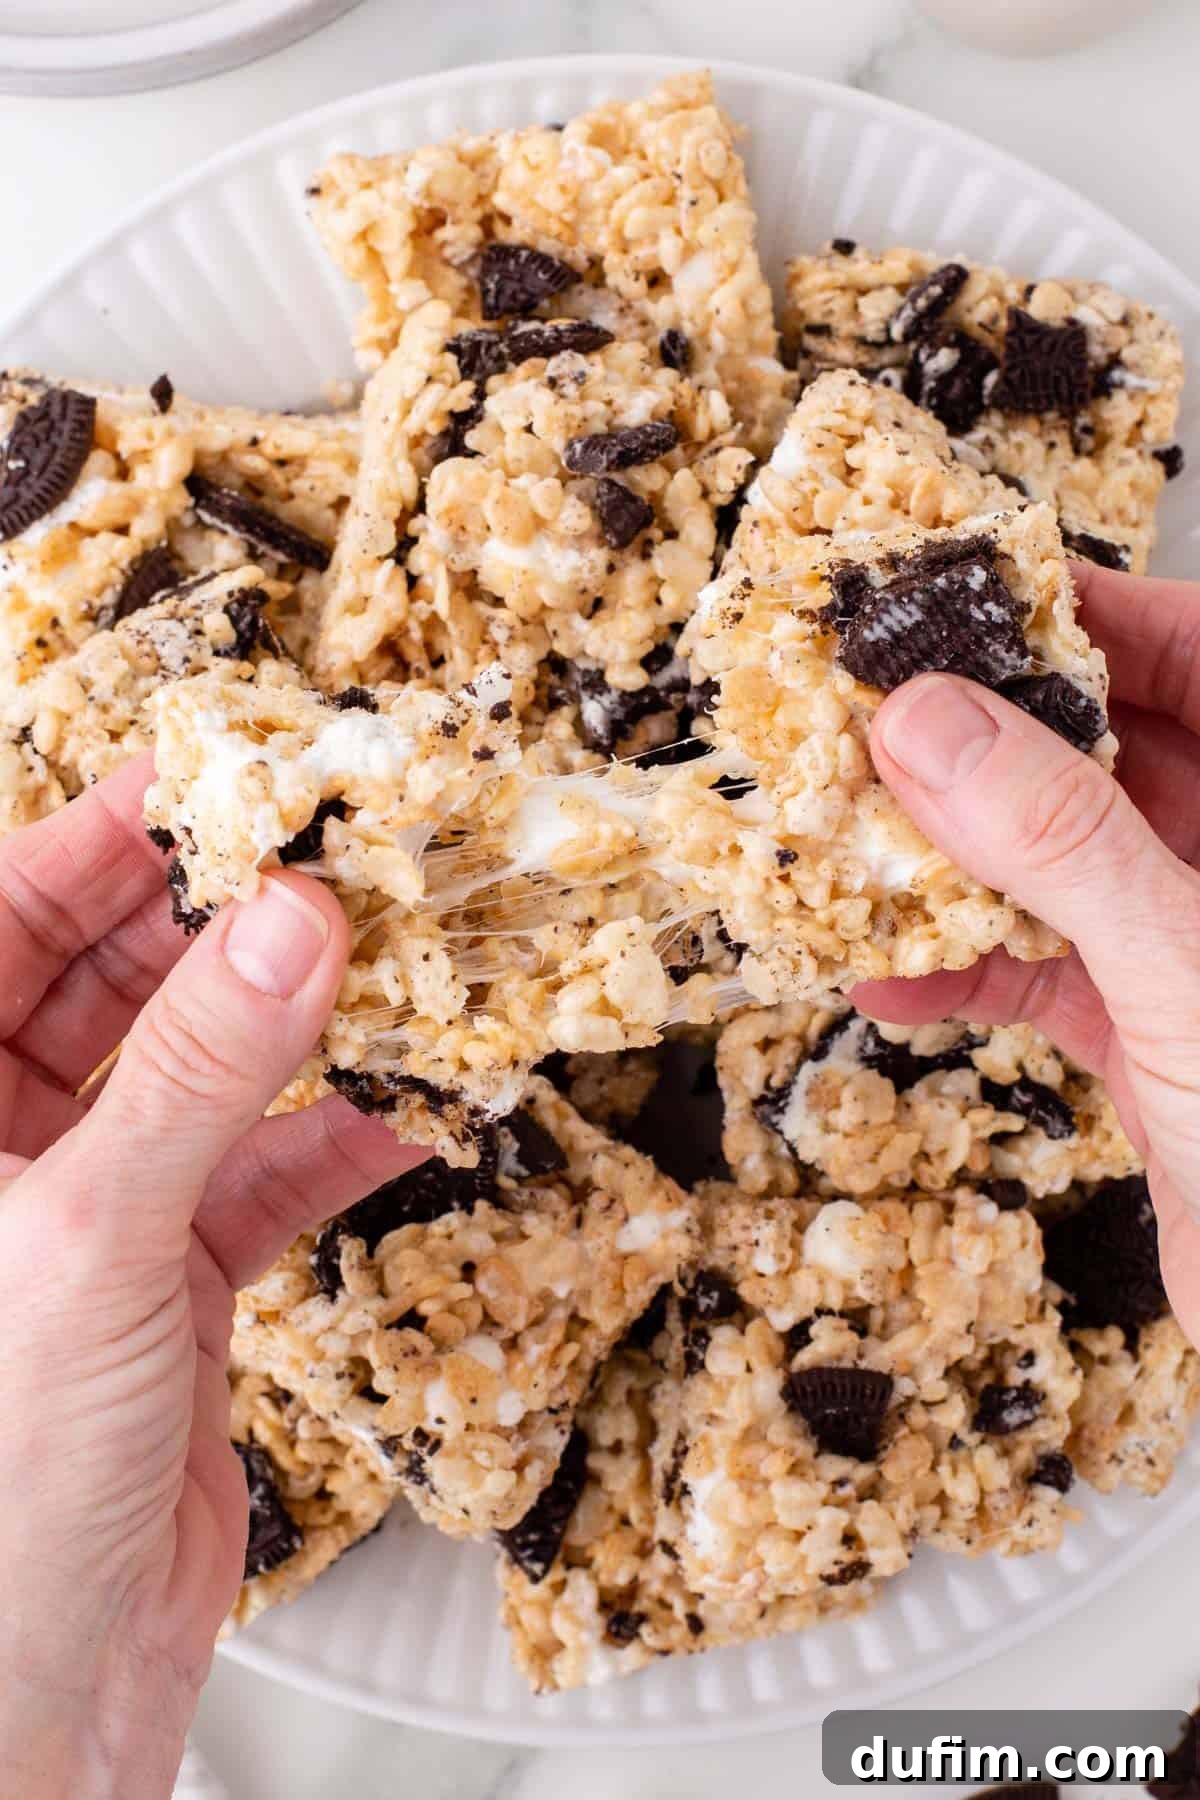
There’s a magical quality to certain childhood favorites that instantly transports us back to simpler times. For many, the chewy comfort of homemade rice krispie treats and the iconic twist-and-dunk delight of Oreo cookies hold a special place. What if you could combine these two nostalgic powerhouses into one extraordinary dessert? That’s precisely what these Oreo Rice Krispie Treats offer: a harmonious blend of crisp cereal, rich chocolatey cookies, and sweet, stretchy marshmallow that will undoubtedly become your new go-to indulgence. While classic rice krispie treats are fantastic in their own right, the addition of crushed Oreos elevates these humble cereal bars to an entirely new dimension of flavor and fun. Best of all, they’re incredibly easy to whip up, requiring no baking at all – making them the perfect solution when a sudden sweet craving hits or you need a quick, impressive dessert for any gathering without the hassle of firing up the oven.
Each bite of these decadent bars delivers a symphony of textures. You get the satisfying snap of crispy rice cereal, the delightful crunch of coarsely chopped Oreo pieces, and the irresistible pull of buttery, melted marshmallow. The rich chocolate flavor of the Oreos perfectly complements the subtle sweetness of the treats, creating a balanced and deeply satisfying experience. Simple to make and endlessly appealing, these Oreo Rice Krispie Treats are not just a dessert; they’re a celebration of classic flavors reimagined, reaching a next-level status in the world of no-bake confections.
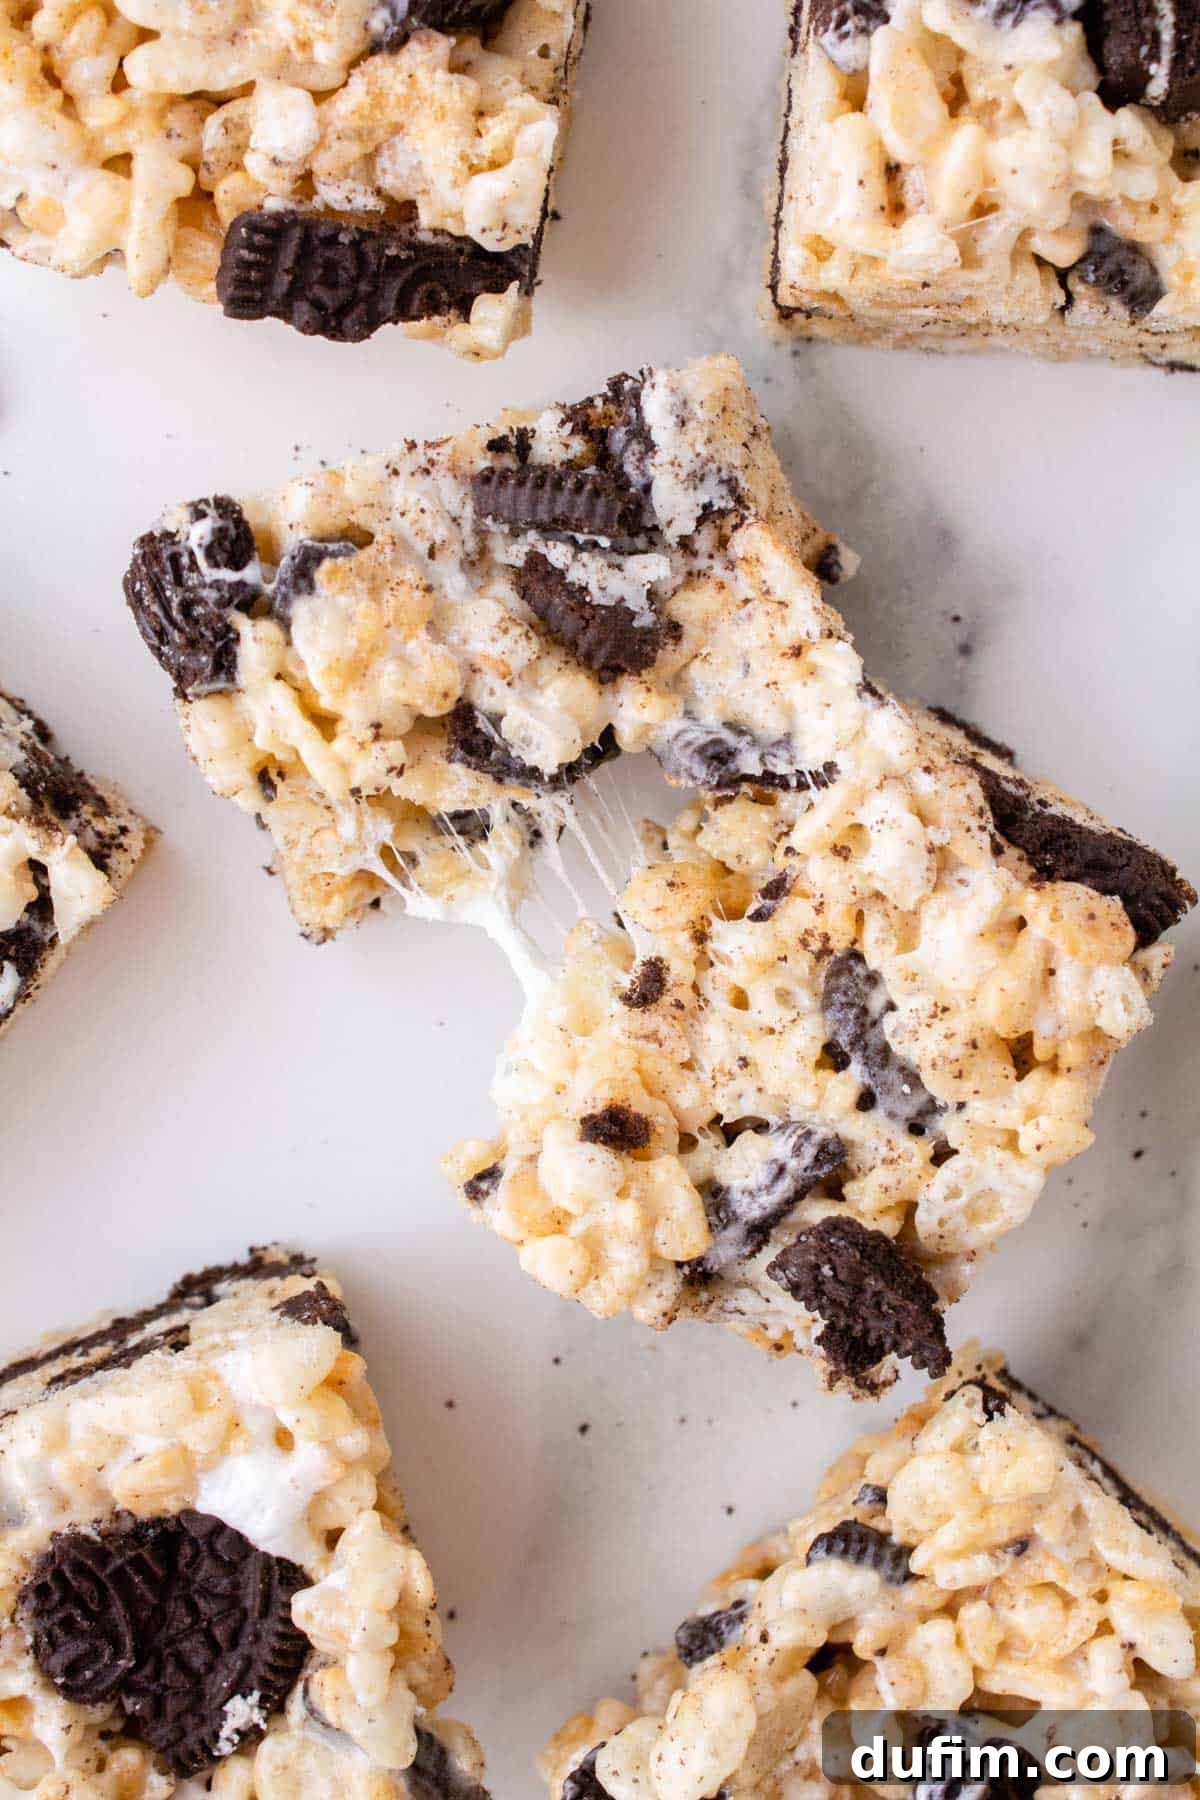
Why You’ll Adore These Oreo Rice Krispie Treats
If you’re looking for a dessert that’s big on flavor but low on fuss, you’ve found your match. These Oreo Rice Krispie Treats are beloved for many reasons, making them a consistently popular choice for any occasion:
- Effortless No-Bake Delight: Say goodbye to hot ovens and complex baking steps! This recipe requires absolutely no baking, making it perfect for novice cooks, busy parents, or anyone who wants a delicious dessert without the heat and hassle. It’s an ideal treat, especially during warmer months.
- A Fun Twist on a Timeless Classic: The traditional rice krispie treat is a beloved staple, but adding crushed Oreo cookies transforms it into an exciting new experience. It brings a familiar yet exciting flavor profile, elevating a simple snack into a gourmet-like confection that appeals to all ages.
- Simple Ingredients, Unforgettable Taste: You don’t need a pantry full of exotic items to create these treats. Made with just a handful of readily available ingredients – many of which you likely already have – this recipe proves that extraordinary flavor can come from humble beginnings.
- Remarkably Customizable: While fantastic as is, this recipe serves as an excellent canvas for creativity. Easily adapt it with different Oreo flavors, additional mix-ins, or decorative toppings to suit your mood or event theme.
- Perfect for Any Occasion: Whether it’s a potluck, birthday party, school lunchbox surprise, or just a cozy night in, these treats are always a crowd-pleaser. Their convenient bar form makes them easy to transport and serve, ensuring they’re a hit wherever they go.
- Quick Preparation Time: From start to finish, you can have these delicious treats ready to set in under 15 minutes. This speedy prep time makes them an ideal last-minute dessert option when you need something sweet in a hurry.
Essential Ingredients for Oreo Rice Krispie Treats
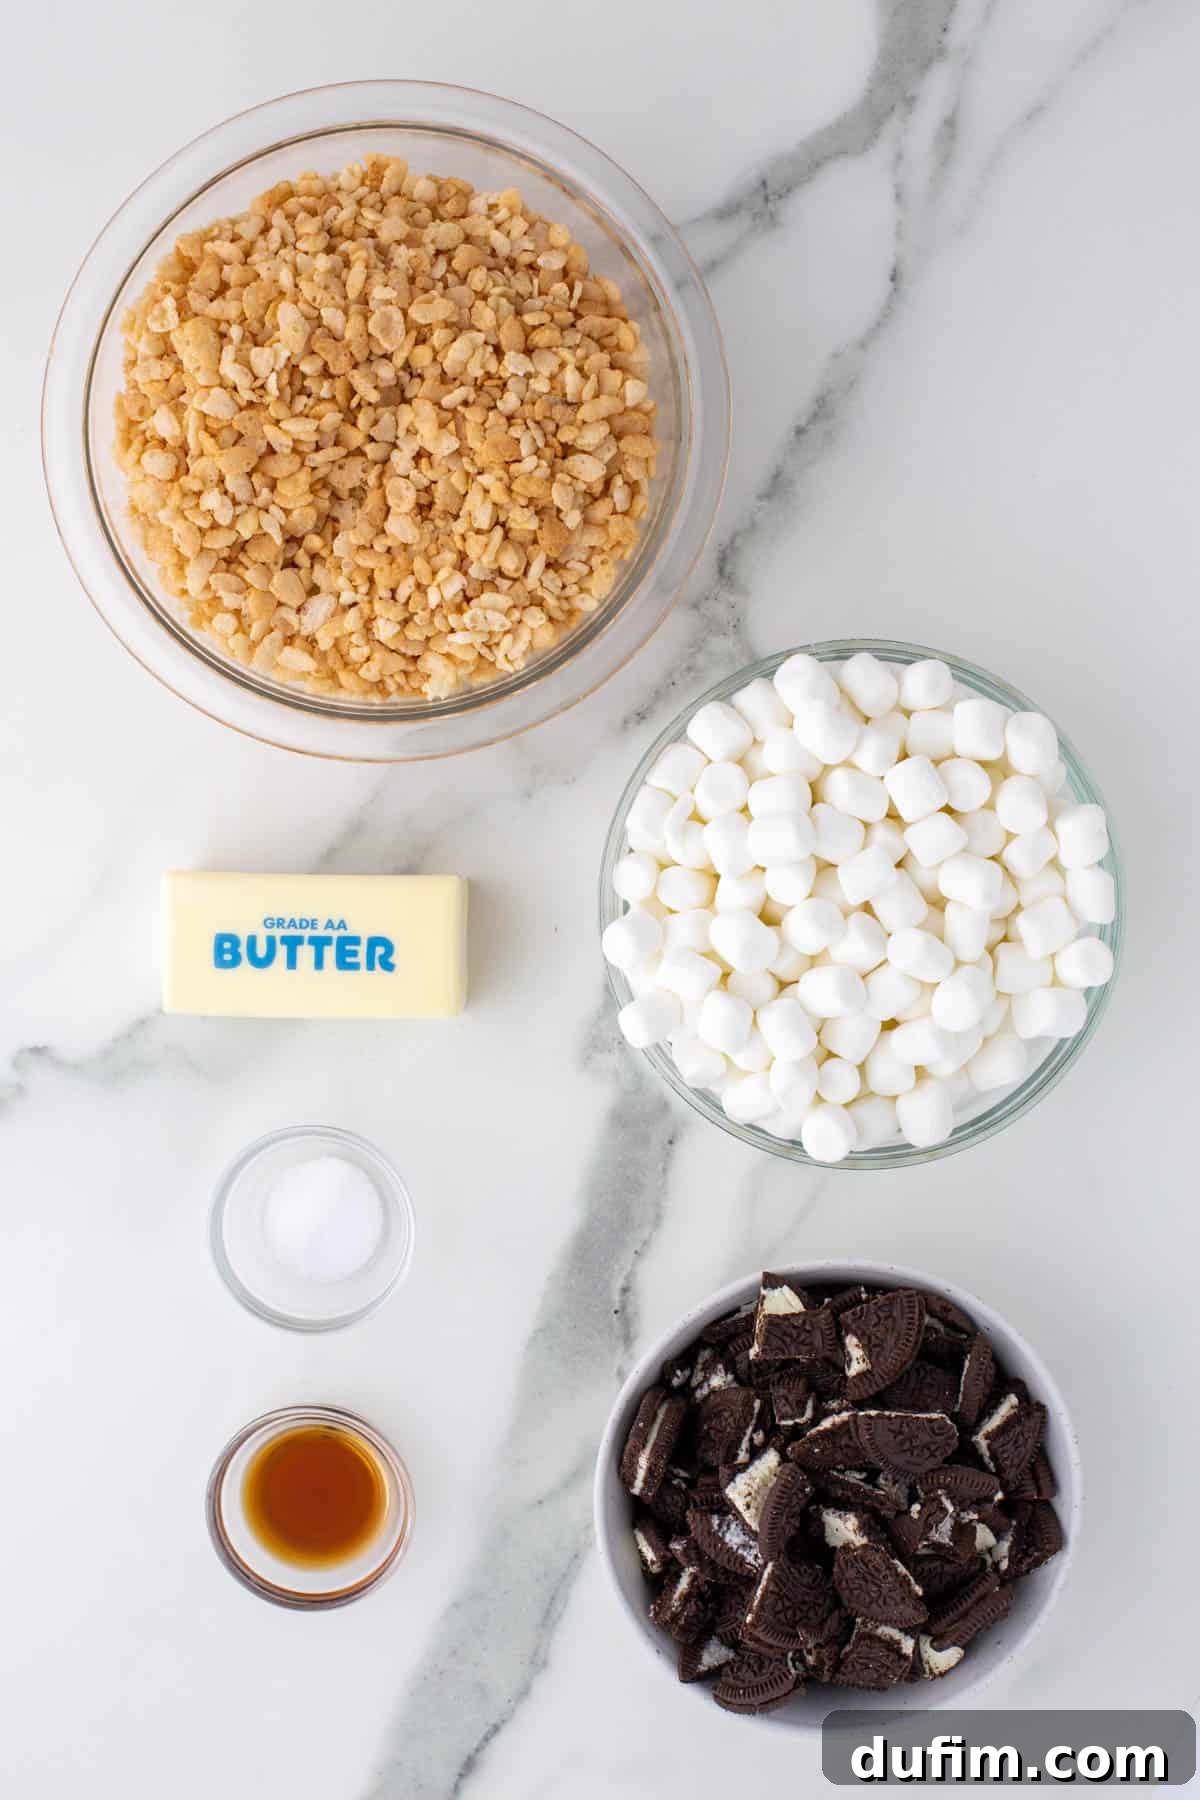
Crafting these delectable Oreo Rice Krispie Treats requires just a few basic ingredients, promising a dessert that’s always a crowd-pleaser. Prepare to gather these staples for your next sweet endeavor:
- Unsalted Butter: The foundation of flavor and richness. Using unsalted butter allows you to control the overall saltiness of your treats. Butter helps create that signature chewy texture and prevents sticking.
- Miniature Marshmallows: The star of the show! Mini marshmallows melt more quickly and evenly than large ones, ensuring a smooth, gooey base. Fresh marshmallows are key for the ultimate stretchy and soft texture.
- Vanilla Extract: A splash of vanilla enhances all the other flavors, adding a warm, aromatic depth that makes these treats even more irresistible. Don’t skip it!
- Salt: A small but mighty ingredient. Just a touch of salt helps to balance the sweetness of the marshmallows and Oreos, bringing out their full flavor profile without making the treats taste salty.
- Rice Krispies Cereal: The quintessential crispy component. Ensure your cereal is fresh to maximize that satisfying crunch. Stale cereal will result in a less pleasant texture.
- Oreo Cookies: The star addition! Coarsely chopped Oreos provide delightful pockets of chocolate cookie crunch and creamy filling throughout the treats. You can use regular Oreos or experiment with different flavors for a unique twist.
These six simple ingredients combine to create a truly magical dessert. For precise measurements and step-by-step instructions, please refer to the comprehensive recipe card located at the bottom of this post.
Crafting Your Oreo Rice Krispie Treats: A Simple Guide
If you’re a connoisseur of easy and delicious desserts, this recipe is designed for you. Follow these straightforward steps to create incredibly gooey marshmallow treats that will impress everyone:
Step 1: Prepare Your Marshmallows. Begin by measuring out 10 cups of miniature marshmallows into a large bowl. From this amount, set aside 2 cups of marshmallows for later use. These reserved marshmallows will be added at the end to create extra pockets of gooeyness throughout your treats.
Step 2: Prepare Your Baking Dish. Line a standard 9×13 inch baking dish with parchment paper. This crucial step ensures easy removal of your treats once they’ve set and makes cleanup a breeze. If parchment paper isn’t available, you can thoroughly grease the entire pan with butter or a non-stick cooking spray.
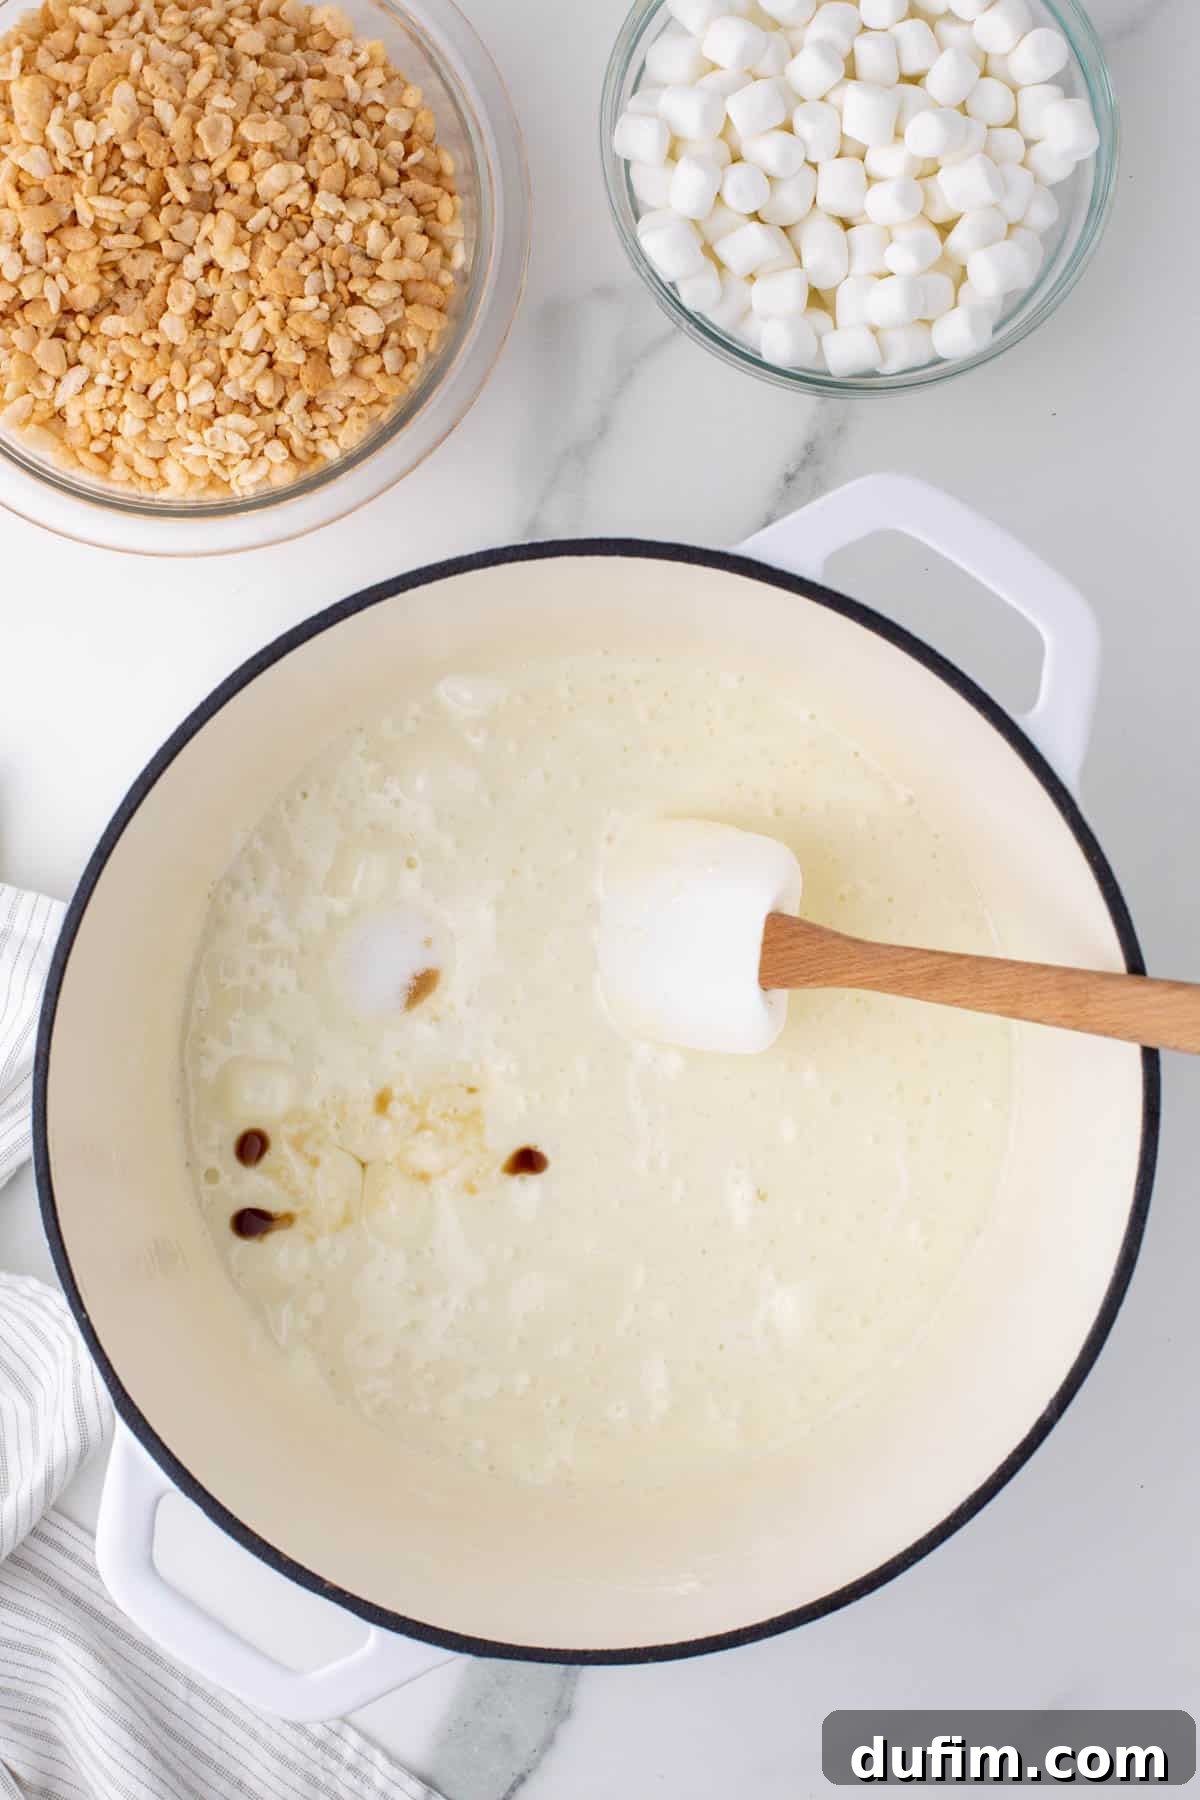
Step 3: Melt Butter and Marshmallows. In a large, heavy-bottomed saucepan, melt the unsalted butter over medium-low heat. Once the butter is mostly melted, add the remaining 8 cups of mini marshmallows. Continue stirring constantly with a wooden spoon or rubber spatula until the marshmallows are fully melted and form a smooth, gooey mixture. It’s vital to maintain a medium-low heat to prevent the marshmallows from scorching or becoming hard. Remove the saucepan from the heat, then stir in the vanilla extract and salt until well combined.
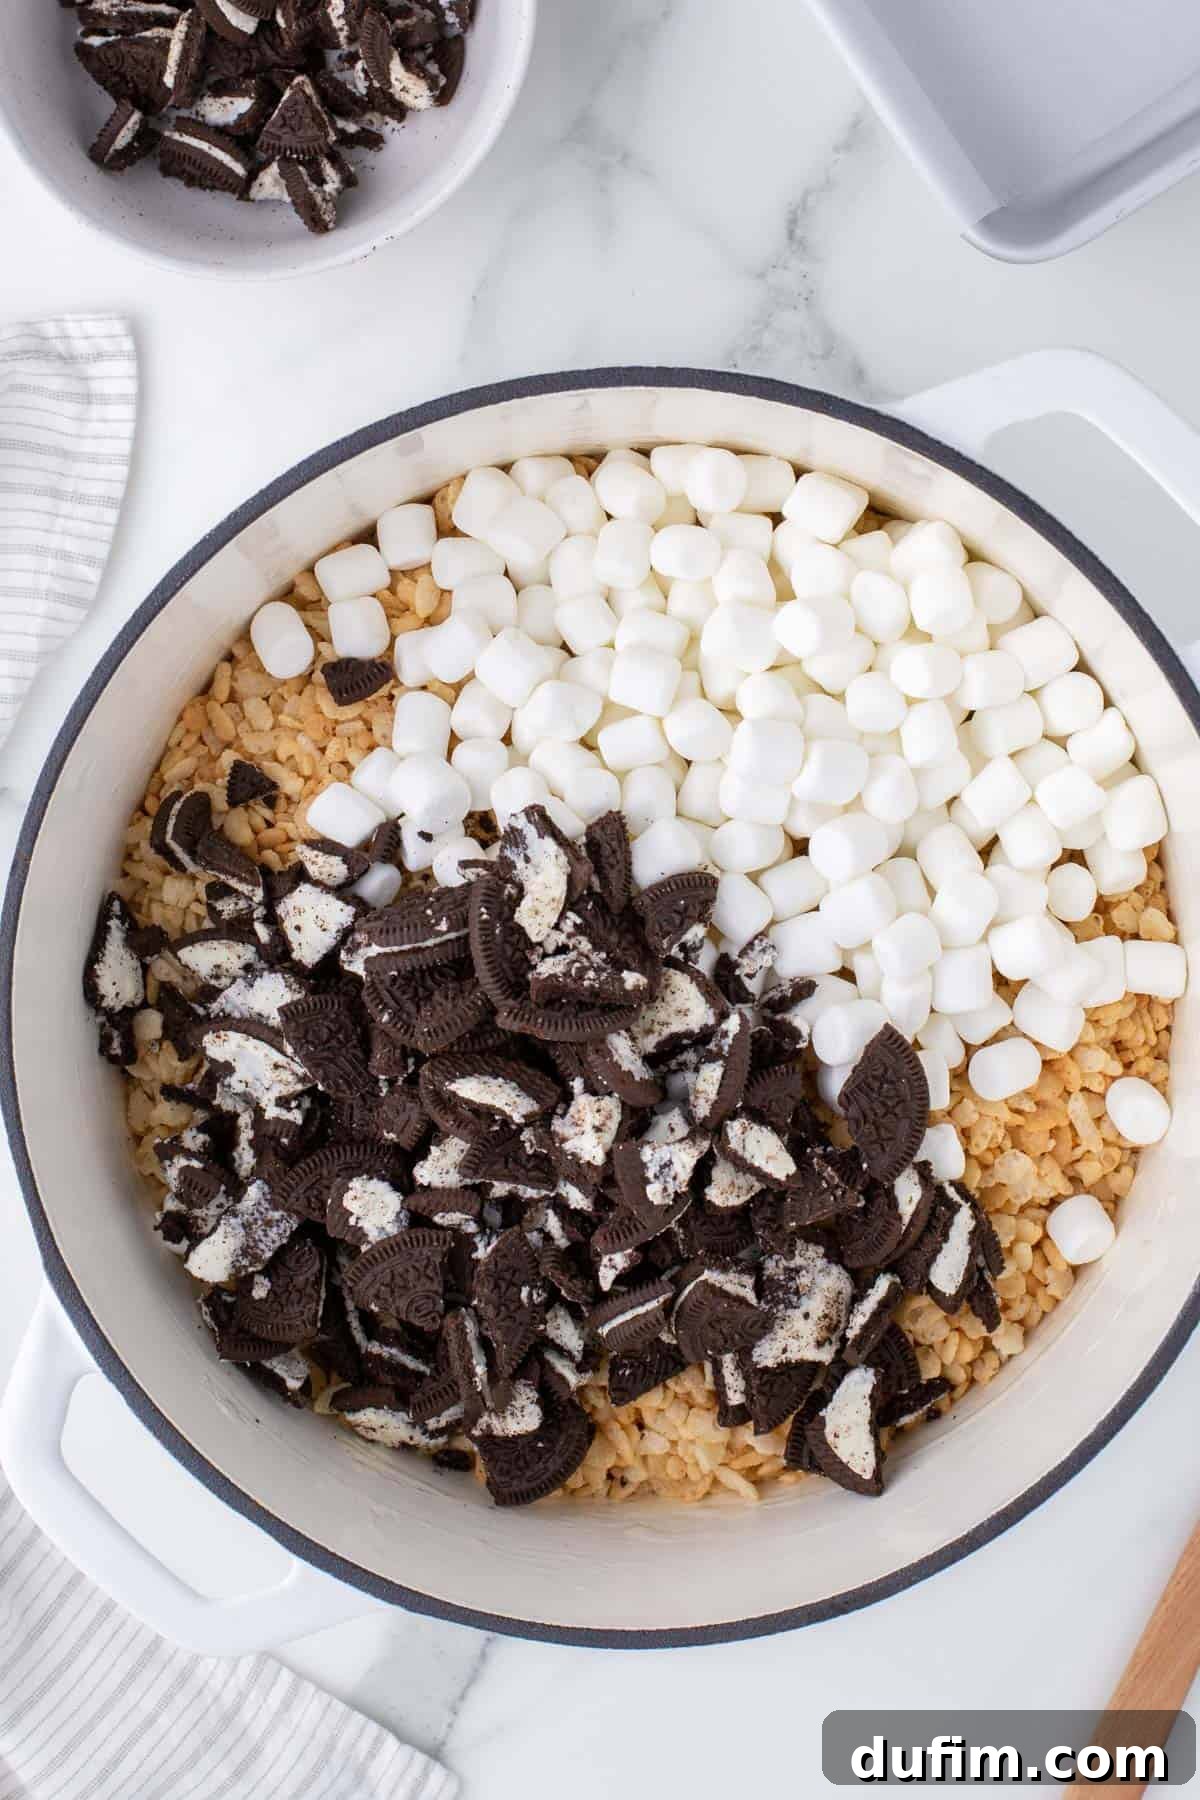
Step 4: Incorporate Remaining Ingredients. Working quickly, add the Rice Krispies cereal, the reserved 2 cups of mini marshmallows, and almost all of your coarsely chopped Oreo cookies to the melted marshmallow mixture. Be sure to save a few Oreo pieces to sprinkle on top for a beautiful presentation. Using your wooden spoon or rubber spatula, gently fold and stir until the cereal and Oreo pieces are completely coated in the luscious marshmallow mixture. Avoid over-mixing to maintain a light, airy texture.
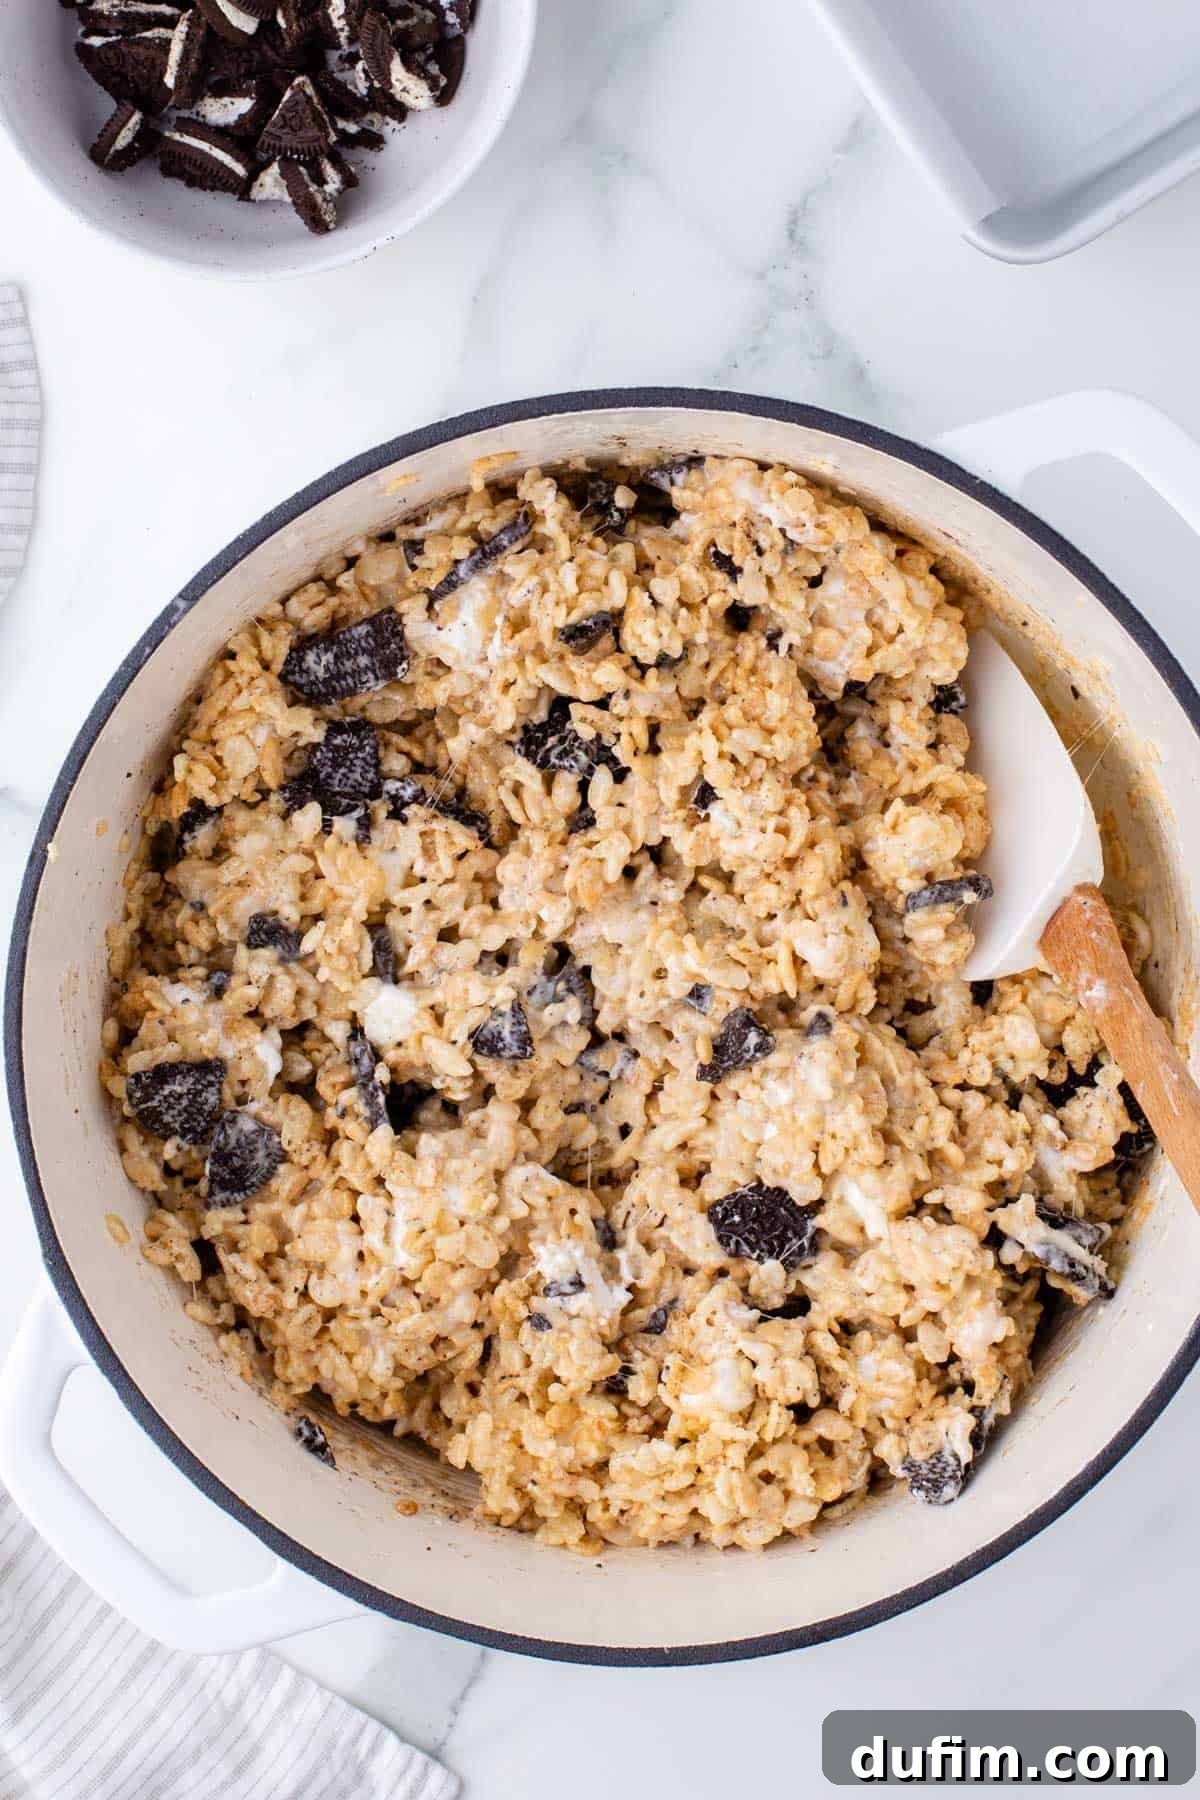
Step 5: Transfer to Baking Dish and Press Gently. Carefully transfer the sticky rice krispie and Oreo mixture into your prepared 9×13 inch baking pan. Now, here’s a crucial tip for the perfect texture: gently press the mixture into the pan. Use slightly wet hands or a piece of buttered parchment paper to prevent sticking. Resist the urge to press down too firmly, as over-compressing the treats will result in a denser, harder bar rather than the airy, gooey texture we’re aiming for.
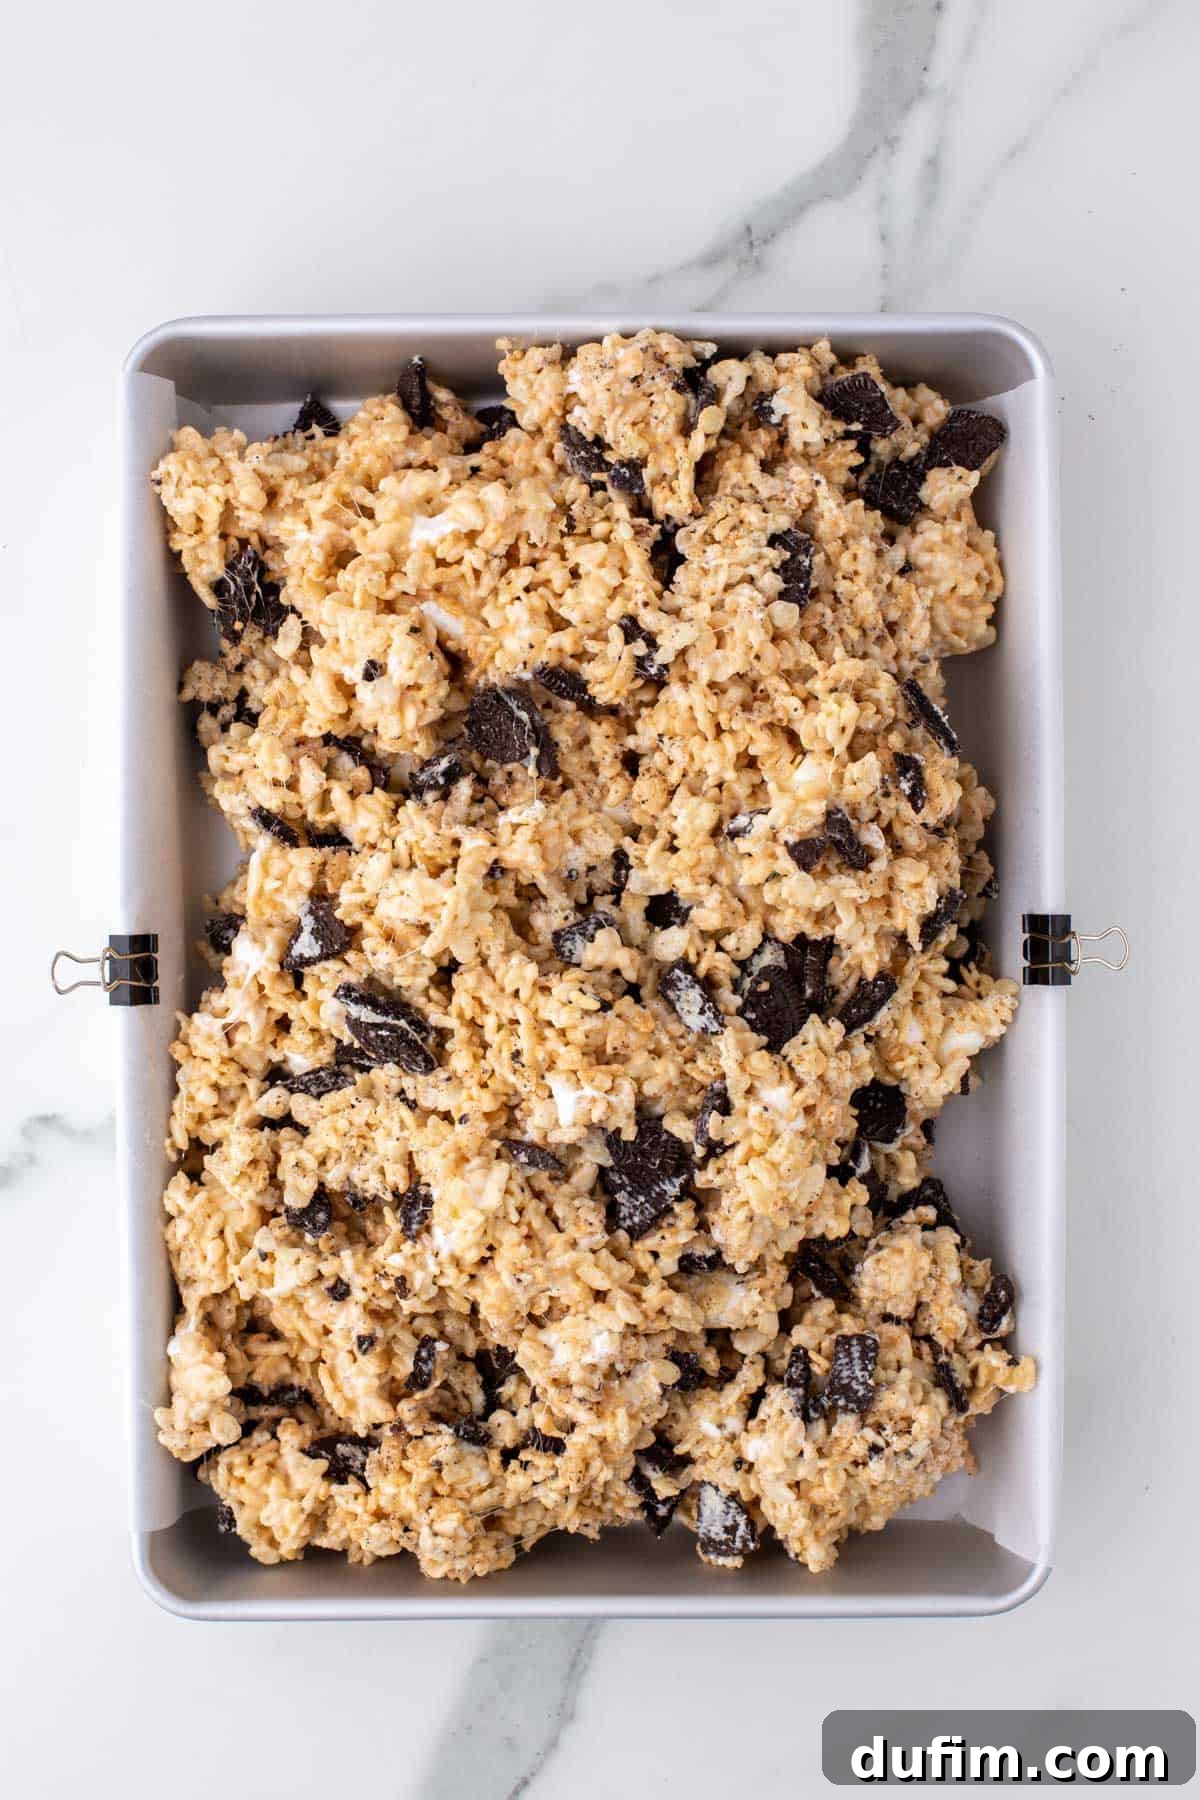
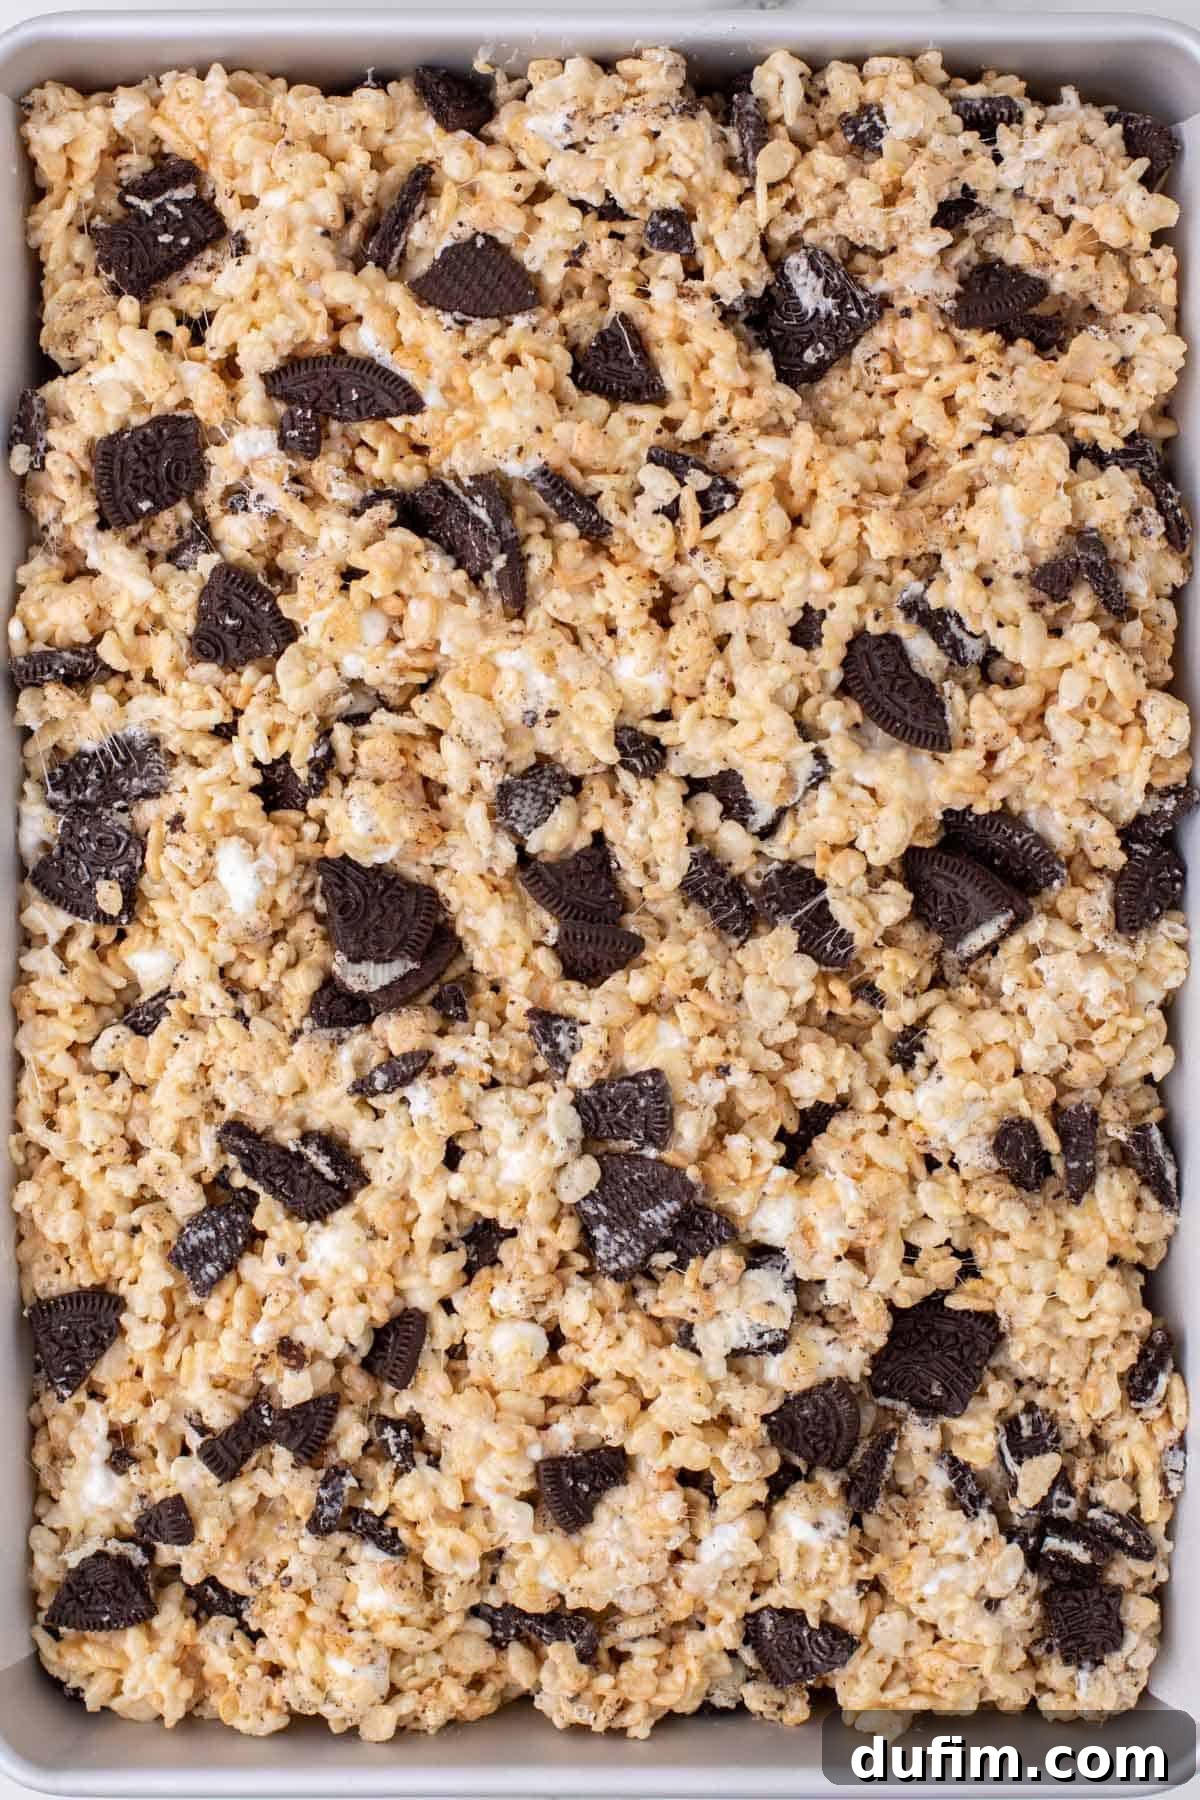
Step 6: Add Oreo Toppings (Optional). If you saved some extra coarsely chopped Oreos, now is the perfect time to sprinkle them generously over the top of the pressed mixture. Gently press them down slightly to help them adhere to the treats, creating an attractive and extra-crunchy topping.
Step 7: Set and Serve. Allow the treats to set completely at room temperature for approximately 1 hour. This setting time is crucial for them to firm up enough to be sliced neatly without falling apart. Once set, use a sharp, lightly greased knife to cut them into squares. Now, they’re ready to be devoured and enjoyed!
Expert Tips for the Most Perfect Oreo Rice Krispie Treats
Achieving that ideal balance of gooey, chewy, and crunchy is an art. Follow these expert tips to ensure your Oreo Rice Krispie Treats are nothing short of spectacular:
- Avoid Over-Mixing the Cereal: Once the Rice Krispies cereal and Oreo chunks are added to the melted marshmallow, stir just enough until everything is uniformly coated. Over-mixing can deflate the cereal, leading to a less airy and fluffy texture. Gentle folding is key to preserving those delightful pockets of crispness.
- Do Not Over-Press into the Pan: This is a common mistake! When transferring the mixture to the prepared pan, press it down very gently and evenly. The goal is to settle the mixture, not to compact it tightly. The more you press, the denser and harder your treats will become. For truly gooey and airy bars, a light hand is your best friend.
- Utilize Wet Hands to Prevent Sticking: Marshmallow mixture is notoriously sticky. Keep a small bowl of water nearby while you’re mixing and pressing the treats. Periodically wetting your hands (just slightly damp, not dripping wet) will create a barrier that prevents the sticky mixture from clinging to your fingers, making the process much easier and cleaner.
- Use Fresh Marshmallows and Cereal: The freshness of your ingredients makes a significant difference. Old or stale marshmallows won’t melt as smoothly and may result in a tougher treat. Similarly, fresh Rice Krispies cereal is essential for that signature crisp texture.
- Melt Marshmallows Over Low Heat: Patience is a virtue when melting marshmallows. High heat can cause the marshmallows to caramelize too quickly or even burn, which can lead to a hard, brittle texture once cooled. Medium-low heat ensures a slow, even melt, resulting in a smooth, pliable, and perfectly gooey marshmallow base.
- Grease Everything: Beyond the pan, lightly greasing your spatula, spoon, or even the back of another piece of parchment paper you use to press the treats can drastically reduce stickiness and make working with the mixture much simpler.
Creative Substitutions & Exciting Variations
While the classic Oreo Rice Krispie Treat is heavenly, this recipe is incredibly versatile, inviting you to experiment with flavors and textures. Here are some ideas to spark your culinary creativity:
- Explore Different Oreo Flavors: The beauty of Oreos lies in their vast array of flavors! While classic Oreos are fantastic, don’t hesitate to experiment. Peanut Butter Oreos would introduce a nutty, salty-sweet contrast. Mint Chocolate Oreos would add a refreshing twist, perfect for holidays. Golden Oreos would provide a delightful vanilla-based flavor for those who prefer less intense chocolate. Seasonal flavors like Pumpkin Spice or Red Velvet Oreos can also create unique and festive treats.
- Boost the Gooey Factor with Extra Marshmallows: If you’re a true fan of ultimate gooeyness, simply increase the amount of mini marshmallows you add to the mixture. Incorporating an extra cup or two (either fully melted or reserved for pockets) will result in an even softer, chewier, and more marshmallow-laden treat.
- Add a Chocolate Drizzle: For an extra touch of decadence and visual appeal, melt some chocolate chips (milk, dark, or white chocolate) and drizzle it artfully over the cooled and set treats. This adds another layer of chocolatey goodness and makes them look even more professional.
- Introduce Sprinkles or Other Toppings: Make these treats festive for any holiday or celebration by folding in colorful sprinkles before pressing them into the pan, or by sprinkling them on top. You could also add mini chocolate chips, chopped nuts (like pecans or walnuts), or even a crushed candy bar for extra texture and flavor.
- Experiment with Extracts: Beyond vanilla, a few drops of other extracts can completely change the flavor profile. Almond extract offers a subtle nutty note, while peppermint extract could complement a mint Oreo variation. A hint of orange extract could brighten the chocolate.
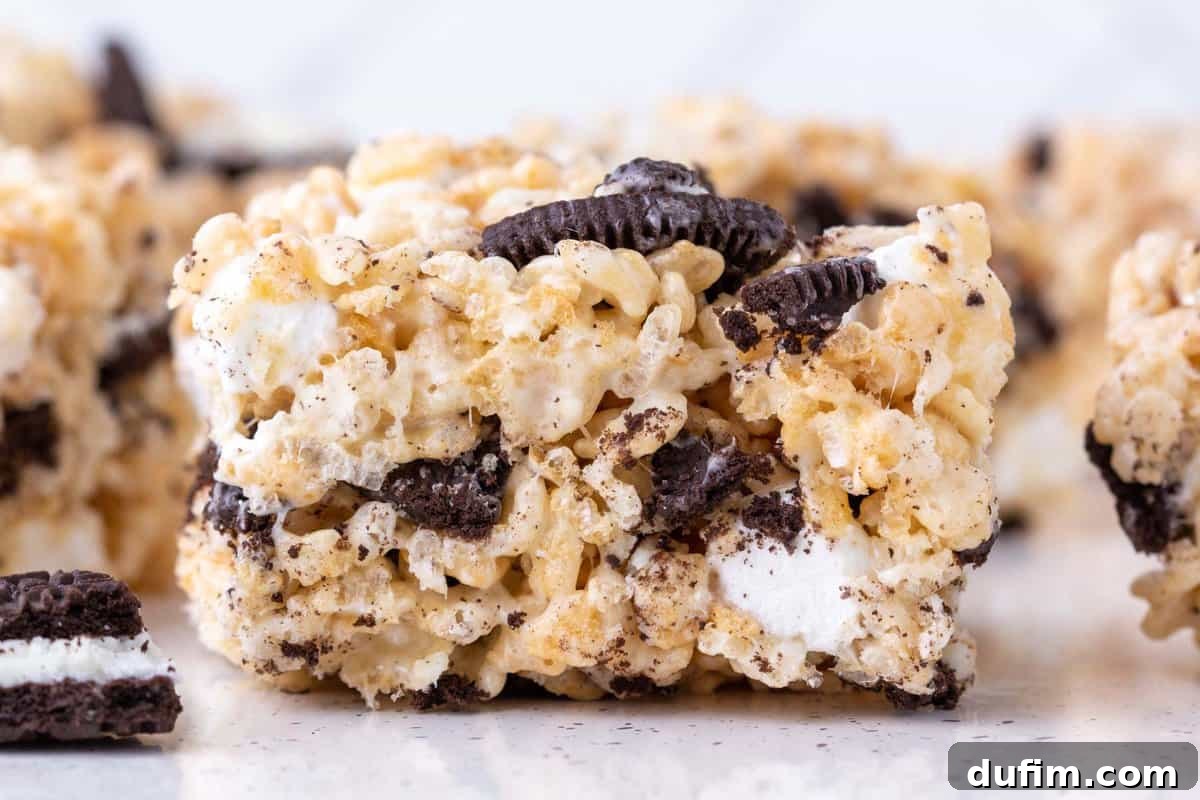
Storing & Freezing Your Oreo Rice Krispie Treats
Once you’ve made a batch of these glorious Oreo Rice Krispie Treats, you’ll want to ensure they stay fresh and delicious for as long as possible. Proper storage is key to maintaining their delightful texture.
Storing at Room Temperature: For optimal freshness and that classic gooey texture, store your rice krispie treats in an airtight container or a large zip-top bag at room temperature. They will remain wonderfully fresh for 2-3 days. Ensure they cool completely before storing them to prevent condensation, which can make them soggy. If stacking the treats, separate layers with a piece of parchment paper to prevent them from sticking together.
Refrigeration: While room temperature is usually preferred for the softest texture, you can place them in the refrigerator to extend their shelf life slightly, typically up to 5 days. Be aware that refrigeration can make them a bit firmer and chewier. To enjoy them at their best after chilling, let them sit at room temperature for about 10-15 minutes before serving.
Freezing for Longer Enjoyment: Yes, you can freeze Oreo Rice Krispie Treats! This is an excellent option for making them ahead or saving leftovers. Before freezing, ensure the treats are completely cooled. For best results, wrap each individual square tightly in parchment paper or plastic wrap, then place them in a freezer-safe airtight container or a heavy-duty freezer zip-top bag. They can be stored in the freezer for up to 6 weeks. To thaw, simply remove them from the freezer and let them come to room temperature for about an hour. You can also pop them in the microwave for a few seconds (5-10 seconds) for a warm, extra-gooey experience.
Frequently Asked Questions (FAQ)
Here are answers to some common questions about making perfect Rice Krispie Treats:
- Why are my Oreo Rice Krispie Treats hard? This is often due to overcooking the marshmallows or pressing the mixture too firmly into the pan. Marshmallows cooked at too high a temperature or for too long can become brittle once cooled. Also, over-compressing the treats squeezes out the air, leading to a dense and hard texture.
- Can I use different types of cereal? Absolutely! While Rice Krispies provide a classic light crunch, you can experiment with other cereals like Chex, Cheerios, or even fruity cereals for different flavors and textures. Adjust proportions as needed if the cereal size is significantly different.
- How do I get my treats extra gooey? To achieve maximum gooeyness, use fresh marshmallows, melt them slowly over low heat, and consider adding an extra cup or two of mini marshmallows to the recipe. Adding a portion of marshmallows at the very end (as specified in this recipe) also helps create delightful pockets of melted goodness.
- Can I make these treats ahead of time? Yes, these are an excellent make-ahead dessert! They hold up well at room temperature for a couple of days and can be frozen for longer storage, making them perfect for parties or meal prep.
- What’s the best way to crush Oreo cookies? You have a few options! For uniformly crushed cookies, a food processor works quickly and efficiently. For a more rustic, varied texture, place the cookies in a large zip-top bag and crush them with a rolling pin or the bottom of a heavy glass.
More Delightful Rice Krispie Treat Recipes
If you’ve fallen in love with these Oreo Rice Krispie Treats and are eager to explore more variations, check out these other creative and delicious recipes:
- Rice Krispie Easter Eggs
- S’mores Rice Krispie Treats
- Mini Pumpkin Pie Rice Krispie Treats
- Spider Rice Krispie Treats
Oreo Rice Krispie Treats
Rate
Equipment
-
9×13 glass pan
-
My favorite spatula!
-
Kitchen Scale
Ingredients
- ½ cup (113g) unsalted butter, 1 stick
- 10 cups (430g) mini marshmallows, divided, this is about two 10 oz bags
- 1 tsp vanilla extract
- ½ tsp salt
- 8 cups Rice Krispies cereal
- 22 oreo cookies, coarsely chopped
Instructions
-
Measure out 10 cups of mini marshmallows. Then set 2 cups aside for later.
-
Line a 9×13 inch baking dish with parchment paper. You can skip the parchment paper and grease your pan with butter if you prefer.
-
In a large saucepan, melt the butter and 8 cups of mini marshmallows over medium-low heat. Stir until melted. then stir in the salt and vanilla extract.
-
Mix in the rice krispies, additional 2 cups of marshmallows, and almost all the oreos (save a few for the top) stir until completely coated.
-
Transfer the mixture to the baking dish. Gently press the rice krispies into the pan. The more you press them down, they become more dense and not quite as airy and gooey. Pro tip: use slightly wet hands when pressing them, this helps to prevent the mixture from sticking to your hands.
-
Press the remaining oreos on the top if you want.
-
Allow them to set, about 1 hour. Then slice with a sharp knife into squares and enjoy.
Nutrition
Nutrition Disclosure
All nutritional values are approximate and provided to the reader as a courtesy. Changing ingredients and/or quantities will alter the estimated nutritional calculations.
Love this recipe? Share your thoughts below!