
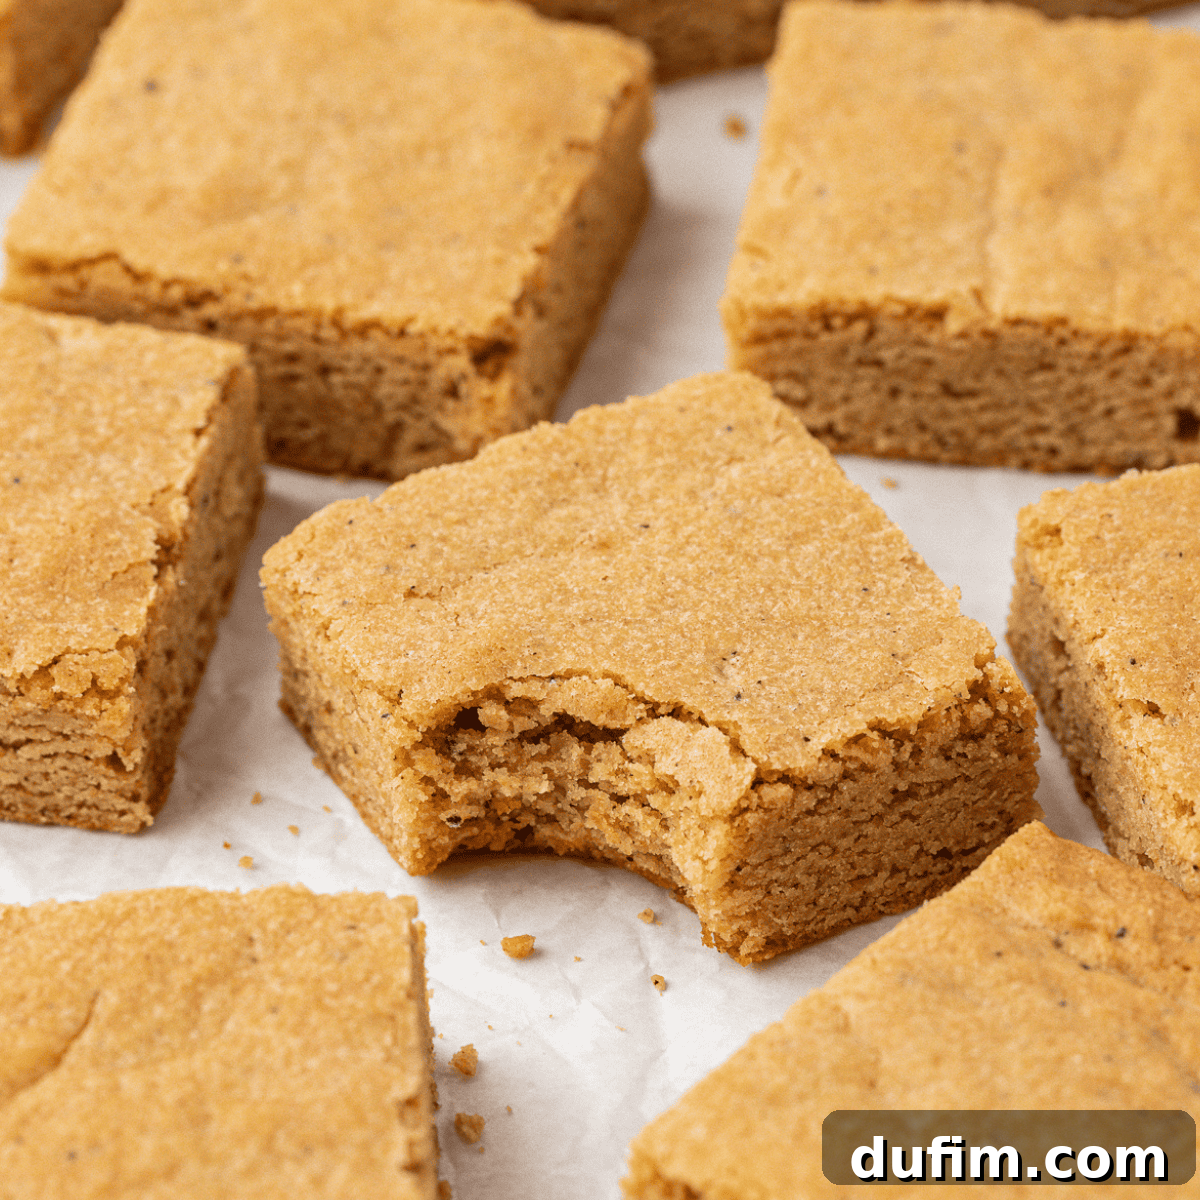
After a full week of dedicated kitchen experimentation, I finally perfected this blondie recipe. My mission was simple: to create a blondie that boasts an irresistibly chewy texture, steering clear of any hint of cakiness, while delivering a depth of flavor that lingers deliciously. Now that I’ve meticulously refined what I believe to be the best blondie recipe, I’ve broken down every step into clear, straightforward instructions. This means even a beginner baker can achieve perfect, golden-brown blondies on their very first attempt.
“This recipe is THE BEST! I’ve never tasted a blondie I truly liked before, always opting for brownies. But this one? It might just have changed my mind forever. This was my first time making blondies, and I honestly won’t try any other recipe—this is the one to follow. Listen to Beth’s tips, and you will undoubtedly succeed. The hardest part is patiently waiting for them to cool, but DON’T skip it, even when the aroma is absolutely divine. You’ll be incredibly glad you waited for them to set; that perfect, chewy texture is absolutely worth every second of anticipation.”
— Alexis
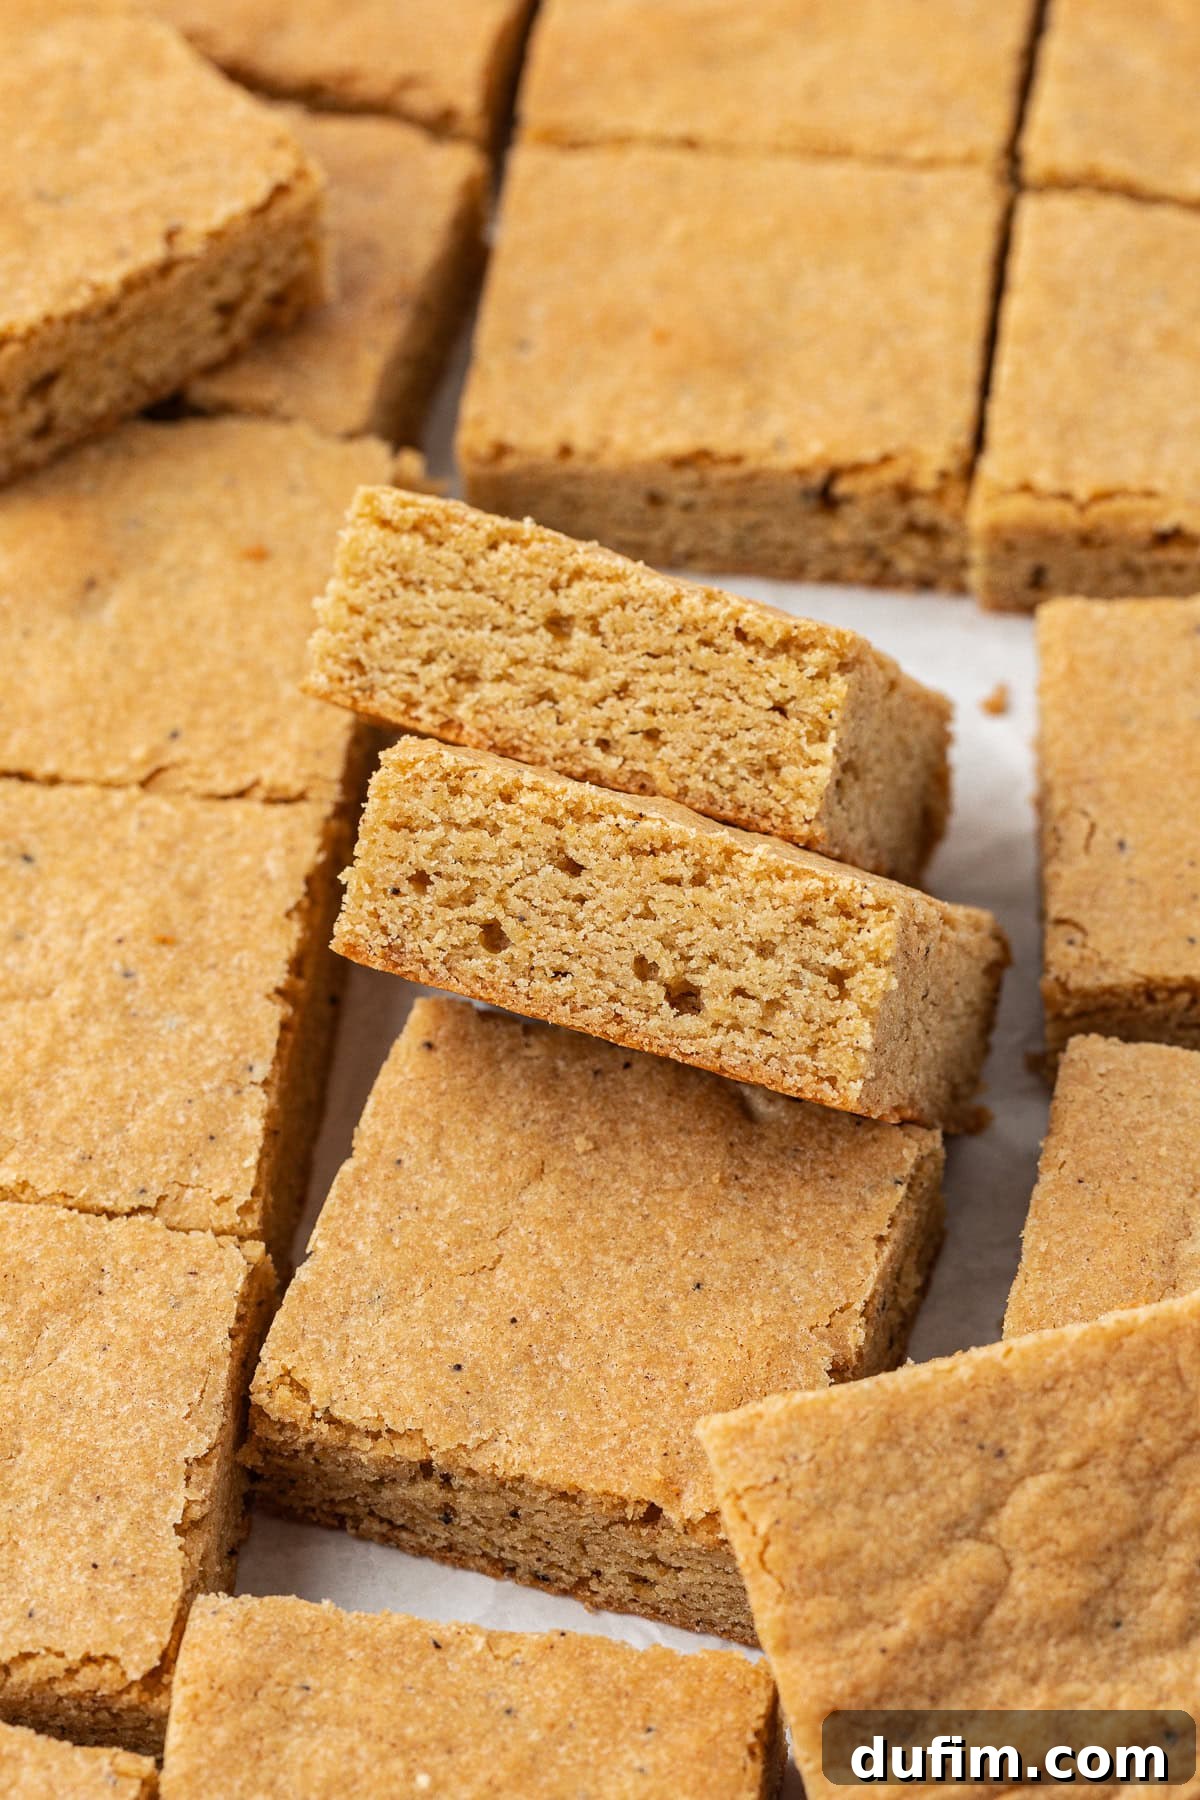
My journey to the perfect blondie started after successfully developing a fantastic recipe for brown butter chocolate chip cookies. It immediately became clear that the rich, nutty notes of brown butter would elevate blondies to an entirely new level. This insight became the foundation for extensive testing. I rigorously adjusted flour ratios, understanding that the balance of ingredients is crucial for texture. Initially, I experimented with baking soda, but quickly found it led to an overly cakey result, moving away from the dense, chewy bar I envisioned. The breakthrough came with swapping to baking powder, which provided just enough lift to create a tender crumb without sacrificing that desirable brownie-like chewiness.
But the experimentation didn’t stop there. I also put melted butter head-to-head with brown butter to truly understand their impact. The verdict was undeniable: brown butter emerged as the clear winner. The process of browning butter transforms its flavor, infusing it with deep, complex notes of caramel and toffee. This rich, nutty essence not only enhances the overall taste and aroma of the blondies but also plays a vital role in perfecting their texture, yielding wonderfully crispy edges and an incredibly moist, chewy center.
Taking my recipe testing seriously, I also delved into the debate of baking pans. I conducted side-by-side comparisons between glass and metal pans. My preference settled firmly on the metal pan. It consistently produced blondies with a superior chew and more uniform baking throughout. The glass pan, in contrast, tended to overcook the edges while leaving the center somewhat fudgy and underbaked, failing to achieve the consistent texture I was aiming for across the entire batch.
This was undoubtedly a rigorous process of blondie development, but every minute spent was absolutely worth it! The result is a truly exceptional blondie that I’m thrilled to share. Keep reading for all my tried-and-true tips for blondie success, detailed instructions on how to store and freeze them for future enjoyment, and much more!
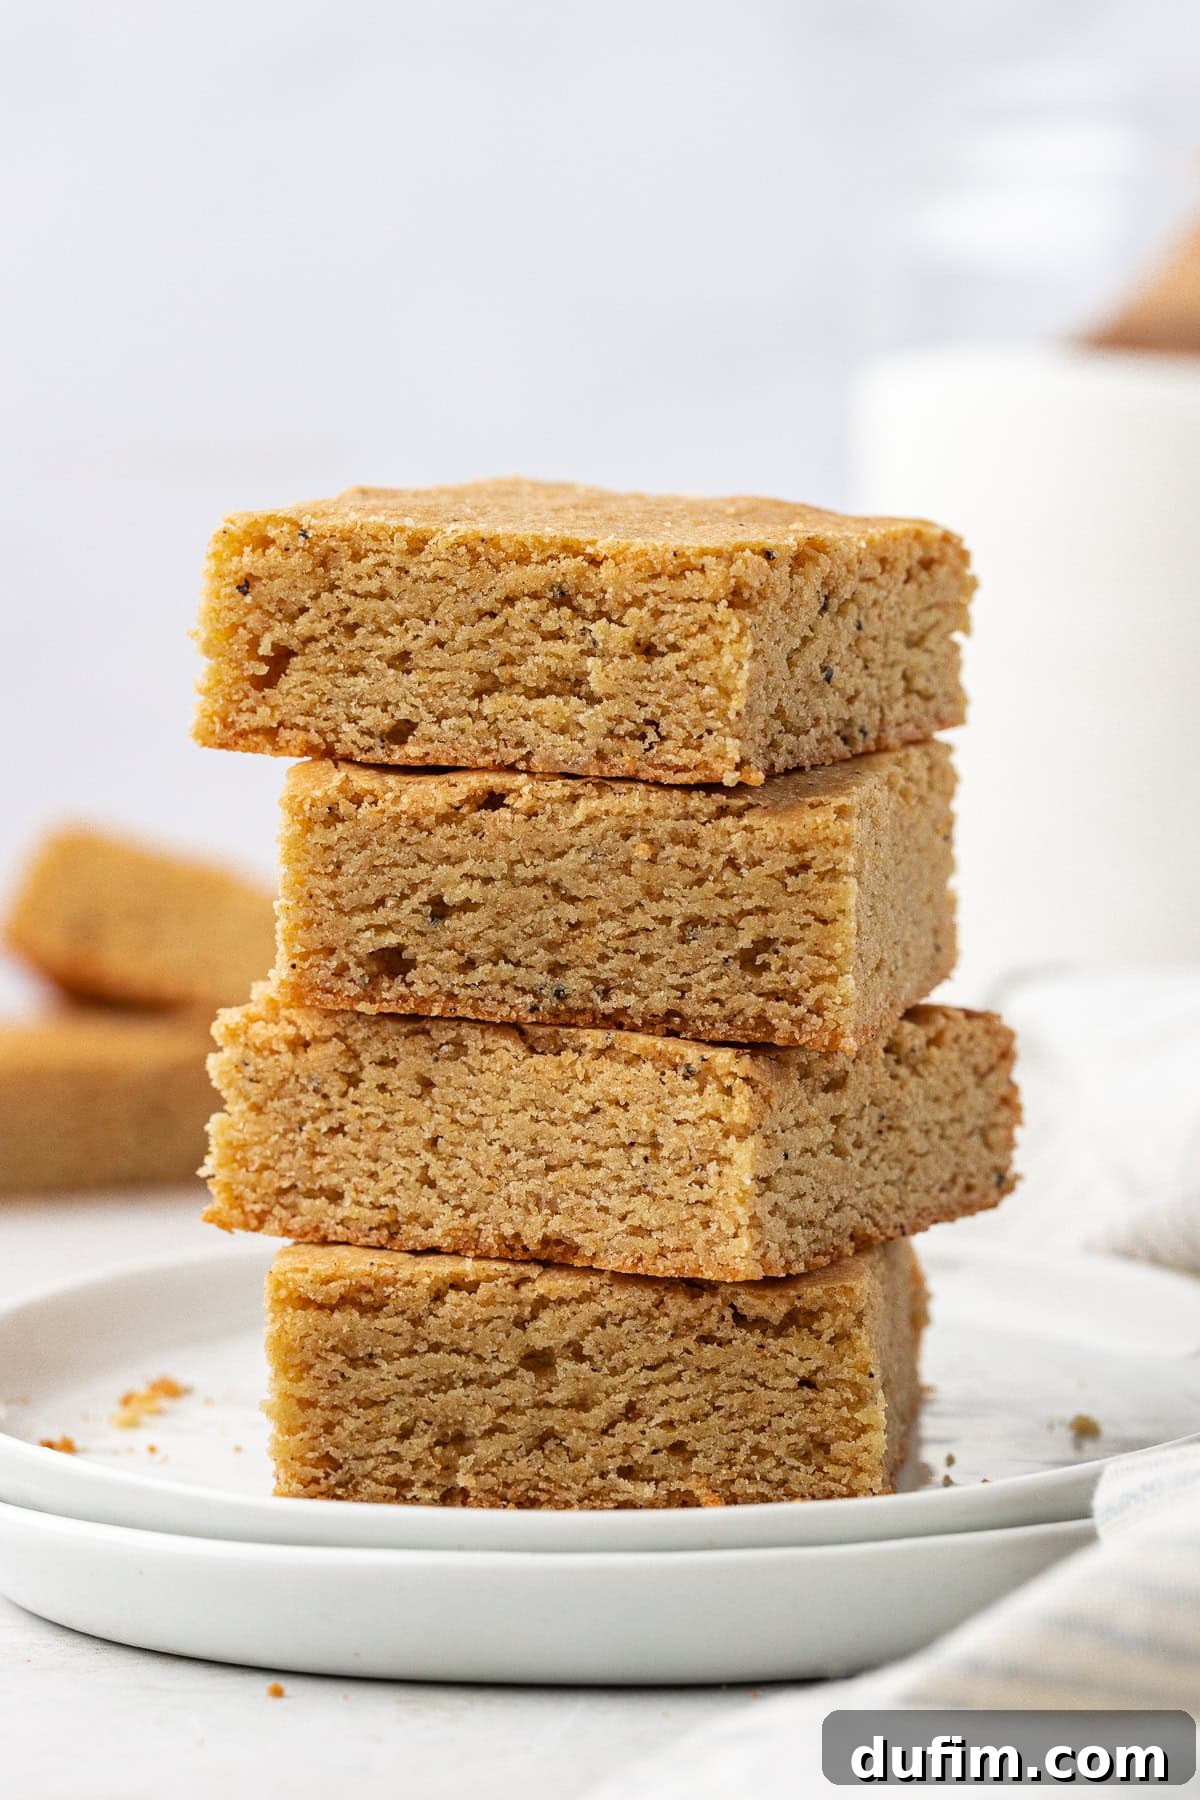
What Exactly is a Blondie? A Sweet Exploration
A blondie, often affectionately referred to as a “blonde brownie,” is a delightful dessert bar that shares a similar structure to its chocolate counterpart but diverges significantly in flavor profile. Instead of the deep, rich notes of cocoa, blondies celebrate the warm, buttery, and vanilla-infused goodness of brown sugar. They typically feature a base of butter, brown sugar, eggs, and flour, often enriched with a touch of vanilla. While traditional blondies shine on their own, they are incredibly versatile and frequently include delightful mix-ins such as chocolate chips, white chocolate chunks, or various nuts, adding layers of texture and flavor. The distinguishing characteristic of a truly great blondie is its signature chewy texture and a rich, caramel-like flavor derived primarily from brown sugar.
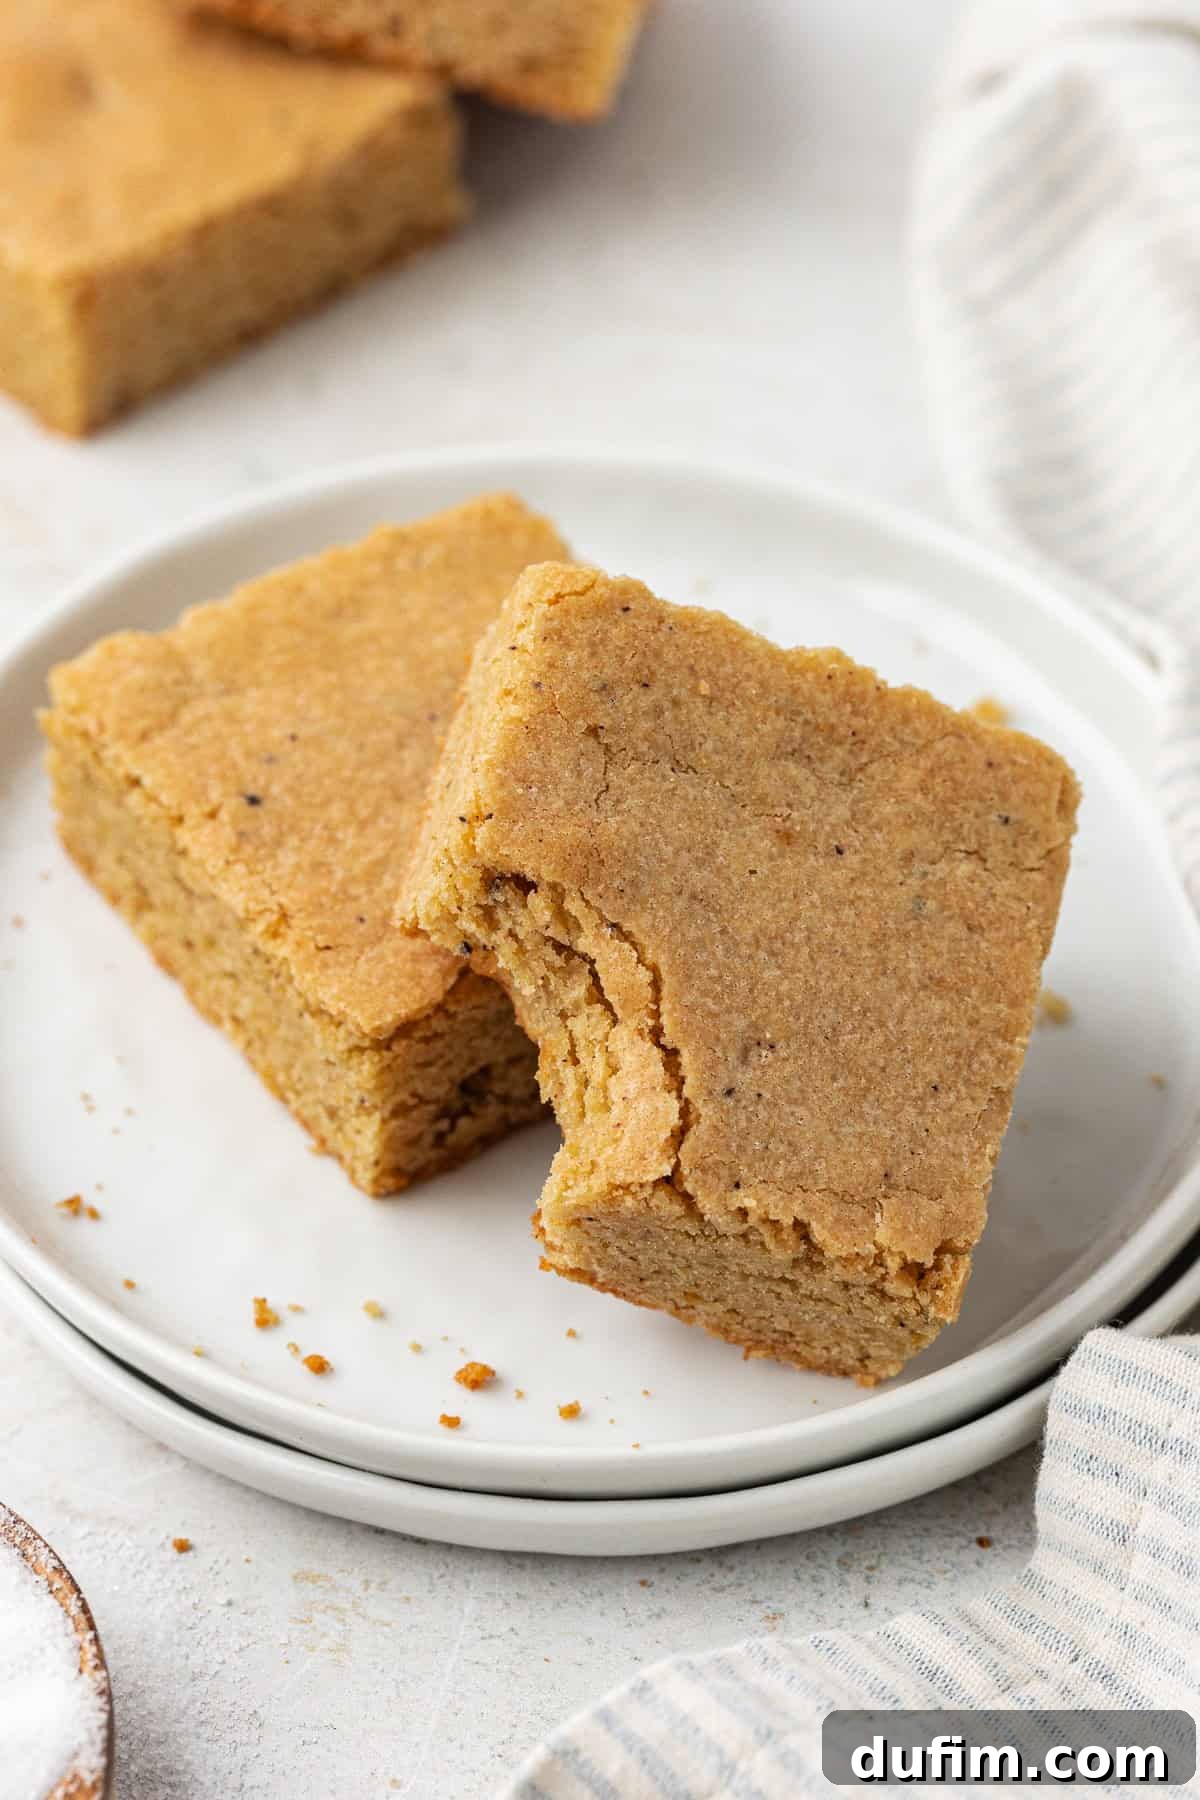
Blondies vs. Brownies: Decoding the Differences
While often grouped together as dessert bars, blondies and brownies are more than just different colored siblings. They each possess unique characteristics that cater to different taste preferences. Understanding these key distinctions can help you appreciate what makes each treat special:
- Flavor Profile: Blondies boast a rich, buttery, and deeply caramel-like flavor, often with hints of vanilla and toffee. This flavor comes primarily from brown sugar and sometimes from browned butter. Brownies, on the other hand, are defined by their intense chocolate flavor, derived from cocoa powder, melted chocolate, or a combination of both.
- Visual Appeal (Color): The most apparent difference is their hue. Blondies present a beautiful light golden-brown color, reminiscent of caramel. Brownies are distinctly dark brown, a clear indicator of their chocolate content.
- Core Ingredients: The fundamental ingredients set them apart. Blondies traditionally rely on brown sugar for their distinct flavor and chewy texture, along with vanilla extract as a primary flavor enhancer. Brownies, by contrast, feature cocoa powder or melted chocolate as their star ingredient, providing that unmistakable chocolate richness.
- Textural Characteristics: Blondies are celebrated for their consistently chewy, dense, and often slightly gooey texture. Their consistency is typically uniform throughout. Brownies offer a wider spectrum of textures, ranging from very cakey and light to intensely fudgy and dense, depending heavily on the specific recipe and baker’s preference.
- Sweetness Balance: Blondies often taste sweeter than brownies because they typically combine both brown sugar and granulated sugar, without the balancing bitterness of cocoa. Brownies, while sweet, have their sweetness tempered by the inherent bitterness of the cocoa powder or dark chocolate, creating a more balanced, complex sweetness.
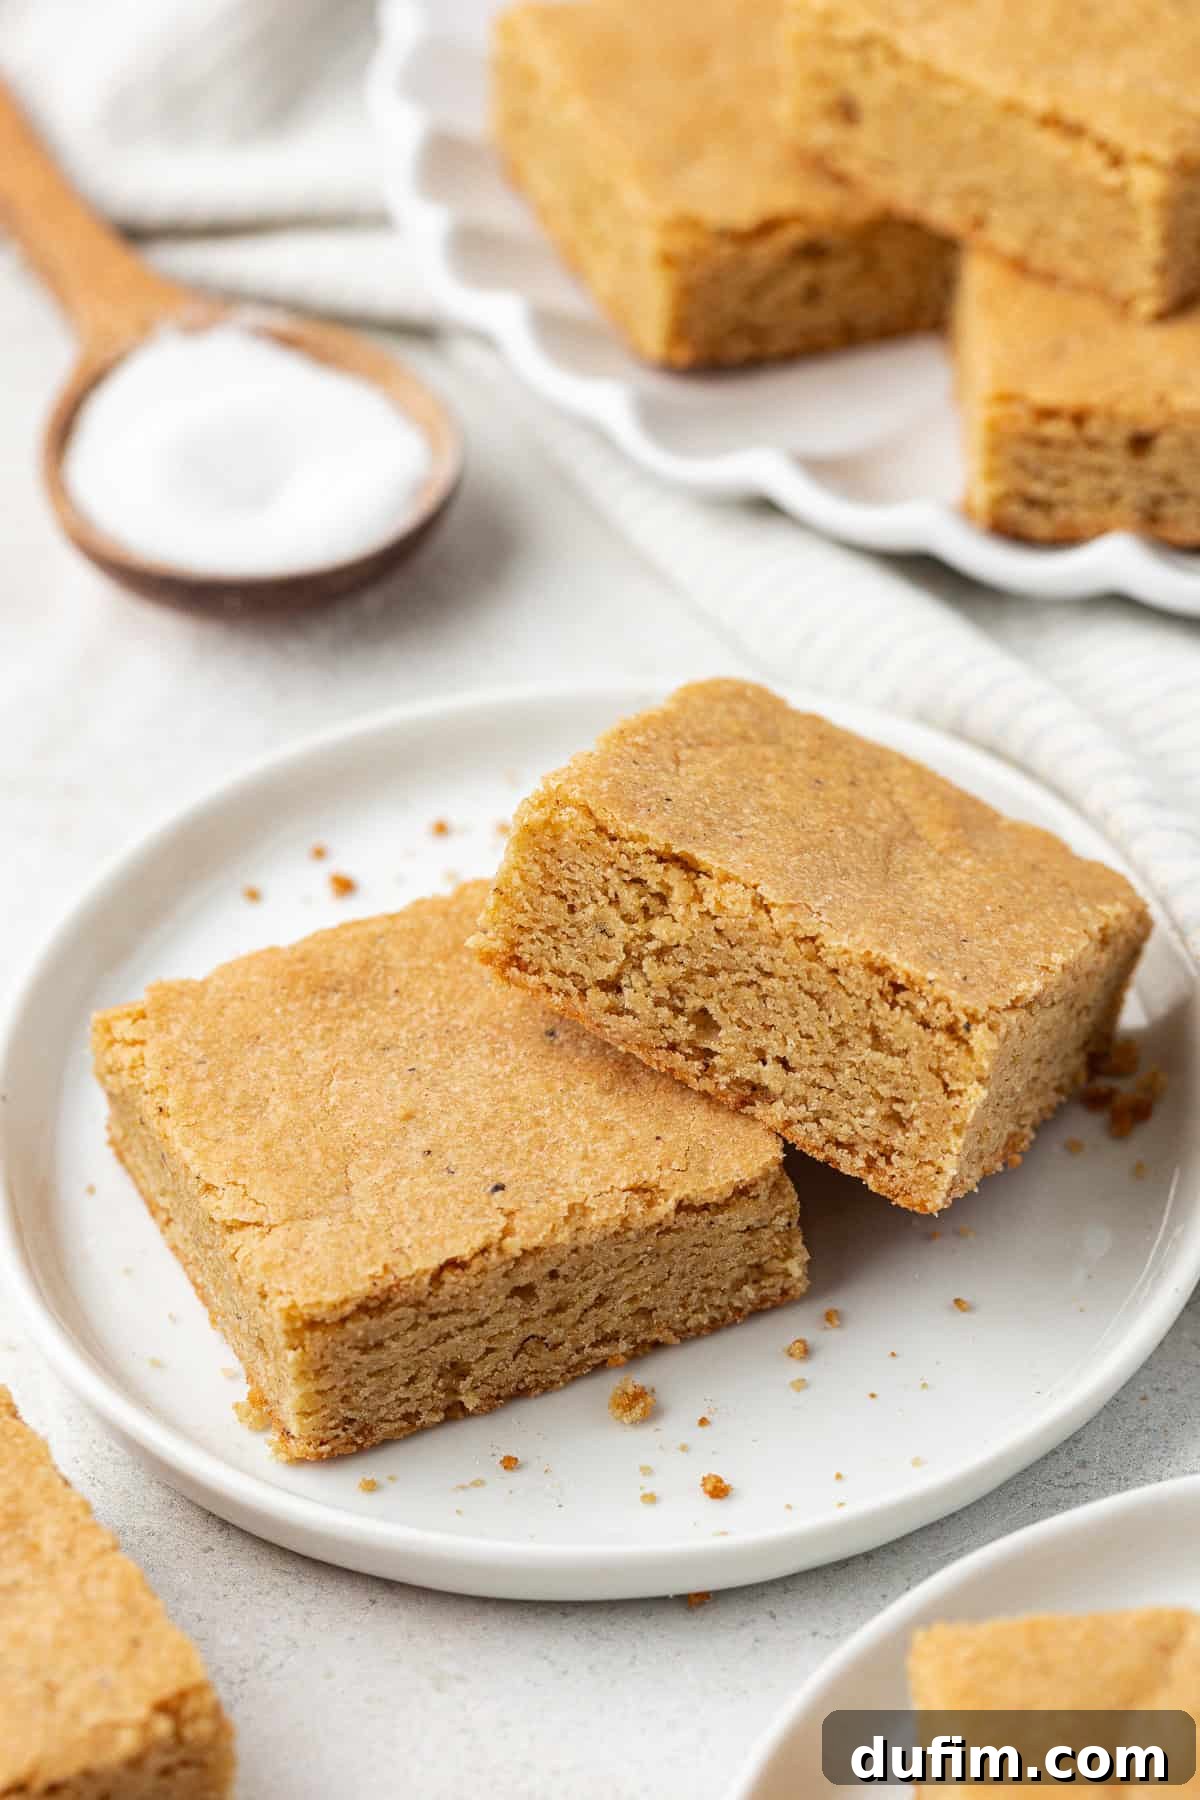
Why This Blondie Recipe Will Become Your Go-To
You’re about to discover a blondie recipe that stands above the rest. Here are just a few compelling reasons why you’ll fall in love with these golden bars:
- Unmatched Chewy Texture: Say goodbye to dry, cakey blondies. This recipe guarantees a perfectly chewy, dense interior that truly satisfies.
- Rich Flavor Profile: Experience delightful notes of caramel and toffee, intensified by the magic of brown butter, creating a sophisticated and comforting taste.
- Effortless Preparation: With just 10 minutes of active prep time, you can have these delicious blondies ready for the oven, making them ideal for spontaneous baking.
- Simple, Accessible Ingredients: Crafted from staple pantry items, you likely already have most of what you need on hand, simplifying your baking day.
- Foolproof Instructions: Designed with both novice and experienced bakers in mind, the step-by-step guide ensures a successful bake every time.
- Versatile for Any Occasion: Whether it’s a casual family gathering, a festive celebration, or simply a treat for yourself, these blondies are always a hit.
- Perfect Pairing: These blondies are heavenly on their own, but they reach peak dessert status when served warm with a scoop of homemade vanilla ice cream.
- Irresistible Aroma: The scent of these blondies baking will fill your home with a warm, inviting aroma that promises pure indulgence.
- Crispy, Golden Edges: Enjoy that satisfying contrast of a slightly crispy exterior yielding to a soft, chewy core.
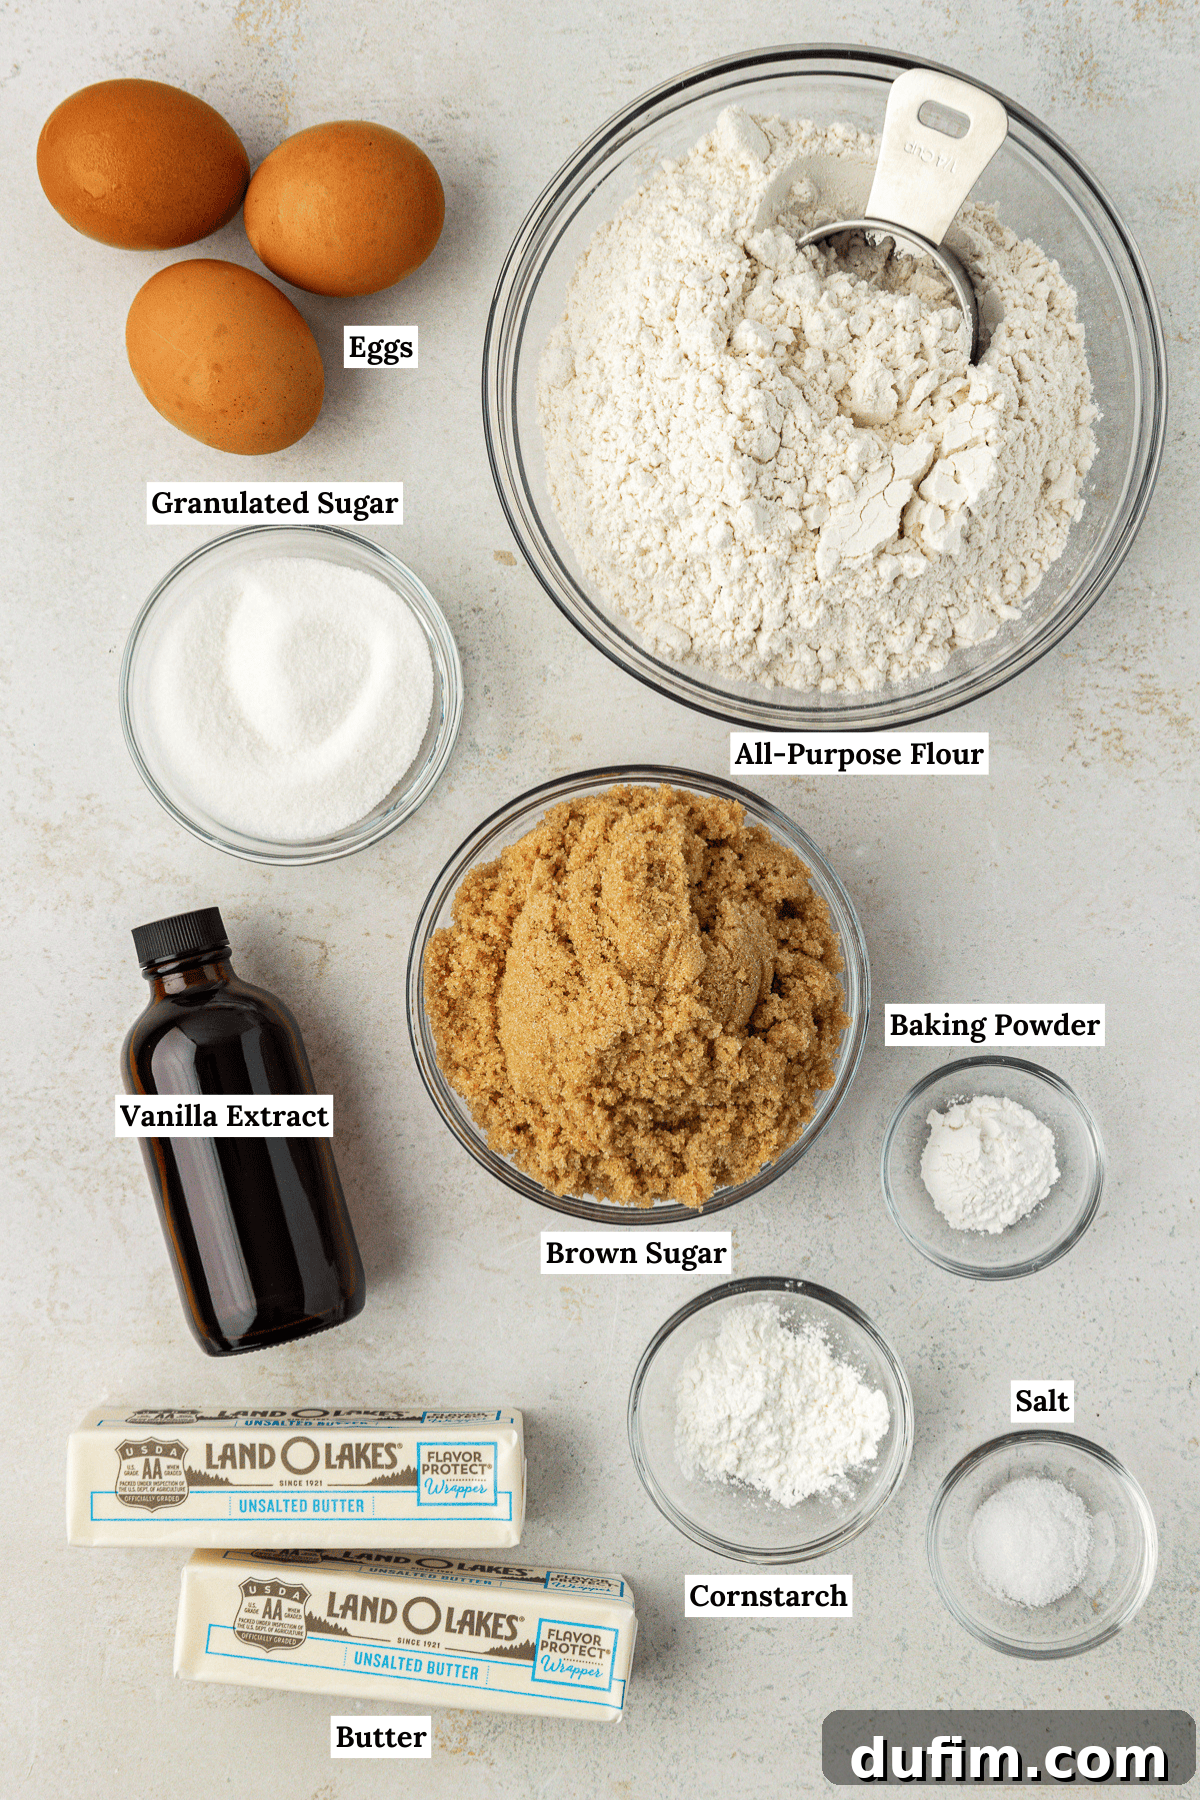
Essential Ingredients for Our Best Blondie Recipe
Crafting truly delicious, gooey blondies starts with a handful of simple, high-quality ingredients. Most of these are likely already staples in your kitchen. This minimalist approach ensures that the rich flavors of brown butter and brown sugar truly shine. Below, you’ll find the list of ingredients required to achieve blondie perfection. For precise measurements and the full recipe, scroll down to the detailed recipe card.
- Unsalted Butter: This is the star ingredient that we will brown to achieve those deep, nutty, caramel notes. Using unsalted butter allows you to control the overall saltiness of the blondies.
- All-Purpose Flour: The structural base of our blondies, providing body without being overly dense.
- Cornstarch: A secret ingredient for achieving that desirable tender crumb and contributing to the ultimate chewy texture.
- Baking Powder: Essential for giving the blondies just enough lift, ensuring they are not too flat but remain wonderfully chewy rather than cakey.
- Salt: A crucial flavor enhancer that balances the sweetness and brings out the complexity of the brown butter and sugars.
- Brown Sugar (packed): The cornerstone of blondie flavor and texture. Packed brown sugar provides a rich, molasses-like sweetness and is key to their signature chewiness.
- Granulated Sugar: Works in conjunction with brown sugar to contribute to both sweetness and a delicate crispness on the edges.
- Eggs (large): Provide structure, moisture, and help bind the ingredients together for a cohesive batter.
- Egg Yolk (large): Adding an extra egg yolk increases the richness and chewiness of the blondies, enhancing their fudgy quality.
- Vanilla Extract: A classic flavor enhancer that complements the brown butter and caramel notes, adding warmth and depth to the overall taste.
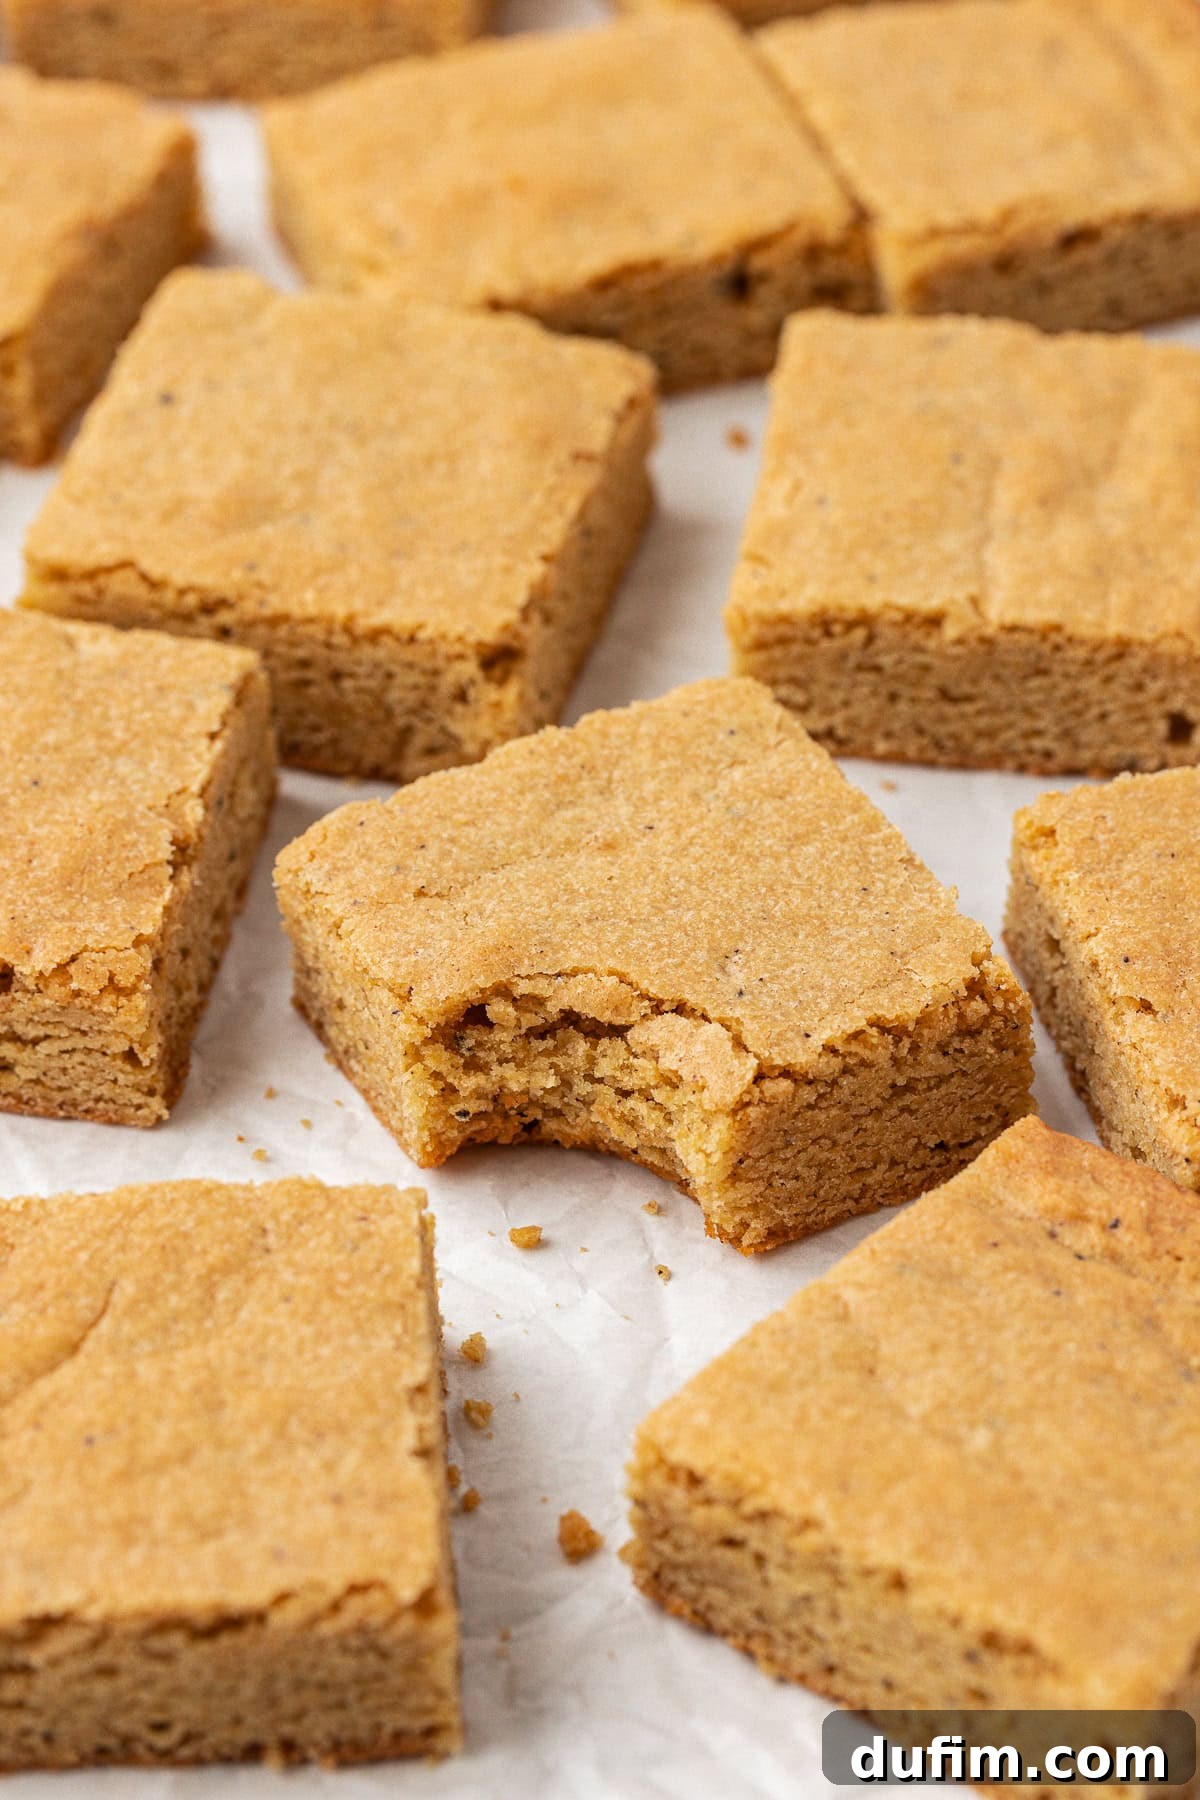
Mastering the Art of Blonde Brownies: A Step-by-Step Guide
This easy blondie recipe is not only foolproof but also incredibly quick to prepare, requiring only about 10 minutes of active time before they hit the oven. Follow these steps meticulously, and you’ll be on your way to blondie perfection.
Step 1: The Magic of Browning Butter
- Initiate the Melt: Begin by melting your unsalted butter in a small, heavy-bottomed saucepan over medium heat. The heavy bottom is key here, as it helps distribute heat evenly and prevents the butter from burning. Stir constantly with a whisk or spatula for approximately 6 to 8 minutes. This continuous stirring is crucial to prevent the milk solids from sticking to the bottom and scorching.
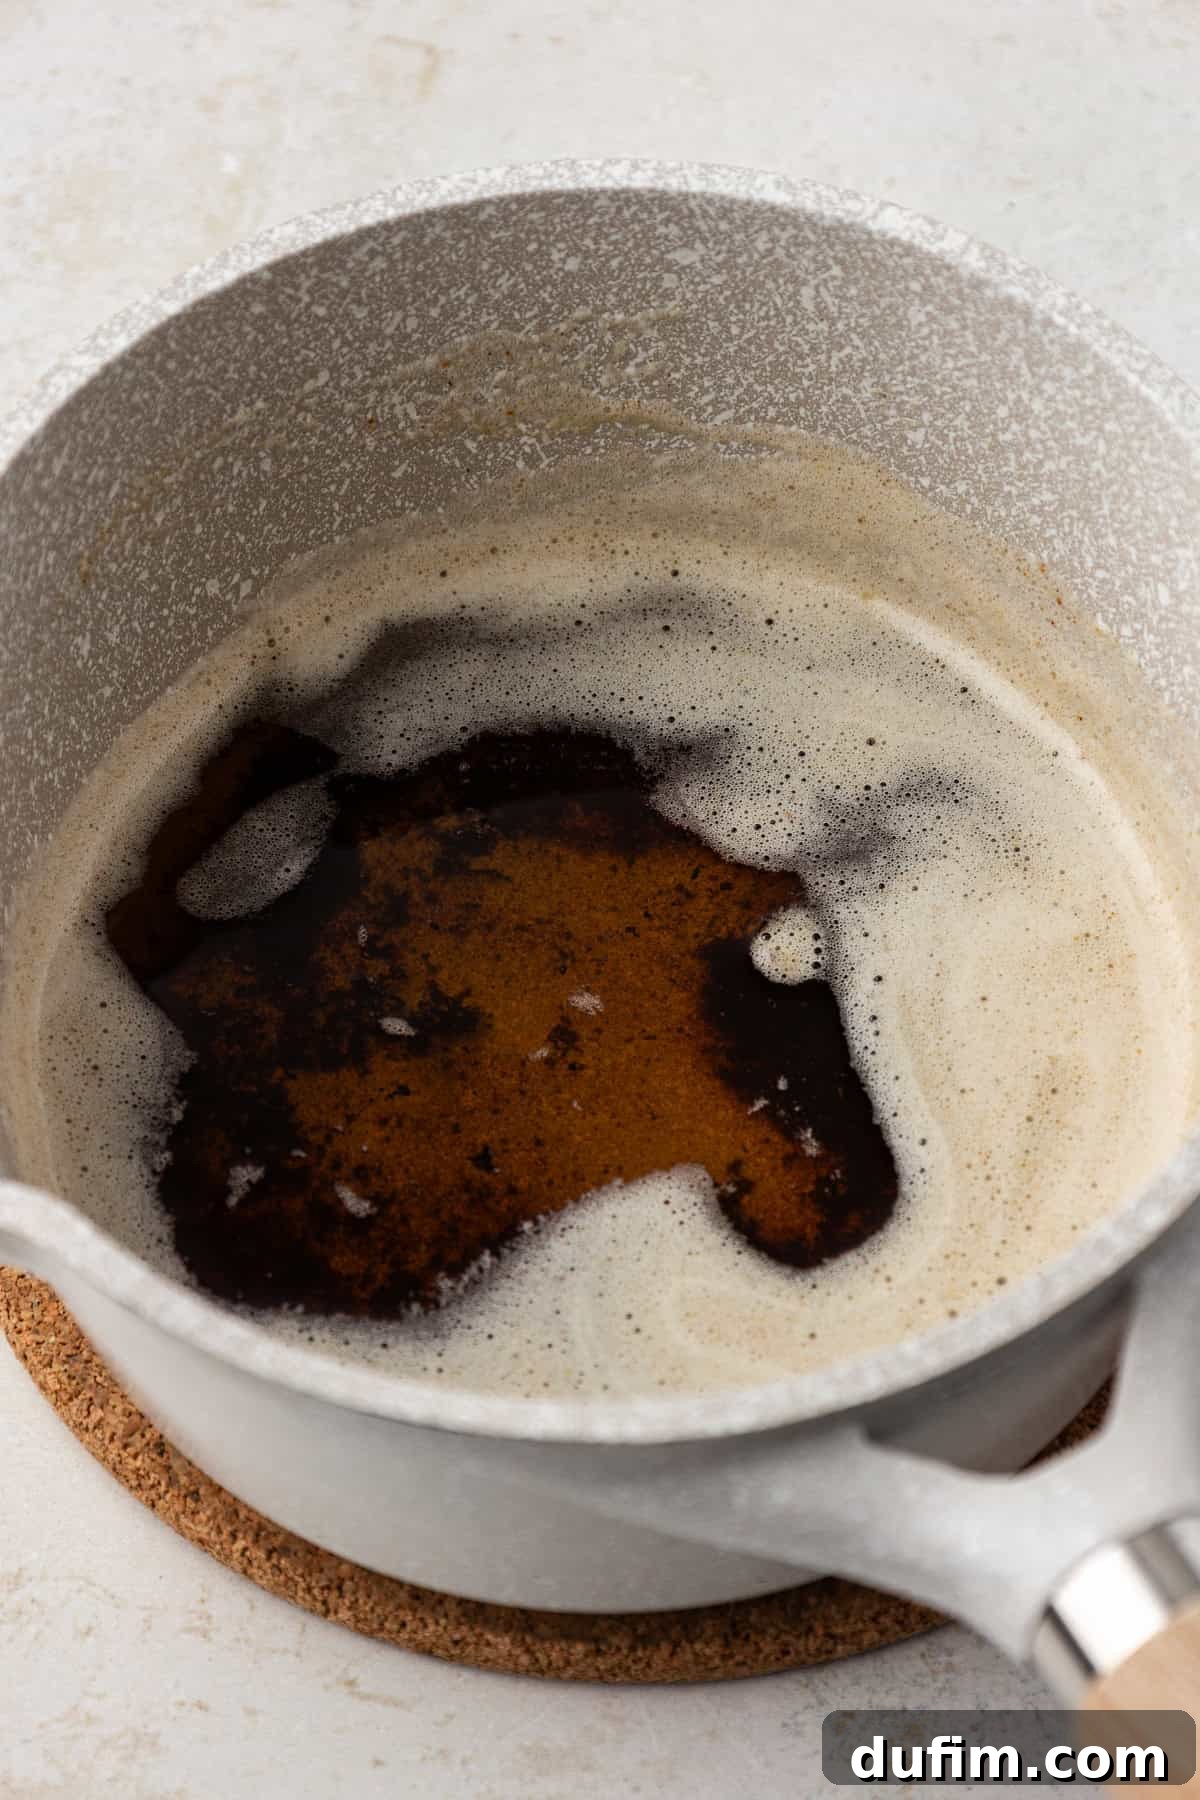
- Observe the Transformation: As the butter melts and heats, it will begin to foam and bubble. These bubbles are a clear signal that the browning process is underway. Continue stirring, watching closely as the butter slowly transitions from yellow to a beautiful golden brown. If the bubbling becomes too vigorous, briefly remove the pan from the heat to accurately assess the color without burning. You’ll start to notice a wonderfully rich, nutty aroma, often likened to toasted graham crackers or hazelnuts.
- Promptly Remove and Transfer: The moment you spot delicate golden-brown specks forming at the bottom of the pan, remove it from the heat immediately. This step is critical because butter continues to cook even off the heat. Pour the browned butter into a heatproof bowl without delay. This swift transfer halts the cooking process, preserving the perfect nutty flavor and preventing it from turning bitter.
Step 2: Crafting Your Blondies
- Prepare Your Oven and Pan: Preheat your oven to 350ºF (175ºC). Line a 9×13 inch metal baking pan with aluminum foil or parchment paper, leaving an overhang on the sides. This thoughtful step will make lifting the cooled blondies out of the pan effortless, ensuring clean cuts.
- Combine Dry Ingredients: In a medium mixing bowl, whisk together the all-purpose flour, cornstarch, baking powder, and salt. Whisking ensures these ingredients are evenly distributed, which is essential for uniform texture in your blondies. Set this bowl aside.
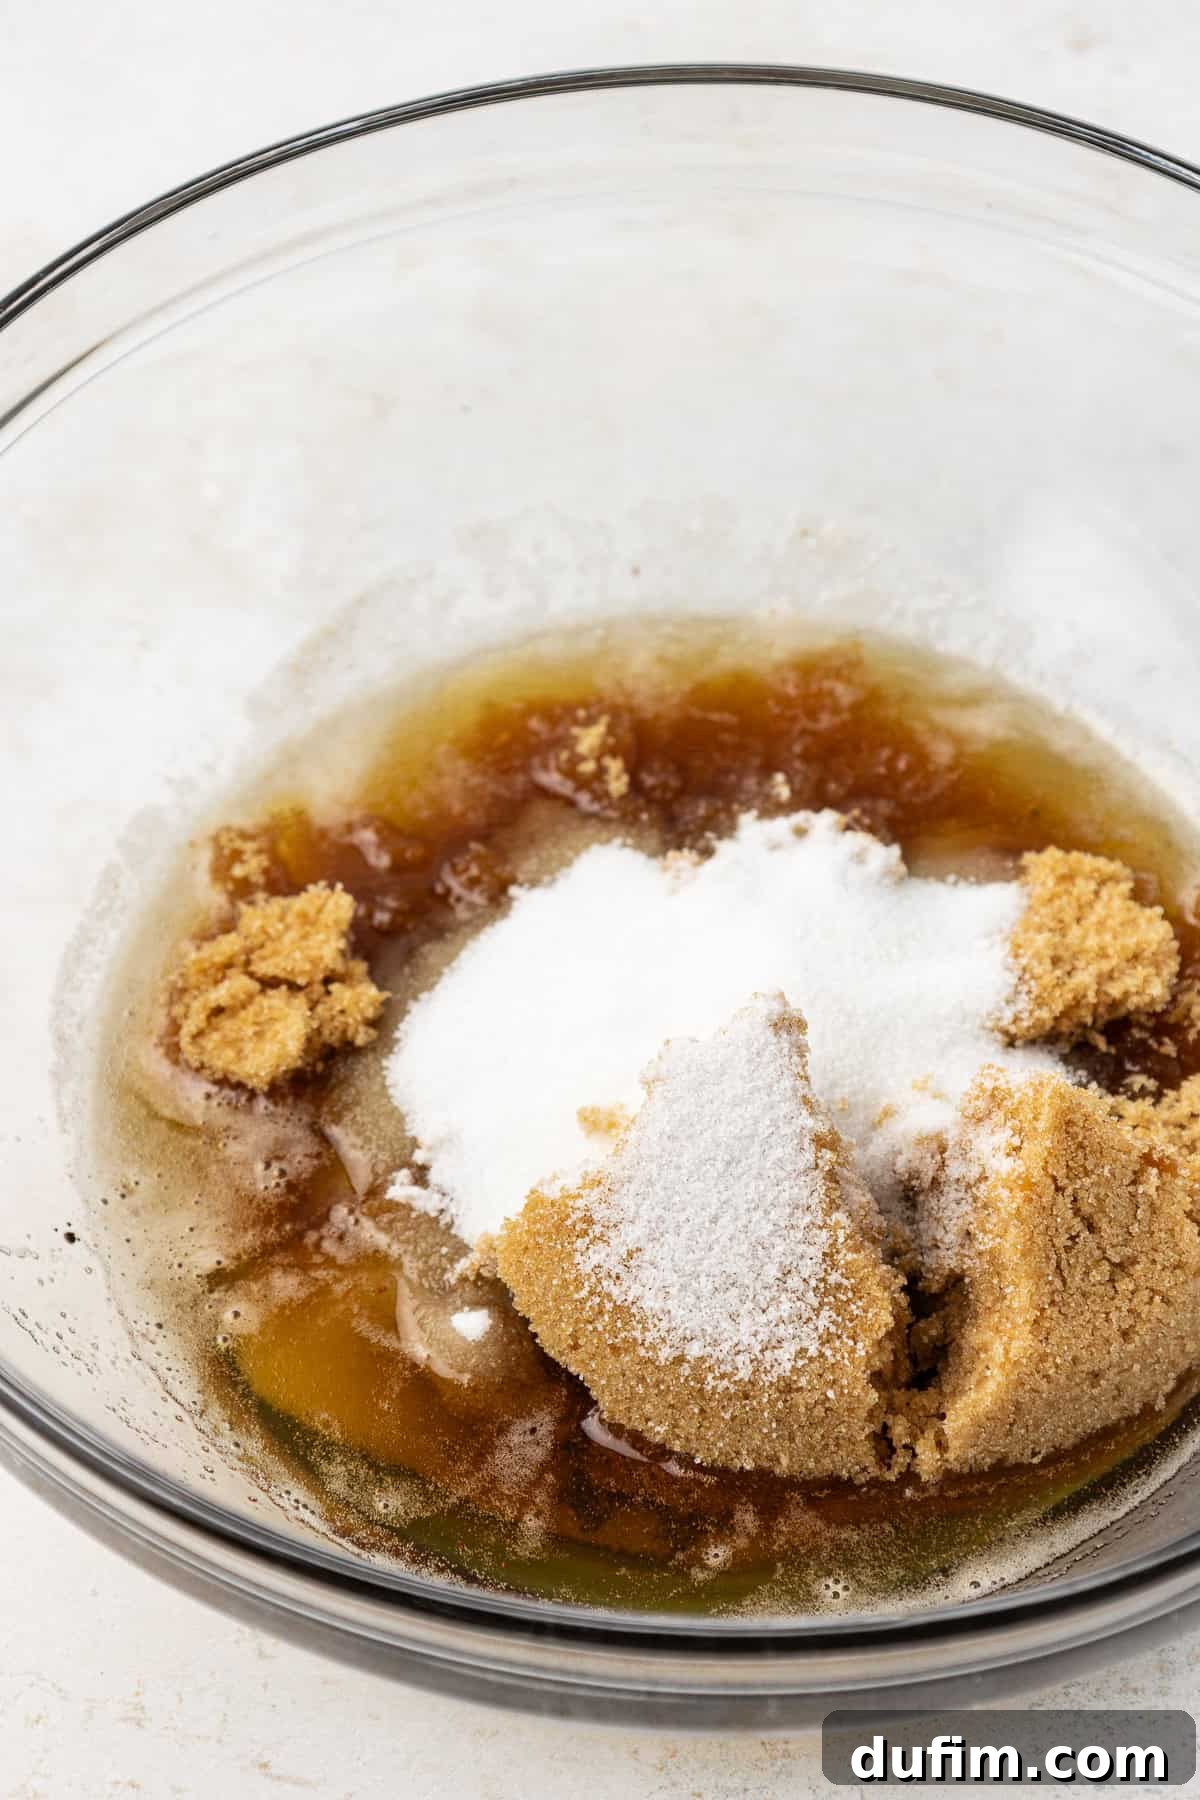
- Cream Butter and Sugars: In a larger mixing bowl, combine the slightly cooled browned butter (it should still be liquid but not hot), packed brown sugar, and granulated sugar. Using an electric mixer, beat these ingredients together on medium speed for a full 60 seconds. This creaming process incorporates air, making the blondies lighter and more tender, while fully dissolving the sugars.
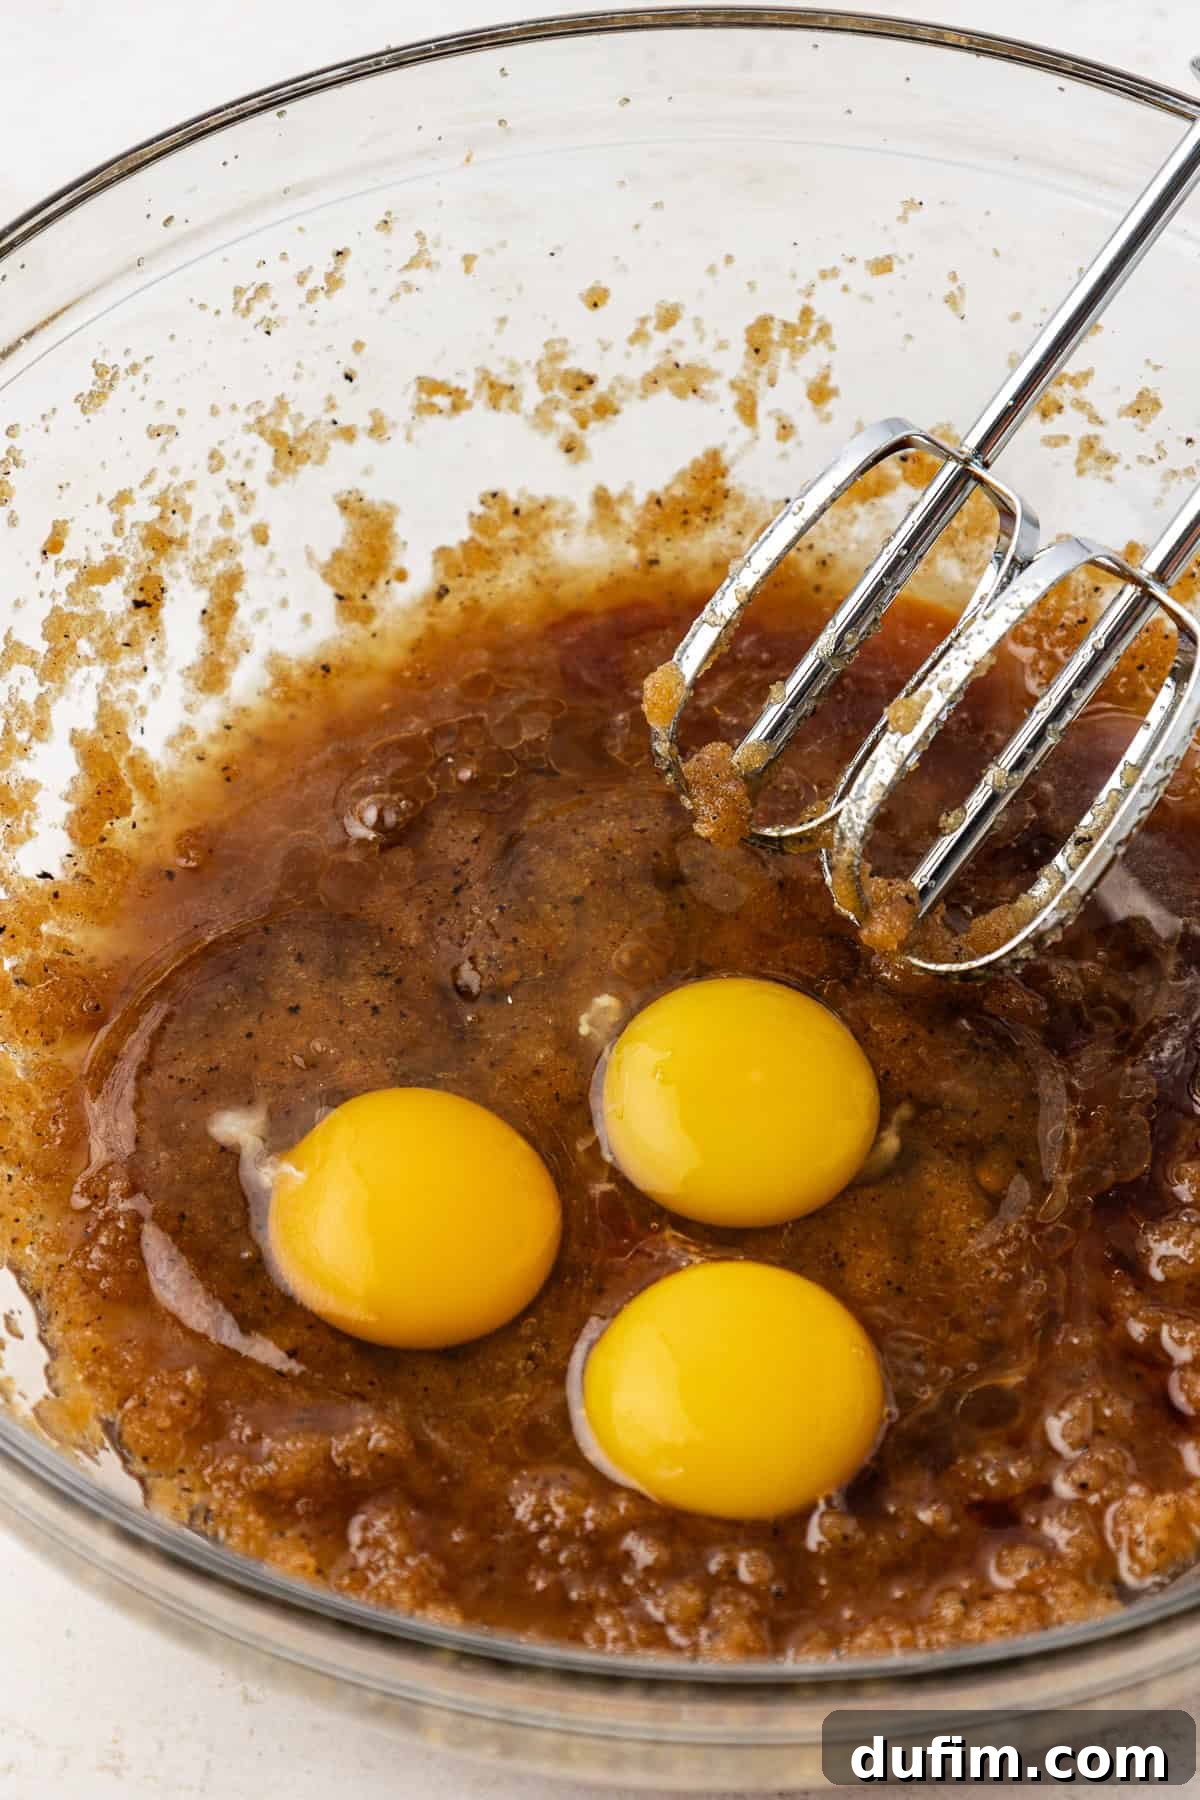
- Integrate Wet Ingredients: Add the large eggs, the extra egg yolk, and the vanilla extract to the butter-sugar mixture. Beat on medium speed for another 30 seconds. Scrape down the sides of the bowl to ensure everything is thoroughly combined, resulting in a smooth, glossy mixture.
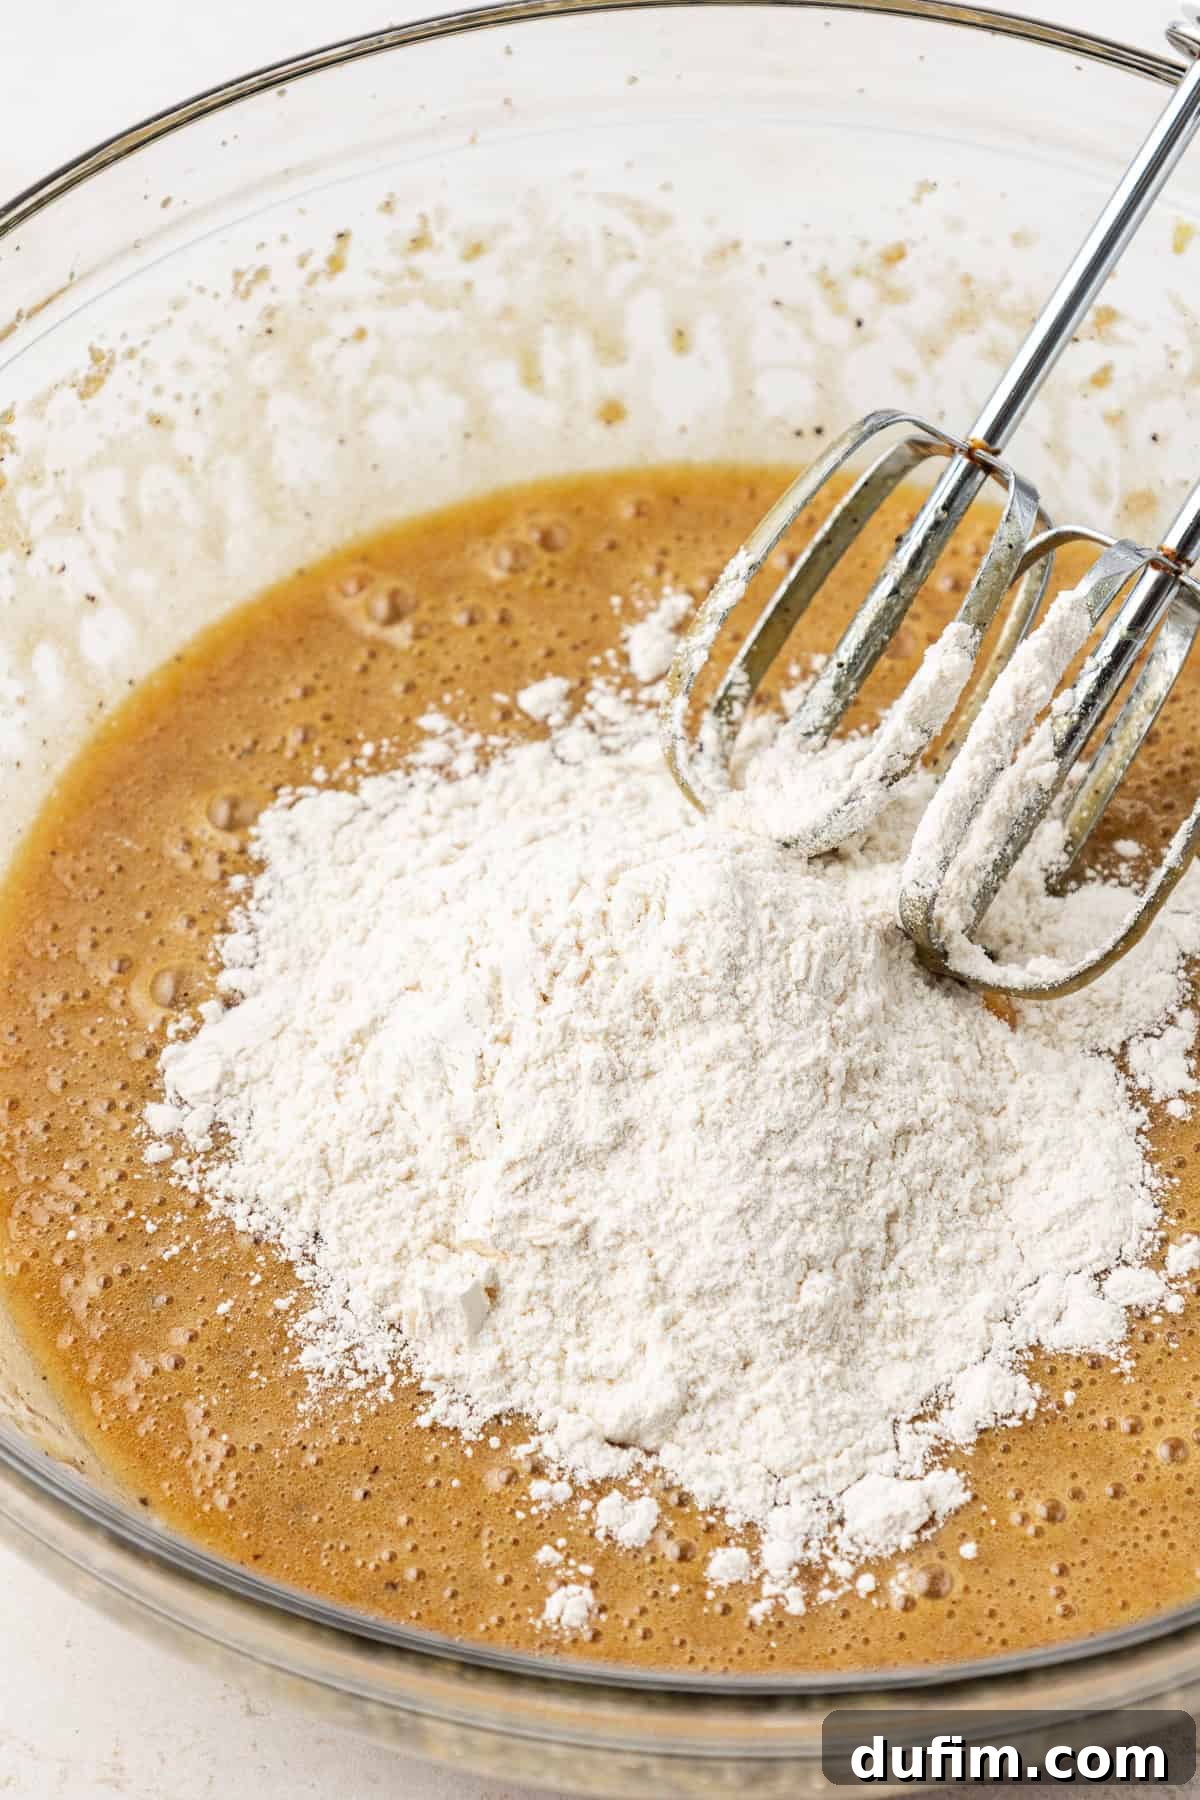
- Fold in Dry Ingredients: Gradually add the reserved dry ingredients to the wet mixture. Mix on low speed until just combined. Be careful not to overmix; overmixing can develop the gluten in the flour, leading to tough blondies. The dough will appear quite thick, which is exactly what you want for that signature chewy texture.
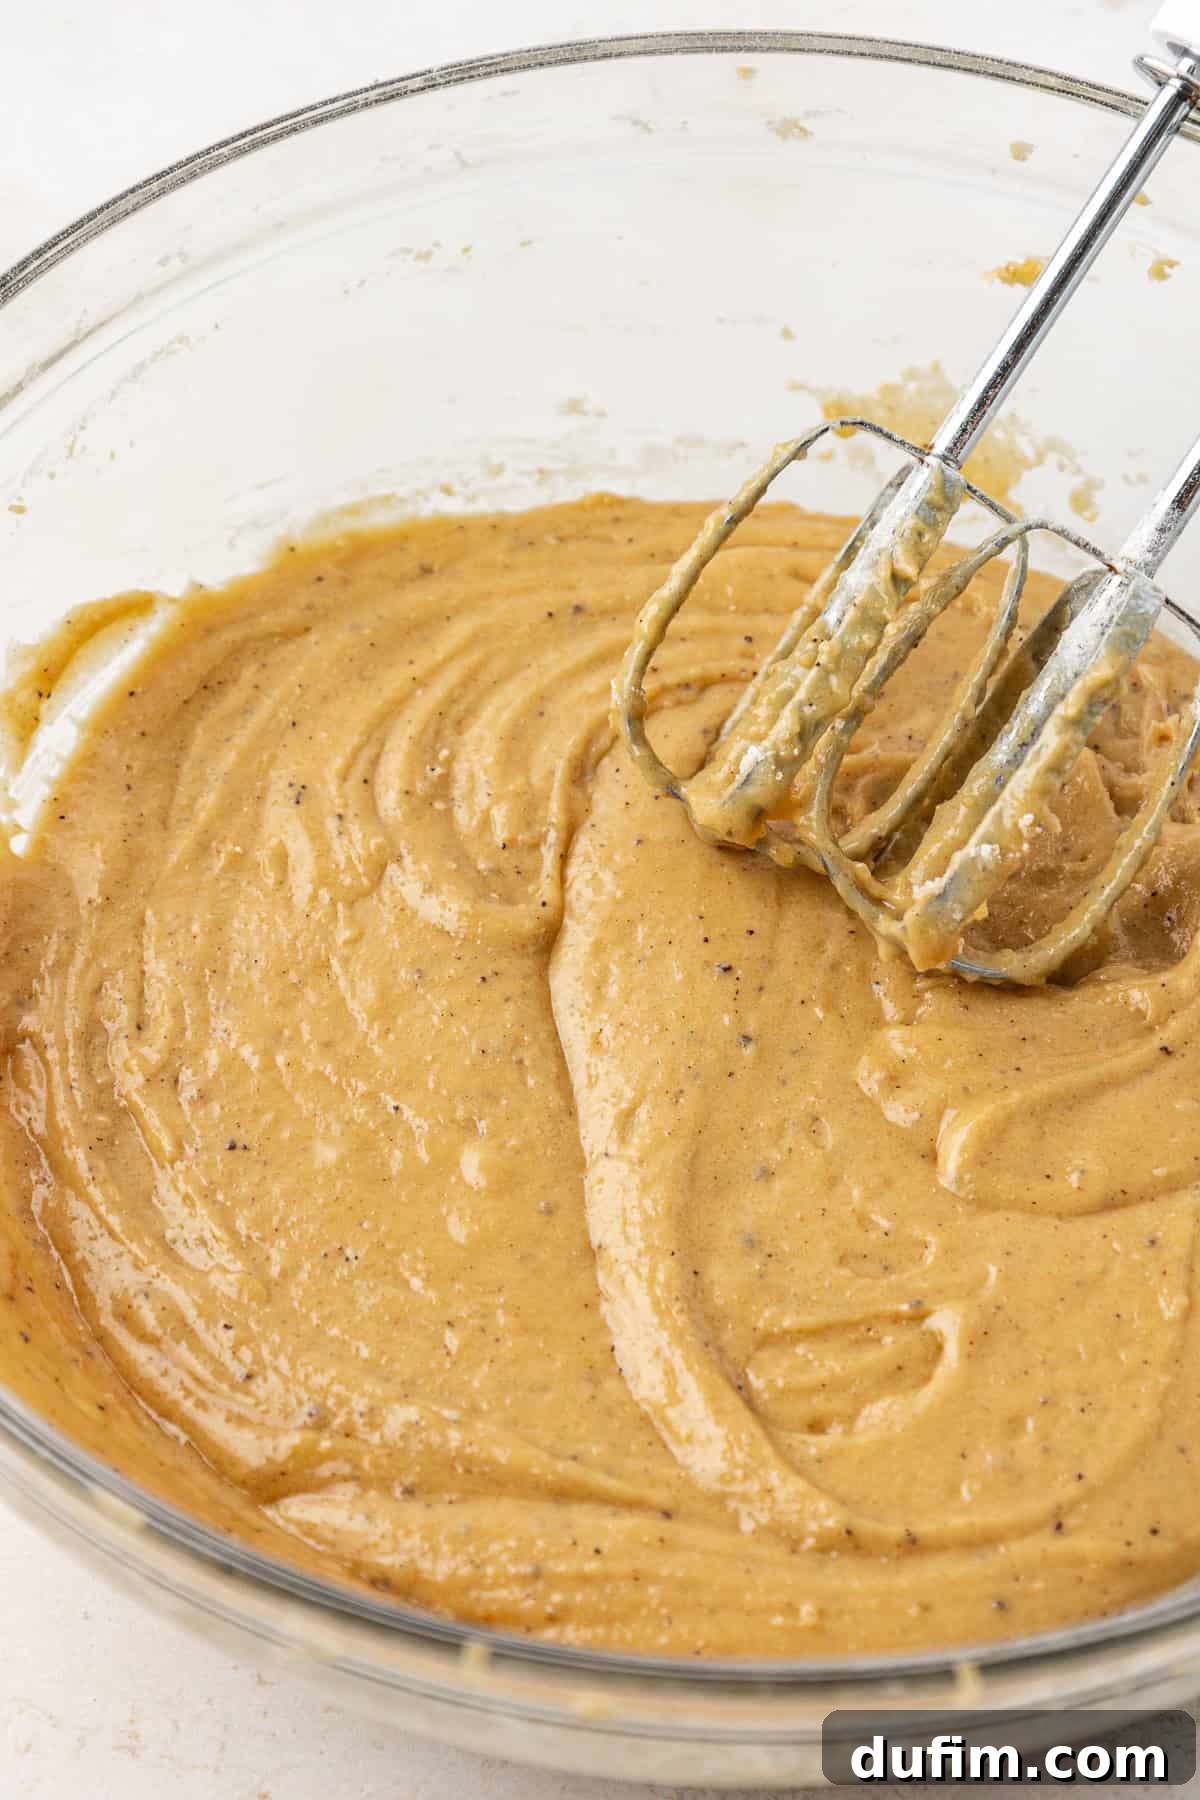
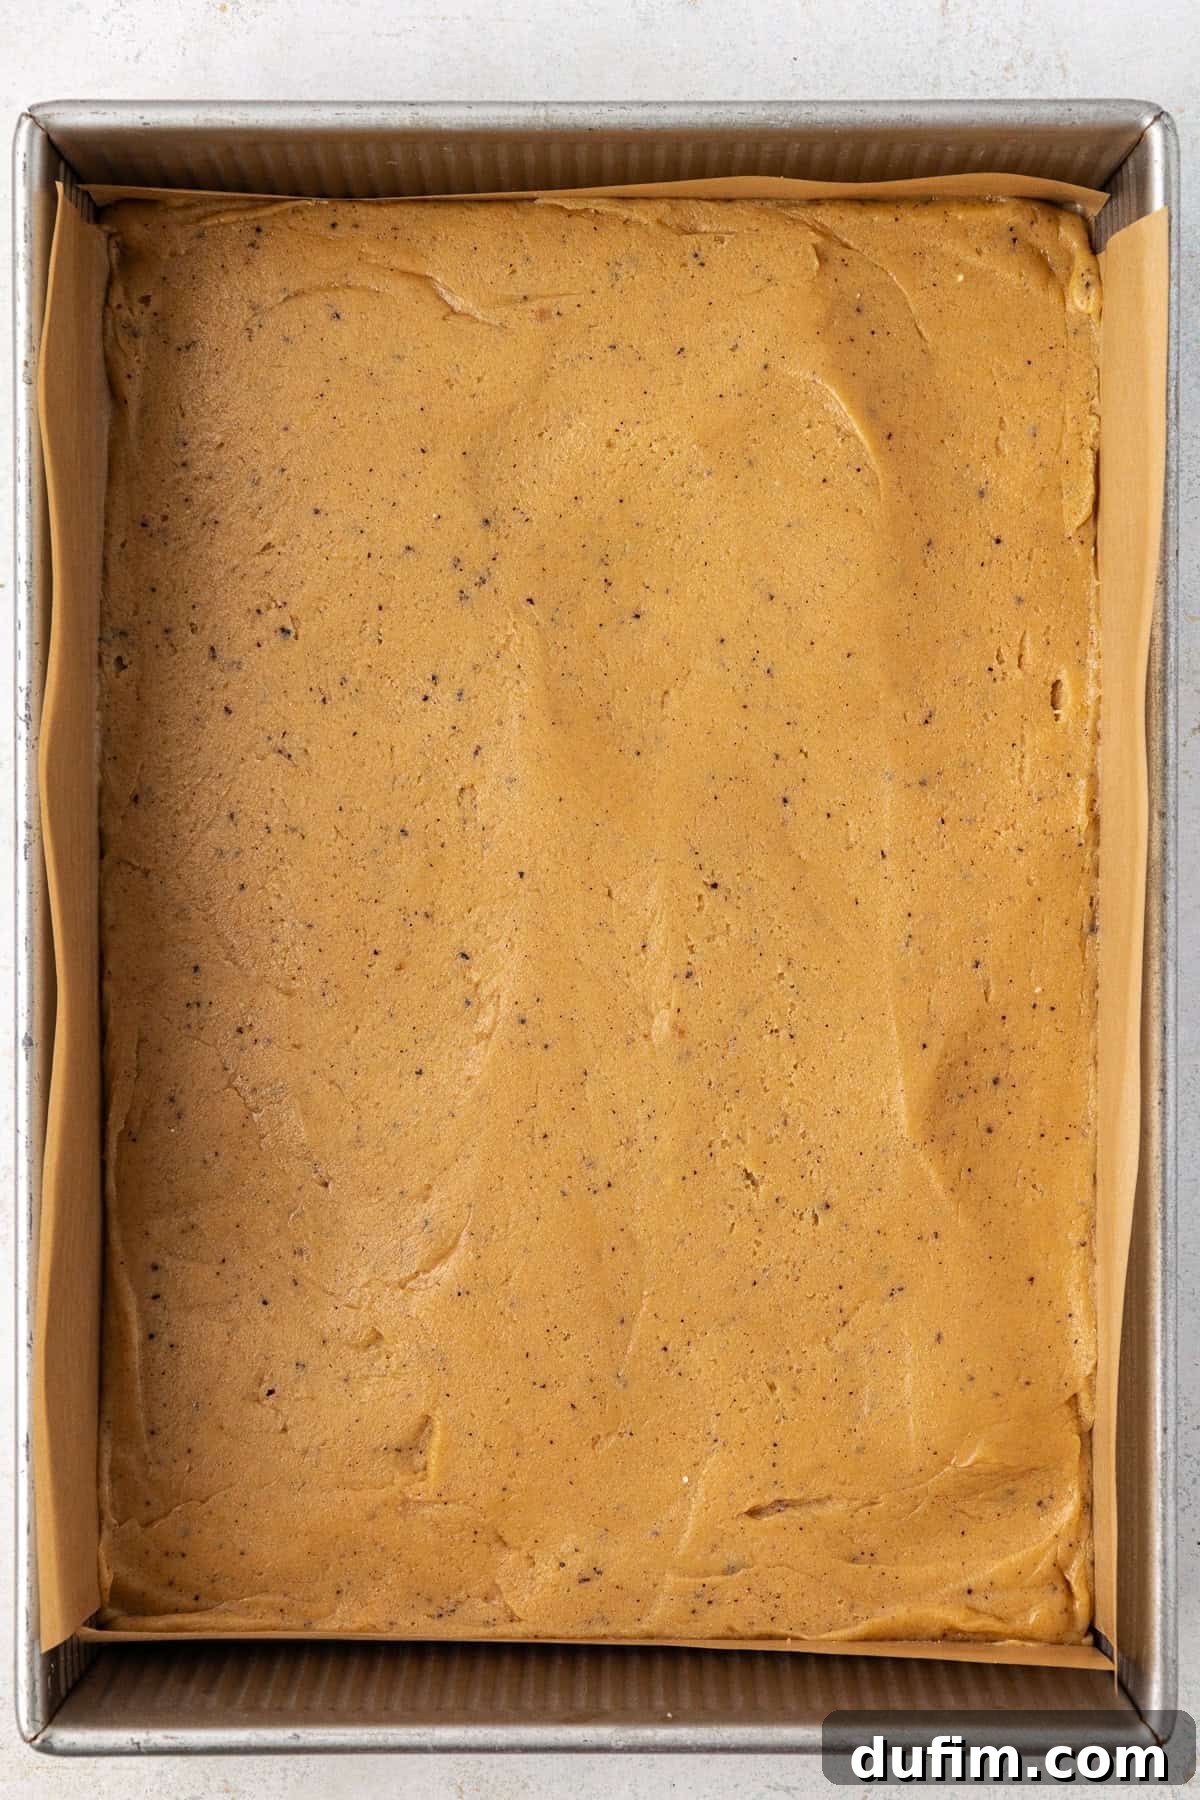
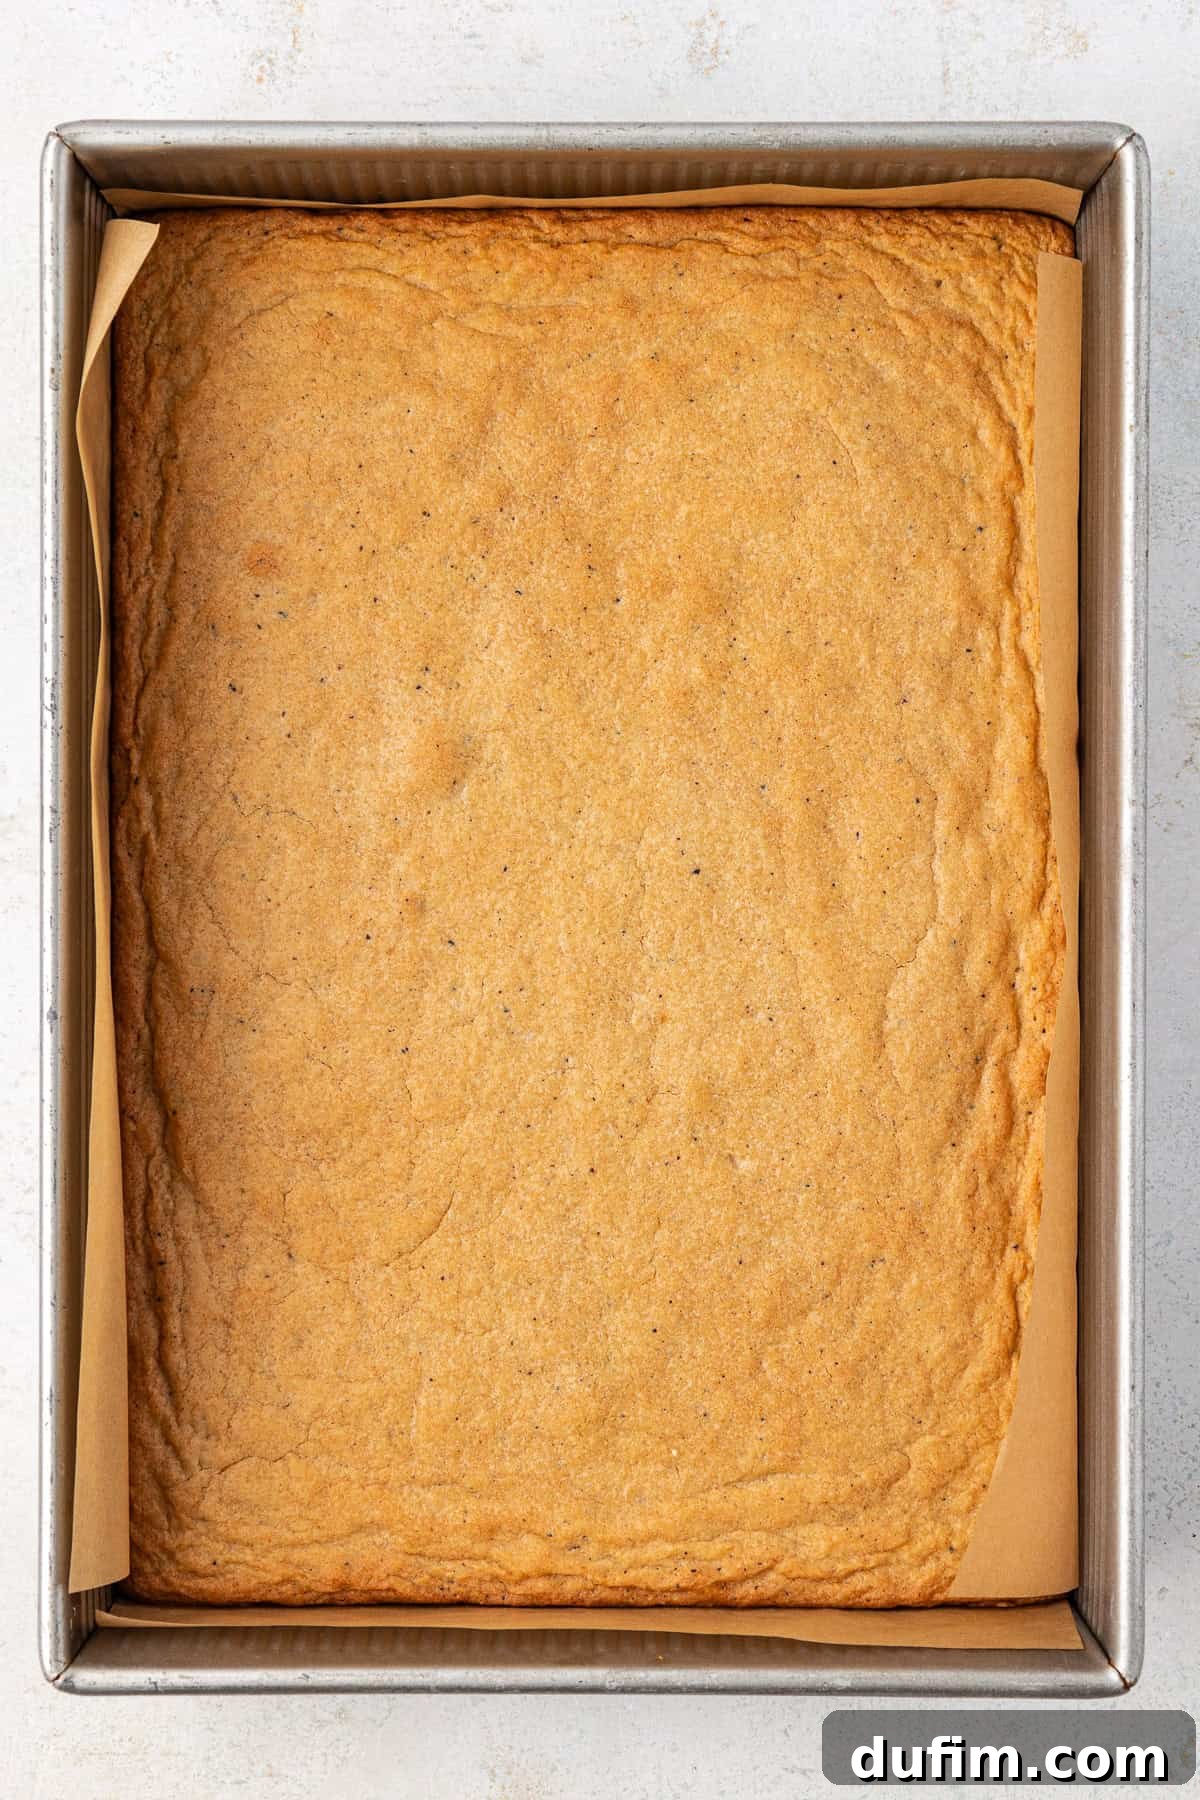
- Bake to Golden Perfection: Evenly pour the thick blondie batter into your prepared pan. Spread it out gently to ensure an even layer. Bake in the preheated oven at 350ºF (175ºC) for 25-30 minutes. Keep a close eye on them; the blondies are done when the top turns a beautiful golden color, and the edges appear set and slightly puffy. The center might still look a little soft, which is perfect for chewiness. Overbaking will lead to dry, cakey blondies. Remove the pan from the oven and, here’s the hardest but most crucial part: allow the blondies to cool completely in the pan for at least 40 minutes before cutting into squares. This cooling time allows them to fully set, firm up, and achieve their ultimate chewy texture.
Blondies Recipe: Expert Tips for Guaranteed Success
Achieving the perfect blondie every time is easy when you follow these insider tips. They are designed to help you avoid common pitfalls and ensure your blondies are nothing short of spectacular:
- The Golden Rule: Don’t Overbake! This is perhaps the most critical tip for chewy blondies. Blondies are ready when their tops are a lovely golden color, and the edges look visibly set and slightly puffy. The very center may still appear a bit soft or even slightly underdone when you first pull them from the oven – this is exactly what you want! They will continue to cook and set as they cool. Overbaking is the quickest way to end up with dry, cakey blondies instead of moist, chewy ones.
- Opt for a Metal Baking Pan: Through extensive testing, I’ve found that metal pans consistently yield superior results. Metal conducts heat more efficiently and evenly, leading to chewier blondies with beautifully crisp edges and a uniformly baked interior. Glass pans, while often used, tend to retain heat differently, often resulting in blondies that are cooked on the edges but overly fudgy or underbaked in the center. For the best texture, a light-colored metal pan is your best friend.
- For Ultra-Moist and Thicker Blondies: If you adore a blondie that is exceptionally moist and a bit thicker, consider cutting the recipe in half. Then, bake this smaller batch in an 8×8 inch square metal pan. The reduced surface area and increased depth allow for a more concentrated moisture level and a denser, more luscious bar.
- If You Prefer a Gooier Middle: For those who love a blondie with an irresistibly gooey, almost molten center, slightly adjust your baking time. Decrease the bake time by 3-5 minutes from the recommended range. This will ensure the edges are set but the very heart of the blondie remains wonderfully soft and yielding. Just remember to still allow for adequate cooling time to let them firm up enough for slicing.
- Cooling is Non-Negotiable: While the aroma is intoxicating, resisting the urge to cut into warm blondies is vital. The cooling period (at least 40 minutes) allows the blondies to set properly, intensify their chewiness, and prevent them from crumbling when sliced. Patience truly is a virtue in this final step.
Blonde Brownie Recipe: Creative Variations and Mix-Ins
One of the most appealing aspects of blondies is their incredible versatility. While delicious on their own, they serve as a fantastic canvas for a wide array of mix-ins and flavor variations, allowing you to customize them to your heart’s desire. Get creative and make these blondies uniquely yours!
- White Chocolate Chip Blondies: This is a classic for a reason! The sweet creaminess of white chocolate chips perfectly complements the rich, caramel notes of the blondie base, creating a harmonious and indulgent treat.
- Peanut Butter Chip Blondies: For fans of the ultimate sweet and savory combination, peanut butter chips add a delightful nutty flavor and a creamy texture that’s simply irresistible.
- Semi-Sweet Chocolate Chip Blondies: If you crave a hint of traditional chocolate without overpowering the blondie’s unique flavor, semi-sweet chocolate chips offer a balanced sweetness and a familiar comforting bite.
- Butterscotch Chip Blondies: Elevate the caramel notes of the blondie by adding butterscotch chips. This intensifies the buttery, rich flavor profile for an extra decadent experience.
- Shredded Coconut Blondies: For a tropical twist, incorporate shredded coconut. It adds a wonderful chewy texture and a subtle, fragrant sweetness that transports you to paradise.
- Nutty Blondies: Enhance the texture and add a delightful crunch with your favorite chopped nuts. Walnuts, pecans, almonds, or even macadamia nuts are excellent choices that complement the brown butter flavor beautifully. Toasting the nuts lightly before adding them can deepen their flavor.
- S’mores Blondies: Press graham cracker pieces into the bottom of the pan before adding batter, then top with chocolate chunks and mini marshmallows during the last few minutes of baking for a campfire-inspired treat.
- Toffee Bit Blondies: Mix in toffee bits for an extra layer of caramel flavor and a delightful crunchy-chewy contrast.
- Salted Caramel Drizzle: After baking and cooling, drizzle your blondies with homemade or store-bought salted caramel sauce for an extra touch of decadence.
Blondie Dessert: Storage and Freezing Instructions
To keep your delicious blondies fresh and enjoyable for as long as possible, proper storage is key. Whether you’re planning to savor them over a few days or save them for a later indulgence, these guidelines will help.
Store any leftover blondies at room temperature in an airtight container. This prevents them from drying out and helps maintain their perfect chewy texture. When stored correctly, they will remain wonderfully fresh and delicious for up to 5 days. For an extra soft texture, you can even warm them slightly in the microwave for a few seconds before serving.
How to Freeze Blondies for Long-Term Enjoyment
Blondies freeze exceptionally well, making them a perfect make-ahead treat or a way to preserve any extra batches. You can comfortably freeze these blondies for up to 3 months without compromising their quality or flavor. Here’s how to do it effectively:
- Cool Completely: Ensure the blondies are entirely cooled before freezing. Warm blondies will create condensation in the container, leading to ice crystals and potentially soggy bars.
- Cut into Portions: It’s best to cut the blondies into individual squares before freezing. This allows you to thaw only what you need, reducing waste.
- Prevent Sticking: Place a small piece of parchment paper or wax paper between layers of blondies if you’re stacking them in a container. This prevents them from sticking together.
- Airtight Packaging: Transfer the cut blondies to an airtight freezer-safe container or a heavy-duty freezer bag. Squeeze out as much air as possible from the bag to prevent freezer burn.
- Thawing: When you’re ready to enjoy them, simply remove the desired number of blondies from the freezer and thaw them at room temperature for an hour or two. For a quicker thaw and a delightful warm treat, you can gently heat them in the microwave for 15-30 seconds.
Explore More Delicious Dessert Bar Recipes
If you love baking and enjoying convenient, delicious dessert bars, here are some other fantastic recipes to add to your repertoire. These bars are perfect for sharing, potlucks, or simply satisfying a sweet craving:
- Irresistible Chocolate Peanut Butter Bars
- Versatile and Easy Cake Bars
- Bright and Zesty Easy Lemon Bars
- Sweet and Fruity Strawberry Brownies
“This truly is the BEST Blondie recipe out there. Look no further! Not only does it smell absolutely amazing while baking, filling your entire home with a warm, inviting aroma, but it tastes like pure heaven! Beth has provided us with the PERFECT base recipe. I personally added white chocolate chips and toasted pecans to mine, and they were phenomenal. Thank you, Beth, for meticulously testing these recipes so we can bake with complete peace of mind and achieve such delicious results every time!”
— Jenn
Tap stars to rate!
The Ultimate Chewy Brown Butter Blondie Recipe
Beth
10
25
20
Rate
Equipment
-
Glass Mixing Bowl
-
My favorite spatula!
-
9×13 inch Metal Pan
-
Kitchen Scale
Ingredients
- 1 cup (226g) unsalted butter, brown the butter
- 2 ¾ cups (330g) all-purpose flour
- 2 tsp cornstarch
- 1 tsp baking powder
- ¼ tsp salt
- 1 ¼ cups (266g) packed brown sugar
- ¼ cup (50g) granulated sugar
- 2 large eggs
- 1 large egg yolk
- 1 tsp vanilla extract
Instructions
Brown the butter
-
Start by melting butter in a small, heavy saucepan over medium heat. Make sure it doesn’t burn by using a thick-bottomed saucepan. Keep the heat at medium to ensure even browning, stirring constantly with a whisk or spatula for about 6 to 8 minutes to prevent milk solids from sticking.
-
As the butter melts, bubbles will appear, signaling the start of the browning process. Keep stirring until the butter turns golden brown. If the bubbling gets too intense, briefly take it off the heat to check the color accurately. You’ll notice a scent resembling toasted graham crackers or nuts.
-
Once you see golden-brown specks in the butter, take it off the heat immediately and transfer it to a heatproof bowl to stop the cooking. Remember, the butter will continue to brown even off the heat, so it’s better to be cautious.
Blondies
-
Preheat the oven to 350º F (175ºC). Line a 9×13 inch metal pan with aluminum foil or parchment paper.
-
In a mixing bowl combine the flour, cornstarch, baking powder, and salt. Set aside.
-
In a larger mixing bowl combine the browned butter, brown sugar, and granulated sugar. Beat on medium speed for 60 seconds.
-
Add in the eggs, egg yolk and vanilla extract, beat for 30 seconds.
-
Gradually mix in the dry ingredients, mixing on low speed until just combined. The dough will be thick.
-
Pour the batter into the prepared pan and bake at 350ºF (175ºC) for 25-30 minutes or until the top of the bars turn golden in color and the edges look set and puffy. Remove from the oven and allow the blondies to cool for 40 minutes before cutting into squares.
Nutrition
Calories: 217kcal |
Carbohydrates: 29g |
Protein: 3g |
Fat: 10g |
Saturated Fat: 6g |
Polyunsaturated Fat: 1g |
Monounsaturated Fat: 3g |
Trans Fat: 0.4g |
Cholesterol: 52mg |
Sodium: 63mg |
Potassium: 48mg |
Fiber: 0.5g |
Sugar: 16g |
Vitamin A: 323IU |
Calcium: 32mg |
Iron: 1mg
Nutrition Disclosure
All nutritional values are approximate and provided to the reader as a courtesy. Changing ingredients and/or quantities will alter the estimated nutritional calculations.
Like this recipe? Rate and comment below!