
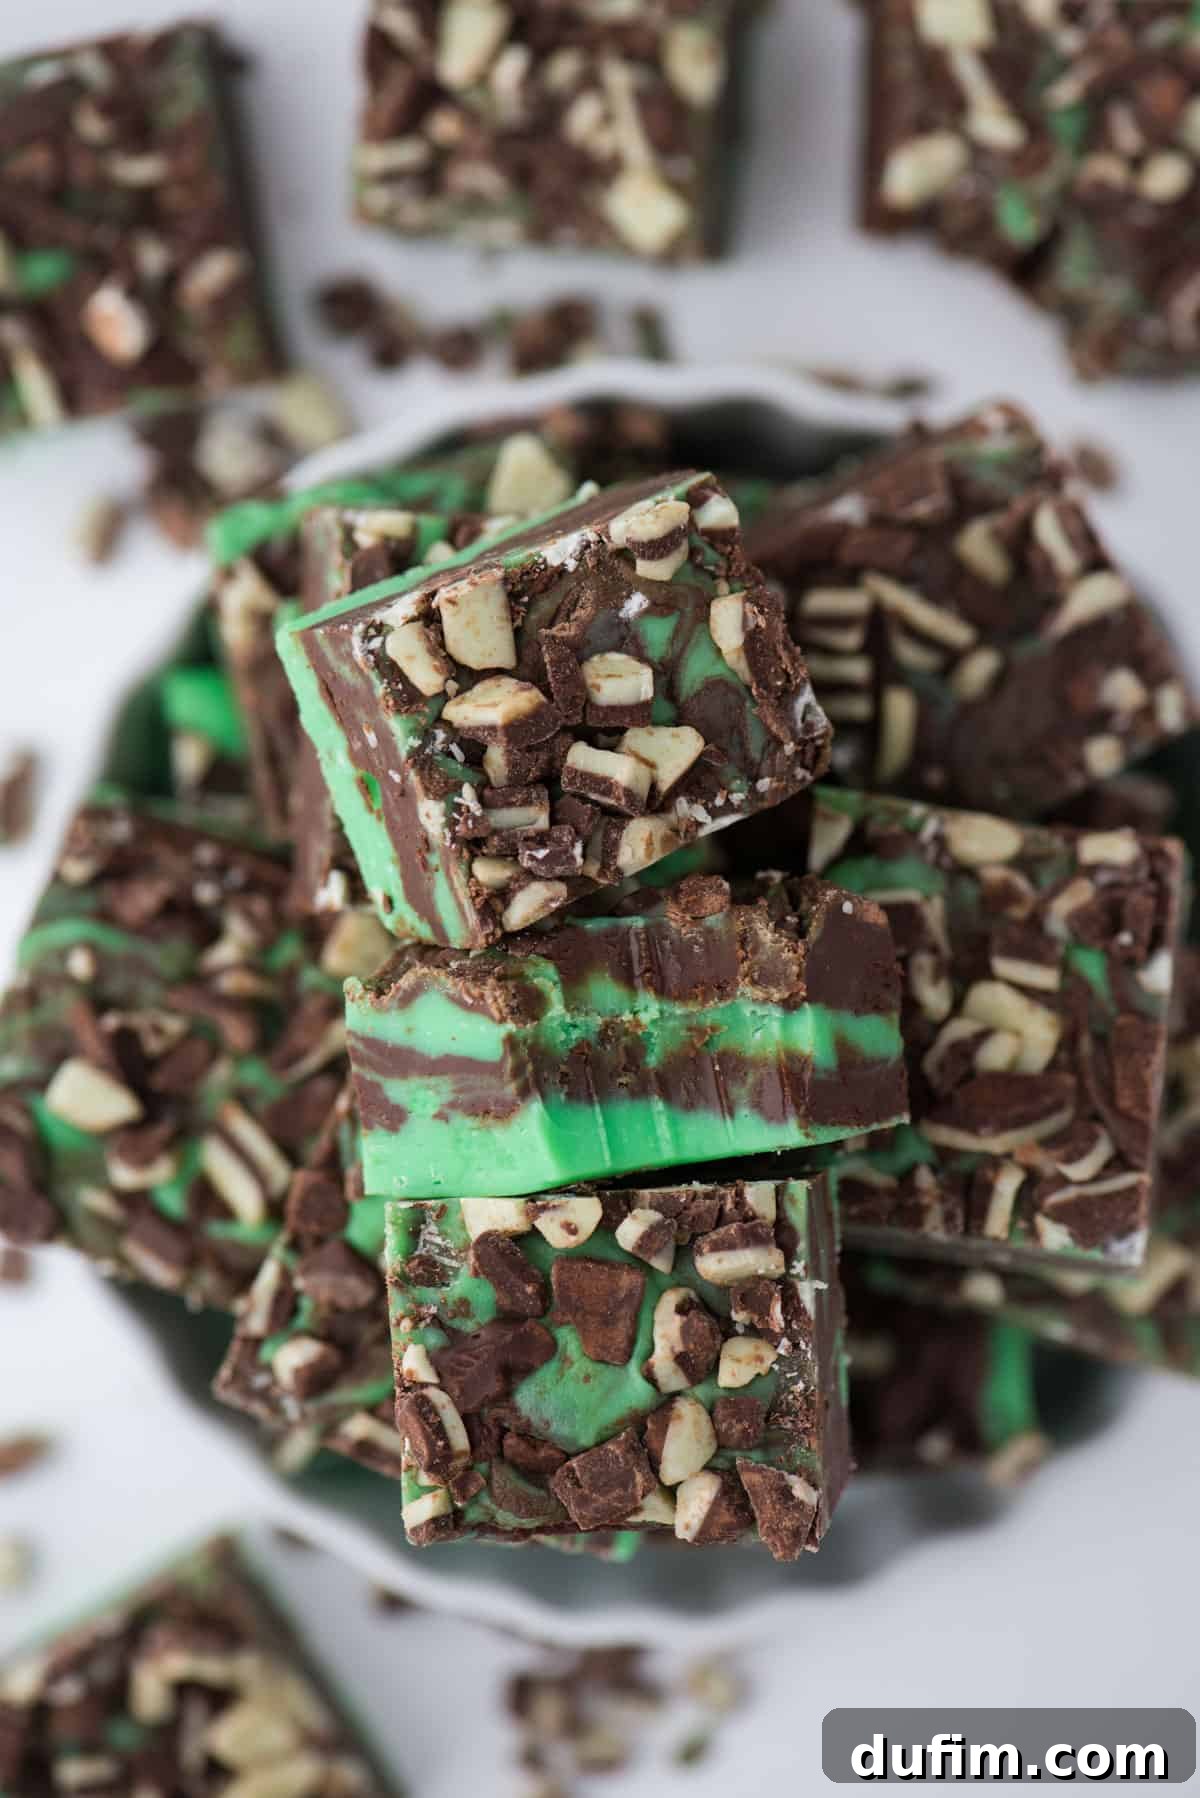
Indulge in the festive delight of Microwave Andes Mint Chocolate Fudge – an incredibly easy, no-bake Christmas dessert that promises to captivate every palate! Crafted in just 10 minutes with only six essential ingredients, this creamy, smooth, and utterly foolproof fudge is a holiday essential. Perfect for gifting or sharing, this recipe guarantees a decadent treat that looks and tastes like it took hours to prepare.
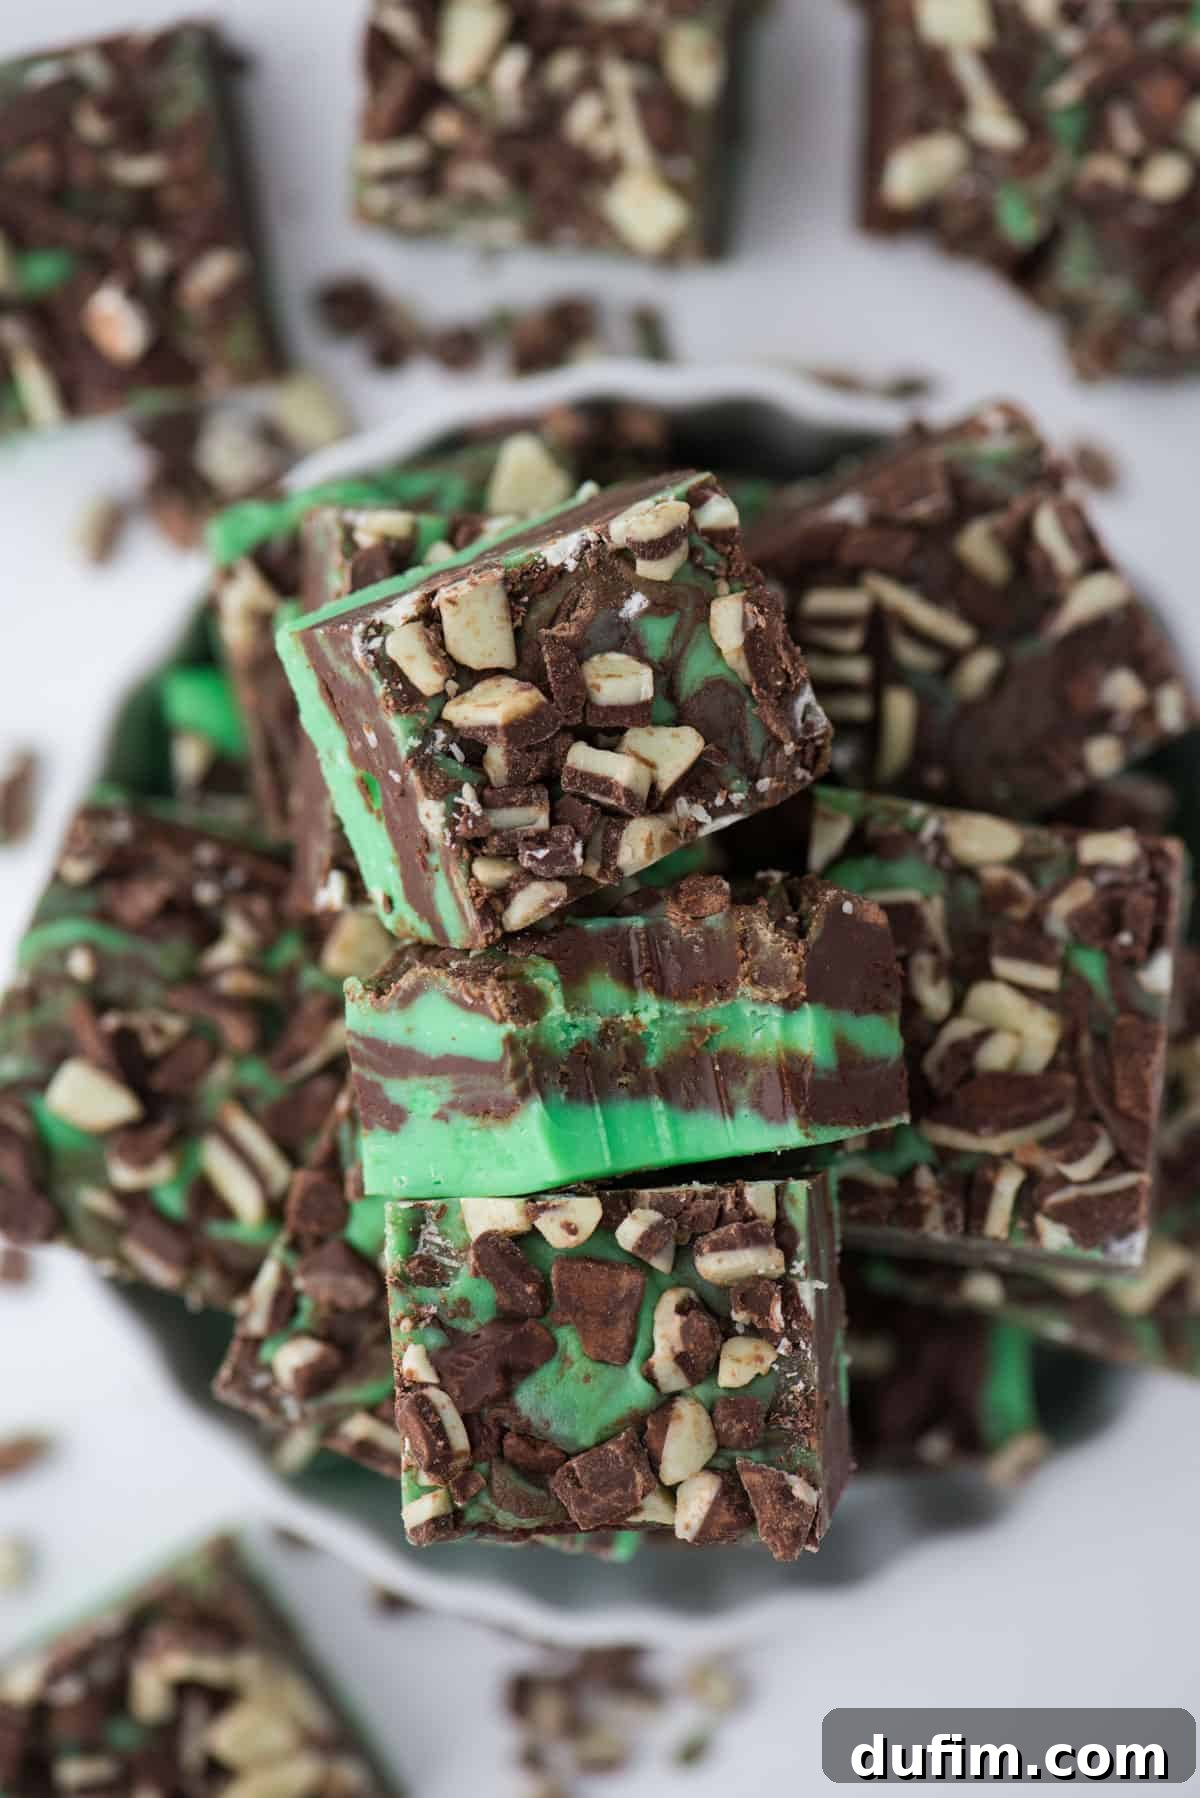
The holiday season calls for treats that are both spectacular and simple, and this microwave fudge recipe perfectly fits the bill. Say goodbye to complicated candy thermometers and endless stirring over a hot stove! This year, make microwave fudge your go-to holiday secret weapon. It’s incredibly versatile, allowing for countless flavor combinations, and each batch comes together in a mere 10 minutes of active prep time. Imagine the extra time you’ll have for festive celebrations!
Loading up your holiday cookie platters has never been easier or more delicious. Alongside this irresistible mint chocolate fudge (which proudly contains no marshmallows for a smoother finish!), consider adding other crowd-pleasing no-bake delights. Explore recipes like our rich Microwave Peanut Butter Fudge, the charmingly festive Christmas Wreath Cookies, nostalgic Church Window Cookies, and the ever-popular Tiger Butter. Each of these recipes complements the cool, refreshing mint and rich chocolate profile of our Andes Mint fudge, creating a diverse and delightful assortment for your guests.
Is Andes Mint Chocolate Fudge Gluten-Free? A Dietary Delight!
For those with dietary restrictions or simply seeking a wider variety of treats, you’ll be delighted to know that this incredible mint chocolate fudge is naturally gluten-free. This makes it an excellent choice for holiday gatherings, ensuring everyone can enjoy a piece of this festive confection without worry. Always double-check your ingredient labels to confirm, especially with chocolate chips and extracts, but generally, the core components of this recipe are free from gluten, making it a thoughtful and inclusive addition to your Christmas dessert menu.
Essential Ingredients for Perfect Mint Chocolate Fudge
Crafting this irresistible Andes Mint Chocolate Fudge requires just a few simple ingredients, easily found at any grocery store. The beauty of this recipe lies in its minimalist approach, proving that you don’t need a long list of obscure items to create something truly extraordinary. Each ingredient plays a crucial role in achieving that creamy, smooth texture and iconic mint chocolate flavor.
- 1 and 1/4 cups semi-sweet chocolate chips: These form the rich, dark chocolate base of our fudge, providing depth and classic chocolate flavor.
- 1 and 1/4 cups white chocolate chips: The white chocolate chips are essential for creating the light-colored, mint-flavored layer. They provide a creamy backdrop for the green food coloring and mint extract.
- 1 can (14 oz) sweetened condensed milk: This is the secret to our no-bake fudge! Sweetened condensed milk binds the ingredients, creates a smooth, velvety texture, and provides the perfect amount of sweetness without needing additional sugar.
- 1/2 tsp mint extract (not peppermint): This distinction is crucial! Mint extract offers a milder, sweeter mint flavor, reminiscent of Andes Mints. Peppermint extract is much stronger and can taste more like toothpaste in large quantities.
- Green food coloring: A few drops of green food coloring transform the white chocolate layer into a visually stunning, festive mint green, perfectly complementing the Andes Mint theme.
- Andes Mint baking pieces: These iconic chocolate-mint candies, chopped into smaller pieces, are sprinkled on top for an extra burst of minty chocolate flavor and an appealing texture.
Pro Tip: Always double-check your extract bottle! Be sure to use mint extract, not peppermint extract. While both are mint-flavored, they offer distinct profiles. Mint extract provides a sweeter, more subtle essence, perfectly mimicking the classic Andes Mint taste, whereas peppermint is often stronger and can sometimes overwhelm the delicate chocolate flavors.
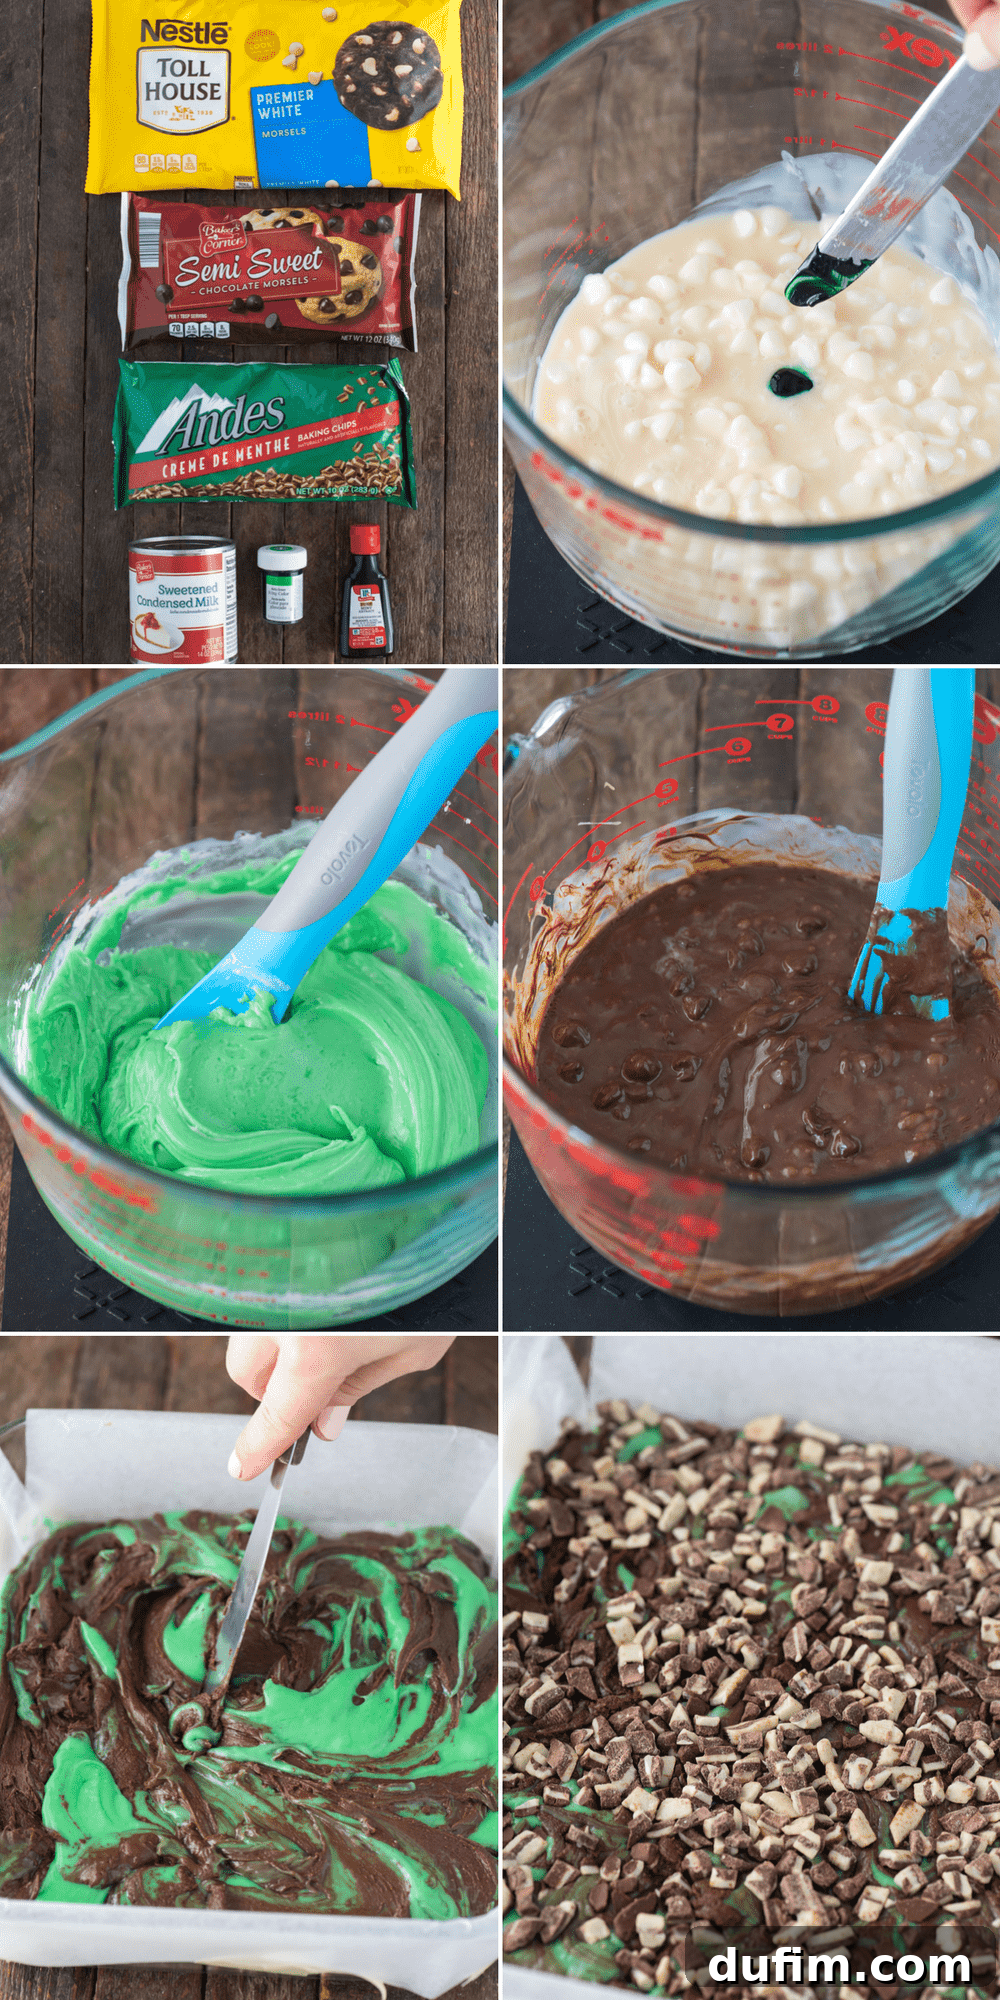
How to Craft Irresistible Microwave Mint Swirled Chocolate Fudge
Making this gorgeous swirled fudge is surprisingly simple, requiring minimal effort and maximum flavor. Follow these straightforward steps to create a beautiful and delicious treat that will impress everyone.
- Prepare Your Pan: Begin by lining an 8 or 9-inch square baking pan with either aluminum foil or parchment paper. Make sure the lining extends over the sides, creating “handles” that will make it incredibly easy to lift the set fudge out of the pan later. This step is crucial for a clean release.
- Dark Chocolate Layer Base: In a microwave-safe glass bowl, combine the semi-sweet chocolate chips with precisely half of the can of sweetened condensed milk. Using a glass bowl helps with even heating and prevents scorching.
- Mint Chocolate Layer Base: In a separate microwave-safe glass bowl, place the white chocolate chips with the remaining half of the sweetened condensed milk. Keep these separate for now to create your distinct swirled layers.
- Melting the Chocolate – The First Bowl: Place the bowl with the semi-sweet chocolate and condensed milk into the microwave. Heat for 1 minute at 50% power. This lower power setting is key to preventing the chocolate from seizing or burning. After 1 minute, stir the mixture well. If it’s not completely smooth, microwave for another 30-45 seconds at 50% power. Continue stirring until the mixture is fully melted and beautifully smooth. If necessary, a final 30-45 seconds might be needed, but be careful not to overheat.
- Melting the Chocolate – The Second Bowl: Repeat the exact same microwave process (1 minute, stir, then 30-45 seconds, stir) for the bowl containing the white chocolate chips and condensed milk. White chocolate can be more temperamental, so gentle, incremental heating is essential.
- Infuse the Mint Flavor and Color: Once the white chocolate mixture is smooth and melted, add the mint extract and a few drops of green food coloring to it. Stir thoroughly until the color is uniform and vibrant, creating that signature mint green hue. Remember, use mint extract, not peppermint!
- Re-warming if Needed: If either of your fudge mixtures has cooled and become too thick to pour easily, pop it back into the microwave for a quick 15-20 second burst on 50% power. This will bring it back to a pourable consistency.
- Swirling Magic: Work quickly for this step! Pour spoonfuls of each fudge mixture alternately into the prepared baking pan. You can dollop them side-by-side to facilitate swirling. Once both mixtures are in the pan, use a spatula to gently smooth and distribute the fudge evenly. Then, take a knife or a toothpick and gently swirl the two colors together to create beautiful marble patterns. Don’t overmix, or the colors will combine too much.
- Top with Andes Mints: Immediately after swirling, take your Andes Mint baking pieces and gently press them evenly over the entire surface of the fudge. A light press with your hands will ensure they adhere nicely as the fudge sets.
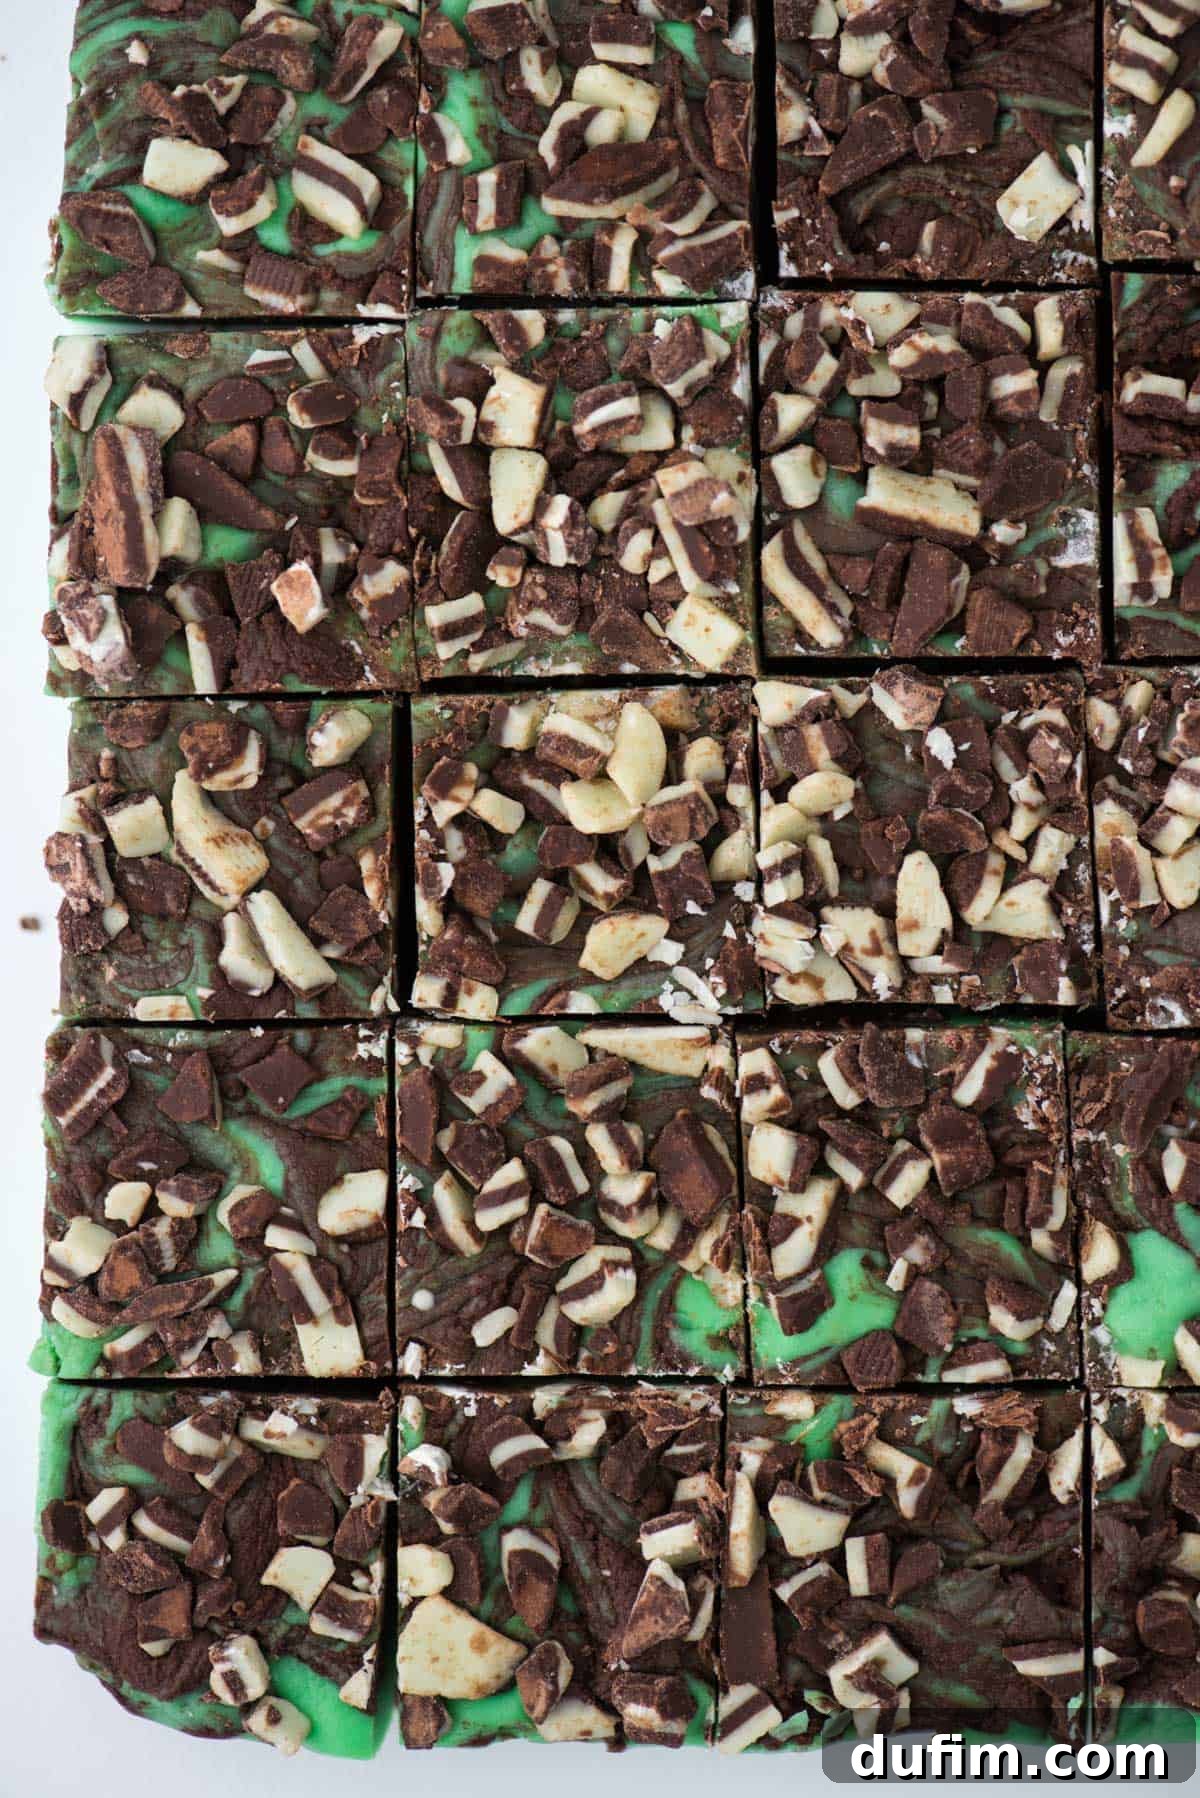
- Cool and Cut: Allow the fudge to cool completely and set at room temperature for at least 2-3 hours. For the cleanest cuts and easiest handling, you can place the chilled fudge in the refrigerator for about 30 minutes before cutting into perfect squares. Enjoy your delicious, homemade Andes Mint Chocolate Fudge!
Can I Substitute Mint Chips in This Recipe? Absolutely!
Yes, you can absolutely make a convenient substitution if you prefer! Instead of using white chocolate chips, mint extract, and green food coloring, you can substitute 1 and 1/2 cups of dedicated mint chips (like Andes Creme de Menthe Baking Chips or similar brands). This simplifies the recipe even further by combining the mint flavor and color into a single ingredient. If you choose this option, be sure to omit both the green food coloring and the separate mint extract, as the mint chips will provide all the necessary flavor and hue for your mint layer.
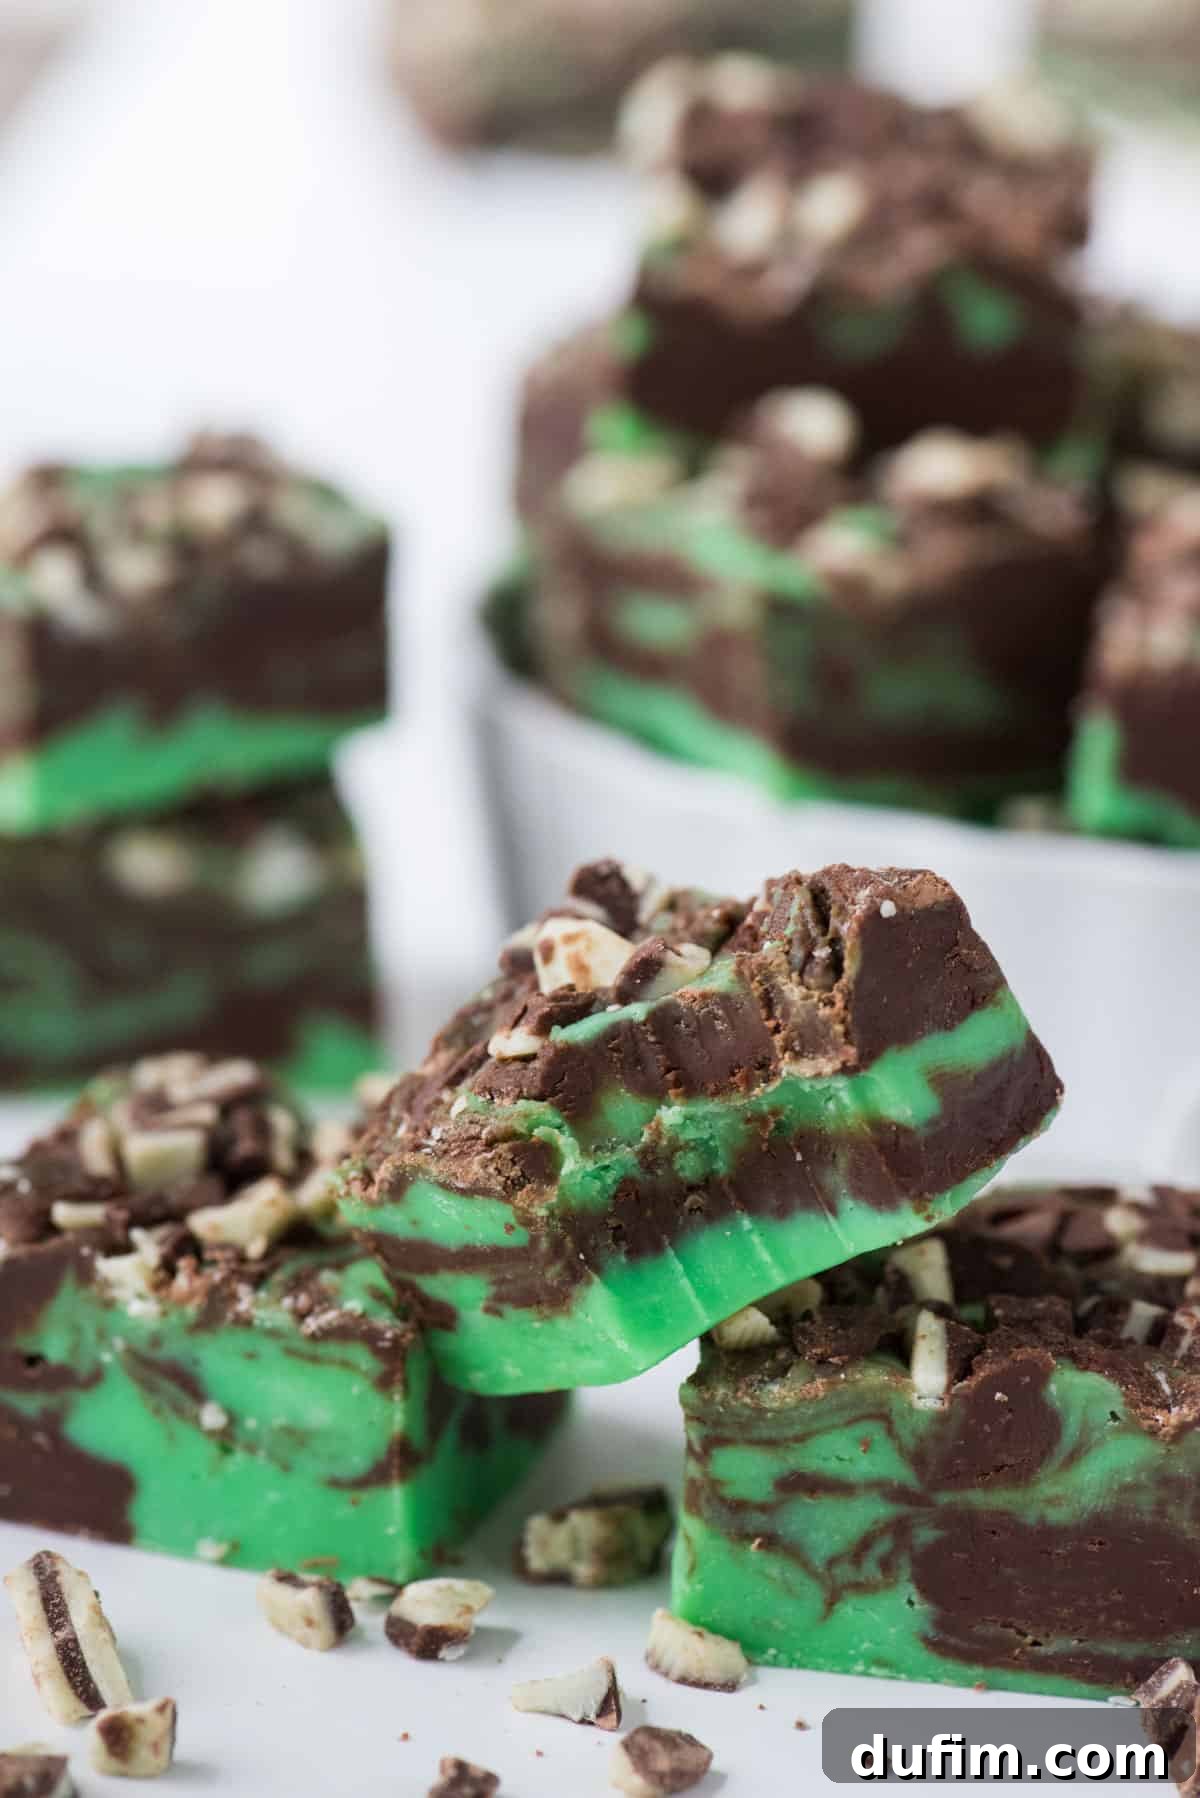
Troubleshooting: Why is My Fudge Dry and Crumbly?
One of the most common frustrations when making fudge, particularly traditional stove-top versions, is it turning out dry and crumbly instead of smooth and creamy. Fudge-making is fundamentally about controlling sugar crystallization. In most fudge recipes, the primary reason for a dry, crumbly texture is that the sugar mixture was overcooked or overheated, leading to too much moisture evaporating and excessive crystallization. The delicate balance of sugar and liquid is disrupted, resulting in a sandy or granular texture.
While microwave fudge typically has a more forgiving nature due to the convenience of sweetened condensed milk, overheating can still occur. Overcooking in the microwave often happens by using too high a power setting or microwaving for too long without sufficient stirring. This can cause the chocolate and condensed milk to separate or become too firm, preventing it from setting into that desirable smooth consistency.
Unfortunately, once microwave fudge has been overcooked to the point of being dry and crumbly, there isn’t a reliable way to salvage it. The structure of the sugars and fats has been altered, and simply reheating it tends to worsen the issue. To prevent this, I highly recommend two key practices for microwave fudge:
- Use a microwave-safe glass bowl: Glass bowls conduct heat more evenly than plastic, reducing the risk of hot spots that can overcook parts of your fudge mixture.
- Adhere to 50% power: Always microwave your ingredients at 50% power, in short intervals, and stir frequently. This gentle heating allows the chocolate to melt slowly and evenly, incorporating beautifully with the condensed milk without scorching or crystallizing prematurely. Patience here pays off in a perfectly smooth, creamy fudge!
Optimal Storage for Long-Lasting Freshness
Proper storage is key to enjoying your delicious Andes Mint Chocolate Fudge for as long as possible. Here’s how to keep it fresh and flavorful:
- Countertop Storage: For immediate enjoyment and convenience, store your fudge in an airtight container at room temperature. Placed on your kitchen counter, it will maintain its delicious taste and texture for approximately 2-3 weeks. Ensure it’s away from direct sunlight or heat sources.
- Refrigerated Storage: If you want to extend the shelf life of your fudge, transfer it to an airtight container and store it in the refrigerator. When chilled, fudge can last for up to 4 weeks. The colder temperature helps prevent it from drying out and keeps it fresh longer. Just be aware that chilled fudge can be firmer, so let it come to room temperature for a few minutes before serving for optimal texture.
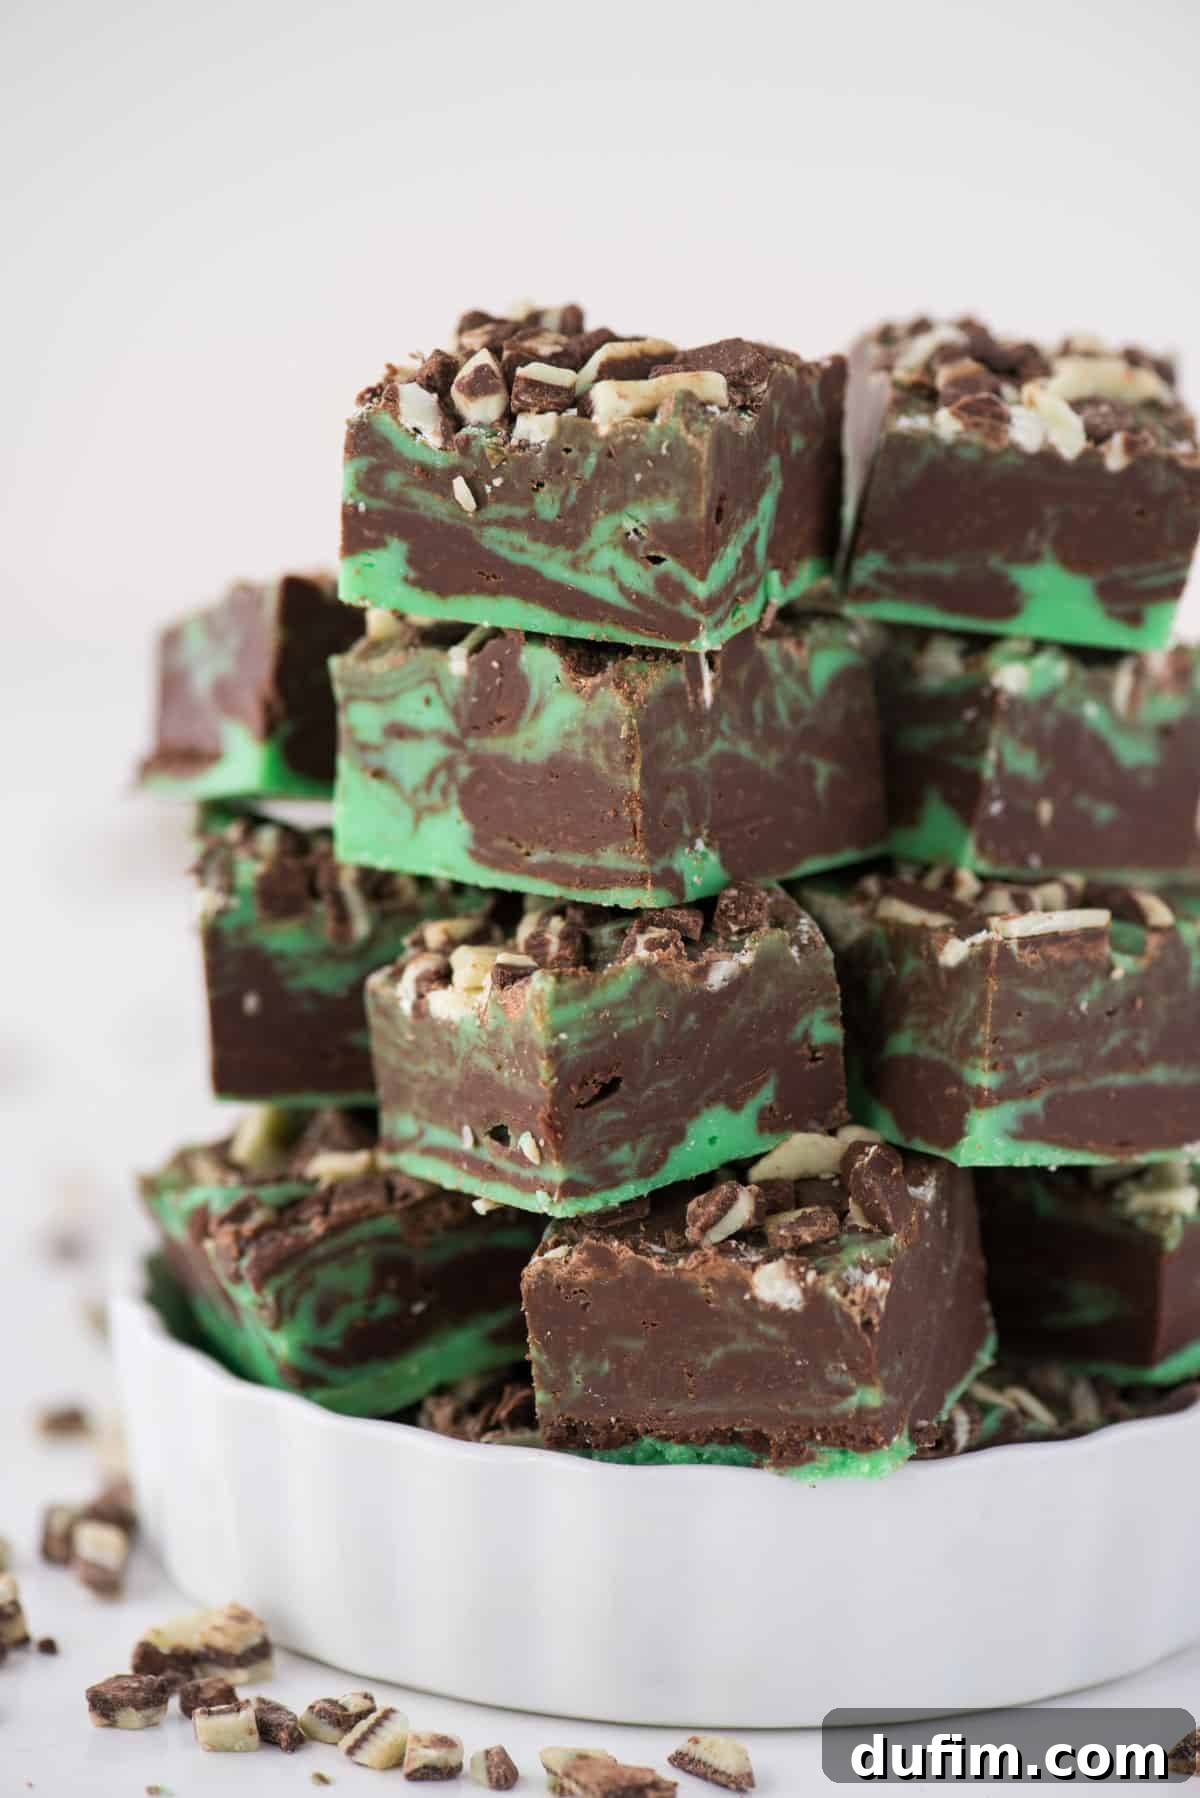
Can Andes Mint Fudge Be Frozen for Future Enjoyment?
Yes, absolutely! Freezing is a fantastic way to preserve Andes Mint Fudge, allowing you to enjoy this delightful treat long after the holiday season has passed or to prepare gifts in advance. Fudge freezes beautifully, maintaining its flavor and texture when properly stored.
You can freeze fudge either as a large slab or after it’s been cut into individual pieces. For either method, here’s the best approach:
- Chill First: Once your fudge has fully set at room temperature, place it in the refrigerator for at least 1 hour to ensure it’s thoroughly chilled and firm. This prevents it from being too soft during wrapping.
- Wrap Tightly: For a whole slab of fudge, wrap it very tightly in multiple layers of plastic wrap, making sure no air is exposed to the fudge. If freezing individual pieces, you might want to wrap each piece individually in plastic wrap, or layer them between pieces of parchment paper in an airtight container before wrapping the entire block.
- Freezer Bag Protection: After wrapping, place the plastic-wrapped fudge into a heavy-duty zip-top freezer bag. Squeeze out as much air as possible before sealing. This double layer of protection guards against freezer burn and helps preserve the fudge’s fresh taste and texture.
- Freeze: Store the fudge in the freezer for up to 3 months. Beyond this, it might start to lose some of its quality, although it would still be safe to eat.
- Thawing: To thaw, simply transfer the frozen fudge (still wrapped) to the refrigerator and allow it to defrost slowly for about 24 hours. Once thawed, it will be ready to enjoy. Avoid thawing at room temperature too quickly, as this can affect its texture.
Pro Tip for Perfect Cuts: To achieve beautifully neat, perfectly square pieces of fudge, I recommend using a ruler to guide your cuts and a very sharp knife. For truly clean lines between each piece, wipe your knife clean with a damp cloth after every single cut. This prevents the residue from one cut from smearing onto the next, ensuring your fudge looks as professional as it tastes.
Explore More Festive Christmas Desserts
If you’re looking to expand your holiday baking repertoire, here are some other fantastic Christmas dessert ideas that are sure to delight your family and friends. From more simple fudges to delightful no-bake treats, these recipes will fill your home with holiday cheer:
- Microwave Peanut Butter Fudge: Another incredibly easy and rich fudge recipe, perfect for peanut butter lovers.
- Haystack Cookies: A classic no-bake cookie featuring crunchy chow mein noodles and melted butterscotch or chocolate.
- Peppermint Kiss Oreo Balls: Decadent Oreo cookie balls with a refreshing peppermint twist, coated in chocolate and topped with a Hershey’s Kiss.
- Swirled Peppermint Bark: A stunning and easy layered treat with dark and white chocolate swirled together and sprinkled with crushed peppermint.
Average Rating: 5 out of 5 stars (based on 1 rating)
Mint Chocolate Fudge
Equipment
-
Glass Mixing Bowl
-
Spatula
-
8 or 9-inch square baking pan
Ingredients
- 1 ¼ cups (213g) semi-sweet chocolate chips
- 1 ¼ cups (213g) white chocolate chips
- 14 oz sweetened condensed milk
- ½ tsp mint extract, not peppermint extract
- green food coloring
- Andes Mint baking pieces
Instructions
-
Line an 8 or 9 inch square baking pan with aluminum foil or parchment paper, leaving an overhang to use as handles.
-
Place the semi-sweet chocolate chips and half the can of sweetened condensed milk in a microwave-safe glass bowl.1 1/4 cups (213g) semi-sweet chocolate chips, 14 oz sweetened condensed milk
-
Place the white chocolate chips and the other half of the can of sweetened condensed milk in a separate microwave-safe glass bowl.1 1/4 cups (213g) white chocolate chips, 14 oz sweetened condensed milk
-
Microwave the bowls, one at a time, for 1 minute on 50% power. Stir thoroughly, then microwave for another 30-45 seconds on 50% power. Continue stirring until smooth and fully melted. If the mixture is not completely melted, microwave for a final 30-45 seconds on 50% power, being careful not to overheat.
-
Repeat the same microwaving and stirring process for the second bowl of white chocolate mixture on 50% power until smooth.
-
To the bowl with the melted white chocolate mixture, add the mint extract and green food coloring. Stir well until thoroughly combined and the color is uniform.1/2 tsp mint extract, green food coloring
-
If either chocolate mixture has become too thick to pour easily, microwave it for an additional 15-20 seconds on 50% power to re-warm and loosen its consistency.
-
Working quickly, pour each fudge mixture into the prepared pan, alternating spoonfuls to help create a beautiful swirl effect. Use a spatula to gently smooth and evenly distribute the fudge. Then, use a knife or a toothpick to carefully swirl the two colors together to achieve your desired marble pattern.
-
Evenly press the Andes Mint baking pieces on top of the fudge while it’s still warm and soft, ensuring they adhere well.Andes Mint baking pieces
-
Allow the fudge to cool and set on the counter at room temperature for 2-3 hours. Once firm, cut it into desired pieces. For easier, cleaner cuts, place the fudge in the fridge to chill for 30 minutes before cutting.
Notes
How to store fudge
- Store fudge in an airtight container at room temperature. It will last for 2-3 weeks.
- For longer storage (up to 4 weeks), keep it in an airtight container in the fridge.
Can Andes Mint fudge be frozen?
- Yes! You can freeze fudge as a large slab or in pre-cut pieces.
- First, chill the fudge in the fridge for 1 hour.
- Wrap tightly in plastic wrap, then place inside a zip-lock freezer bag.
- Fudge can be stored in the freezer for up to 3 months.
- To thaw, transfer the fudge to the fridge for 24 hours.
For perfectly square pieces of fudge, use a ruler and a sharp knife. Cleaning your knife between each cut will help create clean, distinct lines.
Nutrition Facts (per piece)
Carbohydrates: 29g |
Protein: 4g |
Fat: 12g |
Saturated Fat: 7g |
Polyunsaturated Fat: 1g |
Monounsaturated Fat: 4g |
Trans Fat: 1g |
Cholesterol: 12mg |
Sodium: 46mg |
Potassium: 212mg |
Fiber: 1g |
Sugar: 27g |
Vitamin A: 77IU |
Vitamin C: 1mg |
Calcium: 107mg |
Iron: 1mg
Nutrition Disclosure
All nutritional values are approximate and provided to the reader as a courtesy. Changing ingredients and/or quantities will alter the estimated nutritional calculations.
Like this recipe? We’d love to hear from you!Share your thoughts and rate this recipe in the comments below!