
Crafting a Rustic Christmas Wonderland: Your Guide to a Nut-Decorated Gingerbread House
There’s an undeniable magic that fills the air around Christmas, and for many, that magic is intimately tied to the heartwarming tradition of building gingerbread houses. For me, these festive creations are more than just edible decorations; they are cherished vessels of family memories, bringing back a flood of joyful moments spent with loved ones.
My childhood Christmases were synonymous with gingerbread house artistry. It wasn’t just a quaint family affair; my mom, with her incredible generosity and festive spirit, would transform our home into a veritable gingerbread workshop. She’d invite all our school teachers and their families, along with a host of dear family friends. Our house would buzz with laughter and excitement as she served up delicious ribs, and tables meticulously arranged with ready-to-decorate gingerbread house structures. Bowls overflowing with an assortment of candies, frosting containers equipped with adorable mini spreaders, and, of course, plenty of washcloths for sticky fingers, lined every surface. It was an annual spectacle of creativity and camaraderie.
This heartwarming tradition continued year after year. As we grew older, the gatherings evolved slightly – the ribs eventually gave way to other festive fare, but the core essence remained. Today, those same decorating tables are often filled with the eager faces of my nieces and nephews, carrying on a legacy of holiday joy. It’s a testament to how these simple, edible homes can weave generations together.
Living out of state from my family means I often miss these treasured moments. So, when Diamond of California extended an invitation to craft a gingerbread house, my answer was an enthusiastic YES! It felt like a wonderful opportunity to reconnect with a beloved tradition and share some of the “gingerbread wisdom” passed down through my family.
The Secret to a Sturdy Gingerbread House: The Butter Box Method
I like to think of myself as a bit of a gingerbread house pro, and I owe every ounce of that expertise to my incredible mom. She taught me the ingenious method of constructing a gingerbread house using an empty butter box as the foundational frame, covered with graham crackers. This simple yet effective technique is precisely what I employed for creating this charming, nutty rustic house.
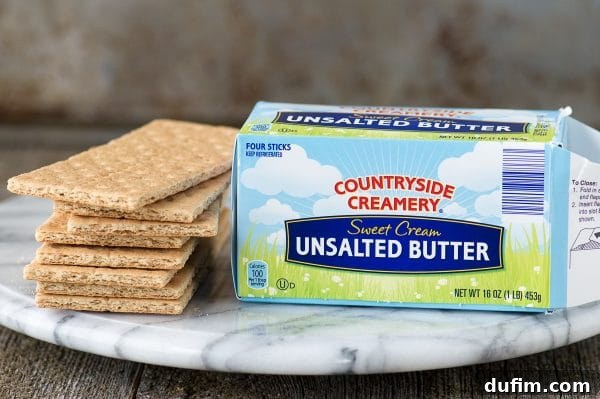
While some people opt for small milk cartons, butter boxes are universally accessible since nearly everyone buys butter. This makes them a perfect, readily available foundation for your edible masterpiece. Beyond the structure, we’re also sharing the ultimate recipe for gingerbread house ‘glue.’ This isn’t just any frosting; this stuff is akin to cement in the whimsical world of gingerbread construction, ensuring your creation stands firm and proud throughout the holiday season.
Building Your Butter Box Gingerbread House: A Step-by-Step Guide
Constructing the foundation of your gingerbread house is a crucial first step, and doing it right ensures a lasting display. We’ve included several images showcasing the building process, illustrating just how straightforward it can be. My mom’s timeless advice, which I faithfully follow, is to build the house structure a day in advance. This allows the specialized gingerbread ‘glue’ ample time to harden completely, resulting in a wonderfully sturdy house that’s perfectly prepared for the exciting decorating phase.
Materials You’ll Need:
- An empty, clean butter box (or a similar sturdy, small cardboard box).
- Graham crackers (the basic building blocks).
- Our robust gingerbread house ‘glue’ (recipe details for royal icing or a similar hard-setting frosting are key for success).
- A sharp knife or kitchen shears (for trimming graham crackers).
Assembly Instructions:
- Prepare Your Box: Ensure your butter box is clean and dry. This will be the sturdy core of your gingerbread house.
- Cut Graham Crackers: Measure and cut graham crackers to fit the sides and roof of your butter box. You’ll need pieces for the front, back, two sides, and two roof panels. A serrated knife can help prevent crumbling.
- Apply the ‘Glue’: Generously apply the gingerbread ‘glue’ to one side of the butter box.
- Attach Walls: Press a graham cracker piece firmly onto the glued side. Repeat for all four walls of the butter box. Ensure they are straight and well-adhered.
- Create the Roof: Once the wall panels are secure, take two larger graham cracker pieces for the roof. Apply a thick line of ‘glue’ along the top edges of the house walls and the seam where the two roof pieces will meet. Carefully place the roof pieces, pressing them together at the peak and onto the walls.
- Let it Harden: This is the most important step for stability. Allow your assembled structure to sit undisturbed for at least 12-24 hours. The ‘glue’ needs this time to cure and become rock-hard. This patience will be greatly rewarded with a solid, resilient gingerbread house.
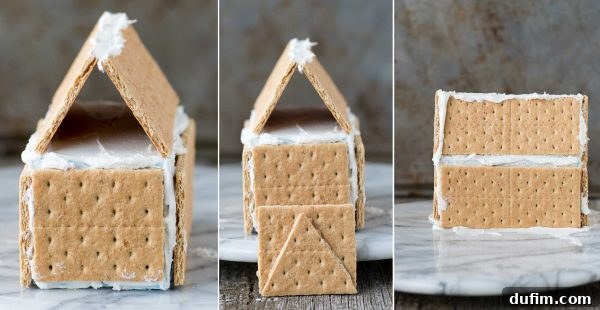
Once your gingerbread house structure is completely set and sturdy, it’s time to move it to its final display surface. Pick a large, flat surface – perhaps a sturdy cutting board, a decorative tray, or a piece of cardboard covered with foil – and securely glue your house onto it. This permanent base will make decorating easier and ensure your masterpiece can be moved without damage. Now, with the foundation laid and fully cured, we are truly ready for the best part: the creative, nutty, rustic decorating extravaganza!
Embracing the Rustic Charm: Nutty Decorating Ideas for Your Gingerbread House
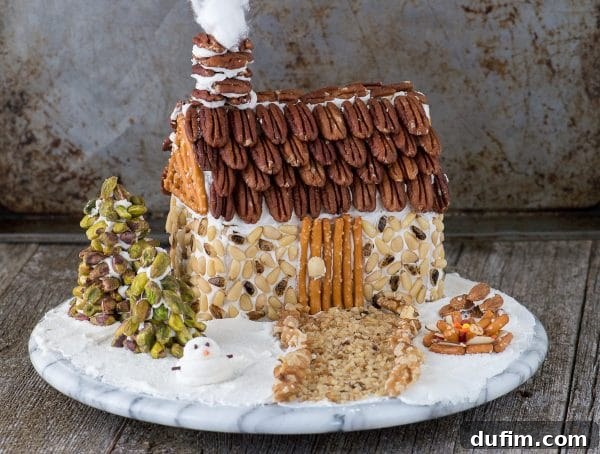
This year, inspired by the natural beauty and versatile textures of nuts, I decided to give my gingerbread house a unique, rustic Christmas makeover. The result is a charming, earthy aesthetic that stands out beautifully amongst traditional candy-laden houses. Here’s a closer look at the delightful details and how you can replicate this natural, elegant style:
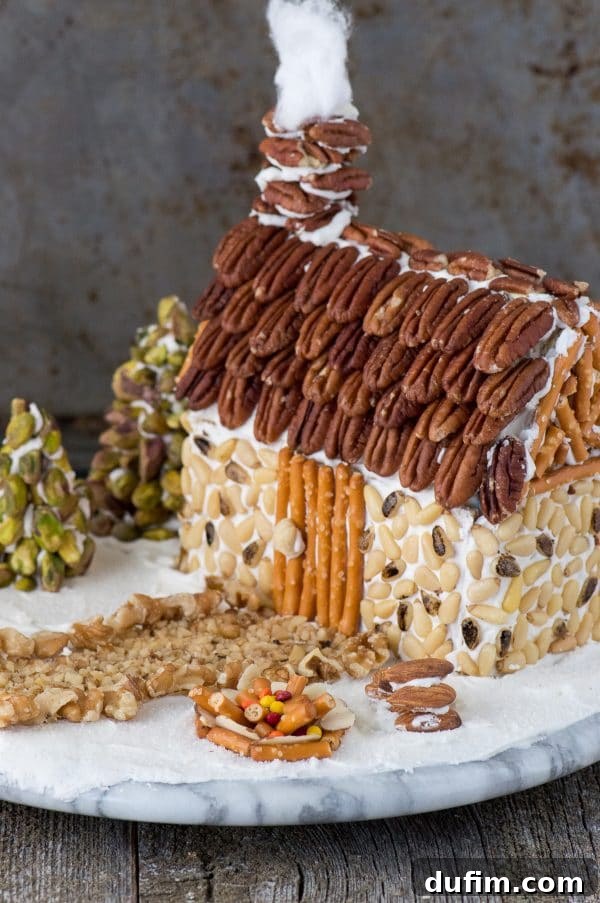
Stone Siding with Pine Nuts
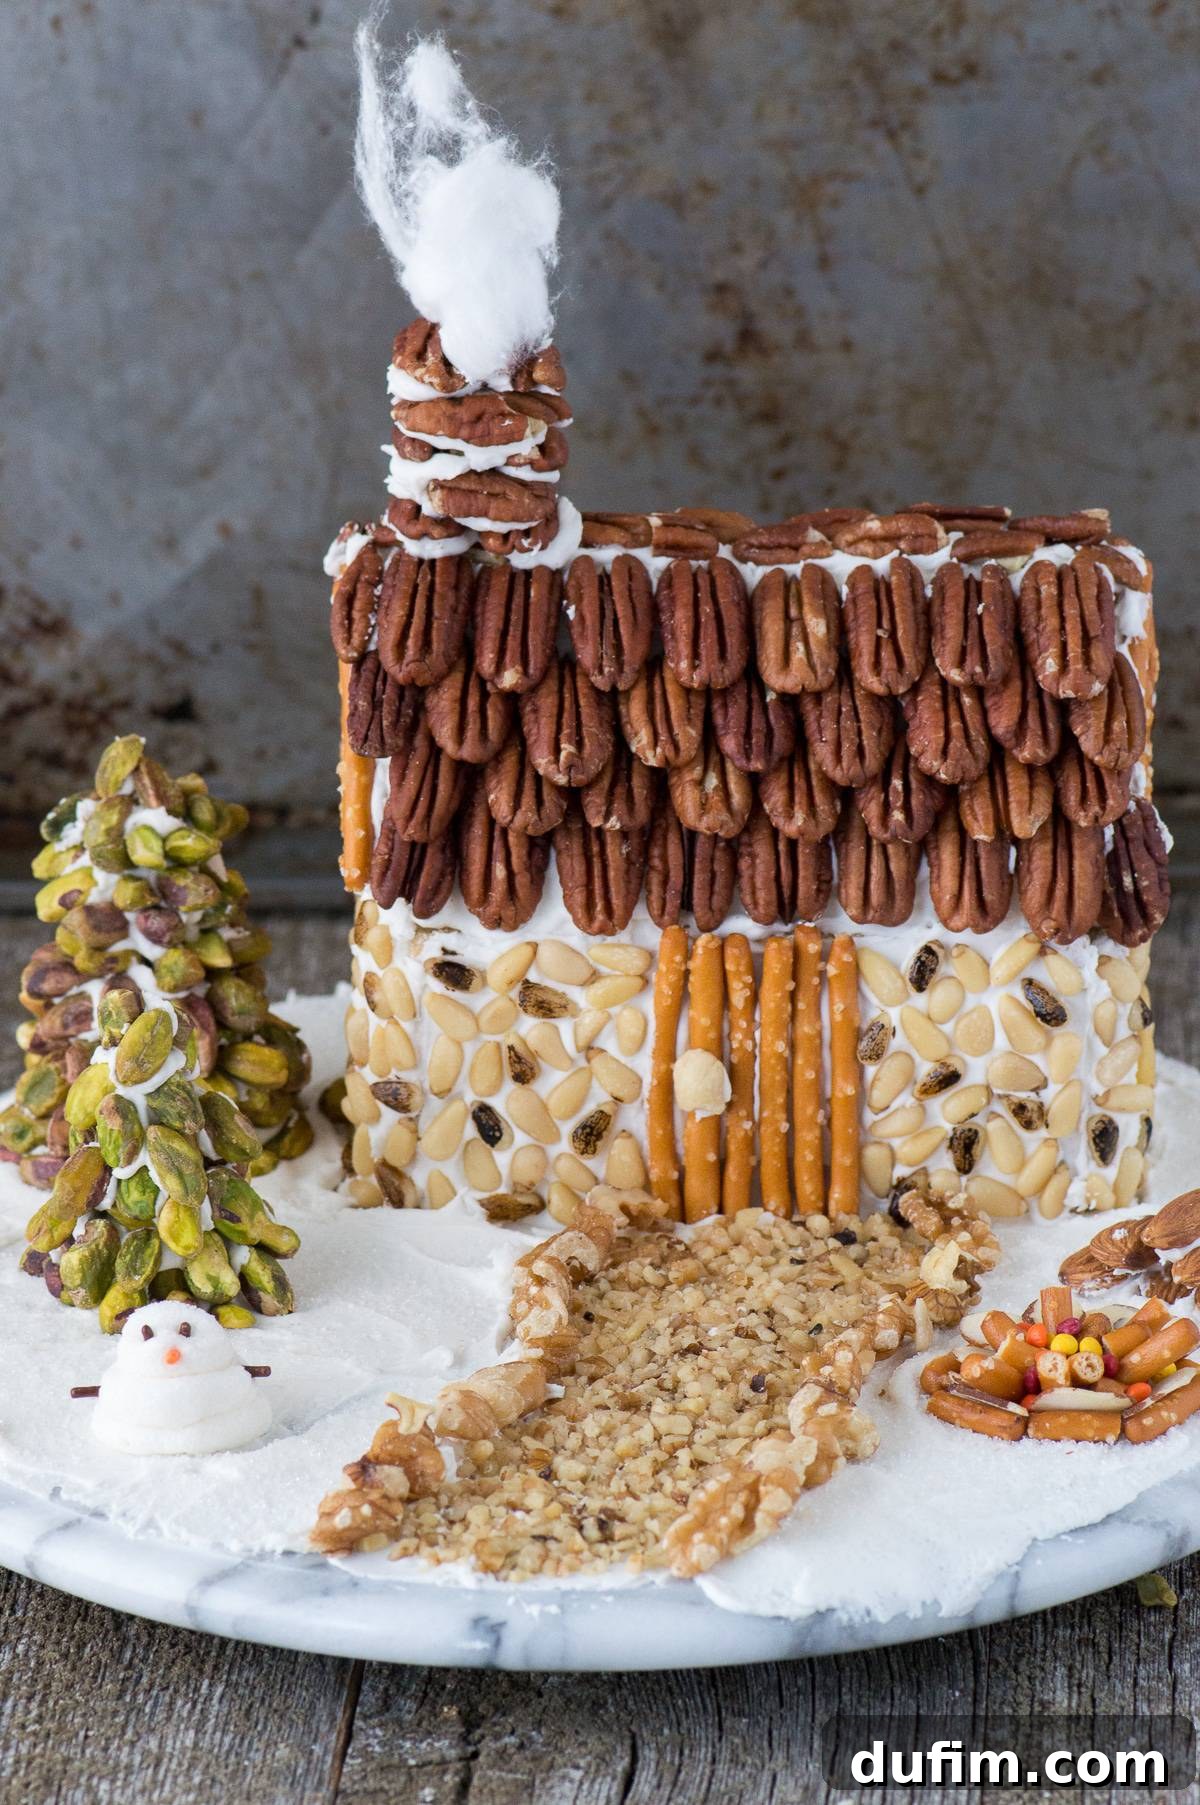
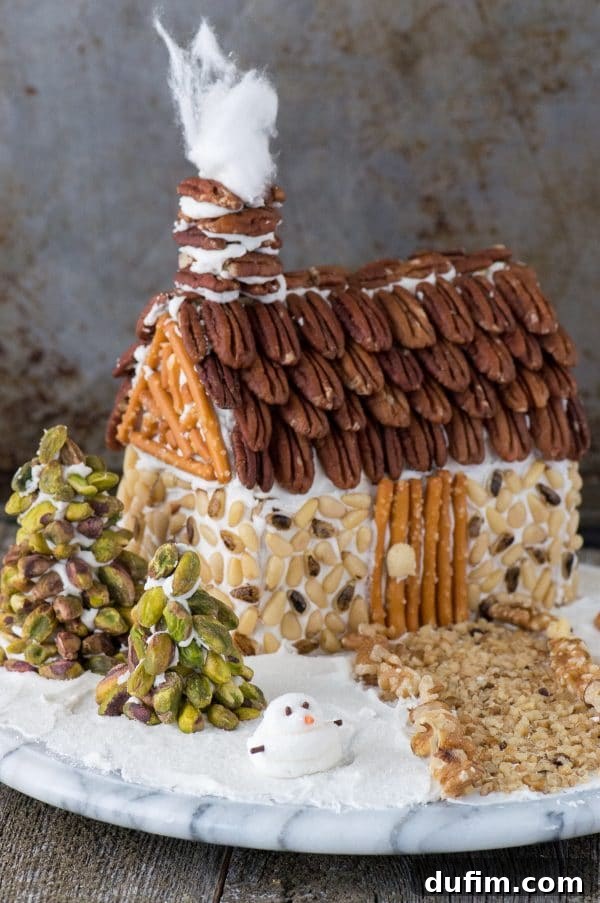
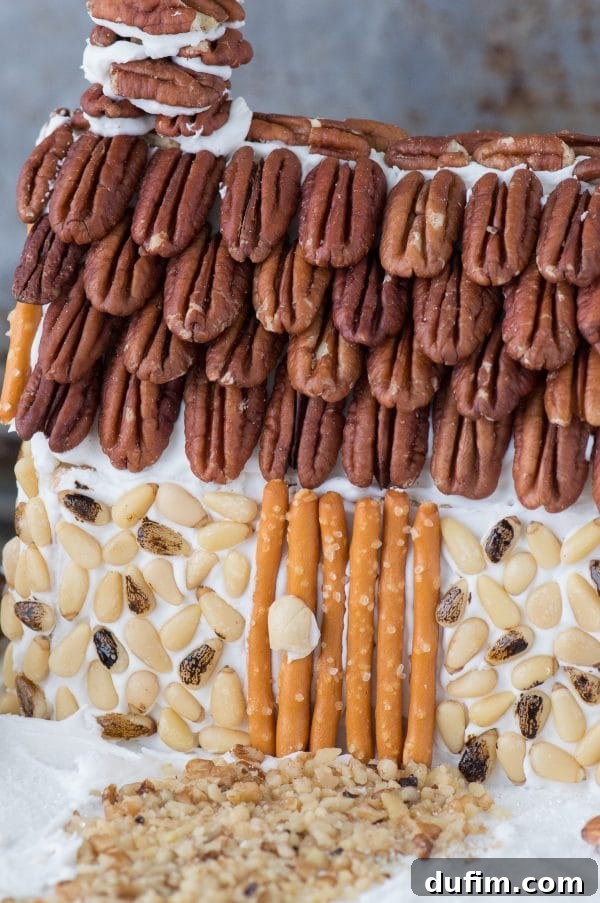
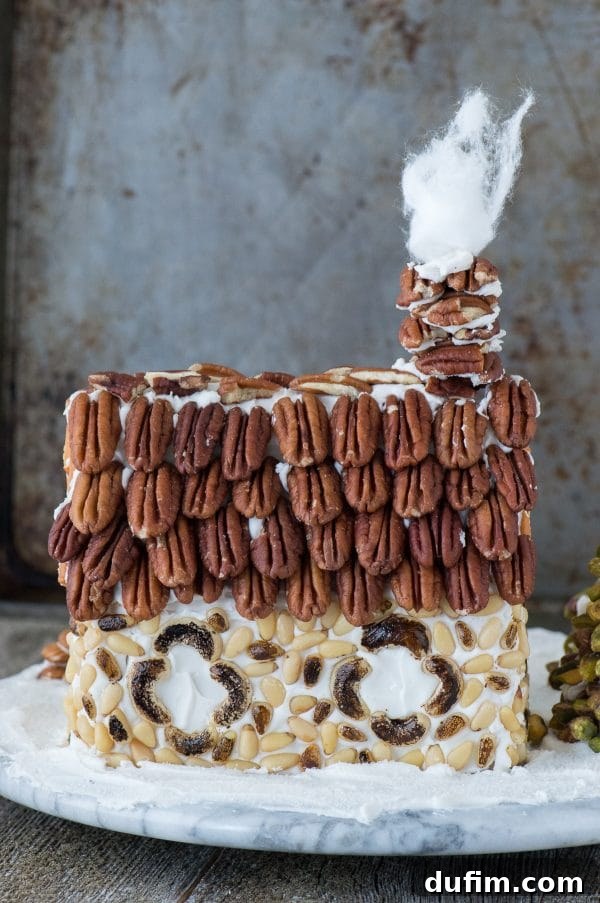
For the primary siding of the house, I meticulously applied pine nuts, creating the appearance of natural, uneven stone. To add depth and visual interest, I used a fine paintbrush and a touch of brown gel food coloring to paint a selection of the pine nuts a slightly darker shade. This subtle variation mimics the organic beauty of real stone, giving the house an authentic, time-worn feel.
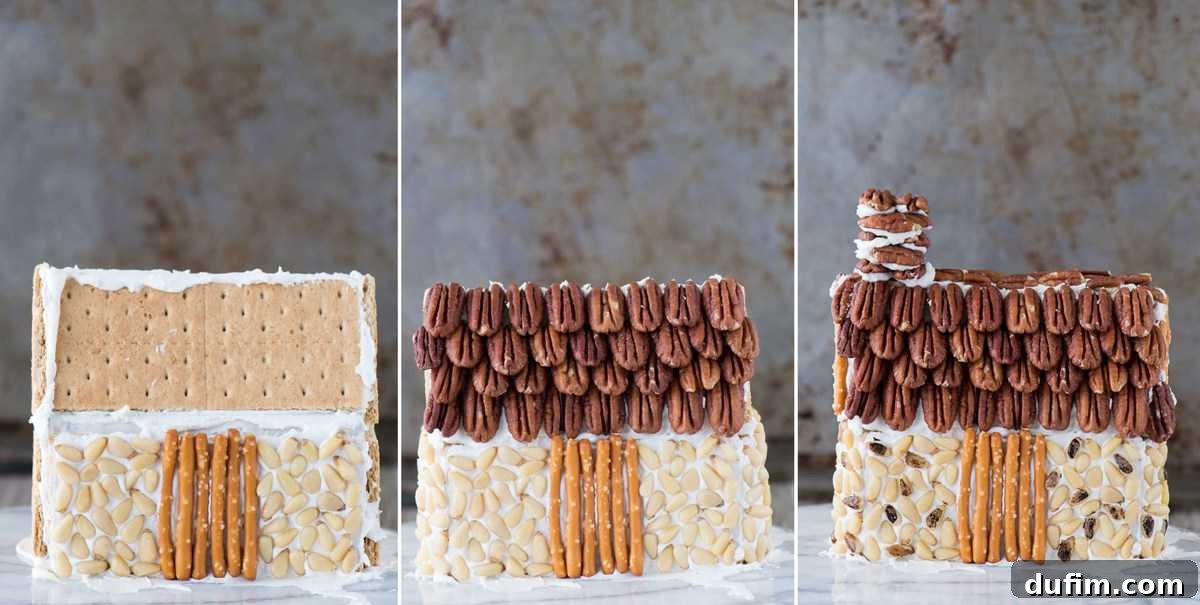
Pecan Shingles for the Roof
The roof received a wonderfully textured treatment using pecans. Arranged in overlapping rows, they perfectly simulate classic roof shingles, adding another layer of rustic elegance. The natural grooves and variations in the pecans catch the light, creating a visually appealing pattern that is both sophisticated and charming.
Cashew Half Windows
On the back of the house, I crafted charming round windows using cashew halves. Their smooth, curved shape offered a lovely contrast to the rugged siding, providing a delightful peek into the imagined interior of this cozy gingerbread home.
Walnut Sidewalk and Border
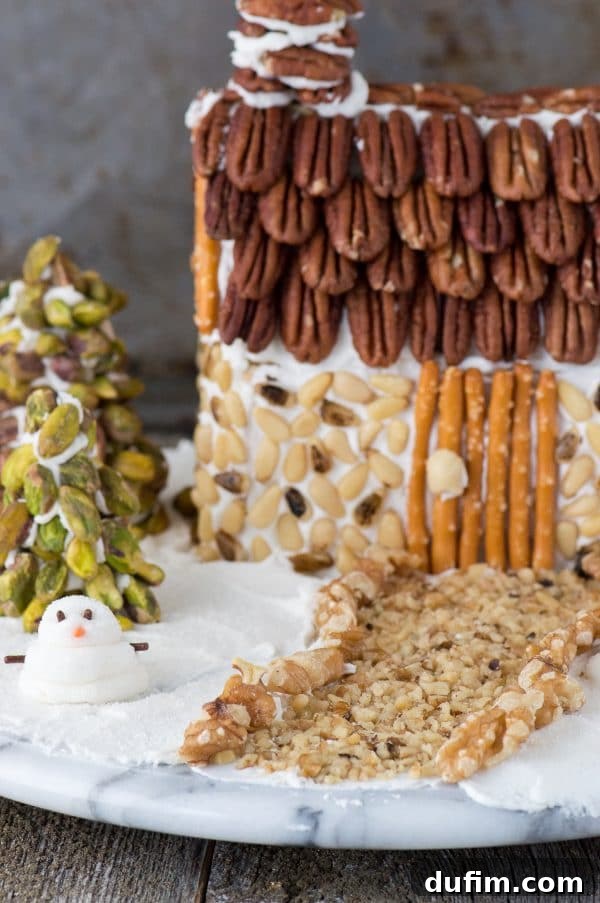
The pathway leading up to the house was meticulously created with finely diced walnuts, offering a realistic gravel-like texture. To define the edges and add a polished touch, I lined the sides of the sidewalk with larger, more intact walnut pieces, creating a distinct and inviting approach to the front door.
Pistachio Pine Trees and a Snowy Scene
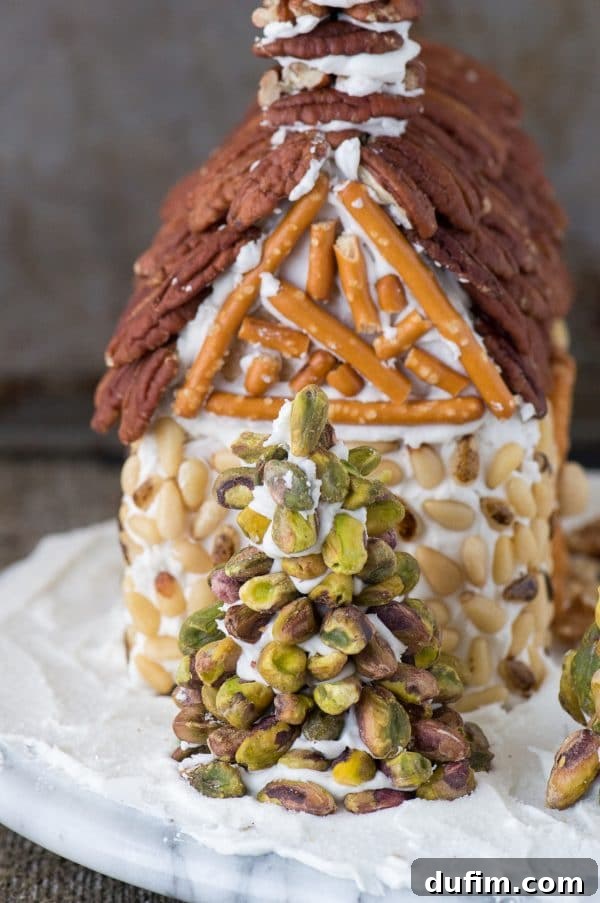
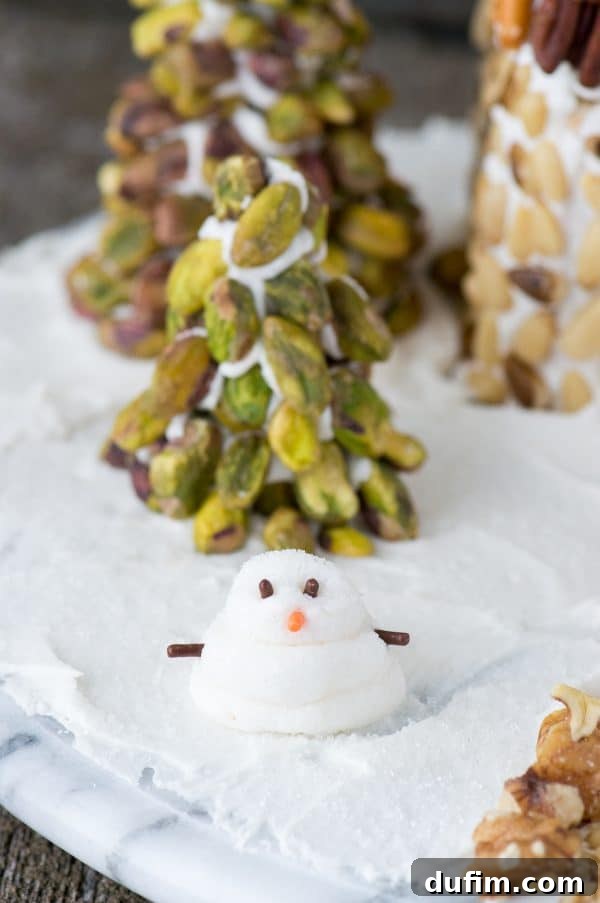
No Christmas scene is complete without a touch of winter wonder! I created two adorable pistachio pine trees, simply by piping green frosting into a conical shape and pressing whole pistachios into it. Their vibrant green hue and unique texture made them an instant favorite! In the front yard, a wonderfully blobby snowman made entirely of frosting stands guard. To complete the snowy tableau, the entire yard and the snowman were generously sprinkled with white sanding sugar, imparting a beautiful, glistening snow effect that twinkles under the light.
Cozy Pretzel and Almond Fire Pit
A miniature fire pit, perfect for a tiny gingerbread family gathering, was constructed from broken pretzel pieces for the logs, almond slices for the flames, and a scattering of red, yellow, and orange sprinkles to simulate the warm glow of embers. This small detail adds an incredible sense of warmth and invitation to the overall scene, enhancing the rustic charm.
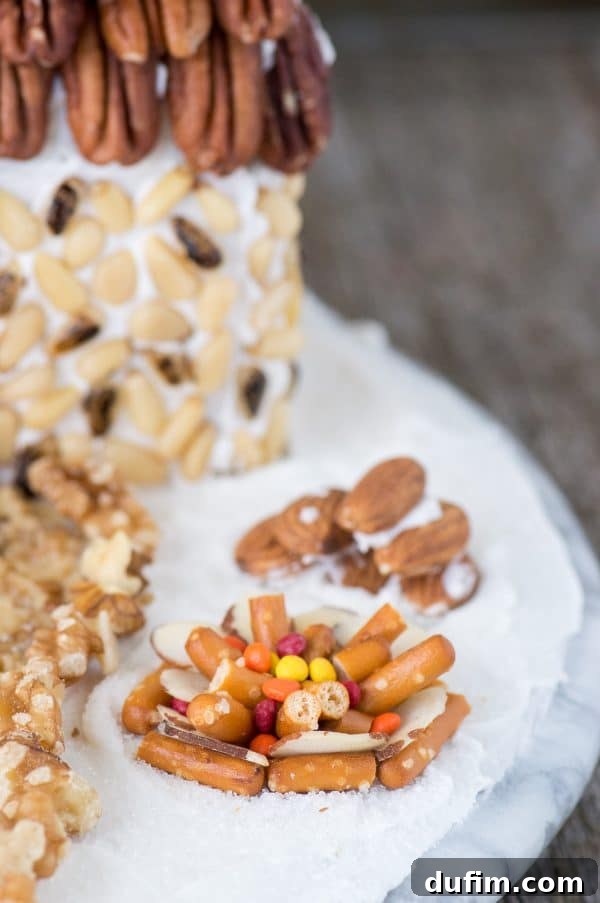
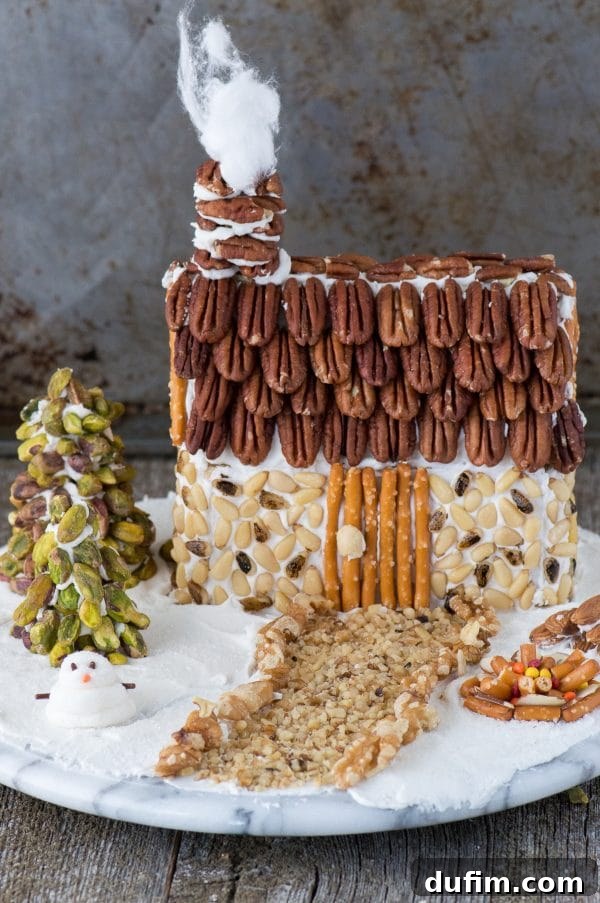
I absolutely adored using a variety of nuts to decorate this gingerbread house. It truly imparted a distinctive rustic vibe, giving it a more sophisticated and natural aesthetic compared to traditional candy-covered versions. This entire creative endeavor was a wonderful partnership with Diamond of California. I am incredibly grateful for their support, which enables me to continue sharing exciting recipes and crafting ideas with all of you.
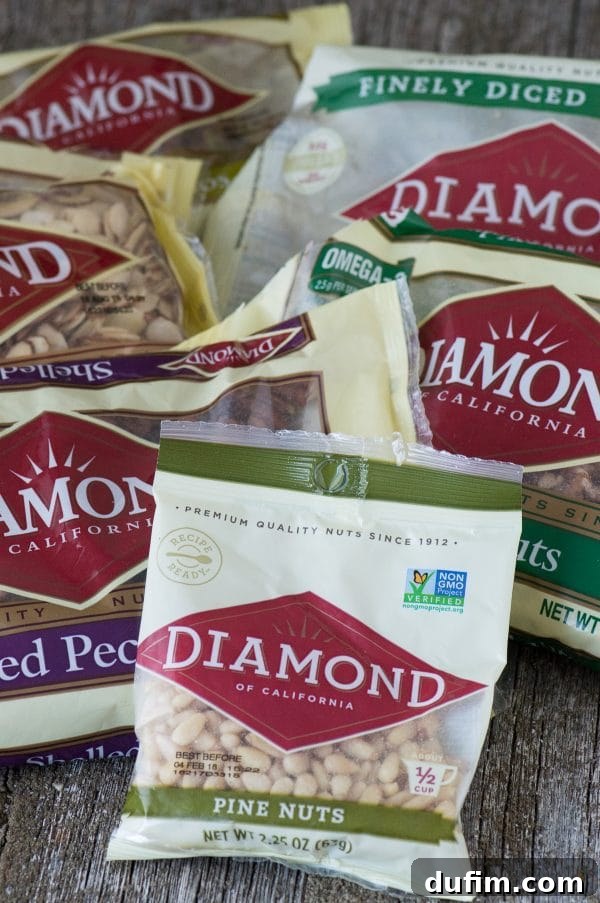
Beyond the sheer joy of making them, gingerbread houses are simply delightful to display. Mine currently holds a place of honor on a shelf in our living room, adding a festive touch to our home. Here’s hoping our curious cat, Salsa, doesn’t get too adventurous! Whether you lean towards classic candy decorations or embrace a more natural, rustic style like this one, the act of building a gingerbread house is a heartwarming holiday tradition that creates lasting memories and beautiful edible art. Gather your loved ones, unleash your creativity, and build your own little piece of Christmas magic!