
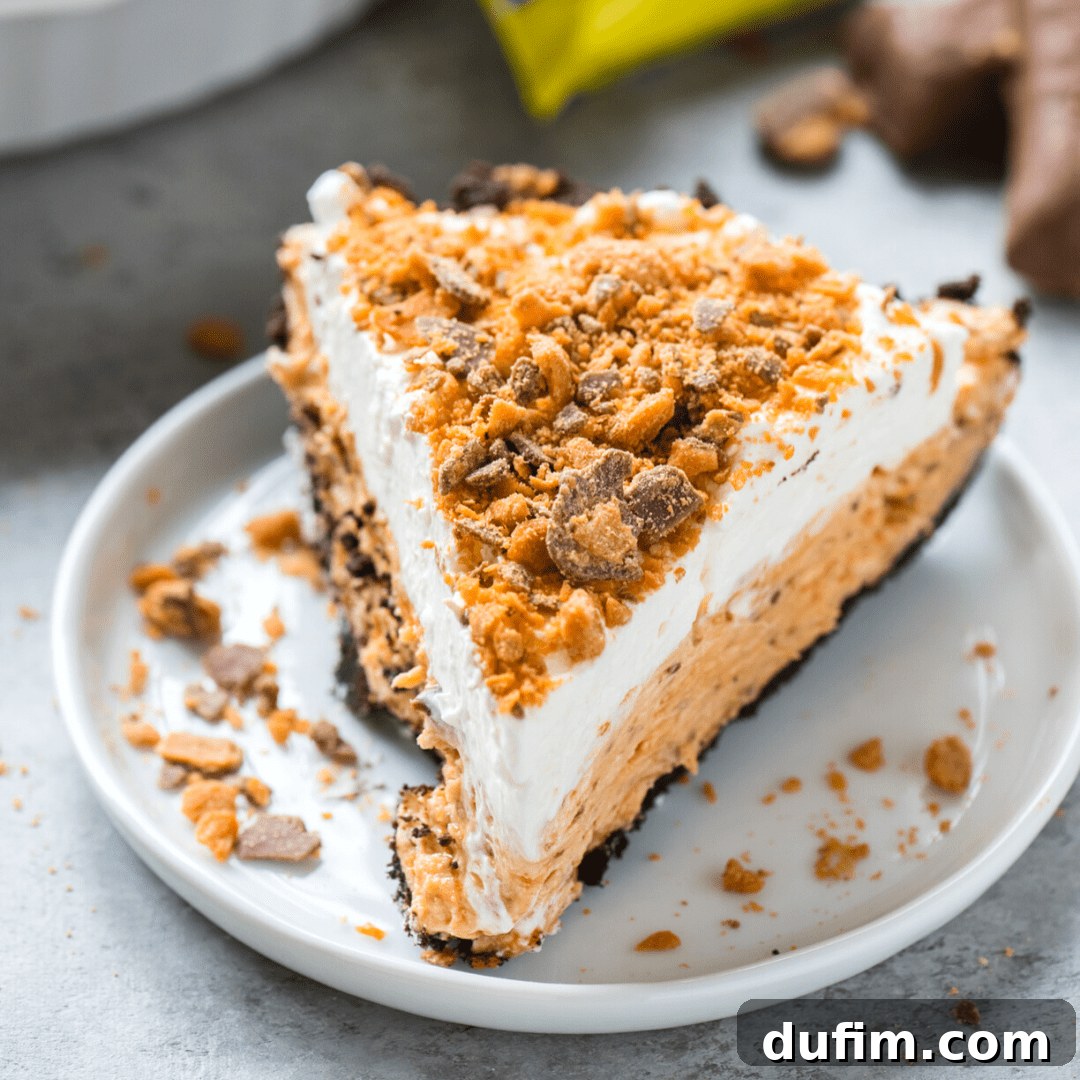
The Ultimate No-Bake Butterfinger Pie Recipe: Easy, Creamy, and Delicious!
Get ready to discover your new favorite dessert! This Butterfinger pie recipe is so incredibly easy to make that it’s always dubbed a “keeper” by anyone who tries it. Forget complicated baking projects; this no-bake wonder is designed for simplicity, allowing even first-time pie makers to create a stunning dessert that consistently impresses every guest.
“Absolutely amazing! This recipe is incredibly easy and will definitely be a permanent addition to my dessert rotation. I made it for a birthday celebration, and it was a huge hit!”
-Renee
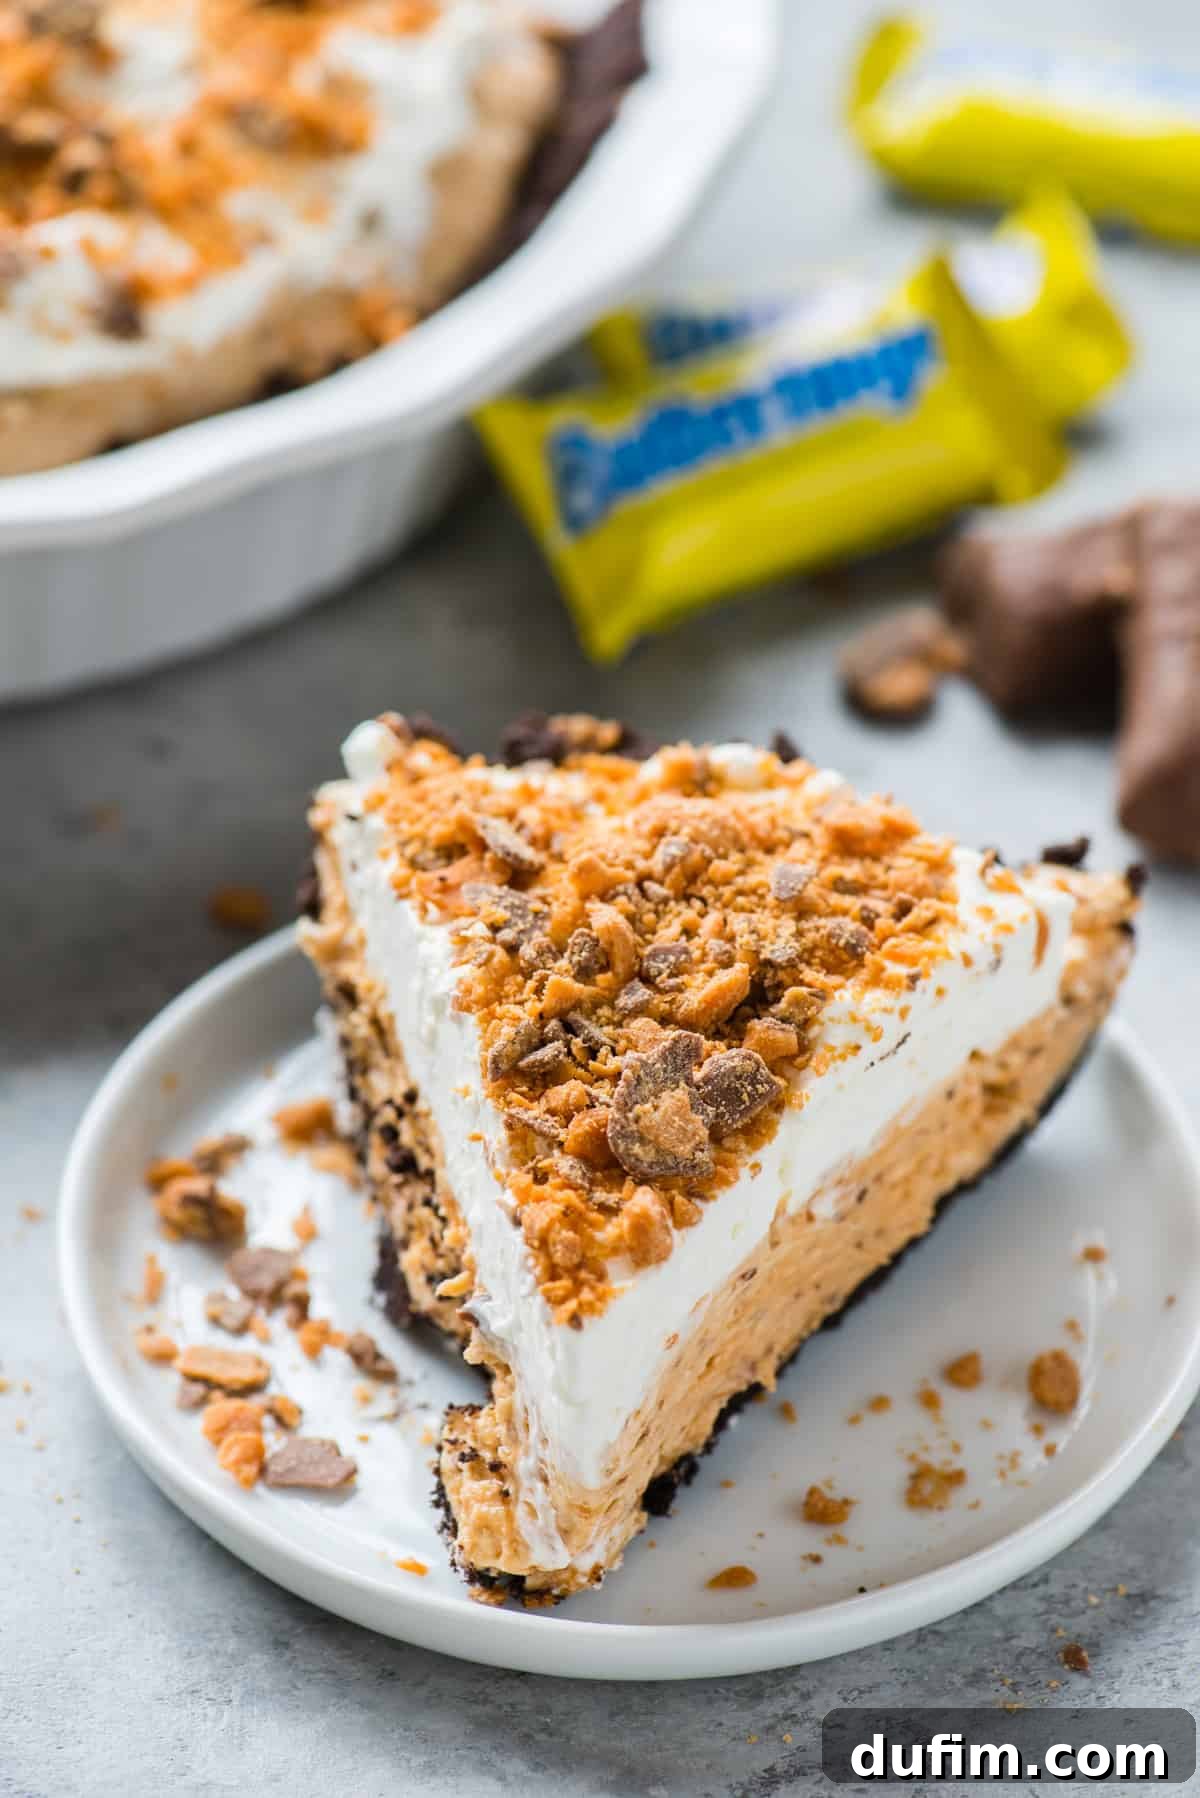
Consider me your personal pie-making guide, your dessert bestie who has mastered this recipe countless times. I’m here to walk you through every step, sharing all my best tips, tricks, and secrets to ensure your Butterfinger pie is nothing short of spectacular. Below, you’ll find everything you need to know, from the easiest ways to crush candy bars to making this recipe entirely gluten-free, and much more!
When I developed this Butterfinger pie recipe, my primary goal was to create a dessert that was not only unbelievably delicious but also incredibly simple. I meticulously tested and tweaked each step to guarantee that it’s one of the easiest pies you’ll ever assemble. The best part? It’s a no-bake dessert! This means you can have it fully prepared and chilling in your refrigerator in under 20 minutes, leaving you more time to relax and less time fussing in the kitchen.
Why You’ll Fall in Love with This No-Bake Butterfinger Pie
This isn’t just another pie; it’s an experience. Here’s why this Butterfinger pie will quickly become your go-to recipe for any occasion:
- Effortless Elegance: With no baking required, you’ll spend minimal time in the kitchen and still produce a dessert that looks and tastes like it took hours. It’s perfect for busy schedules or when you want a show-stopping treat without the stress.
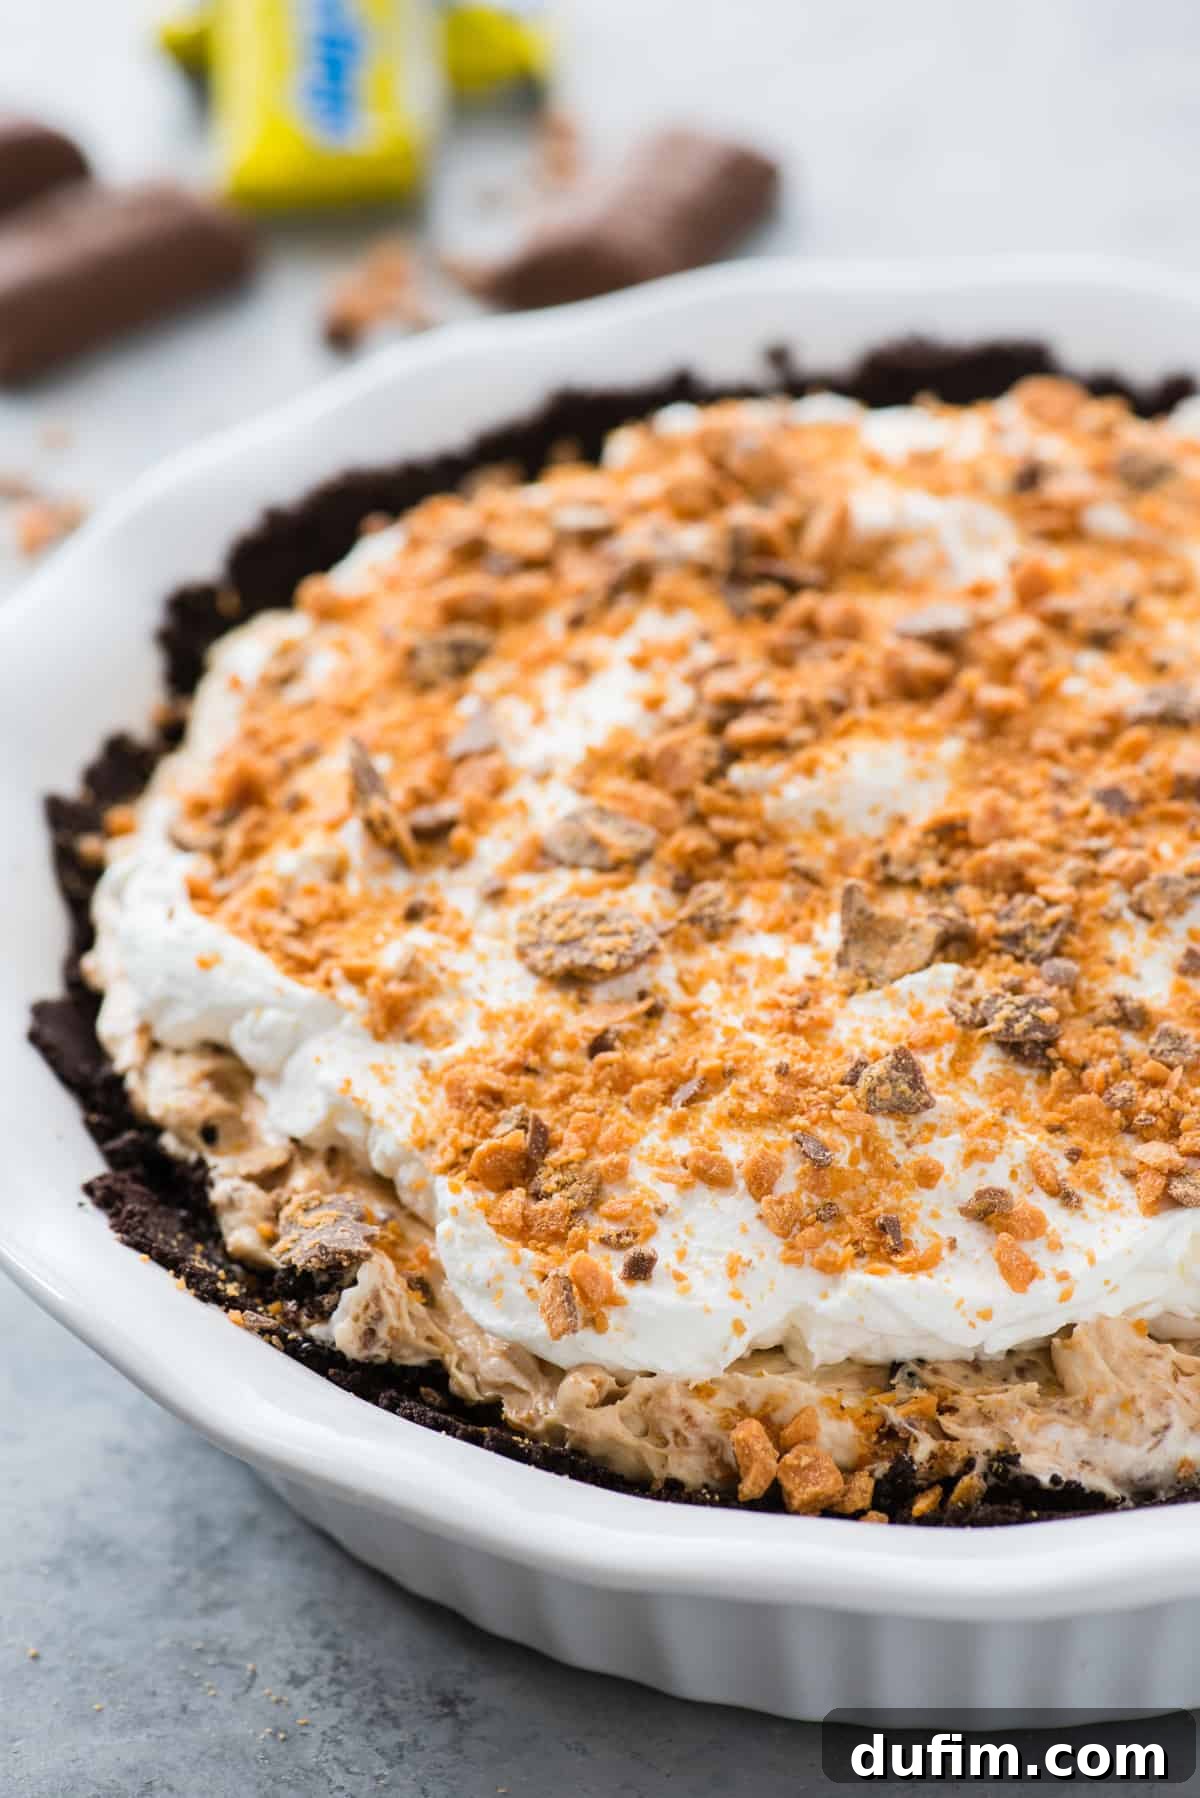
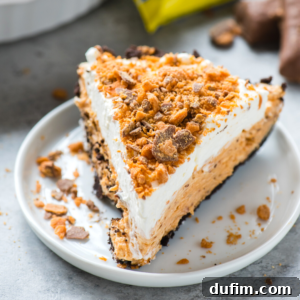
- Irresistible Flavor & Texture Combination: Imagine a rich, crumbly Oreo crust providing the perfect base for a fluffy, creamy filling generously studded with crunchy Butterfinger pieces. All of this is crowned with a cloud of homemade whipped cream, making every bite a symphony of textures and flavors.
- A True Crowd-Pleaser: The unique combination of chocolate, peanut butter, and the distinctive crunch of Butterfinger candy bars makes this pie universally appealing. It’s always the first dessert to disappear at potlucks, parties, and family gatherings.
- Quick & Convenient: From start to finish, the active preparation time is less than 20 minutes. The only waiting involved is for the pie to chill and set, which can be done ahead of time, making it an ideal make-ahead dessert.
- The “No Sticky Teeth” Secret: If you’ve ever avoided Butterfinger bars because they get stuck in your teeth, rejoice! When crushed and folded into the creamy filling, the Butterfinger pieces offer all their delicious flavor and crunch without any of the usual fuss. Pure genius!
A Deep Dive into the Dreamy Butterfinger Filling
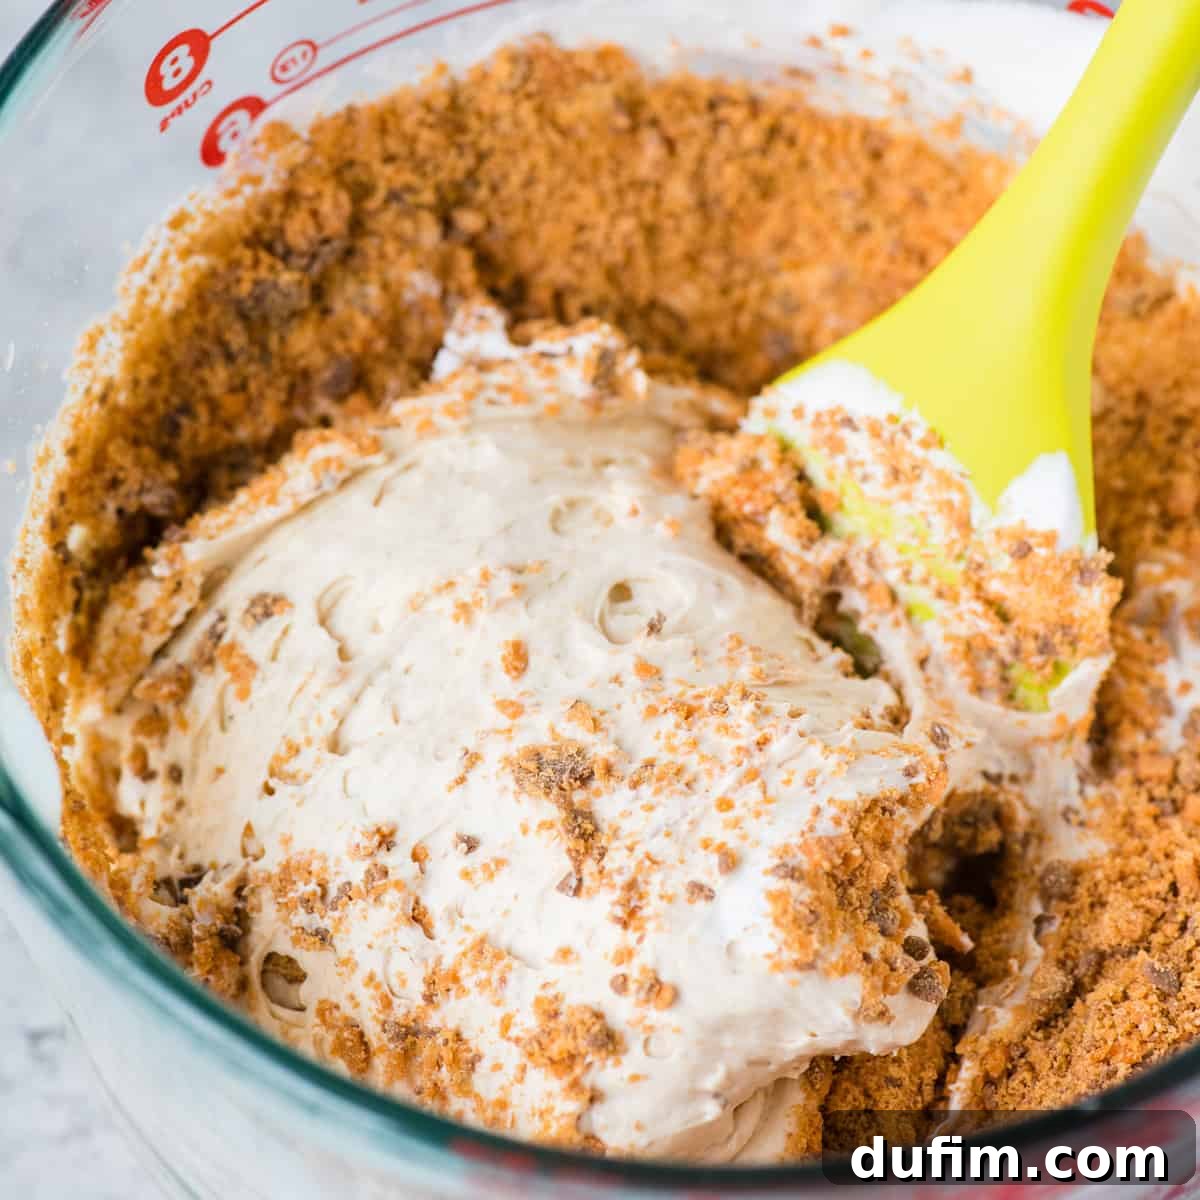
The heart of this pie is its absolutely DREAMY Butterfinger filling. It’s incredibly fluffy, lusciously creamy, and bursting with the unmistakable flavor of Butterfinger candy bars, thanks to a generous two cups of crushed pieces. This filling is what truly sets this pie apart.
I have a confession: I used to be a bit skeptical of Butterfinger candy bars. Their tendency to get stuck in my teeth always made me hesitate. However, when Butterfingers are incorporated into a pie or even a Butterfinger ice cream, that problem completely vanishes! Because the candy is already crushed, you get all that fantastic, crispy, peanut buttery flavor and delightful texture without any of the “teeth issue.” It’s pure Butterfinger bliss, reimagined into a smooth, delightful experience. This ingenious method ensures that every spoonful of pie delivers that iconic taste without any compromise.
Essential Ingredients for Your Butterfinger Pie
Gathering your ingredients is the first step towards creating this magnificent no-bake dessert. This recipe uses a straightforward list of readily available items to ensure maximum flavor with minimal fuss.
- For the Classic Oreo Crust:
- Oreos: A 14.3 oz package (approximately 36 cookies). We’ll use the whole cookie, cream filling and all, for the richest flavor and best binding.
- Melted Butter: Unsalted, to bind the cookie crumbs into a firm, delicious crust.
- For the Irresistibly Creamy Filling:
- Cream Cheese: Softened to room temperature for a smooth, lump-free filling. Full-fat cream cheese works best for richness.
- Creamy Peanut Butter: Essential for that classic Butterfinger flavor profile. Opt for a regular creamy variety, not natural, to prevent separation and ensure a consistent texture.
- Powdered Sugar: To sweeten the filling without adding a grainy texture.
- Fun Size Butterfingers: Around 16 bars, which will yield about 2 cups once crushed. These are the star of the show!
- Cool Whip: Thawed, adds a light, airy quality to the filling, making it wonderfully fluffy.
- For the Luscious Whipped Cream Topping:
- Heavy Cream: Chilled, for making fresh, homemade whipped cream that holds its shape beautifully.
- Powdered Sugar: To sweeten the whipped cream without affecting its texture.
- Vanilla Extract: A touch of vanilla enhances all the other flavors in the whipped cream.
Crafting Your No-Bake Butterfinger Pie: A Step-by-Step Guide
Making this Butterfinger pie is as enjoyable as eating it. Follow these simple steps to layer your way to dessert perfection!
LAYER #1 – The Perfect Oreo Crust
- Prepare the Oreos: In a blender or food processor, pulse the entire Oreos (cookies and cream filling) until fine crumbs are formed. Ensure there are no large chunks remaining.
- Combine and Press: Transfer the Oreo crumbs to a medium-sized bowl. Pour in the melted unsalted butter and mix well until the crumbs are evenly moistened.
- Form the Crust: Press this mixture firmly into a 9 or 10-inch pie pan. Use the bottom of a flat-bottomed measuring cup or a glass to pack the crust down tightly and evenly, especially up the sides. This ensures a sturdy base for your filling.
- Chill: Place the prepared crust in the refrigerator to chill for at least 15 minutes while you prepare the filling. This helps it set and prevents crumbling.
LAYER #2 – The Velvety Butterfinger Filling
- Cream the Base: In a large mixing bowl, using an electric mixer, beat together the softened cream cheese, creamy peanut butter, and powdered sugar until the mixture is smooth, light, and well blended. Make sure there are no lumps of cream cheese.
- Add the Stars: Gently fold in the crushed Butterfinger bars and the thawed Cool Whip. Mix on low speed, or by hand with a spatula, until just combined. Be careful not to overmix; you want to maintain the airy texture of the Cool Whip and the crunch of the Butterfingers.
- Fill the Crust: Evenly spread the creamy Butterfinger filling over the chilled Oreo crust. Use a spatula to create a smooth top.
- Refrigerate: Cover the pie pan tightly with plastic wrap and refrigerate for a minimum of 4-8 hours. Chilling is crucial for the pie to set properly and for the flavors to meld beautifully. For best results, chill overnight.
LAYER #3 – Cloud-Like Whipped Cream Topping
- Prepare for Whipping: For the best homemade whipped cream, place a metal or glass mixing bowl and your electric mixer beaters in the freezer for about 15 minutes before you begin. This helps the cream whip up faster and achieve stiffer peaks.
- Whip the Cream: Remove the chilled bowl and beaters from the freezer. Pour in the cold heavy whipping cream, powdered sugar, and vanilla extract. Beat with an electric mixer on high speed for 4-5 minutes, or until stiff peaks form. The whipped cream should be thick and hold its shape when a spoon is lifted.
- Top the Pie: Just before serving, spoon or pipe the freshly made whipped cream generously over the chilled Butterfinger pie.
- Garnish: For an extra flourish and delightful crunch, sprinkle additional crushed Butterfinger pieces over the whipped cream.
- Serve & Enjoy: Slice and serve immediately. Cover any leftover pie with plastic wrap and store it in the refrigerator.
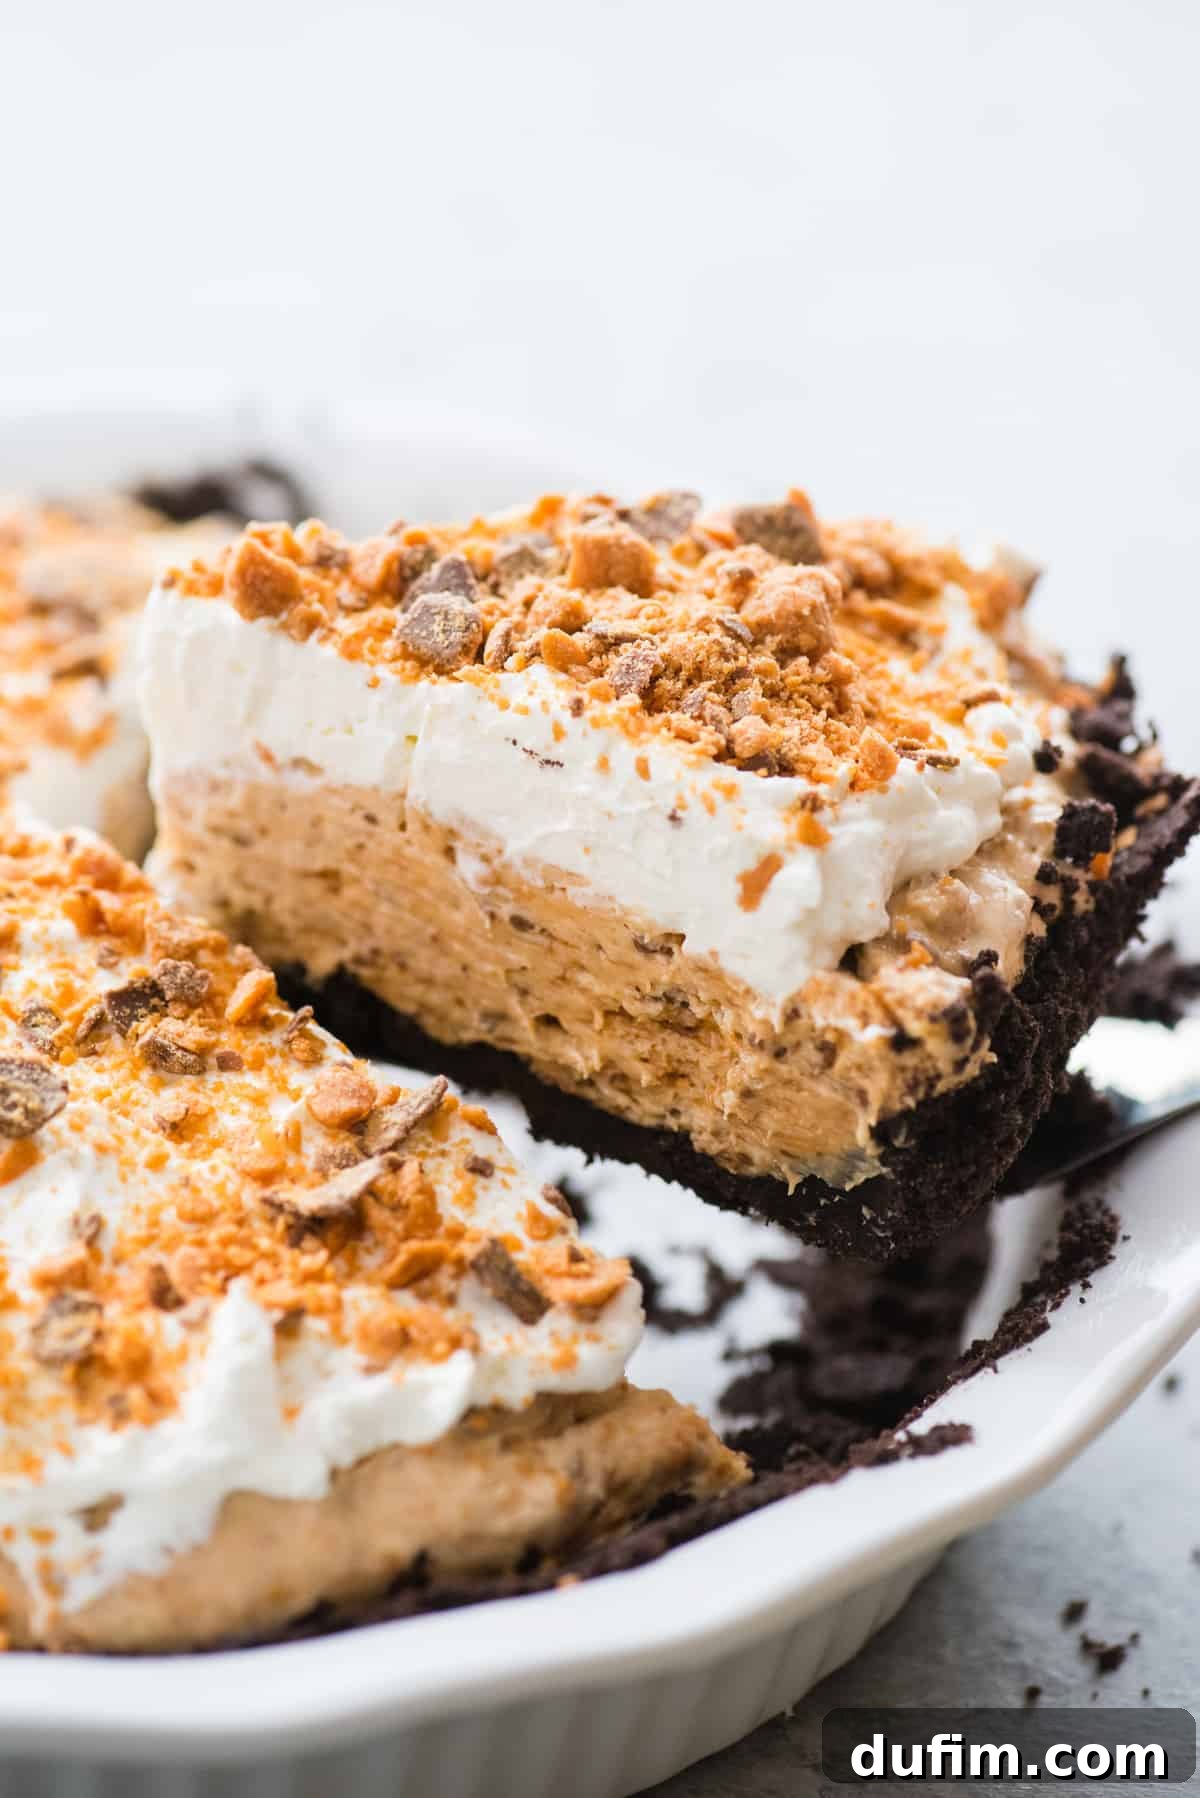
Total Time Required for Your No-Bake Delight
- Crust Preparation: Approximately 4 minutes of active work.
- Filling Preparation: Around 5 minutes of active mixing.
- Whipped Cream Topping: Roughly 5 minutes to whip to perfection.
- Chilling Time: A crucial 4-8 hours in the refrigerator for optimal setting and flavor development.
In just under 20 minutes of hands-on time, you can have this incredible pie ready to chill and impress!
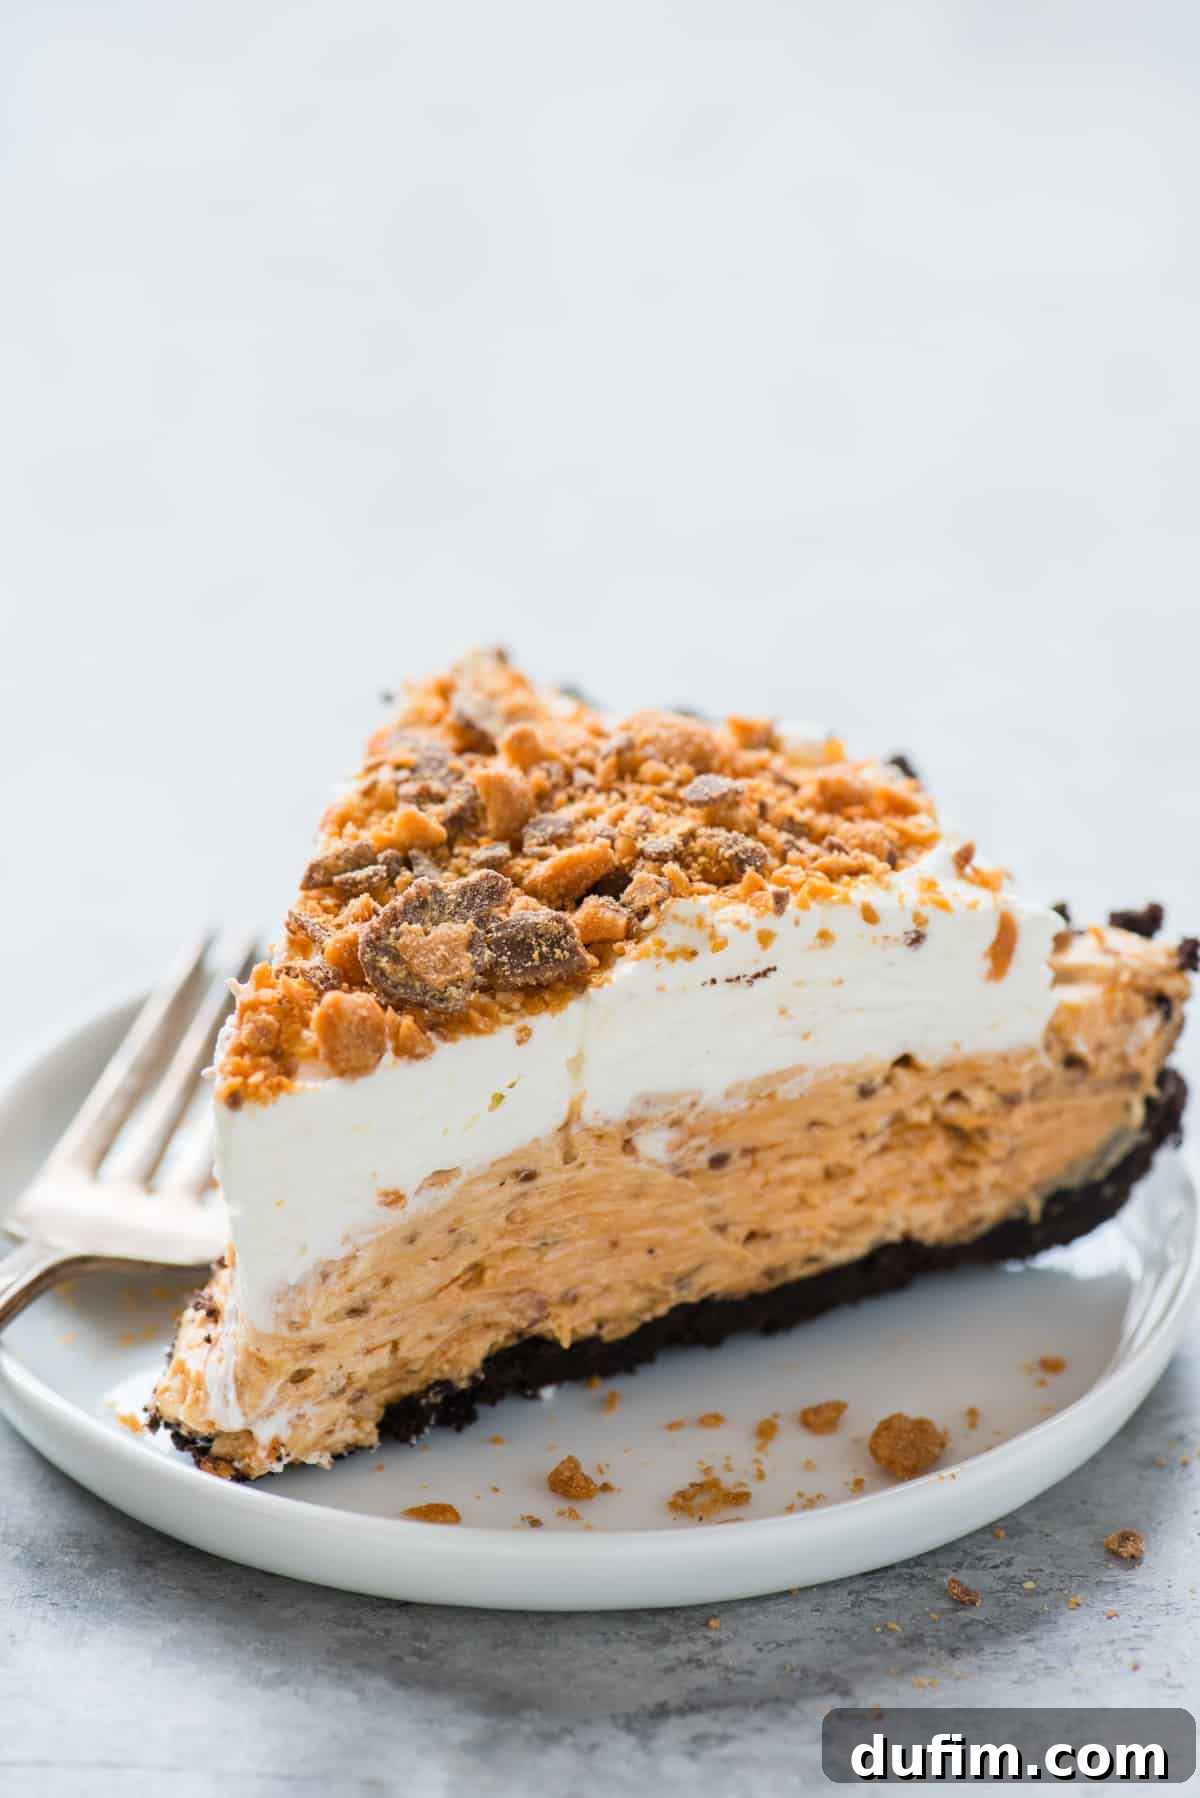
Expert Tips for a Flawless Butterfinger Pie
Achieving pie perfection is easy with these simple tips and tricks:
How To Crush Candy Bars Like a Pro
There are a few excellent techniques for crushing your Butterfinger candy bars, each offering slightly different results:
- The Blender or Food Processor Method: This is the quickest and most efficient way to achieve consistently fine crumbs. Simply pulse the unwrapped candy bars until they reach your desired consistency. Be careful not to over-process, or you might end up with a paste.
- The Knife Method: For larger, more rustic chunks, chop the candy bars using a large, sharp knife. This method gives you more control over the size of the pieces and adds a delightful textural variety to the filling.
- The Ziplock Bag & Hammer Method: Place the candy bars inside a sturdy ziplock bag (double-bagging can prevent tears). Lay the bag on a secure, hard surface, then use a rolling pin, meat tenderizer, or even a hammer to crush the bars into pieces. This is a fun, stress-relieving method that also offers good control over crumb size.
Achieving Pristine Slices
- For the cleanest, most impressive slices, use a sharp, thin knife.
- Wipe the knife clean with a warm, damp cloth between each slice. This removes any sticky residue and ensures that each piece looks as perfect as the first.
Ingredient Quality and Preparation Matters
- Cream Cheese: Ensure your cream cheese is truly softened to room temperature. This is key for a lump-free, smooth filling. If it’s too cold, your filling will be uneven.
- Peanut Butter: I highly recommend using creamy, processed peanut butter (like Jif or Skippy) rather than natural peanut butter. Natural peanut butter tends to separate and can result in a greasier or less stable filling.
- Heavy Cream: Always use very cold heavy cream for making whipped cream. Chilled bowls and beaters also significantly help in achieving stiff peaks.
Homemade vs. Store-Bought Whipped Cream
- While homemade whipped cream offers a superior taste and texture, you can absolutely use an 8 oz container of thawed Cool Whip as a convenient alternative for the topping. It will still be delicious and save you a few minutes.
Customizing Your Butterfinger Pie
This recipe is wonderfully versatile, allowing for easy adaptations to suit various dietary needs or taste preferences.
Gluten Free Perfection
Making this no-bake pie gluten-free is incredibly simple! The main ingredient you need to adjust is the crust. By using gluten-free Oreos for your base, you ensure the entire dessert is suitable for those avoiding gluten. All other ingredients in this recipe—cream cheese, peanut butter, powdered sugar, Butterfingers, Cool Whip, heavy cream, and vanilla extract—are naturally gluten-free. So, a quick swap of the cookies, and you’re all set to enjoy a delicious gluten-free Butterfinger pie!
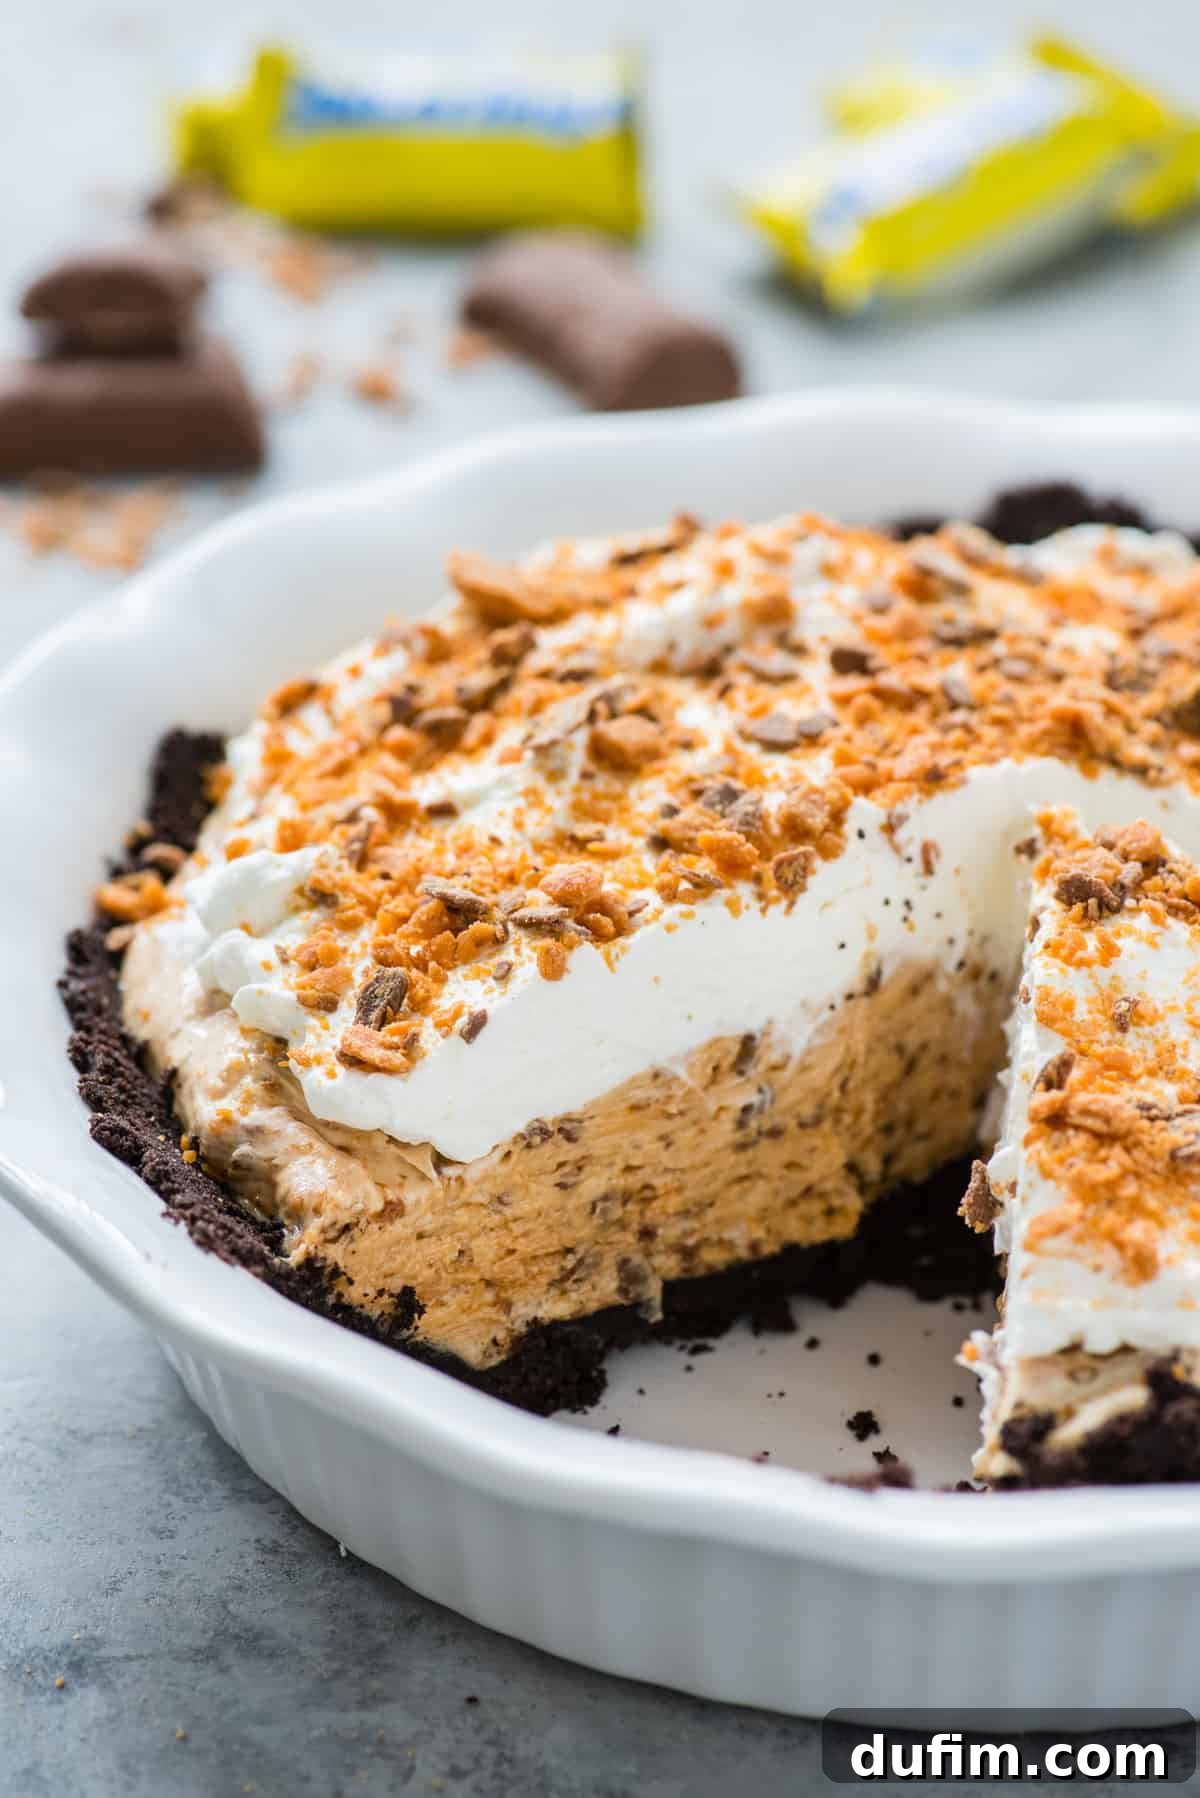
Alternative Crusts: Beyond Oreo
While the Oreo crust is a classic, you might prefer a different base. A graham cracker crust is another fantastic option that pairs beautifully with the peanut butter and chocolate flavors of the Butterfinger filling. Here’s a quick recipe if you prefer a graham cracker base:
- 1 & 1/2 cups graham cracker crumbs
- 1/4 cup brown sugar
- 6 tbsp melted butter
Simply combine all the ingredients in a bowl until moist, then press evenly into your pie pan and chill as you would the Oreo crust. You could also experiment with a pretzel crust for a salty-sweet twist, or even a shortbread cookie crust for a buttery flavor!
Other Topping Ideas
- Drizzle with warm chocolate syrup or caramel sauce before serving.
- Add a sprinkle of mini chocolate chips or chopped roasted peanuts for extra texture.
- Pipe decorative swirls of whipped cream and top with a whole fun-size Butterfinger bar in the center for a dramatic presentation.
Storing Your Delicious Creation
Proper storage is key to keeping your no-bake Butterfinger pie fresh and delightful:
- Refrigeration: This pie absolutely needs to be refrigerated due to its creamy ingredients. To maintain its freshness and prevent it from absorbing other odors in your fridge, be sure to cover the pie tightly with plastic wrap. It will stay fresh in the refrigerator for up to 3-4 days.
- Freezing for a Frozen Treat: For an equally delightful frozen dessert, you can easily freeze this pie! Once fully set, cover the pie first with plastic wrap, then with a layer of aluminum foil. Store it in the freezer for up to 1-2 months. When you’re ready to enjoy, simply remove it from the freezer and let it sit at room temperature for 15-20 minutes, or until it reaches your desired consistency. It’s wonderfully refreshing when frozen!
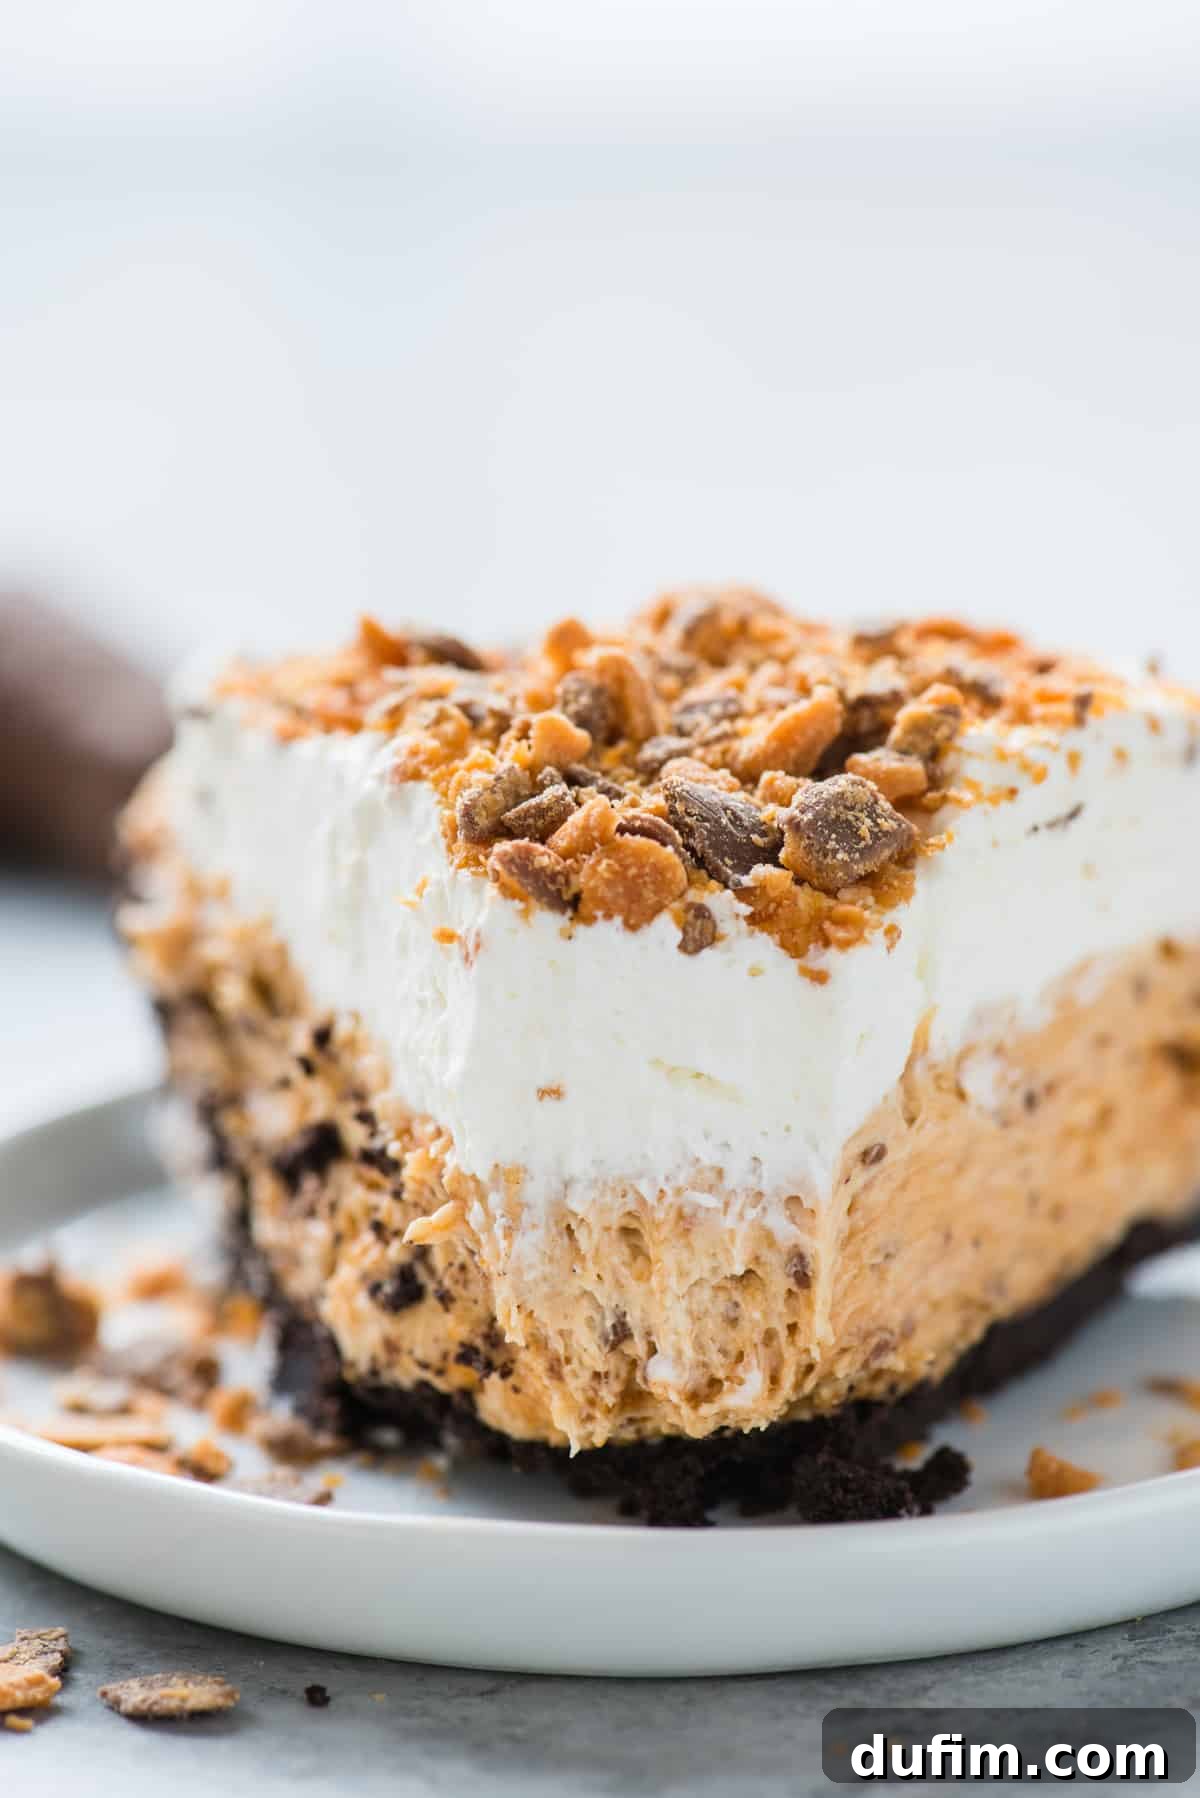
Frequently Asked Questions About Butterfinger Pie
Why is a Butterfinger called a Butterfinger?
The name “Butterfinger” was originally coined by the Curtiss Candy Company in 1923. It was a playful slang term commonly used to describe someone who was clumsy, particularly in sports, and prone to dropping things, like a ball. The company creatively chose this memorable name through a public contest, aiming to establish an appealing and easily recognizable brand for their distinctive candy bar.
Are peanuts in Butterfinger?
Yes, Butterfinger candy bars do contain peanuts. The unique crispy, flaky center that gives Butterfinger its signature texture and flavor is primarily made from a blend of peanut butter and sugar. This combination is what provides the distinctive taste that Butterfinger fans love.
Can I make this Butterfinger pie ahead of time?
Absolutely! This no-bake Butterfinger pie is an excellent make-ahead dessert. You can prepare it up to 1-2 days in advance. Just be sure to cover it tightly with plastic wrap and store it in the refrigerator. Add the fresh whipped cream topping and extra crushed Butterfingers just before serving for the best presentation and texture.
How long does no-bake Butterfinger pie last?
When properly covered and refrigerated, your Butterfinger pie will stay fresh for about 3-4 days. If you’ve chosen to freeze it, it can last for 1-2 months, making it perfect for preparing far in advance of an event or for enjoying a sweet treat whenever a craving strikes.
What kind of pie pan should I use?
A standard 9-inch pie pan works perfectly for this recipe. Glass pie pans are great because they allow you to see the crust, ensuring it’s evenly pressed, and they also conduct cold well, which aids in setting the pie. However, ceramic or metal pie pans will work just fine too.
Can I use other candy bars in this pie?
While the magic of this recipe lies in the Butterfinger, you can certainly experiment with other candy bars if you’re feeling adventurous! Snickers, Reese’s Peanut Butter Cups, or even Heath bars (toffee bits) would likely make delicious substitutions. Just be aware that the flavor profile will change, and you’ll want to adjust the peanut butter quantity if using a non-peanut-based candy.
Explore More No-Bake Delights
If you’ve fallen in love with the ease and deliciousness of this no-bake Butterfinger pie, then you’ll adore these other effortless desserts:
- Decadent Oreo Mousse
- Easy No-Bake S’mores Bars
- Classic Peanut Butter Buckeye Balls
- Simple No-Bake Peanut Butter Pie
Average Rating: 4.45 from 27 ratings
Butterfinger Pie
Beth
20 minutes
4 hours
4 hours 20 minutes
12 servings
Equipment
-
Glass Pie Pan
-
Electric Mixer (e.g., KitchenAid 9-Speed Mixer)
-
Large Glass Mixing Bowl
-
Rubber Spatula
-
Food Processor or Blender
Ingredients
Oreo Crust
- 36 Oreos (from a 14.3 oz package)
- 7 Tbsp (98g) unsalted butter, melted
Filling
- 8 oz (226g) cream cheese, softened
- ½ cup (135g) creamy peanut butter
- 1 cup (113g) powdered sugar
- 16 fun size Butterfinger bars, crushed or blended (will equal about 2 cups)
- 8 oz (226g) Cool Whip, thawed
Whipped Cream Topping
- 1 cup (236ml) heavy whipping cream, very cold
- ¼ cup (28g) powdered sugar
- 1 tsp vanilla extract
- Extra crushed Butterfinger pieces, for garnish (optional)
Instructions
Oreo Crust
-
Process the Oreos (the cookie and cream filling together) in a food processor or blender until fine crumbs remain. In a large bowl, combine the crushed Oreos with the melted butter. Press this mixture evenly into a 9 or 10-inch pie pan using the bottom of a measuring cup to pack it down firmly. Place the crust in the fridge to chill until ready to fill.
Filling
-
In a large mixing bowl, using an electric mixer, beat the softened cream cheese, creamy peanut butter, and powdered sugar together until well blended and smooth. Add the crushed Butterfingers and thawed Cool Whip, mixing on low speed until just combined. Spread this delicious filling evenly over the chilled Oreo crust. Cover the pie pan with plastic wrap and refrigerate for 4-8 hours, or ideally overnight, to allow the pie to set completely.
Whipped Cream Topping
-
Before serving the pie, place a metal or glass mixing bowl and the beaters of your electric mixer in the freezer for about 15 minutes. This step helps in achieving perfectly stiff peaks for your whipped cream.
-
Remove the chilled bowl and beaters from the freezer. Add the very cold heavy whipping cream, powdered sugar, and vanilla extract. Beat with an electric mixer on high speed for 4-5 minutes, or until stiff peaks form and the whipped cream is scoop-able and holds its shape.
-
Generously spoon or spread the homemade whipped cream on top of the thoroughly chilled pie. For an extra touch, garnish with additional crushed Butterfinger pieces.
-
Serve immediately and enjoy! Cover any leftover pie with plastic wrap and store it in the refrigerator.
Notes
How To Crush Candy Bars
There are a few different techniques for crushing candy bars, depending on your desired consistency:
- Blend them in a blender or food processor for fine, consistent crumbs.
- Chop them using a large, sharp knife for larger, more rustic pieces.
- Place them inside a ziplock bag and use a rolling pin, meat tenderizer, or hammer (on a safe surface) to crush them into pieces.
Gluten Free Butterfinger Pie
It is really easy to make this no-bake pie gluten-free by simply using gluten-free Oreos for the crust. All of the other ingredients in the recipe are naturally gluten-free!
Swap the Oreo Crust for a Graham Cracker Crust
If you prefer a graham cracker crust, here’s our simple recipe for it:
- 1 & 1/2 cups graham cracker crumbs
- 1/4 cup brown sugar
- 6 tbsp melted butter
Combine all these ingredients thoroughly and then press the mixture into your pie pan. Chill before adding the filling.
Nutrition Information (per serving)
Calories:
513
kcal
|
Carbohydrates:
47
g
|
Protein:
7
g
|
Fat:
35
g
|
Saturated Fat:
17
g
|
Polyunsaturated Fat:
3
g
|
Monounsaturated Fat:
10
g
|
Trans Fat:
1
g
|
Cholesterol:
69
mg
|
Sodium:
292
mg
|
Potassium:
185
mg
|
Fiber:
2
g
|
Sugar:
35
g
|
Vitamin A:
754
IU
|
Vitamin C:
1
mg
|
Calcium:
64
mg
|
Iron:
2
mg
Nutrition Disclosure
All nutritional values are approximate and provided to the reader as a courtesy. Changing ingredients and/or quantities will alter the estimated nutritional calculations. For precise nutritional information, it is recommended to calculate based on the specific brands and quantities of ingredients you use.
Love this irresistible recipe? Show your appreciation by rating it and leaving a comment below!