
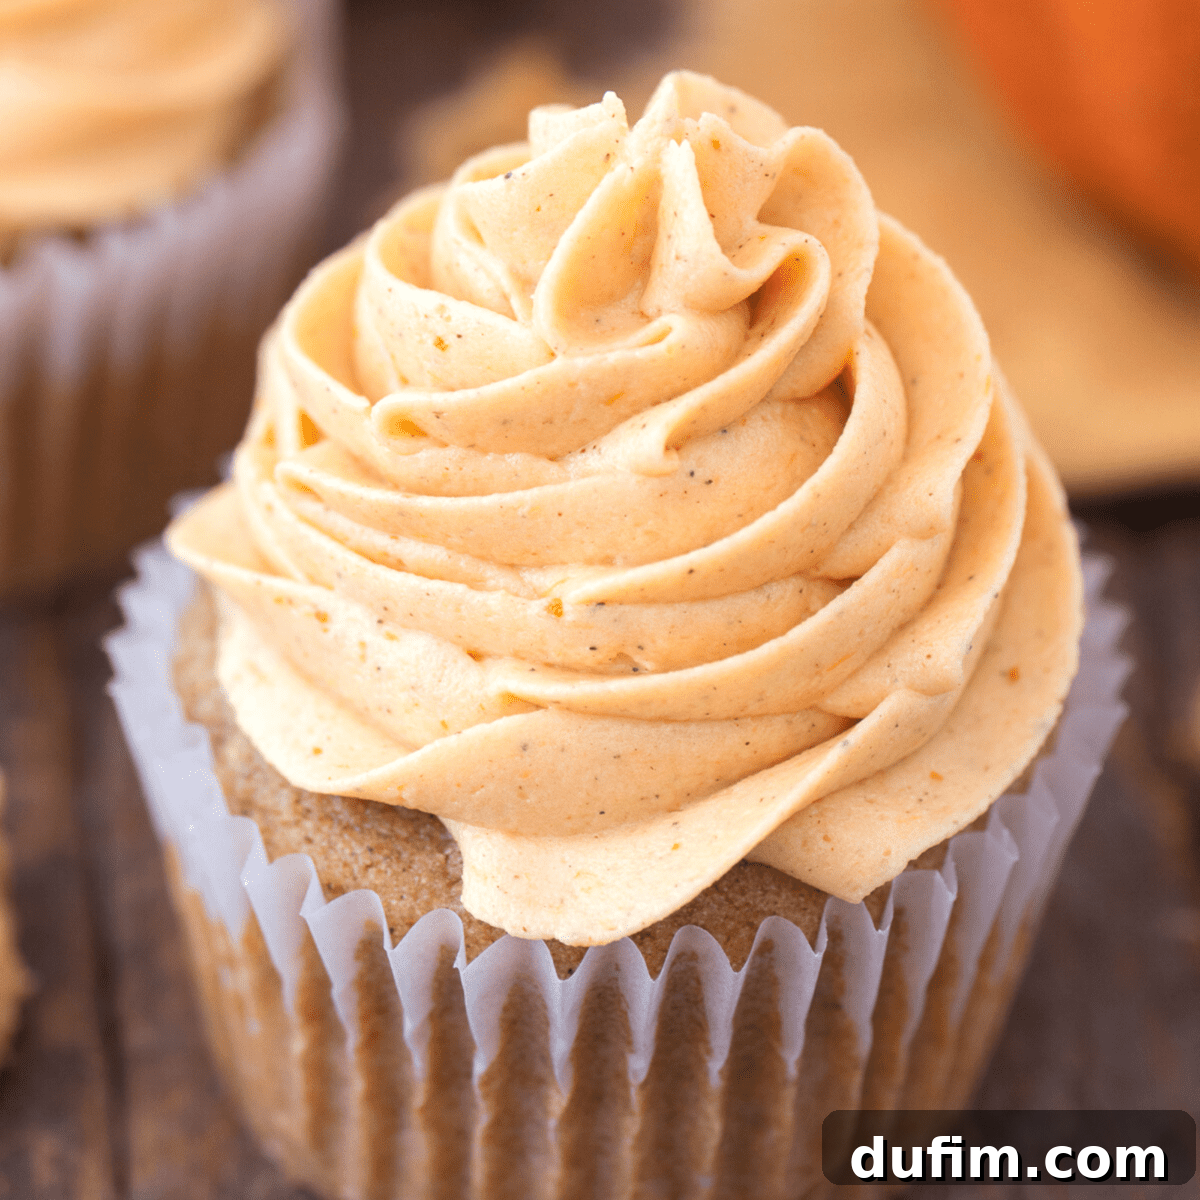
Crafting a luscious pumpkin frosting is incredibly easy and requires just a few staple ingredients, transforming your fall baking from good to absolutely extraordinary.
This is truly our go-to, no-fail recipe for irresistible pumpkin buttercream. Prepare to be amazed by its creamy texture, rich pumpkin flavor, and perfect balance of sweetness and spice.
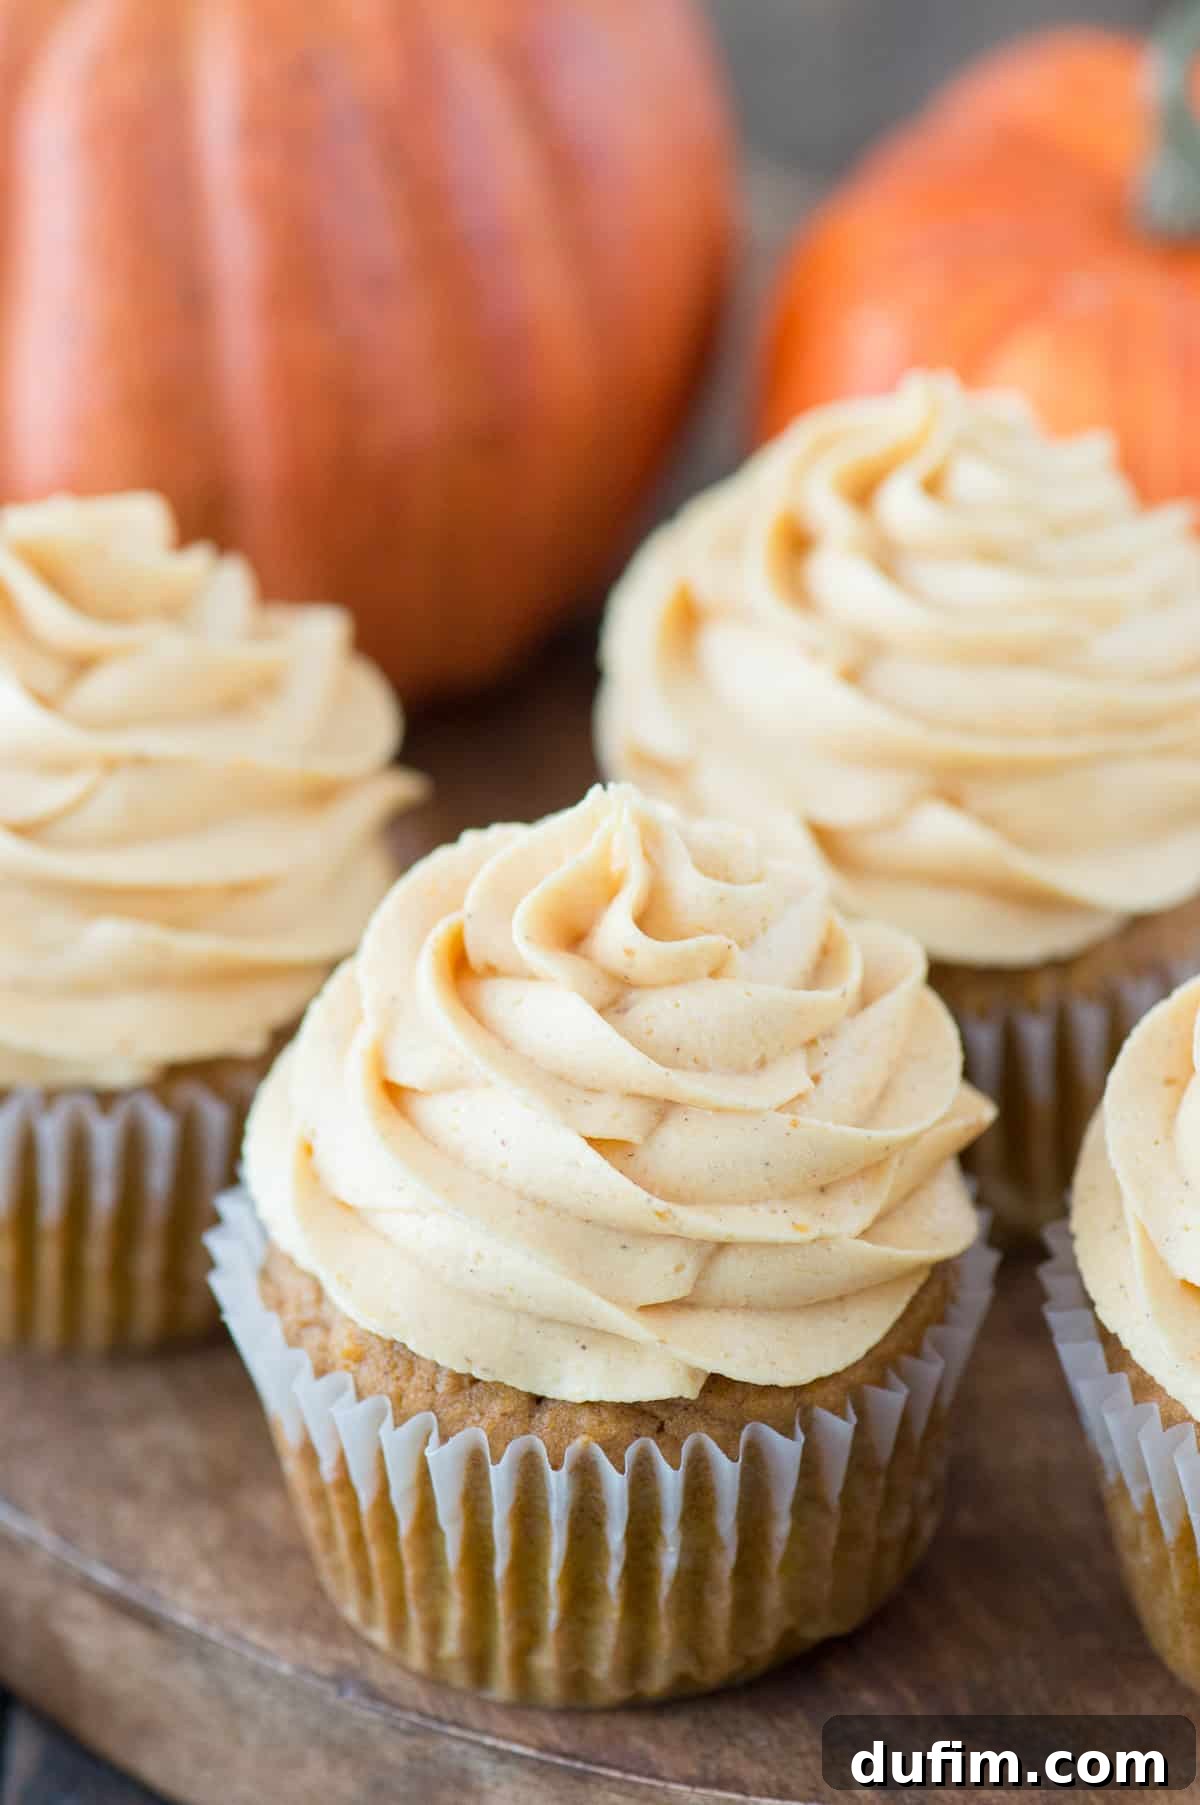
“I spread this frosting generously on an almond white cake for my birthday, and it was absolutely delicious! A definite crowd-pleaser.”
-Haileigh
Welcome to the ultimate guide to mastering pumpkin frosting! Whether you’re a beginner baker or a seasoned pro, this comprehensive tutorial will equip you with all the knowledge to create bakery-quality buttercream in your own kitchen.
Beyond the simple steps, we’ll delve into essential techniques, provide practical solutions to common buttercream challenges, and offer precise guidance on how much frosting you’ll need for various baking projects, from single cupcakes to elaborate layer cakes. Get ready to elevate your dessert game this fall!
The Art of Homemade Buttercream: Why It Matters
For many avid bakers, the process of creating buttercream frosting becomes second nature—almost as automatic as brushing your teeth first thing in the morning. However, this effortless skill isn’t something everyone is born with. There was a time when I viewed buttercream as one of those elusive, super-secret baking techniques, reserved only for culinary experts like Martha Stewart.
But like any craft, baking, and particularly frosting making, becomes easier and more intuitive with consistent practice. Learning to whip up a flawless buttercream is an invaluable skill. It unlocks a world of creative possibilities, allowing you to experiment with an endless array of flavors, textures, and pairings for all your favorite cakes, cupcakes, and cookies. Forget store-bought tubs; homemade buttercream offers unparalleled freshness, customizable sweetness, and a truly superior taste that elevates any dessert.
Essential Ingredients for Perfect Pumpkin Frosting
Achieving the perfect pumpkin frosting relies on a carefully selected blend of ingredients, each playing a crucial role in its flavor, texture, and stability. Here’s a breakdown of what you’ll need and why:
- Unsalted Butter: The foundation of any great buttercream! It’s essential to use room temperature butter, as this allows it to cream smoothly with the sugar, creating a light, airy, and fluffy frosting without any lumps. Cold butter will result in a stiff, chunky frosting, while melted butter will make it greasy and runny.
- Shortening (Optional, but Recommended for Stability): While I often opt for an all-butter frosting these days, my original recipe for pumpkin buttercream included shortening. Shortening, a solid fat, contributes significantly to the frosting’s stability and structure, especially important in warmer climates or when piping intricate designs. It helps prevent the buttercream from becoming “floppy.” You can use either all butter or a combination of butter and shortening depending on your preference and environmental conditions.
- Pumpkin Puree: This is where the star flavor comes from! Ensure you’re using 100% pure canned pumpkin puree, not pumpkin pie filling, which contains added sugars and spices that would alter the frosting’s balance. The puree provides moisture, a beautiful natural color, and that unmistakable autumnal taste.
- Pumpkin Pie Spice: The aromatic blend that complements the pumpkin perfectly. This spice mix typically includes cinnamon, nutmeg, ginger, and cloves, bringing warmth and depth to your frosting. Adjust the amount to your taste—some prefer a bolder spice profile, others a more subtle hint.
- Powdered Sugar (Confectioner’s Sugar): This finely milled sugar is crucial for a smooth, lump-free buttercream. It dissolves easily into the butter, providing sweetness and structure. It’s often referred to as confectioner’s sugar. Always sift your powdered sugar for the smoothest results, especially if it’s prone to clumping.
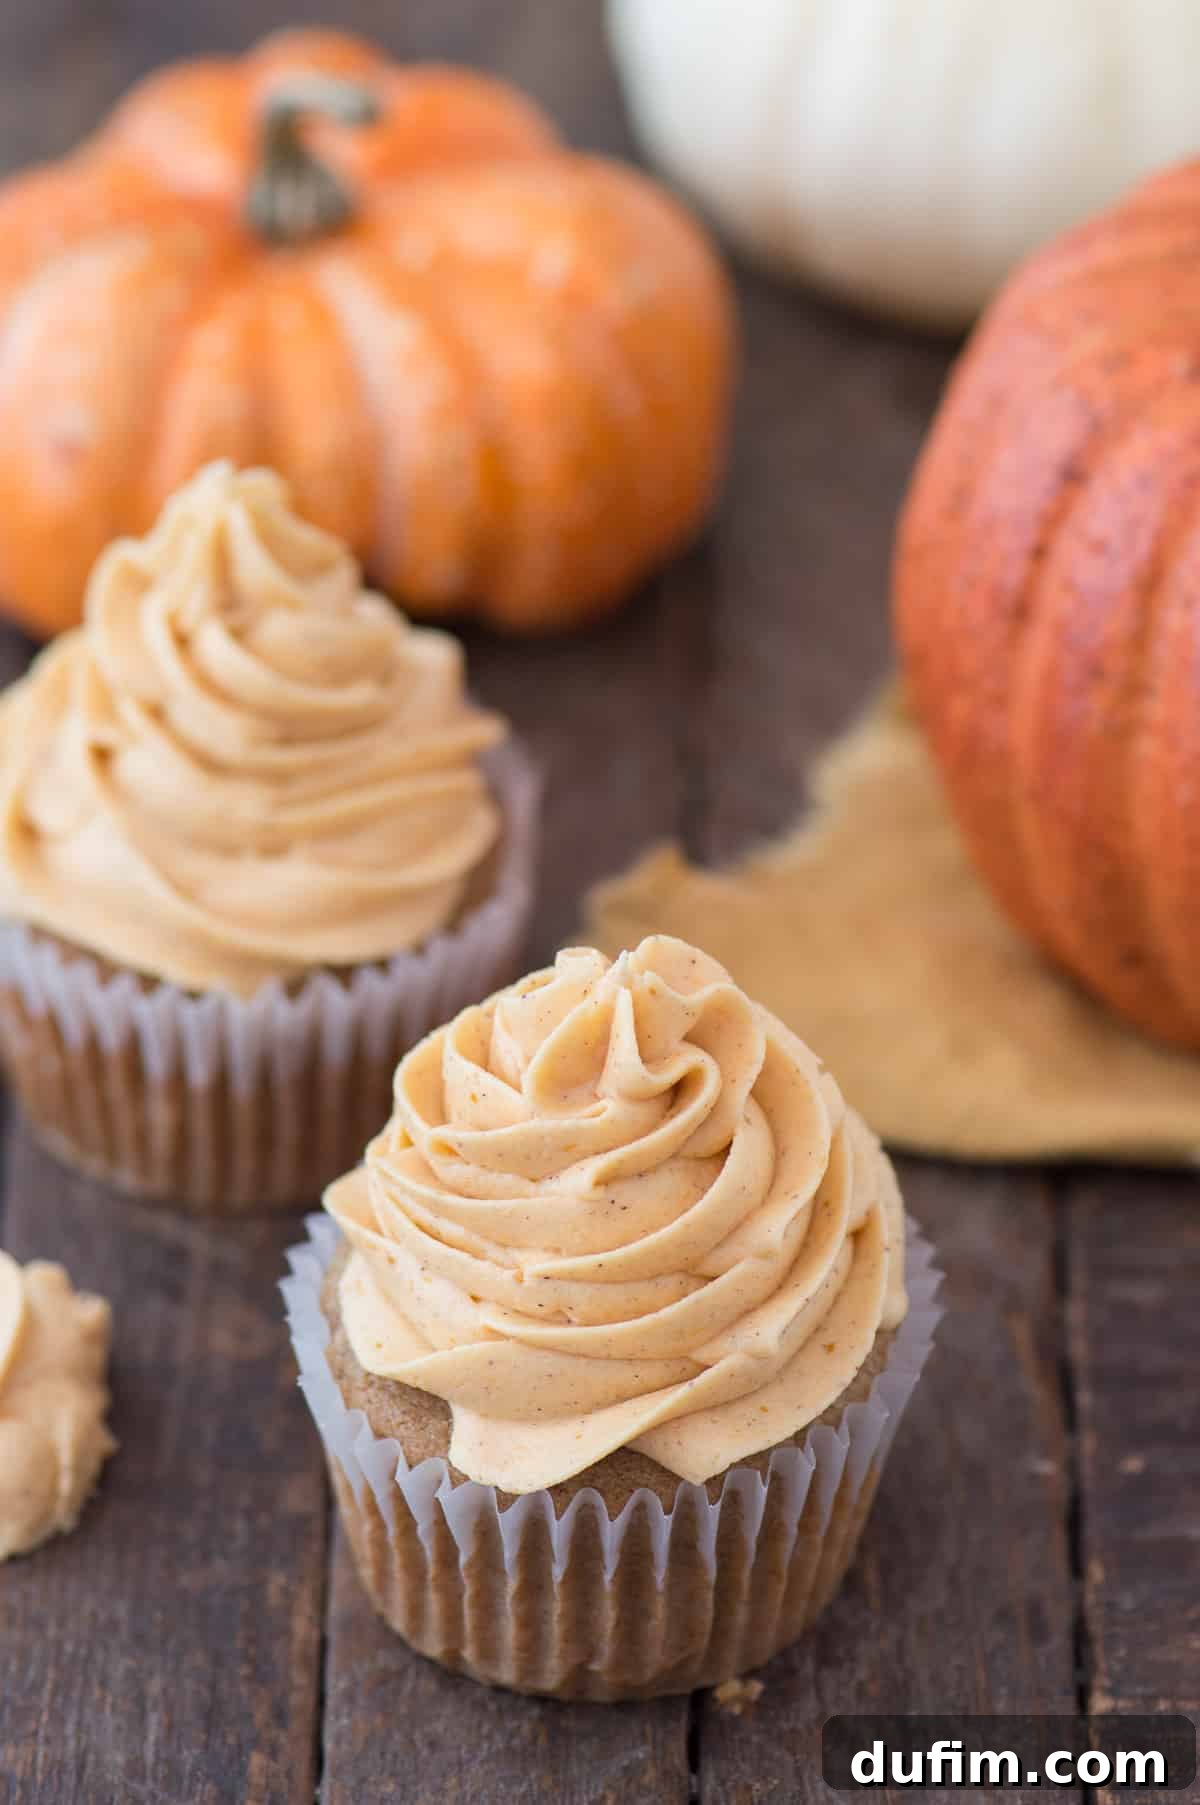
How To Make Delicious Pumpkin Frosting: A Detailed Guide
Making homemade pumpkin frosting is a straightforward process, but paying attention to each step ensures a wonderfully smooth and flavorful result. Follow these instructions for a perfect batch every time:
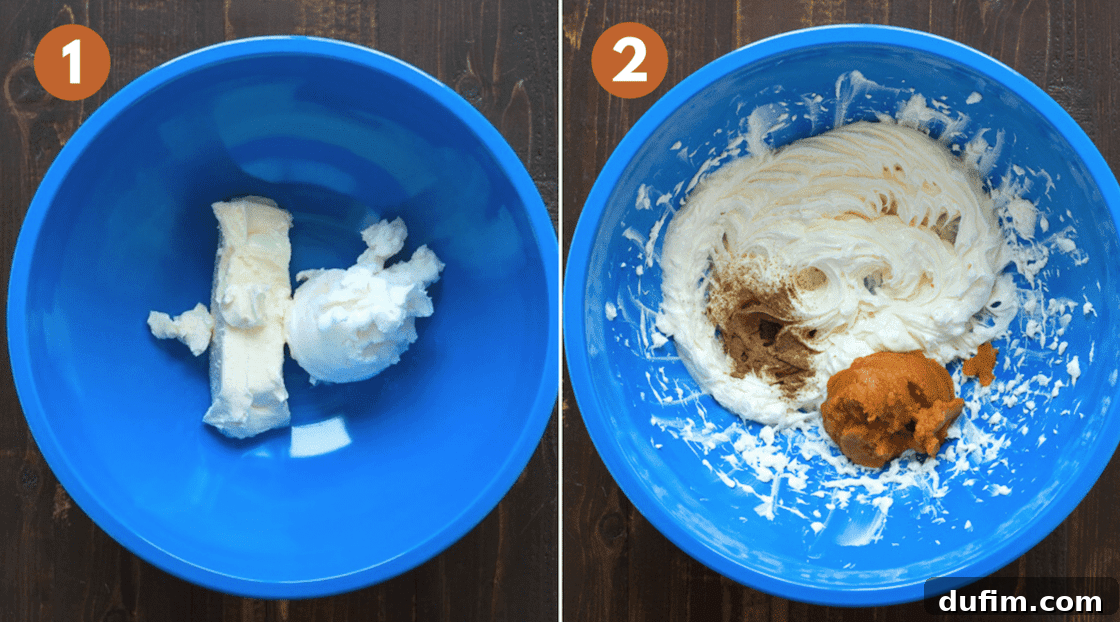
- Cream the Butter: Begin by placing your room temperature unsalted butter (and vegetable shortening, if you choose to use it for extra stability) into a large mixing bowl. Using an electric mixer (either a hand mixer or a stand mixer with the paddle attachment), beat the butter on medium-high speed until it becomes incredibly smooth, light, and creamy. This typically takes about 1 minute. The butter should be pale yellow and fluffy.
- Incorporate Pumpkin Puree and Spices: Reduce the mixer speed to low. Add the pure pumpkin puree and pumpkin pie spice to the creamed butter. Mix briefly with a spatula first to prevent splashing, then use the electric mixer on low until just combined. Scrape down the sides of the bowl to ensure all ingredients are well incorporated. You’ll notice the mixture taking on a lovely orange hue and smelling wonderfully autumnal.
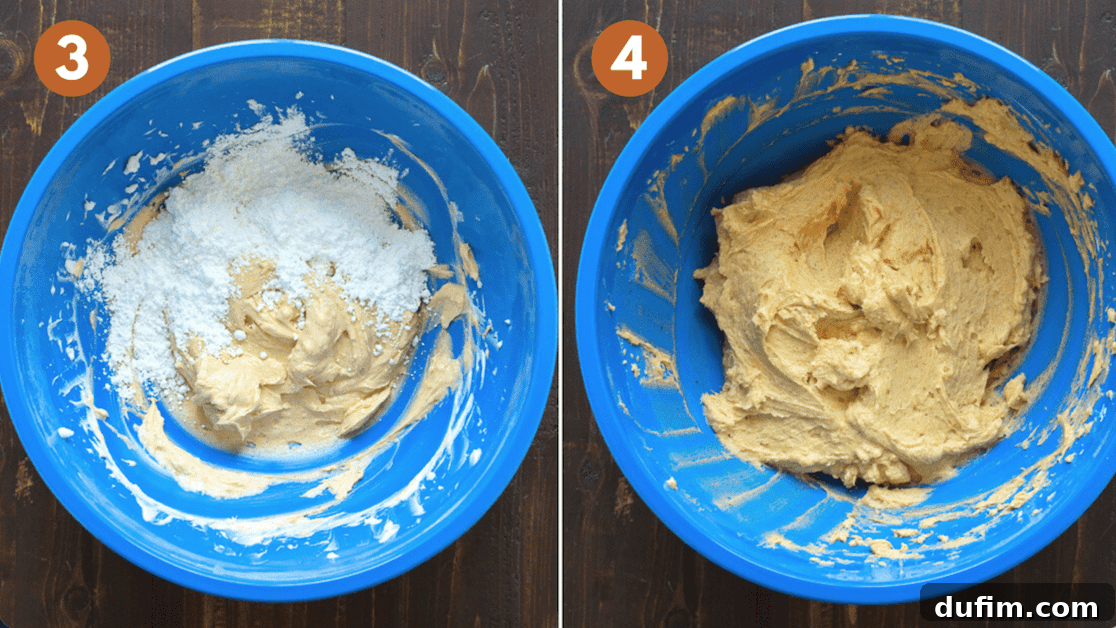
- Gradually Add Powdered Sugar: This step is key for a smooth consistency. Add the powdered sugar into the bowl, one cup at a time. It’s highly recommended to mix each cup in with a spatula initially. This prevents the powdered sugar from creating a “sugar cloud” and puffing up everywhere. Once the sugar is partially moistened by the butter mixture, you can then switch to your electric mixer on low speed. Continue this process, adding one cup at a time, until all the powdered sugar is incorporated.
- Beat to Perfection: Once all the powdered sugar has been added, increase the electric mixer speed to medium-high. Beat the buttercream for an additional 1-2 minutes. This final mixing stage is crucial for achieving a smooth, fluffy, and well-aerated frosting. You’ll notice the texture becoming lighter and more pipeable. Scrape down the bowl once more to ensure everything is thoroughly combined.
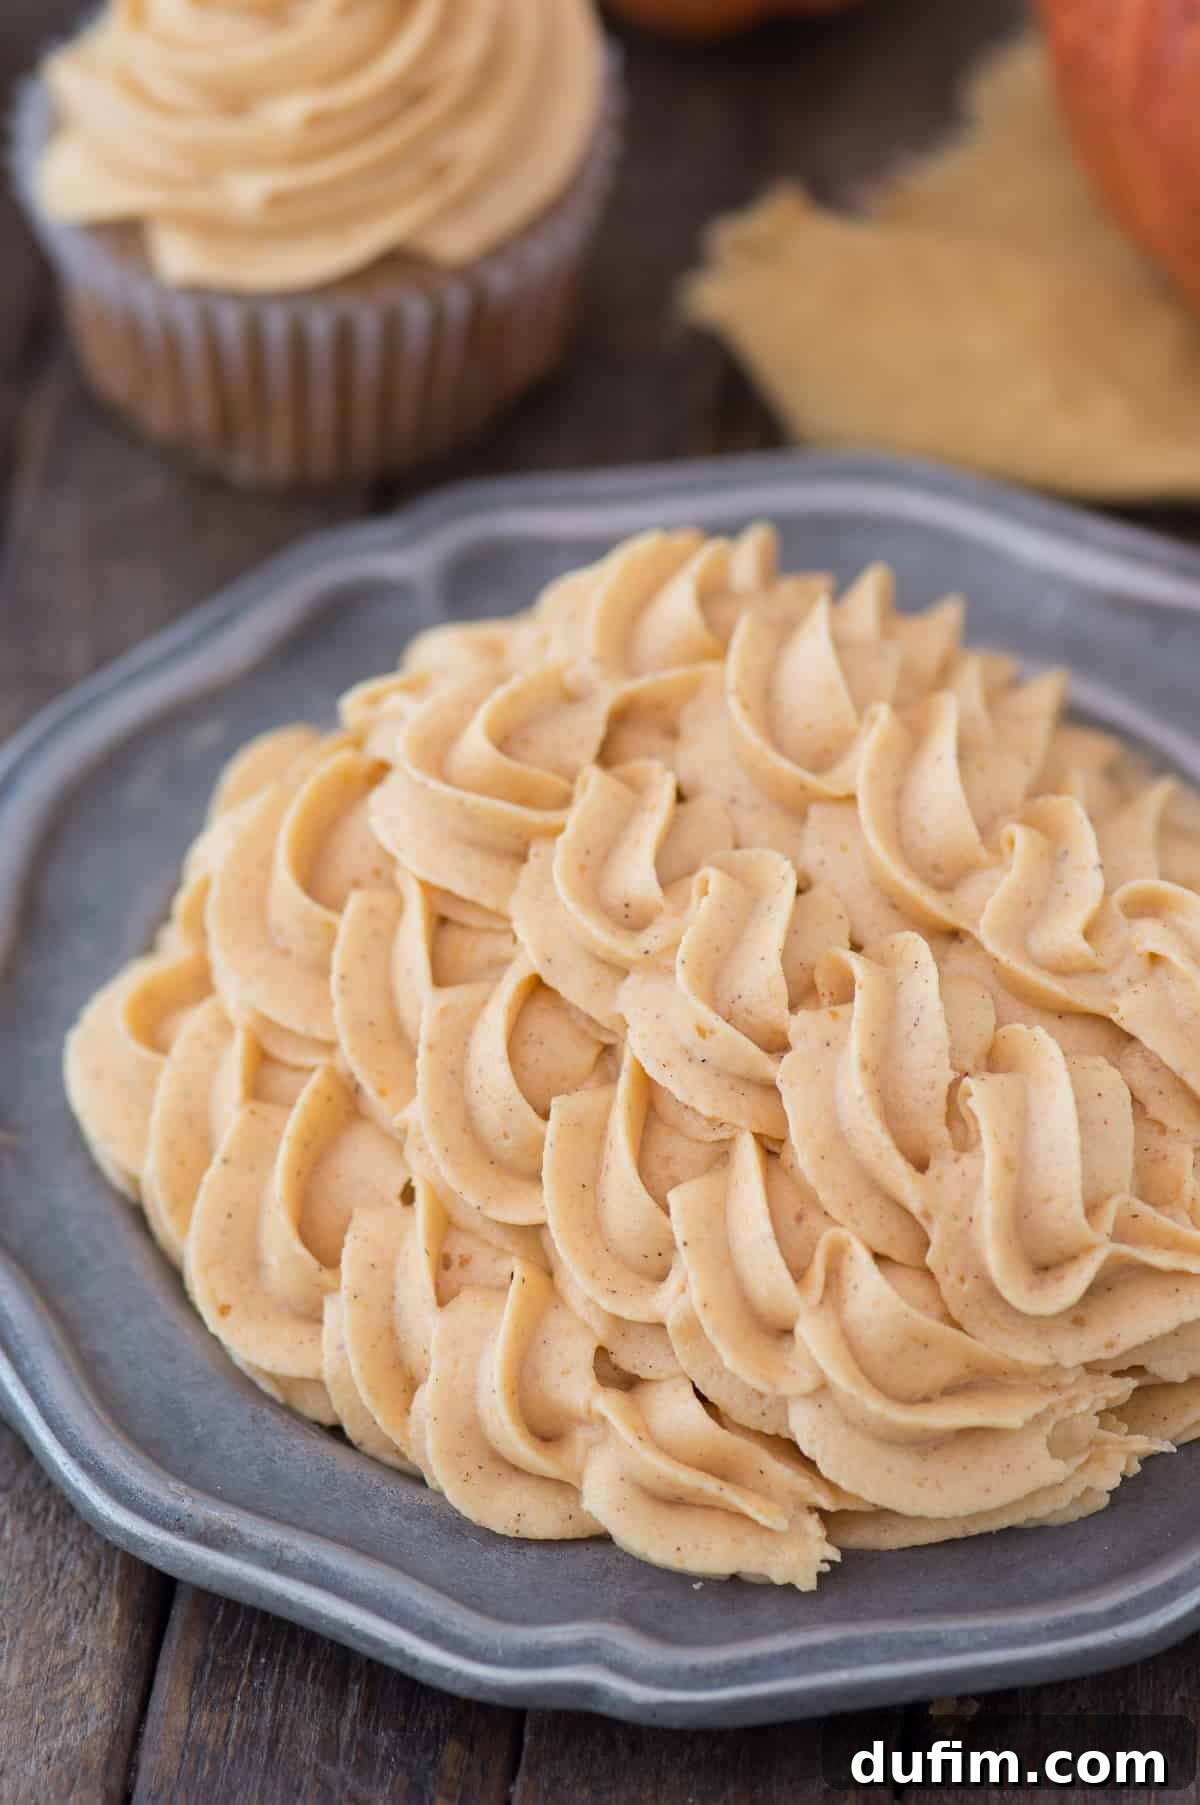
TA-DA! You’ve just created a batch of perfectly spiced pumpkin frosting, ready to be spread generously on pumpkin cupcakes, cakes, or any other autumnal treat that calls for a touch of creamy, pumpkin-spiced goodness.
Common Buttercream Problems and How to Fix Them
Even experienced bakers encounter buttercream challenges from time to time. Don’t worry, most issues are easily solvable! Here are some common problems you might face when making pumpkin frosting and their simple solutions:
My buttercream is too wet and just flops over!
Solution: This is a common issue, especially if your butter was too soft or you added too much liquid (like pumpkin puree). The easiest fix is to gradually add more powdered sugar, about 1/2 to 1 cup at a time. Continue mixing until the buttercream thickens, loses its overly glossy look, and holds its shape beautifully. If it’s still too soft after adding a considerable amount of sugar, you can also chill the frosting in the refrigerator for 15-20 minutes, then re-whip it.
My buttercream is too thick; it won’t easily come out of a piping bag!
Solution: If your frosting is too stiff or crumbly, it likely needs more moisture. Since pumpkin puree is naturally moist and already a key flavor, adding a tablespoon or two more of pumpkin puree will help loosen it to a more pipeable consistency. Alternatively, you can add a splash of heavy cream or milk, one teaspoon at a time, until it reaches your desired consistency. Be careful not to add too much at once.
Sheesh! This pumpkin frosting is dangerously good, and I can’t stop tasting it!
Solution: Congratulations, you’ve created a masterpiece! The only real solution here is to embrace the deliciousness. Put it on everything imaginable! While it’s perfect for pumpkin cupcakes, don’t hesitate to try it on Homemade Chocolate Cake, vanilla cupcakes, or even smeared on a breakfast scone. Share it with friends and family quickly before you devour the entire batch yourself!
Butter or Shortening in Frosting: A Detailed Comparison
The choice between using all butter or a combination of butter and shortening is a common dilemma for bakers. Both have distinct advantages and disadvantages that can significantly impact the final texture, stability, and flavor of your buttercream.
All-Butter Frosting: This is my preferred method most of the time. All-butter frostings are known for their rich, creamy flavor, which is undeniably superior to shortening-based frostings. They tend to melt beautifully in your mouth and offer a luxurious texture. However, all-butter buttercreams can be less stable, especially in warm environments. They are more prone to melting, slumping, or losing their piped shape if left at room temperature for extended periods or if the ambient temperature is high. This can be particularly challenging for intricate decorations or outdoor events.
Butter and Shortening Combination: When stability is a primary concern, such as during hot weather, for large cakes that need to hold up, or for highly detailed piping work, a combination of butter and vegetable shortening is often recommended. Vegetable shortening is a solid fat that remains stable at higher temperatures than butter. Incorporating shortening into your buttercream significantly increases its structural integrity, preventing it from becoming “floppy” or melting too quickly. It creates a more resilient frosting that holds its shape better, making it easier to transport and display your bakes. The trade-off is a slightly less buttery flavor, and some might find the texture a bit less melt-in-your-mouth, but the enhanced stability is often worth it for certain applications.
When to Choose Which:
- All Butter: Ideal for everyday baking, when temperature control is not an issue, or when you prioritize pure, rich butter flavor above all else. Perfect for simple spreads or swirls.
- Butter + Shortening: Best for hot climates, outdoor events, elaborate piped decorations, or when you need a very firm and stable frosting that won’t easily collapse.
If you’ve previously struggled with your buttercream losing its beautiful swirls or simply not holding up, especially in warmer conditions, consider incorporating some shortening into your next batch of frosting. It can be a game-changer for durability and ease of handling.
How Much Frosting Do I Need? A Handy Guide
This pumpkin buttercream recipe yields approximately 2 cups of frosting, which is a versatile amount for many home baking projects. To help you plan your baking, here’s a practical guide for how much frosting you’ll typically need for various cakes and cupcakes:
- 9×13 Inch Sheet Cake: For a standard 9×13 inch sheet cake, you’ll generally need about 3-4 cups of frosting to cover it with a moderate layer. If you plan to add decorative piping or a thicker layer, lean towards 4 cups or slightly more.
- 12 Standard Cupcakes: The amount of frosting required for a dozen cupcakes can vary significantly based on your decorating style. If you’re doing a simple swirl or spread, about 2.5-3 cups should suffice. However, if you pipe tall, elaborate swirls or use multiple decorating tips, you might need closer to 3.5-4 cups. This recipe, yielding 2 cups, is usually enough for a lighter swirl on 12 cupcakes, but for a more generous frosting, I recommend increasing the recipe by half.
- 8 or 9 Inch 3-Layer Cake: For a beautiful 8 or 9-inch three-layer cake, expect to need a substantial amount of frosting to cover both the layers and the sides generously. A good estimate is around 6 cups of frosting. For very tall layers or intricate designs, consider making a bit extra to be safe.
- 6-inch 3-tier cake: Double this recipe for sufficient coverage.
- 8-inch 3-tier cake: Triple this recipe for generous frosting.
- 24 Cupcakes: To frost two dozen cupcakes with generous swirls, you would definitely need to double this recipe. I always prefer to err on the side of having leftover buttercream rather than running out mid-decoration!
Remember, these are general guidelines. If you like a very thick layer of frosting or plan on extensive piping, it’s always a good idea to make a little extra.
Expert Frosting Tips for Success
Achieve consistently perfect buttercream with these tried-and-true tips:
- Room Temperature Butter is Key: This cannot be stressed enough! Butter that is too cold will result in a lumpy, difficult-to-mix frosting, while butter that is too warm (soft to the point of melting) can create a greasy, runny consistency. Aim for butter that gives slightly when pressed but still holds its shape.
- Measure Powdered Sugar Correctly: Do not pack powdered sugar into your measuring cup. Instead, use the “spoon and level” method: spoon the sugar into the measuring cup until it’s overflowing, then use the back of a knife or a straight edge to level it off. Sifting powdered sugar before measuring can also help prevent lumps.
- Adjusting Consistency: If your frosting turns out too thick and stiff, making it hard to spread or pipe, gradually add a splash of heavy cream, milk, or even a tiny bit more pumpkin puree (1 teaspoon at a time) until it reaches your desired consistency. If it’s too thin, add more powdered sugar, a quarter cup at a time, until it thickens.
- Don’t Overmix: While you want your buttercream to be fluffy, overmixing can incorporate too much air, making it difficult to spread smoothly or causing it to separate. Once the ingredients are combined and it’s light and fluffy, stop mixing.
- Use High-Quality Ingredients: The flavor of your frosting is directly related to the quality of your ingredients. Use good butter and pure pumpkin puree for the best taste.
How To Store Pumpkin Frosting
Proper storage ensures your pumpkin frosting stays fresh and delicious for future use:
- Same-Day Use: If you plan to use the frosting within a few hours, it can be stored in an airtight container at room temperature on your kitchen counter.
- Short-Term Storage (2+ days): For longer storage, transfer the frosting to an airtight container and refrigerate it. It will keep well in the fridge for up to a week.
- Long-Term Storage (Freezing): Pumpkin buttercream freezes beautifully! Place it in a freezer-safe, airtight container or heavy-duty freezer bag for up to 2-3 months. Thaw overnight in the refrigerator.
- Bringing to Room Temperature and Re-whipping: When using refrigerated or thawed frosting, it will be quite firm. Place the frosting on the counter for at least 20-30 minutes (or longer if frozen) to allow it to come to room temperature. Once softened, transfer it to your mixing bowl and re-whip it with an electric mixer for 1-2 minutes until it regains its smooth, fluffy consistency. You might need to add a tiny splash of milk or cream if it seems too stiff.
Pair Pumpkin Frosting With These Delightful Desserts
Pumpkin frosting’s warm spices and creamy texture make it an incredibly versatile accompaniment to a wide range of desserts. Here are some fantastic pairing ideas that will perfectly complement its autumn flavors:
- Vanilla Cupcakes: The classic sweetness of vanilla perfectly balances the rich pumpkin spice.
- Chocolate Cake: The deep, slightly bitter notes of chocolate provide an exquisite contrast to the sweet and spicy pumpkin.
- Caramel Cake: Caramel and pumpkin are a match made in heaven, creating a truly decadent fall treat.
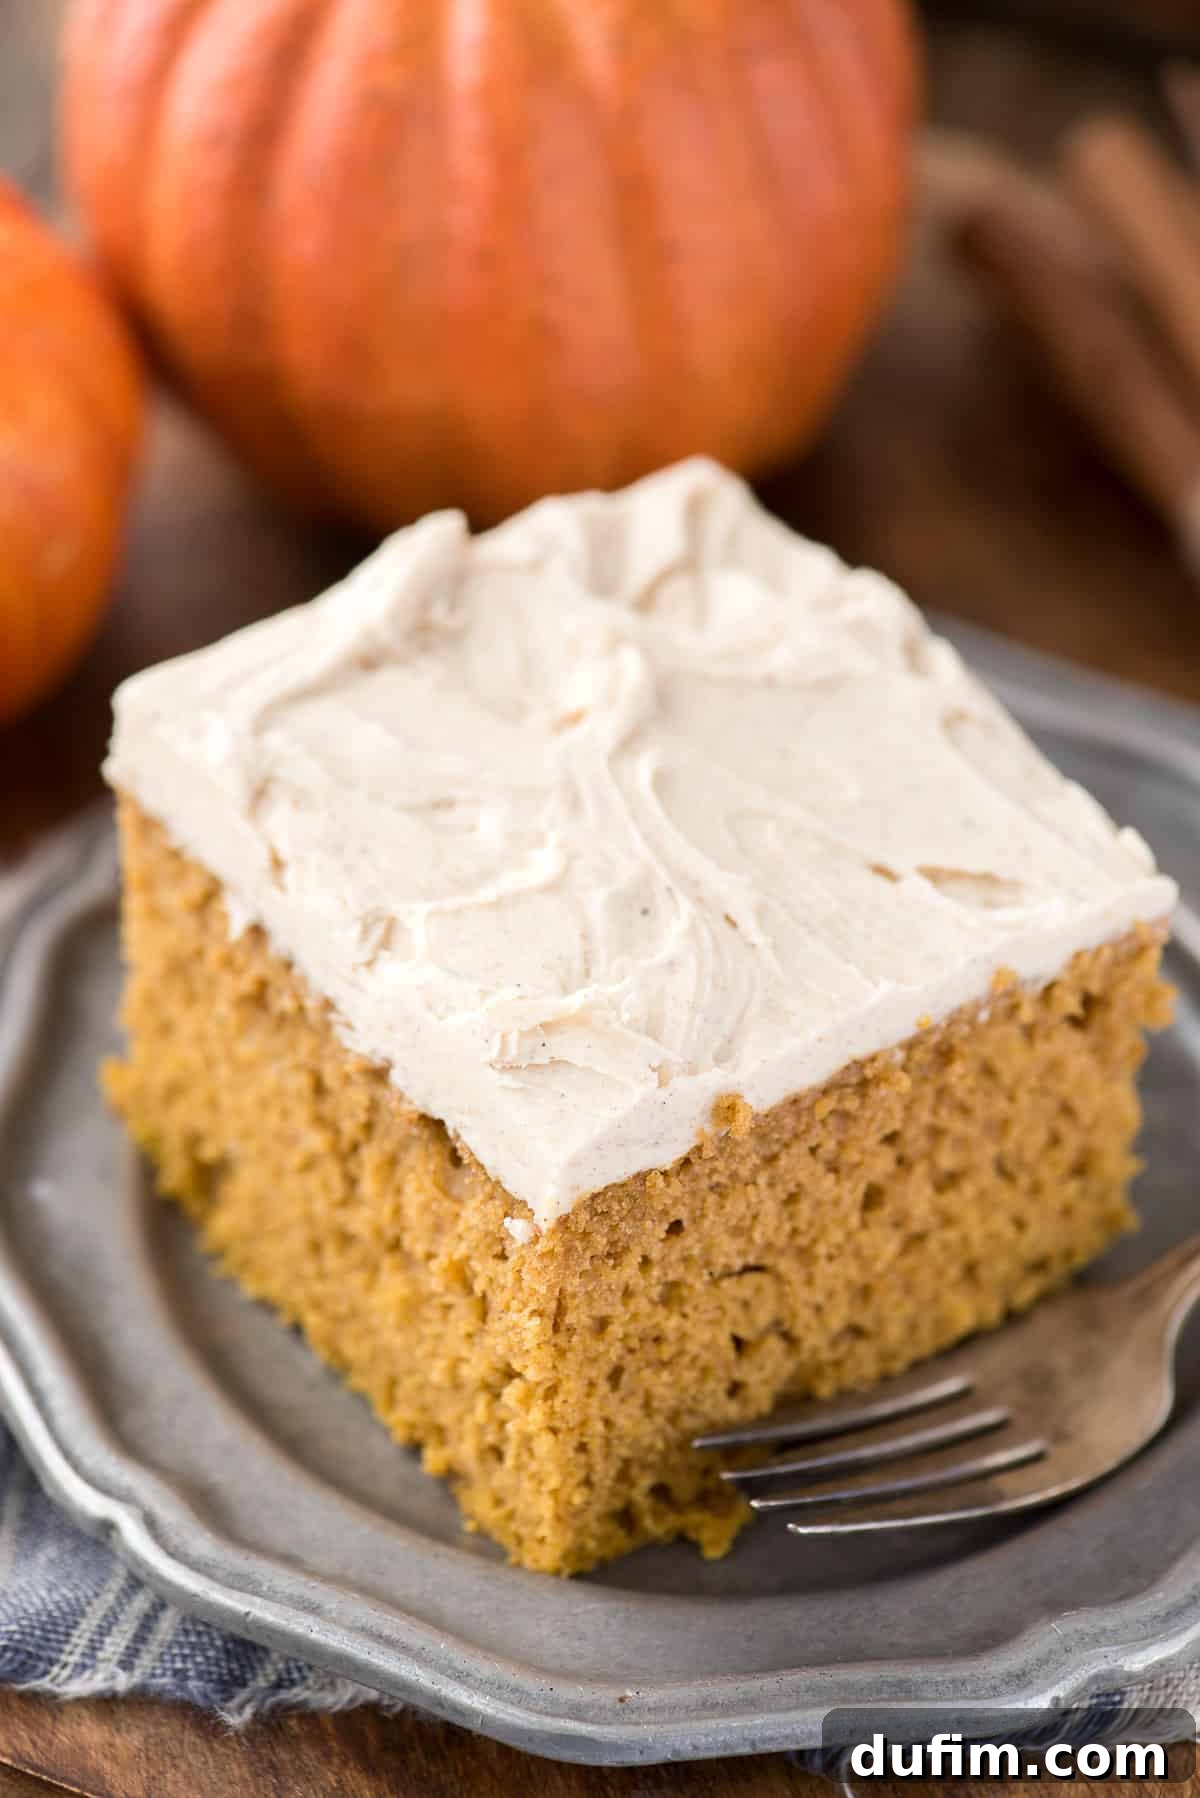
- Yellow Cake Recipe: A moist yellow cake provides a comforting base for this flavorful frosting.
- Homemade Chocolate Cake: For an extra rich and intense experience, this pairing is unbeatable.
- Gingerbread Cookies: A dollop on a warm gingerbread cookie creates a symphony of complementary spices.
- Snickerdoodle Bars: The cinnamon from the snickerdoodle will beautifully echo the spices in the pumpkin frosting.
- Pies or Tarts: A swirl of pumpkin buttercream can add an extra layer of richness to apple pie or pecan pie.
- Brownies: Elevate a simple brownie into a festive dessert with a generous spread of this frosting.
Tap stars to rate!
Pumpkin Frosting
Pumpkin frosting is incredibly easy to make with just 4 simple ingredients. This is our trusted, no-fail recipe for the best homemade pumpkin buttercream!
Equipment
- Glass Mixing Bowl
- Electric Mixer (e.g., KitchenAid 9-Speed Mixer)
- Spatula
Ingredients
- 1 ½ cups (339g) unsalted butter, room temperature*, 3 sticks
- ½ cup (113g) pumpkin puree
- 1 tsp pumpkin pie spice
- 5-7 cups (567-791g) powdered sugar
Instructions
-
Place room temperature butter (see note) in a mixing bowl. Beat using an electric mixer until smooth and creamy, about 1 minute.1 1/2 cups (339g) unsalted butter, room temperature*
-
Add in the pumpkin puree and pumpkin pie spice. Mix first with a spatula to combine, then with the electric mixer on low speed.1/2 cup (113g) pumpkin puree, 1 tsp pumpkin pie spice
-
Add in the powdered sugar, 1 cup at a time. Mix each cup with a spatula initially to prevent sugar from puffing up. Once all powdered sugar is incorporated, beat the buttercream using an electric mixer on medium-high for 1-2 minutes or until smooth and fluffy.5-7 cups (567-791g) powdered sugar
-
Use this delightful pumpkin frosting on your favorite desserts like pumpkin cupcakes, chocolate cake, vanilla cupcakes, and brownies.
Notes
*The original recipe sometimes called for half butter and half vegetable shortening, but I now often prefer an all-butter frosting for flavor. Feel free to use a combination if you desire more stability, especially in warmer conditions.
To Frost:
- For a 6-inch, 3-tier cake, double this recipe.
- For an 8-inch, 3-tier cake, triple this recipe.
- For 12 cupcakes, this original recipe provides a moderate amount. For very generous piping, increase the recipe by half.
- For 24 cupcakes, double the recipe. I always prefer to have a little leftover buttercream, especially since I pipe a generous amount on each cupcake.
Optional: Replace 1 stick (1/2 cup) of butter with 1/2 cup vegetable shortening for a more stable frosting, particularly useful in hot weather or for intricate piping.
Some bakers prefer less sweet frosting and have commented using 3 1/2 cups of powdered sugar and liked the flavor. The ideal amount of powdered sugar depends entirely on your personal taste preference and how stiff/stable you want the frosting to be.
Nutrition
Serving: 2 tablespoons | Calories: 301 kcal | Carbohydrates: 38g | Protein: 1g | Fat: 17g | Saturated Fat: 11g | Polyunsaturated Fat: 1g | Monounsaturated Fat: 4g | Trans Fat: 1g | Cholesterol: 46mg | Sodium: 4mg | Potassium: 22mg | Fiber: 1g | Sugar: 37g | Vitamin A: 1721IU | Vitamin C: 1mg | Calcium: 8mg | Iron: 1mg
Nutrition Disclosure
All nutritional values are approximate and provided to the reader as a courtesy. Changing ingredients and/or quantities will alter the estimated nutritional calculations.
Love this recipe? Don’t keep it a secret! We’d love for you to rate it and share your comments below. Your feedback helps us and other bakers!