
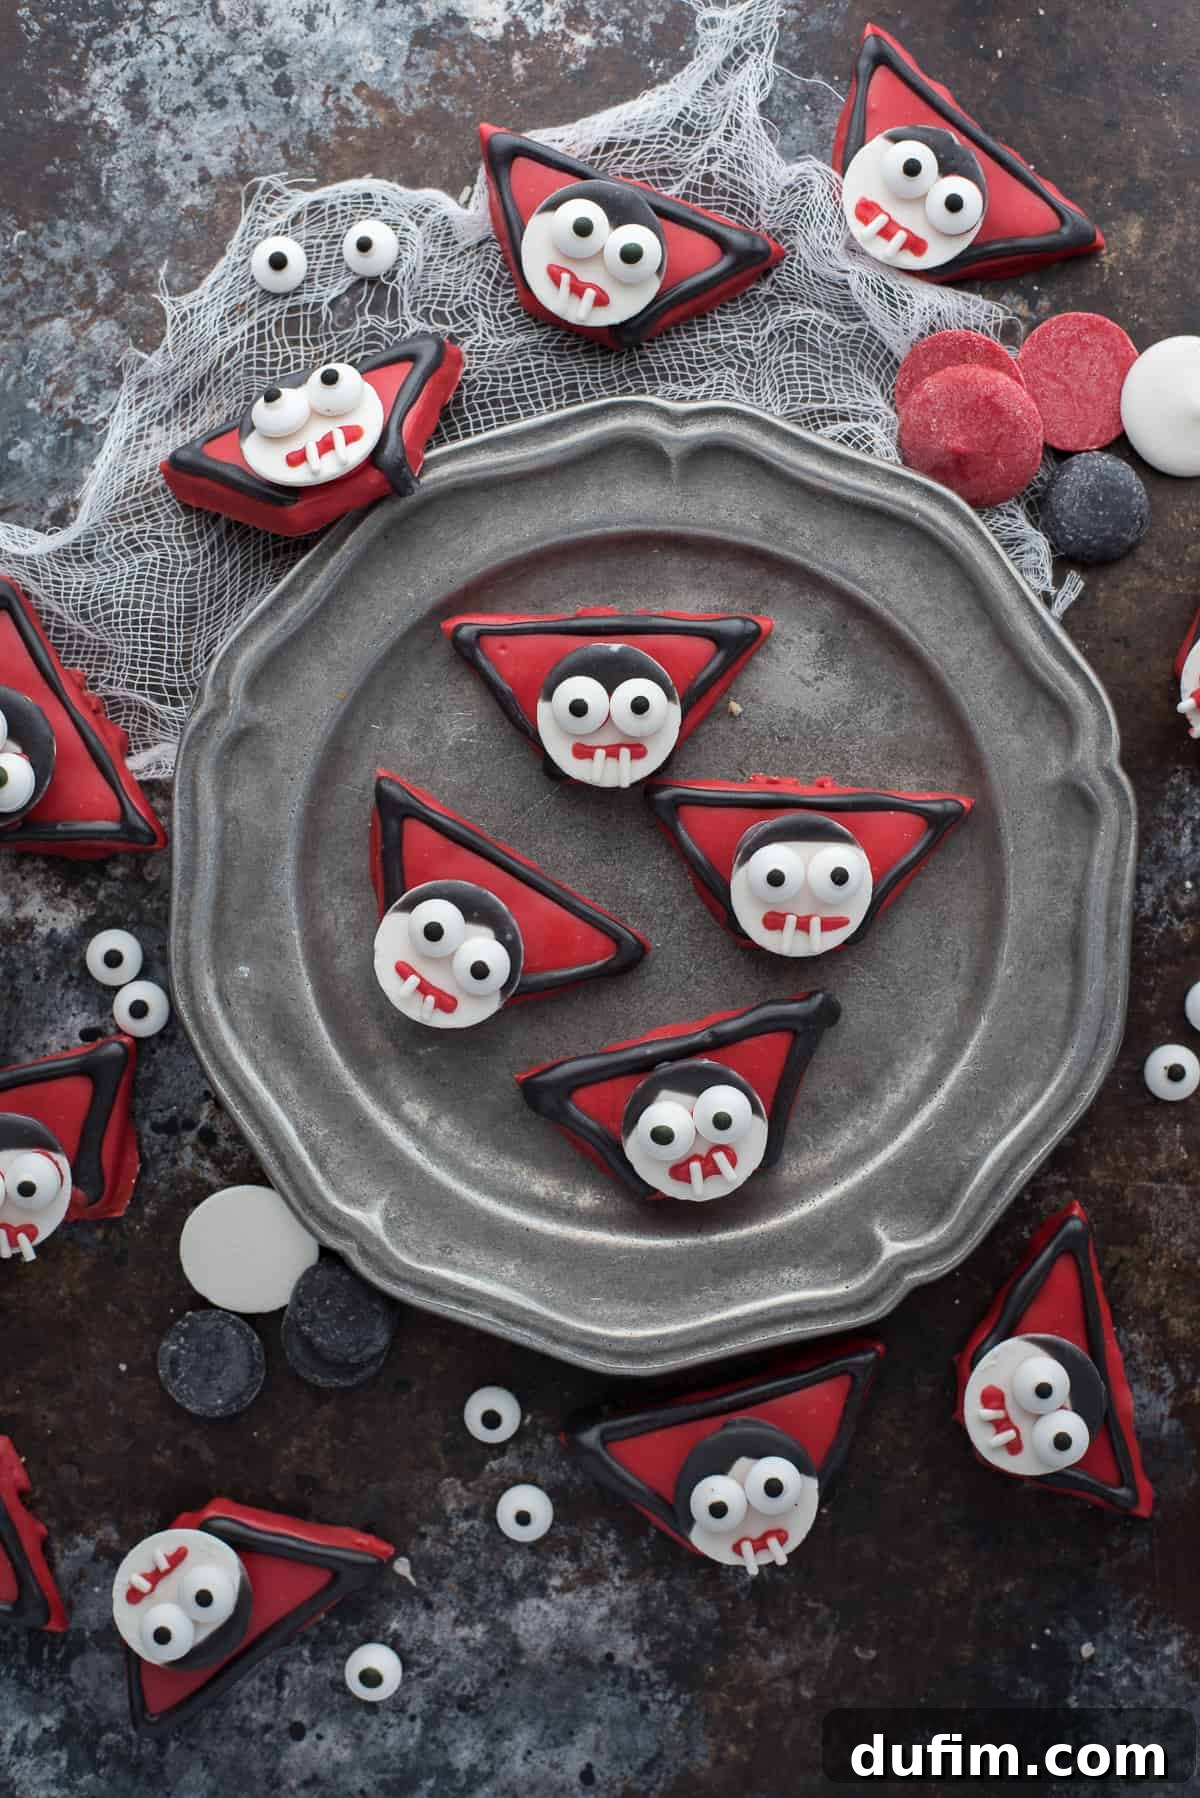
Get ready to sink your teeth into the ultimate Halloween party snack! Our incredibly fun and easy Vampire Treats, crafted from simple graham crackers and colorful candy melts, are guaranteed to be the star of any spooky gathering. Learn how to make these fang-tastic bites, and explore 10 other hauntingly delicious Halloween treats to serve alongside your bloodthirsty vampires!
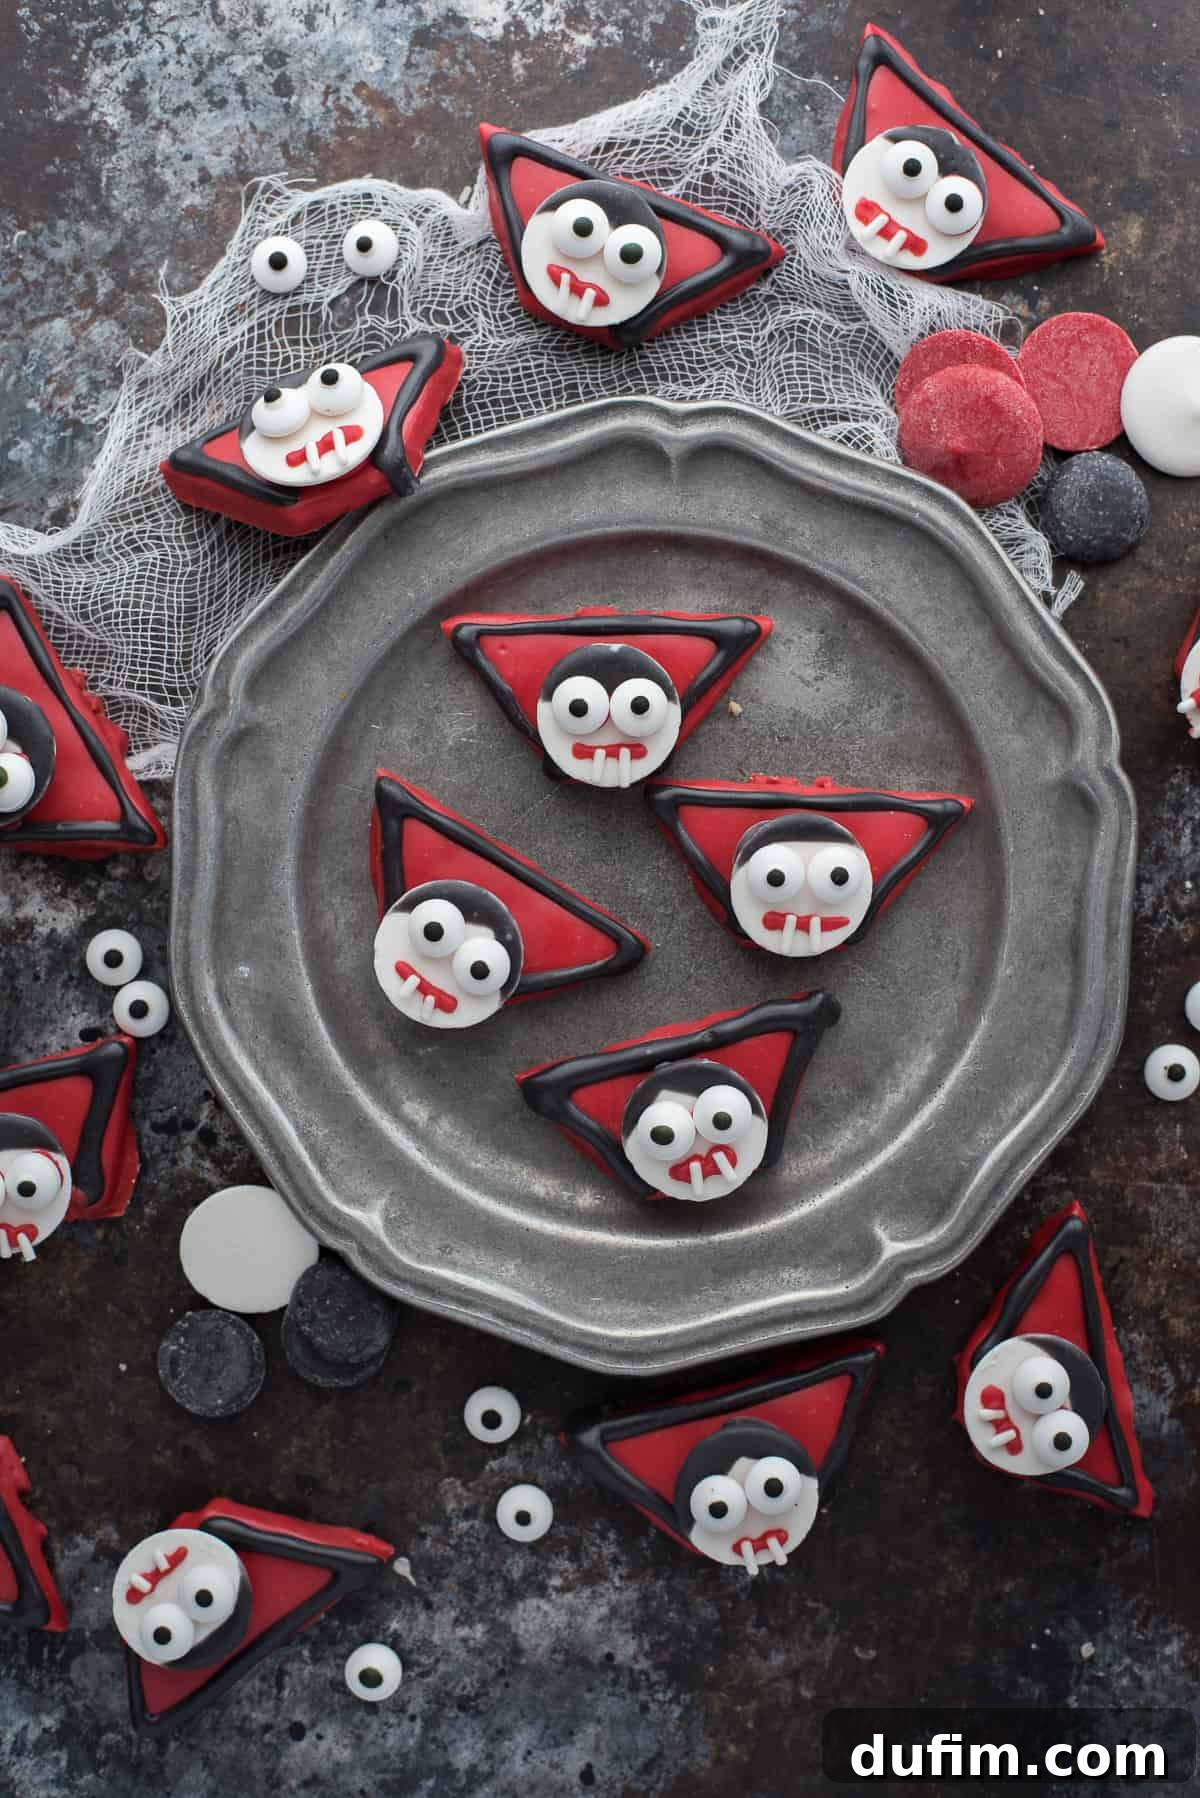
Unleash Your Inner Ghoul: My Undying Love for Halloween and Homemade Treats
The crisp autumn air, the vibrant changing leaves, and the thrilling anticipation of costumes and candy – Halloween is undeniably my favorite holiday. Forget Christmas; for me, nothing beats the enchantment and playful frights of October 31st. I’ve already started badgering Ryan about when we can put up our outdoor decorations; we’re compromising with a launch two weeks before the big day. But inside? My fireplace mantle is already a shrine to all things spooky and spectacular!
One of my most cherished annual traditions is crafting unique and fun Halloween-themed treats. This passion truly took root back in 2014 with my Boo Pudding Parfaits. Looking back at those early recipes, with my photography skills still budding and my blog just finding its feet, fills me with a sense of pride. It’s a wonderful reminder of how much I’ve grown and evolved in my culinary and creative journey.
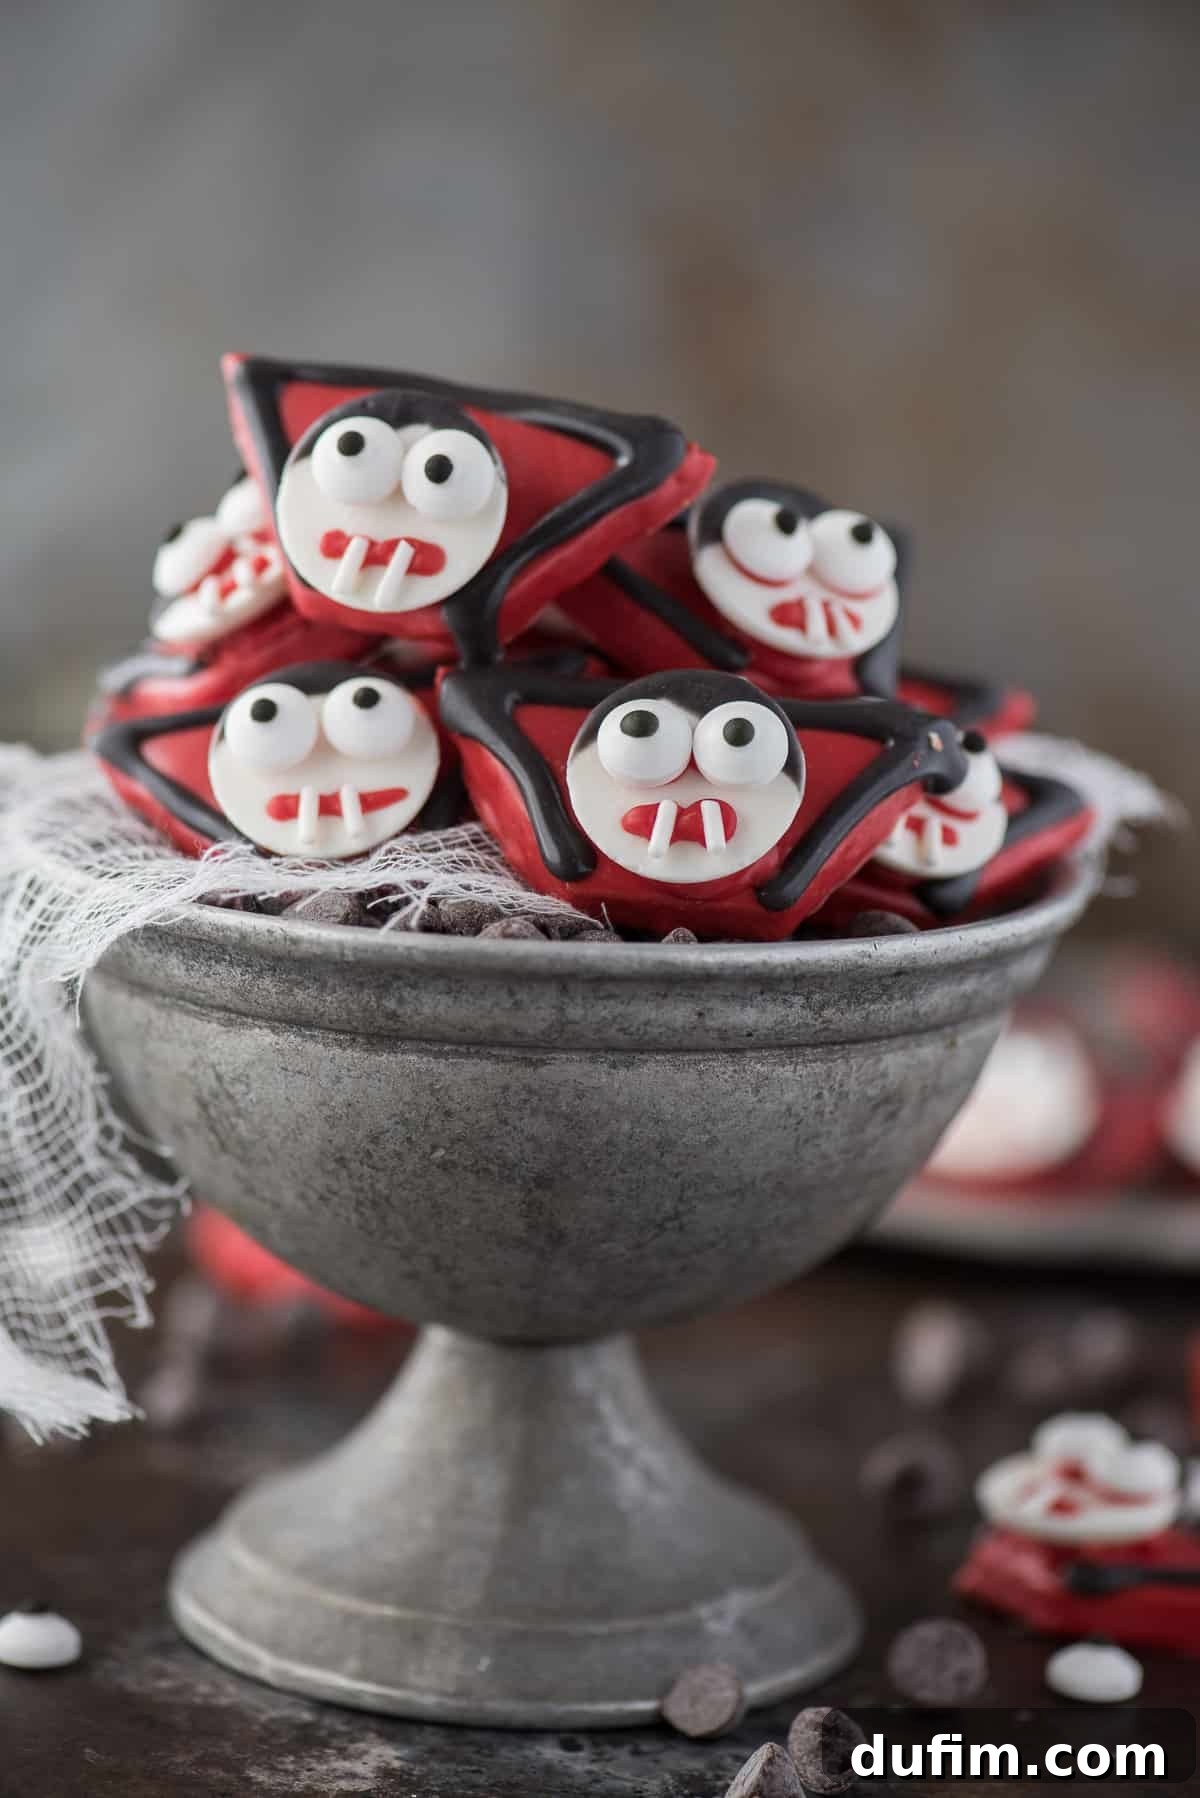
Every year since, I eagerly anticipate dreaming up a new, delightful Halloween treat. Some years, my creative fervor knows no bounds, and I concoct several adorable and delicious goodies! After years of experimenting and perfecting, my recipe box is overflowing with a collection of truly spooky and scrumptious delights.
A Journey Through My Hauntingly Delicious Halloween Treat Archive
My dedication to Halloween treats runs deep. Here’s a glimpse into some of my past creations that have brought smiles (and a few playful shivers) to many a Halloween party:
2015: A Year of Wicked Good Eats
- Halloween Witch Platter: This vibrant and healthy-ish platter was a hit, featuring pistachios and other finger foods arranged to resemble a mischievous witch. A great alternative to sugary treats!
- Pumpkin Walnut Spider Cupcakes: These autumnal cupcakes were topped with an adorable yet eerie spider, ingeniously crafted from a large marshmallow, rich chocolate, and crunchy walnuts.
- Melted Witch Cake: A truly theatrical dessert, this cake featured cute cardboard witch legs whimsically sticking out, as if she’d taken an unfortunate dive into a delicious, frosted concoction.
- Tombstone Cupcakes: These are always a crowd-pleaser! Imagine fluffy cupcakes crowned with eerie, edible tombstones made from crispy Rice Krispies. So much fun to make and devour!
2016: Simple Spooks and Sweet Surprises
- Candy Corn Pretzels: Super easy and requiring only five ingredients, these colorful pretzels perfectly capture the iconic Halloween candy. A fantastic quick treat!
- Frankenstein Pretzels: These monstrously cute pretzels are one of my absolute favorites! Dipped in green candy melts and adorned with edible eyes, they’re simply irresistible.
- Nutter Butter Tombstones: These delicious cookie tombstones are a bomb! And I have a clever idea for how to display them to create a mini graveyard scene on your dessert table.
2017: Brewing Up More Bewitching Bites
- Bubbling Witch’s Cauldron Brownies: SO fun to make and visually stunning! These brownies evoke the magic of a witch’s brew, complete with a bubbling effect.
- Ghost Popcorn Balls: A consistent reader favorite, many of you flock to this recipe every October. These ethereal popcorn balls are both chewy and charmingly spooky.
- Melted Witch Brownies: Be still my heart, I adore these! Another iteration of the melted witch theme, these brownies are rich, fudgy, and delightfully decorated.
- Spider Web Meringues: Delicate, crispy, and pretty much edible spider webs! These meringues are an elegant yet spooky addition to any Halloween spread.
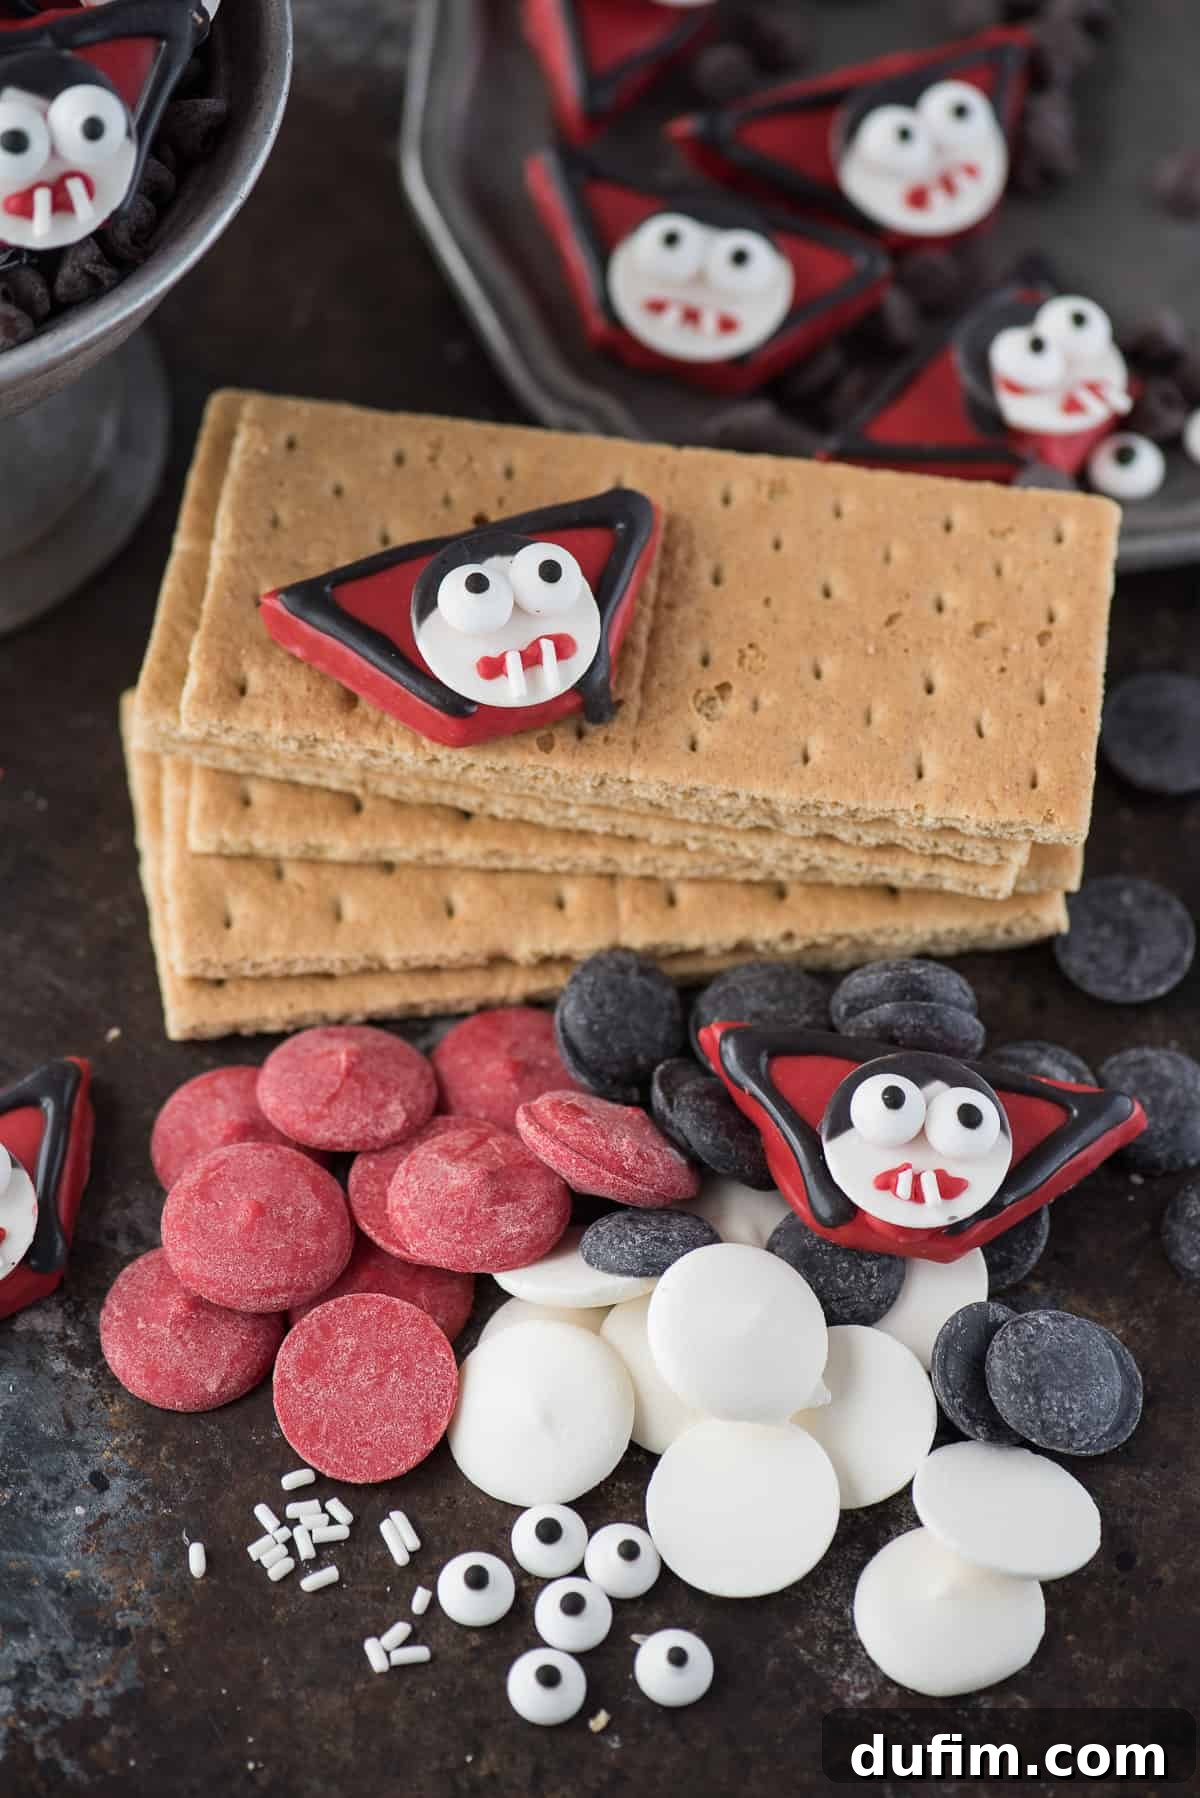
Crafting Your Own Fang-tastic Vampire Treats: The Essentials
Now, let’s dive into making these incredible Vampire Treats. What I love most about this recipe is its simplicity and adaptability. It’s truly all about streamlining the process to create maximum impact with minimal effort. Even beginners can achieve impressive results!
Must-Have Ingredients for Your Vampire Treats
- Graham crackers: The base for our vampire collars. You’ll need to cut these into an isosceles trapezoid shape. Don’t worry, the video tutorial above provides a clear demonstration!
- Red candy melts, 1 cup: For that iconic, blood-red collar that makes our vampires pop.
- Black candy melts, 1/2 cup: Essential for adding detail to the collar and creating the vampire’s signature dark hair.
- White candy melts, as many as vampire faces you’ll have: These form the pale, haunting faces of our little vampires.
- Vegetable shortening: A little bit of shortening helps achieve the perfect consistency for melting candy melts, making them smoother and easier to work with.
- White jimmie sprinkles for the fang teeth: These tiny sprinkles transform into perfectly pointy vampire fangs.
- Candy eye balls: The finishing touch that brings your vampires to life… or undeath!
Essential Tools for Spooky Success
-
Baking Sheet: Essential for laying out your dipped treats to set.
-
Silicone Baking Mat: Prevents sticking and makes for easy cleanup. Parchment paper also works!
-
Glass Mixing Bowl: Ideal for melting candy melts in the microwave.
-
Squeeze Bottles (or piping bags with fine tips): Crucial for creating precise details like hair, mouths, and collar outlines.
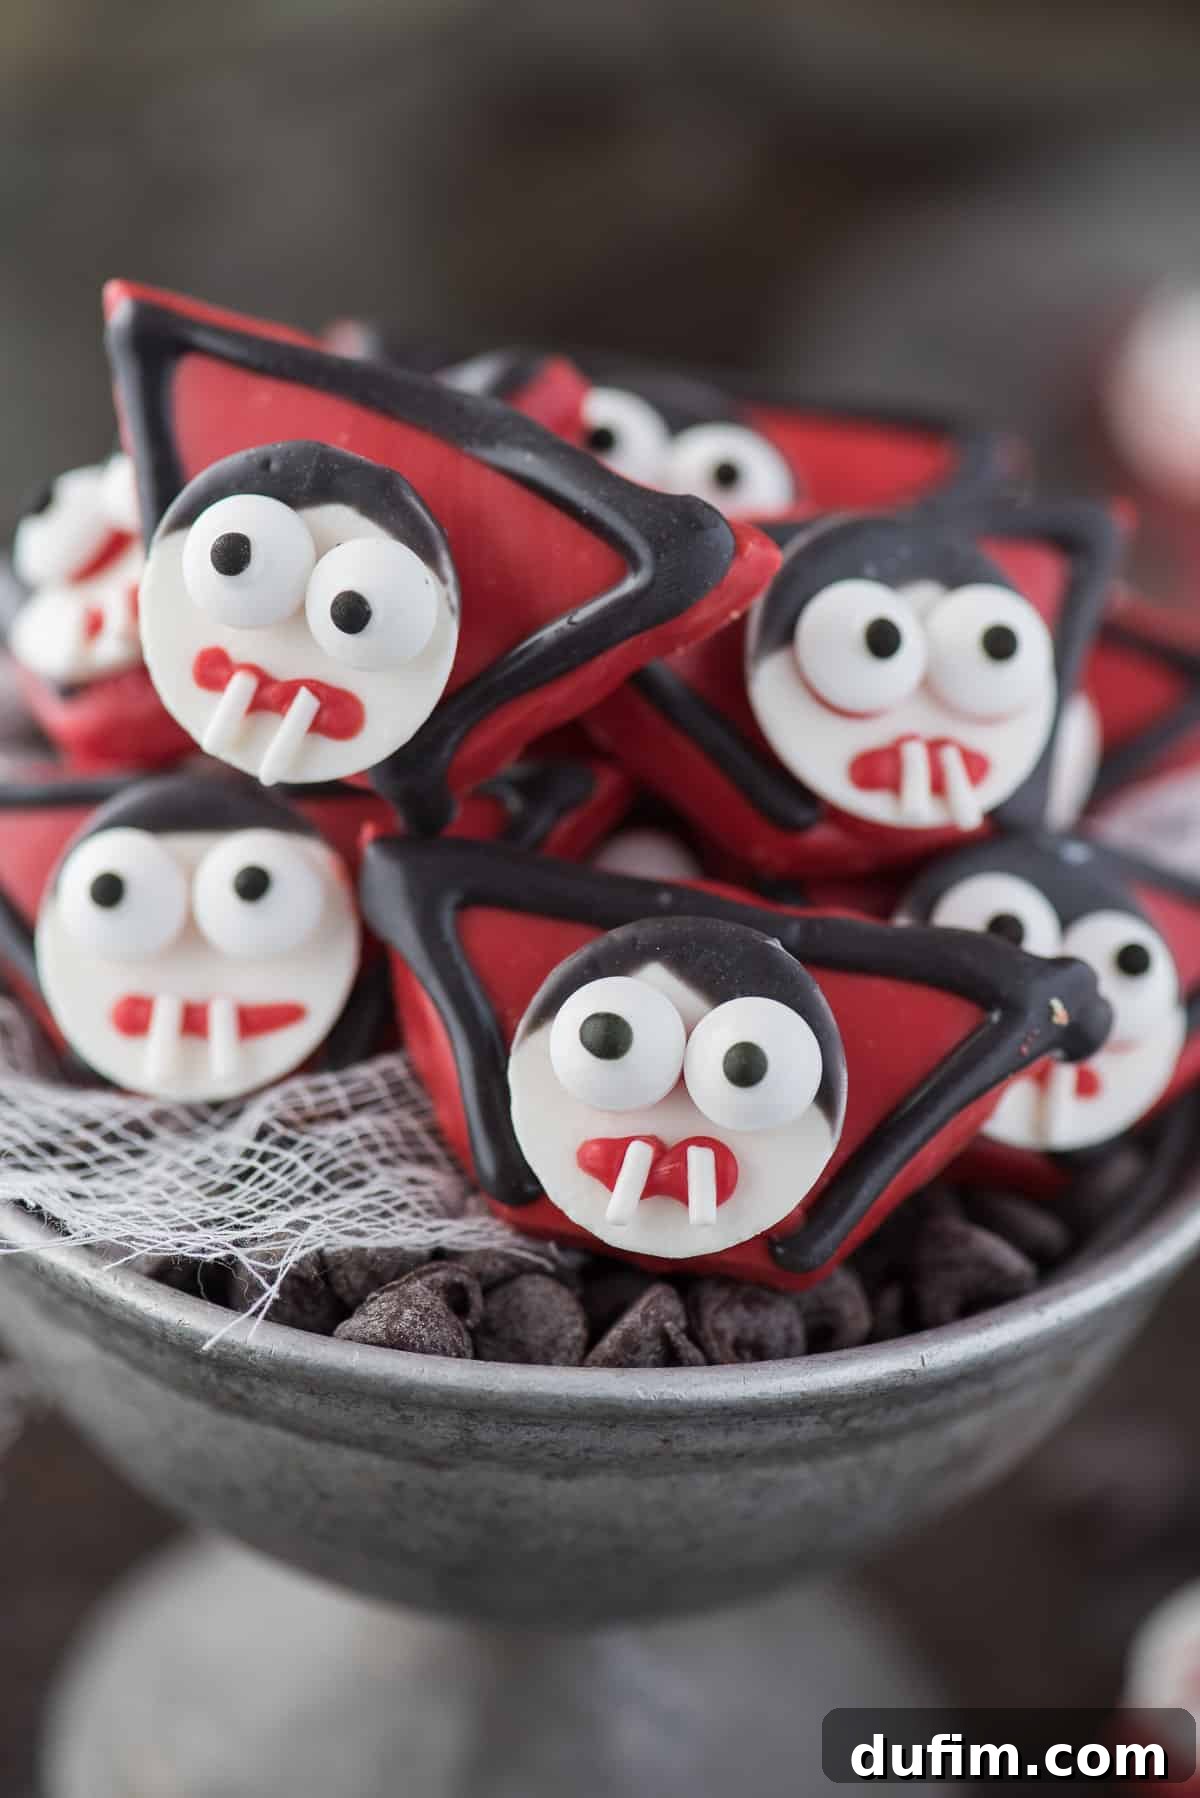
Sinking Your Teeth into the Process: Step-by-Step Guide to Vampire Treats
Creating these delightful vampire treats is a straightforward process, made even easier by working in stages. The key is to allow each layer of candy melt to set before moving on to the next, ensuring clean lines and a professional finish.
Instructions
-
Begin by carefully cutting your graham crackers into isosceles trapezoids. These will form the distinctive collars of your vampire treats. For a precise visual demonstration, please refer to the video tutorial provided further down.
-
In a microwave-safe glass bowl, melt 1 cup of red candy melts with 1 tablespoon of vegetable shortening. Microwave in 1-minute intervals at 50% power, stirring well after each interval, until the candy melts are smooth and fully melted. Dip each graham cracker trapezoid into the melted red candy, ensuring it’s fully coated. Gently shake off any excess, then place them on a silicone mat-lined baking sheet to set completely.
-
Using a separate bowl, melt ½ cup of black candy melts with ½ tablespoon of vegetable shortening, following the same microwave instructions as before. Take your white candy melt rounds (these will be the vampire faces) and carefully dip one edge into the melted black chocolate to create the vampire’s hair. Set these aside on your baking sheet to set.
-
Once the black candy melts are slightly cooled but still pourable, transfer them into a squeeze bottle (or a piping bag with a small round tip). Pipe a thin, elegant black border around the edges of each red graham cracker collar. Allow this detail to set before proceeding.
-
Reheat the red candy melts slightly if needed to maintain a smooth consistency, then transfer them to a clean squeeze bottle. Pipe a small, distinctive red mouth onto each white vampire face. Immediately place two white jimmie sprinkles above the red mouth to create sharp, impressive fang teeth. Use a toothpick to gently adjust their position if necessary.
-
Using the red candy melts as “glue,” pipe two small red dots onto each vampire face where the eyes should go. Promptly press the candy eye balls onto these dots. The melted candy will secure them in place.
-
Finally, to assemble your vampires, pipe a dollop of red candy melts onto the top center of each graham cracker collar. Carefully attach each finished vampire face onto the collar, pressing gently to secure.
-
Allow all your completed vampire treats to set completely for a final time before arranging them on a serving plate or tray. This ensures they are sturdy and ready for their grand unveiling!
Vampire Treats in Action: The Video Tutorial
Sometimes, seeing is believing – and learning! This short video tutorial provides a step-by-step visual guide to crafting your Vampire Treats, from cutting the graham crackers to melting the candy melts and adding those crucial details. It’s perfect for visual learners and anyone who wants a little extra guidance!
Tap stars to rate!
Vampire Treats
Beth
20 minutes
20 minutes
12
servings
Rate
Equipment
-
Baking Sheet
-
Silicone Baking Mat
-
Glass Mixing Bowl
-
Squeeze Bottles
Ingredients
- Graham crackers, cut into isosceles trapezoid shape – see the video above for a demonstration!
- 1 cup Red candy melts
- ½ cup Black candy melts
- White candy melts, as many as vampire faces you’ll have
- Vegetable shortening to melt the candy melts
- White jimmie sprinkles for the fang teeth
- Candy eye balls
Instructions
-
Cut the graham crackers into isosceles trapezoids. See the video for a visual demonstration of how to do this.Graham crackers
-
Melt 1 cup red candy melts with 1 tbsp of vegetable shortening in the microwave 1 minute at a time on 50% power until melted. Dip the trapezoids into the chocolate and set on a silicone mat lined baking sheet to set.1 cup [Red candy melts], Vegetable shortening to melt the candy melts
-
In a separate bowl, melt 1/2 cup black candy melts with 1/2 tbsp of vegetable shortening in the microwave 1 minute at a time on 50% power until melted. Dip the white candy melt rounds slightly into the black chocolate, adding hair to each vampire face. Set aside to set.1/2 cup [Black candy melts], Vegetable shortening to melt the candy melts, [White candy melts]
-
Transfer the melted black candy melts into a squeeze bottle and pipe a black border around each red collar. Set aside.
-
Reheat the red candy melts as needed. Transfer to a squeeze bottle and pipe a mouth onto each vampire face. Add 2 white jimmie sprinkles as fang teeth to each mouth. Press down with a toothpick as needed.[White jimmie sprinkles] for the fang teeth
-
Pipe 2 red dots onto the face where the candy eyes will go, then add the candy eyes – the red candy melts will act as glue.[Candy eye balls]
-
Attach the vampire face to the collar by pipping a dollop of red candy melts onto the collar where you’ll attach the face.
-
Allow the vampire treats to set before displaying on a plate, etc.
Video
Nutrition
Carbohydrates: 16g |
Protein: 1g |
Fat: 4g |
Saturated Fat: 2g |
Polyunsaturated Fat: 1g |
Monounsaturated Fat: 1g |
Sodium: 101mg |
Potassium: 25mg |
Fiber: 1g |
Sugar: 8g |
Calcium: 11mg |
Iron: 1mg
Nutrition Disclosure
All nutritional values are approximate and provided to the reader as a courtesy. Changing ingredients and/or quantities will alter the estimated nutritional calculations.
Creative Variations & Customizations for Your Batty Bites
While the classic red, black, and white vampire is undeniably charming, these treats offer a fantastic canvas for your creativity! Don’t hesitate to experiment with different themes and colors:
- Color Your World: Instead of red, try using purple or green candy melts for a witch or Frankenstein-themed treat! You could even mix and match colors for a truly unique monster squad.
- Alternative Bases: While graham crackers are excellent, consider using other flat cookies like Nilla Wafers, shortbread cookies, or even rectangular sugar cookies as your base. Just ensure they are sturdy enough for dipping.
- Sparkle and Shine: Add a touch of edible glitter to the vampire collars or faces for an extra magical (or spooky) shimmer.
- Flavor Fun: If you’re feeling adventurous, add a drop of food-grade flavoring oil (like peppermint or almond) to your candy melts before dipping for an unexpected twist.
- Spooky Sprinkles: Beyond the jimmie fangs, consider using tiny skull sprinkles, bat sprinkles, or even simple black and orange nonpareils for extra flair on the collars or around the faces.
Serving Suggestions & Party Pairings: Elevate Your Halloween Spread
These Vampire Treats are fantastic on their own, but they truly shine as part of a larger Halloween dessert table. Here are some ideas to make your party unforgettable:
- Themed Display: Arrange your finished vampire treats on a dark platter or a “graveyard” scene made from crushed Oreo cookies. Add some plastic spiders or bats for extra ambiance.
- Beverage Buddies: Serve them alongside a spooky beverage like “Witch’s Brew Punch” (green soda with gummy worms) or “Bloody Shirleys” (Shirley Temples with extra cherry syrup).
- Complementary Treats: Remember those other delightful creations from my recipe archive? They would make perfect companions for your Vampire Treats:
- Boo Pudding Parfaits: Layered pudding and whipped cream with ghost faces, offering a creamy contrast.
- Halloween Witch Platter: A savory option to balance the sweets, full of ghoulishly arranged veggies and dips.
- Pumpkin Walnut Spider Cupcakes: Classic Halloween flavors in a cupcake form, adorned with adorable spiders.
- Melted Witch Cake/Brownies: Larger, show-stopping desserts that add a touch of whimsy.
- Tombstone Cupcakes / Nutter Butter Tombstones: Continue the graveyard theme with these fun, edible headstones.
- Candy Corn / Frankenstein Pretzels: Easy, colorful, and highly snackable finger foods.
- Bubbling Witch’s Cauldron Brownies: An interactive and visually striking dessert.
- Ghost Popcorn Balls: Light, sweet, and a classic Halloween staple loved by all.
- Spider Web Meringues: Delicate and crisp, adding textural variety to your spread.
- Kid-Friendly Activity: Set up a “decorate your own vampire” station at your party! Prepare the dipped graham crackers and white faces in advance, then let kids add the eyes, mouths, and fangs themselves with squeeze bottles of melted candy.
Frequently Asked Questions (FAQs) for Aspiring Treat Makers
Q: Can I use regular chocolate chips instead of candy melts?
A: Yes, you can! However, regular chocolate chips will require tempering to get that smooth, shiny finish and crisp set. If you don’t temper, your chocolate might be softer and less stable at room temperature. Candy melts are designed for easy melting and setting without tempering, making them much simpler for projects like this.
Q: How long do these Vampire Treats last, and how should I store them?
A: When stored in an airtight container at room temperature, these treats can last for about 3-5 days. Keep them away from direct sunlight or heat, as this can cause the candy melts to soften or melt. Refrigeration is generally not needed and can sometimes cause condensation, which might affect the appearance.
Q: Are these treats suitable for younger children to help make?
A: Absolutely! This is a fantastic kid-friendly Halloween activity. Younger children can help dip the graham cracker collars (with adult supervision for hot candy melts), place the candy eyes, and add the jimmie sprinkles for fangs. Older kids can assist with cutting graham crackers and piping details.
Q: What if my candy melts become too thick while working?
A: If your candy melts start to thicken, simply reheat them gently in the microwave at 50% power for short bursts (15-30 seconds), stirring well each time, until they reach the desired smooth consistency. You can also add a tiny bit more vegetable shortening (about ¼ teaspoon at a time) to thin them out, but be careful not to add too much, as it can make them too greasy.
Q: Can I prepare parts of these treats in advance?
A: Yes, definitely! You can cut the graham crackers and dip the collars a day or two in advance. Store them in an airtight container at room temperature until you’re ready to assemble. This makes party prep much less stressful!
Unleash Your Inner Ghoul: A Hauntingly Good Halloween!
These Vampire Treats are more than just a dessert; they’re a creative expression of Halloween joy. Simple to make, incredibly fun to decorate, and utterly delicious, they embody everything wonderful about this spooky season. Whether you’re hosting a grand Halloween bash or just looking for a festive activity with the kids, these treats are a surefire way to add some fang-tastic fun to your celebrations.
So, gather your supplies, put on your favorite spooky playlist, and get ready to conjure up some magic in the kitchen. Don’t forget to share your amazing Vampire Treat creations with us in the comments below – we’d love to see your haunting masterpieces! Happy Halloween, fellow ghouls!