
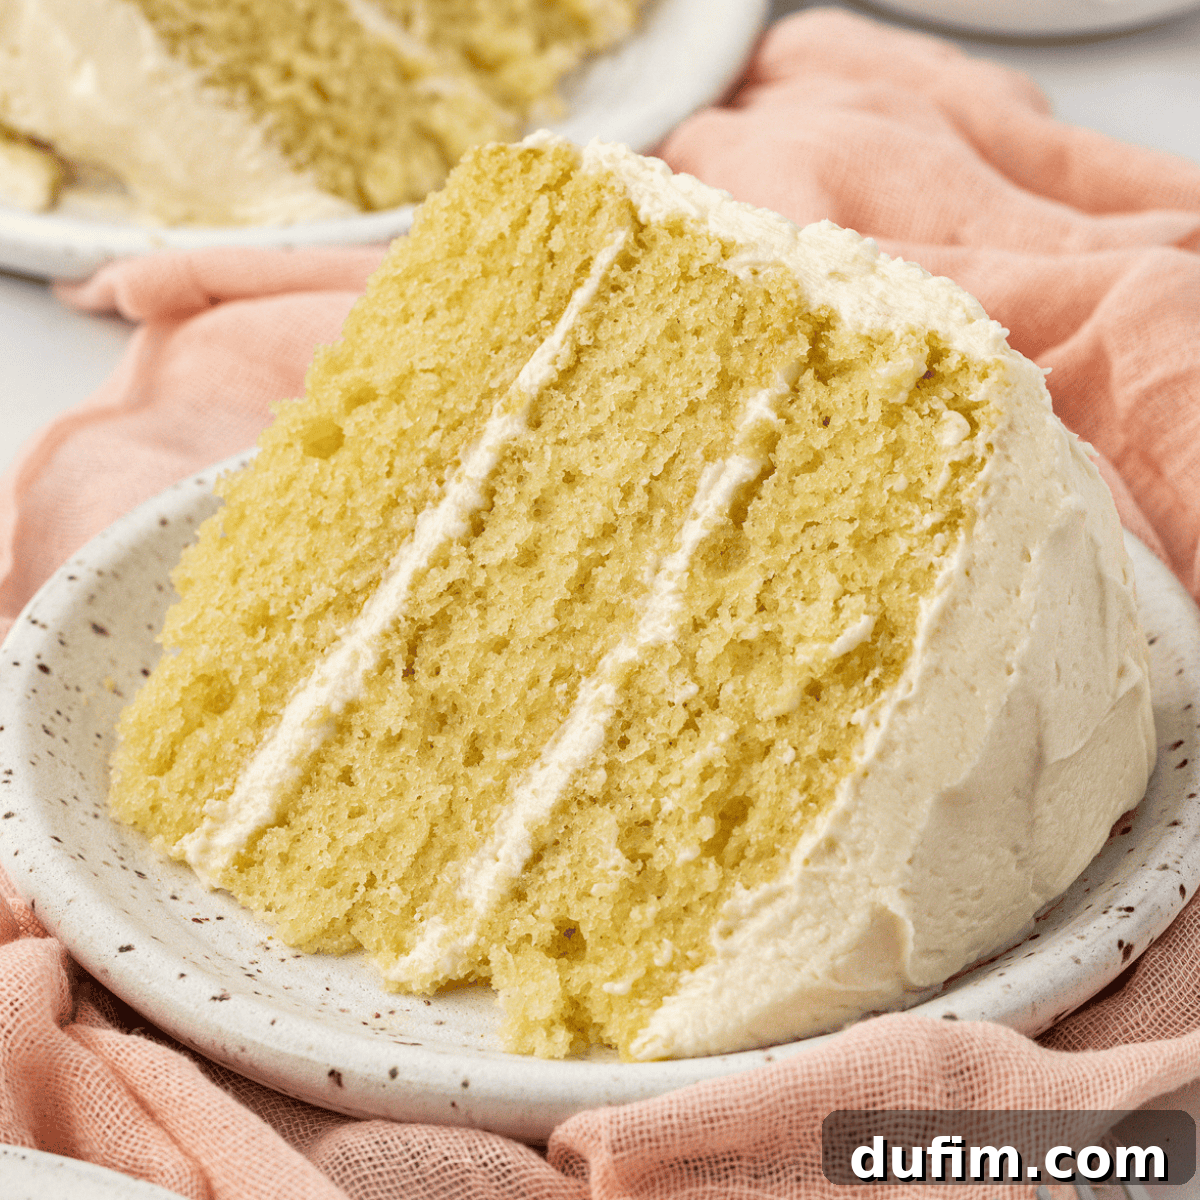
Embark on a delightful baking journey to create the ultimate vanilla cake. Imagine a cake that’s not just moist but exquisitely fluffy, infused with the purest vanilla essence, and crowned with a luscious vanilla buttercream frosting. This isn’t just a recipe; it’s a quest for perfection, meticulously tested and refined to ensure every slice is a testament to homemade excellence. If you’ve ever dreamt of baking a vanilla cake that truly impresses, you’ve found your go-to guide.
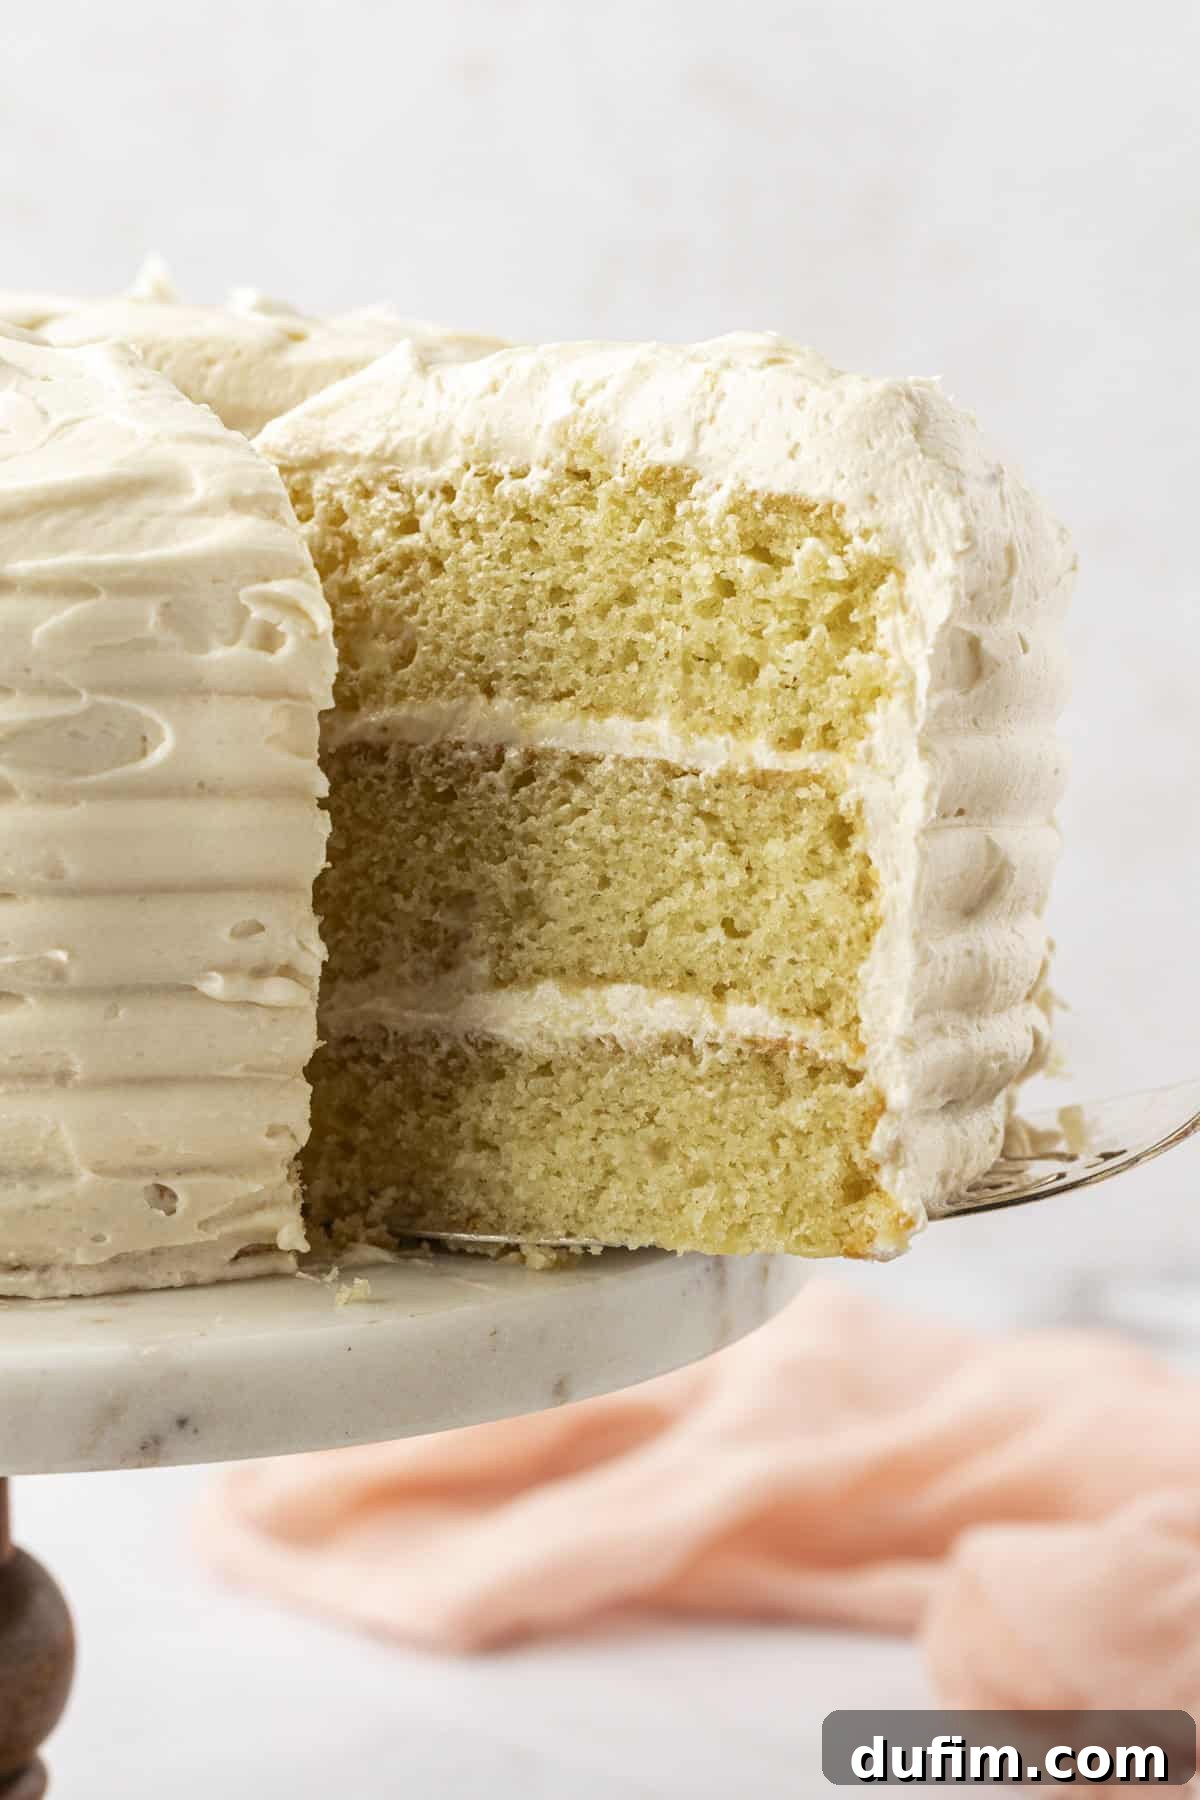
Crafting the Best Homemade Vanilla Cake
Many home bakers encounter challenges when attempting a classic vanilla cake. Common frustrations include a dense crumb, a surprisingly dry texture, a lack of deep vanilla flavor, uneven rising, or a cake that crumbles too easily. These issues can certainly be disheartening, turning what should be a joyful baking experience into a puzzle. But don’t worry, you’re not alone in facing these hurdles, and I’m here to share my proven methods to overcome them, guiding you toward baking a truly magnificent vanilla cake masterpiece.
With countless hours spent in the kitchen perfecting various dessert recipes, I’ve confronted these baking dilemmas head-on. My extensive experience has allowed me to master the delicate balance of ingredient ratios, refining mixing techniques, and understanding optimal baking temperatures. These insights are crucial for consistently achieving a vanilla cake that is incredibly light, wonderfully moist, and bursting with authentic vanilla flavor. This recipe embodies all those learned secrets, making it accessible for you to recreate that perfect cake, every single time.
Looking for a creative twist for your vanilla cake? You can effortlessly transform it into a delectable Boston Cream Pie by adding a pastry cream filling and chocolate glaze. The versatility of this vanilla base is truly remarkable!
Essential Ingredients for Your Homemade Vanilla Cake
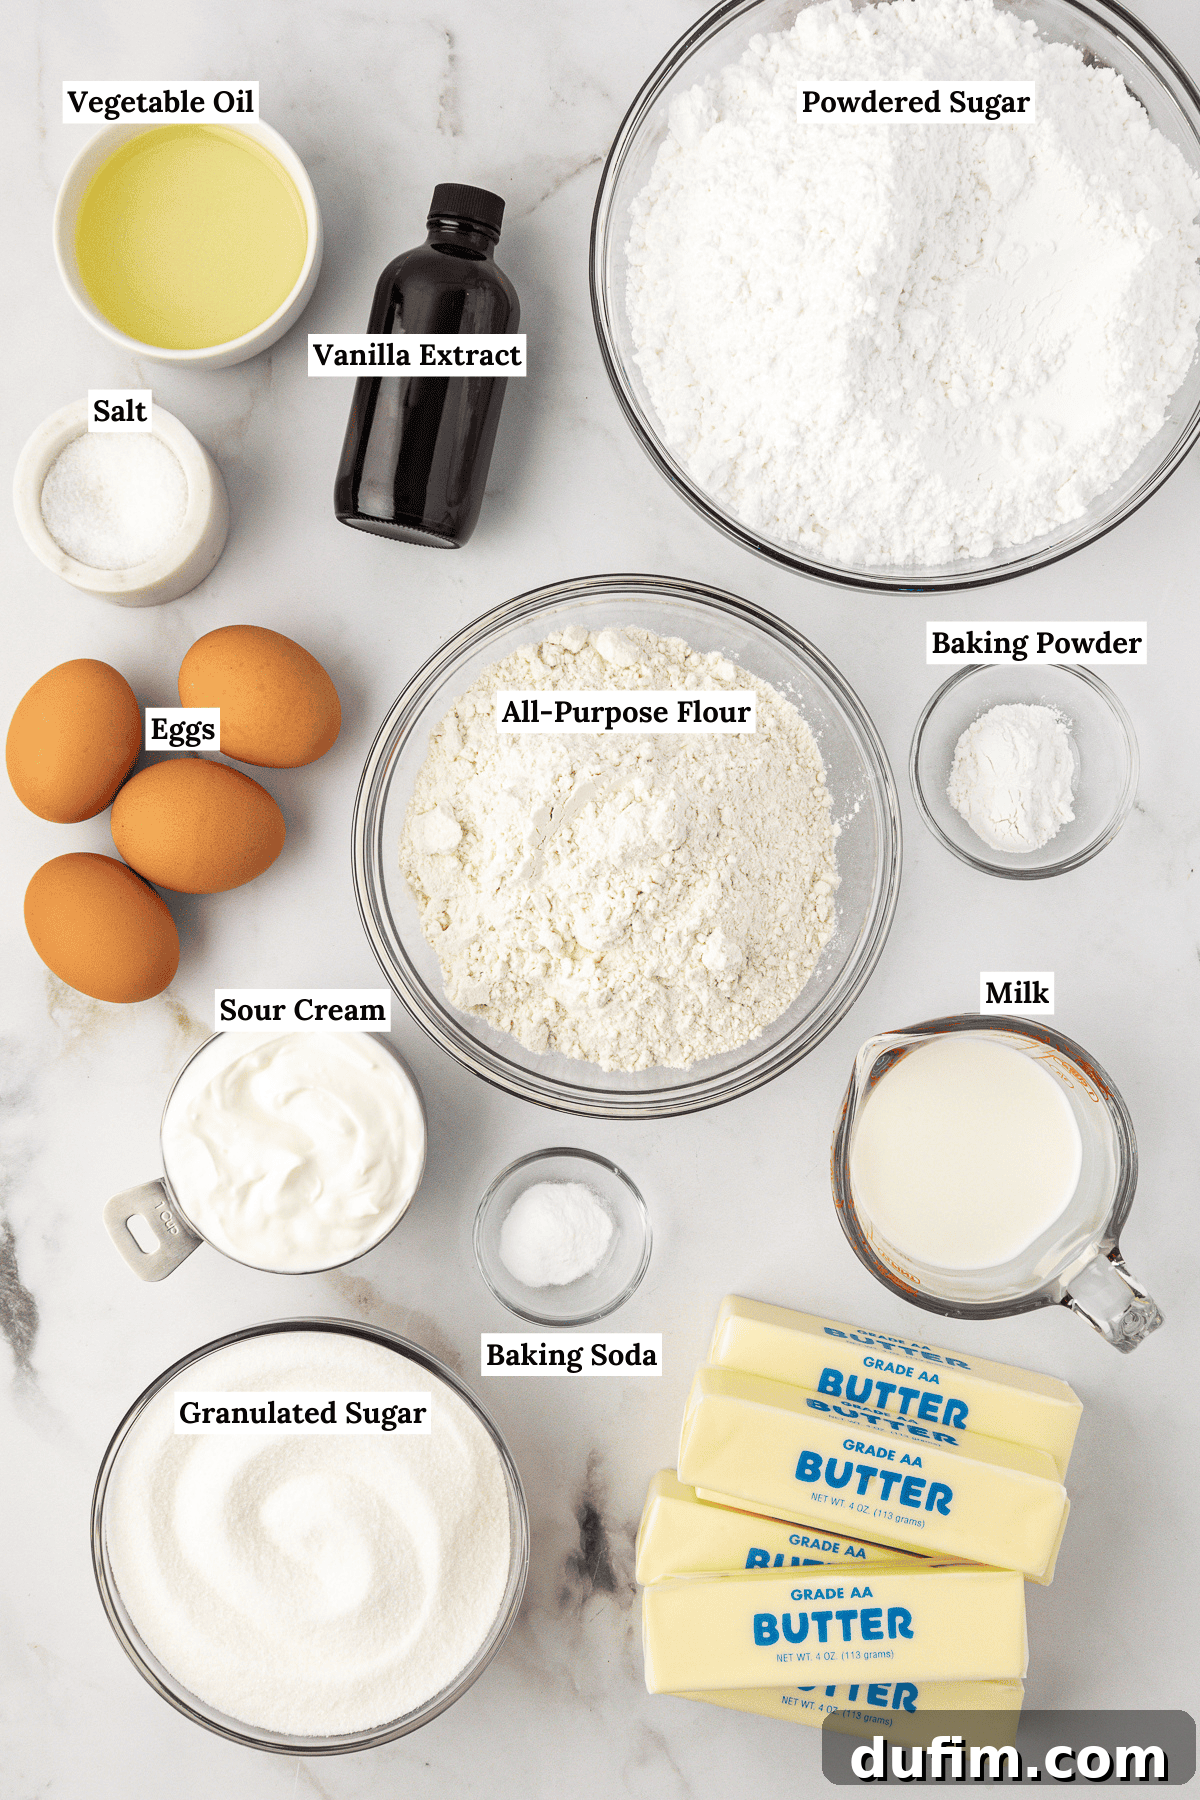
The beauty of a truly exceptional vanilla cake lies in its simplicity. This recipe calls for staple ingredients you likely already have in your pantry and refrigerator. Each component plays a vital role in achieving the desired texture and flavor. Below is a comprehensive list, and I’ll delve into more detailed tips and the full recipe in the dedicated recipe card section further down. Here’s what you’ll need to gather:
For the Moist Vanilla Cake Layers
- All-purpose flour: The structural backbone of your cake.
- Baking powder: A leavening agent that helps the cake rise and contributes to its fluffy texture.
- Baking soda: Reacts with acidic ingredients like sour cream to create more lift.
- Salt: Enhances all the flavors and balances the sweetness.
- Unsalted butter: Crucial for richness and tender crumb. Ensure it’s at room temperature for proper creaming.
- Granulated sugar: Sweetens the cake and helps tenderize it.
- Vegetable oil: Adds moisture and helps keep the cake tender and fluffy longer.
- Eggs: Provide structure, richness, and moisture. Room temperature eggs emulsify better with other ingredients.
- Sour cream: A secret weapon for incredible moisture and a tender crumb, thanks to its fat and acidity.
- Milk: Adds liquid to the batter; whole milk is recommended for richness.
- Vanilla extract: The star flavor! Use high-quality pure vanilla extract for the best results.
For the Velvety Vanilla Buttercream Frosting
- Unsalted butter: The base of any great buttercream. Again, room temperature is key.
- Vanilla extract: Doubling down on that delightful vanilla flavor in the frosting.
- Salt: A pinch helps cut the sweetness and enhances the overall taste of the frosting.
- Powdered sugar: Also known as confectioners’ sugar, it gives the frosting its smooth, creamy texture.
- Milk or heavy cream: Used to adjust the frosting’s consistency, making it perfectly spreadable.
Your Step-by-Step Guide to Baking a Vanilla Cake from Scratch
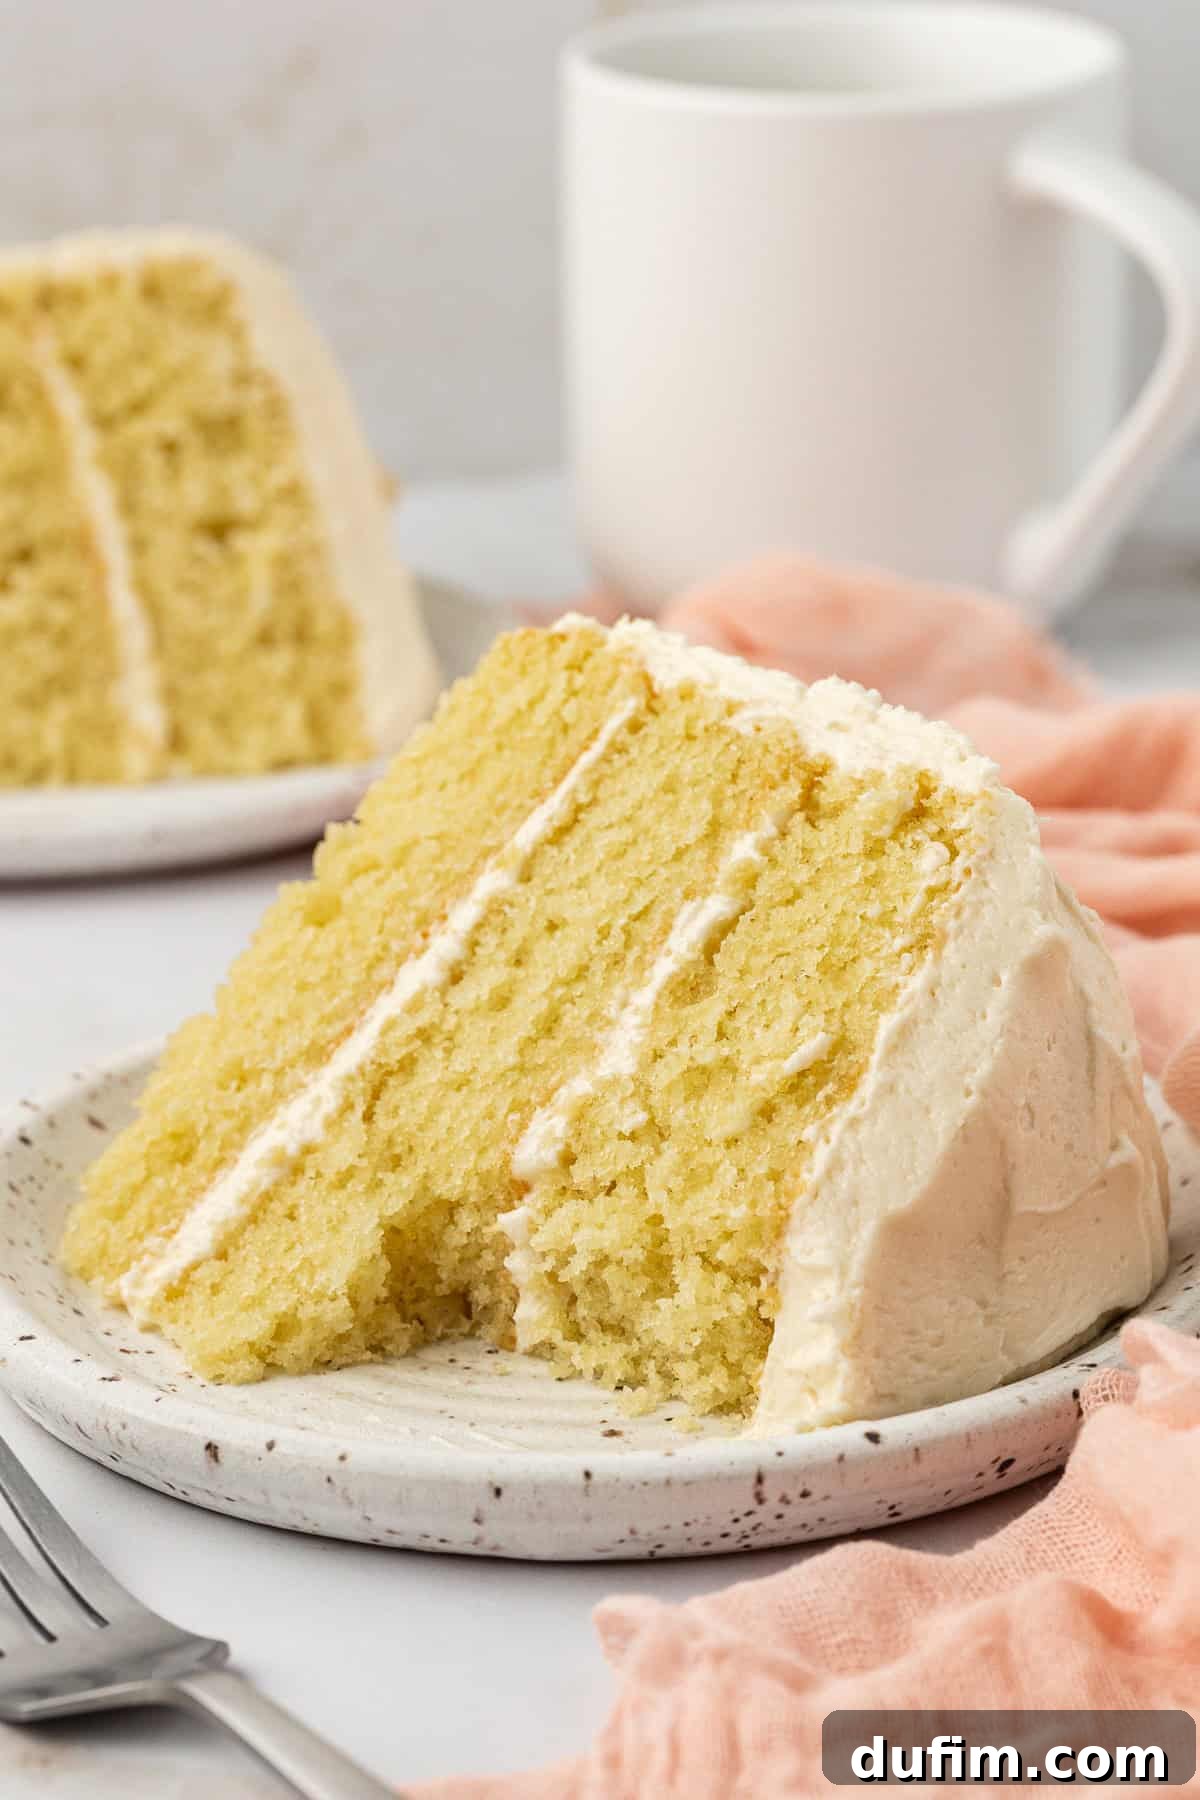
Creating this homemade vanilla cake is surprisingly straightforward, requiring only about 15 minutes of active preparation time. By following these clear, simple steps and my expert tips, you’ll be able to bake a stunning cake that’s perfect for any celebration and guaranteed to impress your loved ones. Get ready to transform basic ingredients into an extraordinary dessert! You’ll find all the specific measurements and details in the comprehensive recipe card below, but let’s walk through the process first.
- Prepare Oven and Cake Pans: Start by preheating your oven to 350º F (175ºC). Generously grease two or three 8-inch springform pans with butter, making sure to cover both the sides and the bottom. For effortless cake removal and to prevent sticking, line the bottom of each pan with a circle of parchment paper. Set your prepared pans aside.
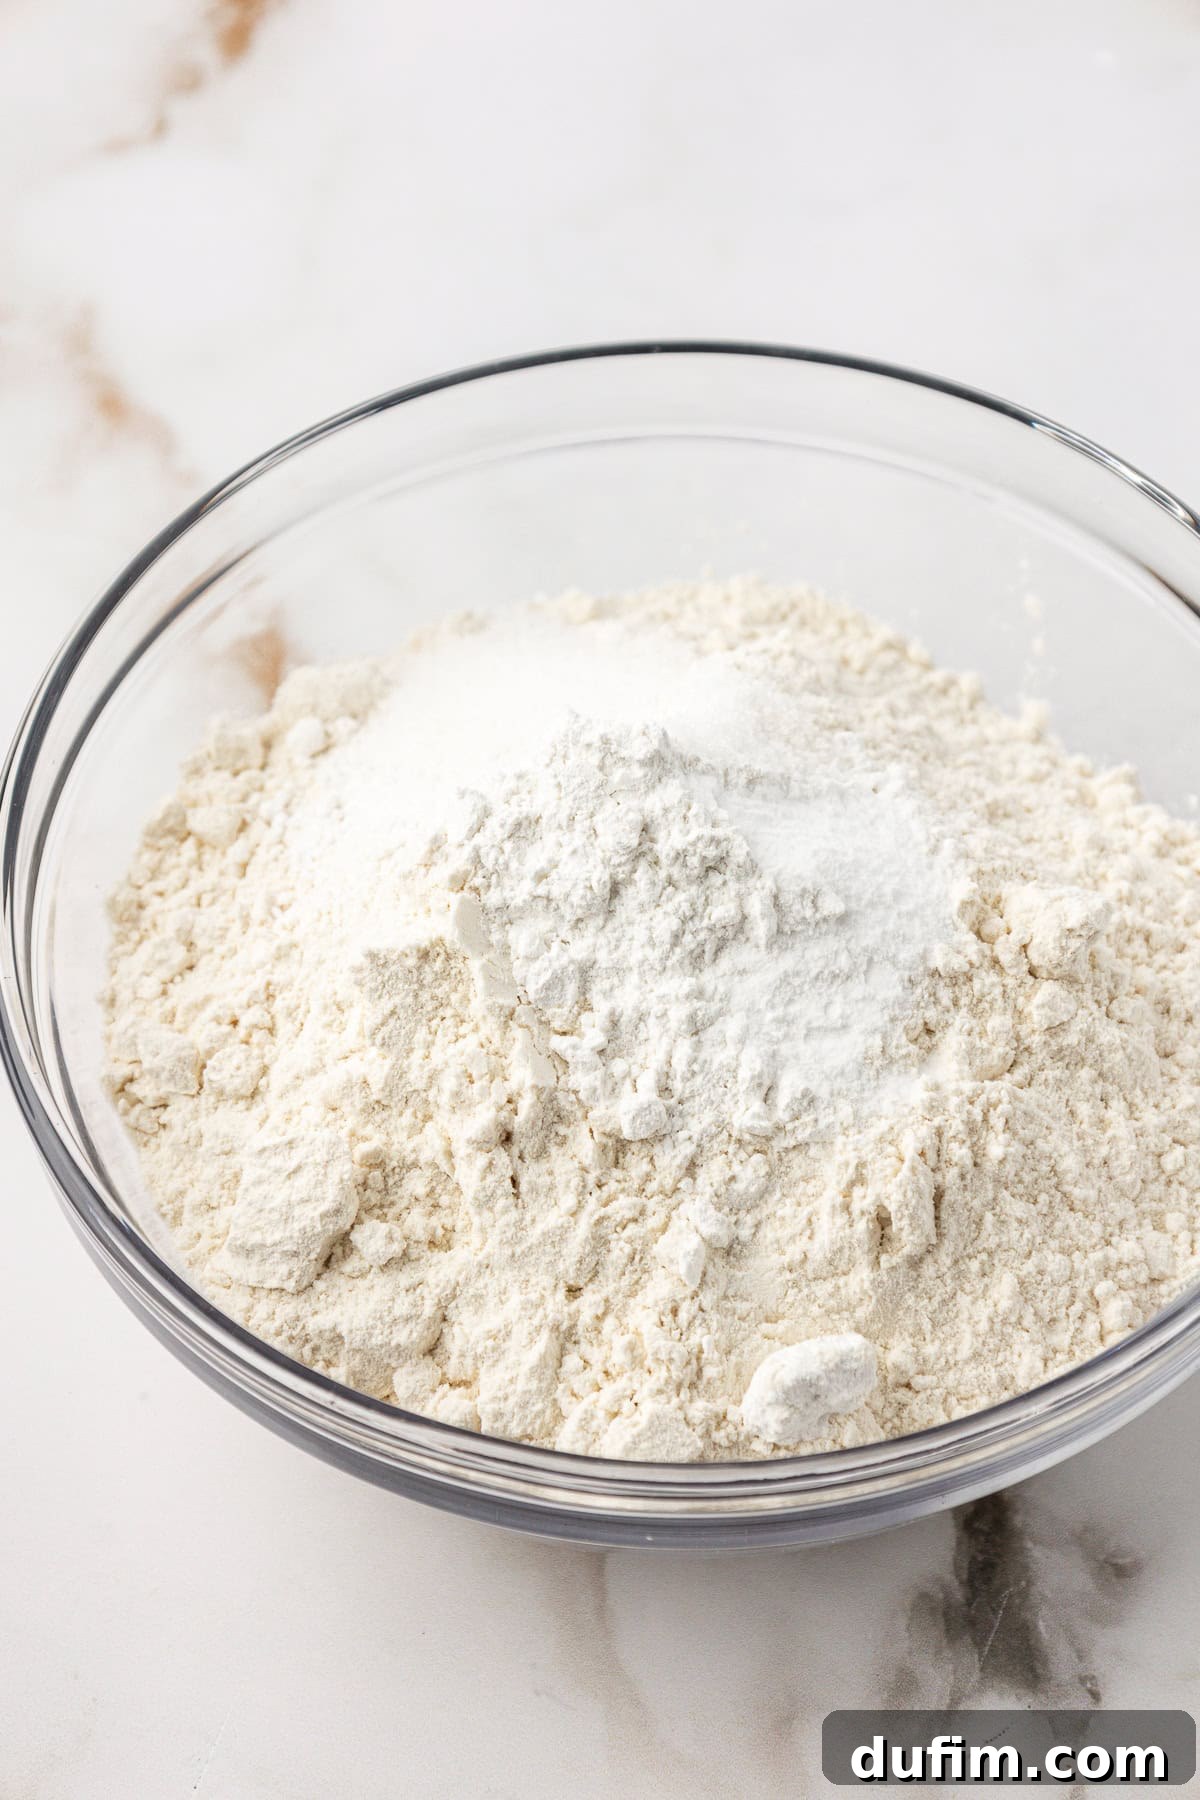
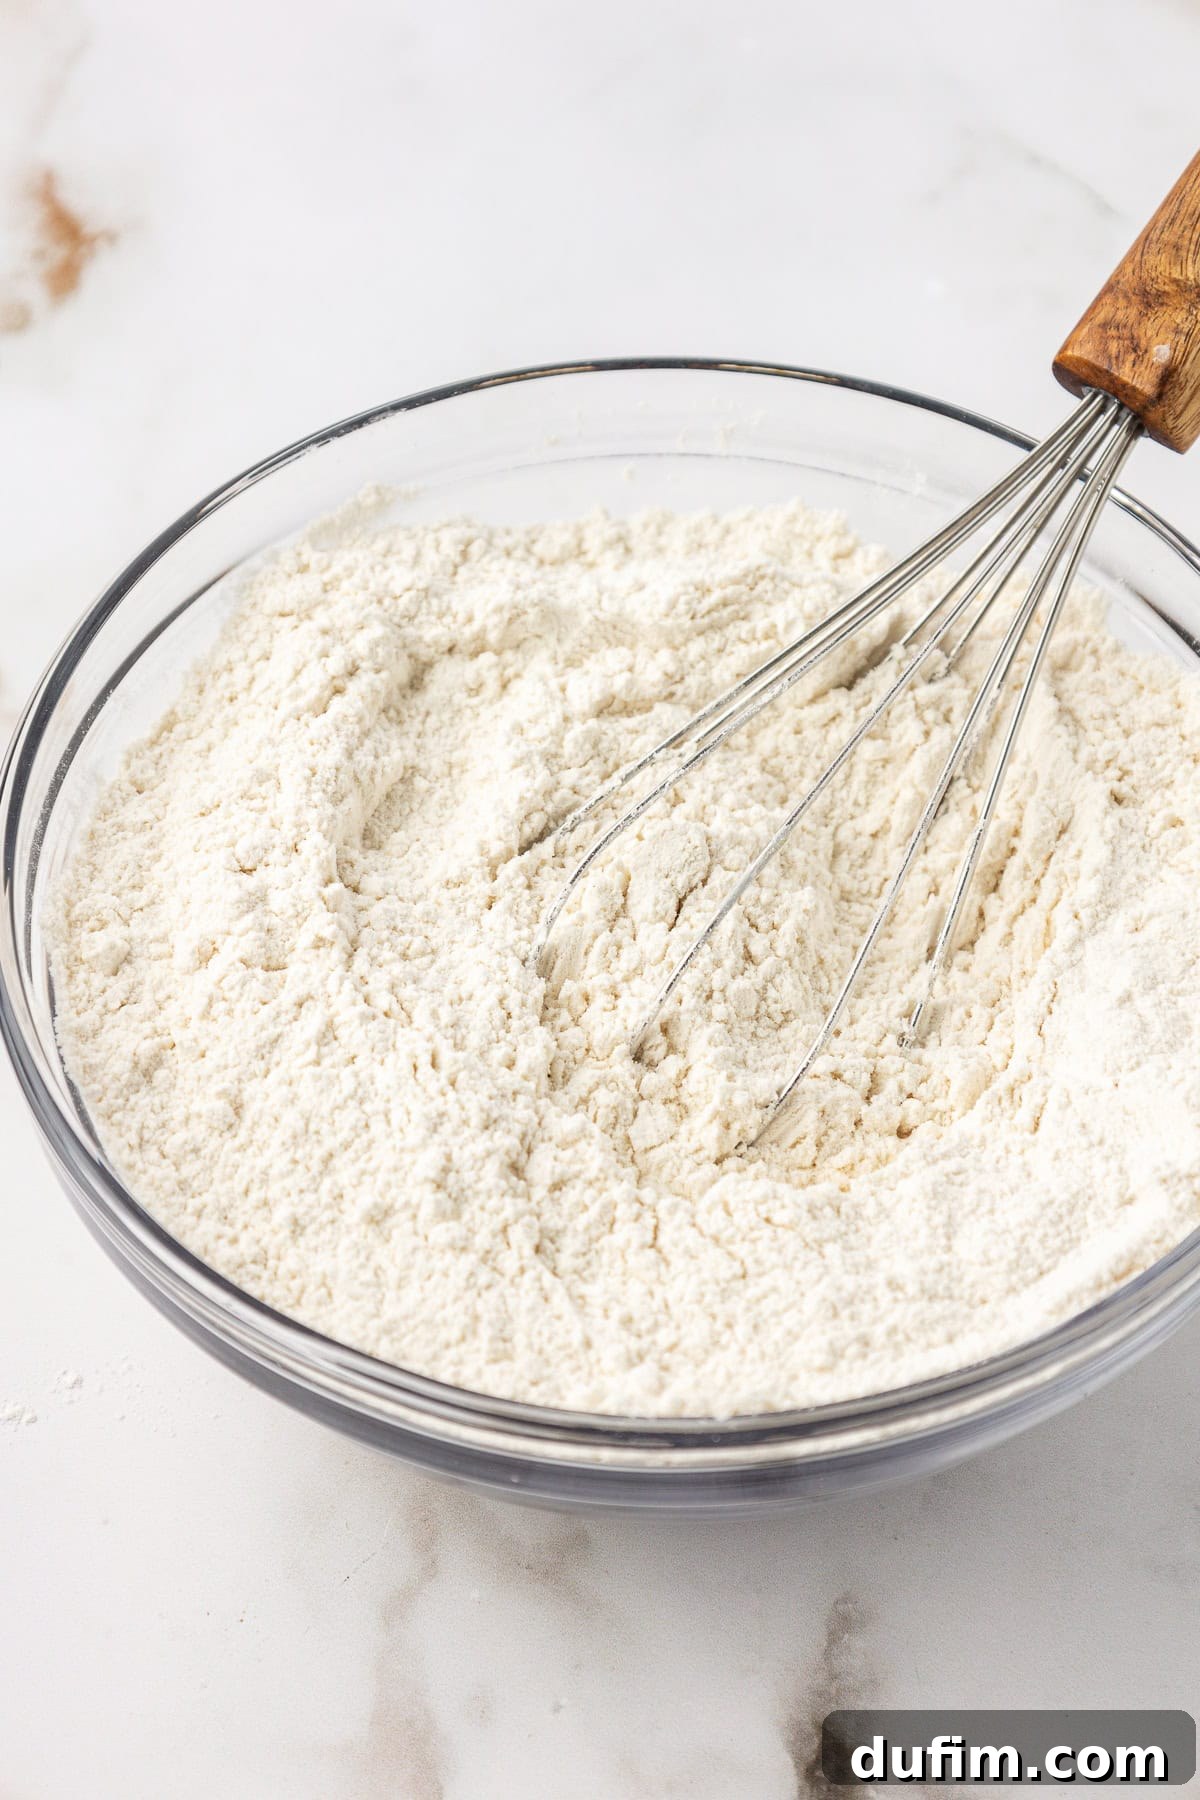
- Mix Dry Ingredients: In a small mixing bowl, combine your all-purpose flour, baking powder, baking soda, and salt. Whisk these together thoroughly until they are uniformly distributed. This ensures even leavening and flavor throughout the cake.
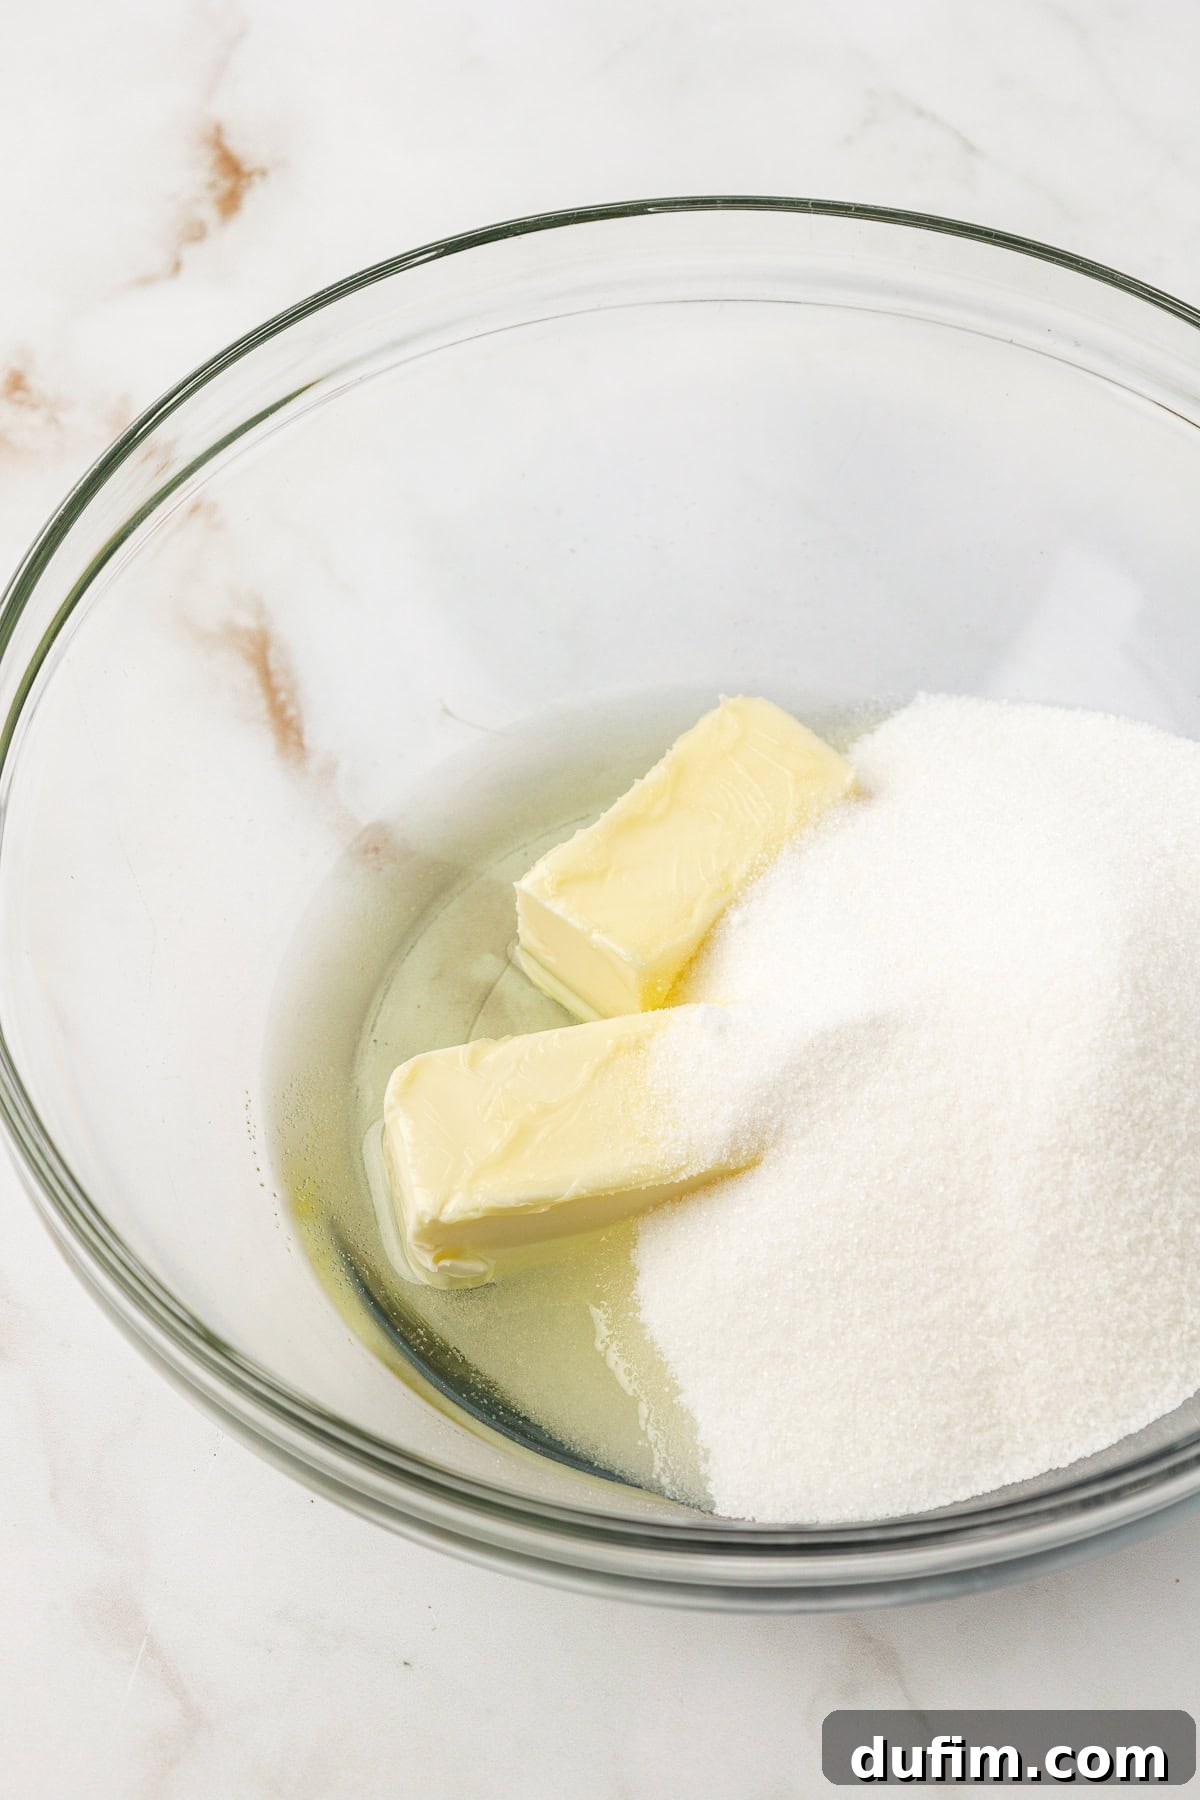
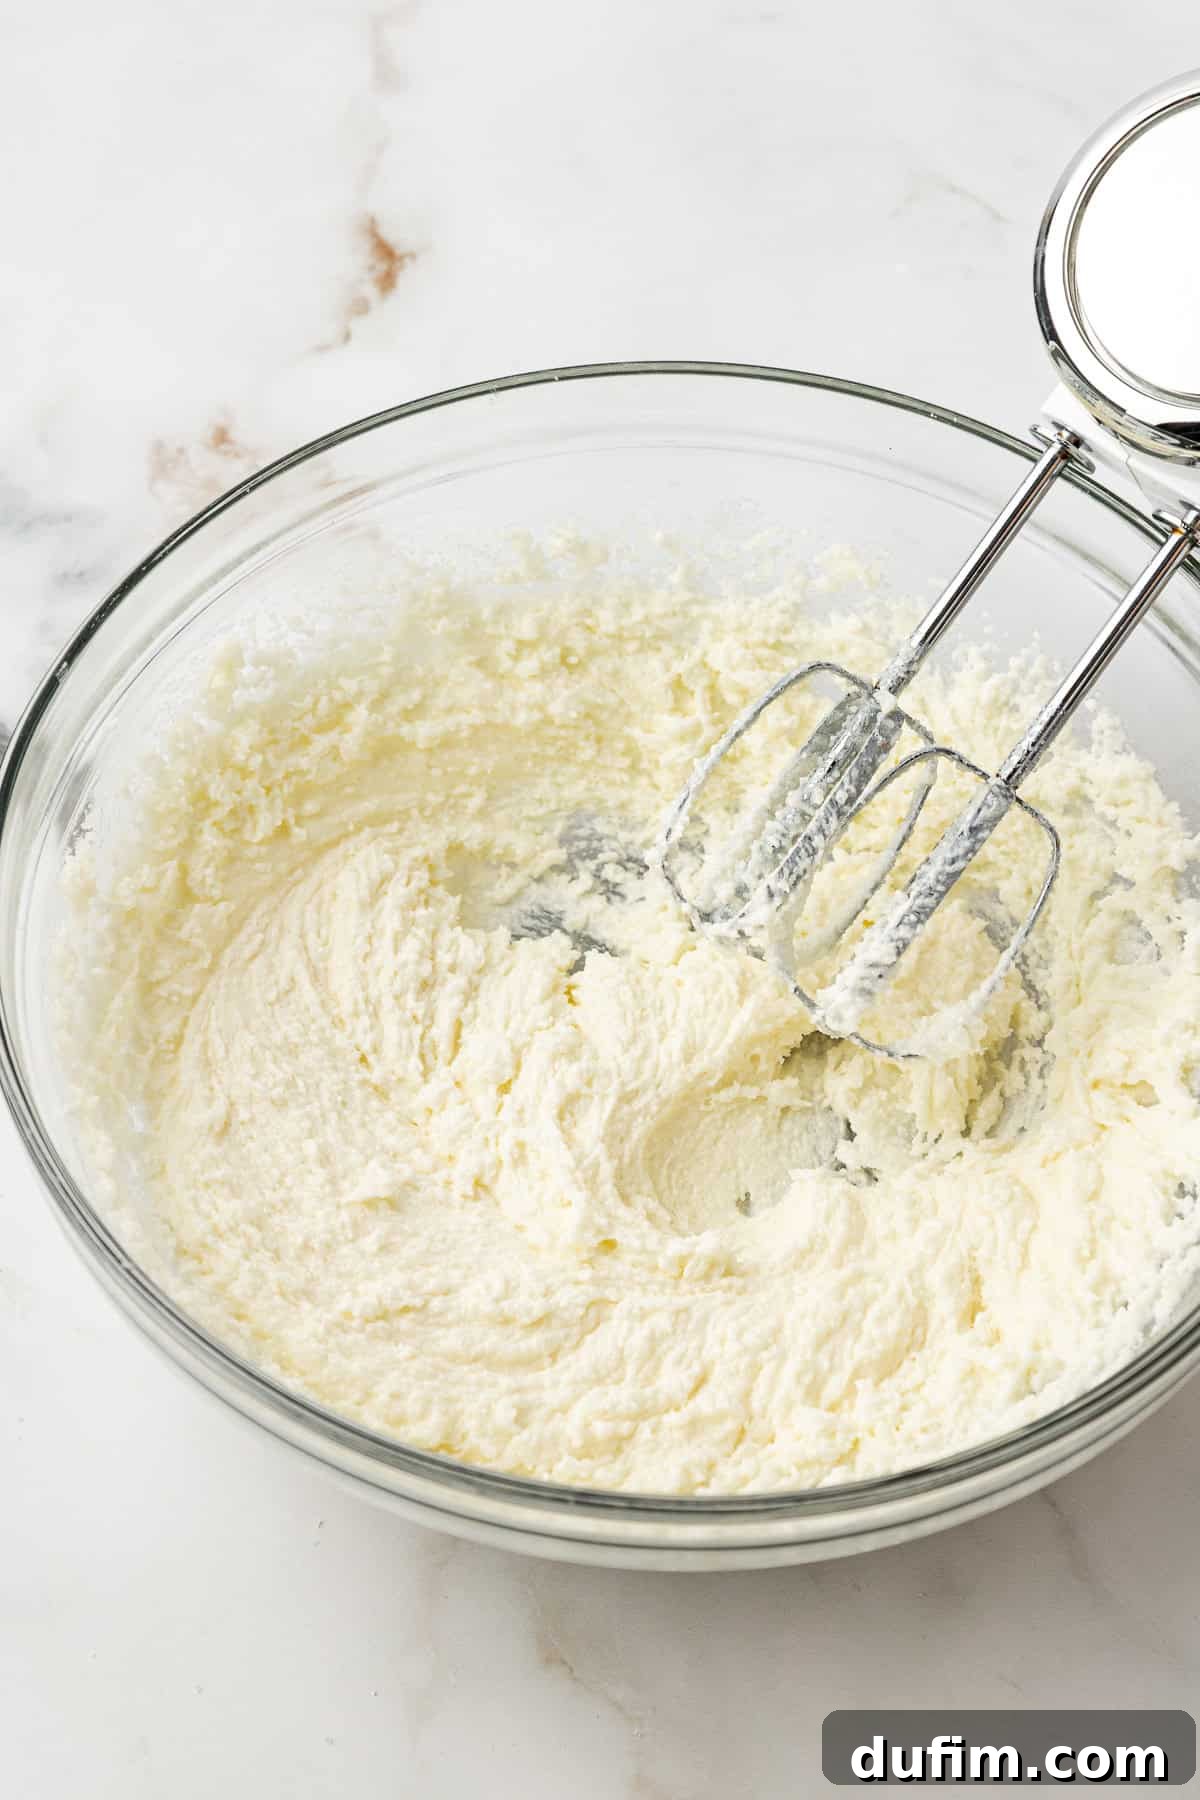
- Cream Wet Ingredients: In a large mixing bowl, combine the softened butter, granulated sugar, and vegetable oil. Using an electric mixer, beat these ingredients together for 1-2 minutes until the mixture is light, pale, and fluffy. This creaming process incorporates air, which is vital for a tender cake.
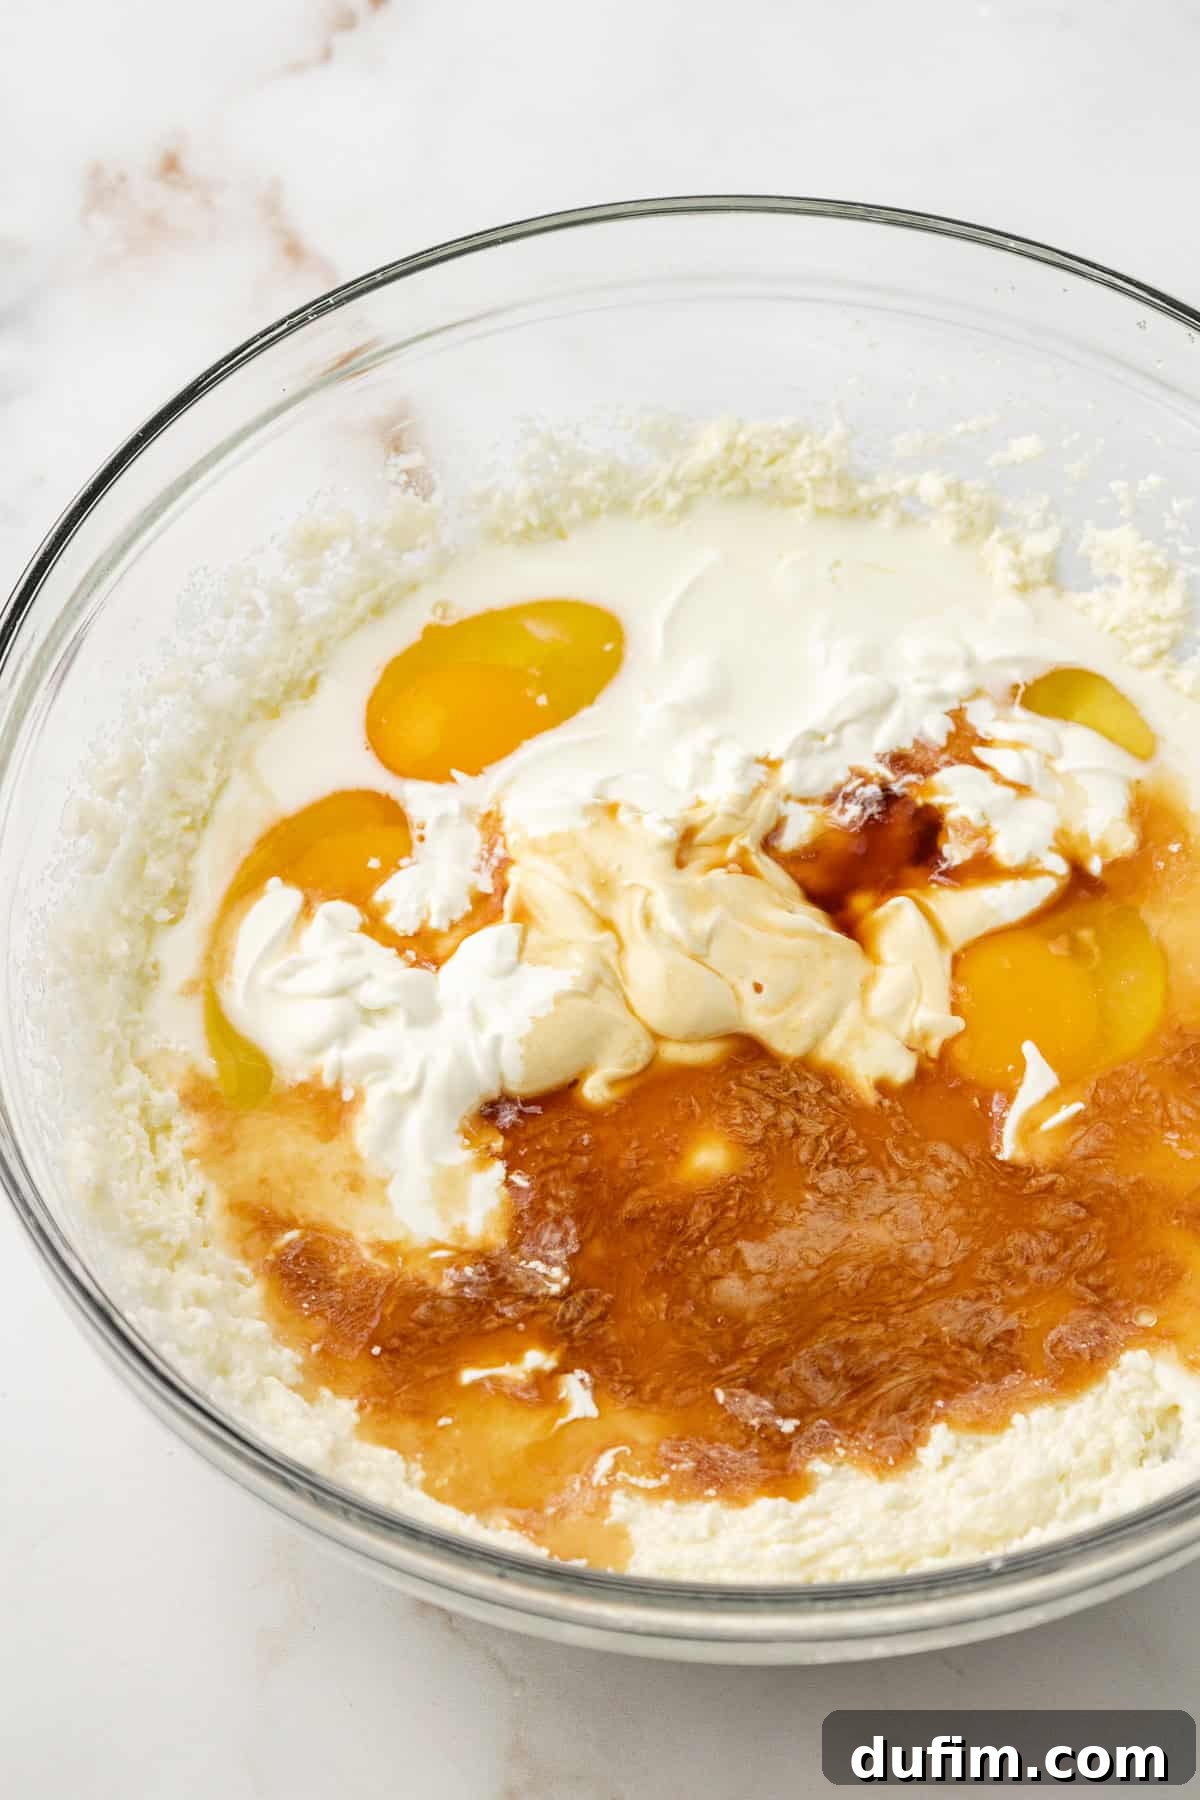
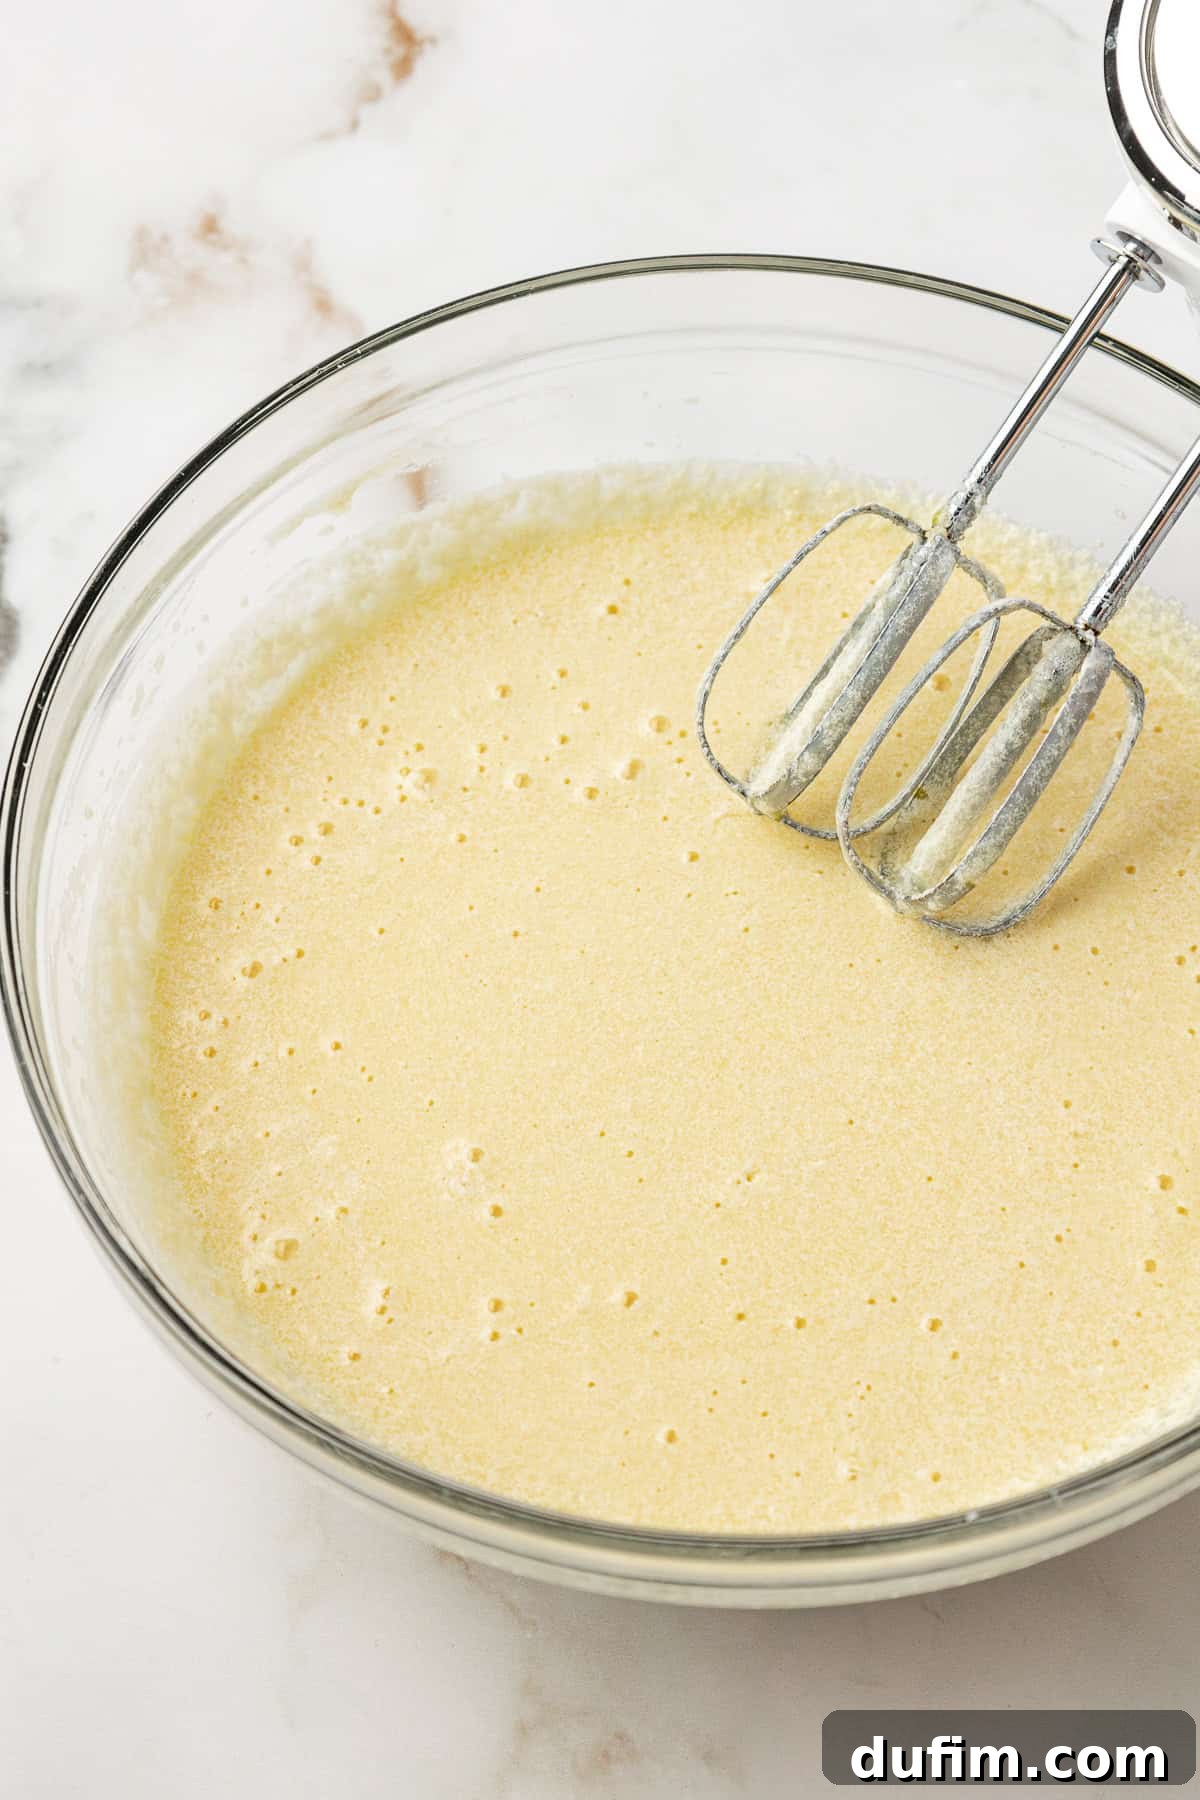
- Incorporate Remaining Wet Ingredients: To the creamed mixture, add the room temperature eggs one at a time, mixing well after each addition. Then, stir in the sour cream, milk, and vanilla extract. Beat with the electric mixer on low speed until all these wet ingredients are just combined.
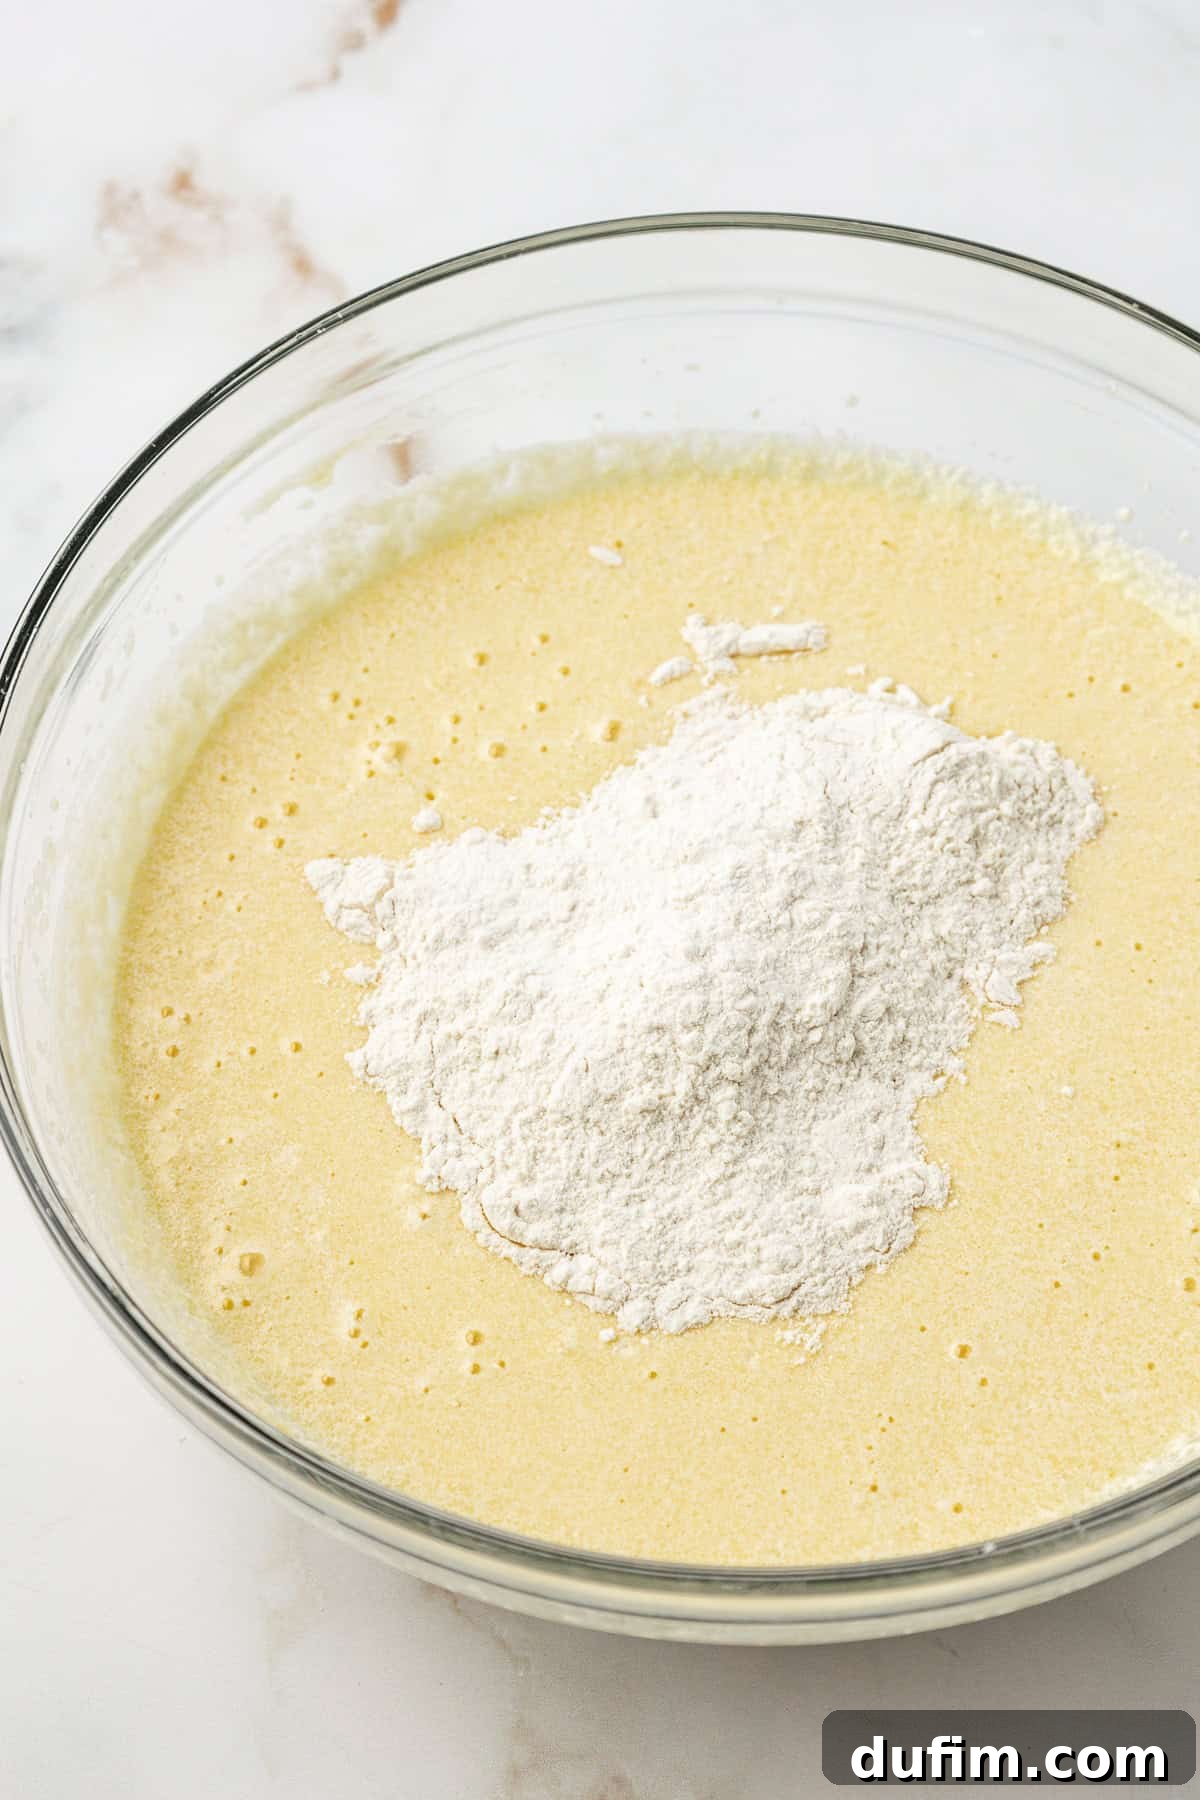
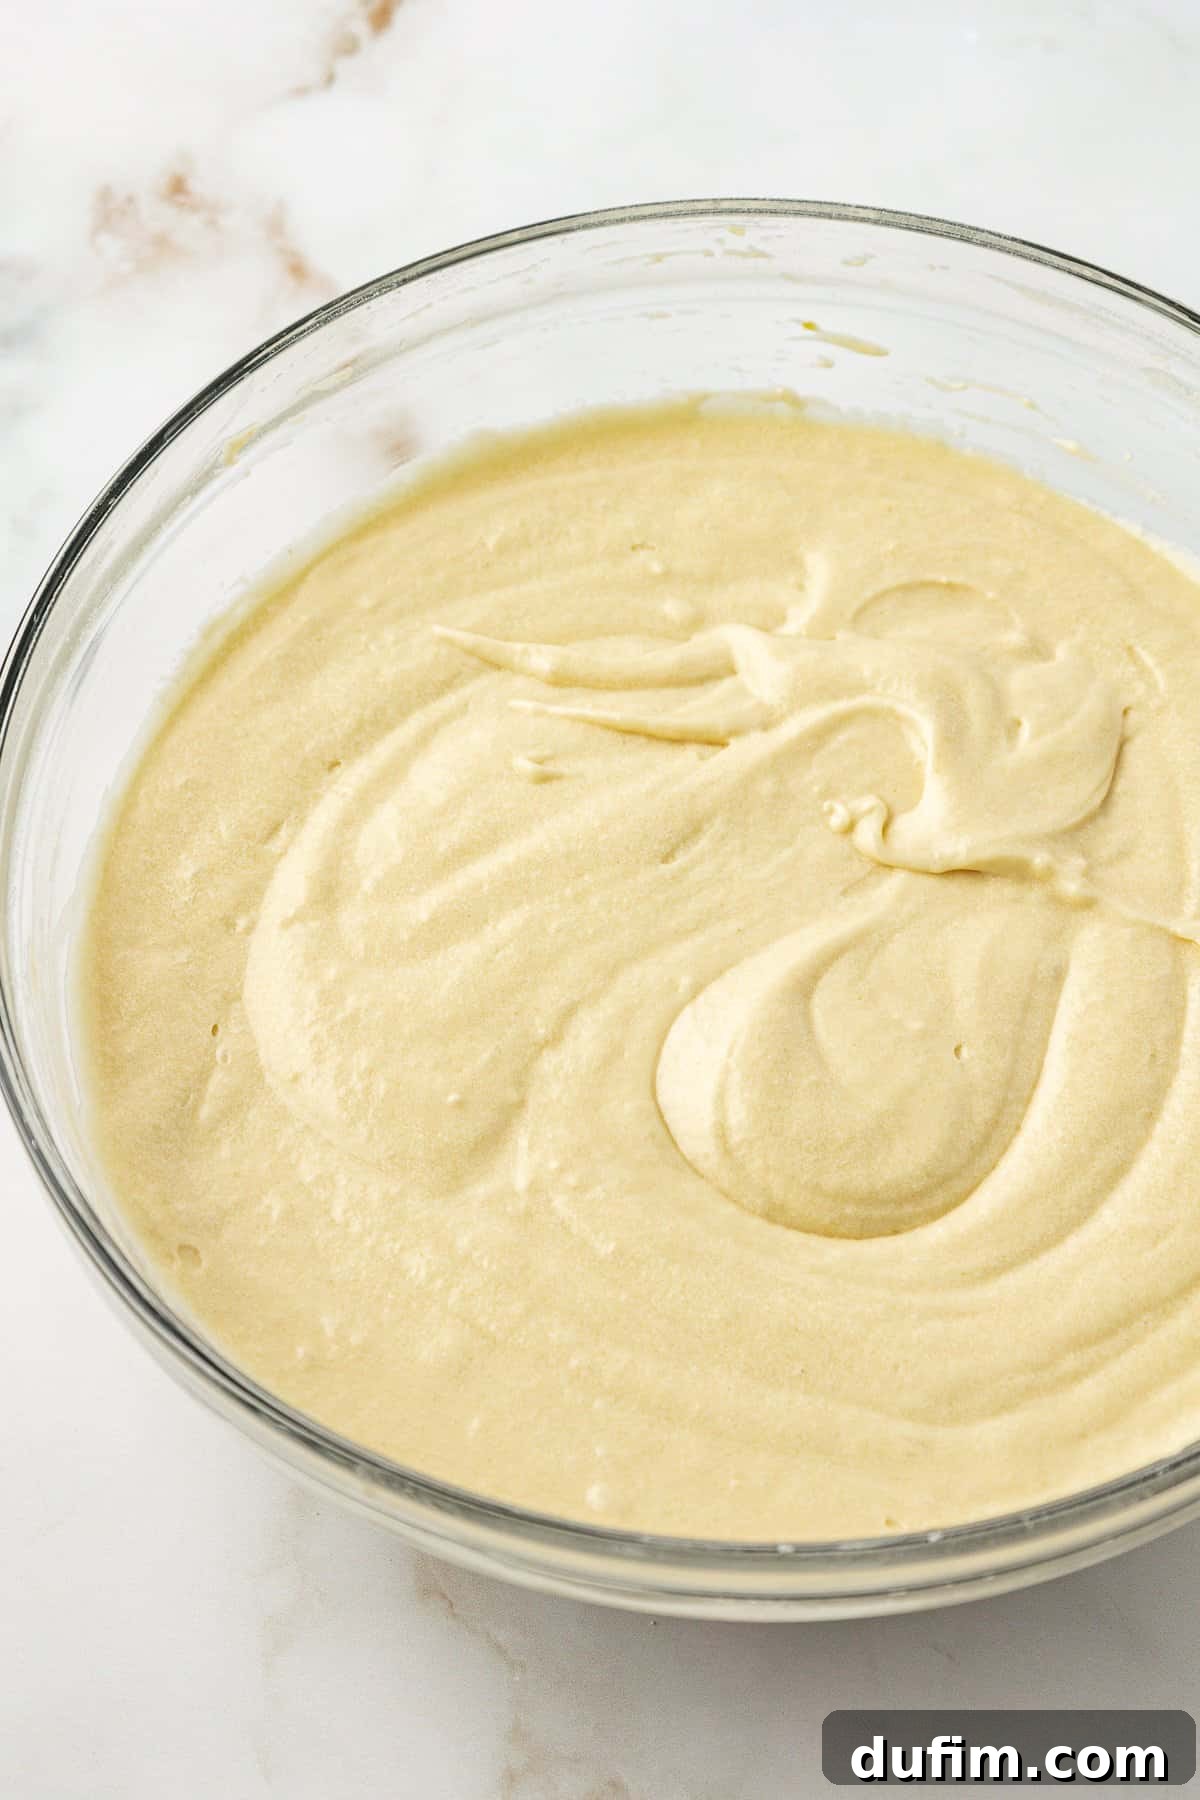
- Combine Wet and Dry Ingredients: Gradually add the whisked flour mixture to the wet ingredients. Mix on the lowest speed of your electric mixer, or by hand with a spatula, just until the flour is fully incorporated and no dry streaks remain. Be careful not to overmix the batter; overmixing can develop the gluten too much, leading to a tough, dense cake.
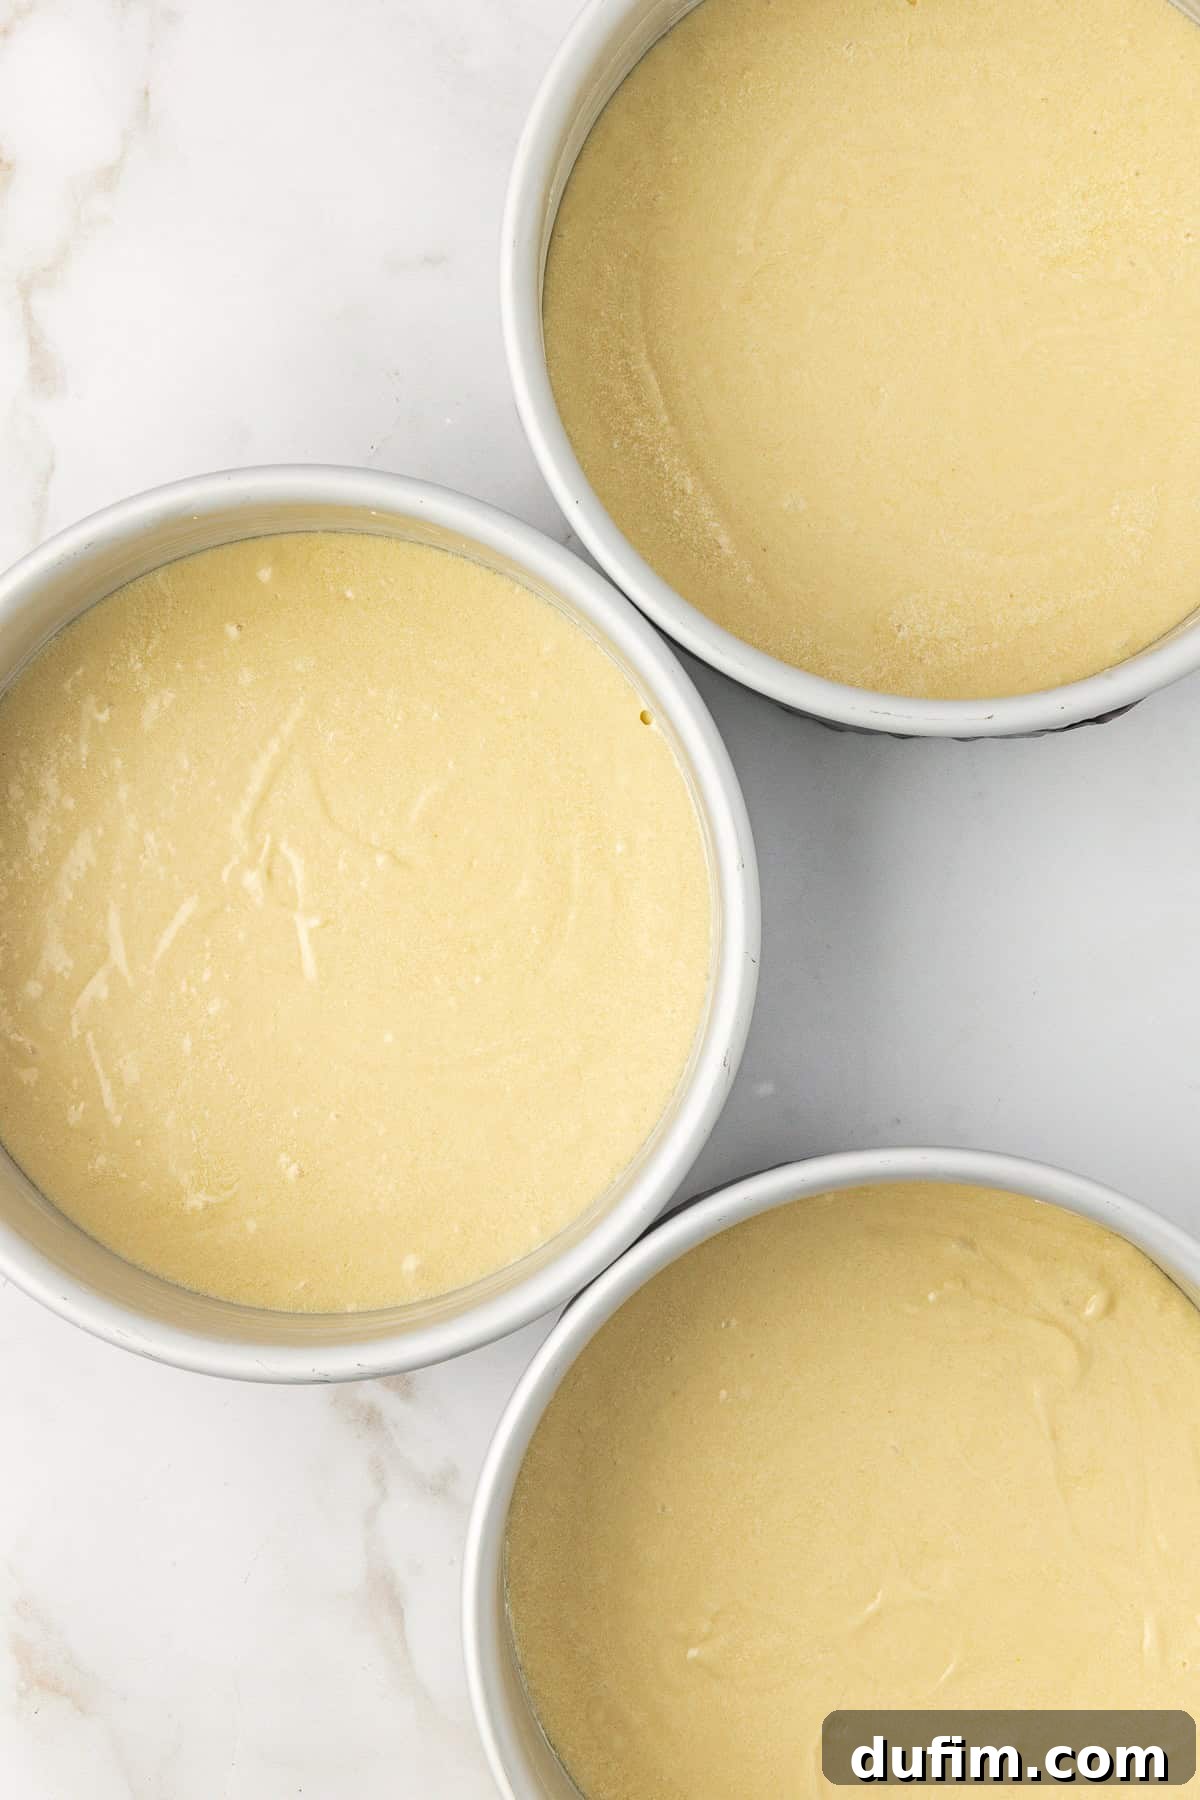
- Add Batter to Cake Pans: Evenly divide the prepared batter among your cake pans. If you are using two 8-inch pans, allocate about 3 cups of batter to each. If you opted for three 8-inch pans, aim for approximately 2 cups of batter per pan. For perfectly flat cake tops, consider soaking and securing bake-even cake strips around the outside of your pans before baking.
- Bake to Perfection: Place the pans in your preheated oven. If baking two pans, bake for 40-50 minutes. For three pans, bake for 32-37 minutes. The cake is ready when a wooden toothpick or skewer inserted into the center comes out clean or with only a few moist crumbs attached. Avoid overbaking to keep the cake moist.
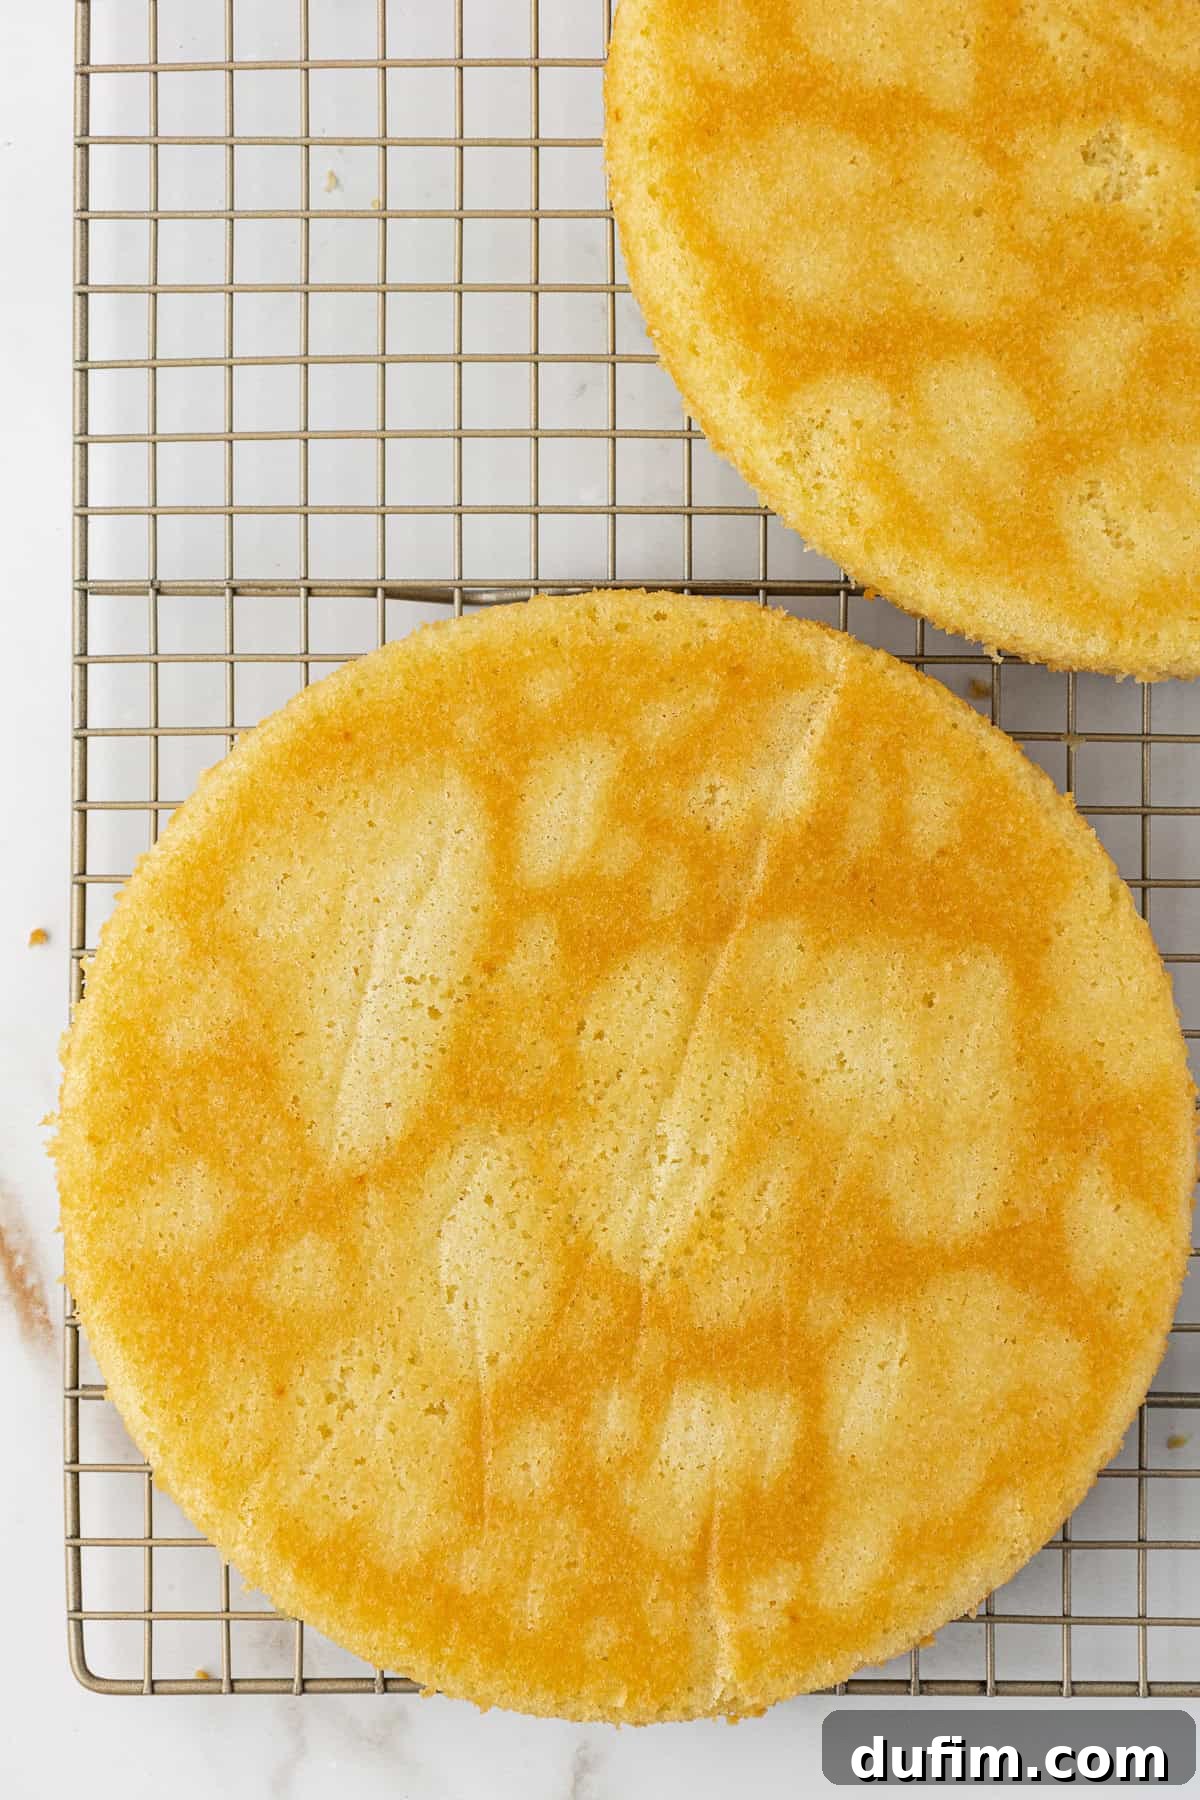
- Cool Completely: Allow the baked cakes to cool in their pans on a wire rack for 20-30 minutes. This cooling period helps the cake firm up and prevents it from breaking when removed. After this initial cooling, use a small, thin spatula or knife to gently loosen the cake from the edges of the pan. Invert the cakes onto the cooling rack, remove the parchment paper, and let them cool completely to room temperature before frosting. Frosting a warm cake will cause the buttercream to melt!
Preparing the Irresistible Vanilla Buttercream Frosting
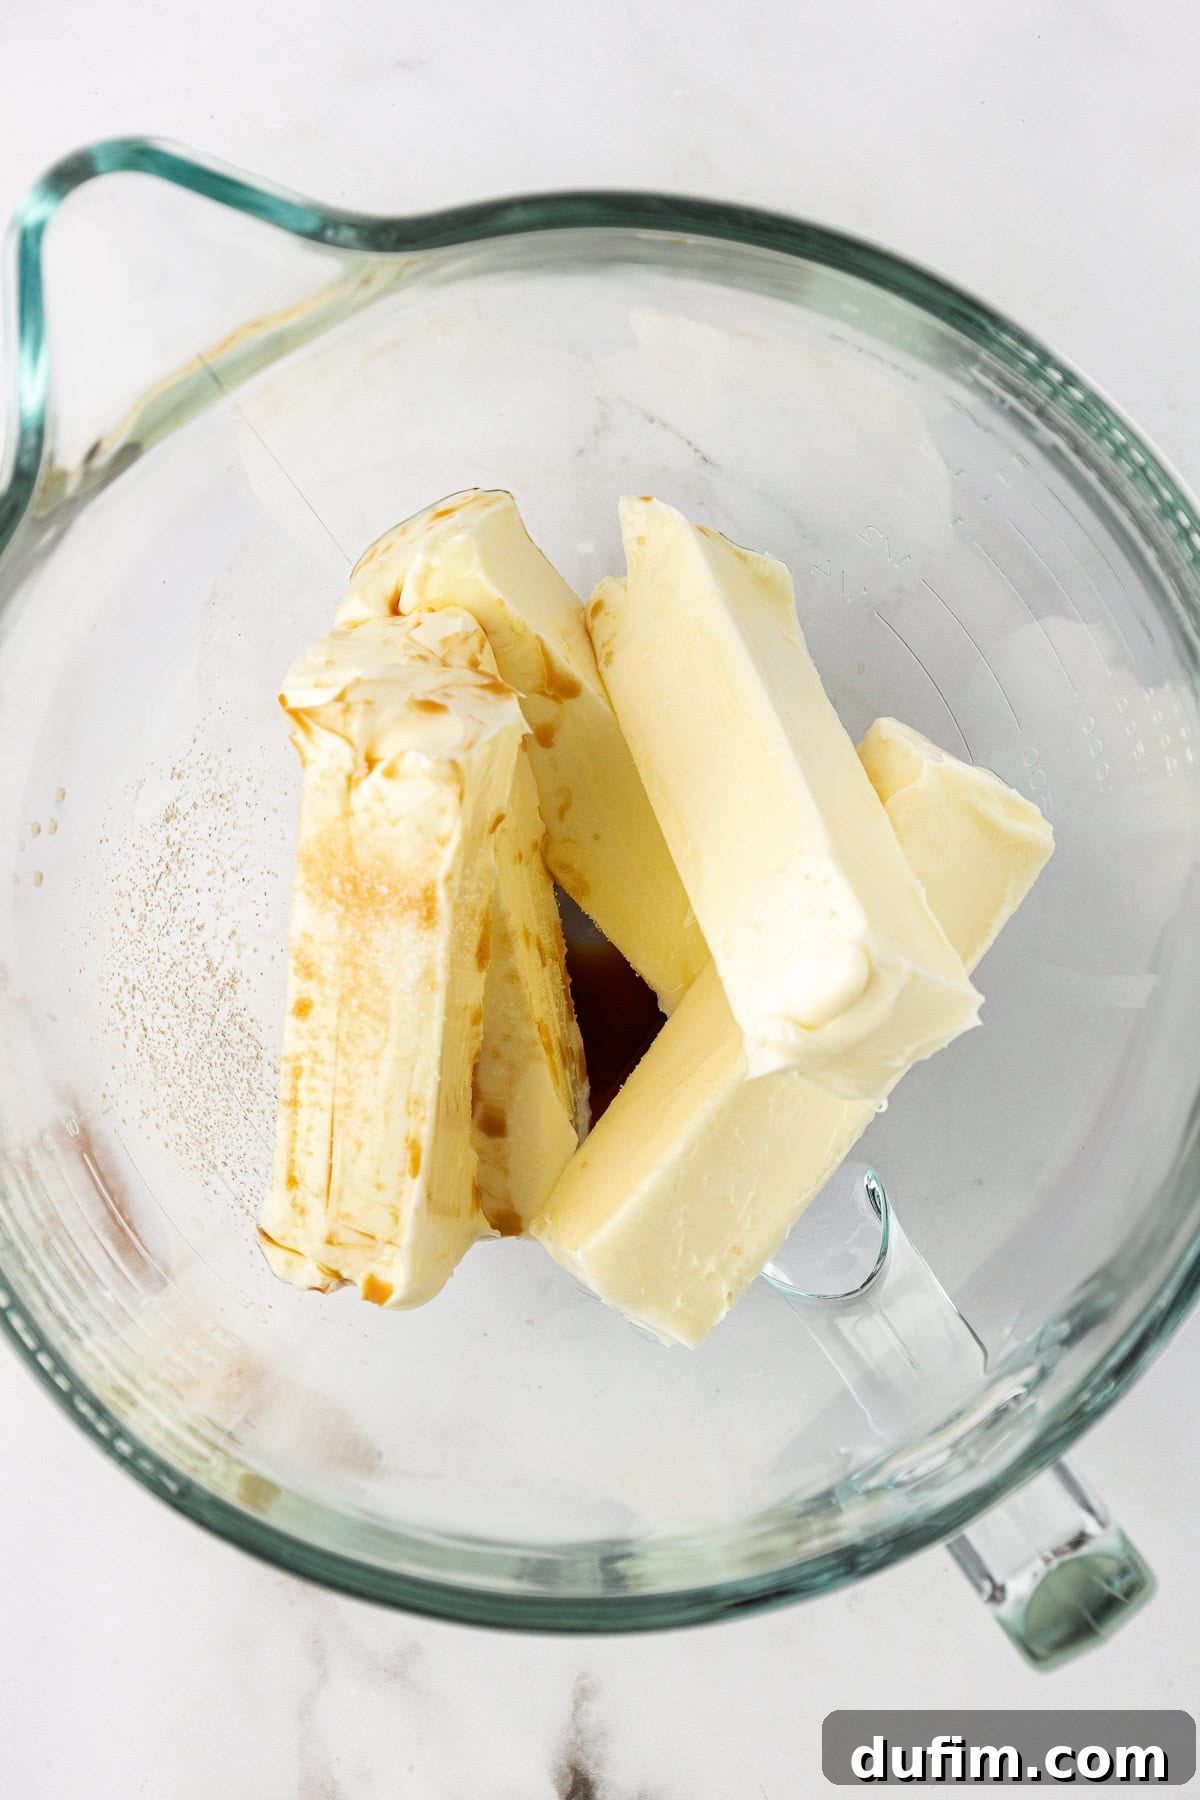
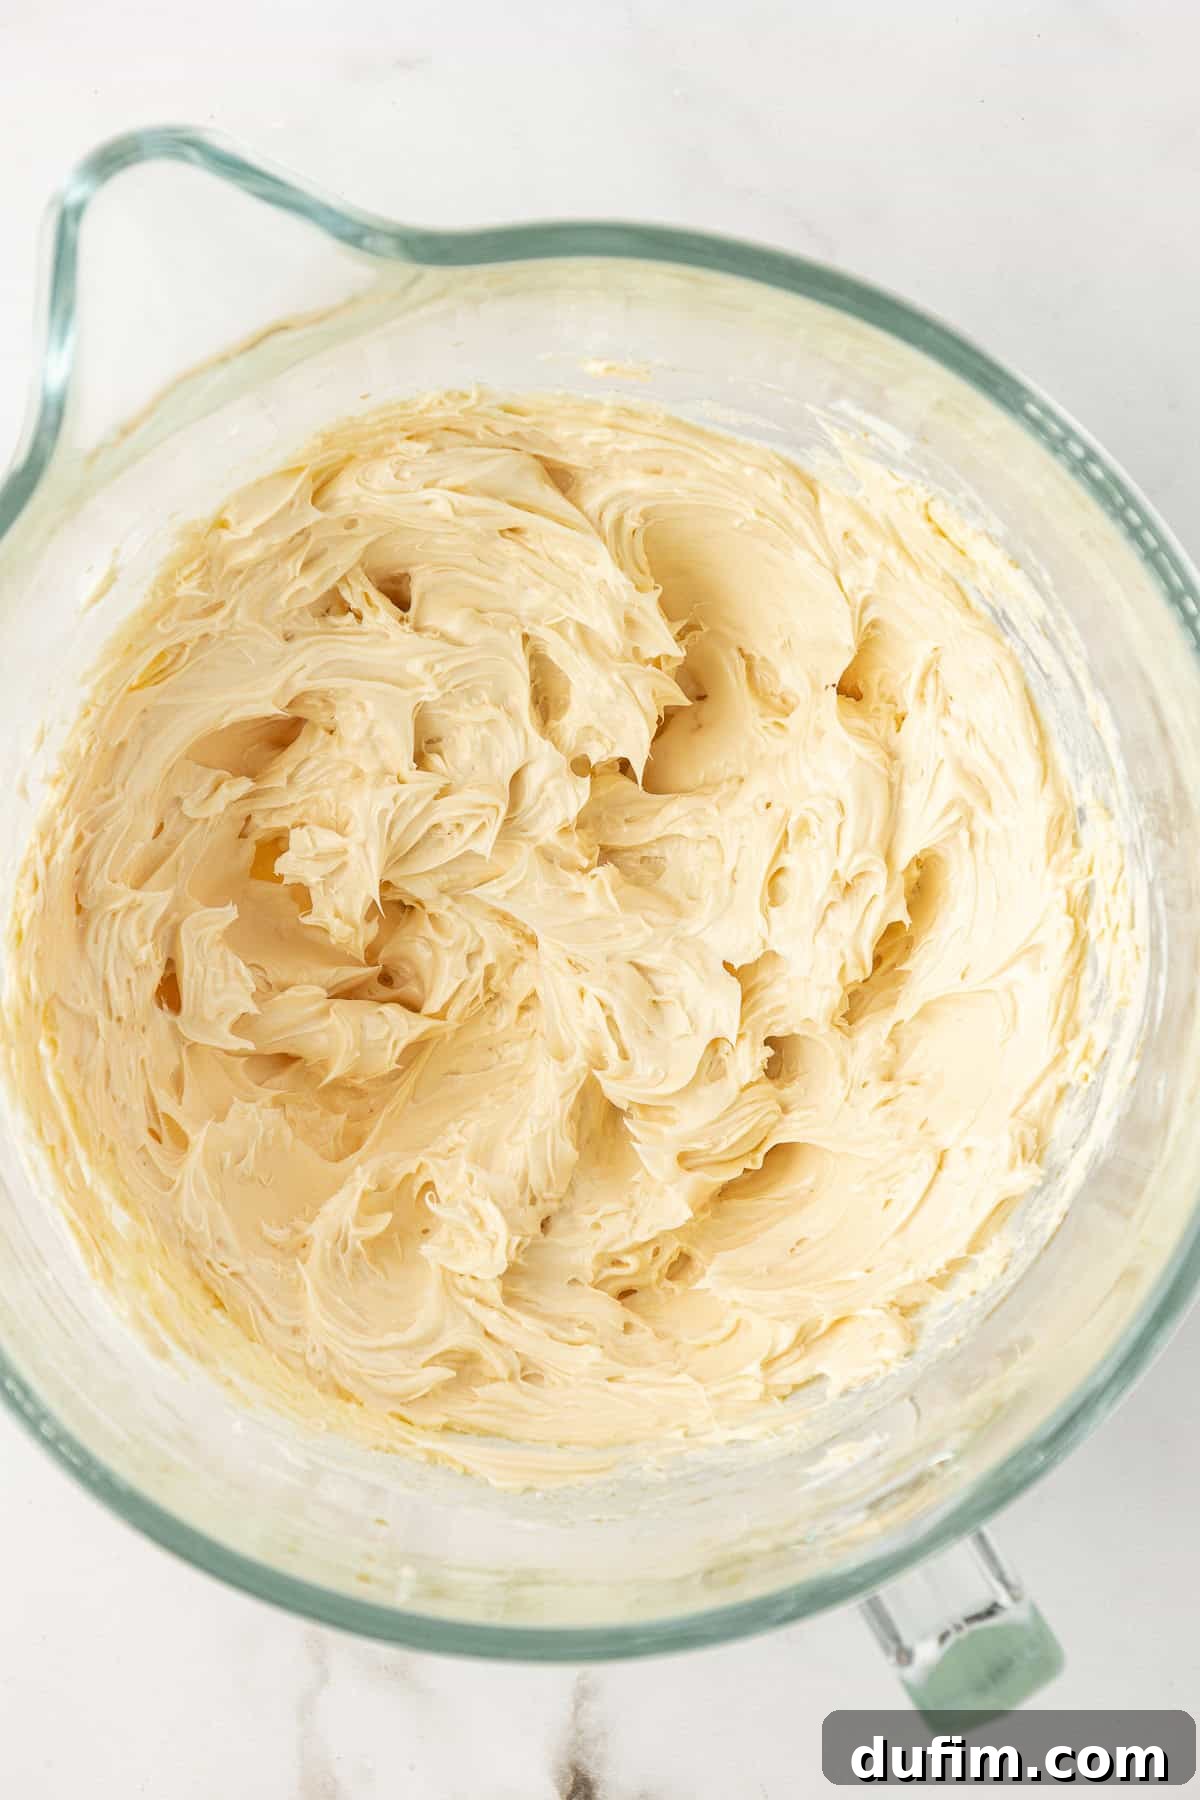
- Begin Mixing Ingredients: In a clean mixing bowl, combine the room temperature unsalted butter, vanilla extract, and salt. Using an electric mixer, beat these ingredients on medium speed for 1-2 minutes until the mixture is light, pale, and fluffy. This aeration makes for a light, airy buttercream.
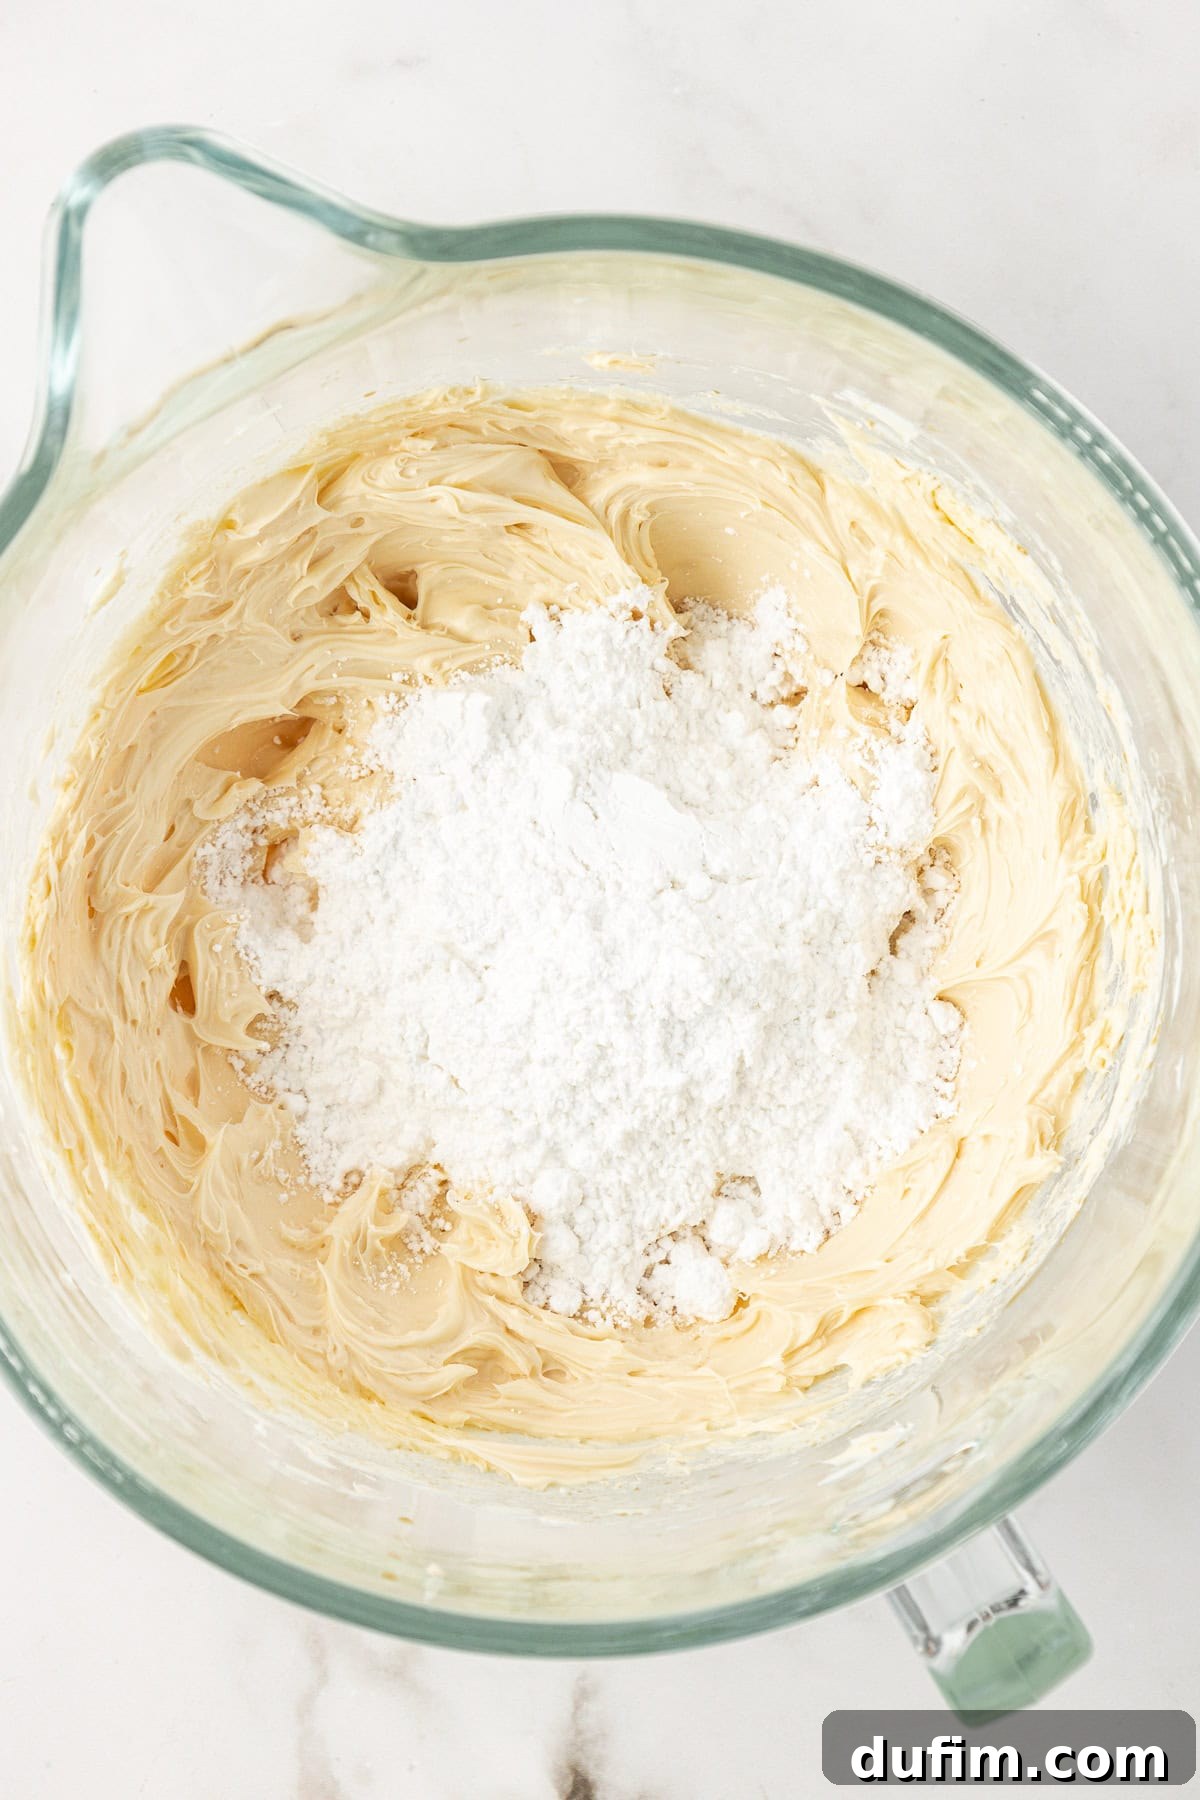
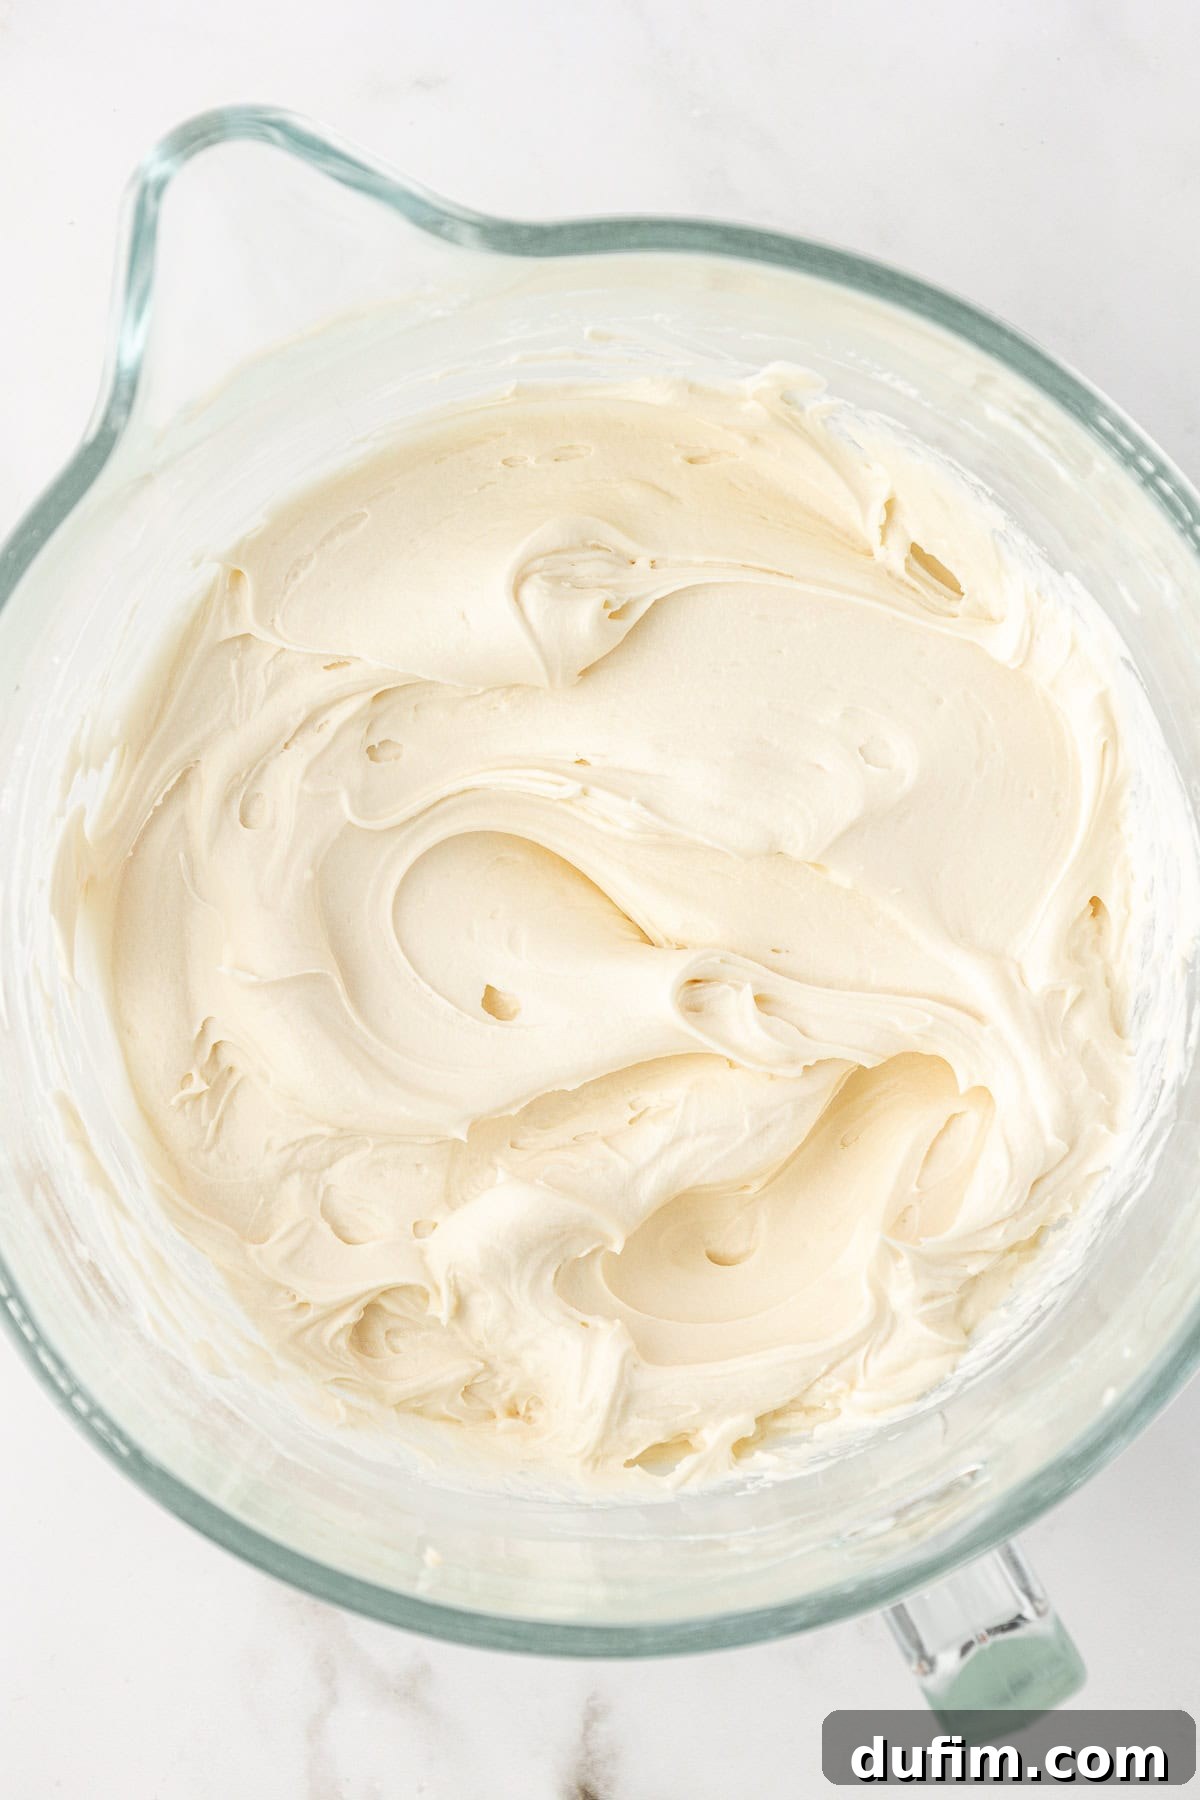
- Integrate Remaining Ingredients: Gradually add the powdered sugar, one cup at a time, along with 3 tablespoons of heavy cream or milk. Start mixing on low speed until the sugar is incorporated, then increase to medium-high and beat until the frosting is smooth and creamy.
- Adjust Consistency and Sweetness: Taste the frosting periodically to determine if you prefer it sweeter; if so, add more powdered sugar as desired. If the frosting becomes too thick to spread easily, add additional milk or heavy cream, 1 tablespoon at a time, until you achieve the perfect, velvety consistency.
Assembling Your Masterpiece: The Vanilla Cake
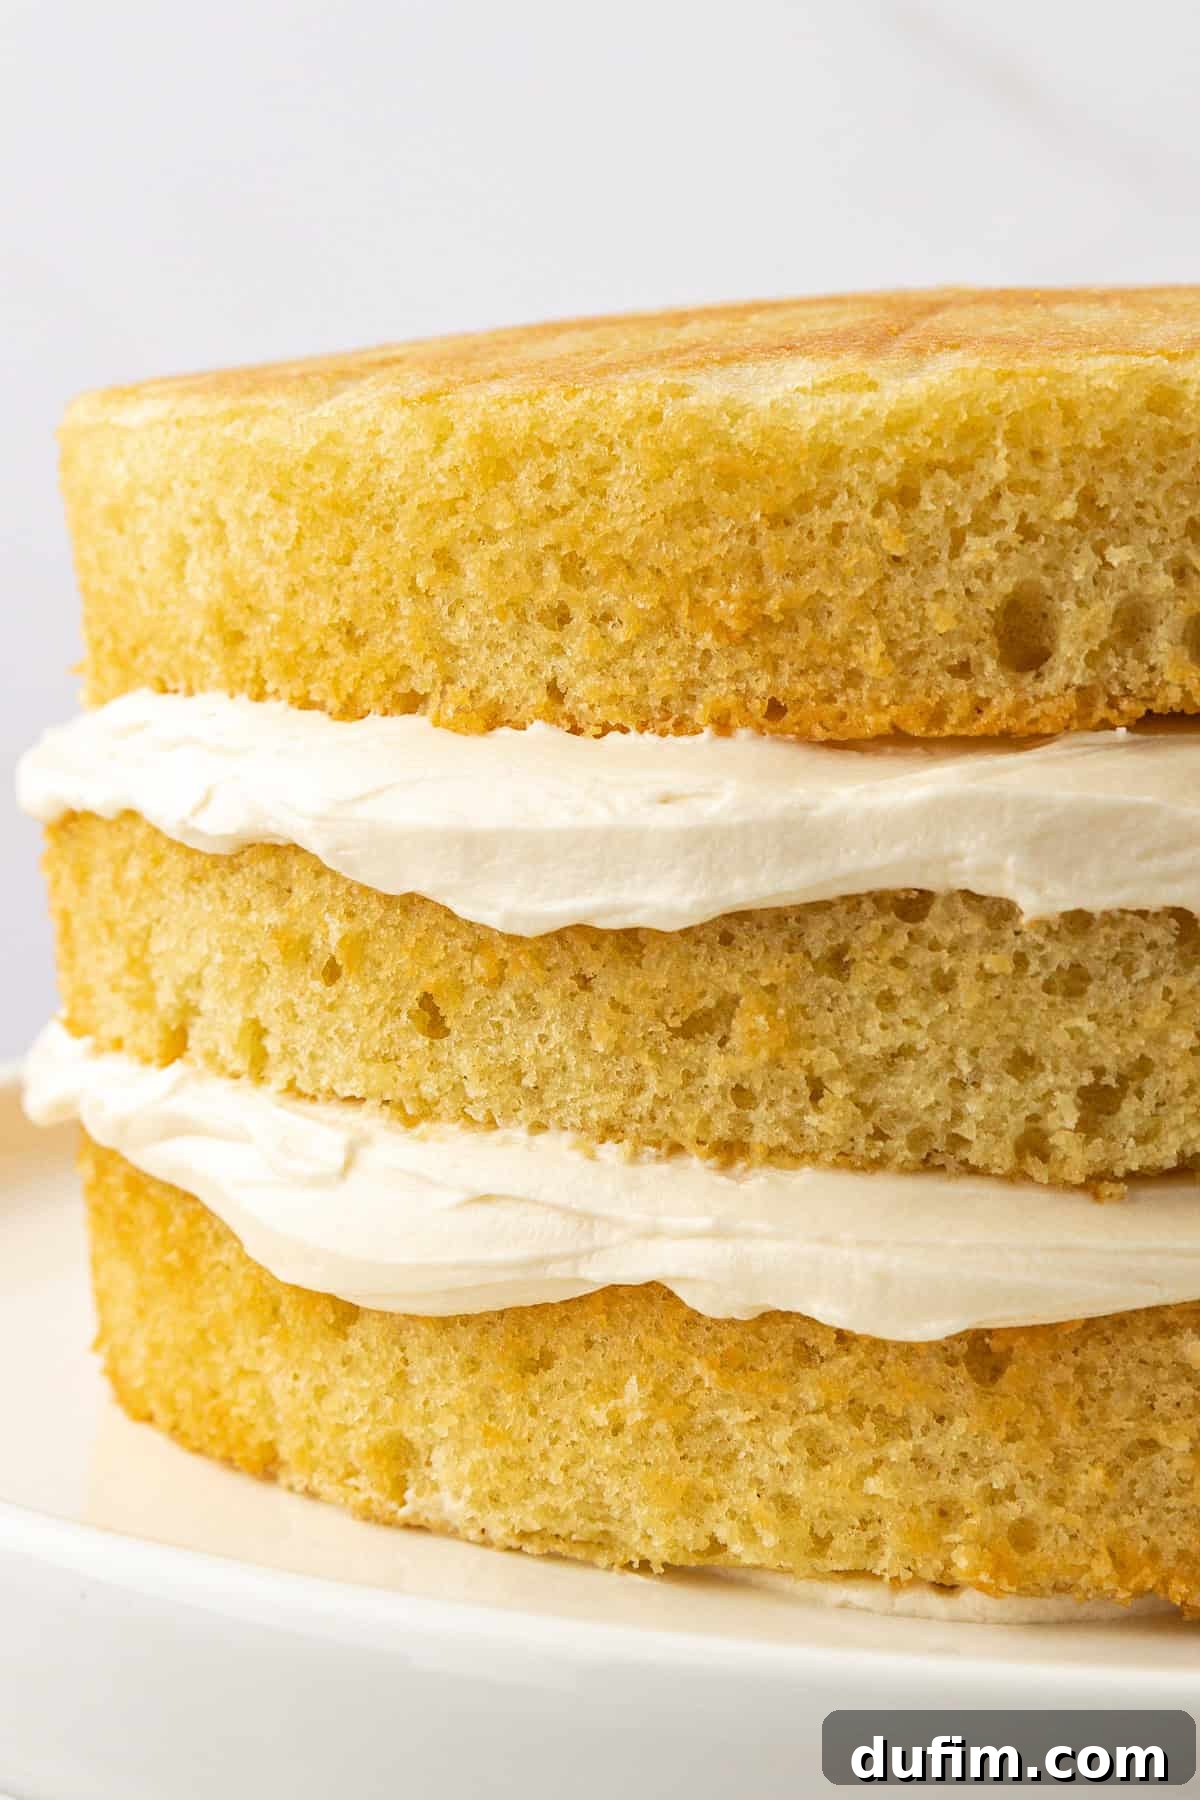
- Level Cake Layers (If Needed): Once your cake layers have cooled completely, inspect their tops. If they have domed significantly, use a serrated knife or a specialized cake leveler to carefully trim the tops, creating flat, even surfaces. This ensures a stable and beautiful stacked cake.
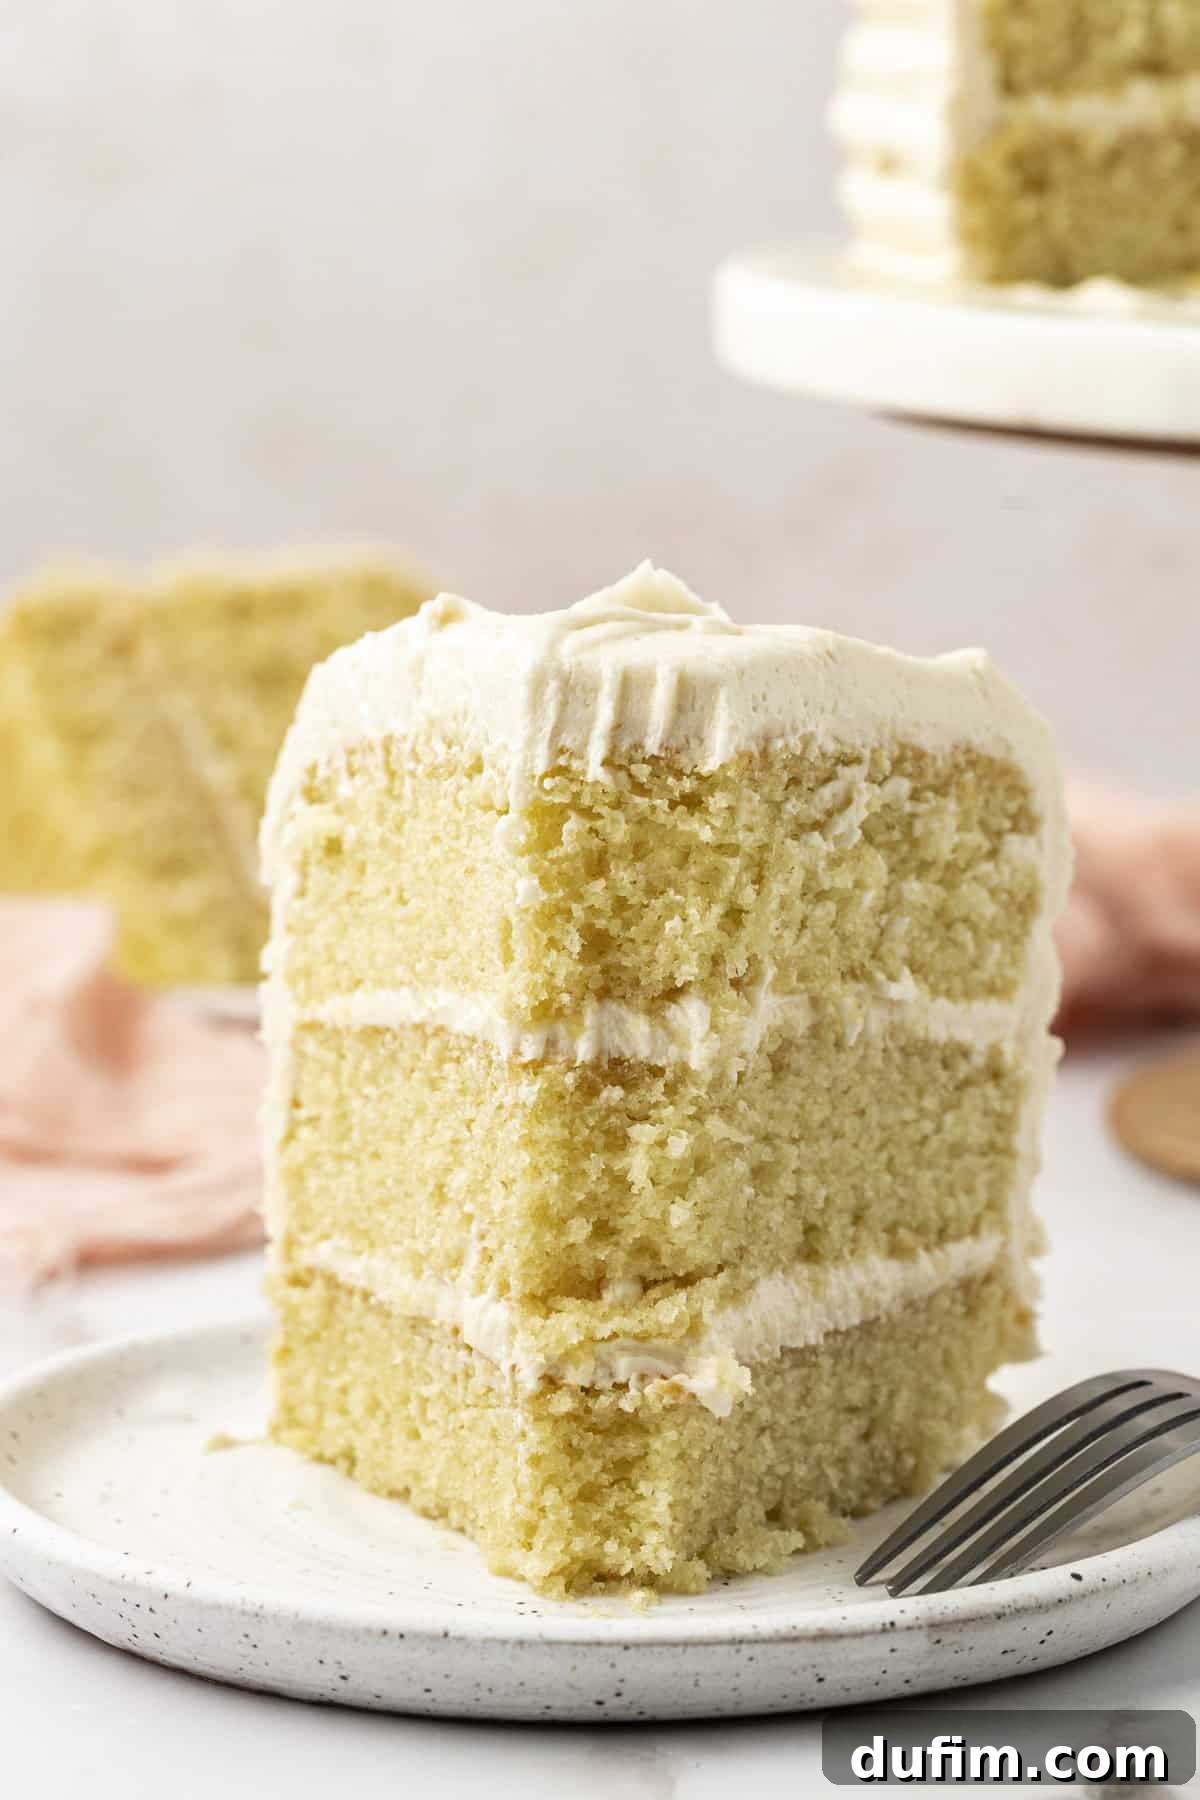
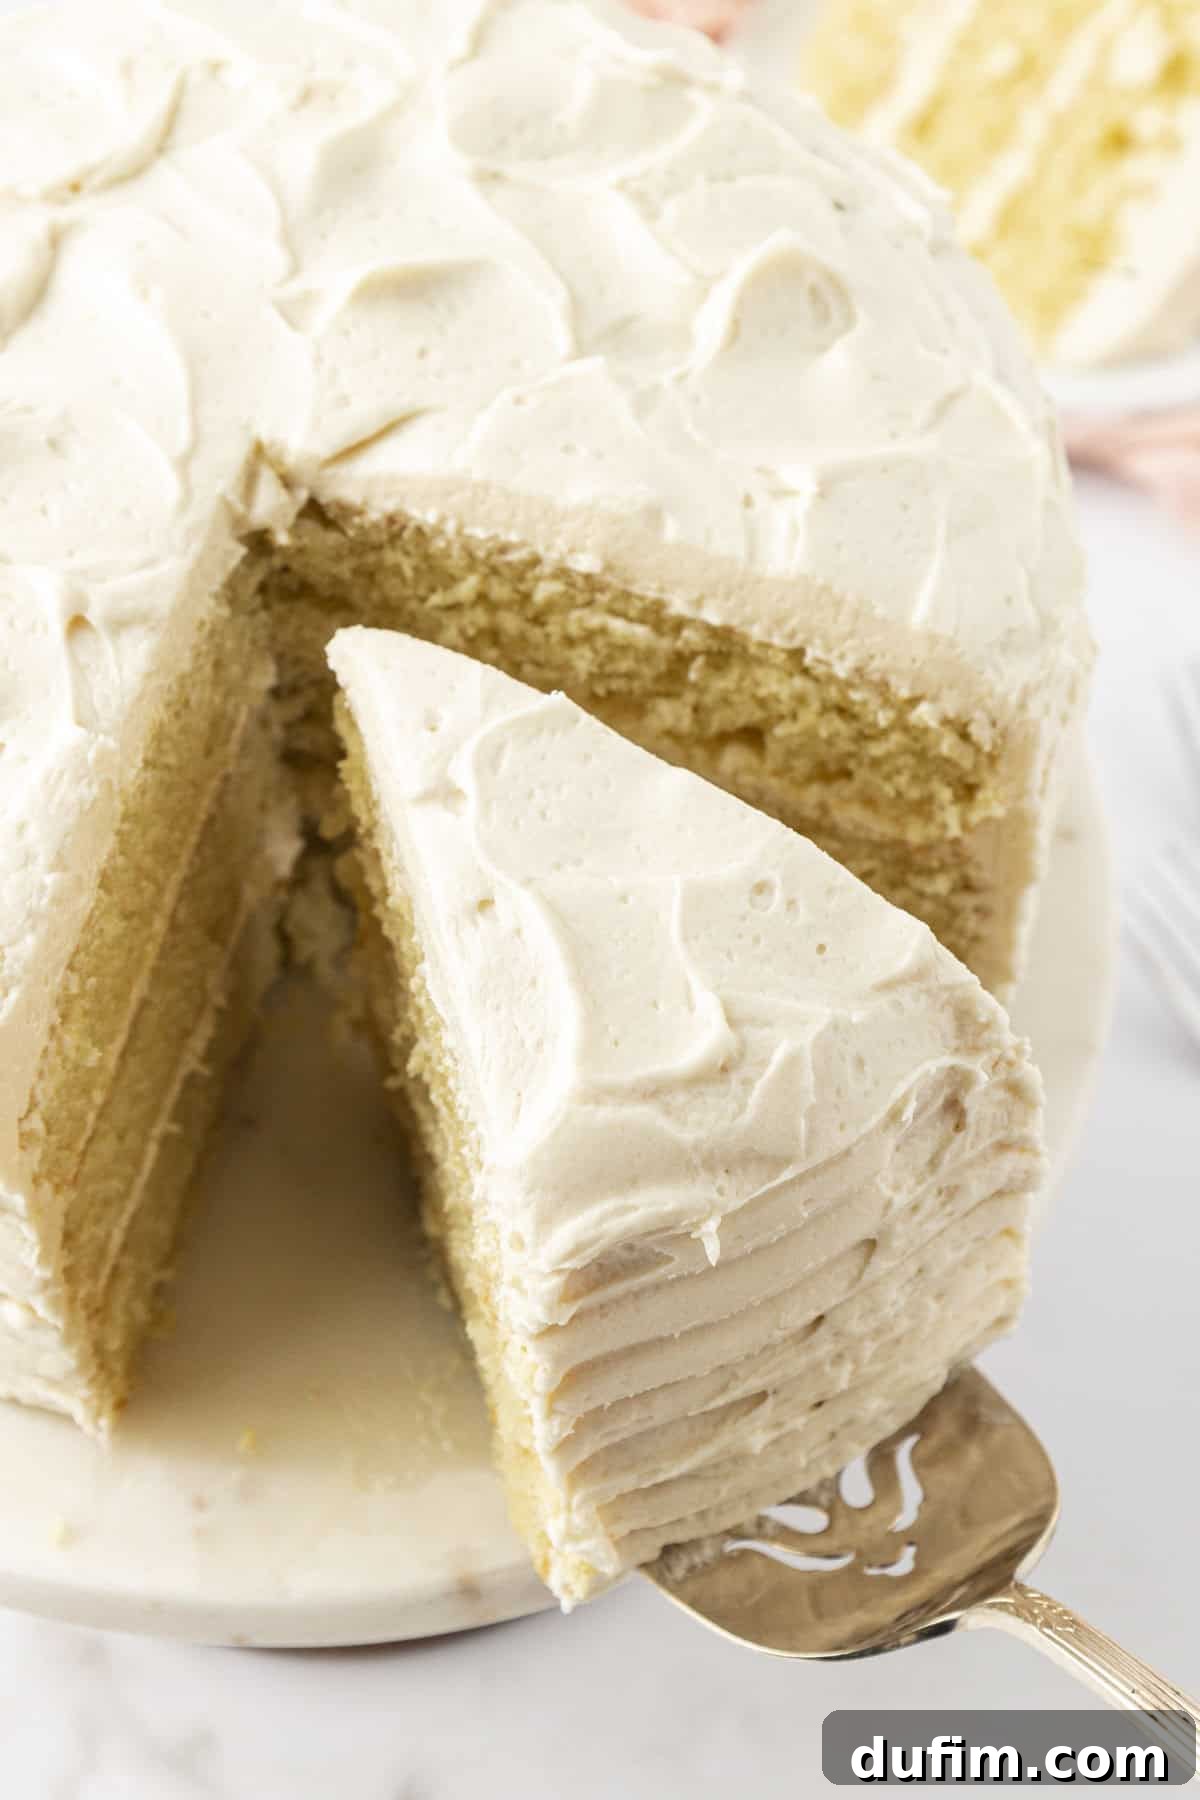
- Layer and Frost: To prevent your cake from sliding, spread a small dollop of frosting on the center of your cake plate or stand. Place the first cooled cake layer directly over this frosting “glue.” Measure out ¾ to 1 cup of vanilla frosting and evenly spread it across the top of the first layer. Carefully place the second cake layer on top, aligning it perfectly, and spread another ¾ to 1 cup of frosting over it. Repeat with the third layer if you have one. Finally, use the remaining frosting to generously cover the sides and top of the entire cake, smoothing it out for a polished finish.
The Art of Properly Measuring Flour for Baking Success
Achieving the right texture in your vanilla cake often comes down to precise ingredient measurement, especially flour. The most accurate and recommended method for measuring flour is to use a kitchen scale, weighing it in grams. This eliminates variability and ensures consistent results every time.
If a kitchen scale isn’t available, follow this crucial spoon-and-level method to avoid adding too much flour, which can lead to a dry cake:
- Aerate the Flour: Flour settles and compacts over time. Before measuring, gently fluff the flour in its container using a whisk or spoon. This lightens it up and is different from sifting (unless your recipe specifically calls for sifting).
- Spoon into Measuring Cup: Use a spoon to lightly sprinkle the aerated flour into your dry measuring cup. Do not scoop the flour directly with the measuring cup, as this compacts it significantly.
- Level Off Excess: Once the cup is slightly overflowing, use the flat back of a butter knife or a straight edge to level off the excess flour, ensuring an accurate measurement without compacting it.
Elegant Decorating Ideas for Your Fluffy Vanilla Cake
One of the many wonderful aspects of this incredibly moist and fluffy vanilla cake recipe is its versatility. It serves as the perfect canvas for any special occasion, adapting beautifully to various decorating themes. This truly makes it the ideal foundation for a festive birthday cake or an elegant anniversary dessert! Here are some creative ideas to personalize your vanilla masterpiece:
- Add Colorful Sprinkles: A classic and simple way to add a burst of color and fun. Choose sprinkles that match your party theme.
- Pipe Frosting Swirls: Use a piping bag fitted with a star or round tip to create elegant swirls or rosettes around the edges or top of the cake.
- Seasonal Fruit Garnish: Fresh berries, sliced peaches, or citrus segments can add a vibrant, fresh touch and complement the vanilla flavor beautifully.
- Chocolate Drizzle: A simple chocolate ganache or melted chocolate drizzle can add an extra layer of decadence and visual appeal.
- Change Up the Frosting Flavor: While vanilla buttercream is divine, feel free to experiment! Consider a rich chocolate buttercream or a tangy cream cheese frosting for a delightful contrast.
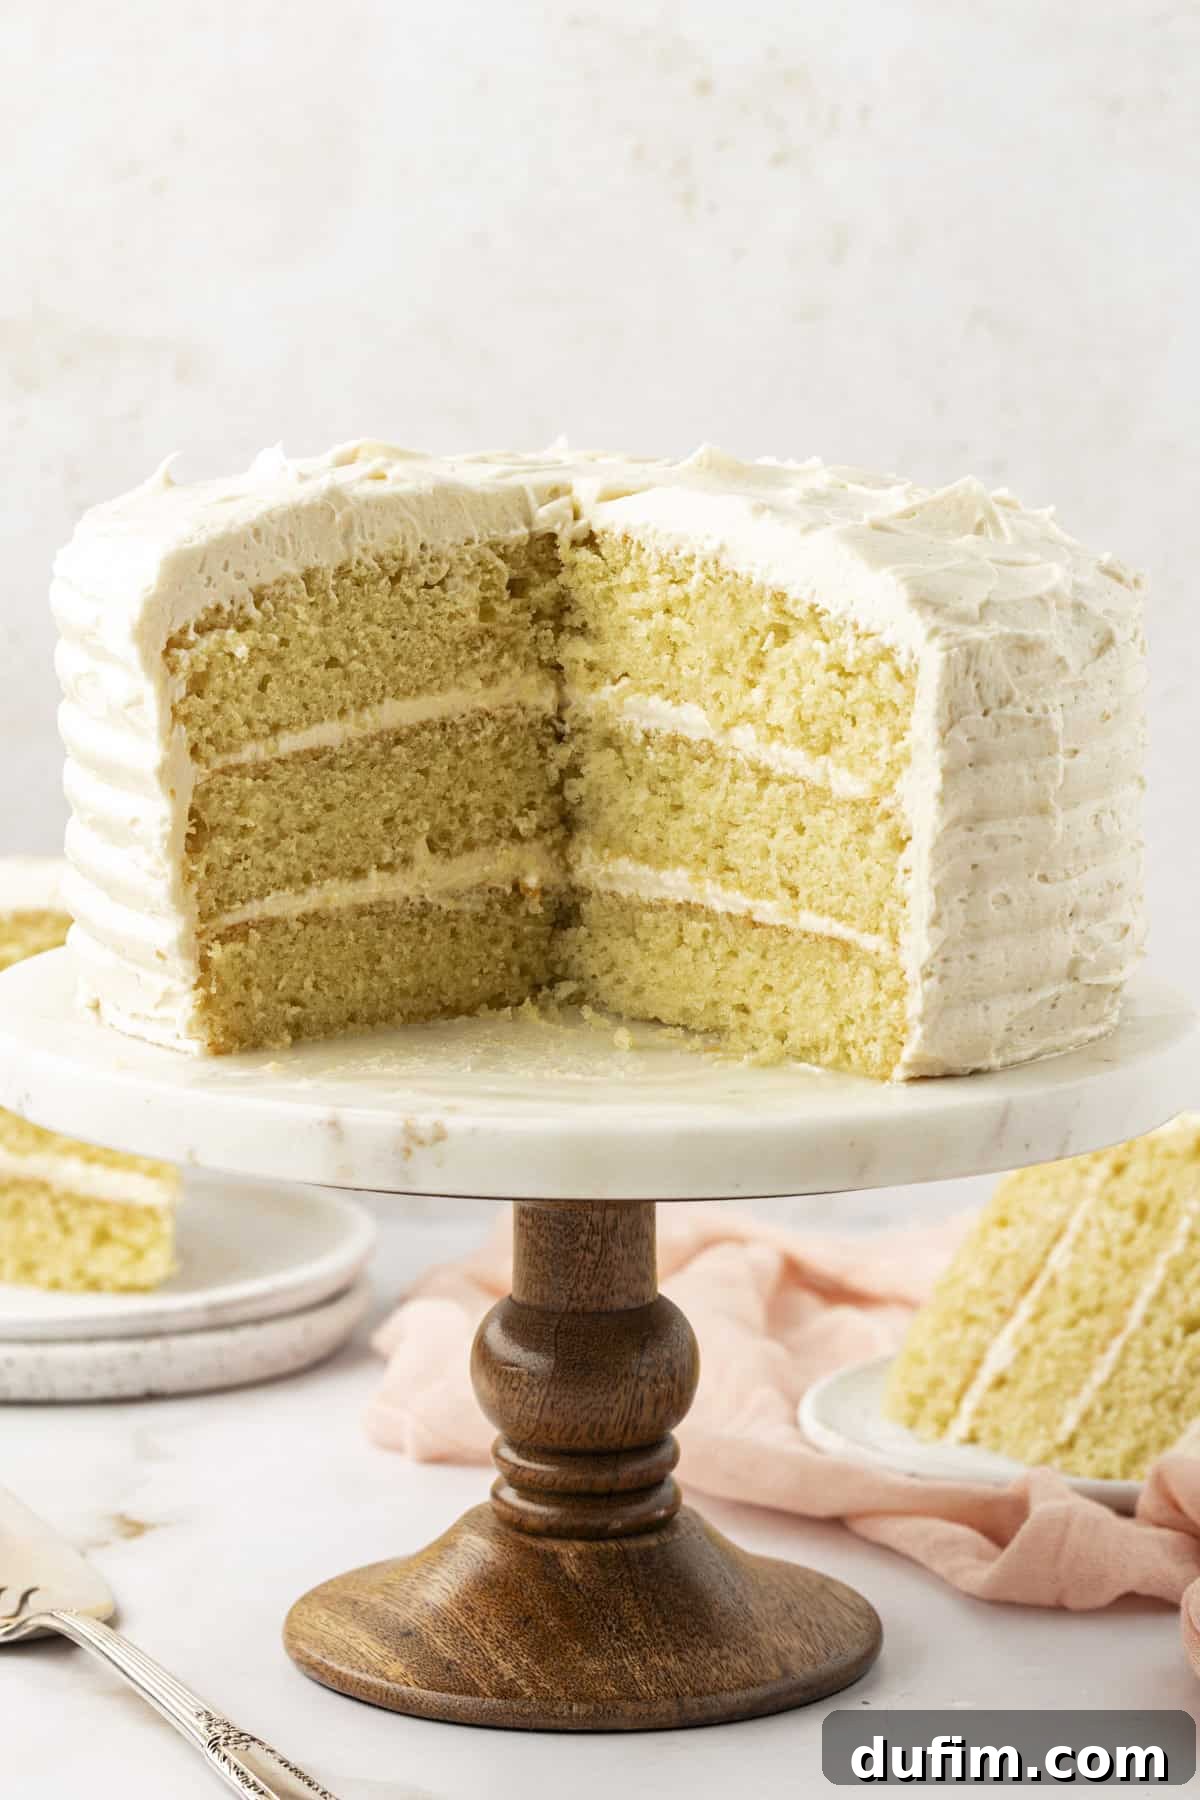
Storing Your Delicious Vanilla Cake
To ensure your homemade vanilla cake remains fresh and moist, proper storage is key. Any leftover cake should be stored in an airtight container and kept in the refrigerator, where it will stay delicious for up to a week. For longer preservation, you can also freeze individual slices or an entire frosted or unfrosted cake. When freezing, wrap the cake tightly in plastic wrap and then in aluminum foil to prevent freezer burn. It will maintain its quality for 2-3 months.
Expert Tips for the Perfect Vanilla Cake Every Time
Achieving a consistently perfect vanilla cake is easier than you think with these essential tips. These simple practices will elevate your baking and help you avoid common pitfalls, ensuring a wonderfully moist, fluffy, and flavorful cake every single time:
- Room Temperature Ingredients are Non-Negotiable: This is arguably the most crucial tip! When butter, eggs, and dairy are at room temperature, they blend seamlessly into an emulsion. This emulsion efficiently traps air during the creaming process, which then expands in the oven, creating an incredibly light and fluffy texture. Cold ingredients, on the other hand, won’t emulsify properly, resulting in a denser cake.
- Choose the Right Number of Layers for Even Baking: Whether you opt for two or three 8-inch pans impacts baking time and cake height. For two pans, bake for approximately 40-50 minutes. If using three pans, the baking time will be shorter, around 32-37 minutes. Always check for doneness by inserting a toothpick into the center – it should come out clean. Remember that oven temperatures can vary, so keep a close eye on your cakes to prevent overbaking, which leads to dryness.
- Parchment Paper for Effortless Release: To guarantee your beautiful cake layers come out of the pans without a hitch, always line the bottoms with parchment paper. This simple step creates a non-stick barrier, ensuring smooth removal and preventing any accidental damage to your perfectly baked cakes.
- Bake-Even Strips for Flat Tops: If you desire perfectly flat cake layers without the need for extensive leveling, consider using bake-even strips. These strips, soaked in water and secured around the outside of your cake pans, insulate the edges of the cake. This allows the cake to bake more evenly from the outside in, preventing the edges from setting too quickly and causing a dome in the center.
- Optimal Frosting Quantity Between Layers: Don’t skimp on the frosting between layers! For the ideal balance of cake and buttercream in every bite, aim to spread approximately ¾ to 1 cup of frosting evenly between each cake layer. This not only adds flavor but also contributes to the cake’s overall moisture and luxurious feel.
Vanilla Cake Baking: Frequently Asked Questions
As a seasoned baker, I consider traditional yellow cake and vanilla cake to be essentially the same thing. A classic yellow cake typically derives its golden hue from whole eggs and its primary flavor from a generous amount of vanilla. However, it’s important to distinguish both from a white cake recipe, which specifically uses only egg whites to achieve a pristine, light (white) color and a slightly different texture.
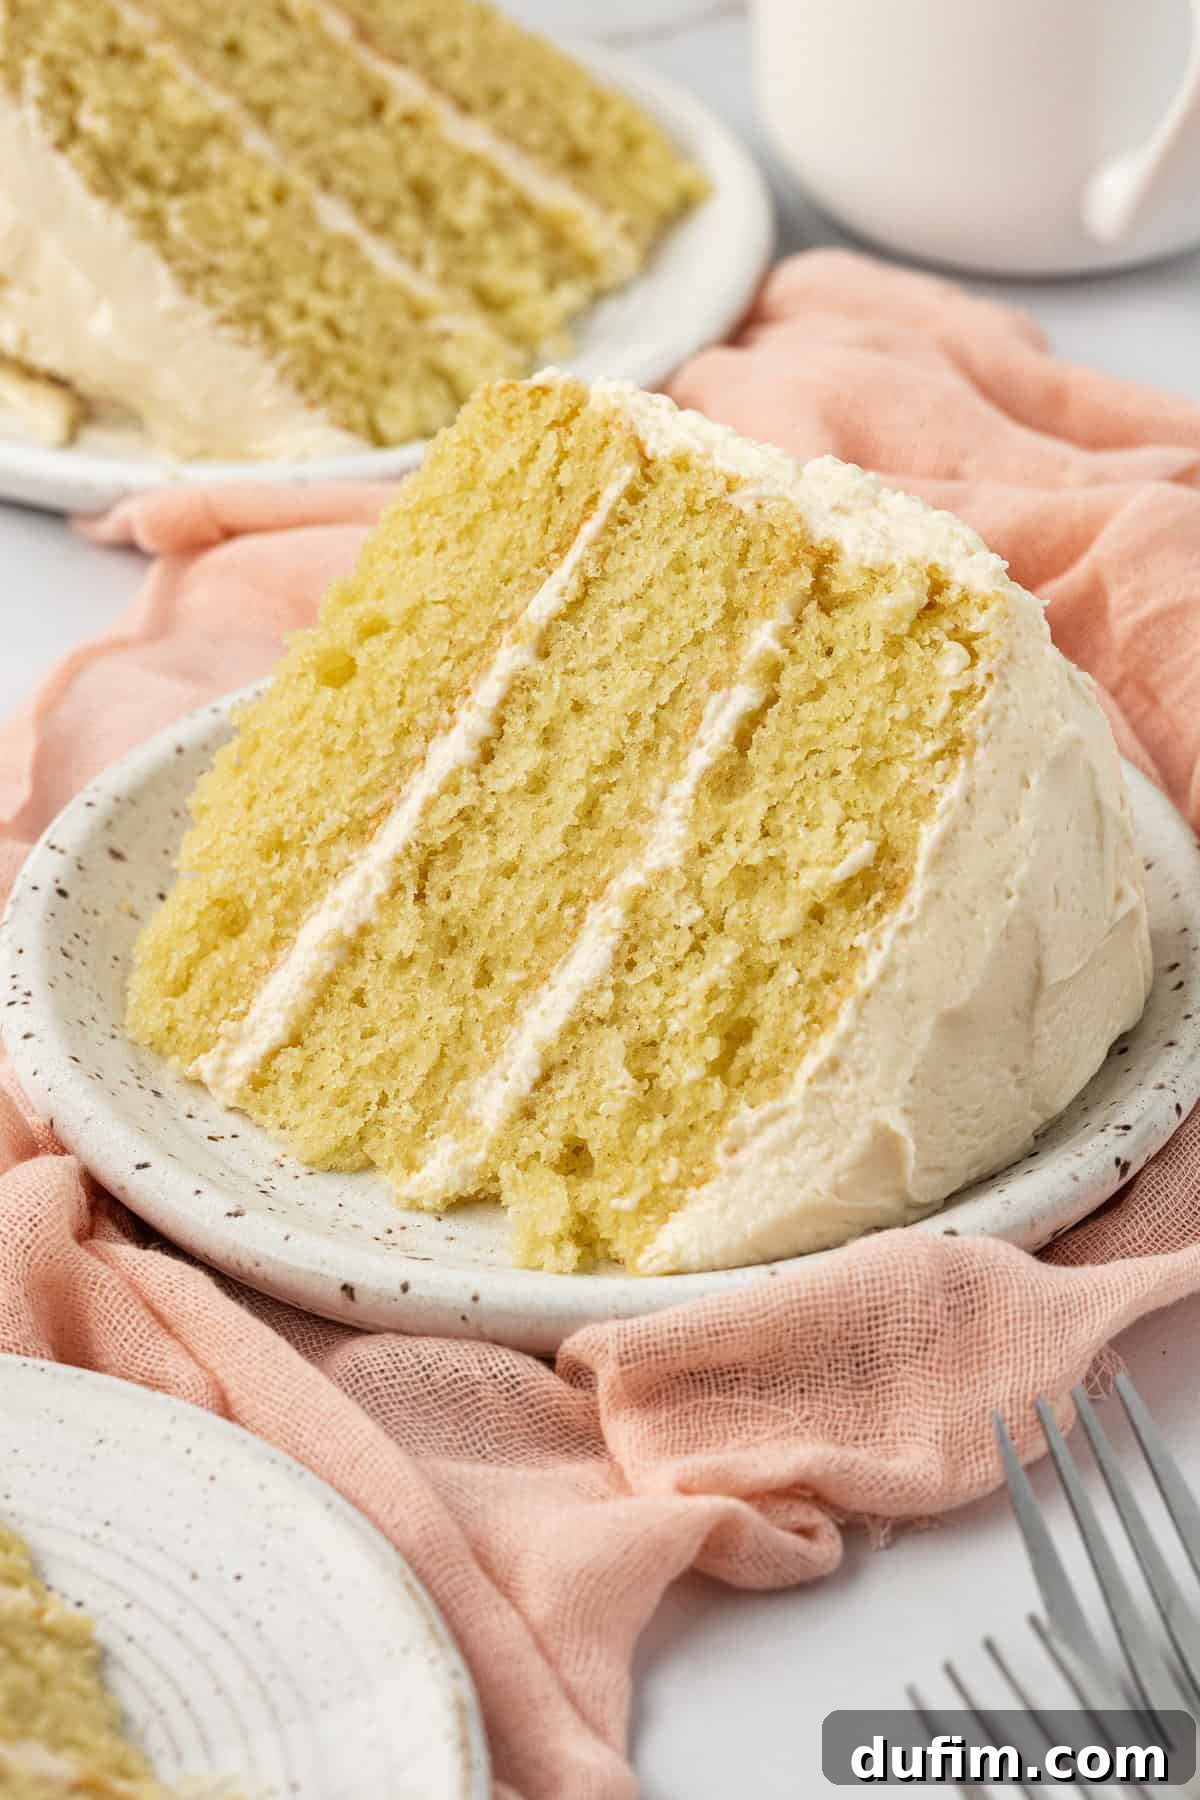
The final texture of a cake – whether it’s wonderfully fluffy or disappointingly dense – is heavily influenced by its ingredients and how they interact during the entire baking process. To achieve a light and fluffy cake, it’s crucial to use the correct balance of leavening agents (like baking powder and baking soda) and other ingredients as specified in the recipe. Furthermore, avoid over-mixing the batter, as this develops gluten excessively, leading to a tough texture. Baking at the precise temperature and for the recommended duration in the recipe is also vital for the perfect rise and texture.
A dry vanilla cake is a common issue, often resulting from an imbalance of ingredients or incorrect baking technique. The most frequent culprits are using too much flour or not enough fat (butter, oil, sour cream) in the recipe. To prevent dryness, meticulously follow the ingredient measurements outlined in the recipe, being particularly careful when measuring flour (using a kitchen scale or the spoon-and-level method). Additionally, avoid over-mixing the batter and strictly adhere to the recommended bake time and oven temperature to ensure a moist, tender result.
Love your recipe! Thank you for sharing.
-Francine
Explore More Delightful Vanilla Creations
If you’ve fallen in love with the classic taste of vanilla, there’s a world of other vanilla-infused treats waiting for you to discover. Expand your baking repertoire with these equally delicious recipes:
- Classic Vanilla Bundt Cake: An elegant and simple cake perfect for any occasion.
- Vanilla and Fresh Berry Naked Cake: A beautiful, rustic cake showcasing fresh fruit and delicate layers.
- Homemade Vanilla Cupcakes: The perfect bite-sized version of your favorite vanilla cake.
- Homemade Vanilla Frosting: The very recipe for the luscious buttercream used here, stand-alone!
Tap stars to rate! (Rating functionality not active in this static HTML version)
The Ultimate Homemade Vanilla Cake Recipe
Equipment
-
8-inch springform pans (2 or 3)
-
Electric Mixer (stand or hand-held)
-
Large and Small Mixing Bowls
-
Kitchen Scale (optional, for precision)
-
Rubber Spatula
-
Parchment paper
-
Cooling rack
Ingredients
For the Cake Layers:
- 2 ½ cups (300g) all-purpose flour
- 2 tsp baking powder
- ½ tsp baking soda
- 1 tsp salt
- ¾ cup (170g) unsalted butter, room temperature (1 ½ sticks)
- 1 ¾ cups (346g) granulated sugar
- ¼ cup (59ml) vegetable oil
- 4 large eggs, room temperature
- 1 cup (227g) sour cream
- ½ cup (118ml) milk (whole milk recommended)
- 1 Tbsp vanilla extract
For the Vanilla Buttercream Frosting:
- 2 ½ cups (565g) unsalted butter, room temperature (5 sticks)
- 2 Tbsp vanilla extract
- ⅛ tsp salt
- 6-10 cups (681-1135g) powdered sugar (confectioners’ sugar), to taste
- 3-6 Tbsp milk or heavy cream, if frosting becomes too thick
Instructions
For the Cake:
-
Preheat the oven to 350º F (175ºC). Grease two or three 8-inch springform pans with butter (butter the sides and bottom) and line each pan with a parchment paper circle for easy cake removal. Set aside.
-
In a small mixing bowl, combine the all-purpose flour, baking powder, baking soda, and salt. Whisk well and set aside.
-
In a large mixing bowl, combine the room temperature unsalted butter, granulated sugar, and vegetable oil. Beat using an electric mixer for 1-2 minutes until light and fluffy.
-
Add in the room temperature eggs (one at a time), sour cream, milk, and vanilla extract. Beat with the electric mixer on low speed until just combined.
-
Gradually add the flour mixture to the wet ingredients, mixing just until the flour is incorporated. Be careful not to overmix.
-
Evenly divide the batter among the prepared pans. If using 2 pans, use about 3 cups of batter per pan. If using 3 pans, use about 2 cups of batter per pan. (Optional: If you have bake-even cake strips, soak them, then secure them around the outside of the pans for flatter cakes.)
-
Bake two pans for 40-50 minutes or three pans for 32-37 minutes in the preheated oven, or until a toothpick inserted in the center comes out clean.
-
Allow the cakes to cool for 20-30 minutes in the pans on a wire rack. Then, use a small spatula to loosen the cake from the edge of the pan. Remove the cakes from the pans and allow them to cool completely on the cooling rack before frosting.
For the Vanilla Buttercream Frosting:
-
In a mixing bowl, combine the room temperature unsalted butter, vanilla extract, and salt. Beat using an electric mixer until light and fluffy, 1-2 minutes.
-
Gradually add the powdered sugar (one cup at a time) and 3 tablespoons of heavy cream or milk, mixing on low speed until combined and smooth.
-
Taste and adjust as needed to determine if you want more powdered sugar for sweetness. If the frosting becomes too thick, add 2-4 additional tablespoons of milk or heavy cream, one tablespoon at a time, until the desired spreading consistency is reached.
To Assemble the Cake:
-
If needed, level the cooled cake layers using a cake leveler or a serrated knife to create flat surfaces for stacking.
-
Spread a small amount of frosting on the bottom of your cake plate or stand; this acts as “glue” to prevent the cake from moving. Place one cake layer over the frosting. Measure ¾ to 1 cup of frosting and evenly spread that on top of the first layer. Top with the second cake layer and spread another ¾ to 1 cup of frosting on top. Repeat with the third layer if applicable. Use the remaining frosting to cover the sides and top of the entire cake, smoothing it for a clean finish.
Video Tutorial
(Video embed functionality has been removed as per instructions to strip Javascript. A placeholder for a video explaining the process would normally be here.)
For a visual guide to making this delicious vanilla cake, please imagine a video tutorial demonstrating each step from ingredient preparation to the final frosting and assembly.
(Nutrition info button functionality removed. Displaying information directly.)
Nutrition Information (per slice)
Calories: 751kcal |
Carbohydrates: 83g |
Protein: 5g |
Fat: 45g |
Saturated Fat: 26g |
Polyunsaturated Fat: 4g |
Monounsaturated Fat: 12g |
Trans Fat: 2g |
Cholesterol: 155mg |
Sodium: 284mg |
Potassium: 88mg |
Fiber: 1g |
Sugar: 67g |
Vitamin A: 1326IU |
Vitamin C: 0.1mg |
Calcium: 79mg |
Iron: 1mg
Nutrition Disclosure
All nutritional values are approximate and provided to the reader as a courtesy. Changing ingredients and/or quantities will alter the estimated nutritional calculations.
Enjoyed this recipe? We’d love to hear from you! Share your thoughts and rate it below!