
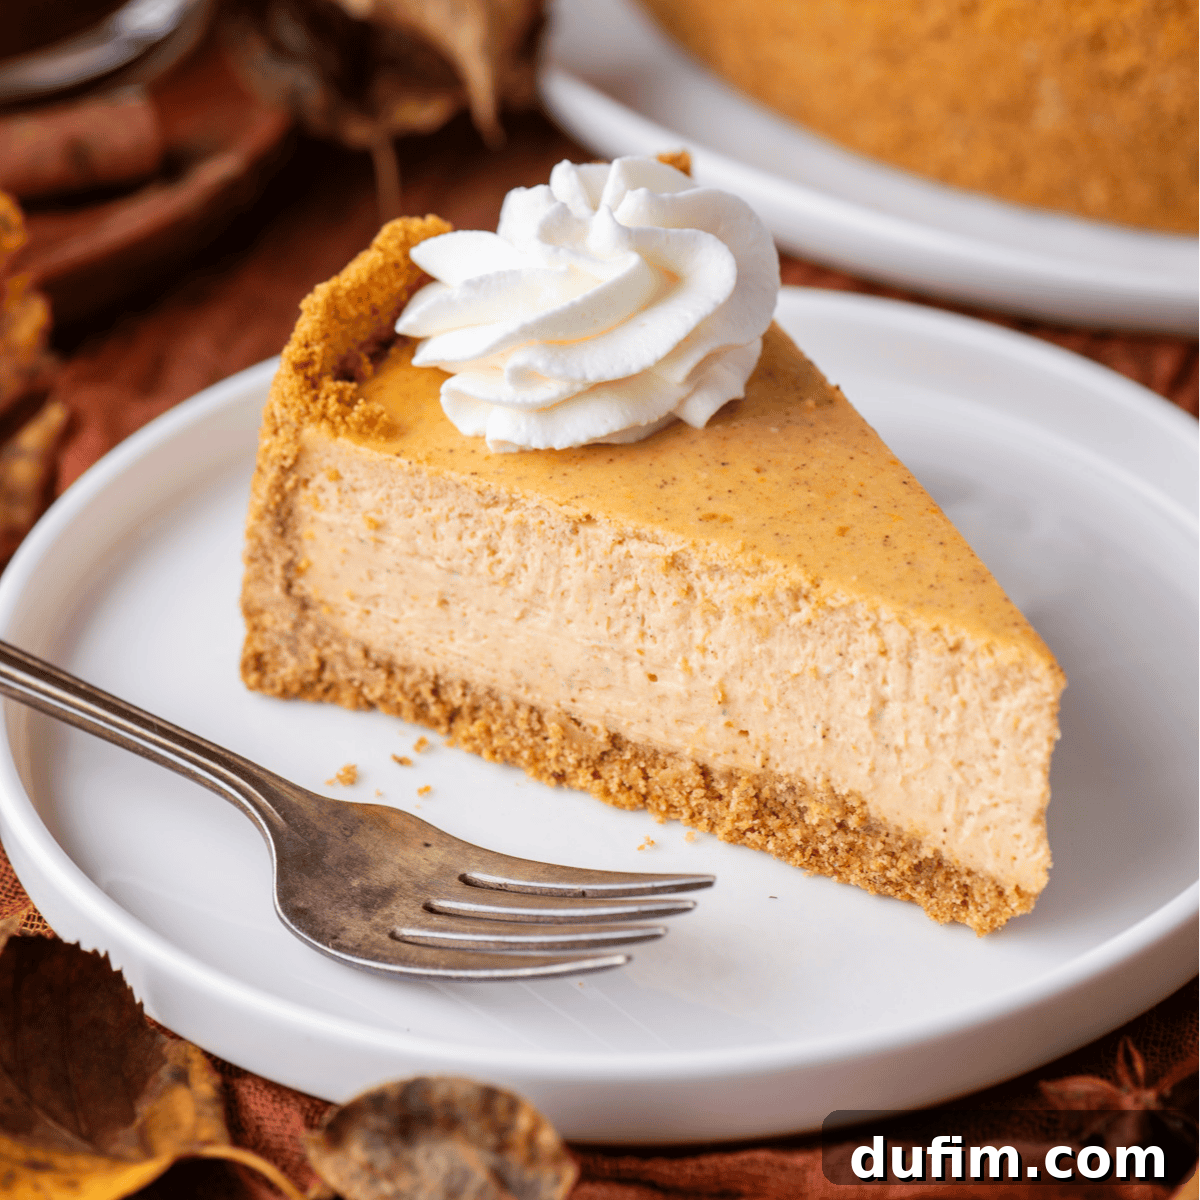
Welcome to the definitive guide for crafting the perfect pumpkin cheesecake – a recipe that has delighted countless readers since 2019 and become a cherished fall and Thanksgiving tradition. This isn’t just any pumpkin cheesecake; it’s an incredibly creamy, perfectly spiced, and absolutely foolproof dessert that guarantees success even for novice bakers. We’ve taken this beloved recipe, refined it, and most importantly, simplified it by eliminating the notoriously fussy water bath. Now, you can achieve the same silky-smooth, crack-free cheesecake texture with a much easier and equally effective steam method. With a sturdy crust that gracefully climbs the sides of the pan and a gentle, slow cool-down in the oven, this recipe consistently delivers results worthy of a professional bakery. Tested, loved, and perfected over the years, you can trust this recipe to impress every time. Prepare to make the best homemade pumpkin cheesecake you’ve ever tasted, designed for effortless baking and maximum enjoyment!
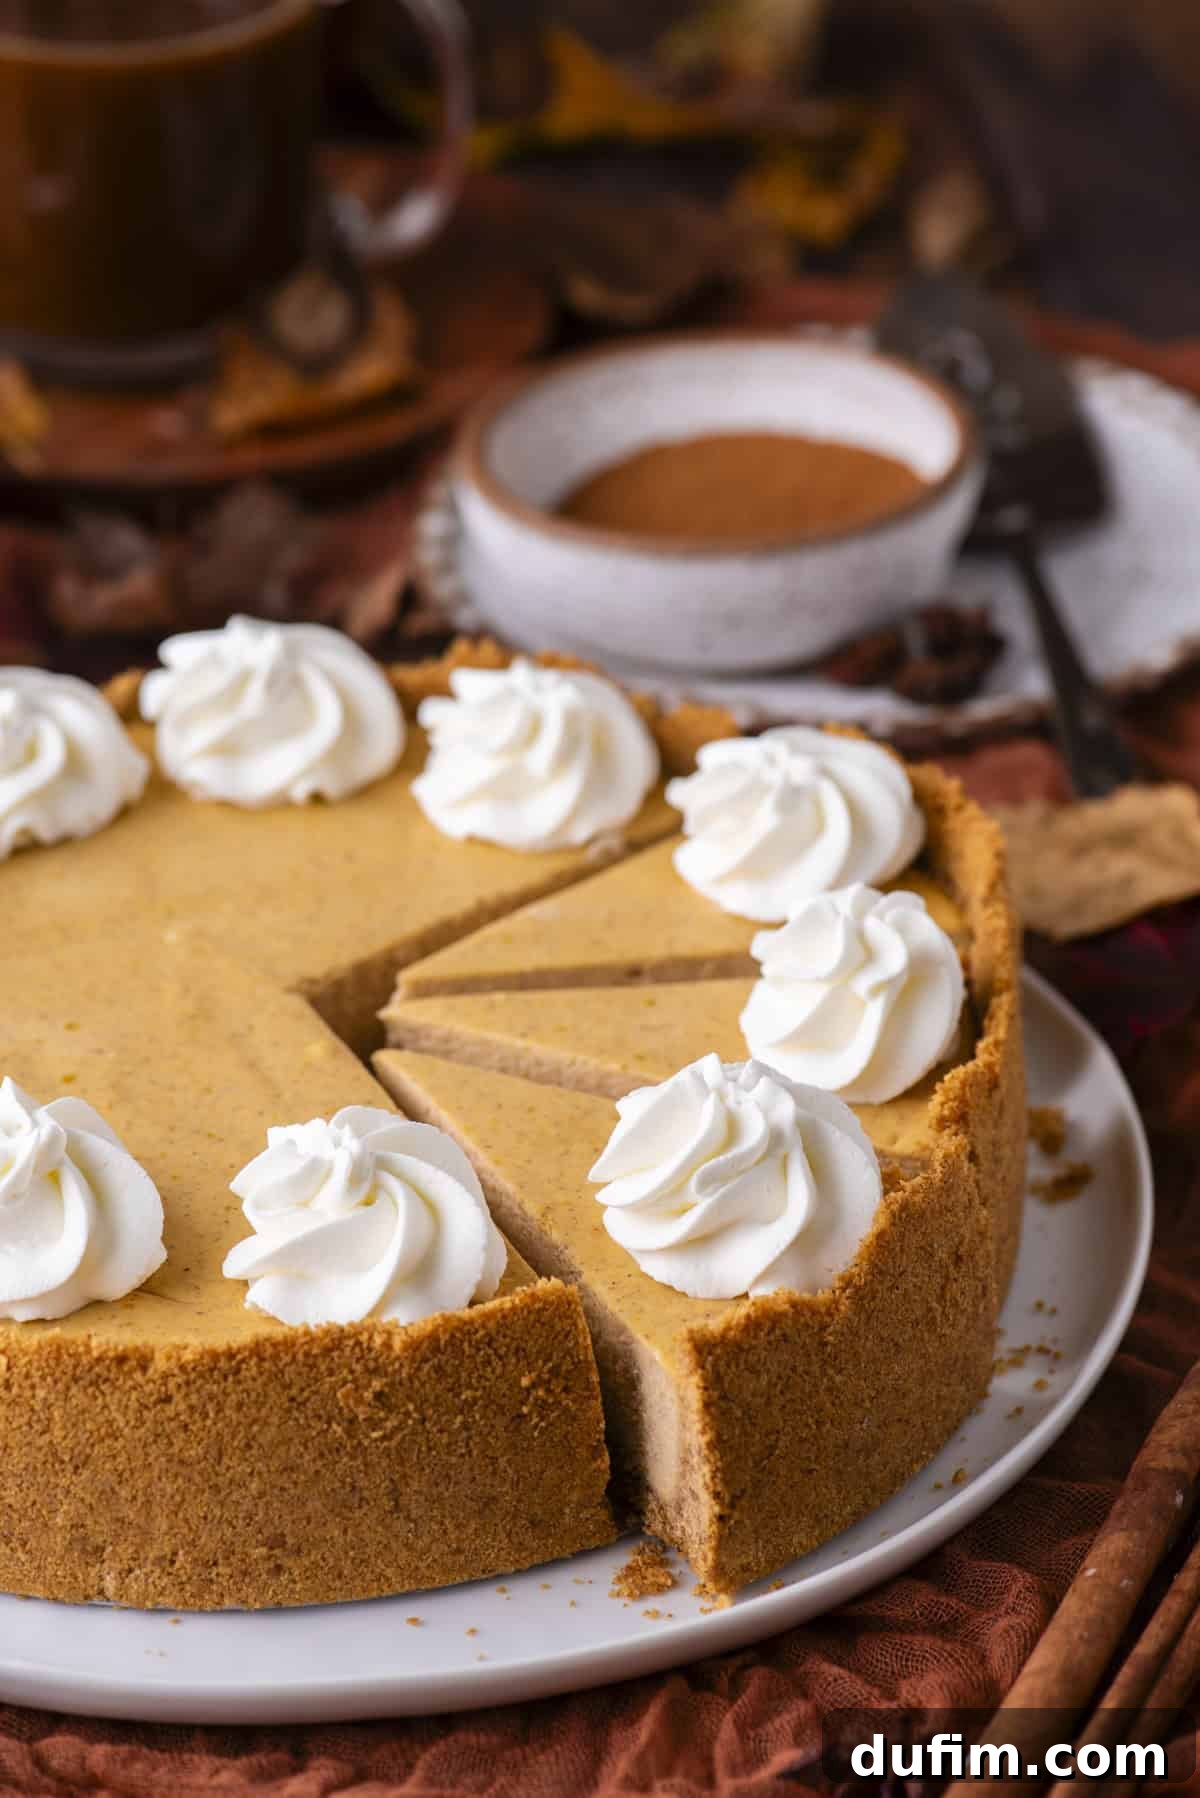
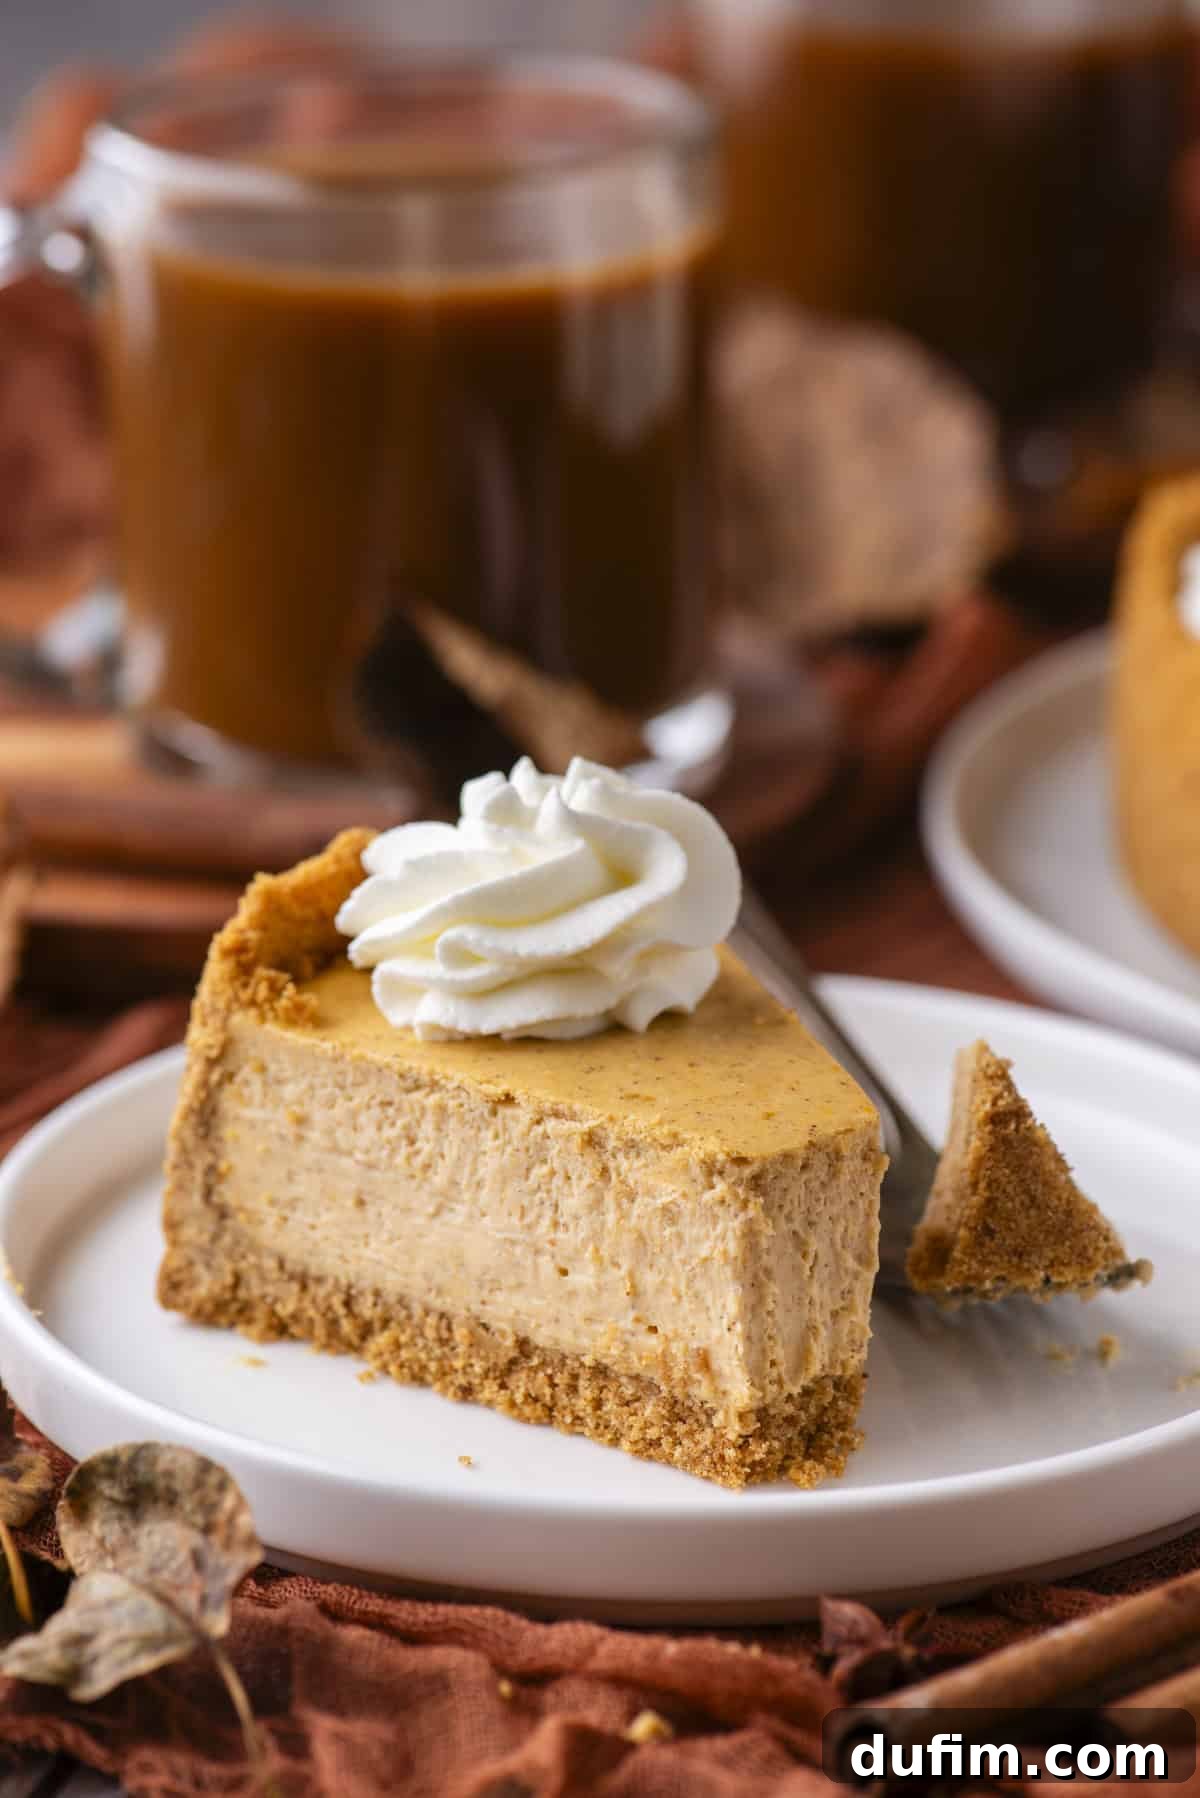
“This creamy pumpkin cheesecake is to die for! My favorite recipe I use over and over. My husband and kiddos could never get bored of this. They could indeed enjoy the cheesecake for all three meals. They especially love when I top it with chopped nuts and caramel sauce. They can never get enough! Highly recommend everyone to give the recipe a try (even those who hate pumpkin). Believe me, it tastes like heaven.”
-Ann, A Delighted Reader
Why This Pumpkin Cheesecake is a Perennial Favorite
Since its initial publication in 2019, this pumpkin cheesecake recipe has consistently ranked as a top choice among our dedicated readers. It’s more than just a dessert; for countless families, it has evolved into an indispensable part of their cherished fall celebrations and a beloved Thanksgiving tradition. The enduring appeal of this spiced cheesecake lies in its impeccable balance: a wonderfully rich, velvety cream cheese filling infused with comforting pumpkin spice, all resting on a sturdy, buttery graham cracker crust. While the foundational recipe itself remains unchanged—because perfection rarely needs alteration—we have revisited and updated our presentation with stunning, improved food photography that truly captures the irresistible allure of this seasonal treat. This recipe deserves to look as incredible and mouthwatering as it tastes.
The Revolutionary No-Water-Bath Method: Simpler, Cleaner, Still Flawless Results
For many years, home bakers have grappled with the common frustrations associated with traditional water baths for cheesecakes. The inherent mess, the anxiety of potential foil leaks, and the sheer inconvenience of maneuvering a sloshing pan of hot water can be enough to deter even the most experienced cooks. We listened intently to your feedback and are incredibly thrilled to introduce a significantly easier, entirely mess-free method that consistently yields the exact same stunning results: a perfectly smooth, beautifully crack-free cheesecake, every single time.
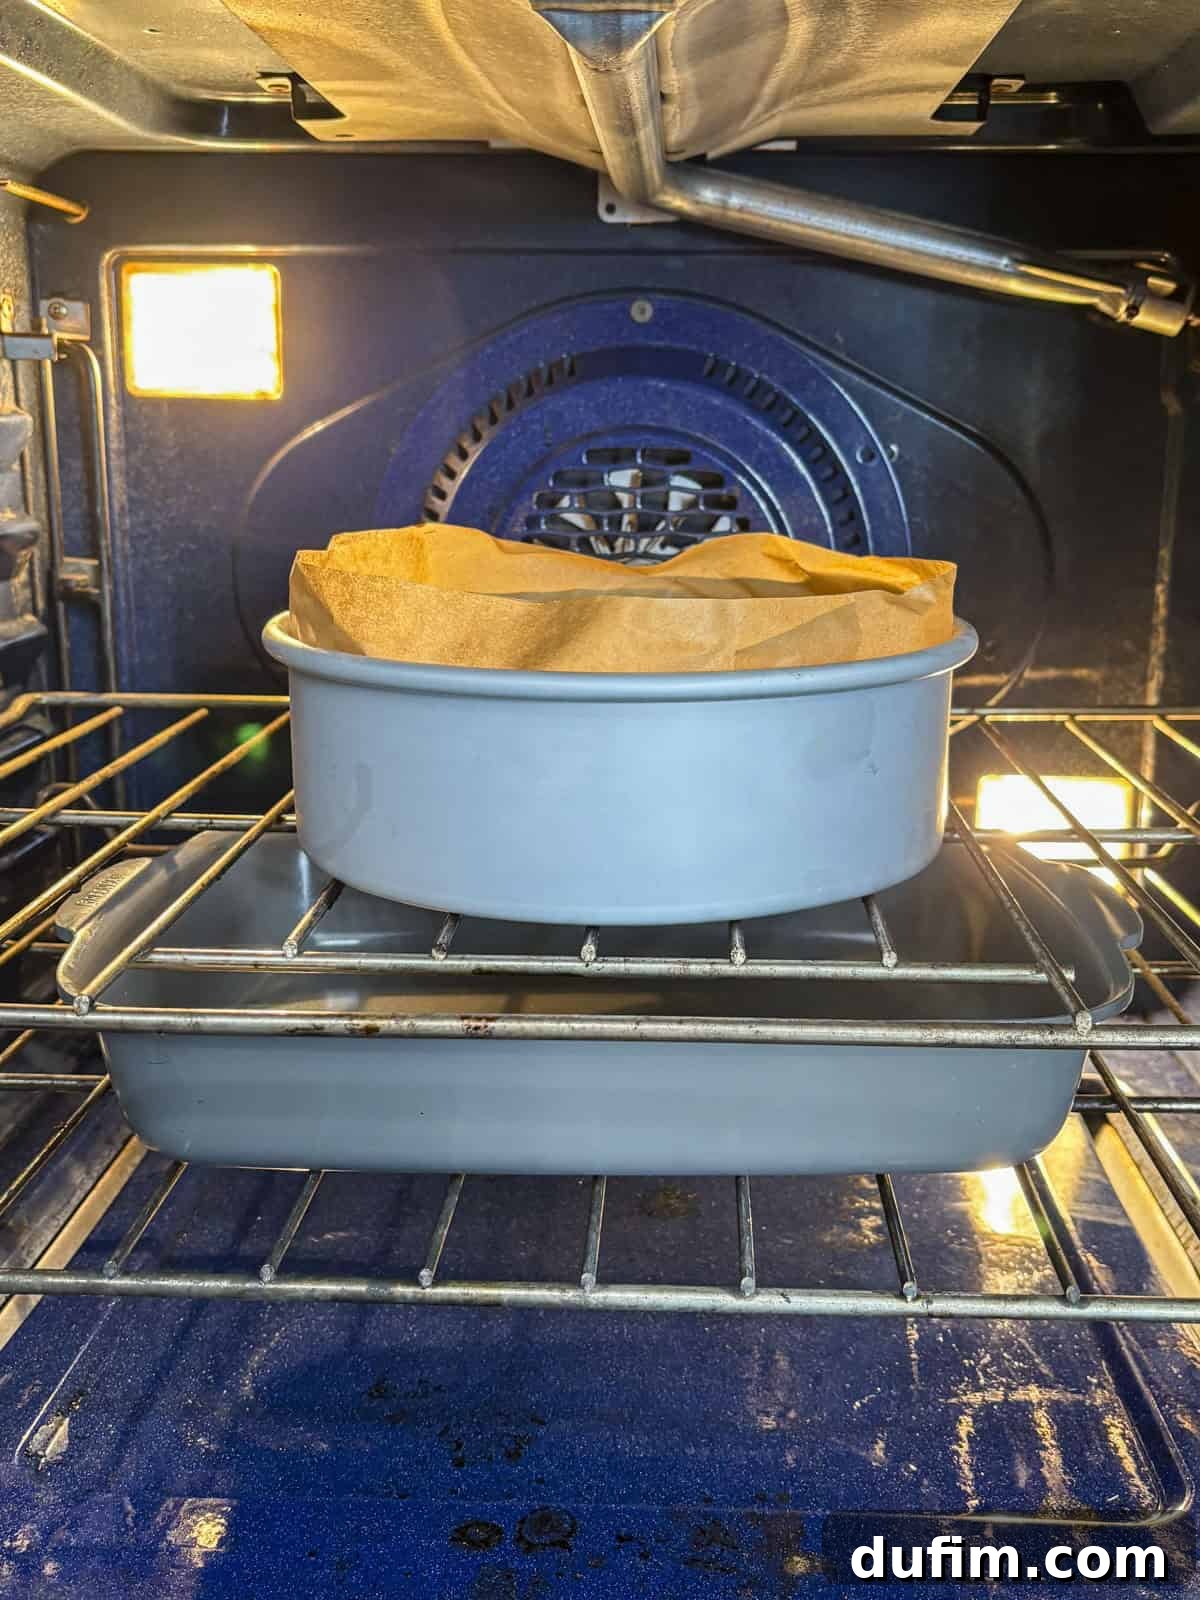
Our innovative updated technique for this easy pumpkin cheesecake involves a simple but effective strategy: you’ll place a large roasting pan or a standard 9×13-inch baking dish filled with a few inches of water on the bottom rack of your oven *before* you even slide in your cheesecake. As your oven preheats and the cheesecake bakes, this strategic placement of water creates a gentle, humid environment within the oven cavity. This consistent, moist heat effectively mimics the properties of a traditional water bath, which is crucial for preventing the cheesecake from drying out around the edges and developing unsightly cracks. The result is an incredibly even bake and a beautifully smooth, unblemished top, all without the direct contact and potential mess of submerging your delicate springform pan. It’s truly a game-changer for achieving professional-level homemade cheesecake with far less hassle!
Essential Tips for Achieving a Perfectly Crack-Free Pumpkin Cheesecake
Beyond our ingenious no-water-bath steam method, a few crucial details are paramount to ensure your pumpkin cheesecake consistently achieves that coveted bakery-level perfection. Paying attention to these subtle steps will guarantee a truly stunning and delicious dessert:
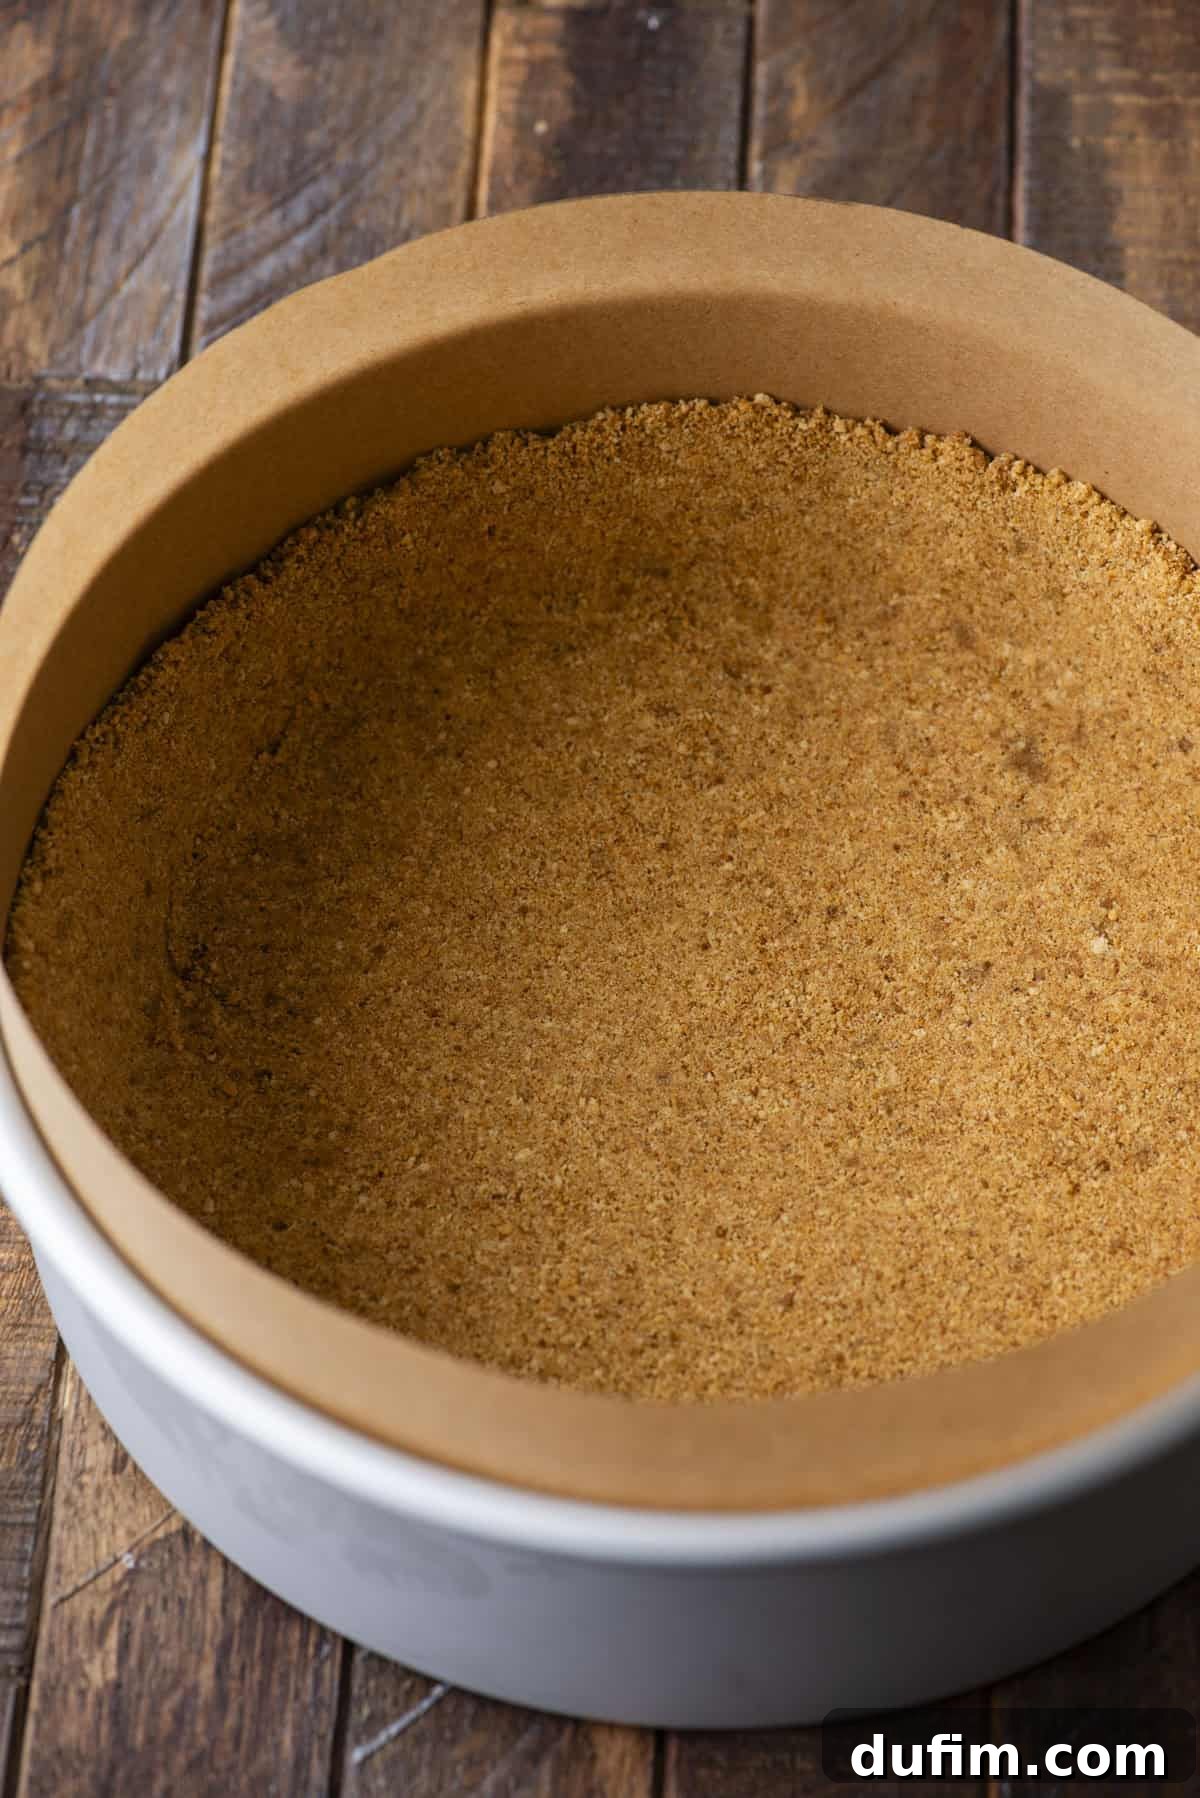
- Build a Tall and Sturdy Crust: Do not underestimate the importance of pressing your graham cracker crumbs not just across the bottom but also generously up the sides of your springform pan. A crust that climbs the sides not only provides a beautifully finished, professional appearance but also serves as a vital structural anchor for the delicate cheesecake filling. This ensures that each slice you serve boasts the perfect ratio of crisp, buttery crust to luscious, spiced filling, enhancing stability and preventing any undesirable crumbling during slicing.
- The Art of Slow and Gradual Cooling: Rapid temperature changes are an absolute nemesis for cheesecakes, almost inevitably leading to the formation of unsightly cracks on the surface. Once your pumpkin cheesecake has finished baking, resist the immediate urge to remove it from the oven. Instead, turn the oven off completely, prop the oven door open slightly (about 2-3 inches), and allow the cheesecake to cool gradually inside the cooling oven for a period of 60 to 90 minutes. This slow, controlled transition from hot to warm temperatures minimizes thermal shock, allowing the cheesecake to gently set and contract without cracking.
- Parchment Paper is Your Best Friend: For the ultimate, flawless release of your cheesecake every single time, we highly recommend lining both the bottom and the sides of your 8 or 9-inch springform pan with parchment paper. This simple yet effective step creates an invaluable non-stick barrier, actively preventing the delicate crust from adhering to the pan and ensuring that the edges of your cheesecake remain absolutely pristine as it bakes and cools. When it’s finally time to unmold, you’ll be rewarded with perfectly smooth, elegant sides and an effortless lift, completely free from any frustrating sticking or unfortunate lost chunks of crust.
- Ensure All Ingredients Are at True Room Temperature: This is a golden rule in all baking, and it’s especially critical for cheesecakes. Before you begin mixing, ensure that your full-fat cream cheese and eggs are at true room temperature. Softened cream cheese blends smoothly and seamlessly, creating a lump-free batter with minimal air incorporation. This foundational step is essential for achieving the dense, uniform, and wonderfully creamy cheesecake texture that is inherently less prone to cracking during baking and cooling.
- Do Not Overmix the Cheesecake Batter: Overmixing is an incredibly common, yet easily avoidable, culprit behind cracked cheesecakes. Excessive beating introduces too much air into the rich cream cheese mixture. This incorporated air expands significantly during the baking process, causing the cheesecake to puff up. As it cools, this excess air then dramatically escapes, leading to a noticeable collapse and, more often than not, large, unsightly fissures across the surface. To prevent this, beat the cream cheese until it is just smooth, then add other ingredients, mixing only until they are uniformly combined. Be exceptionally careful once the eggs are introduced; mix them in just enough to incorporate them, one at a time, to maintain that desirable smooth, dense, and crack-free texture.
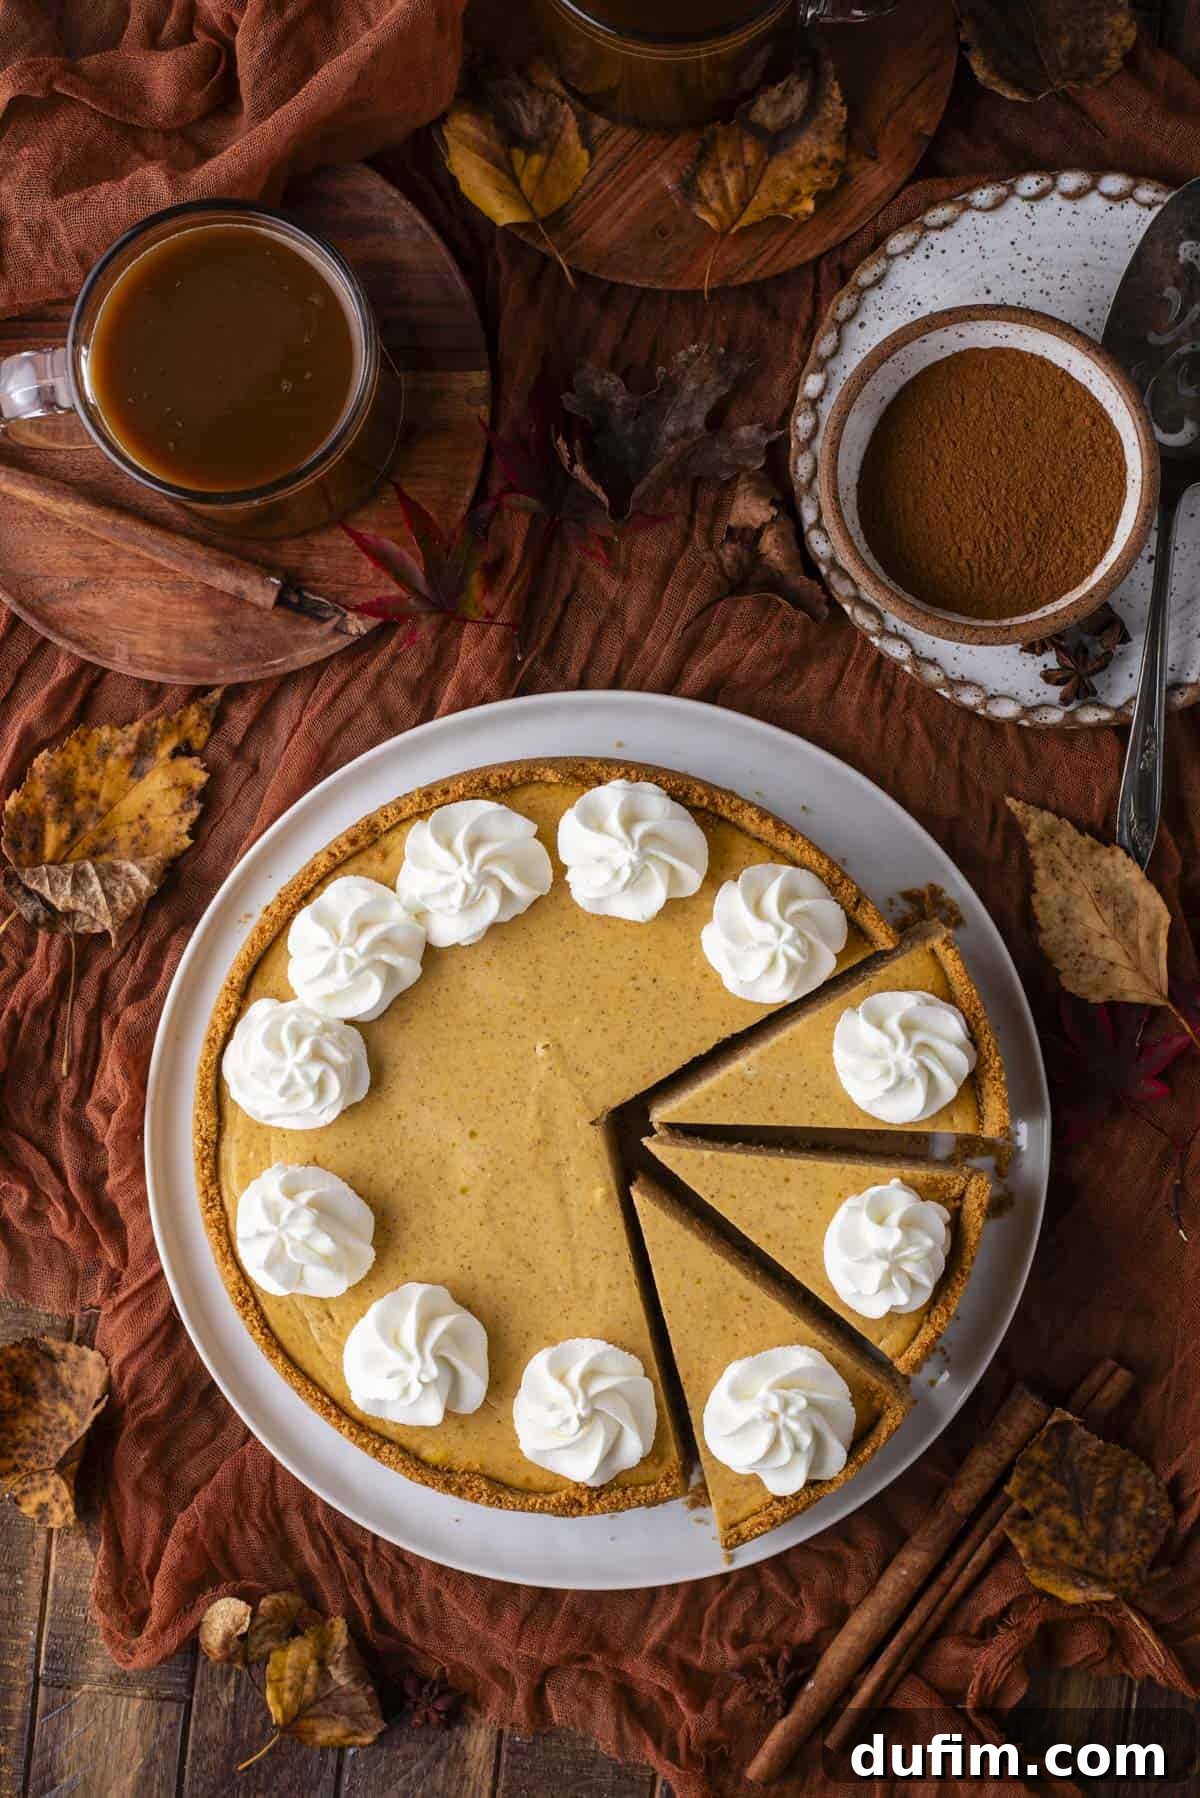
How to Make the Best No-Water-Bath Pumpkin Cheesecake
Creating this stunning and perfectly spiced pumpkin cheesecake is a truly rewarding process, made even simpler with our foolproof no-water-bath method. Follow these detailed, step-by-step instructions precisely to achieve a flawless, flavorful dessert that will impress everyone.
The Perfect Graham Cracker Crust
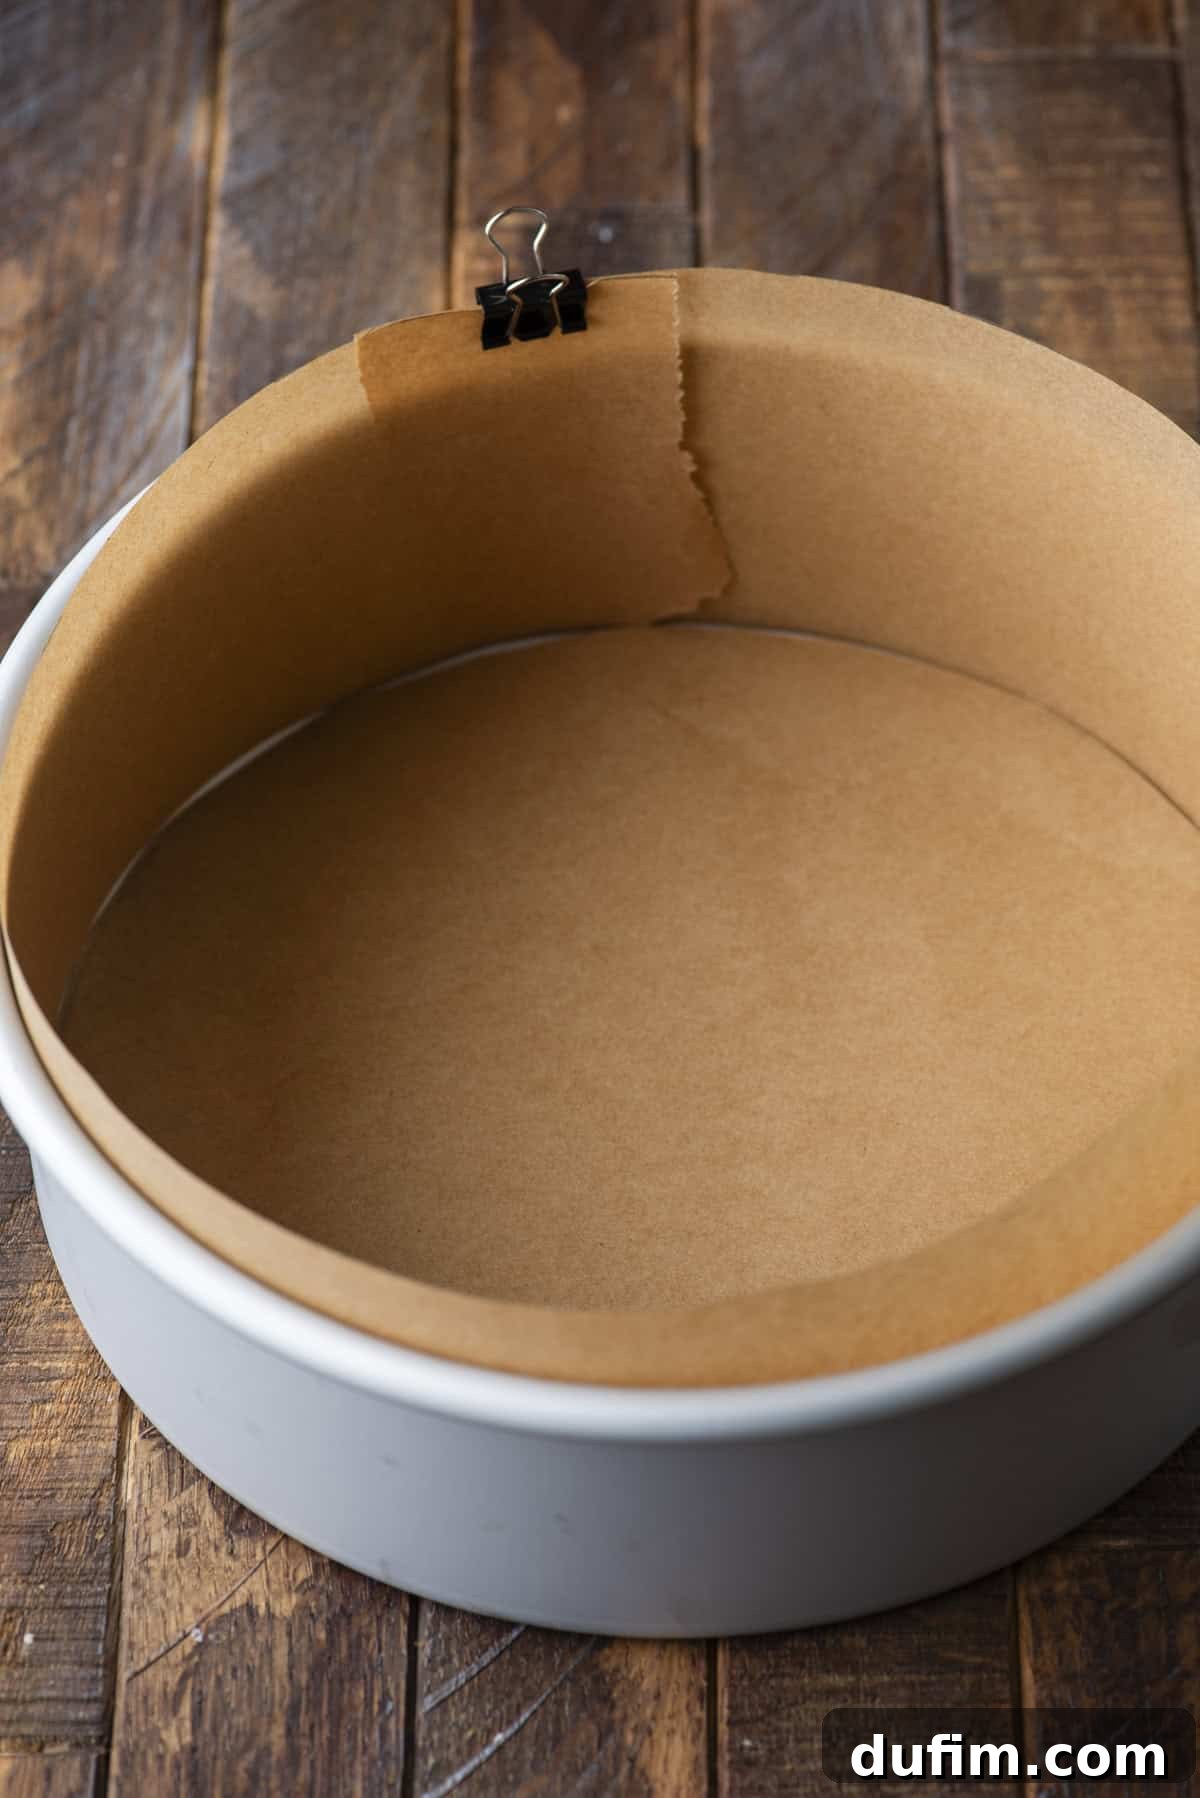
- Prepare Your Pan and Oven: Begin by preheating your oven to 350°F (175°C). For a cheesecake that gracefully releases from its pan every time, generously line both the bottom and sides of an 8 or 9-inch springform pan with parchment paper. This parchment barrier is crucial, as it prevents the crust from sticking and ensures the cheesecake’s edges don’t cling to the pan during baking and cooling, resulting in smooth, beautiful sides and an effortless unmolding process.
- Craft the Crumb Mixture: If you’re starting with whole graham crackers, pulse them into fine crumbs in a food processor or blender. In a medium bowl, combine the graham cracker crumbs, brown sugar, a hint of ground cinnamon, and the melted unsalted butter. Mix these ingredients thoroughly until the crumbs are evenly moistened and resemble wet sand.
- Form and Pre-Bake the Crust: Transfer the prepared crumb mixture into your parchment-lined springform pan. Use the bottom of a flat-bottomed cup or your clean hands to press the crumbs firmly and evenly across the bottom of the pan. For that professional touch and added stability, gently press some of the crumbs up the sides of the pan, forming a slight border. Bake this crust in the preheated oven for 8-10 minutes, or until it turns a light golden brown and smells wonderfully fragrant. Remove the pan from the oven and allow the crust to cool completely to room temperature. While the crust cools, reduce your oven temperature to 325°F (160°C). Crucially, place a roasting pan or a 9×13 inch pan filled with a few inches of water on the bottom rack of your oven – this creates the essential steam environment for your cheesecake.
The Creamy Pumpkin Cheesecake Filling
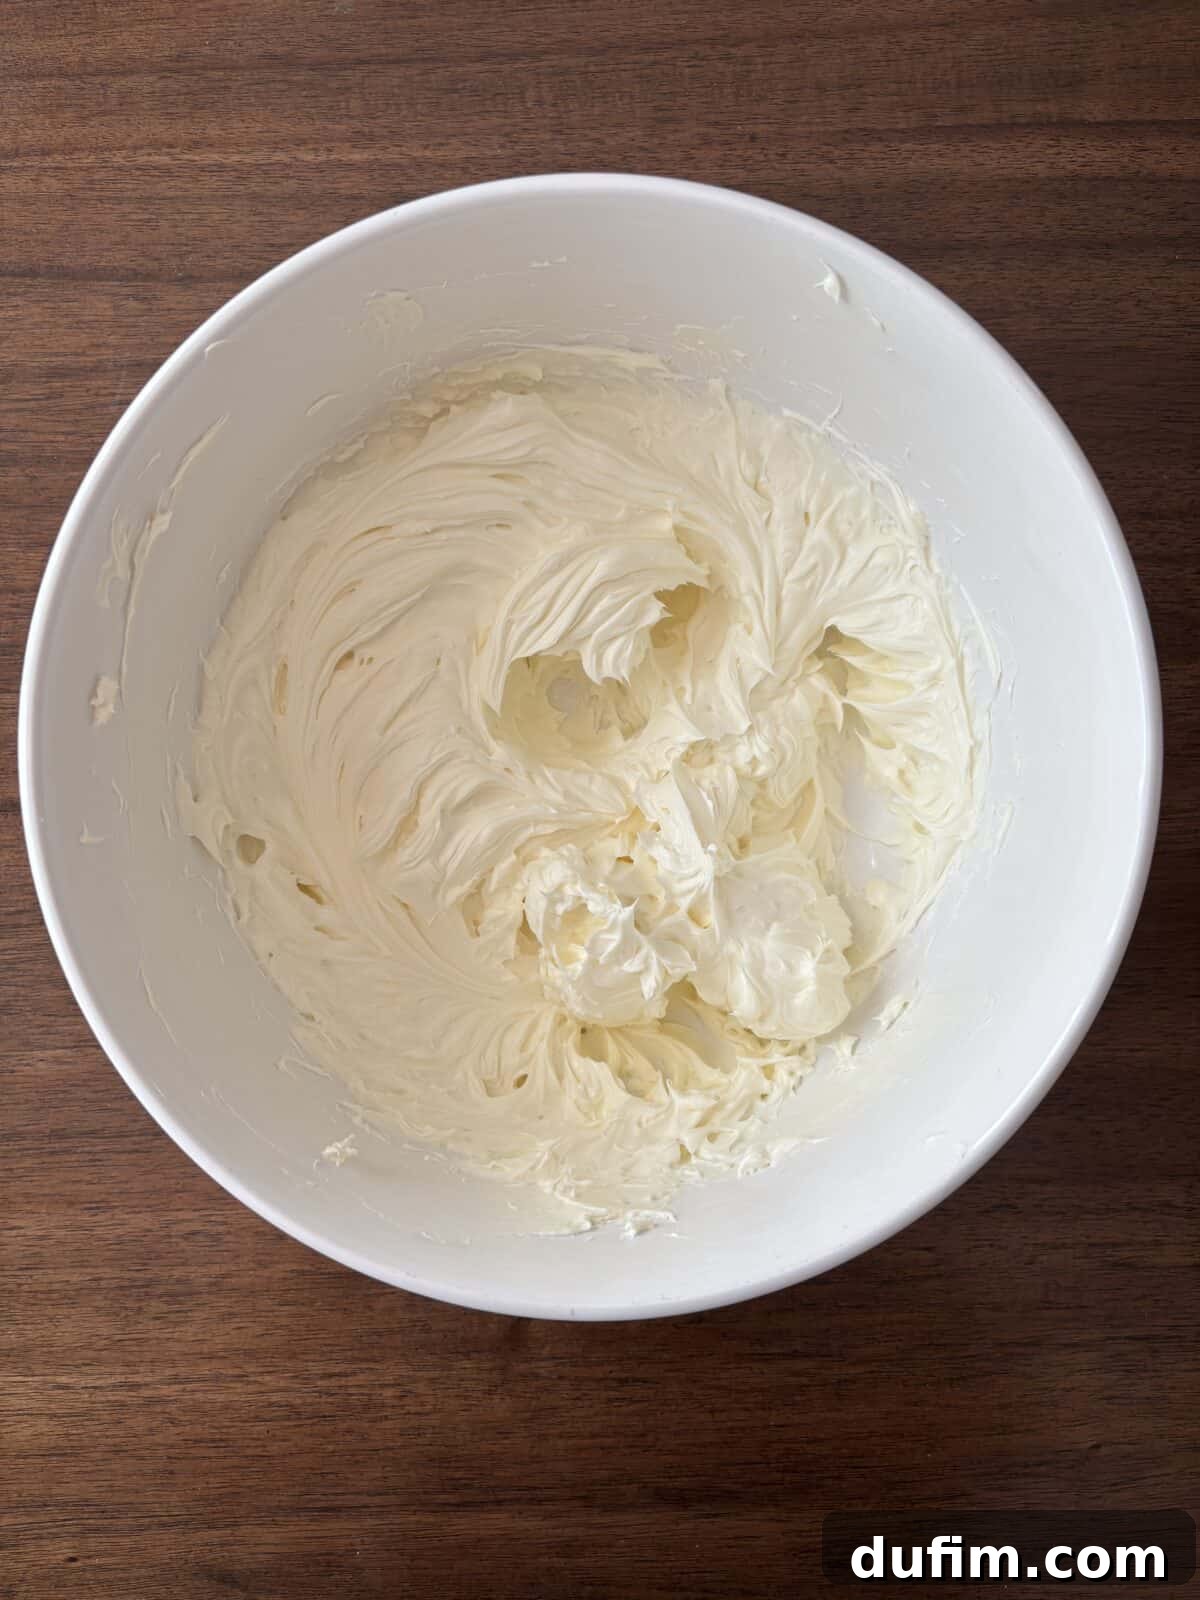
- Beat the Cream Cheese: In a large mixing bowl, using an electric mixer, beat the three packages (24 oz / 678g) of softened full-fat cream cheese on medium speed. Continue beating for about 2-3 minutes, periodically scraping down the sides and bottom of the bowl as needed, until the cream cheese is incredibly smooth and completely lump-free. This foundational step is absolutely vital for ensuring a silky-smooth, creamy cheesecake texture.
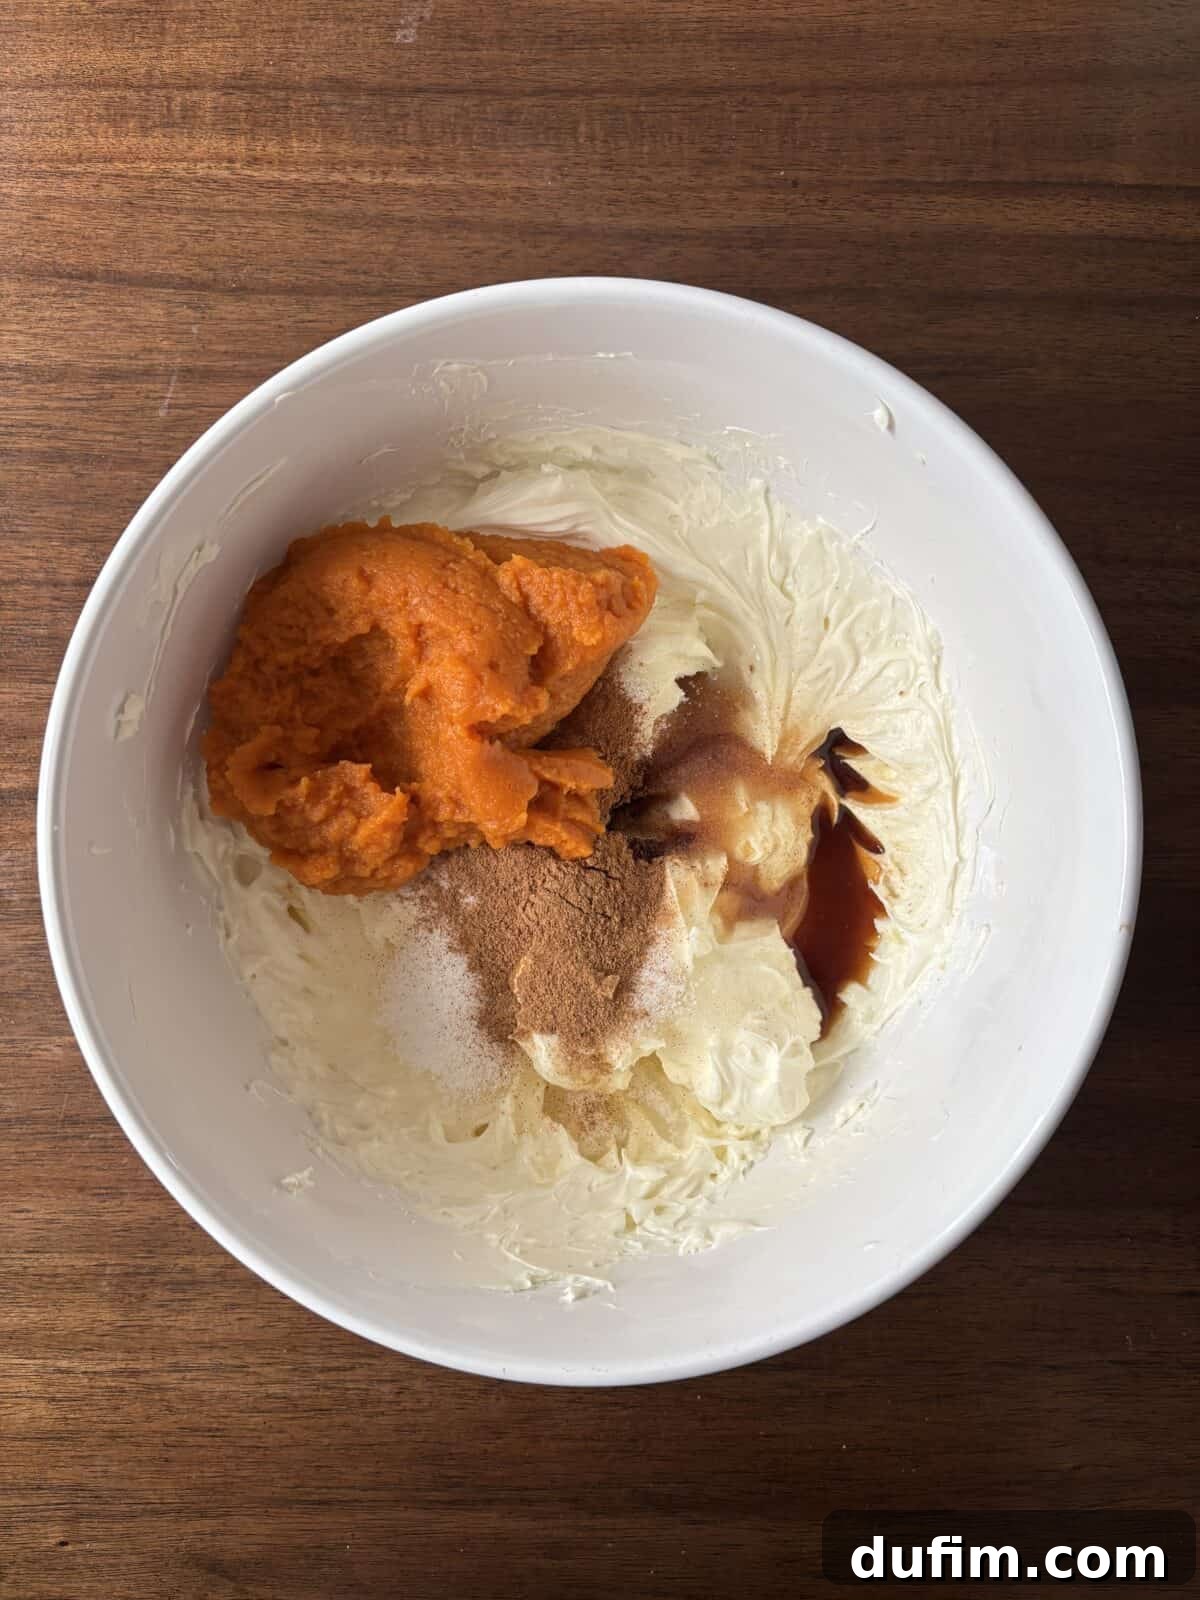
- Incorporate Flavorful Additions: Add the granulated sugar, pumpkin pie spice, additional ground cinnamon, pure vanilla extract, and the smooth pumpkin puree to the cream cheese mixture. Beat again on medium speed, just until all the ingredients are thoroughly combined and the mixture is uniformly smooth. Remember to avoid overmixing at this stage to prevent incorporating too much air, which can lead to cracks.
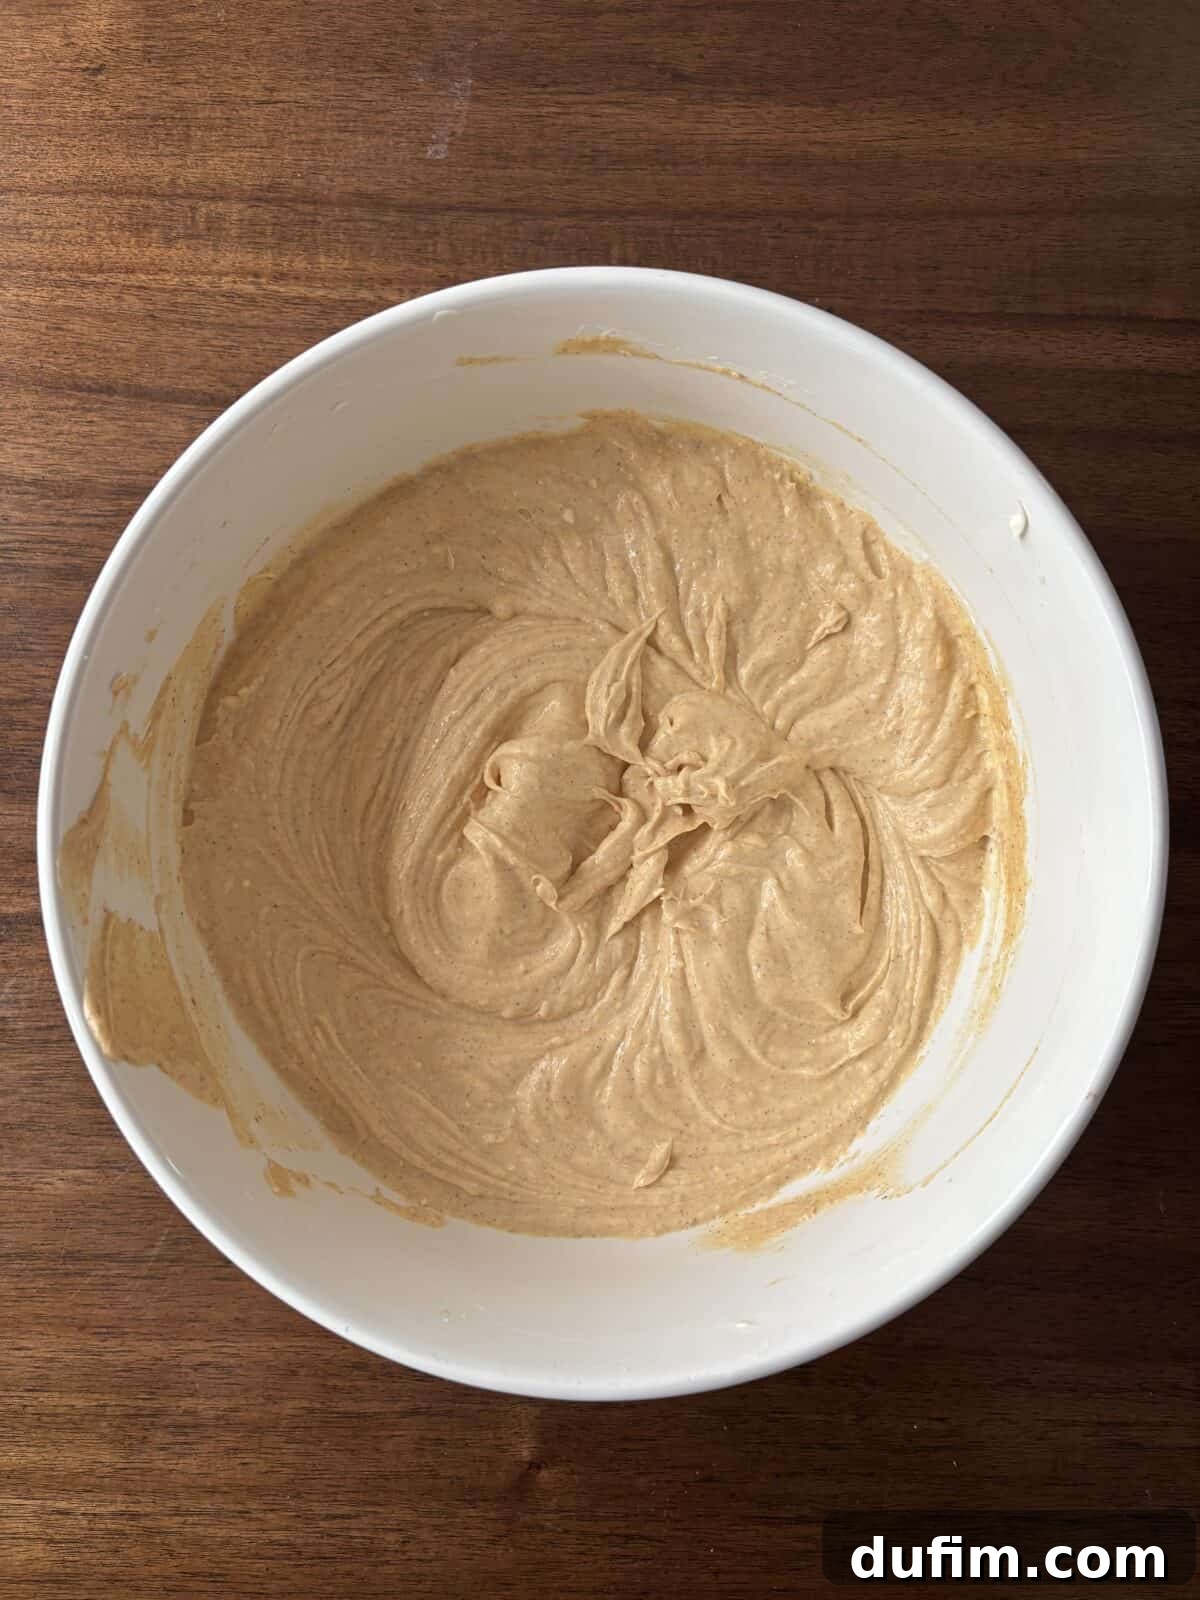
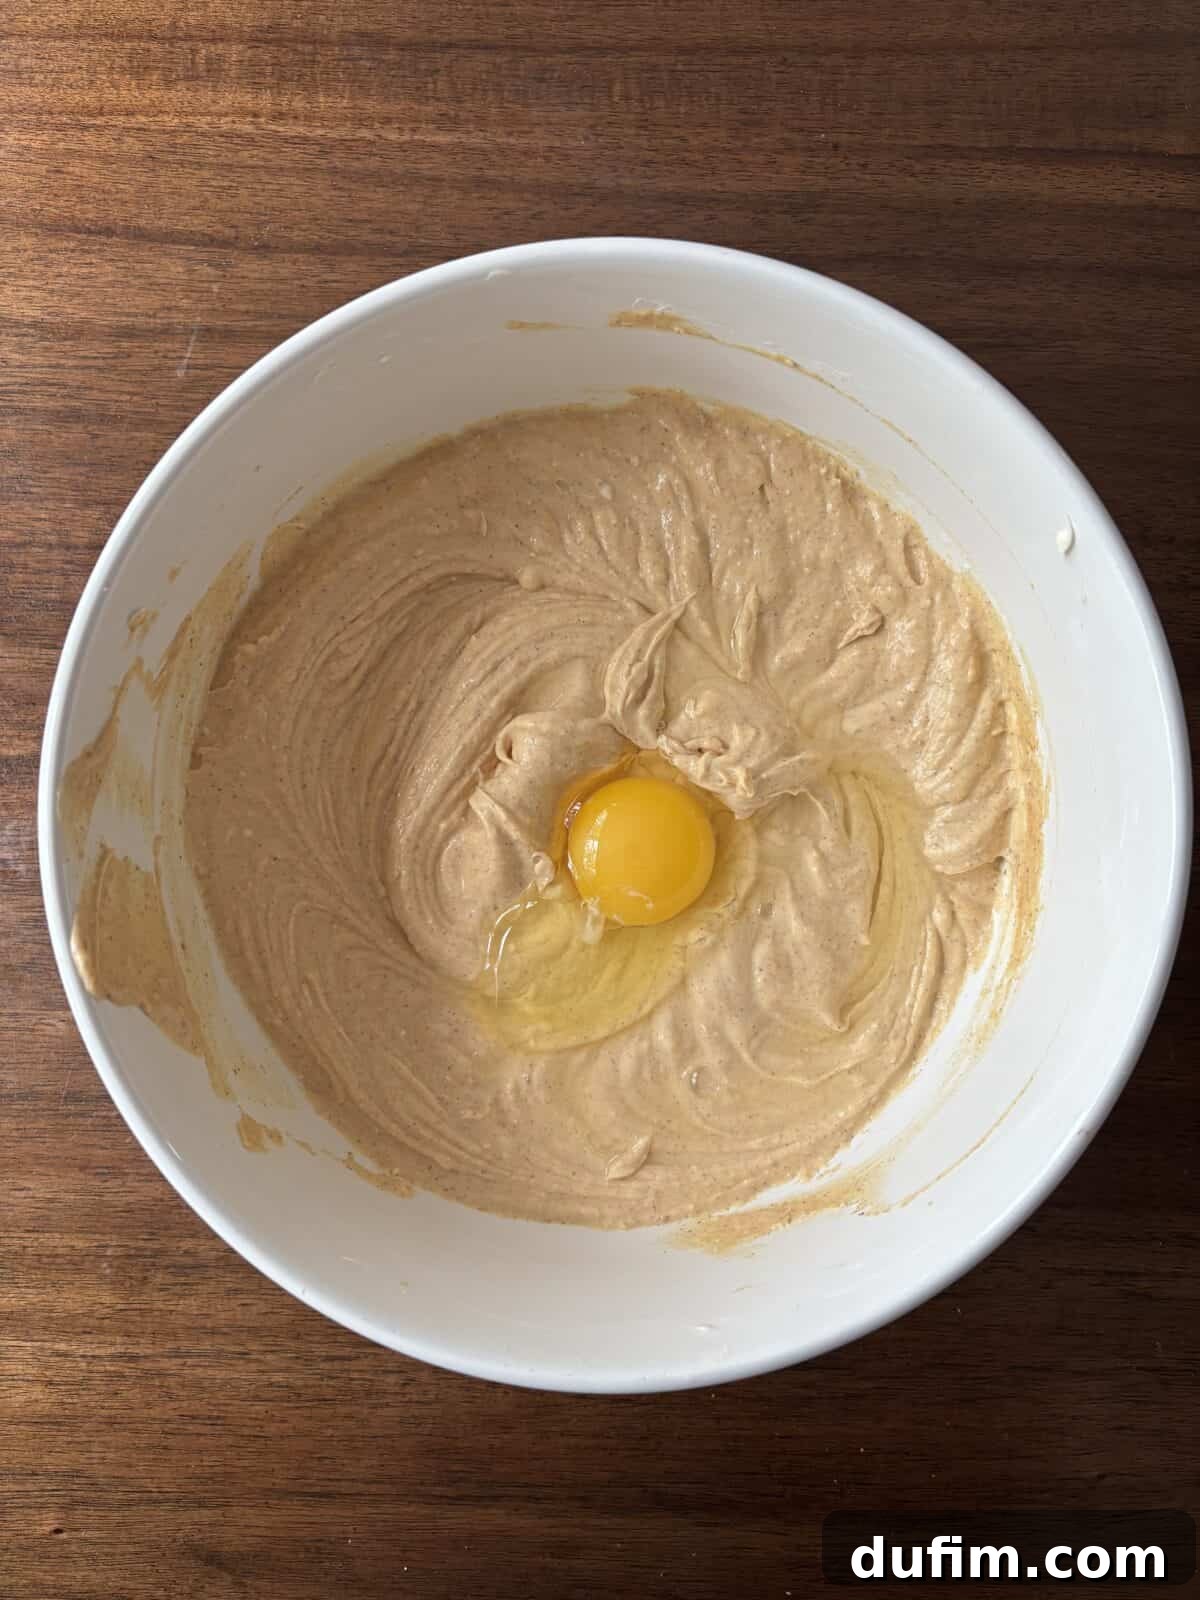
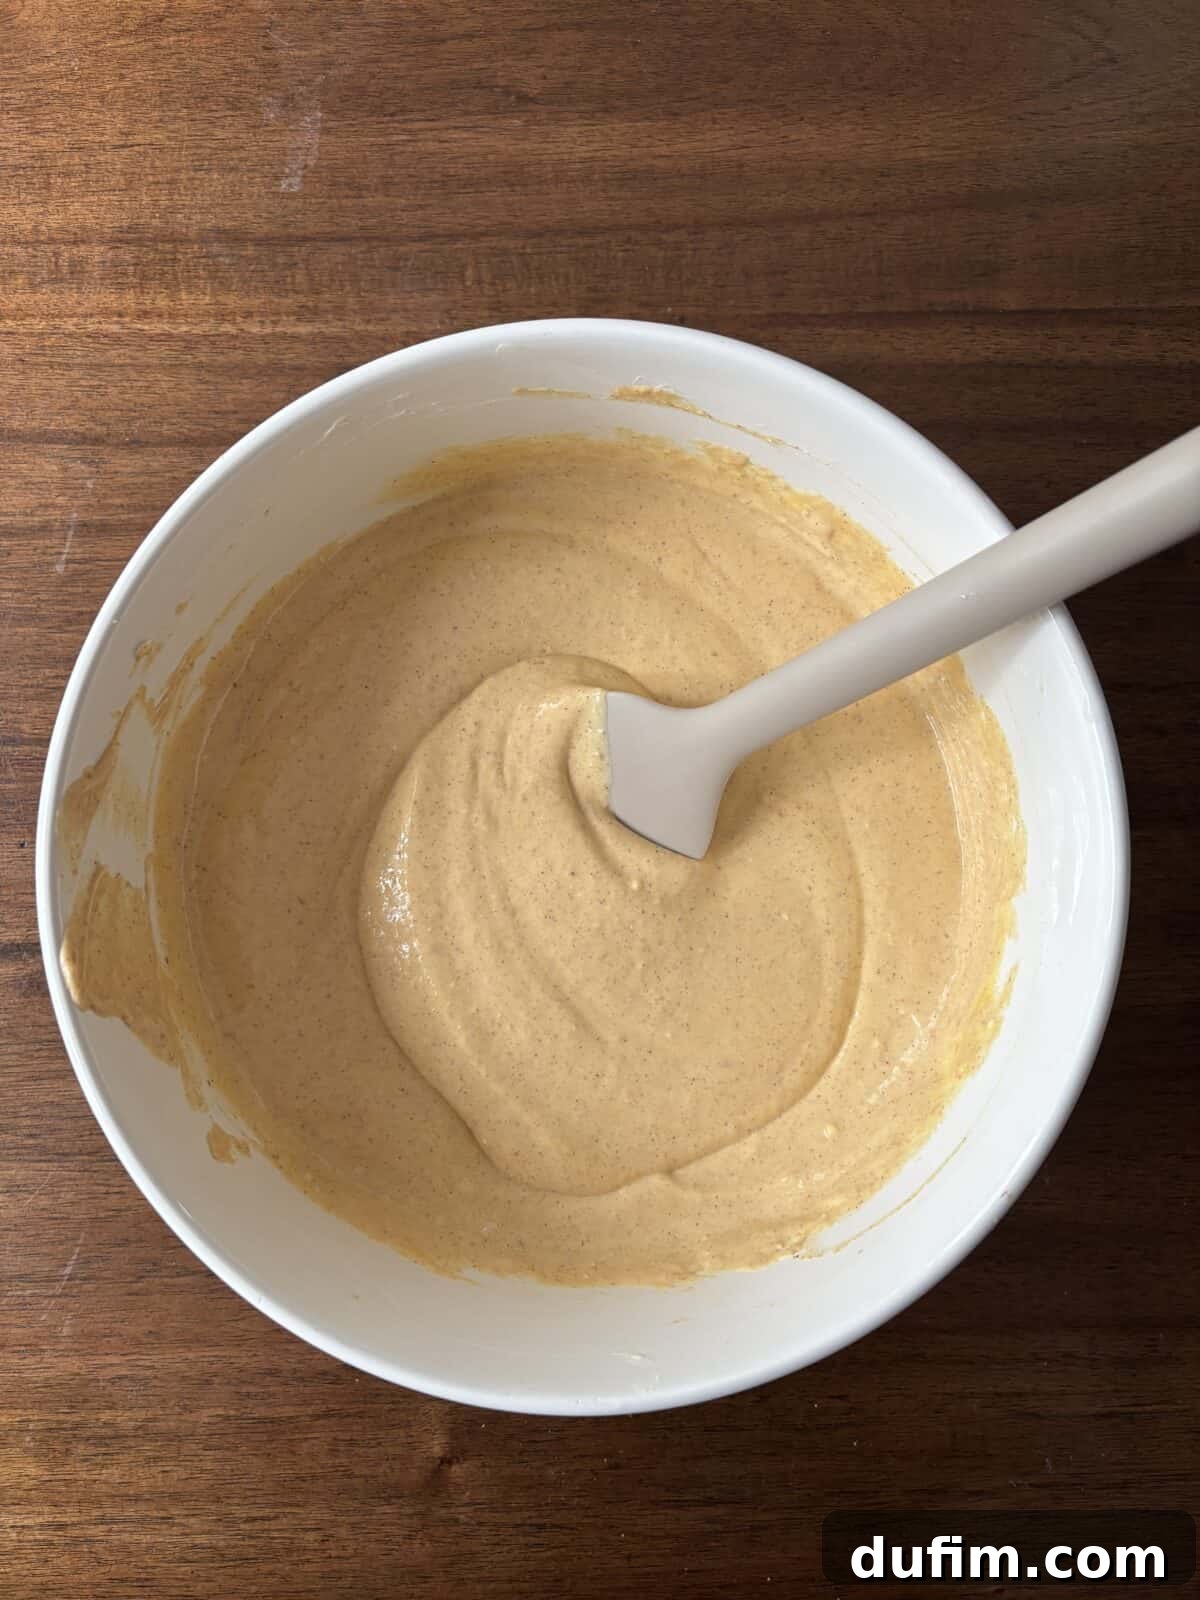
- Gently Mix in Eggs: Add the three large eggs one at a time, beating on a low speed after each addition only until it is just incorporated into the batter. It’s absolutely crucial not to overmix the batter once the eggs are in, as this is a primary cause of incorporating too much air, which can lead to cracks. After the last egg has been added, beat the mixture for just one additional minute on low speed to ensure everything is perfectly blended without any excess aeration.
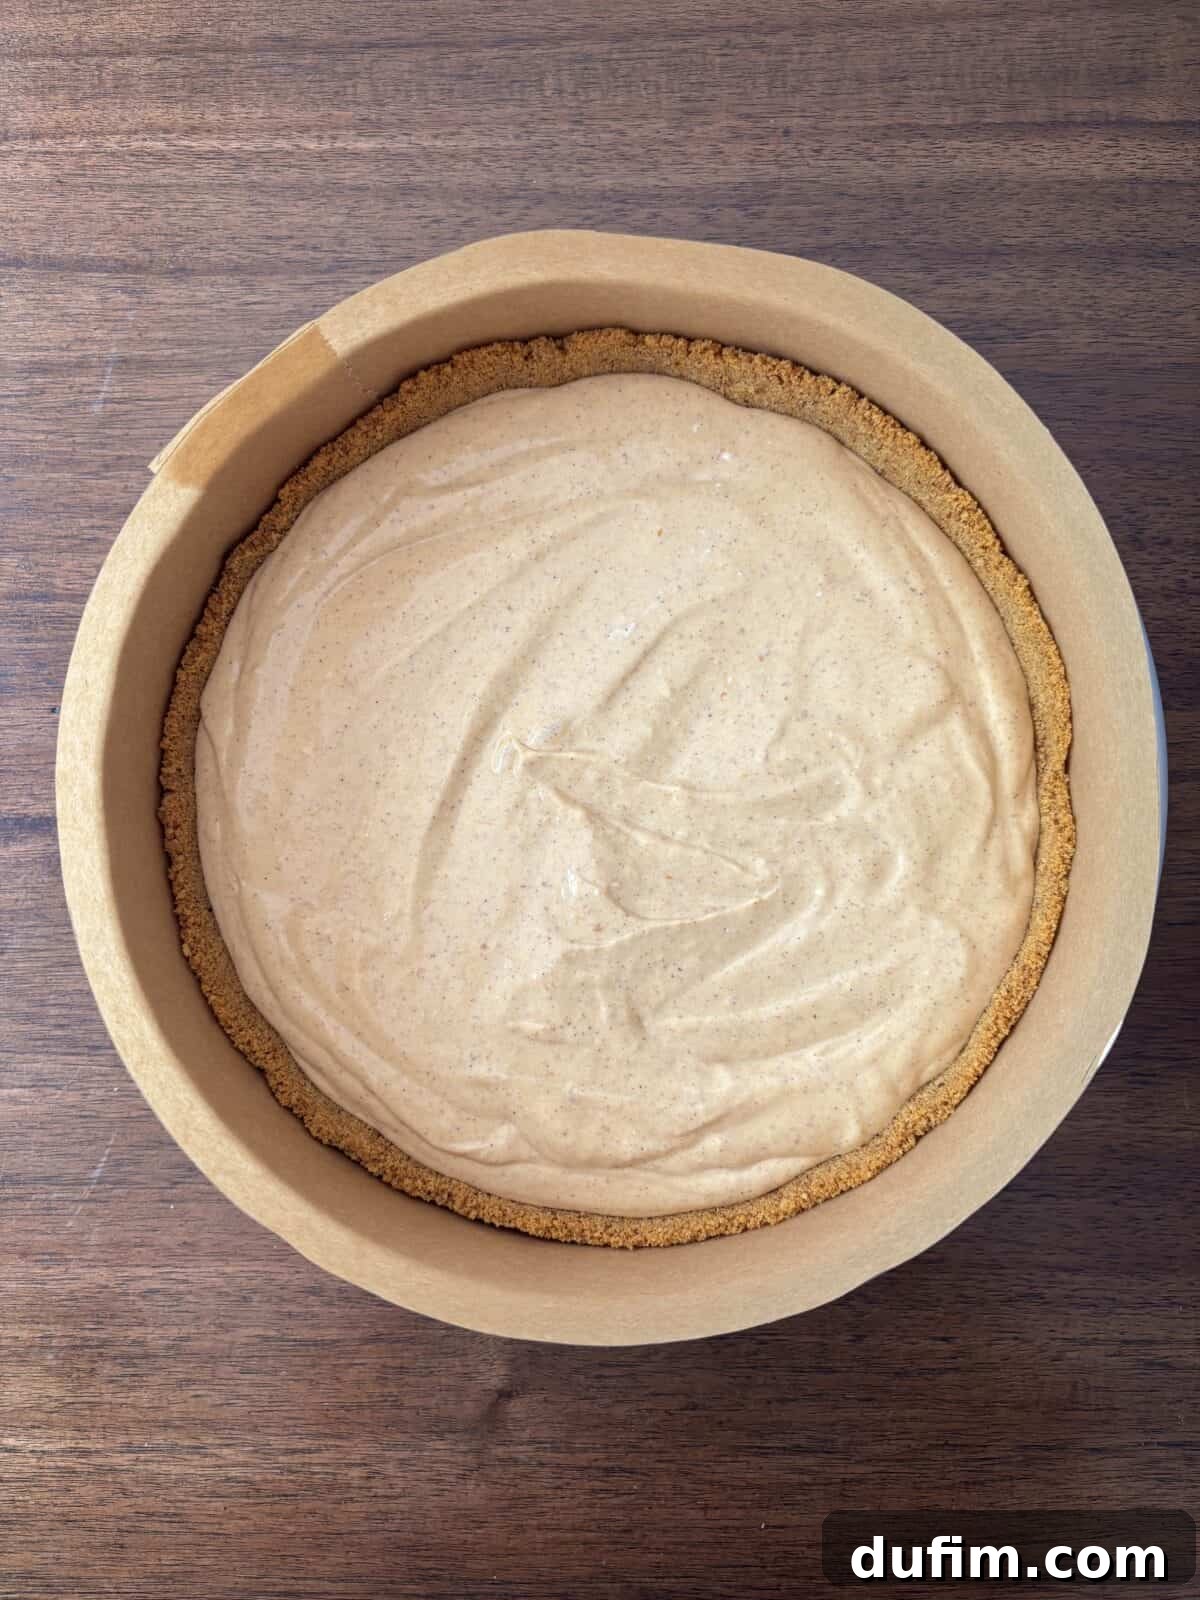
- Fill the Pan: Carefully pour the luxurious pumpkin cheesecake mixture directly on top of your completely cooled, pre-baked crust in the springform pan. Gently tap the pan a few times on the counter to help release any large trapped air bubbles, ensuring a dense, even texture in your finished cheesecake.
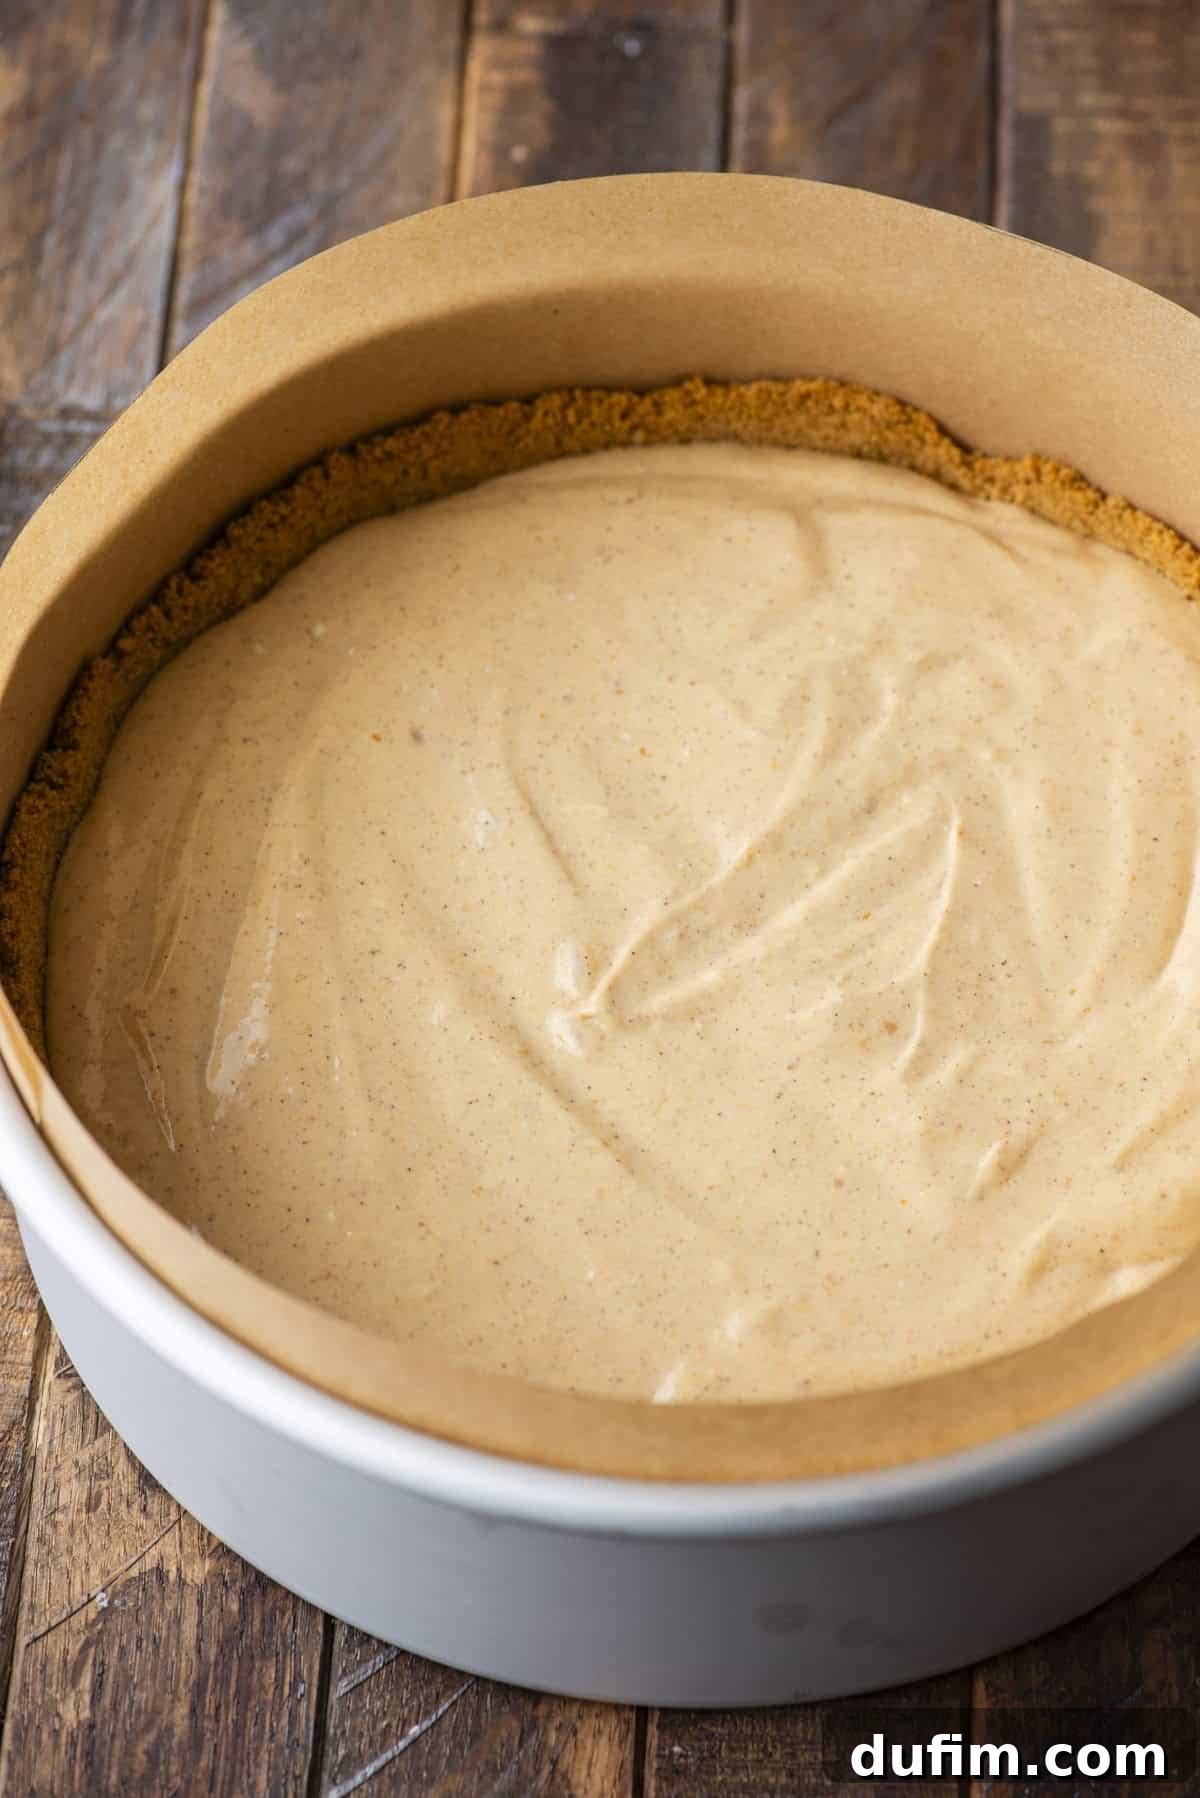
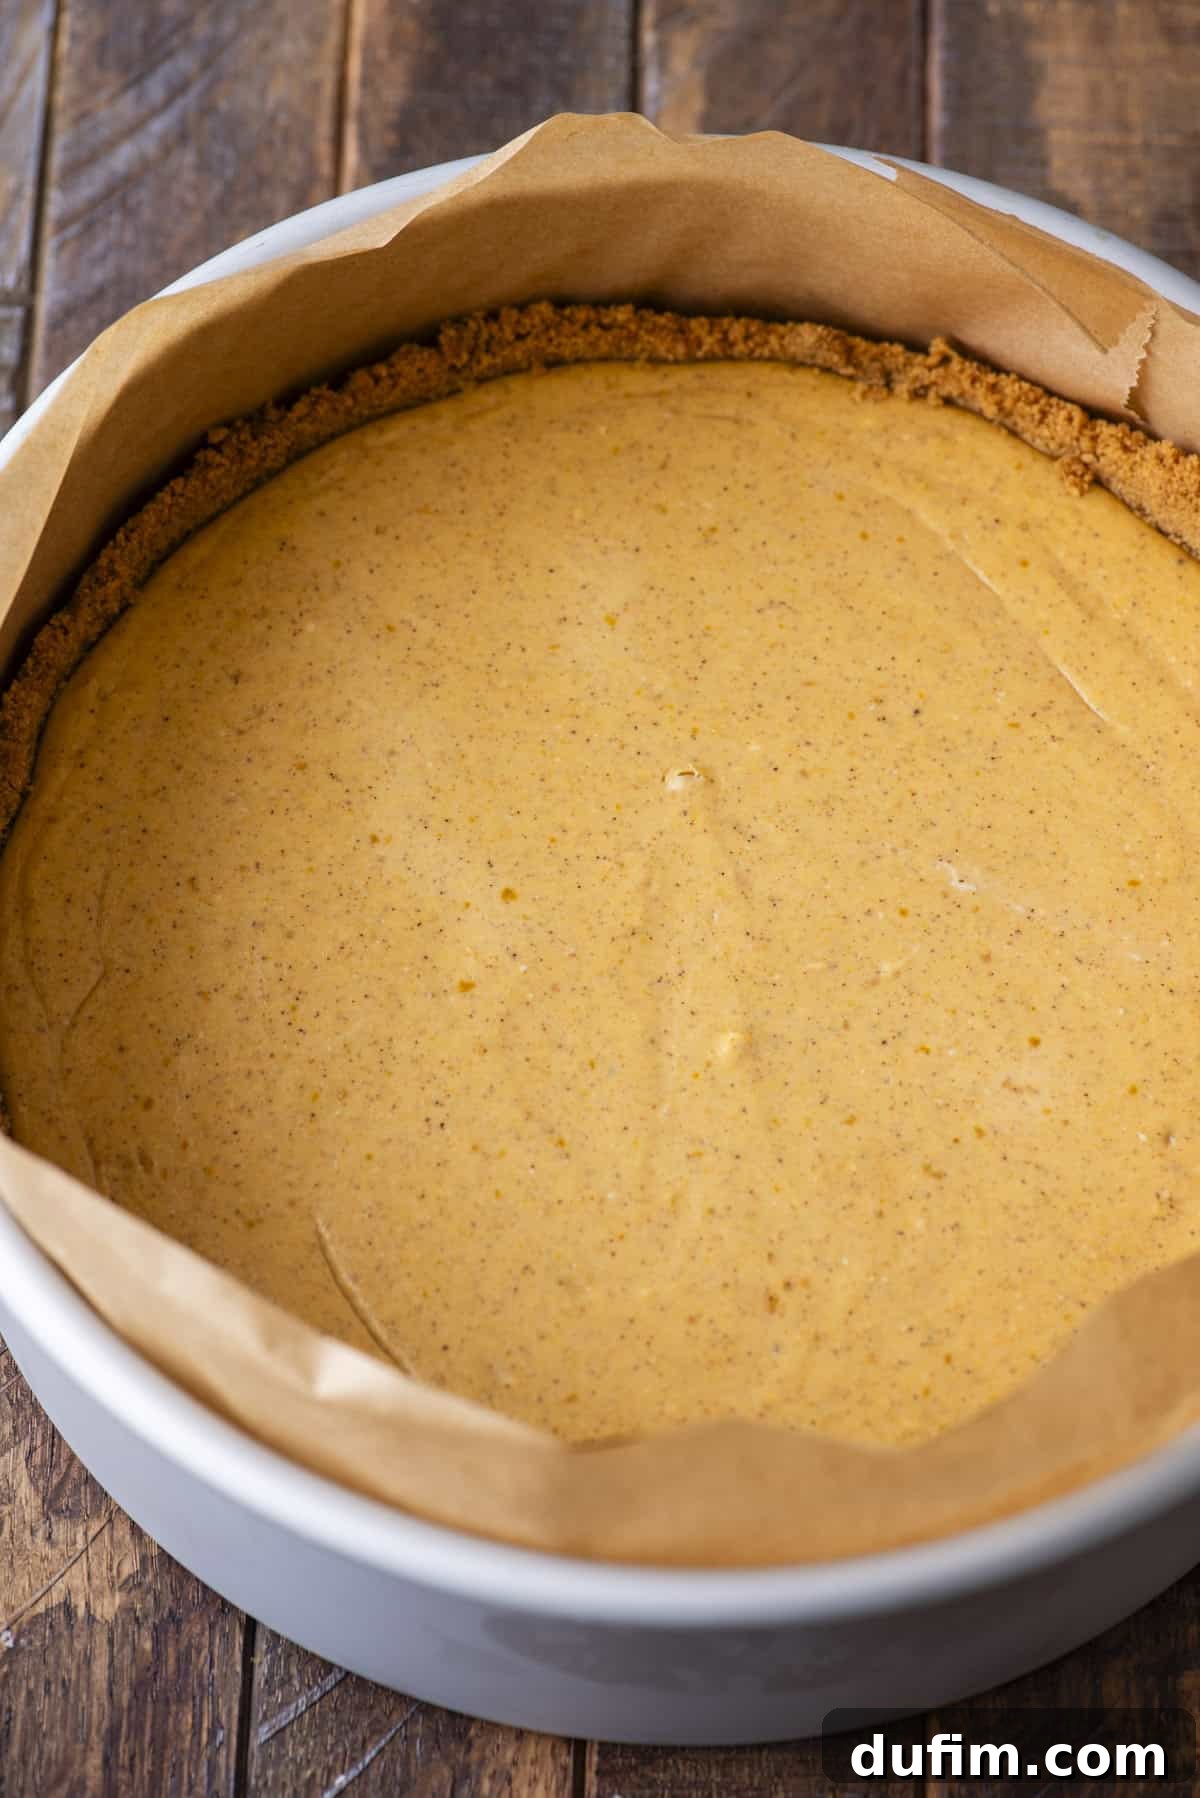
- Bake to Perfection: Gently slide the cheesecake onto the oven rack positioned directly above the pan of steaming water. Bake for 55-65 minutes. The cheesecake is done when the edges appear set and slightly firmer, but the very center still has a slight, gentle wobble when you lightly jiggle the pan. This characteristic wobble indicates a perfectly baked, creamy interior that will set beautifully upon cooling.
- The Critical Cool-Down: Once the cheesecake looks done, turn off the oven completely. Prop the oven door open slightly (about 2-3 inches) and allow the cheesecake to cool gradually inside the oven to room temperature. This slow cooling process, which typically takes 60-90 minutes, is absolutely essential for preventing cracks and ensuring a perfectly smooth, beautiful top surface.
- Chill for Optimal Texture and Flavor: After the cheesecake has reached room temperature inside the oven, carefully remove it. Allow it to rest for another brief period at room temperature on your counter. Then, cover the pan tightly with plastic wrap and transfer it to the refrigerator. Chill the cheesecake for a minimum of 6 hours, or ideally, overnight. This crucial prolonged chilling period allows the cheesecake to fully set, firm up to its ideal consistency, and develop its incredibly rich, creamy texture and depth of flavors. Patience truly pays off for cheesecake perfection!
- Unmold and Prepare for Serving: Before serving, carefully run a thin, sharp knife around the entire edge of the cheesecake (this step is less critical if you’ve meticulously lined your pan with parchment paper). Release the springform pan collar, then gently slide the cheesecake off the base or carefully transfer it to your chosen serving plate.
- Garnish and Enjoy: Add your desired toppings (explore our delightful suggestions below), slice with a sharp knife (warming the knife under hot water and wiping it clean between slices creates cleaner cuts), and serve immediately. Store any leftover pumpkin cheesecake covered tightly in the refrigerator to maintain its freshness and creamy texture.
Stabilized Whipped Cream Topping (Optional, but Recommended)
For a whipped cream topping that holds its beautiful shape for hours and doesn’t weep or deflate, try this stabilized version – perfect for make-ahead desserts!
- Prepare Your Equipment: For the absolute best results, place a metal or glass mixing bowl and the beaters of your electric mixer in the freezer for at least 15 minutes. Cold equipment is key to helping the cream whip up faster and achieve maximum stability.
- Start with Cream Cheese and Sugar: Remove the thoroughly chilled bowl from the freezer. Add the softened cream cheese (1 oz / 29g) and powdered sugar (¼ cup / 29g). Beat with an electric mixer on medium speed for about 1 minute, or until the mixture is completely smooth and wonderfully creamy, with no lumps remaining.
- Whip to Stiff Peaks: Pour in the cold heavy whipping cream (1 cup / 227g) and vanilla extract (½ tsp). Increase the mixer speed to high and beat continuously for 4-5 minutes, or until stiff peaks form. The whipped cream should be thick, incredibly fluffy, easily scoopable with a spoon, and hold its shape firmly without collapsing.
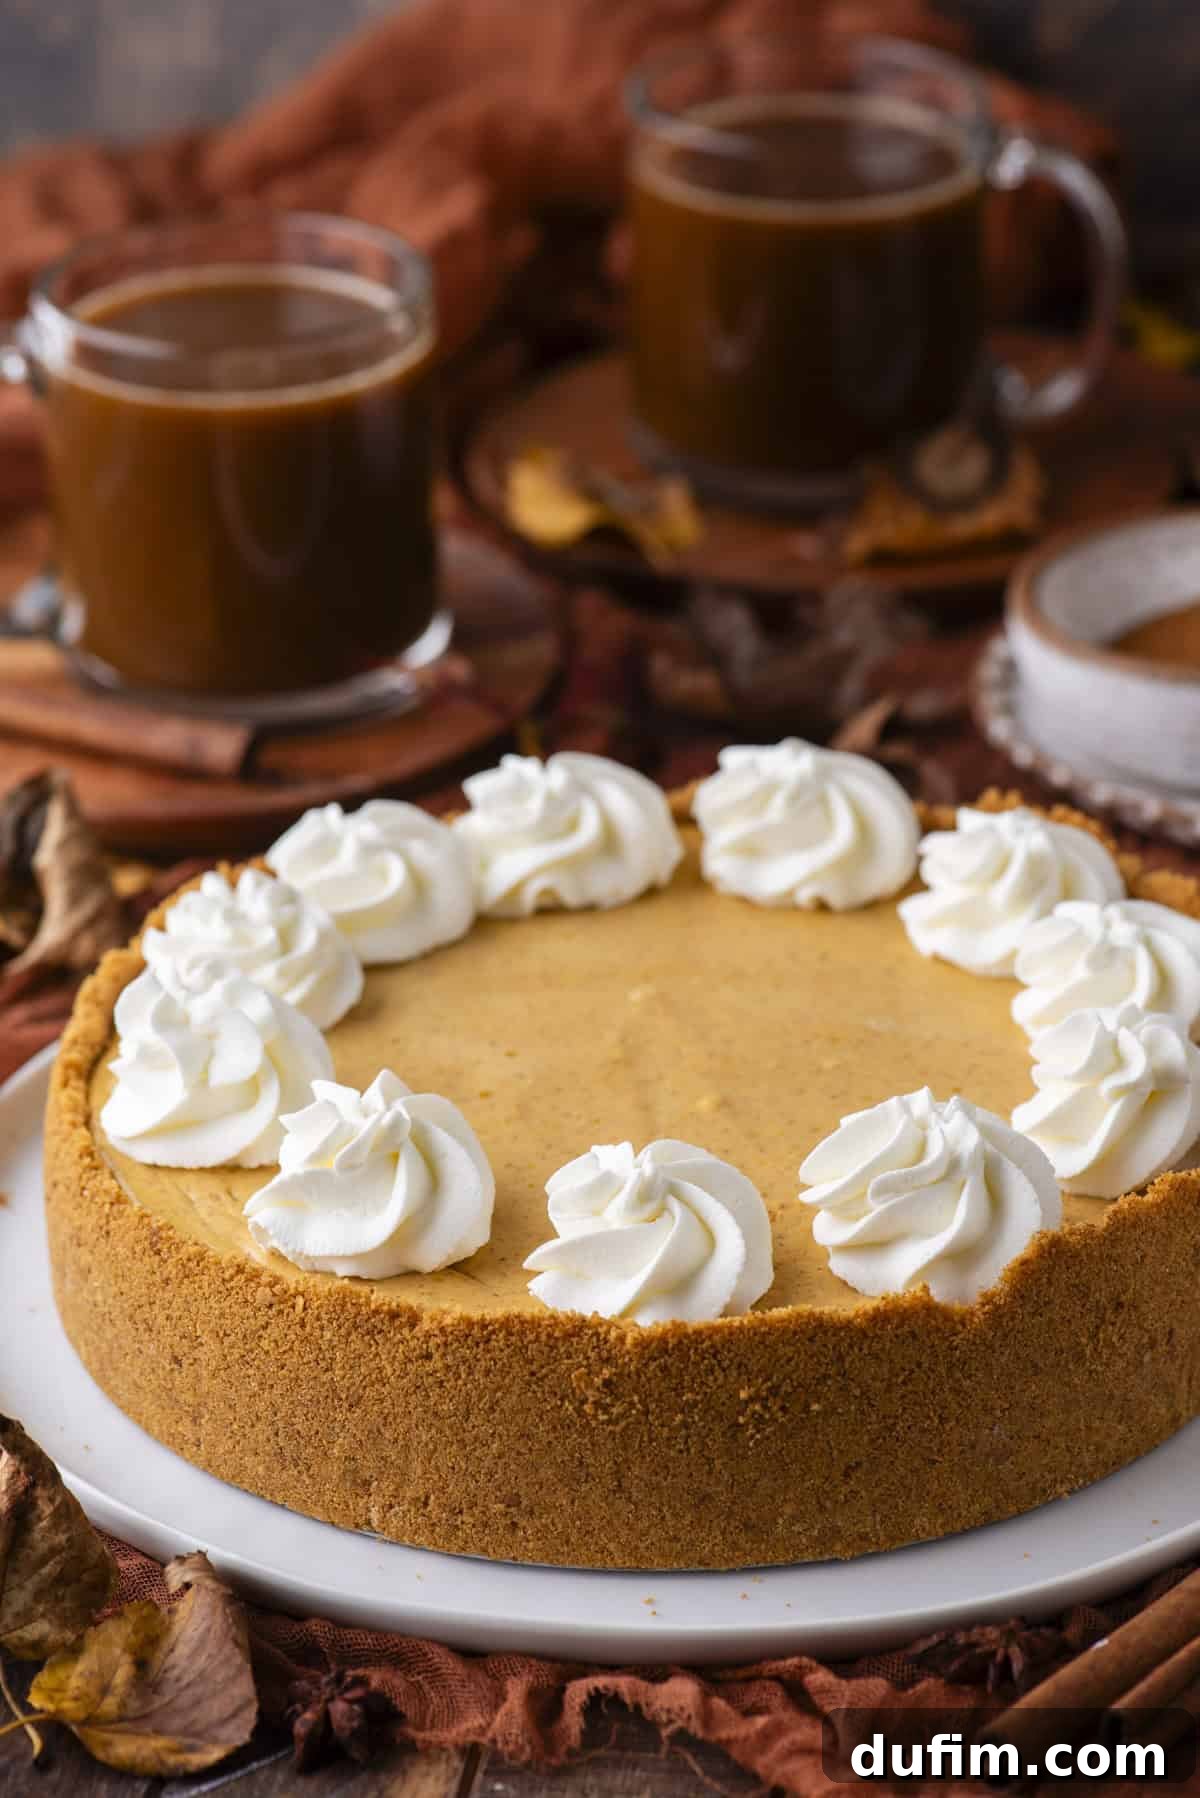
- Pipe and Garnish: Carefully transfer the stabilized whipped cream to a piping bag fitted with your favorite decorative tip (a star tip works beautifully). Pipe elegant swirls, decorative rosettes, or simple dollops around the edge of your chilled pumpkin cheesecake, or cover the entire top generously for a magnificent presentation.
Pumpkin Spice Cheesecake: Variations, Substitutions & Serving Suggestions
Creative Crust Options for Your Pumpkin Cheesecake
While a classic graham cracker crust offers a timeless and delicious foundation, don’t hesitate to unleash your culinary creativity and experiment with other fantastic cheesecake bases! Here are three wonderful options that pair exceptionally well with the rich, spiced pumpkin filling:
- Classic Graham Crackers: The traditional and ever-popular choice, offering a sweet, buttery, and subtly spiced foundation that perfectly complements and enhances the delicate pumpkin flavor.
- Spicy Gingersnap Cookies: For an extra kick of quintessential fall flavor and a delightful textural contrast, use finely crushed gingersnap cookies. Their warm, vibrant, and spicy notes beautifully elevate the pumpkin and add an irresistible depth to every bite.
- Decadent Oreo Cookies: A dark chocolate Oreo crust creates a striking visual contrast and a rich, intensely indulgent base. The slightly bitter chocolate notes provide a sophisticated counterpoint to the sweet, spiced pumpkin, creating a flavor combination that chocolate and pumpkin lovers will absolutely adore.
Whichever delicious cookie base you choose for your pumpkin cheesecake, aim for approximately 2 cups of finely crushed cookie crumbs to create the ideal, perfectly proportioned crust for this recipe.
Elevate Your Pumpkin Cheesecake with Delicious Toppings
While this pumpkin cheesecake is undoubtedly divine and utterly satisfying on its own, a thoughtfully chosen topping can truly elevate it to an extraordinary dessert experience. Consider these delightful and crowd-pleasing additions to customize your cheesecake:
- Pumpkin Whipped Cream: For an extra layer of pumpkin goodness and a harmonious flavor profile.
- Rich Chocolate Ganache: A luxurious drizzle of glossy chocolate adds instant elegance and a decadent flavor pairing that perfectly complements the pumpkin.
- Chocolate Whipped Cream: A delightful chocolatey twist on the classic, offering a richer, more indulgent alternative.
- Classic Whipped Cream: Light, airy, and always a perfect, universally loved complement that balances the richness of the cheesecake.
- Elegant Shaved Chocolate: Delicate curls or fine shavings of dark or milk chocolate add both texture and a sophisticated, gourmet touch.
- Crunchy Toasted Chopped Nuts: Toasted pecans, walnuts, or almonds provide a delightful textural crunch and a warm, nutty flavor that pairs wonderfully with pumpkin spice.
- Homemade Caramel Sauce: A luscious, sweet, and buttery caramel drizzle is always a beloved, indulgent crowd-pleaser that adds another layer of comforting sweetness.
- A Simple Dusting of Spices: A light, aromatic dusting of ground cinnamon, pumpkin pie spice, or even a hint of nutmeg offers a beautiful finish and reinforces the autumnal flavors.
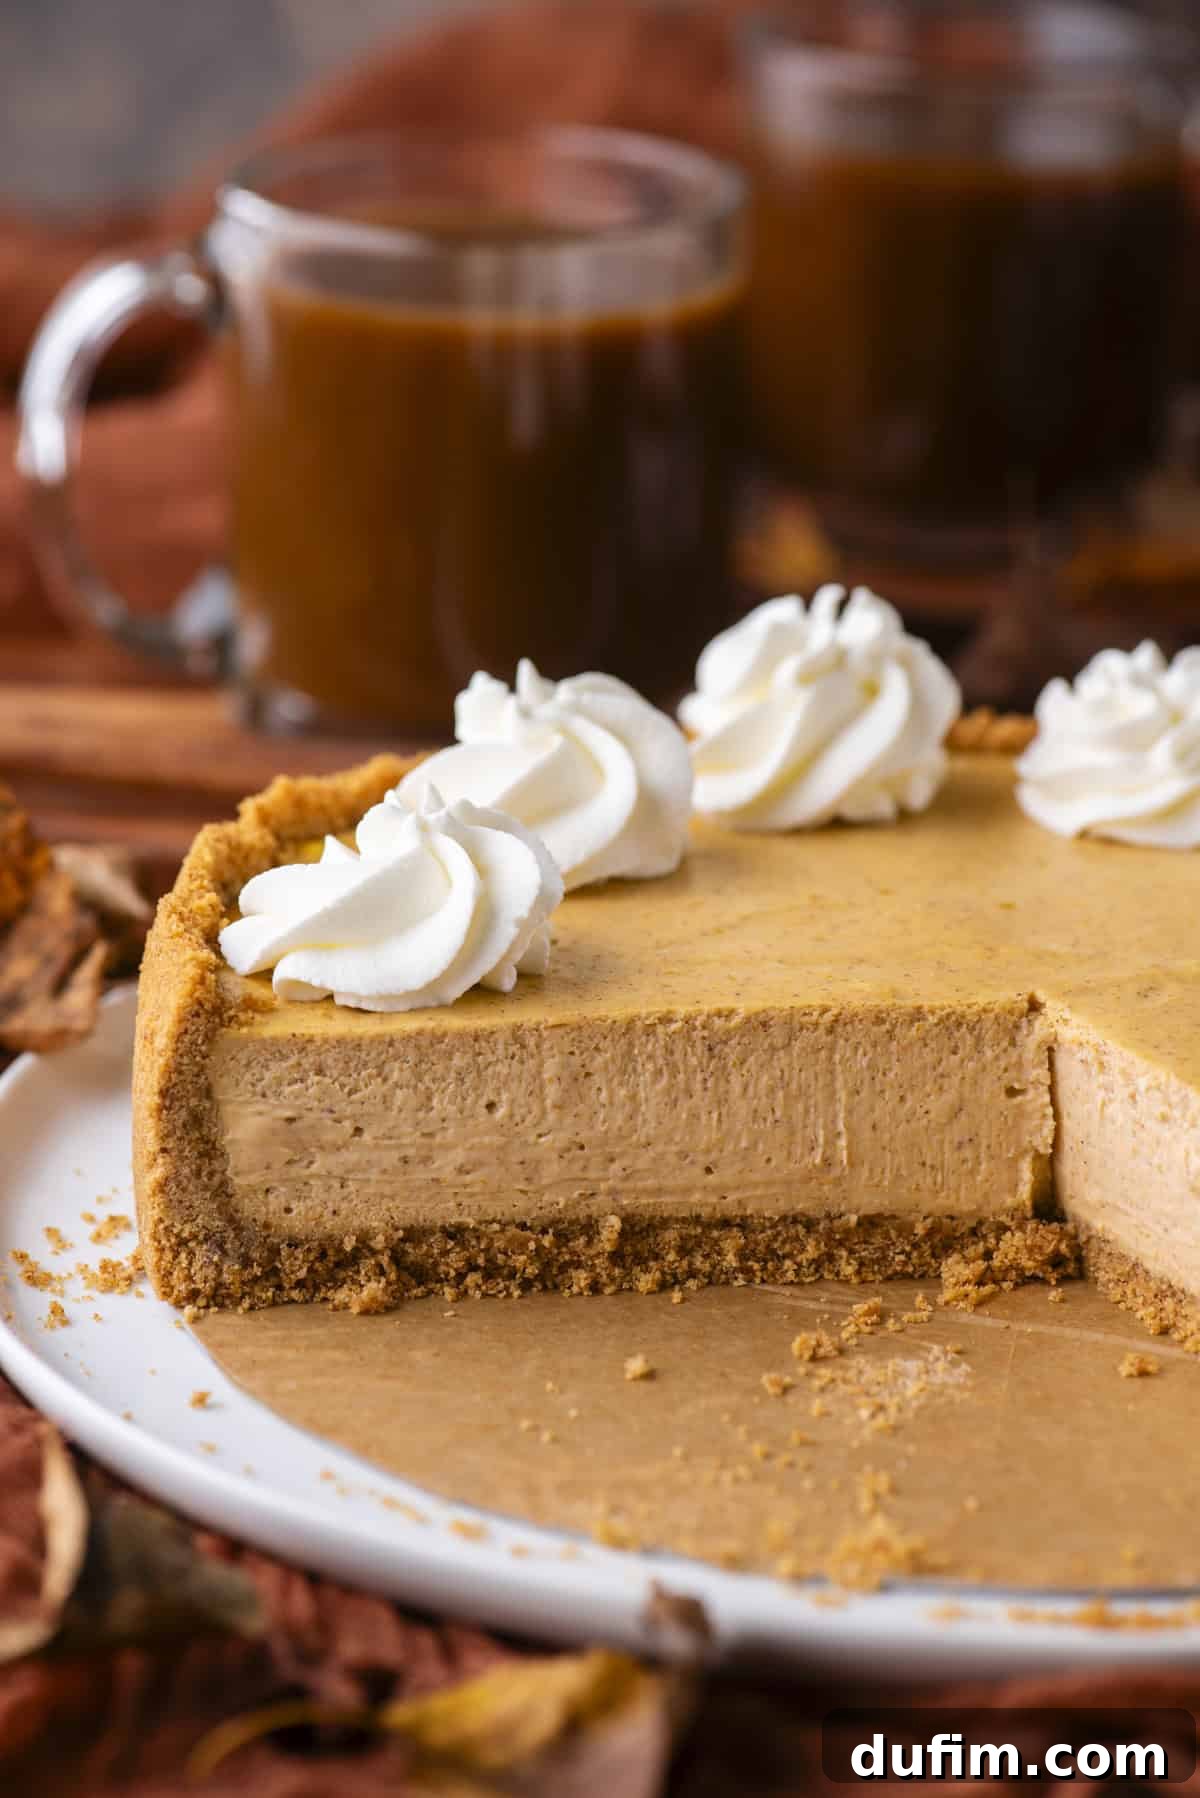
Achieving the Perfect Pumpkin Cheesecake Texture (Our Sour Cream-Free Method)
Many cheesecake recipes traditionally incorporate sour cream for an added tangy note and extra creaminess. However, our perfected recipe skillfully achieves a wonderfully rich, smooth, and decadent texture without the need for sour cream. Here are additional key considerations and specific tips for ensuring your pumpkin cheesecake is consistently dense, lusciously creamy, and beautifully crack-free:
- Verify Cream Cheese is Truly at Room Temperature: This point simply cannot be overstressed. Fully softened cream cheese is the foundation of a smooth cheesecake. It beats effortlessly and blends perfectly with other ingredients, creating a lump-free batter with minimal air incorporation. This is absolutely essential for achieving a dense, uniformly creamy cheesecake that resists cracking. If it’s even slightly cold, you risk lumps and overmixing trying to smooth it out.
- Always Use 100% Pure Pumpkin Puree: It is critically important to always opt for pure pumpkin puree, rather than canned pumpkin pie filling. Pumpkin pie filling contains pre-mixed spices, sweeteners, and sometimes even thickeners that will significantly alter the delicate flavor balance and the desired consistency of your cheesecake. Using pure pumpkin puree allows you complete control over the exact spice levels and sweetness, ensuring the perfect harmony of flavors in your dessert.
- Be Mindful of Your Springform Pan Size: This specific recipe is meticulously developed and tested for an 8 or 9-inch springform pan. Using a pan of a different size will undoubtedly affect the baking time and, potentially, the cheesecake’s final texture and height. A smaller pan will result in a thicker cheesecake, which will naturally require a longer baking time. Conversely, a larger pan will yield a thinner cheesecake that bakes more quickly. For consistent, predictable, and perfect results, adhering to the recommended pan size is key.
- Embrace the Extended Chill: After the crucial cool-down period within the oven, your cheesecake is not yet ready for immediate indulgence. It must undergo a prolonged chilling period in the refrigerator for at least 6 hours, or ideally, overnight. This extensive chilling time is absolutely vital. It allows the cheesecake to fully set and firm up to its ideal, dense yet creamy texture, and critically, it allows all the delicious flavors to meld and deepen beautifully. True cheesecake perfection is a testament to patience.
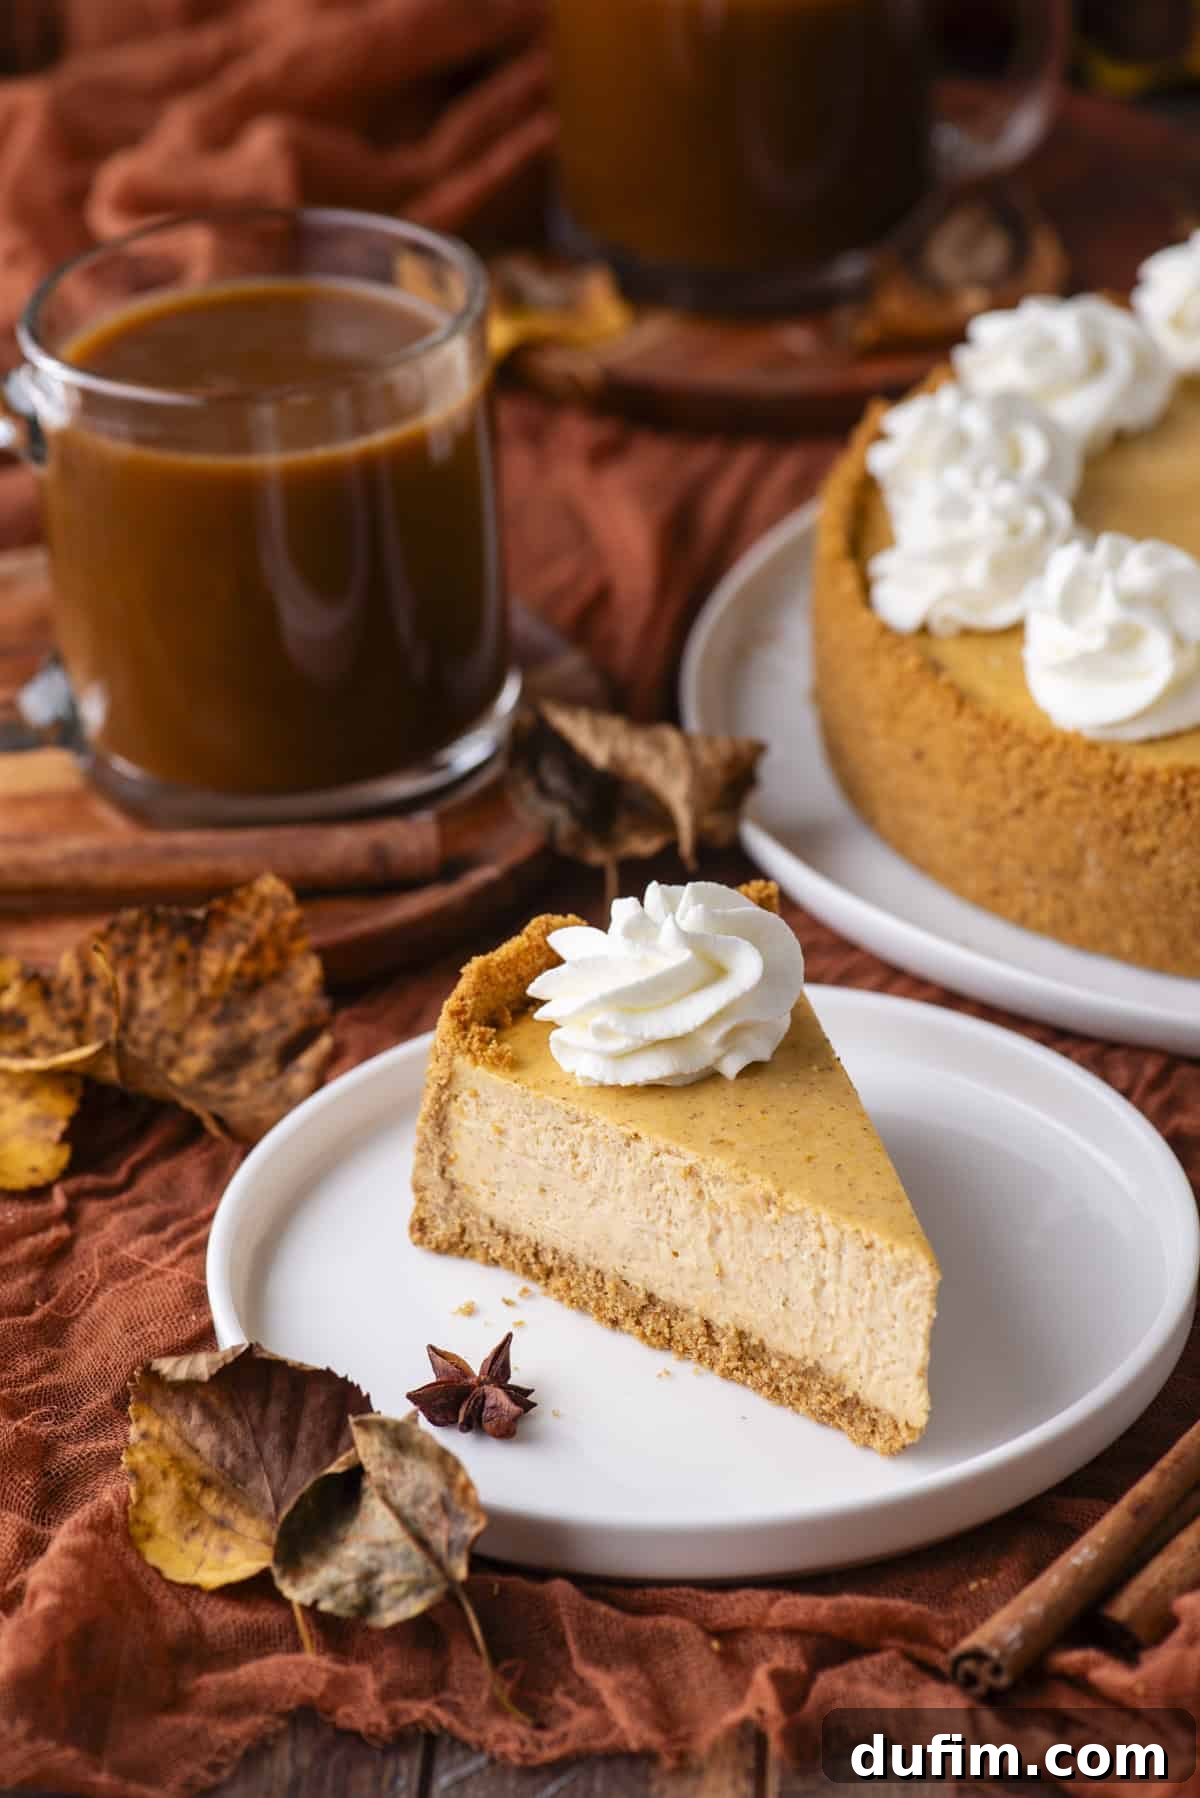
Storing and Freezing Your Homemade Pumpkin Cheesecake
How to Properly Store Pumpkin Cheesecake
Due to its rich dairy and egg content, your delicious pumpkin cheesecake requires meticulous refrigeration to maintain its optimal freshness, creamy texture, and safety. Once your cheesecake has been fully baked and has undergone the essential chilling period in the refrigerator, it must be stored properly. Never store it at room temperature. You can conveniently keep the remaining cheesecake in its springform pan, ensuring it is tightly covered with plastic wrap to prevent it from drying out or absorbing other odors from the fridge. Alternatively, individual slices can be transferred to an airtight container. When properly stored in the refrigerator, your decadent pumpkin cheesecake will remain wonderfully fresh and absolutely delicious for up to 5 days, making it an excellent dessert for preparing ahead of holiday gatherings or special occasions.
How to Freeze Pumpkin Spice Cheesecake for Later Enjoyment
One of the fantastic qualities of cheesecake is how beautifully it freezes, allowing you to extend the enjoyment of this delightful seasonal treat long after fall is over! Follow these detailed steps for perfect frozen and thawed cheesecake results:
- Ensure Complete Cooling and Chilling: Before you even consider freezing, your pumpkin cheesecake must be completely cooled to room temperature, then thoroughly chilled in the refrigerator for a minimum of 6 hours, or ideally, overnight. Attempting to freeze a warm or even slightly cool cheesecake will inevitably lead to the formation of undesirable ice crystals and a compromised, altered texture upon thawing.
- Prepare for Freezing: Once your cheesecake is perfectly chilled, carefully remove the outer springform ring. If the cheesecake base isn’t directly on parchment paper, use a thin, sharp knife to gently loosen the cheesecake from the bottom of the pan. Carefully transfer the entire cheesecake onto a round cardboard cake circle (or a sturdy, flat plate) that is approximately the same size as your cheesecake and has been covered in aluminum foil for added protection. This provides excellent support during wrapping and storage.
- Wrap and Store Securely: It’s crucial to wrap the cheesecake (without any toppings) very well to protect it from freezer burn. Begin by wrapping the entire cheesecake tightly in several layers of plastic wrap, ensuring it is as airtight as possible. Then, add an outer layer of heavy-duty aluminum foil for superior protection. Place the securely wrapped cheesecake in the freezer. It can be safely stored for up to 3 months without significant loss of quality or flavor.
- Thawing Your Frozen Cheesecake: To gently thaw your cheesecake, simply transfer the wrapped, frozen cheesecake from the freezer to the refrigerator overnight (approximately 8-12 hours). Avoid thawing at room temperature, as this can negatively affect its delicate texture and can lead to condensation. Once fully thawed, you can add your desired fresh toppings, then slice and serve for a delicious treat that tastes as good as freshly made.
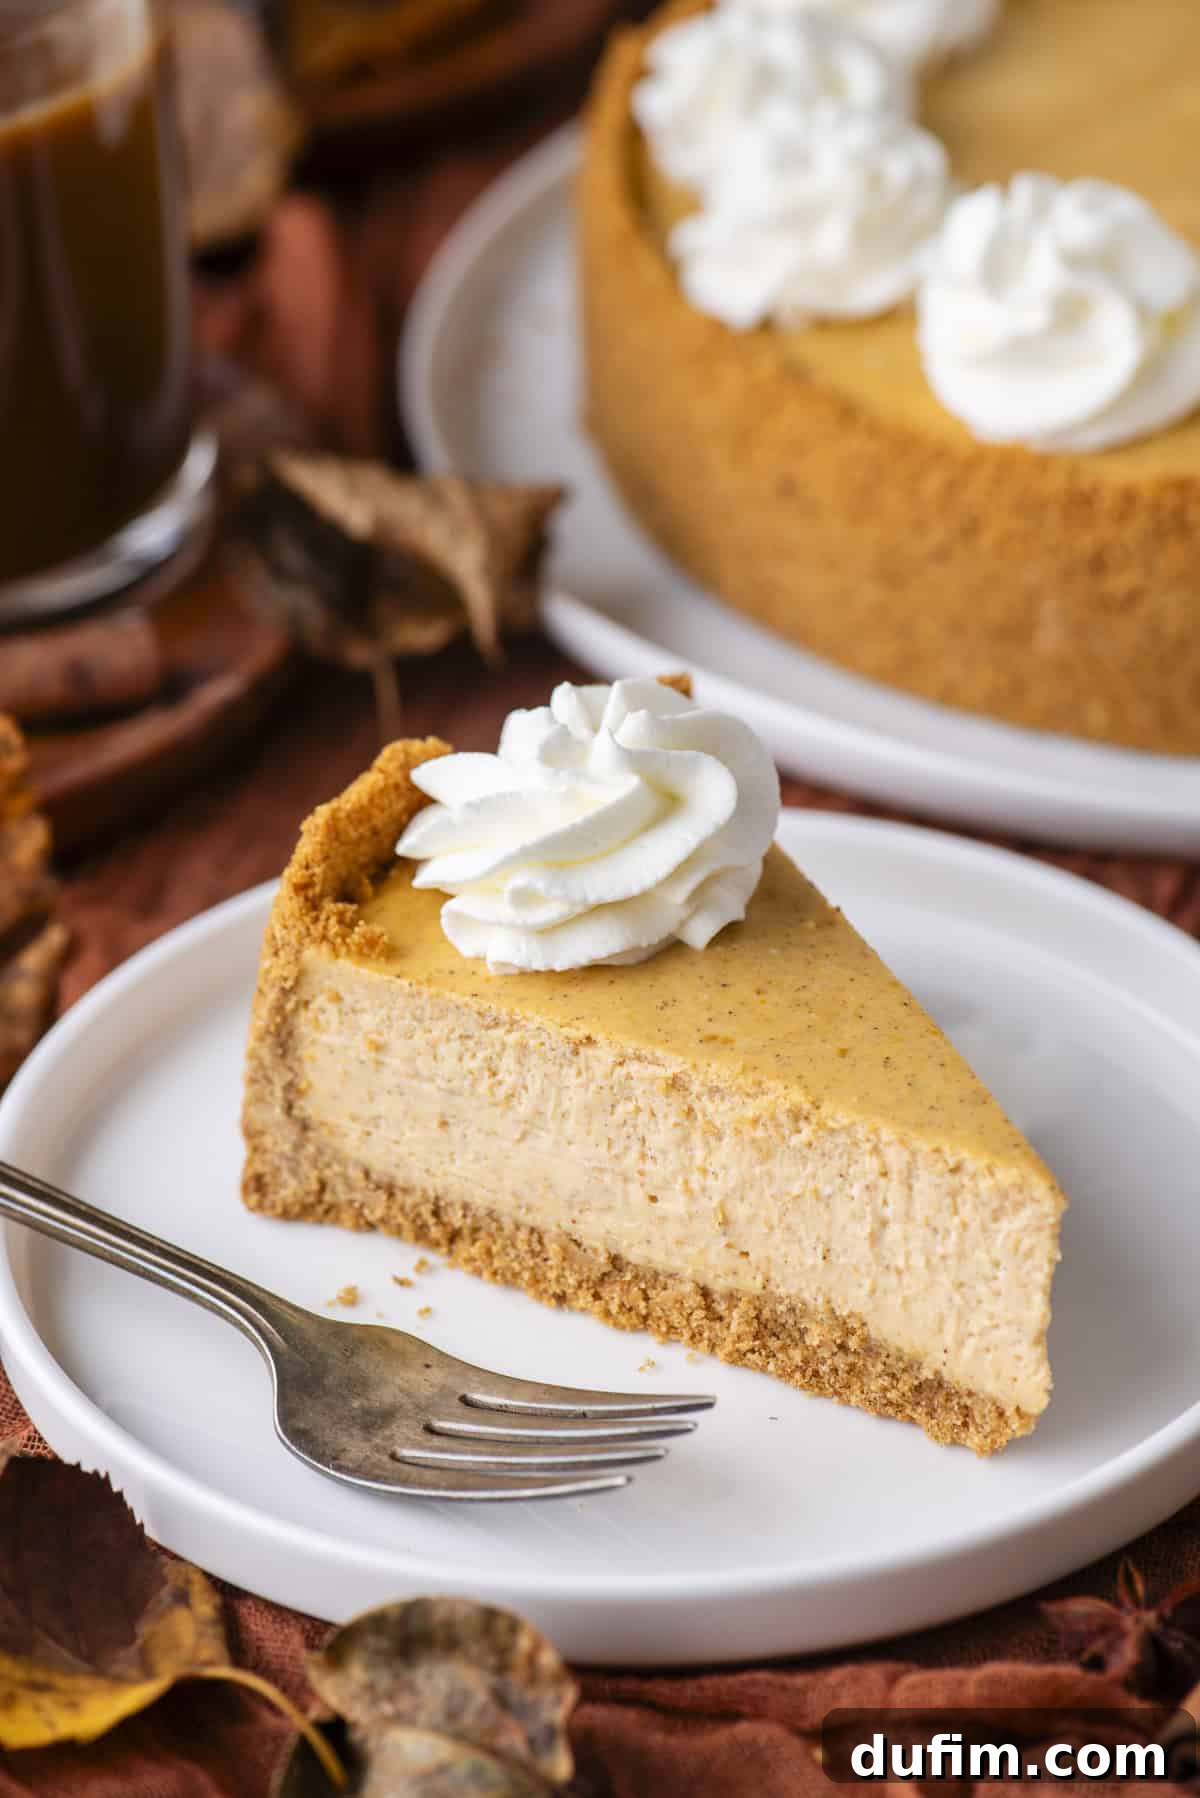
Frequently Asked Questions About Our Pumpkin Cheesecake Recipe
Our delicious pumpkin cheesecake filling is inherently gluten-free, as it contains no flour. To transform the entire dessert into a gluten-free delight, your only necessary substitution is to replace the standard graham cracker crumbs (or any other cookie crumbs you might use for the crust) with a certified gluten-free alternative. Many excellent brands offer gluten-free graham crackers, gingersnaps, or chocolate sandwich cookies that perform beautifully as a crust. As an even simpler gluten-free option, you could also choose to prepare a delectable crustless pumpkin cheesecake.
Cheesecake, in its most traditional and widely loved form, is made with full-fat cream cheese. This is the ingredient responsible for giving classic cheesecakes their signature dense, incredibly rich, and velvety smooth texture. Ricotta cheese, on the other hand, can certainly be used to craft a cheesecake, but it typically results in a dessert that is lighter in consistency, slightly less dense, and often possesses a subtle, fine-grained texture. The ultimate choice between cream cheese and ricotta largely depends on your personal preference for texture and the specific flavor profile you desire. If you’re aiming for that classic, ultra-creamy, and decadent cheesecake experience, cream cheese is unequivocally the superior choice. If, however, you prefer a lighter, somewhat airier dessert with a unique Italian twist, ricotta can offer an interesting variation.
To ensure your homemade cheesecake consistently turns out beautifully and without flaws, here are the three most common pitfalls to actively avoid:
1. Overmixing the Batter: This is a very frequent culprit behind cheesecake cracks. Overmixing introduces an excessive amount of air into the batter, which expands vigorously during the baking process. As the cheesecake then cools, this trapped air collapses dramatically, leading to the formation of unsightly fissures on the surface. To prevent this, always mix the ingredients only until they are just combined and smooth, and be especially cautious about overmixing after the eggs have been added.
2. Overbaking: Baking your cheesecake for too long is another common mistake that can result in a dry, rubbery texture and significantly increases the risk of cracking. Always follow the recommended baking time closely, and rely on the visual cues—set edges with a slight wobble in the center—to determine doneness. Our innovative steam method also plays a vital role in maintaining a moist baking environment, which greatly reduces the risk of overbaking.
3. Frequently Opening the Oven Door: Sudden and drastic drops in oven temperature, often caused by repeatedly opening the oven door to peek, can shock the delicate cheesecake structure. This thermal shock can easily lead to cracking. Resist the temptation to constantly check on your cheesecake! Only open the oven door when it is absolutely necessary, and always do so gently to prevent any sudden drafts.
The optimal temperature range for baking a cheesecake is generally between 325°F (160°C) and 350°F (175°C). For this particular pumpkin cheesecake recipe, and to achieve the gentlest, most even cooking that consistently minimizes the risk of cracking, we specifically recommend setting your oven to 325°F (160°C). A slightly lower temperature allows the cheesecake to bake slowly and uniformly from the edges to the center, ensuring a wonderfully creamy texture throughout without the risk of overcooking or drying out.
Adding an extra egg to a cheesecake recipe can have several discernible effects on the dessert’s overall texture and consistency. Eggs serve as crucial binders and provide essential structure, contributing significantly to both the creaminess and richness of the cheesecake. An additional egg might make the cheesecake slightly firmer or denser, and it could potentially enhance its richness in flavor. However, it is absolutely essential to meticulously follow a well-tested recipe that precisely specifies the correct number of eggs. Incorporating too many eggs can inadvertently lead to an overly dense, rubbery, or even an “eggy” tasting cheesecake. Our recipe is carefully calibrated to use three large eggs, which is the precise amount needed to deliver the perfect creamy, smooth texture without being excessively heavy or having an undesirable eggy flavor.
No, you should emphatically not place a cheesecake directly into the refrigerator immediately after it finishes baking. This sudden and drastic temperature change is a primary cause of cheesecake cracking. Instead, it is crucial to meticulously follow our recommended cooling instructions: first, allow the cheesecake to cool slowly inside the turned-off oven with the door slightly ajar until it reaches room temperature (a process that typically takes 60-90 minutes). Only after it has completely cooled to room temperature should you then cover it tightly and transfer it to the refrigerator for several hours or, ideally, overnight. This two-stage, gradual cooling process is absolutely essential for preventing cracks and achieving the perfect, fully set, and lusciously creamy texture.
Yes, absolutely, you can indeed overmix a cheesecake batter, and it is one of the most common mistakes that can severely compromise both its texture and pristine appearance. When you overmix the batter, you incorporate an excessive amount of air into the cream cheese mixture. This trapped air then expands significantly during the baking process, causing the cheesecake to puff up noticeably. As the cheesecake subsequently cools, this excess air escapes, leading to a dramatic collapse and, almost always, the formation of large, unsightly cracks on the surface. To skillfully avoid this, always mix the ingredients only until they are just combined and appear smooth. Be especially mindful after the eggs are added; incorporate them one at a time on low speed, mixing only until they are just integrated into the batter, and then stop.
More Delicious Pumpkin Desserts to Try
If you’re a devoted fan of pumpkin and eager to explore more delightful seasonal treats, we highly recommend you explore these other fantastic recipes from our collection:
- Pumpkin Dump Cake
- Easy Pumpkin Pie Bars
- Pumpkin Cheesecake Bars
- Easy Pumpkin Swirl Cake
Rated 5 out of 5 stars by 4 readers
Pumpkin Spice Cheesecake
By: Beth
Prep Time: 30 minutes
Cook Time: 1 hour
Additional Time: 6 hours (Chilling)
Total Time: 7 hours 30 minutes
Servings: 12 slices
This pumpkin cheesecake has been a reader favorite since 2019 for its incredible creaminess, perfect spice, and foolproof method. Now, with an easier no-water-bath steam technique, you’ll achieve a smooth, crack-free cheesecake every time. With a sturdy crust and a slow oven cool-down, this recipe consistently delivers bakery-worthy results. Tested, loved, and perfected, it’s the ultimate fall and Thanksgiving dessert you can trust!
Equipment You’ll Need
- Favorite Spatula
- Glass Mixing Bowl (Large)
- Electric Mixer (Handheld or Stand Mixer)
- 9-inch Springform Pan
- Roasting Pan or 9×13 inch Pan
- Parchment Paper
Ingredients
For the Graham Cracker Crust:
- 2 cups (220-230g) graham cracker crumbs (from approximately 14-16 whole crackers)
- ¼ cup (54g) brown sugar, packed
- ¼ tsp ground cinnamon
- 6 Tbsp (86g) unsalted butter, melted
For the Creamy Pumpkin Cheesecake Filling:
- 24 oz (678g) full-fat cream cheese, softened to room temperature (3 packages)
- ½ cup (99g) granulated sugar
- 2 tsp pumpkin pie spice
- ½ tsp ground cinnamon
- 1 tsp pure vanilla extract
- ¾ cup (171g) pumpkin puree (100% pure, NOT pumpkin pie filling)
- 3 large eggs, at room temperature
For the Stabilized Whipped Cream Topping (Optional):
- 1 oz (29g) cream cheese, softened to room temperature
- ¼ cup (29g) powdered sugar
- 1 cup (227g) cold heavy whipping cream
- ½ tsp pure vanilla extract
Step-by-Step Instructions
Part 1: Preparing the Crust
- Prepare Pan and Oven: Preheat your oven to 350°F (175°C). Line the bottom and sides of an 8 or 9-inch springform pan with parchment paper for effortless unmolding later.
- Mix Crust Ingredients: If using whole graham crackers, pulse them into fine crumbs. In a medium bowl, combine the 2 cups graham cracker crumbs, ¼ cup brown sugar, ¼ tsp cinnamon, and 6 Tbsp melted unsalted butter. Mix thoroughly until the crumbs are evenly moistened.
- Form and Pre-Bake Crust: Press the crumb mixture firmly and evenly onto the bottom and up the sides of the prepared springform pan. Bake for 8-10 minutes, or until golden. Remove from oven and let cool completely to room temperature. While cooling, reduce oven temperature to 325°F (160°C). Place a roasting pan or 9×13 inch pan filled with a few inches of water on the bottom oven rack; this will create the essential steam for baking the cheesecake.
Part 2: Crafting the Cheesecake Filling
- Beat Cream Cheese: In a large mixing bowl, beat the 24 oz softened full-fat cream cheese with an electric mixer for 2-3 minutes until completely smooth and lump-free, scraping down the bowl as needed.
- Add Flavorings: To the cream cheese, add ½ cup granulated sugar, 2 tsp pumpkin pie spice, ½ tsp cinnamon, 1 tsp vanilla extract, and ¾ cup pumpkin puree. Beat again on medium speed until just combined and uniformly smooth. Avoid overmixing.
- Incorporate Eggs Gently: Add the 3 large eggs, one at a time, beating on low speed after each addition just until incorporated. After the final egg, beat for only 1 additional minute to ensure everything is blended without over-aerating.
- Fill Pan: Carefully pour the cheesecake batter on top of the completely cooled crust in the springform pan. Gently tap the pan on the counter a few times to release any large air bubbles.
- Bake the Cheesecake: Place the springform pan on the oven rack directly above the steaming pan of water. Bake for 55-65 minutes. The cheesecake is done when the edges appear set and firm, but the very center still has a slight, gentle wobble when you lightly jiggle the pan.
- Slow Cool-Down: Once baked, turn off the oven completely. Prop the oven door open slightly (about 2-3 inches) and allow the cheesecake to cool gradually inside the oven to room temperature (this can take 60-90 minutes). This slow cooling prevents cracks.
- Chill Thoroughly: After cooling in the oven, remove the cheesecake and let it rest briefly at room temperature. Then, cover the pan tightly with plastic wrap and refrigerate for at least 6 hours, or ideally, overnight. This crucial chilling period allows the cheesecake to fully set and develop its creamy texture and rich flavors.
- Unmold and Serve: Before serving, carefully unmold the cheesecake from the springform pan.
- Garnish and Enjoy: Add your desired toppings, slice with a sharp knife, and serve. Store any leftovers covered in the refrigerator.
Part 3: Making Stabilized Whipped Cream (Optional)
- Chill Equipment: Place a metal or glass mixing bowl and electric mixer beaters in the freezer for 15 minutes.
- Combine Cream Cheese & Sugar: Remove bowl from freezer. Add 1 oz room temperature cream cheese and ¼ cup powdered sugar. Beat with an electric mixer for 1 minute until smooth and creamy.
- Whip Cream: Add 1 cup cold heavy whipping cream and ½ tsp vanilla extract. Beat on high speed for 4-5 minutes until stiff peaks form and the whipped cream holds its shape.
- Pipe: Transfer to a piping bag fitted with a decorative tip and pipe swirls or dollops around the edge of the chilled cheesecake.
Nutrition Facts (Approximate per serving)
Serving: 1 slice
- Calories: 410 kcal
- Carbohydrates: 21 g
- Protein: 6 g
- Fat: 34 g
- Saturated Fat: 21 g
- Polyunsaturated Fat: 2 g
- Monounsaturated Fat: 9 g
- Trans Fat: 0.2 g
- Cholesterol: 144 mg
- Sodium: 212 mg
- Potassium: 157 mg
- Fiber: 1 g
- Sugar: 19 g
- Vitamin A: 3711 IU
- Vitamin C: 1 mg
- Calcium: 91 mg
- Iron: 1 mg
All nutritional values are approximate and provided to the reader as a courtesy. Changing ingredients and/or quantities will alter the estimated nutritional calculations.
Love this recipe? We’d be delighted to hear your thoughts and see your delicious creations! Please feel free to leave a comment or review below and share your pumpkin cheesecake masterpiece with our community.