
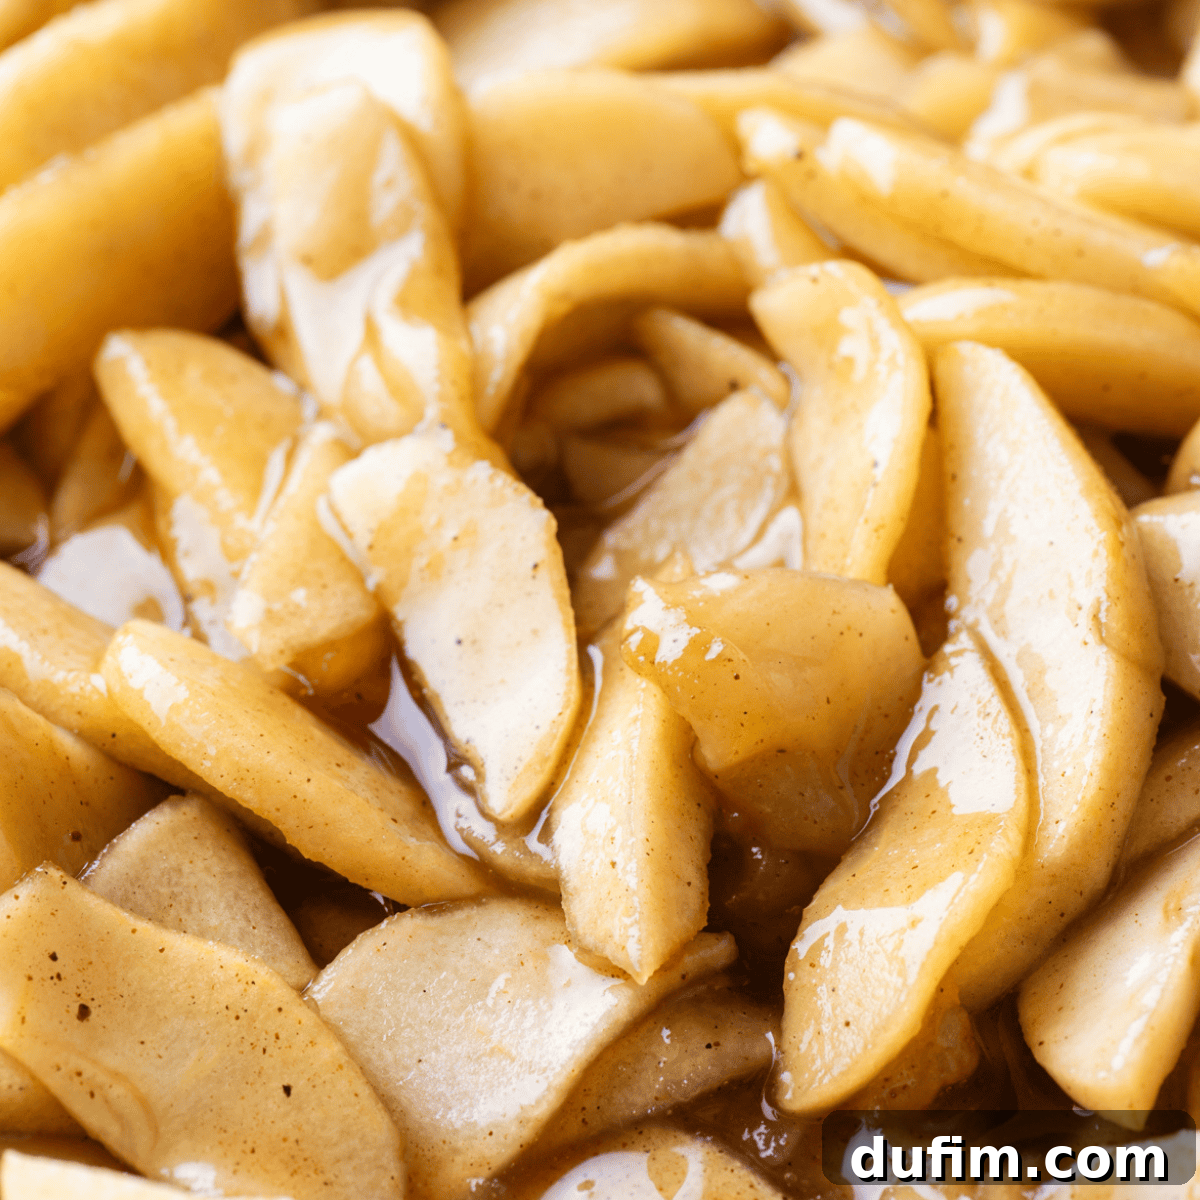
Unlock the secret to the most irresistible apple pie filling you’ve ever tasted! My unique recipe elevates homemade apple pie filling to an art form, not just by using the freshest apples and a perfect blend of spices, but by transforming leftover apple juices into a rich, flavorful syrup. This ingenious extra step captures the essence of the apples, intensifying their natural sweetness and robust flavor, delivering a depth you won’t find in conventional fillings. Prepare yourself for a filling that holds its shape beautifully, slices cleanly, and bursts with authentic apple goodness in every bite.
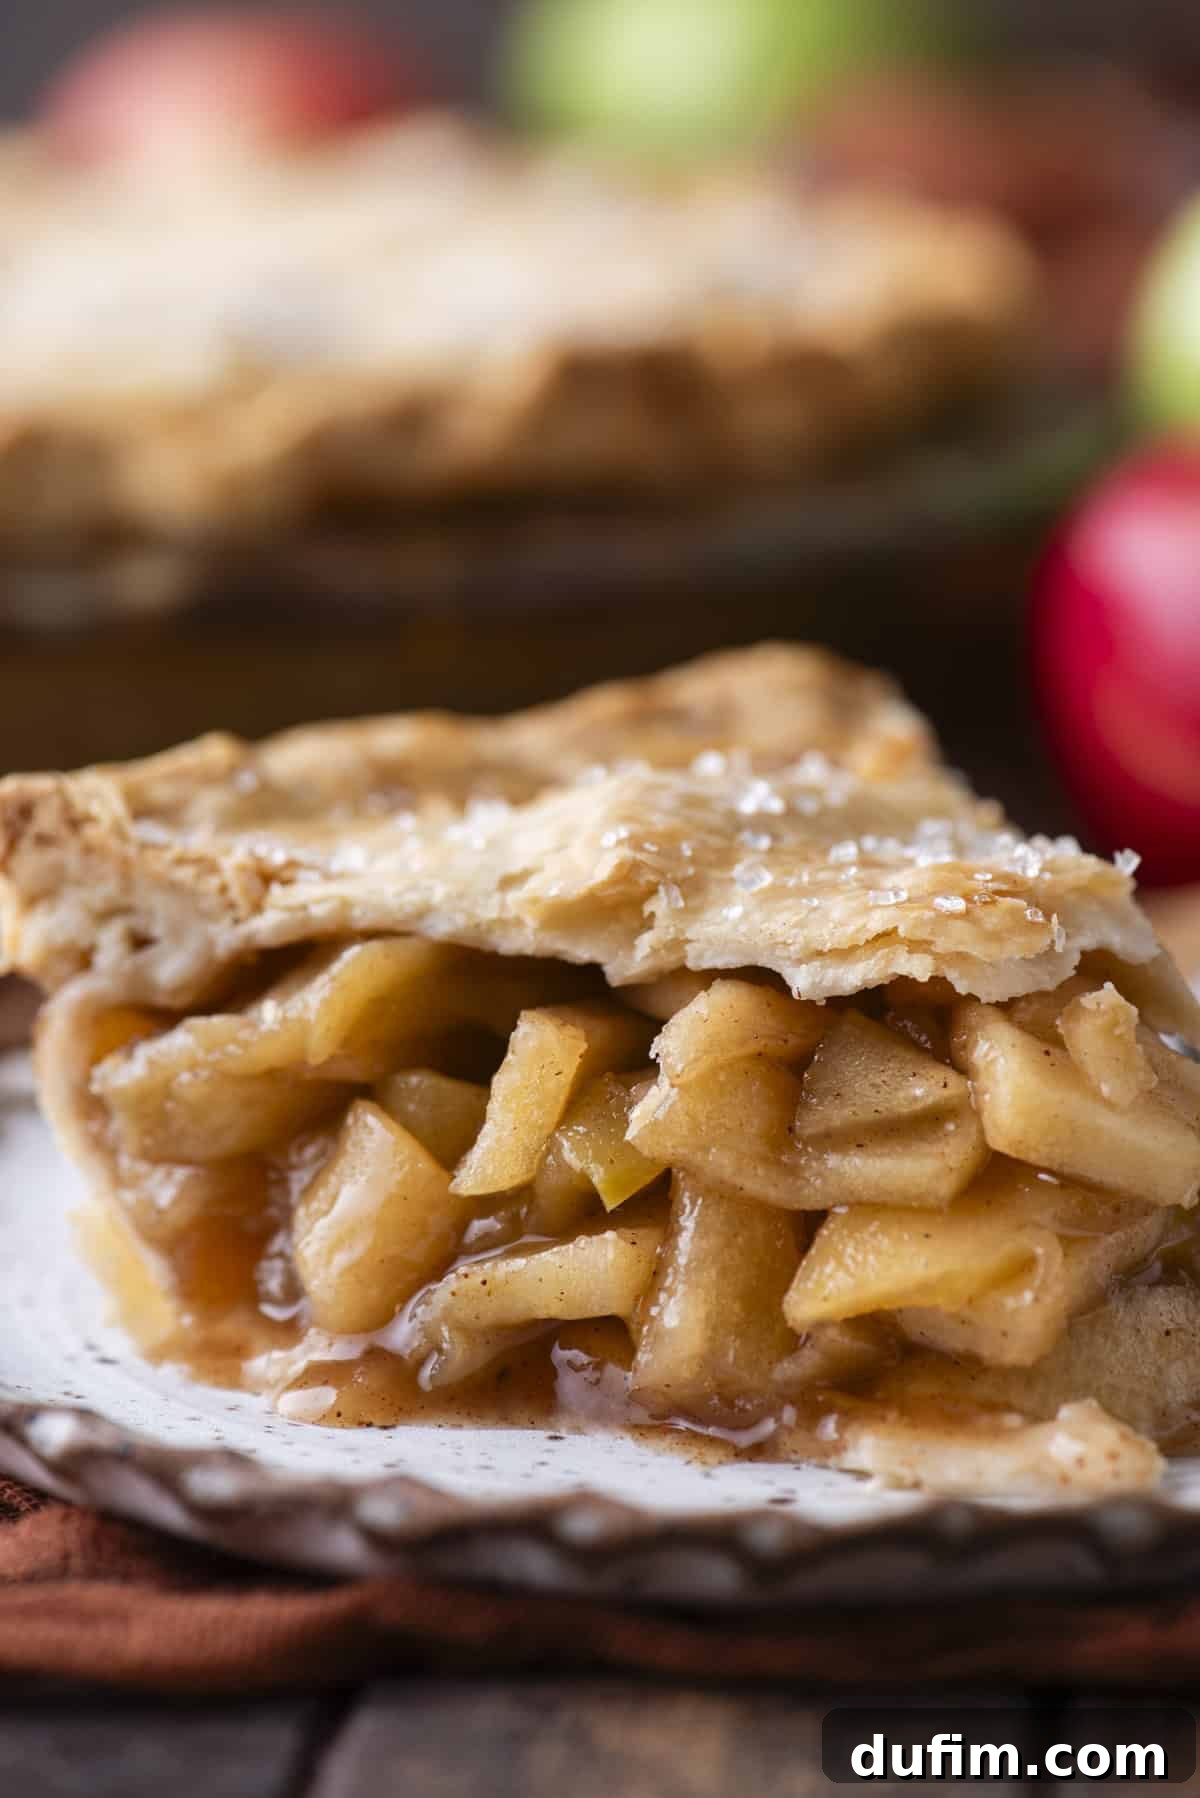
The bestest Apple Pie Recipe! Thank you!!!
-Angelita
Homemade Apple Pie Filling: Your Guide to Perfection
As a dedicated recipe developer, I believe in thorough testing to ensure every recipe I share is nothing short of exceptional. My quest for the ultimate homemade apple pie filling led me through various techniques, pitting raw apples against precooked ones. The clear winner? Precooking the apples. This crucial step on the stovetop masterfully releases excess moisture, preventing your pie crust from becoming soggy and your filling from sinking during baking. The result is a consistently firm, delightfully tender filling that stands tall in every slice.
Beyond structural integrity, precooking offers another game-changing advantage: the ability to craft a concentrated apple syrup from the residual juices. Rather than discarding these flavorful liquids, we simmer them down, transforming them into a thick, glossy syrup that reintroduces intense apple flavor and a luxurious richness back into the filling. This binding syrup not only enhances the taste but also contributes to a cohesive, beautifully glossy texture, making your apple pie remarkably easy to cut and serve without a runny mess. It’s a technique that truly sets this recipe apart, delivering unparalleled flavor and consistency.
This extraordinary apple filling extends far beyond the traditional apple pie. Its robust flavor and ideal texture make it incredibly versatile for a myriad of desserts. Imagine it nestled within tender cakes, baked into comforting crumbles, folded into soft cookies, or layered into creamy cheesecakes. For a simpler indulgence, spoon it warm over a scoop of vanilla ice cream or swirl it into your morning oatmeal or yogurt. This isn’t just a recipe; it’s a culinary foundation that you’ll want to revisit time and again. Keep reading to discover all my expert tips and tricks for mastering this essential filling!
Essential Ingredients for the Best Apple Pie Filling
I am genuinely thrilled for you to experience this apple filling, a recipe I’ve poured significant time, effort, and love into perfecting. It’s ideal for the vibrant autumn season when apples are abundant, but equally satisfying whenever a craving for warm, spiced apple goodness strikes. The magic lies in a carefully selected blend of ingredients that work harmoniously to create an unforgettable taste. You’ll find the full, precise measurements in the comprehensive recipe card below. Here’s a detailed look at what you’ll need to gather:
- Fresh Apples: The star of our show, sliced uniformly to ensure even cooking and perfect tenderness.
- Brown Sugar: Adds a deep, caramel-like sweetness that complements the apples beautifully.
- Ground Cinnamon: The quintessential apple spice, bringing warmth and aromatic comfort.
- Ground Allspice: Contributes a complex, warm note reminiscent of cloves, nutmeg, and cinnamon.
- Ground Nutmeg: Offers a sweet, slightly pungent aroma that elevates the overall spice profile.
- Salt: A pinch enhances all the flavors, balancing the sweetness and brightening the apple notes.
- Water: Essential for creating our cornstarch slurry, ensuring a smooth, lump-free thickening agent.
- Cornstarch: The key to achieving that perfect, thick, and glossy syrup that binds our filling together.
Selecting the Best Apples for Your Filling
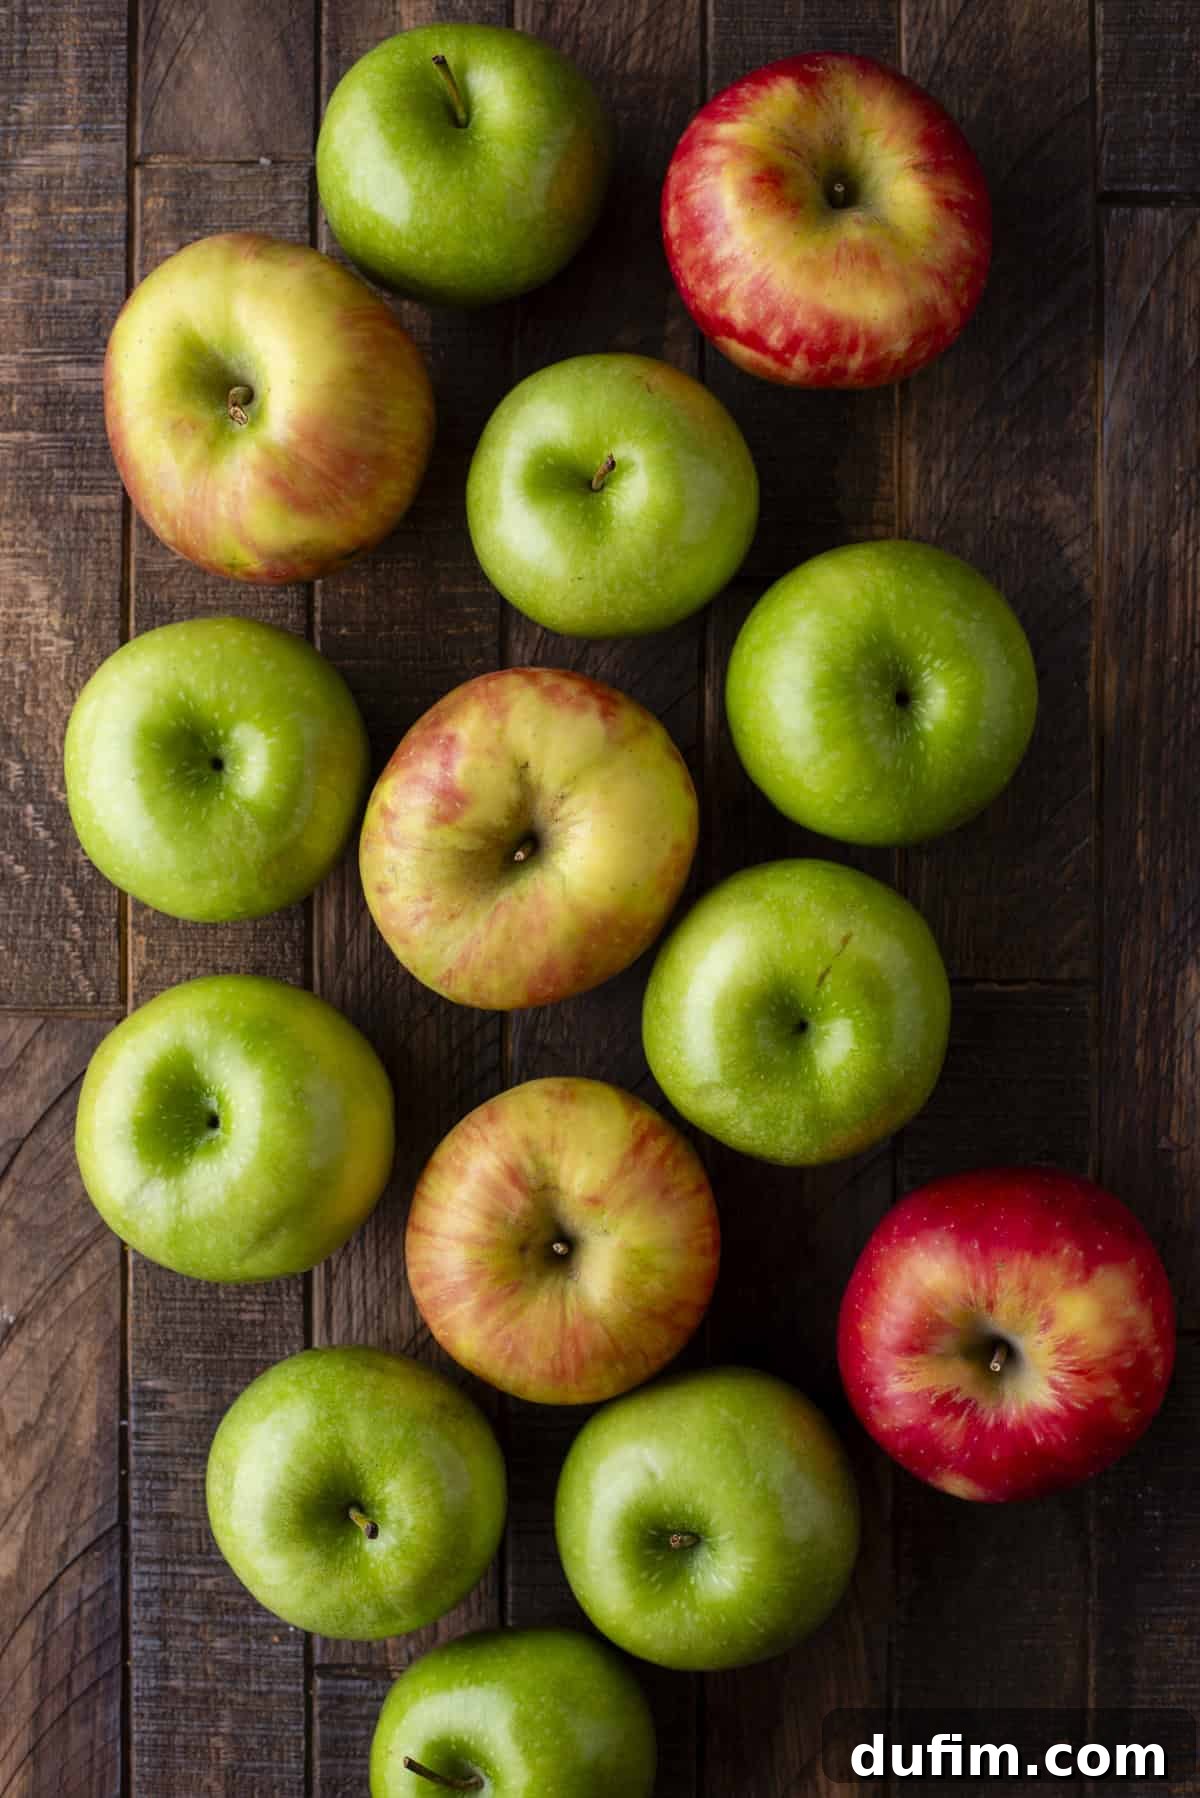
The secret to a truly outstanding apple pie filling often lies in the selection of apples. For the most dynamic and delicious flavor profile, I strongly recommend using a thoughtful blend of apple varieties. Combining apples with different characteristics—some sweet, some tart, and some that hold their shape well—creates a complex taste and texture that a single variety simply cannot achieve. While fresh apples are always paramount, the specific types you choose will significantly impact the final outcome. Here are some of my top recommendations, celebrated for their ability to deliver exceptional flavor and texture:
- Granny Smith Apples: Known for their firm texture and distinct tartness, Granny Smiths provide a crucial acidic counterpoint to the sweetness, ensuring a balanced and lively flavor. They hold their shape exceptionally well during cooking.
- Honeycrisp Apples: These apples are a fan favorite for their crispness and wonderfully sweet-tart flavor. They contribute a delightful juiciness and retain a pleasant bite even after being cooked, adding a fresh dimension to the filling.
- Golden Delicious Apples: Offering a milder sweetness and softer texture, Golden Delicious apples break down slightly more, contributing to the luscious, tender consistency of the filling without becoming mushy.
- Pink Lady Apples: With their beautiful pink blush and balanced sweet-tart taste, Pink Ladies are firm and crisp, providing another excellent structural component and bright flavor to the mix.
- Braeburn Apples: These firm, aromatic apples boast a complex sweet-tart flavor with hints of pear and nutmeg, making them a fantastic addition for a more nuanced and aromatic filling.
By combining two or three of these varieties, you can achieve a filling that is both flavorful and structurally sound, perfect for any application.
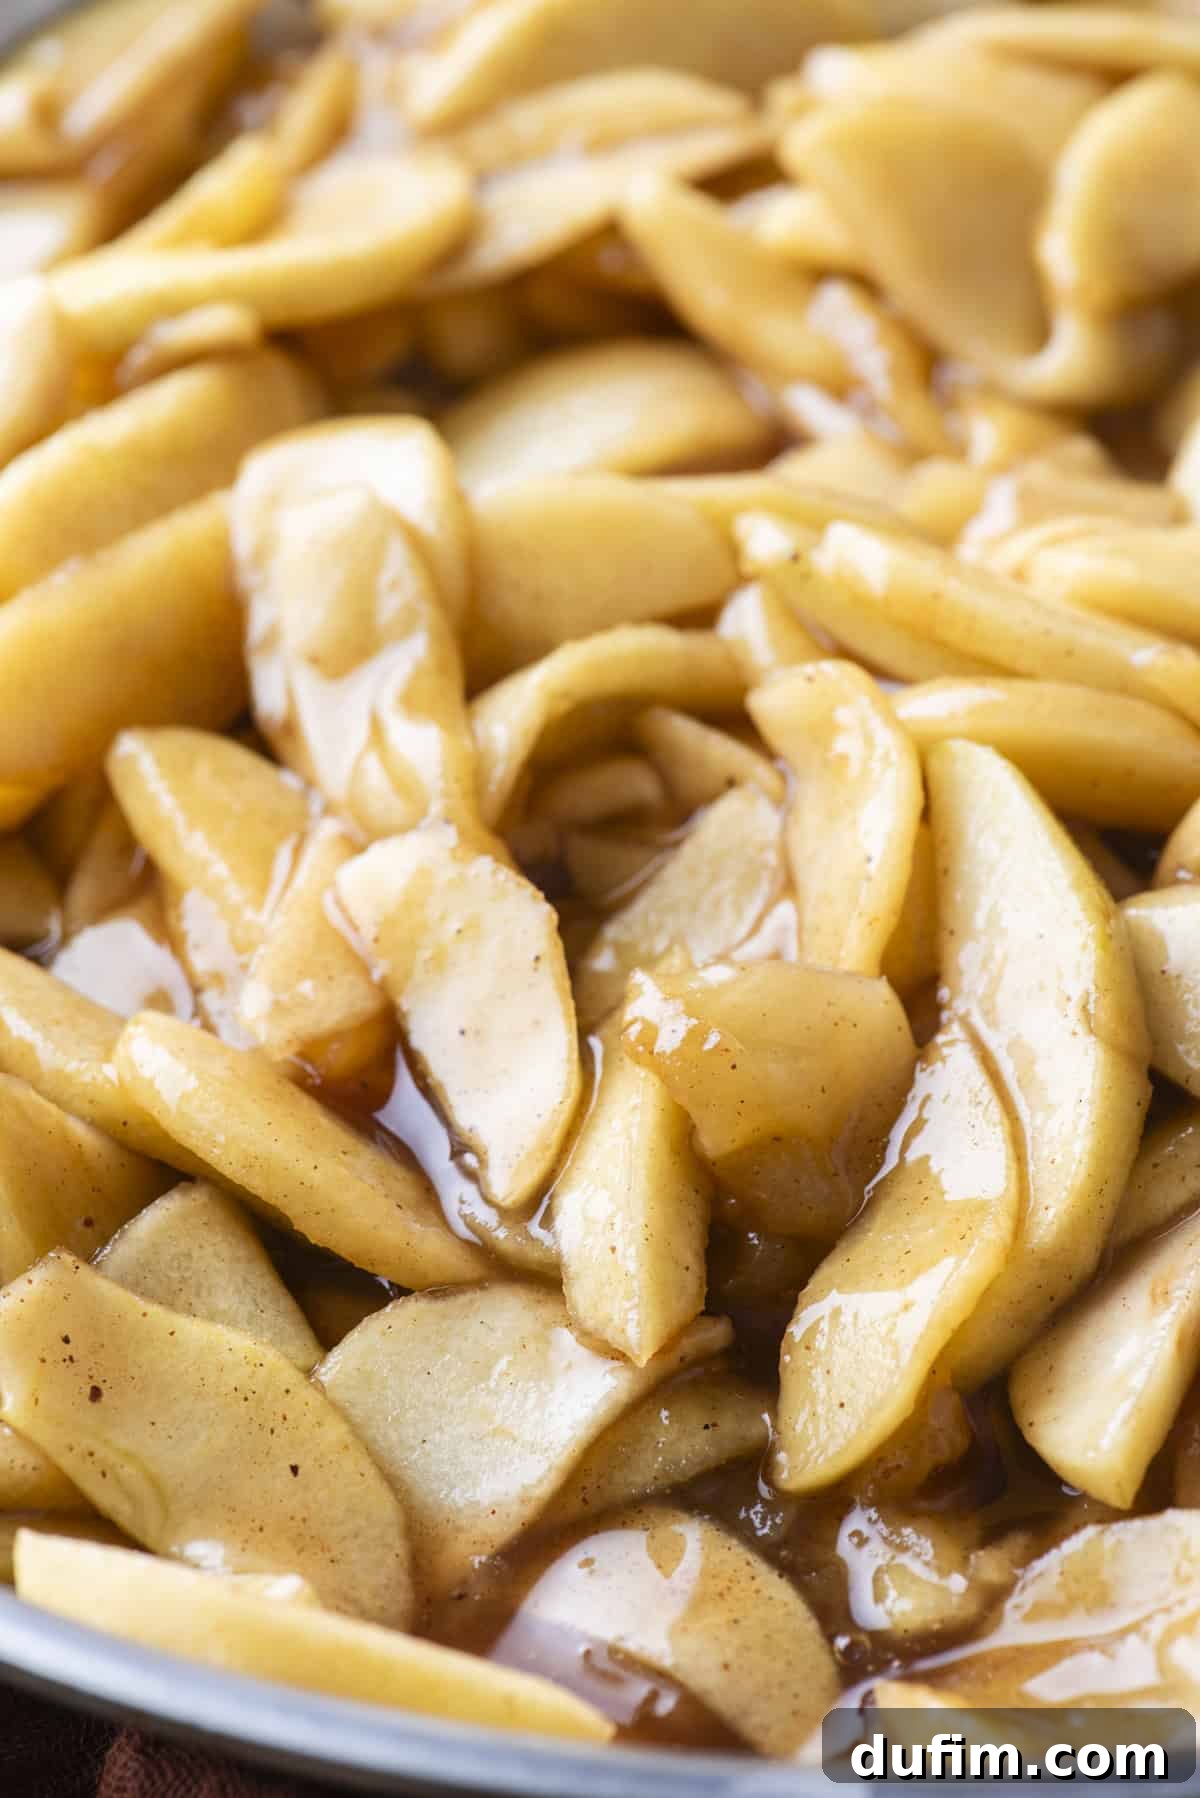
How to Make The Best Apple Pie Filling: Step-by-Step
While autumn provides an ideal backdrop for making this apple pie filling with its abundance of fresh produce, this recipe is so delightful and straightforward that you’ll find yourself making it year-round. Even if this is your very first attempt at creating homemade apple filling, my easy-to-follow steps guarantee success. Each stage is designed to be foolproof, ensuring perfectly tender apples enveloped in a rich, glossy syrup every time. For precise measurements, always refer to the detailed recipe card below. Here are the simple, effective steps to crafting your incredible apple pie filling:
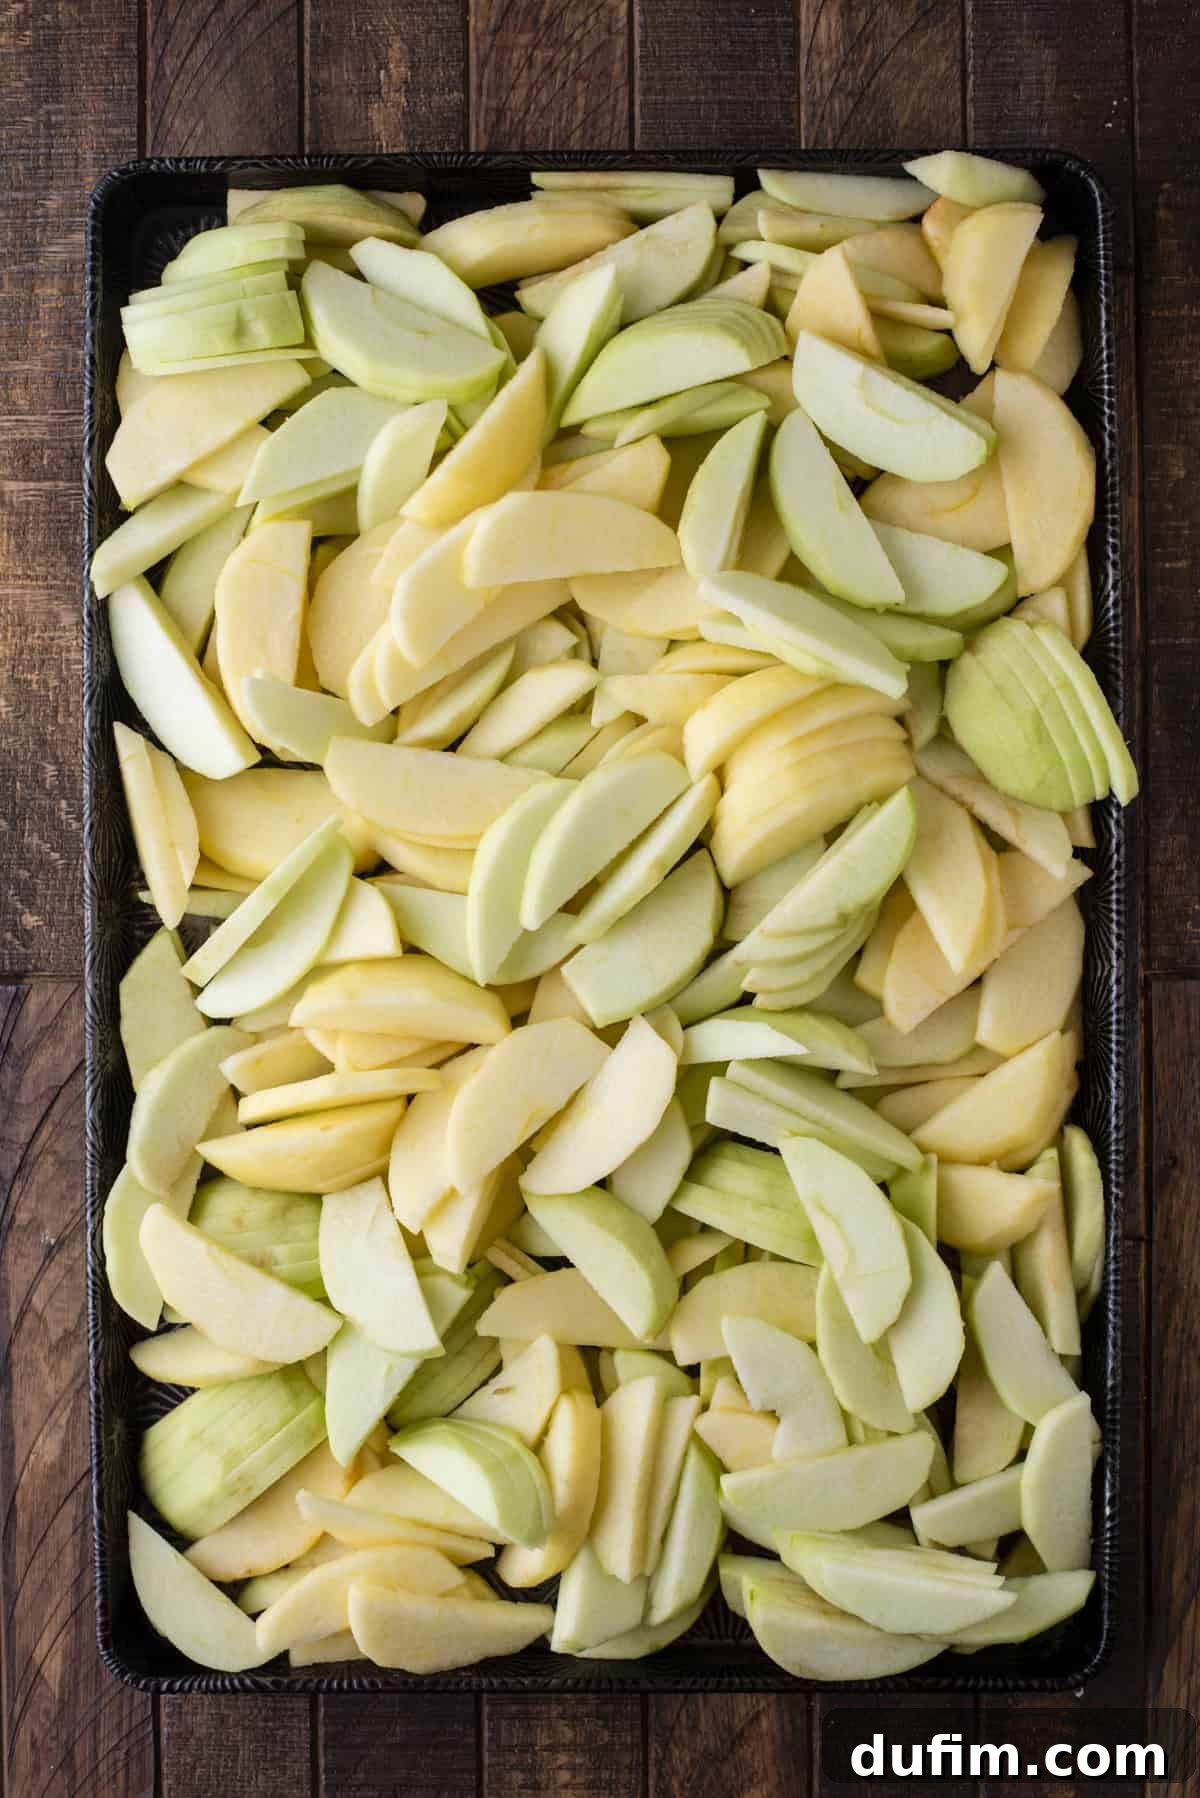
- Prepare the Apples: Begin by carefully peeling your 5 pounds of selected apples. Once peeled, slice them into uniform ¼-inch-thick pieces. This consistent sizing is critical for ensuring that all the apple slices cook evenly and reach the ideal tender texture without becoming either too firm or mushy.
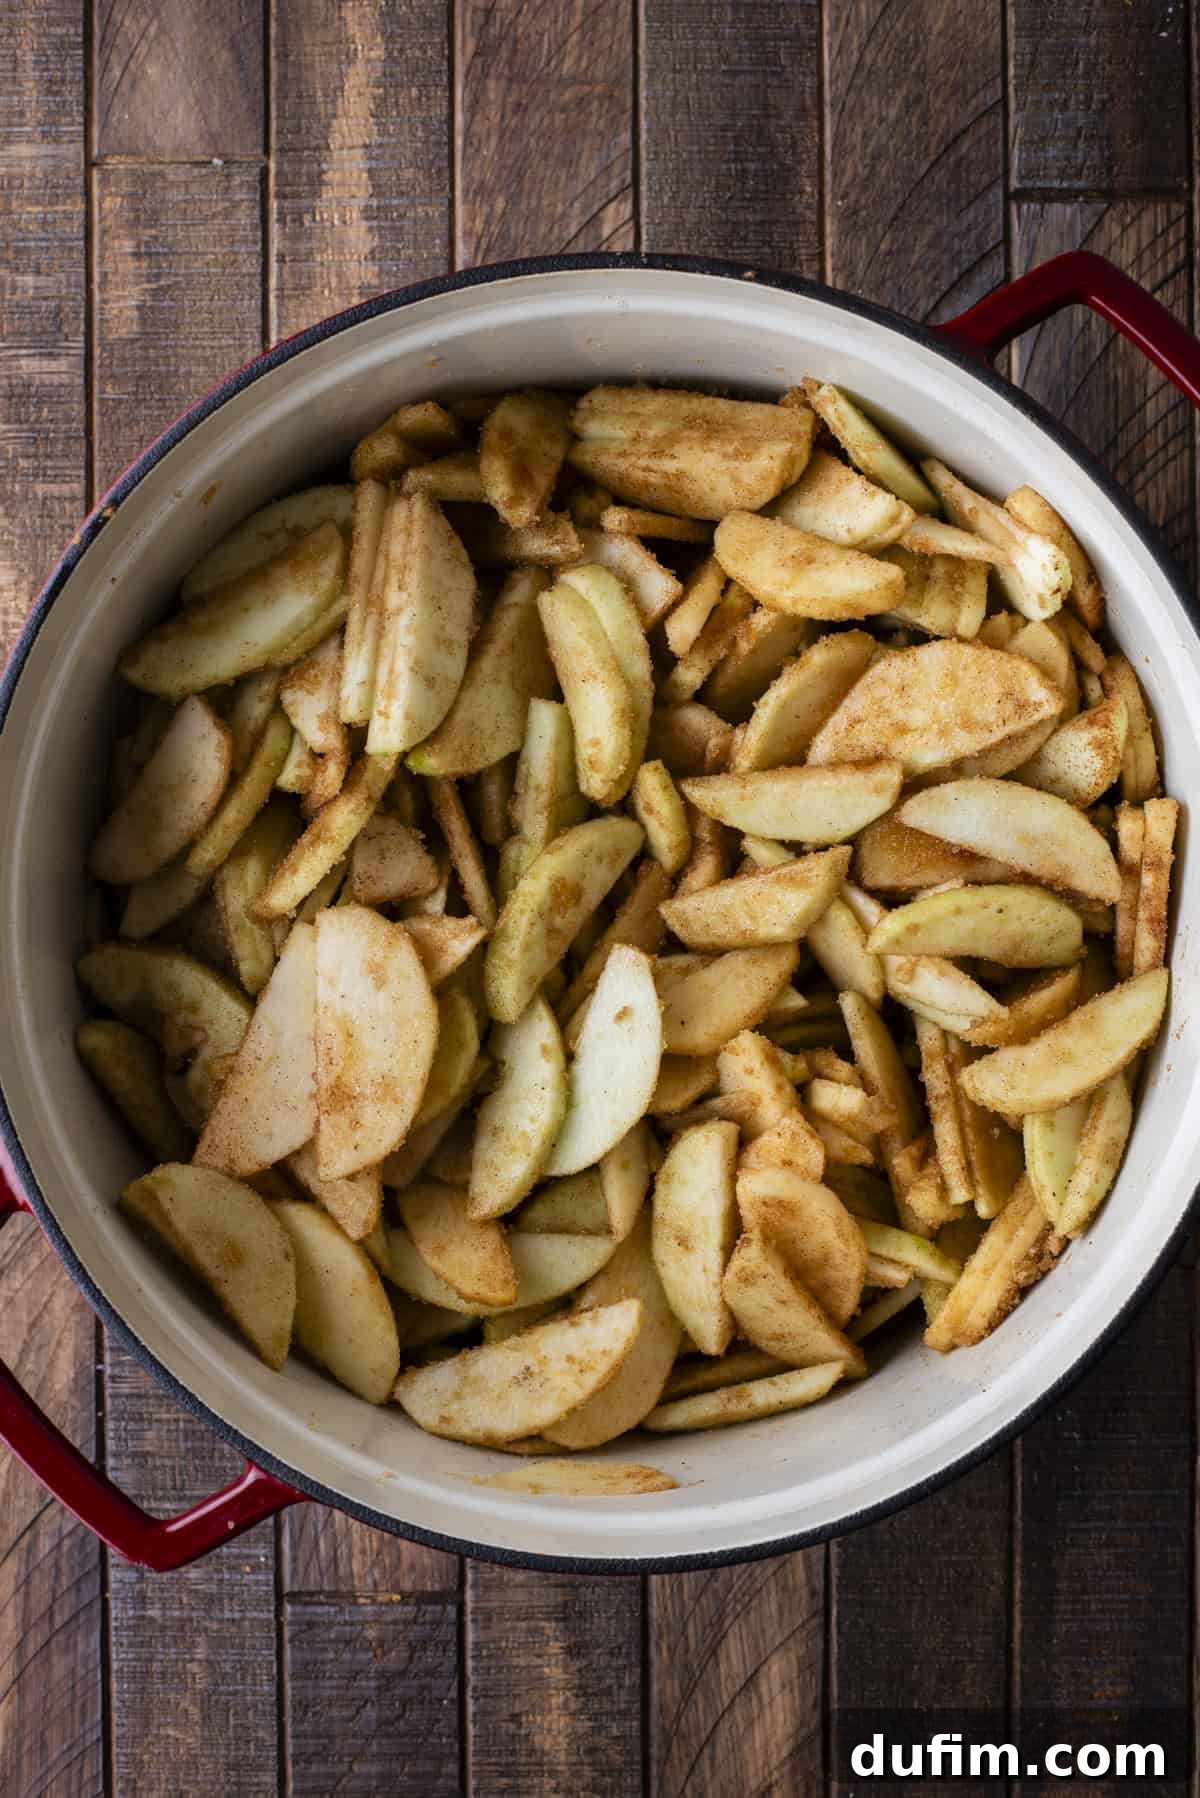
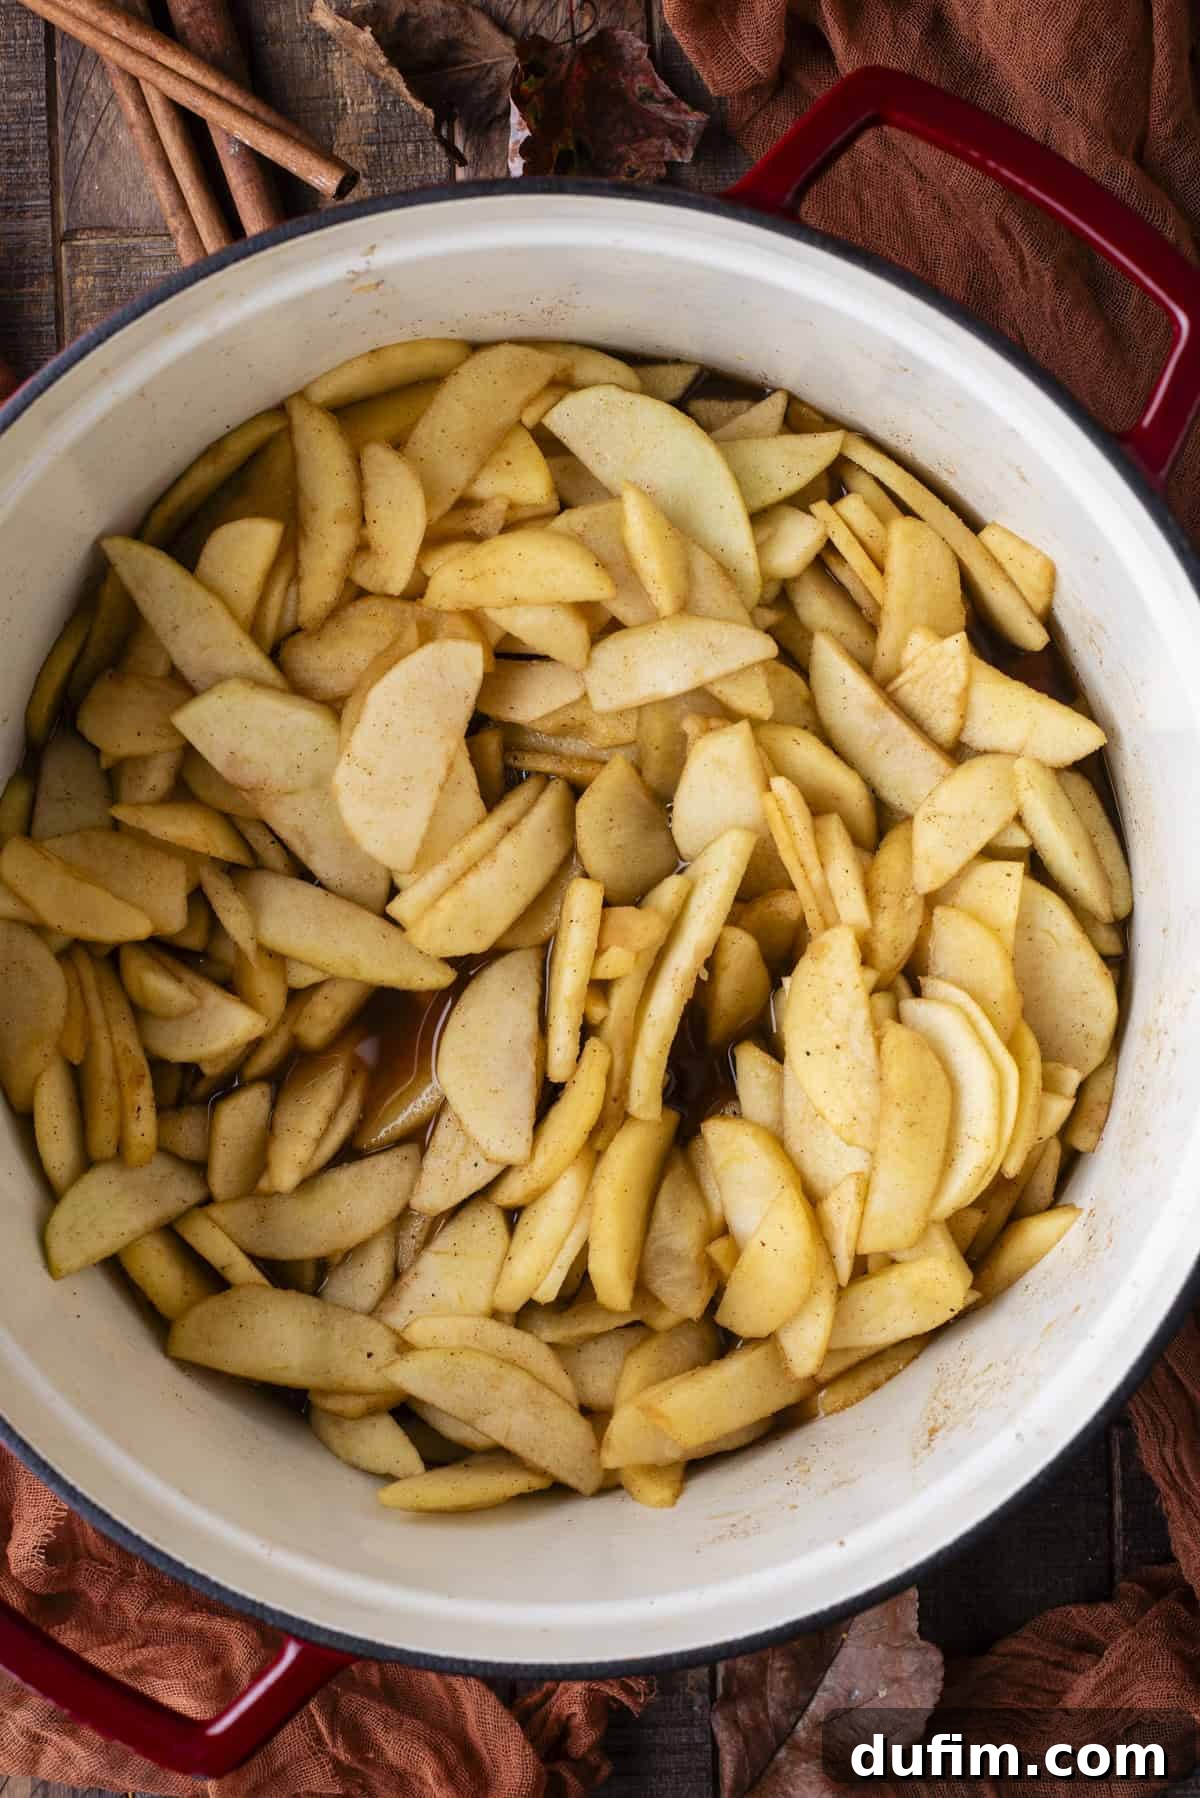
- Combine Ingredients: In a large, heavy-bottomed pot, combine your prepared apple slices with the brown sugar, ground cinnamon, allspice, nutmeg, and salt. Toss gently to ensure the spices and sugar evenly coat all the apple pieces, setting the stage for rich flavor development.
- Cook the Mixture: Place the pot over medium heat and cook for 10-15 minutes, stirring occasionally. During this stage, the apples will soften, and their natural juices will begin to release, creating a fragrant, spiced liquid. Continue cooking until the apples are tender but still hold their shape, avoiding overcooking.
- Transfer and Cool Apples: Using a slotted spoon, carefully transfer the cooked apple slices from the pot to a large baking sheet. Spread them out in a single layer to facilitate quick and even cooling. For an accelerated cooling process, you can place the baking sheet in the refrigerator or freezer for about 20 minutes. This stops the cooking process and prepares them for combining with the syrup.
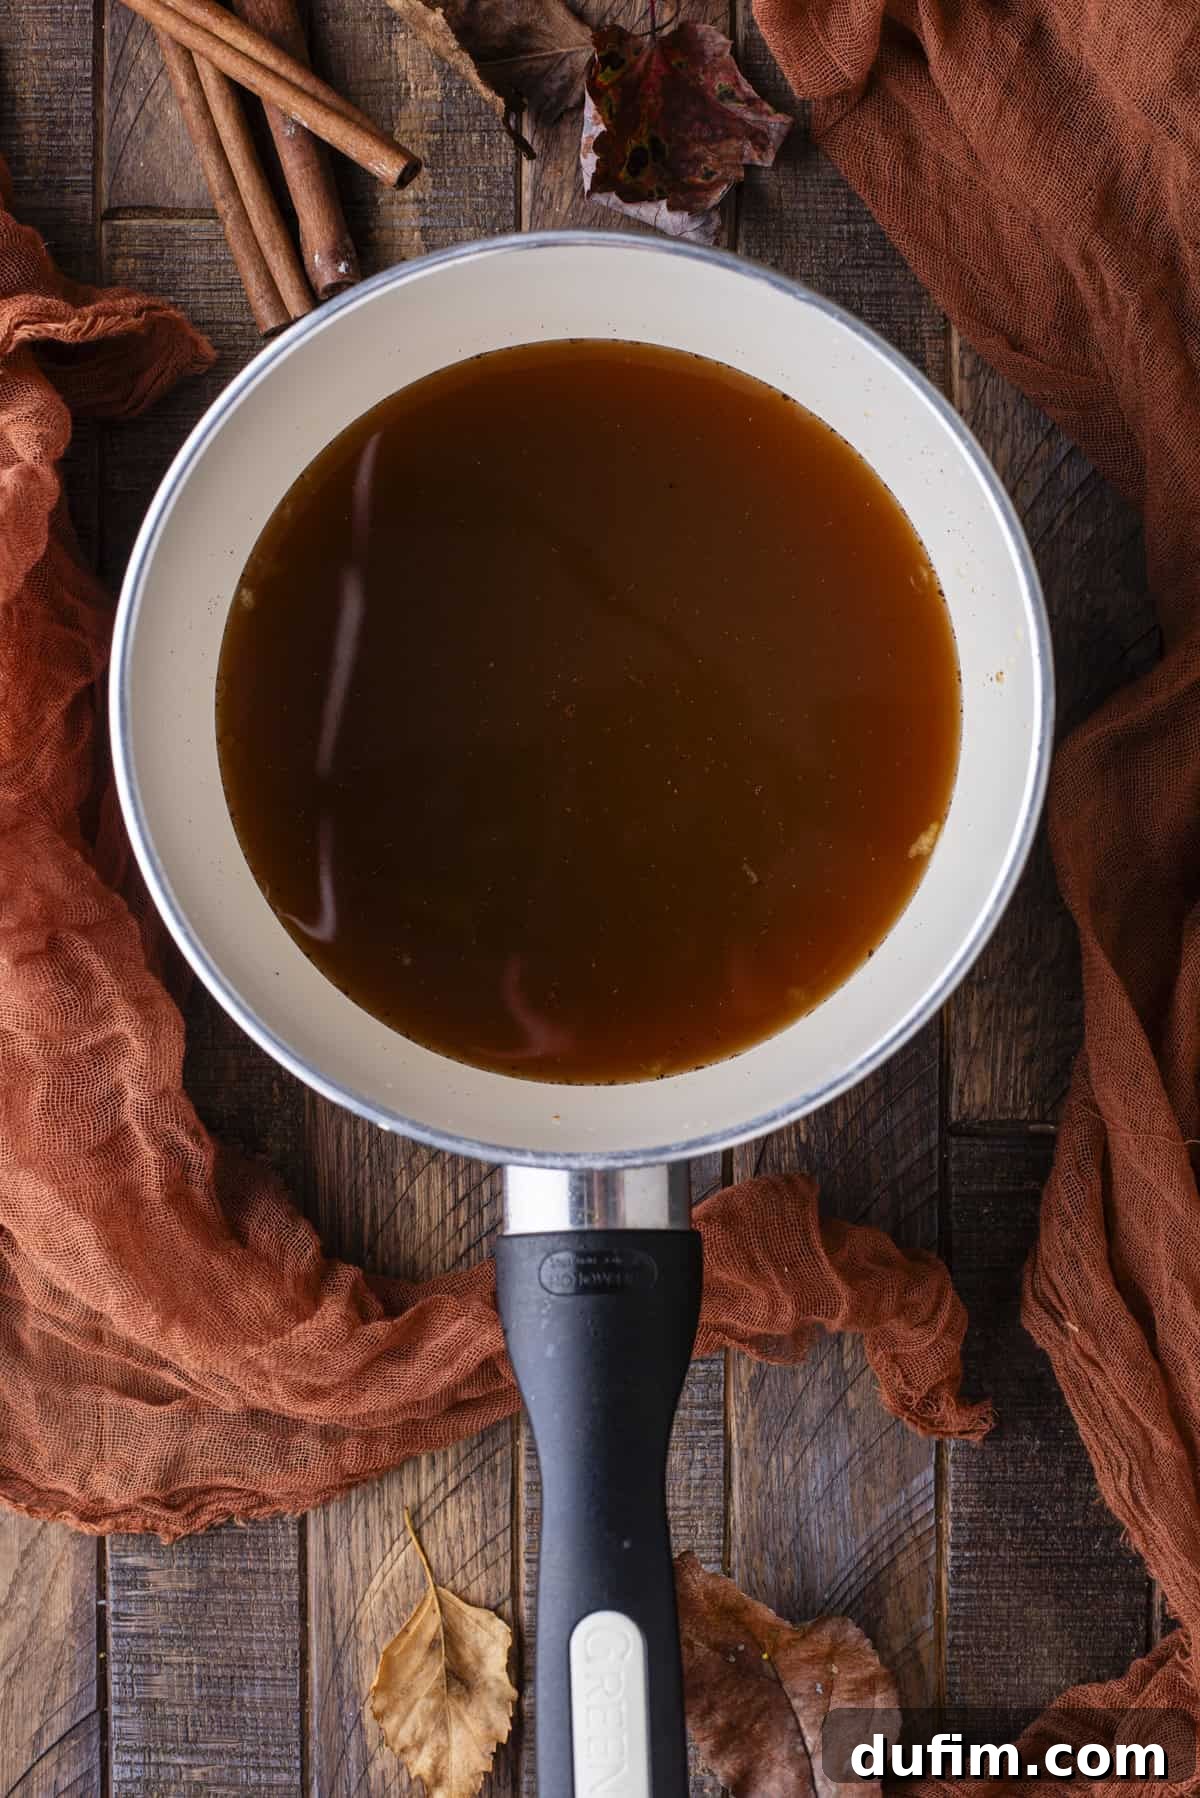
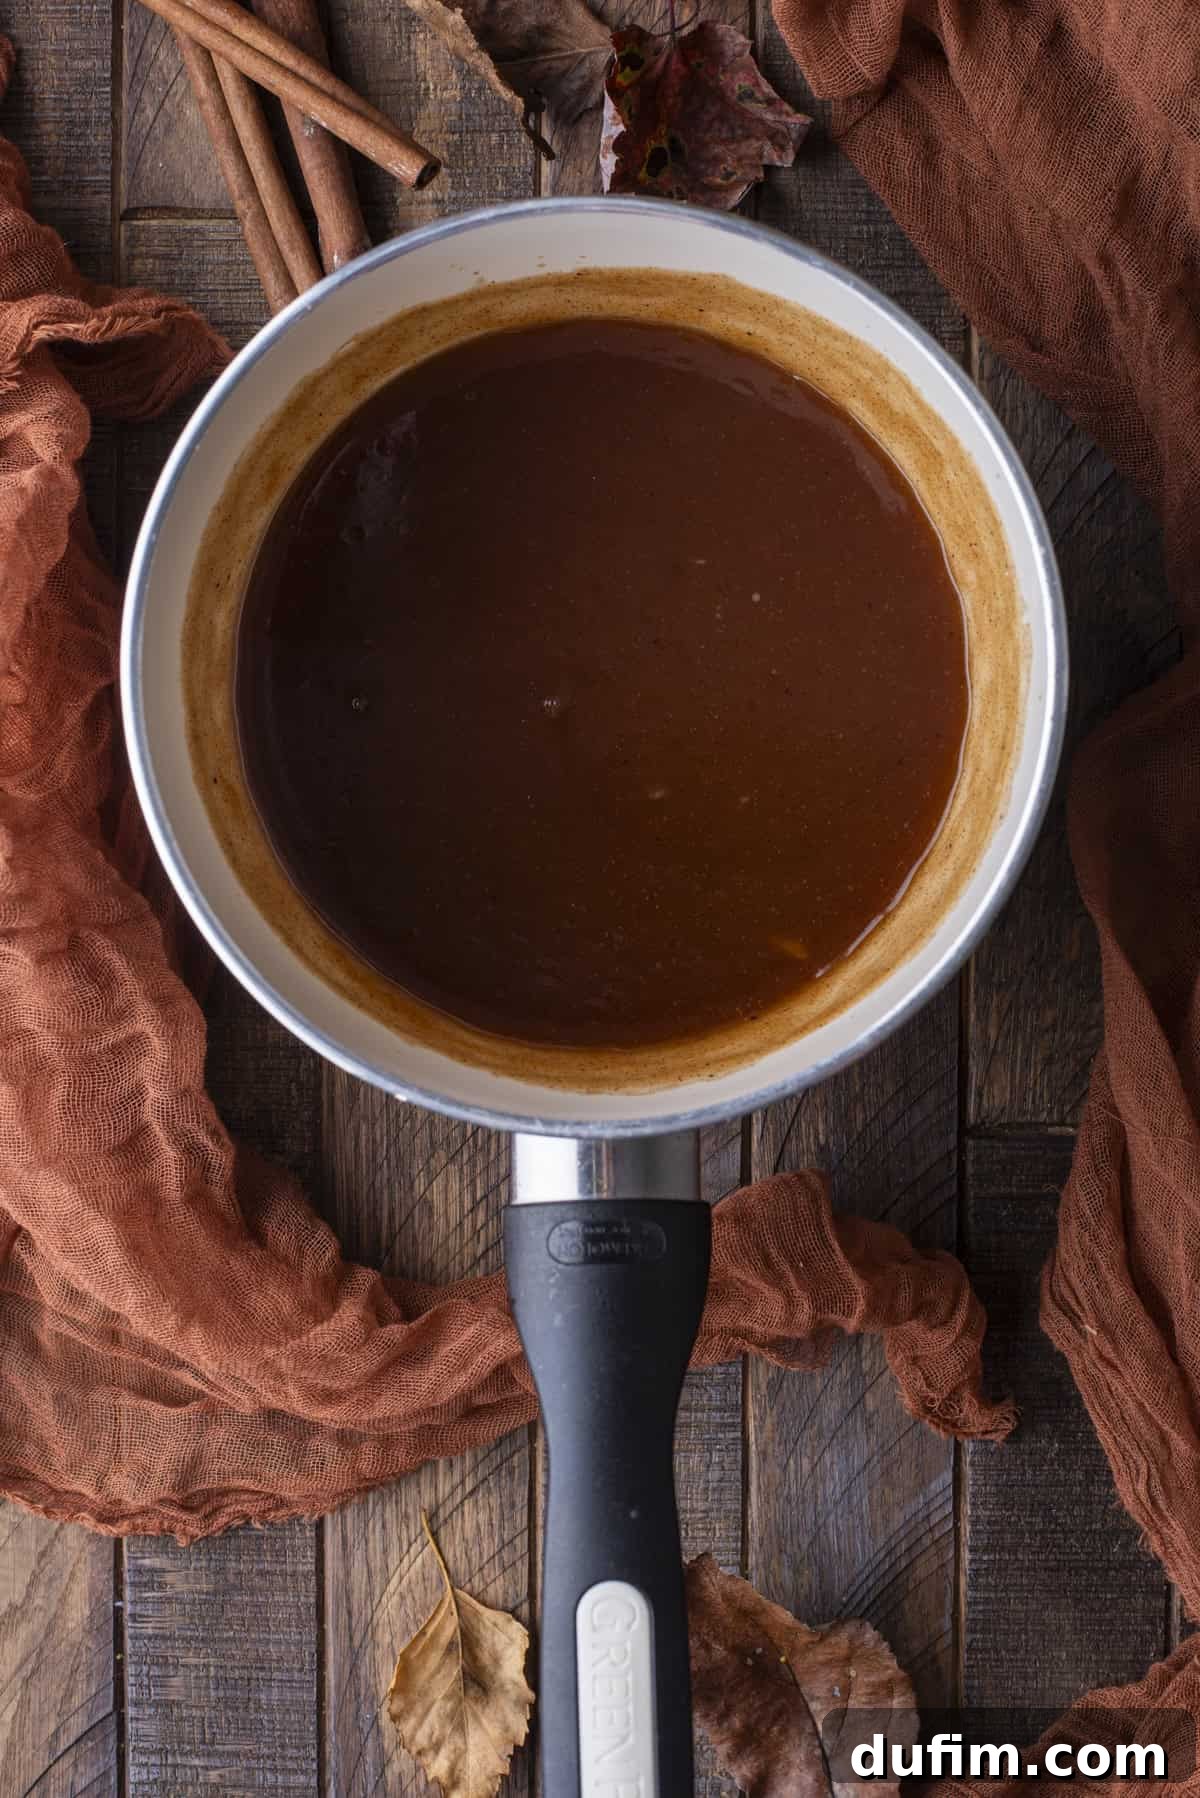
- Prepare the Flavorful Syrup: While the apples cool, focus on the leftover juices in the pot. Transfer these highly concentrated apple juices to a smaller saucepan. Gently simmer over medium-low heat, allowing the liquids to reduce slightly and intensify in flavor. This is where the magic of the syrup truly begins.
- Add Cornstarch Slurry: In a separate small bowl, whisk together the cornstarch with a tablespoon of cold water until completely dissolved, creating a smooth slurry. Gradually stir this cornstarch slurry into the simmering apple juice in the saucepan. The cornstarch acts as a thickening agent, giving our syrup the perfect consistency.
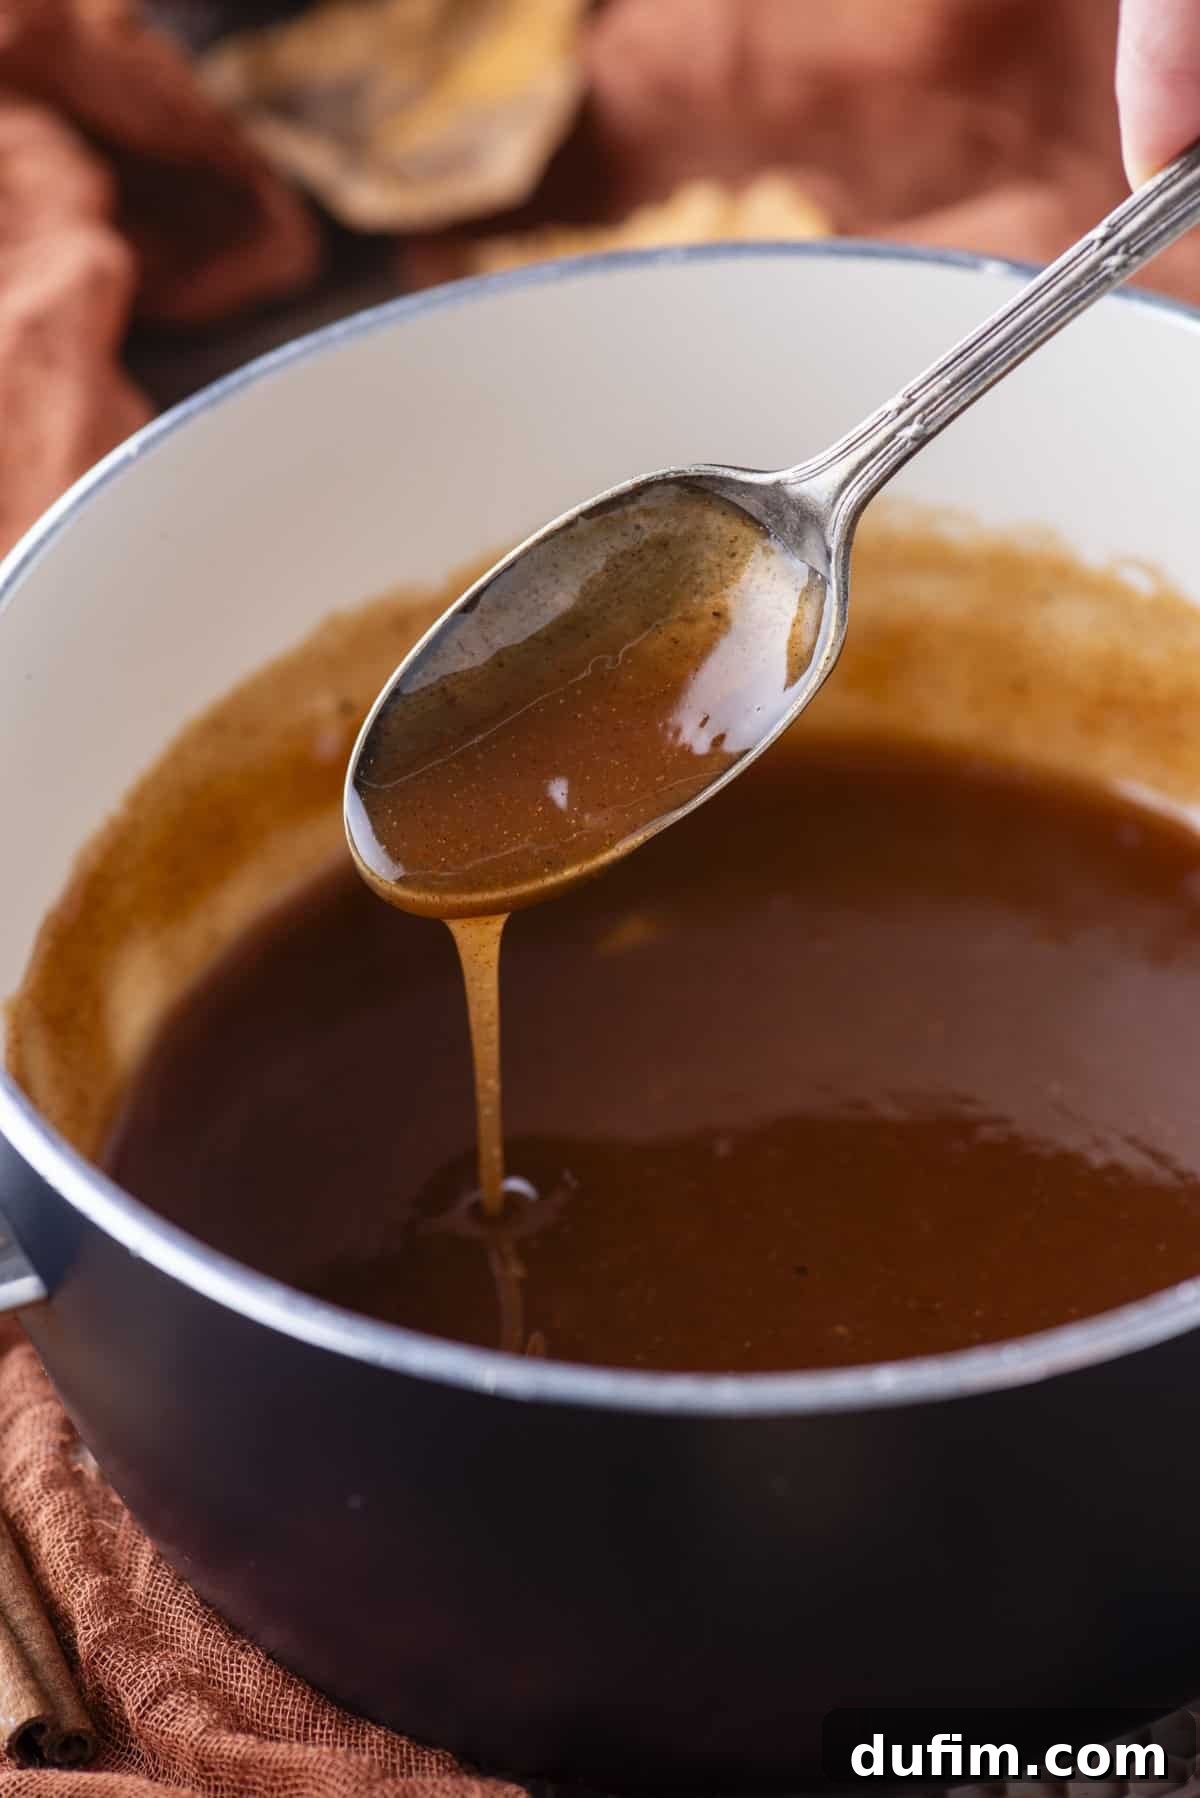
- Thicken the Syrup: Continue to cook and stir the mixture constantly over medium-low heat. Within approximately 3-5 minutes, you will notice the syrup visibly thickening to a rich, glossy consistency. It should be thick enough to coat the back of a spoon, indicating it’s ready to be combined with the cooled apples.
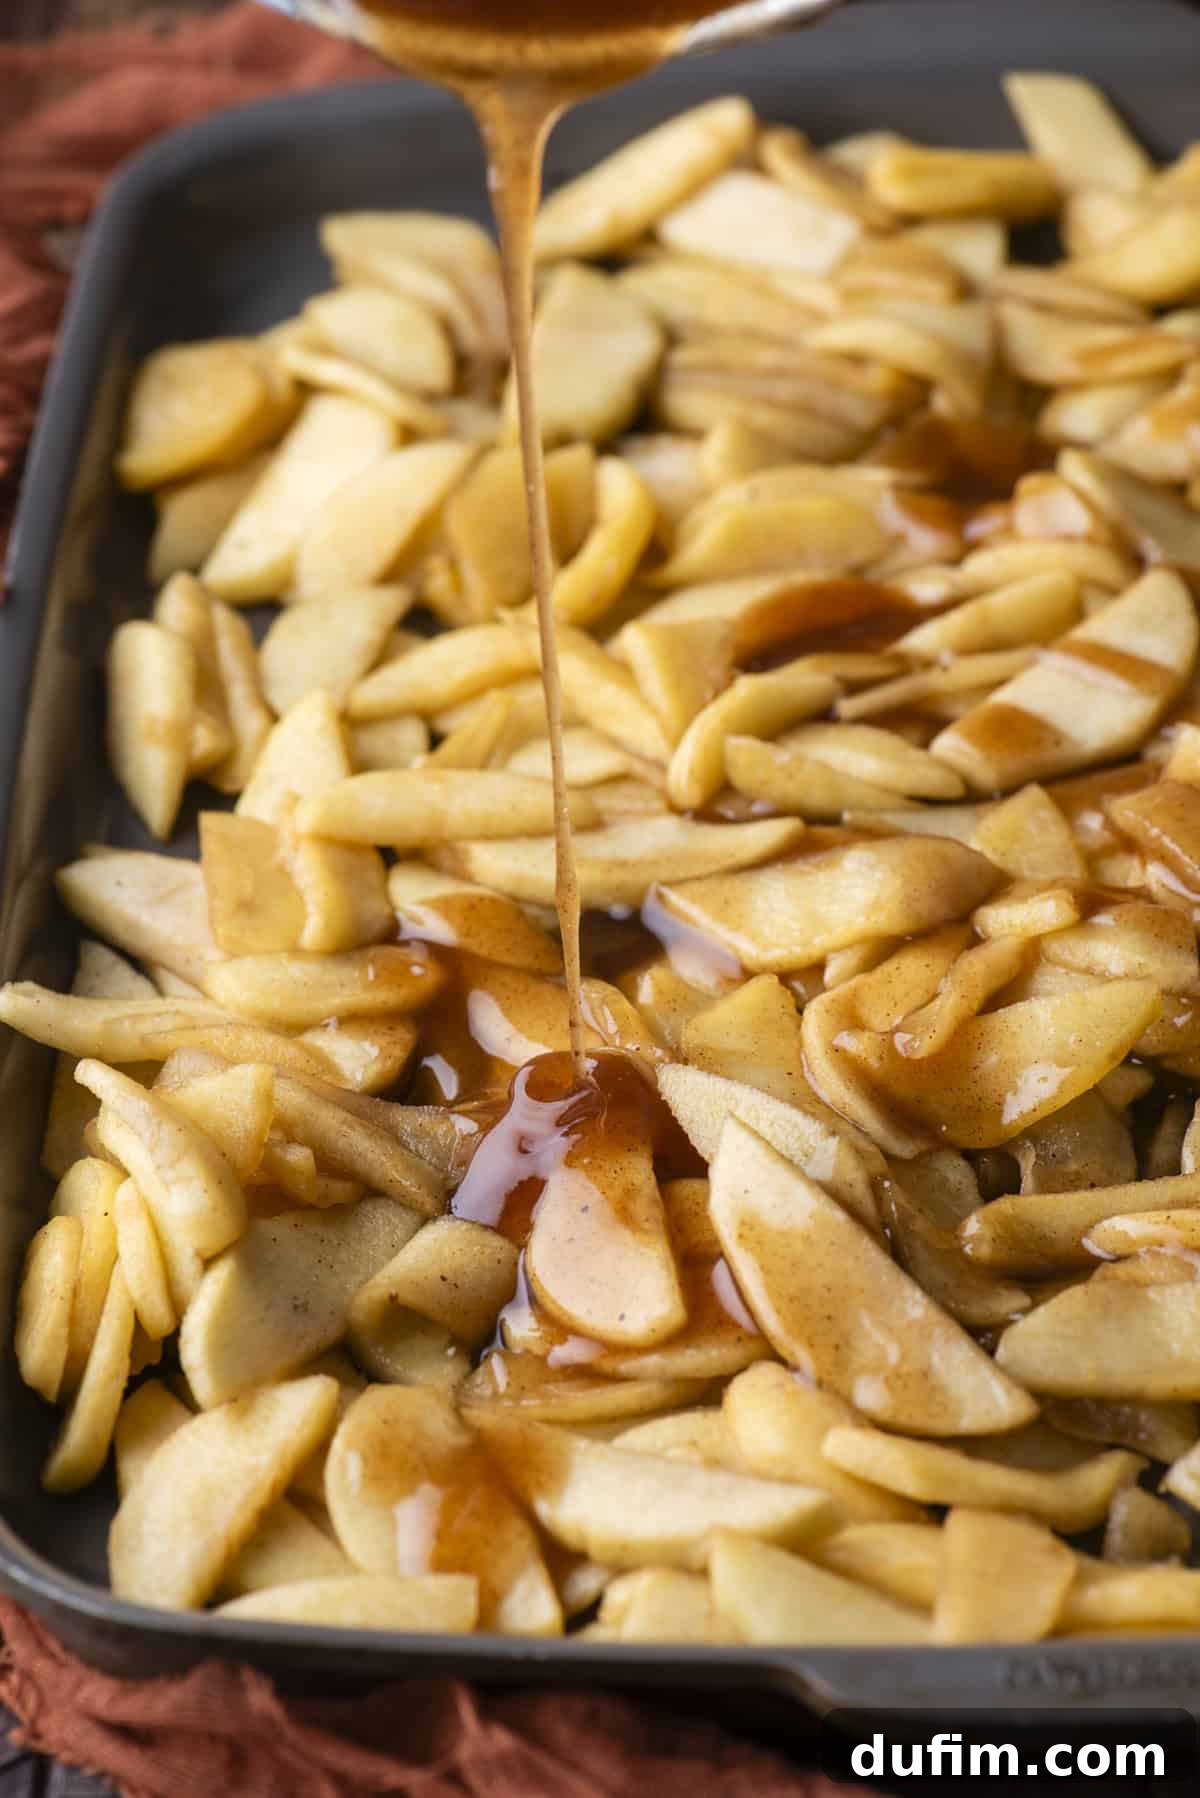
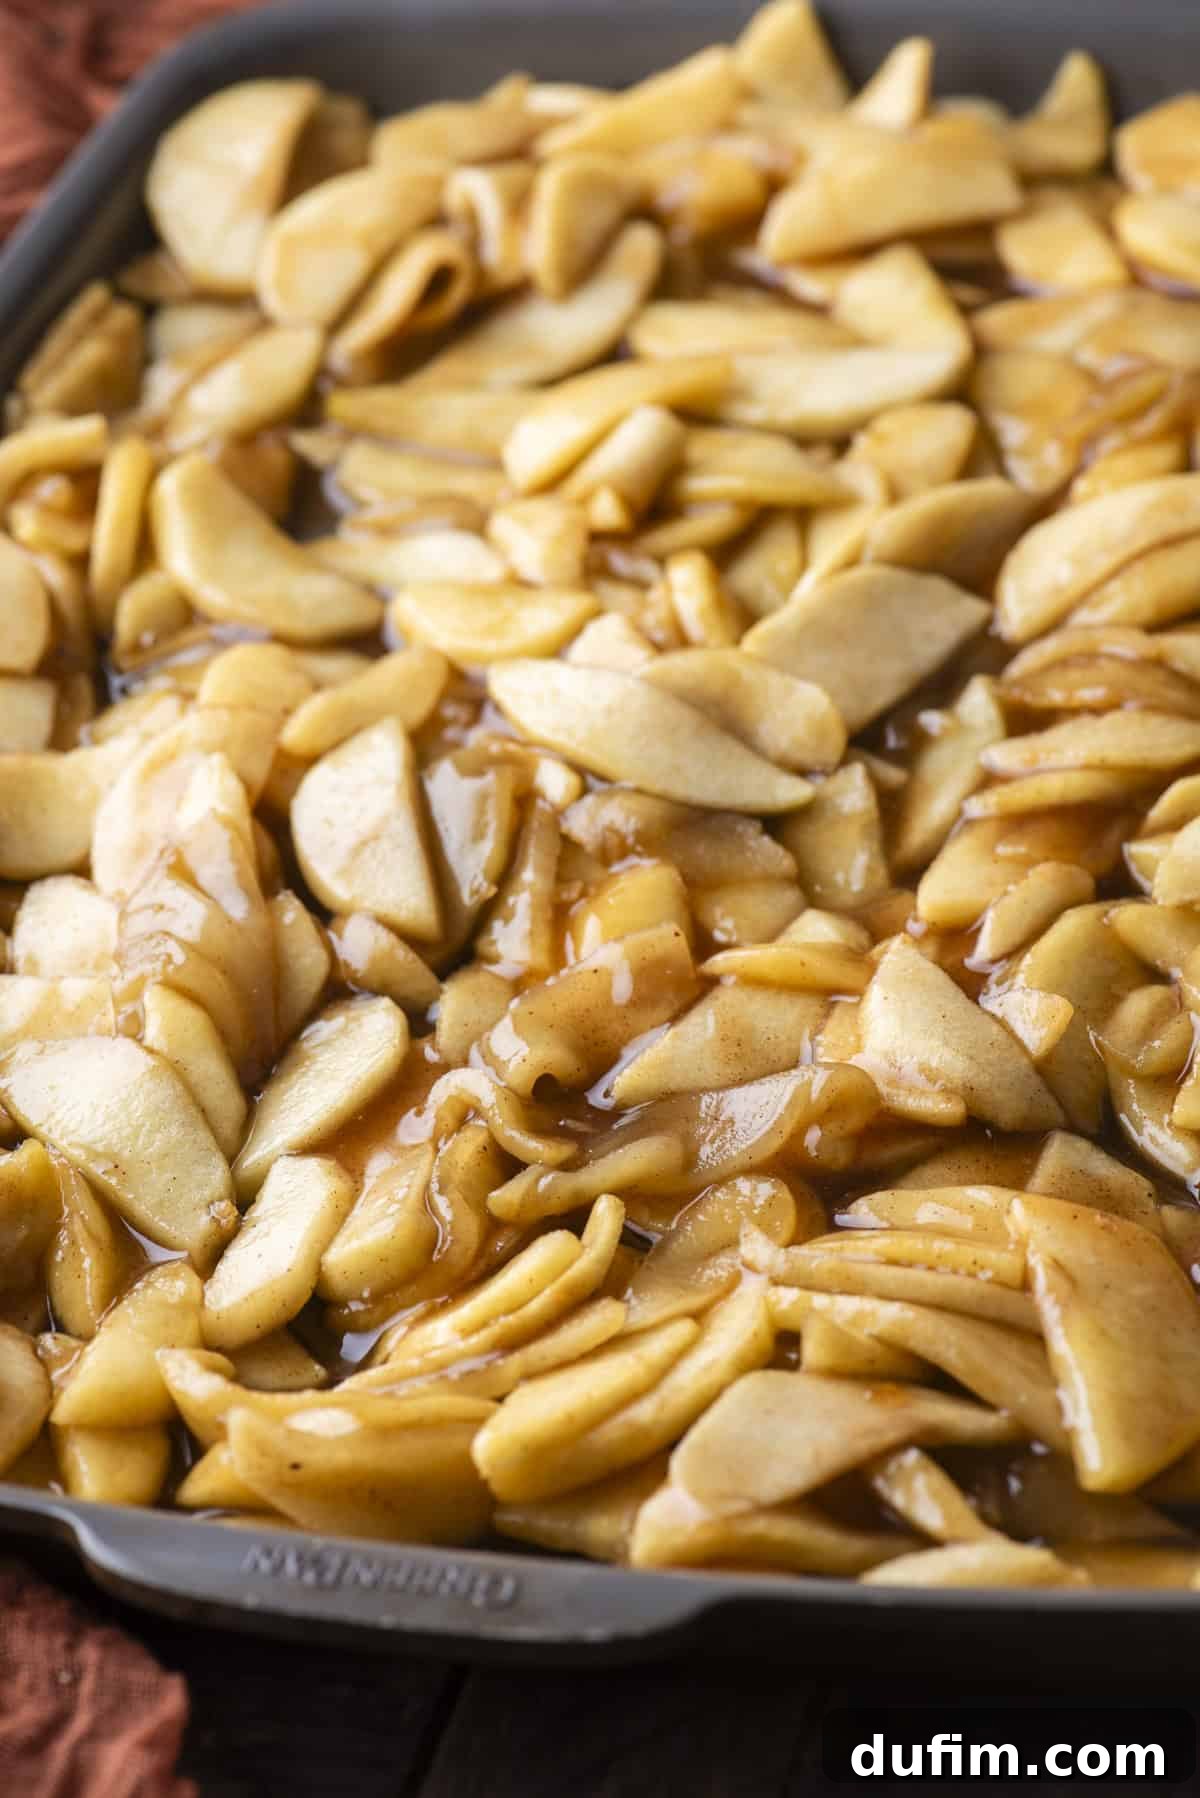
- Combine Apples and Syrup: Once your syrup has reached the desired thickness and the cooked apple slices have cooled sufficiently, gently combine them in a large bowl. Ensure every tender apple piece is generously coated with the luscious, spiced syrup, creating a harmonious and unified filling.
- Utilize Your Filling: Your exquisite homemade apple pie filling is now ready for use! Whether destined for a classic apple pie, sweet turnovers, charming hand pies, or as a delightful topping for fluffy pancakes, crispy waffles, or creamy ice cream, its versatility knows no bounds. You can also stir it into warm oatmeal or creamy yogurt for a quick, comforting treat.
Homemade Apple Pie Filling: Expert Tips for Success
While this recipe is designed to be incredibly easy, a few key tips can elevate your homemade apple pie filling from good to truly extraordinary. Following these suggestions will ensure the best possible results every time, guaranteeing a filling that is perfectly flavored, beautifully textured, and irresistibly delicious:
- Embrace Apple Variety: The most significant impact on flavor comes from using a thoughtful combination of apples. Blending sweet and tart varieties creates a complex, multi-layered taste experience that is far more interesting than a single-apple filling. The interplay of different textures also adds to the filling’s appeal, ensuring some apples retain a slight bite while others become meltingly tender. Aim for at least two different types for optimal balance.
- Precision in Slicing: Uniformity is key! Cutting your apples into consistent ¼-inch-thick slices ensures that they all cook evenly. This precision prevents some apples from becoming mushy while others remain too firm. Through extensive testing, I’ve found this specific thickness and the recommended cook times create the perfect tender-yet-structured apple texture – no unpleasant crunch, no disappointing puree. A mandoline slicer can be incredibly helpful here for achieving perfect consistency.
- Harness the Power of the Juice: Do not let those precious apple juices go to waste after cooking the apples! They are brimming with concentrated natural apple flavor, which would be lost in traditional methods. By simmering these juices down and transforming them into a thick, glossy syrup, you not only preserve but also intensify that incredible apple essence. This syrup then coats the cooled apple slices, returning all that richness and sweetness, resulting in a filling with a deeper, more profound apple taste and an alluring, cohesive texture. It’s the secret weapon for an unrivaled filling.
How to Thicken Apple Pie Filling to Perfection
Achieving the ideal thickness for your apple pie filling is crucial for a beautifully structured pie that slices cleanly and doesn’t ooze excessively. If you find your filling is too thin, or if you want to ensure it has that perfect, rich consistency from the start, the most effective and reliable method is to create a cornstarch slurry. This technique is simple yet highly impactful:
- The Cornstarch Slurry Secret: To create a flawless cornstarch slurry, dissolve 1 tablespoon of cornstarch in 1 tablespoon of cold water. It’s imperative to use cold water for this initial step, as adding cornstarch directly to hot liquid can cause it to clump, resulting in a lumpy, unevenly thickened syrup. Once thoroughly dissolved, slowly stir this smooth slurry into your simmering apple syrup. As the syrup heats and the cornstarch activates, it will begin to thicken the liquid, transforming it into a luxurious, glossy texture within minutes. This thickened syrup is what helps bind the apple slices together beautifully, preventing the filling from becoming watery and ensuring your pie has that perfect, sliceable consistency everyone desires. This method guarantees a professional-quality filling every time.
Delicious Recipes Using Homemade Apple Pie Filling
This homemade apple pie filling is truly one of my most cherished recipes because of its incredible versatility. Once you’ve mastered this batch, you’ll discover a world of delicious possibilities beyond just pie. It’s perfect for adding a burst of sweet, spiced apple flavor to a wide array of desserts and breakfast treats. Here are some fantastic apple recipes where this filling shines, ready to inspire your next baking adventure:
- My recipe for perfect apple pie – The classic, elevated by this superior filling!
- Mini Caramel Apple Cheesecakes – A delightful creamy and fruity fusion.
- Apple Hand Pies – Portable pockets of apple goodness, perfect for on-the-go.
- Apple Pie Ice Cream – A creative way to enjoy the flavors of pie in a frozen treat.
- Apple Pie Cookies – Chewy cookies filled with warm apple spice.
- Apple Crumble or Crisp: Layered with a buttery oat topping for a comforting dessert.
- Apple Turnovers: Flaky pastry wrapped around the sweet filling, a bakery classic.
- Topping for Breakfast: Spoon over pancakes, waffles, French toast, oatmeal, or yogurt for a delicious start to your day.
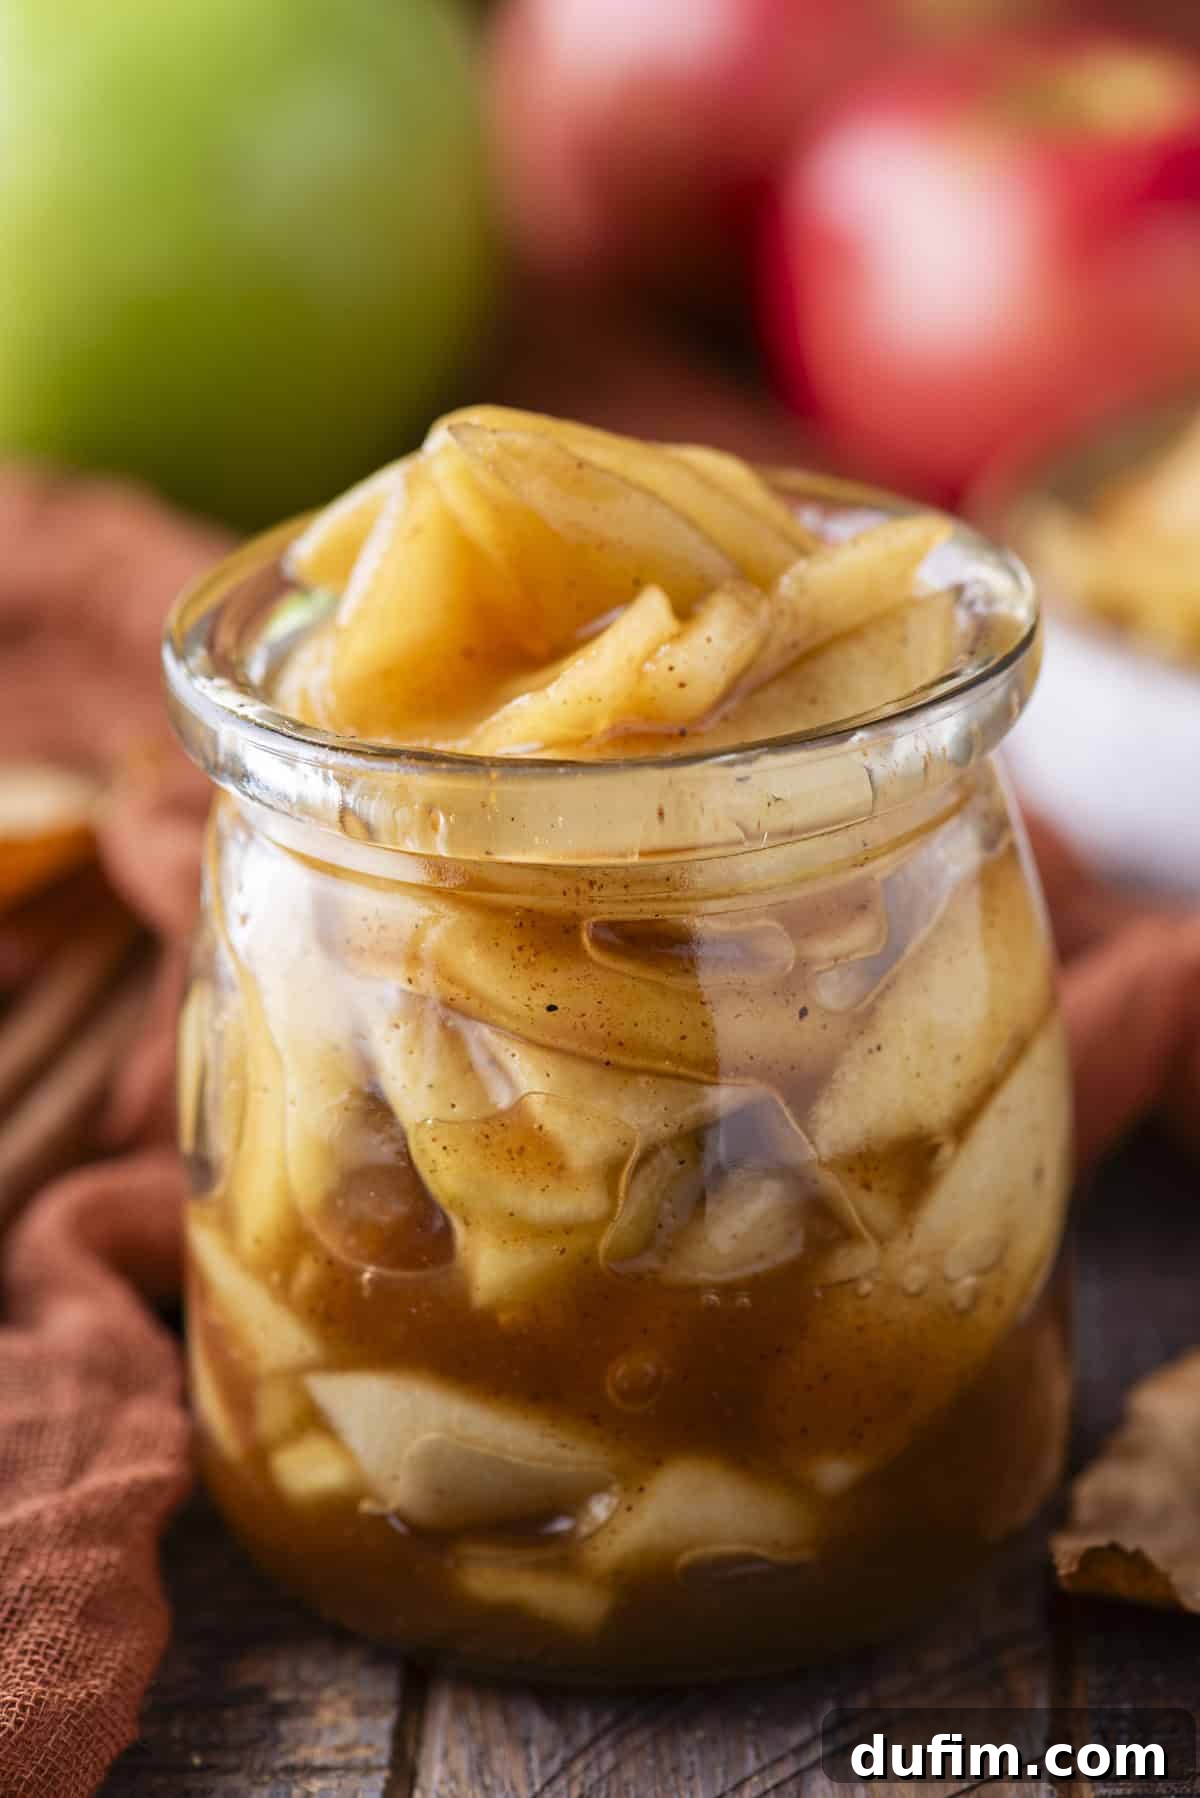
How to Store and Freeze Homemade Apple Pie Filling
Proper storage is key to enjoying your delicious homemade apple pie filling for days or even months to come. Whether you’re making a batch ahead of time or simply have leftovers, these guidelines will ensure your filling remains fresh and flavorful:
- Refrigeration: If you plan to use the filling within a few days, allow it to cool completely to room temperature first. Then, transfer it to an airtight container. Stored in the refrigerator, it will maintain its quality and taste for 3 to 5 days. This makes it perfect for meal prepping or preparing for a holiday feast.
- Freezing: For longer-term storage, this apple pie filling freezes beautifully. Once the filling has thoroughly cooled, transfer it to a freezer-safe bag, removing as much air as possible to prevent freezer burn. Alternatively, you can use an airtight freezer-safe container. Label the container with the date. Your homemade apple pie filling can be safely frozen for up to 3 months. When you’re ready to use it, simply thaw it overnight in the refrigerator before incorporating it into your favorite recipes.
Frequently Asked Questions About Apple Pie Filling
Here are some common questions to help you master your homemade apple pie filling:
- Can I use frozen apples for this recipe? While fresh apples are always recommended for the best texture and flavor, you can use frozen sliced apples. Thaw them completely and drain any excess liquid before cooking. Be aware that the texture might be slightly softer than with fresh apples.
- Can I make the filling ahead of time? Absolutely! This filling is perfect for making in advance. You can prepare it up to 3-5 days ahead if storing in the refrigerator, or up to 3 months if frozen. This makes pie baking on a busy day much easier.
- What if my filling is too tart or too sweet? The beauty of homemade filling is customization! If it’s too tart, you can add a little more brown sugar while cooking. If it’s too sweet, a tiny squeeze of lemon juice at the end can brighten it up and balance the sweetness. Remember that different apple varieties will also influence the overall sweetness.
- Why did my pie crust get soggy with this filling? While precooking helps immensely, a soggy crust can still happen if the filling is too hot when added to the unbaked crust, or if the pie isn’t baked at a high enough temperature initially to set the bottom crust quickly. Always cool your filling completely before assembling your pie.
More Delightful Apple Recipes to Explore
If you’re an apple enthusiast like me, there’s always a new way to enjoy this beloved fruit. Once you’ve mastered this versatile apple pie filling, consider exploring these other fantastic apple-centric recipes:
- Homemade Apple Crisp with Oatmeal
- Apple Pie Cookies
- Easy Apple Coffee Cake
- Moist Apple Cinnamon Muffins
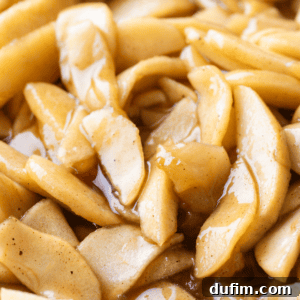
Best Apple Pie Filling
Print Recipe
Equipment
-
Large Pot
-
Slotted Spoon
-
Baking Sheet
-
Small Saucepan
-
Whisk
Ingredients
- 5 pounds apples, peeled and cut into 1/4-inch-thick slices
- 1 cup (213g) packed brown sugar
- 1 ½ tsp ground cinnamon
- ¼ tsp ground allspice
- ¼ tsp ground nutmeg
- ⅛ tsp salt
- 1 Tbsp water
- 1 Tbsp cornstarch
Instructions
-
Peel and slice 5 pounds of apples into ¼-inch-thick slices.
-
In a large pot, combine the sliced apples, brown sugar, cinnamon, allspice, nutmeg, and salt.5 pounds apples, 1 cup (213g) packed brown sugar, 1 ½ tsp ground cinnamon, ¼ tsp ground allspice, ¼ tsp ground nutmeg, ⅛ tsp salt
-
Cook over medium heat for 10-15 minutes, stirring occasionally, until the apples are tender.
-
Using a slotted spoon, transfer the cooked apples to a large baking sheet to cool. For faster cooling, place the sheet in the fridge or freezer for 20 minutes.
-
Meanwhile, make a syrup from the apple juices. Transfer the juice to a smaller pot. Simmer over medium-low heat.
-
Dissolve the cornstarch in water, then stir into the simmering syrup.1 Tbsp water, 1 Tbsp cornstarch
-
Cook and stir until the syrup thickens, about 3-5 minutes.
-
Once the syrup has thickened and the apples are cool, mix them together.
-
Use apple pie filling to make apple pie, turnovers, hand pies, as a topping for pancakes, waffles or ice cream. Or mix it into oatmeal or yogurt.
Video
Nutrition
Nutrition Disclosure
All nutritional values are approximate and provided to the reader as a courtesy. Changing ingredients and/or quantities will alter the estimated nutritional calculations.
Like this recipe? We’d love your feedback!