
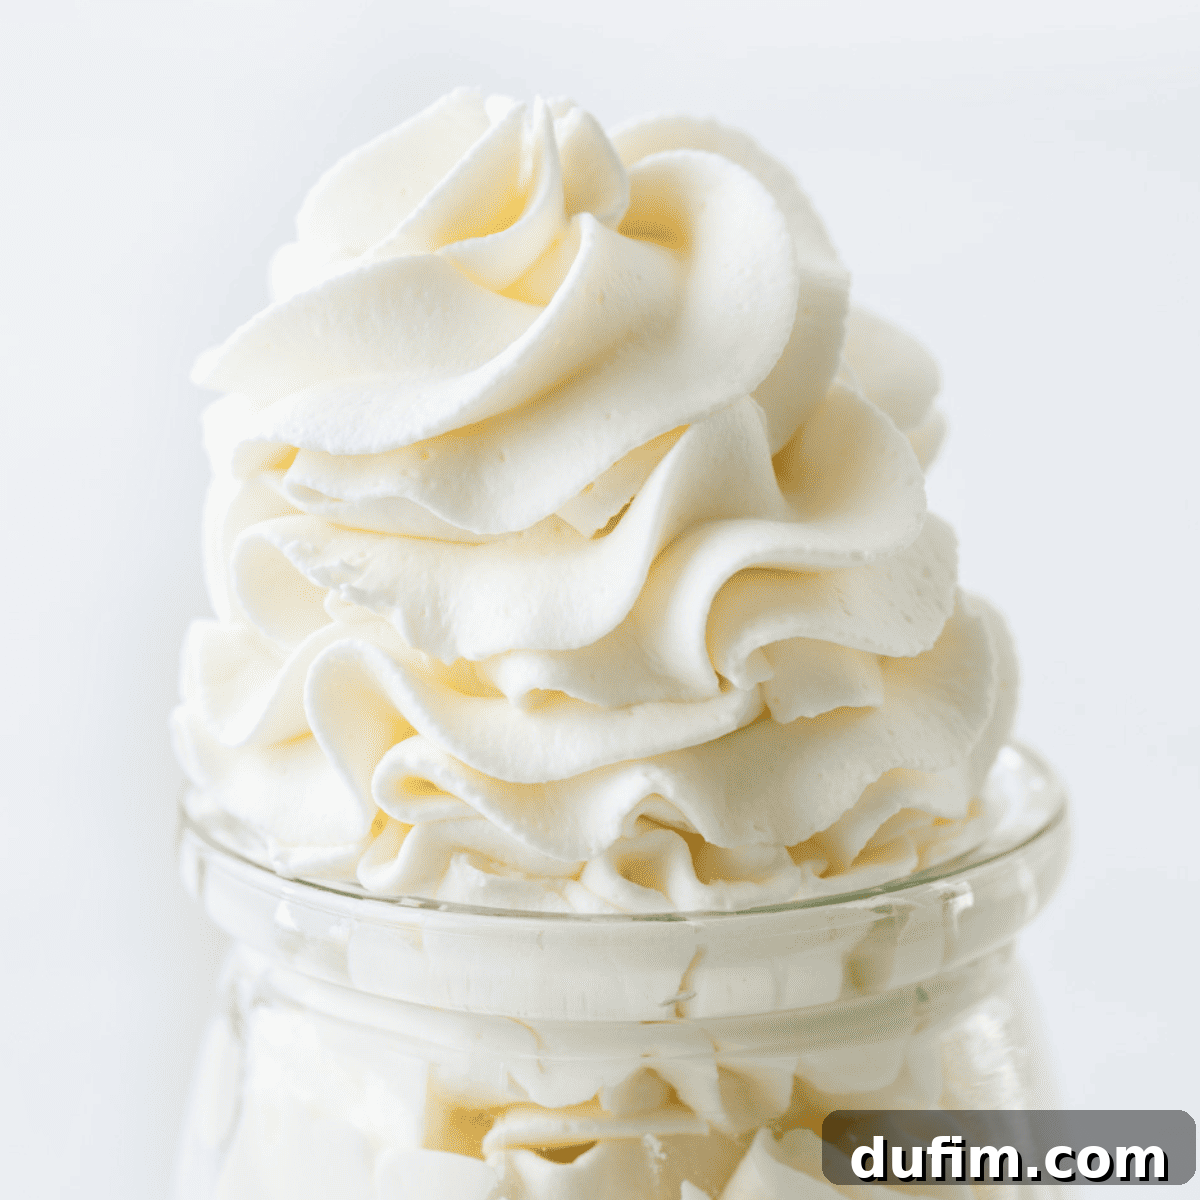
Welcome to the ultimate guide for making truly perfect homemade whipped cream! Forget those store-bought cans filled with stabilizers and artificial flavors. In just a few simple steps, with only three fresh ingredients, you can effortlessly create a luscious, airy, and perfectly sweet whipped cream that will elevate any dessert to gourmet status. This isn’t just a recipe; it’s a foundational skill that will transform your baking and dessert presentation, making you a true dessert pro in your own kitchen.
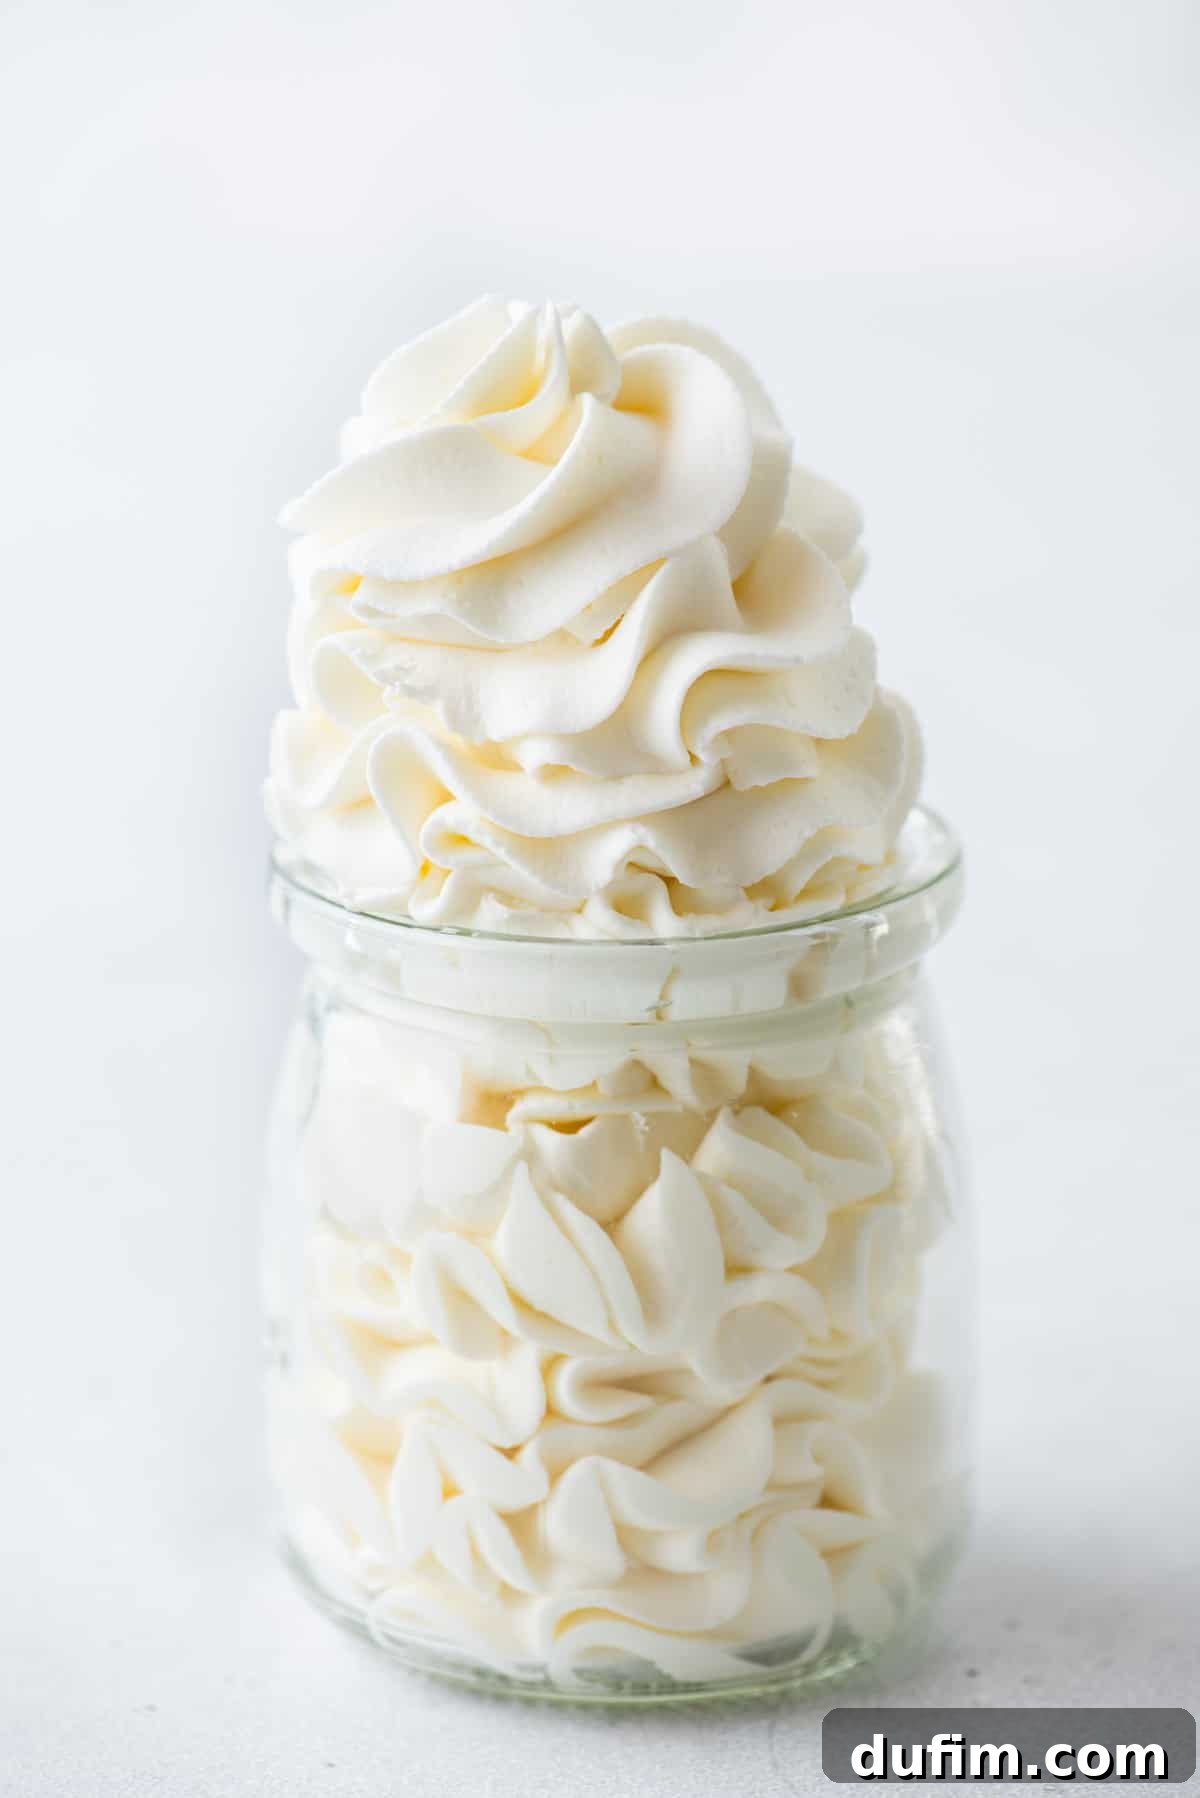
Discover the Secret to the Best Homemade Whipped Cream!
Whipped cream is more than just a topping; it’s a dessert essential that adds a touch of elegance and indulgence to countless treats. From classic fruit tarts and decadent chocolate cakes to comforting hot cocoa and festive trifles, its light and creamy texture enhances every bite. Many home bakers rely on aerosol cans from the grocery store, but once you experience the superior taste and texture of homemade whipped cream, you’ll never look back. Our easy-to-follow instructions and expert tips below will guide you through creating the freshest, most delicious whipped cream, guaranteed to upgrade all your favorite desserts.
The beauty of making whipped cream from scratch lies in its simplicity and the purity of its ingredients. You control the sweetness and flavor, resulting in a product far superior to anything pre-packaged. With our guidance, you’ll unlock the secrets to a perfect batch every time, ensuring your desserts always have that exquisite, professional finish.
For those looking to impress, this recipe technically creates Chantilly cream due to the delightful addition of sugar and pure vanilla extract. So, the next time you serve a dessert, you can proudly announce it’s topped with freshly made Chantilly cream!
To ensure your success, we’re sharing tried-and-true techniques, including some often overlooked steps like chilling your mixing bowl and beaters. These small but crucial details make a significant difference in achieving the perfect consistency and stability for your whipped cream, ensuring it holds its shape beautifully and stays fluffy for longer.
Understanding Whipped Cream: A Culinary Staple
Whipped cream is a beloved dairy product renowned for its light texture and rich flavor, serving as both a versatile topping and a key ingredient in countless dessert recipes worldwide. At its core, whipped cream is created by vigorously beating cold heavy cream, which is the high-fat portion of milk. This process incorporates air into the cream, transforming it into a fluffy, voluminous confection. In our recipe, we enhance this natural richness with a touch of sweetness from powdered sugar and the aromatic warmth of vanilla extract, creating a balanced flavor profile that complements a wide array of sweet dishes.
The science behind whipped cream involves the emulsification of fat and air. Heavy cream, with its high fat content (typically 36% or more), contains tiny fat globules. As the cream is whipped, these globules are disrupted, forming a network that traps air bubbles. This creates a stable foam, increasing the cream’s volume and giving it its characteristic light and airy texture. Keeping the cream and equipment cold is crucial for this process, as cold fat globules are firmer and more resistant to breaking down, resulting in a more stable and voluminous whipped cream.
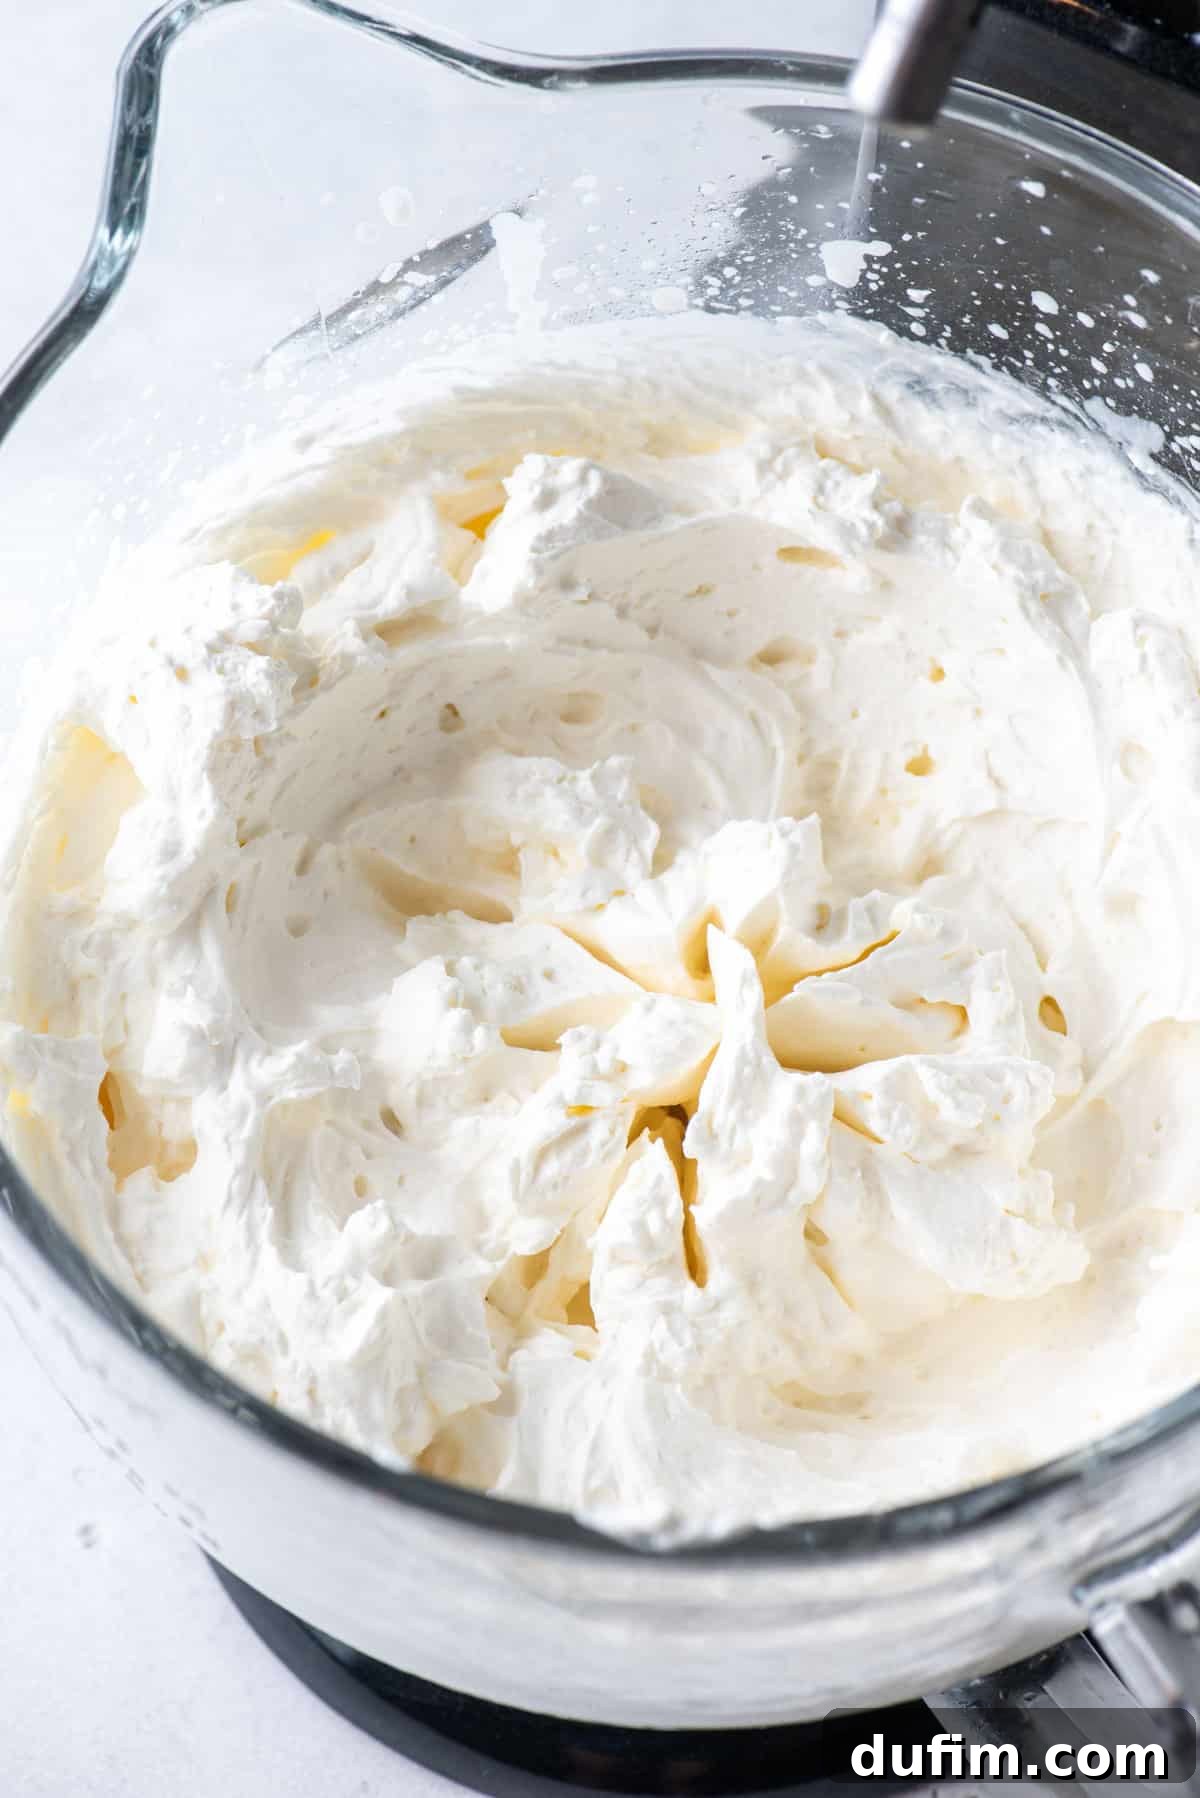
Cool Whip vs. Authentic Whipped Cream: Key Distinctions
While often used interchangeably in casual conversation, Cool Whip and traditional whipped cream are fundamentally different products. Understanding these distinctions is key to appreciating the superior quality of homemade whipped cream:
- Ingredients: The most significant difference lies in their composition. Classic whipped cream is made from a short list of natural ingredients: heavy cream, a sweetener (like powdered sugar), and a flavor enhancer (such as vanilla extract). In contrast, Cool Whip is a non-dairy, oil-based emulsion. Its primary ingredients typically include water, hydrogenated vegetable oils (like soybean and coconut oil), high fructose corn syrup, and an array of emulsifiers, stabilizers, and artificial flavors designed to create a long-lasting, whipped texture.
- Dairy Content: This is a clear dividing line. Authentic whipped cream is a dairy product, relying on the natural fats and proteins of heavy cream. Cool Whip, on the other hand, is entirely non-dairy, making it a suitable alternative for those with lactose intolerance or dairy allergies, but sacrificing the rich dairy flavor.
- Texture and Stability: Cool Whip is engineered for exceptional stability. Its blend of oils and stabilizers allows it to maintain its fluffy structure for extended periods, even at room temperature, making it popular for dishes that need to sit out. Homemade whipped cream, while wonderfully light and airy due to the air incorporated during whipping, is more delicate. It can gradually deflate over time, especially in warmer conditions. However, its natural, melt-in-your-mouth texture is unmatched.
- Flavor Profile: The taste difference is profound. Cool Whip offers a generally milder and distinctly sweeter taste, often perceived as less rich and creamy due to the absence of dairy. Its flavor tends to be more generic and can sometimes have a slight artificial undertone. Homemade whipped cream boasts a rich, creamy, and fresh dairy flavor. Its sweetness is adjustable, allowing you to tailor it perfectly to complement your dessert. The natural fat content contributes to a luxurious mouthfeel that synthetic alternatives cannot replicate.
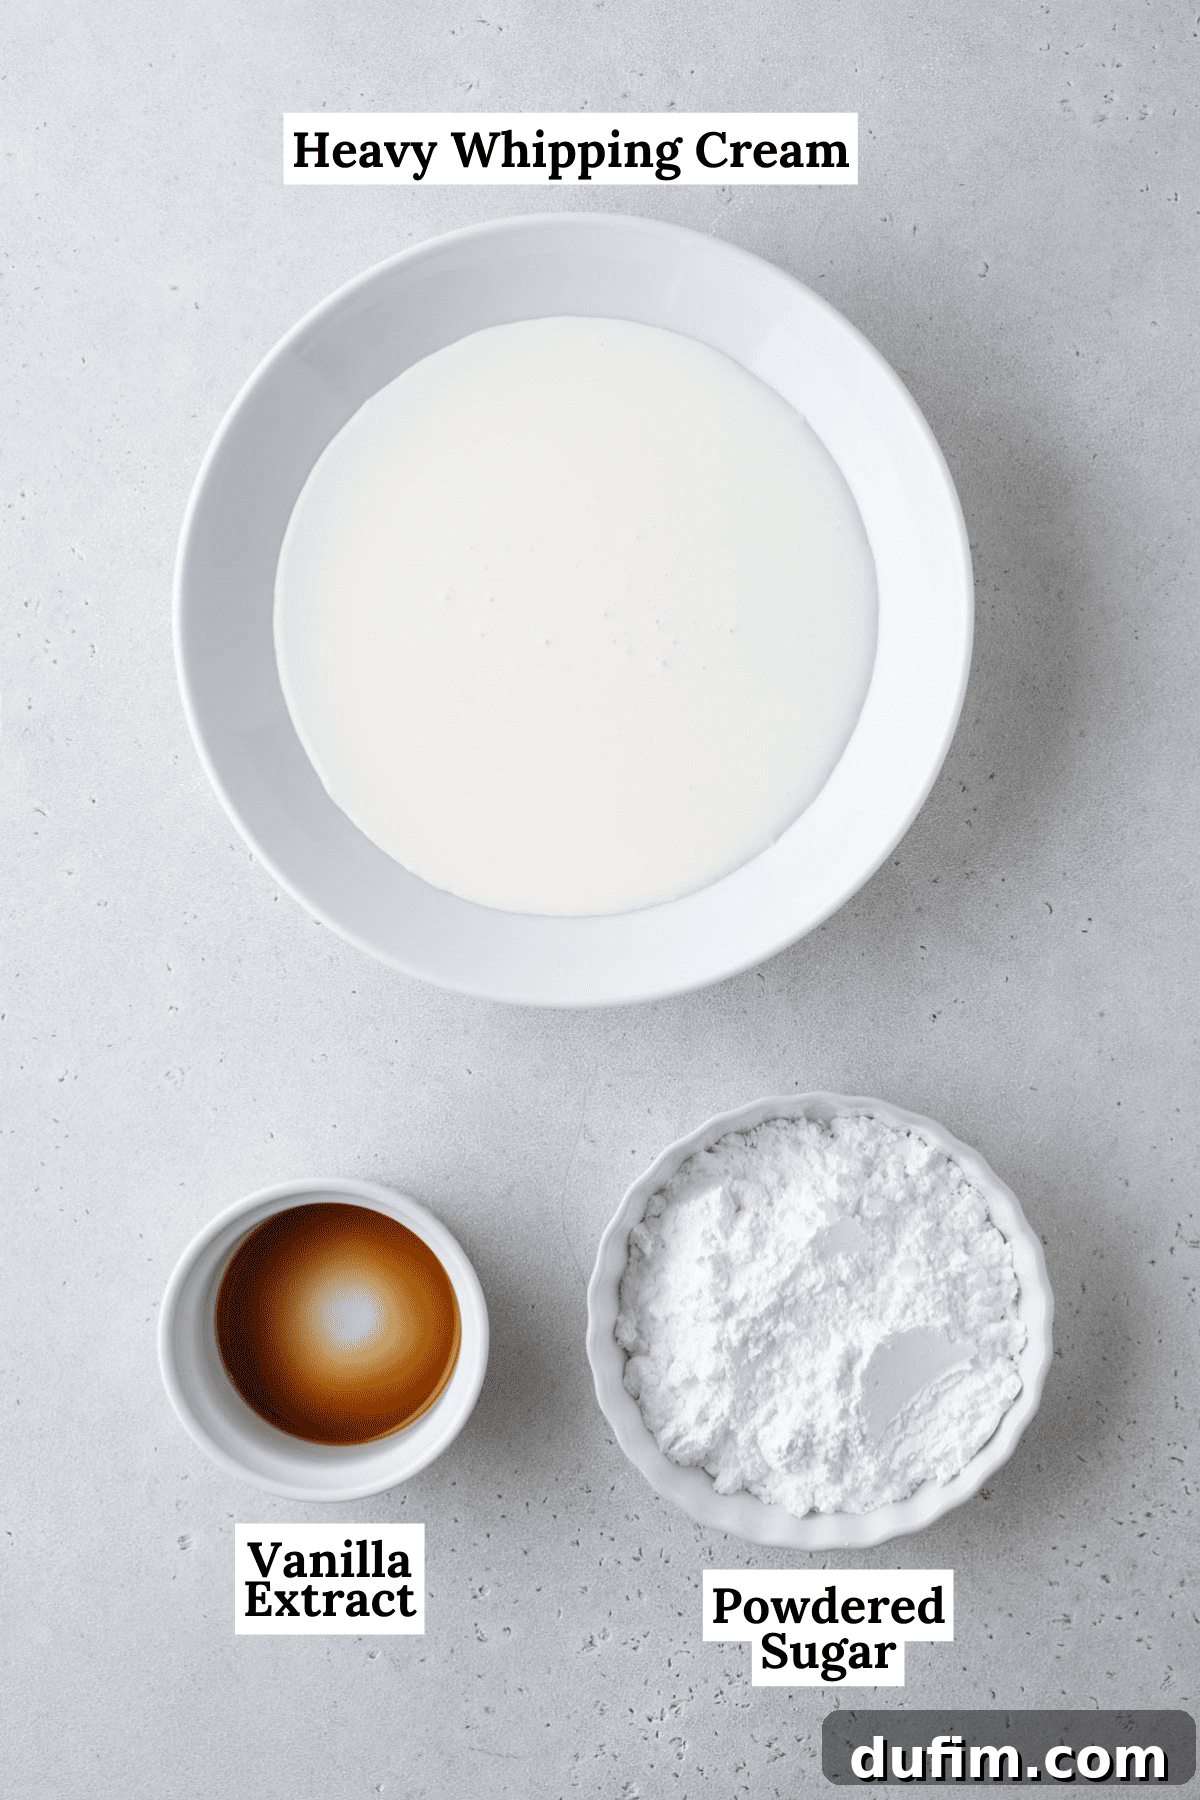
Essential Ingredients for Fresh Whipped Cream
One of the most appealing aspects of homemade whipped cream is its incredibly simple ingredient list. Unlike the often mysterious contents of canned or frozen varieties, our recipe uses just three common components, ensuring a fresh, healthier, and undeniably tastier result. You’ll be amazed at how such minimal ingredients can create such a spectacular topping. The full recipe with precise measurements and detailed instructions is provided further down in the recipe card.
- Cold Heavy Whipping Cream: This is the star of the show. Whether you choose organic heavy cream or conventional, ensure it is thoroughly chilled. The high-fat content (typically 36% or more) is crucial for achieving a stable, voluminous whipped texture. Cold cream whips faster and holds its shape better, as the fat globules remain firm and create a stronger structure when air is incorporated.
- Powdered Sugar (Confectioners’ Sugar): Also known as icing sugar, powdered sugar is ideal for whipped cream because its fine texture dissolves instantly, preventing a gritty mouthfeel. It also contains a small amount of cornstarch, which acts as a mild stabilizer, helping the whipped cream maintain its structure longer without weighing it down. You can adjust the quantity to suit your preferred level of sweetness.
- Vanilla Extract: Pure vanilla extract adds a beautiful aromatic depth that complements the rich creaminess. It’s a classic choice, but feel free to experiment with other flavorings if you wish, such as almond extract, peppermint extract, or even a touch of citrus zest for a different profile.
These three ingredients, when combined correctly, yield a whipped cream that is not only delicious but also visibly appealing, making it the perfect final flourish for any dessert.
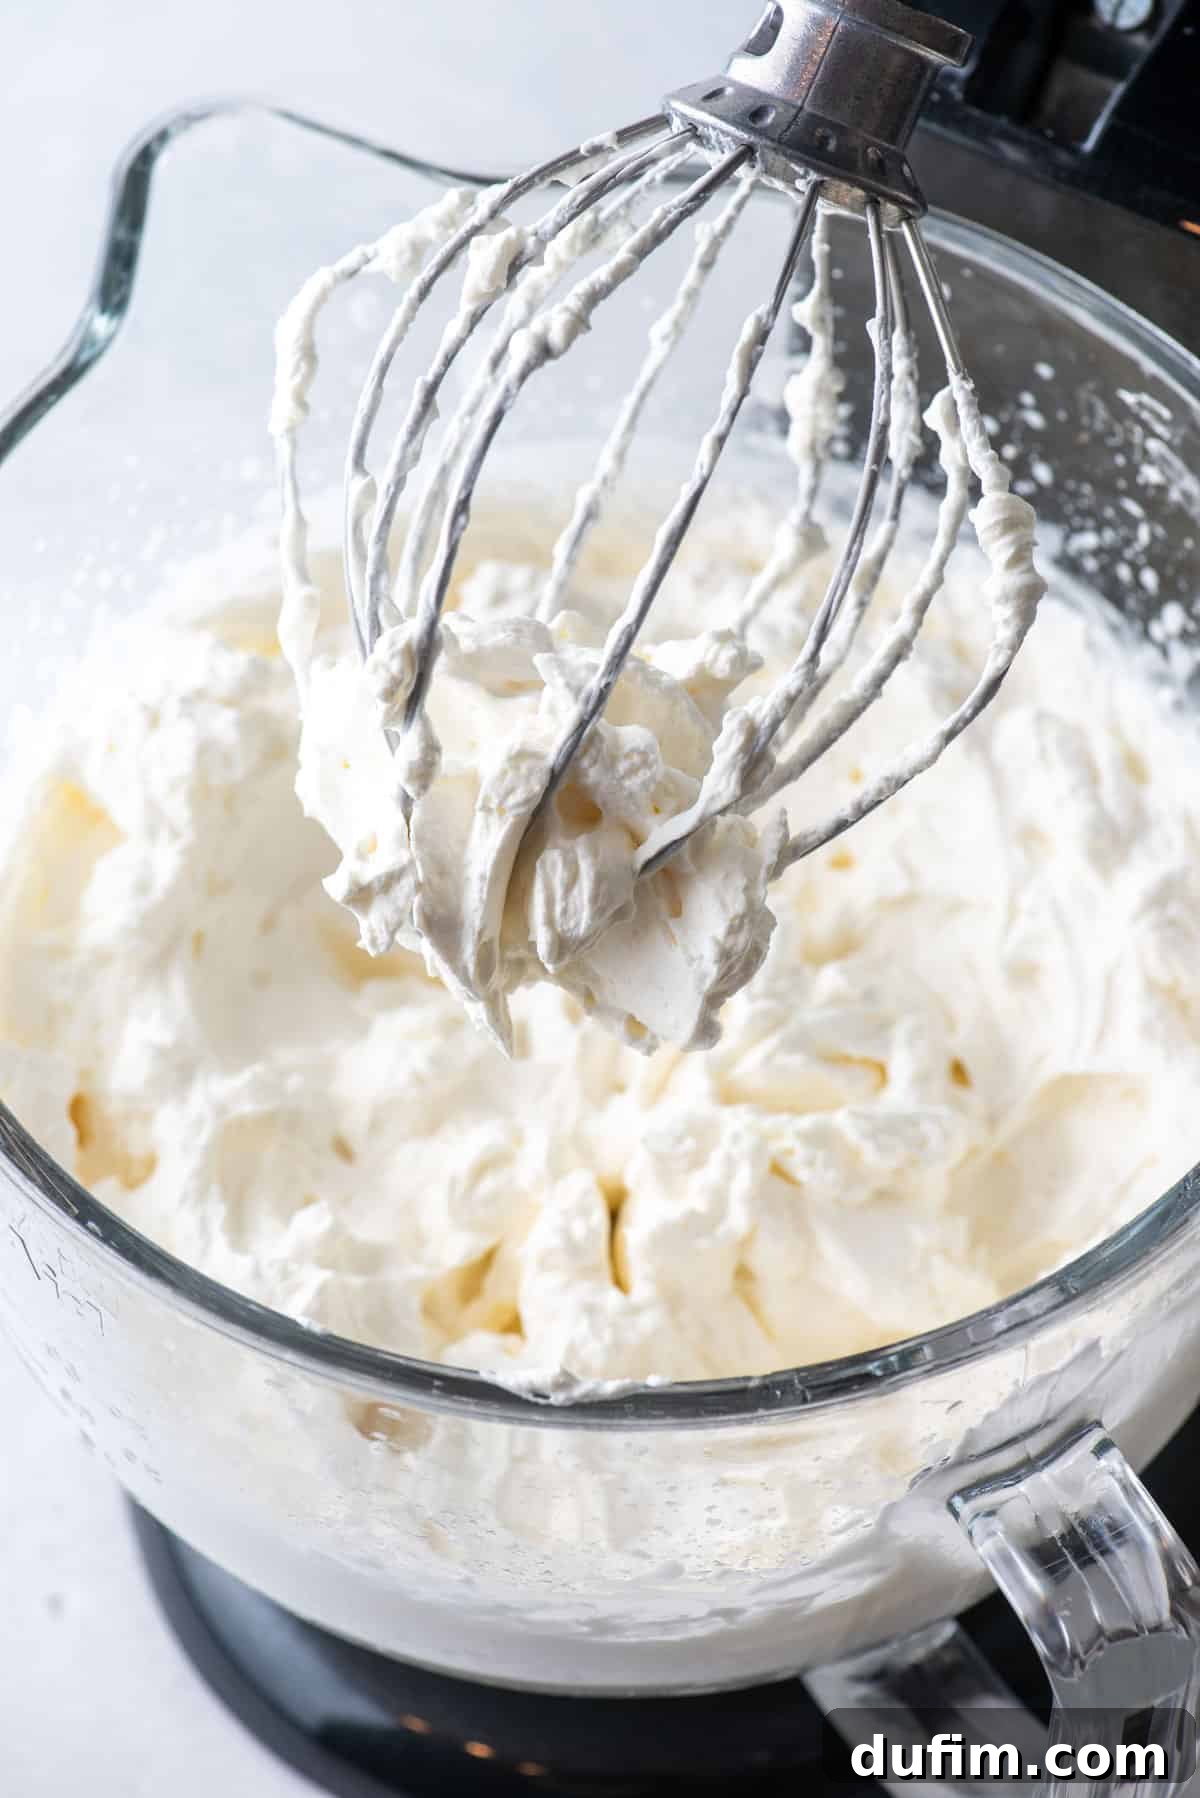
Heavy Cream vs. Heavy Whipping Cream: What’s the Difference?
Often, home cooks wonder about the distinction between “heavy cream” and “heavy whipping cream.” While both are excellent choices for making whipped cream, there’s a subtle difference primarily in their fat content.
Heavy Cream: This typically contains at least 36% milk fat. Due to its higher fat content, it tends to produce a richer, thicker whipped cream that is more stable and holds its shape exceptionally well, making it ideal for piping or when you need it to last a bit longer.
Heavy Whipping Cream: This usually has a fat content ranging from 30% to 36%. While still excellent for whipping, it might be slightly lighter and airier than whipped cream made with heavy cream. It whips up beautifully and is perfect for most applications where a fluffy, soft texture is desired.
In most recipes, these two can be used interchangeably without a noticeable difference in the final product. The choice often comes down to what is readily available in your local grocery store or personal preference for a slightly richer versus a slightly lighter result. Both will produce delectable homemade whipped cream when properly chilled and whipped.
Crafting the Perfect Homemade Whipped Cream: A Step-by-Step Guide
Achieving consistently perfect homemade whipped cream is easier than you think, especially when you follow these simple, yet effective steps. The secret lies in preparation and technique, ensuring a light, fluffy, and stable result every single time. Refer to the recipe card below for precise ingredient measurements and a concise overview.
- Chill Your Equipment: The Foundation of Fluffiness
The crucial first step is to ensure all your whipping equipment is thoroughly chilled. Place a clean metal or glass mixing bowl (metal bowls get colder faster) and your electric mixer’s beaters (or a whisk attachment if using a stand mixer) into the freezer for at least 15 minutes. This step is vital because cold temperatures help the fat globules in the heavy cream remain firm, which allows them to trap air more efficiently and create a much more stable, voluminous whipped cream that holds its shape beautifully. Skipping this step can lead to a less stable, looser consistency.
- Combine and Whip: Watch the Transformation Unfold
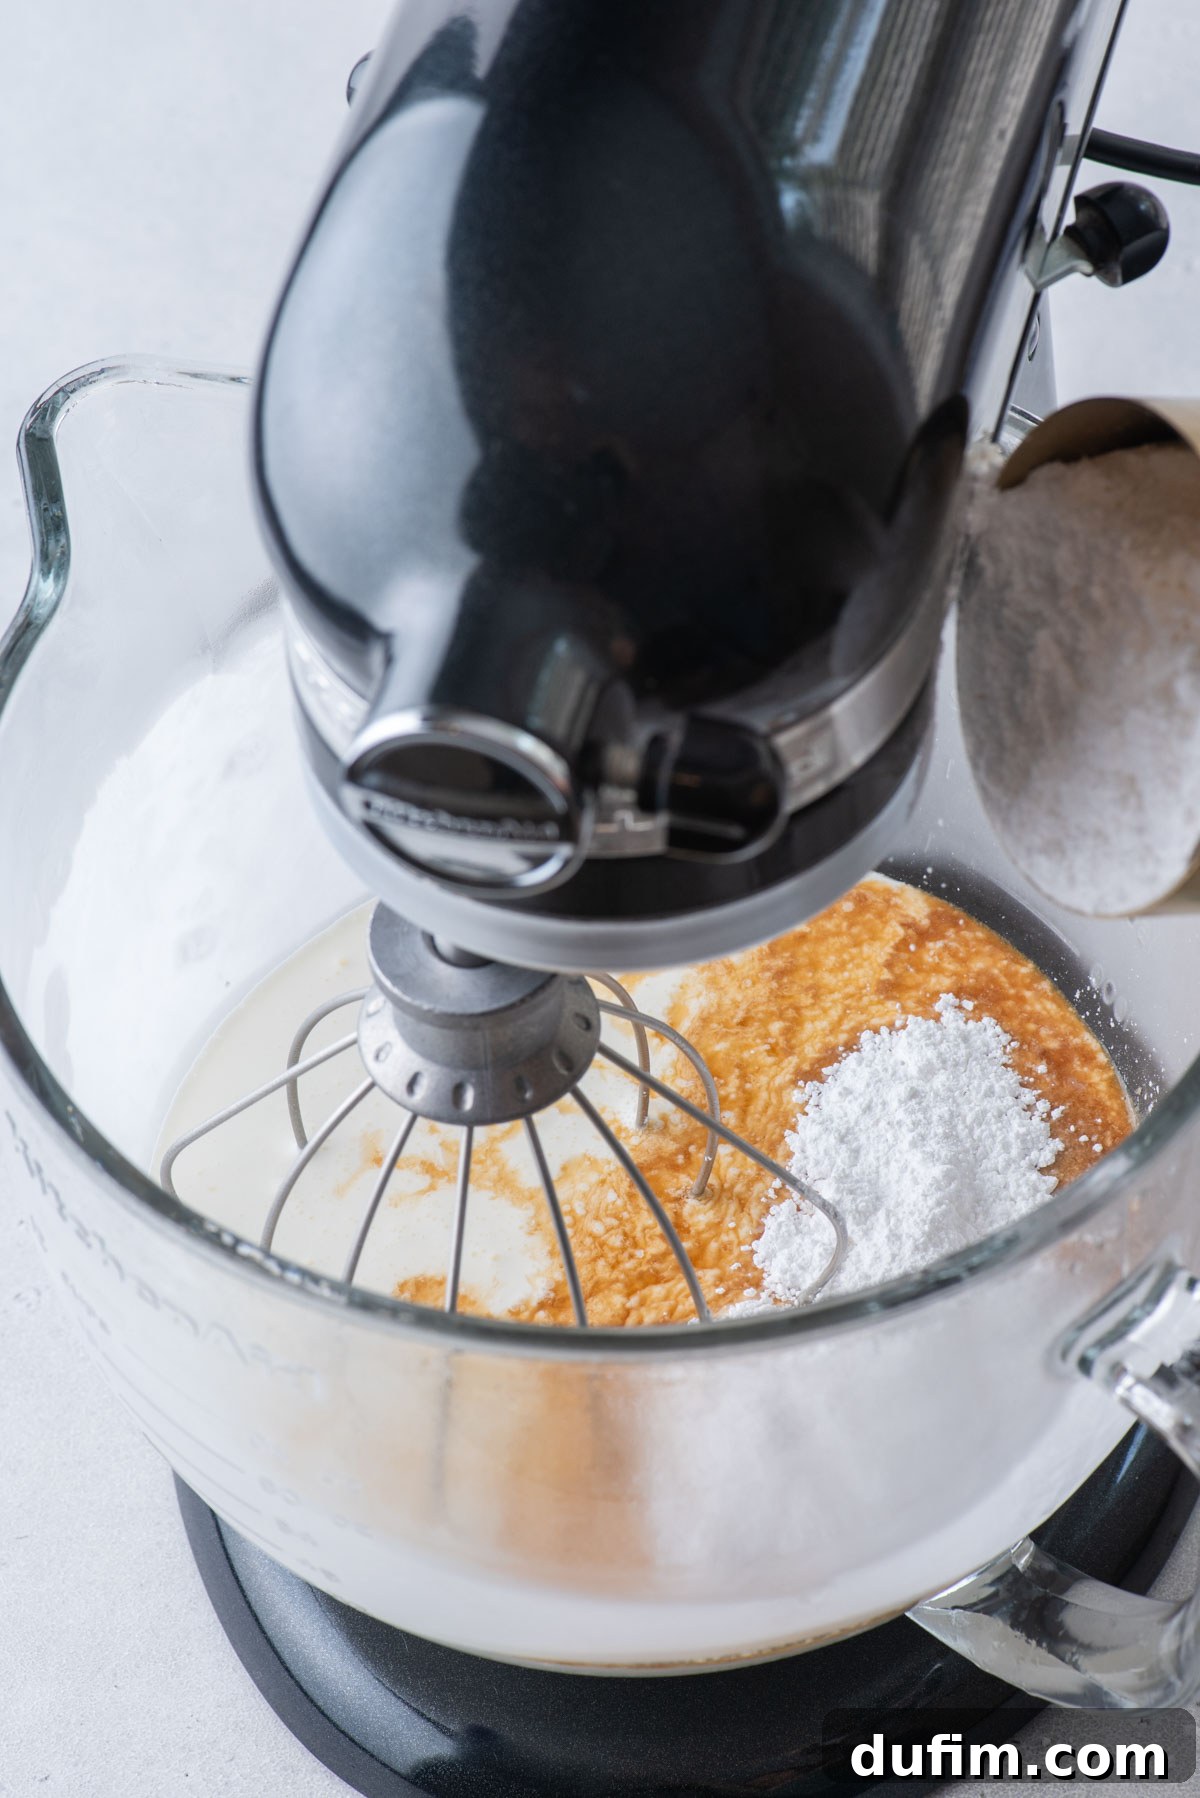
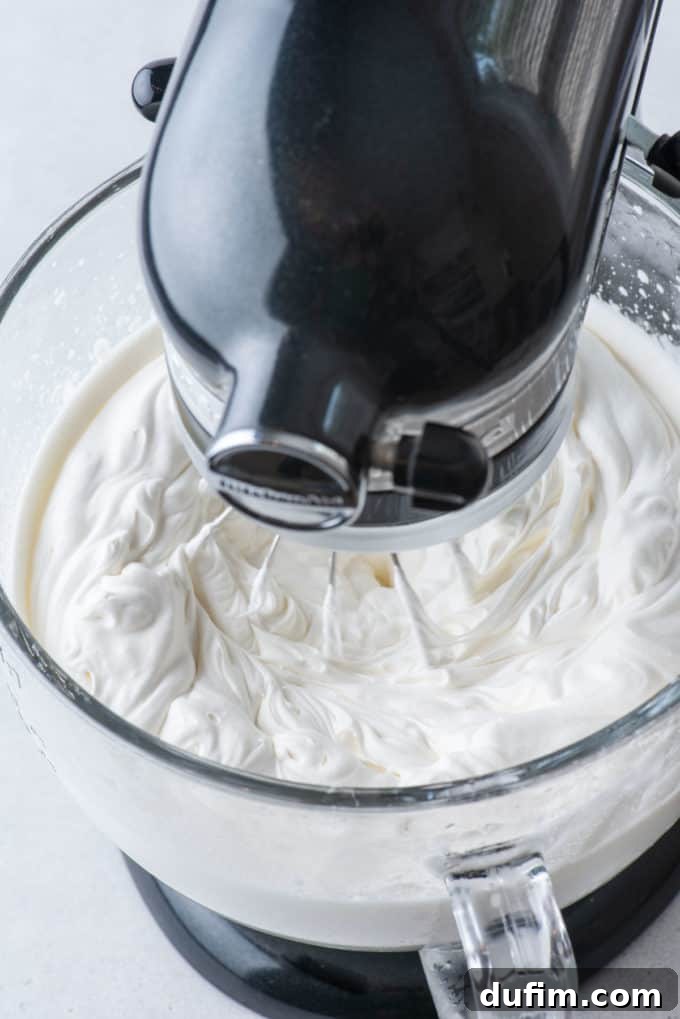
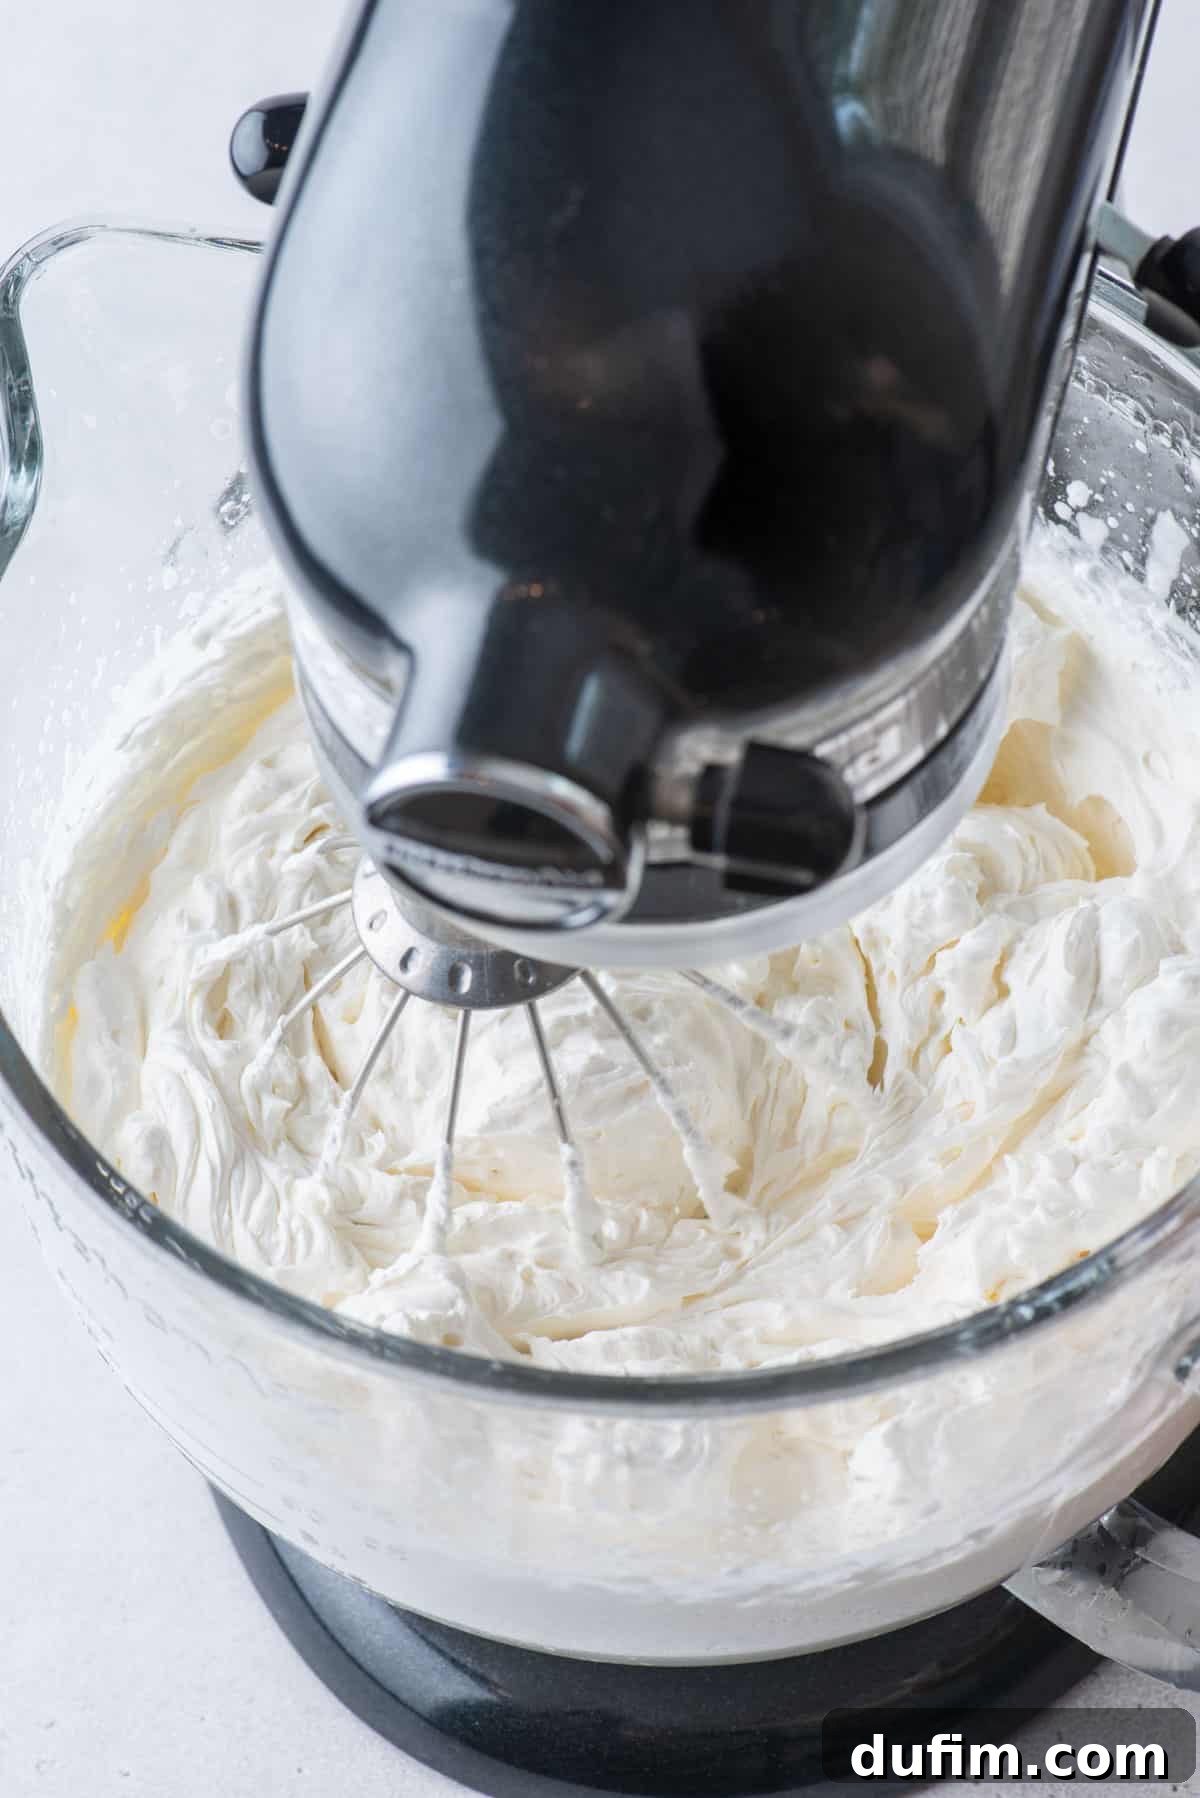
Once your bowl and beaters are sufficiently chilled, carefully remove them from the freezer. Pour the cold heavy cream into the chilled bowl. Add the powdered sugar and vanilla extract. Using an electric hand mixer (or a stand mixer with a whisk attachment), begin beating the mixture on medium speed, gradually increasing to high speed. Continue to beat for approximately 4-5 minutes. The cream will visibly thicken, transform from a liquid to a soft foam, and then progress through different stages of peaks. Keep a close eye on it during the last minute or two to avoid over-whipping.
- Achieving Stiff Peaks: The Ideal Consistency
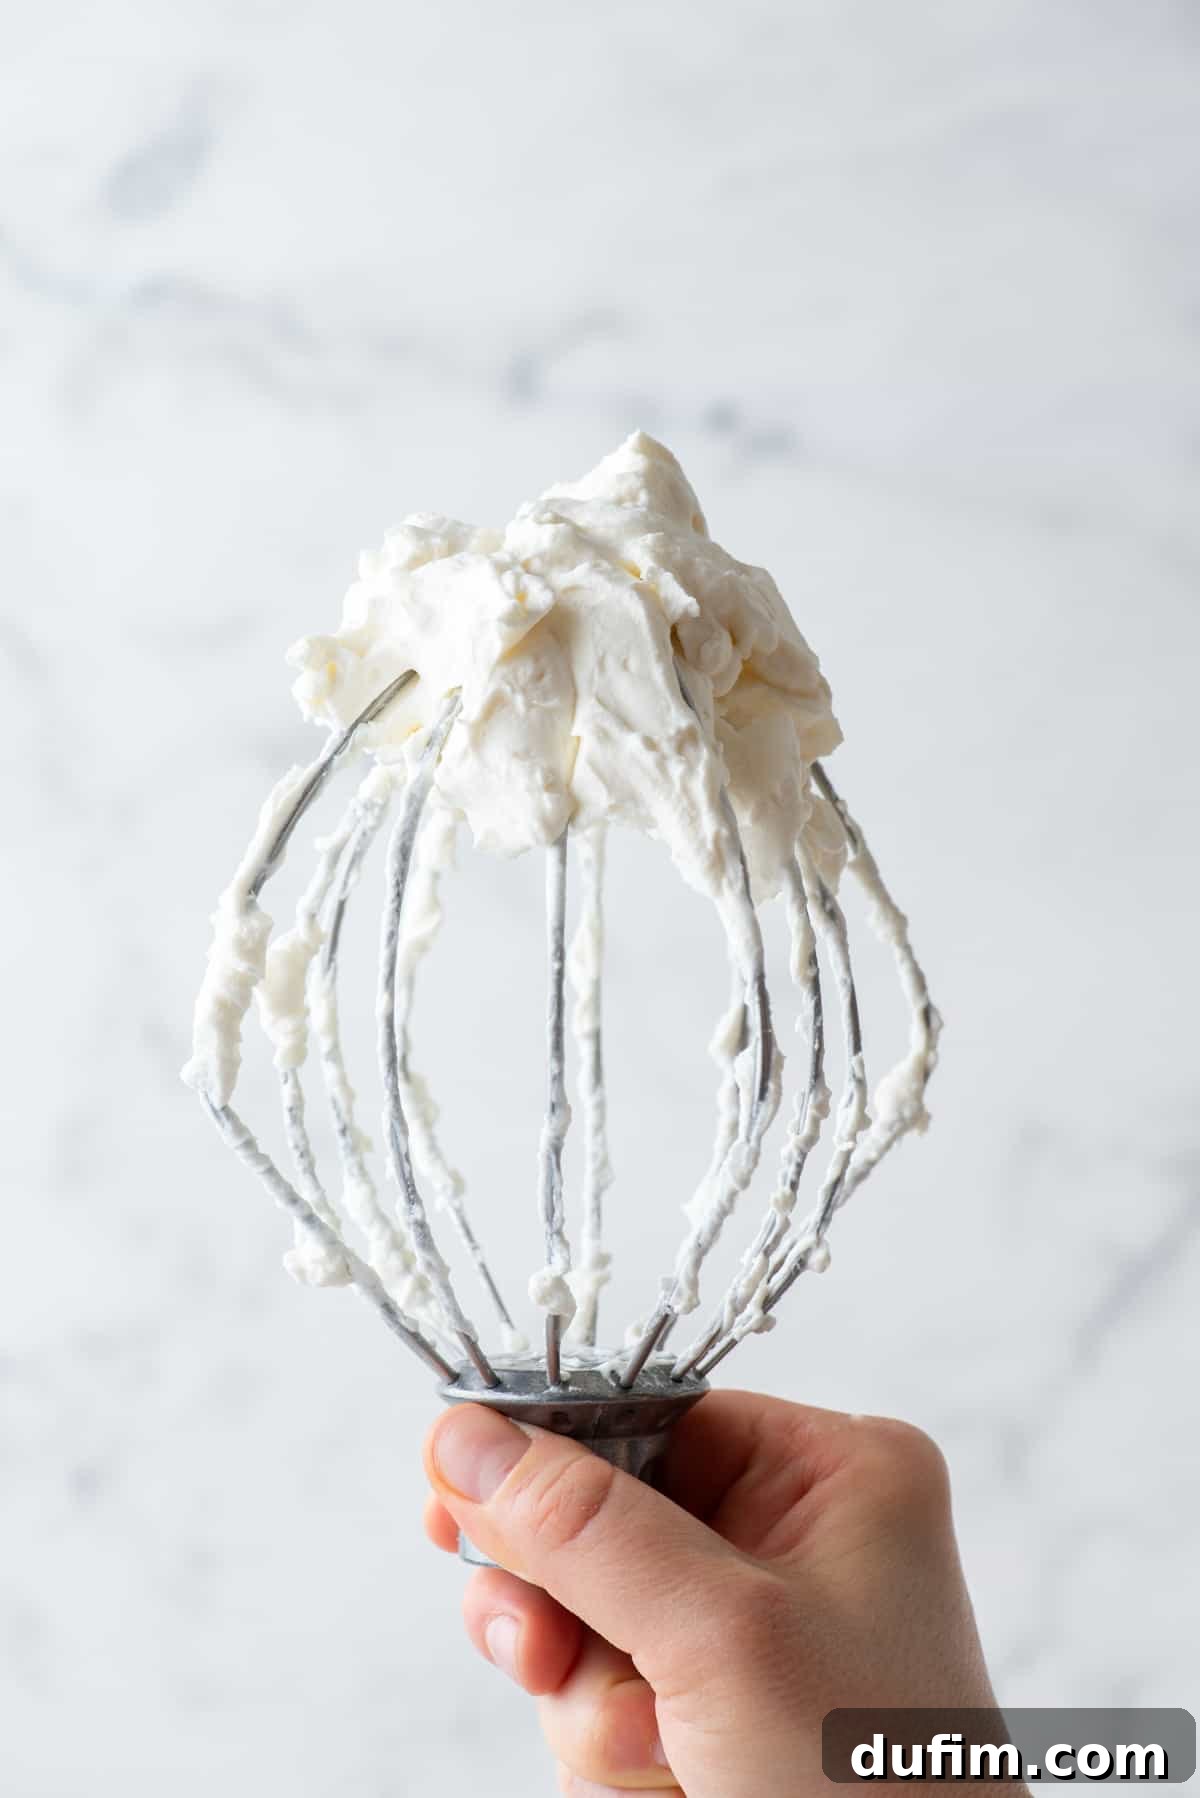
You’ll know your whipped cream is perfect when it forms “stiff peaks.” This means that when you lift the beaters from the cream, the peaks that form stand up straight and hold their shape without drooping. The cream should also be scoopable with a spoon and maintain its form. Be careful not to over-whip, as this can cause the cream to separate and become grainy, turning into butter (though this is useful if you *want* to make butter!). If you slightly over-whip, sometimes you can rescue it by gently whisking in a tablespoon or two of fresh, unwhipped heavy cream until it smooths out.
- Enjoy and Store: Versatility and Freshness
Your freshly made homemade whipped cream is now ready to transform any dessert! Spoon it generously over cakes, cupcakes, pies, fresh fruit, hot cocoa, pancakes, waffles, or any treat that calls for a delightful creamy topping. For any leftovers, transfer them to an airtight container and store them in the refrigerator. Homemade whipped cream is best enjoyed within 2-3 days to ensure optimal freshness and texture. Its natural ingredients mean it doesn’t contain the extensive stabilizers found in commercial products, so it won’t last as long, but the unparalleled flavor makes it well worth the effort.
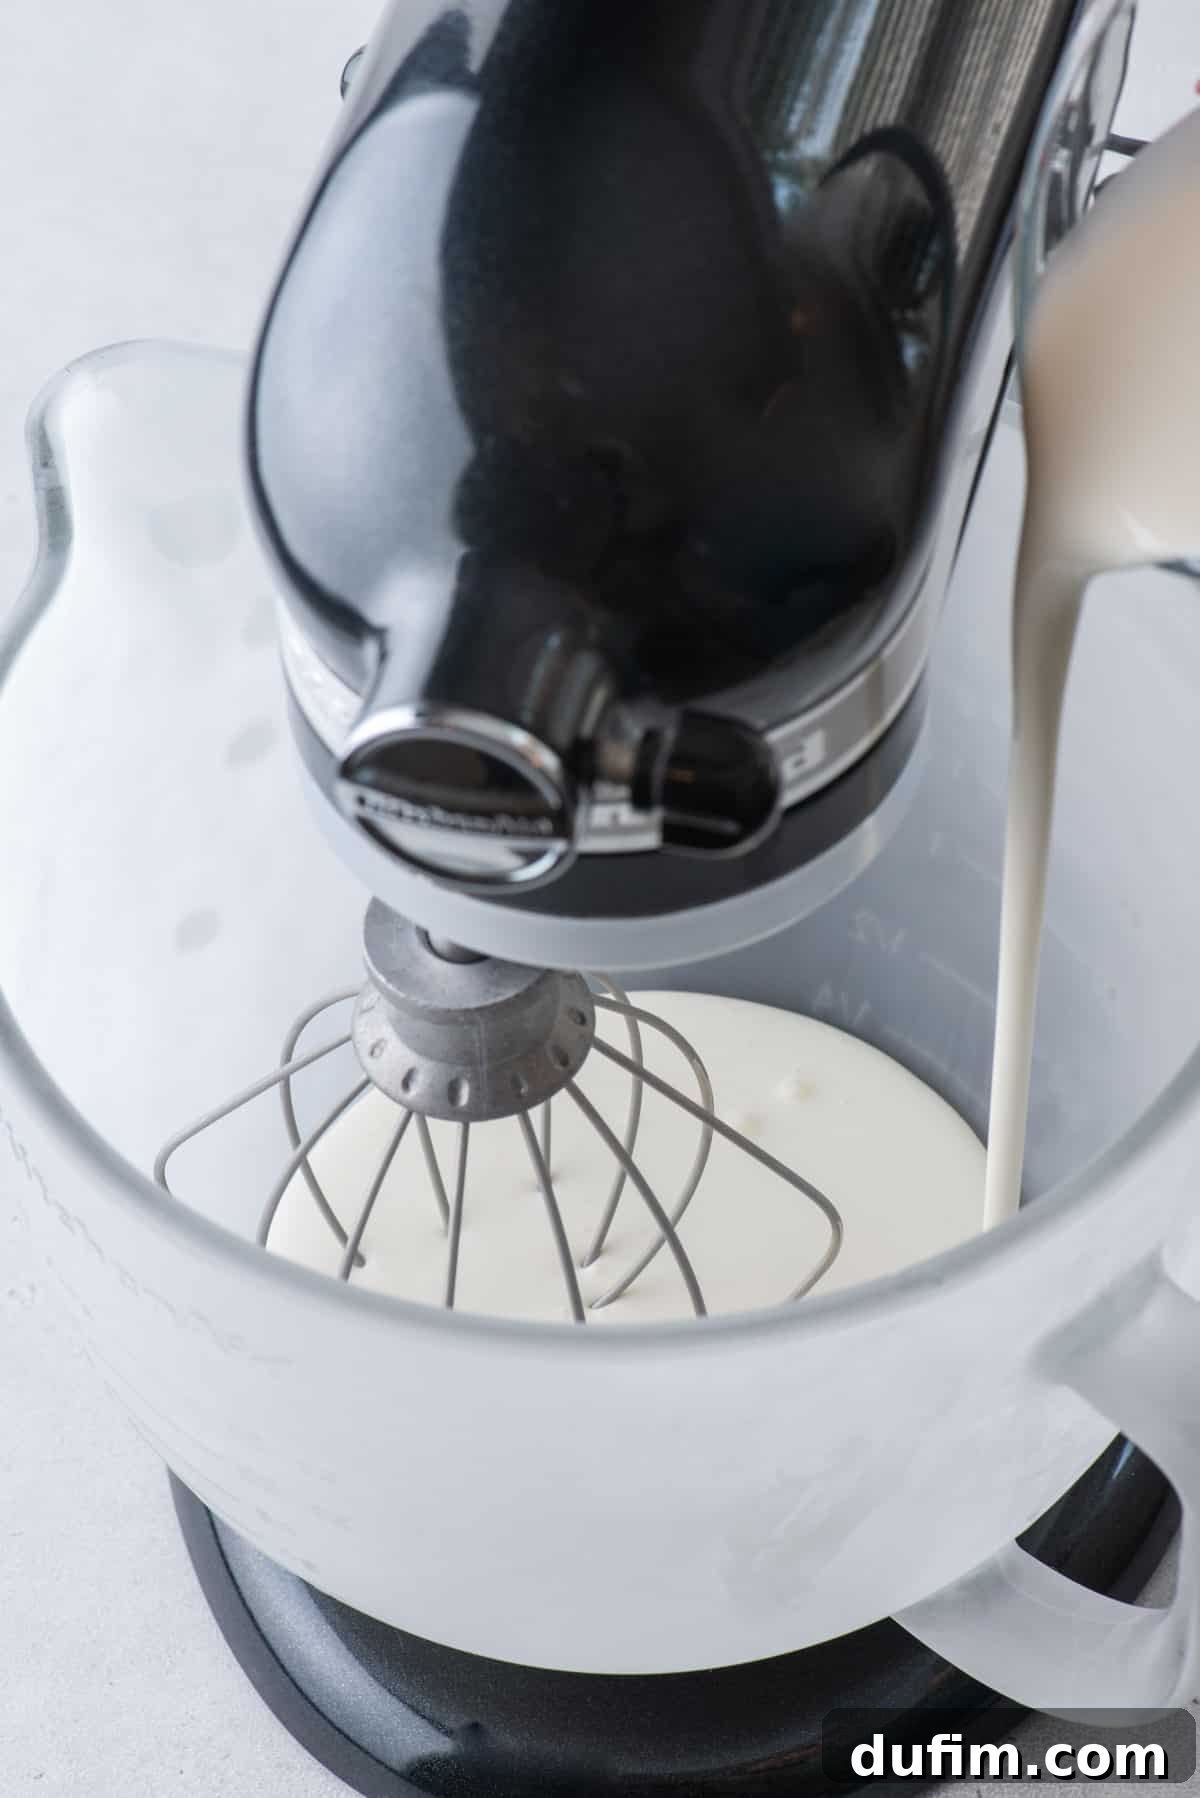
Understanding Whipped Cream Peaks: A Visual Guide
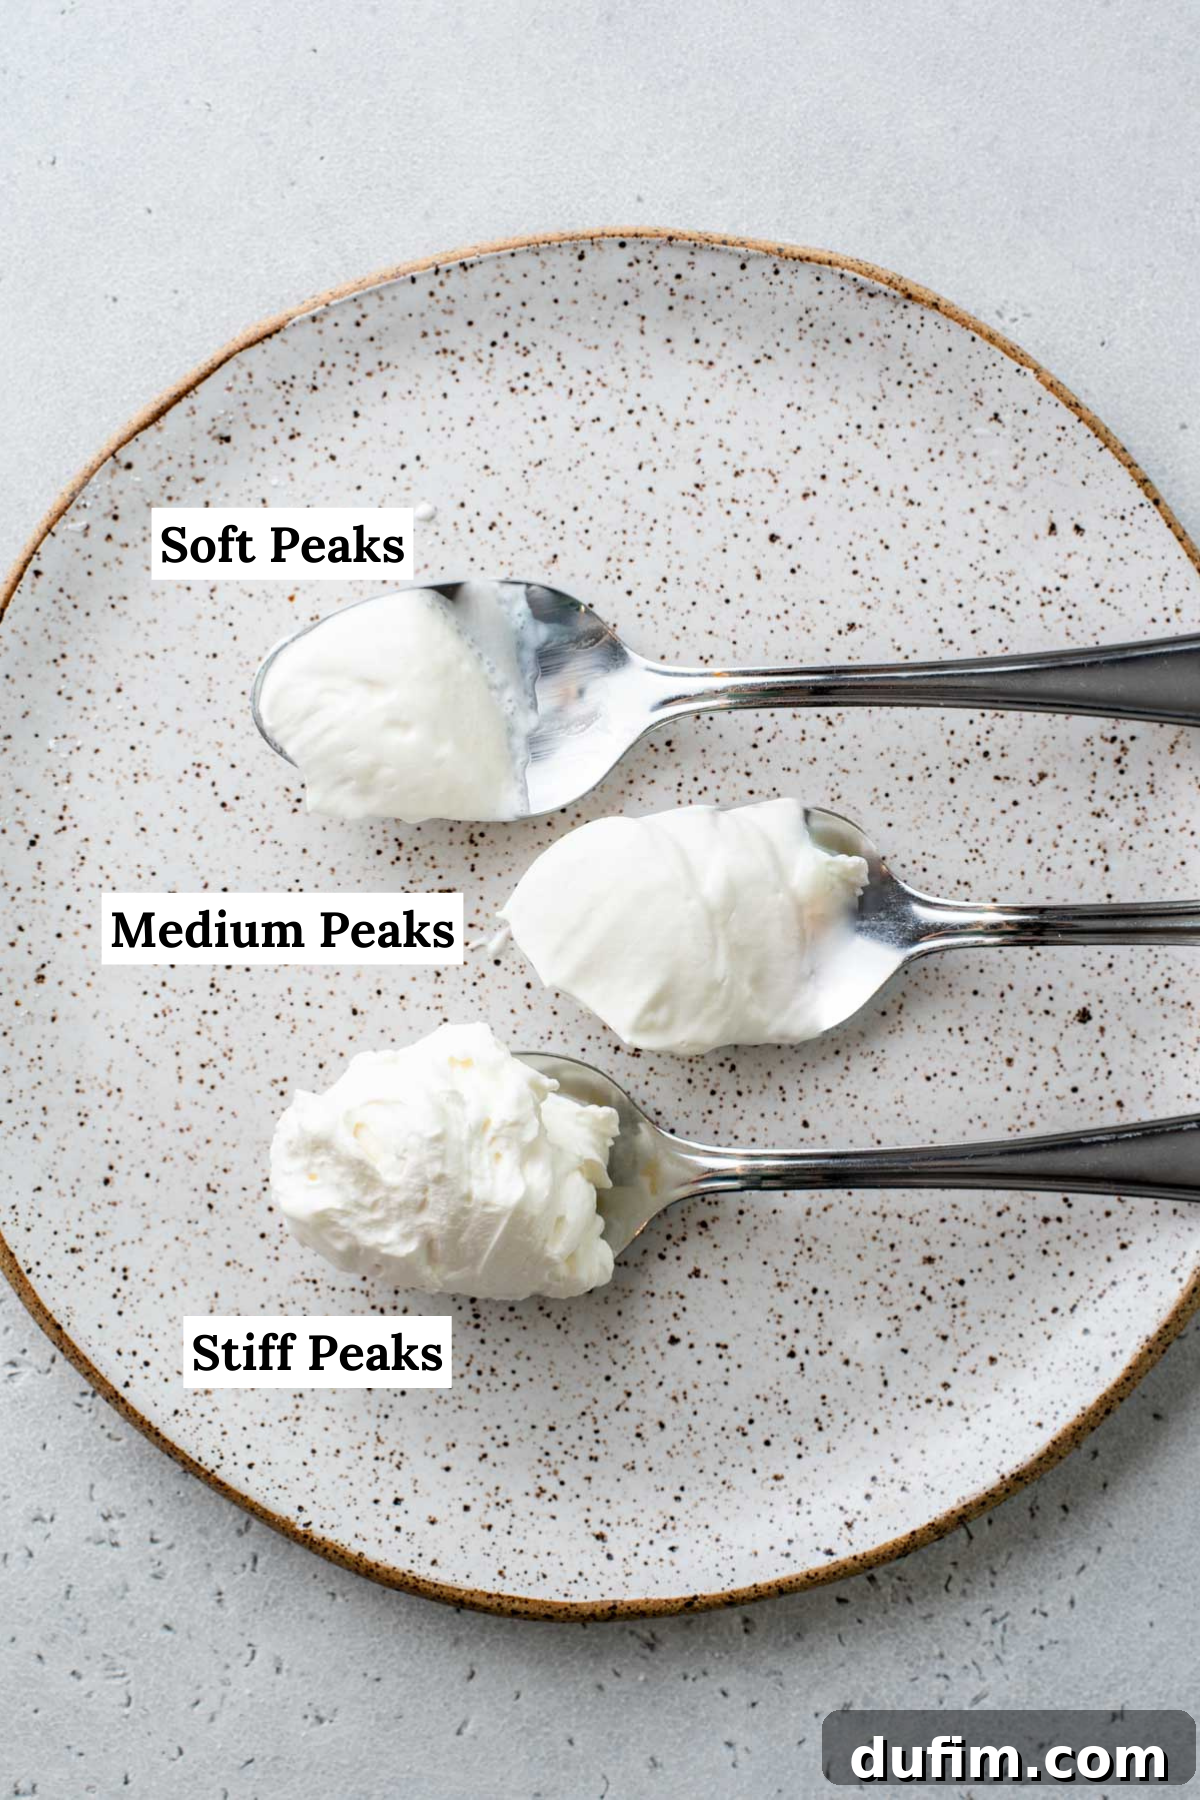
The terms “soft peaks,” “medium peaks,” and “stiff peaks” are essential indicators of your whipped cream’s texture and are achieved at different stages of the whipping process. These peaks describe how the cream holds its shape when the whisk or beaters are lifted from the mixture, guiding you to the perfect consistency for various dessert applications.
- Soft Peaks: This is the earliest stage of whipped cream. At this point, the cream has thickened and become opaque. When you lift the whisk, the cream will form gentle peaks that immediately curl or flop over at the tip, unable to hold a distinct shape. Soft peaks are ideal for a delicate, pouring consistency, perfect for drizzling over fresh fruit, adding to coffee, or creating a light, airy base for mousses.
- Medium Peaks: As you continue to whip, the cream will thicken further and incorporate more air. When the whisk is lifted, the peaks will stand up more firmly than soft peaks, but their tips will still gently curl over, like a soft serve ice cream cone. Medium peaks offer a creamy yet structured texture, suitable for dolloping onto pies, spreading over cakes, or as a lighter filling for pastries.
- Stiff Peaks: This is the fully whipped stage, characterized by a thick, stable, and very firm texture. When the whisk or beaters are lifted, the peaks will stand perfectly upright, forming sharp, distinct points without bending or collapsing. Stiff peaks are crucial for piping intricate designs, layering in trifles, filling cream puffs, or any application where strong structural integrity is required. This is the ideal stage for most dessert toppings, providing both visual appeal and a satisfying texture. Be careful not to whip beyond this point, as the cream can quickly become over-whipped and grainy.
Creative Ways to Use Your Homemade Whipped Cream
Once you master this easy homemade whipped cream recipe, a world of dessert possibilities opens up! Its light, sweet, and fresh flavor makes it an indispensable addition to both simple and elaborate creations. Here are some of our absolute favorite ways to incorporate this versatile topping:
- Classic Dessert Topping: A generous dollop instantly elevates any dessert. Think cakes, cookies, brownies, cupcakes, fruit salads, or even a simple bowl of fresh berries.
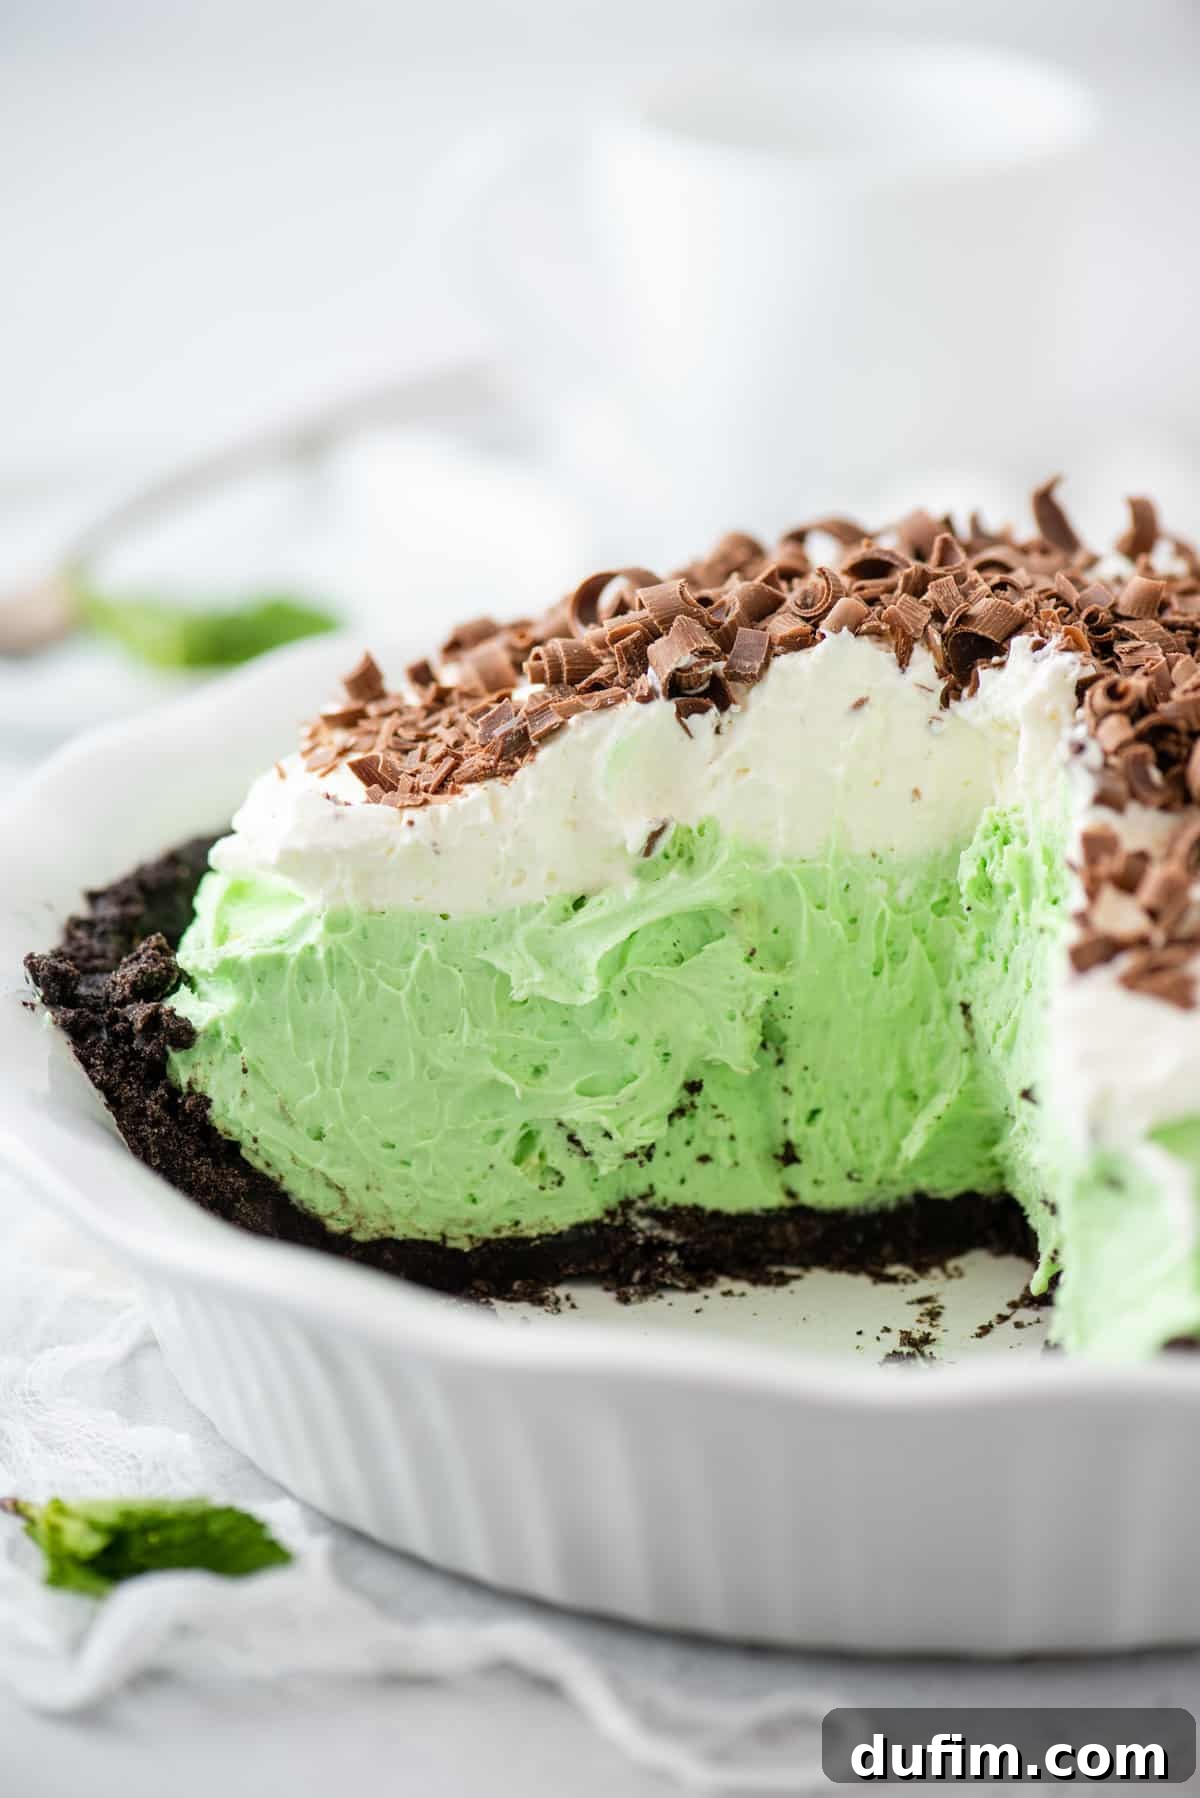
- Pie Perfector: It’s the quintessential partner for almost any pie. Top your chocolate pudding pie, grasshopper pie, eggnog pie, no-bake peanut butter pie, or a traditional pumpkin pie with this fluffy cloud of goodness.
- Sundae Sensation: No hot fudge sundae is complete without a mountain of fresh whipped cream.
- Fruity Delights: Pair it with strawberry brownies, strawberry shortcake cupcakes, or the ever-popular banana pudding for a refreshing, creamy contrast.
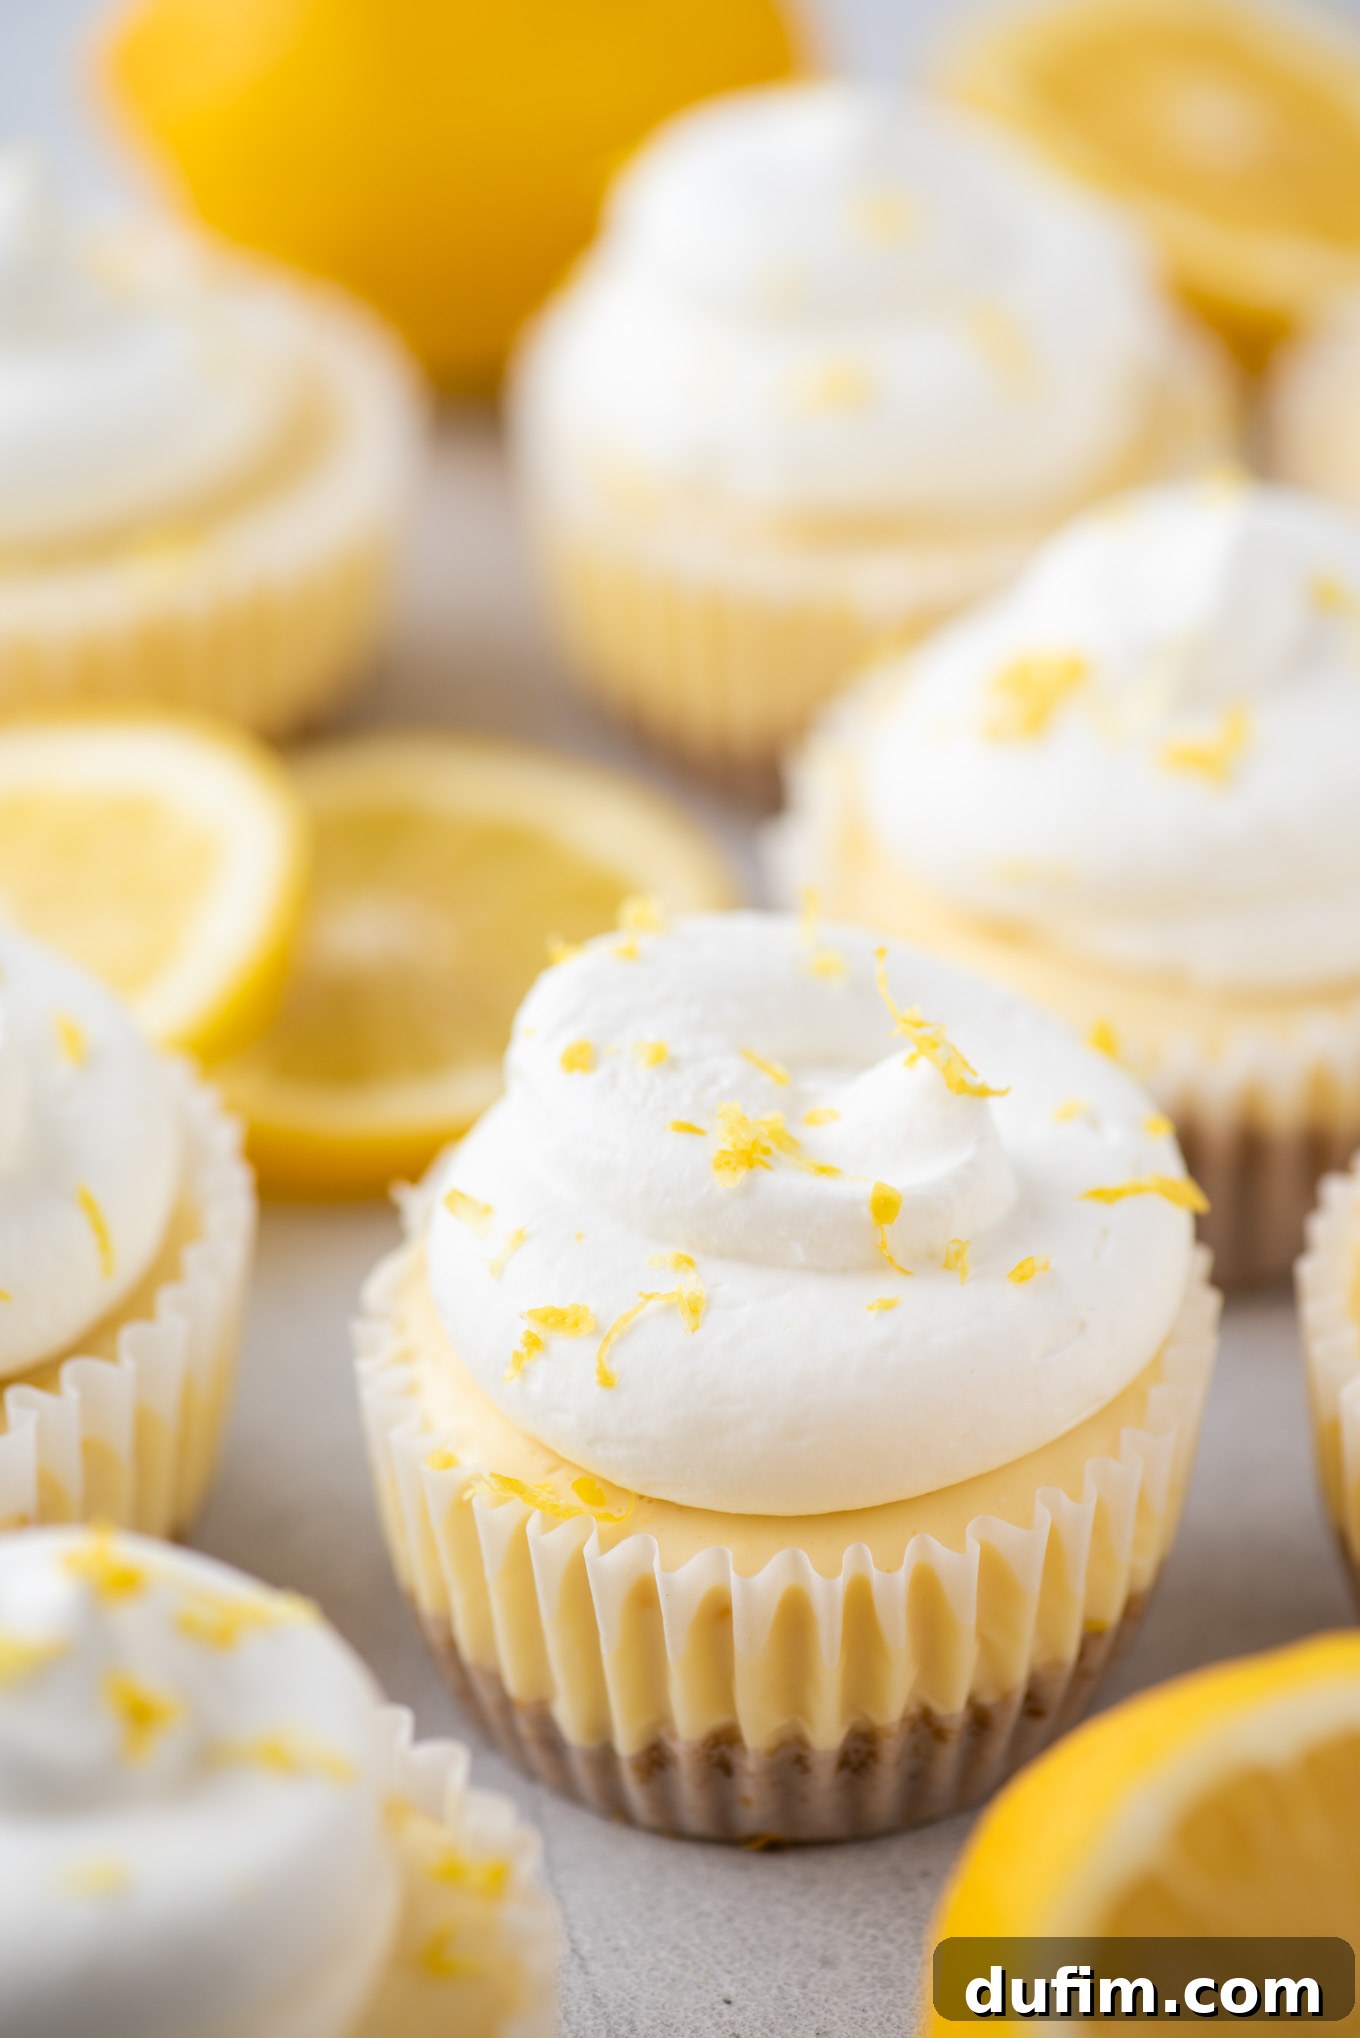
- Cheesecake Companion: A light alternative or addition to frostings, especially on delicate treats like mini lemon cheesecakes.
- Brownie Bliss: Transform your banana pudding brownies or any brownie recipe with a decadent layer.
- Hot Beverages: A swirl of whipped cream is an absolute must for indulgent hot cocoa, specialty coffees, or warm ciders during colder months.
- Dessert Fillings: Lighten up rich fillings by incorporating whipped cream. It’s fantastic in cannoli filling, between cake layers, or folded into fruit trifles and parfaits.
- Creative Flavorings: Don’t limit yourself to vanilla! Infuse your whipped cream with a hint of espresso, a touch of almond extract, or a dash of cinnamon for unique flavor twists that complement various desserts.
With its versatility and irresistible flavor, homemade whipped cream is truly the ultimate finishing touch that elevates any sweet creation.
Storing Your Homemade Whipped Cream for Optimal Freshness
Freshly made whipped cream is always best enjoyed immediately, but knowing how to properly store any leftovers ensures you can savor its deliciousness for a few more days. Unlike its highly processed store-bought counterparts, homemade whipped cream contains no artificial stabilizers or preservatives, which means its shelf life is naturally shorter.
To store your DIY whipped cream, transfer it to an airtight container. A tightly sealed container will protect it from absorbing odors from other foods in the refrigerator and help prevent it from deflating too quickly. Place the container in the coldest part of your refrigerator, typically the back of the top shelf. Stored this way, your homemade whipped cream will retain its delightful texture and flavor for up to three days. Beyond this period, it may start to lose its volume and become watery.
If you anticipate needing whipped cream for a longer duration or want to prevent it from deflating, consider making stabilized whipped cream. This involves adding a small amount of gelatin, cornstarch, or cream of tartar during the whipping process, which significantly extends its shelf life and firmness without compromising flavor. However, for most everyday uses and immediate enjoyment, this simple three-ingredient recipe is all you need for unparalleled freshness.
Frequently Asked Questions About Homemade Whipped Cream
While it’s technically possible to whip whole milk, it’s not recommended for classic whipped cream. The high-fat content of heavy cream (typically 36% or more) is essential for creating a stable, light, and airy texture. Milk has a much lower fat percentage, meaning it won’t hold air as effectively and will result in a much thinner, less stable foam that quickly deflates. If you must use milk, you would need to add a powerful stabilizer like gelatin, but for the best results, always opt for cold heavy cream.
Several factors contribute to maintaining fluffy whipped cream. Firstly, always start with very cold heavy cream and chill your mixing bowl and beaters beforehand. The cold environment helps fat globules stabilize the air bubbles. Secondly, the addition of powdered sugar (confectioners’ sugar) not only sweetens but also contains a small amount of cornstarch, which acts as a mild stabilizer. Lastly, avoid over-whipping, as this can cause the fat to separate, leading to a grainy texture and eventual deflation. Whipping just until stiff peaks form is key.
The ultimate secret lies in temperature control and proper technique. Always use exceptionally cold heavy cream directly from the refrigerator. Additionally, pre-chilling your mixing bowl (preferably metal or glass) and your beaters (from an electric mixer or stand mixer whisk attachment) in the freezer for 15-20 minutes beforehand makes a world of difference. This cold environment promotes faster whipping and creates a much more stable, voluminous, and long-lasting whipped cream. Begin whipping on a lower speed and gradually increase to high, keeping a close eye on the texture to stop precisely when stiff peaks are achieved.
Yes, you can make whipped cream a few hours in advance or up to 3 days if stored properly. For best results, it’s ideal to whip it just before serving. However, if preparing ahead, store it in an airtight container in the coldest part of your refrigerator. If it loses a bit of its fluffiness, you can gently re-whisk it for 30 seconds to refresh its texture before serving. For longer storage or for a more robust structure, consider adding a stabilizer like gelatin.
If you over-whip cream, it will begin to separate, developing a grainy, curdled texture as the fat clumps together. If you’ve only slightly over-whipped it and it’s just a bit grainy, you might be able to rescue it by gently whisking in a tablespoon or two of fresh, unwhipped cold heavy cream. This can sometimes smooth out the texture. However, if it has progressed too far and truly separated into butter and buttermilk, it’s beyond repair for whipped cream purposes, but congratulations – you’ve just made butter!
Rated 5 out of 5 stars by 4 users.
DIY Whipped Cream
Beth
10 minutes
8
Print Recipe
Equipment
-
Glass Mixing Bowl
-
Electric Hand Mixer
-
Kitchen Scale (optional, for precise measurements)
Ingredients
- 2 cups (473ml) cold heavy whipping cream, 1 pint
- ½ cup (56g) powdered sugar
- 1 tsp vanilla extract
Instructions
-
Place a metal or glass mixing bowl and beaters in the freezer for 15 minutes to chill thoroughly.
-
Remove the chilled bowl and beaters from the freezer. Add the cold heavy cream, powdered sugar, and vanilla extract. Beat with an electric mixer on high speed for 4-5 minutes, or until stiff peaks form and the cream is scoopable and holds its shape firmly. Be careful not to over-whip.
-
Serve your freshly made whipped cream immediately on cakes, cupcakes, pies, hot cocoa, or any preferred dessert. Store any leftovers in an airtight container in the refrigerator for up to 3 days.
Nutrition Information (per serving)
Calories: 232kcal
|
Carbohydrates: 9g
|
Protein: 2g
|
Fat: 21g
|
Saturated Fat: 14g
|
Polyunsaturated Fat: 1g
|
Monounsaturated Fat: 5g
|
Cholesterol: 67mg
|
Sodium: 16mg
|
Potassium: 57mg
|
Sugar: 9g
|
Vitamin A: 869IU
|
Vitamin C: 0.4mg
|
Calcium: 39mg
|
Iron: 0.1mg
Nutrition Disclosure
All nutritional values are approximate and provided to the reader as a courtesy. Changing ingredients and/or quantities will alter the estimated nutritional calculations.
Enjoyed this recipe? Share your thoughts and tell us how you used your delicious homemade whipped cream in the comments below!