
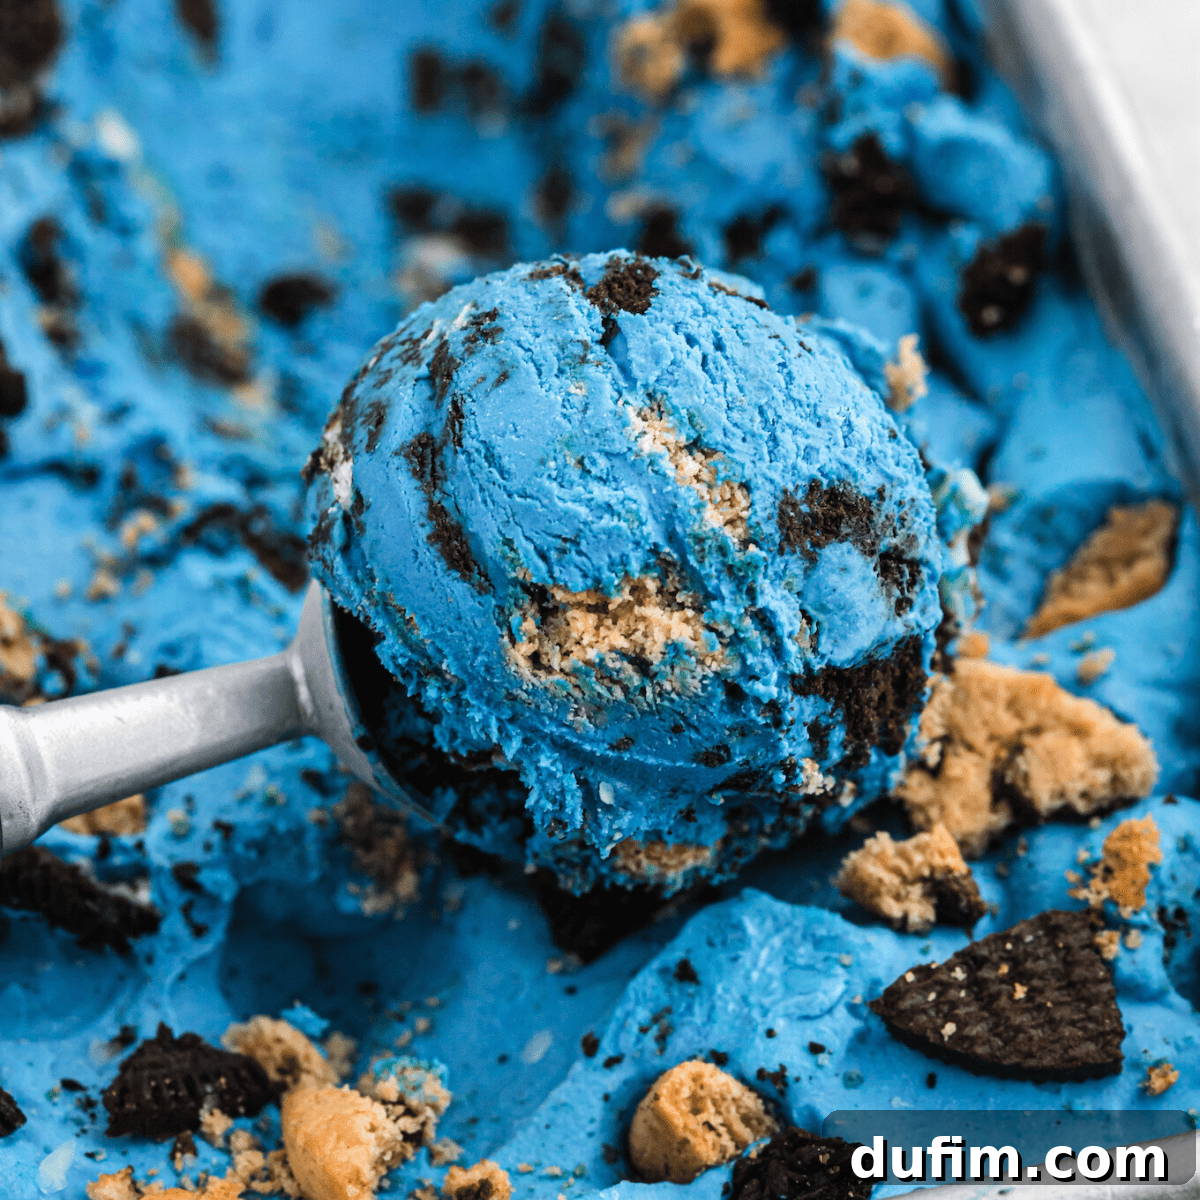
After dedicating countless hours in the kitchen, experimenting and perfecting an array of delightful ice cream recipes (it’s a tough job, but someone’s got to do it!), I am thrilled to finally share my ultimate Cookie Monster Ice Cream recipe with you. This vibrant blue, cookie-packed dessert is an absolute family favorite, guaranteed to bring smiles to faces of all ages. The best part? You can whip up this creamy, dreamy treat right in your own home with no special equipment – that’s right, no ice cream maker or prior experience required!
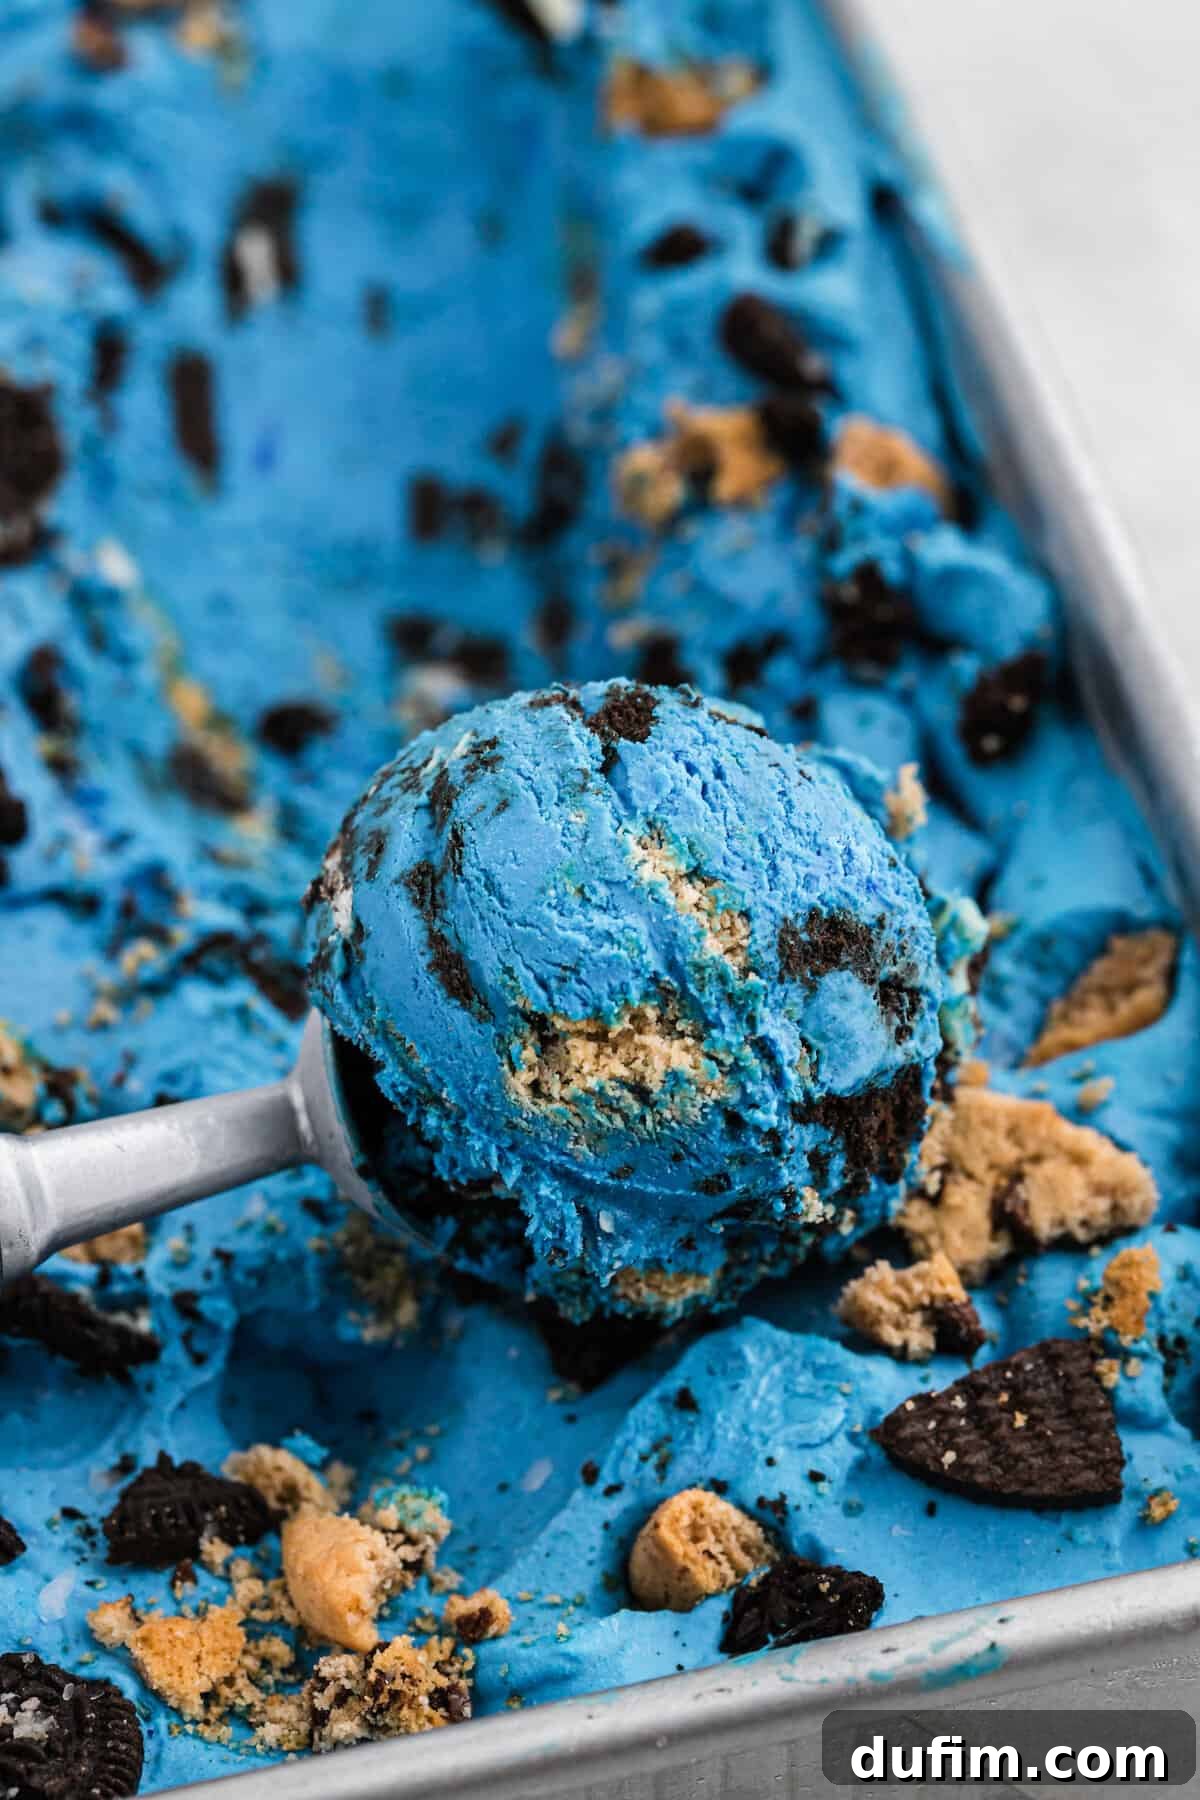
“Great recipe! I had a Sesame Street theme for my twins’ 2nd birthday. This ice cream turned out so great!”
-BC
Indulge in Homemade Cookie Monster Ice Cream: The Ultimate No-Churn Recipe!
Forget complicated churning and constant stirring; our no-cook, no-churn Cookie Monster Ice Cream recipe is designed for maximum flavor with minimal effort. Unlike traditional ice cream recipes that rely on granulated sugar and extensive cooking, our method ingeniously uses sweetened condensed milk and heavy whipping cream to create an exceptionally rich and creamy base. Granulated sugar, if not properly dissolved, can lead to undesirable icy textures in homemade ice cream. However, sweetened condensed milk, already a thick, syrupy consistency, integrates seamlessly into the mixture, ensuring a consistently smooth and luscious result.
This ingenious combination of sweetened condensed milk and heavy whipping cream is the secret behind achieving a luxurious, dense ice cream without the need for an expensive ice cream maker. Instead of churning, you’ll simply whip the heavy cream until it transforms into light, airy peaks. This process incorporates vital air into the mixture, which is crucial for a soft, scoopable texture, eliminating the need for constant stirring every 30 minutes, a common tedious step in many other no-churn ice cream recipes. The result is a delightfully fluffy yet rich ice cream that perfectly captures the essence of cookies and milk, but in a much more exciting, frozen form. Keep reading to unlock all my insider tips and tricks for creating this show-stopping dessert!
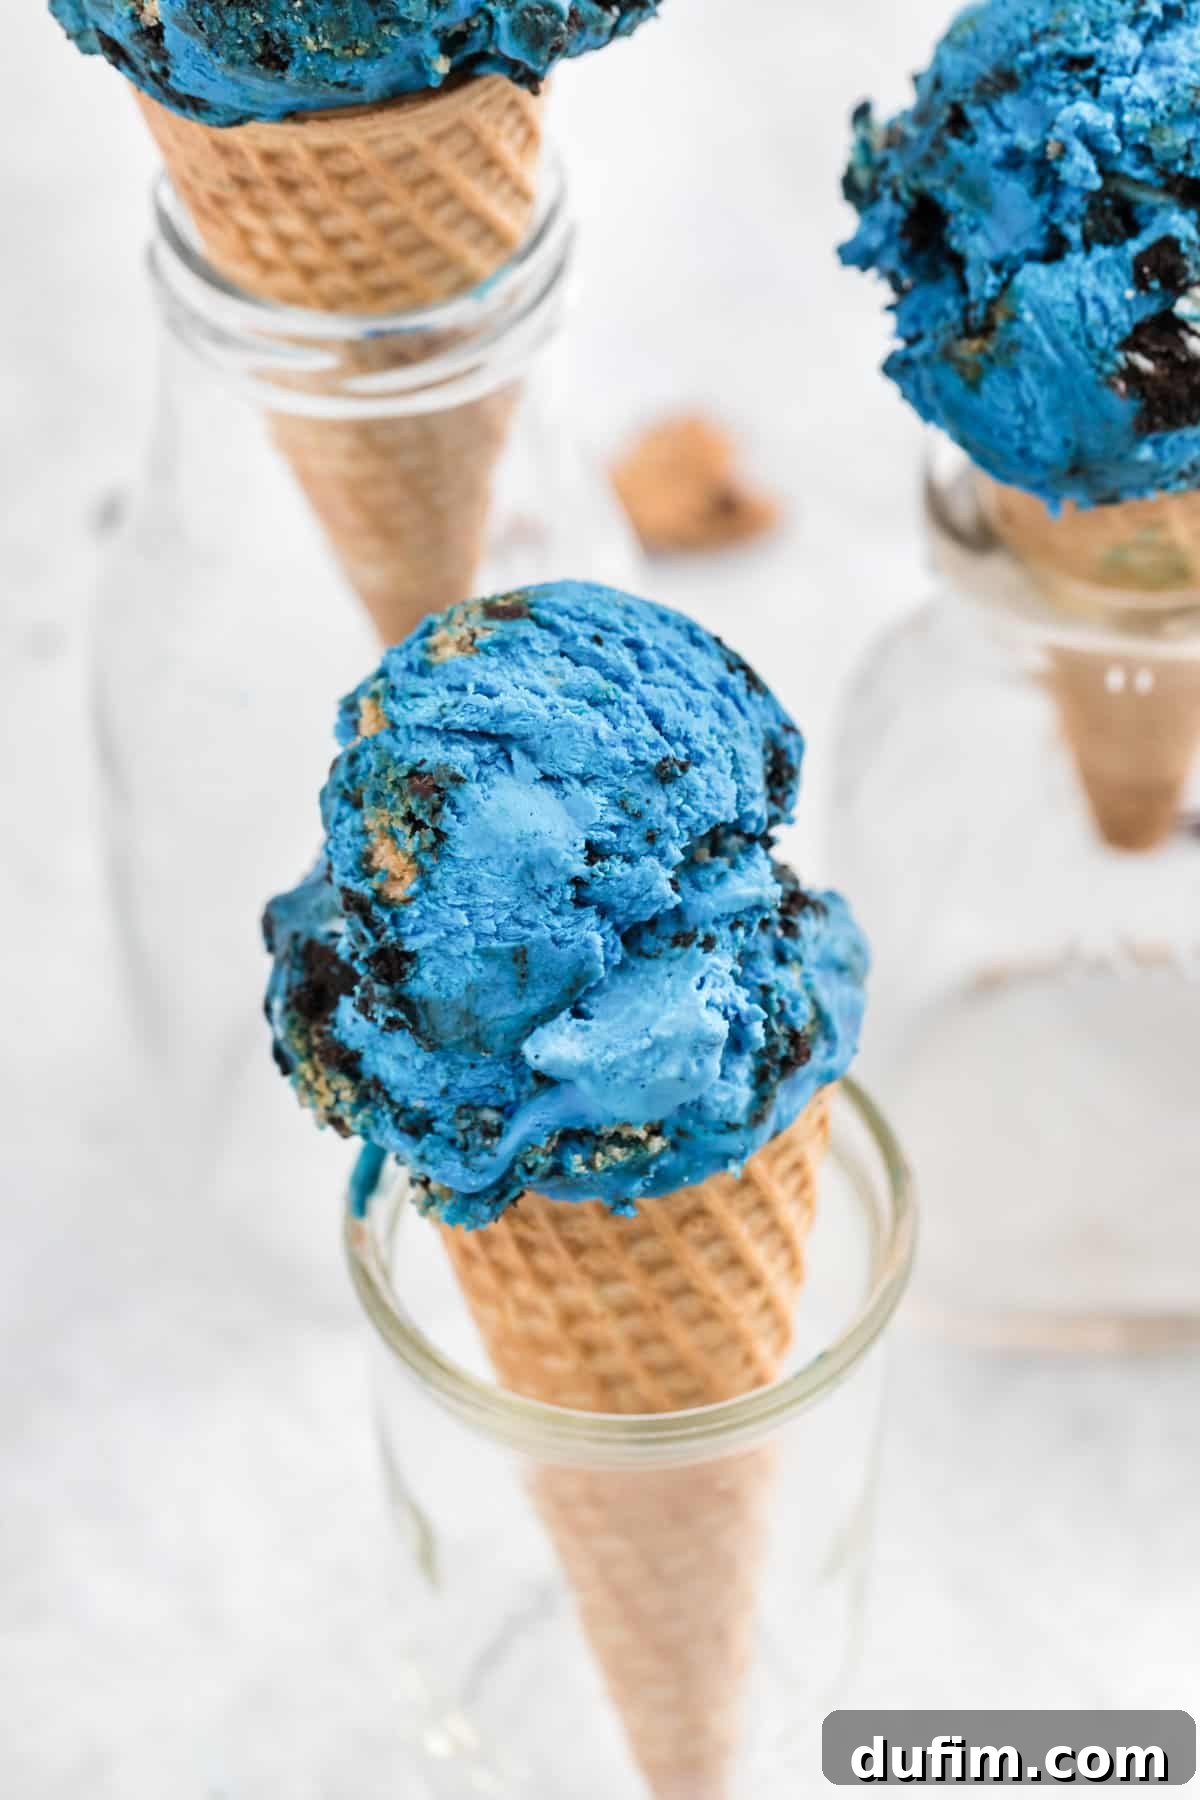
The Magic Behind No Ice Cream Maker: Achieving Perfect Creaminess
Many people dream of making homemade ice cream but are deterred by the specialized equipment required. Happily, there are several fantastic ways to make ice cream without an ice cream machine, and the method utilized in this recipe is truly revolutionary. We bypass the traditional milk-based custard, which often requires cooking and tempering, and instead build our base around heavy whipping cream. This allows the ice cream mixture to simply be frozen in a standard loaf pan or any freezer-safe container, completely sidestepping the need for continuous churning.
The science behind this no-churn marvel lies in the act of whipping the heavy cream. As you beat the cream, air is incorporated, and its fat molecules form a stable, intricate scaffolding. Within this structure, the water content of the cream is suspended and evenly distributed. When this aerated whipped cream is gently folded into the other ingredients, the delicate structure remains intact, ensuring that the tiny water droplets are dispersed throughout the entire ice cream mixture. This even distribution is key to preventing the formation of large ice crystals, which are the main culprit behind gritty or icy homemade ice cream.
While the underlying chemistry may sound a bit technical, the practical outcome is wonderfully straightforward: your ice cream will freeze into a smooth, gloriously scoopable, and undeniably creamy consistency. You get all the indulgence of traditionally churned ice cream, but with none of the hassle or specialized machinery. This method truly democratizes the art of homemade ice cream, making it accessible to every home cook.
Essential Ingredients for Your Blue Cookie Monster Treat
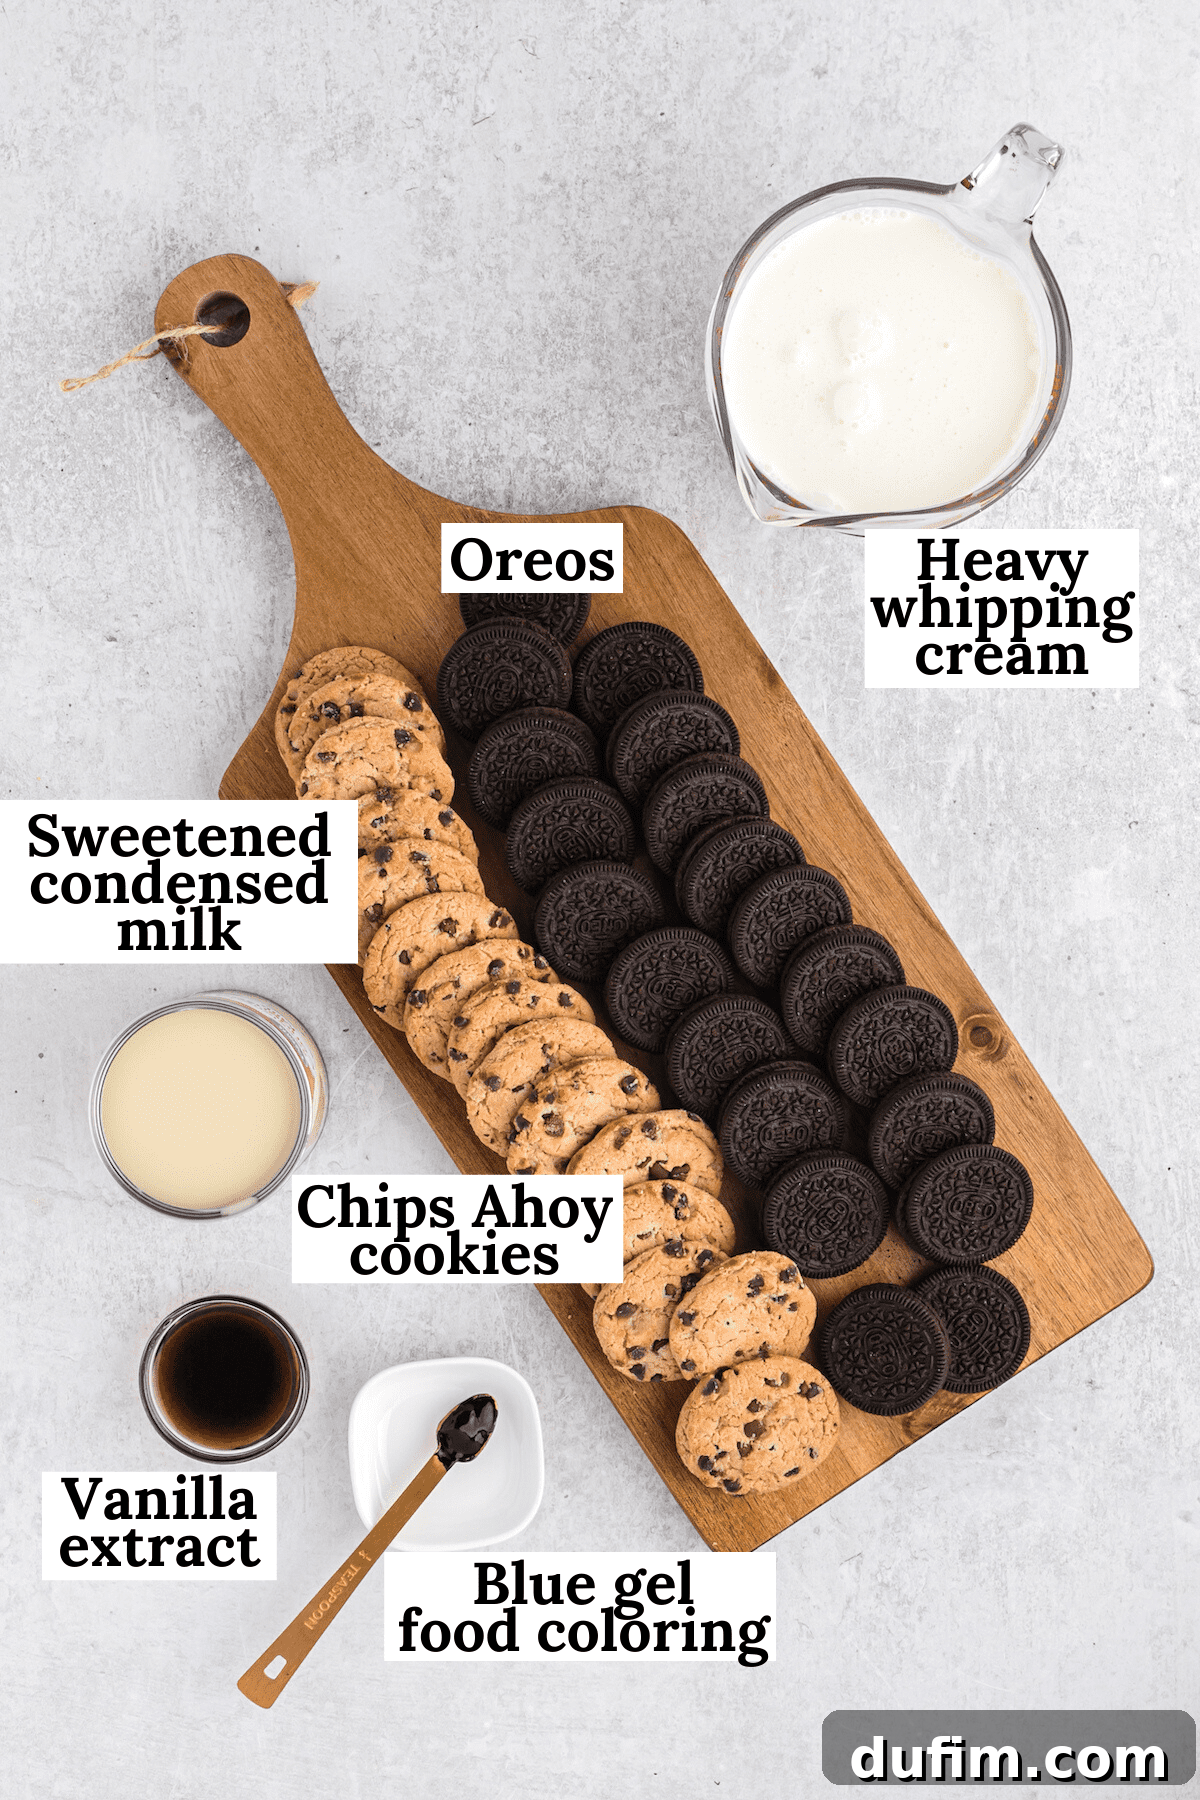
Crafting this iconic blue treat requires just a handful of readily available ingredients. Each plays a crucial role in achieving the signature taste and texture. Below, you’ll find a detailed breakdown of what you’ll need and why each component is important.
- Heavy Whipping Cream: This is the star of our no-churn recipe. You absolutely cannot substitute this with half-and-half or whole milk. The high fat content of heavy whipping cream is what allows it to whip into stiff peaks, creating the essential airy and creamy base that sets this no-churn method apart. Without it, your ice cream will be icy and lack the desired texture.
- Vanilla Extract: A classic and indispensable flavoring agent, vanilla extract enhances the overall sweetness and provides a warm, inviting backdrop to the cookie flavors. Use a good quality pure vanilla extract for the best results.
- Blue Gel Food Coloring: To achieve that unmistakable, vibrant Cookie Monster blue, gel food coloring is highly recommended. I personally use AmeriColor brand for its exceptional pigmentation. We’ll delve deeper into why gel is superior to liquid coloring shortly, but it’s crucial for intense color without adding excess liquid.
- Sweetened Condensed Milk: This ingredient serves multiple purposes. It provides the perfect level of sweetness, contributes to the incredibly creamy consistency, and helps prevent ice crystals from forming. Its thick, syrupy texture means it blends smoothly without the granulation issues that can arise from undissolved sugar.
- Oreos: The beloved chocolate sandwich cookies add a fantastic crunch and rich chocolatey flavor. Chopped Oreos are a cornerstone of the Cookie Monster theme.
- Chips Ahoy Cookies: Complementing the Oreos, Chips Ahoy cookies (or any store-bought/homemade chocolate chip cookies) bring a different texture and classic chocolate chip flavor. If you have homemade chocolate chip cookies on hand, they would be an incredible addition!
Is Gel Food Coloring the Same as Regular Food Coloring?
This is a common question, and the answer is a definitive no, they are not the same! Gel food coloring is significantly different from the liquid food coloring typically found in most grocery stores. The primary distinction lies in their concentration and consistency.
Gel food coloring boasts a much deeper, more intense color in a smaller, thicker volume. This means you need considerably less gel to achieve a vibrant hue compared to liquid coloring. While you could technically achieve a similar blue shade with regular liquid food coloring, you would need to add a substantial amount. Introducing excessive liquid into your ice cream base can dramatically alter its texture and consistency, making it thinner, more watery, and prone to becoming icy. This is precisely why I strongly recommend using gel food coloring for this Cookie Monster Ice Cream recipe.
Though liquid food coloring is widely available, gel food coloring is also quite easy to find. You can purchase it at most craft stores like Michaels, many large supermarkets, or conveniently online through retailers like Amazon. Just be aware that because of its high pigmentation, the blue food coloring in this recipe can temporarily stain your tongue (and sometimes your fingers!) while you’re enjoying the ice cream. If this is a concern, or if you prefer a more natural look, you can certainly make this ice cream without the food coloring. It might not be *quite* as visually fun or “monster-like,” but rest assured, it will be just as wonderfully delicious!
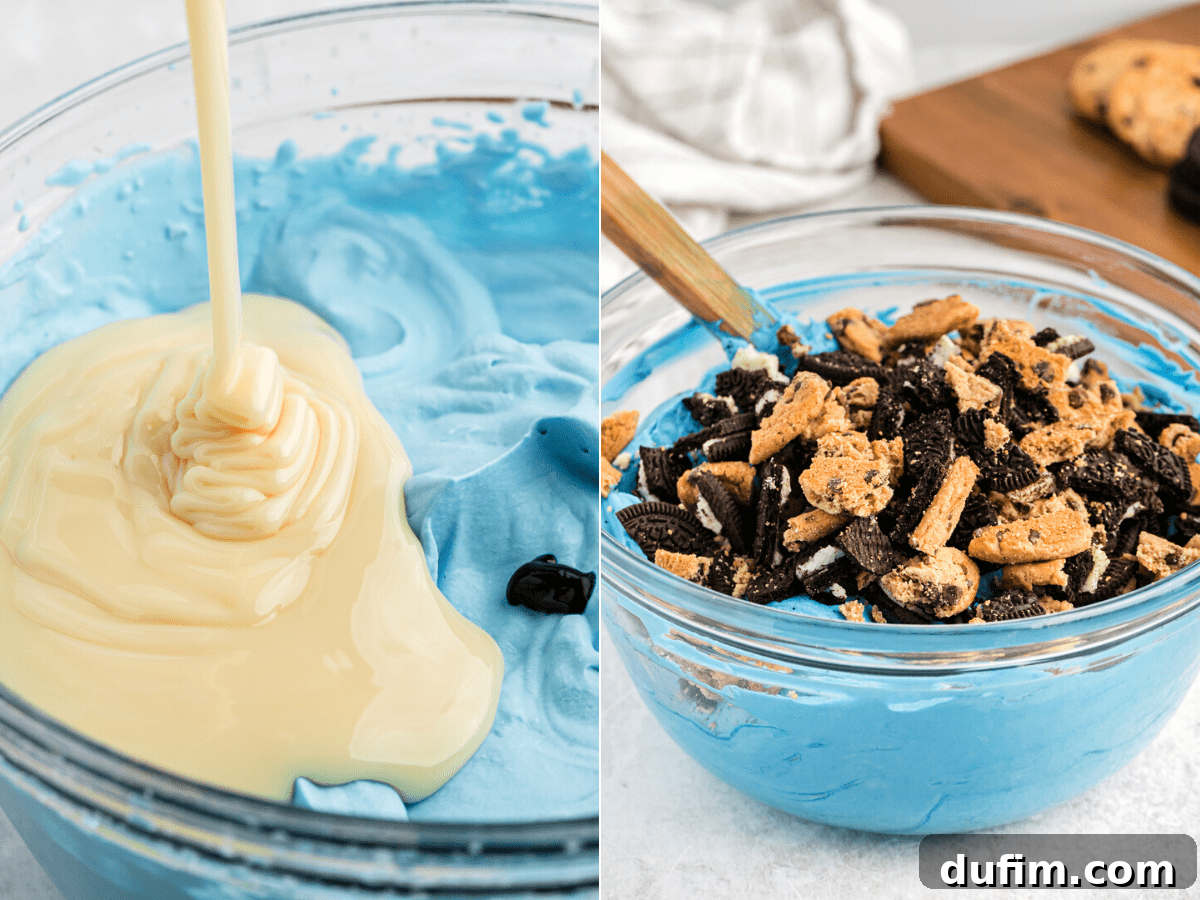
How to Make Cookie Monster Ice Cream: A Simple Guide
One of the greatest advantages of using whipped heavy cream as the foundation for your ice cream is the sheer simplicity of the method. Not only does it eliminate the need for an ice cream machine, but it also frees you from the tedious requirement of checking the freezer and stirring the ice cream every 30 minutes, a common step in many other no-churn recipes. Here’s a detailed, effortless guide to creating your own batch of this delightful blue treat:
- Whip the Cream to Stiff Peaks: Begin by combining the chilled heavy whipping cream, a generous splash of vanilla extract, and your vibrant blue gel food coloring in a large mixing bowl. For best results, use either a stand mixer fitted with the whisk attachment or a powerful handheld electric mixer. Beat the mixture on medium-high speed until firm, stiff peaks form. This means when you lift the beater, the peaks should stand upright without drooping or curling at the tips. This step is critical for the creamy texture!
- Gently Combine Remaining Ingredients: Once your stiff peaks are achieved, carefully pour the sweetened condensed milk into the bowl. Switch your mixer to a low speed and beat just until the condensed milk is fully incorporated into the whipped cream. Be careful not to overmix at this stage, as you want to maintain the airiness of the cream. If you desire an even deeper, more intense blue color, you can add a few more drops of gel food coloring now. Finally, gently fold in the chopped Oreos and chocolate chip cookies using a spatula. Mix until the cookies are evenly distributed throughout the blue ice cream base.
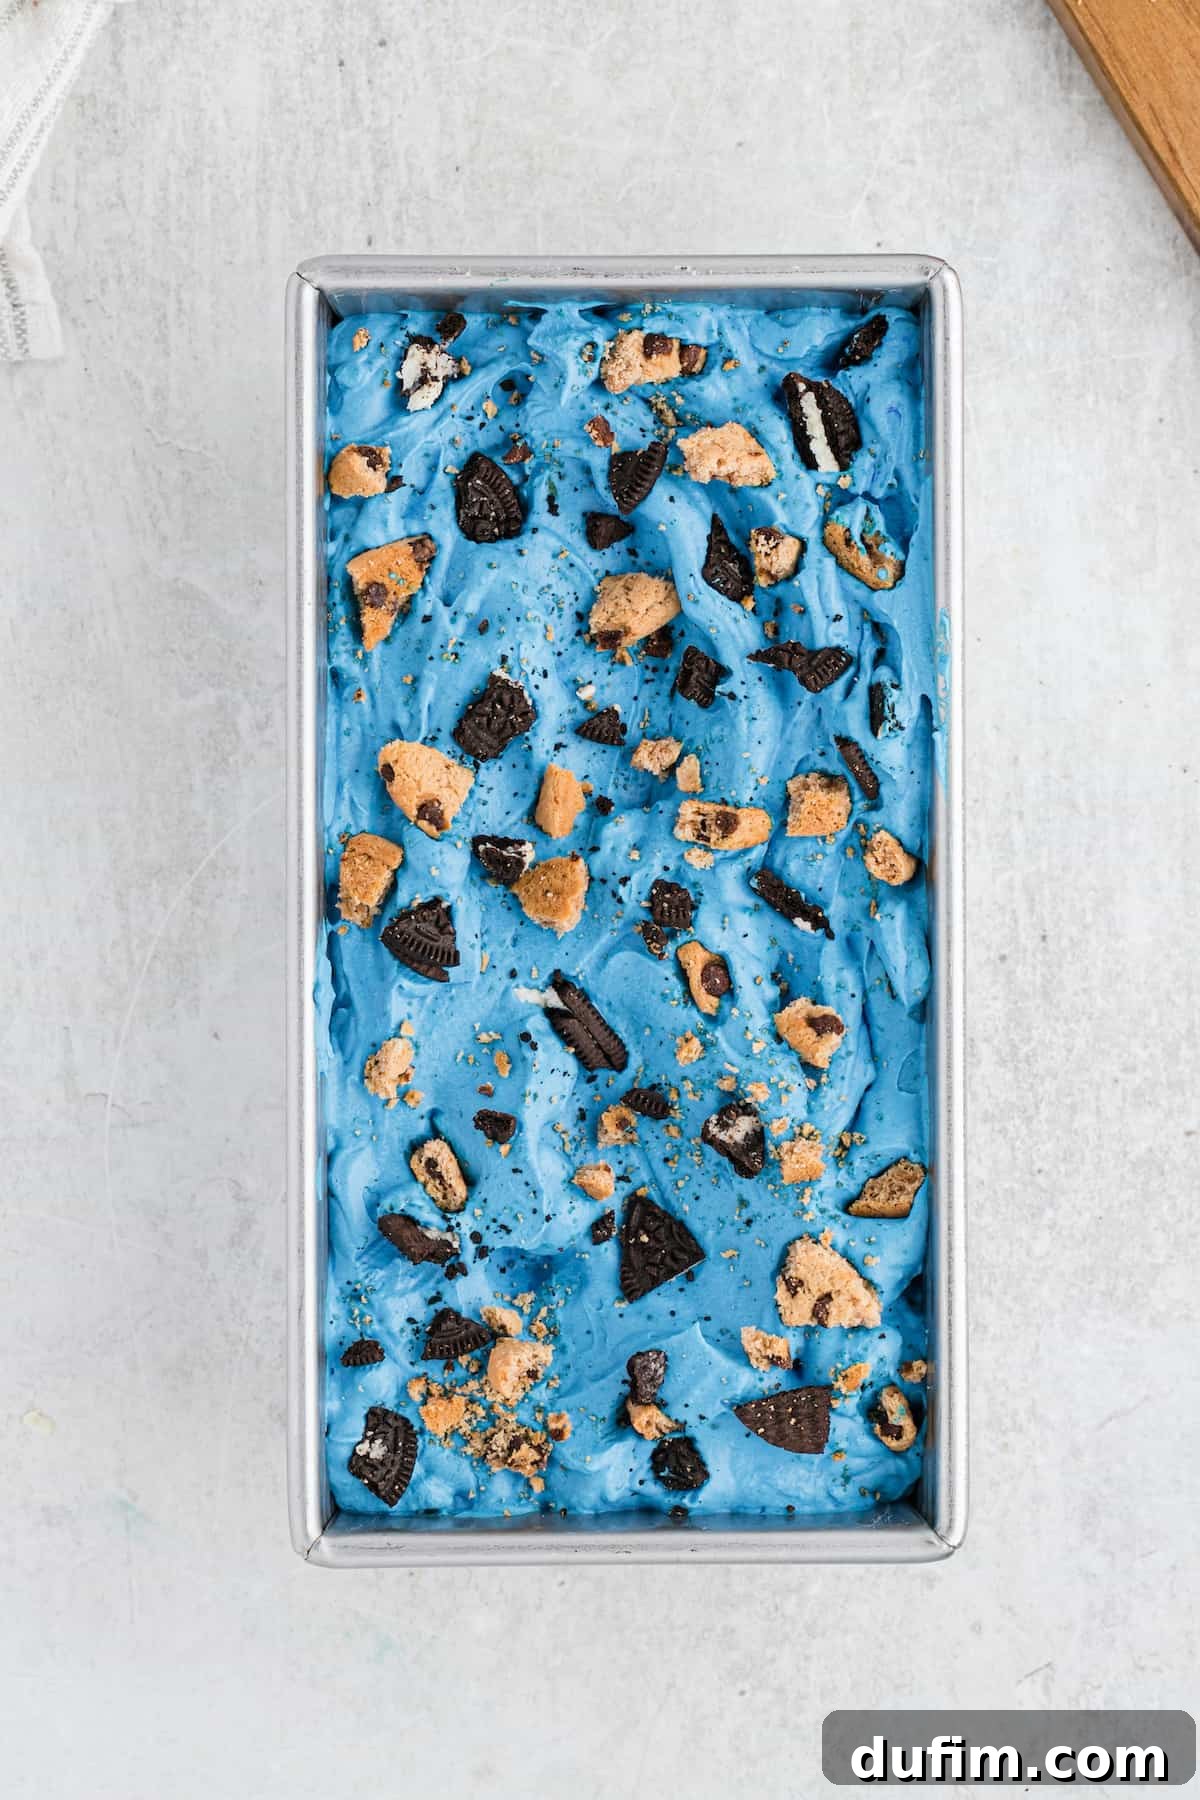
- Freeze for Perfection: Carefully transfer the beautiful blue ice cream mixture into a loaf pan (a standard 9×5 inch pan works perfectly), an 8-inch square cake pan, or any similar freezer-safe container. For an extra touch of visual appeal and cookie goodness, scatter a few additional chopped cookie pieces over the top of the ice cream. Cover the pan tightly with plastic wrap or a secure lid. This prevents freezer burn and keeps your ice cream fresh. Place the covered pan in the freezer for a minimum of 6 hours. For the absolute best consistency and firmest set, allowing it to freeze overnight is highly recommended.
Preparation and Freezing Times
This recipe is incredibly quick to prepare, leaving most of the work to your freezer. Here’s a breakdown of the time commitment:
- Chopping Cookies: Approximately 3 minutes for both Oreos and Chips Ahoy.
- Whipping Cream: Around 5 minutes to beat heavy cream to stiff peaks.
- Combining Ingredients: Roughly 3 minutes to fold in condensed milk and cookies.
- Freezing Time: At least 6 hours, with overnight being ideal for optimal results.
Expert Tips for Irresistibly Delicious Cookie Monster Ice Cream
While this homemade Cookie Monster Ice Cream recipe is wonderfully simple, a few expert tips can elevate your creation from great to absolutely perfect. Pay attention to these details to ensure a flawless batch every time:
- Mastering Stiff Peaks: The concept of “stiff peaks” is crucial for this no-churn method. As we discussed, the fat in the whipped cream forms a stable scaffolding that traps air, preventing ice crystal formation. You’ll know you’ve achieved stiff peaks when you lift the whisk or beater from the cream, and the peaks that form stand straight up without any tips curling or drooping. If they flop over, keep beating! Be careful not to overbeat, however, as you could end up with butter.
- Nailing the Perfect Mix-In Size: The size of your chopped Oreos and chocolate chip cookies might seem minor, but it significantly impacts the eating experience. If your cookie pieces are too large, you might not get a satisfying crunch in every single bite. Conversely, if they’re chopped too finely, they risk disappearing into the creamy ice cream base, losing their textural contrast. The sweet spot for cookie pieces is approximately 1/2-inch in size. This medium chop ensures you get a delightful burst of cookie in nearly every spoonful without overpowering the smooth ice cream.
- Customizing Your Cookie Creations (Base Remains Sacred): Feel free to get creative with your cookie choices! While the combination of Oreos and Chips Ahoy is classic, you can certainly use all Oreos, all chocolate chip cookies, or even experiment with other types of sturdy cookies like shortbread or peanut butter cookies. However, it is absolutely vital that you do not swap out or alter the proportions of the base ingredients: heavy whipping cream and sweetened condensed milk. These two ingredients are meticulously balanced to ensure the perfect creamy, no-churn texture. Changing their quantities will undoubtedly alter how the recipe turns out, potentially leading to an icy or overly dense result.
- Chilling Your Equipment: For best results when whipping cream, place your mixing bowl and whisk attachment in the freezer for 10-15 minutes before you start. Cold equipment helps the cream whip up faster and achieve stiffer peaks more easily.
- Preventing Freezer Burn: After transferring the ice cream to its freezing container, always ensure it is tightly covered. Plastic wrap pressed directly onto the surface of the ice cream, followed by a lid, provides an excellent barrier against air, which is the primary cause of freezer burn.
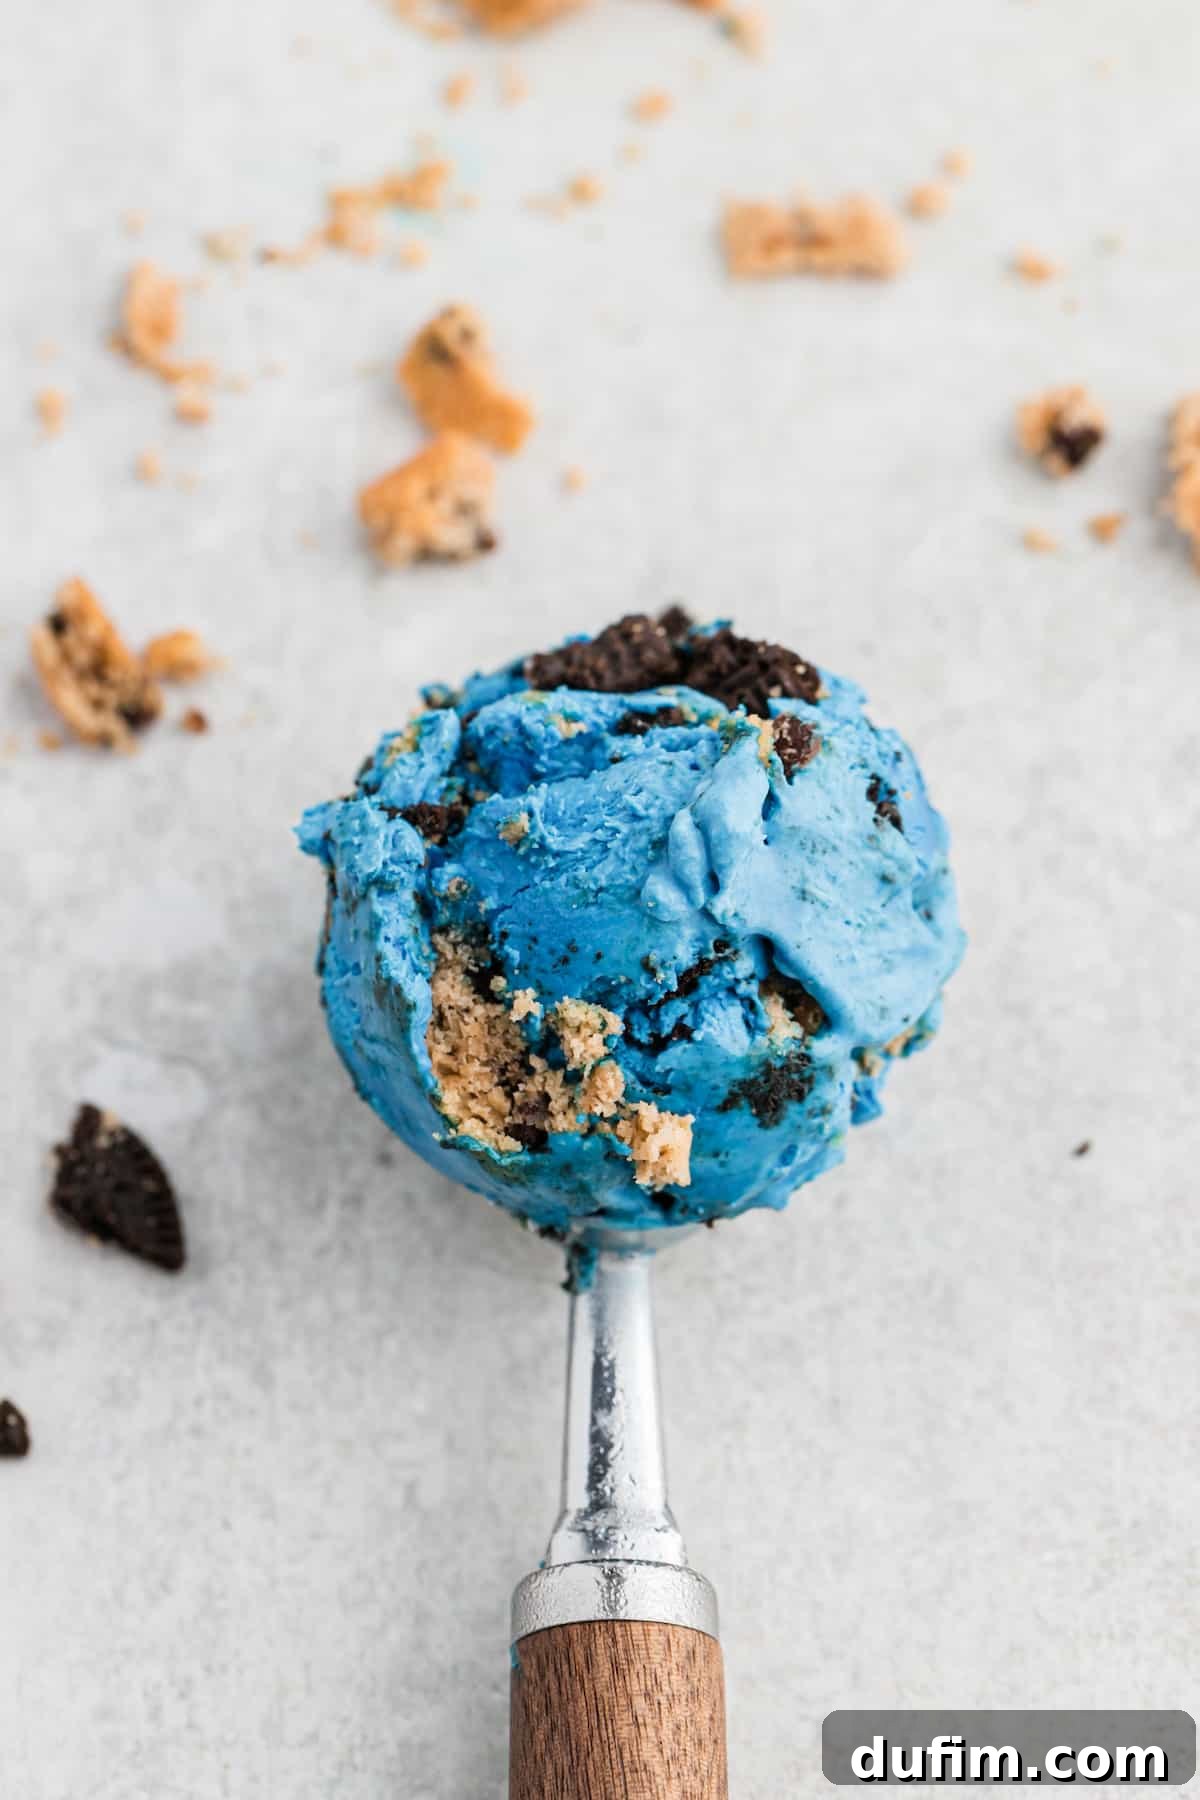
Creative Ways to Serve Your Blue Monster Ice Cream
This delightful Cookie Monster Ice Cream is versatile and perfect for any occasion! Its charming blue hue and cookie-packed goodness make it an instant hit, especially ideal for a Sesame Street themed first birthday party. Of course, it’s always delicious scooped into a classic cone, but here are some other fantastic ways to enjoy it:
- Homemade Ice Cream Sandwiches: Elevate your dessert game by sandwiching a generous scoop between two soft and chewy chocolate chip cookies. For an extra touch, roll the edges in sprinkles!
- Gourmet Sundaes: Serve a few scoops in a stylish bowl, topped with a whole cookie, a dollop of homemade Chocolate Whipped Cream, and a vibrant maraschino cherry for a stunning presentation.
- The Ultimate Party Pairing: For any celebration, serve alongside complementary desserts like Oreo Cake, classic Chocolate Chip Cookie Bars, or festive Funfetti Cupcakes to create an unforgettable dessert spread.
- Milkshake Magic: Blend a few scoops with a splash of milk for an incredibly rich and indulgent Cookie Monster milkshake.
- Brownie à la Mode: Serve a warm, fudgy brownie with a scoop of cold, blue Cookie Monster ice cream on top for a delightful contrast in temperature and flavor.
How to Store Your Homemade Monster Ice Cream
To maintain its optimal texture and flavor, store your Cookie Monster Ice Cream tightly covered in its freezing pan. Place a layer of plastic wrap directly onto the surface of the ice cream before adding a lid to prevent ice crystals from forming and ward off freezer burn. When stored correctly, your delicious homemade ice cream will remain fresh and delightful for up to two weeks in the freezer.
Craving More Homemade Ice Cream? Explore These Recipes!
If you’ve fallen in love with the simplicity and deliciousness of homemade ice cream, be sure to check out these other fantastic recipes:
- Classic Oreo Ice Cream
- Rich Mocha Almond Fudge Ice Cream
- Decadent Bananas Foster Ice Cream Pie
- Irresistible Snickers Bar Ice Cream Cake
Tap stars to rate!
Cookie Monster Ice Cream
Rate Recipe
Print Recipe
Equipment
- Large Mixing Bowl
- Electric Mixer (Stand or Handheld)
- Loaf Pan or 8-inch Cake Pan
Ingredients
- 2 cups (473ml) heavy whipping cream (1 pint)
- 1 Tbsp vanilla extract
- ½ tsp Blue gel food coloring (AmeriColor brand recommended)
- 14 oz (396g) can sweetened condensed milk
- 20 Oreos, chopped
- 15 Chips Ahoy Cookies, chopped
Instructions
- In a large mixing bowl, using either a stand mixer or a handheld mixer, beat the heavy whipping cream, vanilla extract, and blue gel food coloring until stiff peaks form.
- Add the sweetened condensed milk into the bowl, beating on low speed just until fully combined. Add additional blue food coloring if needed to achieve your desired shade of blue.
- Gently fold in the chopped Oreos and chopped Chips Ahoy cookies using a spatula. Transfer the ice cream mixture to a loaf pan, an 8-inch cake pan, or a similar freezer-safe container. Scatter additional Oreo and cookie pieces on top for garnish. Cover the pan tightly with plastic wrap or a lid and freeze for at least 6 hours; freezing overnight is preferred for best results.
Video Tutorial
A video showcasing the preparation of Cookie Monster Ice Cream, from whipping the cream to folding in the cookies and freezing, is available here. The video provides a visual guide to ensure perfect results, demonstrating how this no-churn recipe delivers creamy, cookie-filled deliciousness without an ice cream maker.
Notes
- It is highly recommended to use gel food coloring instead of liquid food coloring. Gel food coloring offers a more intense color without adding excess liquid, which can affect the ice cream’s texture. Be aware that the blue gel food coloring may temporarily stain your tongue when consumed. If preferred, you can omit the food coloring; the ice cream will still be delicious, just not blue!
- For optimal freshness and to prevent freezer burn, store the Cookie Monster Ice Cream tightly covered in its pan. It will keep well in the freezer for up to two weeks.
Nutrition Information (Per Serving)
Calories: 487kcal | Carbohydrates: 51g | Protein: 6g | Fat: 29g | Saturated Fat: 16g | Polyunsaturated Fat: 3g | Monounsaturated Fat: 8g | Trans Fat: 0.1g | Cholesterol: 69mg | Sodium: 216mg | Potassium: 281mg | Fiber: 1g | Sugar: 38g | Vitamin A: 806IU | Vitamin C: 1mg | Calcium: 149mg | Iron: 3mg
Nutrition Disclosure
All nutritional values provided are approximate and are offered to the reader as a courtesy. Please note that changing ingredients and/or quantities will alter the estimated nutritional calculations.
Like this recipe? Rate and comment below!
Your feedback helps us create more delicious content.