
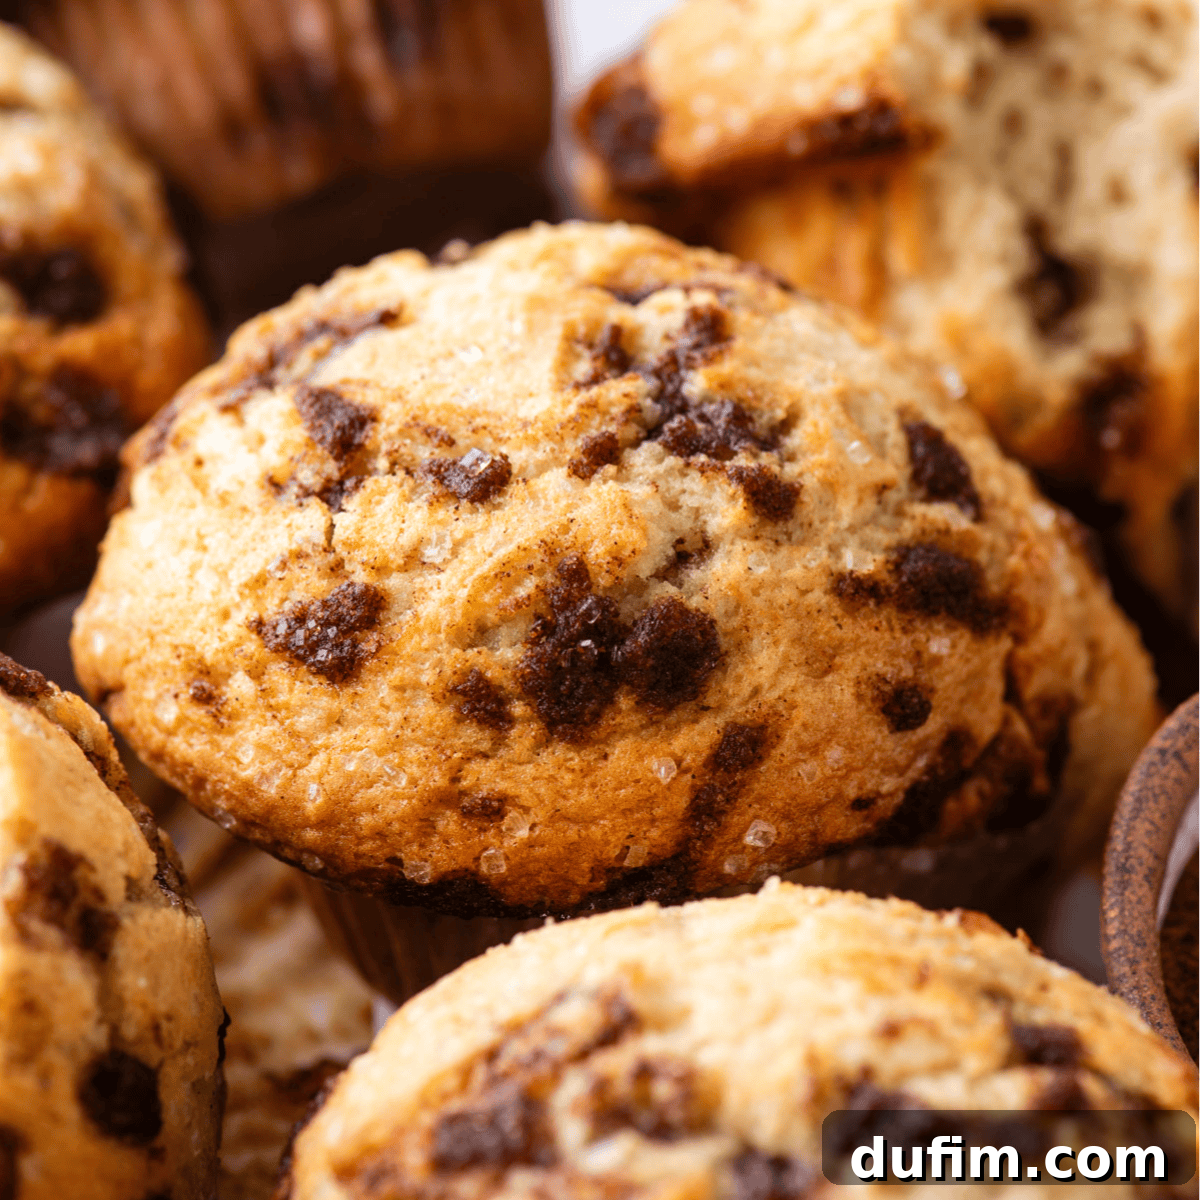
Prepare to bake the ultimate cinnamon chip muffins that rival any bakery creation. Our meticulously tested recipe, perfected over six batches, guarantees a fluffy texture, impressive tall domes, and a burst of warm cinnamon flavor in every bite. The secret? Irresistibly rich homemade cinnamon chips that melt beautifully into the tender crumb. Even if you’re new to baking, this guide, crafted by a self-taught baker, cookbook author, and recognized “muffin expert,” will empower you to bake with absolute confidence and achieve professional-level results.
“OMG! These are the bomb! Thank you, thank you, thank you for this recipe. They made my house smell so good and had wonderful buttery, cinnamon flavor! I filled the cups ABOVE the top and they came out huge! The second batch, I filled them even higher and they were enormous!”
-Susan
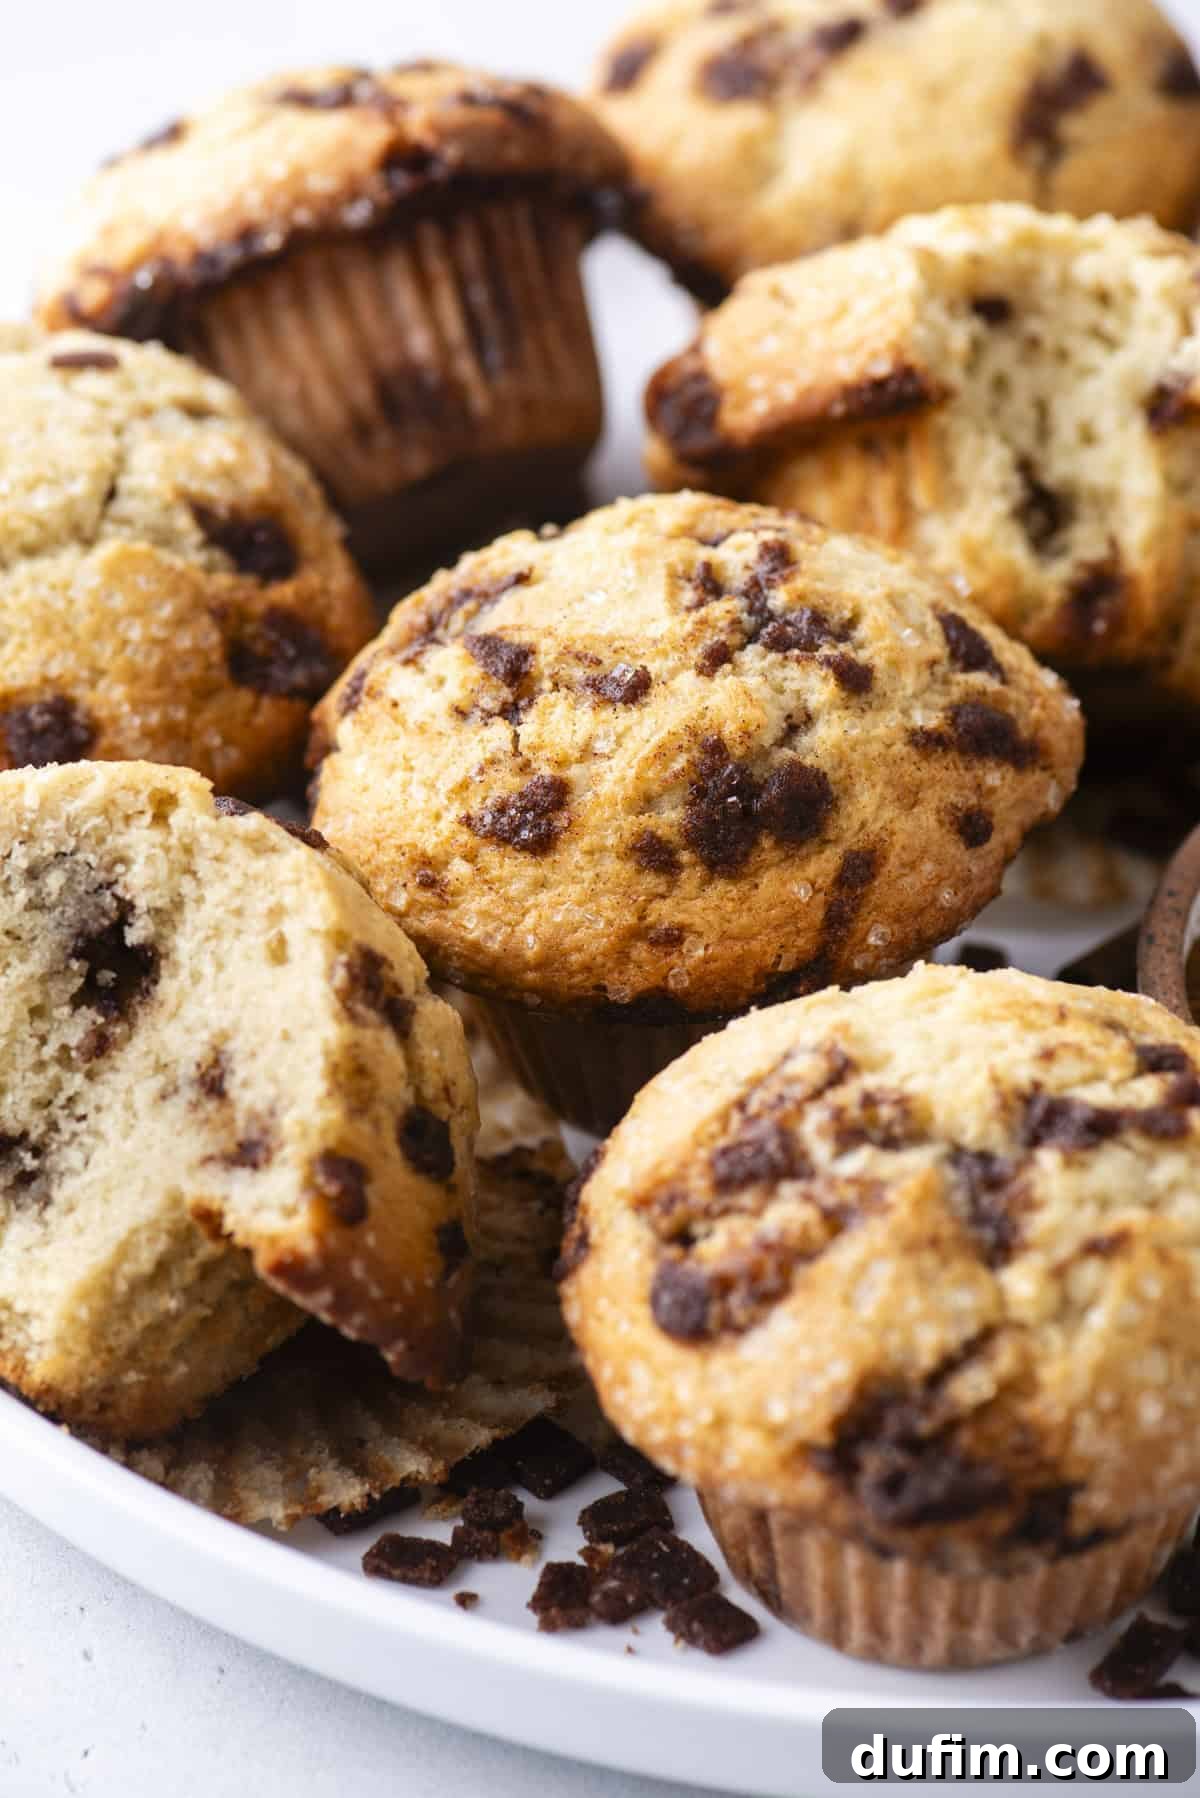
Mastering Homemade Cinnamon Chip Muffins
When we say this recipe has been tested to perfection, we mean it. We embarked on a culinary journey through six rigorous rounds of baking to develop cinnamon chip muffins that consistently deliver that coveted bakery-style texture: a light, fluffy crumb crowned with majestic, golden domes. Our initial attempts, while flavorful, often resulted in flat tops and dense centers—a common muffin dilemma. Through careful adjustments to the flour-to-buttermilk ratio and an extra teaspoon of baking powder, we discovered the precise balance needed for a perfectly tender interior and a sky-high crown that beautifully cradles every molten cinnamon chip.
What truly elevates these muffins above the rest are the homemade cinnamon chips. Disappointed by the often lackluster flavor and questionable ingredients of store-bought versions (many of which contain little to no real cinnamon!), we embarked on creating our own signature cinnamon chip recipe. Our homemade chips are crafted with real butter, ensuring a rich, deeply spiced flavor that permeates every morsel. Crucially, they melt just enough during baking to infuse the entire muffin with an unforgettable warmth and aroma. While Hershey’s cinnamon chips can be used as a convenient alternative, the homemade version guarantees an unparalleled taste experience that will make these muffins truly unforgettable.
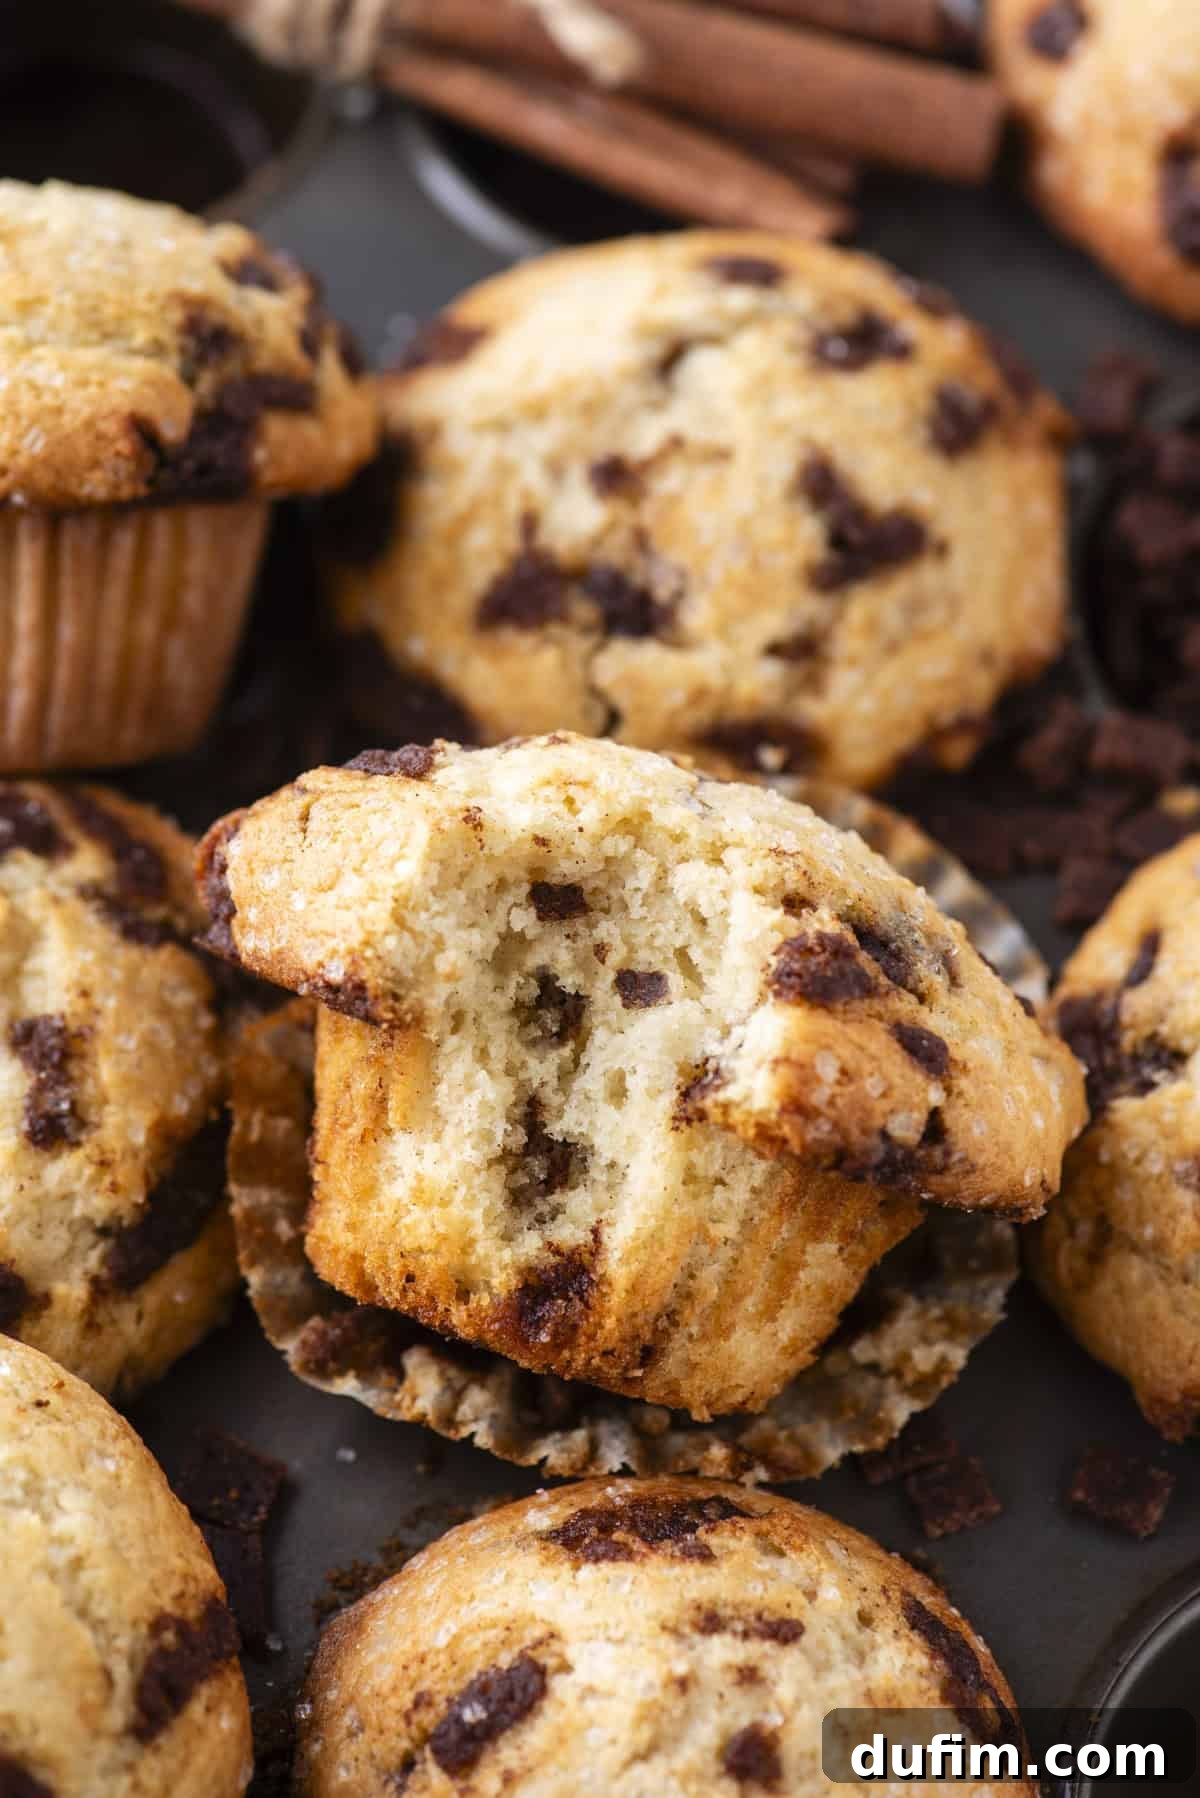
As a seasoned baker, author of two cookbooks, and acclaimed “muffin expert,” our mission is to do more than just share a recipe. We aim to guide you through the entire process, providing not only clear instructions but also professional-level tips and practical techniques that empower you to bake with confidence and achieve outstanding results every time. For instance, allowing the muffins to cool in the pan for 7 minutes after baking, then gently running a butter knife around the edges, ensures a clean release, preserving their perfect shape and presentation.
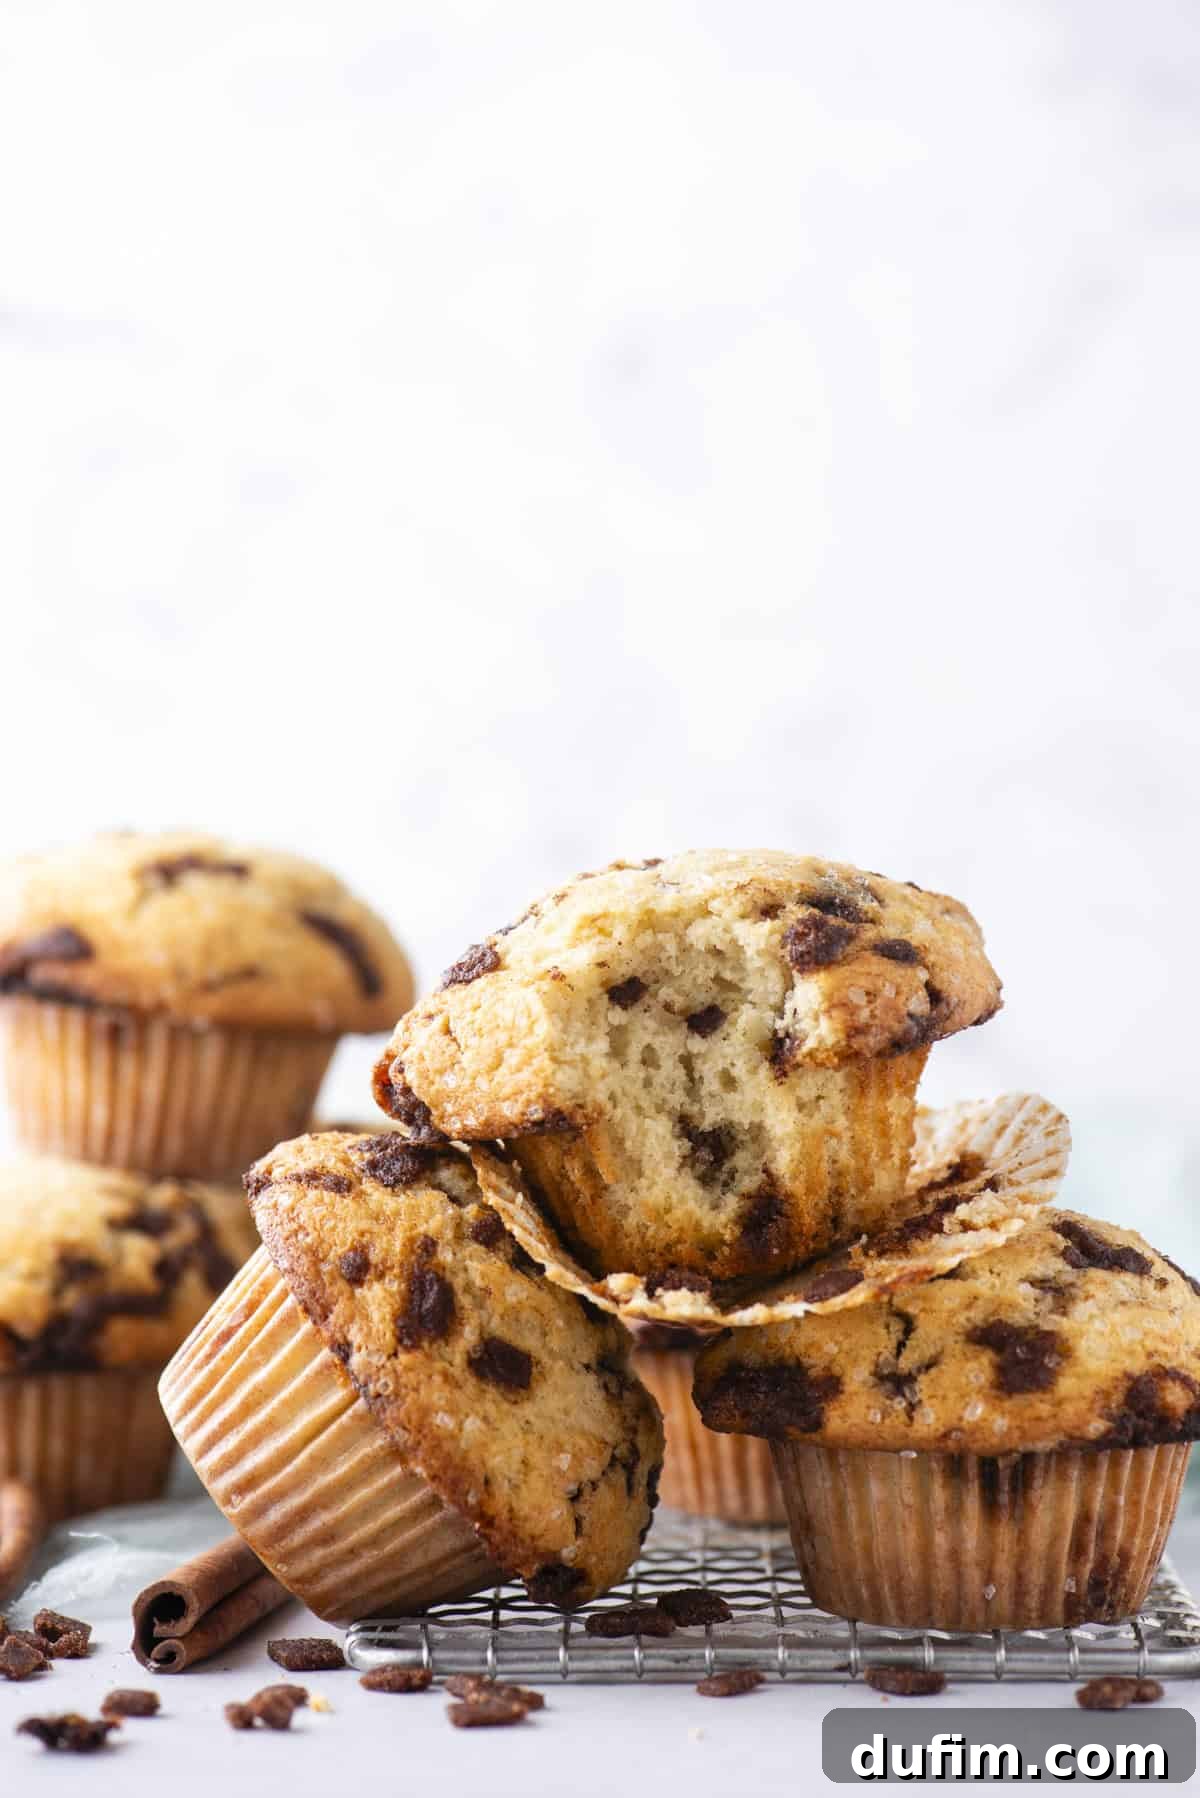
Ingredient Spotlight: The Building Blocks of Perfect Muffins
Every ingredient in this recipe plays a vital role in achieving bakery-style muffins with their characteristic tall domes, moist centers, and bold cinnamon flavor. Understanding the function of each component will enhance your baking intuition and help you achieve consistent success. Here’s a closer look, along with essential expert tips:
- All-Purpose Flour: Flour provides the foundational structure for your muffins. For precise baking, especially with larger quantities like this recipe calls for, we highly recommend weighing your flour using a kitchen scale. This prevents over-measuring, which can lead to dry, dense muffins. The generous four cups of flour might seem substantial, but it’s meticulously calculated to balance the wet ingredients and enable the muffins to rise beautifully without collapsing, ensuring that desirable tall dome.
- Baking Powder: This is your primary leavening agent, responsible for the impressive lift and airy texture. After extensive testing across six batches, we discovered that increasing the baking powder by one teaspoon was the absolute sweet spot. This subtle boost provides the powerful initial spring needed to create those iconic, domed muffin tops that are a hallmark of bakery-quality muffins.
- Eggs: Eggs are multifunctional in baking, acting as a binder for the batter, contributing to the overall structure, and adding a rich, luxurious quality to the crumb. Four large eggs may seem like a lot, but given the substantial volume of this muffin batter, they are essential for creating a fluffy, cohesive crumb that holds together without becoming overly cakey. Ensure your eggs are at room temperature for better emulsion with other liquids.
- Buttermilk: Buttermilk is a true MVP for moisture, tenderness, and a subtle tangy flavor. Its acidity reacts with the baking powder, producing carbon dioxide gas that helps the muffins rise and contributes to their incredibly soft, delicate crumb. If you don’t have buttermilk, you can easily make a substitute by adding one tablespoon of white vinegar or lemon juice to a liquid measuring cup, then filling the rest with regular milk until you reach ¾ cup. Let it sit for 5-10 minutes until it slightly curdles.
- Vegetable Oil + Melted Butter: This dynamic duo offers the best of both worlds. Vegetable oil ensures the muffins remain incredibly moist and tender over time, preventing them from drying out too quickly. Melted butter, on the other hand, infuses the muffins with that unmistakable rich, deep, and complex bakery-style flavor that makes them truly irresistible. Make sure the melted butter is cooled before adding to the wet ingredients to avoid scrambling the eggs.
- Granulated Sugar: Beyond sweetness, sugar contributes to the muffins’ moisture by attracting and holding water. It also aids in browning the crust, giving the domes their appealing golden hue.
- Salt: A crucial flavor enhancer, salt balances the sweetness and brings out the full depth of the cinnamon and other ingredients, preventing the muffins from tasting bland.
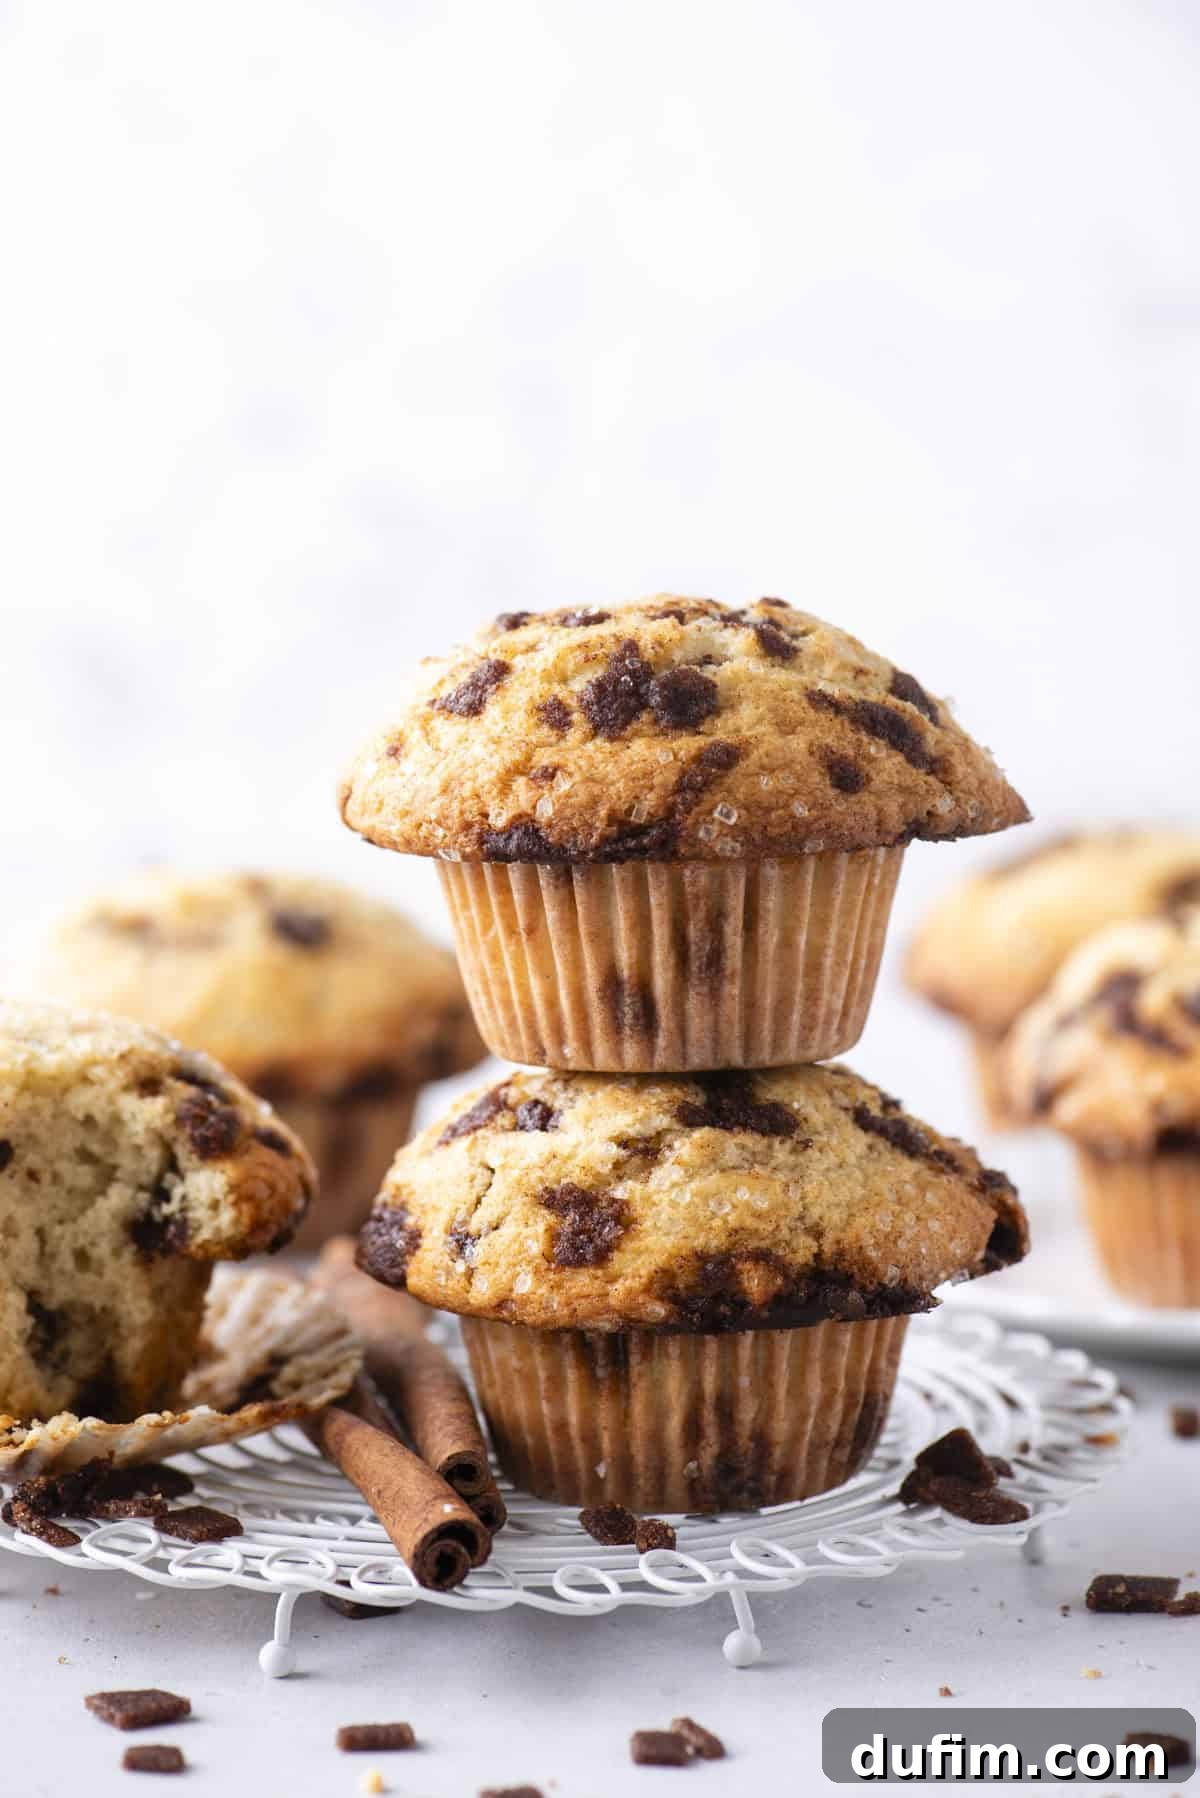
Step-by-Step Guide: How to Make Cinnamon Chip Muffins
Our cinnamon chip muffin recipe is designed for success, whether you’re a seasoned baker or just starting out. Follow these clear, detailed steps to create your own batch of irresistible bakery-style muffins.
For the Homemade Cinnamon Chips
Making your own cinnamon chips ensures superior flavor and quality, setting your muffins apart.
- Prepare Oven and Baking Sheet: Preheat your oven to a low 225ºF (107ºC). This gentle heat is crucial for slowly melting and blending the chip ingredients without overcooking them. Line a standard baking sheet with either a silicone baking mat or parchment paper; this prevents sticking and makes for easy cleanup.
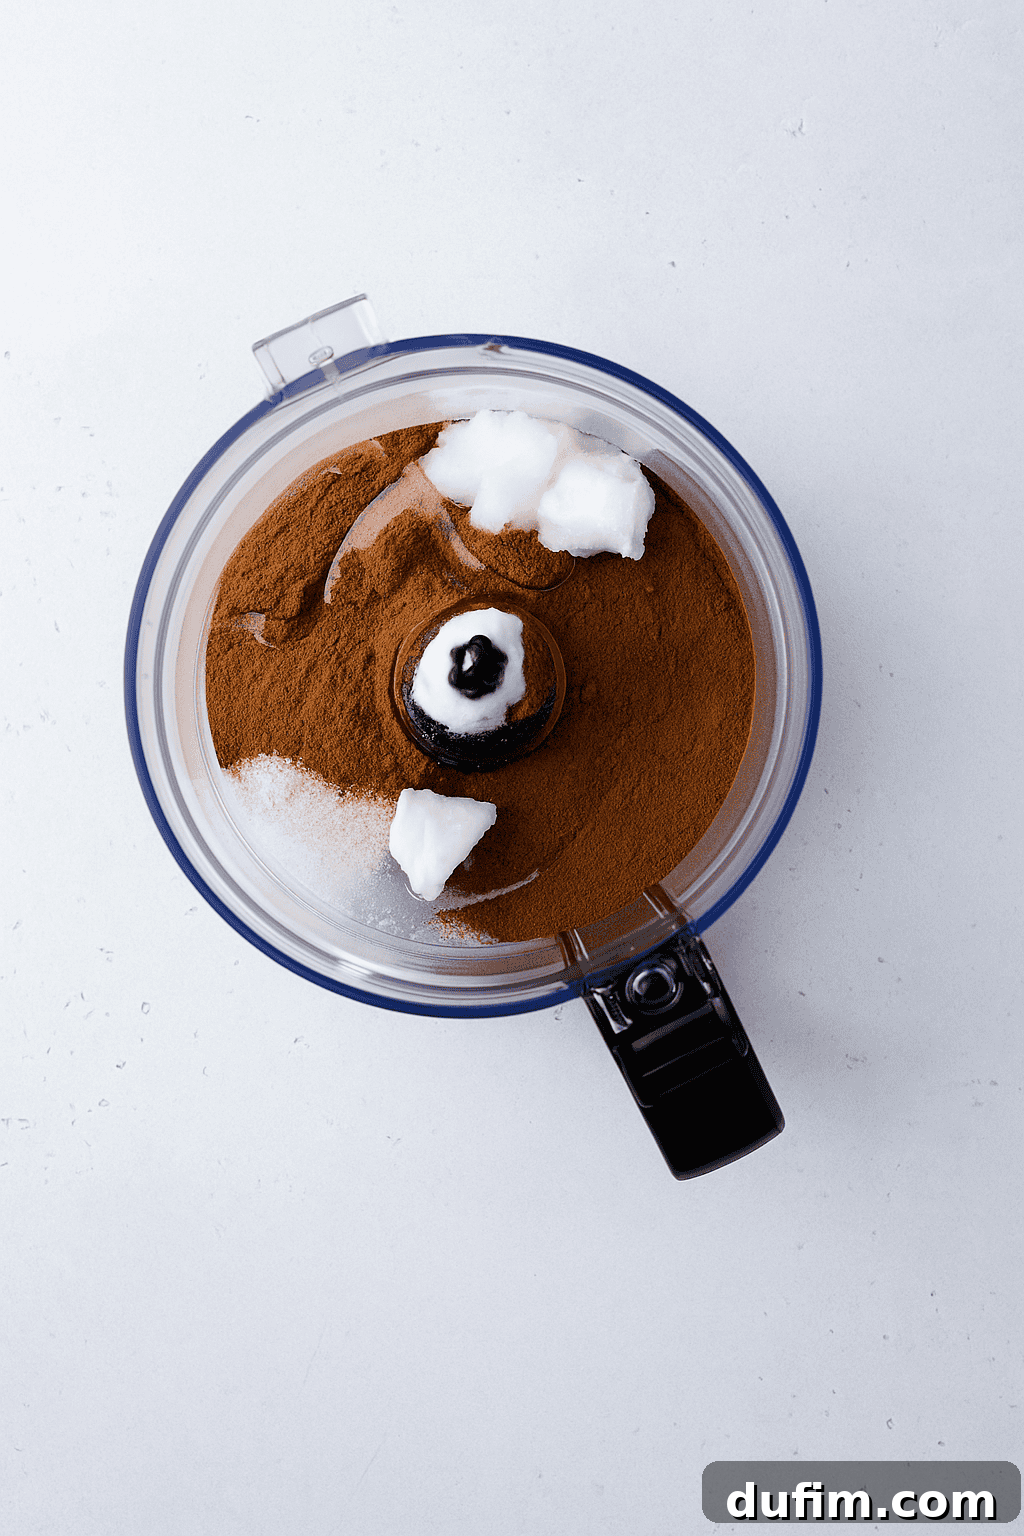
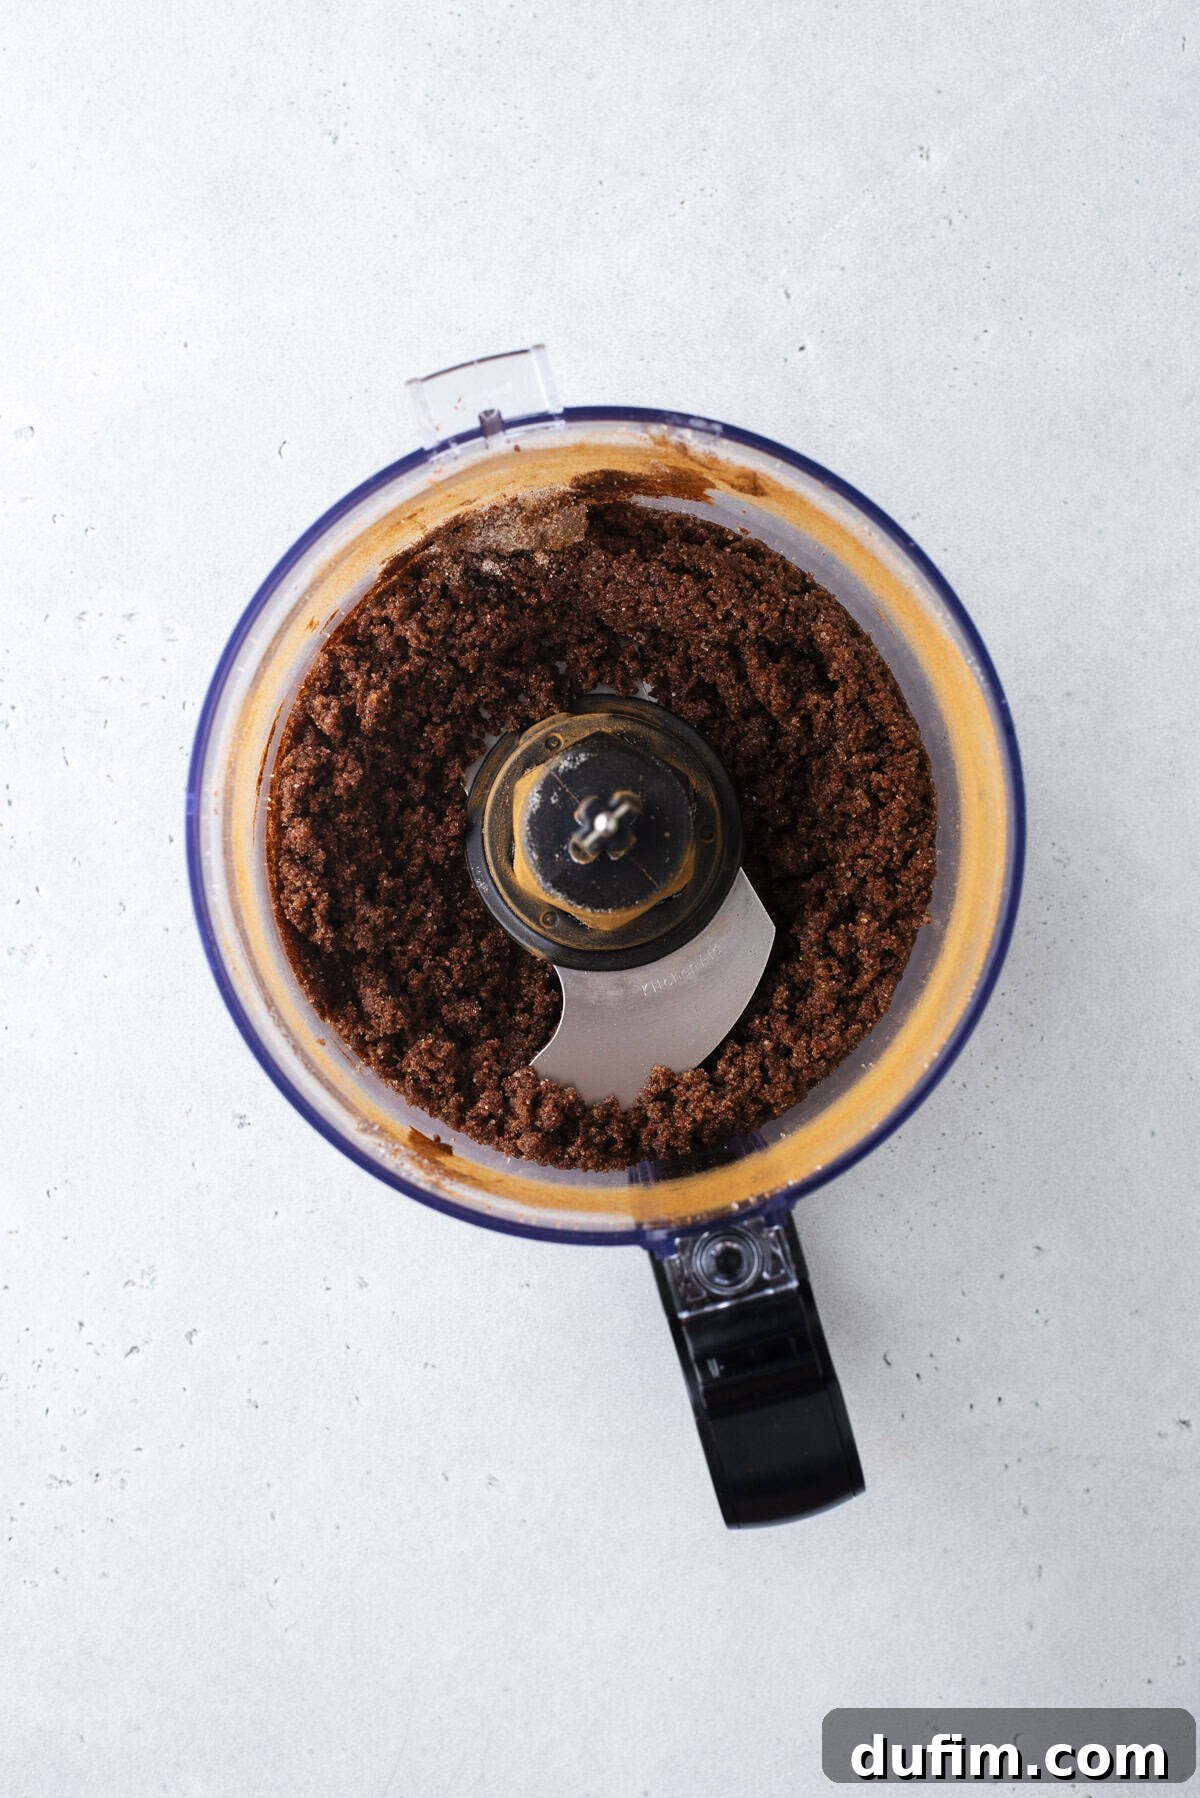
- Combine Ingredients: In a food processor, combine all the cinnamon chip ingredients (granulated sugar, ground cinnamon, vegetable shortening/solid coconut oil, corn syrup/honey). Pulse until the mixture resembles coarse crumbs. The food processor makes this quick and easy, but if you don’t have one, use your hands or two forks to thoroughly work the mixture together in a bowl until combined.
- Form the Dough: Transfer the crumbly mixture to a clean surface or bowl. Use your hands to squeeze and press the mixture firmly until it comes together into a soft, cohesive dough. The warmth from your hands will help bind the ingredients.
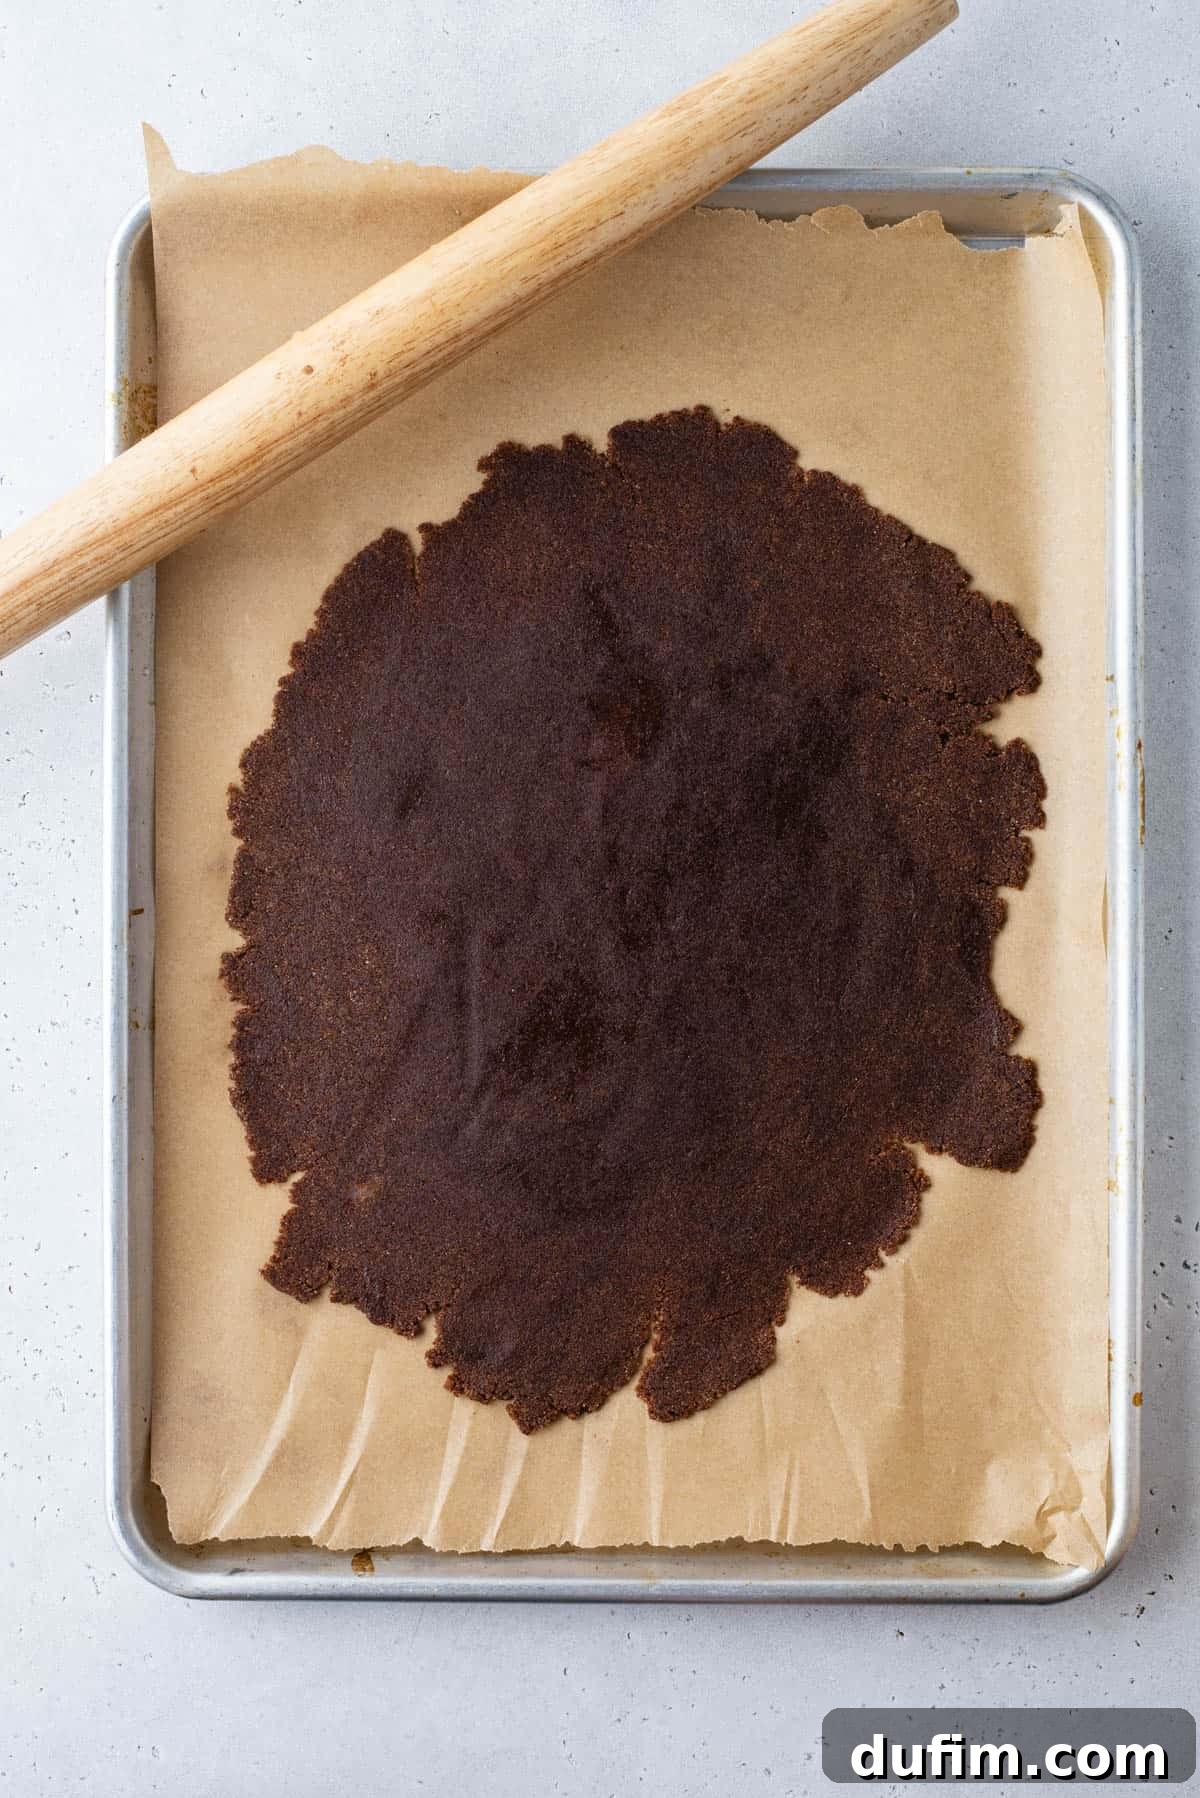
- Roll Out Dough: Place the dough onto your prepared baking sheet. Using your hands or a rolling pin, press or roll the dough out into a thin, even layer, aiming for approximately 1/4-inch (about 6mm) thickness. Uniform thickness ensures even baking.
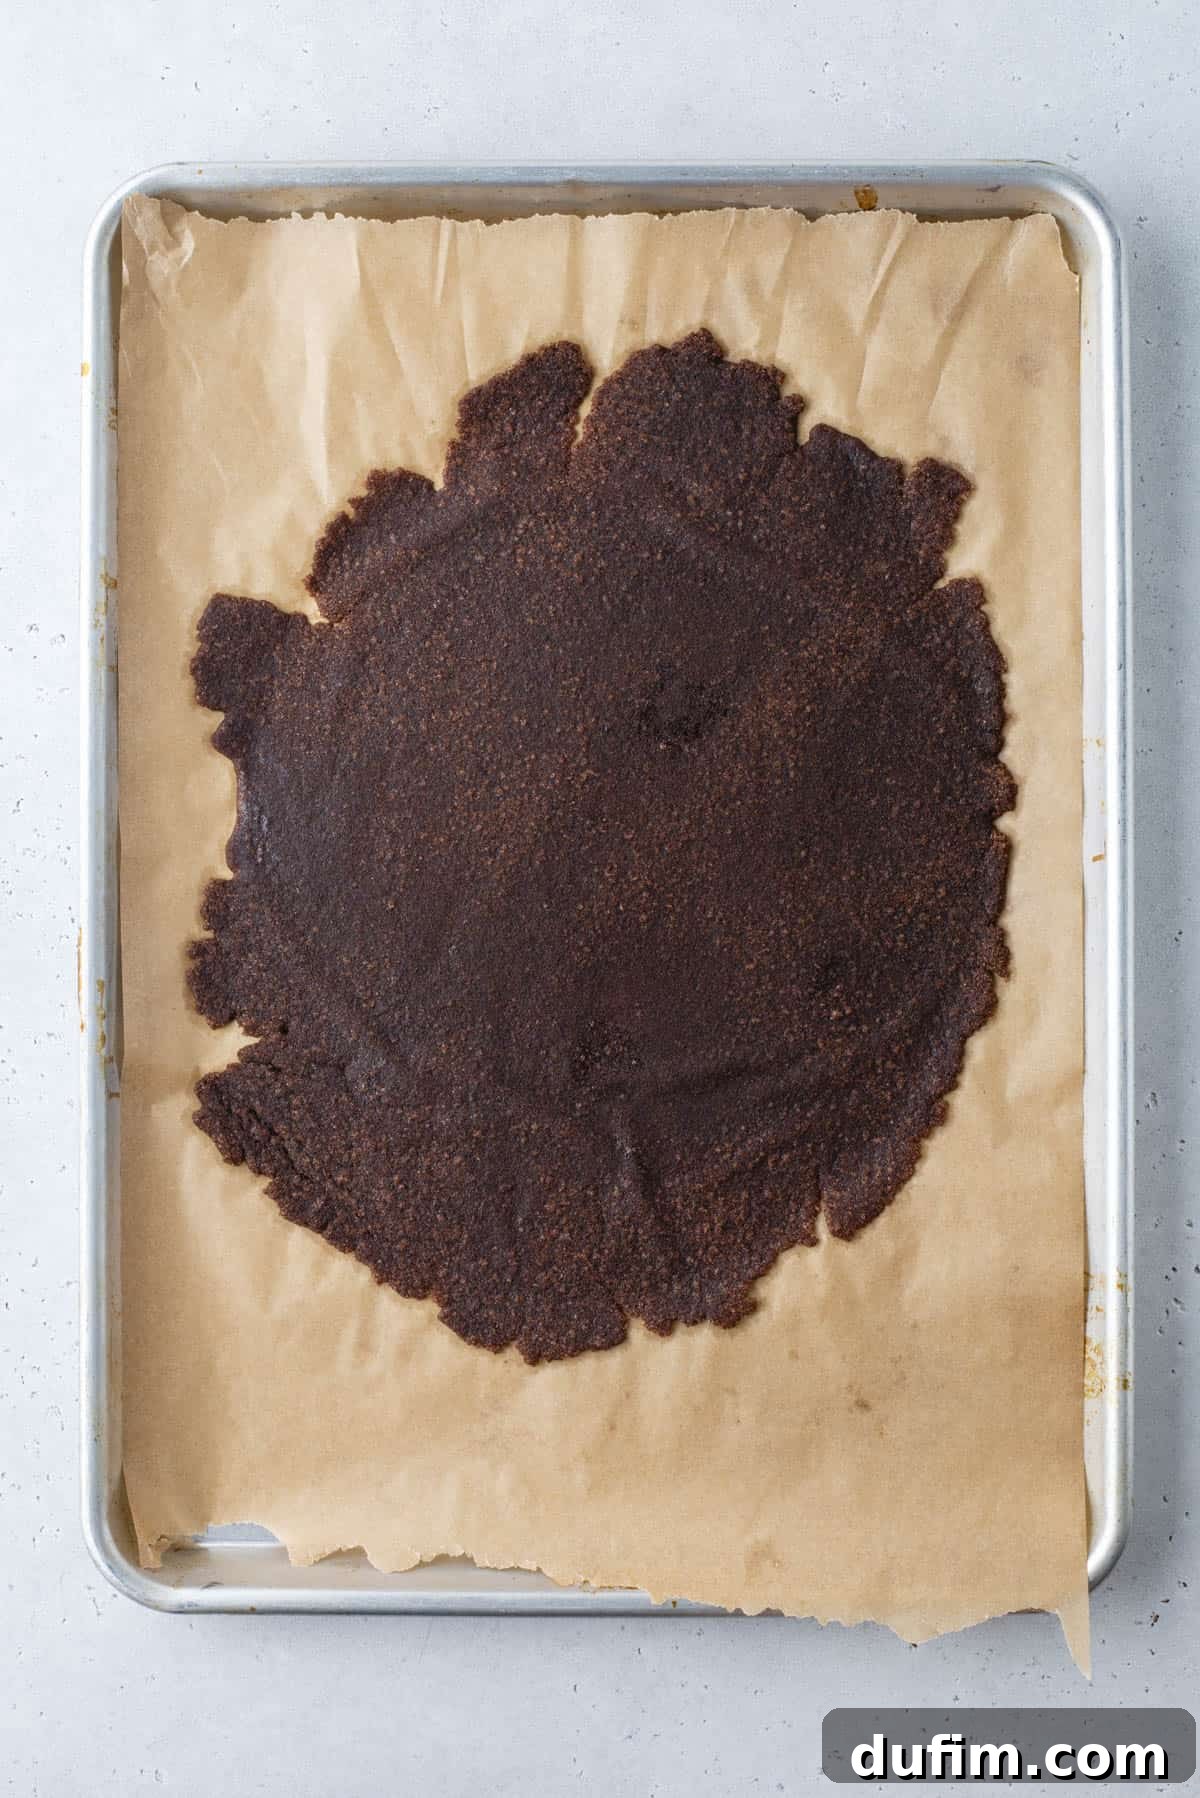
- Bake and Cool: Bake the cinnamon slab for 30–35 minutes. You won’t see a dramatic change in appearance, but the mixture will look slightly more melted and less granular, and it will still be soft to the touch. This low-temperature baking sets the ingredients. Crucially, allow it to cool completely on the baking sheet at room temperature. As it cools, it will harden and become brittle, ready for cutting.
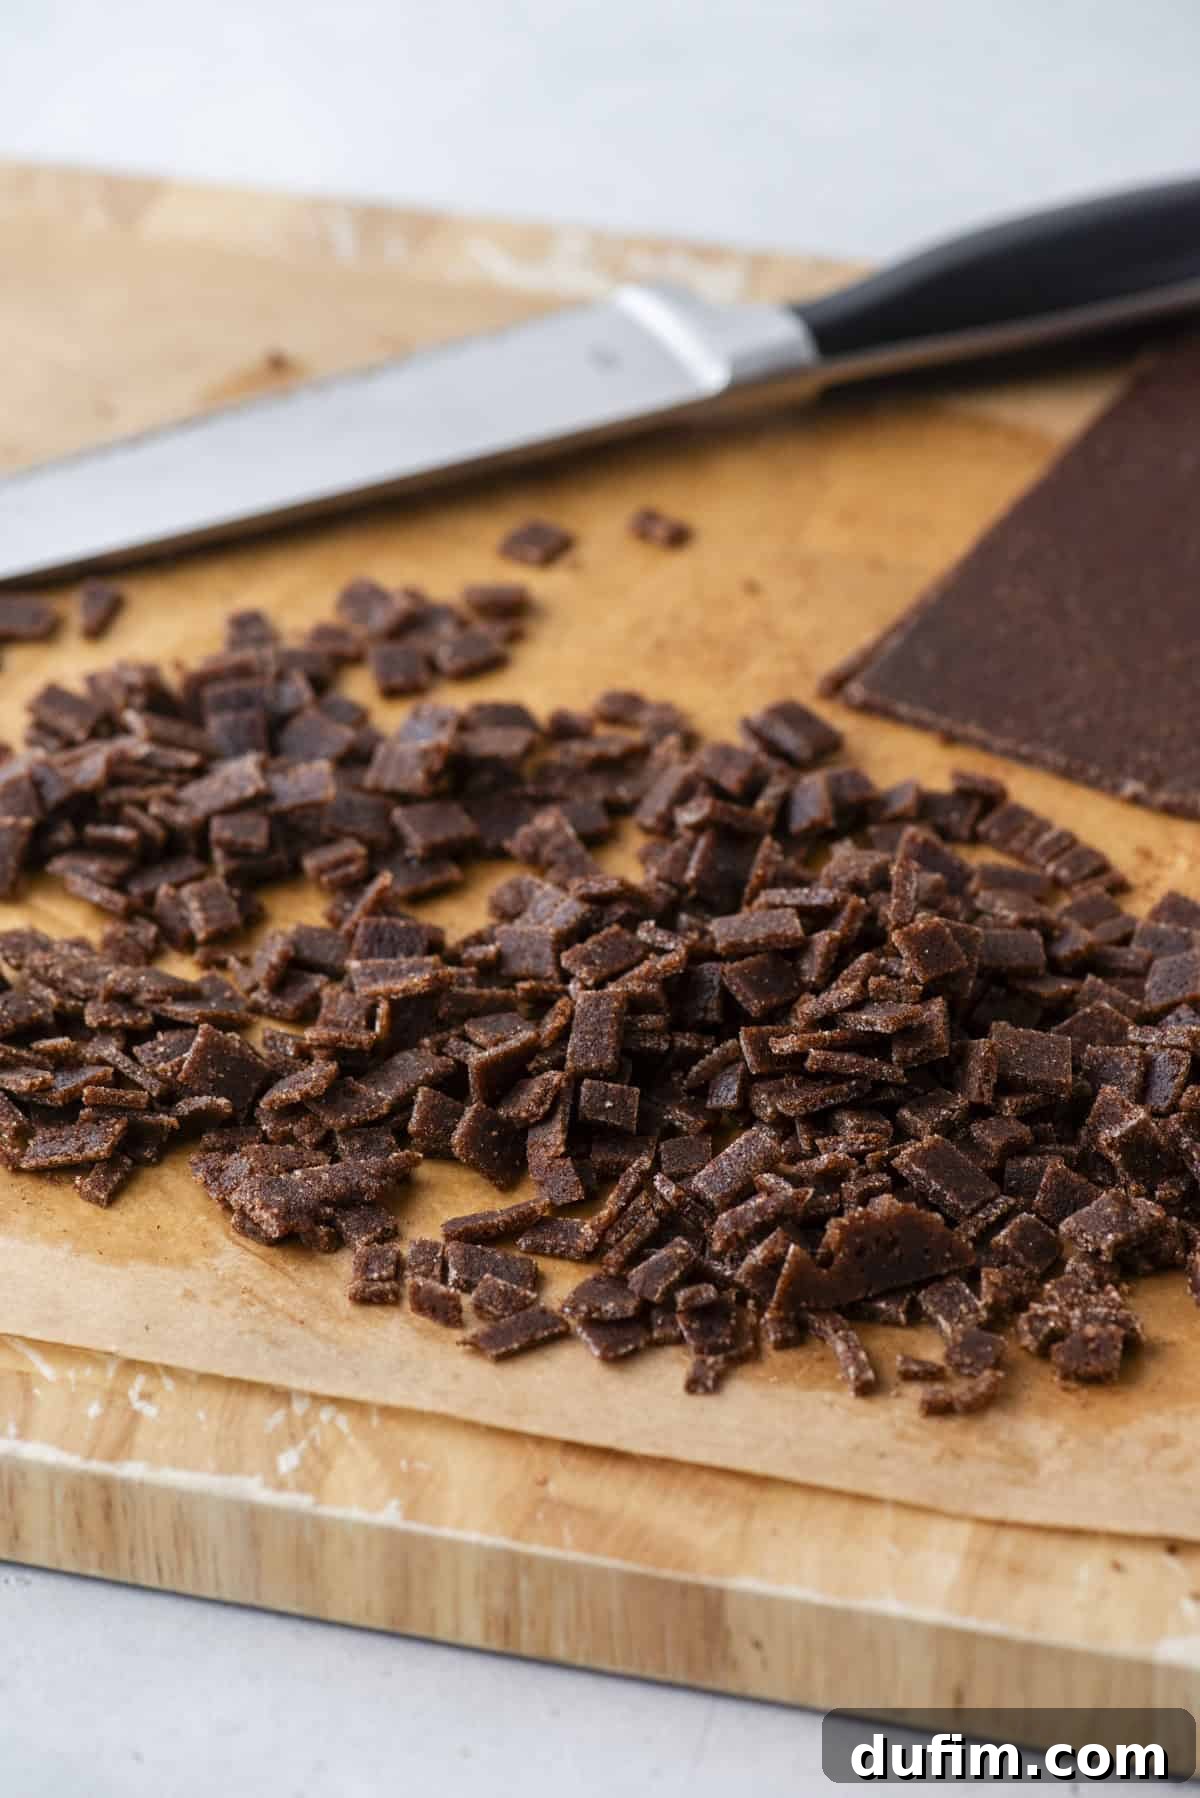
- Cut Chips: Once fully cooled and firm, use a sharp knife to carefully cut the cinnamon slab into small, irregular squares. Aim for chip-sized pieces that will distribute well throughout your muffins. This recipe typically yields about 1.5 cups of homemade cinnamon chips.
For the Fluffy Cinnamon Chip Muffins
Now that your flavorful cinnamon chips are ready, let’s bring these muffins to life!
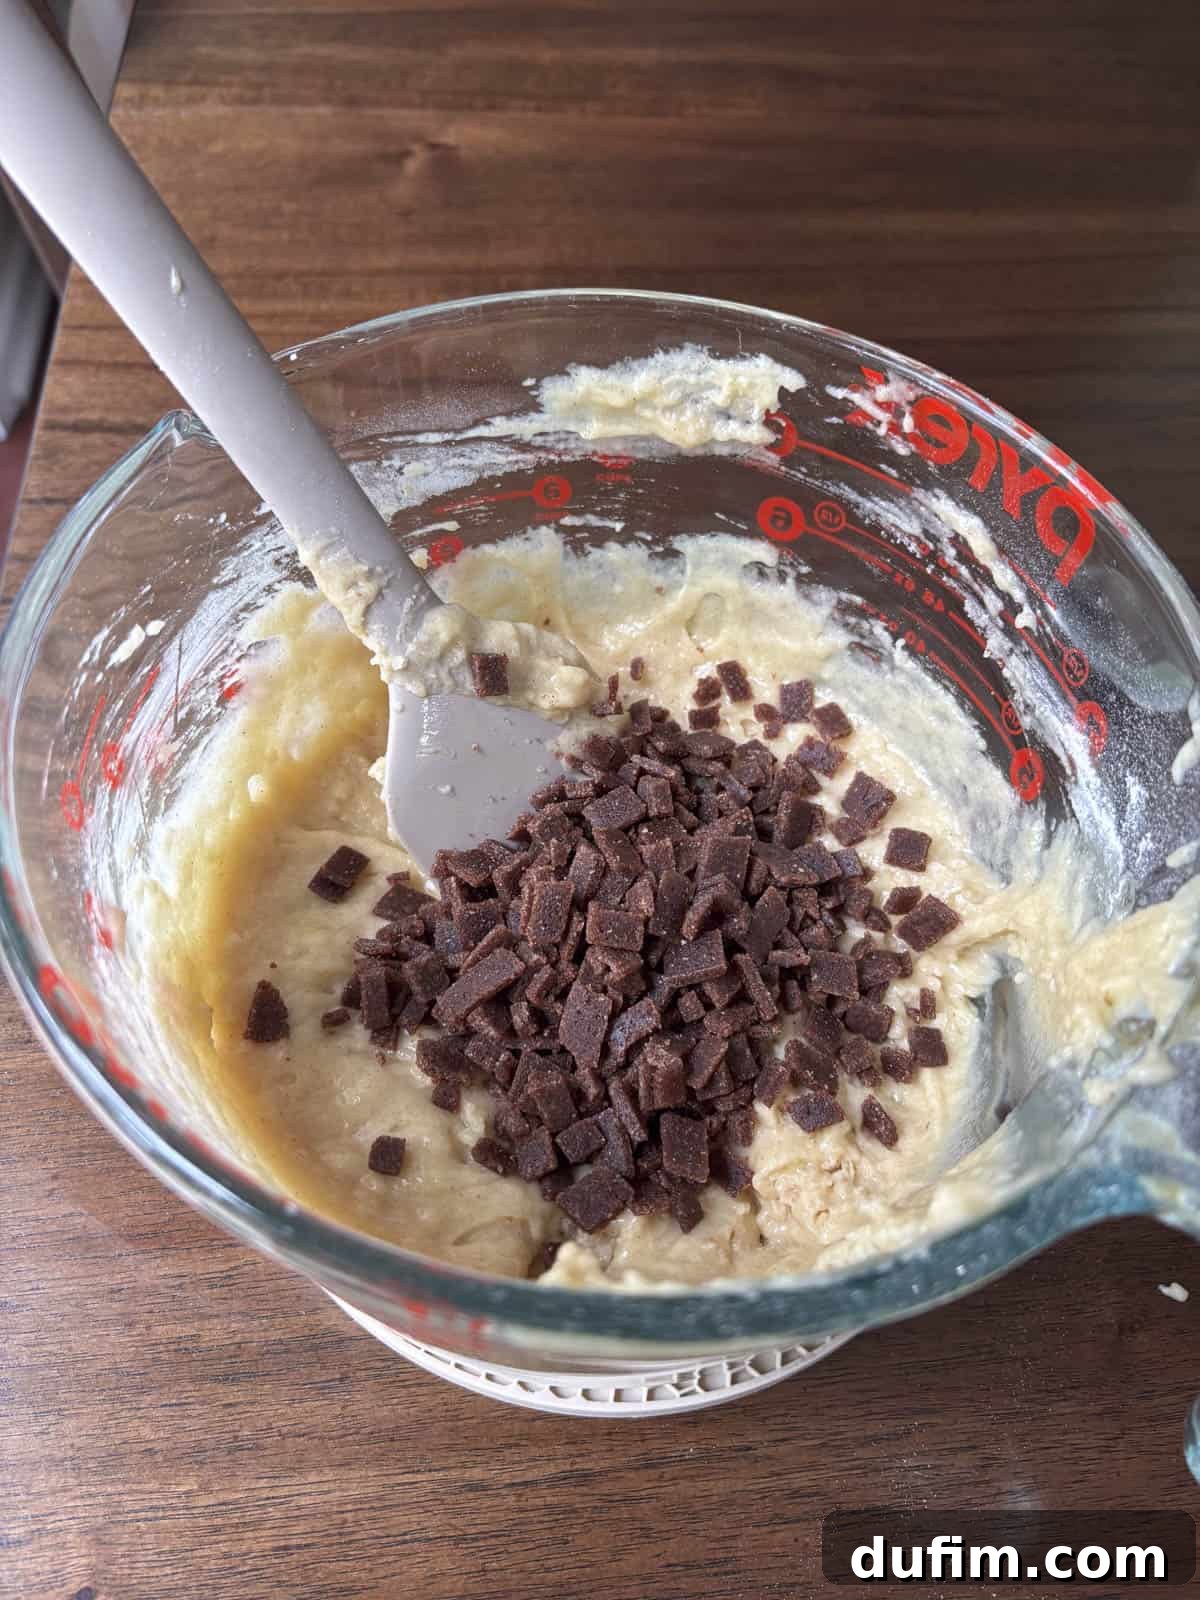
- Combine Dry Ingredients: In a large mixing bowl, whisk together the all-purpose flour, granulated sugar, baking powder, salt, and ground cinnamon. Add 1 ¼ cups of your homemade cinnamon chips (or store-bought, if using), reserving the remaining ¼ cup for sprinkling on top of the muffins later. Stir well with a spoon to ensure all ingredients are evenly distributed, then set this bowl aside.
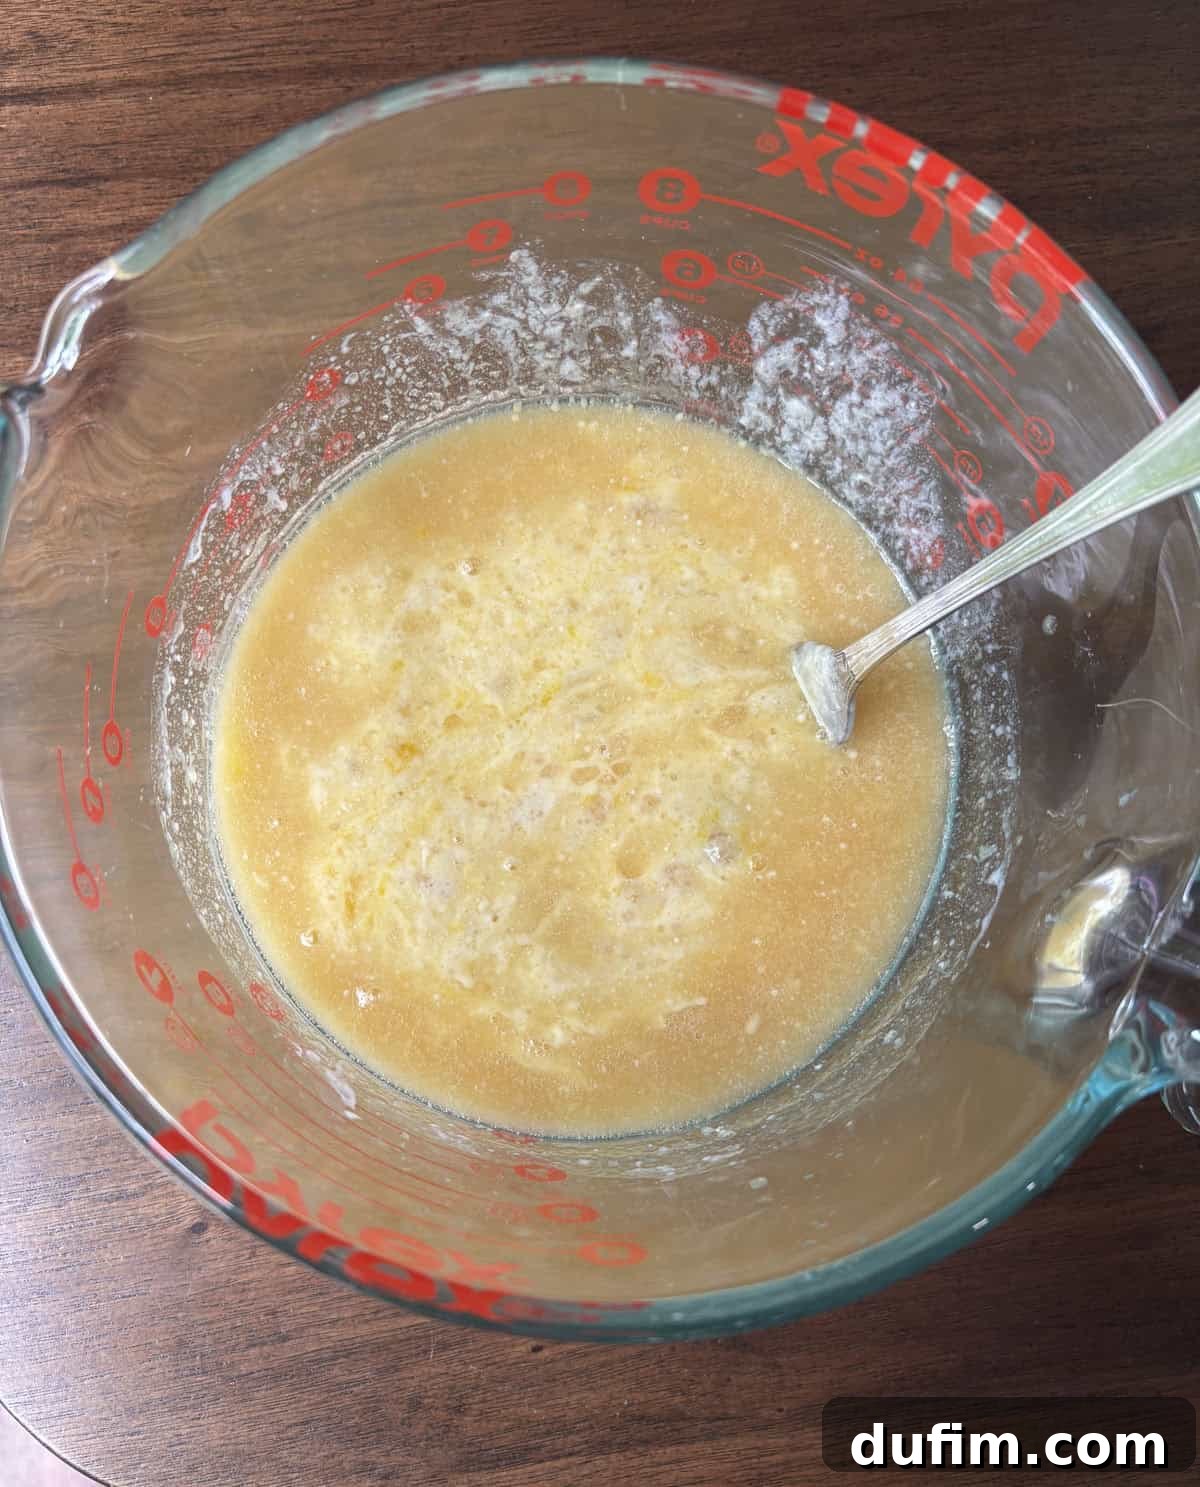
- Combine Wet Ingredients: In a separate, larger mixing bowl, combine the room-temperature eggs, buttermilk, vegetable oil, cooled melted butter, and vanilla extract. Whisk or stir with a spatula until all wet ingredients are thoroughly combined and homogenous. Ensure your butter is not hot, as this can cook the eggs prematurely.
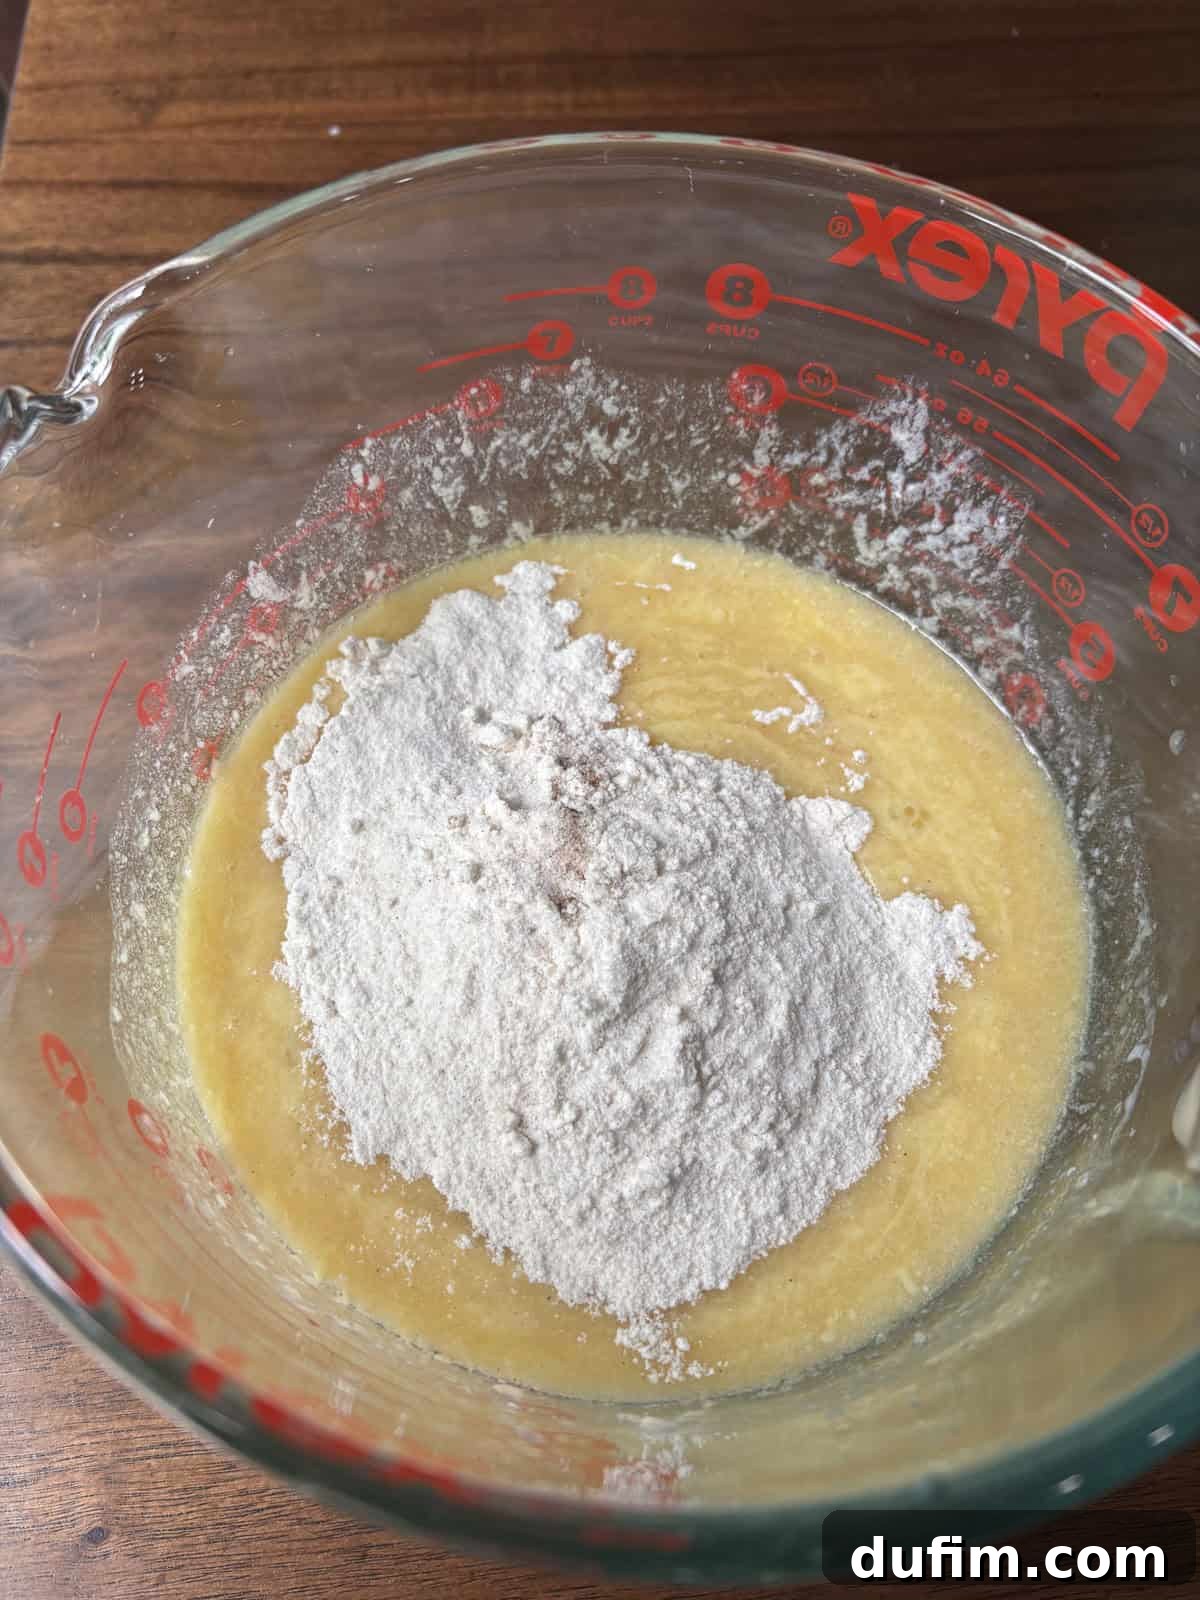
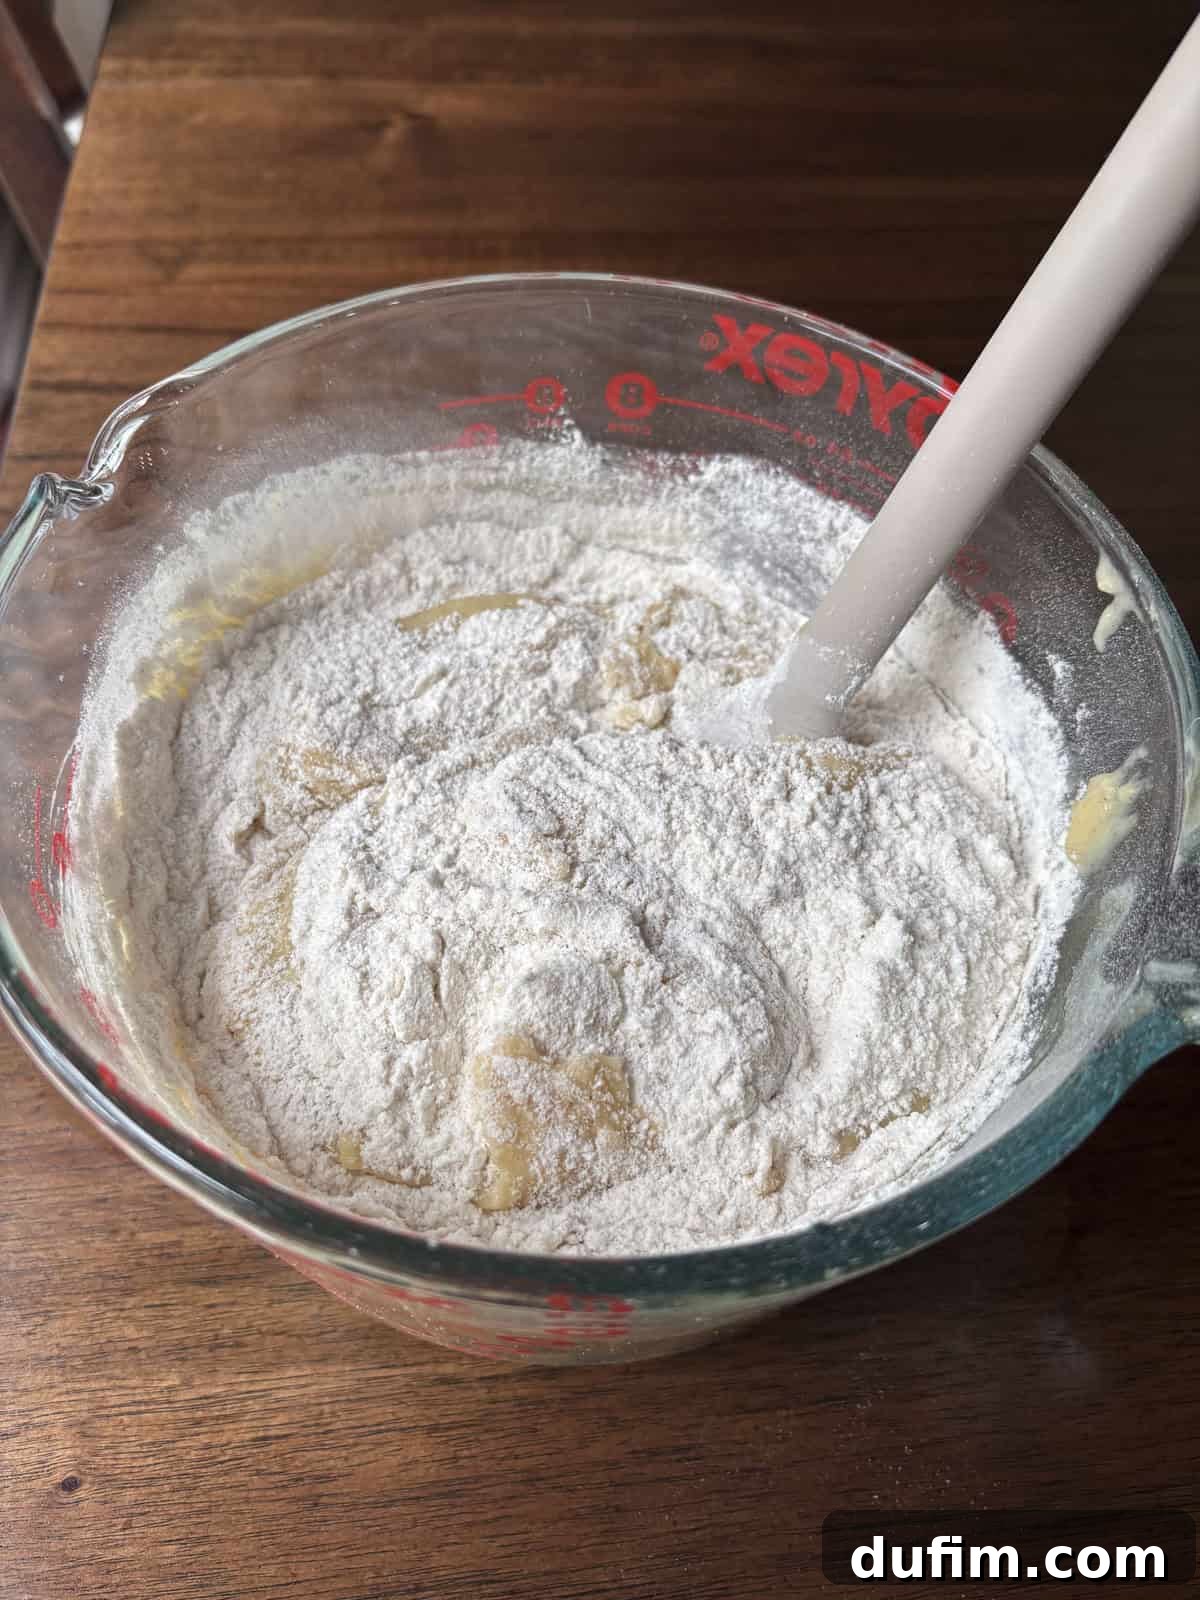
- Combine Wet and Dry Ingredients: Pour the dry ingredient mixture into the wet ingredients. Using a spatula or large spoon, gently mix just until combined. It’s crucial not to overmix the batter; a few lumps are perfectly fine and will result in a more tender muffin. The batter will appear very thick – this is normal and desired for tall, domed muffins.
- Rest Batter and Prepare Oven: Cover the bowl with a clean kitchen towel and allow the batter to rest at room temperature for 15 minutes. This resting period is a secret to bakery-style muffins, allowing the flour to fully hydrate and leading to a thicker batter and better rise. During this resting time, preheat your oven to a blazing 425ºF (220ºC).
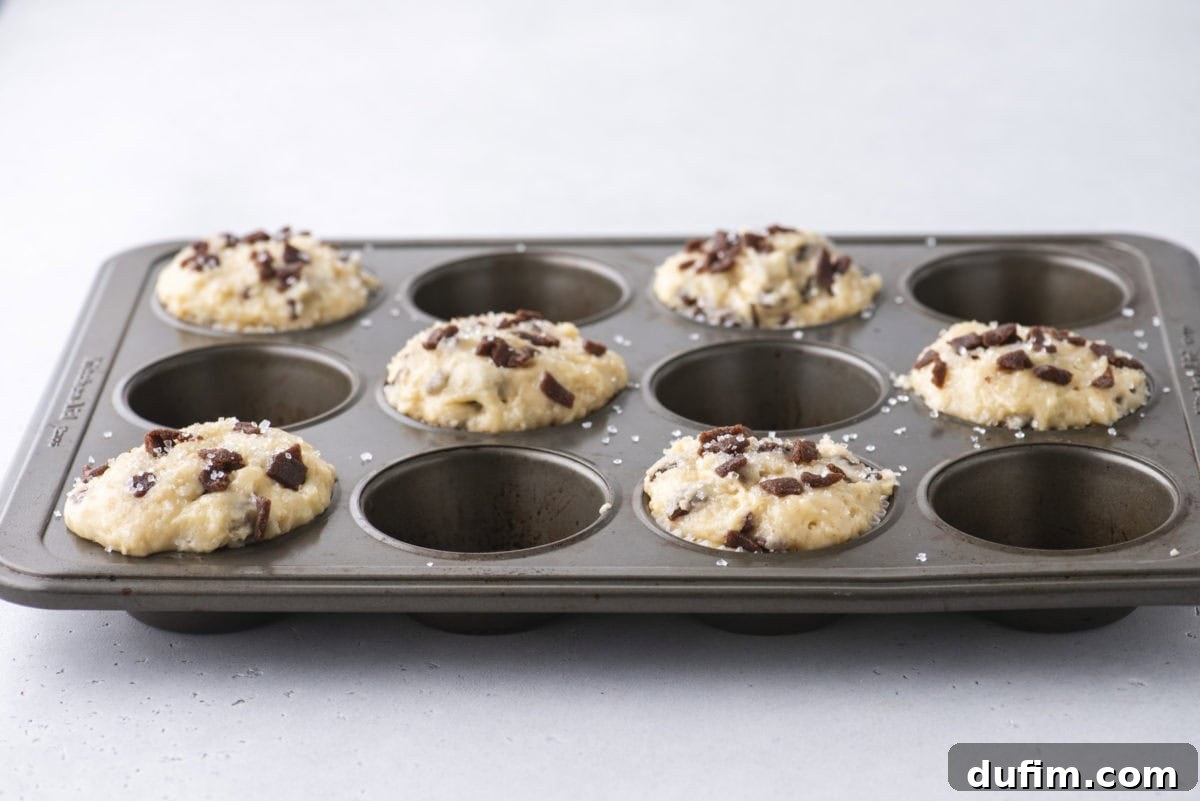
- Prepare Muffin Pan for Bakery-Style Tops: To achieve those gorgeous, domed muffin tops, line a 12-count muffin pan with only 6 muffin liners, filling every other well with batter. This strategic spacing allows ample room for the muffins to spread and dome without colliding, promoting better airflow and browning. Fill each lined muffin cup generously, right to the very top, defying conventional baking wisdom! If the tops are lumpy, gently smooth them with a butter knife. Press some of the reserved cinnamon chips onto the top of each muffin and, for an extra touch of sparkle and crunch, sprinkle with a pinch of sanding sugar.
- Bake and Cool: Place the muffin pan into the preheated 425ºF (220ºC) oven and bake for precisely 7 minutes. This initial high heat creates a powerful “oven spring,” causing the muffins to rise rapidly and set their dome shape. Without opening the oven door, reduce the temperature to 350ºF (175ºC) and continue baking for another 15-20 minutes, or until a wooden toothpick inserted into the center of a muffin comes out clean. Let the muffins cool in the pan for 15 minutes before carefully transferring them to a wire rack to cool completely. Repeat the process with any remaining batter, ensuring you preheat the oven back to 425ºF for each subsequent batch.
Secrets to Bakery-Style Muffins: Achieve Those Iconic Domes
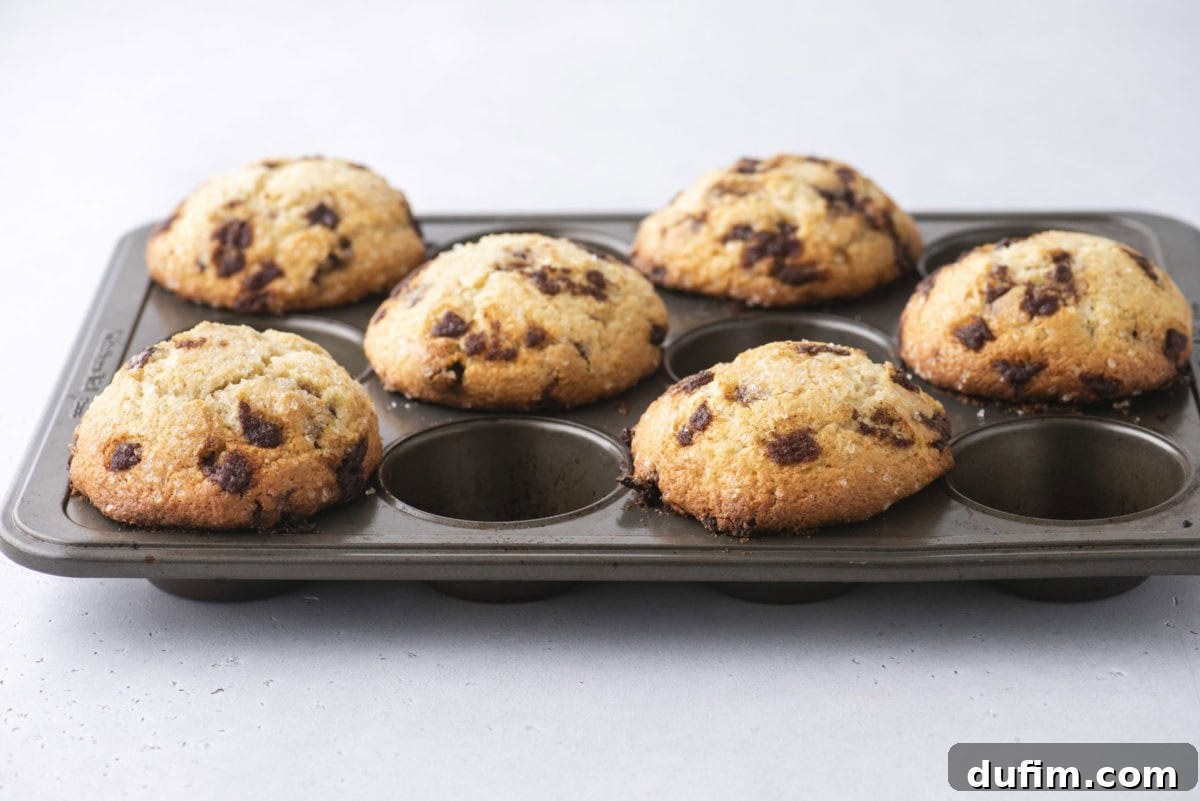
Everyone adores the impressive, sky-high domes of bakery-style muffins. Achieving this professional look at home is simpler than you might think, thanks to a few key techniques that “lift” your muffins to new heights. Here are the tried-and-true methods we employ for truly spectacular results:
1. The Essential Rest Period
After mixing your muffin batter, resist the urge to immediately scoop and bake. Instead, cover the bowl with a towel and let the batter rest for a full 15 minutes before spooning it into the muffin pan. This seemingly small step is a game-changer. During this brief resting period, the starch molecules within the flour diligently absorb the liquid in the batter. This absorption causes them to swell, leading to a significantly thicker batter consistency. A thicker batter provides a more robust structure, which in turn helps the muffins hold their shape better as they rise, contributing directly to those enviable domed tops. This short rest also allows the gluten to relax, resulting in a more tender muffin.
2. Fill Every Other Muffin Cup
This clever trick has consistently delivered remarkable results in our kitchen. For truly bakery-style muffin tops, when using a 12-count muffin pan, only line and fill 6 muffin wells. This means you’ll skip every other cup. This strategic spacing is vital because it creates more physical space between each muffin, allowing them to spread horizontally and dome upwards without crowding or merging into each other. Furthermore, leaving empty wells enhances air circulation around each muffin, promoting more even baking and contributing to a beautiful, golden-brown crust on their majestic tops. For the empty cups, it’s often recommended to add a tablespoon of water to each to help even heat distribution and prevent the pan from warping, though this recipe focuses on batter density for the dome.
3. Fill Them Generously to the Top
This is where you throw conventional muffin-baking advice out the window! Many recipes suggest filling muffin liners only two-thirds full, but if you’re aiming for that impressive bakery-style height, you need to fill your muffin liners all the way to the top with batter. Yes, it goes against everything you’ve probably heard, but this generous filling is absolutely critical. A larger volume of batter provides more material to rise and expand, directly contributing to the significant height and prominent dome of each muffin. Don’t be shy – pile that batter high!
4. Bake at a High Temperature Initially
Another crucial technique for achieving those coveted domes is to start the baking process at a high temperature. Begin by baking the muffins at 425ºF (220ºC) for the first 7 minutes. This intense initial burst of heat causes the outer surface of the muffin batter to set rapidly, while the leavening agents inside work overtime, creating a powerful “oven spring.” This quick expansion forces the muffin upwards, establishing a strong, domed shape. After this initial burst, the temperature is lowered to 350ºF (175ºC) for the remainder of the baking time, allowing the muffins to cook through evenly without over-browning or drying out. This two-stage baking temperature is key to locking in that perfect dome.
How to Properly Measure Flour for Baking Success
Accurate flour measurement is fundamental to consistent baking results, as too much flour can lead to dry, dense muffins. The most precise method is to use a kitchen scale, weighing your flour in grams.
If a kitchen scale isn’t available, follow the “spoon and level” method:
- Aerate the Flour: Flour settles and compacts over time in its container. Before measuring, use a whisk or spoon to gently fluff up the flour in its bag or canister. This aerating step is similar to fluffing but is not the same as sifting. Do not sift the flour unless the recipe explicitly instructs you to do so.
- Spoon into Measuring Cup: Use a spoon to lightly sprinkle the aerated flour into your dry measuring cup. Do not pack the flour down. Avoid tapping the cup against the counter, as this will compact the flour, leading to an over-measurement.
- Level Off Excess: Once the measuring cup is slightly overflowing, use the flat back of a butter knife or a straight edge to level off the excess flour, ensuring a precise measurement.
Storage Solutions for Freshness
To preserve the delectable taste and tender texture of your homemade cinnamon chip muffins, proper storage is key:
If you anticipate devouring your muffins within a day of baking, simply leaving them uncovered at room temperature is sufficient. They will remain wonderfully fresh and soft for approximately 24 hours without drying out. For slightly longer enjoyment, a loose covering with plastic wrap or foil can extend this by a few hours, though care should be taken to avoid trapping too much moisture which can make them gummy.
For storage beyond a single day, or to maintain optimal freshness for up to 4 days, an airtight container is essential. Line the bottom of the container with a layer of paper towels. Arrange your cooled muffins in a single layer on top of the paper towels, then place another sheet of paper towel over the muffins before sealing the container. The paper towels are highly effective at absorbing any excess moisture that the muffins release, preventing them from becoming overly damp or soggy. If you notice the paper towels becoming quite damp after a couple of days, simply replace them with fresh ones to ensure your muffins retain their perfect texture and freshness.
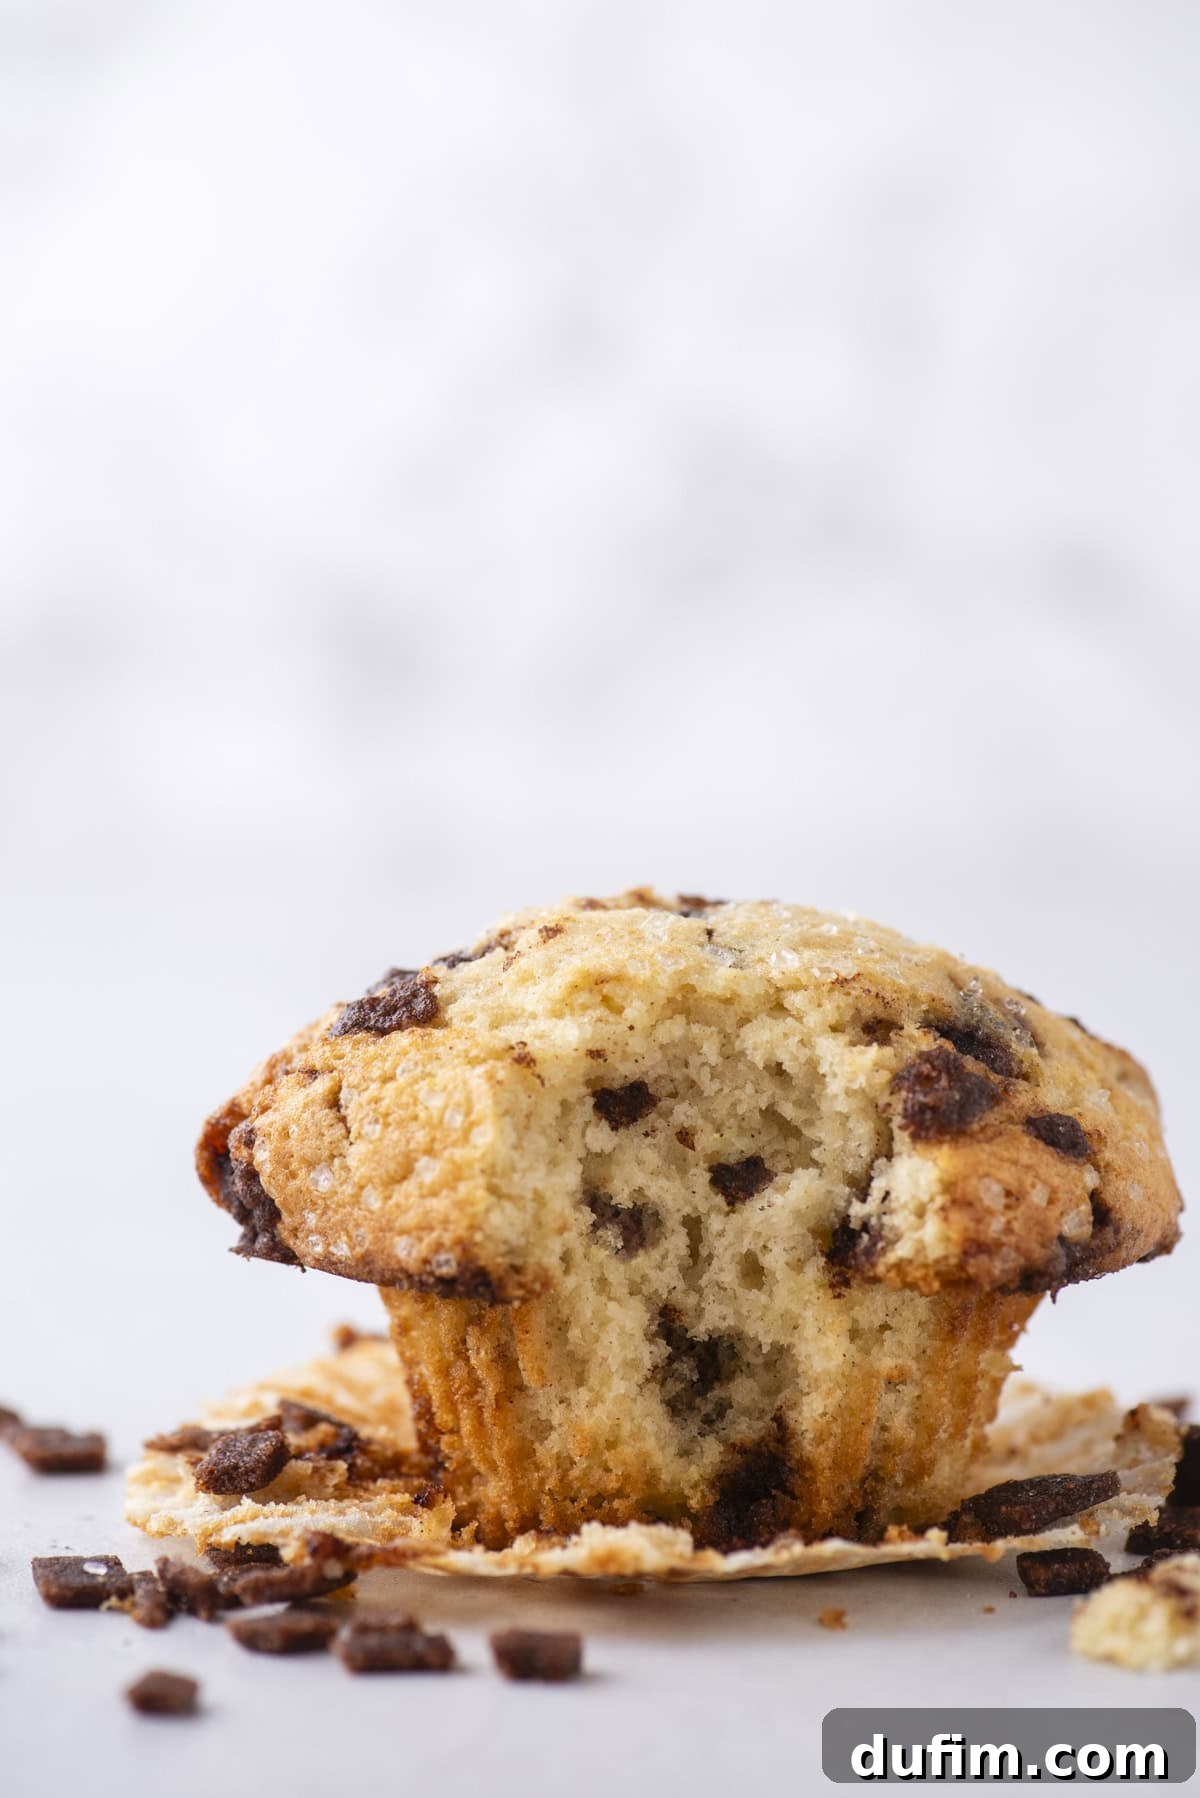
Freezing Cinnamon Chip Muffins for Later Enjoyment
These delightful cinnamon chip muffins freeze beautifully, making them perfect for meal prepping breakfasts or saving for a spontaneous treat. To freeze them, ensure each muffin has completely cooled to room temperature. Individually wrap each muffin tightly in plastic wrap, ensuring no air pockets, then place them all into a freezer-safe airtight container or a heavy-duty zip-top freezer bag. Properly wrapped, they will maintain their quality in the freezer for up to 3 months.
When you’re ready to enjoy a frozen muffin, simply remove it from the freezer and allow it to thaw at room temperature for about an hour. If you’re in a hurry and craving warmth, unwrap the muffin and microwave it in 20-second intervals until it is warmed through and soft. This quick reheating method brings back that freshly baked feel, making your future self very happy.
More Irresistible Cinnamon Recipes
If you’ve fallen in love with the warm, comforting spice of cinnamon, explore these other fantastic recipes:
- Cinnamon Spice Crazy Cake
- Easy Cinnamon Roll Casserole
- Brown Sugar Cinnamon Graham Crackers
- Churro Cupcakes
Cinnamon Chip Muffins
By: Beth
These cinnamon chip muffins are bakery-level good—tested over six batches and made with homemade cinnamon chips that melt into every bite. I perfected the ratios for fluffy texture and tall domes, so even if you’re new to baking, you’ll feel like a pro. As a self-taught baker, cookbook author, and known “muffin expert,” I’ve done the work so you can bake with confidence.
Prep Time: 10 minutes
Cook Time: 30-35 minutes (chips) + 22-27 minutes (muffins)
Rest Time: 15 minutes
Yield: 10 muffins
Ingredients
For the Muffins:
- 4 cups (480g) all-purpose flour
- 1 ¾ cups (347g) granulated sugar
- 4 tsp baking powder
- 1 tsp salt
- ½ tsp cinnamon
- 4 large eggs
- ¾ cup (177ml) buttermilk
- ½ cup (118ml) vegetable oil
- 4 Tbsp (57g) unsalted butter, melted & cooled
- 2 tsp vanilla extract
For the Homemade Cinnamon Chips:
- *If you want to skip the homemade cinnamon chips, use 1 ½ cups of Hershey’s Cinnamon Chips.
- ⅔ cup (132g) granulated sugar
- 3 Tbsp ground cinnamon
- 2 Tbsp vegetable shortening, or solid coconut oil
- 2 Tbsp corn syrup, or honey
Instructions
Cinnamon Chips:
- Preheat the oven to 225ºF (107ºC). Line a baking sheet with a silicone baking mat or parchment paper.
- In a food processor, blend granulated sugar, ground cinnamon, vegetable shortening (or solid coconut oil), and corn syrup (or honey) until the mixture looks like coarse crumbs. If you don’t have a food processor, use your hands or 2 forks to work the mixture together thoroughly.
- Use your hands to squeeze and press the mixture until it comes together into a soft dough.
- Transfer the dough to the lined baking sheet. Press or roll it out into a thin, even layer, about 1/4-inch (6mm) thick.
- Bake for 30–35 minutes. The mixture will not change much in appearance but will look a little more melted and less granular. The mixture will still be soft. Allow it to cool completely; it will harden as it cools.
- Once fully hardened, use a knife to cut the cinnamon slab into small squares. This recipe will yield about 1.5 cups.
Muffins:
- In a large mixing bowl, combine the flour, granulated sugar, baking powder, salt, cinnamon, and 1 ¼ cups of the prepared cinnamon chips (save ¼ cup for the muffin tops). Stir with a spoon to combine and set aside.
- In a separate, larger mixing bowl, combine the eggs, buttermilk, vegetable oil, melted & cooled butter, and vanilla extract. Stir to combine with a spatula until smooth.
- Gradually add the dry ingredients into the wet ingredients, mixing just until combined. Be careful not to overmix; the batter will be very thick, which is desired.
- Cover the bowl with a towel and allow the batter to rest for 15 minutes. During this time, preheat your oven to 425ºF (220ºC).
- For bakery-style muffin tops, line a 12-count muffin pan with 6 muffin liners, filling every other well with batter. This spacing allows muffins to spread and dome without touching. Fill the muffin cups generously to the top with batter. Use a butter knife to smooth the tops of the muffins if lumpy. Press additional reserved cinnamon chips on top of each muffin and sprinkle with sanding sugar for extra sparkle.
- Bake for 7 minutes at 425ºF (220ºC). Then, keeping the muffins in the oven, reduce the temperature to 350ºF (175ºC) and bake for an additional 15-20 minutes, or until a toothpick inserted in the center of a muffin comes out clean. Allow the muffins to cool in the pan for 15 minutes before carefully removing. Repeat with any remaining batter, remembering to bump the oven temperature back up to 425ºF for the initial 7 minutes.
Video
Watch how to make these delicious Cinnamon Chip Muffins:
Video hosted at an external site. Content may vary.
Nutrition Information
All nutritional values are approximate and provided as a courtesy. Changes in ingredients and/or quantities will alter estimated nutritional calculations.
- Serving Size: 1 muffin
- Calories: 585 kcal
- Carbohydrates: 93g
- Protein: 8g
- Fat: 21g
- Saturated Fat: 6g
- Polyunsaturated Fat: 8g
- Monounsaturated Fat: 6g
- Trans Fat: 1g
- Cholesterol: 79mg
- Sodium: 451mg
- Potassium: 117mg
- Fiber: 3g
- Sugar: 53g
- Vitamin A: 273IU
- Vitamin C: 0.1mg
- Calcium: 160mg
- Iron: 3mg
Love this recipe? We’d love to hear from you!
If you’ve baked these incredible cinnamon chip muffins, please share your thoughts and rate the recipe. Your feedback helps us and other bakers!