
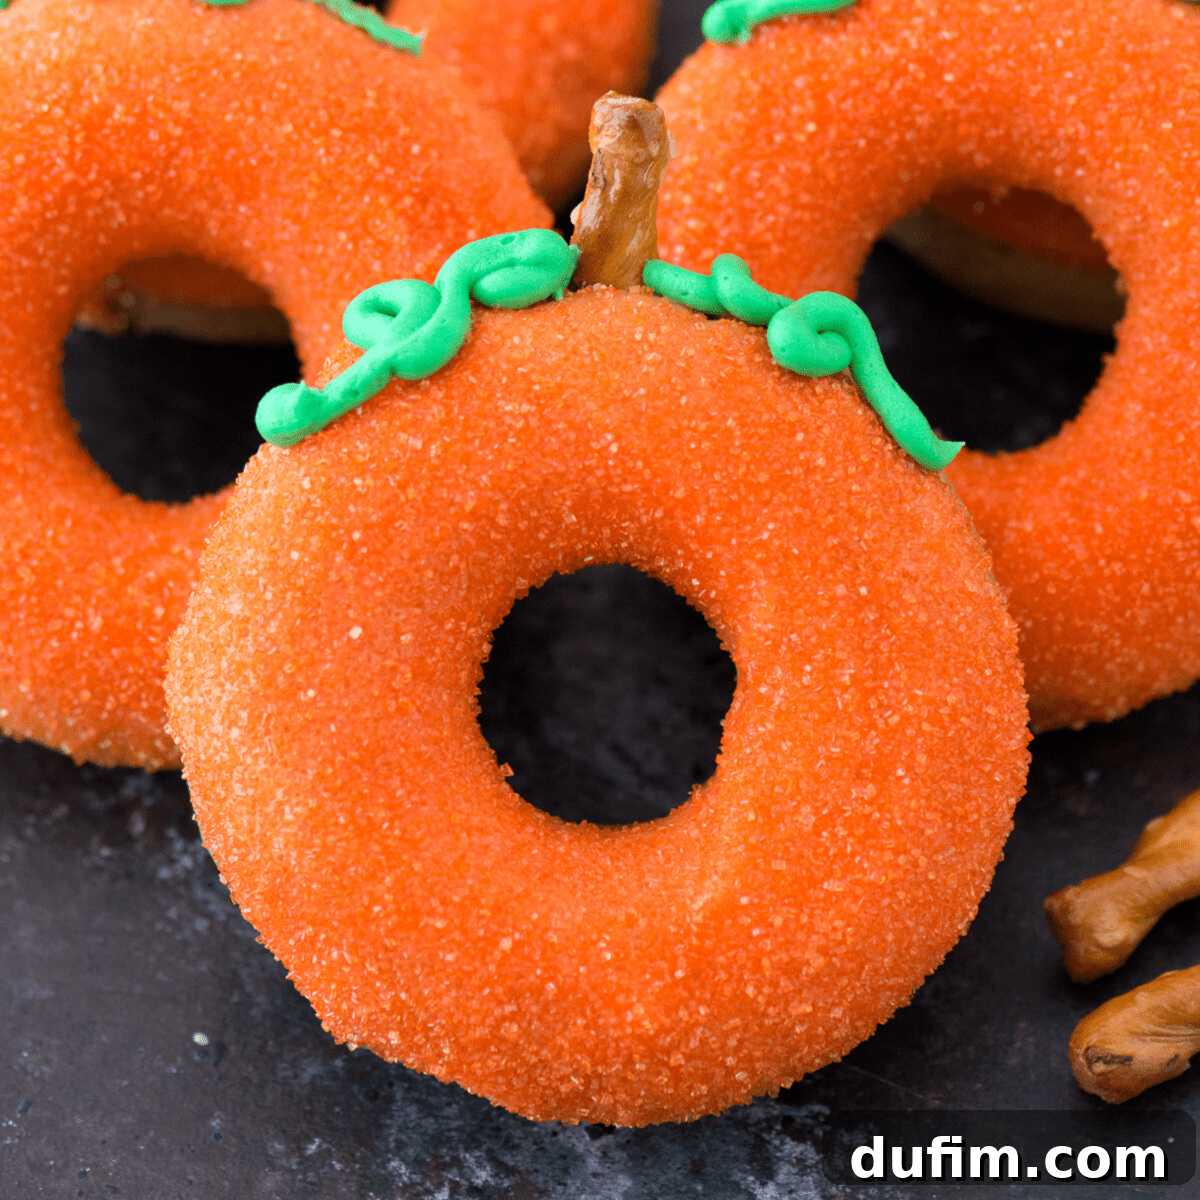
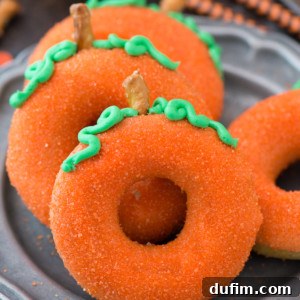
Simple, baked pumpkin donuts that capture the essence of fall! These delightful treats not only look like pumpkins but are packed with authentic pumpkin flavor, adding a vibrant touch to any autumn occasion.
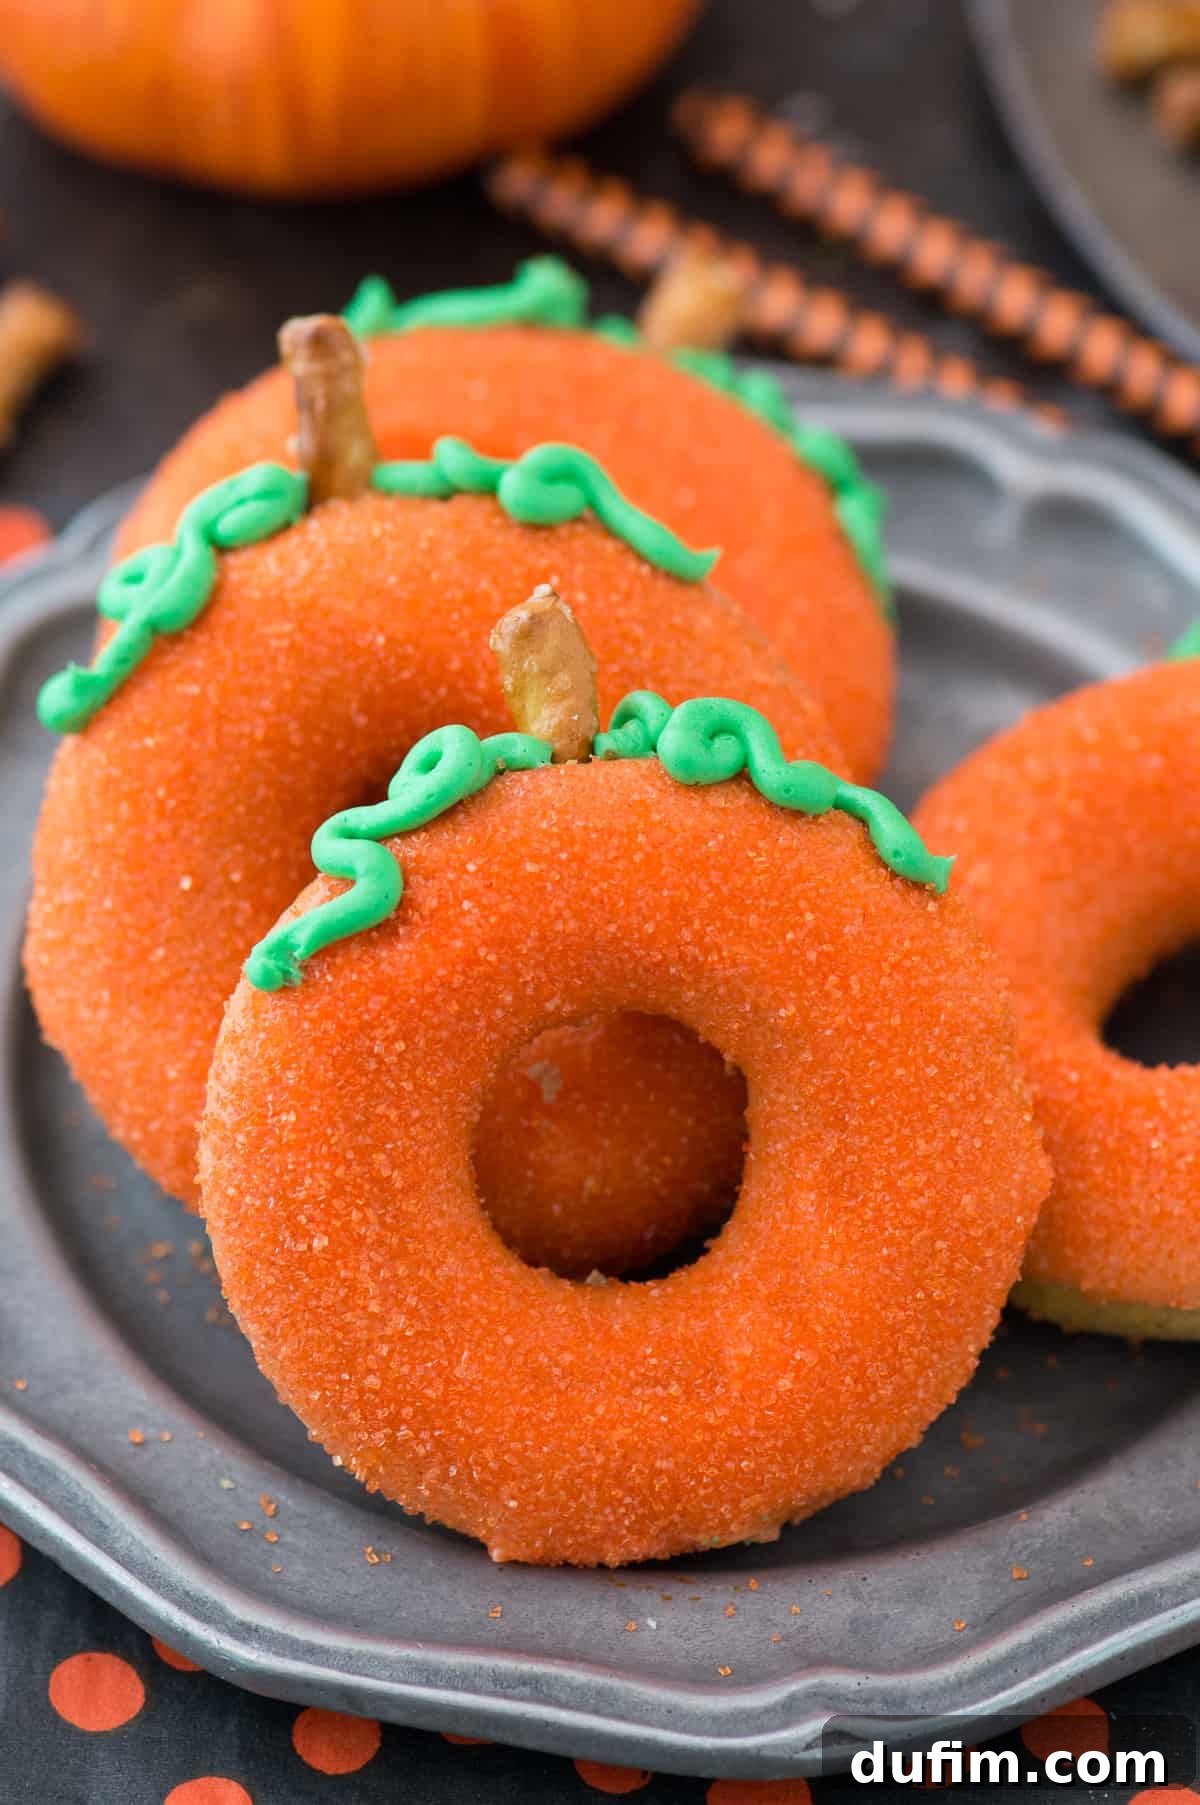
As the leaves begin to turn vibrant shades of red and gold, there’s nothing quite like the comforting aroma of pumpkin spice wafting through the kitchen. These baked pumpkin donuts are the epitome of fall — a cozy, spiced indulgence that will transport you straight to a pumpkin patch, even if you’re just enjoying them with your morning coffee. What makes them truly special is that they don’t just boast a beautiful pumpkin appearance; their rich, moist texture and warm spices deliver an unforgettable pumpkin taste with every single bite.
The arrival of autumn always brings with it a delightful dilemma: how many pumpkins are too many? I confess, my home is already brimming with fall decorations, including a collection of ten charming fake pumpkins I acquired from Michaels. My internal debate over investing in real pumpkins versus reusable faux ones for our porch has been an annual affair. While real pumpkins offer an undeniable rustic charm, the practicality of fake pumpkins — which I can enjoy year after year without worrying about spoilage or hungry squirrels — often wins out. Yet, as real pumpkins now adorn every market and roadside stand, the longing for their authentic presence is strong. It seems my decorating budget, however, has already been enthusiastically spent.
But here’s the wonderful news: edible pumpkins, in the form of these glorious baked pumpkin donuts, fall into an entirely different category! They don’t contribute to the decorating budget overflow, nor do they pose a risk of rolling off the porch during a blustery autumn gust. Instead, they offer pure, unadulterated joy, making them the perfect addition to any fall morning breakfast spread or a delightful afternoon snack. And let’s be honest, who could ever resist a donut for a snack? These adorable pumpkin-shaped delights are sure to impress guests and bring a huge smile to anyone who gets to enjoy them.
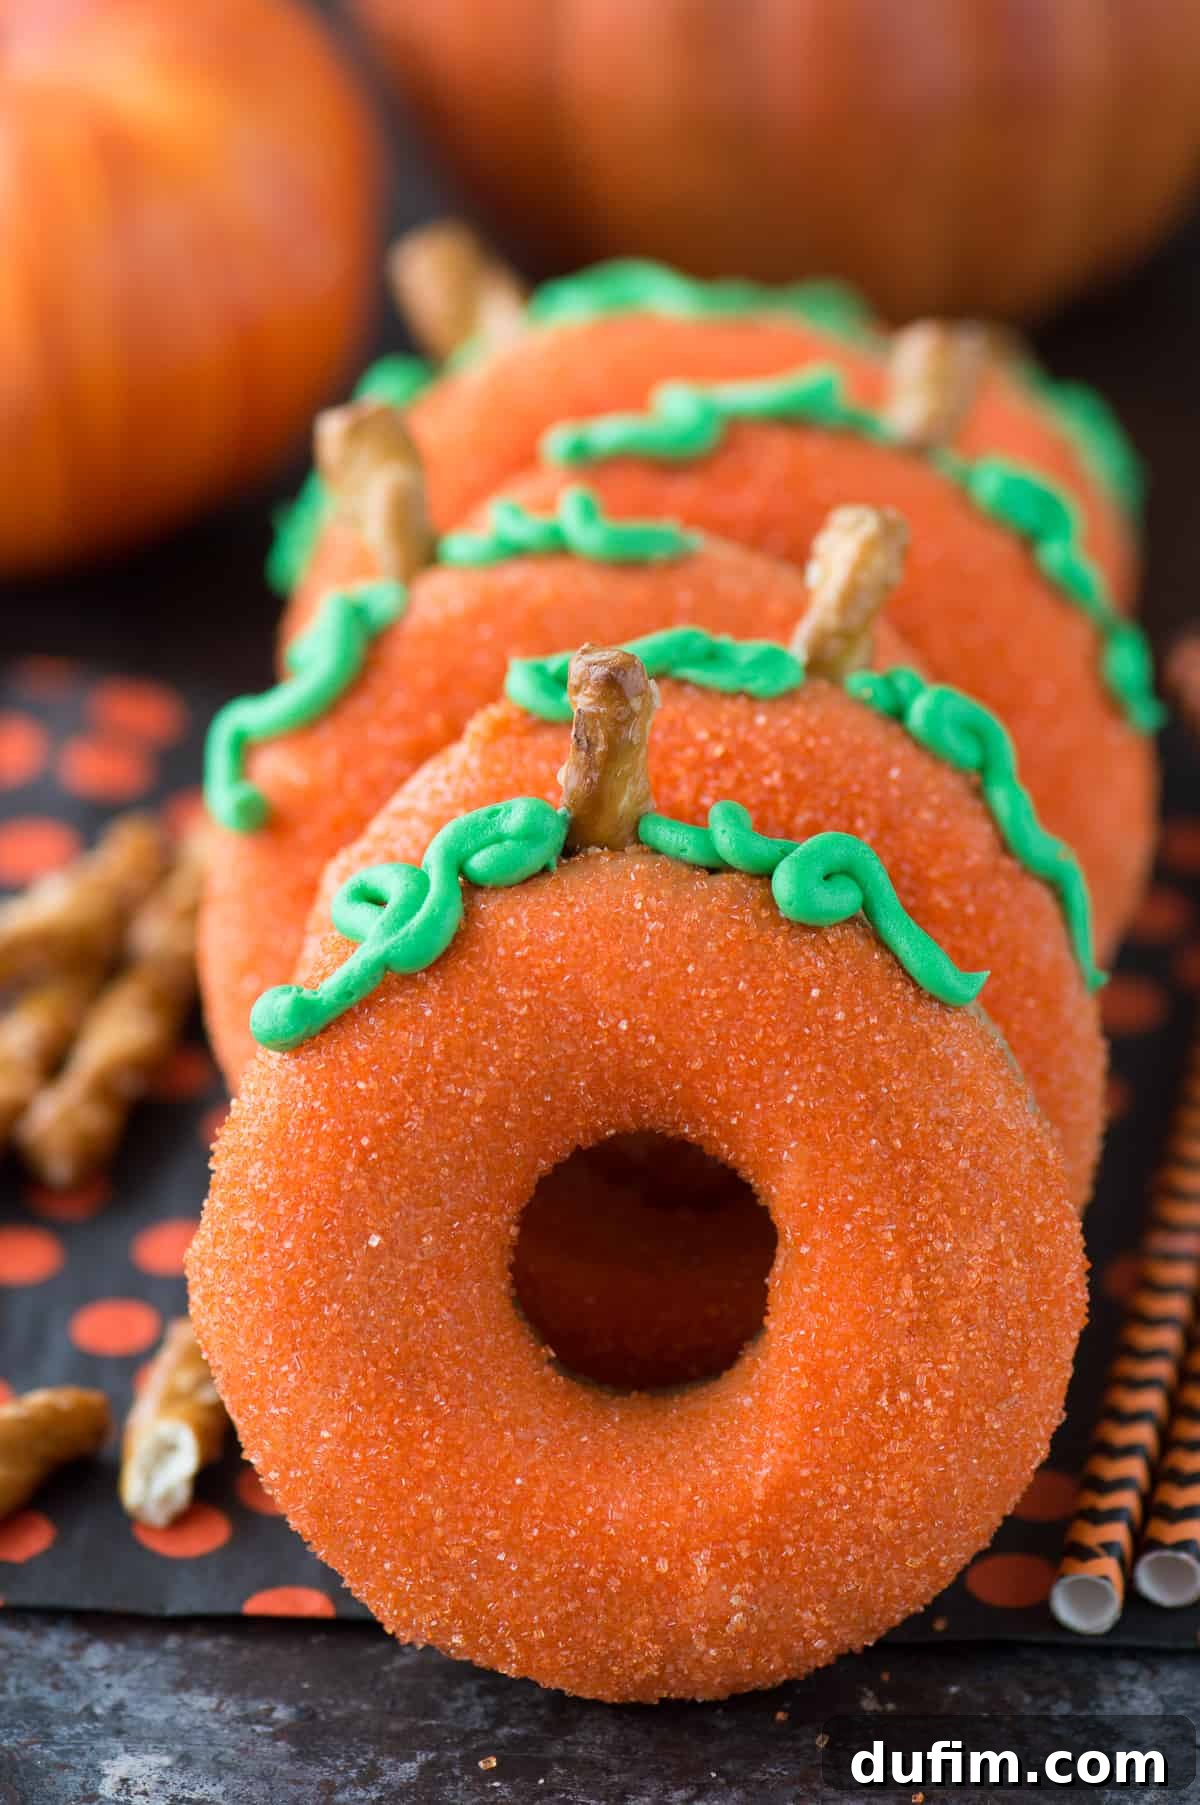
Baking donuts at home is surprisingly simple, and it offers a healthier alternative to their fried counterparts without sacrificing flavor or texture. These baked donuts come out wonderfully soft, fluffy, and perfectly golden. To achieve perfectly shaped donuts every time, I’ve found that using a piping bag (or even a sturdy Ziploc bag with a corner snipped off) to transfer the batter into the donut pan is a game-changer. This method ensures an even distribution and prevents overfilling, which can lead to irregularly shaped donuts. Precision in piping creates those lovely, uniform rings that are ideal for decorating. Just be sure not to overfill the cavities; about two-thirds full is usually perfect. Once baked, these donuts are not only delicious but also incredibly fun to decorate, turning them into festive, pumpkin-like masterpieces.
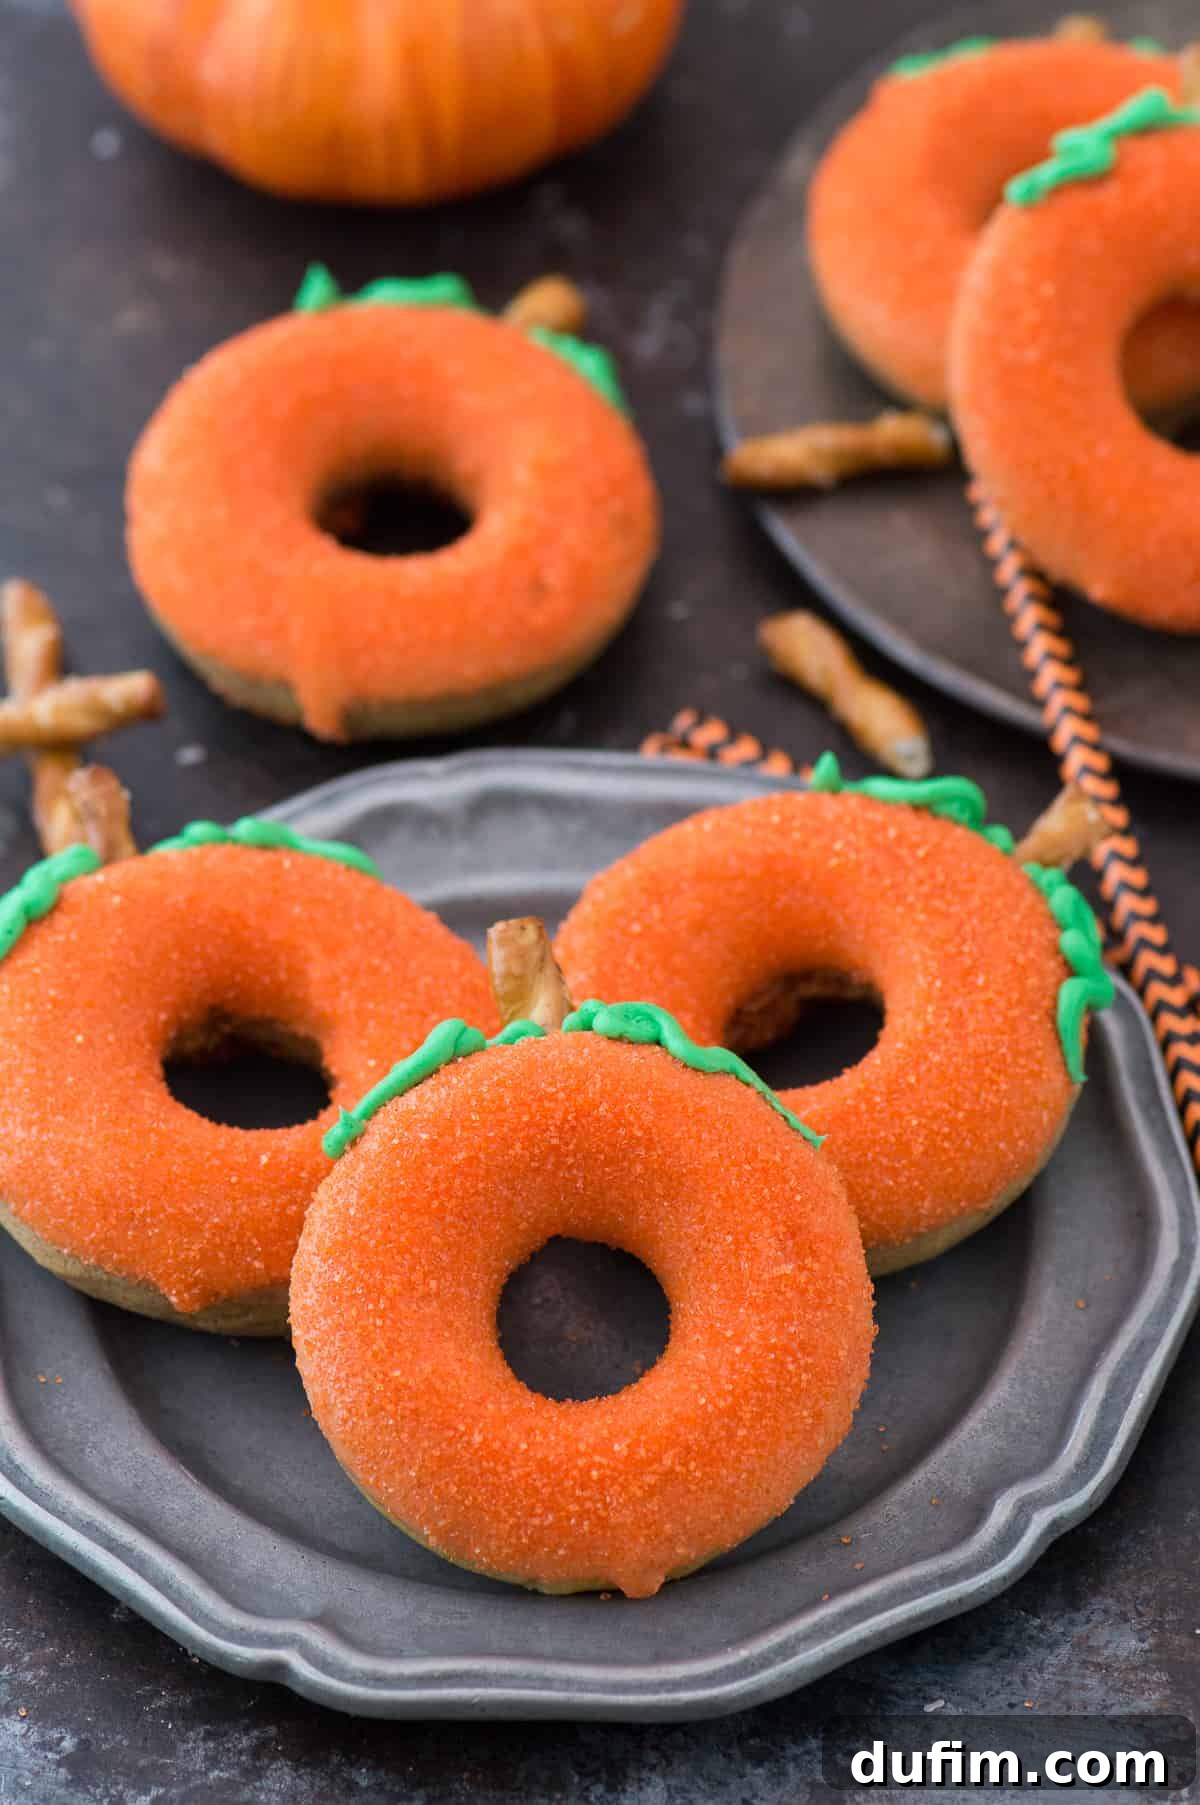
Making these pumpkin donuts is a joyful process that’s perfect for a cozy autumn afternoon. From mixing the fragrant pumpkin batter to dipping them in vibrant orange candy melts and adding charming pretzel stems, each step is part of the fun. The finished product is a visually stunning and incredibly delicious treat that embodies the spirit of fall. They’re excellent for holiday gatherings, school parties, or simply to enjoy as a special breakfast with loved ones.
Essential Supplies for Your Pumpkin Donuts
Before you dive into baking, gather these key items to ensure a smooth and successful donut-making experience:
- A reliable donut pan (standard 6-cavity or mini)
- All the fresh ingredients for the donut batter (listed in the recipe below)
- Orange candy melts for that vibrant pumpkin hue
- Orange sanding sugar for a glistening, festive finish
- Green food coloring to create a beautiful buttercream for vines and leaves
- A few braided pretzels, broken into smaller pieces for realistic pumpkin stems
- Piping bags (or a large Ziploc bag)
- Small round piping tip for the green buttercream decoration
- A cooling rack
- Non-stick cooking spray
How To Make Baked Pumpkin Doughnuts: A Step-by-Step Guide
Follow these detailed steps to create your own batch of irresistible pumpkin donuts:
- Prepare Your Oven and Pan: Preheat your oven to a comfortable 350ºF (175ºC). Lightly grease your donut pan with non-stick cooking spray, ensuring every cavity is covered to prevent sticking. Set it aside, ready for the batter.
- Combine Wet Ingredients: In a medium-sized mixing bowl, whisk together the rich pumpkin puree, sweet brown sugar, light vegetable oil, and creamy milk until the mixture is smooth and well combined. This forms the flavorful base of your donuts.
- Combine Dry Ingredients: In a separate, smaller bowl, combine the all-purpose flour, baking powder (for that perfect rise), fragrant pumpkin pie spice, warm cinnamon, a hint of nutmeg, and a pinch of salt. Whisk these dry ingredients thoroughly to ensure they are evenly distributed.
- Mix Batter: Gradually add the dry ingredient mixture to the wet ingredients. Using a spatula, gently fold until just combined. Be careful not to overmix; overmixing can lead to tough donuts. A few lumps are perfectly fine!
- Pipe the Batter: Transfer the donut batter into a piping bag. If you don’t have one, a sturdy Ziploc bag with a small corner snipped off works just as well. Carefully pipe the batter into each donut cavity, filling them about two-thirds full. Distribute the batter evenly among the 6 donut cavities. This ensures uniform baking and a perfect donut shape.
- Bake to Perfection: Bake for 15-16 minutes, or until a toothpick inserted into the center of a donut comes out clean. This indicates they are fully cooked. Once baked, remove the pan from the oven and allow the donuts to cool in the pan for about 10 minutes. This helps them firm up before handling.
- Cool and Release: After the initial cooling period, carefully flip the donut pan upside down over a cooling rack to release the donuts. Let them cool completely on the rack for at least 10-15 minutes before proceeding with decoration. Cooling fully is crucial for the candy melt coating to set properly.
- Melt Candy Melts: Following the package instructions, melt the orange candy melts. If the melts are too thick, you can add a small amount of vegetable oil or shortening (about ½-1 teaspoon per cup of melts) to thin them to a good dipping consistency.
- Dip and Decorate: Dip the top of each cooled donut into the melted orange candy melts, allowing any excess to drip off. Immediately after dipping (within 1-2 minutes, before the melt hardens), sprinkle generously with orange sanding sugar for an extra sparkle and texture. Place the donuts back on the cooling rack and allow the candy melts to harden completely, which usually takes about 15-20 minutes.
- Prepare Green Buttercream: While the candy melts are setting, prepare your green buttercream. In a small mixing bowl, beat 2 tbsp of softened butter until smooth and creamy. Gradually add 3-4 tbsp of powdered sugar and a few drops of kelly green food coloring. Beat until the buttercream is light, fluffy, and has achieved your desired green shade. Transfer this buttercream to a piping bag fitted with a small round piping tip.
- Add Stems and Vines: Using a skewer or a thin knife, gently make a small hole at the top center of each donut. Insert a broken pretzel piece into this hole to create the pumpkin stem. Finally, use the green buttercream to pipe small vines or leaves around the pretzel stem on top of the orange candy coating, bringing your pumpkin donuts to life!
Expert Baking Tips for Flawless Pumpkin Donuts
Achieving the perfect baked donut is easier than you think with these helpful pointers:
- Measure Flour Correctly: For accurate measurements and a light texture, use the “spoon and sweep” method for flour. Spoon the flour into your measuring cup until it’s overflowing, then use the back of a knife or a straight edge to level it off without compacting the flour. This prevents adding too much flour, which can result in dry donuts.
- Pumpkin Puree vs. Pumpkin Pie Filling: Always double-check your can to ensure you’re using plain pumpkin puree, not pumpkin pie filling. Pumpkin pie filling contains added spices and sweeteners that will alter the flavor and consistency of your donuts. The only ingredient listed on a can of pure pumpkin puree should be “pumpkin.”
- Piping Bag for Precision: As mentioned, a piping bag is your best friend for neat and evenly shaped donuts. If you don’t have one, a sturdy large Ziploc bag with one corner snipped off (about ½ inch) works perfectly for piping the batter into the donut pan cavities. This technique ensures consistent size and prevents messy spills.
- Don’t Overmix: When combining wet and dry ingredients, mix just until no streaks of flour remain. Overmixing develops the gluten in the flour, leading to a tougher, chewier donut rather than the soft, cake-like texture you desire.
- Cool Completely Before Decorating: Resist the urge to decorate warm donuts. The heat will melt your candy coating and frosting, leading to a messy outcome. Allow your donuts to cool completely on a wire rack to ensure the glazes set beautifully.
Serving and Storage Suggestions
These delightful pumpkin donuts are best enjoyed fresh, perhaps still slightly warm from cooling. They pair wonderfully with a hot cup of coffee, a glass of cold milk, or a festive mug of spiced apple cider. For larger gatherings, arrange them on a decorative platter to showcase their adorable pumpkin shape. If you happen to have any leftovers (a rare occurrence, we’re sure!), store them in an airtight container at room temperature for up to 2-3 days. The candy melt coating helps keep them fresh, but for the best texture, aim to consume them within 24 hours.
Explore More Pumpkin Delights
If these pumpkin donuts spark your love for all things pumpkin, be sure to check out these other fantastic fall recipes. There’s a pumpkin treat for every craving!
- Creamy Pumpkin Dip
- Soft Pumpkin Chocolate Chip Cookies
- Decadent No-Bake Pumpkin Cheesecake
- Easy Pumpkin Dump Cake
Watch the Pumpkin Donuts Video Tutorial
Enjoy this festive fall recipe!
Pumpkin Donuts
Beth
15 minutes
15 minutes
20 minutes
50 minutes
6 donuts
Print Recipe
Equipment
-
Donut Pan
Ingredients
For the Donuts
- ½ cup pumpkin puree
- ½ cup brown sugar
- ¼ cup vegetable oil
- ¼ cup milk
- 1 cup all-purpose flour
- 1 tsp baking powder
- 1 tsp pumpkin pie spice
- ½ tsp cinnamon
- ¼ tsp nutmeg
- ¼ tsp salt
For Decoration
- ½ bag orange candy melts
- orange sanding sugar
- a few braided pretzels, broken into smaller size for stems
For Green Buttercream (Vines & Leaves)
- 2 tbsp unsalted butter, softened
- 3-4 tbsp powdered sugar
- kelly green food coloring
Instructions
-
Preheat the oven to 350ºF (175ºC). Spray a donut pan with non-stick cooking spray. Set aside.
-
In a medium bowl, whisk together the pumpkin puree, brown sugar, vegetable oil, and milk.
-
In a smaller bowl, combine the flour, baking powder, pumpkin pie spice, cinnamon, nutmeg, and salt. Gradually add the dry ingredients to the wet ingredients, mixing with a spatula just until combined. Avoid overmixing.
-
Transfer the batter to a piping bag (or a ziplock bag with a corner cut off). Pipe the batter into each donut cavity, filling evenly among the 6 donuts (about two-thirds full).
-
Bake for 15-16 minutes or until a toothpick inserted in the center comes out clean. Allow the donuts to cool in the pan for 10 minutes.
-
Flip the pan upside down to release the donuts onto a cooling rack. Allow the donuts to cool completely for at least 10-15 more minutes before decorating.
-
Melt the orange candy melts according to package instructions. You can add ½-1 tsp of vegetable oil or shortening to help thin out the candy melts if needed. Dip the top of each cooled donut into the melted orange candy melts. Allow the donut to set for 1-2 minutes, then sprinkle with orange sanding sugar before the candy melts fully harden. Let the candy melts harden completely on the cooling rack.
-
Meanwhile, make the buttercream: In a small mixing bowl, beat the softened butter until smooth. Add in the powdered sugar and kelly green food coloring, beating until combined and fluffy. Transfer the buttercream to a piping bag fitted with a small round piping tip.
-
Use a skewer or similar tool to make a small hole on the top center of each donut. Insert a broken pretzel piece into the hole to serve as the pumpkin stem.
-
Pipe small green buttercream vines or leaves onto the donut around the pretzel stem to complete the pumpkin look.
Video
Nutrition Facts (per donut)
Carbohydrates: 47g |
Protein: 3g |
Fat: 7g |
Saturated Fat: 5g |
Polyunsaturated Fat: 1g |
Monounsaturated Fat: 1g |
Trans Fat: 1g |
Cholesterol: 11mg |
Sodium: 223mg |
Potassium: 107mg |
Fiber: 1g |
Sugar: 29g |
Vitamin A: 3312IU |
Vitamin C: 1mg |
Calcium: 80mg |
Iron: 2mg
Nutrition Disclosure
All nutritional values are approximate and provided to the reader as a courtesy. Changing ingredients and/or quantities will alter the estimated nutritional calculations.
Did you love this recipe? Share your thoughts below!