

Irresistible Black Forest Thumbprint Cookies: The Ultimate Chocolate Cherry Recipe
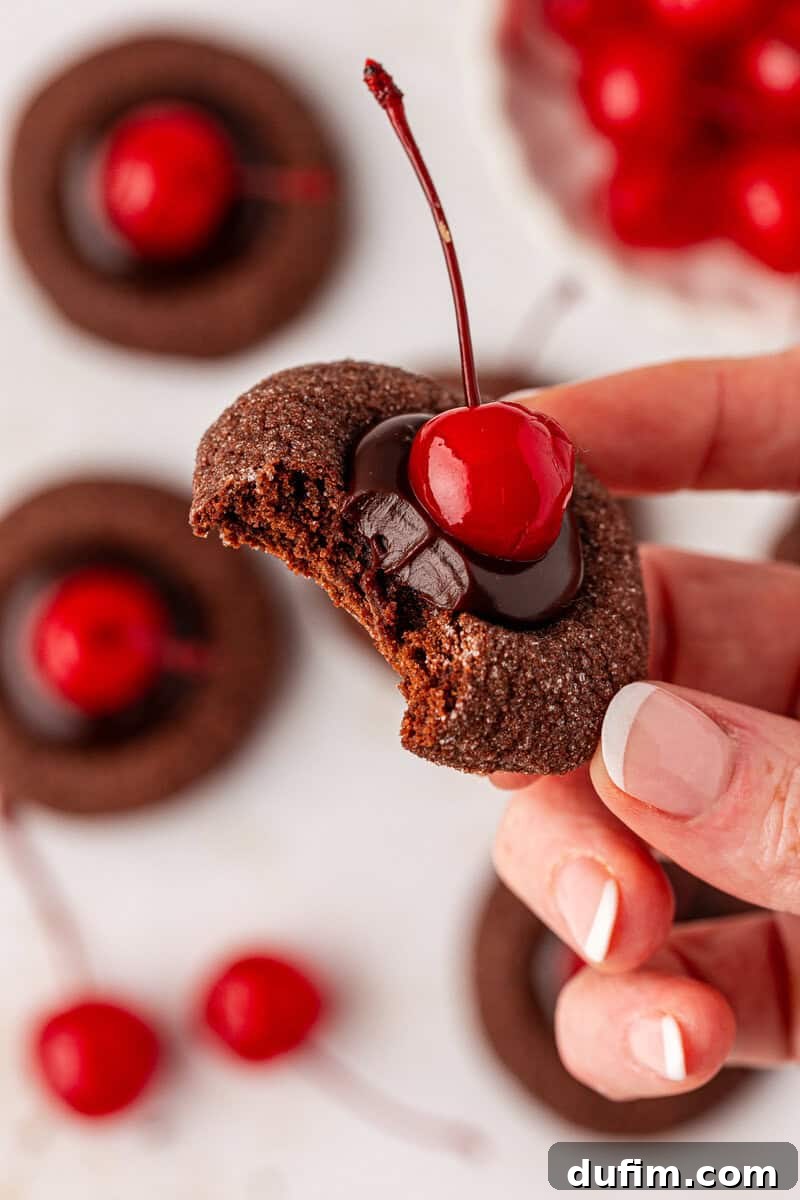
Embark on a delightful baking journey with our meticulously crafted Black Forest Thumbprint Cookies. This recipe is the culmination of extensive testing, designed to deliver the quintessential chocolate and cherry experience in every bite. Featuring a sumptuously soft chocolate cookie base, a rich, glossy chocolate ganache filling, and a vibrant maraschino cherry on top, these cookies are a true celebration of flavor and texture. They are not only a joy to make but also consistently turn out perfect, brimming with that bold, nostalgic chocolate cherry flavor.
The Journey to Perfect Black Forest Thumbprint Cookies
Creating the perfect Black Forest Thumbprint Cookie was a delicious challenge, focused on achieving the ideal balance of flavor and texture. The foundation began with a reliable chocolate thumbprint cookie base, refined through several experimental rounds. The primary goal for this base was a tender, thick chocolate cookie capable of holding a distinct indentation without spreading too much during baking. Once this crucial base was perfected, attention shifted to developing a filling that would truly capture the essence of classic Black Forest desserts.
My initial attempt involved spooning a little cherry pie filling into the cookie centers before baking. While the idea seemed promising for a burst of cherry flavor, the reality was less ideal. The baked filling often sank and spread, failing to deliver the rich, concentrated cherry moment I envisioned. This led to a strategic pivot. The next step was to experiment with a decadent chocolate ganache, made simply with warm heavy cream and high-quality semi-sweet chocolate chips. This proved to be the winning combination. The ganache set beautifully within the thumbprint, adding a luxurious, deep chocolate element that is synonymous with Black Forest indulgence.

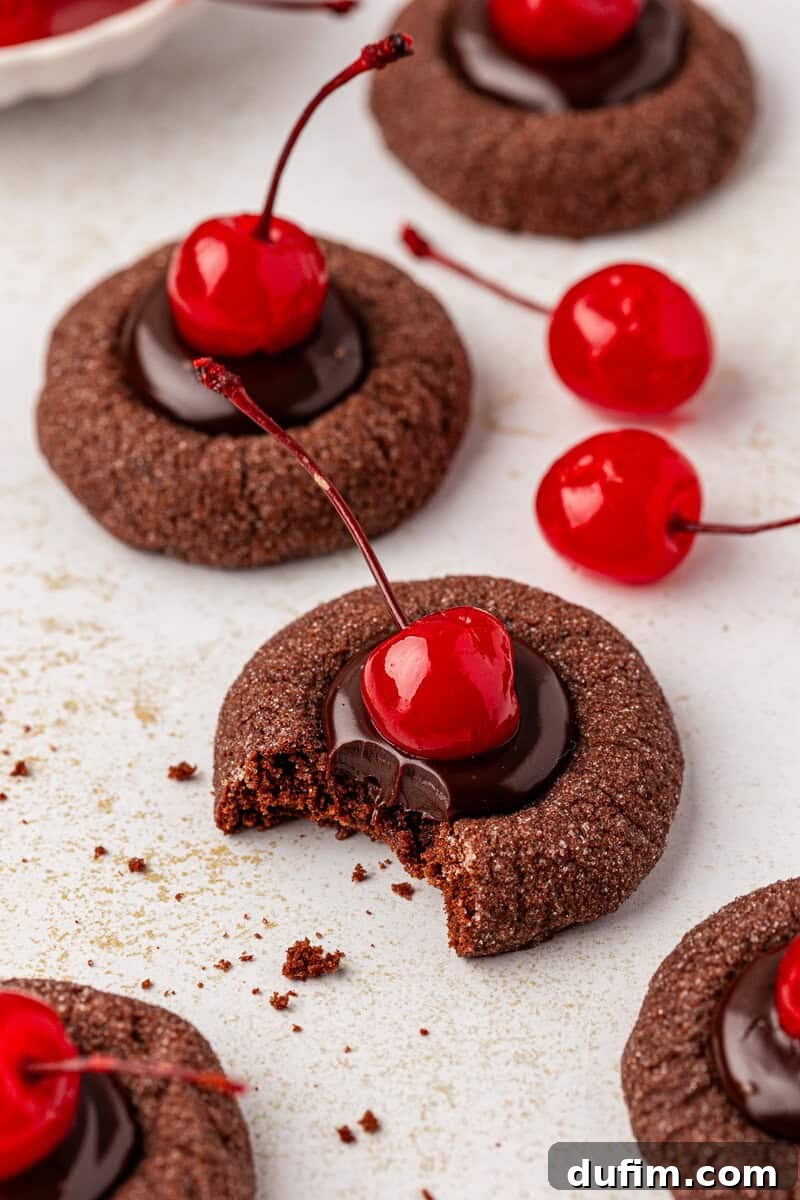
To infuse the signature bright cherry flavor without compromising the cookie’s structural integrity or the smooth ganache, each cookie was elegantly finished with a single maraschino cherry. Placed perfectly in the center, the cherry adheres to the still-setting ganache, creating a stunning visual contrast. The interplay of the soft, moist chocolate cookie, the silky smooth ganache, and the vibrant, chewy cherry creates an unforgettable taste experience that feels both classic and utterly satisfying. Every element of this Black Forest Thumbprint Cookie recipe has been meticulously refined through real-world testing, ensuring that home bakers can achieve consistently rich, deeply chocolate-forward results with confidence.
Essential Ingredients for Black Forest Magic
The magic behind these delightful Black Forest Thumbprint Cookies lies in the careful selection and purpose of each ingredient. Understanding what each component contributes will not only make you a better baker but also help you appreciate the nuanced flavors of this classic dessert. For precise measurements, you can always refer to the detailed recipe card below.
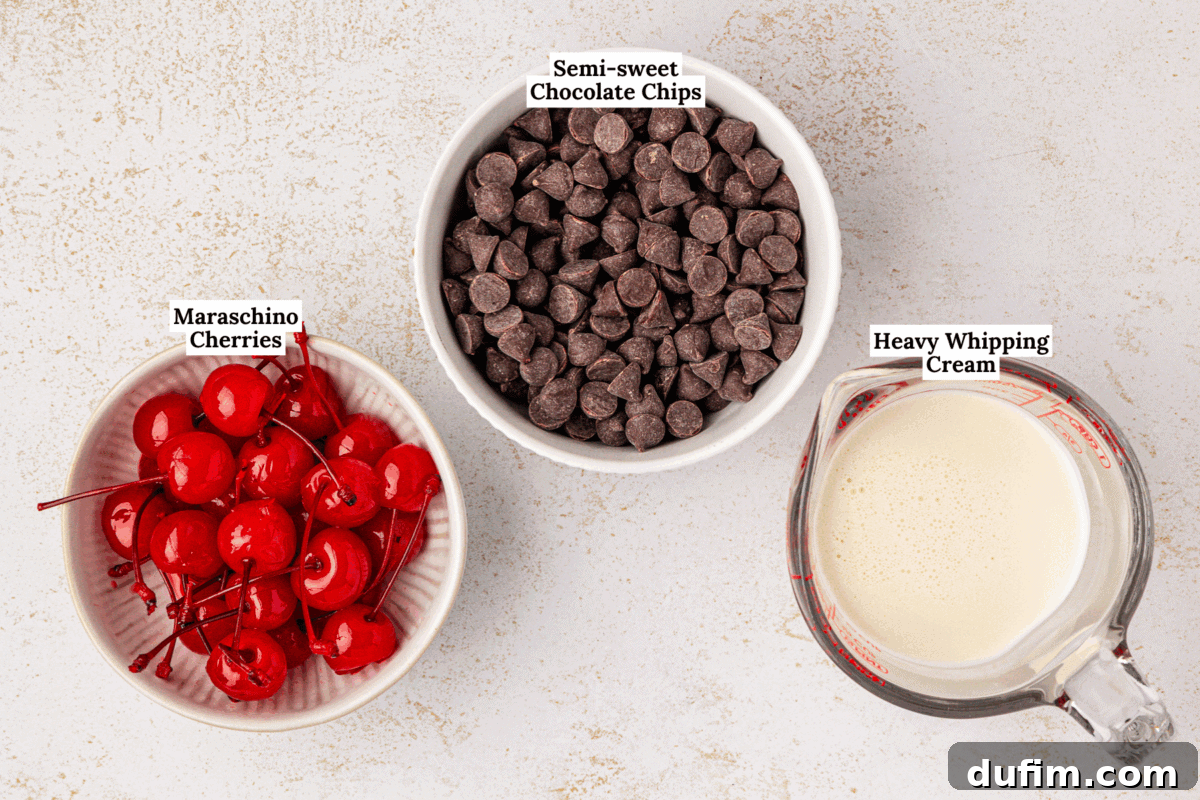
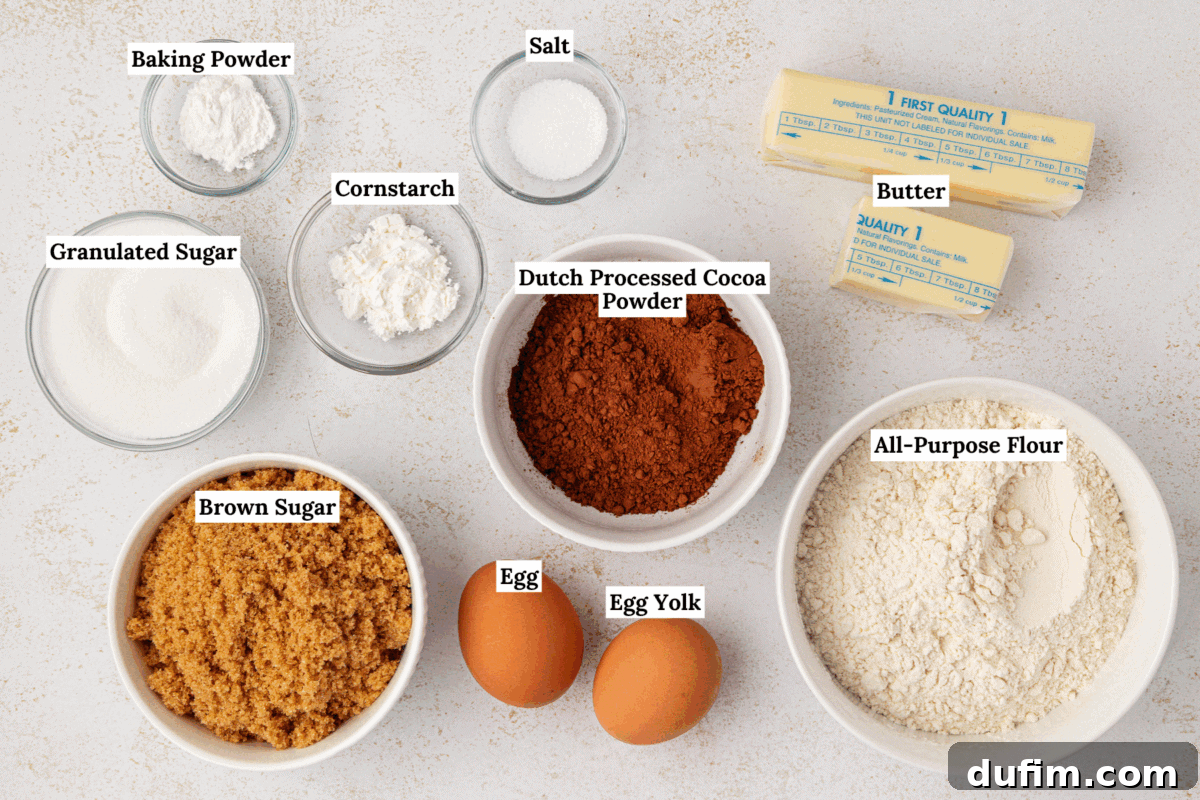
- Dutch-Processed Cocoa Powder: This special cocoa powder is treated to reduce its acidity, resulting in a deeper, richer chocolate flavor and a darker, more appealing color in your cookies. It also contributes to a wonderfully smooth and tender cookie texture.
- Brown Sugar: Beyond sweetness, brown sugar brings essential moisture to the cookie dough, ensuring a soft, chewy texture. Its subtle caramel notes beautifully complement the intense chocolate and cherry flavors.
- Unsalted Butter: The foundation of any great cookie, butter provides unparalleled richness, flavor, and tenderness. It helps create a soft, melt-in-your-mouth crumb while still allowing the cookies to hold their distinct shape.
- Cornstarch: A secret weapon for perfect thumbprint cookies! Cornstarch adds crucial stability to the dough, preventing the cookies from spreading too much and ensuring that your thumbprint indentations remain well-defined throughout the baking process.
- Egg Yolks: Adding an extra egg yolk (in addition to a whole egg) significantly increases the fat content in the dough. This richness is key to achieving incredibly soft cookies and helps prevent any cracking around the edges or in the center.
- Semi-Sweet Chocolate Chips: These are melted with warm cream to form the luscious chocolate ganache. Semi-sweet chocolate provides the perfect balance of sweetness and intense chocolate flavor, creating a luxurious filling.
- Heavy Cream: Essential for crafting a silky smooth and stable ganache. The high-fat content of heavy cream gives the ganache its decadent texture and ensures it sets firmly enough to cradle the maraschino cherry.
- Maraschino Cherries: The iconic topping that delivers that vibrant, unmistakable black forest flavor. Their bright red hue adds a stunning visual contrast and a delightful chewiness that completes the cookie experience.
Step-by-Step Guide to Baking Perfect Black Forest Thumbprint Cookies
Creating these amazing chocolate cherry thumbprint cookies is simpler than you might think, even if you’re new to baking. Follow these clear, easy-to-understand steps, and you’ll achieve delicious results every time. For full ingredient quantities, please jump to the detailed recipe card below.
For the Cookies:
- Prep Baking Sheets: Begin by lining your baking sheets with parchment paper or high-quality silicone mats. This prevents sticking and ensures even baking.
- Combine Dry Ingredients: In a medium-sized bowl, thoroughly whisk together the all-purpose flour, Dutch-processed cocoa powder, salt, baking powder, and cornstarch. Whisking ensures these ingredients are evenly distributed. Set this dry mixture aside.
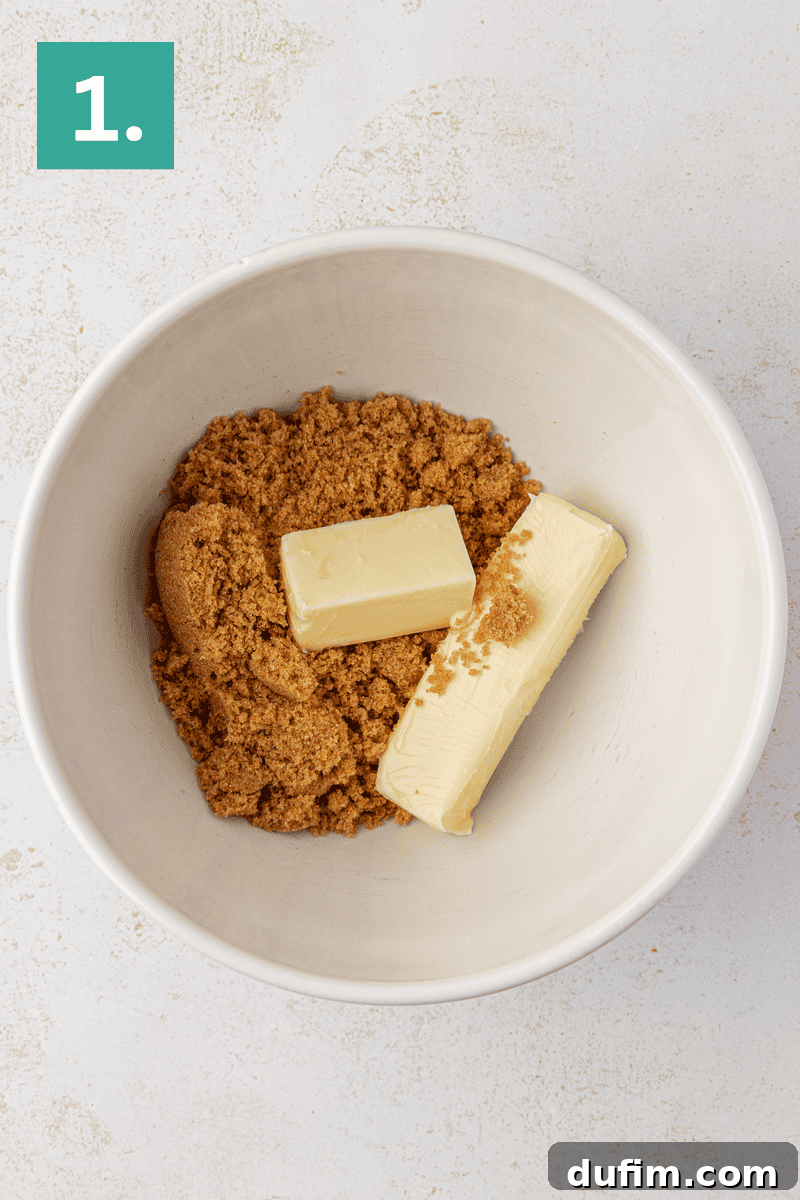
- Beat Butter and Sugar: In a large mixing bowl, using an electric mixer, beat the softened unsalted butter and packed brown sugar together on medium speed. Continue mixing until the mixture becomes light, fluffy, and well combined, which typically takes about 1–2 minutes.
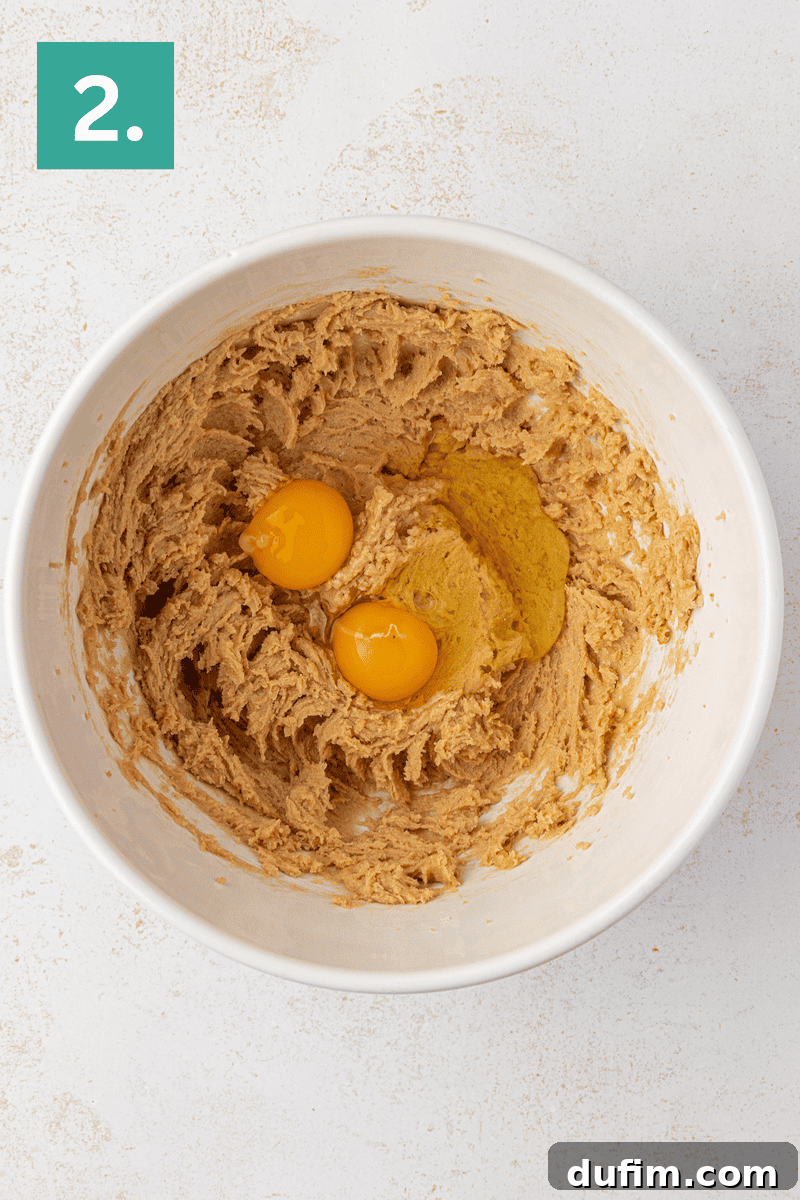
- Add in Eggs: Introduce the large egg and the extra egg yolk to the butter-sugar mixture. Beat for approximately 30 seconds, ensuring to pause and scrape down the sides of the bowl with a spatula as needed, to fully incorporate all ingredients.
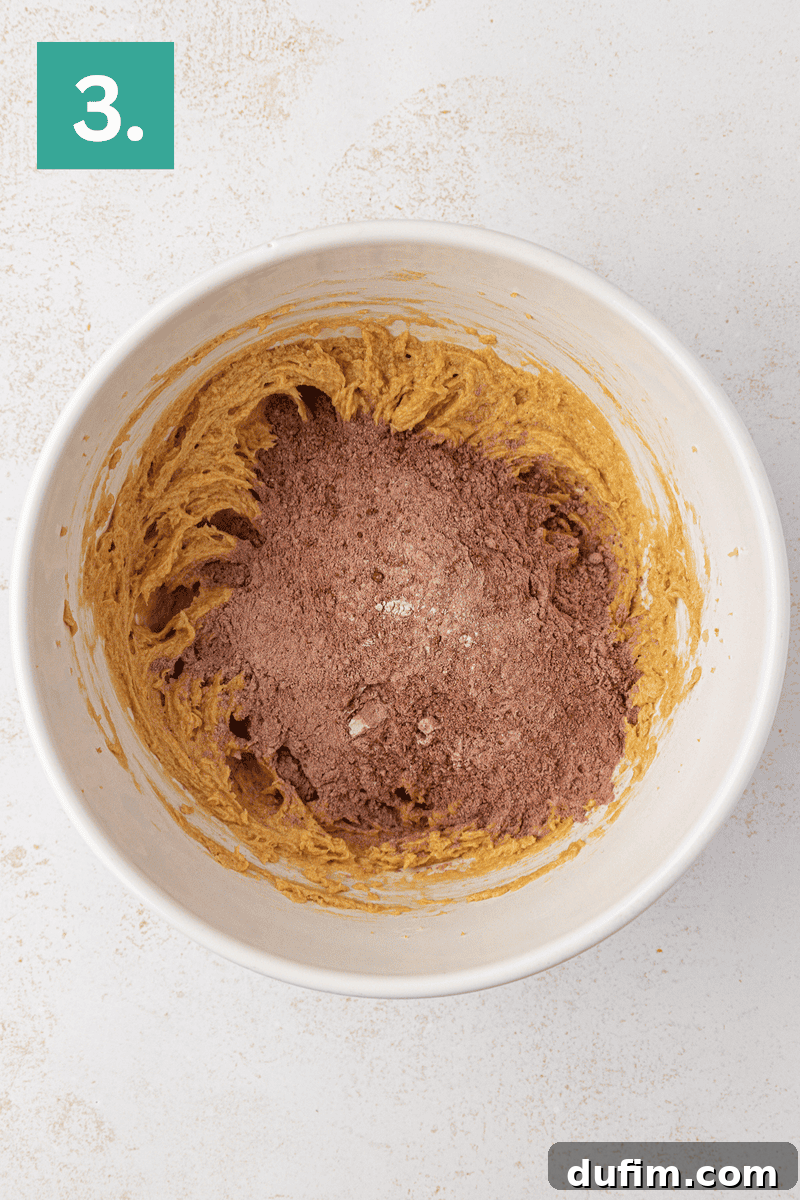
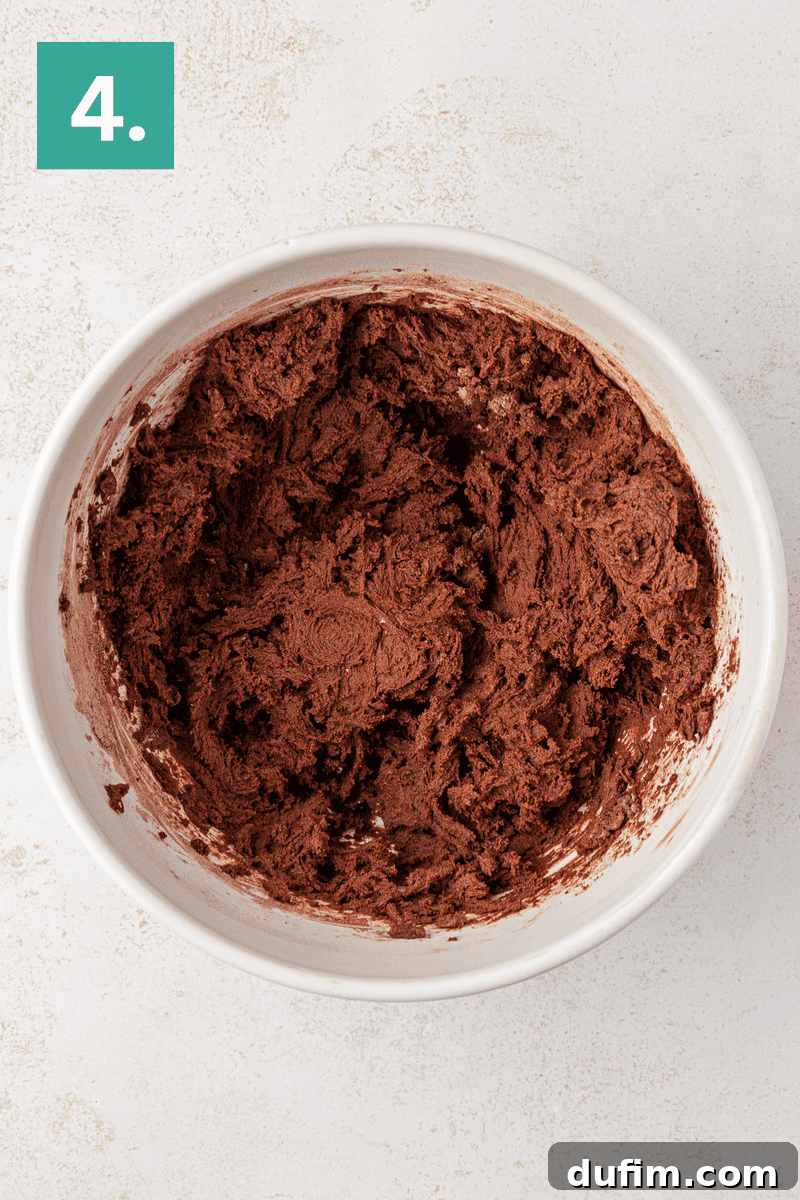
- Combine Wet and Dry Ingredients: Gradually add the reserved dry mixture to the wet ingredients in the large mixing bowl. Mix on low speed just until the ingredients are combined and no streaks of flour remain. Be careful not to overmix. At this stage, the cookie dough will be quite thick.
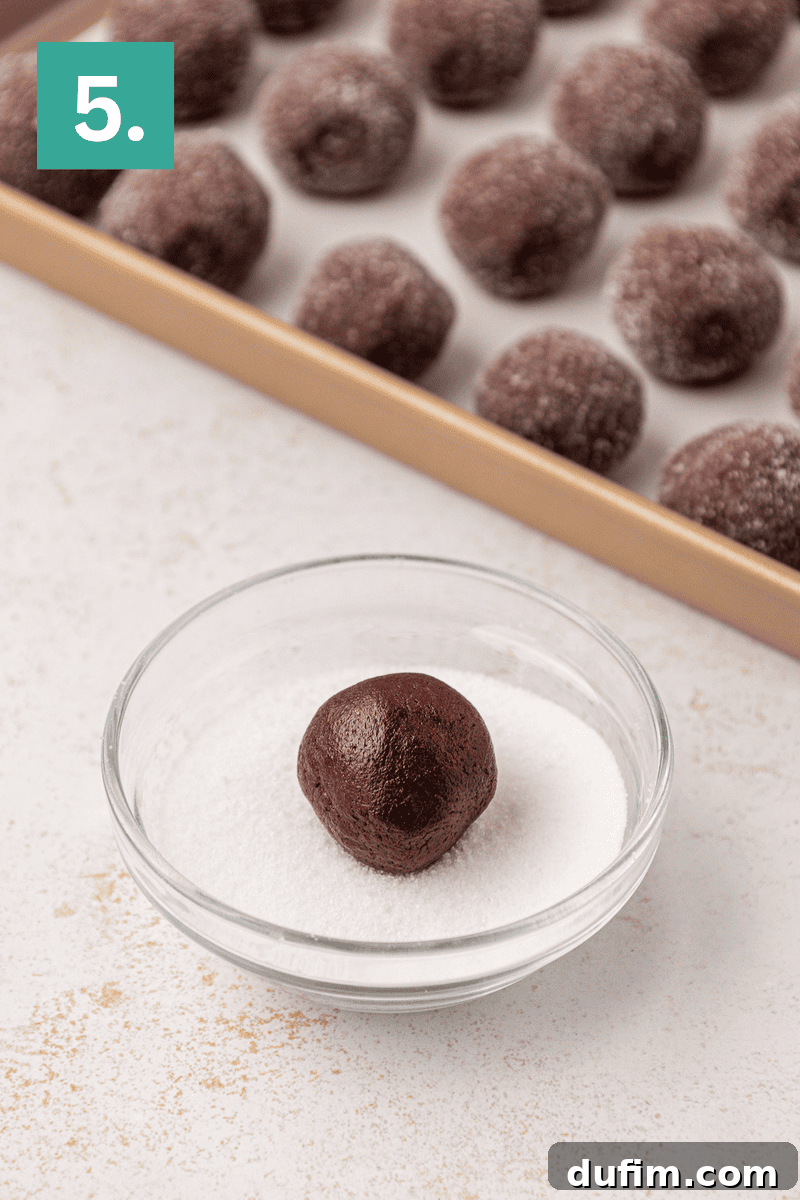
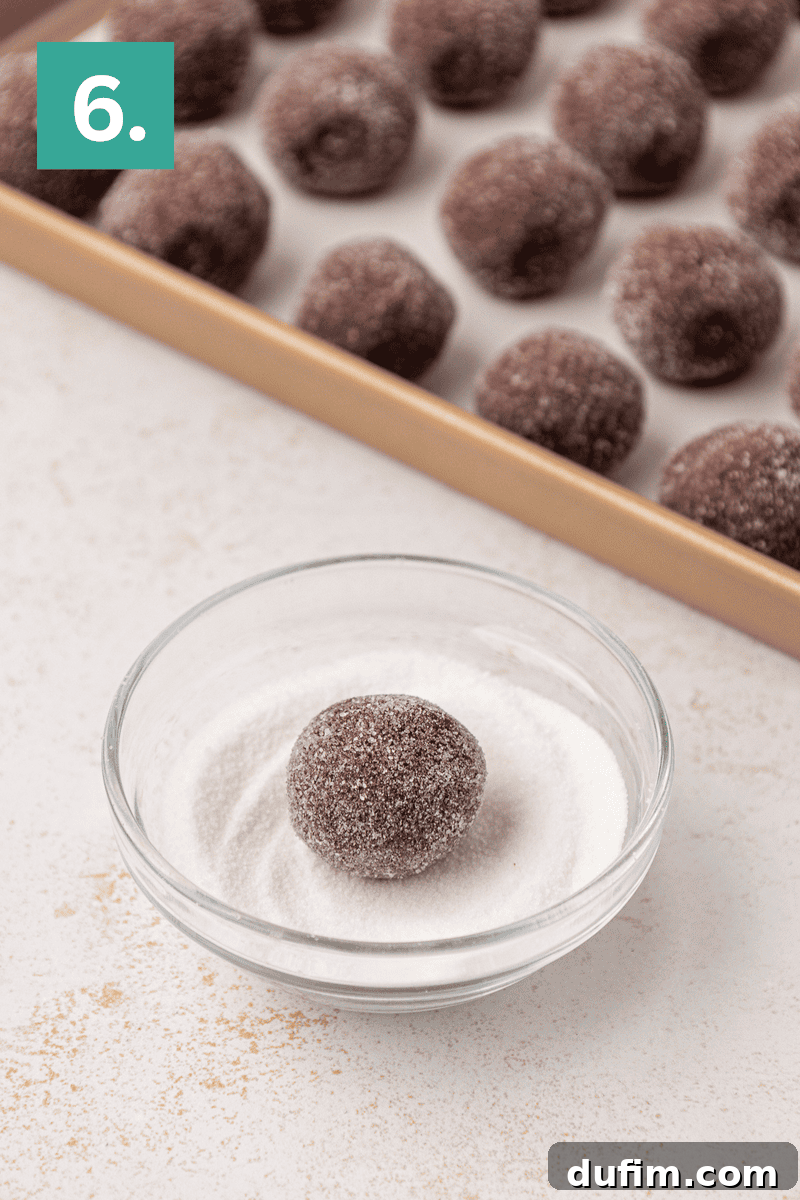
- Form Dough Balls: Using a #60 cookie scoop (which holds about 1 tablespoon), scoop portions of the thick dough. Roll each portion gently between your palms to form smooth, uniform balls. Then, roll each dough ball thoroughly in granulated sugar to coat its exterior. Place the coated dough balls about 2 inches apart on your prepared baking sheets.
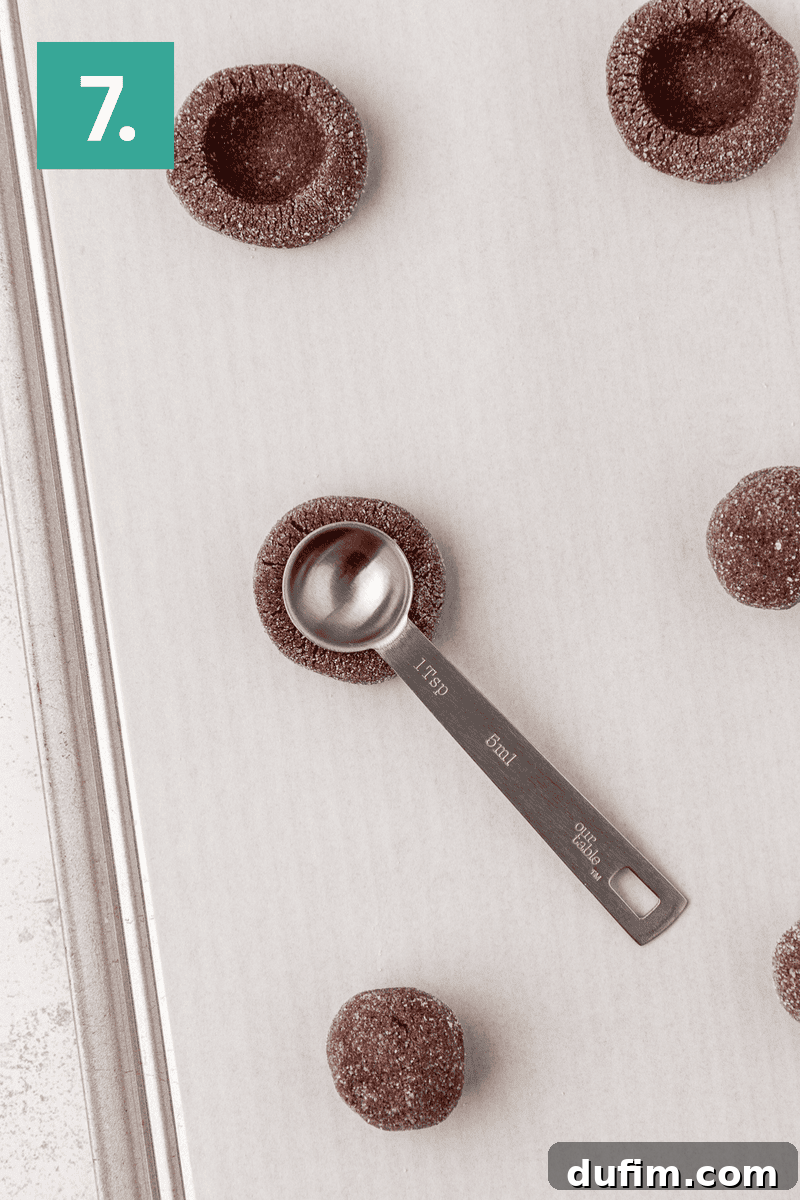
- Press and Chill Cookies: Use the back of a teaspoon (or your thumb) to gently press a divot into the center of each cookie dough ball. This creates the “thumbprint” for the filling. Immediately place the baking sheet in the freezer for 10 minutes. This chilling step helps the dough firm up, preventing the cookies from spreading too much and ensuring the indentation holds its shape during baking. You can chill for longer if time permits.
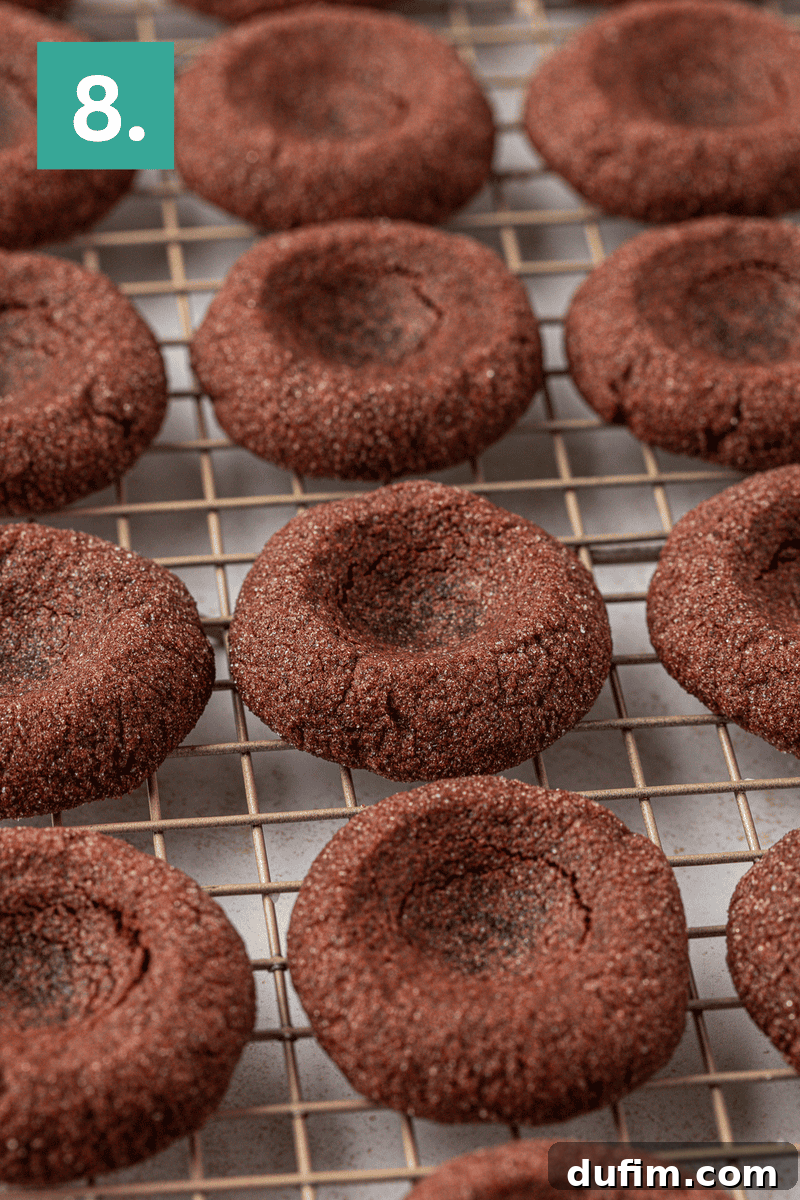
- Bake and Finish: Preheat your oven to 350°F (177°C). Bake the chilled cookies for 10-11 minutes. The edges should appear set, but the centers should still look slightly soft. Remove the baking sheets from the oven. While the cookies are still warm, immediately use the back of the teaspoon again to gently deepen any indentations that may have puffed up during baking.
- Cool: Allow the baked cookies to cool completely on the baking sheets or a wire rack before proceeding with the filling. This is essential for the ganache to set properly.
For the Filling:
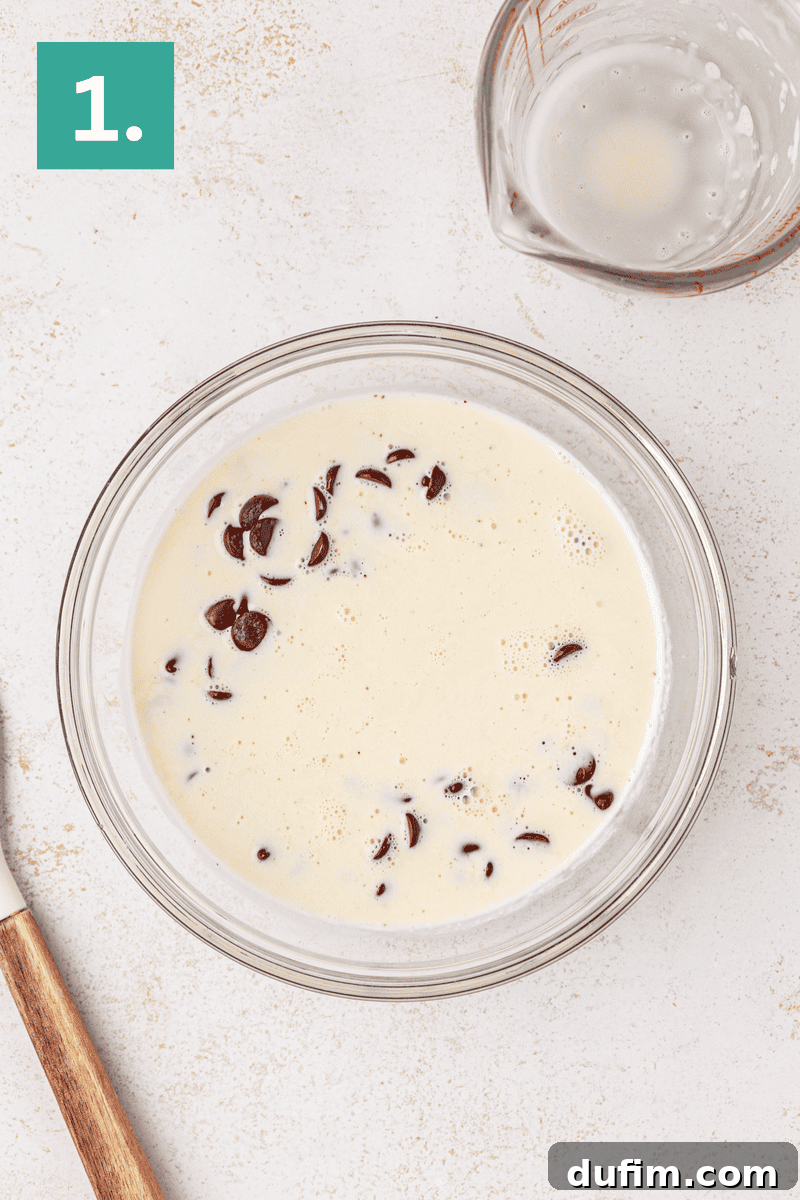
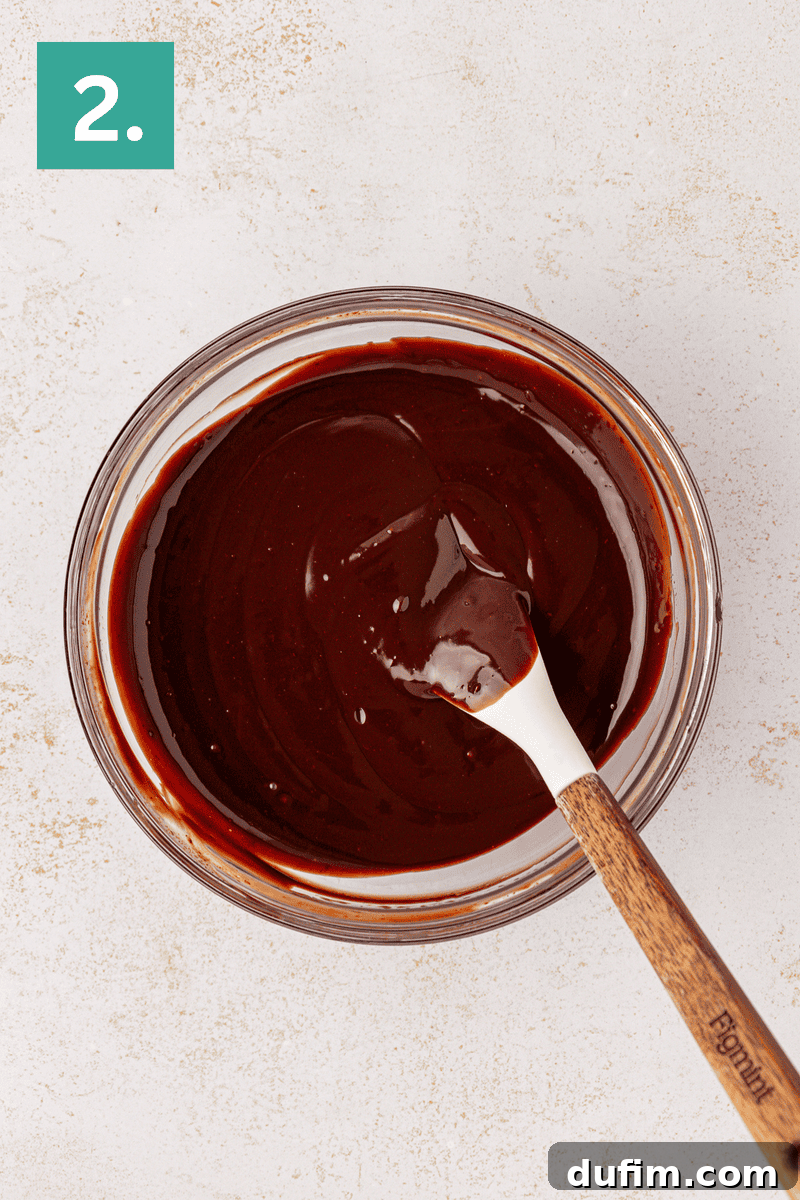
- Prepare Chocolate Ganache: Place the semi-sweet chocolate chips in a heatproof bowl. In a separate microwave-safe measuring cup, heat the heavy whipping cream in the microwave for 45 to 60 seconds, or until it is visibly steaming and very hot (but not boiling). Pour the hot cream directly over the chocolate chips. Let it sit undisturbed for 2 to 3 minutes; this allows the chocolate to soften and melt from the residual heat. After resting, add the optional almond extract. Stir gently with a spatula or whisk until the chocolate is fully melted and the ganache is smooth, glossy, and completely uniform.
- Cool Ganache: Allow the prepared ganache to cool at room temperature for 10 to 15 minutes. During this time, it should thicken slightly to a spoonable consistency, making it ideal for filling the cookies, but it shouldn’t be fully set.
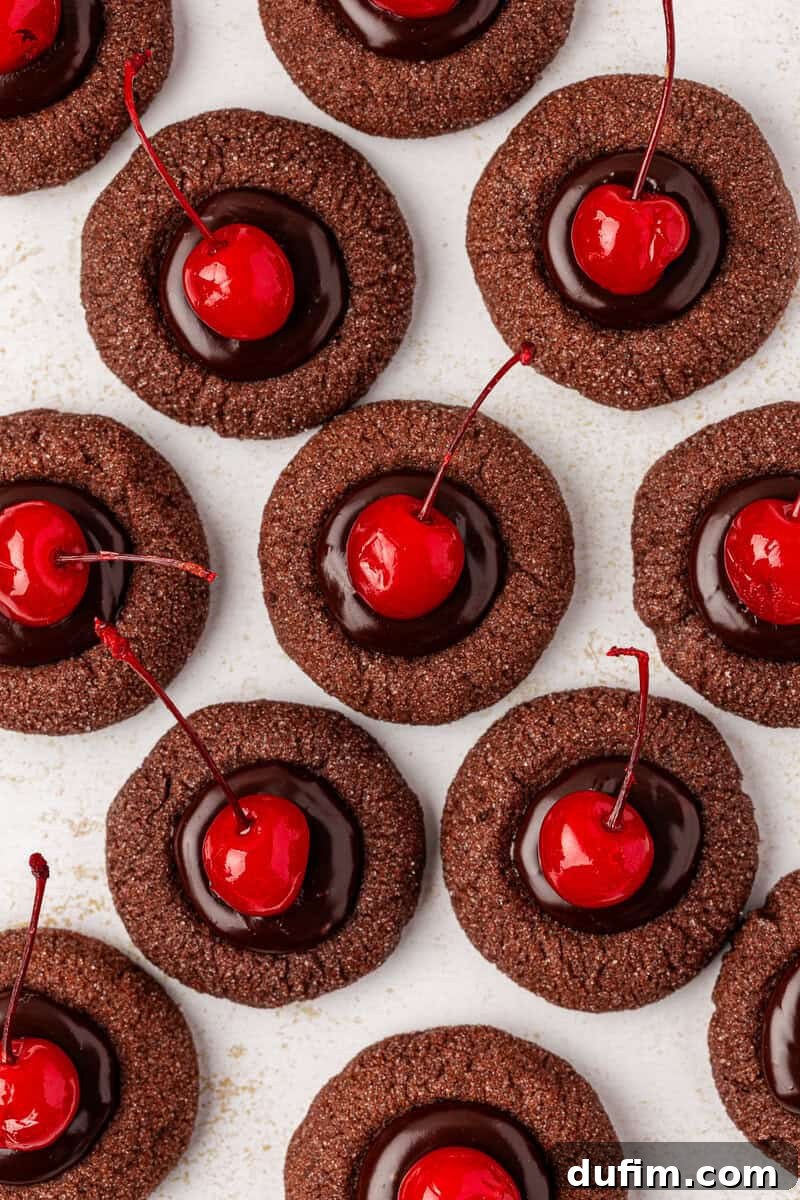
- Fill Cookies and Garnish: Once the cookies are completely cool and the ganache has thickened, spoon about 1 teaspoon of ganache into the center indentation of each cookie. Immediately after filling, carefully place one drained maraschino cherry on top of the warm ganache in each cookie. The slight warmth of the ganache will help the cherry adhere securely as it sets. Let the cookies sit undisturbed at room temperature until the ganache is fully set, which may take another 30-60 minutes depending on your room temperature.
Expert Tips for Flawless Black Forest Thumbprint Cookies
Achieving bakery-quality Black Forest Thumbprint Cookies at home is entirely possible with a few insider tips. These suggestions will help you master the recipe and troubleshoot common baking challenges:
- Don’t Overmix the Dough: Once you add the dry ingredients to the wet, mix only until just combined. Overmixing can develop the gluten in the flour too much, leading to tough, dense cookies instead of soft ones.
- Accurate Flour Measurement is Key: For the best texture, always measure your flour accurately. The most reliable method is using a kitchen scale to weigh flour in grams. If you don’t have a scale, use the “spoon and level” technique: fluff the flour in its container, then gently spoon it into your measuring cup until it’s overflowing. Level off the excess with the back of a straight knife or flat edge, without packing or tapping the cup.
- Chill the Dough: The 10-minute freezer chill is not optional. It helps firm up the butter in the dough, which prevents the cookies from spreading excessively during baking and ensures the thumbprint indentation remains defined.
- Redefine Indents Immediately: Cookies tend to puff up slightly as they bake. Gently pressing the indents again right after removing them from the oven while they are still warm ensures a perfect pocket for your ganache.
- Drained Cherries are a Must: Always drain your maraschino cherries thoroughly to avoid introducing excess moisture to your ganache, which could make it runny. Pat them dry with a paper towel for best results.
- Ganache Consistency: The ganache should be slightly thickened but still pourable. If it’s too thin, it will run off the cookies. If it’s too thick, it will be hard to spoon and spread. If it thickens too much, gently warm it for a few seconds in the microwave, stirring well.
Variations to Customize Your Black Forest Thumbprint Cookies
While the classic Black Forest combination is undeniably delicious, don’t hesitate to experiment with these variations to put your unique spin on these cookies:
- Almond Extract Boost: The optional almond extract in the ganache enhances the cherry flavor, giving it a more robust and authentic Black Forest profile. Don’t skip it if you love that classic taste!
- Kirsch Option: For an adult twist and an even more traditional Black Forest flavor, substitute a small amount of the heavy cream with Kirsch (cherry brandy) in the ganache, or brush the baked cookie indentations lightly with Kirsch before adding the ganache.
- Chocolate Drizzle: Once the ganache is set, melt a little extra semi-sweet or dark chocolate and drizzle it decoratively over the top of the cookies for an extra touch of decadence.
- Different Cherries: While maraschino cherries offer that iconic bright red, you could experiment with fresh pitted cherries (tossed lightly in sugar and cornstarch if baking inside the cookie) or even dried cherries rehydrated in cherry juice or Kirsch.
- White Chocolate Ganache: For a lighter, sweeter twist, try a white chocolate ganache with a hint of almond or cherry extract instead of dark chocolate.
Frequently Asked Questions About Black Forest Thumbprint Cookies
Here are answers to some common questions you might have while baking these delightful cookies:
Can I use natural cocoa powder instead of Dutch-processed?
While you can, it will result in a lighter colored cookie with a slightly different flavor profile. Dutch-processed cocoa powder is less acidic, which affects how it reacts with baking powder (which is typically acidic). For the deep, rich chocolate flavor and dark color characteristic of Black Forest desserts, Dutch-processed is highly recommended.
My ganache is too thick/thin. What should I do?
If your ganache is too thick, gently warm it over a double boiler or in the microwave for 10-15 seconds, stirring frequently until it reaches a spoonable consistency. If it’s too thin, you can try refrigerating it for 10-15 minute intervals, stirring between each chill, until it thickens. Be careful not to let it get too solid.
How can I make sure my cookies don’t spread too much?
Ensure your butter is at room temperature but not melted. Measure your flour correctly using the spoon and level method or a kitchen scale. Most importantly, don’t skip the chilling step for the dough balls before baking. This helps the butter solidify and hold the cookie’s shape.
Can I make these cookies ahead of time for a party?
Absolutely! The cookie dough can be prepared and chilled for up to 24 hours before baking. You can also bake the cookies and freeze them (unfilled) for up to 3 months. Thaw, then fill with freshly made ganache and cherries. This makes them perfect for entertaining!
Serving and Pairing Suggestions
These Black Forest Thumbprint Cookies are a showstopper on their own, perfect for holiday gatherings, potlucks, or as a special treat. Serve them with a strong cup of coffee or a glass of cold milk to complement their rich flavors. For an extra indulgent experience, pair them with a scoop of vanilla bean ice cream or a dollop of freshly whipped cream.
Equipment Needed
- Silicone Baking Mat (or parchment paper for non-stick baking)
- Baking Sheets (essential for even baking)
- Electric Mixer (stand mixer or hand mixer for creaming butter and sugar)
- Cookie Dough Scoop (for consistently sized cookies, a #60 scoop is recommended)
- Medium & Large Mixing Bowls
- Whisk
- Measuring Cups and Spoons
- Rubber Spatula
- Teaspoon (for making indents)
Love Black Forest? Try These Related Recipes:
- Chocolate Cherry Cookies (Black Forest)
- Black Forest Cake
- Black Forest Icebox Cake
More Thumbprint Cookie Recipes to Explore
If you enjoy the delightful format of thumbprint cookies, here are more variations to satisfy your cravings:
- Chocolate Orange Thumbprint Cookies
- Turtle Thumbprint Cookies
- Chocolate Peanut Butter Thumbprint Cookies
- Eggnog Thumbprint Cookies
Black Forest Thumbprint Cookies Recipe

Yields: 35 cookies | Prep Time: 10 minutes | Cook Time: 10-11 minutes | Chill Time: 10 minutes
These Black Forest Thumbprint Cookies are a delightful fusion of rich chocolate and vibrant cherry, perfected through careful testing. Featuring a soft chocolate cookie base, a silky chocolate ganache filling, and a bright maraschino cherry on top, they offer a nostalgic flavor profile in every bite. This recipe is designed to be reliable, fun to make, and consistently delicious.
Ingredients
For the Cookies:
- 1 ¾ cup (210g) all-purpose flour
- ½ cup (40g) Dutch-processed cocoa powder
- ½ tsp salt
- ½ tsp baking powder
- 1 tsp cornstarch
- ¾ cup (170g) unsalted butter, softened
- 1 cup (213g) brown sugar, packed
- 1 large egg
- 1 large egg yolk
- ¼ cup (50g) granulated sugar, for rolling
For the Filling:
- ½ cup (113g) heavy whipping cream
- 1 cup (170g) semi-sweet chocolate chips
- ⅛ tsp almond extract, optional
- 35 maraschino cherries, drained
Instructions
For the Cookies:
- Prepare Baking Sheets: Line baking sheets with parchment paper or silicone mats.
- Combine Dry Ingredients: In a medium bowl, whisk together the flour, Dutch-processed cocoa powder, salt, baking powder, and cornstarch. Set aside.
- Cream Butter and Sugar: In a large mixing bowl, using an electric mixer, beat the softened butter and brown sugar on medium speed until the mixture is light and fluffy, typically 1–2 minutes.
- Incorporate Eggs: Add the large egg and egg yolk to the butter mixture. Beat for 30 seconds, ensuring to scrape down the sides of the bowl as needed to combine thoroughly.
- Combine Wet and Dry: Gradually add the whisked dry mixture to the wet ingredients. Mix on low speed until just combined, being careful not to overmix. The dough will be noticeably thick.
- Form and Coat Dough Balls: Scoop 1 tablespoon of dough for each cookie (a #60 cookie scoop works perfectly). Roll each portion into a smooth ball. Then, roll each dough ball in granulated sugar to coat evenly. Place the coated balls approximately 2 inches apart on your prepared baking sheets.
- Create Indentations and Chill: Use the back of a teaspoon to gently press a divot into the center of each dough ball. This forms the “thumbprint” for the filling. Transfer the baking sheets to the freezer and chill for 10 minutes. This chilling step helps the cookies hold their shape and prevents excessive spreading during baking. You can chill them for longer if preferred.
- Bake Cookies: Preheat your oven to 350°F (177°C). Bake the chilled cookies for 10-11 minutes, or until the edges are lightly set, but the centers still appear soft.
- Redefine Indentations: Immediately upon removing the cookies from the oven, use the back of the teaspoon again to gently deepen the center indentation. This is crucial as the cookies tend to puff up slightly, making the indents less defined during baking.
- Cool Completely: Allow the baked cookies to cool completely on the baking sheets before attempting to fill them.
For the Filling:
- Prepare Ganache: Place the semi-sweet chocolate chips in a heatproof bowl. In a separate microwave-safe measuring cup, heat the heavy whipping cream in the microwave for 45 to 60 seconds, or until it is steaming and very hot but not boiling. Pour the hot cream over the chocolate chips. Let it sit undisturbed for 2 to 3 minutes to allow the chocolate to soften.
- Whisk Ganache: Add the optional almond extract. Stir the mixture gently with a spatula or whisk until the chocolate is fully melted and the ganache is smooth, glossy, and uniform.
- Cool Ganache: Let the ganache cool at room temperature for 10 to 15 minutes. It should thicken slightly to a spoonable consistency but not be fully set.
- Fill and Garnish: Spoon about 1 teaspoon of the slightly thickened ganache into the center of each cooled cookie’s indentation. Immediately place one drained maraschino cherry on top of the warm ganache in each cookie. This allows the cherry to adhere securely as the ganache sets. Let the cookies sit until the ganache is completely set.
Recipe Notes & Tips
- Gluten-Free: For a gluten-free version, substitute all-purpose flour with a 1:1 gluten-free baking flour blend. Brands like King Arthur’s Measure for Measure Gluten Free Flour are highly recommended for reliable results.
- Storage: Store these delicious Black Forest Thumbprint Cookies in an airtight container at room temperature for up to four days to maintain their freshness and texture.
- Make Ahead: To prepare in advance, you can chill the cookie dough for up to 24 hours before shaping and baking. This can even enhance the flavor depth.
- Freezing Instructions:
- Finished Cookies: To freeze baked cookies, flash freeze them on a baking sheet until solid. Once frozen, transfer them to a freezer-safe airtight container or bag. To thaw, place a single layer of cookies on a baking sheet and let them thaw at room temperature overnight.
- Cookie Dough: To freeze the dough, roll it into individual balls and flash freeze them on a baking sheet until solid. Then transfer the dough balls to a freezer-safe container or bag. When ready to bake, thaw the dough balls overnight in the refrigerator. Once thawed, roll them in granulated sugar, create the thumbprint indentation, and bake according to the recipe instructions.
- Proper Flour Measurement: Accurate flour measurement is crucial for achieving the perfect cookie texture. The most precise method is to use a kitchen scale and weigh the flour in grams. If a scale is not available, use the “spoon and level” method: First, aerate the flour with a whisk or spoon. Then, lightly spoon the flour into your measuring cup until it overflows, without tapping or shaking the cup. Finally, level off the top with the back of a straight knife. Re-fluff the flour each time for consistent measurements.
Nutrition Information (Approximate Per Cookie)
- Serving Size:
- 1 cookie
- Calories:
- 143 kcal
- Carbohydrates:
- 18g
- Protein:
- 2g
- Fat:
- 8g
- Saturated Fat:
- 5g
- Polyunsaturated Fat:
- 0.3g
- Monounsaturated Fat:
- 2g
- Trans Fat:
- 0.2g
- Cholesterol:
- 25mg
- Sodium:
- 46mg
- Potassium:
- 71mg
- Fiber:
- 1g
- Sugar:
- 12g
- Vitamin A:
- 191 IU
- Vitamin C:
- 0.02mg
- Calcium:
- 22mg
- Iron:
- 1mg
All nutritional values are approximate and provided to the reader as a courtesy. Changes to ingredients and/or quantities will alter the estimated nutritional calculations.