
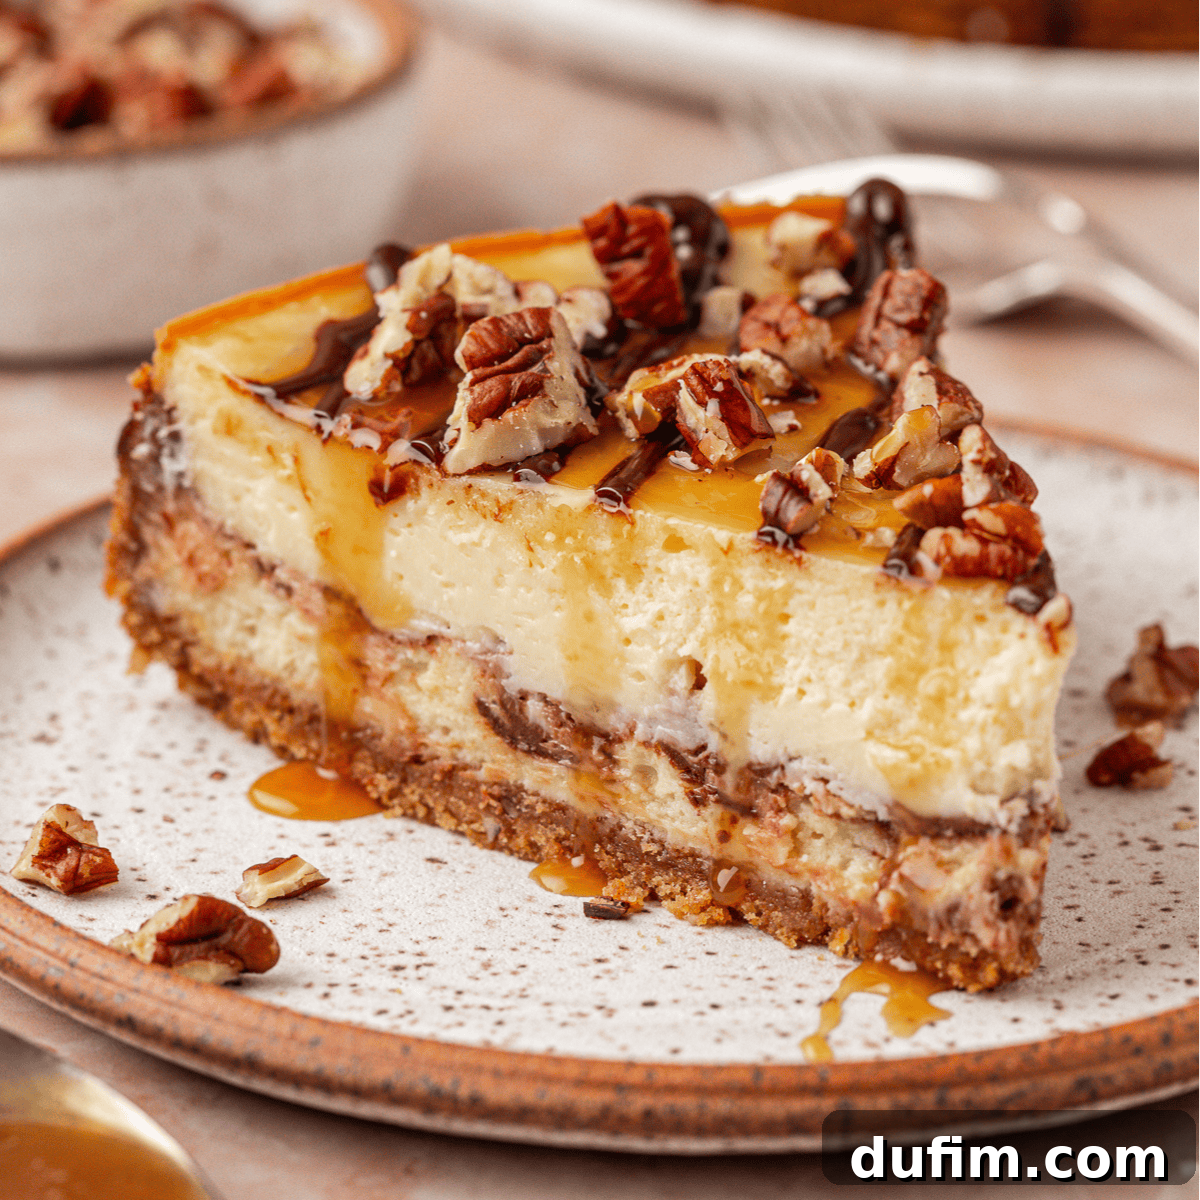
Master the Ultimate Turtle Cheesecake: Easy, Creamy, and No Water Bath Needed!
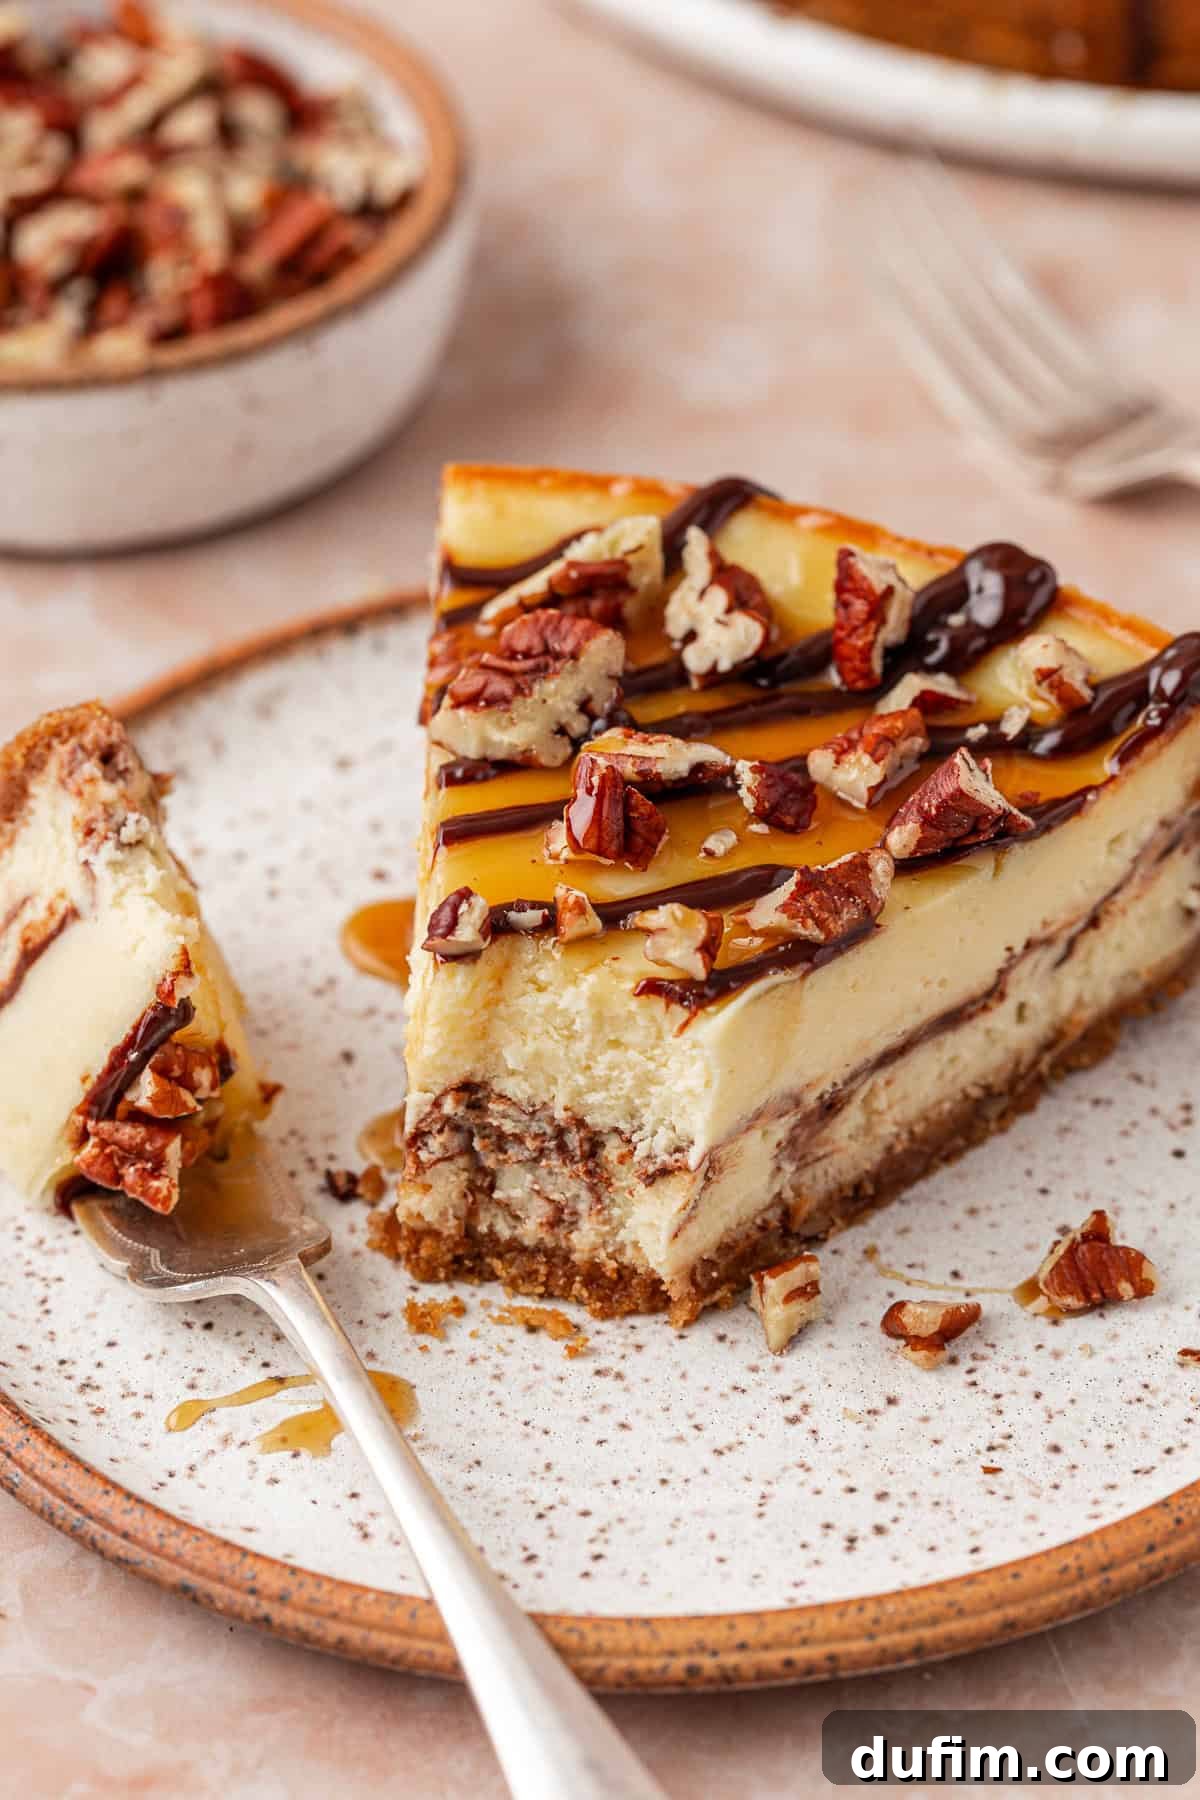
Embark on a delightful baking journey with our perfected Turtle Cheesecake recipe. Originally introduced in 2022, this classic dessert has undergone years of meticulous testing and refinement to bring you an even more exceptional experience. Our updated version revolutionizes the traditional cheesecake process by **eliminating the dreaded water bath**, yet still guarantees a luxuriously creamy, impeccably crack-free texture. What truly sets this recipe apart is how we infuse the rich flavors of caramel and chocolate directly into the cheesecake filling, ensuring a burst of indulgence in every single bite, rather than simply drizzling them on top.
Featuring a robust, pecan-studded graham cracker crust and meticulously tested steps, this recipe empowers home bakers to achieve **bakery-quality results with remarkable ease and significantly less stress**. If you’ve ever yearned for a cheesecake recipe you can truly depend on for consistent, stunning outcomes, your search ends here. Prepare to impress with every velvety, flavor-packed bite of this extraordinary turtle cheesecake!
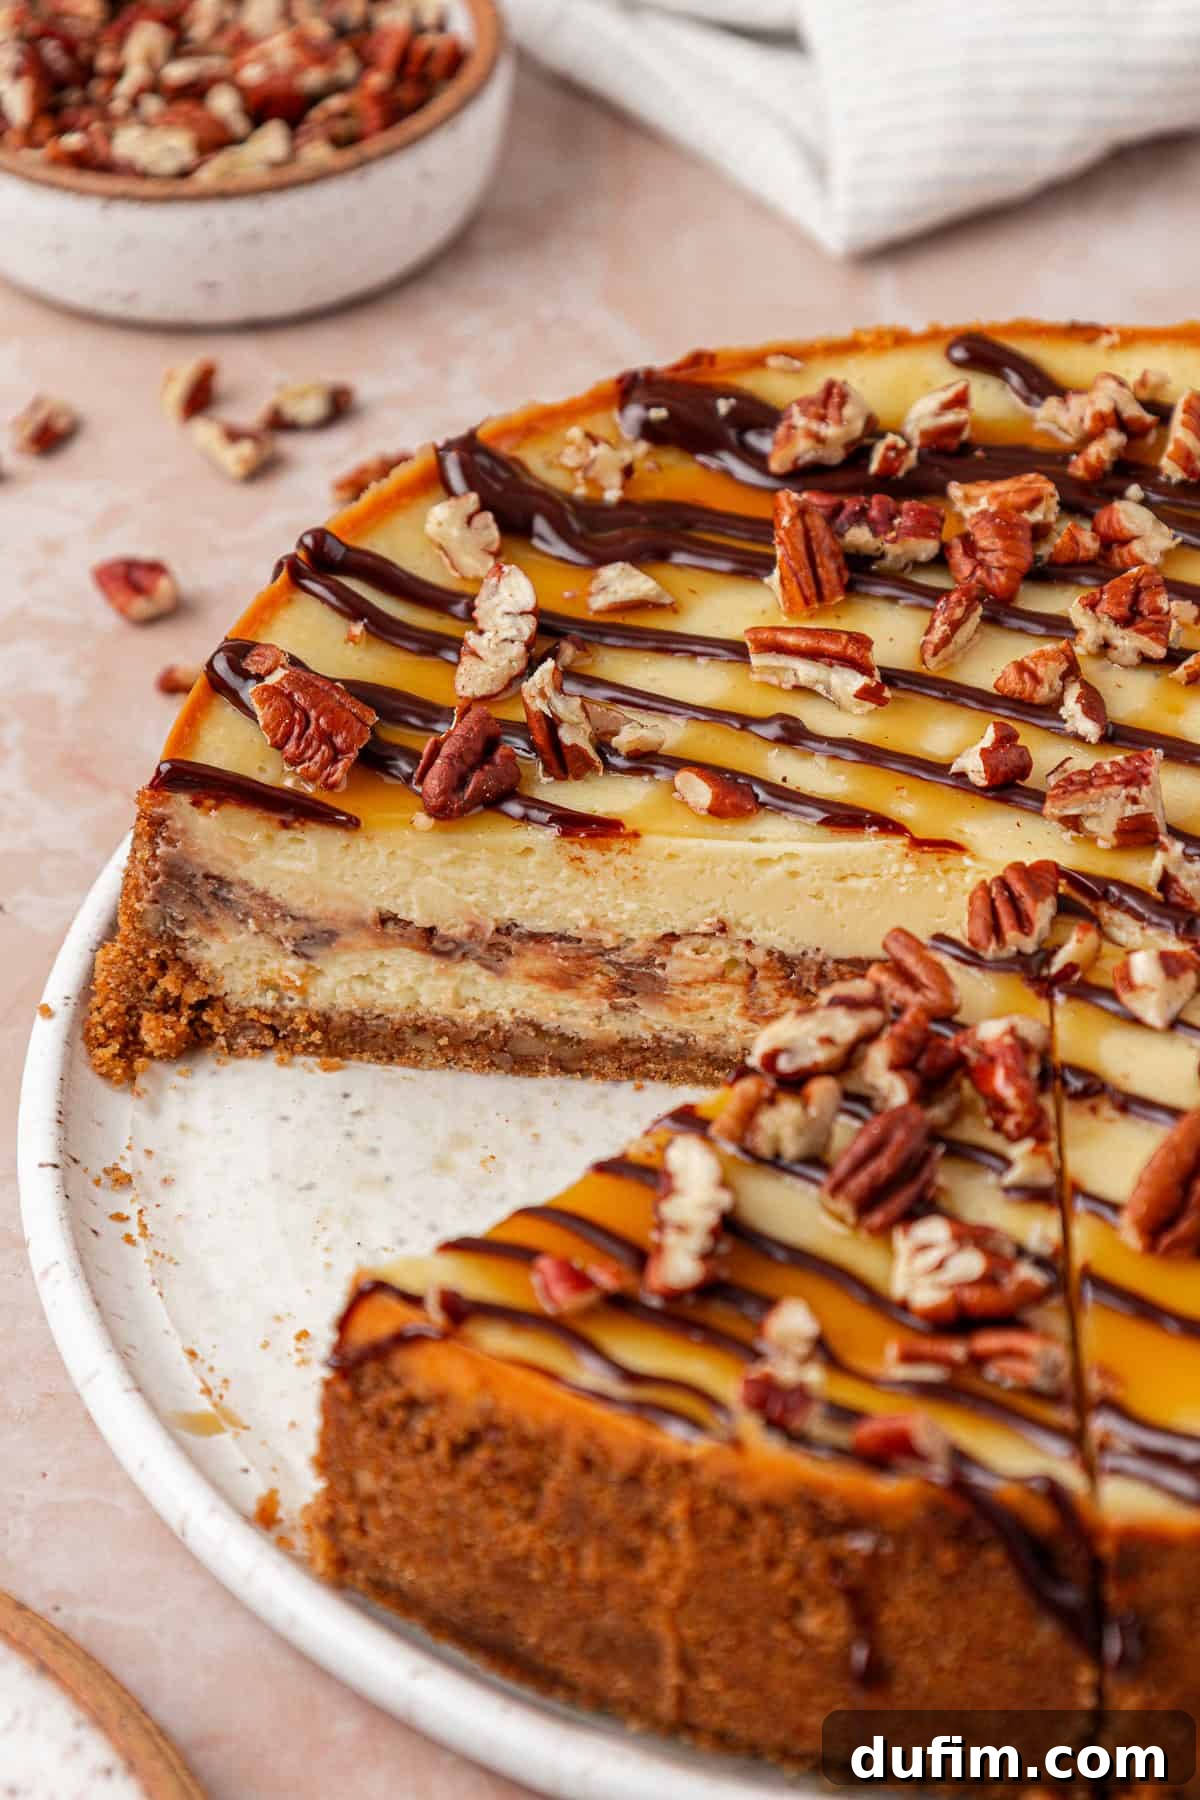
Since its initial publication, our commitment has been to continuously test and enhance our cheesecake recipes, making them more accessible and reliable for every home baker. A recurring question from our cherished readers has consistently been about the possibility of bypassing the traditional, often intimidating, water bath method. We completely understand the apprehension it brings – the potential for foil leaks, the cumbersome mess of water-filled pans, and the nerve-wracking sloshing of hot water are certainly not conducive to a relaxing baking experience, especially for beginners.
Through extensive experimentation and numerous trials, we’ve developed a groundbreaking, simpler technique that consistently yields the same velvety smooth, crack-free results without any of the water bath hassle. Our innovative approach involves merely placing a separate pan filled with water on the bottom rack of your oven. This clever trick generates a steady stream of gentle, moist heat, creating an ideal baking environment that perfectly mimics a traditional water bath, all while eliminating the common stresses and risks associated with it. This method truly elevates the art of homemade cheesecake, proving that gourmet results can be achieved with simplicity.
Made this for a dinner party tonight and it got RAVES! Thank you!
-JuliE
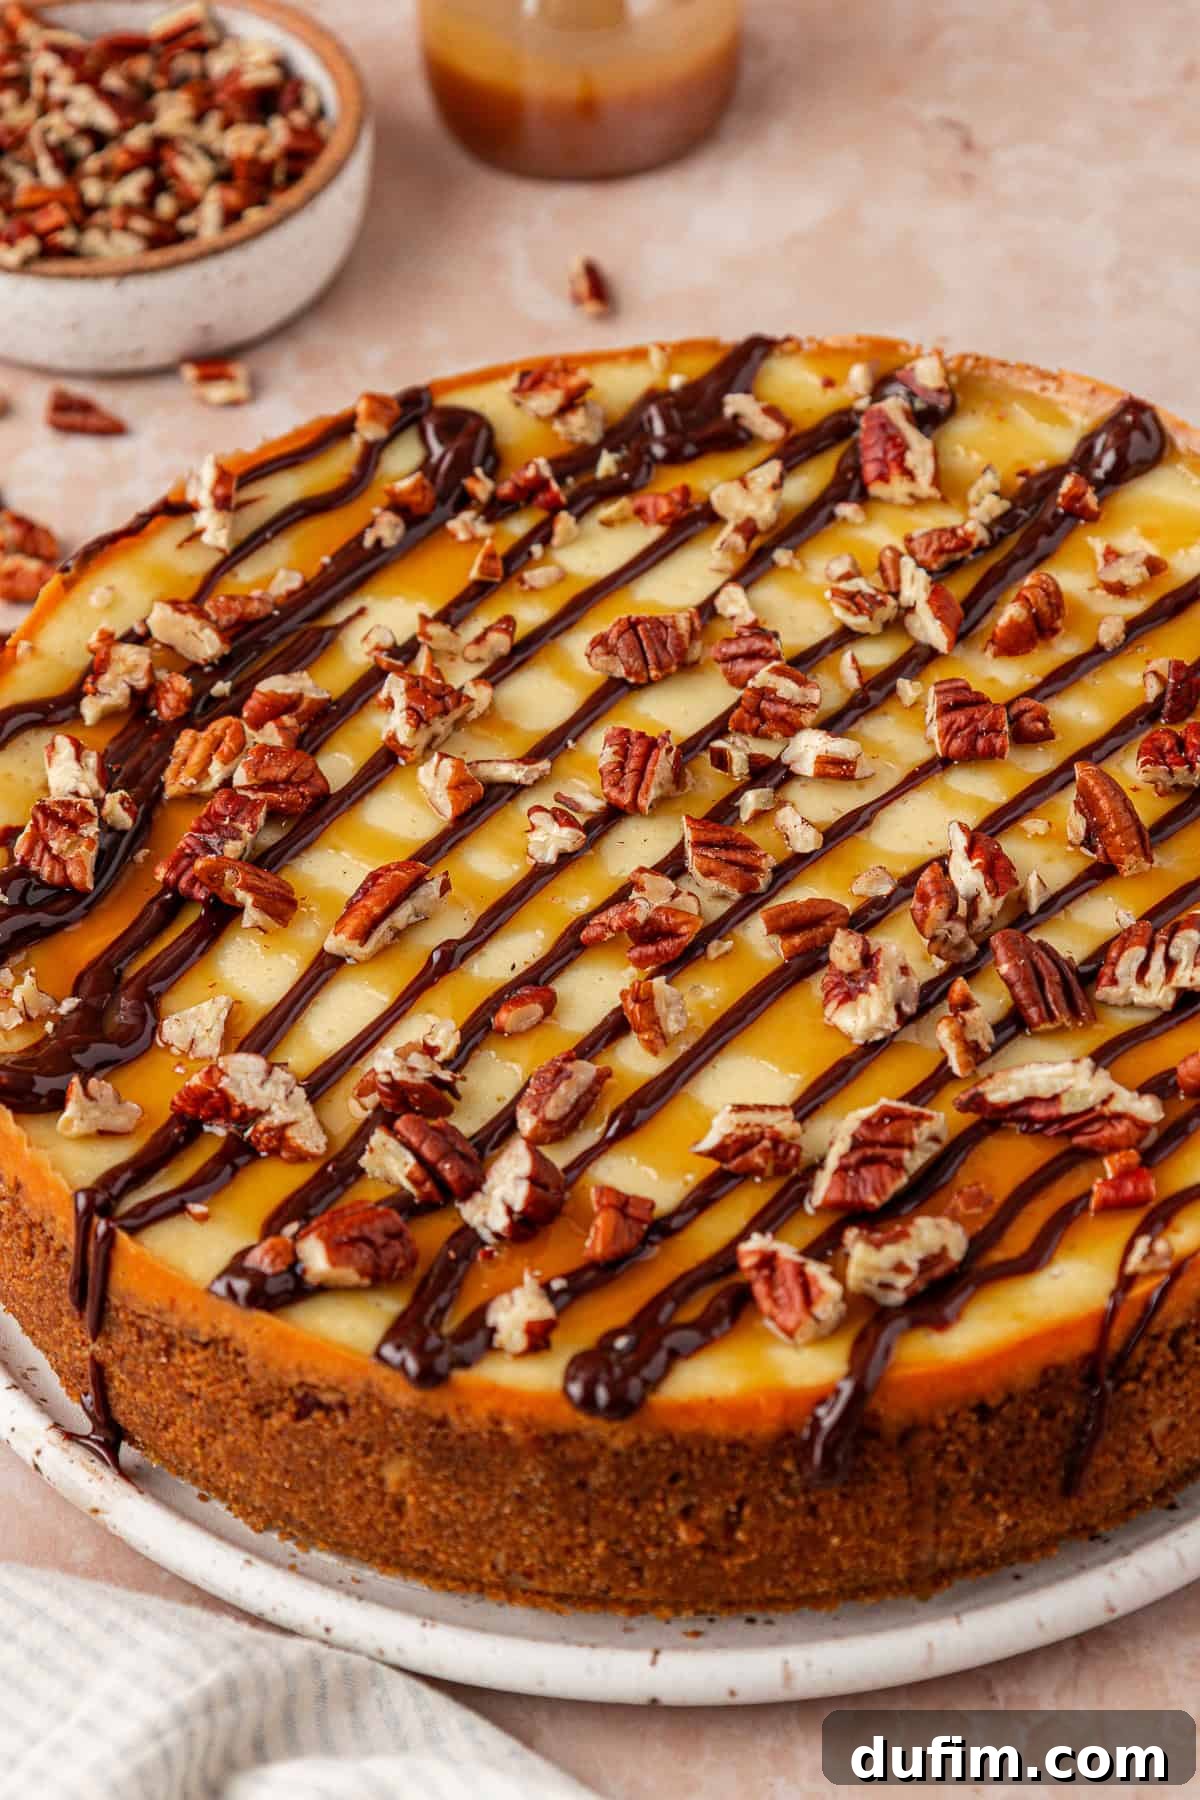
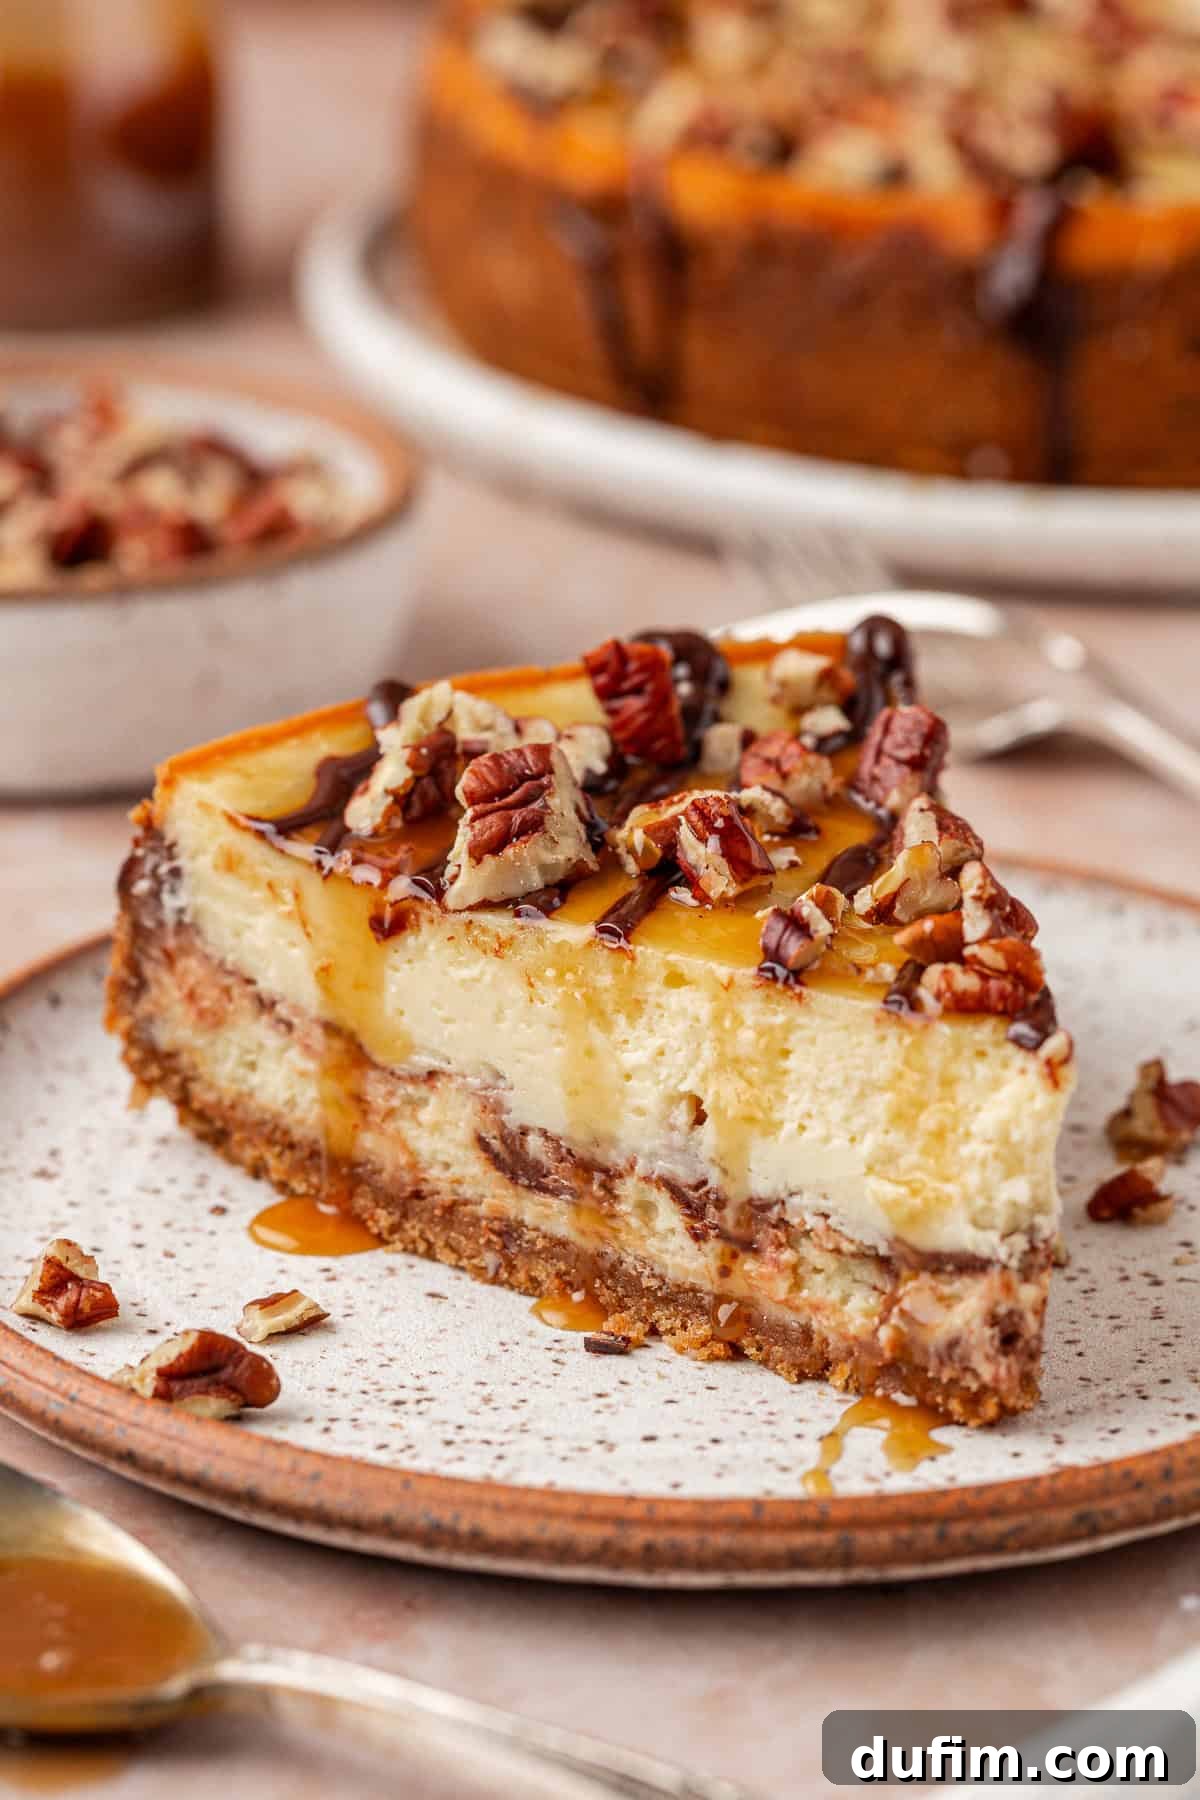
This reimagined Turtle Cheesecake isn’t just simpler to prepare; it’s also a significant leap in indulgence. While our original recipe featured caramel and chocolate as a topping, this enhanced version masterfully swirls both right into the creamy cheesecake filling. We then generously add even more of these delectable components on top, ensuring that every single bite is a symphony of rich, perfectly balanced flavors – unmistakably the quintessential “turtle” experience. The depth of flavor from the internal swirls, combined with the luxurious topping, creates an unparalleled dessert sensation that will delight even the most discerning palates.
To further amplify the classic turtle profile, we’ve incorporated finely chopped pecans directly into the graham cracker crust. This thoughtful detail ensures that the distinctive nutty flavor permeates every layer, from the crisp base to the creamy filling and beyond. This meticulous integration perfectly ties together the iconic trio of caramel, chocolate, and pecans, creating a harmonious and utterly irresistible dessert that truly celebrates the beloved turtle candy flavor in its entirety.
Achieving a truly exceptional cheesecake often hinges on mastering a few small yet impactful steps. Pre-baking the pecan-studded crust is crucial for preventing sogginess and ensuring a wonderfully crisp texture. Extending the crust up the sides of the pan guarantees an ideal ratio of crust to filling in every slice, providing that satisfying textural contrast. Furthermore, allowing the cheesecake to cool slowly within the oven, with the door slightly ajar, is a professional secret to prevent any unsightly cracks, ensuring a perfectly smooth, elegant surface. These expert techniques are what transform an ordinary cheesecake into a stunning, bakery-style masterpiece. After dedicating years to perfecting cheesecake recipes, we’ve identified these crucial details as the cornerstones of success. This recipe stands as testament that you don’t need professional training to bake like a pro; you simply need the right process, and that’s precisely what we’ve painstakingly crafted and delivered for you here – a truly foolproof guide to cheesecake perfection.
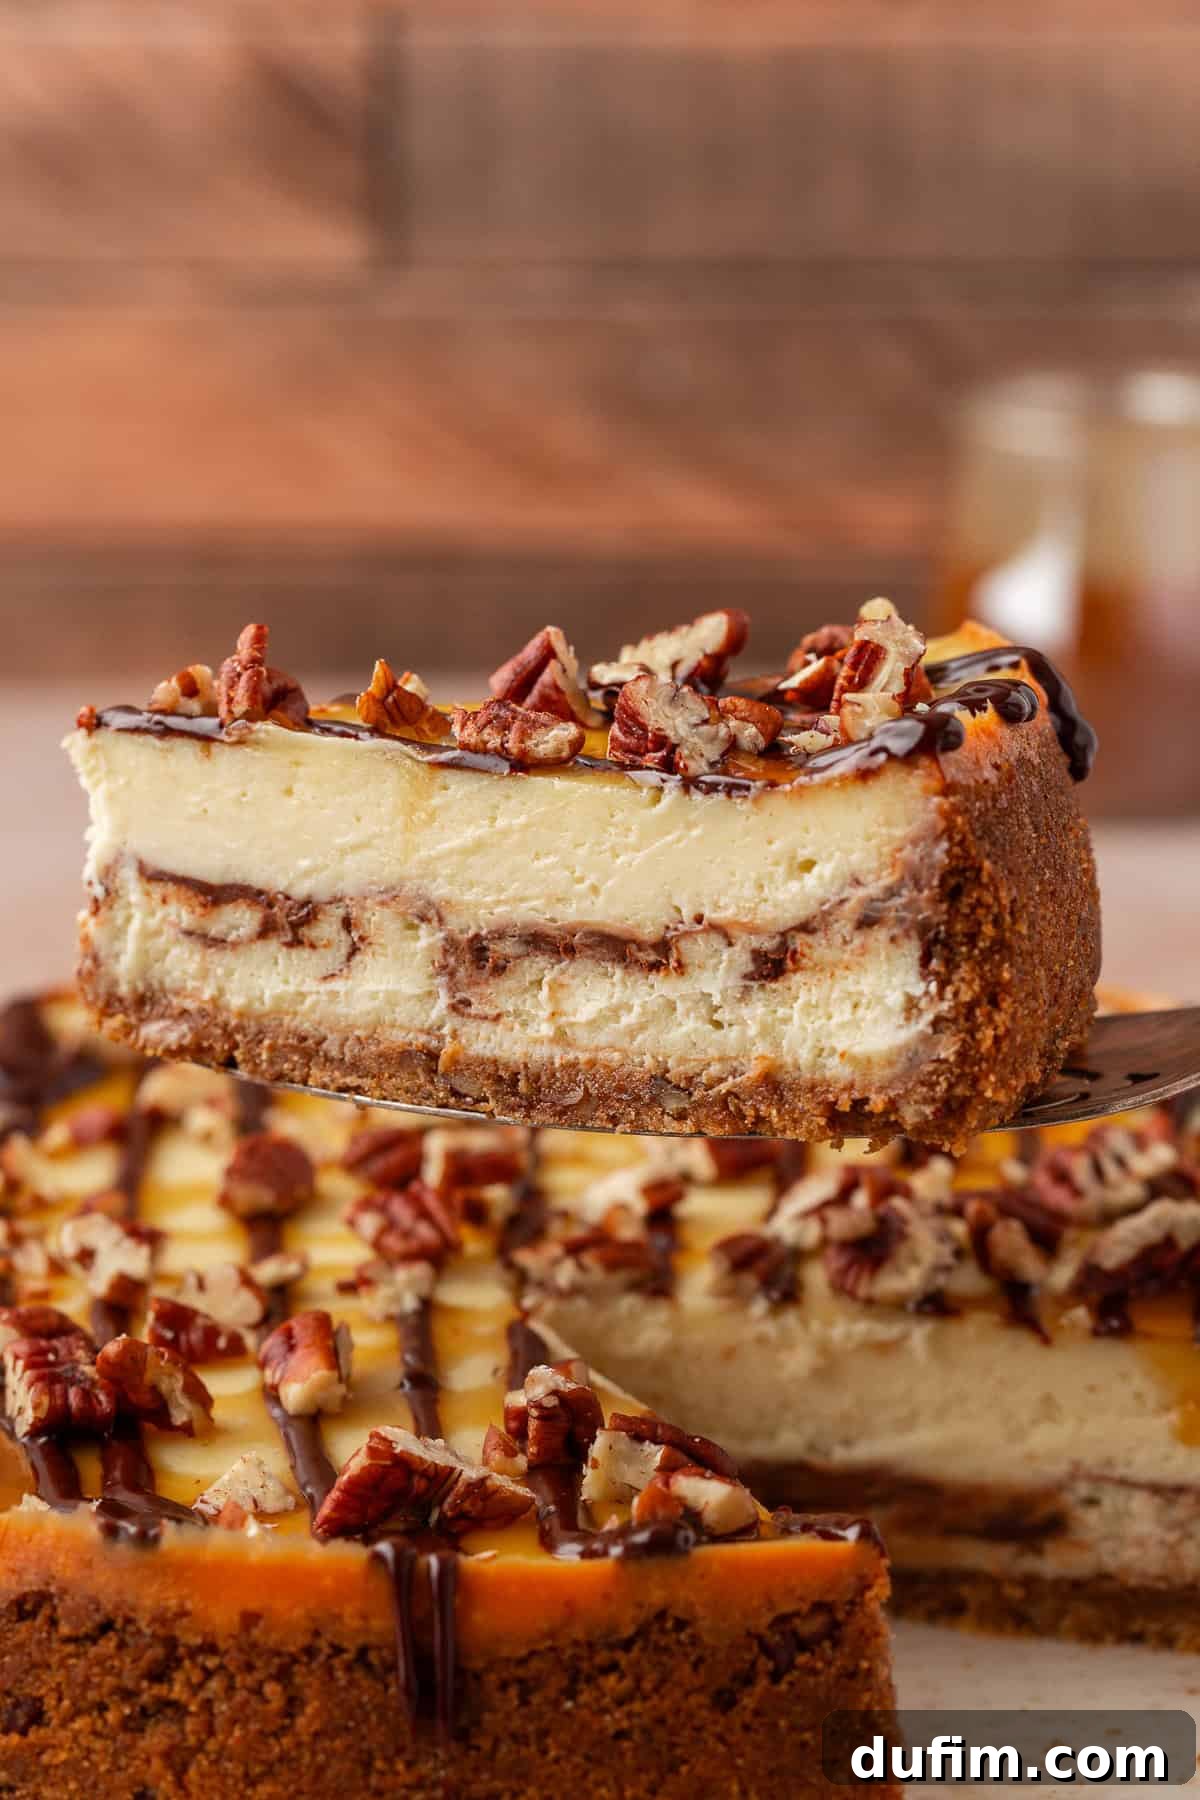
Why You’ll Adore This Foolproof Turtle Cheesecake
- Effortless Elegance: Enjoy a simpler, mess-free baking method that completely bypasses the traditional water bath, making gourmet cheesecake accessible to everyone, regardless of baking experience.
- Double the Indulgence: Experience rich caramel and decadent chocolate swirled directly into the creamy filling, with an extra lavish drizzle on top for ultimate flavor in every bite. This layering ensures consistent deliciousness.
- Authentic Turtle Flavor: A unique pecan-infused crust ensures the signature nutty essence runs through the entire dessert, perfectly complementing the chocolate and caramel. Every component contributes to the classic taste.
- Guaranteed Perfection: This recipe has been rigorously tested and perfected over time, incorporating professional tips and tricks, ensuring consistently smooth, crack-free, and utterly delicious results you can trust every single time.
- Stress-Free Baking: All common cheesecake challenges are addressed within the instructions, from preventing cracks to achieving the perfect texture, minimizing stress and boosting your baking confidence significantly.
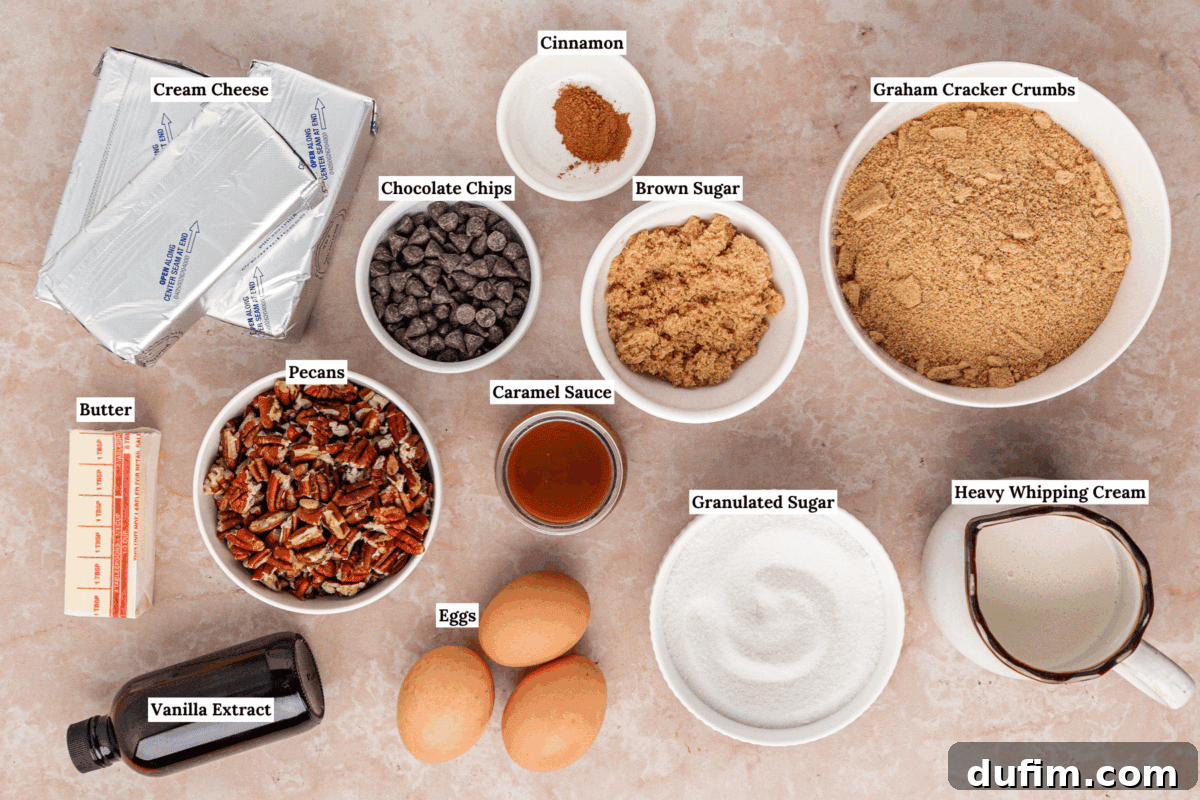
Essential Ingredients for Your Perfect Turtle Cheesecake
Understanding the role of each ingredient is key to baking success. Here’s a deeper look into the essential components that make this Turtle Cheesecake truly exceptional. For precise measurements, please refer to the detailed recipe card below.
- Full-Fat Cream Cheese: This is the cornerstone of any great cheesecake. Using full-fat cream cheese is non-negotiable for achieving that signature velvety, dense, and incredibly creamy texture. Ensure it’s softened to room temperature for smooth, lump-free blending, which is crucial for a crack-free finish.
- Rich Caramel Sauce: Whether you opt for a high-quality store-bought variety or our irresistible homemade caramel sauce, this ingredient is a star. It’s elegantly swirled within the cheesecake batter, infusing every layer with its buttery, sweet complexity, and then generously drizzled on top for an extra burst of indulgence, embodying the classic “turtle” flavor.
- Premium Chocolate: From luxurious melted chocolate incorporated into the filling to a decadent ganache topping, chocolate is integral to the classic turtle flavor profile. We use semi-sweet chips for a balanced sweetness that perfectly complements the caramel and pecans without being overly sweet.
- Toasted Pecans: Finely chopped pecans are folded directly into the graham cracker crust, providing a delightful nutty crunch and deepening the “turtle” identity from the very first bite. More chopped pecans are reserved for the final, elegant garnish, adding both flavor and crucial textural contrast.
- Large Eggs: Eggs serve as the crucial binding agent for the cheesecake filling, providing structure and contributing to its rich custard-like consistency. The secret here is delicate mixing – incorporate them one at a time and avoid overmixing, as excess air can lead to cracks and a less dense cheesecake.
- Graham Cracker Crumbs: The foundation of our crust, offering a classic buttery, slightly spiced base that holds up beautifully to the creamy filling and enhances the overall dessert experience.
- Brown Sugar & Cinnamon: These add warmth, depth, and a subtle spice note to the pecan crust, enhancing its overall flavor profile and creating a perfect counterpoint to the sweet, creamy filling.
- Unsalted Butter: Essential for binding the crust ingredients together, creating a firm, golden base that sets beautifully and adds richness.
- Granulated Sugar & Vanilla Extract: These humble ingredients sweeten and flavor the creamy cheesecake base, balancing the tang of the cream cheese and providing aromatic depth that elevates the entire dessert.
- Heavy Whipping Cream: Crucial for both the internal chocolate swirl within the cheesecake and the luscious chocolate ganache topping, ensuring a smooth, rich consistency and luxurious mouthfeel.
Your Step-by-Step Guide: Crafting the Perfect No-Water-Bath Turtle Cheesecake
Follow our comprehensive, step-by-step guide to create an extraordinary Turtle Cheesecake that defies expectations, all without the fuss of a water bath. For the complete, detailed instructions and ingredient list, please jump directly to the recipe card below.
Part 1: The Flavorful Pecan Crust
Step 1: Prepare Your Oven and Pan with Precision. Begin by preheating your oven to 350°F (175°C). For a cheesecake that gracefully releases from its pan every single time, meticulous pan preparation is key. Line both the bottom and the sides of your 8 or 9-inch springform pan (or a dedicated cheesecake pan, which is our preferred choice) with parchment paper. This parchment barrier is your secret weapon: it prevents the crust from adhering to the pan during baking and cooling, ensuring that the cheesecake’s edges remain pristine and crack-free. When it’s time to unmold, you’ll be rewarded with flawlessly smooth sides and an effortless lift, completely free from any struggles or lost chunks of your precious crust.
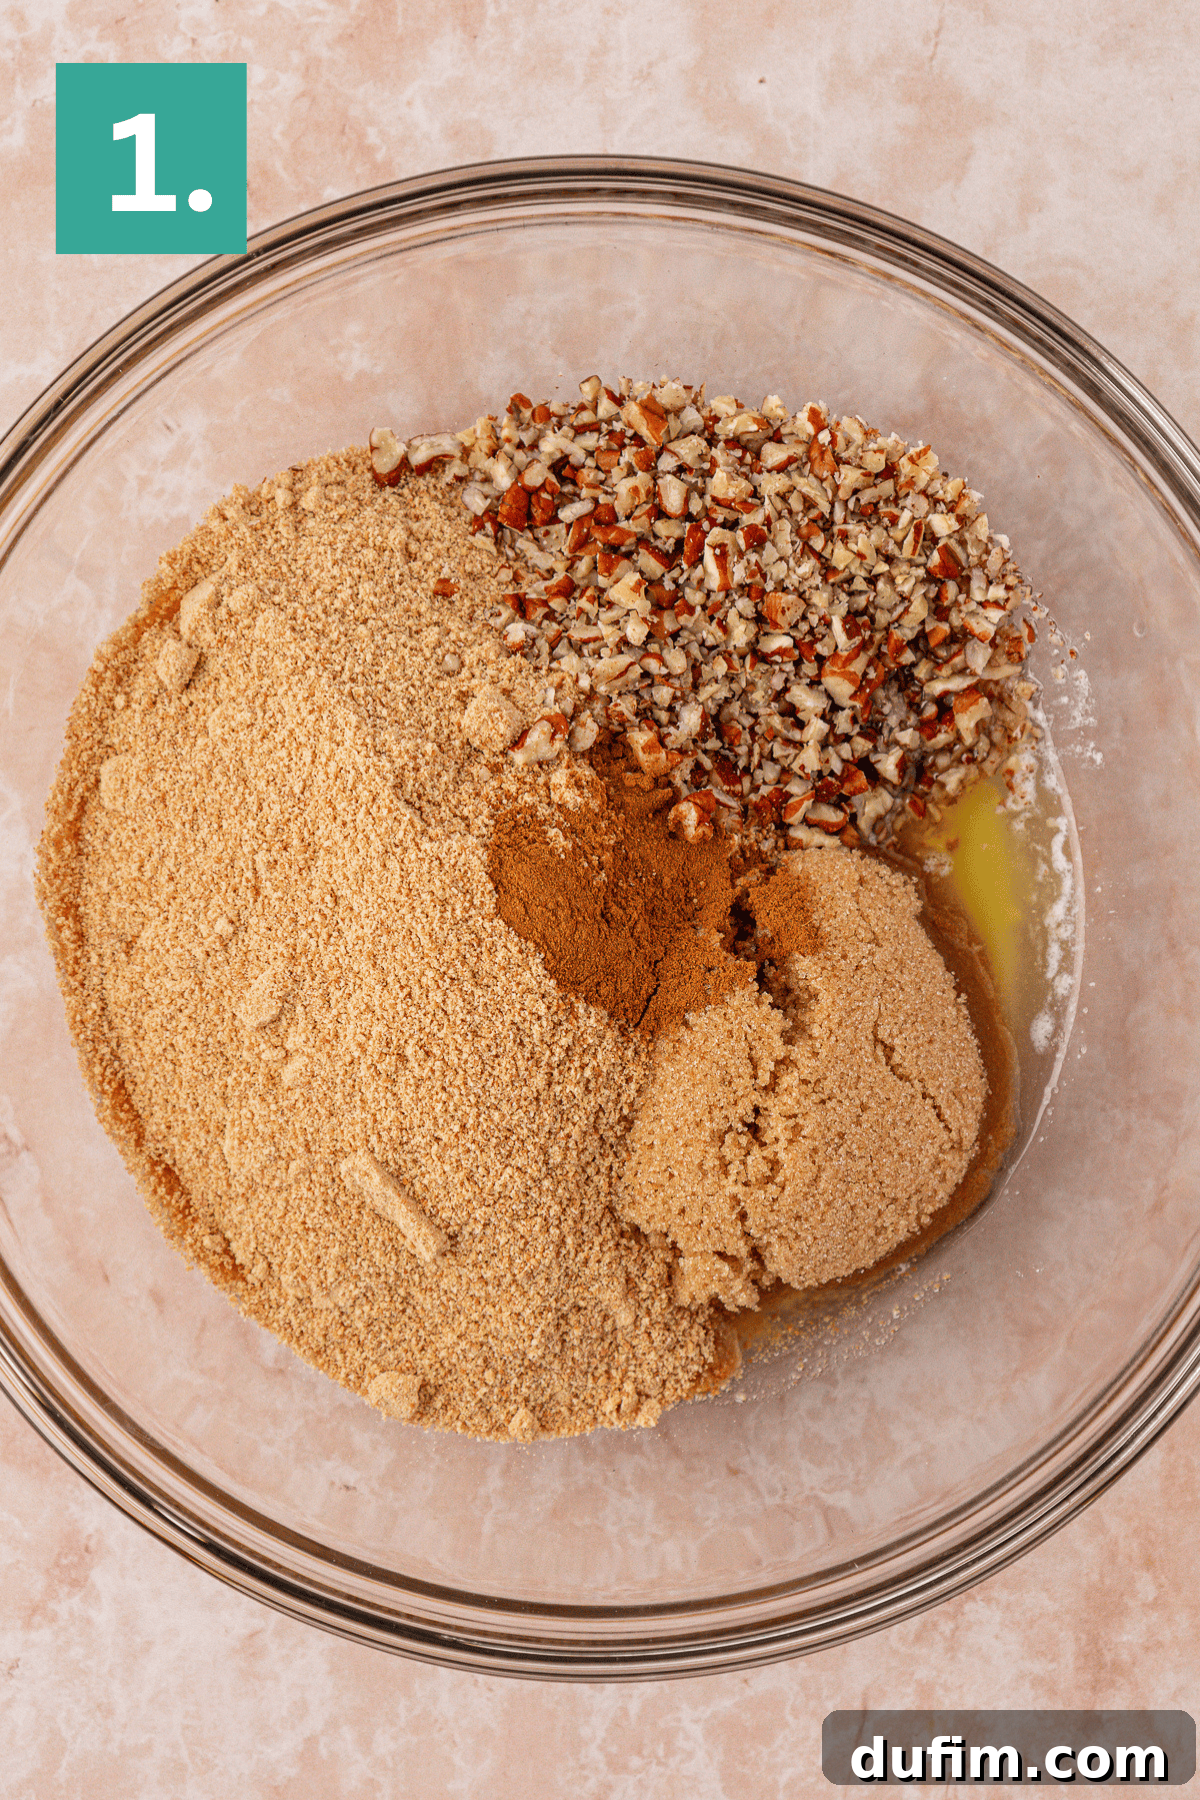
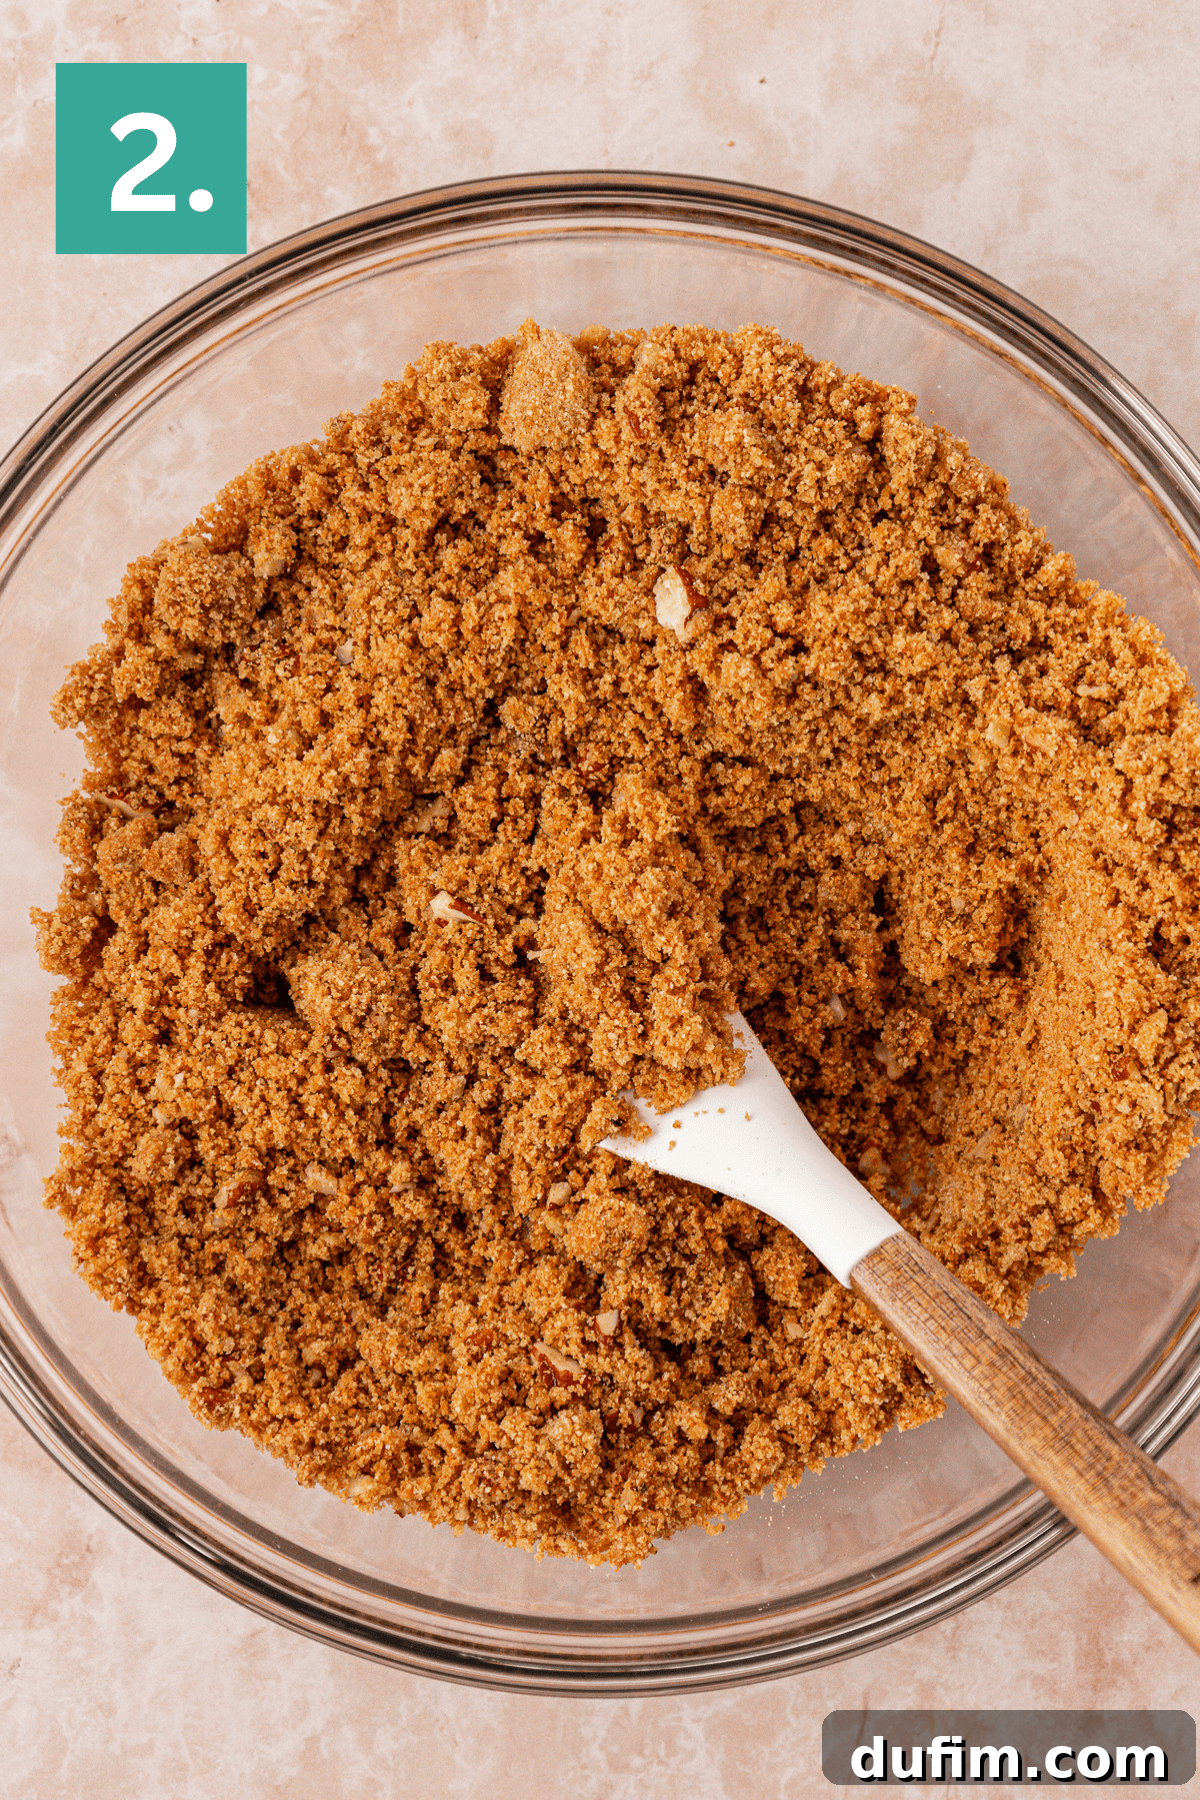
Step 2: Craft the Perfect Pecan-Infused Crust. If you’re starting with whole graham crackers, pulverize them in a blender or food processor until they achieve a very fine, consistent crumb. Alternatively, you can easily find pre-crushed graham cracker crumbs in the baking aisle of most grocery stores. Measure out precisely 2 cups of these fine crumbs. In a medium-sized mixing bowl, combine the graham cracker crumbs with the finely chopped pecans, rich brown sugar, a hint of cinnamon, and the melted unsalted butter. Mix these ingredients thoroughly until they are well combined and resemble moist sand. This ensures an even distribution of flavor and a cohesive crust that will form a sturdy base.
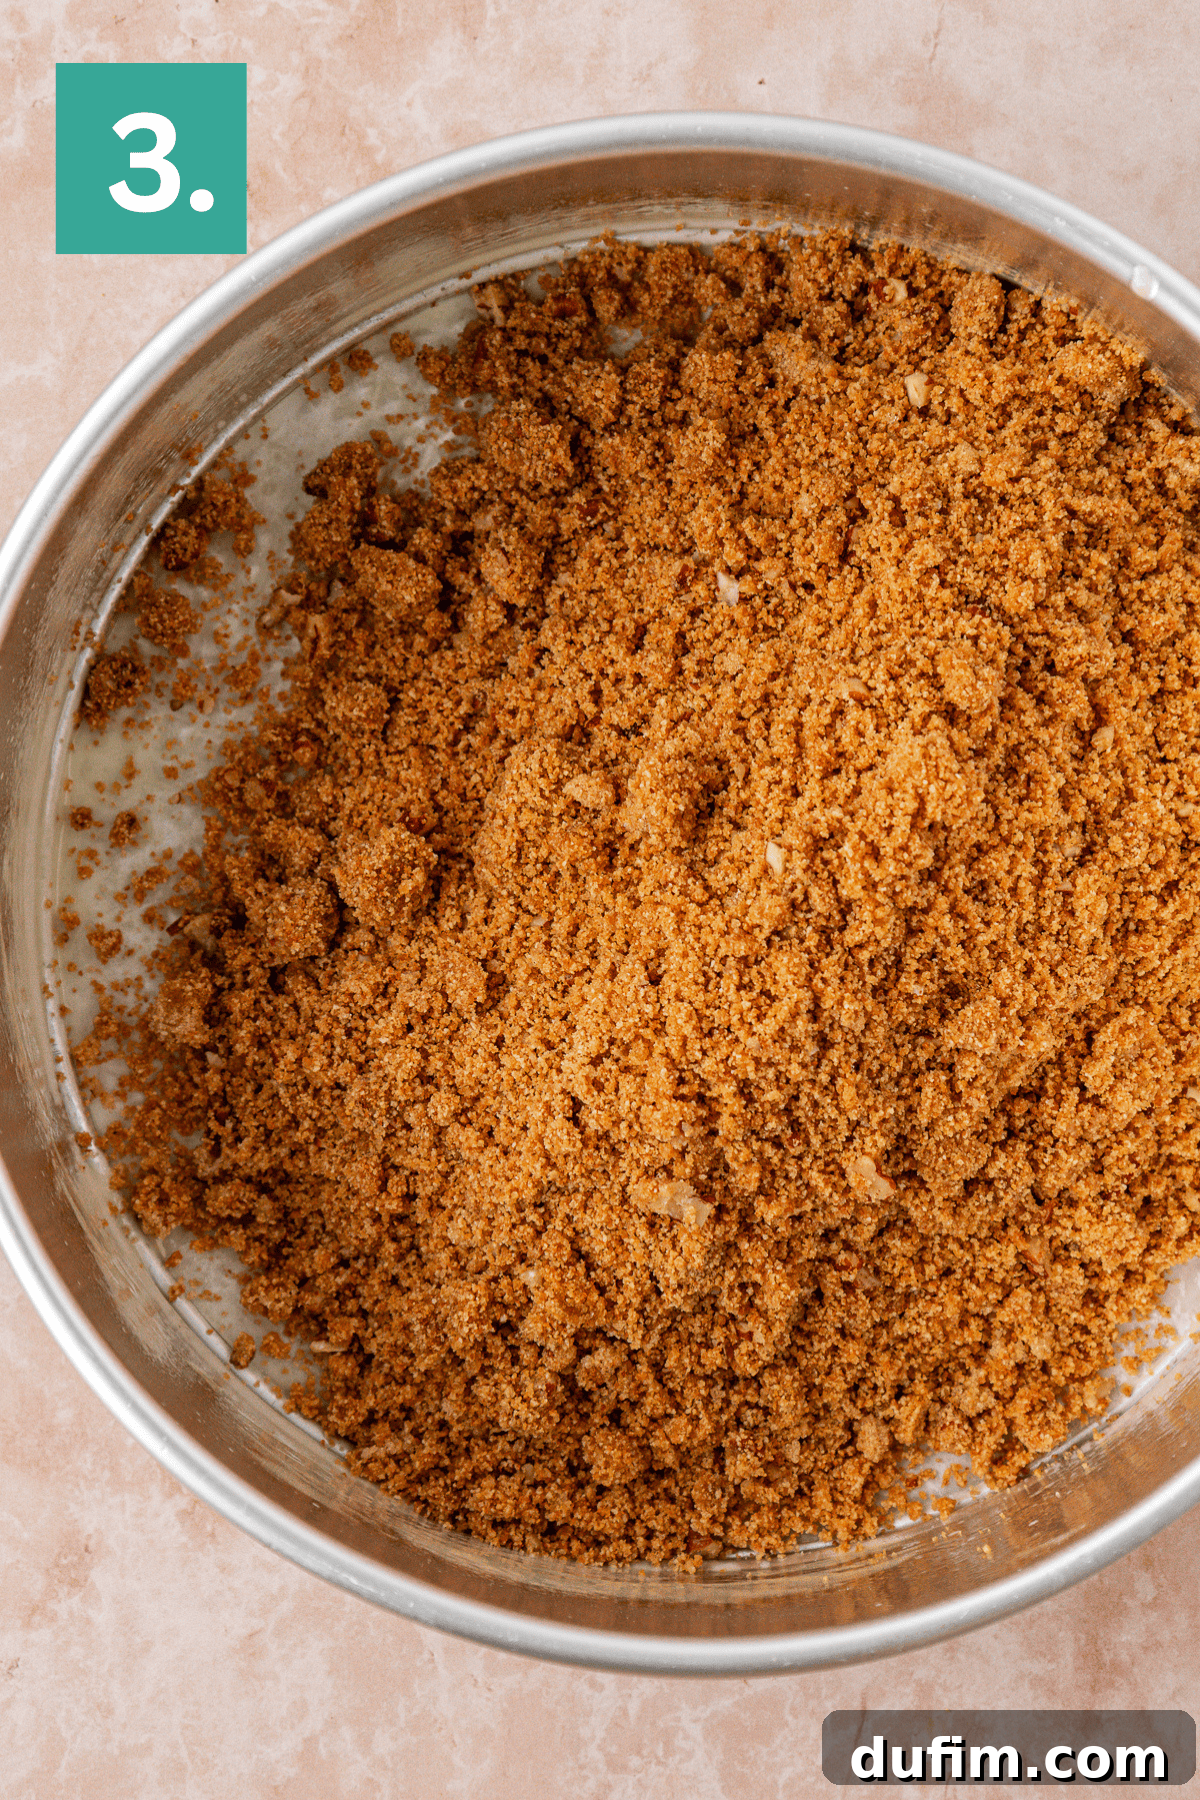
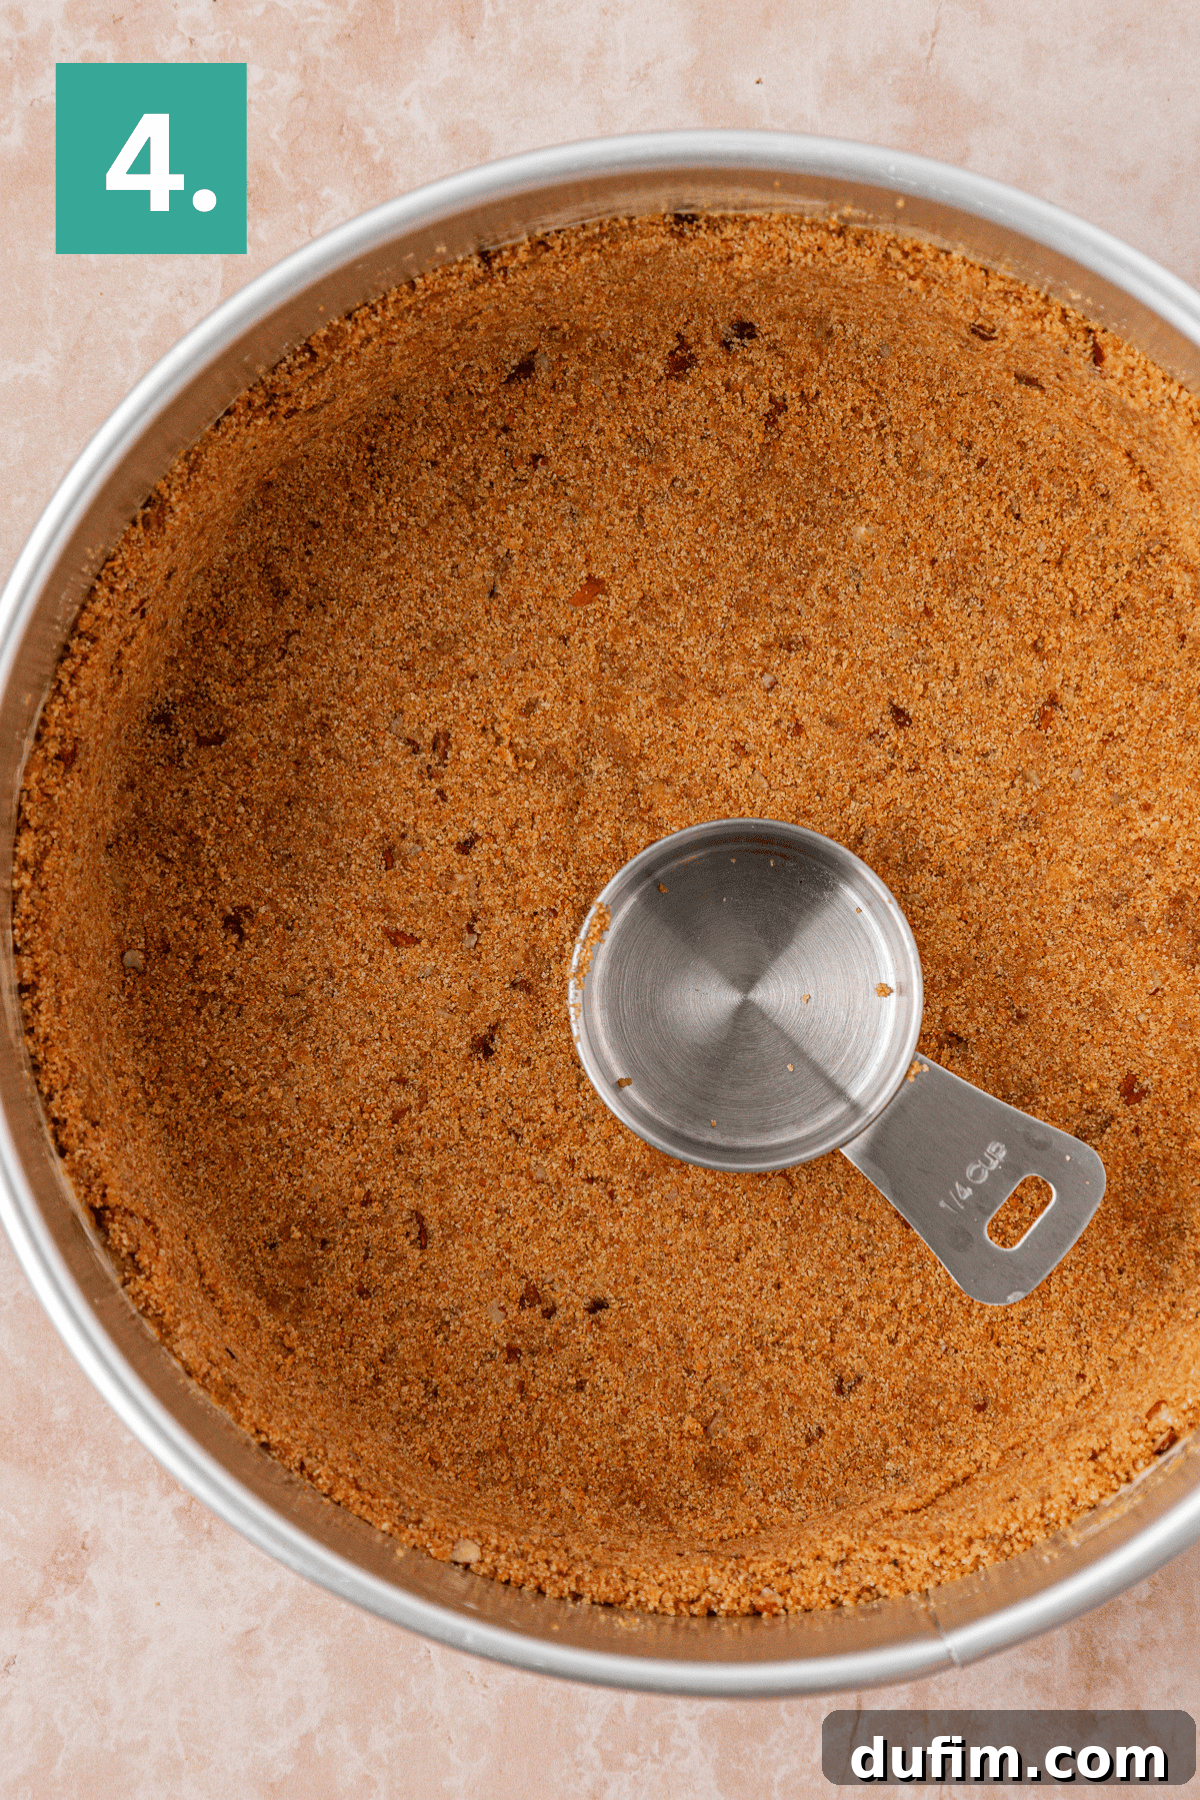
Step 3: Form and Pre-Bake the Crust, Set Up Steam Bath. Transfer the prepared crumb mixture into your parchment-lined springform pan. Distribute the crumbs evenly across the bottom. Use the flat bottom of a measuring cup or a similar tool to firmly press the crumbs into a compact, even layer. For those who adore extra crust, feel free to gently press some of the mixture up the sides of the pan, creating a lovely, defined edge for your cheesecake. Once formed, bake the crust in the preheated oven for 8-10 minutes, or until it turns a beautiful golden brown and becomes wonderfully fragrant. Remove the pan from the oven and allow it to cool completely to room temperature. This pre-baking step is essential for a crisp, non-soggy crust. While the crust cools, reduce your oven temperature to 325°F (160°C). Now, for our innovative water bath alternative: place a large roasting pan or a 9×13 inch baking pan filled with a few inches of hot water on the bottom rack of your oven. This will create the crucial moist environment for your cheesecake without any direct contact.
Part 2: The Velvety Cheesecake Filling & Swirls
Step 4: Prepare the Decadent Chocolate Swirl. Before you begin the cheesecake filling, let’s get the chocolate swirl ready to ensure it has ample time to cool slightly. In a small, microwave-safe bowl, combine the semi-sweet chocolate chips with the heavy cream. Microwave this mixture for 20-30 seconds, or just until the heavy cream begins to show small bubbles around the edges. Remove from the microwave and allow the mixture to stand undisturbed for 1 minute. This resting time allows the residual heat to melt the chocolate thoroughly. Then, use a small spatula to stir the mixture until it is completely smooth and glossy, forming a rich ganache. Set this rich chocolate swirl aside to cool down a bit – it should be cool enough not to cook the cheesecake batter when mixed in, but still liquid enough to swirl beautifully.
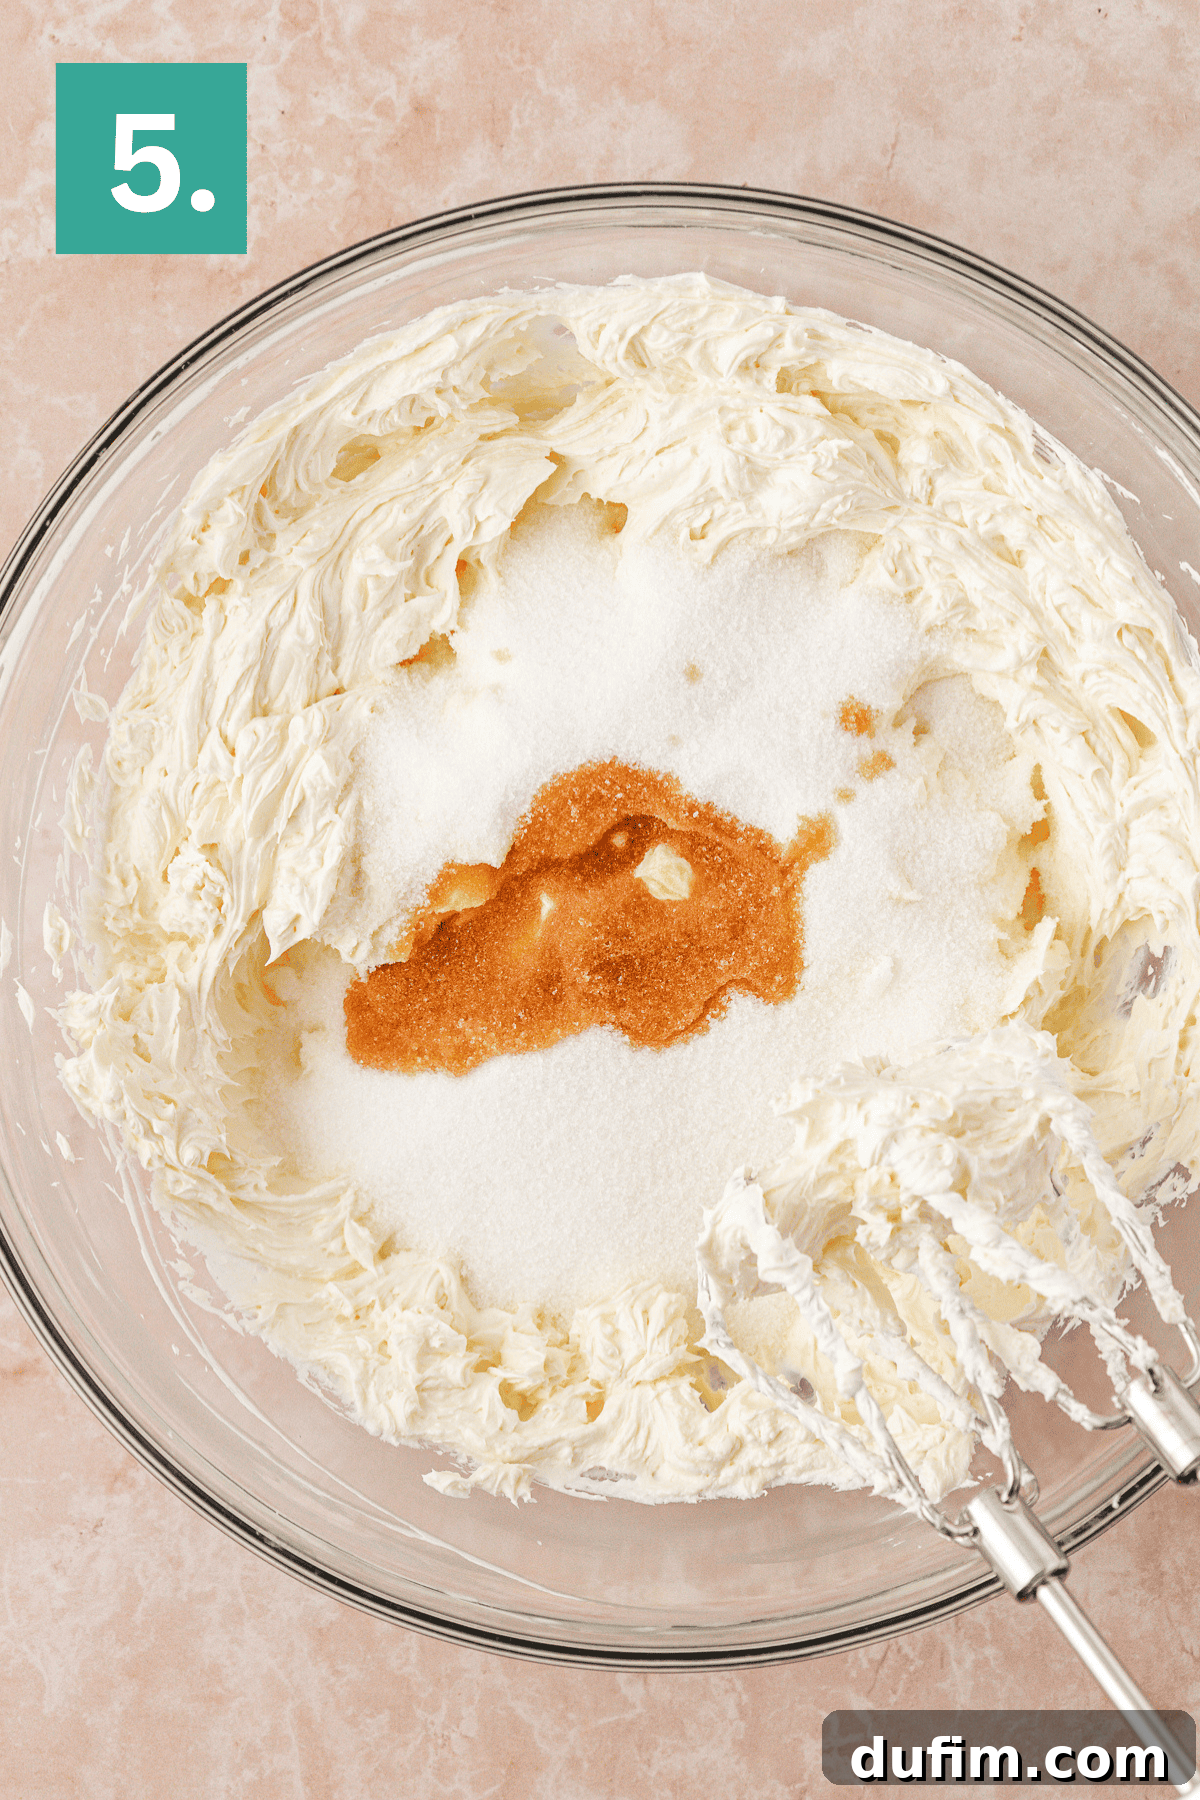
Step 5: Prepare the Cream Cheese Base. In a large mixing bowl, using an electric mixer, beat the three packages (24 oz total) of softened full-fat cream cheese until it reaches a perfectly smooth and creamy consistency. This should take approximately 2-3 minutes. Ensure there are no lumps, as this is critical for a silky-smooth cheesecake texture and preventing cracks.
Step 6: Incorporate Sugar and Vanilla. Gradually add the granulated sugar and the fragrant vanilla extract to the cream cheese mixture. Continue beating on medium speed until these ingredients are thoroughly combined and the mixture appears light and fluffy. Make sure to scrape down the sides of the bowl as needed to ensure everything is fully incorporated and uniform.
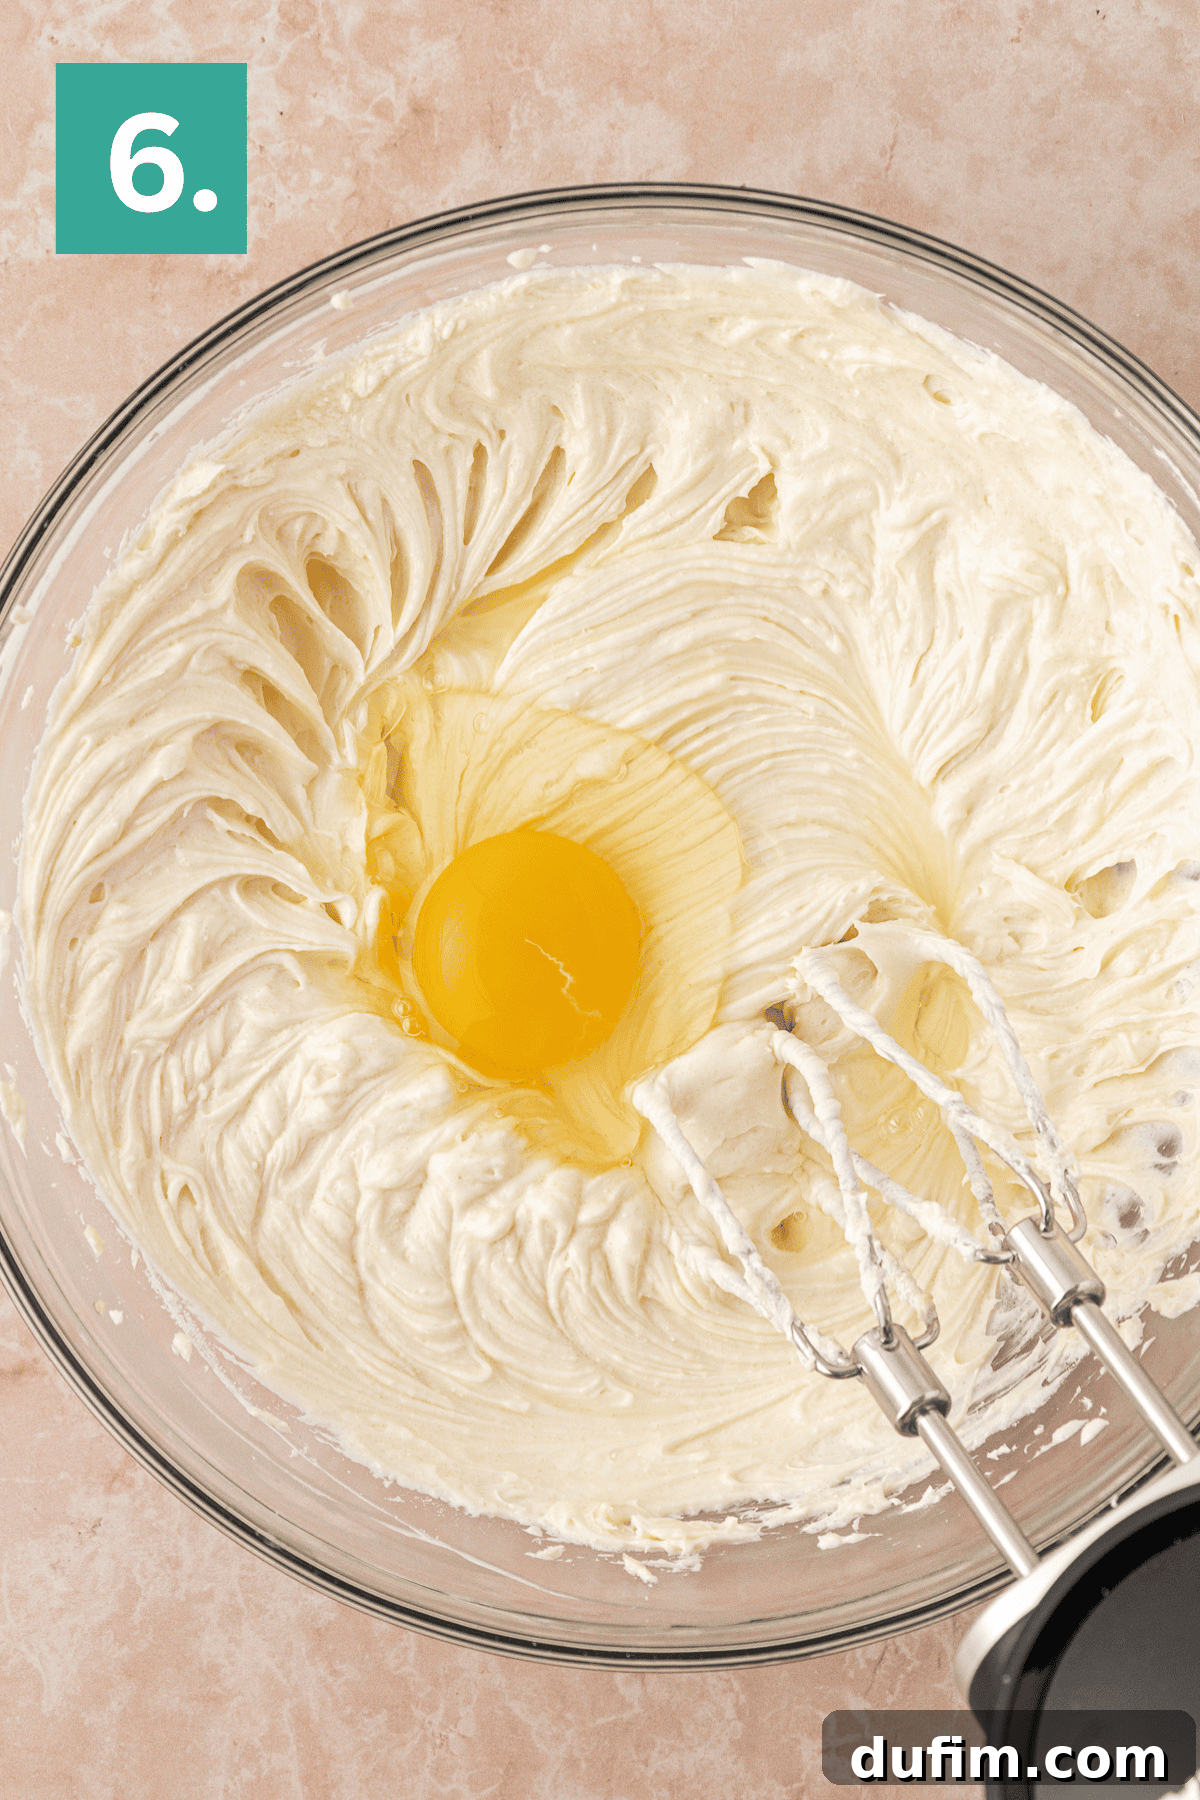
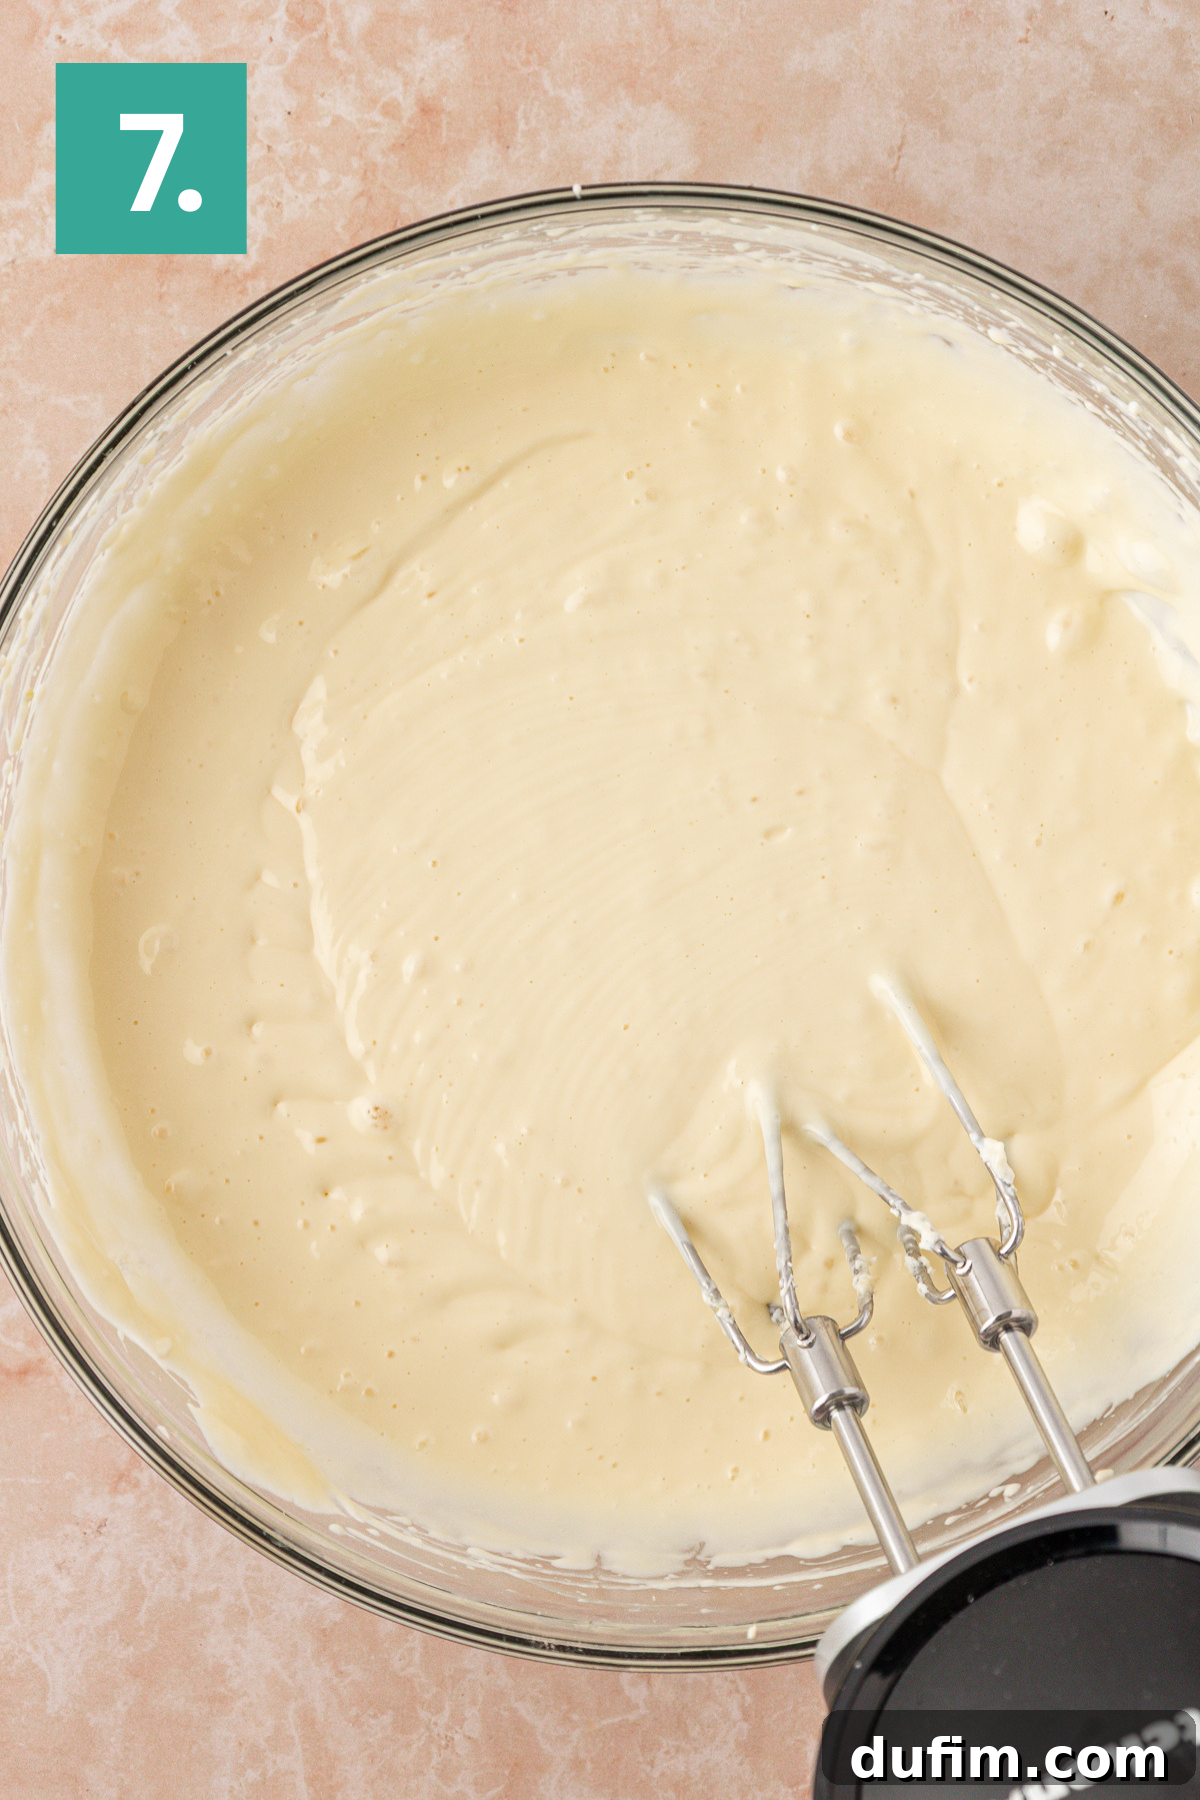
Step 7: Gently Mix in the Eggs for Structure. This step requires a delicate touch. Add the large eggs to the batter, *one at a time*. After each egg addition, beat the mixture just until it is combined – avoid overmixing at all costs. Overmixing eggs can introduce too much air into the batter, which can cause the cheesecake to puff up excessively in the oven and then collapse or crack as it cools. Beat the entire mixture for one additional minute after the last egg is incorporated, just enough to ensure uniformity without developing too much air.
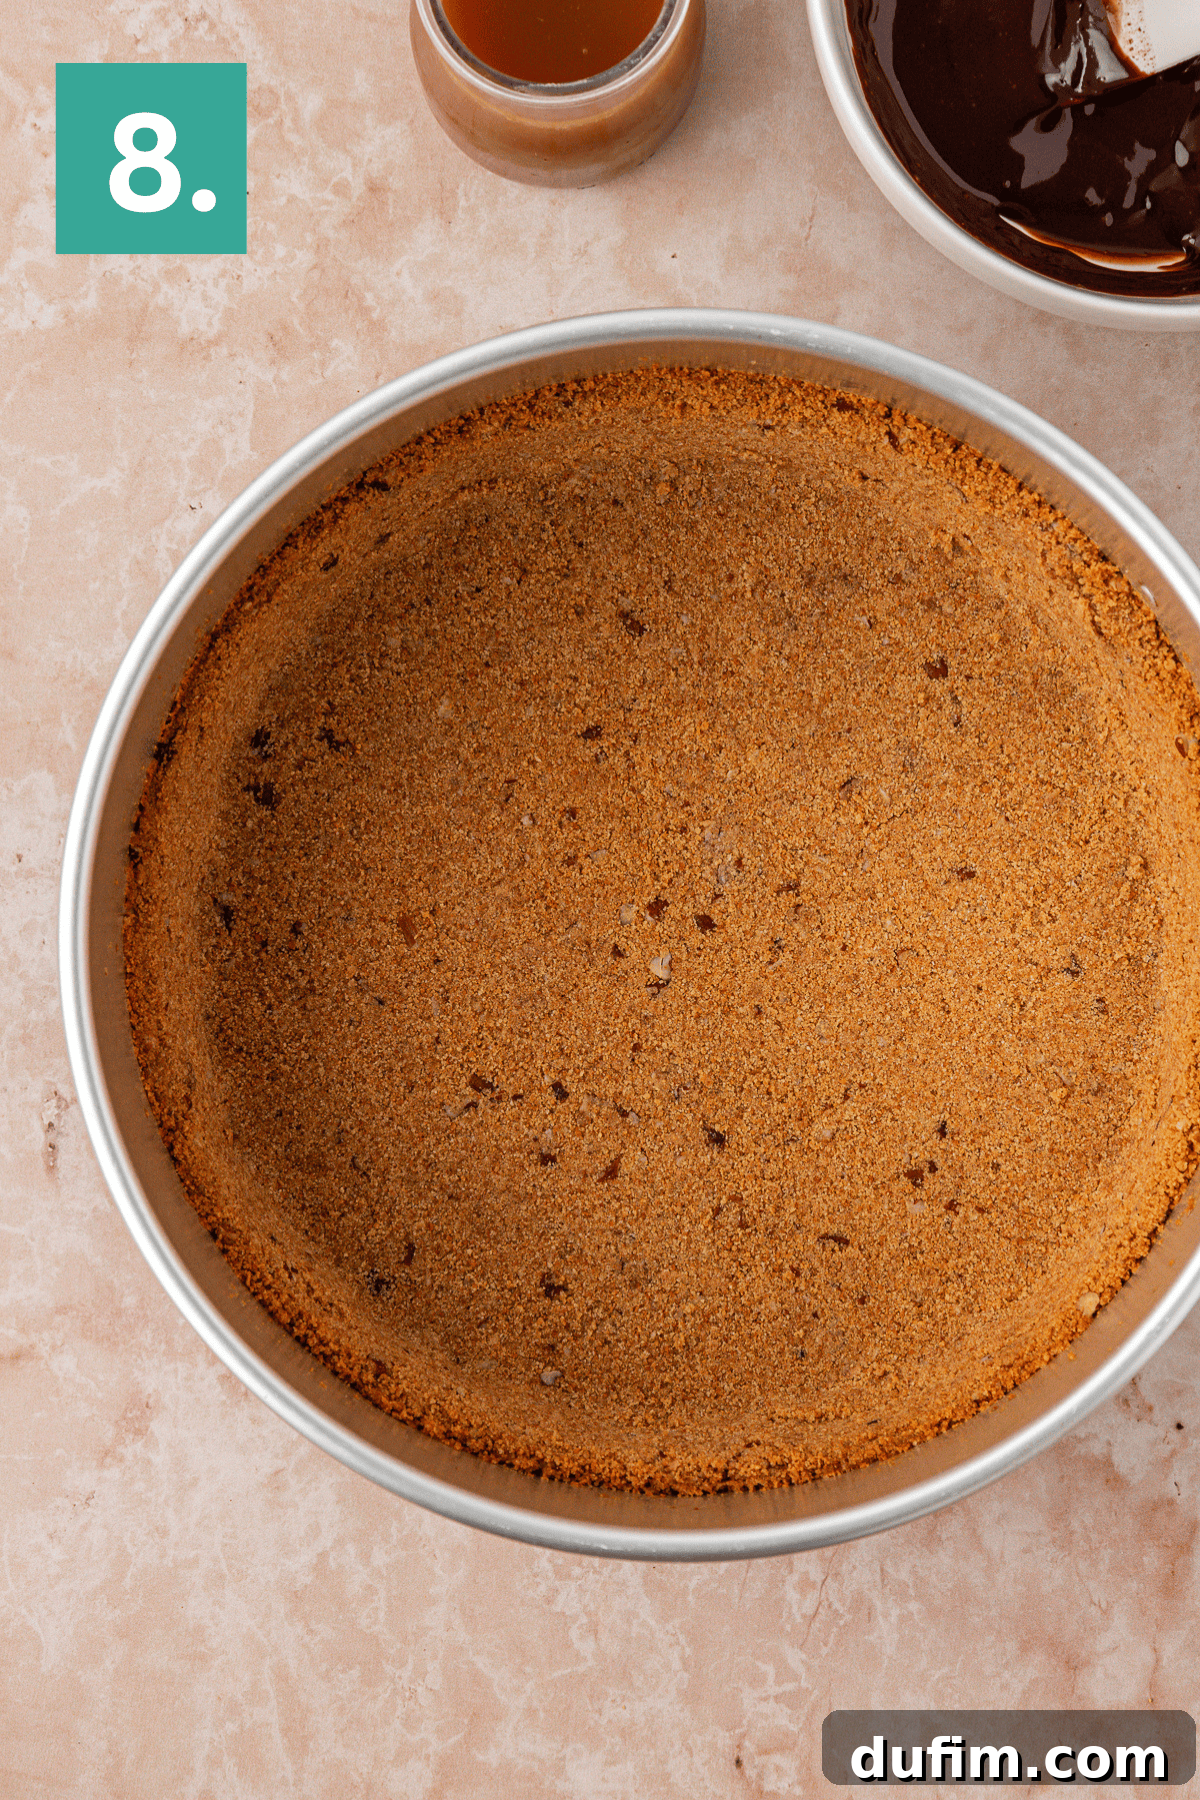
Step 8: Begin Layering the Cheesecake. Carefully pour precisely half of your velvety cheesecake mixture over the perfectly cooled pecan crust in the prepared springform pan. Gently spread it into an even layer using an offset spatula or the back of a spoon. This initial layer creates a solid foundation for the indulgent swirls to come, ensuring a balanced distribution of flavors throughout the final dessert.
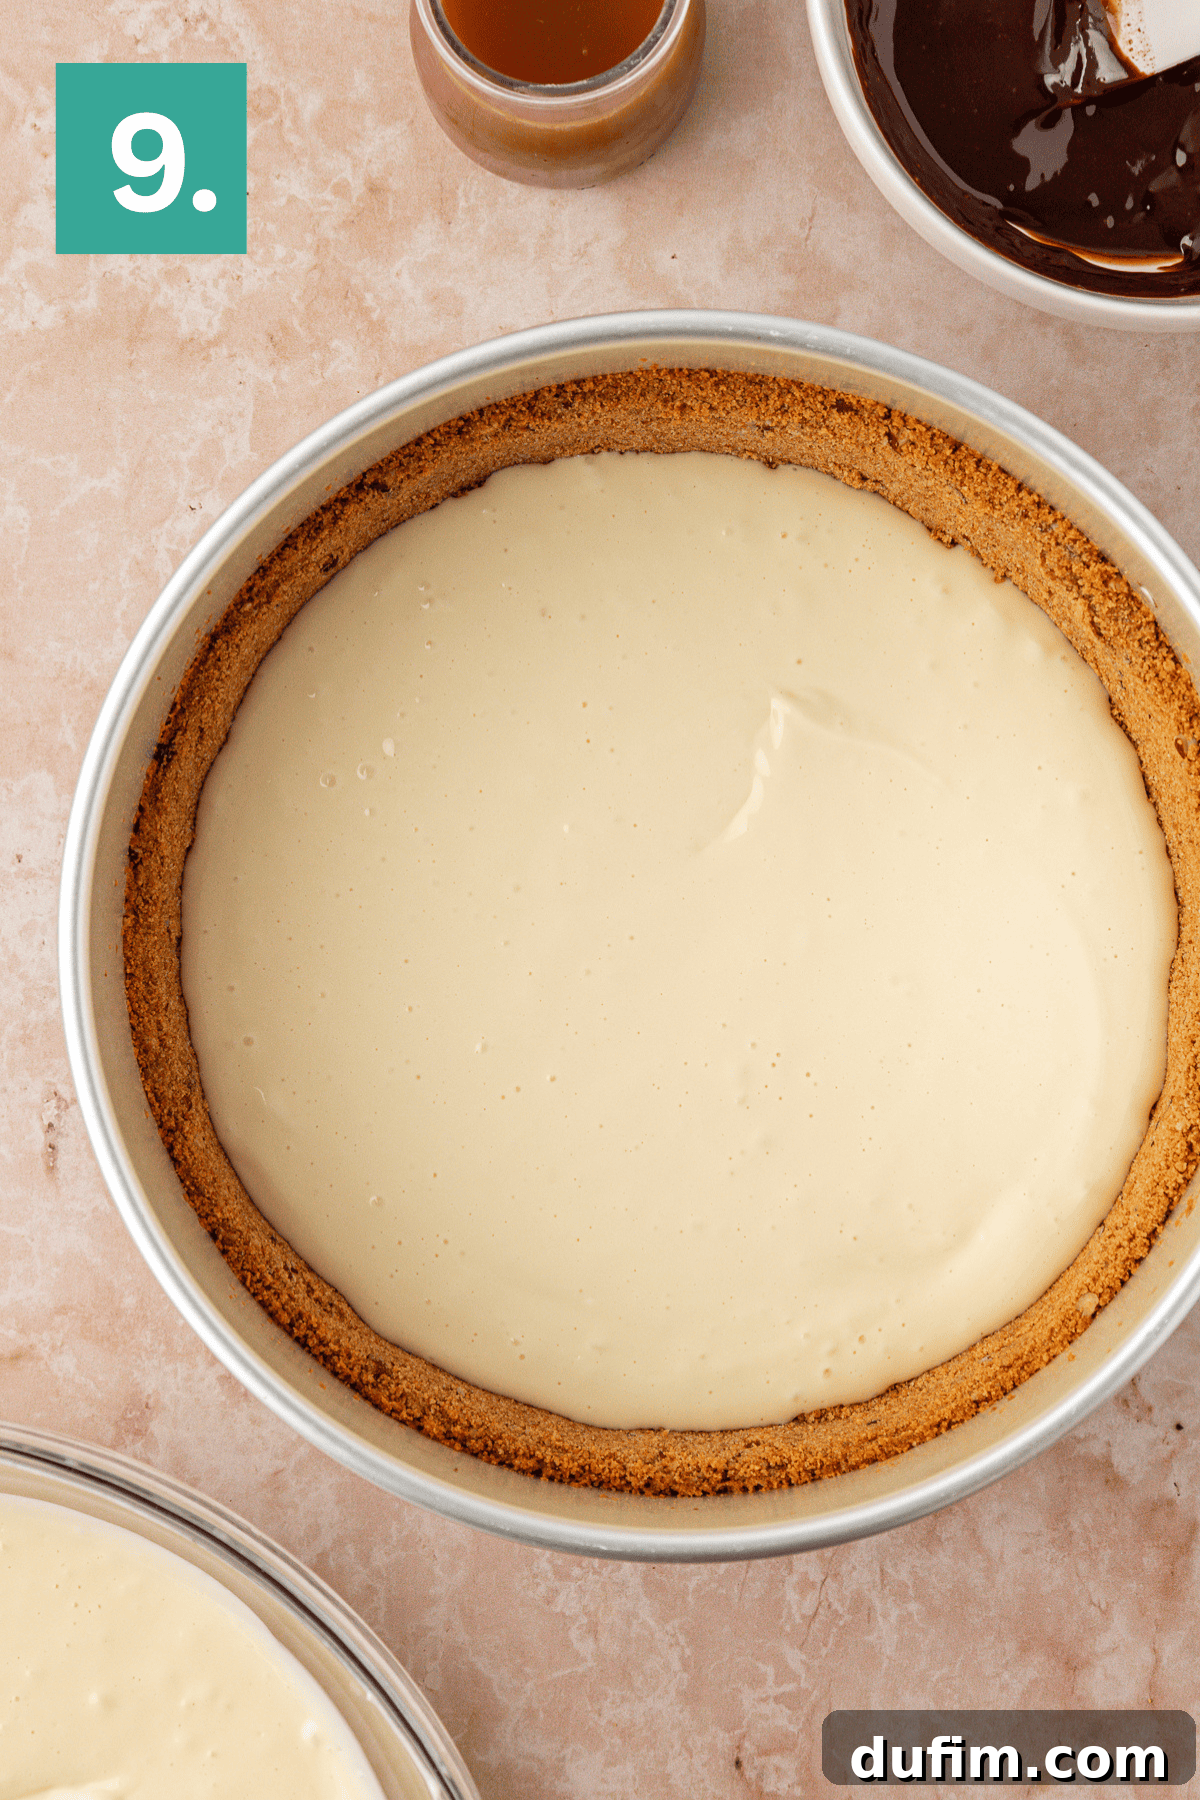
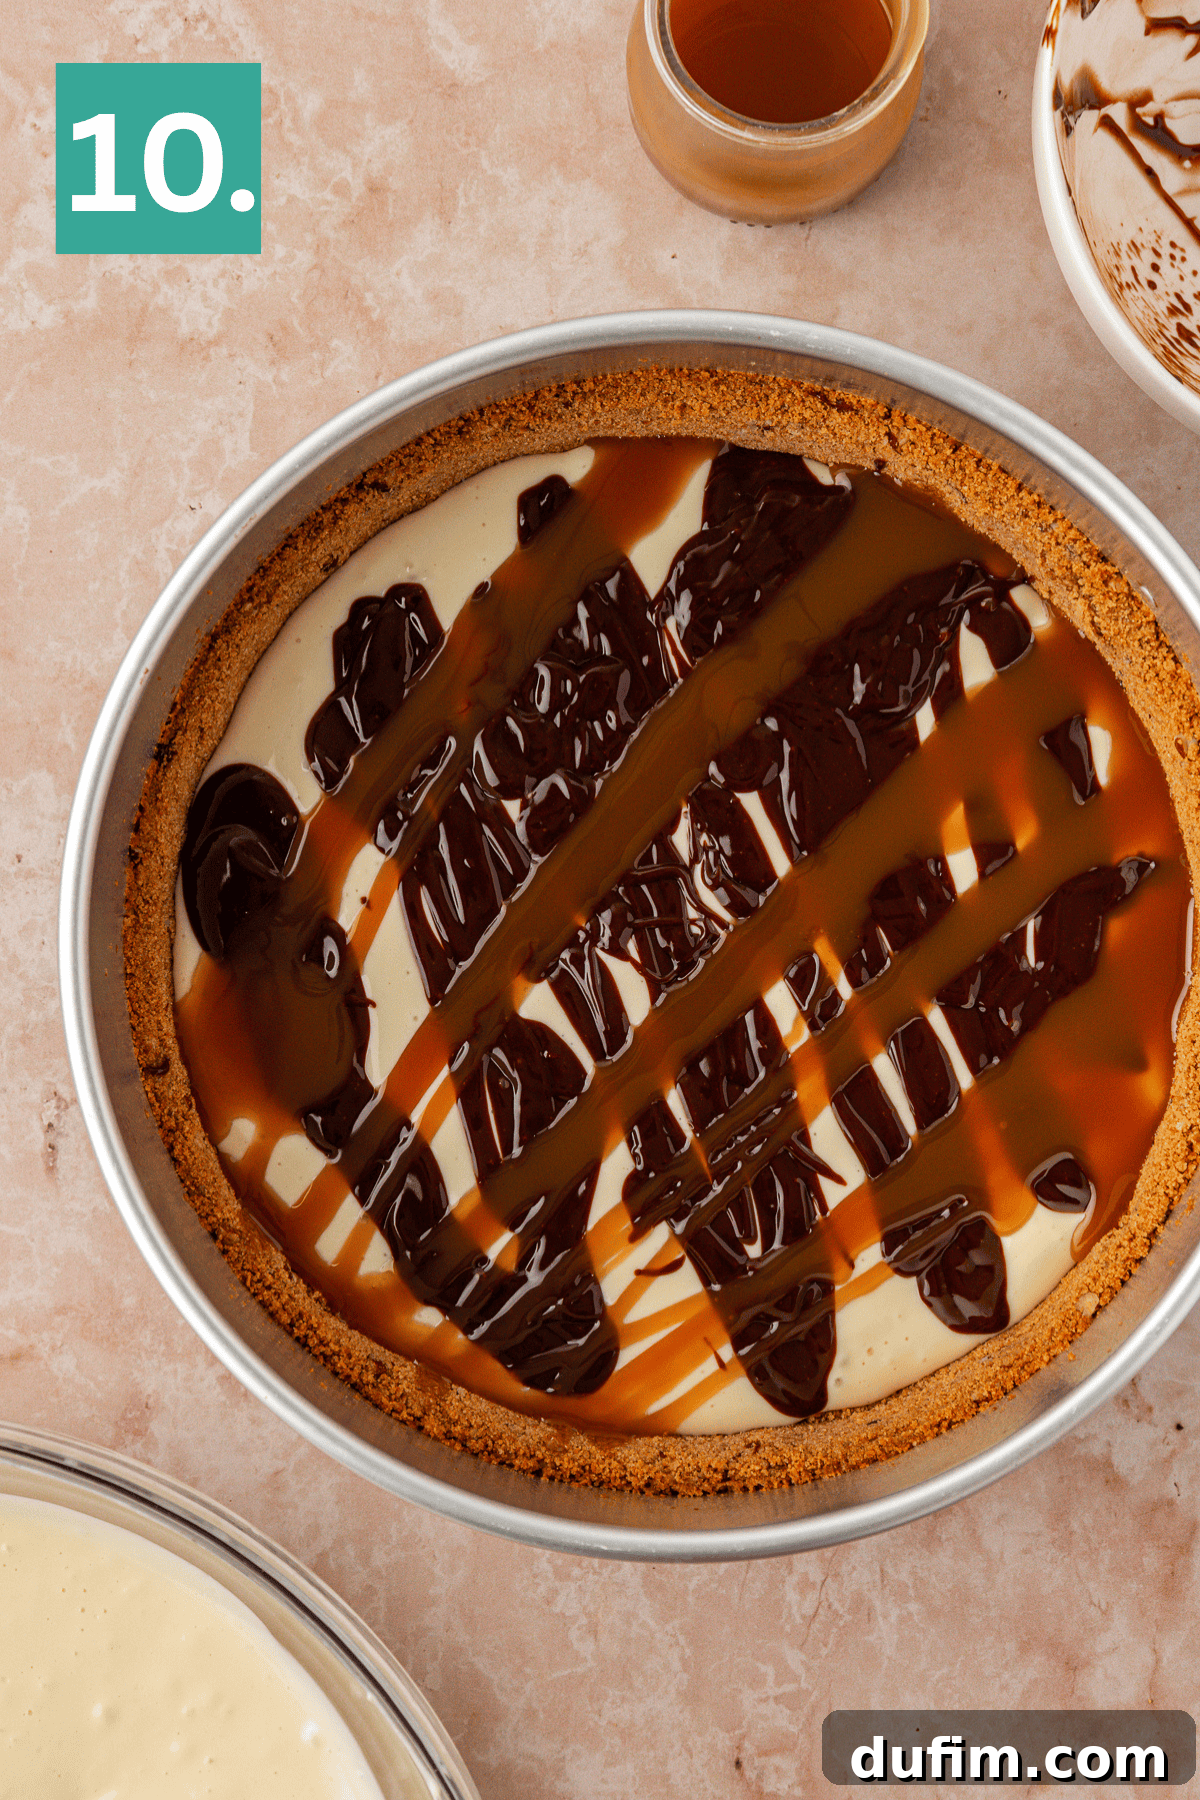
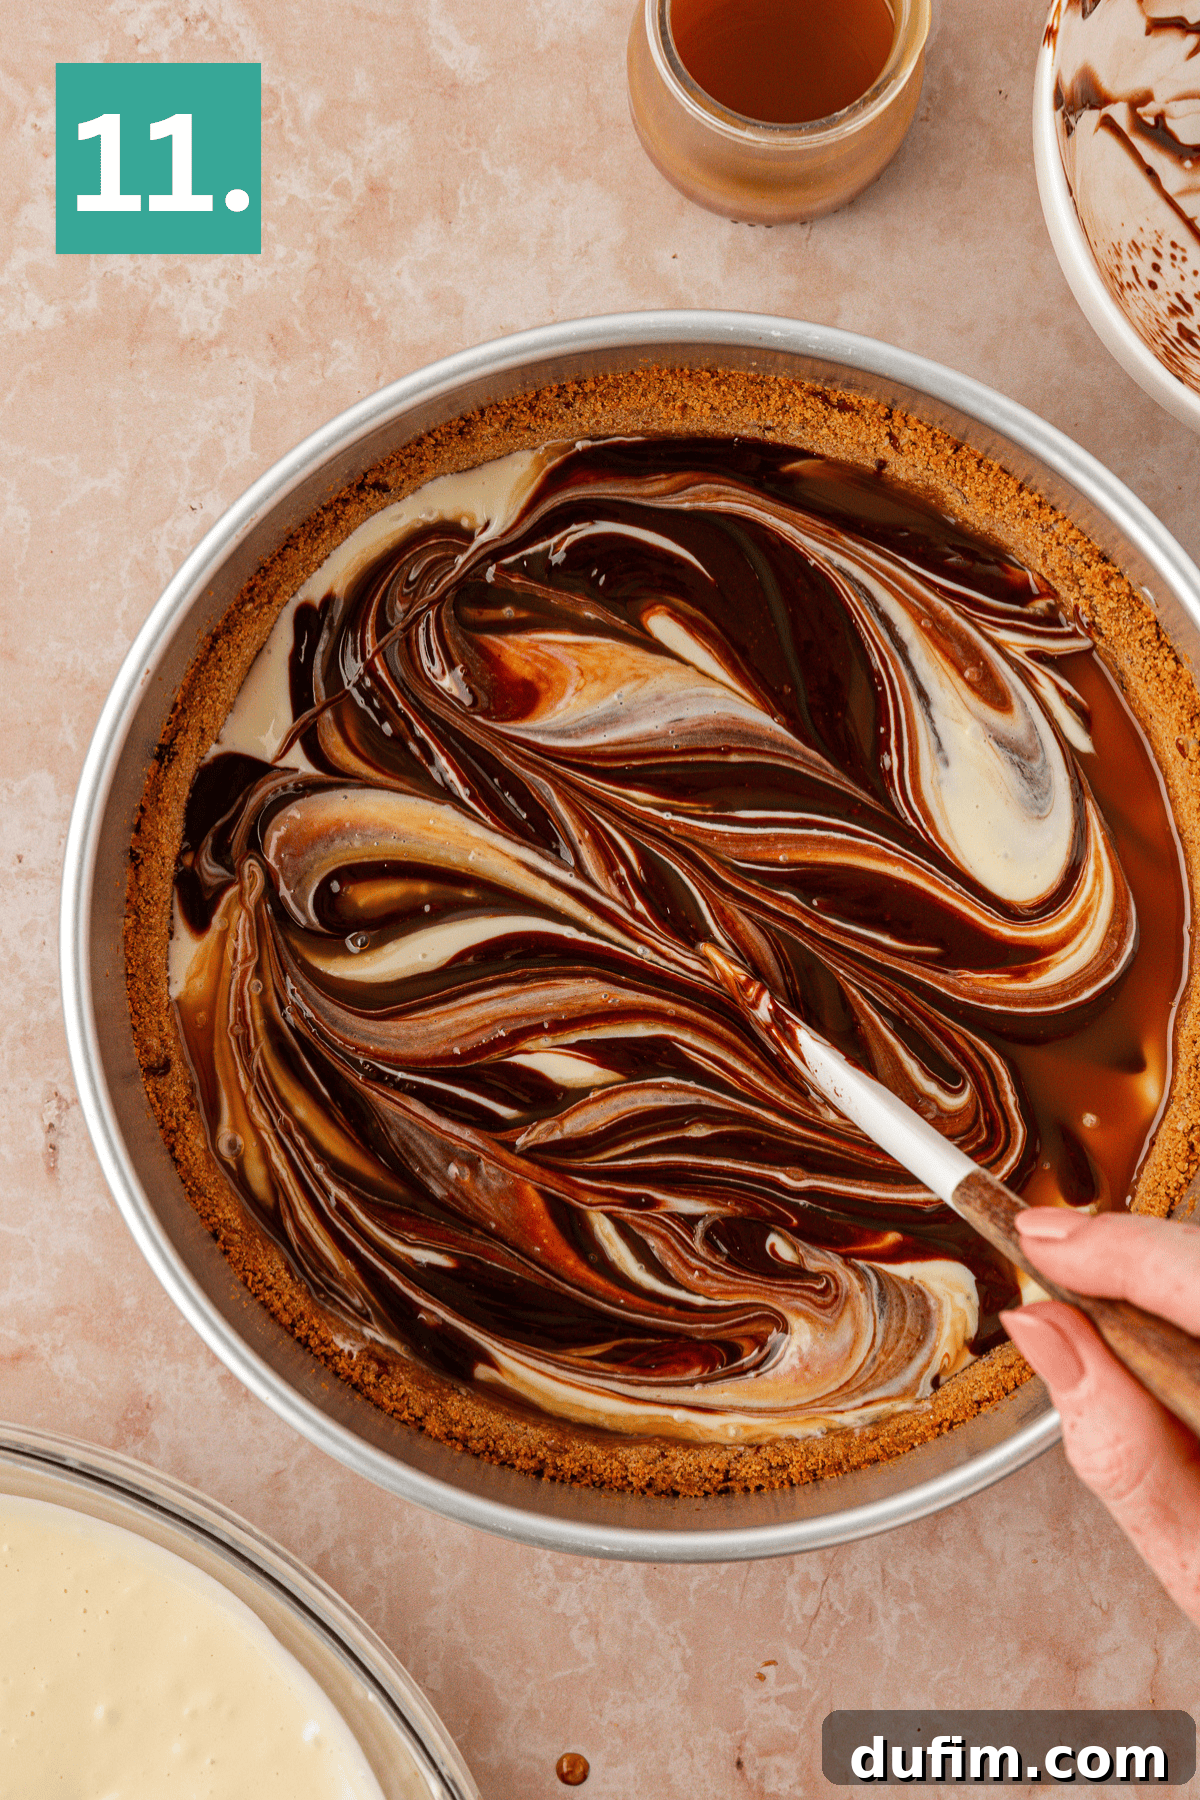
Step 9: Add the Irresistible Swirl Layers. Generously drizzle your prepared, slightly cooled chocolate swirl and the luscious caramel sauce over the first half of the cheesecake batter in the pan. Now, using a skewer or the tip of a small spatula, gently swirl these indulgent sauces into the batter a few times to create beautiful, marbled patterns. Be careful not to overmix; distinct swirls are what you’re aiming for, providing pockets of flavor. Once satisfied with your swirls, carefully pour the remaining cheesecake batter on top, gently spreading it to cover the swirls and create a smooth surface, ready for baking.
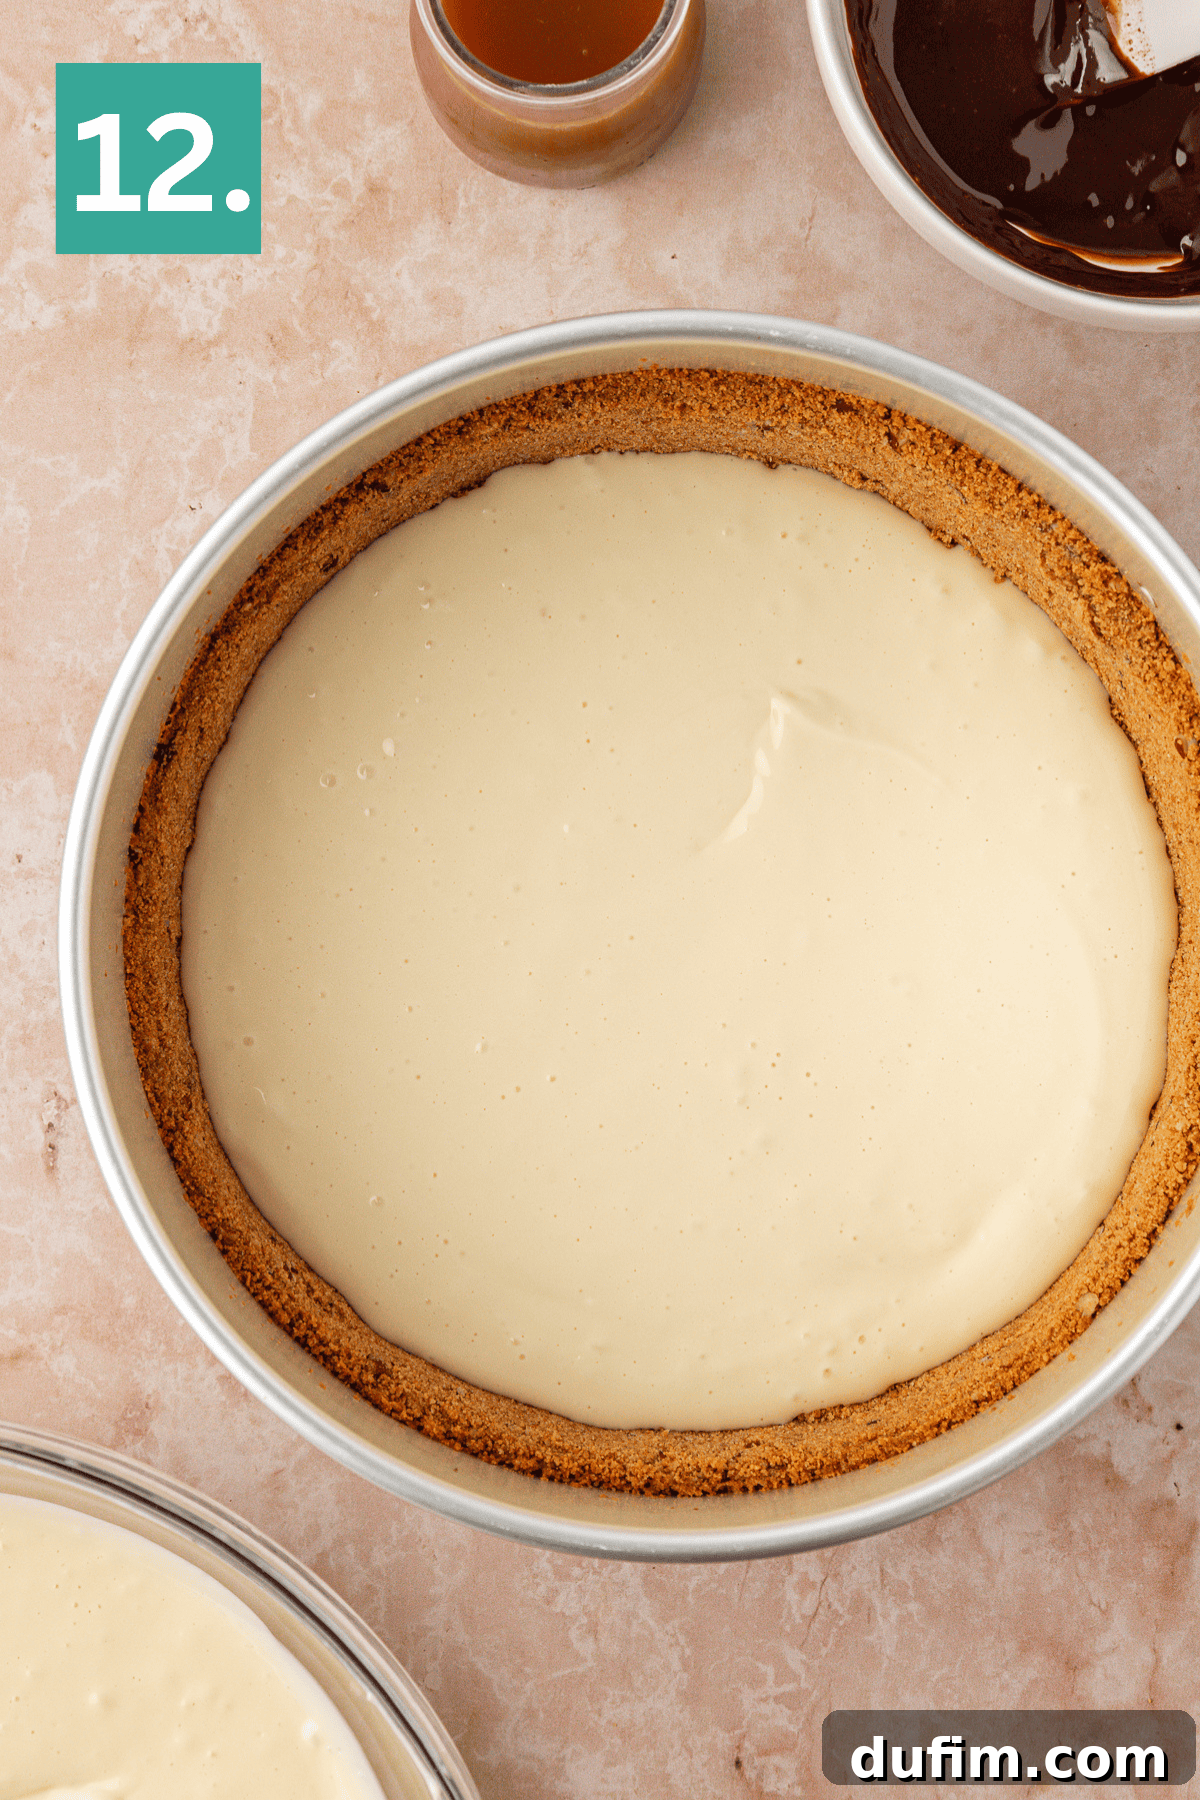
Step 10: Bake to Golden Perfection. Carefully place the cheesecake pan on the oven rack positioned directly above your pan of hot water. Bake for approximately 55-65 minutes. The key to knowing when your cheesecake is perfectly done is its gentle wobble. The edges of the cheesecake should appear set and slightly firmer, while the very center should still have a slight, delicate jiggle when you gently nudge the pan. It’s crucial not to overbake, as it will continue to set and firm up as it cools, ensuring a creamy interior.
Step 11: The Gentle Cool-Down, Crack-Free Secret. Once the cheesecake indicates it’s done baking, turn off the oven. Crucially, open the oven door just a crack (about 2-3 inches). Allow the cheesecake to cool slowly and gradually to room temperature *inside the oven*. This slow cooling process, which can take anywhere from 60 to 90 minutes, is absolutely vital in preventing sudden temperature changes that can lead to unsightly cracks on the surface of your beautiful cheesecake. Patience here ensures a flawless, smooth finish.
Step 12: Chill for Optimal Texture and Flavor. Once your cheesecake has fully cooled to room temperature within the oven, carefully remove it. Allow it to rest for a short while on the countertop, then cover the pan tightly with plastic wrap. Transfer the covered cheesecake to the refrigerator and chill for a minimum of 6 hours, or ideally, overnight. This extended chilling period is non-negotiable for achieving the best flavor development, the creamiest texture, and ensuring your cheesecake is perfectly set for clean, elegant slices that hold their shape beautifully.
Part 3: Irresistible Garnish & Serving
- Craft Your Decadent Chocolate Ganache. Just before you are ready to serve your masterpiece, prepare the chocolate ganache topping. In a microwave-safe bowl, combine the remaining semi-sweet chocolate chips with the heavy cream. Microwave for 20-30 seconds, or until the heavy cream begins to softly bubble. Let the mixture stand undisturbed for 1 minute, allowing the heat to fully melt the chocolate. Then, use a spatula to stir until you achieve a perfectly smooth, glossy ganache. Allow it to cool for a few minutes until it’s slightly thickened but still pourable.
- Adorn and Finish Your Cheesecake. Carefully unmold your perfectly chilled cheesecake from the springform pan. Now for the signature turtle flourish! Generously drizzle the rich caramel sauce over the top of the cheesecake, followed by elegant drizzles of your freshly prepared chocolate ganache. Finally, lavishly scatter the chopped pecans over the surface, creating an irresistible visual and textural appeal that embodies the classic turtle candy and makes a stunning presentation.
- Slice and Savor Every Moment! For impeccably neat and clean slices, we recommend placing the garnished cheesecake back into the fridge for an additional 15 minutes. This brief chill allows the toppings to set slightly, making slicing a breeze and ensuring each piece looks as perfect as it tastes. Serve chilled and prepare for rave reviews from all your guests!
The Revolutionary No-Water-Bath Cheesecake Method: A Detailed Insight
For many years, the conventional wisdom dictated that a water bath was the absolute prerequisite for achieving a cheesecake with that coveted creamy texture and an unblemished, crack-free surface. It was considered the only reliable technique for a perfect bake. However, the persistent questions and concerns from countless home bakers about the complexity and potential mess of this method inspired us to put it to the ultimate test. What we unequivocally discovered is a game-changer: you can absolutely bake a stunning cheesecake without the cumbersome process of wrapping your pan in layers of foil and wrestling with a sloshing, hot tray of water.
Unveiling Our Simplified Baking Approach:
Our innovative and updated method streamlines the cheesecake baking process while maintaining professional results. Here’s how it works with remarkable efficiency: After you’ve successfully pre-baked your flavorful pecan crust and reduced the oven temperature, prepare your “steam bath.” Simply place a large roasting pan or a standard 9×13 inch baking pan, filled with a few inches of hot water, on the *lowest* rack of your oven. Allow this water to heat up as the oven preheats to the new temperature, ensuring it begins to generate a steady stream of steam. Then, place your cheesecake pan on the oven rack *directly above* this pan of steaming water. The ambient steam effectively replicates the moist, gentle, and evenly distributed heat conditions of a traditional water bath, but crucially, it completely eliminates the inherent risks of leaks, splashes, and general mess. This subtle yet powerful environmental control ensures your cheesecake bakes uniformly, preventing the rapid temperature fluctuations that typically cause cracks and guaranteeing a wonderfully creamy interior.
A Critical Detail: Your Cheesecake Pan Matters. When opting for our no-water-bath method, the quality of your springform pan becomes even more paramount. A high-quality pan truly makes all the difference in achieving uniform baking and a perfect release. We personally use and enthusiastically recommend this specific cheesecake pan because of its exceptional performance. It consistently bakes evenly, allows for an impeccably clean release of the cheesecake, and reliably withstands countless baking cycles, delivering superb results batch after batch. Investing in the right pan will be a game-changer for your cheesecake baking.
This single, innovative change dramatically enhances the approachability of baking gourmet cheesecakes for home bakers of all skill levels. You will still achieve that signature ultra-creamy texture and a beautifully smooth, unblemished top, but now entirely without the traditional hassle. Combine this simplified method with our other expert baker tips – such as allowing the cheesecake to cool slowly inside the oven with the door slightly cracked – and you are guaranteed a homemade cheesecake that not only looks but also tastes indistinguishable from a professional bakery creation. Get ready to bake with renewed confidence and enjoy the sweet rewards of perfect homemade cheesecake!
Essential Tips for Cheesecake Baking Success
Elevate your cheesecake game with these indispensable pro tips, designed to ensure a flawless and delicious result every time. These small details make a big difference in achieving bakery-quality perfection:
- Ensure Room Temperature Cream Cheese: This is arguably the most crucial tip for a perfectly smooth cheesecake. Cream cheese that is at room temperature blends effortlessly, creating a uniform, lump-free batter. Cold cream cheese will result in a lumpy texture and may require overmixing, which can introduce too much air, leading to cracks.
- Avoid Overmixing After Adding Eggs: Once the eggs are introduced to the batter, mix *just until combined*. Overmixing at this stage incorporates excessive air, which can cause the cheesecake to rise too quickly in the oven and then collapse or crack as it cools. Gentle beating is key to maintaining a dense, creamy texture and a perfectly smooth surface.
- Extend the Crust Up the Sides: For those who love a satisfying crust in every bite, gently pressing the graham cracker mixture a little way up the sides of your springform pan is a simple yet effective technique. This ensures a delightful crusty border around the entire cheesecake, providing a lovely textural contrast to the creamy filling.
- Implement Slow Oven Cooling: Cheesecake is highly sensitive to abrupt temperature shifts. Transferring a hot cheesecake directly from a warm oven to a cool countertop can shock it, leading to surface cracks. By turning off the oven and leaving the door ajar, you allow the cheesecake to acclimate gradually to room temperature, preventing thermal shock and preserving its pristine, crack-free appearance.
- Prioritize Overnight Chilling: While tempting to slice into immediately, patient chilling is non-negotiable for the ultimate cheesecake experience. Freshly baked cheesecake is soft and slightly wobbly. An overnight stay (at least 6 hours) in the refrigerator allows the filling to fully set, firming up to that perfect, sliceable consistency. More importantly, this extended rest period allows all the complex flavors to meld and deepen, resulting in a richer, more harmonious taste profile that truly shines.
Creative Variations & Delicious Substitutions
While our Turtle Cheesecake recipe is a masterpiece in its original form, feel free to unleash your culinary creativity with these delightful twists and substitutions to customize it to your preference:
- Nutty Alternatives: If pecans aren’t your preference, you can easily swap them out for other complementary nuts. Toasted walnuts or almonds would both offer a fantastic flavor and texture variation in the crust and as a garnish, adding a different dimension to the classic turtle profile.
- Crust Adventures: For a different flavor profile, consider using an Oreo crust instead of the graham cracker base. The chocolatey crunch of Oreos would add another layer of indulgence and a delightful contrast to the caramel and existing chocolate swirls, making it a true chocolate lover’s dream.
- Caramel Lover’s Dream: If you’re a true caramel enthusiast, don’t hesitate to increase the amount of caramel swirled into the batter and generously drizzled on top. An extra generous hand with the caramel will ensure an even gooier, more intensely sweet and sticky experience, perfect for those with a serious sweet tooth.
- Miniature Indulgences: Transform this recipe into charming individual servings by baking mini cheesecakes in muffin tins. This is perfect for portion control, parties, or when you want a quick, personal dessert. Remember to adjust baking times accordingly for smaller portions, typically around 20-25 minutes.
Frequently Asked Questions About Turtle Cheesecake
Absolutely! Our recipe has been rigorously tested and proven to deliver consistently creamy, smooth, and crack-free results using an easier, mess-free method. Instead of immersing your cheesecake pan in water, you’ll simply place a separate pan of hot water on the lower oven rack. This clever technique generates a gentle, moist steam that mimics the conditions of a water bath, ensuring perfect baking without any of the usual hassle or risk of leaks. It’s a game-changer for home bakers!
Cheesecake cracks are typically caused by two main factors: sudden changes in temperature or overmixing the batter, especially once the eggs have been added. To prevent cracks, ensure you cool your cheesecake slowly and gradually by turning off the oven and leaving the door ajar, allowing it to reach room temperature naturally. Additionally, mix the eggs into the batter one at a time, beating only until each is just incorporated, to avoid introducing too much air into the batter.
The tell-tale sign of a perfectly baked cheesecake is a slight, delicate wobble in the center when you gently jiggle the pan. The edges should appear set and firmer, but the very middle should still move slightly. It will continue to firm up as it cools and chills. A common mistake is waiting until the center is completely solid, which often results in an overbaked and potentially cracked cheesecake. Trust the jiggle – it’s your best indicator of a creamy, perfectly baked cheesecake!
Explore More Irresistible Cheesecake Recipes
If you’ve fallen in love with this Turtle Cheesecake, be sure to explore our other fantastic cheesecake creations that are perfect for any occasion:
- No-Bake Oreo Cheesecake: A quick and easy dessert for chocolate and cookie lovers, requiring no oven time and perfect for warmer days.
- Mini Peanut Butter Cheesecakes: Delightful individual servings packed with rich peanut butter flavor, ideal for parties or single portions.
- Classic New York-Style Cheesecake: The timeless, rich, and creamy standard that started it all, a true staple for any cheesecake enthusiast.
- Effortless No-Bake Cheesecake: A simple, versatile base recipe that’s incredibly easy to make, fantastic for summer, and can be customized with various toppings.
- Decadent Chocolate Cheesecake: A chocolate lover’s dream, intensely flavored and incredibly smooth, offering a deep, satisfying cocoa experience.
Tap stars to rate!
Indulgent Turtle Cheesecake (No Water Bath)
Beth
30 minutes
1 hour
6 hours
16
slices
Rate
Equipment
-
Cheesecake Pan (Recommended for best results)
-
9-inch Springform Pan (Excellent alternative)
-
Electric Mixer (Handheld or Stand Mixer)
-
Microwave-Safe Bowls
-
Large Roasting Pan or 9×13 Inch Baking Pan
-
Parchment Paper
-
Spatula or Whisk
-
Food Processor or Blender (for graham crackers, optional)
Ingredients
For the Pecan-Infused Crust:
-
2 cups (226g) graham cracker crumbs -
¼ tsp ground cinnamon -
¼ cup (29g) pecans, finely chopped -
¼ cup (54g) light brown sugar, packed -
6 Tbsp (86g) unsalted butter, melted
For the Creamy Cheesecake Filling:
-
24 oz (678g) full-fat cream cheese, softened to room temperature -
1 cup (198g) granulated sugar -
1 tsp pure vanilla extract -
3 large eggs
For the Internal Chocolate Swirl:
-
⅓ cup (57g) semi-sweet chocolate chips -
3 Tbsp (42g) heavy whipping cream
For the Internal Caramel Swirl:
-
¼ cup caramel sauce, store-bought or homemade
For the Decadent Garnish:
-
⅓ cup (57g) semi-sweet chocolate chips -
3 Tbsp (42g) heavy whipping cream -
⅓ cup caramel sauce, store-bought or homemade -
¾ cup (86g) chopped pecans
Instructions
For the Crust:
-
1. Preheat your oven to 350°F (175°C). Prepare your 8 or 9-inch springform pan (or cheesecake pan) by lining both the bottom and sides with parchment paper. This prevents sticking and ensures a clean release, preserving the integrity of your cheesecake.
-
2. If using whole graham crackers, pulse them in a food processor until very fine. Measure 2 cups of crumbs. In a medium bowl, combine the graham cracker crumbs, finely chopped pecans, light brown sugar, ground cinnamon, and melted unsalted butter. Mix thoroughly until the mixture is well combined and resembles wet sand.2 cups (226g) graham cracker crumbs,
¼ tsp ground cinnamon,
¼ cup (29g) pecans,
¼ cup (54g) light brown sugar,
6 Tbsp (86g) unsalted butter -
3. Add the prepared crumb mixture to the pan, distributing it evenly across the bottom. Use the bottom of a cup or a flat object to press the crumbs firmly into the pan, creating a compact base. If desired, gently press some crumbs up the sides for a beautiful, defined crusty edge.
-
4. Bake the crust in the preheated oven for 8-10 minutes, or until it turns a lovely golden brown and becomes fragrant. Remove from the oven and allow it to cool completely to room temperature. While it cools, reduce your oven temperature to 325°F (160°C). Place a large roasting pan or a 9×13 inch baking pan filled with a few inches of hot water on the bottom rack of the oven to create a moist, steaming environment.
For the Cheesecake Filling:
-
1. Prepare the chocolate swirl: In a small, microwave-safe bowl, combine ⅓ cup semi-sweet chocolate chips and 3 Tbsp heavy whipping cream. Microwave for 20-30 seconds, or until the heavy cream begins to show small bubbles around the edges. Allow the mixture to stand undisturbed for 1 minute, then stir with a spatula until completely smooth and glossy. Set aside to cool slightly to avoid cooking the batter.⅓ cup (57g) semi-sweet chocolate chips,
3 Tbsp (42g) heavy whipping cream -
2. In a large mixing bowl, using an electric mixer, beat the 24 oz (678g) softened full-fat cream cheese on medium speed until it is perfectly smooth and creamy, which should take about 2-3 minutes. Ensure there are no lumps for a silky cheesecake.24 oz (678g) full-fat cream cheese
-
3. Add 1 cup granulated sugar and 1 tsp pure vanilla extract to the cream cheese mixture. Continue beating until these ingredients are just combined and the batter is uniform. Scrape down the sides of the bowl as needed to ensure everything is fully incorporated.1 cup (198g) granulated sugar,
1 tsp pure vanilla extract -
4. Add the 3 large eggs to the batter, incorporating them one at a time. After each egg addition, beat the mixture only until the egg is just combined. After the final egg, beat the entire mixture for 1 additional minute to ensure uniformity, being careful not to overmix and incorporate too much air.3 large eggs
-
5. Carefully pour half of the cheesecake batter over the cooled crust in the prepared pan. Gently spread it into an even layer using an offset spatula or the back of a spoon, creating a smooth foundation.
-
6. Drizzle the cooled chocolate swirl and ¼ cup of caramel sauce generously over the first layer of cheesecake batter. Use a skewer or the tip of a small spatula to gently swirl these decadent sauces into the batter a few times, creating beautiful marbled patterns. Now, carefully pour the remaining cheesecake batter on top and gently spread it to cover the swirls and achieve a smooth surface.¼ cup caramel sauce
-
7. Place the cheesecake pan on the oven rack positioned directly above your pan of hot water. Bake for approximately 55-65 minutes. The cheesecake is perfectly done when the edges are set and appear firmer, while the very center still has a slight, delicate wobble when gently jiggled. It will continue to firm up as it cools.
-
8. Once the cheesecake appears done, turn off the oven. Critically, open the oven door a few inches (about 2-3 inches). Allow the cheesecake to cool slowly and gradually to room temperature *inside the oven*. This crucial step, which can take 60-90 minutes, prevents sudden temperature changes that typically cause cracks on the surface.
-
9. Once cooled completely to room temperature, remove the cheesecake from the oven. Allow it to rest briefly on the countertop, then cover the pan tightly with plastic wrap. Transfer the covered cheesecake to the refrigerator and chill for a minimum of 6 hours, or ideally overnight, for the best texture, flavor, and effortless slicing.
For the Garnish:
-
1. Just before you are ready to serve, prepare the chocolate ganache: In a small, microwave-safe bowl, combine ⅓ cup semi-sweet chocolate chips and 3 Tbsp heavy whipping cream. Microwave for 20-30 seconds until the heavy cream begins to bubble softly. Let the mixture stand undisturbed for 1 minute, then stir with a spatula until perfectly smooth and glossy. Allow it to cool for a few minutes until it’s slightly thickened but still easily pourable.⅓ cup (57g) semi-sweet chocolate chips,
3 Tbsp (42g) heavy whipping cream -
2. Carefully unmold the chilled cheesecake from its springform pan. Generously drizzle the top with ⅓ cup caramel sauce, followed by elegant drizzles of your freshly prepared chocolate ganache. Finally, lavishly scatter ¾ cup of chopped pecans over the entire surface, completing the classic turtle aesthetic.⅓ cup caramel sauce,
¾ cup (86g) chopped pecans -
3. For impeccably neat and clean slices, place the garnished cheesecake back into the fridge for an additional 15 minutes. This brief chill allows the toppings to set slightly, making slicing a breeze. Slice with a hot, clean knife and serve chilled. Enjoy your magnificent homemade Turtle Cheesecake!
Video
Notes for Success
Storage Instructions: For optimal freshness and flavor, cover your Turtle Cheesecake tightly with plastic wrap and store it in the refrigerator for up to 5 days. For individual slices, keep them chilled until you’re ready to serve to maintain their perfect texture and prevent them from drying out.
Make Ahead Option: This cheesecake is an excellent candidate for advance preparation. For the best possible flavor and texture, bake the cheesecake a full day ahead of when you plan to serve it. Chilling it overnight in the refrigerator not only allows it to set beautifully but also gives the flavors ample time to deepen and meld, resulting in an even more delicious dessert.
Freezing for Later: You can easily freeze this cheesecake to enjoy at a later date. Wrap the whole cheesecake or individual slices tightly in multiple layers of plastic wrap, followed by a layer of aluminum foil. It can be frozen for up to 2 months without compromising quality. When you’re ready to enjoy, thaw the cheesecake gradually in the refrigerator overnight before serving.
Nutrition Information (Per Serving)
Calories: 432 kcal |
Carbohydrates: 36 g |
Protein: 6 g |
Fat: 31 g |
Saturated Fat: 15 g |
Polyunsaturated Fat: 3 g |
Monounsaturated Fat: 10 g |
Trans Fat: 0.2 g |
Cholesterol: 96 mg |
Sodium: 248 mg |
Potassium: 175 mg |
Fiber: 2 g |
Sugar: 28 g |
Vitamin A: 849 IU |
Vitamin C: 0.1 mg |
Calcium: 76 mg |
Iron: 1 mg
Nutrition Disclosure
All nutritional values provided are approximate and are offered to the reader as a courtesy. Please be aware that changing ingredients and/or quantities will alter the estimated nutritional calculations. For precise and accurate nutritional information, professional analysis is highly recommended.
Love this recipe? Share your thoughts and rate it below!
Your feedback helps us continue creating delicious content for passionate home bakers.
First published February 14th, 2022. Enthusiastically updated and perfected on September 26th, 2025.