
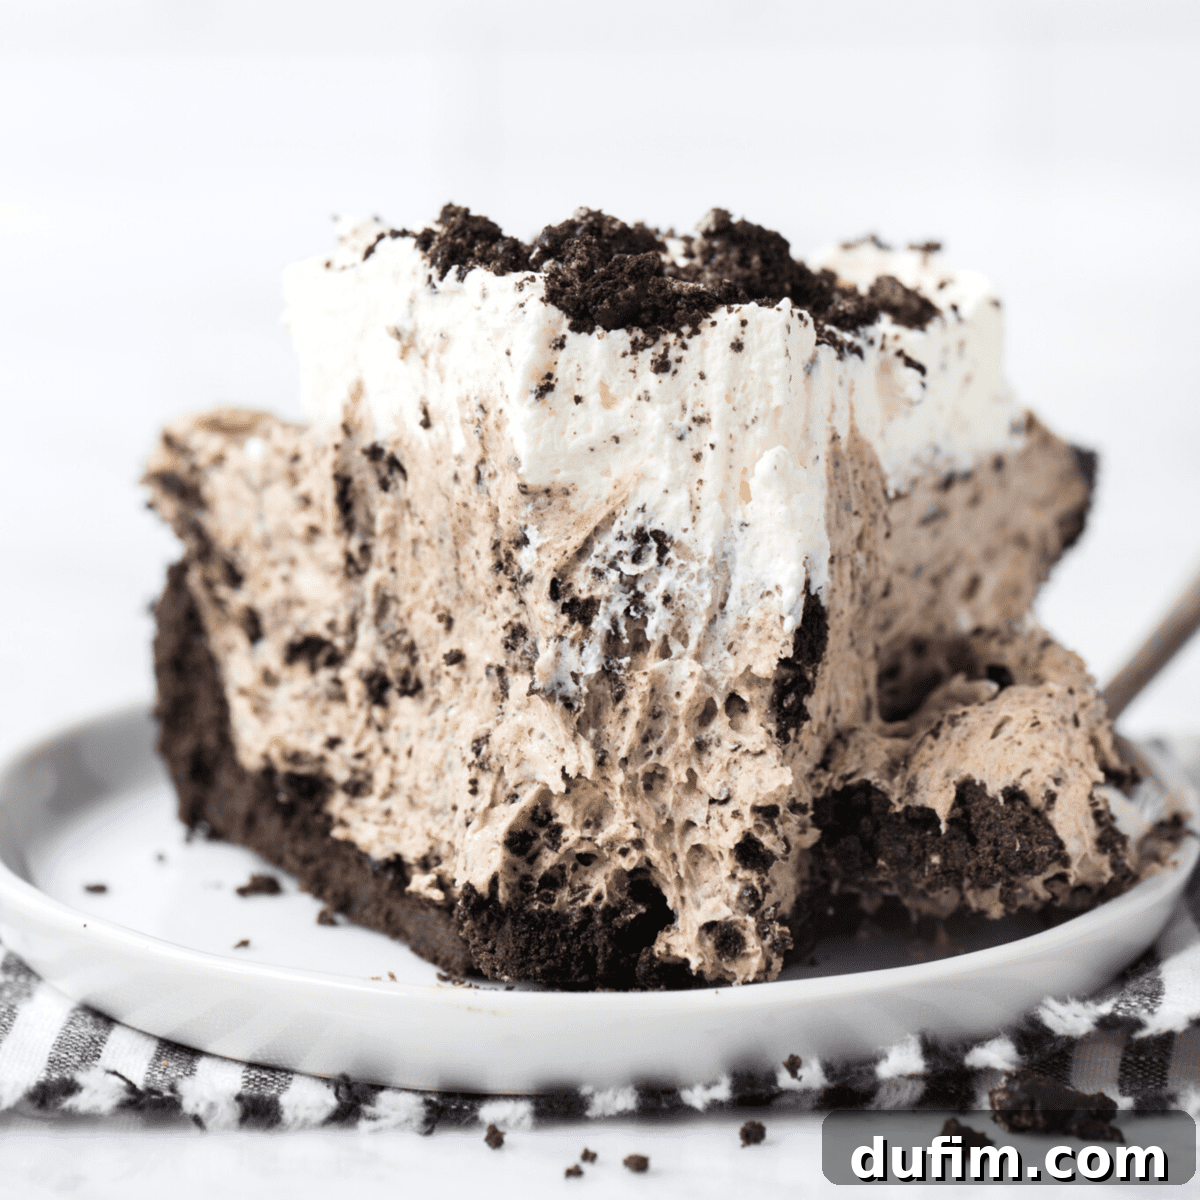
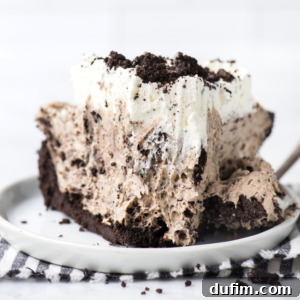
Craving a dessert that’s both incredibly indulgent and astonishingly simple to prepare? Look no further than this delightful **Oreo Pudding Pie**! This isn’t just any pie; it’s a luscious, no-bake masterpiece featuring a rich Oreo crust, a thick, creamy, mousse-like vanilla pudding filling studded with more Oreo pieces, and a cloud of homemade whipped cream on top. Perfect for any gathering, a casual weeknight treat, or when you simply need a quick dessert fix, this recipe comes together with just a few common ingredients and minimal effort, delivering maximum flavor.
This particular Oreo pie with pudding offers a wonderfully thick, fluffy, and truly mousse-like texture that sets it apart. Forget complex baking techniques – with just 8 key ingredients and about 20 minutes of hands-on preparation, you’ll be well on your way to enjoying a chilled, decadent dessert that everyone will adore. It’s the ultimate hassle-free indulgence!
This was exactly what I was searching for! My entire family absolutely loved it. The recipe was so easy to follow, and it had the perfect, unmistakable taste of Oreos.
– Maria
The Enduring Charm of No-Bake Pudding Pies
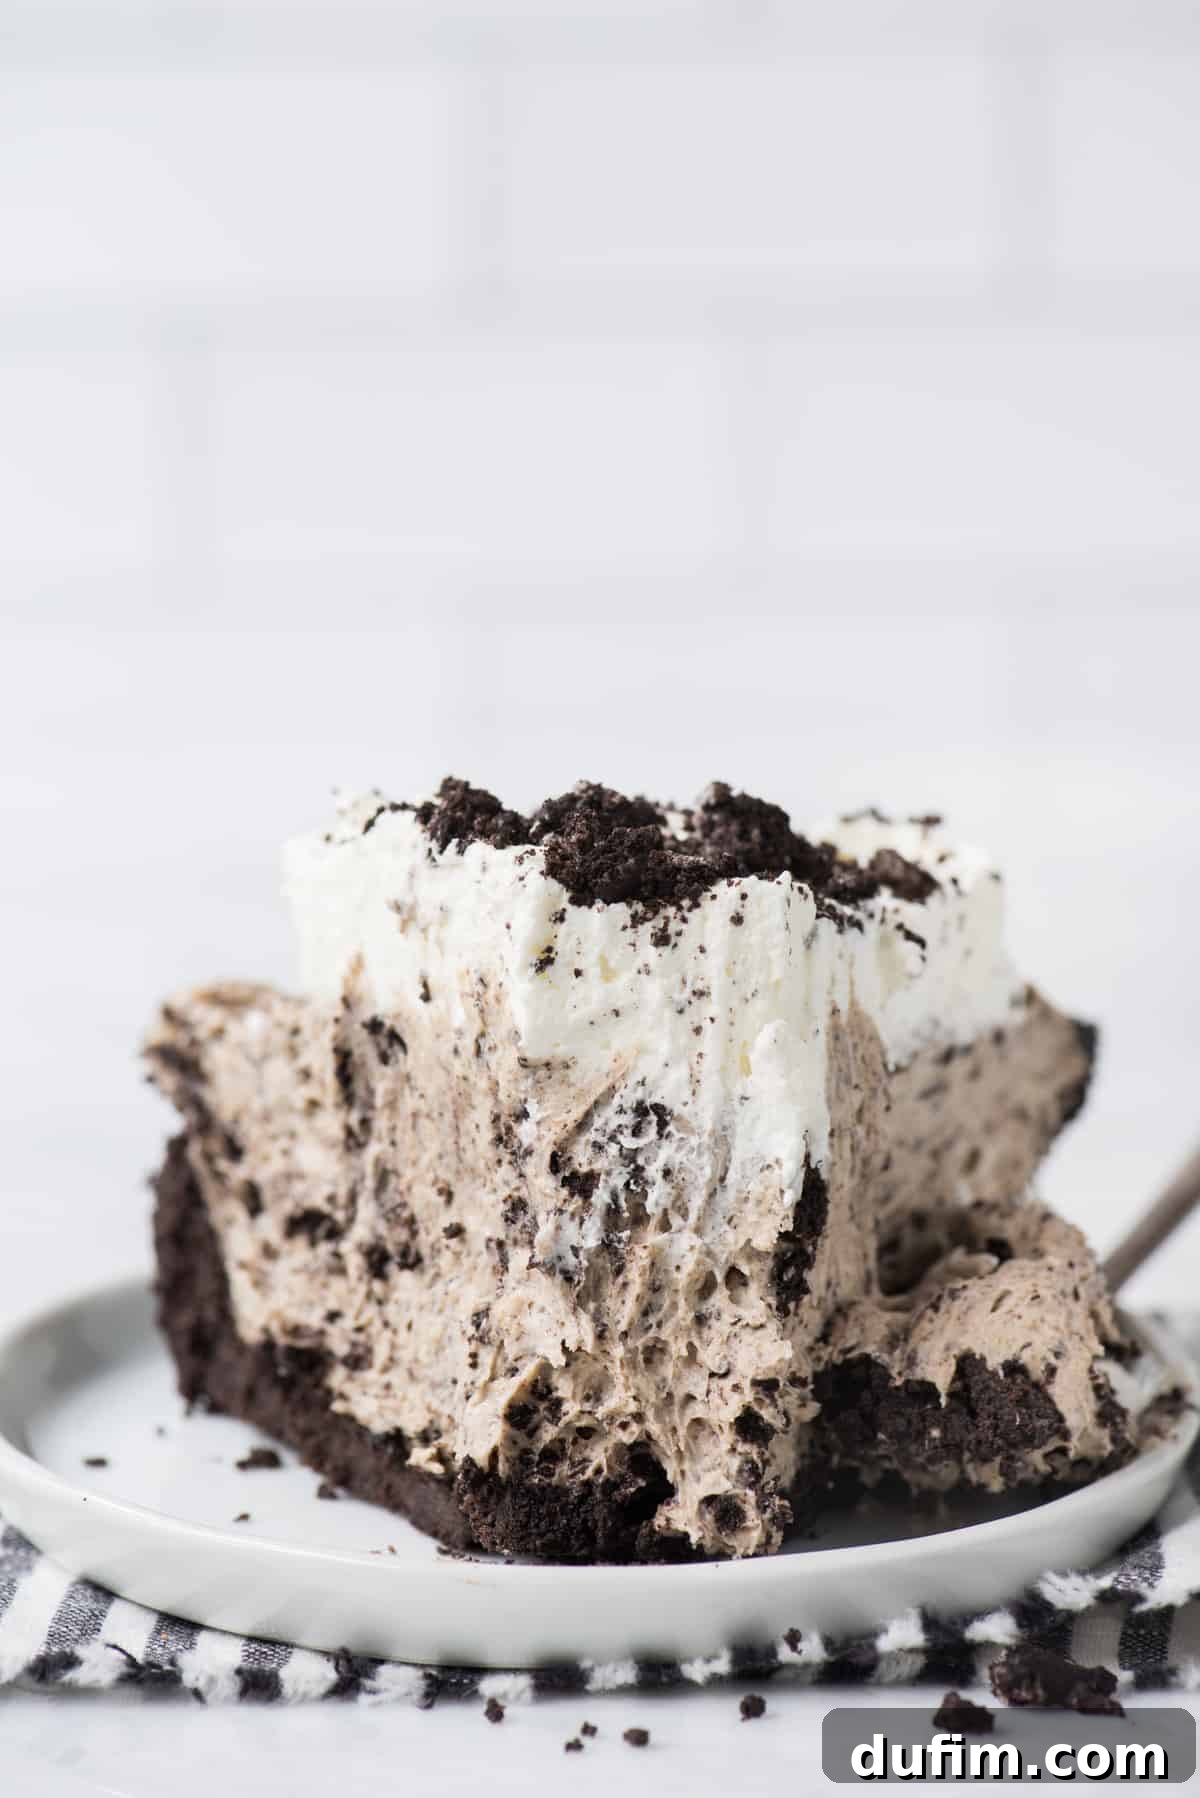
Pudding pies have graced dessert tables for generations, a testament to their simple charm and undeniable deliciousness. This classic dessert has evolved over time, with countless variations ranging from entirely scratch-made to those utilizing convenient shortcuts. Our recipe embraces the latter, leveraging instant pudding mix to create a spectacularly easy and consistently delicious result. While some traditional recipes call for milk, our secret to achieving that coveted, ultra-thick, stable, and truly mousse-like texture lies in the strategic use of heavy cream. This simple substitution elevates the pie, giving it an unparalleled richness and a delightful mouthfeel that melts in your mouth.
For optimal results, especially when combining the pudding mix and heavy cream, a stand mixer is your best friend. The mixture will become exceptionally thick as it comes together, and a powerful mixer ensures everything is thoroughly incorporated into a smooth, luxurious base. Once the cool whip is folded in, the consistency transforms into an even creamier, fluffier delight, ready to be spread over your crunchy Oreo crust.
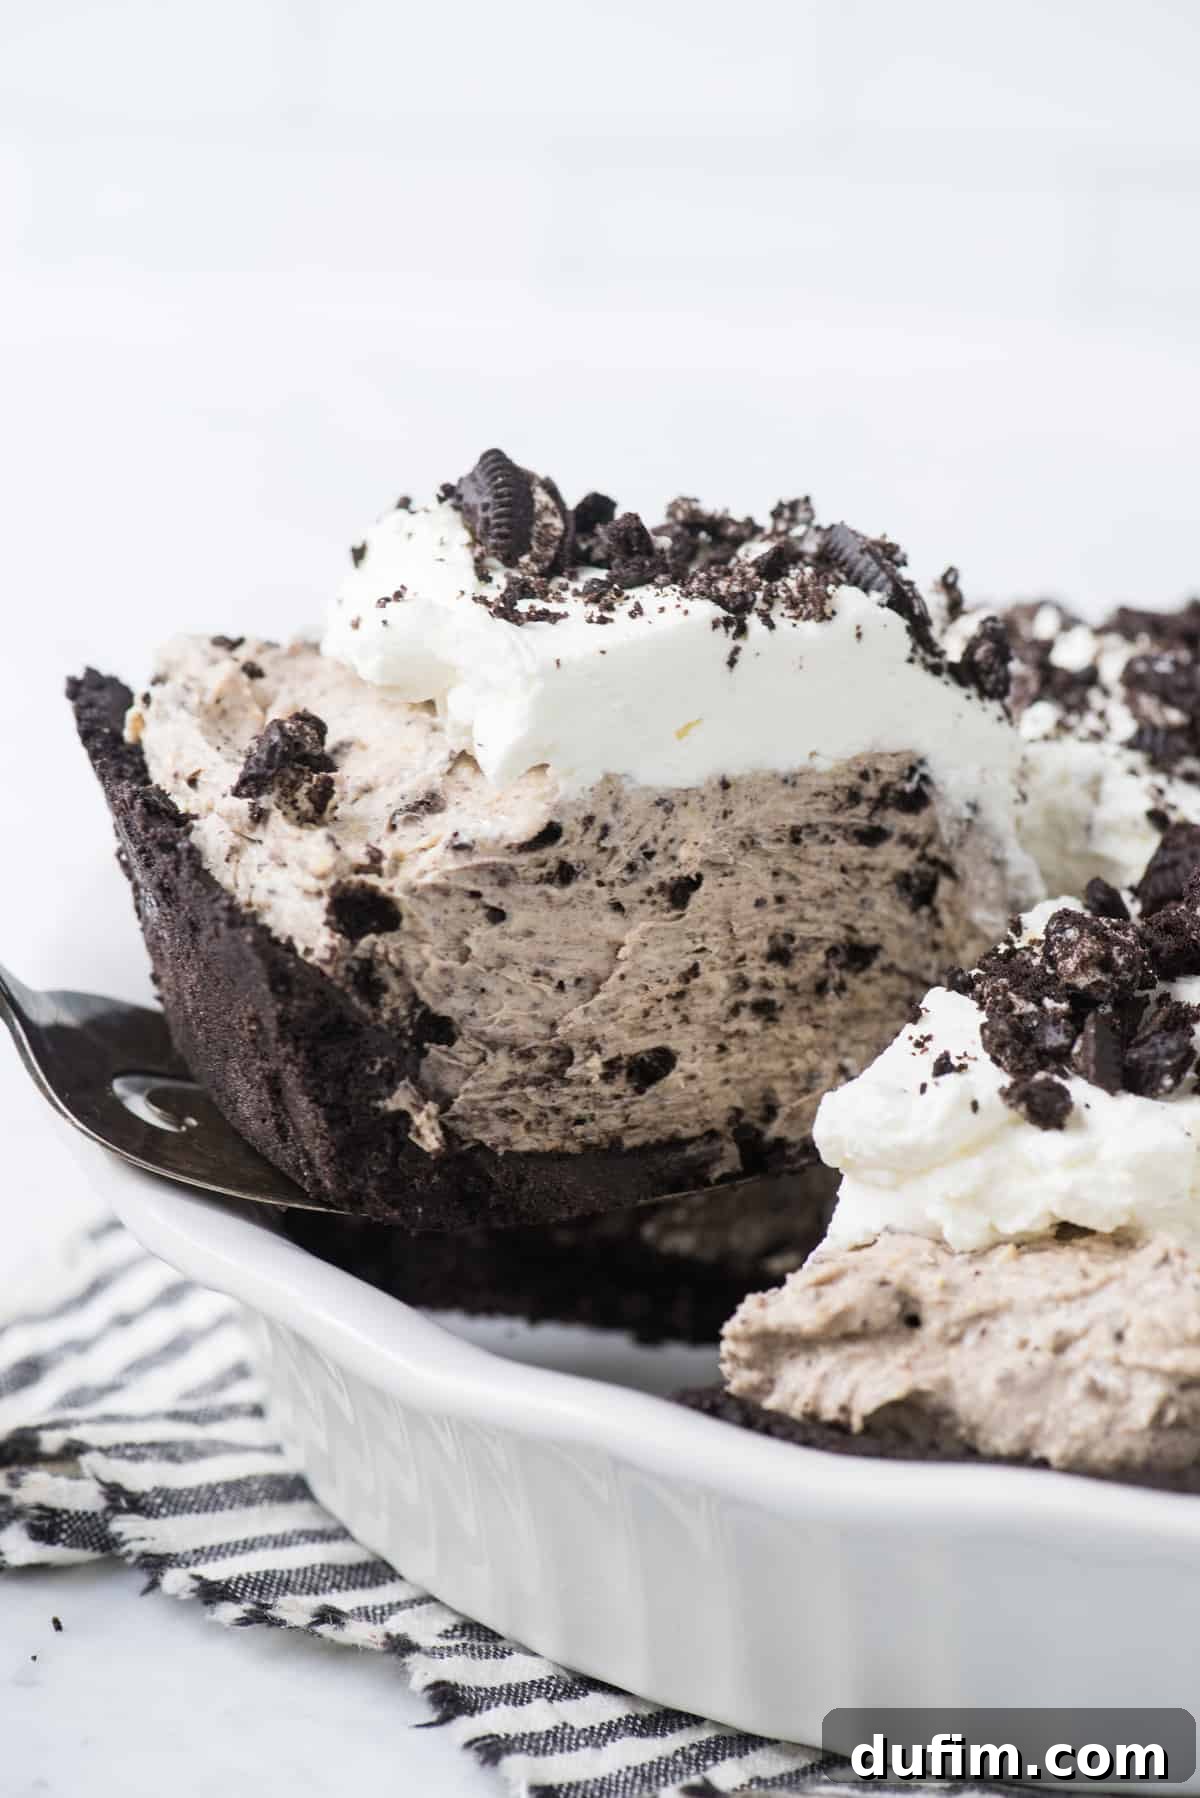
Why This Oreo Pudding Pie Will Be Your New Favorite
- Effortlessly Simple: Requires only 8 basic ingredients you likely already have or can easily find.
- Lightning Fast Prep: Get this dessert ready for chilling in just 20 minutes of active preparation time.
- No-Bake Brilliance: Keep your kitchen cool! This is a perfect dessert for warm weather or busy holidays.
- Irresistibly Thick & Fluffy: Enjoy a luxurious, stable filling with a dreamy, mousse-like consistency.
- Customizable Crust: Versatility is key – use a homemade Oreo crust, a store-bought Oreo crust, or even a classic graham cracker crust.
- Crowd-Pleaser: The classic combination of chocolate and cream in a simple, elegant format makes it a hit with all ages.
Essential Ingredients You’ll Need
Simplicity is at the heart of this recipe. Below are the core ingredients required to create this divine no-bake Oreo pudding pie. For precise measurements and step-by-step instructions, please scroll down to the full recipe card.
- Instant vanilla pudding mix (ensure it’s instant, not cook-and-serve)
- Rich heavy cream (the secret to our pie’s incredible texture)
- Cool Whip (or a homemade whipped cream alternative)
- Oreo cookies (the star of the show, for both crust and filling)
- Melted butter (to bind the perfect crust)
Crafting Your Irresistible Oreo Pudding Pie: A Step-by-Step Guide
Layer #1: The Perfect Oreo Crust
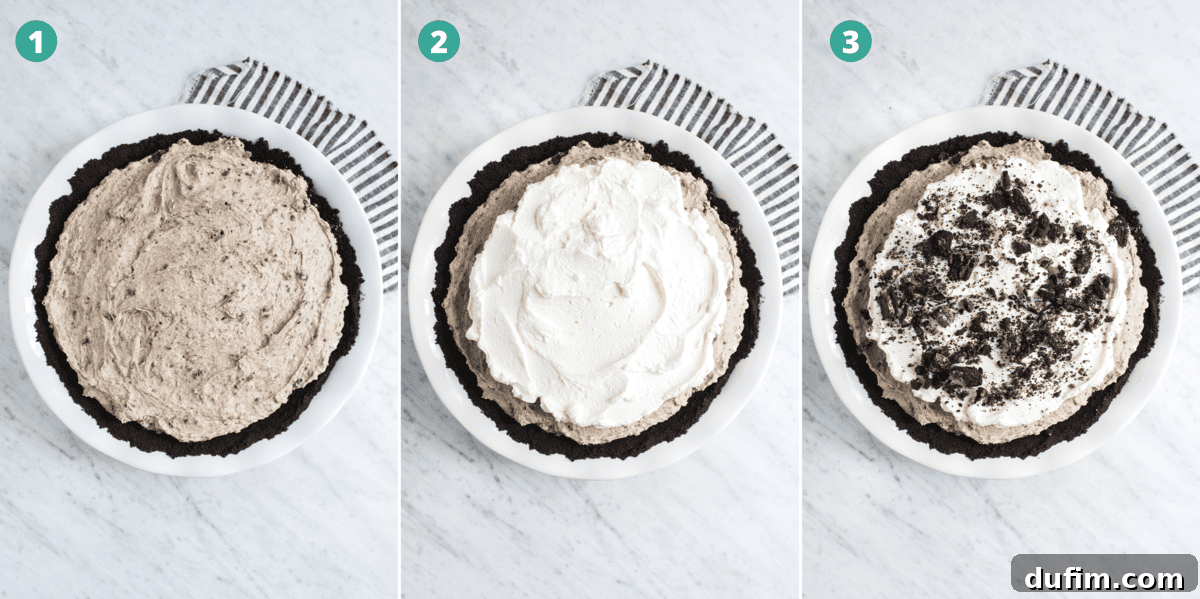
Creating the foundation for your pie begins with a perfectly crunchy, chocolatey Oreo crust. In a blender or food processor, pulse your whole Oreos (yes, both the cookie and the cream filling!) until they are finely ground into uniform crumbs. This ensures a smooth, cohesive crust. Once finely crushed, transfer the crumbs to a bowl and combine them thoroughly with melted butter. The butter acts as a binder, holding the crumbs together. Press this mixture firmly and evenly into your chosen pie pan. Using the flat bottom of a measuring cup or glass is excellent for compacting the crust, creating a solid base that won’t crumble when sliced. Chill the crust in the refrigerator while you prepare the filling.
Layer #2: The Dreamy Pudding Filling
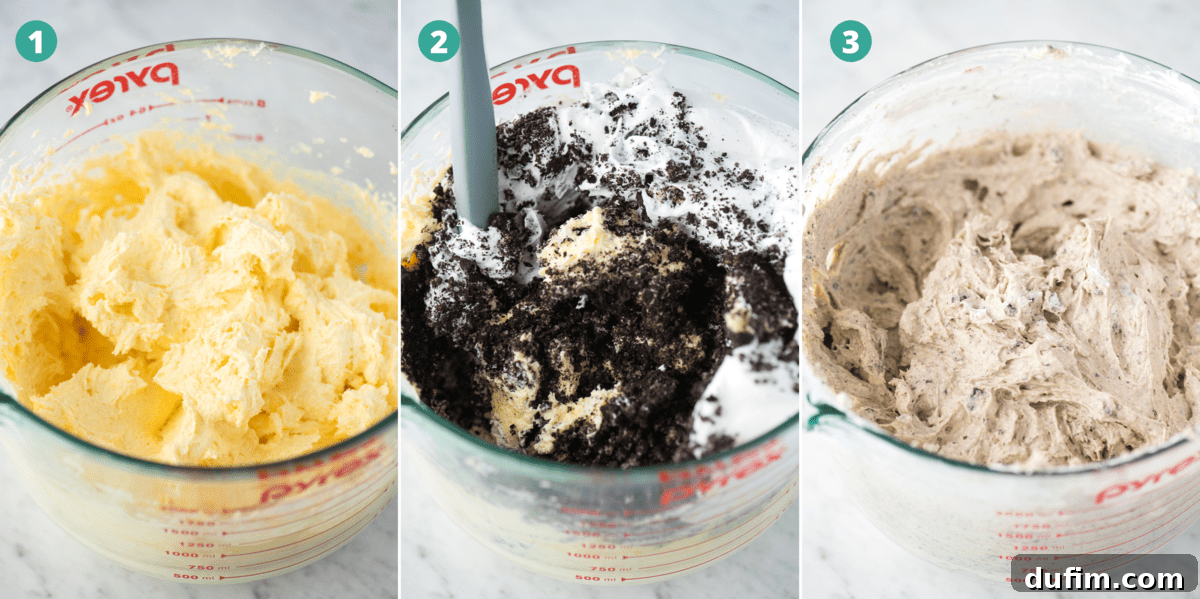
Now for the star of the show – the rich, thick filling. In a large mixing bowl or, ideally, a stand mixer fitted with a whisk attachment, combine the instant vanilla pudding mix with the heavy cream. It’s crucial here to *not* follow the instructions on the pudding box; we’re using the heavy cream to achieve a much thicker, richer consistency than milk would provide. Beat these two ingredients together until the mixture becomes incredibly thick and stable. This might take a few minutes, and a stand mixer will make this process effortless. The heavy cream reacting with the instant pudding powder creates a luxurious, dense custard base.
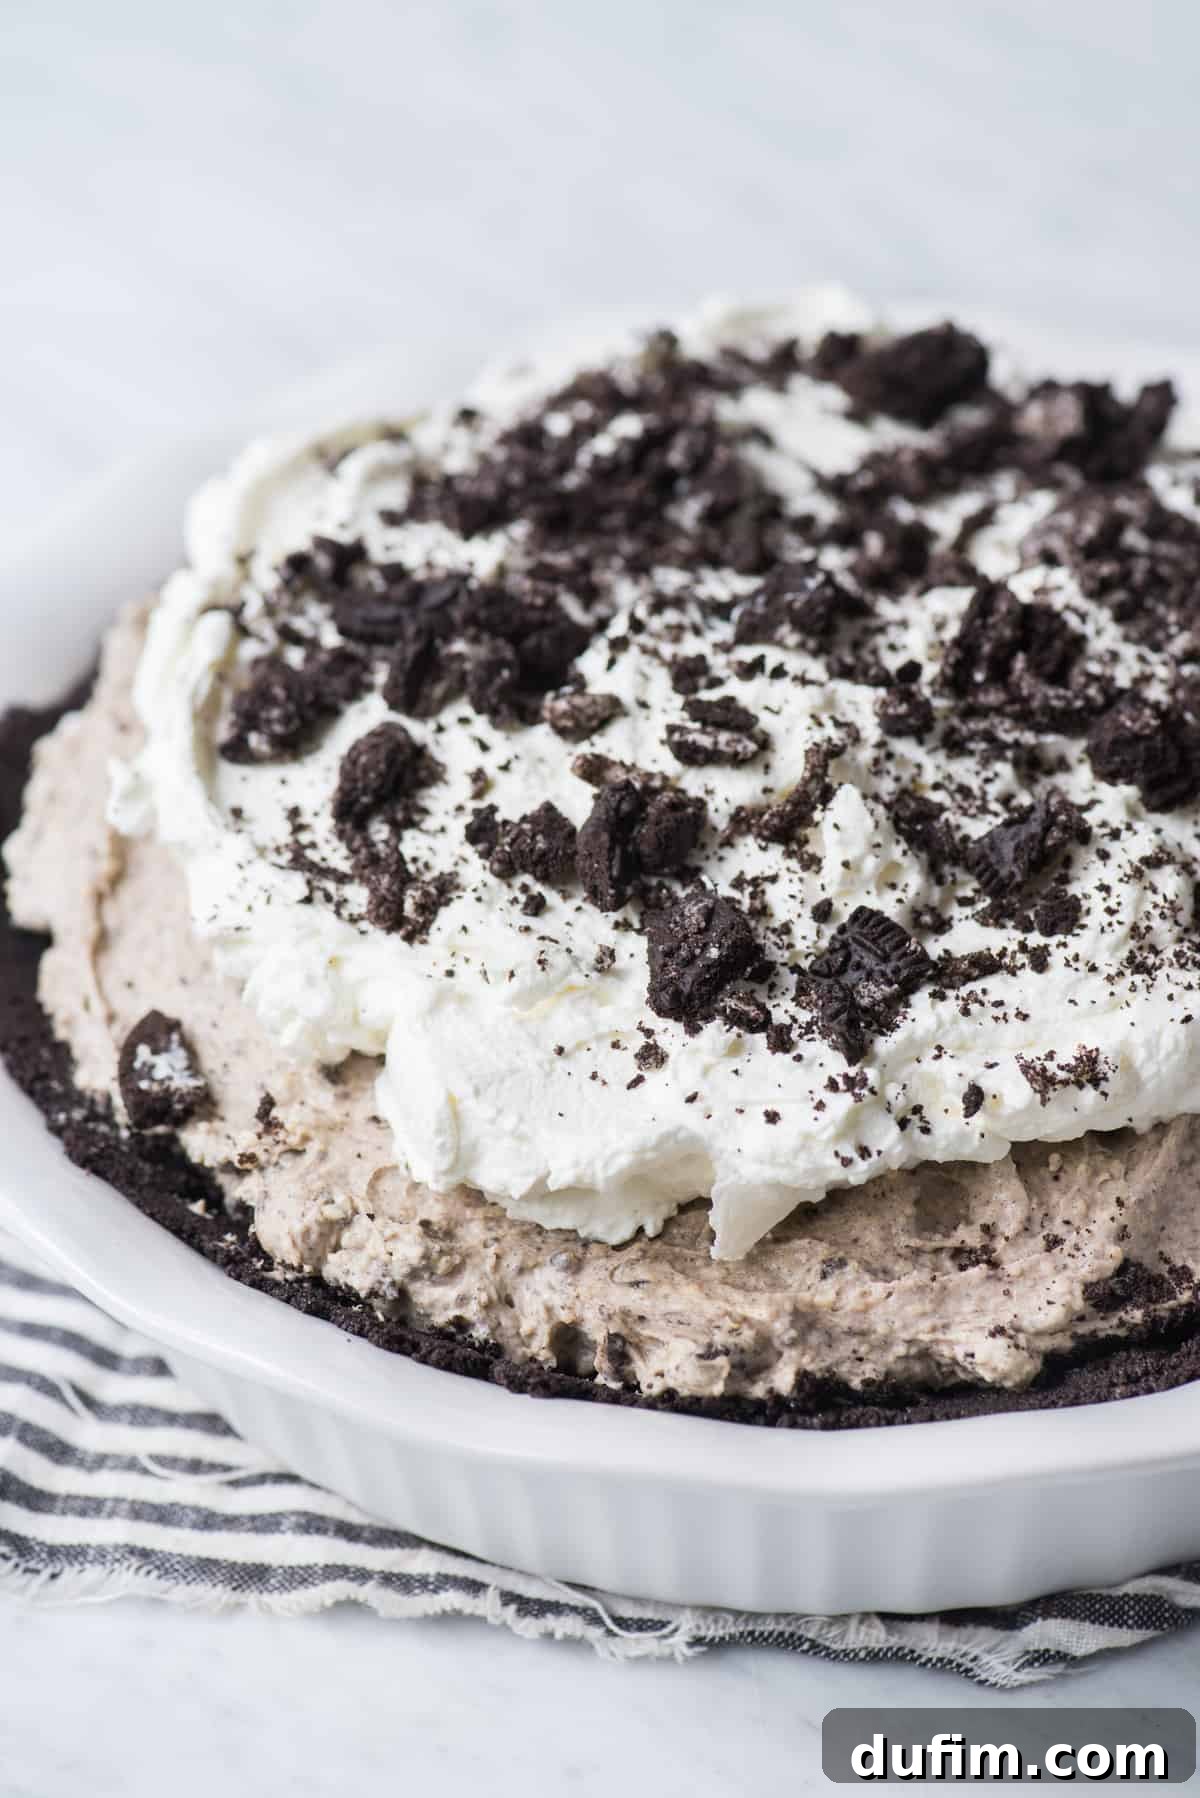
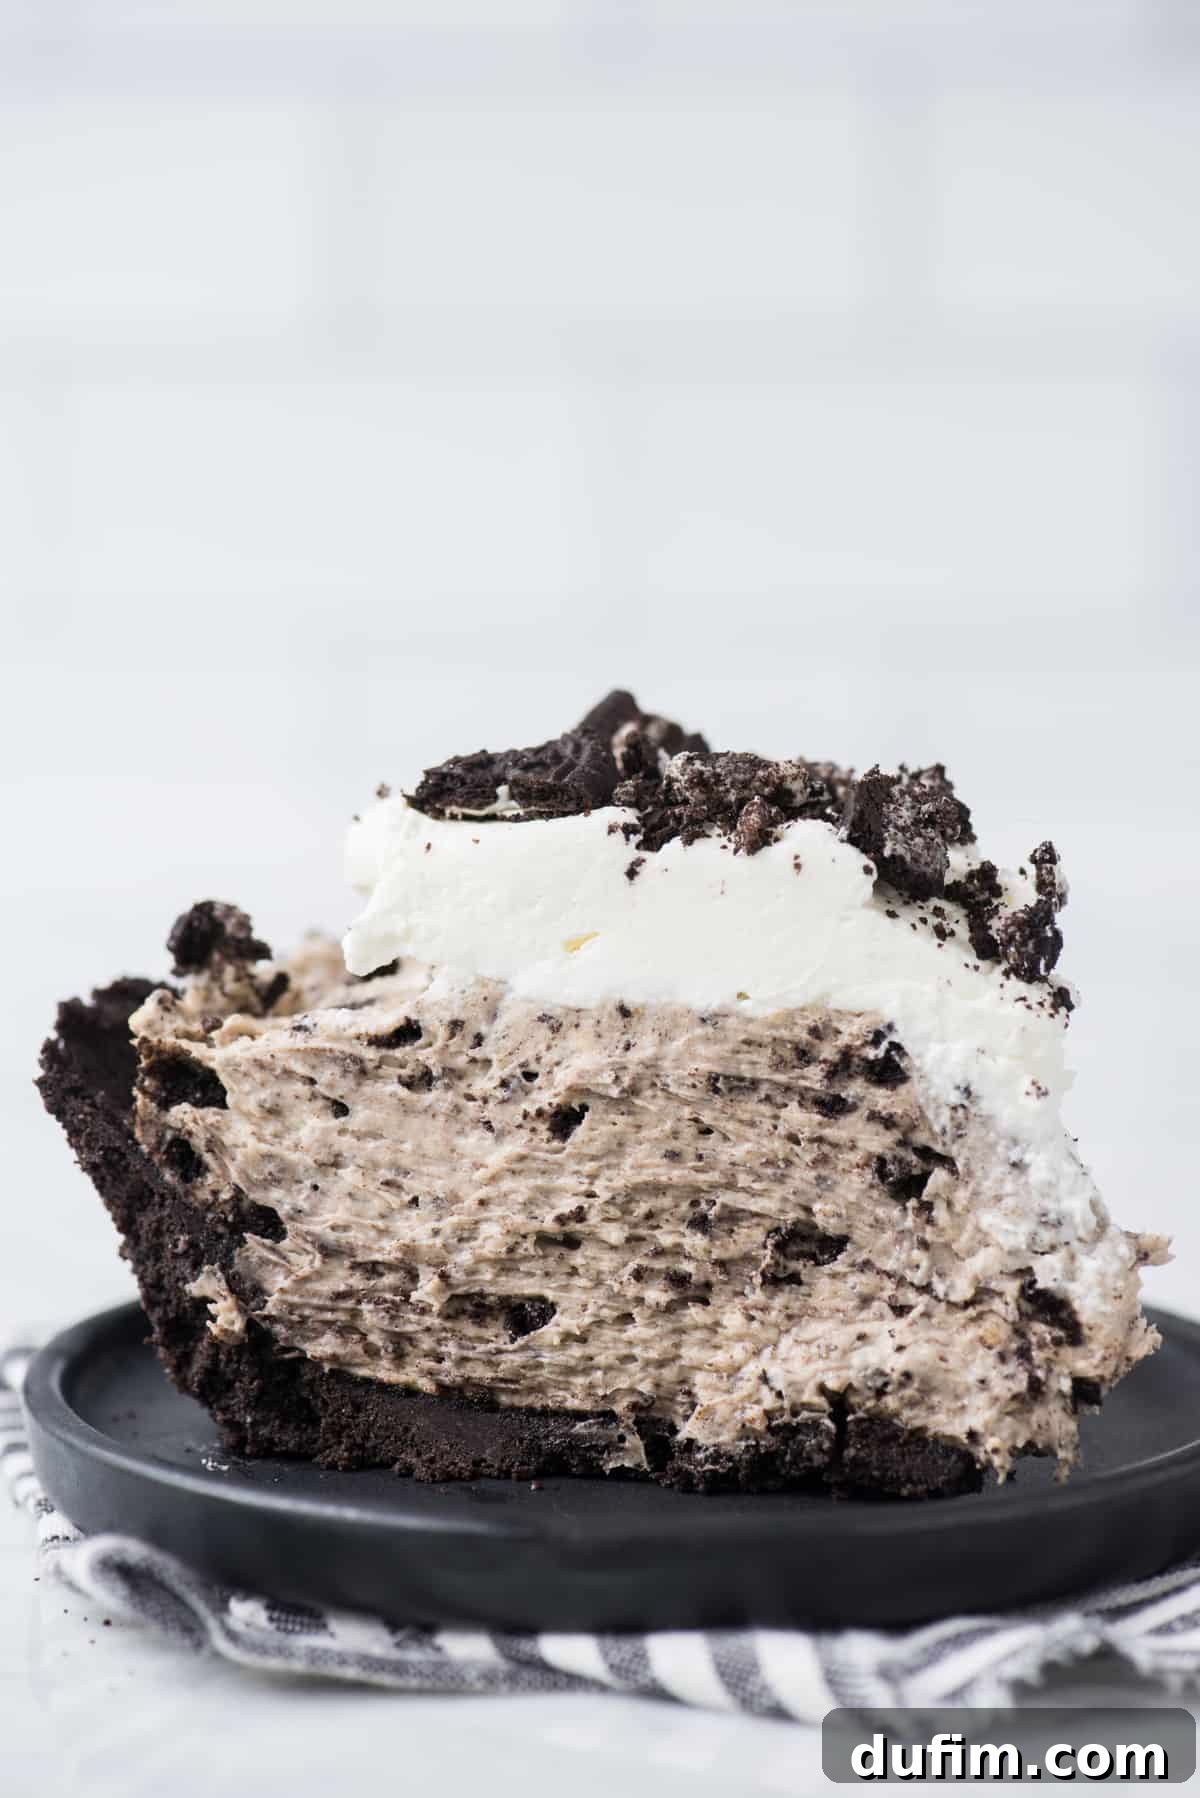
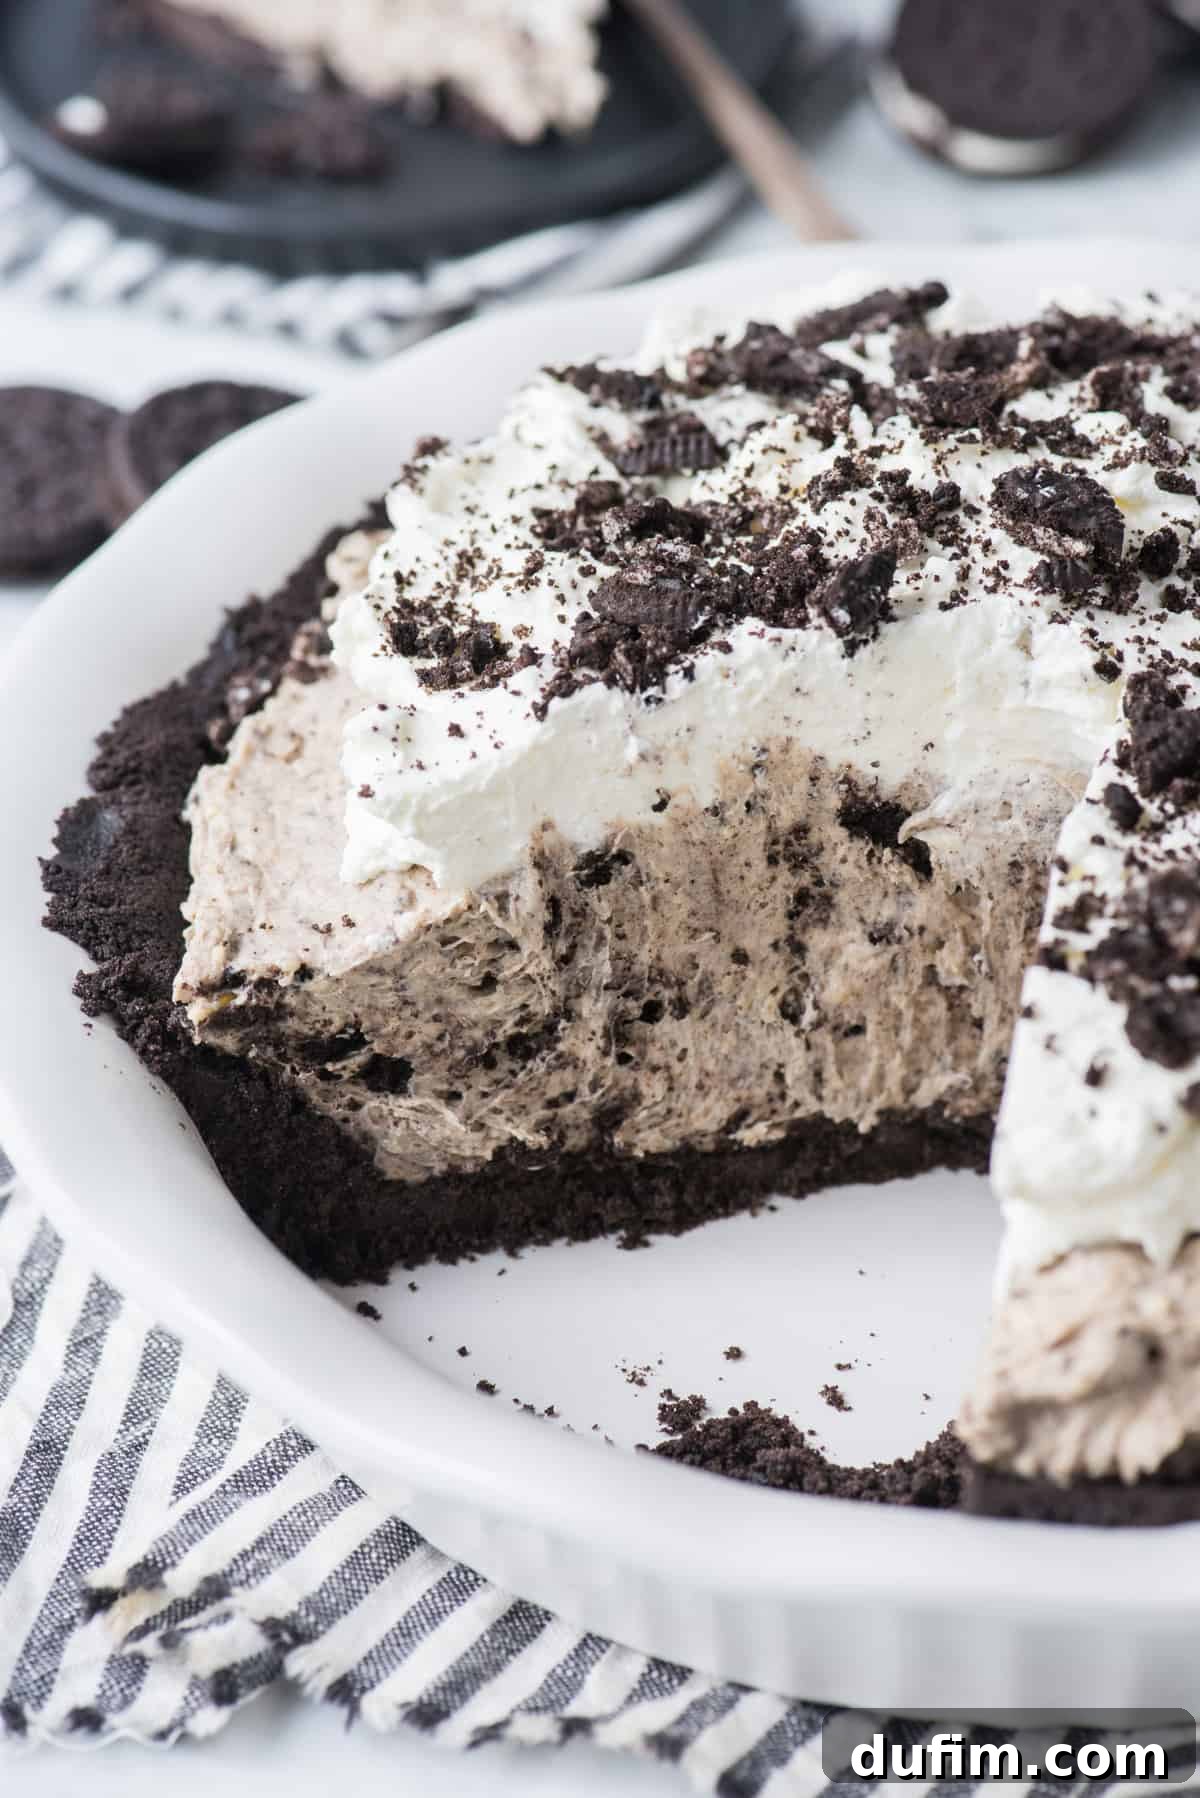
Once your pudding base is thick, gently fold in the thawed Cool Whip and your chopped Oreo pieces. The Cool Whip lightens the mixture, transforming it into a wonderfully creamy, fluffy, and airy mousse. The chopped Oreos add delightful pockets of chocolatey crunch throughout the smooth filling. Carefully spread this irresistible filling over your chilled Oreo crust, ensuring an even layer. Cover the pie loosely with plastic wrap and refrigerate for a minimum of 4-8 hours. This chilling time is essential for the pie to set completely and achieve its perfect, sliceable texture.
Layer #3: The Light & Airy Whipped Cream Topping
To crown your masterpiece, prepare a fresh batch of homemade whipped cream. For the best results, chill your mixing bowl (preferably metal or glass) and beaters in the freezer for about 15 minutes before you begin. This helps the heavy cream whip up faster and hold its volume better. Once chilled, combine cold heavy whipping cream, powdered sugar, and a touch of vanilla extract in the bowl. Beat with an electric mixer until stiff peaks form and the cream is light, airy, and holds its shape beautifully. Spoon this luscious topping generously over your thoroughly chilled pie, then sprinkle with extra crushed Oreos for an appealing finish and an extra burst of flavor and texture. Your stunning Oreo pudding pie is now ready to be served and enjoyed!
Storing Your No-Bake Oreo Pie
This delightful Oreo pudding pie requires refrigeration to maintain its creamy texture and freshness. Always cover the pie tightly with plastic wrap to prevent it from absorbing refrigerator odors and to keep it from drying out. Stored properly, it will remain delicious for 3-4 days. For a refreshing twist, you can even freeze individual slices or the whole pie for a delightful frozen dessert! Just ensure it’s well-wrapped to avoid freezer burn.
Looking for more no-bake wonders to serve alongside your Oreo Pudding Pie? Explore these equally effortless and delicious recipes:
- Classic No-Bake Peanut Butter Pie
- Rich & Creamy Chocolate Pudding Pie
- Decadent Peanut Butter Cup Chocolate Pie
Estimated Time Required
- Oreo Crust Preparation: Approximately 3 minutes
- Pudding Filling Preparation: Approximately 5 minutes
- Whipped Cream Topping Preparation: Approximately 5 minutes
- Essential Chilling Time: 4-8 hours (or overnight for best results)
Making Your Oreo Pie Gluten-Free
Adapting this delicious pudding pie to be gluten-free is incredibly straightforward. The simplest modification is to use gluten-free Oreo cookies for the crust and for any chopped pieces added to the filling and topping. Many brands now offer excellent gluten-free versions that taste remarkably similar to the original. All other ingredients in this recipe – instant vanilla pudding mix, heavy cream, Cool Whip, butter, powdered sugar, and vanilla extract – are typically naturally gluten-free. Always double-check ingredient labels to confirm, especially for the pudding mix, but with this easy swap, everyone can enjoy a slice of this delightful dessert!
Can I Substitute Cool Whip with Homemade Whipped Cream?
Absolutely! While Cool Whip offers convenience and stability, you can certainly substitute it with homemade whipped cream for an even fresher, richer flavor. For this recipe, you’ll need approximately 8 ounces of Cool Whip, which is roughly equivalent to 3 cups of homemade whipped cream. Simply whip 1 ½ cups of cold heavy cream with 3-4 tablespoons of powdered sugar and ½ teaspoon of vanilla extract until soft peaks form, then gently fold it into your pudding mixture as directed. For a detailed guide on making perfect homemade whipped cream, check out our homemade whipped cream recipe.
Expert Pro Tips for Your Best Oreo Pudding Pie
- Mastering the Thick Filling: As noted, the pudding filling will be exceptionally thick when mixing the pudding powder and heavy cream. Don’t be alarmed; this is exactly what we want for a stable, mousse-like pie. A powerful stand mixer or a sturdy hand mixer is highly recommended for this step.
- Precision Slicing: For clean, neat slices, use a sharp, thin knife. After each cut, wipe the knife clean with a warm, damp cloth to prevent the filling from sticking and making subsequent slices messy.
- Pudding Mix Quantity Matters: Ensure you’re using two standard-sized boxes of instant pudding mix (typically 3.4 oz or 3.9 oz each). Avoid the larger “family size” boxes (5.1 oz or 5.9 oz) unless you adjust the heavy cream quantity accordingly, as this could throw off the texture.
- Chilling is Key: Don’t rush the chilling process! The 4-8 hours in the refrigerator are crucial for the pie to fully set, making it firm enough to slice cleanly and enhancing its rich flavor profile. An overnight chill is always best.
- Temperature of Ingredients: For the filling, ensure your heavy cream is very cold. For the whipped cream topping, chilling the bowl and beaters truly makes a difference in achieving stiff peaks quickly.
- Presentation Perfection: Beyond crushed Oreos, consider drizzling a little chocolate syrup or adding a few mini chocolate chips to the top for extra flair.
- Vary Your Flavors: While vanilla pudding is classic, experiment with chocolate instant pudding for an extra rich chocolate experience, or even a cheesecake flavored pudding mix for a different twist!
More Delicious Recipes You’ll Love
- Best Cream Cheese Frosting
- Fluffy Corn Bread Muffins
- Easy Strawberry Lemonade Recipe
- Cozy Apple Cinnamon Muffins
- Pumpkin Cream Cheese Muffins
- Creamy Whipped Pumpkin Pie
- Delicious Pumpkin Muffins
- Classic Ambrosia Salad Recipe
- Comprehensive Muffin Recipe Collection
- Simple 3-Ingredient Peanut Butter Cookies
Average Rating: 4.53 out of 5 stars from 129 ratings
Oreo Pudding Pie
By: Beth
Prep Time: 20 minutes
Chilling Time: 8 hours
Servings: 10
This Oreo pudding pie is an easy no-bake dessert, perfect for any occasion! It boasts a thick, fluffy, and mousse-like texture with just 8 ingredients and 20 minutes of prep time.
Equipment
- Large Glass Mixing Bowl
- Electric Mixer (Stand or Handheld)
- 9 or 10-inch Glass Pie Plate
- Blender or Food Processor
Ingredients
For the Crust:
- 36 Oreos (approximately one 14.3 oz package)
- 7 Tbsp (98g) unsalted butter, melted
For the Filling:
- 2 boxes (3.4 oz each) instant vanilla pudding mix
- 3 cups (710ml) heavy whipping cream, cold
- 8 oz Cool Whip, thawed (or 3 cups homemade whipped cream)
- 2 cups (240g) chopped Oreos (about 18 Oreos), from a second 14.3 oz package
For the Topping:
- 1 cup (236ml) heavy whipping cream, very cold
- ¼ cup (28g) powdered sugar
- 1 tsp vanilla extract
- Extra crushed Oreos (for garnish)
Instructions
Crust:
- In a blender or food processor, pulse the Oreos (including the cream filling) until they are finely blended into crumbs.
- In a large bowl, combine the Oreo crumbs and the melted butter. Mix well until the crumbs are thoroughly moistened. Press this mixture evenly into a 9 or 10-inch pie pan. Use the bottom of a measuring cup or a flat object to firmly pack the crust down. Place the prepared crust in the refrigerator to chill while you prepare the filling.
Filling:
- In a stand mixer or a large mixing bowl with an electric mixer, combine the instant pudding mix and the cold heavy cream. Beat until the mixture is very thick and well blended. Remember, you are NOT preparing the pudding mix according to the box directions. The mixture will become extremely dense.
- Gently fold in the thawed Cool Whip and the chopped Oreos. Mix on low speed just until combined and the mixture becomes creamy and fluffy. Spread this luxurious filling evenly over the chilled Oreo crust. Cover the pie pan loosely with plastic wrap and refrigerate for 4-8 hours (or preferably overnight) to allow the pie to set completely.
Topping:
- Before serving the pie, prepare the homemade whipped cream. Place a metal or glass mixing bowl and your beaters in the freezer for about 15 minutes. This helps the cream whip up faster and maintain its texture.
- Remove the chilled bowl and beaters from the freezer. Add the very cold heavy whipping cream, powdered sugar, and vanilla extract. Beat with an electric mixer for 4-5 minutes, or until stiff peaks form and the cream is scoopable, holding its shape firmly.
- Spoon or pipe the freshly whipped cream onto the top of the chilled pie. Garnish generously with extra crushed Oreos for a beautiful finish and added crunch. Serve immediately and enjoy!
Recipe Notes
A standard 14.3 oz package of Oreos typically contains 36 cookies. As outlined in this recipe, you will use one entire package (36 Oreos) for the pie crust. For the filling, you’ll need approximately 2 cups of chopped Oreos, which translates to about 18 cookies from a second package. This leaves you with roughly 18 remaining Oreos from that second package, which are perfect for crushing and using as a decorative topping for your finished pie.
Nutrition Information (Approximate per Serving)
| Calories: | 816 kcal | Carbohydrates: | 66g |
|---|---|---|---|
| Protein: | 7g | Fat: | 58g |
| Saturated Fat: | 32g | Polyunsaturated Fat: | 4g |
| Monounsaturated Fat: | 19g | Trans Fat: | 1g |
| Cholesterol: | 152mg | Sodium: | 409mg |
| Potassium: | 265mg | Fiber: | 2g |
| Sugar: | 38g | Vitamin A: | 1651 IU |
| Vitamin C: | 1mg | Calcium: | 105mg |
| Iron: | 7mg |
All nutritional values provided are approximate and offered as a courtesy. Changes to ingredients and/or quantities will alter the estimated nutritional calculations.
Did you love this recipe? Please take a moment to rate it and leave a comment below!