
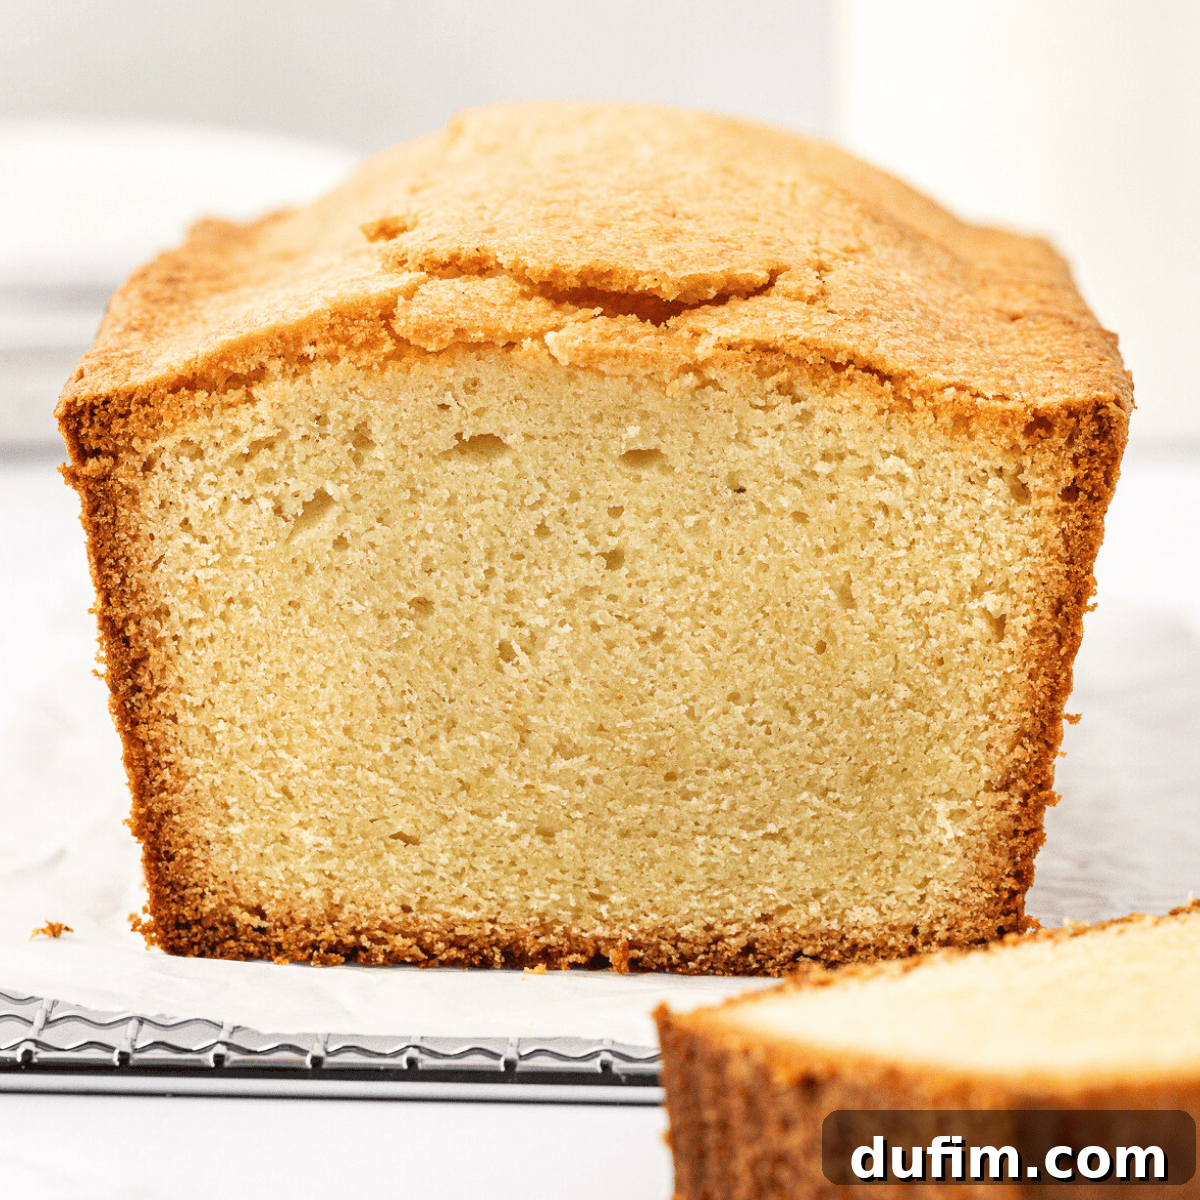
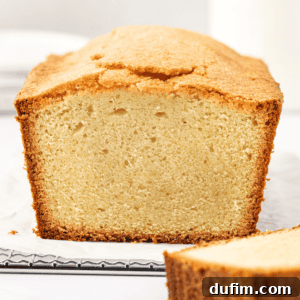
After countless hours and meticulous experiments in the kitchen, I’m thrilled to finally share my perfected classic pound cake recipe! This isn’t just any recipe; it’s a culmination of dedication, distilled into 10 incredibly easy-to-follow steps designed to ensure your success. Whether you’re a seasoned baker or taking your very first plunge into the world of baking, you can now create an absolutely amazing, moist pound cake with absolute confidence and zero guesswork.
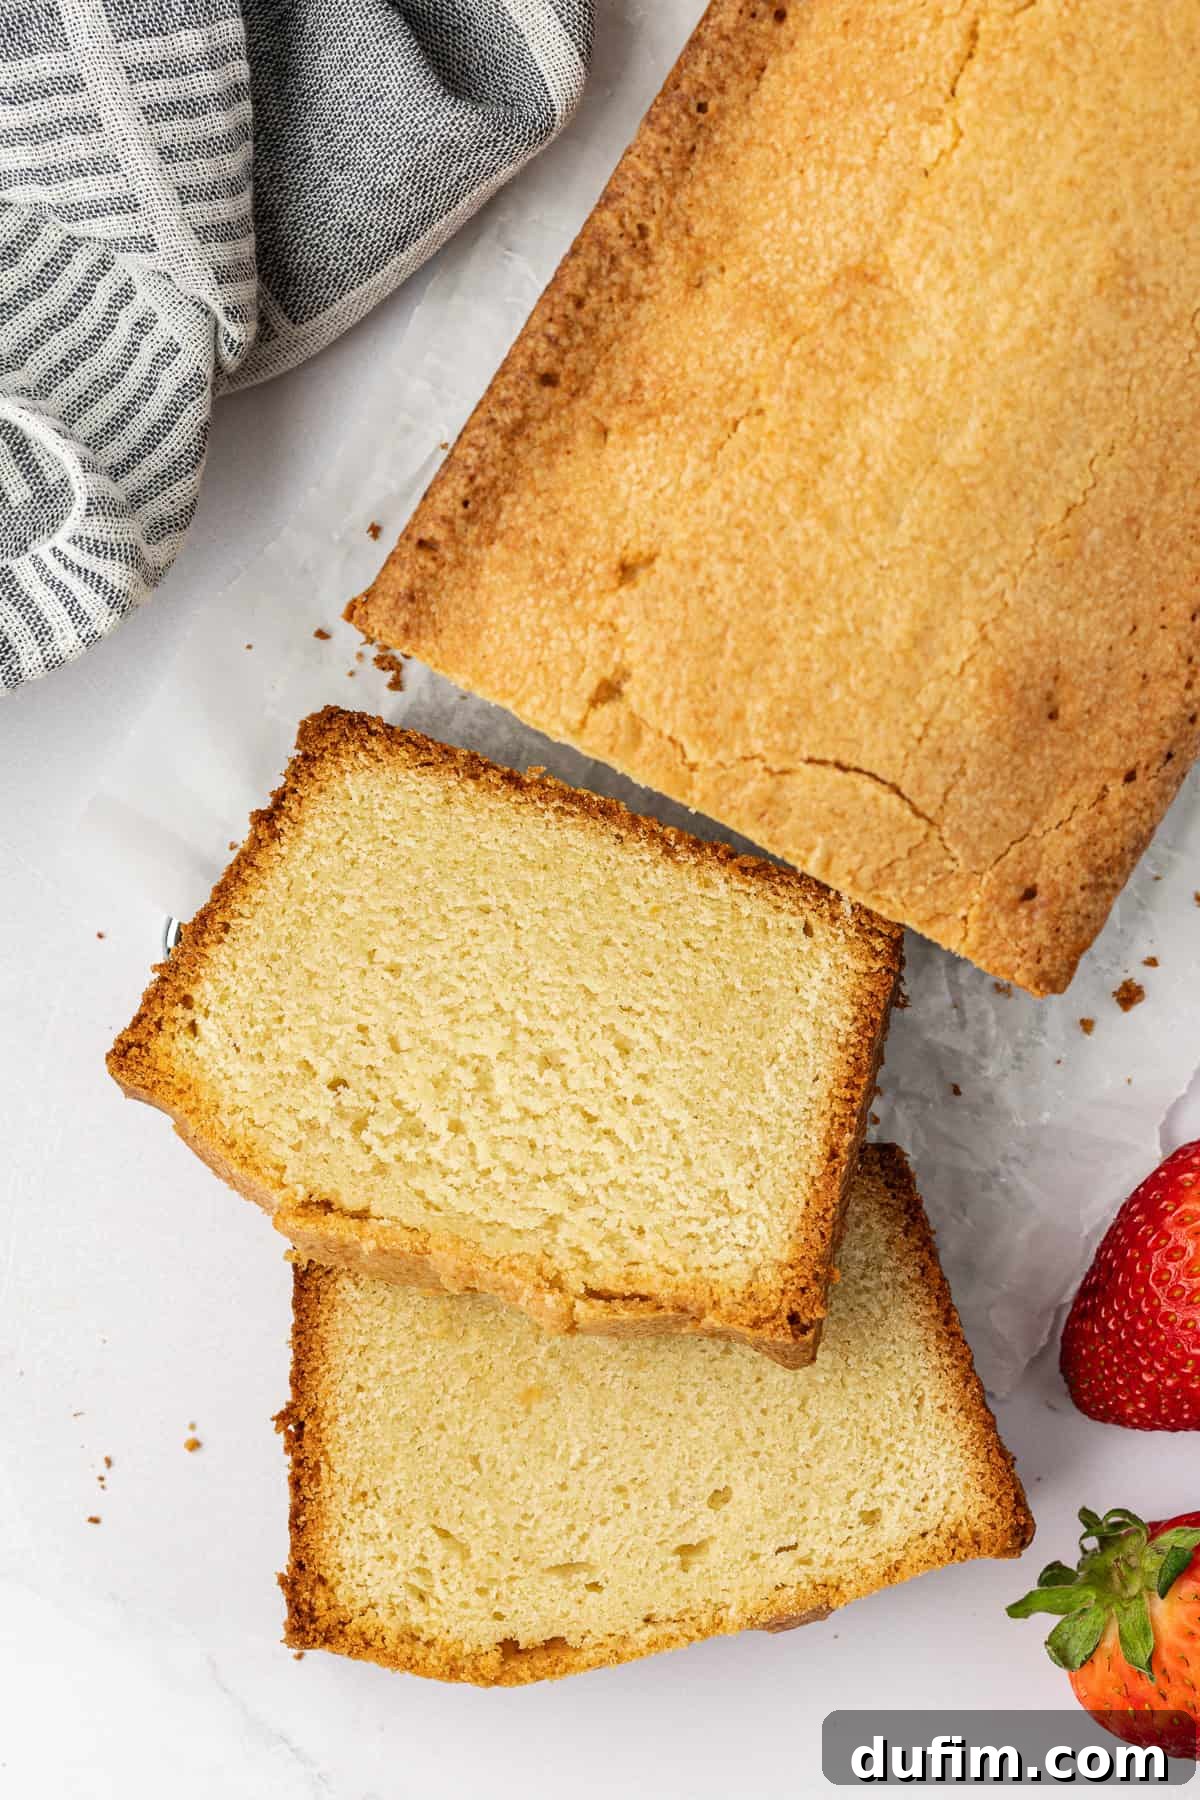
Just DELICIOUS!! My family loved it 🤩
-Laura
The Ultimate Classic Pound Cake Recipe
Consider me your trusted pound cake bestie, the friend you call when you want to master a new skill in the kitchen! This recipe for the ultimate classic pound cake is born from understanding and overcoming the most common baking challenges. Many aspiring bakers encounter issues like their pound cake turning out too dense, becoming excessively dry, or suffering from an unsightly cracked top. But worry no more! I’ve meticulously refined this recipe and gathered all my essential secrets and foolproof techniques below, ensuring you bypass these common pitfalls and achieve a perfectly moist, tender, and beautifully golden homemade pound cake every single time.
Why You’ll Adore This Easy Homemade Pound Cake Recipe
This isn’t just an easy pound cake recipe; it’s truly the best pound cake recipe you’ll ever make. Its simplicity, combined with guaranteed delicious results, makes it an instant favorite. Here are just a few compelling reasons why this particular classic pound cake will quickly become a cherished staple in your baking repertoire:
- Simple Pantry Staples: Crafted from just 8 fundamental ingredients you likely already have on hand, making impromptu baking sessions a breeze.
- Unmatched Texture and Moisture: Achieve a consistently moist, melt-in-your-mouth tender crumb with that characteristic dense, yet light, pound cake texture. Say goodbye to dry, crumbly cakes!
- Minimal Active Preparation: Enjoy the satisfaction of baking a beautiful dessert with only about 15 minutes of hands-on prep time.
- Endless Customization: A perfect canvas for your culinary creativity. Easily customize with an array of favorite toppings, from simple berries to luscious glazes.
- Perfect for Any Occasion: Elegant enough for special celebrations, yet comforting enough for a cozy family dessert. This is your go-to pound cake for every event.
- Foolproof Instructions: My detailed, step-by-step guide eliminates all guesswork, empowering even novice bakers to achieve professional-level results.
Essential Ingredients for Your Perfect Homemade Pound Cake
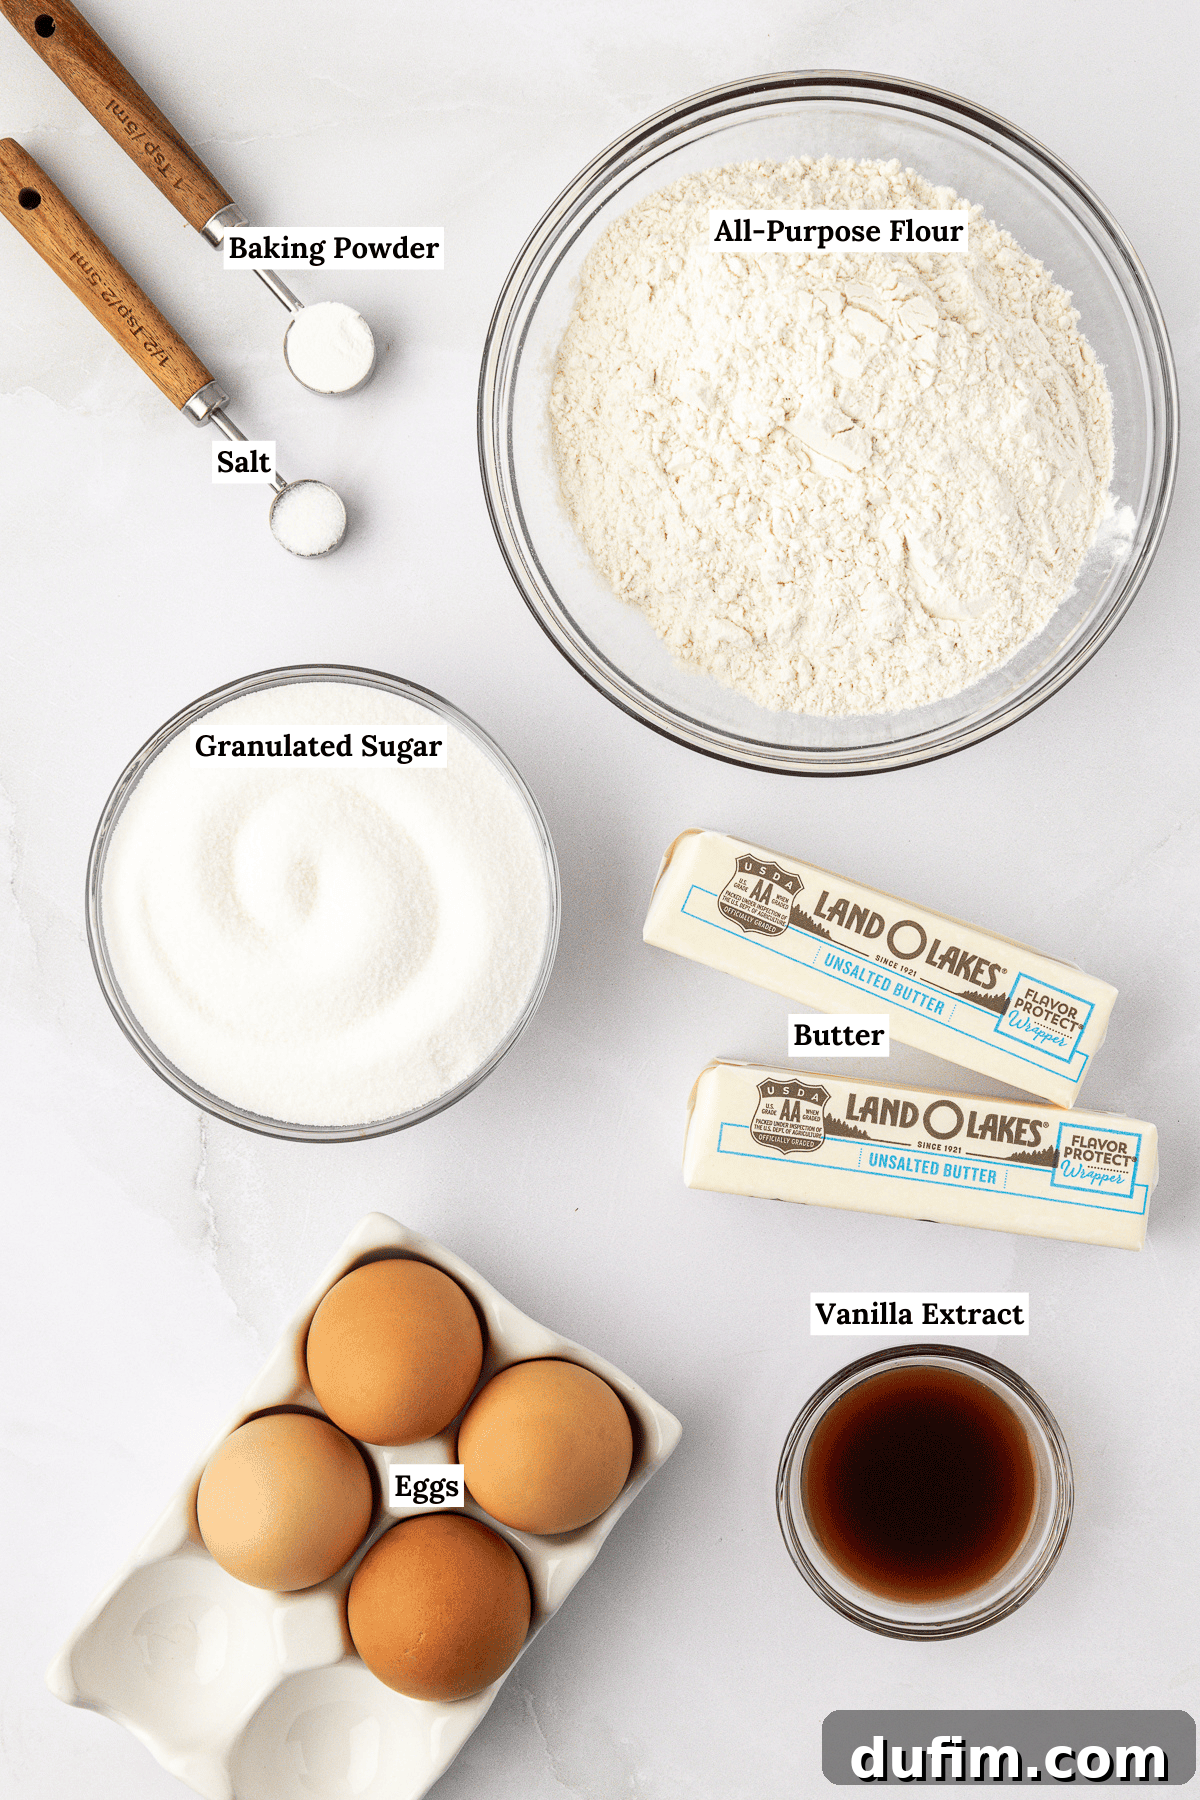
This classic pound cake recipe prides itself on using exceptionally simple, wholesome ingredients that are likely already nestled in your pantry and refrigerator. This delightful accessibility means you can whip up this divine dessert almost anytime a craving strikes – which, let’s be honest, could be a wonderfully “bad” thing! To truly master the art of this moist pound cake recipe, paying attention to the details of each ingredient is key. I’ll share my best tips throughout this guide, and you can find the complete, precise measurements in the recipe card at the bottom of this post. Here’s a closer look at what you’ll need:
- All-purpose flour: The structural backbone of our pound cake. Using good quality all-purpose flour ensures a tender yet sturdy crumb, vital for that classic pound cake density.
- Baking powder: A crucial leavening agent that helps lift the cake, preventing it from becoming overly dense and contributing to its desirable fine-crumbed texture.
- Salt: Don’t underestimate salt! It enhances all the other flavors, balancing the sweetness of the sugar and adding depth to the overall taste profile, making every bite more complex and satisfying.
- Unsalted butter: Room temperature. Using unsalted butter gives you complete control over the salt content in your baking. Ensure it’s truly at room temperature – soft enough to make an indentation with your finger, but not melted. This is vital for proper creaming with sugar, which incorporates air and creates a light, tender cake.
- Granulated sugar: Provides sweetness and, equally important, contributes to the moist texture by retaining moisture and creating a beautifully golden, slightly caramelized crust during baking.
- Eggs: Room temperature. Eggs add richness, moisture, and help bind the cake together, giving it structure. Like butter, room temperature eggs emulsify better with the fat, leading to a more uniform and lighter batter that bakes beautifully.
- Egg yolk: Room temperature. This extra yolk is my secret weapon for an exceptionally rich, tender, and moist pound cake. It adds a boost of fat and emulsifiers without extra liquid, significantly enhancing the cake’s flavor and ensuring it stays delightfully succulent.
- Vanilla extract: Essential for that classic, comforting vanilla pound cake flavor. Always opt for a good quality pure vanilla extract for the most authentic and aromatic results.
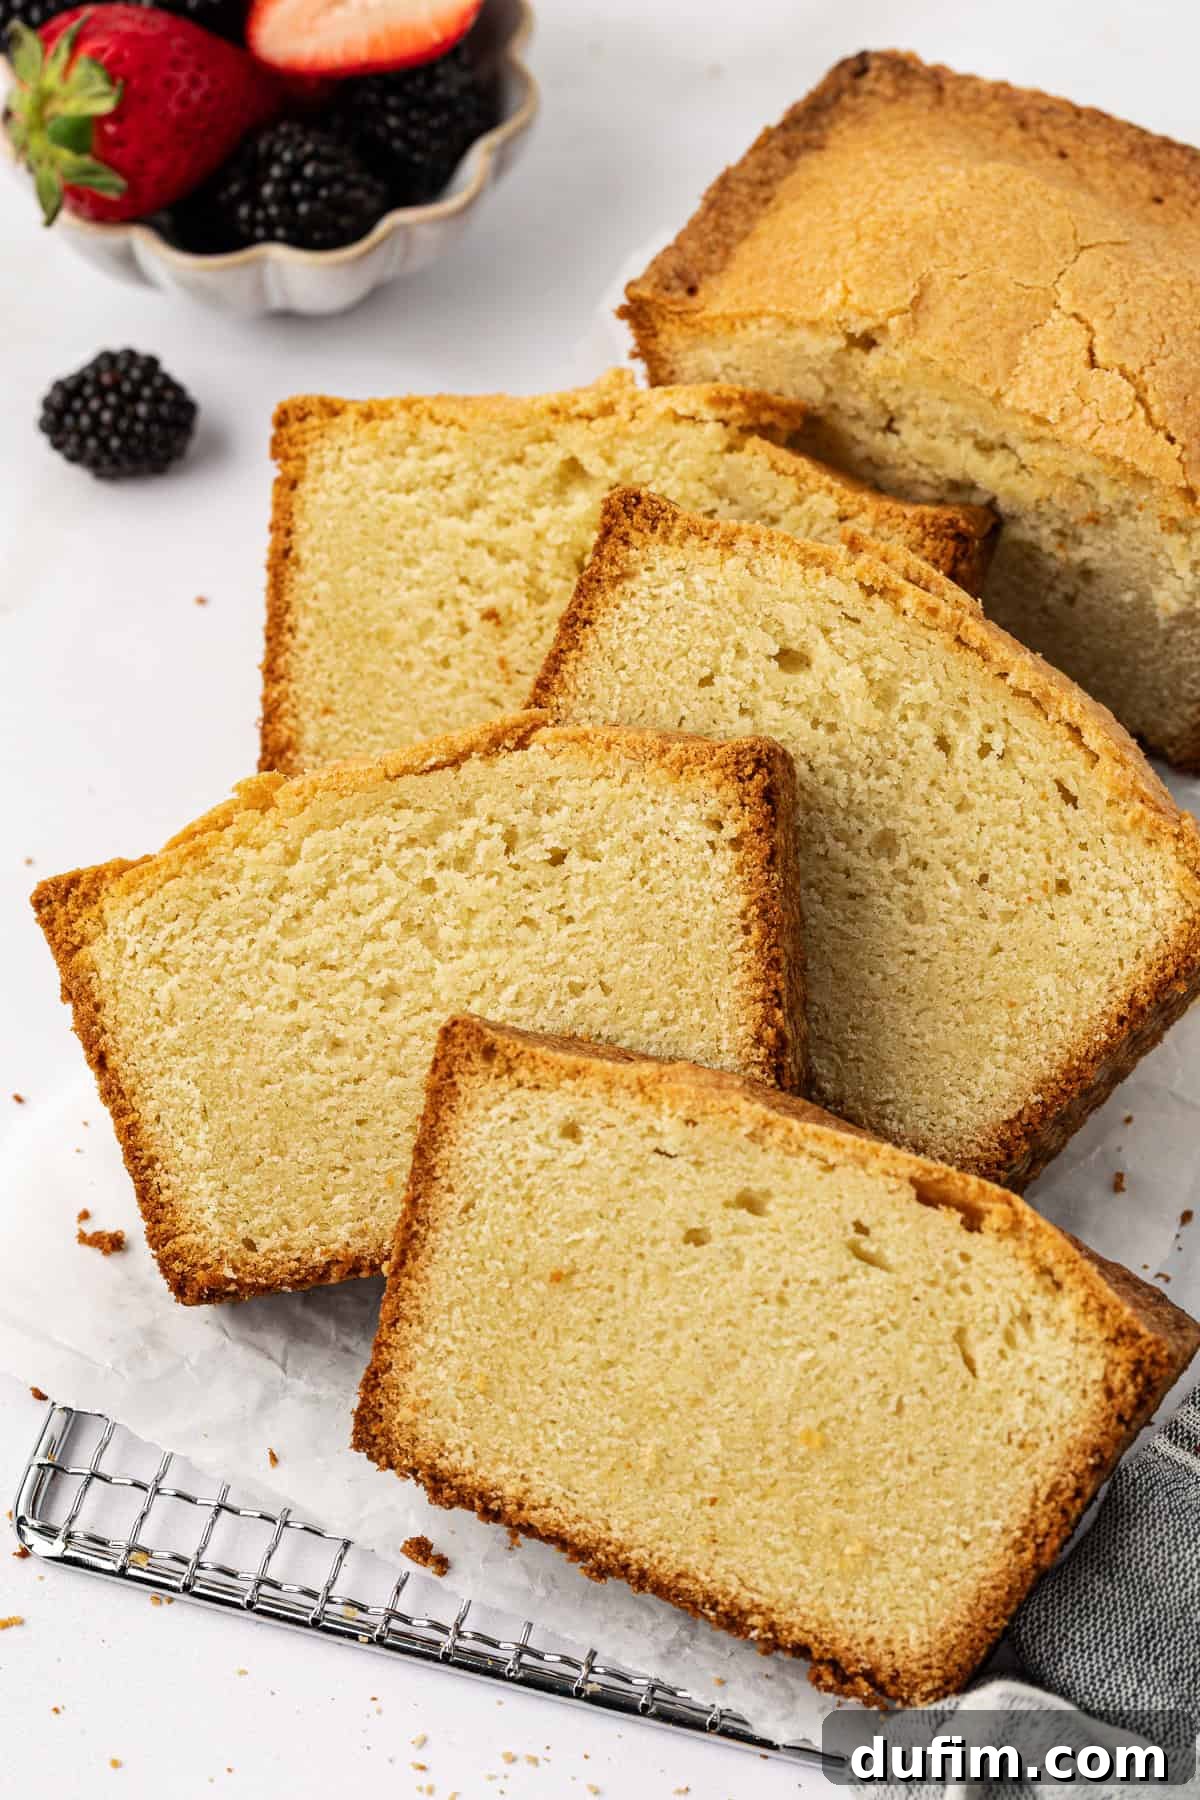
Step-by-Step Guide: How to Bake This Old-Fashioned Pound Cake Recipe
Baking a truly exceptional old-fashioned pound cake doesn’t have to be intimidating. My detailed, step-by-step guide is incredibly straightforward to follow, making the process enjoyable and stress-free. Beyond just the steps, I’m also revealing all my insider secrets and critical tips throughout this section to ensure your pound cake turns out flawlessly moist, tender, and with that signature golden crust. Keep reading and get ready to impress everyone with your baking prowess!
- Prepare Your Oven and Ingredients: First, preheat your oven to 350ºF (175ºC). This consistent temperature is crucial for an even bake, preventing the cake from cooking too quickly on the outside and staying raw inside. Equally important is ensuring your butter and eggs are at room temperature. This isn’t just a suggestion – it’s a vital step! Room temperature ingredients, particularly butter, cream much more effectively with sugar, creating tiny air pockets. These trapped air cells expand during baking, resulting in a lighter, more tender crumb in your finished pound cake. Cold ingredients can lead to a dense, tough cake that lacks the desired texture.
- Whisk Dry Ingredients: In a medium-sized mixing bowl, combine your all-purpose flour, baking powder, and salt. Whisk these ingredients thoroughly for about 30 seconds to ensure they are evenly distributed. This step prevents pockets of leavening or salt in your final cake, ensuring a uniform rise and consistent flavor throughout. Set this bowl aside for later.
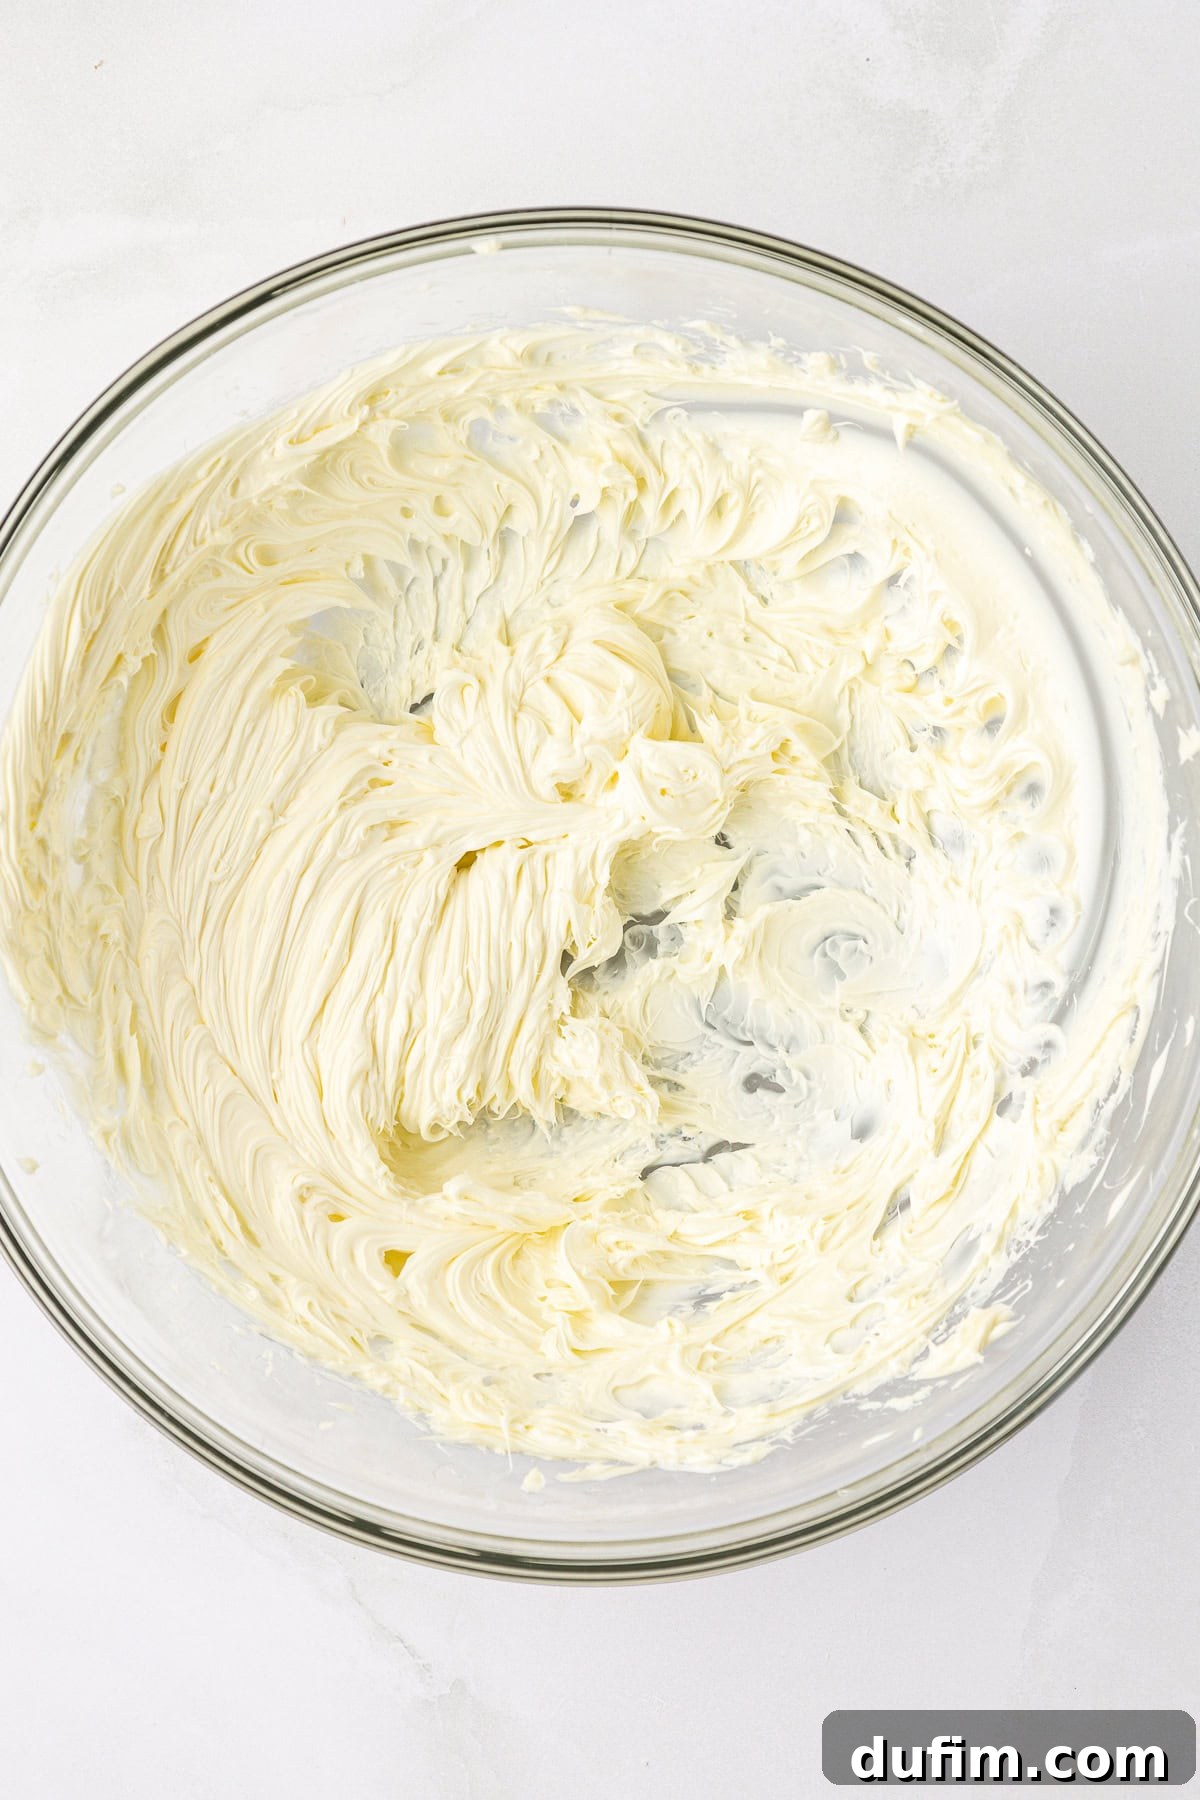
- Beat the Butter: In a large mixing bowl or the bowl of a stand mixer fitted with the paddle attachment, beat the room temperature unsalted butter on medium speed for a full minute. You’re looking for it to become visibly light in color and fluffy in texture, almost like soft whipped cream. This initial beating helps to aerate the butter, setting the stage for a tender cake by creating a foundation of air pockets.
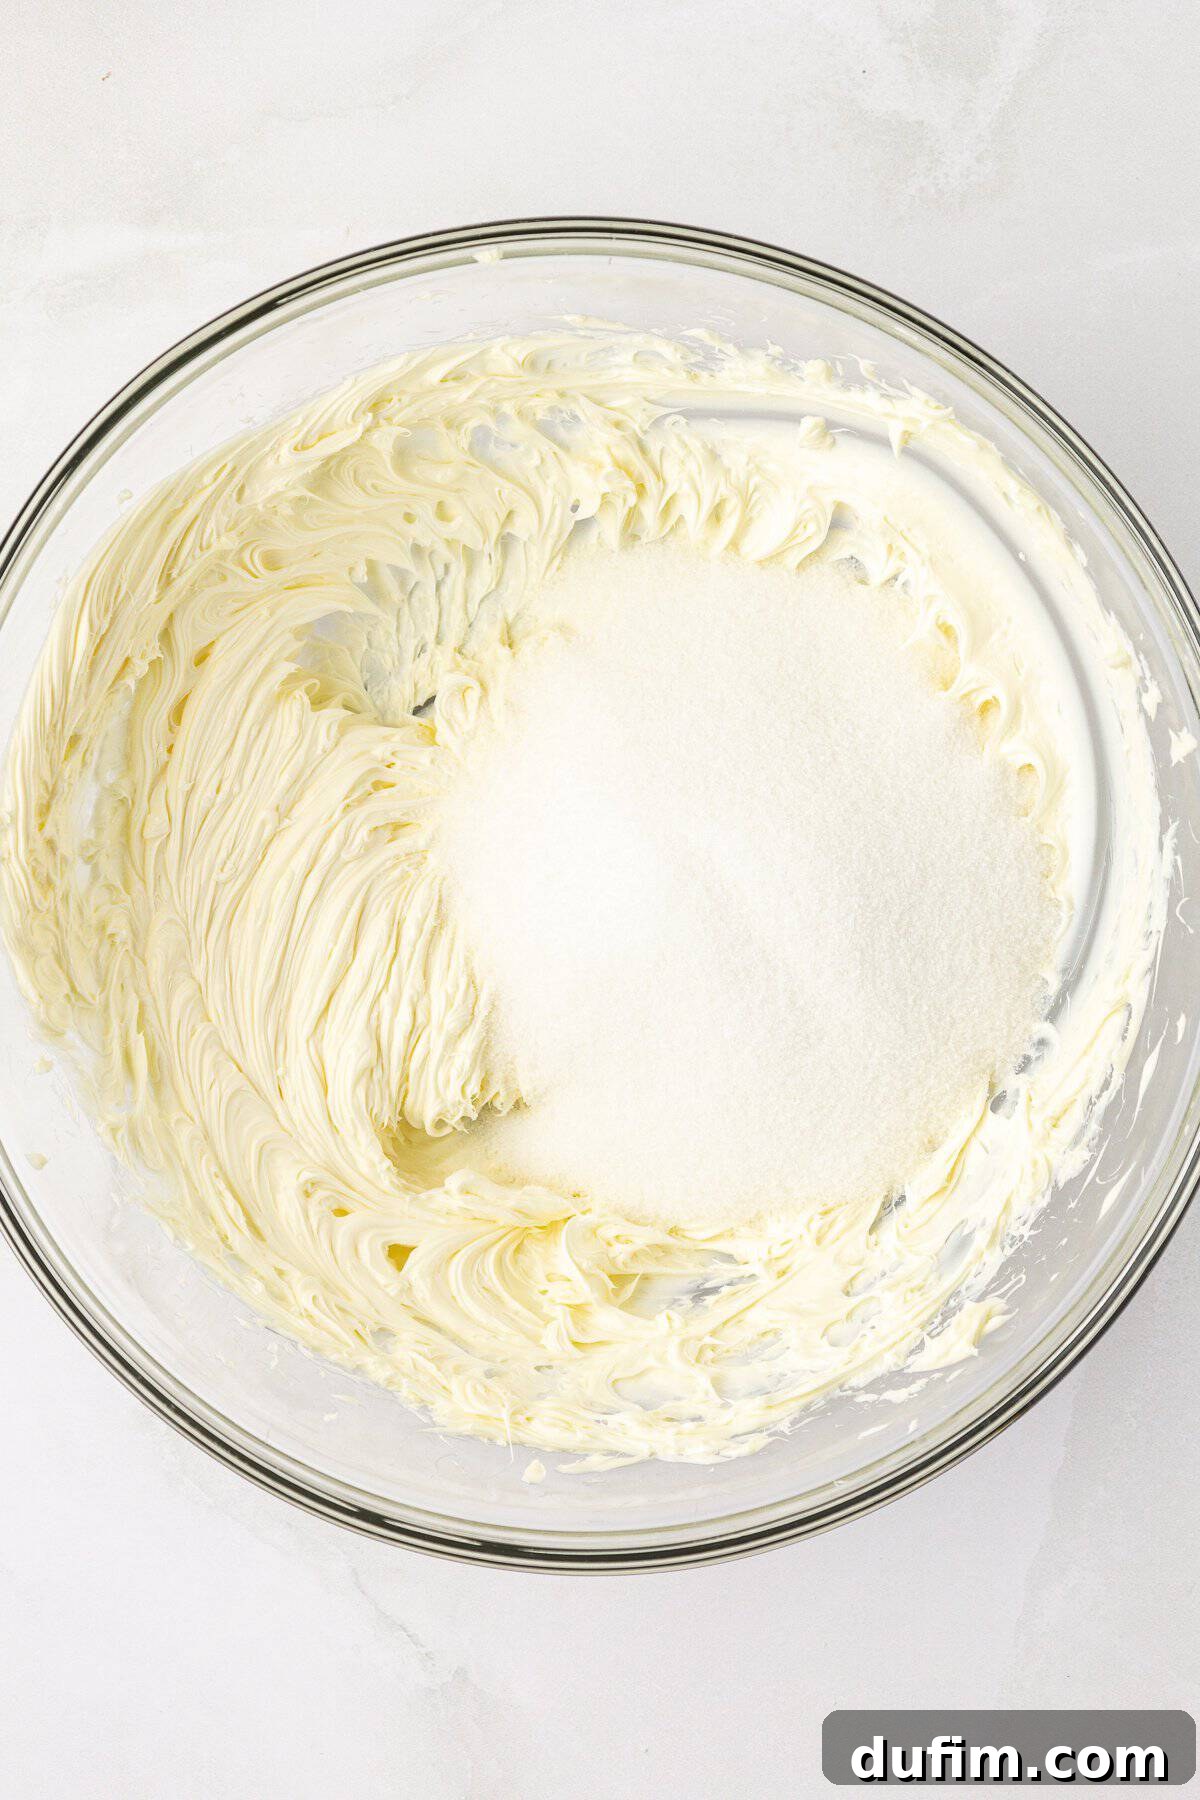
- Cream Butter and Sugar: Add the granulated sugar to the fluffy butter. Continue to beat on medium-high speed for 2-3 minutes, until the mixture is exceptionally light, pale, and very fluffy. This “creaming” process is absolutely non-negotiable for achieving the signature fine crumb and airy texture of a perfect pound cake. The sugar crystals cut through the butter, creating more air pockets, which contribute significantly to the cake’s lift and tenderness. Do not rush or skimp on this step – it’s where much of the cake’s lightness is built. Periodically scrape down the sides of the bowl with a spatula to ensure all ingredients are thoroughly combined and no pockets of uncreamed butter or sugar remain.
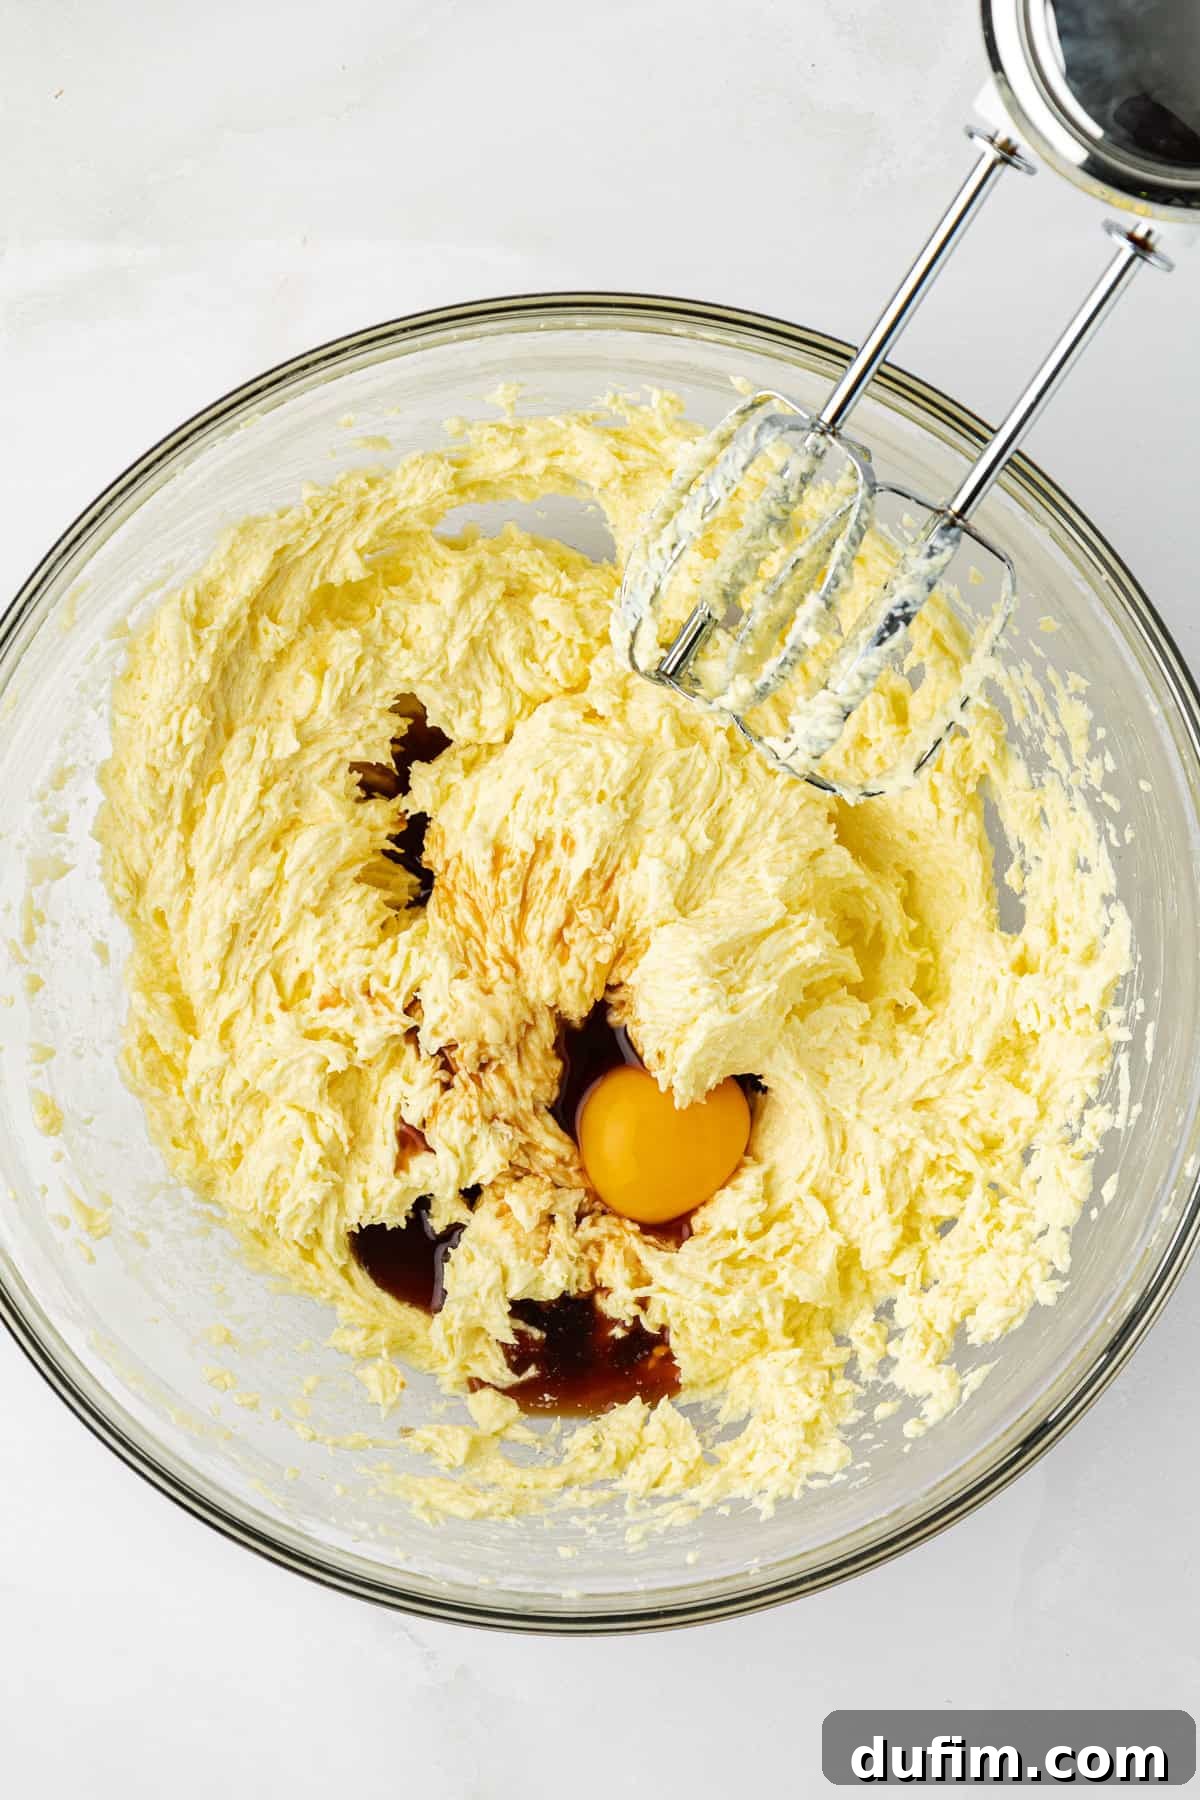
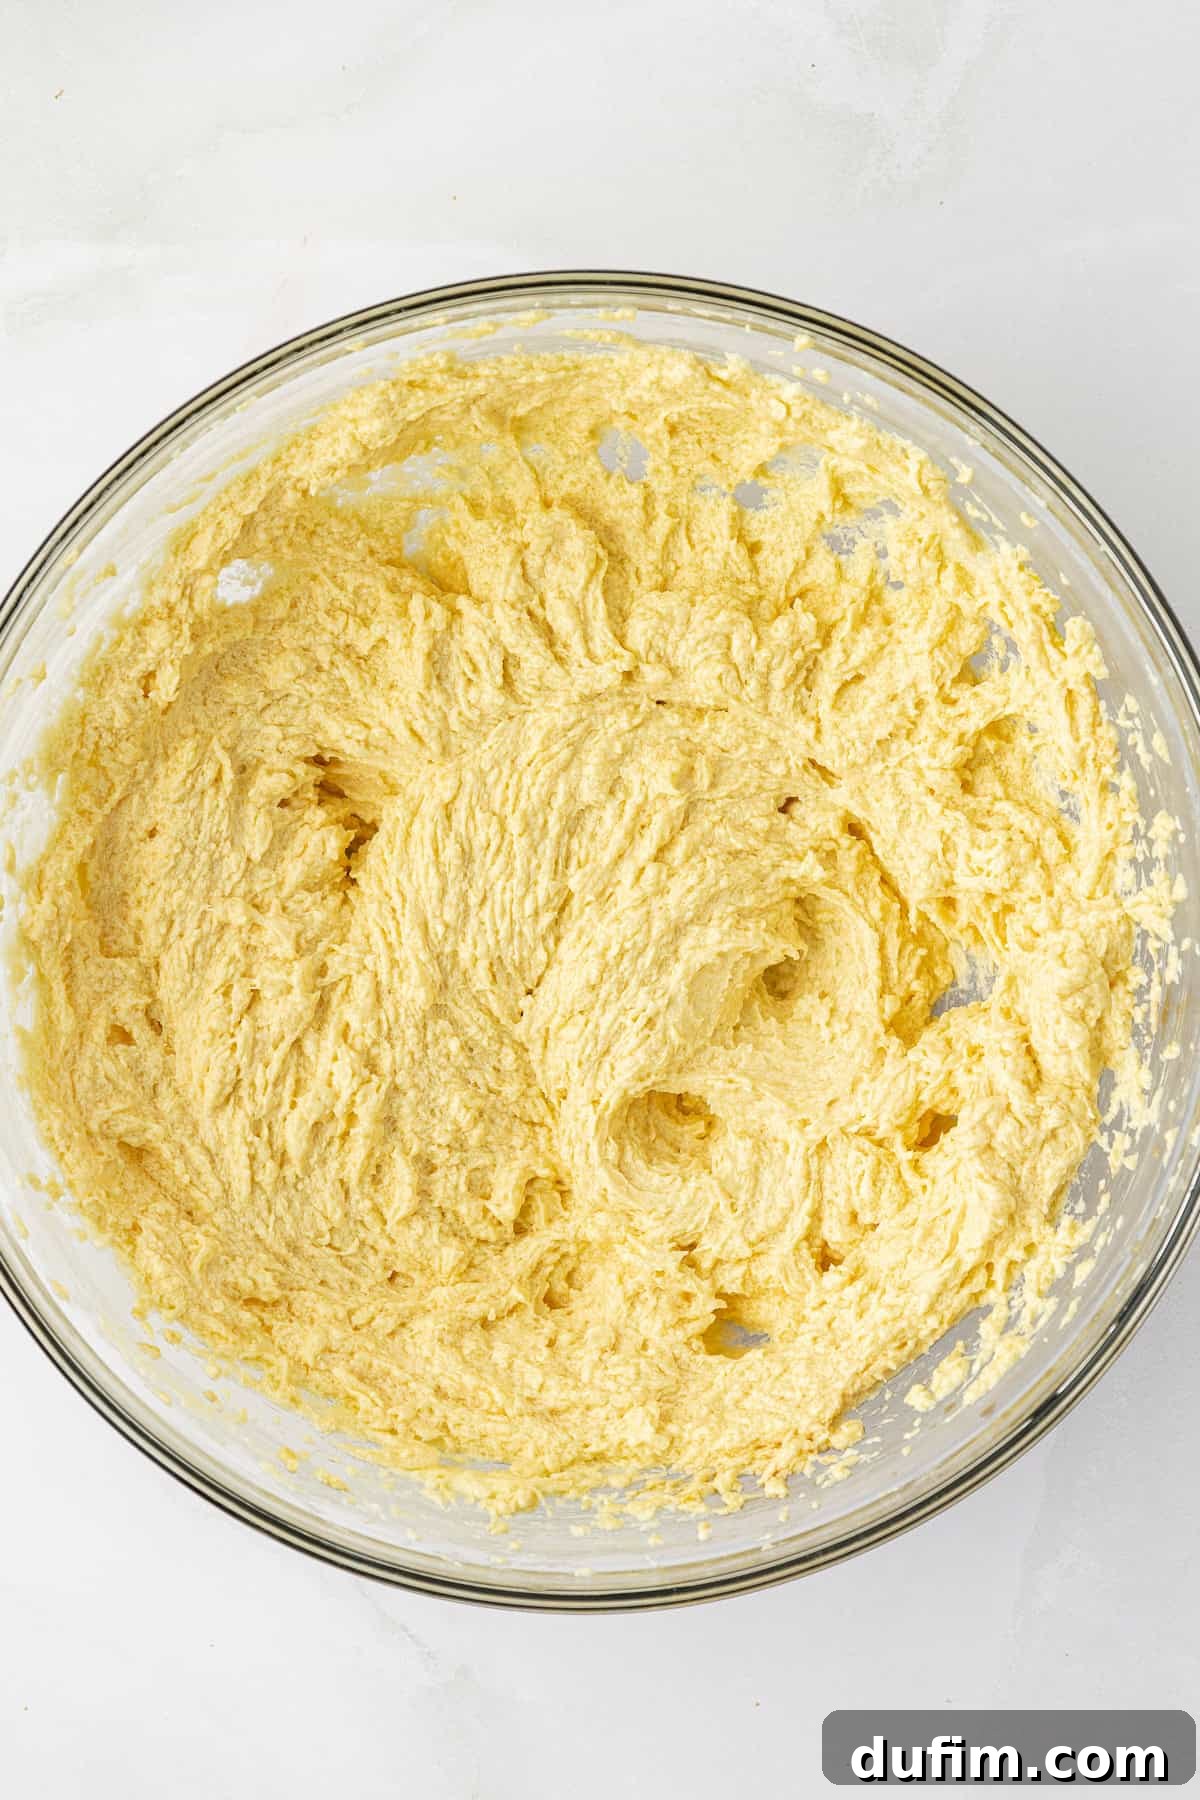
- Incorporate Eggs and Vanilla: Add the large eggs to the butter-sugar mixture, one at a time. After each egg, beat well until it is fully incorporated into the batter, ensuring no visible egg streaks remain. This gradual addition helps to create a stable emulsion, preventing the batter from separating or curdling, which can lead to a less tender and cohesive cake. Finally, beat in the extra egg yolk and the vanilla extract, ensuring that rich flavor is evenly distributed throughout your vanilla pound cake batter. The extra yolk adds unparalleled richness and moisture.
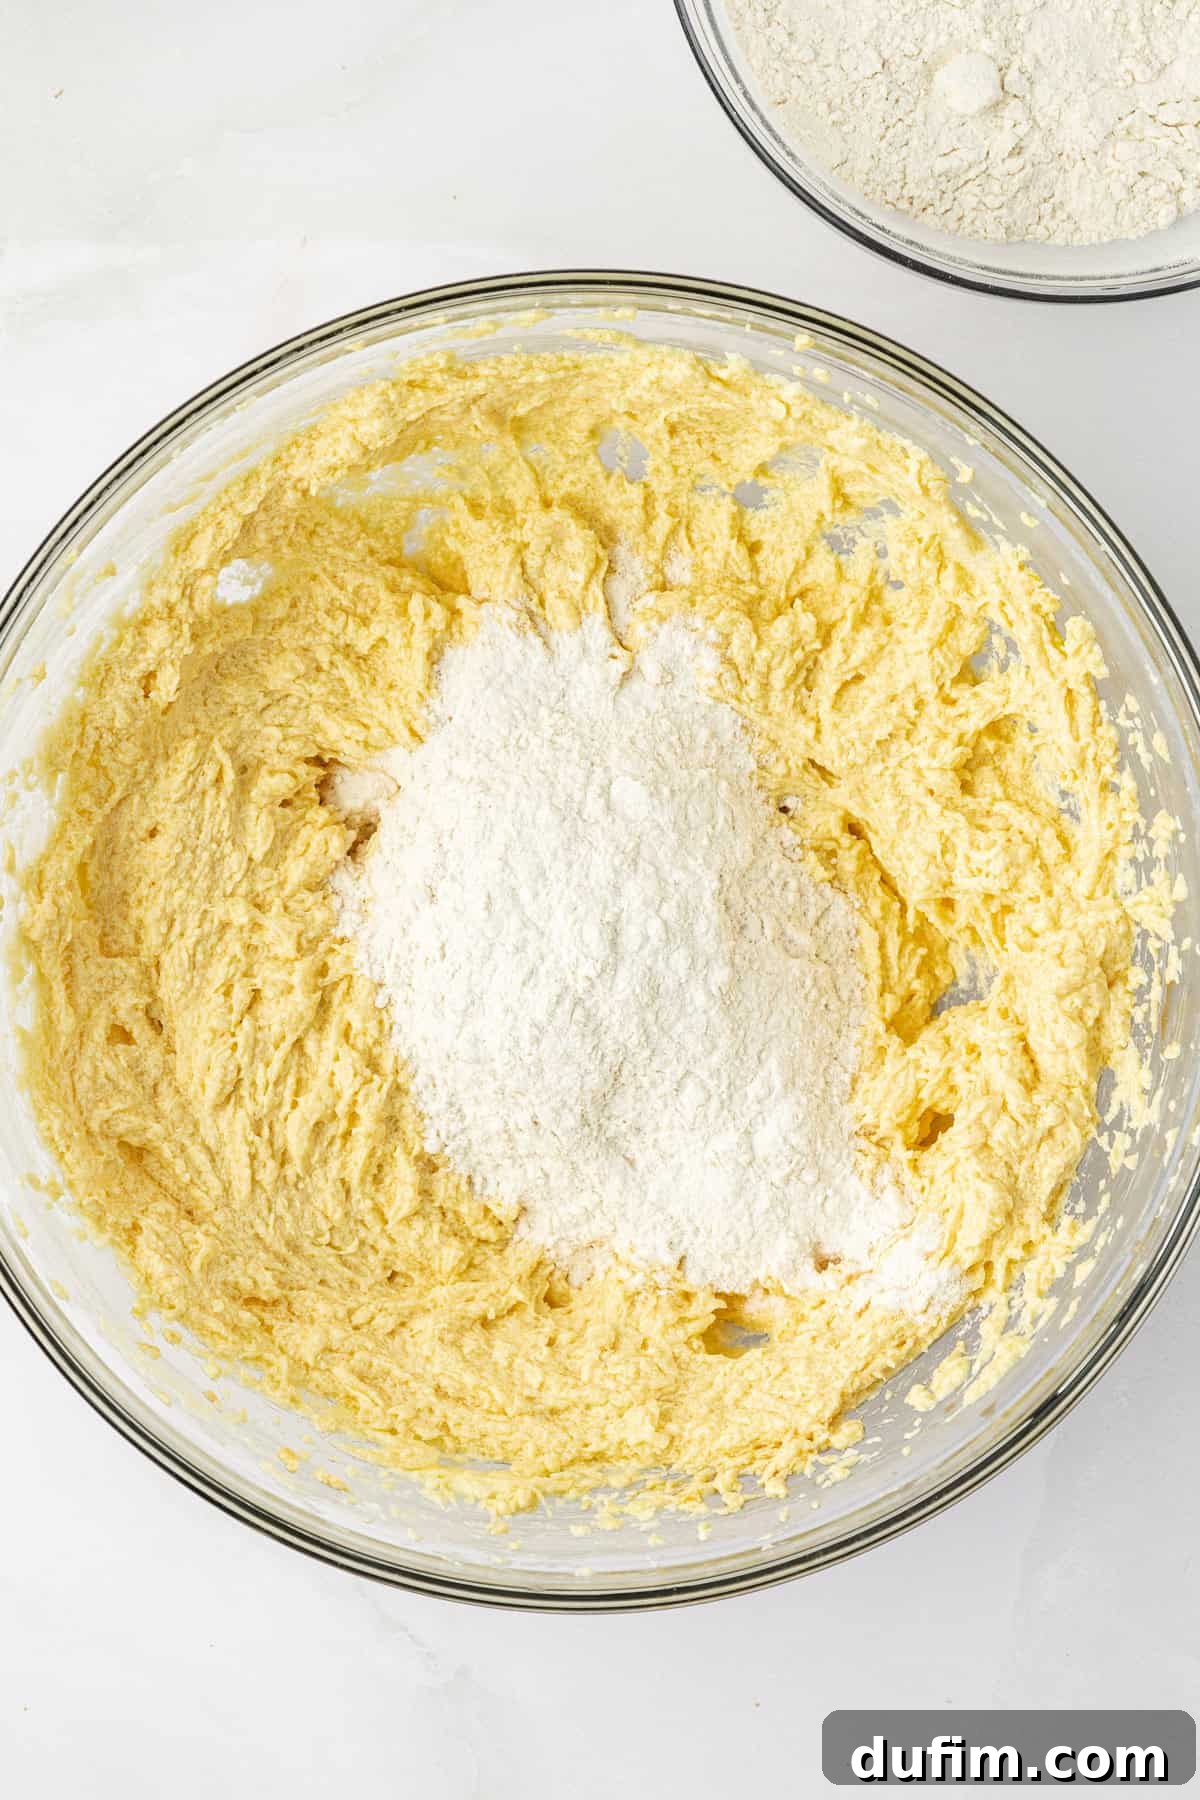
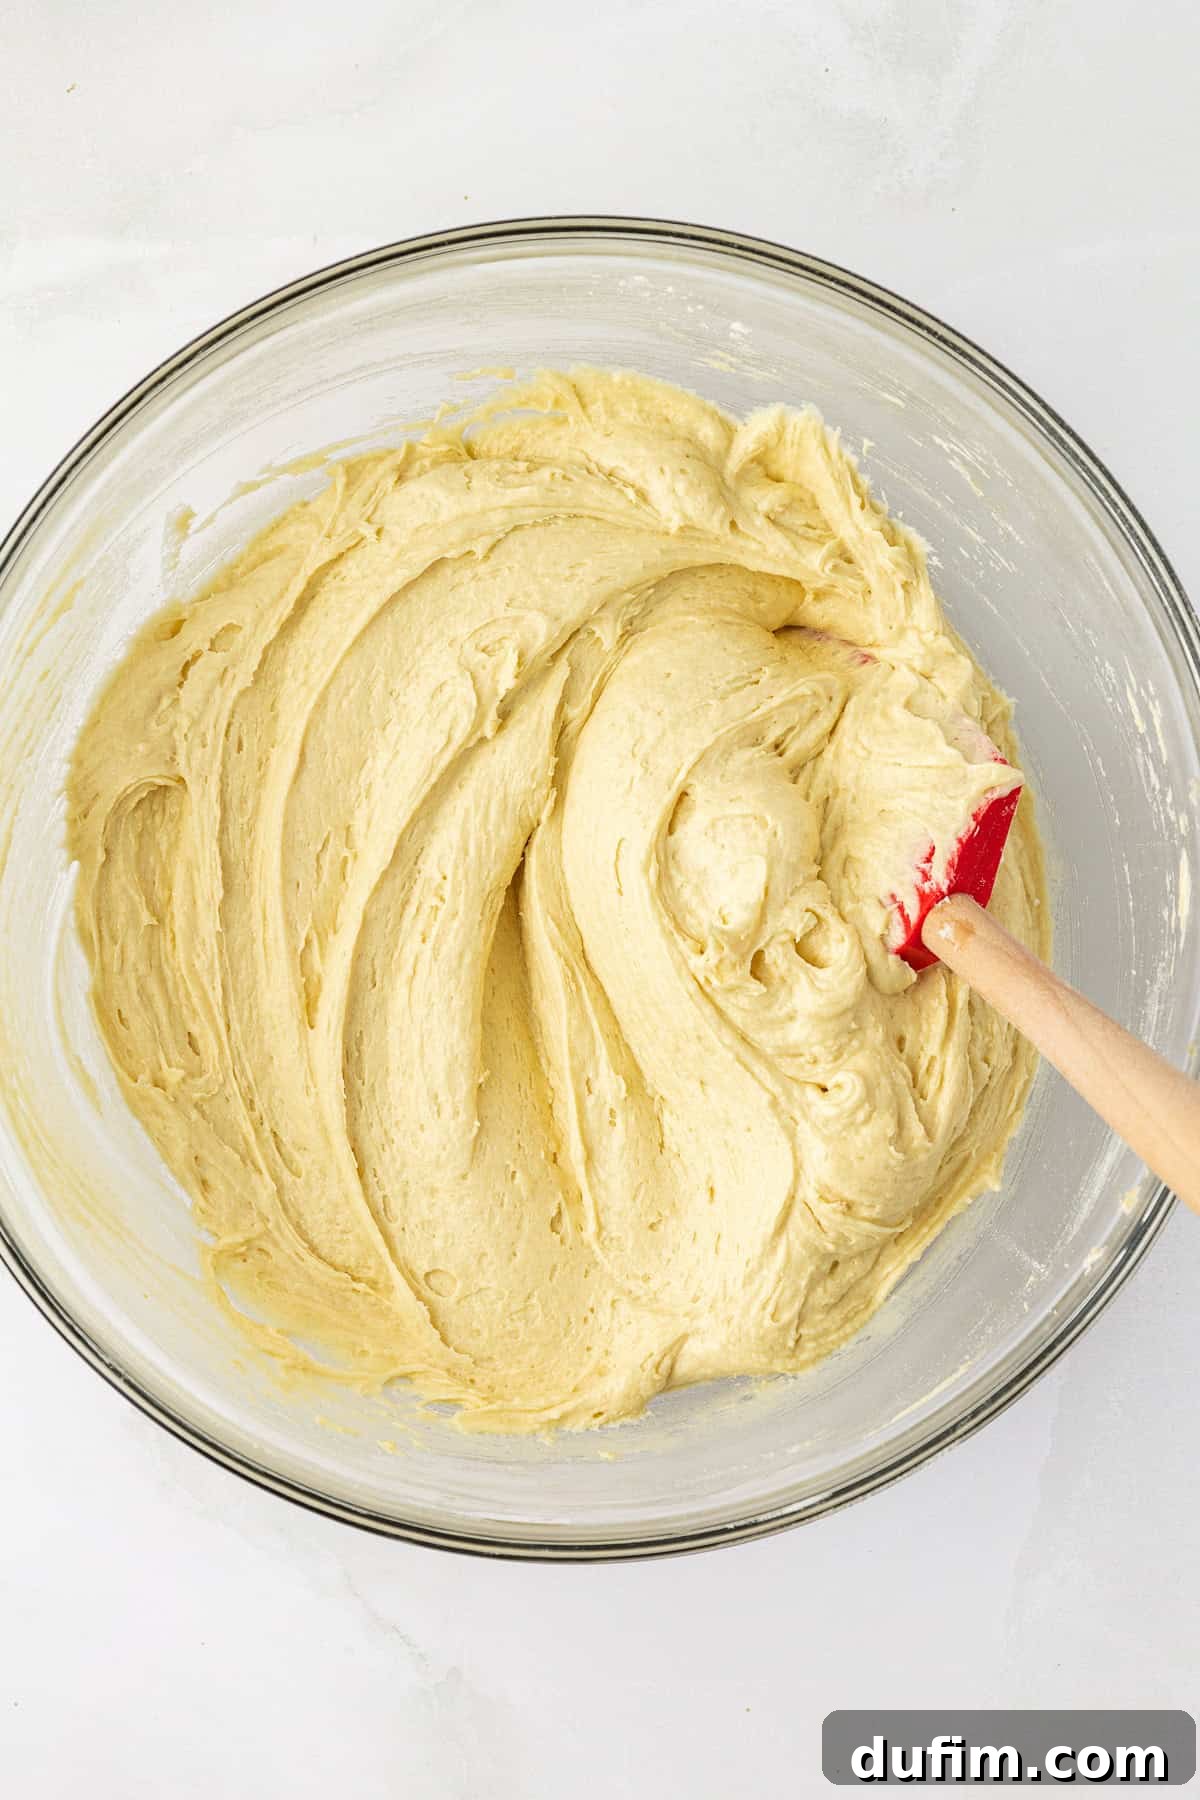
- Gently Mix Dry and Wet Ingredients: Gradually add the flour mixture to the wet ingredients, mixing on the lowest speed of your mixer. Mix only until just combined. The key here is to avoid overmixing, which can overdevelop the gluten in the flour, resulting in a tough, chewy, or rubbery pound cake. I personally prefer to stop the mixer when there are still a few streaks of flour visible and then use a rubber spatula to gently fold in the last bits by hand. This ensures the batter is mixed just enough. The final batter will be noticeably thick – this is exactly the right consistency for a rich, dense, yet tender pound cake.
- Prepare Your Loaf Pan: This step is critical for a beautifully released cake! Generously grease your loaf pan with softened butter, ensuring every nook and cranny is coated. Then, lightly dust the buttered pan with flour, rotating and tapping out any excess. The flour adheres to the butter and creates a non-stick barrier. I strongly advise against using non-stick cooking spray, as butter provides a superior flavor, contributes to a better crust, and often results in easier release. Loaf pans typically come in two common sizes: 9×5 inches or 8.5×4.5 inches. It’s important to know which size you have, as the baking time can vary significantly, sometimes by as much as 10-15 minutes due to the difference in volume and surface area.
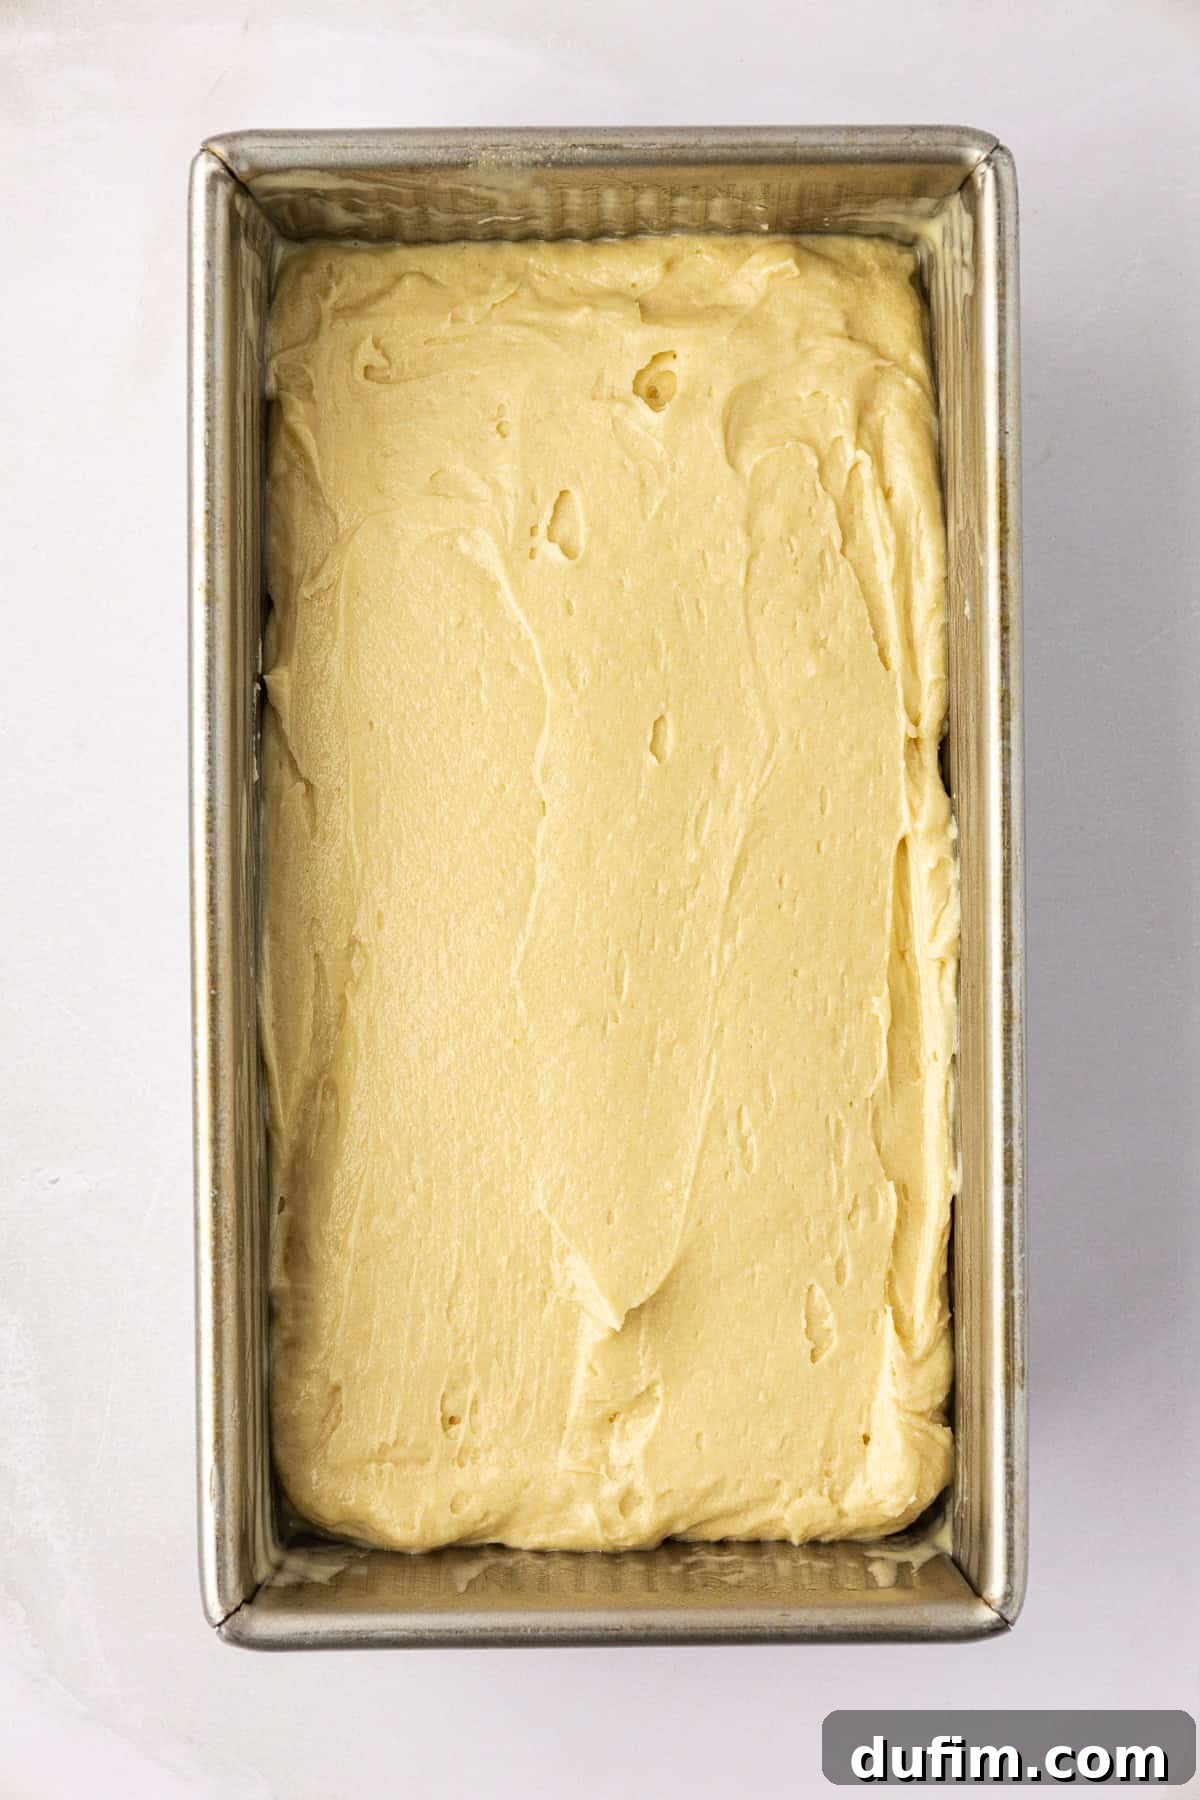
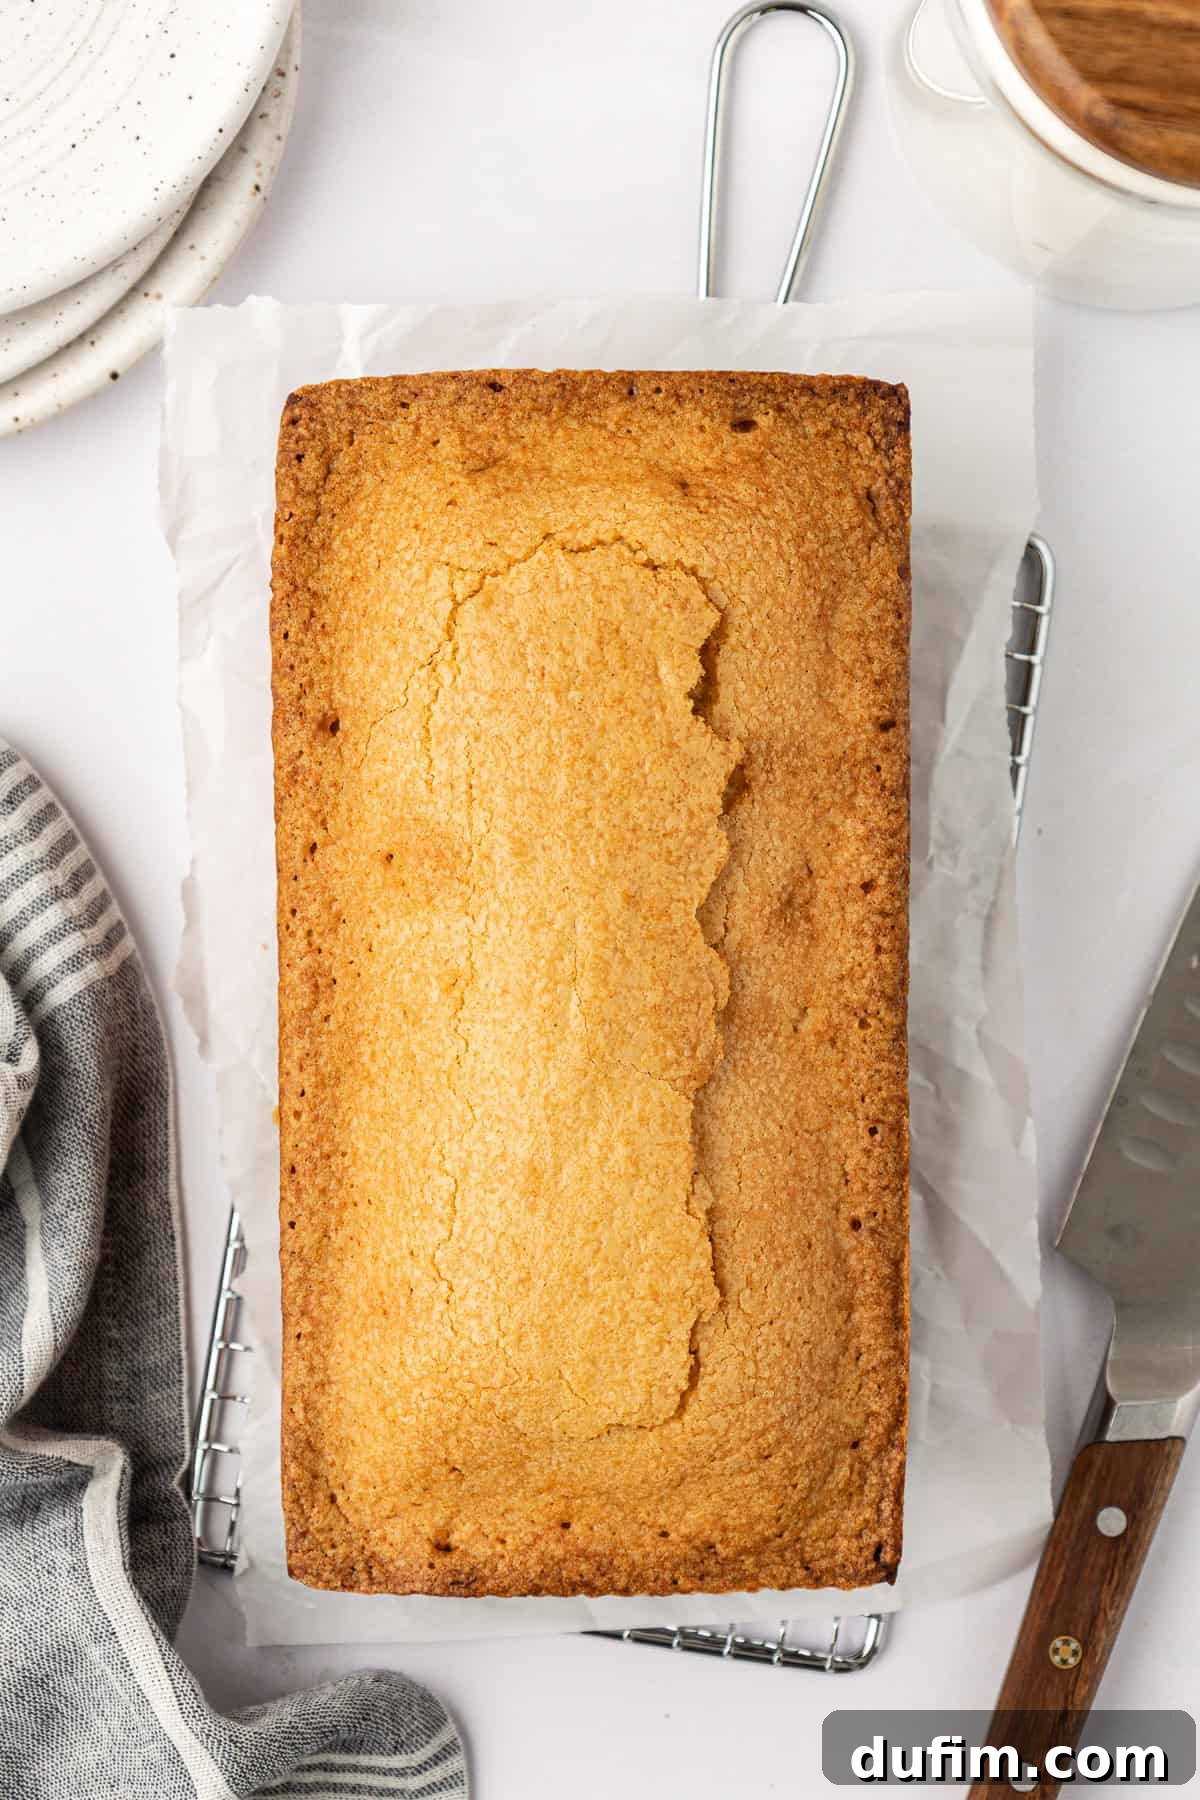
- Transfer and Smooth Batter: Carefully transfer the thick pound cake batter into your prepared loaf pan. Use a spatula to gently smooth out the top of the batter, ensuring an even layer. Creating an even surface helps the cake bake more uniformly, promotes a consistent rise, and reduces the likelihood of an overly cracked top.
- Bake to Golden Perfection: Place the loaf pan in the center of your preheated oven. Bake for an initial 50 minutes. After this time, check your pound cake for browning. If the top appears to be browning too quickly or becoming excessively dark (a deep brown rather than golden), loosely tent the pan with aluminum foil. This acts as a shield, preventing over-browning while allowing the interior to continue baking. Continue baking for an additional 15-25 minutes. If no tenting was needed at 50 minutes, continue to monitor in 5-minute intervals, tenting only if necessary. Some bakers find their cakes achieve a perfect golden brown after just 20 minutes, then cover with foil and bake for another 45 minutes. Remember, every oven has its unique quirks, and all bake times are estimates. The cake is done when a wooden skewer or toothpick inserted into the center comes out with moist crumbs, not wet batter.
- Important Note on Bake Time: The total suggested bake time for an 8.5×4.5 inch pan is approximately 75-80 minutes, while a larger 9×5 inch pan typically requires 65-75 minutes. Always be sure of your pan size, as this directly impacts baking duration. Given the rich and dense nature of classic pound cake, I always recommend erring on the side of baking a little longer rather than risking an undercooked center. An underbaked pound cake can be gummy, unappetizing, and may even sink, so thorough cooking is key to that desirable moist and tender texture.
- Cool Properly: Once baked, allow your delicious pound cake to cool in its pan on a wire rack for 30 minutes. This resting period allows the cake’s delicate structure to set and firm up, making it easier to remove without breaking or crumbling. After 30 minutes, carefully invert the cake onto the wire rack to cool completely. Cooling on a rack ensures air circulation around the entire cake, preventing the bottom from becoming soggy due to trapped steam. Slice only when fully cooled for the cleanest cuts and best texture.
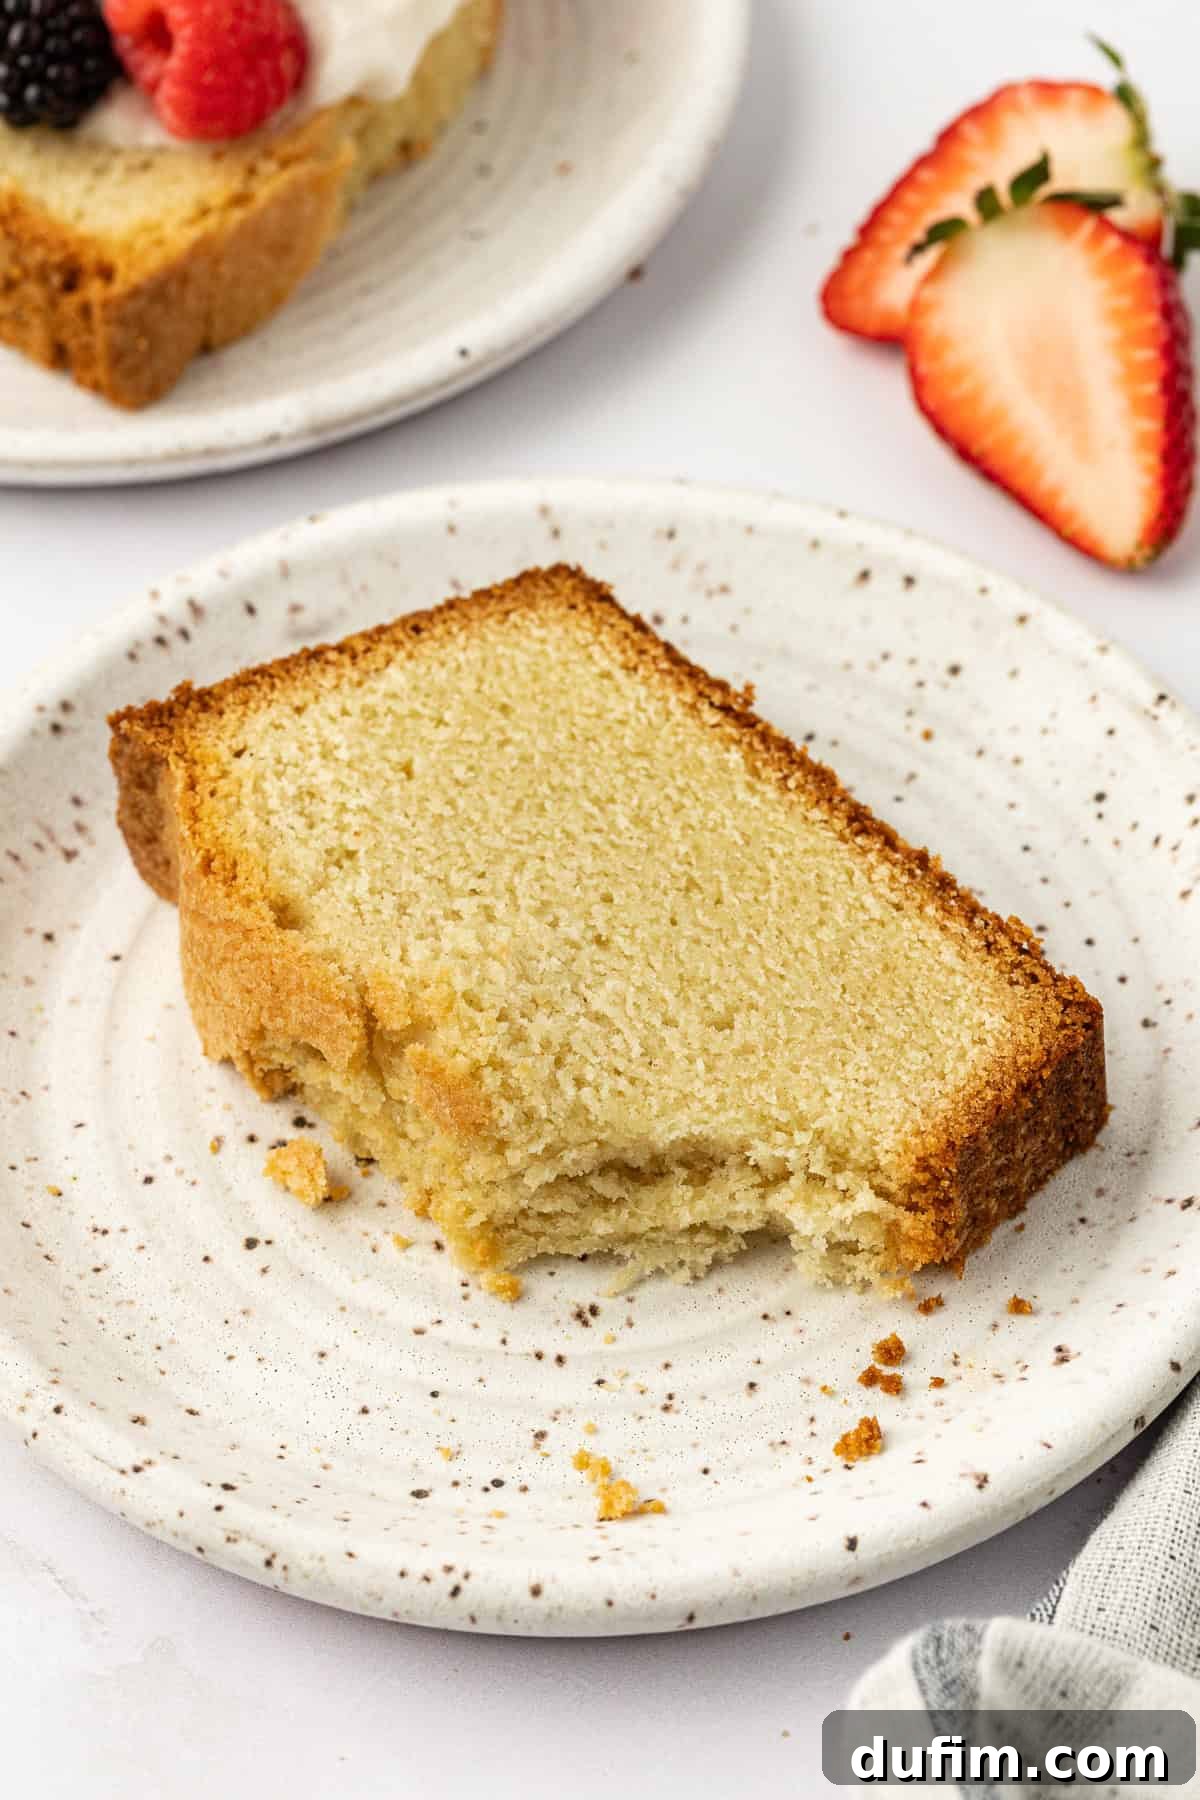
Master the Secrets for a Perfectly Moist Pound Cake Recipe
When it comes to pound cake recipes, achieving that ethereal balance of dense yet tender, and wonderfully moist, can be a delightful challenge. While pound cake is renowned for its simple ingredient list, perfecting these seemingly basic components often requires a keen eye and a few clever tricks. With my proven pound cake tips and secret techniques, you’ll consistently bake a perfectly dense, incredibly moist cake with a beautiful, uncracked top – just like the pros! Here are my invaluable pound cake secrets, designed to elevate your baking:
- Room Temperature Ingredients Are Key: This cannot be stressed enough! Butter and eggs that are at room temperature (around 68-72°F / 20-22°C) emulsify far better, incorporating more air during the creaming process. This additional air creates a lighter, more delicate texture in the finished cake, preventing it from becoming overly dense or heavy. Cold ingredients lead to a lumpy batter and a denser crumb. Plan ahead and take them out of the fridge at least an hour before baking.
- Don’t Skimp on the Butter: Follow the recipe’s butter quantity precisely. Butter not only provides unparalleled richness and flavor but is also essential for a moist pound cake. Its fat content contributes directly to the tender crumb and prevents the cake from drying out during the relatively long baking process. Using less butter than specified will compromise both the luxurious texture and the deep, satisfying taste.
- Bake Times Are Estimates – Trust Your Intuition: As highlighted in step 9 and 10 of the instructions (and again in the recipe card below), baking times are highly variable depending on your oven’s calibration, the material of your pan, and its exact size. This is a dense cake, which means it requires a longer, slower bake to cook all the way through without drying the edges. Start checking at the minimum recommended time, but always rely on visual cues (golden brown crust) and the toothpick test (moist crumbs, not wet batter) for doneness. Patience here is a virtue!
- Incorporate Eggs One at a Time: Resist the urge to add all your eggs at once! Adding them individually and beating well after each addition allows them to fully emulsify with the butter and sugar mixture. This creates a stable batter structure that holds air effectively, leading to a finer, more consistent crumb. Adding eggs too quickly can cause the batter to curdle, resulting in a less cohesive and potentially tougher cake.
- Generously Grease and Flour Your Pan: This seemingly simple step is incredibly important for both ease of release and the final appearance of your pound cake. Use softened unsalted butter to generously coat the inside of your loaf pan, ensuring full coverage, especially in the corners. Then, dust with flour, rotating and tapping to coat evenly, discarding any excess. The combination of butter and flour creates a non-stick barrier that also helps form that delightful, slightly crispy golden crust characteristic of a traditional pound cake. Butter provides superior flavor and reliable release compared to cooking sprays.
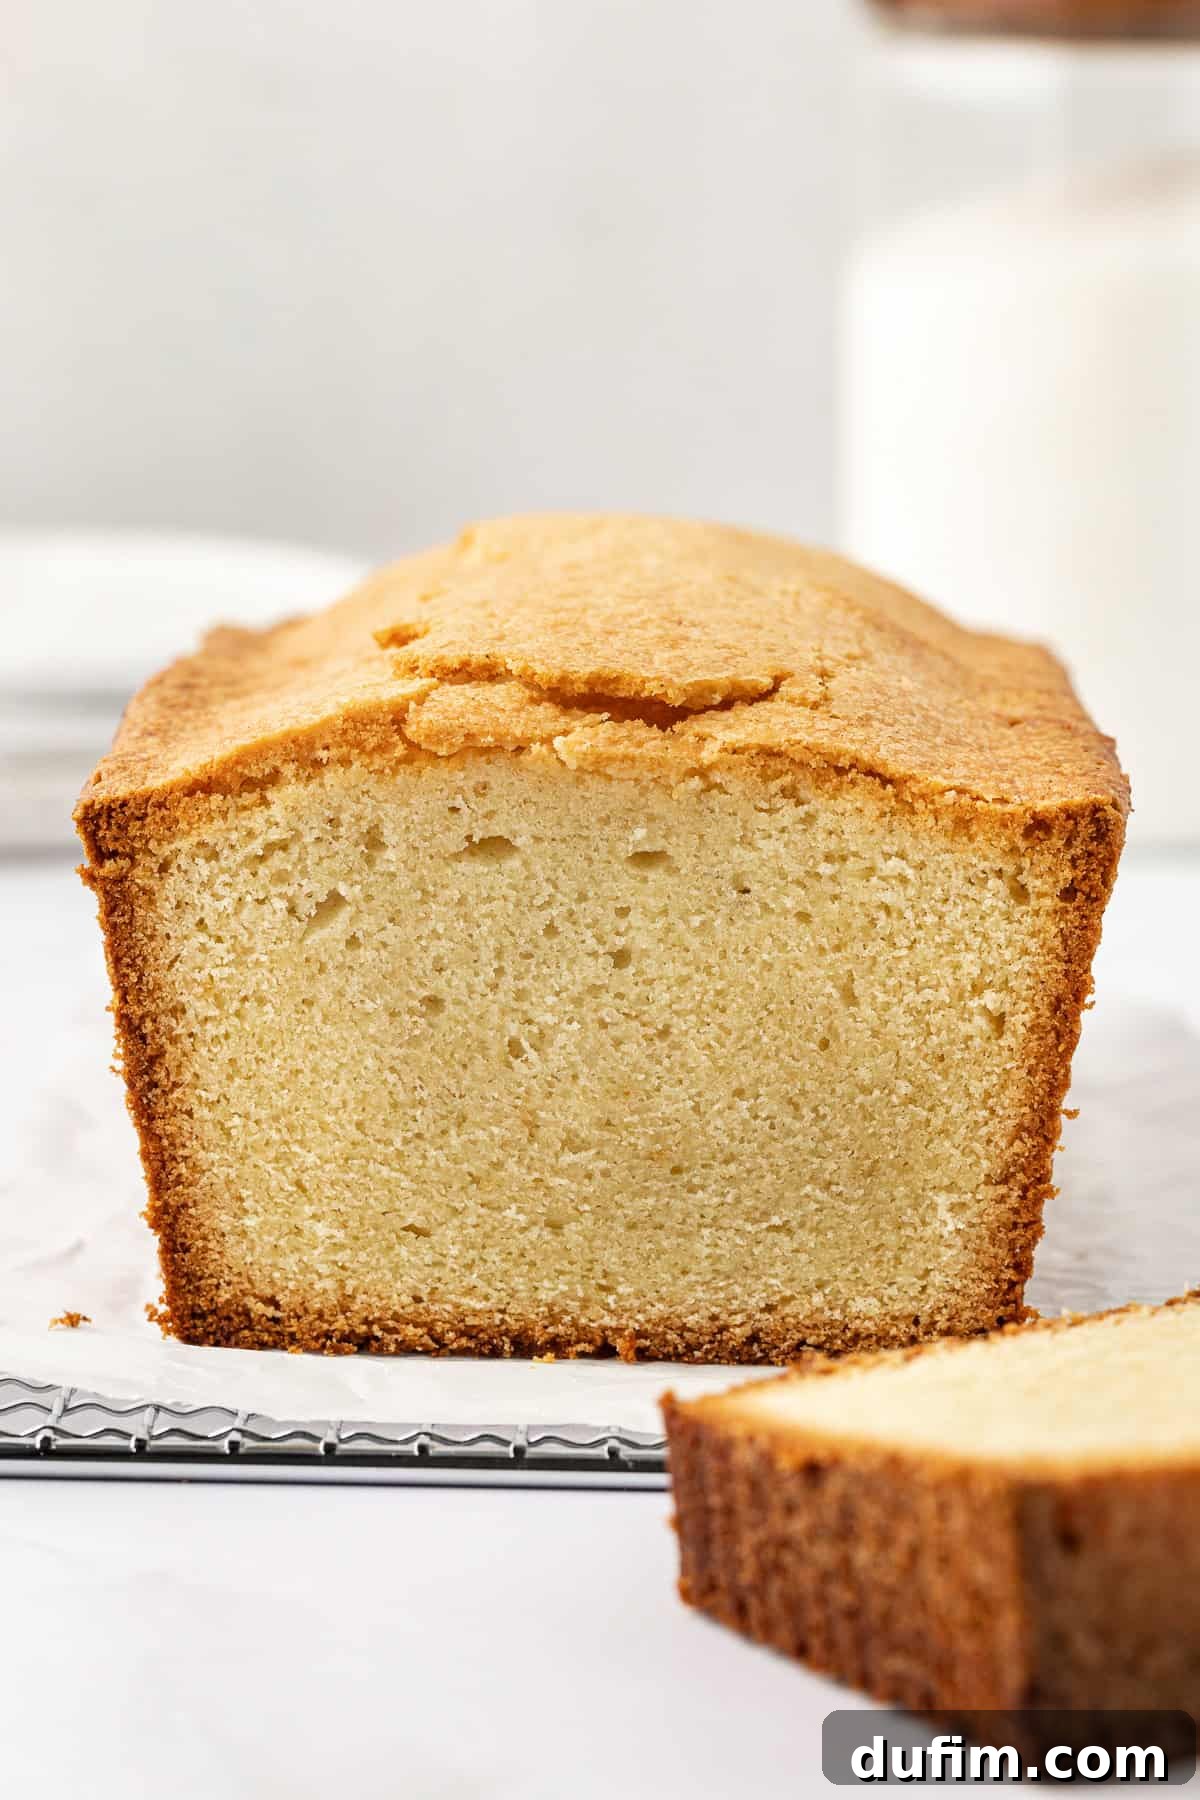
How to Serve and Enjoy Your Homemade Pound Cake
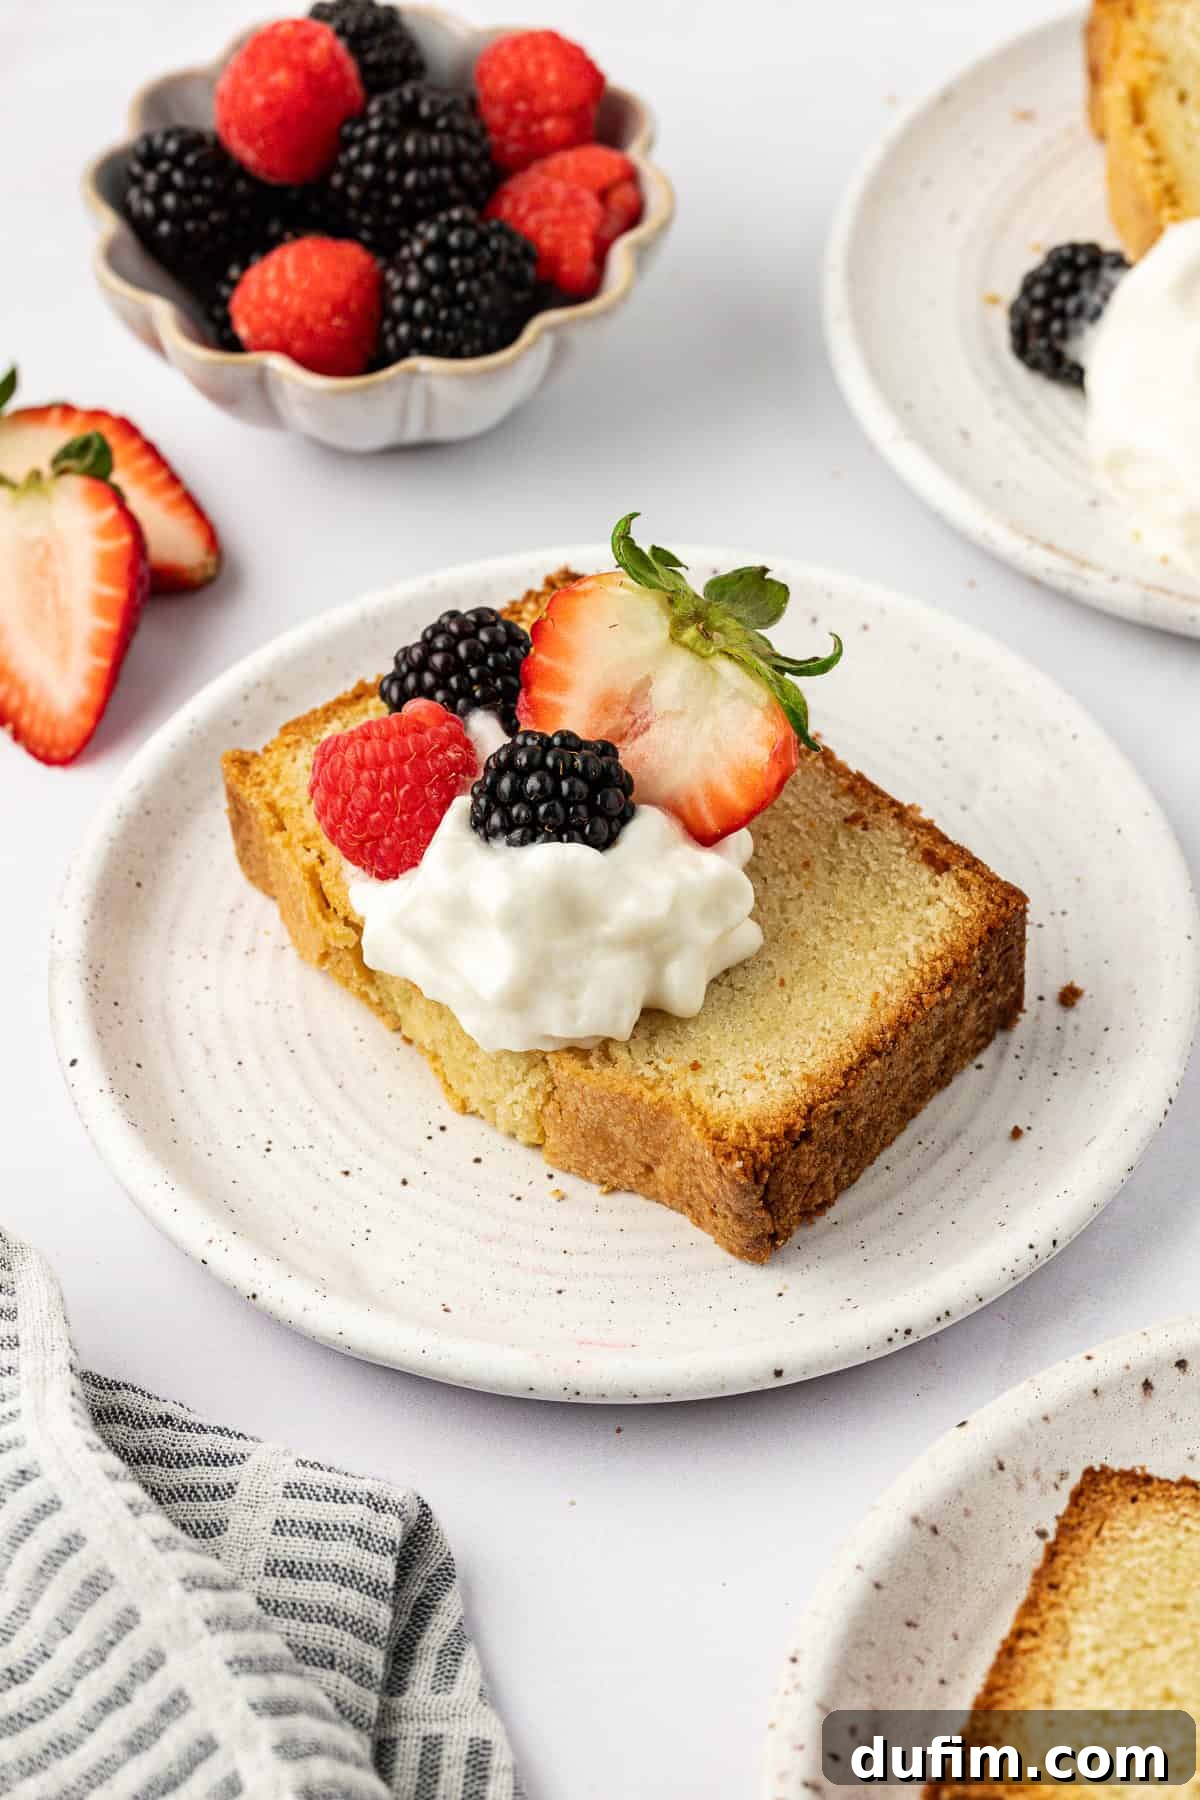
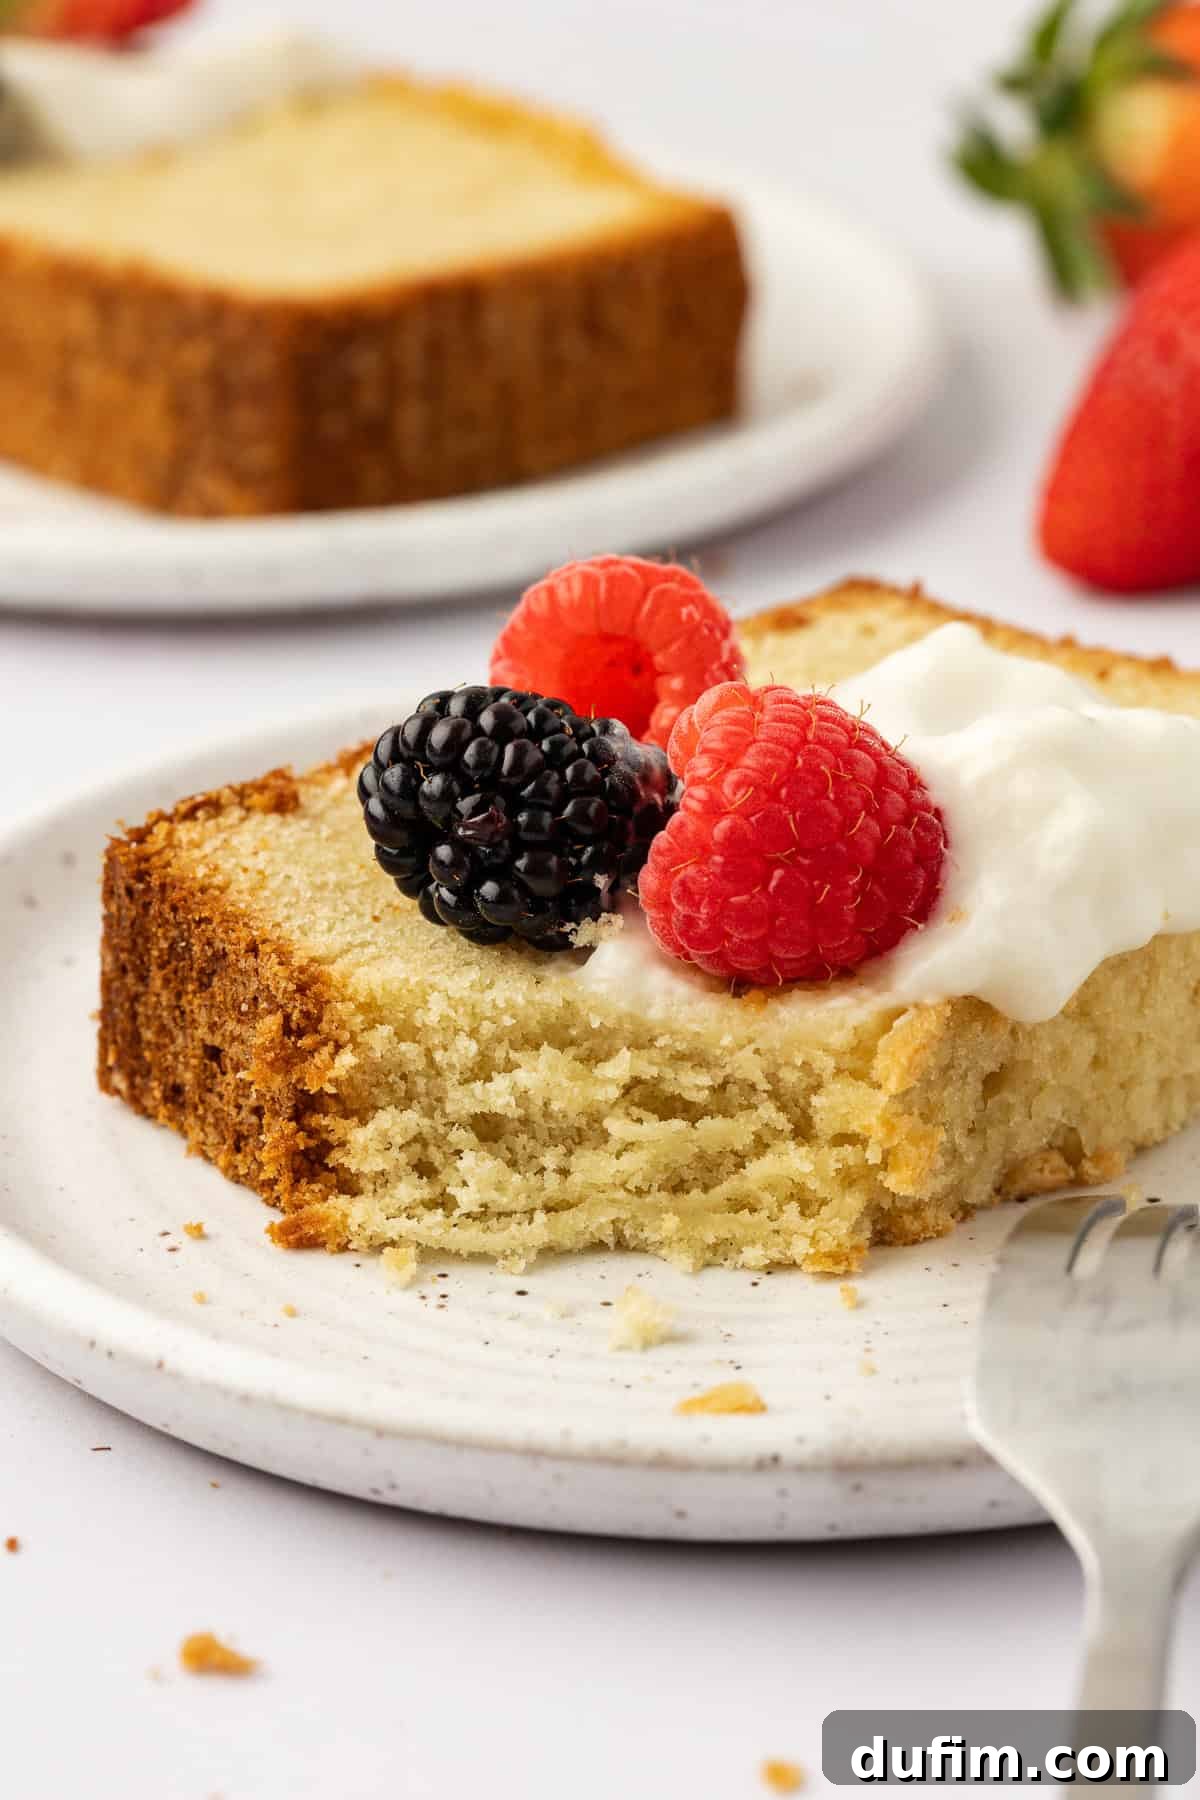
This buttery, rich homemade pound cake is an absolute delight on its own. There’s a special joy in savoring a plain slice with a comforting warm cup of coffee or tea, allowing its inherent richness and subtle vanilla flavor to truly shine. However, if you’re looking to elevate your dessert experience or dress it up for a special occasion, pound cake serves as a magnificent base for a variety of delightful toppings, complementing its dense texture and sweet profile! Here are a few of my favorite ways to serve up a slice of this versatile vanilla pound cake:
- Light & Fluffy Homemade Whipped Cream or a decadent Chocolate Whipped Cream for an extra touch of indulgence.
- A vibrant medley of fresh berries (strawberries, blueberries, raspberries) or any of your favorite seasonal fresh fruit for a burst of freshness, color, and a slight tang.
- A generous scoop of your favorite vanilla bean, strawberry, or even salted caramel ice cream, creating a delightful warm-cold textural contrast.
- A delicate sprinkle of lemon zest or a light lemon glaze for a bright, refreshing counterpoint to the cake’s richness.
- A simple dusting of powdered sugar for an elegant, understated presentation.
- A drizzle of warm fruit compote or a tangy berry sauce to add another layer of flavor and moisture.
- A dollop of cream cheese frosting for an extra decadent twist.
Tips for Storing Your Traditional Pound Cake Recipe
Proper storage is essential to maintain the freshness and delightful moisture of your traditional pound cake. Follow these tips to keep your homemade pound cake tasting fantastic for days and ensure its tender crumb remains intact:
- Room Temperature: For optimal flavor and texture, store pound cake in an airtight container at room temperature for up to 3 days. This prevents it from drying out and keeps the crumb perfectly tender. Placing it in a cake dome or wrapping individual slices in plastic wrap can also help maintain freshness.
- Refrigeration: While you can refrigerate pound cake for up to a week, be aware that the cold air in the refrigerator can slightly dry out the cake and alter its texture. If refrigerating, ensure it’s tightly wrapped in plastic wrap, then an additional layer of aluminum foil, and finally placed in an airtight container. This triple layer of protection minimizes moisture loss. Allow slices to come to room temperature before serving for the best experience.
- Freezing: Pound cake freezes exceptionally well, making it perfect for making ahead or enjoying later! To freeze, ensure the cake is completely cooled to prevent condensation. Wrap the whole cake or individual slices tightly in plastic wrap, then an additional layer of heavy-duty aluminum foil to prevent freezer burn. Freeze for up to 3 months. Thaw frozen pound cake overnight in the refrigerator, then bring it to room temperature on the counter for an hour before serving for ideal texture and flavor.
Frequently Asked Questions About This Pound Cake Recipe
Pound cake historically earned its name from its original recipe, which called for a pound each of butter, sugar, flour, and eggs. This straightforward 1:1:1:1 ratio made it incredibly easy to remember and prepare, establishing it as a classic staple in early American and European baking. While modern recipes, like ours, often adjust these ratios slightly for a more tender and moist crumb, the name has beautifully stuck, honoring its rich culinary heritage and simple origins.
Pound cake distinguishes itself from most other cakes primarily through its ingredient ratios and resulting texture. Unlike many cakes that rely heavily on chemical leavening agents and often include milk or buttermilk for a lighter, airier texture, pound cake traditionally uses a higher proportion of fat (from butter and eggs) to flour and typically little to no liquid. While modern versions often include a touch of baking powder for a slight lift, the characteristic texture is dense, firm, and famously moist, with a rich, buttery flavor and a lovely golden crust, setting it apart from lighter, fluffier layer cakes.
While it’s generally recommended to use unsalted butter in baking to have complete control over the salt content, you can use salted butter in a pinch for this pound cake. If you do, reduce the added salt in the recipe from ½ teaspoon to ¼ teaspoon to avoid an overly salty taste. Keep in mind that the salt content in salted butter can vary between brands, so adjusting the recipe’s salt will help maintain the desired flavor balance. Unsalted butter gives you more consistent results.
A common reason for a cracked top is the oven temperature being too high, causing the outside to set and crust over before the inside has fully risen. To mitigate this, ensure your oven is accurately calibrated using an oven thermometer. You can also try a few tricks: gently smoothing the batter in the pan before baking, or creating a shallow “ridge” down the center of the batter with a knife or spatula. If you notice it cracking and browning too quickly during baking, loosely tenting the pan with aluminum foil (as mentioned in step 9) can help slow down the top from setting too fast, allowing the cake to rise more evenly and reduce cracking.
For this recipe, a standard loaf pan (either 9×5 inches or 8.5×4.5 inches) is ideal. Metal pans, particularly those made of aluminized steel or heavy-gauge aluminum, are generally preferred as they conduct heat evenly, promoting a uniform bake and a beautiful golden crust. Avoid dark-colored pans, as they can cause the crust to brown too quickly and unevenly. Always remember to generously grease and flour your pan for easy release and a perfect exterior!
Absolutely! This classic vanilla pound cake is a fantastic base for various flavor additions. You can experiment with citrus zest (lemon, orange, or lime) added to the sugar during creaming for a bright flavor. Extracts like almond extract or a hint of rum extract can also be wonderful additions. You could also fold in chocolate chips, chopped nuts, or dried fruits during the final mixing step for textural and flavor variations.
Explore More Delectable Cake Recipes
- Vanilla and Fresh Berry Naked Cake
- Homemade Tres Leches Cake
- Cream Cheese Pound Cake
- Lemon Pound Cake
Tap stars to rate!
Old Fashioned Pound Cake Recipe
15 minutes
1 hour 10 minutes
30 minutes
12 slices
Rate
Equipment
-
Stand Mixer (e.g., KitchenAid 9-Speed Mixer)
-
Large Mixing Bowl (preferably glass)
-
Rubber Spatula
-
Kitchen Scale
-
Loaf Pan (9×5 inch or 8.5×4.5 inch)
-
Wire Cooling Rack
Ingredients
- 2 cups (240g) all-purpose flour
- 1 tsp baking powder
- ½ tsp salt
- 1 cup (226g) unsalted butter, room temperature, 2 sticks
- 1 ¼ cups (247g) granulated sugar
- 3 large eggs, room temperature
- 1 egg yolk, room temperature
- 2 tsp vanilla extract
Instructions
-
Preheat your oven to 350ºF (175ºC). Ensure your butter and eggs are at room temperature. This is a crucial step as room temperature ingredients trap air better when whipped, leading to a lighter, more tender crumb in your pound cake.
-
In a medium mixing bowl, whisk together the all-purpose flour, baking powder, and salt until well combined. Set aside.2 cups (240g) all-purpose flour, 1 tsp baking powder, ½ tsp salt
-
In a large mixing bowl or the bowl of a stand mixer fitted with the paddle attachment, beat the room temperature unsalted butter on medium speed for 1 minute until light and fluffy.1 cup (226g) unsalted butter
-
Add the granulated sugar to the butter and beat on medium-high speed for 2-3 minutes until the mixture is very light, pale, and fluffy. This creaming process is essential for the cake’s texture; do not rush it. Scrape down the sides of the bowl as needed to ensure even mixing.1 ¼ cups (247g) granulated sugar
-
Add the large eggs one at a time, beating well after each addition until fully incorporated. Finally, beat in the extra egg yolk and the vanilla extract.3 large eggs, 1 egg yolk, 2 tsp vanilla extract
-
Gradually add the flour mixture to the wet ingredients, mixing on low speed until just combined. To prevent overmixing, stop the mixer when a few streaks of flour remain and gently fold in the rest by hand with a rubber spatula. The batter will be thick.
-
Generously grease a loaf pan (9×5 inches or 8.5×4.5 inches) with softened butter, then lightly dust with flour, tapping out any excess. This ensures easy release and contributes to a beautiful crust. Avoid non-stick cooking spray.
-
Transfer the thick batter into the prepared loaf pan and use a spatula to smooth the top evenly.
-
Place the pan in the center of the preheated oven and bake for 50 minutes. Check for browning; if the top is getting too dark, loosely tent with aluminum foil. Continue baking for an additional 15-25 minutes. If not tented, check every 5 minutes and tent if necessary. Total bake time varies by oven and pan size. The cake is done when a wooden skewer inserted into the center comes out with moist crumbs, not wet batter.
-
For an 8.5×4.5 inch pan, the total bake time is typically 75-80 minutes. For a 9×5 inch pan, it’s 65-75 minutes. Always verify your pan size. It’s better to slightly overbake this dense cake than to serve it undercooked.
-
Allow the baked pound cake to cool in the pan on a wire rack for 30 minutes. Then, carefully invert it onto the wire rack to cool completely before slicing. This prevents sticking and ensures a firm structure.
Video
Notes
Nutrition
Calories: 316 kcal |
Carbohydrates: 37 g |
Protein: 4 g |
Fat: 17 g |
Saturated Fat: 10 g |
Polyunsaturated Fat: 1 g |
Monounsaturated Fat: 5 g |
Trans Fat: 1 g |
Cholesterol: 103 mg |
Sodium: 153 mg |
Potassium: 47 mg |
Fiber: 1 g |
Sugar: 21 g |
Vitamin A: 562 IU |
Calcium: 37 mg |
Iron: 1 mg
Nutrition Disclosure
All nutritional values are approximate and provided to the reader as a courtesy. Changing ingredients and/or quantities will alter the estimated nutritional calculations.
Like this recipe? Rate and comment below!