
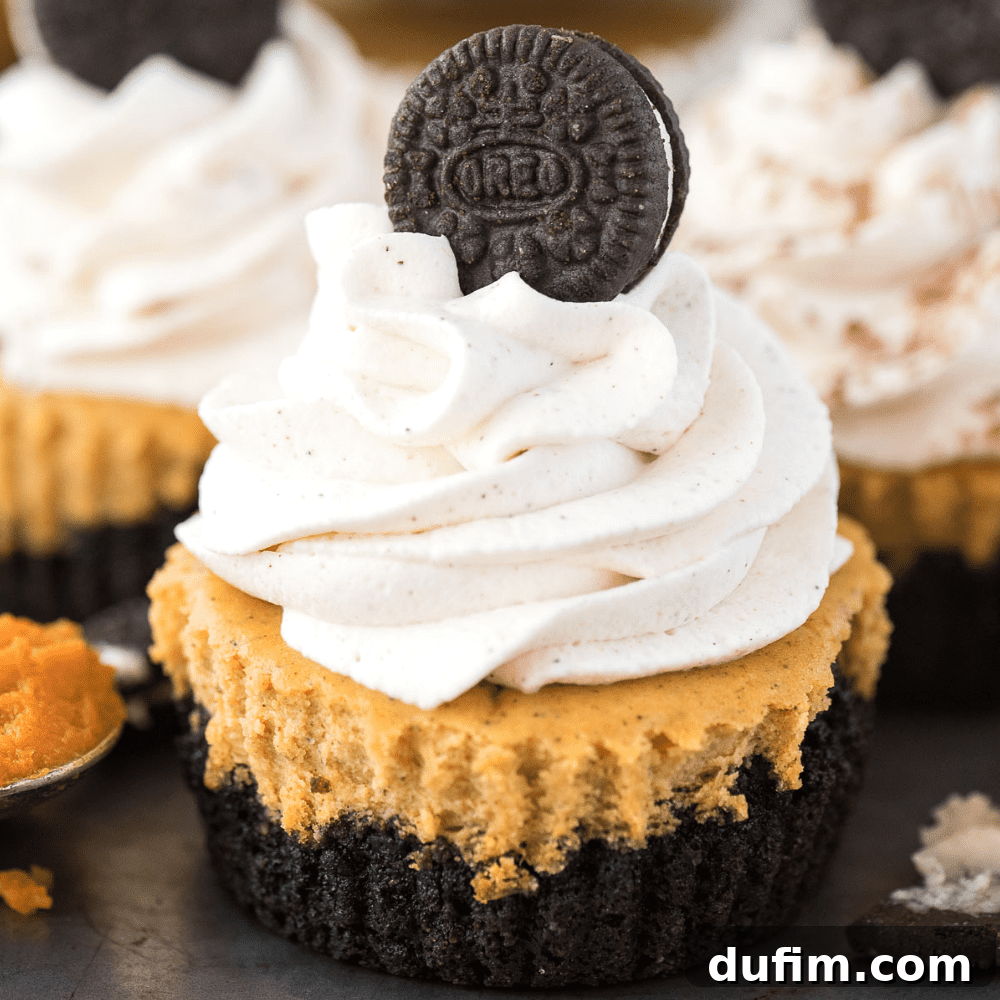
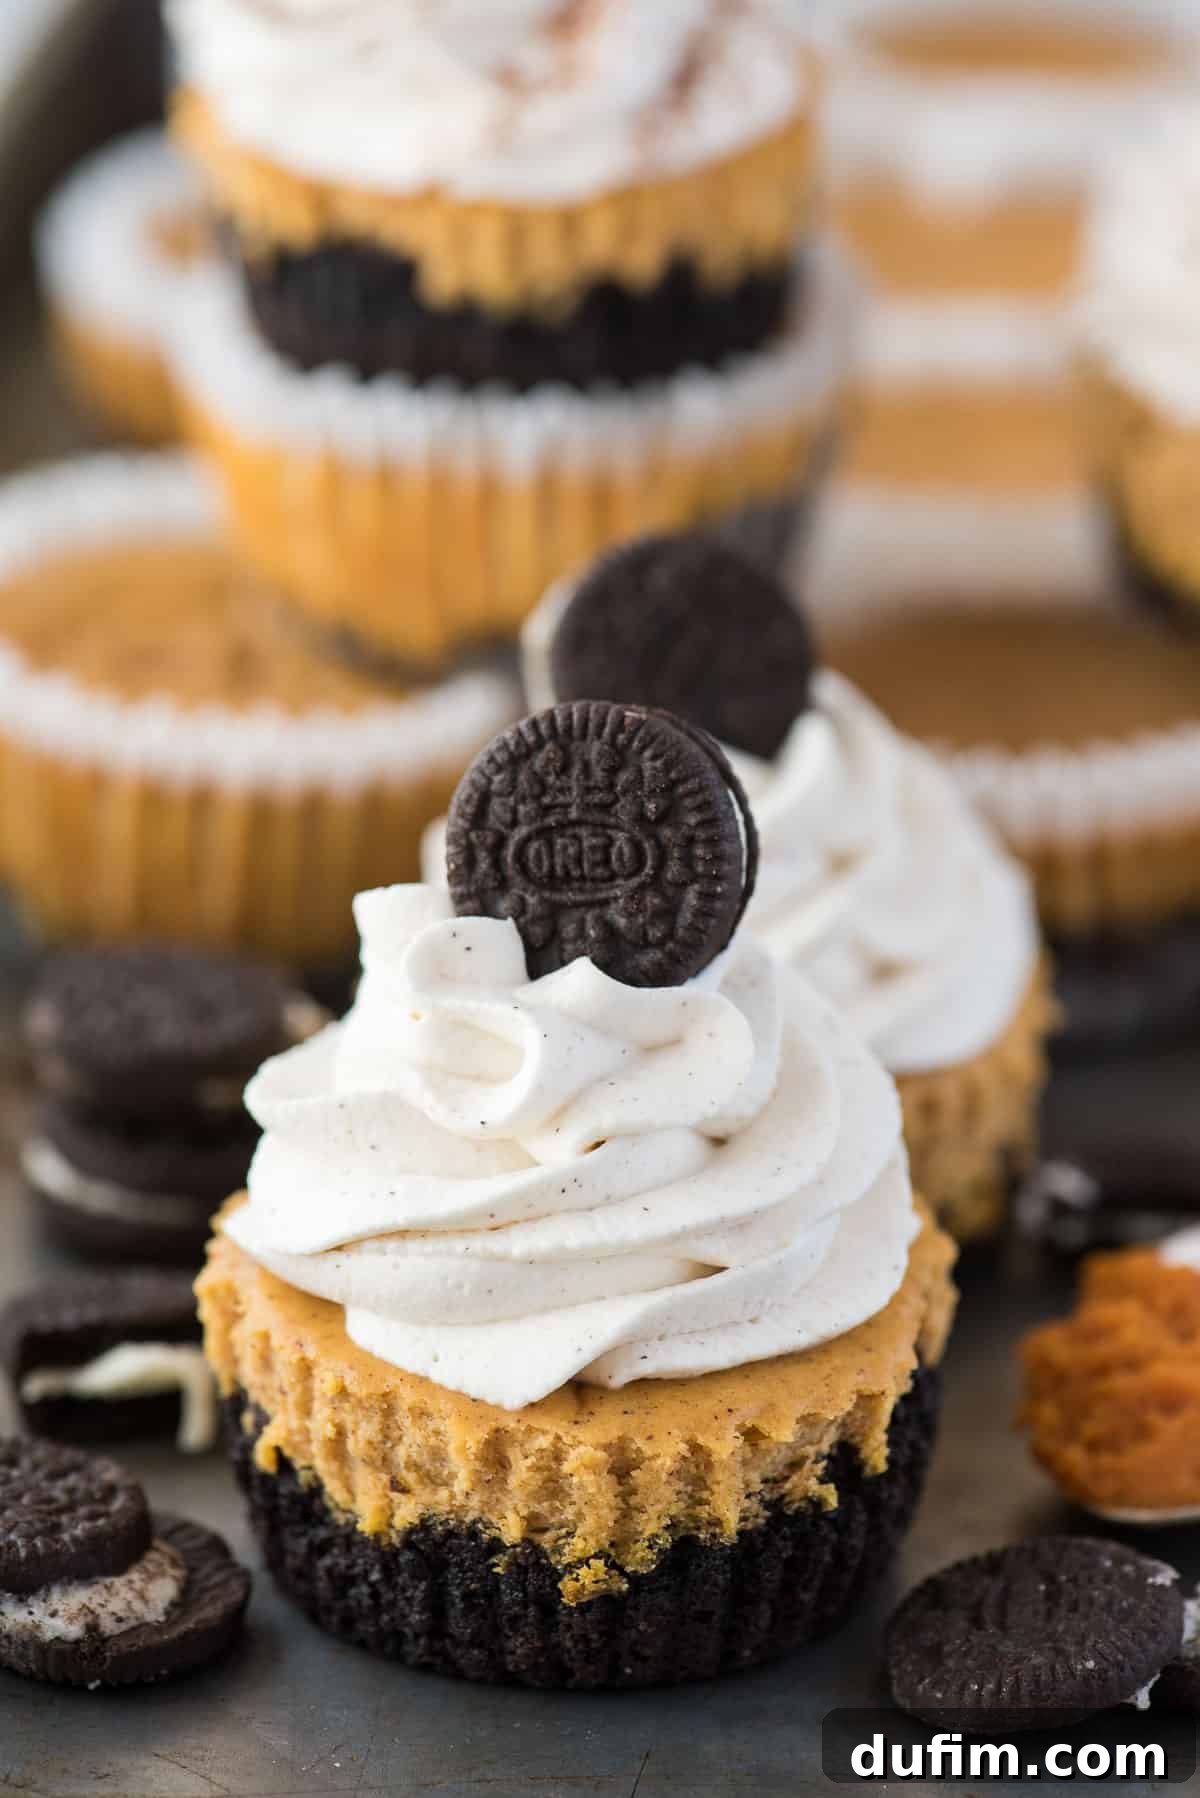
Indulge in the perfect autumn treat with these **mini pumpkin cheesecakes**! Wonderfully easy to prepare and bake right in a standard muffin pan, these individual desserts are a delightful alternative to a traditional large cheesecake. Featuring a rich **Oreo crust** or your preferred classic crust, this recipe is designed for simplicity and maximum flavor, making it an ideal addition to your **Thanksgiving dessert** table or any fall gathering.
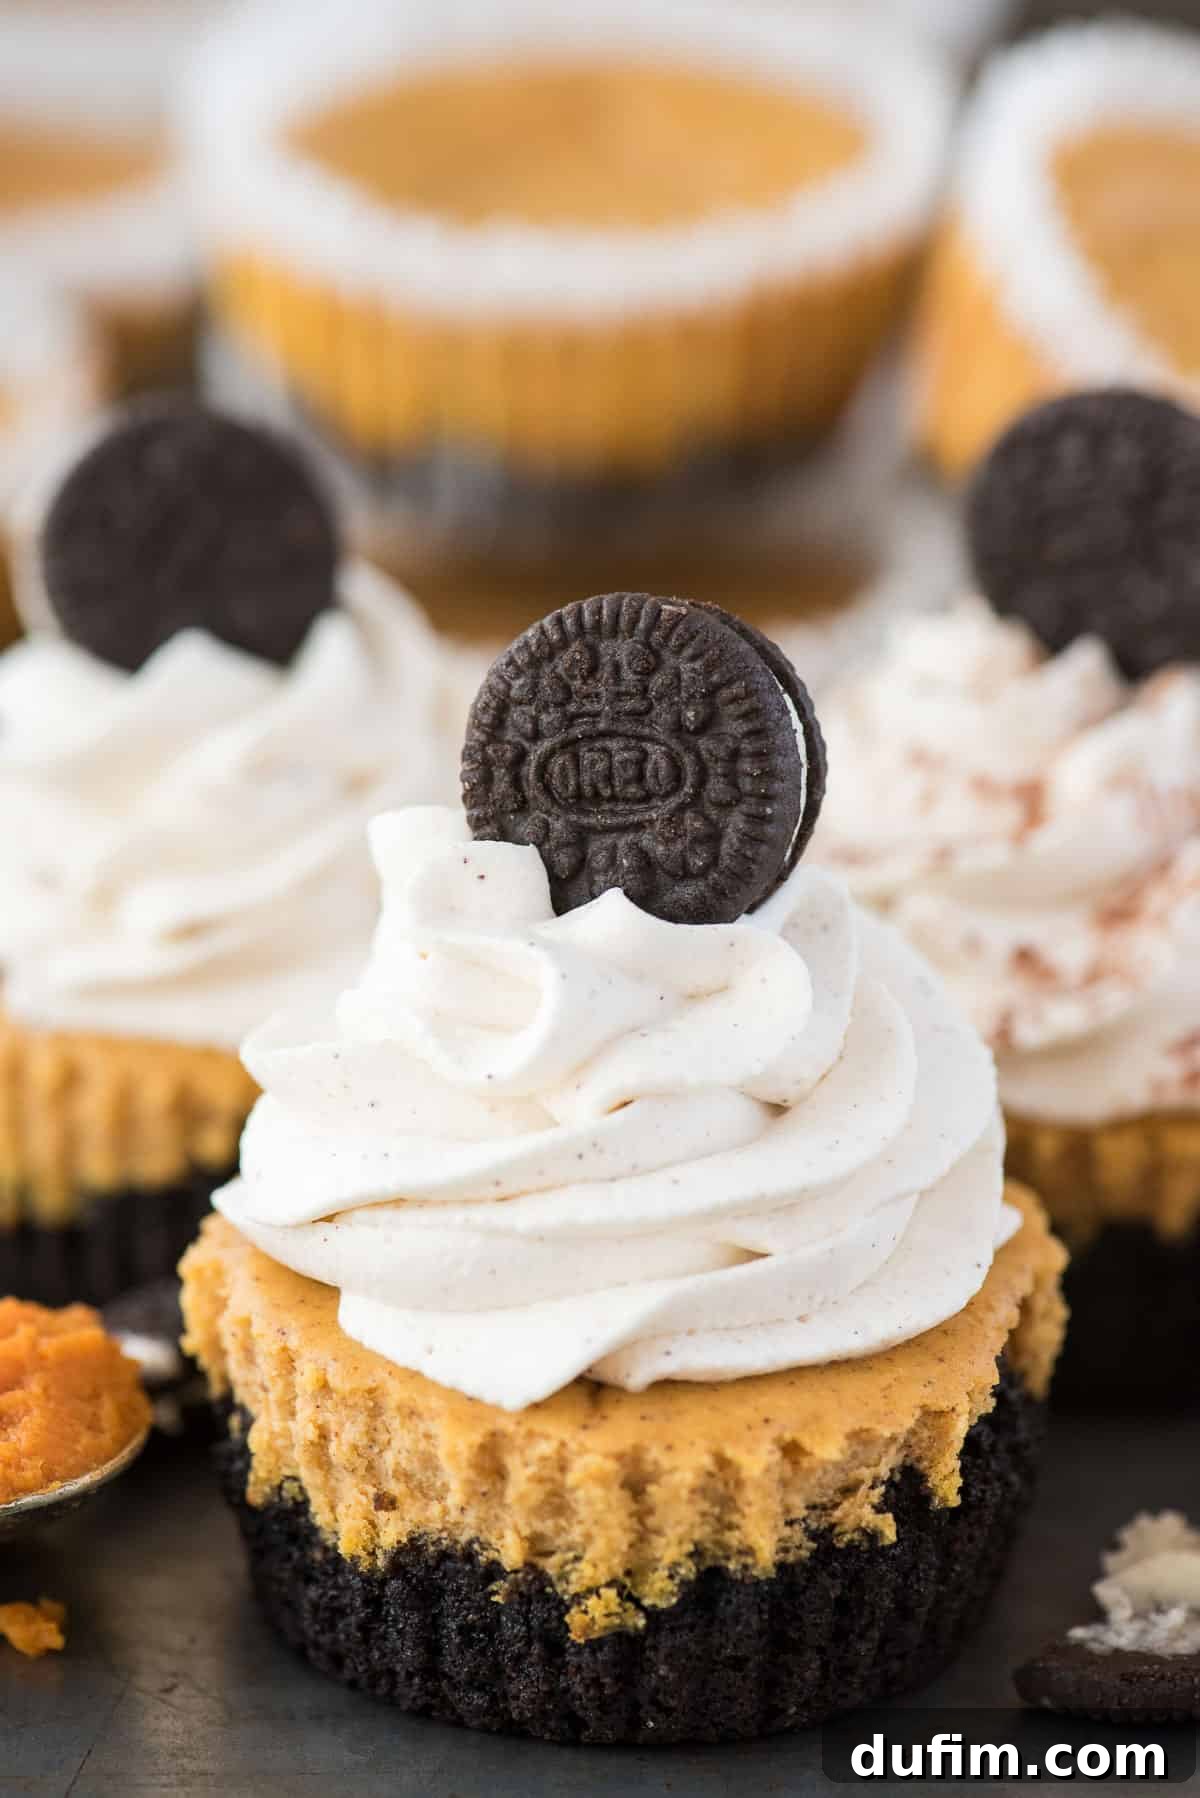
“These are sooo good! Made them last year and they were a hit. My husband took a few to work and he called me that day asking if I can make another batch for his coworker to take to his family. Back this year to make them again!”
– Daniela
Following the tremendous success of our mini Oreo cheesecakes, which remain incredibly popular during the holiday season, we’re thrilled to introduce a new recipe that captures the essence of fall: **Mini Pumpkin Cheesecakes with an Oreo Crust**. This recipe builds on the beloved simplicity of our mini cheesecake format, delivering all the rich, spiced flavor of a classic pumpkin cheesecake in convenient, bite-sized portions.
Think of these as adorable **pumpkin cheesecake bites** – perfectly portioned desserts that are ideal for any occasion during pumpkin season. Each mini cheesecake features a smooth, creamy filling bursting with warm, aromatic spices like cinnamon, nutmeg, ginger, and cloves, making it an absolute must-have addition to your holiday menu, especially for Thanksgiving. The fragrant spices perfectly complement the sweet pumpkin puree, creating an unforgettable autumnal flavor profile.
Effortlessly Easy: Mini Pumpkin Cheesecakes for Everyone
One of the greatest advantages of making mini cheesecakes is their incredible ease and efficiency. While a traditional 8-inch cheesecake often requires 60-75 minutes of baking time, these delightful mini versions are typically done in under 25 minutes! This significantly cuts down on your time in the kitchen, allowing you more time to enjoy with family and friends.
The even better news? You don’t need any specialized equipment like a mini cheesecake pan to create these individual pumpkin delights! Many home bakers invest in single-use kitchen gadgets that end up gathering dust. I, for instance, once purchased a specific mini cheesecake pan years ago, only to use it a grand total of twice. It now resides in that cupboard alongside forgotten margarita glasses, an enormous chili pot, a rarely-used thermos, a salad spinner, and the “company-only” glass pitcher.
Fortunately, you can leave your expensive springform pan tucked away too. Our **easy pumpkin cheesecake recipe** is designed to be baked in a standard 12-cup muffin tin. This accessible approach makes homemade cheesecake achievable for even novice bakers, simplifying the process without compromising on taste or texture.
Essential Tools to Make Your Mini Cheesecakes
Preparing these mini pumpkin cheesecakes requires only a few common kitchen tools, making the process straightforward and enjoyable. Here’s what you’ll need:
- A **standard size muffin pan** (12-cup capacity)
- Paper liners (standard muffin or cupcake liners)
- A large mixing bowl
- An electric mixer (either a hand mixer or a stand mixer with a paddle attachment for creaming ingredients)
- A blender, food processor, or a rolling pin and a ziplock bag to crush your cookies into fine crumbs
- Measuring cups and spoons
- A rubber spatula for scraping down the bowl
Crafting individual cheesecakes in a muffin pan is an excellent way to scale down a regular cheesecake recipe, making it less intimidating and more manageable. Unlike their larger counterparts, mini cheesecakes typically do not require a tricky water bath, further simplifying the baking process. Plus, as mentioned, they bake significantly faster, bringing you closer to enjoying your delicious dessert in less time.
What You’ll Need: The Delicious Ingredients
To create these delectable mini pumpkin cheesecakes, you’ll need a selection of fresh, high-quality ingredients. For precise quantities and full step-by-step instructions, please refer to the detailed recipe card at the end of this post.
FOR THE CRUST:
The foundation of these cheesecakes is a rich and flavorful crust.
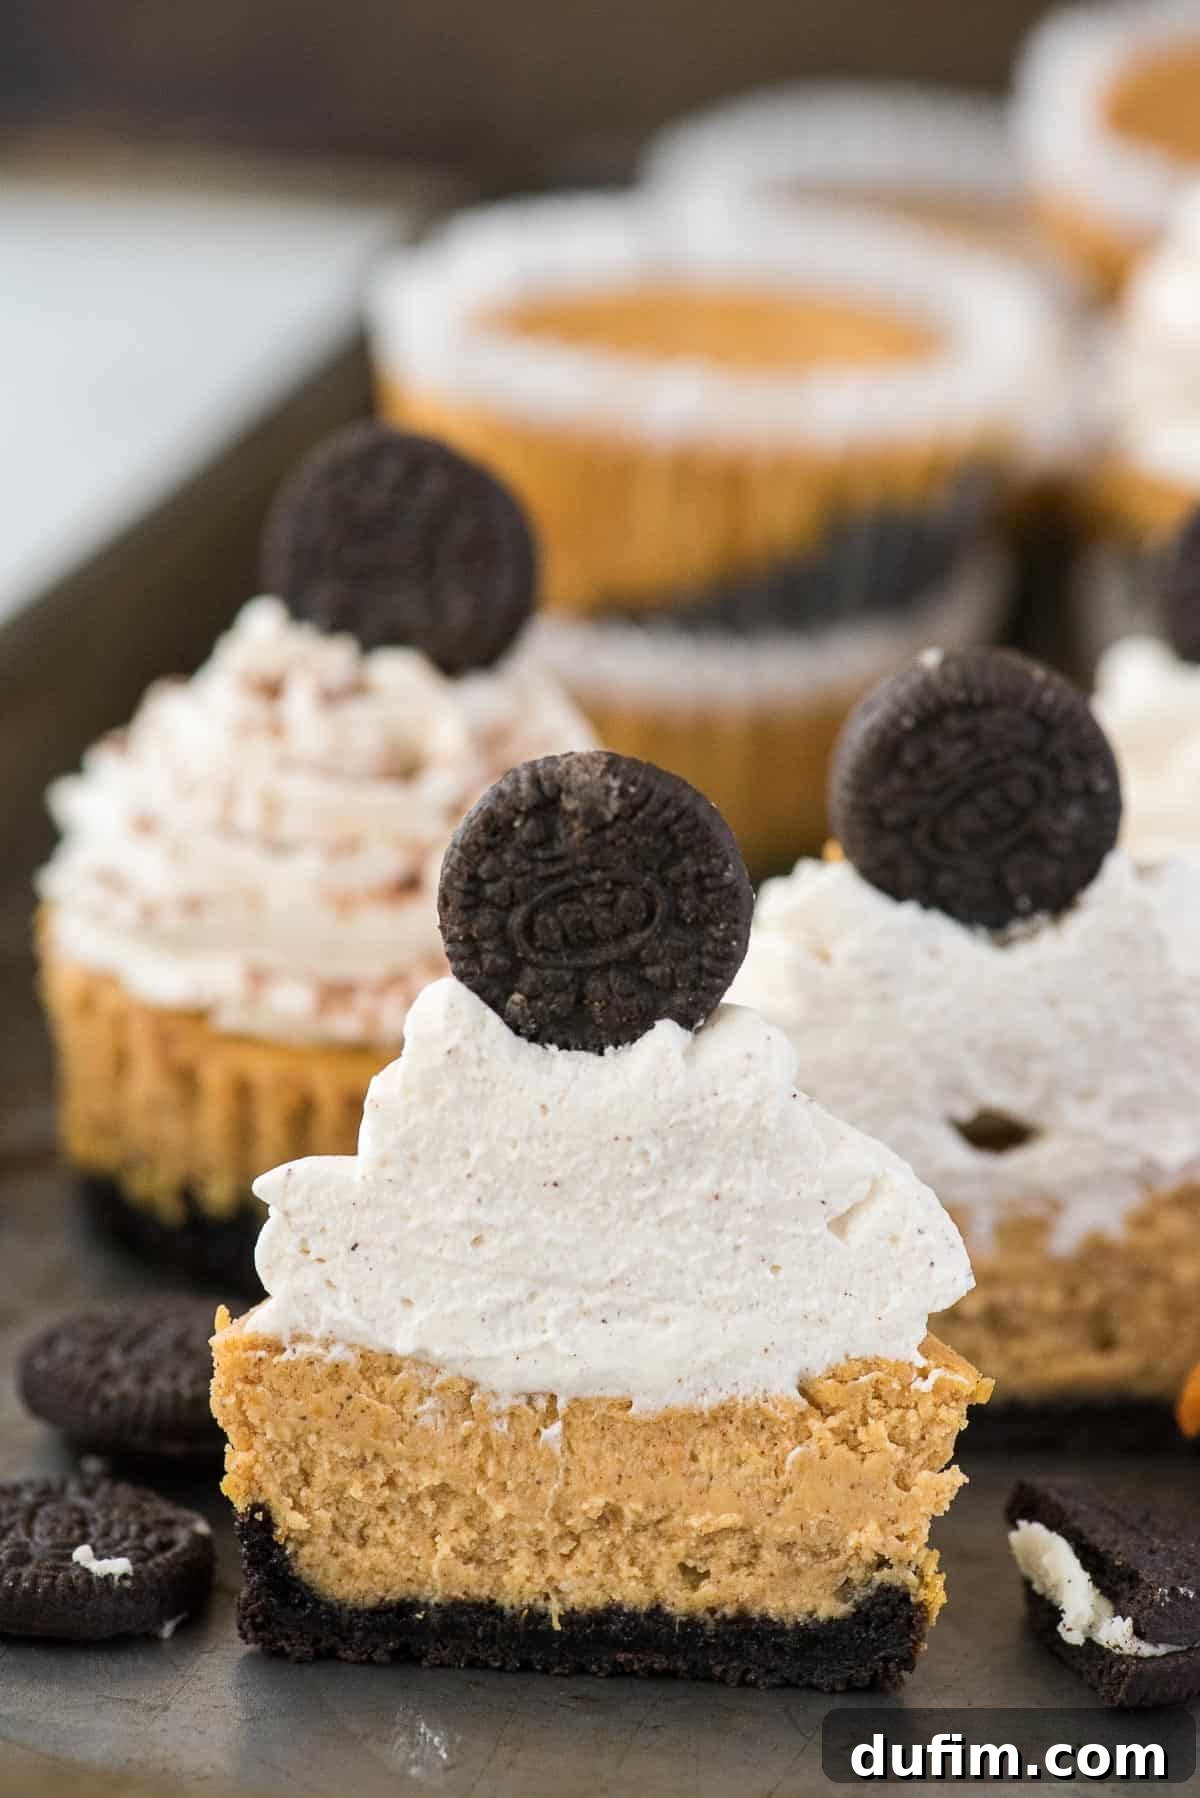
- **Oreo crumbs:** You’ll use the entire Oreo cookie, including the cream filling, for a deeply chocolatey and subtly sweet base. Crushing them fine ensures a compact, even crust.
- **Unsalted butter:** Melted butter acts as the binder for your crumbs. Using unsalted butter gives you control over the overall saltiness of your dessert.
FOR THE CHEESECAKE FILLING:
The star of the show – a creamy, spiced pumpkin filling.
- **Full-fat cream cheese:** This is non-negotiable for a truly rich and decadent cheesecake. Ensure your cream cheese is at **room temperature** to achieve a smooth, lump-free batter. Blocks of cream cheese (not the spreadable kind in tubs) are essential for the right consistency.
- **Granulated sugar:** Provides the perfect amount of sweetness to balance the tang of the cream cheese and the earthiness of the pumpkin.
- **Vanilla extract:** A touch of vanilla enhances all the other flavors in the cheesecake, adding a layer of warmth.
- **Pumpkin pie spice:** The quintessential fall blend! This spice mix, typically containing cinnamon, nutmeg, ginger, and cloves, infuses the cheesecake with classic autumnal warmth and fragrance.
- **Pumpkin puree:** The crucial ingredient for that authentic pumpkin flavor and beautiful orange hue. Make sure you use 100% pure pumpkin puree, not pumpkin pie filling, which contains added sugars and spices. It also contributes to the moist and tender texture of the cheesecake.
- **Eggs:** Like the cream cheese, let your eggs come to **room temperature**. Eggs bind the mixture, giving the cheesecake its structure and signature creamy texture.
Can I Substitute the Oreo Crumbs for a Different Crust?
Absolutely! While the Oreo crust offers a delightful chocolatey contrast to the pumpkin, you have several fantastic options to customize your mini cheesecakes:
- For a timeless and traditional flavor, opt for **graham cracker crumbs**.
- To intensify the chocolate experience, try **chocolate wafer crumbs**.
- For a lighter, sweeter base, **vanilla wafer crumbs** are an excellent choice.
- If you enjoy a bit of zing, **gingersnap cookies** make a wonderfully spiced crust that pairs beautifully with pumpkin.
These mini cheesecakes are incredibly versatile, and if you’re looking for an even lighter option, they can also be made entirely without a crust. Simply omit the crust step and pour the filling directly into the greased muffin liners.
How to Make Mini Pumpkin Cheesecakes: Step-by-Step Guide
Follow these simple instructions to create flawless mini pumpkin cheesecakes with an irresistible Oreo crust.
Preparing the Oreo Crust:
- **Prepare your oven and pan:** Preheat your oven to 350º F (175º C). Line a standard 12-cup muffin pan with paper muffin liners. These liners will make it easy to remove your finished cheesecakes.
- **Blend the Oreos:** Place whole Oreo cookies (both cookie and cream filling) into a blender or food processor. Pulse until you achieve fine, even crumbs. As a general guide, 16 whole Oreos will yield approximately 1 ½ cups of crumbs.
- **Make the crust mixture:** In a medium mixing bowl, combine the finely crushed Oreo crumbs with the melted unsalted butter. Stir thoroughly with a spoon or spatula until the mixture is uniformly moistened and resembles coarse, wet sand.
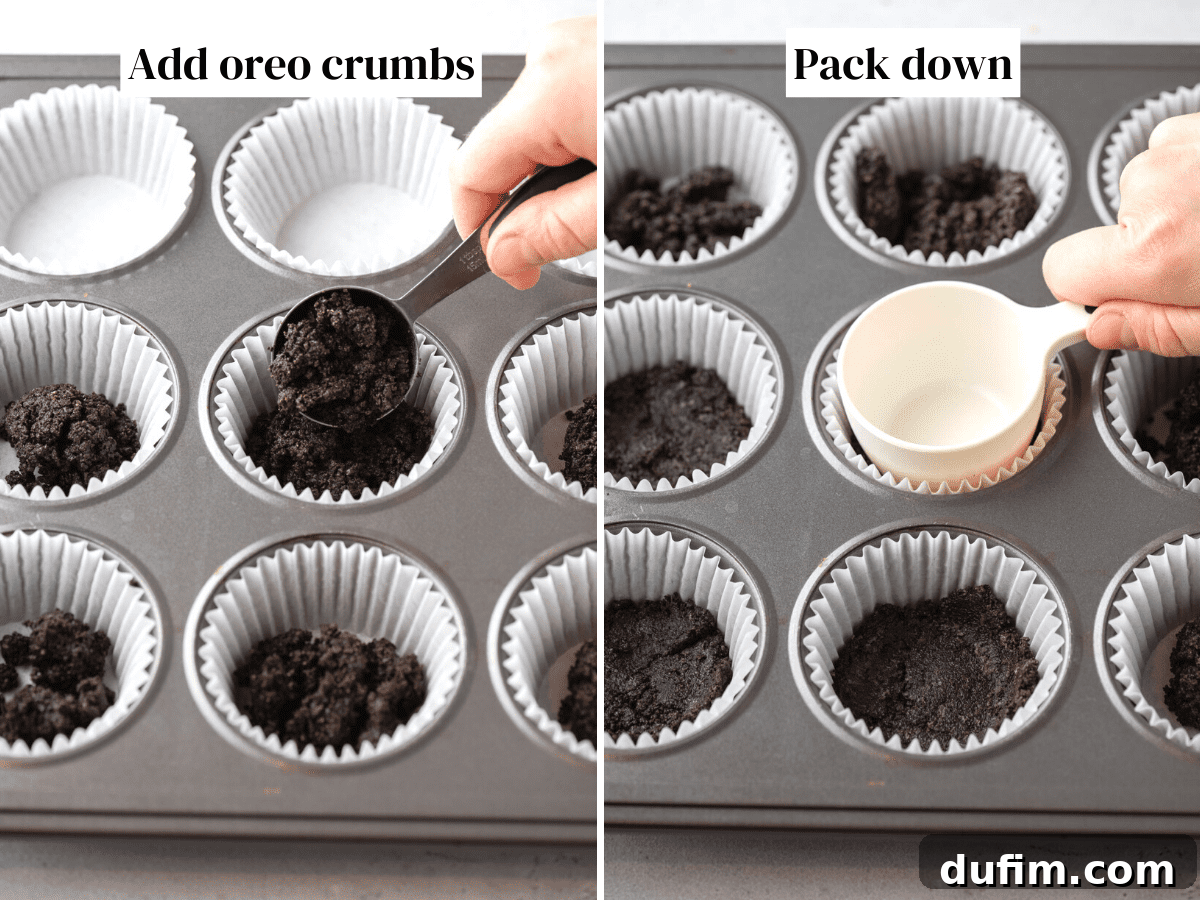
- **Form the crusts:** Divide the crumb mixture evenly among the 12 lined muffin cups. This usually amounts to about 1 to 2 tablespoons per cup.
- **Press firmly:** Using the bottom of a 1/3 cup measuring cup, a small glass, or even your fingertips, firmly press the crumb mixture down into an even, compact layer at the bottom of each muffin cup. A well-pressed crust will hold together beautifully.
- **Pre-bake the crust:** Place the muffin pan in your preheated oven and bake the crusts for 5 minutes. This crucial step helps set the crust, preventing it from becoming soggy once the filling is added.
- **Cool:** Remove the pan from the oven and set it aside to cool completely while you prepare the cheesecake filling.
Crafting the Pumpkin Cheesecake Filling:
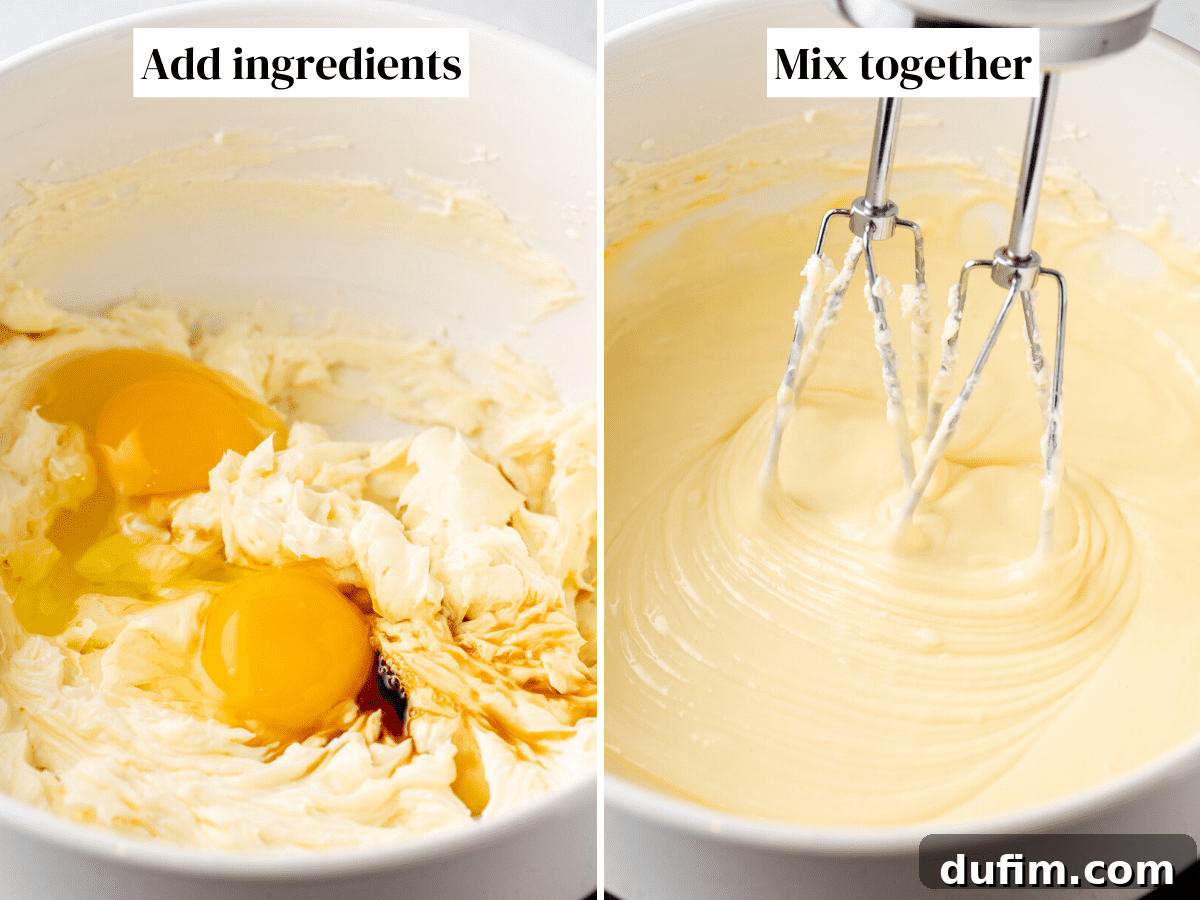
- **Cream the cheese and sugar:** In a large mixing bowl, using an electric hand mixer on medium-high speed (or a stand mixer with the paddle attachment), beat the softened full-fat cream cheese and granulated sugar together for 1-2 minutes. Continue mixing until the mixture is completely smooth, creamy, and free of any lumps. Remember to scrape down the sides of the bowl with your spatula to ensure everything is well combined.
- **Finish the cheesecake batter:** Reduce the mixer speed to medium. Beat in the vanilla extract, pumpkin pie spice, and pumpkin puree until all ingredients are fully incorporated and the batter is smooth and uniformly colored.
- **Add the eggs:** Gently beat in the room-temperature eggs, one at a time. Mix *just* until the yolk breaks and the egg is fully incorporated into the batter. It’s vital not to over-mix the batter at this stage, as too much air can cause the cheesecakes to puff up excessively and then sink or crack as they cool. Beat for only about 30-60 seconds after the last egg is added.
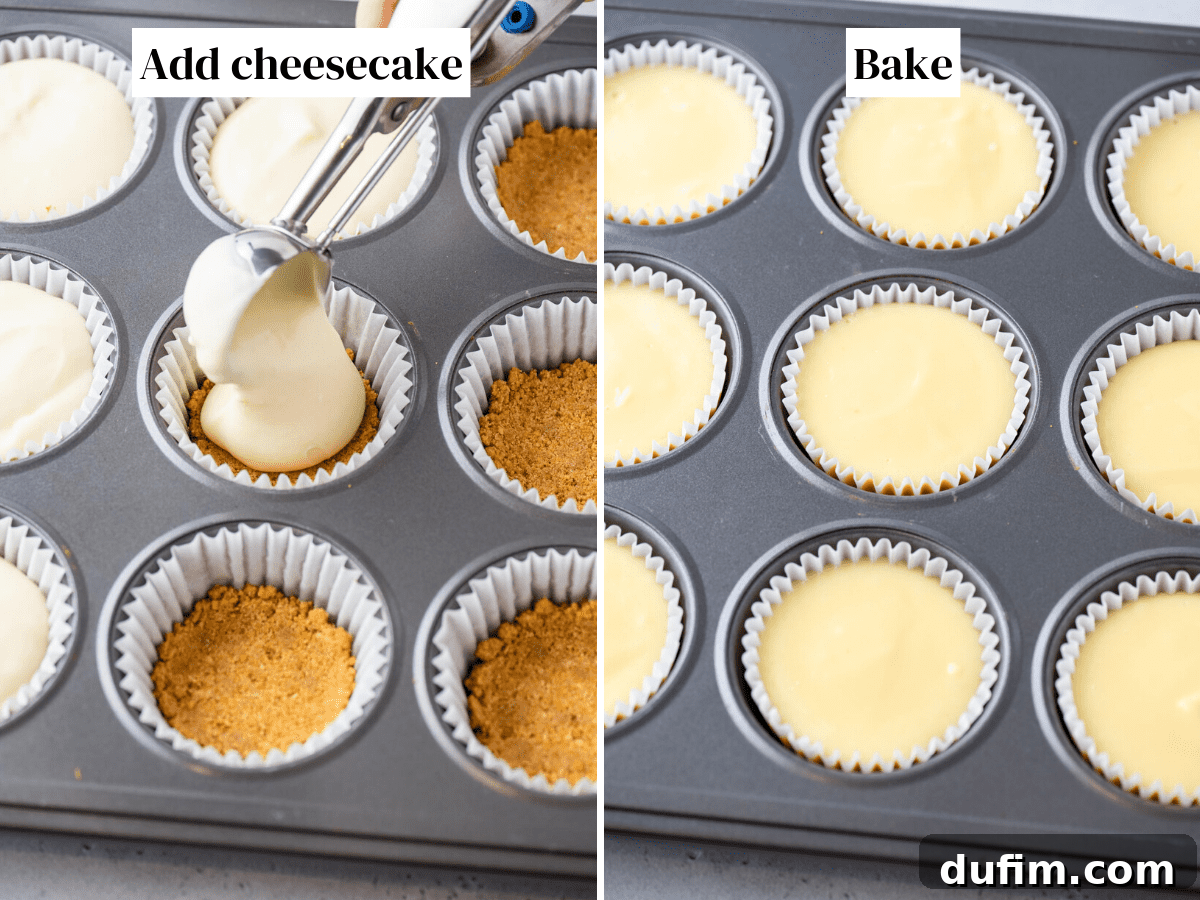
- **Assemble:** Carefully divide the pumpkin cheesecake batter among the cooled muffin cups, filling each paper liner almost to the top. An ice cream scoop can be helpful for even distribution, aiming for a little more than 2 tablespoons per cup.
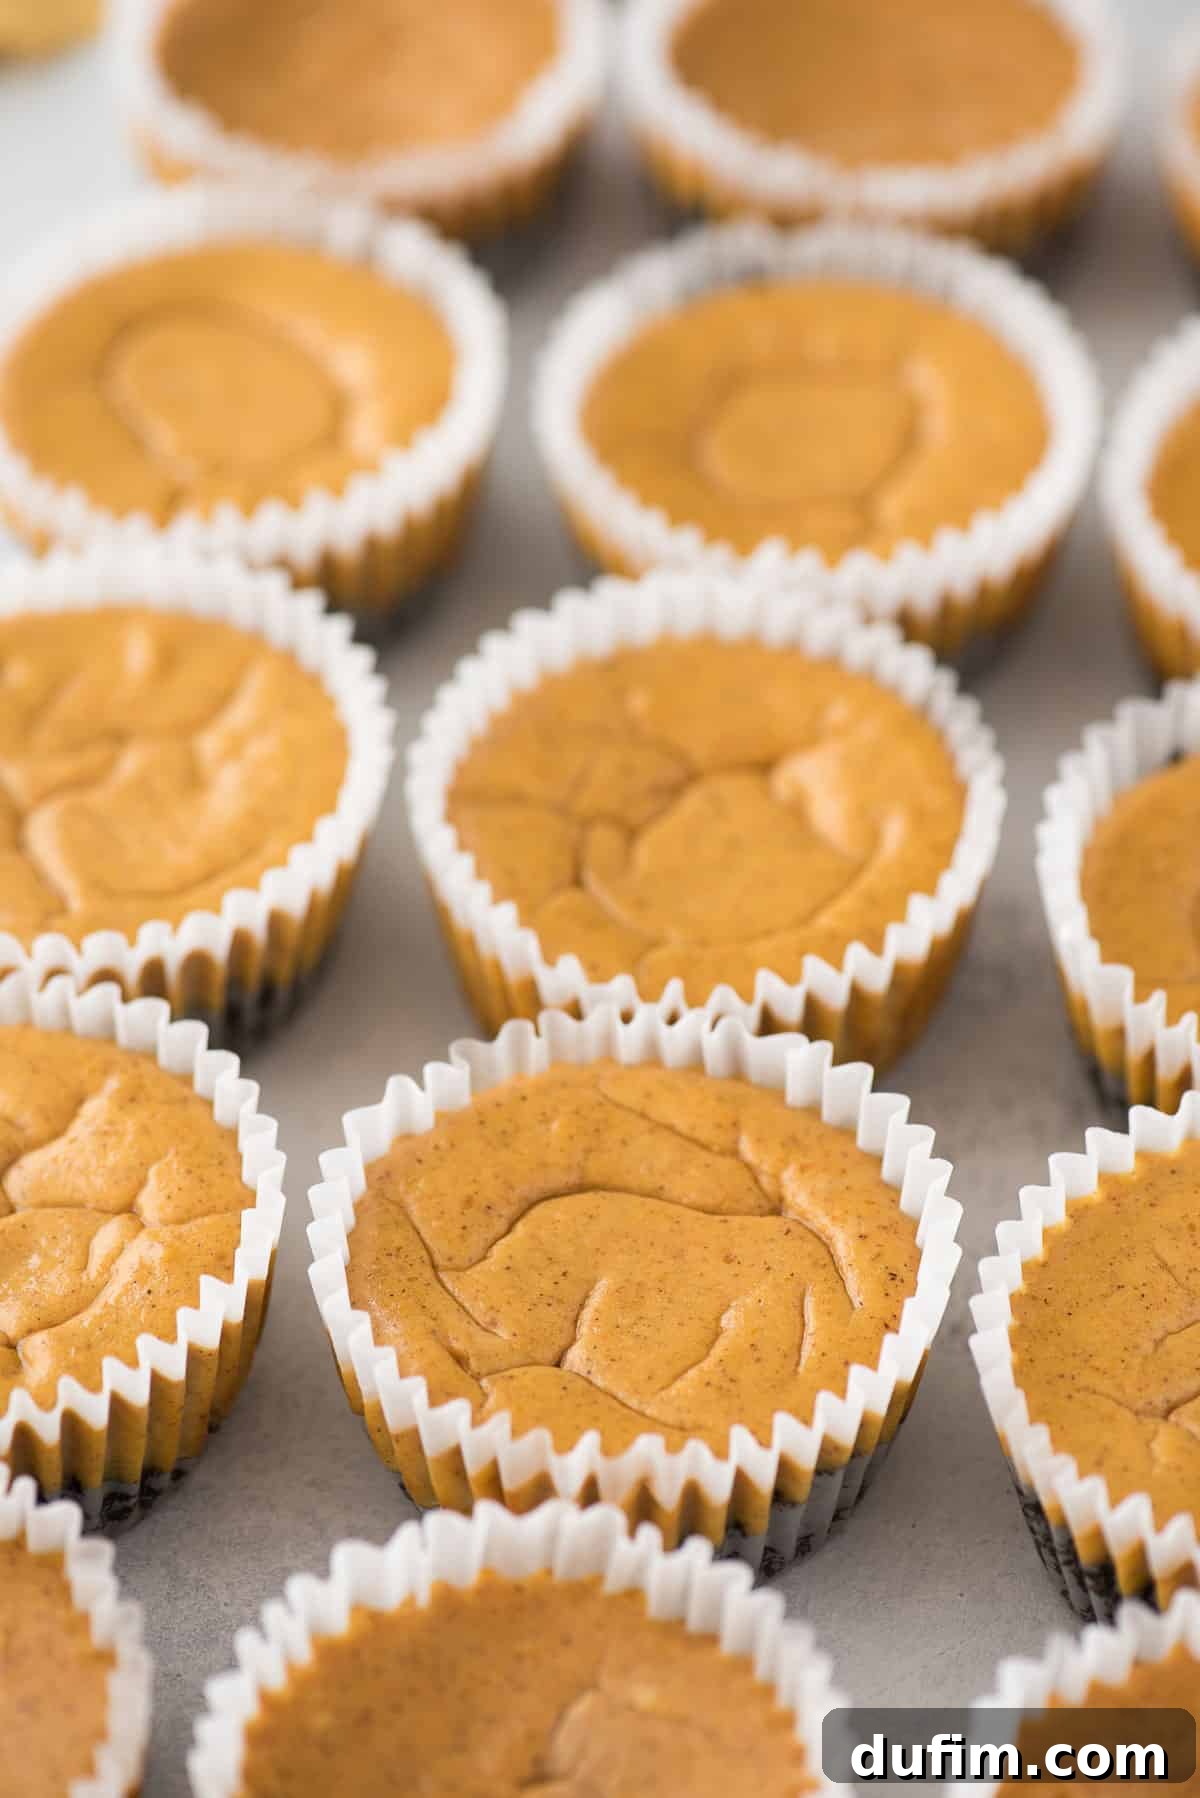
- **Bake:** Return the muffin pan to the oven and bake for 21 to 24 minutes. The cheesecakes are done when the edges appear set and slightly puffed, but the centers still have a slight “jiggle” when you gently shake the pan. This slight wobble indicates they are perfectly cooked and won’t be overbaked.
- **Cool and chill:** Remove the muffin pan from the oven and place it on a wire rack to cool completely to room temperature. This gradual cooling is essential to prevent cracking. Once cooled, transfer the entire muffin pan (with the cheesecakes) to the refrigerator. Chill for at least 4 hours, or ideally, overnight. Chilling allows the cheesecakes to firm up, develop their full flavor, and achieve that wonderfully dense, creamy cheesecake texture. If chilling overnight or longer, loosely cover the cheesecakes with plastic wrap to prevent them from drying out or absorbing other odors from the fridge.
Time Required for Your Mini Pumpkin Cheesecakes
One of the many benefits of this recipe is its relatively quick active preparation and baking time. While the chilling period requires patience, the hands-on work is minimal, making it perfect for busy schedules.
- **4 minutes** to prep the crust ingredients
- **5 minutes** to pre-bake the crust
- **5 minutes** to prep the cheesecake filling
- **20-24 minutes** to bake the cheesecake filling
- **At least 4 hours** to refrigerate the cheesecakes before serving. For the absolute best texture and flavor, I highly recommend refrigerating them overnight. Waiting is often the hardest part, but it’s well worth it!
How to Tell When Mini Cheesecakes are Perfectly Baked
Knowing when your cheesecakes are done is key to preventing over-baking and ensuring a creamy texture. The best method is the “jiggle test”:
Gently shake the muffin pan. The center of each cheesecake should still have a slight, delicate jiggle, similar to firm gelatin. The edges of the cheesecakes will appear more set, slightly puffed, and light golden brown. If the centers are still liquidy, they need a few more minutes in the oven. If they are completely firm and no longer jiggle, they may be slightly overbaked, but will still be delicious!
How to Cool Your Mini Cheesecakes
Once the mini cheesecakes are finished baking, promptly remove the muffin pan from the oven. Place the pan on a wire rack or directly on your kitchen counter to allow the cheesecakes to cool gradually to room temperature. Avoid rushing this step by placing them in the refrigerator immediately, as rapid temperature changes can lead to cracks.
How to Store Your Mini Pumpkin Cheesecakes
After your cheesecakes have cooled completely to room temperature, transfer them to the refrigerator for chilling. You can either loosely cover the entire muffin pan with plastic wrap, or carefully remove the individual cheesecakes from their liners and place them in an airtight container. Refrigerate them overnight (or for at least 4 hours) to allow them to firm up and fully develop their flavors. Properly stored, these mini cheesecakes will remain fresh and delicious in the refrigerator for up to 3-4 days.
Troubleshooting: Why Did My Mini Cheesecakes Sink or Crack?
Even with careful preparation, cheesecakes can sometimes present minor challenges. The most common reason for cheesecakes sinking in the middle or developing cracks on top is **over-beating the eggs**.
When you over-mix the eggs, you incorporate too much air into the cheesecake batter. This air causes the cheesecake to rise rapidly and dramatically during baking. However, as the cheesecake cools, these air bubbles collapse, leading to a sunken center or noticeable cracks on the surface. To prevent this, be sure to:
- Add the eggs one at a time.
- Mix *just* until the yolk breaks and the egg is fully incorporated into the batter.
- Once all eggs have been added, beat for a maximum of 30-60 seconds.
Following this simple tip will help you achieve beautifully smooth and even cheesecake tops!
Essential Tips for Perfect Mini Pumpkin Cheesecakes
Making mini pumpkin cheesecakes is generally much less intimidating than tackling a large, traditional cheesecake, especially if it’s your first time baking one. These straightforward tips will help ensure your individual cheesecakes turn out absolutely perfect every time, impressing everyone who tastes them.
- **Ensure ingredients are at room temperature:** This is crucial for a smooth, lump-free batter. Cold cream cheese and eggs will not incorporate properly, leading to a textured (and often cracked) cheesecake.
- **Do not over-mix the cheesecake batter:** As mentioned earlier, once you add the eggs, beat them in *just* until the yolk breaks and they are incorporated. Over-beating at this stage introduces too much air, which can cause the cheesecakes to puff up and then sink or crack during cooling.
- **Avoid over-baking:** Over-baked cheesecakes can be dry and dense. When performing the “jiggle test” (gently shaking the baking pan), the centers should still have a slight wobble. If the centers move like liquid, they need more time. If they are completely firm, they are likely overdone.
- **Allow ample time for chilling:** Patience is a virtue when it comes to cheesecake! Warm or insufficiently chilled cheesecake isn’t nearly as appetizing. Be sure to factor in the minimum 4 hours (and ideally overnight) chilling time when planning your baking schedule. This firming-up process is crucial for optimal texture and flavor.
- **Use paper liners:** Muffin liners make removing the individual cheesecakes incredibly easy and help with clean-up.
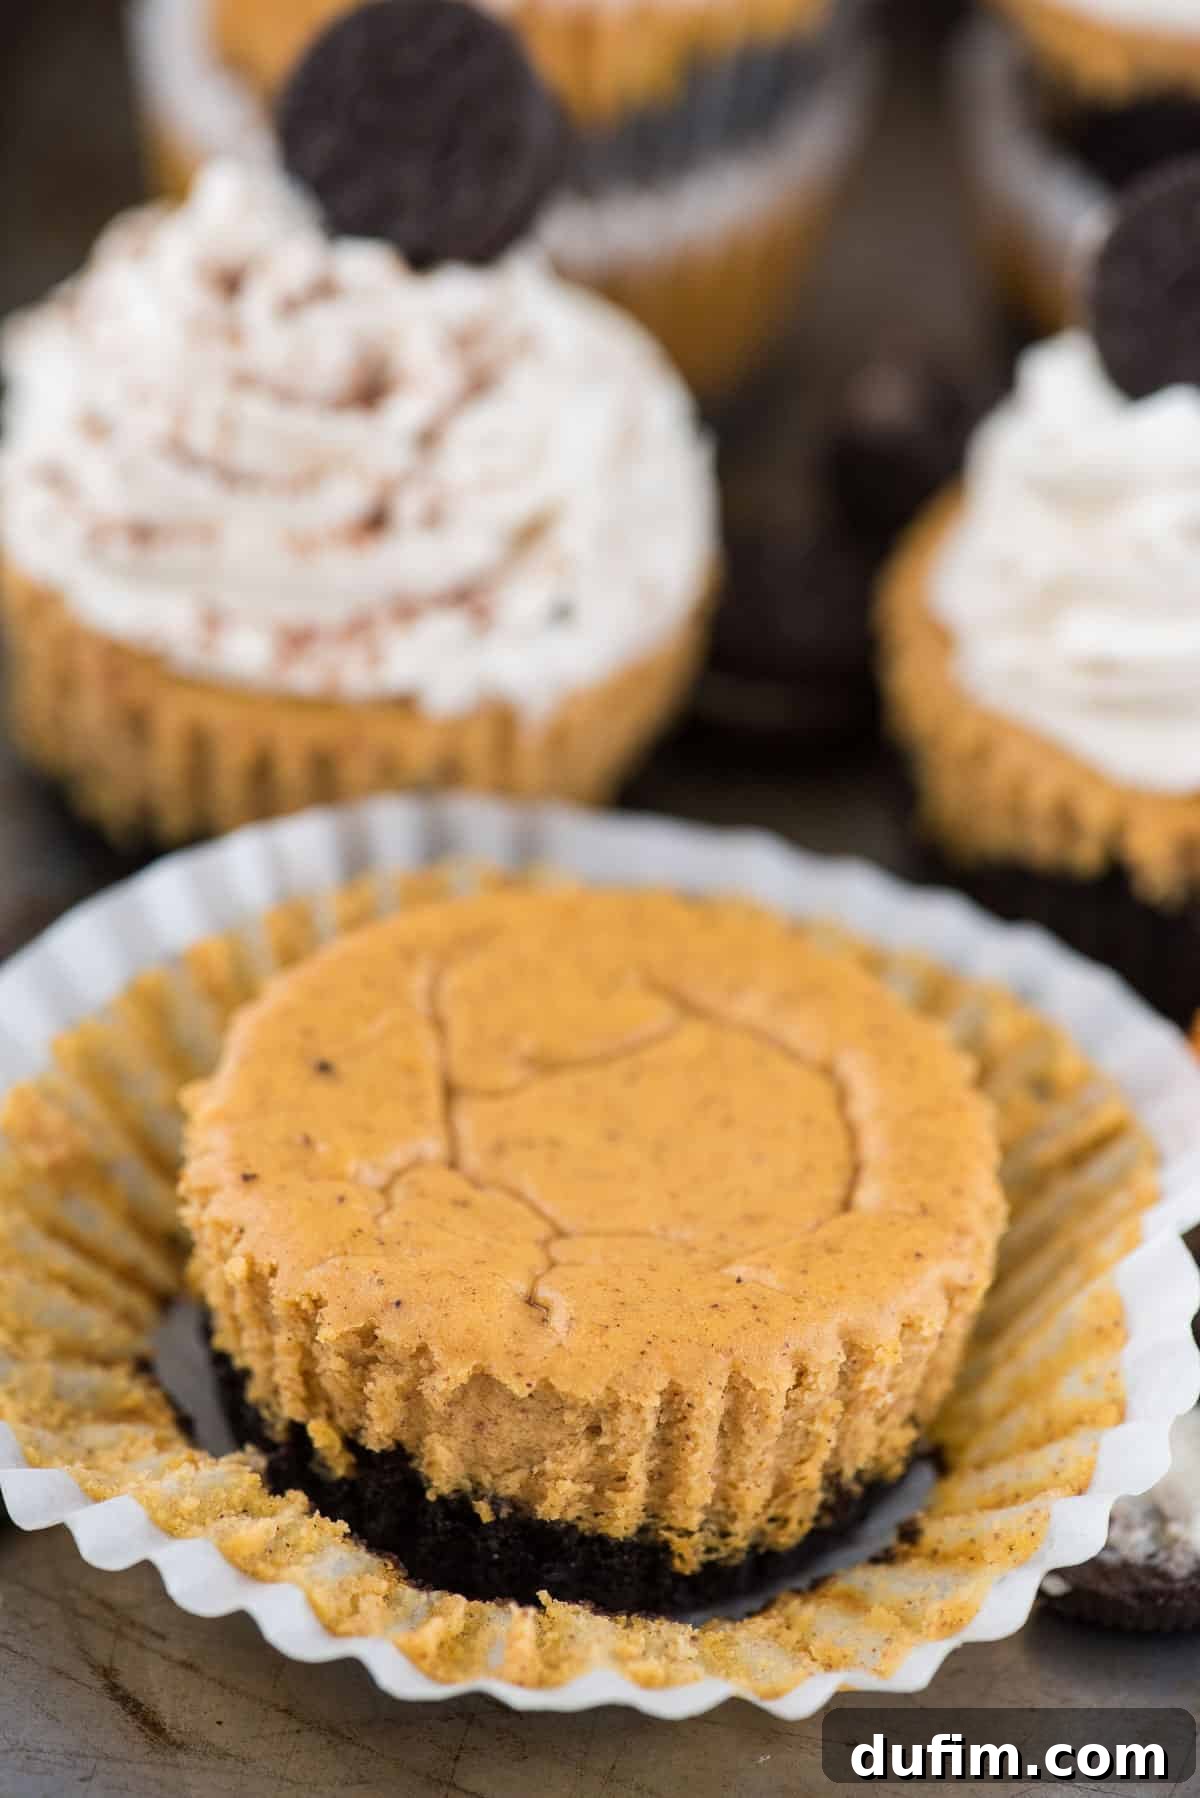
- **Don’t worry about minor imperfections:** If, despite your best efforts, the tops of your cheesecakes develop a tiny crack or a few air bubbles, don’t fret! Once you add your delicious toppings (like whipped cream, chocolate ganache, or a sprinkle of extra spice), no one will even notice. It’s all part of the charm of homemade desserts!
How to Top Your Mini Pumpkin Cheesecakes
Once chilled, these mini pumpkin cheesecakes are a blank canvas for delicious toppings! Elevate their flavor and presentation with these suggestions:
- A generous swirl of homemade pumpkin whipped cream for an extra layer of pumpkin spice flavor.
- A dollop of chocolate whipped cream to complement the Oreo crust.
- A decadent drizzle of chocolate ganache for a rich, glossy finish.
- A sprinkle of cinnamon, nutmeg, or extra pumpkin pie spice.
- Crushed pecans, walnuts, or candied ginger for added texture.
- A light caramel drizzle or a sprinkle of toffee bits.
- And of course, mini Oreos or additional Oreo crumbs for a fun, thematic garnish!
Swap Out the Oreo Crust for Other Delicious Options:
While the Oreo crust is fantastic, feel free to experiment with other cookie crusts to suit your preference:
- **Graham Cracker Crust:** A classic choice that offers a buttery, slightly honeyed flavor.
- **Snickerdoodle Cookie Crust:** For a sweet, cinnamon-sugar twist that complements the pumpkin beautifully.
- **Gingersnap Cookie Crust:** Adds a spicy, peppery kick that enhances the warm spices in the pumpkin filling.
No matter which cookie you choose, simply substitute the same amount of crumbs (1 ½ cups) for the Oreo crumbs, keeping the melted butter quantity the same. Follow the rest of the crust instructions as written.
How to Freeze Mini Pumpkin Cheesecakes for Later
Mini cheesecakes are excellent candidates for freezing, allowing you to prepare them ahead of time for future gatherings or to simply enjoy a treat whenever a craving strikes.
- **Cool completely:** Ensure the cheesecakes are entirely cooled to room temperature after baking, and preferably chilled in the refrigerator for at least 4 hours.
- **Initial freeze:** Place the undecorated mini cheesecakes (without any garnishes like whipped cream or fruit) on a baking sheet, uncovered. Transfer the baking sheet to the freezer until the cheesecakes are firm and completely frozen (this usually takes 1-2 hours).
- **Wrap and store:** Once frozen solid, individually wrap each cheesecake tightly in aluminum foil, and then place the foil-wrapped cheesecakes into a freezer-safe ziplock bag or an airtight container. This double layer of protection helps prevent freezer burn.
- **Thaw:** These frozen delights can be stored for up to 4 months. To thaw, simply transfer the desired number of cheesecakes from the freezer to the refrigerator and let them thaw overnight.
- **Garnish before serving:** Before serving, add your desired toppings and garnishes, such as fresh whipped cream, chocolate drizzle, or mini Oreos.
These delicious **easy pumpkin cheesecake bites** are truly the perfect **fall dessert**. By following our comprehensive step-by-step photos and detailed instructions, you’ll easily create a flawless, crowd-pleasing dessert that will be a highlight of your Thanksgiving feast or any autumnal celebration!
More Irresistible Pumpkin Desserts
If you’re a fan of all things pumpkin, be sure to explore these other fantastic recipes:
- Classic Pumpkin Cheesecake
- Easy Pumpkin Swirl Cake
- Simple Pumpkin Dump Cake
- Doctored Up Pumpkin Cake
- Mini Pumpkin Pie Rice Krispies
Mini Pumpkin Cheesecakes
The best pumpkin cheesecakes that only take 30 minutes to prep and bake in a muffin pan! This easy Thanksgiving cheesecake can be made with an Oreo crust or a graham cracker crust. Top these pumpkin cheesecake cupcakes with our homemade pumpkin whipped cream.
By: Beth
Prep Time: 15 minutes
Cook Time: 20 minutes
Additional Time: 4 hours (chilling)
Total Time: 4 hours 35 minutes
Servings: 12 mini cheesecakes
Rating: 4.42 out of 5 stars (from 123 ratings)
Rate Recipe
Print Recipe
Equipment
- Standard Muffin Pan
- Large Mixing Bowl
- Electric Mixer (hand mixer or stand mixer)
- Blender or Food Processor (for crumbs)
- Measuring Cups and Spoons
- Rubber Spatula
- Paper Muffin Liners
Ingredients
For the Crust
- 1 ½ cups Oreo crumbs (about 16 whole Oreos, including cream filling)
- 3 tbsp unsalted butter, melted
For the Cheesecake Filling
- 1 ½ packages (approx. 12 oz total) full-fat cream cheese, softened to room temperature
- ⅓ cup granulated sugar
- 1 tsp vanilla extract
- 2 tsp pumpkin pie spice
- ½ cup 100% pumpkin puree (ensure it’s not pumpkin pie filling)
- 2 large eggs, at room temperature
Optional Toppings
- Pumpkin whipped cream
- Mini Oreos
- Chocolate ganache, caramel drizzle, or crushed nuts
The gift that keeps on giving! Click to buy now.
Instructions
For the Crust
- Preheat your oven to 350º F (175º C).
- Line a standard 12-cup muffin pan with paper muffin liners.
- In a medium mixing bowl, combine the Oreo crumbs and melted butter. Stir until the mixture resembles coarse, wet sand.
- Place 1-2 tablespoons of the crumb mixture into each muffin cup.
- Using the bottom of a 1/3 cup measuring cup or a similar flat object, firmly press the crumbs down into an even layer at the bottom of each liner.
- Bake the crust for 5 minutes. Remove the pan from the oven and set it aside to cool while you prepare the cheesecake filling.
For the Cheesecake Filling
- In a large mixing bowl, using an electric mixer, beat the softened cream cheese and granulated sugar on medium-high speed for 1-2 minutes until smooth and creamy.
- Beat in the vanilla extract, pumpkin pie spice, and pumpkin puree until the mixture is smooth and well combined.
- Add the eggs, one at a time, beating *just* until each egg is incorporated into the batter. Avoid over-mixing.
- Carefully divide the cheesecake batter among the cooled muffin cups, filling each liner almost to the top (approximately a little more than 2 tablespoons per cup).
- Return the muffin pan to the oven and bake for 21-24 minutes, or until the centers of the cheesecakes are slightly jiggly when you gently shake the pan.
- Remove the cheesecakes from the oven and let them cool completely to room temperature on a wire rack. Then, transfer the pan to the refrigerator and chill for at least 4 hours (preferably overnight) before serving. If chilling overnight, loosely cover the cheesecakes with plastic wrap.
- Before serving, top with your desired garnishes, such as homemade pumpkin whipped cream and mini Oreos.
Notes
- 1 ½ cups of Oreo crumbs is equivalent to about 16 whole Oreo cookies (both cookie and cream filling crushed together).
- Crust Variations: You can easily swap out the Oreo crumbs for 1 ½ cups of graham cracker crumbs, snickerdoodle cookie crumbs, or gingersnap cookie crumbs. The amount of melted butter (3 tbsp) should remain the same. Follow the rest of the crust preparation steps as written.
Nutrition Information (Approximate Per Serving)
- Calories: 221 kcal
- Carbohydrates: 18g
- Protein: 4g
- Fat: 15g
- Saturated Fat: 8g
- Polyunsaturated Fat: 1g
- Monounsaturated Fat: 4g
- Trans Fat: 1g
- Cholesterol: 70mg
- Sodium: 200mg
- Potassium: 105mg
- Fiber: 1g
- Sugar: 11g
- Vitamin A: 2103 IU
- Vitamin C: 1mg
- Calcium: 43mg
- Iron: 1mg
All nutritional values are approximate and provided to the reader as a courtesy. Changing ingredients and/or quantities will alter the estimated nutritional calculations.