
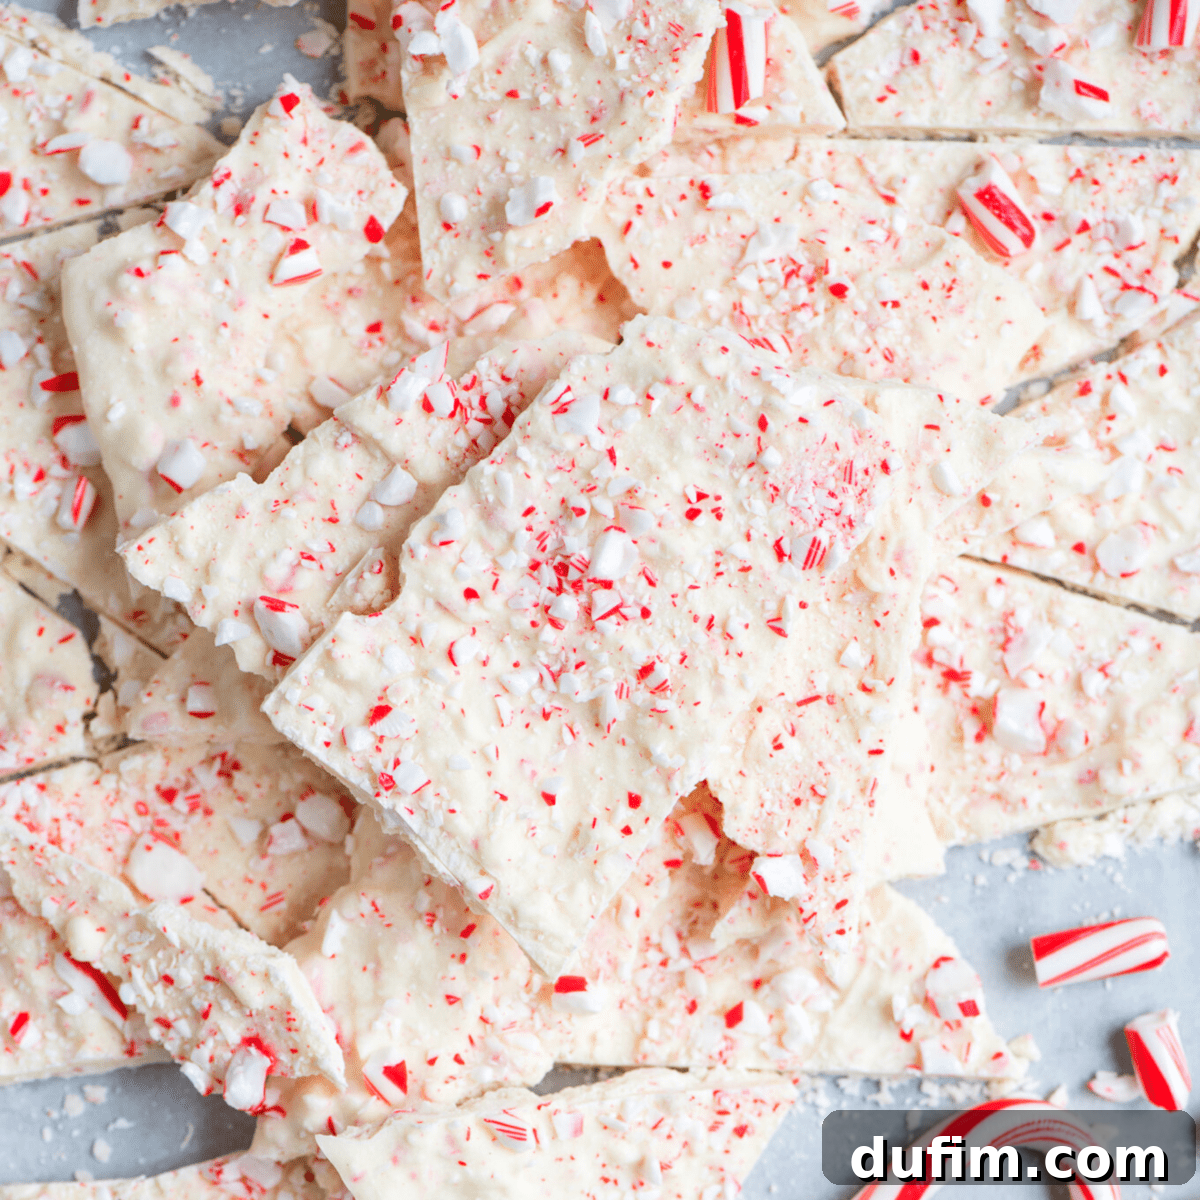
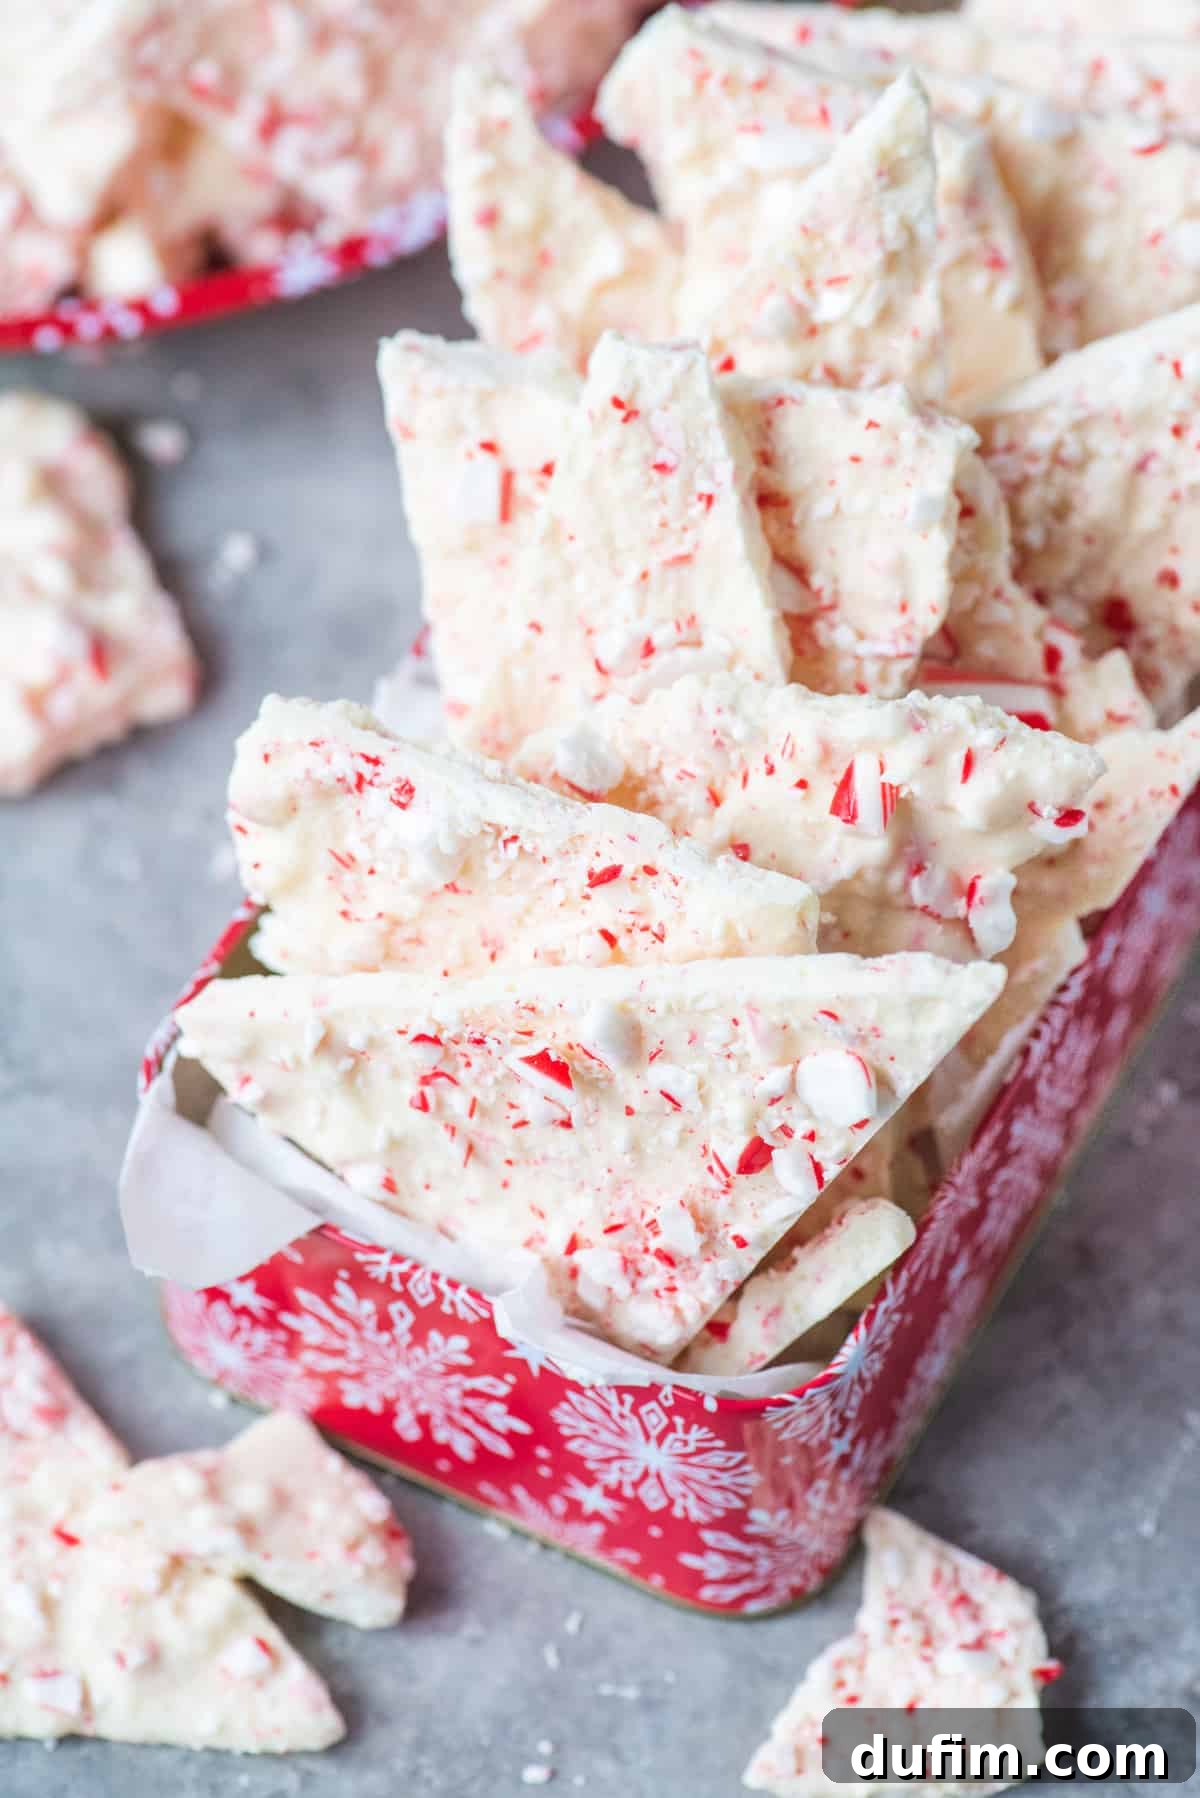
White chocolate peppermint bark, generously studded with vibrant crushed candy canes, stands as an undisputed holiday classic! This festive treat is not just a dessert; it’s a staple of seasonal joy, bringing smiles and a refreshing burst of peppermint to any gathering.
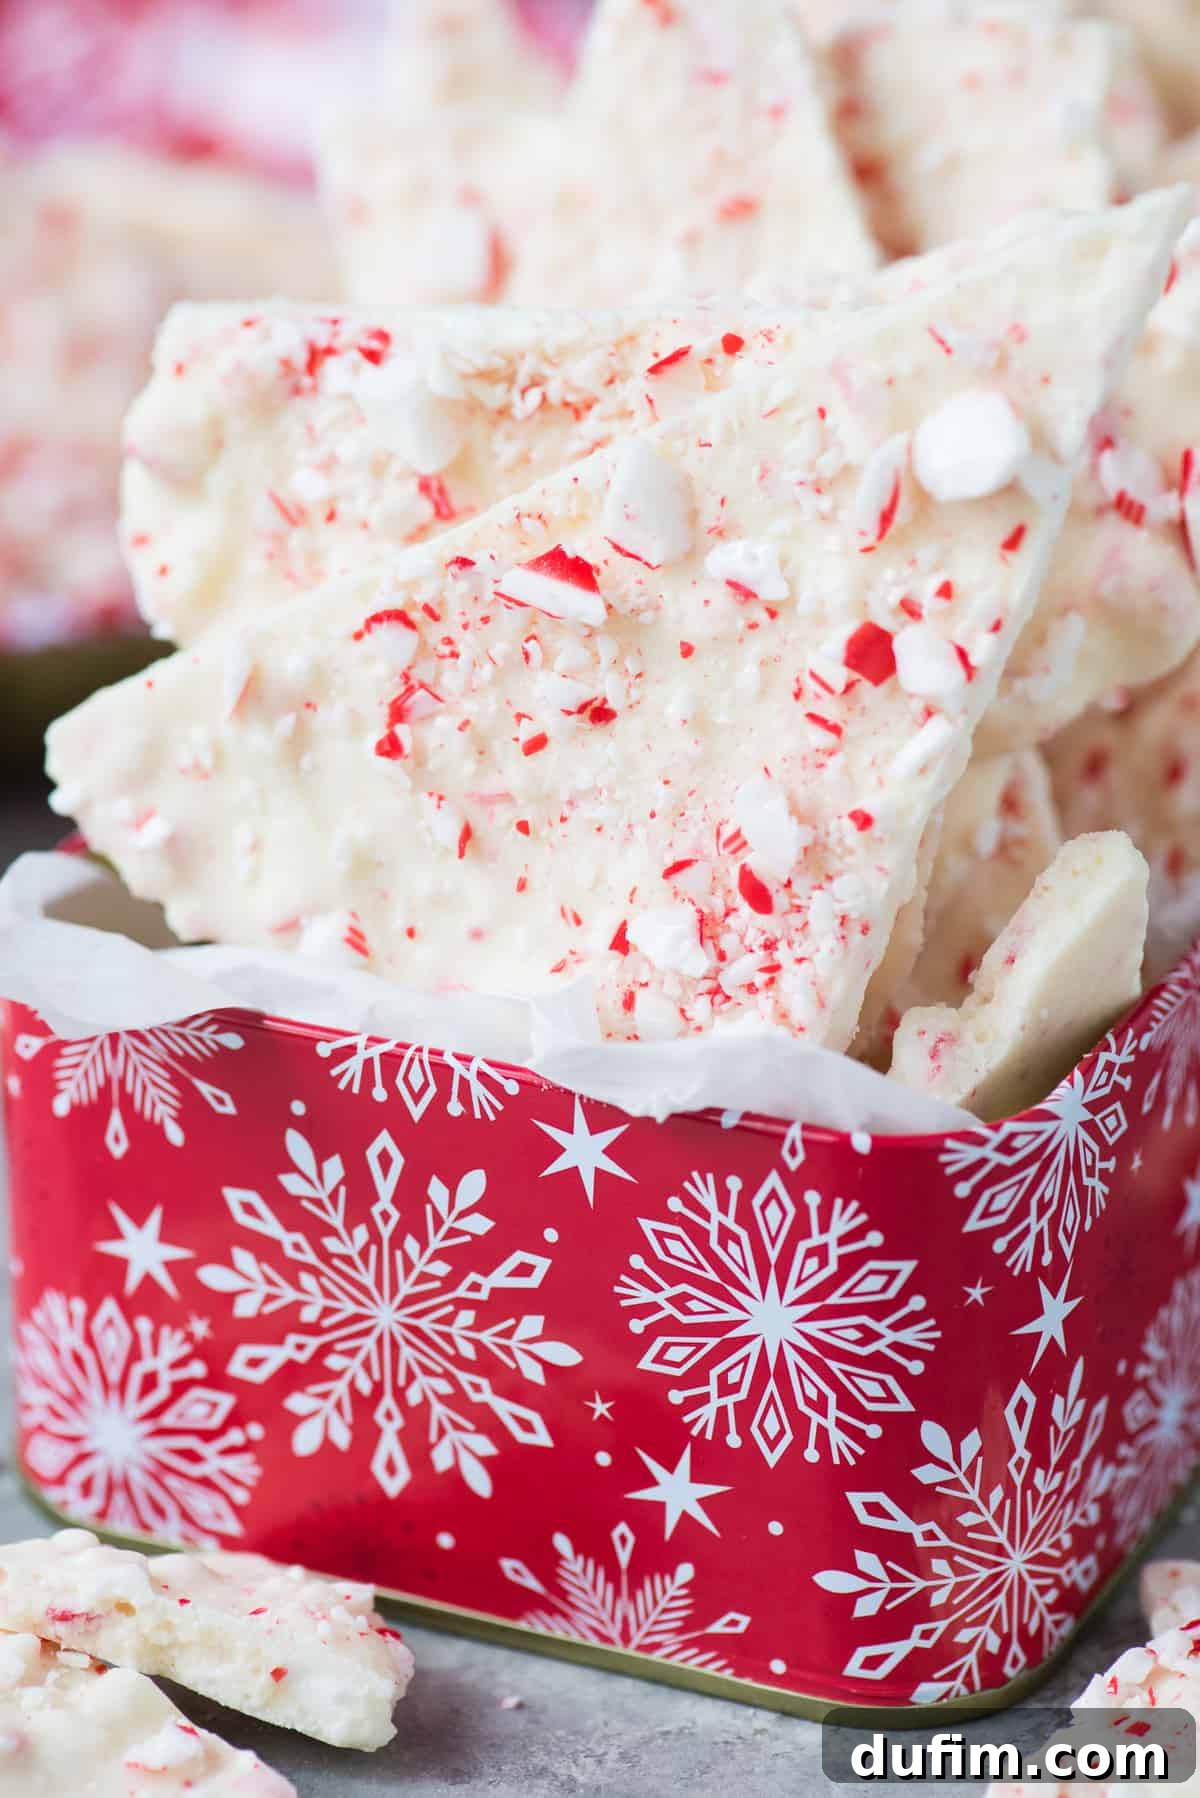
“This is such an easy and delicious recipe! I have made it several times and will make it again. Thank you for this great recipe!”
-Rebecca
White Chocolate Peppermint Bark: Your Go-To Holiday Recipe
As the holiday season draws near, the air fills with the sweet aroma of festive baking and confectionery. Among the myriad of delightful treats, homemade peppermint bark shines brightly as an enduring tradition. When we assemble our annual holiday cookie tins, this enchanting white chocolate peppermint bark always finds its place. Its popularity stems from its incredible ease of preparation and its status as a quintessential Christmas candy that universally appeals to all ages. The striking contrast of creamy white chocolate and crunchy, cool peppermint makes it an irresistible addition to any holiday spread.
This beloved holiday treat is remarkably simple, requiring just two primary ingredients: velvety melted white almond bark and crisp, crushed candy canes. This minimalist approach ensures that even novice confectioners can achieve stunning, professional-looking results. The invigorating peppermint from the candy canes perfectly balances the sweetness of the white chocolate, creating a harmonious flavor profile that is both comforting and exhilarating.
Why This Peppermint Bark Will Be Your Holiday Favorite
You might be wondering what makes this particular white chocolate peppermint bark recipe stand out. Here are compelling reasons why it’s destined to become a cherished part of your holiday traditions:
- Effortless Preparation: With just two core ingredients, this recipe simplifies holiday baking. No complex techniques or fancy equipment required, making it accessible for everyone.
- No Baking Necessary: Free up your oven for other holiday dishes! This peppermint bark recipe requires absolutely no baking, allowing you to create a gourmet-looking treat with minimal fuss.
- Lightning-Fast Prep Time: From start to finish, you can have this festive candy prepped and ready for setting in under 10 minutes. It’s the ultimate solution for last-minute gifts or sudden holiday cravings.
- Scalable for Any Occasion: Whether you’re making a small batch for your family or a large quantity for holiday parties and extensive gift-giving, this recipe is incredibly easy to double, triple, or even quadruple without compromising quality.
- Crowd-Pleasing Flavor: The timeless combination of sweet white chocolate and cool, refreshing peppermint is a guaranteed hit. It’s a flavor profile that evokes the spirit of Christmas and delights every palate.
- Perfect for Gifting: Beautifully packaged, homemade peppermint bark makes a thoughtful and impressive edible gift. It’s ideal for cookie exchanges, neighbor gifts, teacher appreciation, or hostess presents.
Beyond its simplicity and irresistible taste, this festive treat is the perfect addition to any gift basket or holiday cookie plate. If you’re eager to explore more edible holiday gifts that are equally delightful and straightforward, be sure to try our recipes for classic turtle bark, the irresistible sticky paws copycat, and the decadent two-ingredient tiger butter.
Essential Ingredients for Perfect Peppermint Bark
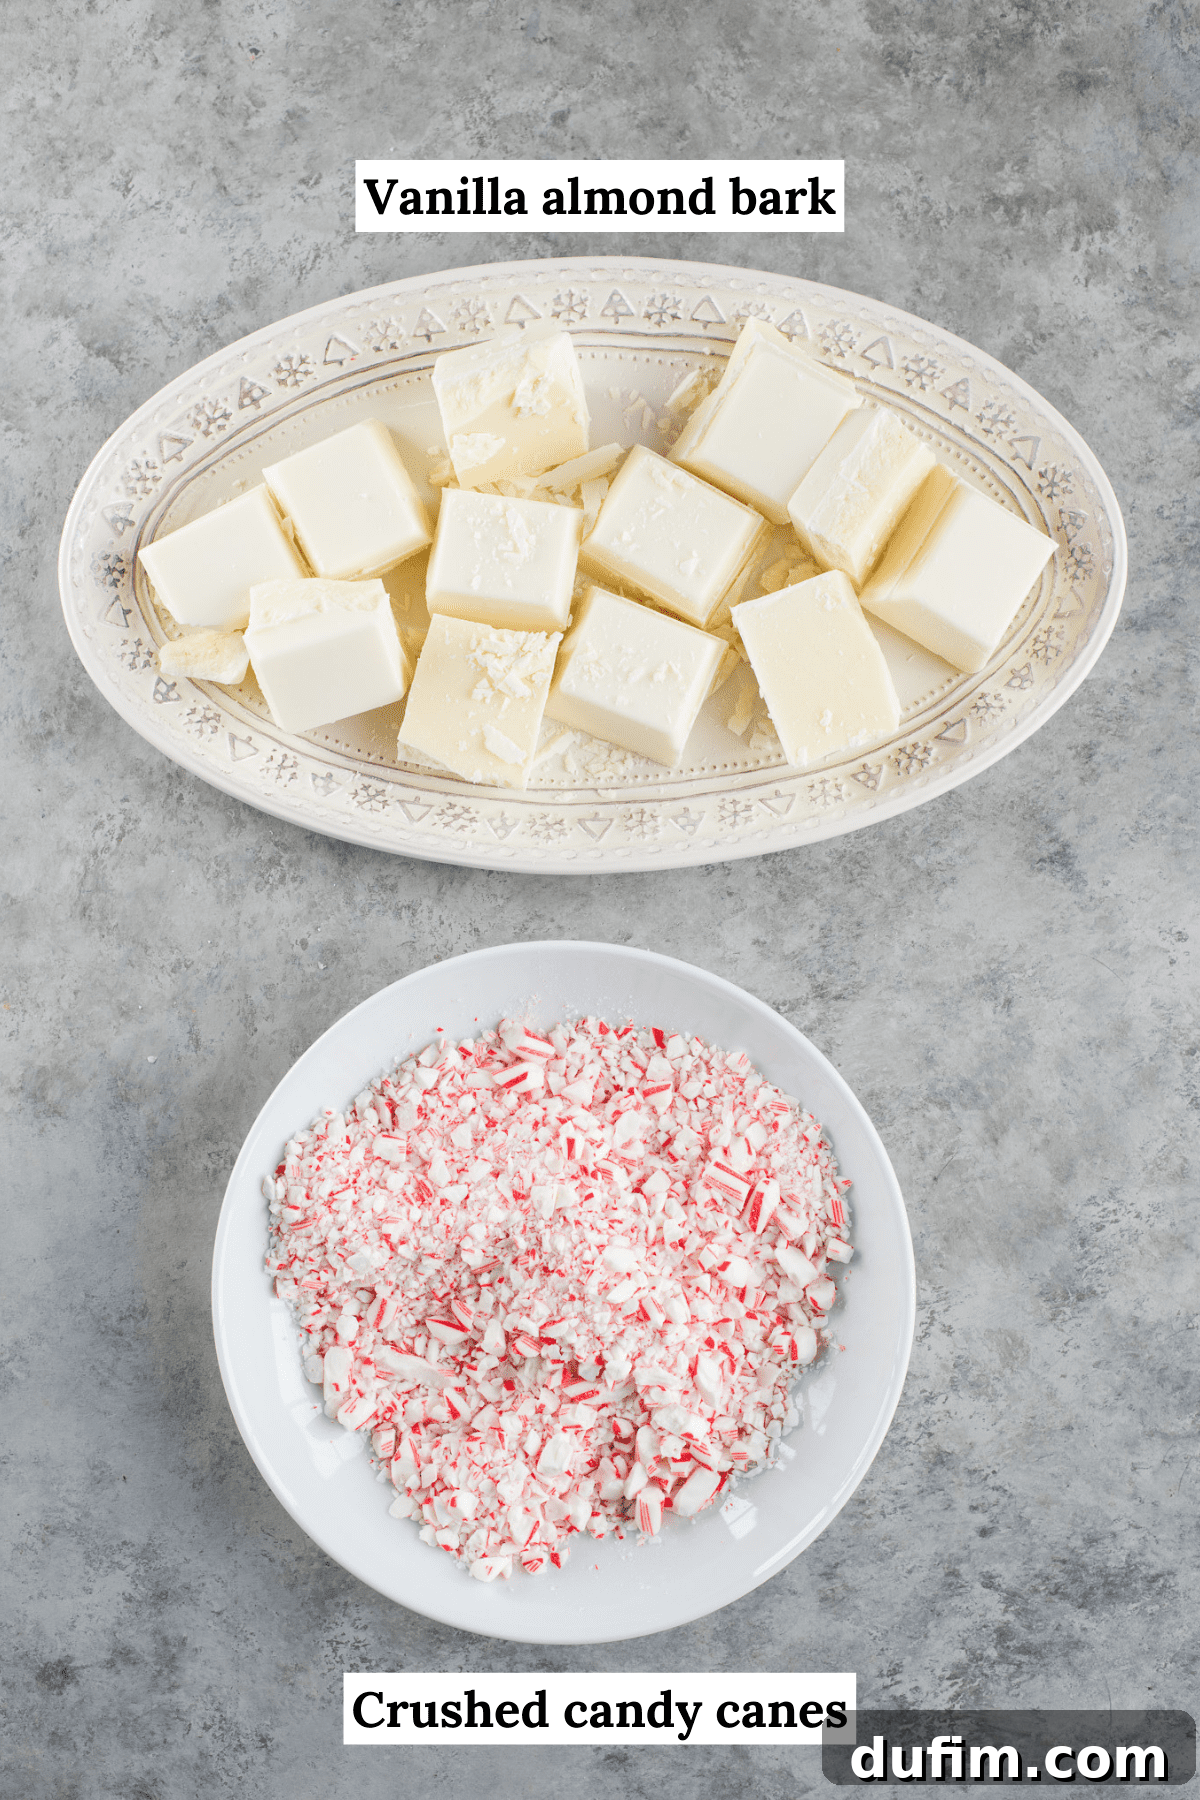
Creating this stunning white chocolate peppermint bark requires only a handful of ingredients. Quality matters, even with a simple recipe, so choose your components carefully for the best results:
- 24 oz Vanilla Almond Bark: Often labeled as “confectionery coating” or “candy melts,” almond bark is a chocolate-like product made with vegetable fats instead of cocoa butter. This makes it incredibly easy to melt smoothly without tempering, resulting in a beautiful, glossy finish. Its vanilla flavor complements the peppermint perfectly.
- One 10 oz package Candy Canes (approximately 20 candy canes): The iconic red and white striped candy canes are essential for both flavor and visual appeal. Opt for classic peppermint-flavored canes. The quantity ensures a generous crunch in every bite.
Choosing Your Chocolate Base: Almond Bark vs. White Chocolate
While this recipe specifically calls for vanilla almond bark due to its ease of use and consistent results, you certainly have options. Almond bark is a fantastic choice for bark recipes because it melts smoothly, sets quickly, and holds its shape well without requiring the complex tempering process that traditional white chocolate needs. This makes it incredibly beginner-friendly.
However, if you prefer using genuine white chocolate, ensure you select a high-quality brand with a high percentage of cocoa butter. When melting white chocolate chips or bars, you might need to add a small amount of a neutral oil (like coconut oil or vegetable oil) or a tablespoon of shortening to achieve a smooth, pourable consistency and prevent it from seizing. This extra step helps replicate the melt-and-set properties of almond bark.
Expert Tips for Melting Almond Bark Perfectly
Melting almond bark is a straightforward process, but a few techniques can ensure a silky-smooth consistency, crucial for beautiful bark. While you should always reference the package directions, here’s my preferred method for perfect melting:
- Chop for Efficiency: Begin by chopping the almond bark into smaller, more uniform pieces. This significantly speeds up the melting process and helps ensure even melting, preventing hot spots and scorching.
- Microwave Method: Place the chopped almond bark in a microwave-safe glass bowl. Microwave on 50% power for 3 minutes.
- Stir and Repeat: After the initial 3 minutes, remove the bowl and stir the chocolate thoroughly with a rubber spatula. Even if it doesn’t look fully melted, stirring helps distribute heat. Return it to the microwave, continuing to heat at 50% power in 30-60 second intervals, stirring well after each interval, until the bark is mostly melted.
- Residual Heat Magic: Once the bark is mostly melted with just a few small lumps remaining, remove it from the microwave. Continue stirring vigorously with the rubber spatula. The residual heat in the bowl and the already melted chocolate will typically melt the remaining lumps, resulting in a perfectly smooth, glossy consistency. This prevents overheating, which can cause the chocolate to become grainy or seize.
Pro Tip: Avoid introducing any water into your melting chocolate, as even a tiny drop can cause it to seize and become thick and unusable.
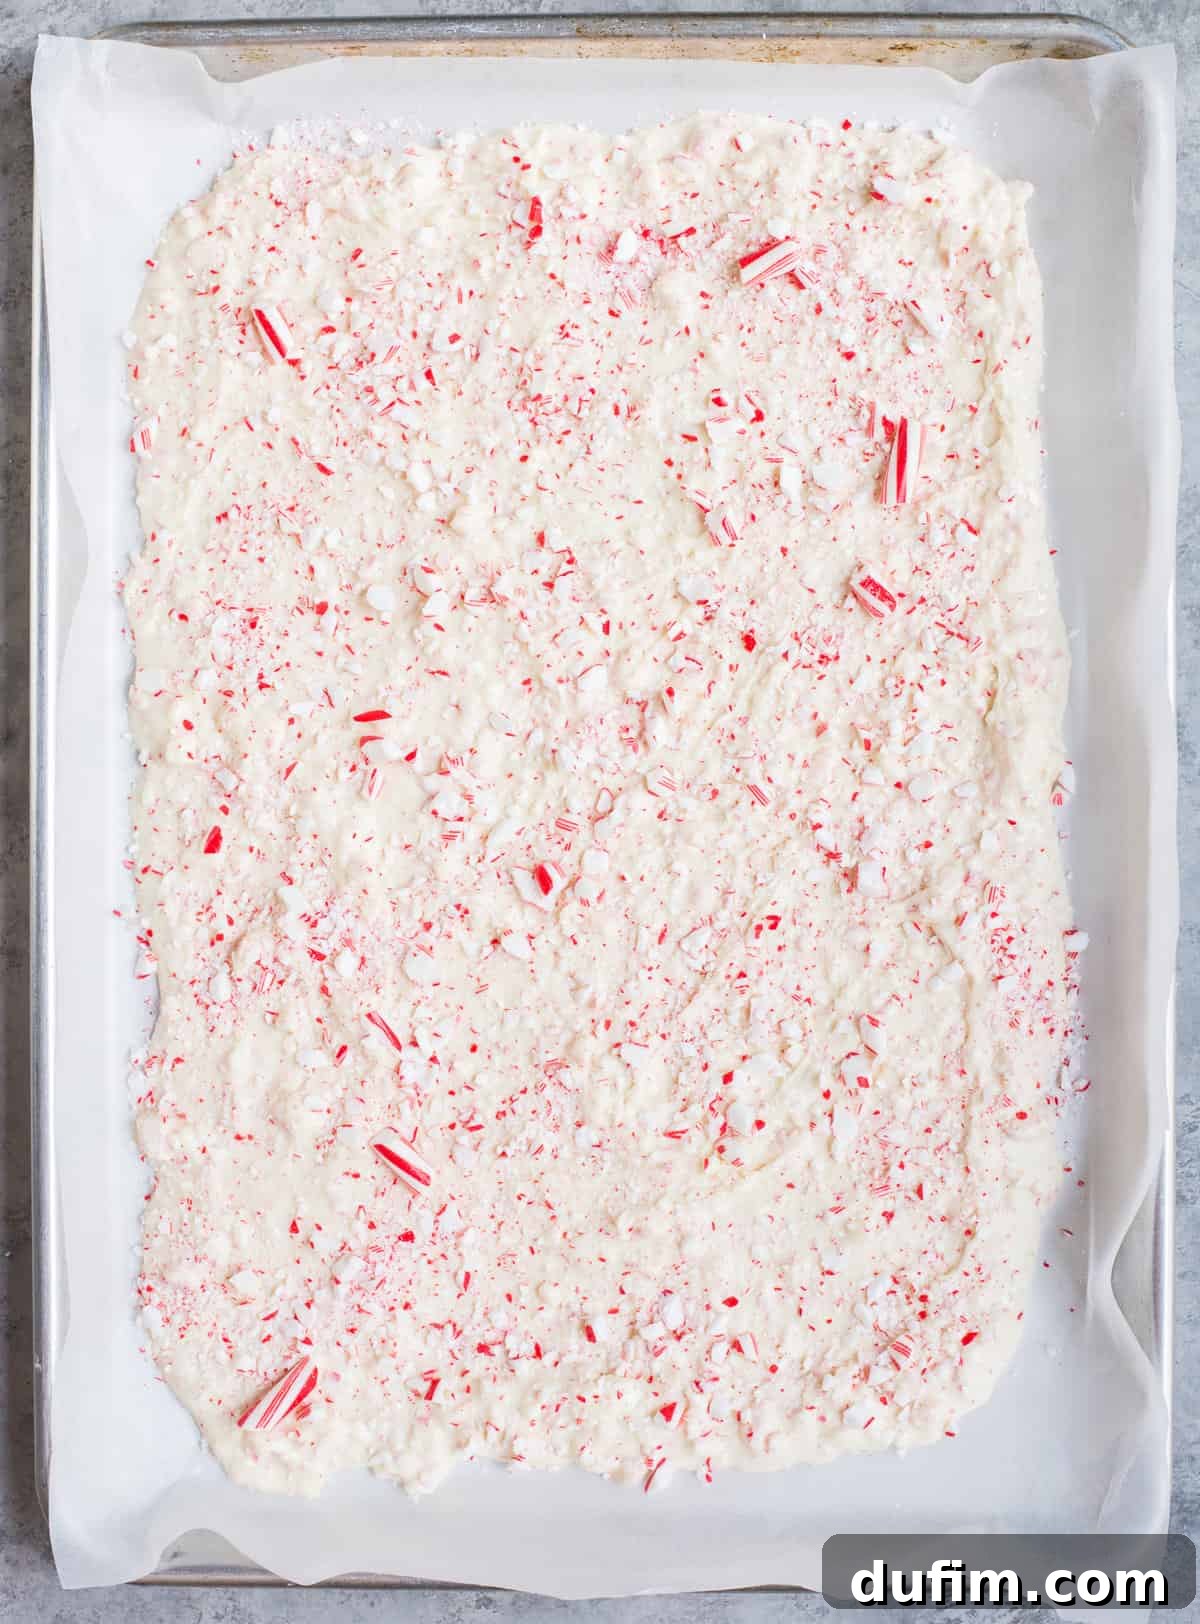
The Art of Crushing Candy Canes for Peppermint Bark
The texture of your crushed candy canes can significantly impact the final mouthfeel of your peppermint bark. Here are a few effective ways to achieve your desired consistency:
For a Finer, Less Crunchy Texture: If you prefer smaller, more uniform pieces that aren’t overly crunchy, I highly recommend using a blender or food processor. This method quickly pulverizes the candy canes into a fine powder or small, consistent shards. Be careful not to over-process into a dust, unless that is your desired outcome.
For Rustic, Chunkier Pieces: If you enjoy the satisfying crunch of larger candy cane fragments, then my favorite method – the rolling pin or meat mallet – is perfect for you! This approach allows for a more varied and rustic texture.
Step-by-Step for the Rolling Pin Method:
- Unwrap and Bag: Unwrap all your candy canes and place them into a sturdy, freezer-safe ziplock bag. Double-bagging can offer extra protection against tears and prevent pieces from escaping.
- Cover for Safety: Lay the sealed bag on a sturdy, flat surface (like a cutting board). Cover the bag with a kitchen towel or a tea towel. This step is crucial for two reasons: it helps contain any rogue candy cane pieces that might fly out and reduces noise.
- Whack Away! Using a heavy rolling pin or a meat mallet, firmly and repeatedly whack the candy canes. Start gently and increase force as needed. Focus on breaking them into your desired size. It’s surprisingly therapeutic and a fantastic way to release some of that holiday stress while creating a delicious treat!
Regardless of the method you choose, remember to reserve about 1/3 cup of the crushed candy canes for garnishing the top of the bark. This adds a beautiful, fresh pop of color and texture to the finished product.
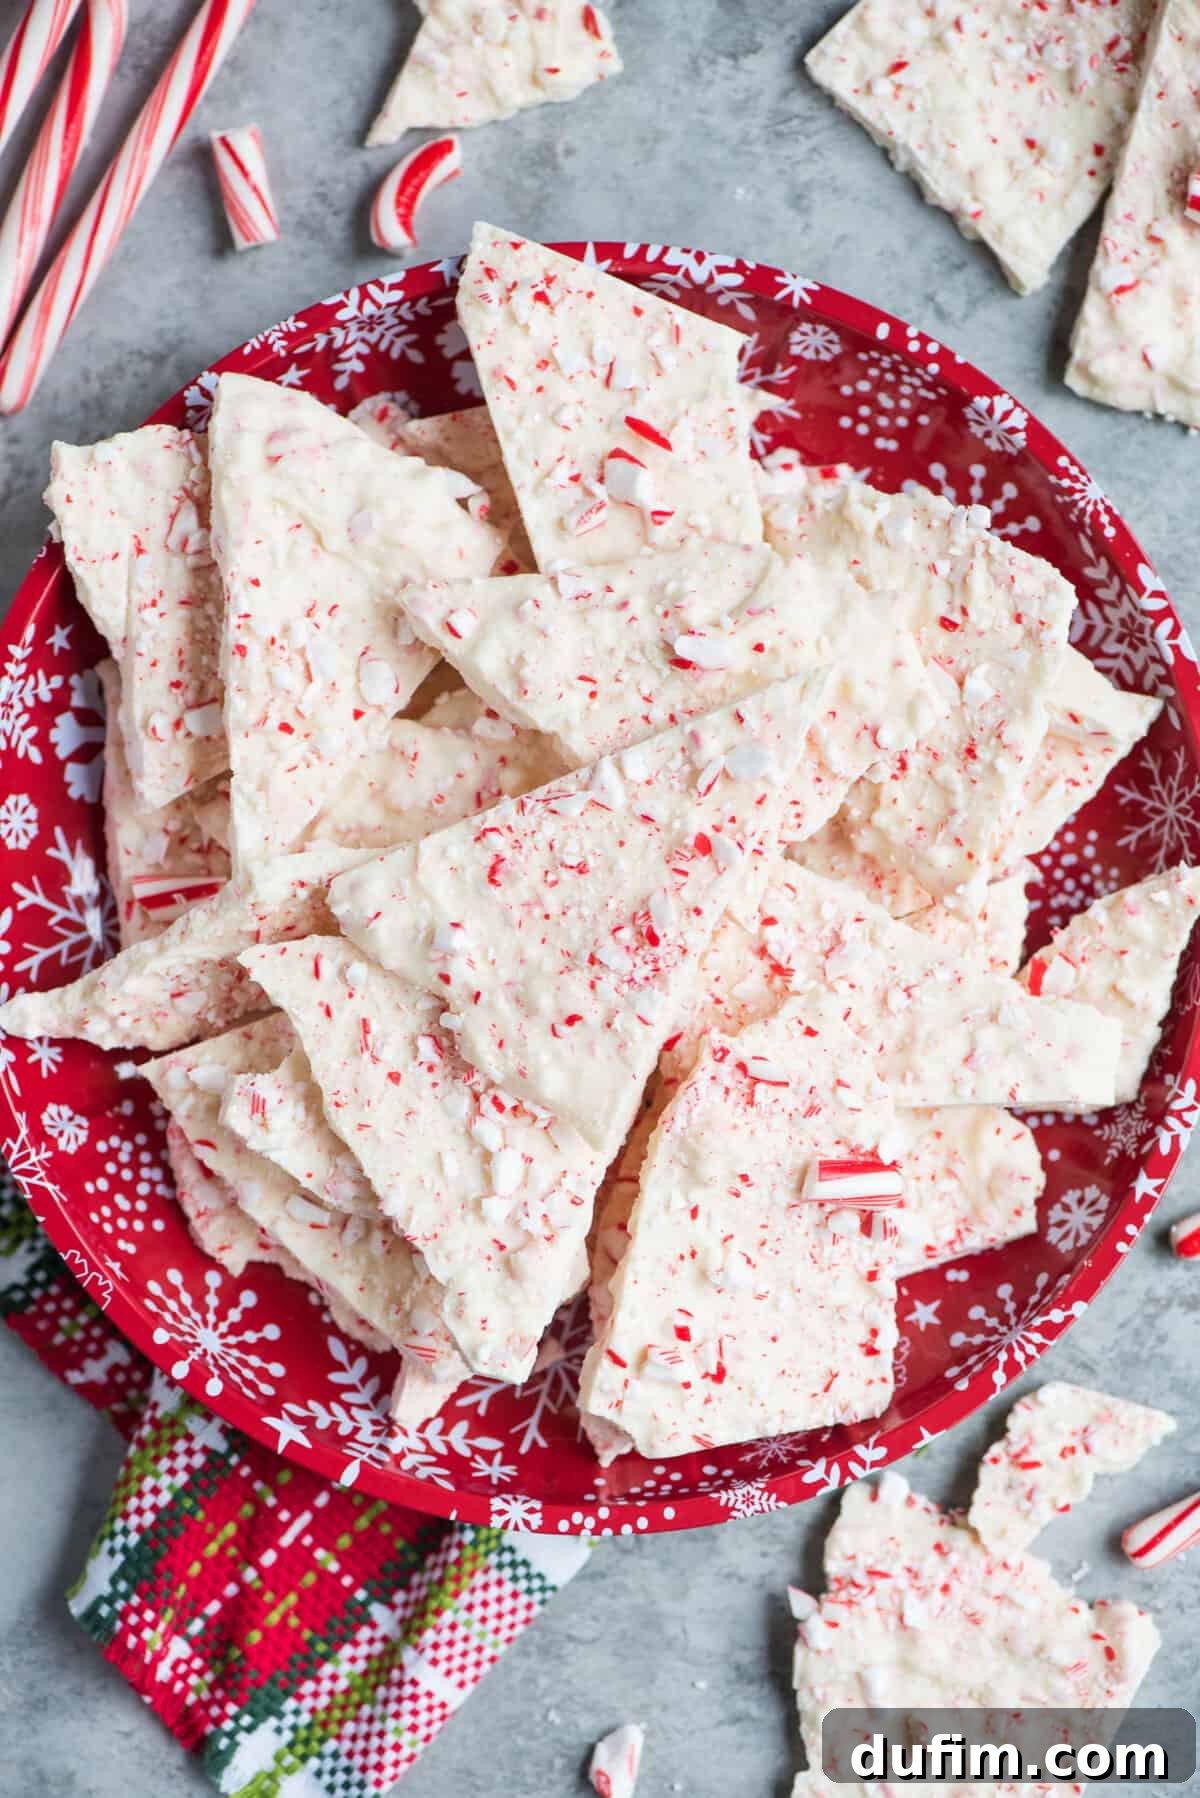
Setting Time: How Long Until Your Bark is Ready?
The waiting period for your peppermint bark to set can feel long, especially when anticipating such a delicious treat! The setting time primarily depends on the ambient temperature and humidity.
- Room Temperature: If left on the counter at average room temperature (around 68-72°F or 20-22°C), your white chocolate peppermint bark will typically take 2-3 hours to fully set and become firm. Ensure it’s in a cool, dry place away from direct sunlight.
- Accelerated Setting (Fridge Method): To significantly speed up the process, you can place the baking sheet with the bark in the refrigerator. In the fridge, it will usually set within an hour. This is especially helpful if you’re in a hurry or if your kitchen is particularly warm.
- Cold Climate Hack: For those living in colder climates, a clever trick to save fridge space during the busy holidays is to place the peppermint bark in your garage. If your garage temperature is consistently cool (below 50°F or 10°C), it acts as an excellent “second fridge” for setting candy.
You know you’re truly prepared for winter when your garage doubles as an overflow refrigerator – a resourceful tradition for many in cooler regions!
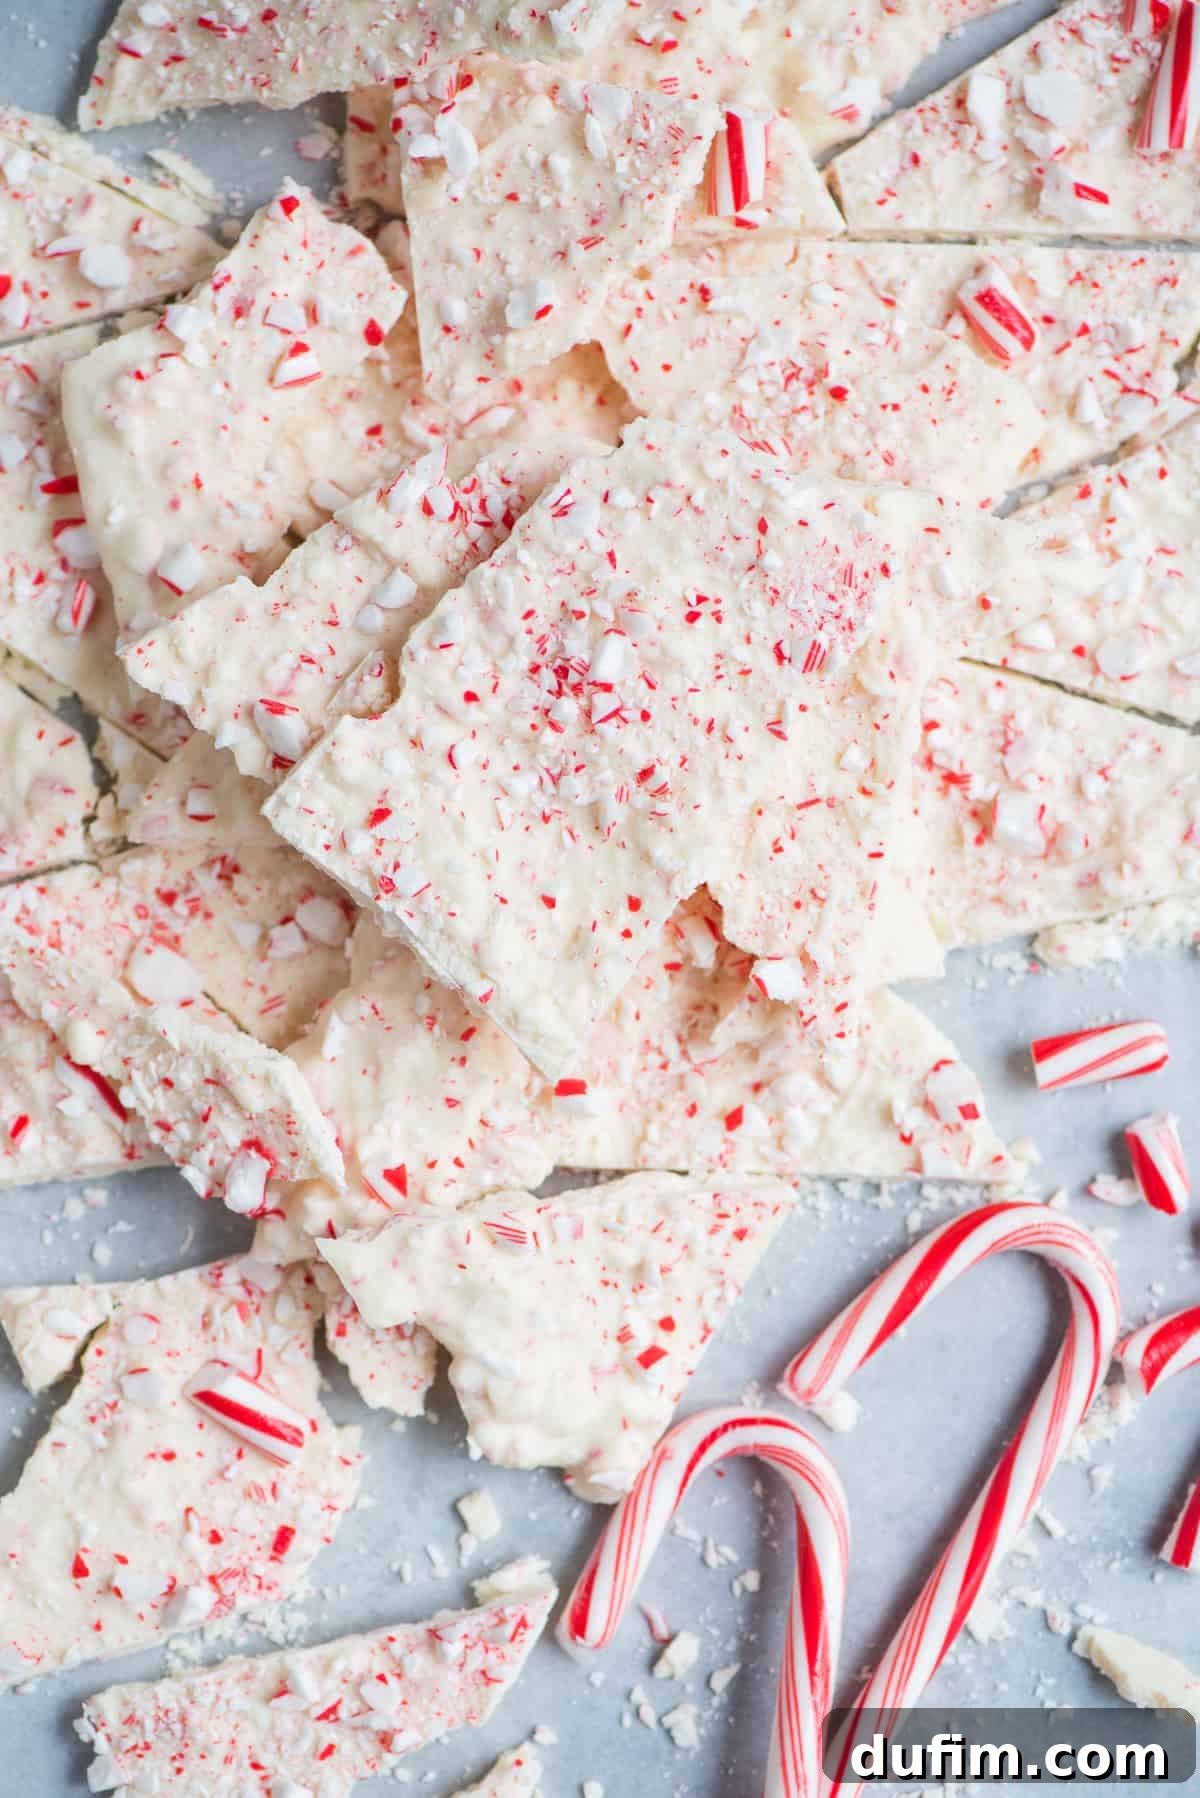
Breaking Your Peppermint Bark: Rustic Chunks or Clean Cuts?
Once your white peppermint bark is completely set and firm, it’s time for the satisfying step of breaking it into individual pieces. You have a couple of options, depending on the aesthetic you’re aiming for:
- Rustic Hand-Broken Pieces: For a charmingly homemade and organic look, simply use your hands to break the hardened bark into irregular pieces. This method often results in unique, jagged edges that add to its artisanal appeal. Apply gentle pressure and break along natural fault lines for the best results.
- Neat, Clean-Cut Squares: If you prefer a more refined and uniform presentation, a sharp knife is your best tool. Place the bark on a cutting board and use a large, sharp chef’s knife to carefully cut it into squares, rectangles, or even triangles. For cleaner cuts, warm your knife slightly under hot water and dry it thoroughly between cuts. This helps prevent the chocolate from cracking unevenly.
No matter how you break it, ensure the bark is fully solid to prevent smudges or a sticky mess.
Creative Variations to Elevate Your Peppermint Bark
While the classic white chocolate peppermint bark is undeniably delicious, this recipe is a fantastic canvas for creativity! Here are several ways to customize your bark and make it uniquely yours:
- Different Chocolate Bases:
- Dark Chocolate Peppermint Bark: For a more sophisticated and less sweet profile, replace vanilla almond bark with high-quality dark chocolate chips or a chopped dark chocolate bar. The bitterness of dark chocolate beautifully complements the refreshing peppermint. Remember to add 1-2 teaspoons of coconut oil or shortening per cup of chocolate chips to ensure smooth melting.
- Milk or Semi-Sweet Chocolate: If dark chocolate is too intense, opt for milk chocolate or semi-sweet chocolate chips. These offer a milder chocolate flavor that still pairs wonderfully with peppermint. Follow the same melting tips for chips.
- Boost the Peppermint Flavor: For an extra kick of mint, add a little peppermint extract to your melted chocolate. I recommend starting with about 1/4 teaspoon per 24 oz of chocolate and tasting before adding more, as extracts can be potent. Ensure it’s a “peppermint” extract, not “mint” extract, for the authentic flavor.
- Festive Sprinkles: Before the bark fully sets, scatter a generous amount of holiday-themed sprinkles (red, green, silver, gold) over the top. This adds a delightful pop of color and a fun, festive texture, making it even more appealing for children and holiday parties.
- Layered Chocolate Bark: Create a stunning two-tone effect by adding a chocolate layer. Melt your chosen chocolate (dark, milk, or semi-sweet) and pour it onto your prepared baking sheet first, spreading it into a thin, even layer. Let it set slightly (about 10-15 minutes in the fridge) before pouring the white chocolate peppermint mixture on top. This creates a beautiful visual and an exciting flavor contrast.
- Crunchy Add-ins: Fold other crunchy elements into your chocolate mixture along with (or in addition to) the candy canes. Crushed pretzels, chopped toasted nuts (like pecans or almonds), or even crushed Oreo cookies can add another layer of texture and flavor.
- Swirls of Color: For a more artistic look, add a few drops of red or green food coloring (gel food coloring works best) to a small portion of the melted white chocolate. Drizzle this colored chocolate over the bark and gently swirl it with a toothpick before sprinkling the candy canes.
Important Note: If you decide to make this peppermint bark with real chocolate chips instead of almond bark, especially for the white chocolate layer, I strongly recommend using a high-quality brand. To ensure smooth melting and proper setting, be sure to add a small amount of neutral oil (like coconut oil) or shortening, as mentioned above. This helps prevent the chocolate from seizing or becoming too thick.
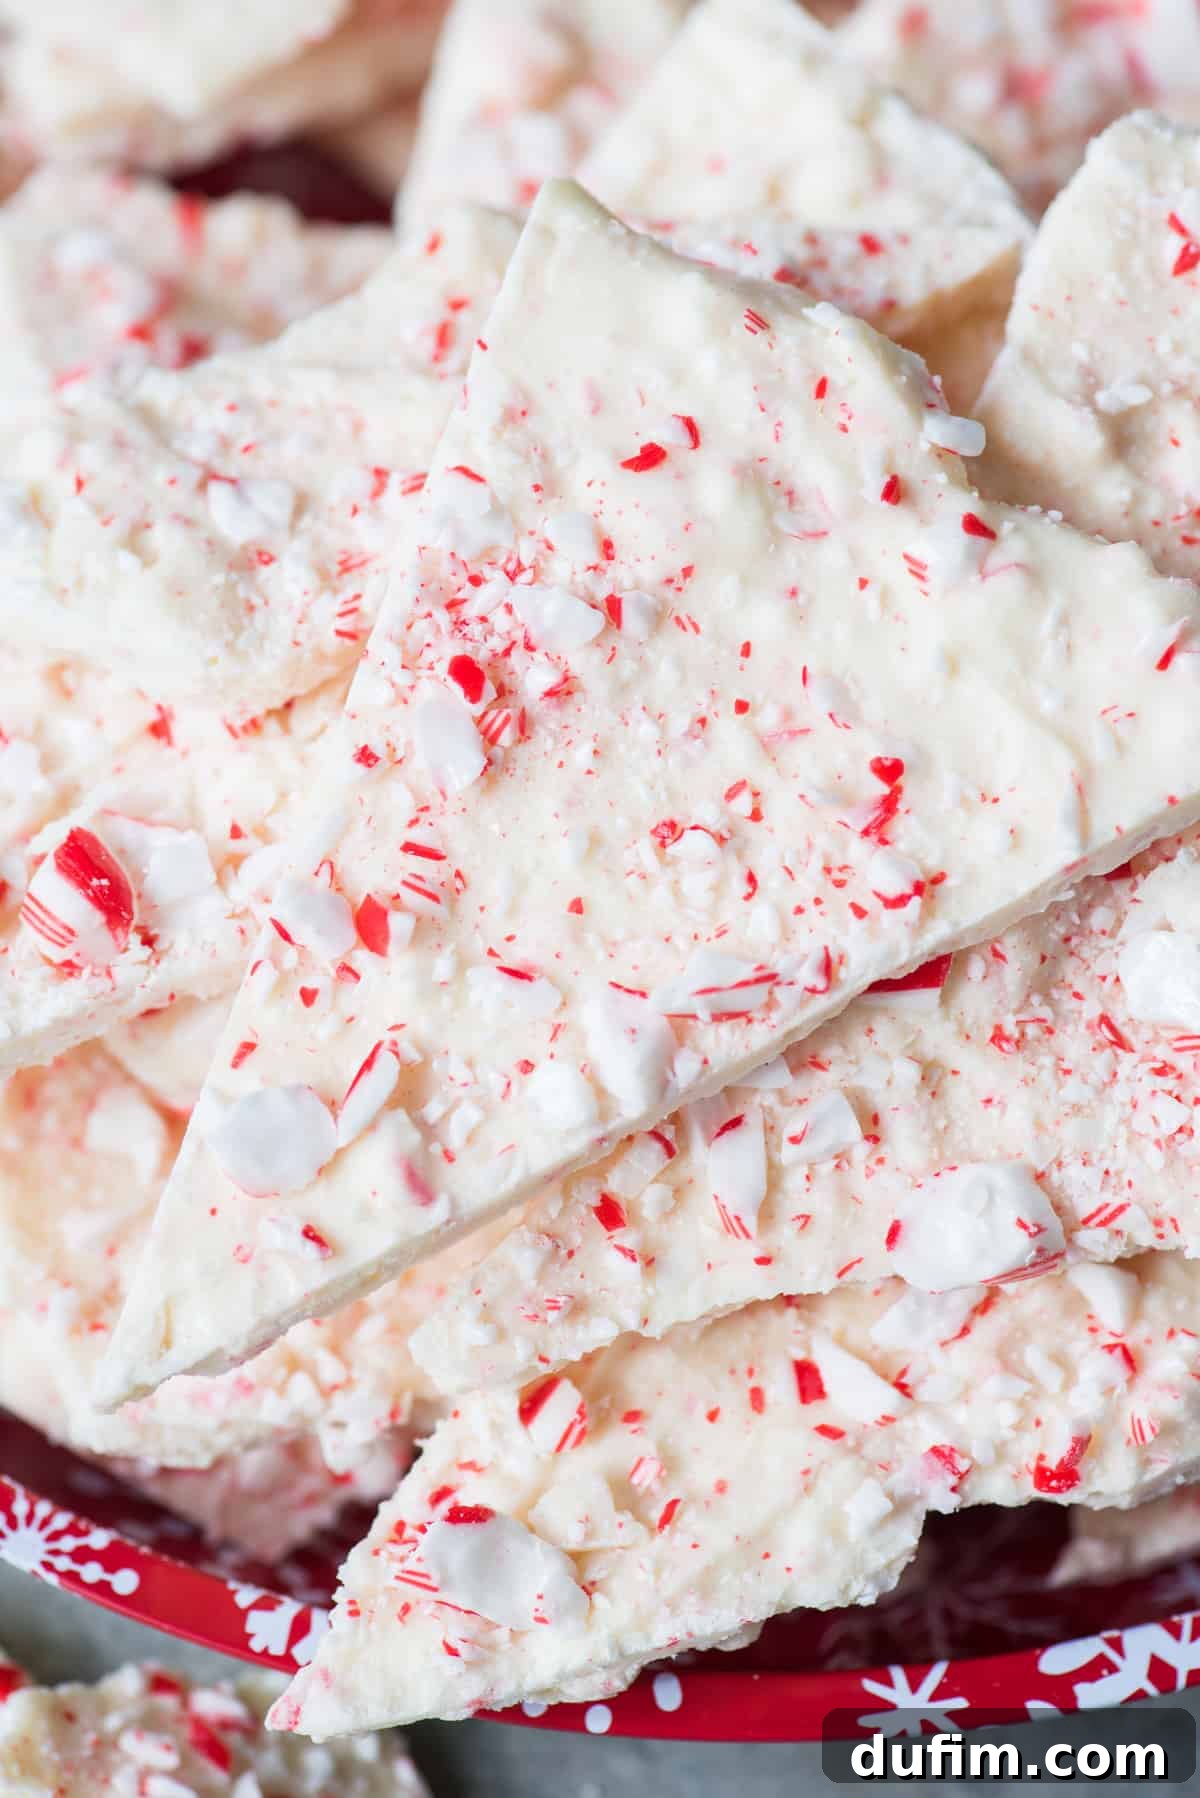
Essential Tips for Perfect Peppermint Bark Every Time
Achieving flawless white chocolate peppermint bark is easy with these insider tips:
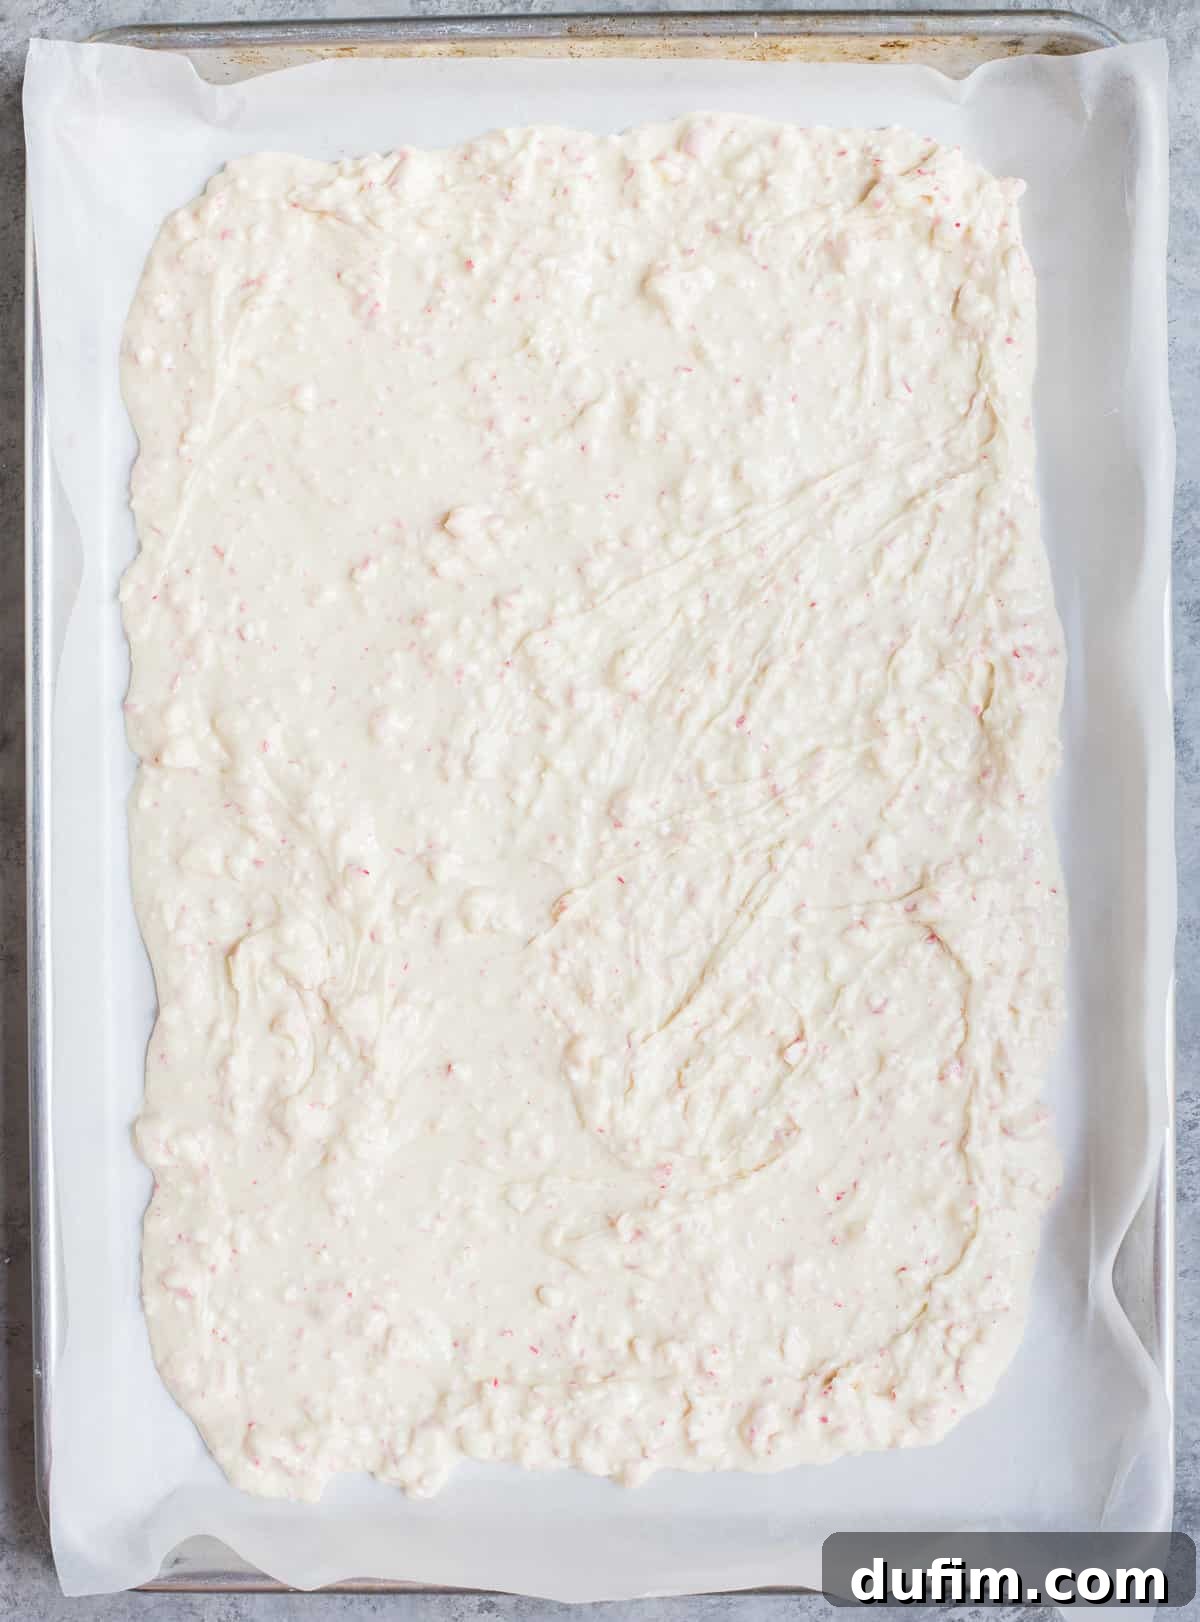
- Prepare Your Surface: Always line your cookie sheet (or baking tray) with a silicone mat, parchment paper, or wax paper. This crucial step prevents the bark from sticking and makes for effortless removal and cleanup.
- Consistency in Crushing: Decide on your preferred candy cane texture (fine or chunky) and use either a blender/food processor or the rolling pin method to achieve it. Consistent sizing of the candy cane pieces ensures a uniform texture in your bark.
- Don’t Skimp on Topping: After spreading your melted white chocolate, sprinkle the top generously with additional crushed candy cane pieces. This not only enhances the flavor but also creates a beautiful, eye-catching presentation that truly embodies the holiday spirit.
- Even Spreading: Once the melted chocolate is poured onto the lined baking sheet, spread it quickly and evenly. A thin, consistent layer ensures that each piece of bark has the ideal chocolate-to-peppermint ratio and sets uniformly.
- Temperature Control: Ensure your kitchen isn’t overly warm when working with chocolate. High temperatures can make the chocolate difficult to spread and extend setting times.
- Air-Tight Storage: Once set and broken, store your peppermint bark in an airtight container to maintain its freshness and prevent the candy canes from becoming sticky or losing their crunch.
Frequently Asked Questions About Peppermint Bark
Once fully set, this easy peppermint bark recipe can be stored in an airtight container at room temperature for up to 2 weeks. For optimal freshness, keep it in a cool, dry place. Avoid direct sunlight or warm environments, which can cause the chocolate to melt or the candy canes to become sticky.
Yes, absolutely! You can freeze white chocolate peppermint bark for longer storage, up to 3 months. To freeze, place the broken bark pieces in a single layer on a baking sheet and freeze until solid. Then, transfer the frozen pieces to an airtight container or a freezer-safe bag, separating layers with parchment paper to prevent sticking. Thaw the bark in the refrigerator overnight or at room temperature for a couple of hours before serving.
Chocolate seizing (becoming thick, grainy, and unworkable) is usually caused by the introduction of even a tiny amount of water or steam into the melting chocolate. It can also happen if chocolate is overheated. Always use a completely dry bowl and utensils, and be careful with steam if using a double boiler. If using a microwave, avoid high power settings to prevent scorching.
Yes, you can! However, genuine white chocolate (which contains cocoa butter) often requires tempering to set properly with a glossy finish and snap. If you don’t temper it, it might set softly or develop streaks. To simplify, you can melt good quality white chocolate chips with 1-2 teaspoons of coconut oil or shortening per cup to help it melt smoothly and set firmly, similar to almond bark.
More Irresistible Christmas Treats to Try
If you’ve fallen in love with the ease and deliciousness of this peppermint bark, you’re in for a treat! Here are more fantastic, festive recipes perfect for the holiday season:
- Decadent Peppermint Oreo Balls
- Crunchy No-Bake Haystack Cookies
- Quick Microwave Peanut Butter Fudge
- Classic Christmas Sugar Cookies with Royal Icing
White Chocolate Peppermint Bark Recipe
Tap stars to rate! (This functionality would typically be handled by JavaScript; here it’s a visual prompt.)
White chocolate peppermint bark with crushed candy canes is a staple during the Holiday season! This simple recipe yields a traditional Christmas treat that’s easy to make and universally enjoyed. Perfect for cookie tins, gift baskets, or a festive snack!
Equipment
- Baking Sheet (10 x 15 inch recommended)
- Microwave-Safe Glass Mixing Bowl
- Rubber Spatula
- Ziplock Bag & Rolling Pin/Food Processor (for crushing candy canes)
- Parchment Paper or Silicone Baking Mat
Ingredients
- 24 oz vanilla almond bark (or white confectionery coating)
- 10 oz package candy canes (approximately 20 candy canes)
Discover more delightful recipes and gifts!
Instructions
- Crush the Candy Canes: Unwrapped candy canes can be crushed using two methods:
- Blender or Food Processor: For smaller, more uniform pieces, blend the candy canes until desired consistency is reached.
- Rolling Pin Method: Place unwrapped candy canes in a sturdy ziplock bag, zip it closed, cover with a towel (to contain flying pieces), and whack with a rolling pin or meat mallet until broken into pieces.
- Prepare Baking Sheet: Line a 10 x 15 inch baking sheet (or a similar size that fits your fridge) with parchment paper or a silicone baking mat.
- Melt the Almond Bark: Chop the almond bark into smaller pieces for faster, more even melting. Place the chopped bark in a microwave-safe glass bowl. Microwave on 50% power for 3 minutes. Stir thoroughly with a rubber spatula, then continue microwaving at 50% power in 30-60 second intervals, stirring after each, until the bark is mostly melted. Stir until fully smooth and melted from residual heat.
- Combine and Spread: Reserve about 1/3 cup of the crushed candy canes for garnishing. Stir the remaining crushed candy canes into the melted almond bark until well combined. Pour the mixture onto the lined baking sheet and spread it into an even layer using your spatula. Immediately sprinkle the reserved candy canes over the top for a beautiful finish.
- Allow to Set: Let the bark set completely. At room temperature, this will take 2-3 hours. To speed up the process, place the baking sheet in the refrigerator, where it will set within an hour.
- Break and Serve: Once the bark is hard and fully set, break it into irregular pieces with your hands for a rustic look, or use a sharp knife to cut it into neat squares or rectangles.
Nutrition
Calories: 166 kcal | Carbohydrates: 25g | Fat: 6g | Saturated Fat: 6g | Sodium: 7mg | Sugar: 23g
Nutrition Disclosure
All nutritional values are approximate and provided to the reader as a courtesy. Changing ingredients and/or quantities will alter the estimated nutritional calculations.
Like this recipe? We’d love to hear from you! Please rate and leave a comment below to share your experience with this delightful White Chocolate Peppermint Bark. Your feedback helps us create more delicious content for you!