
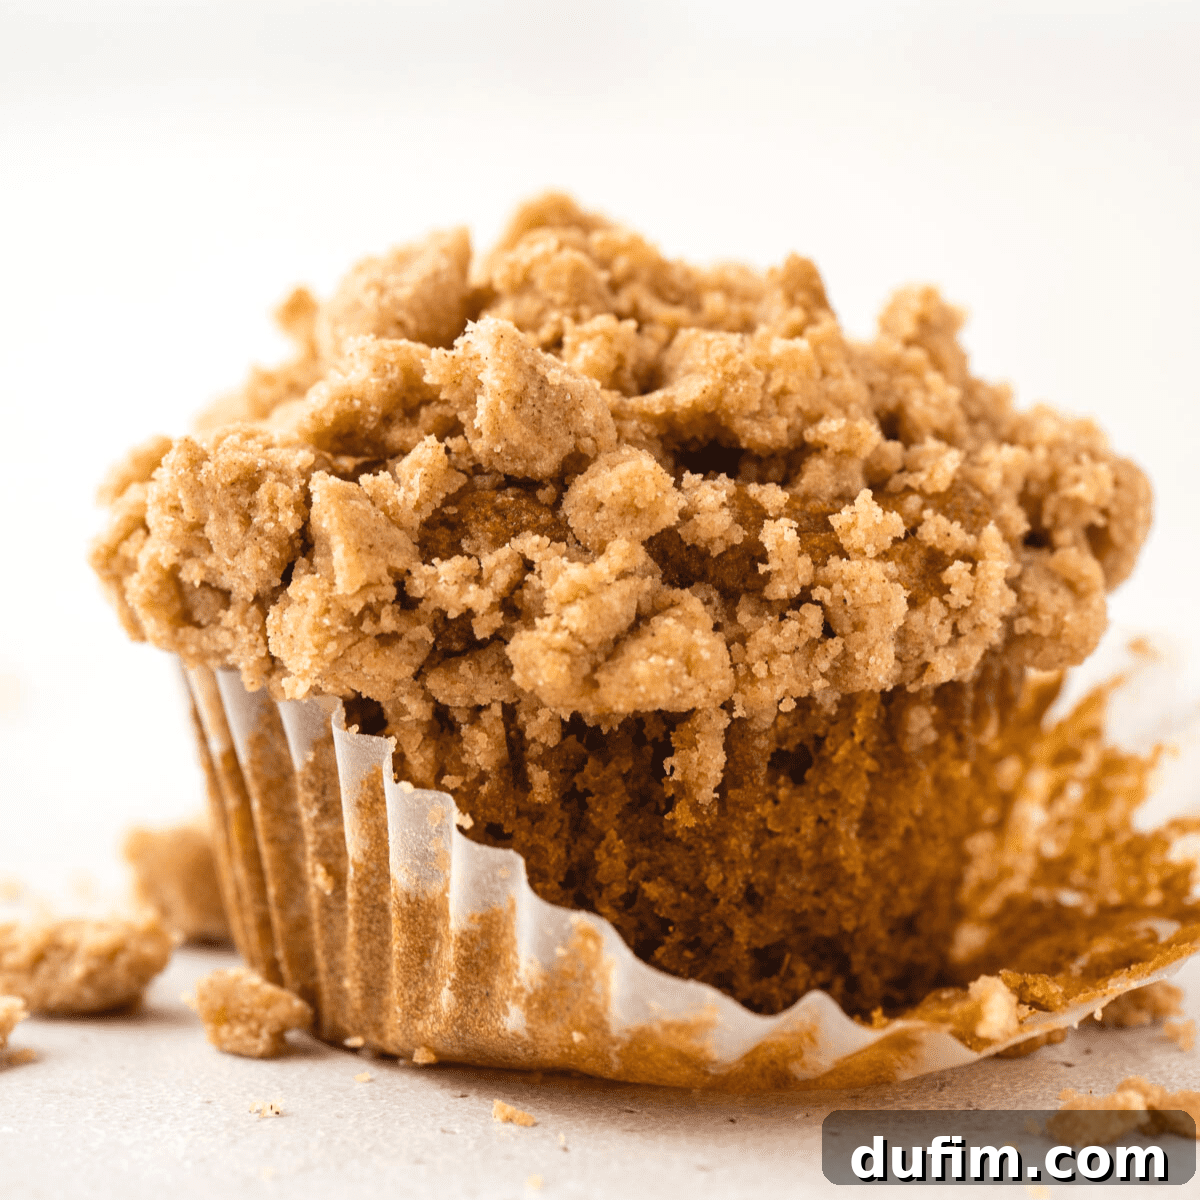
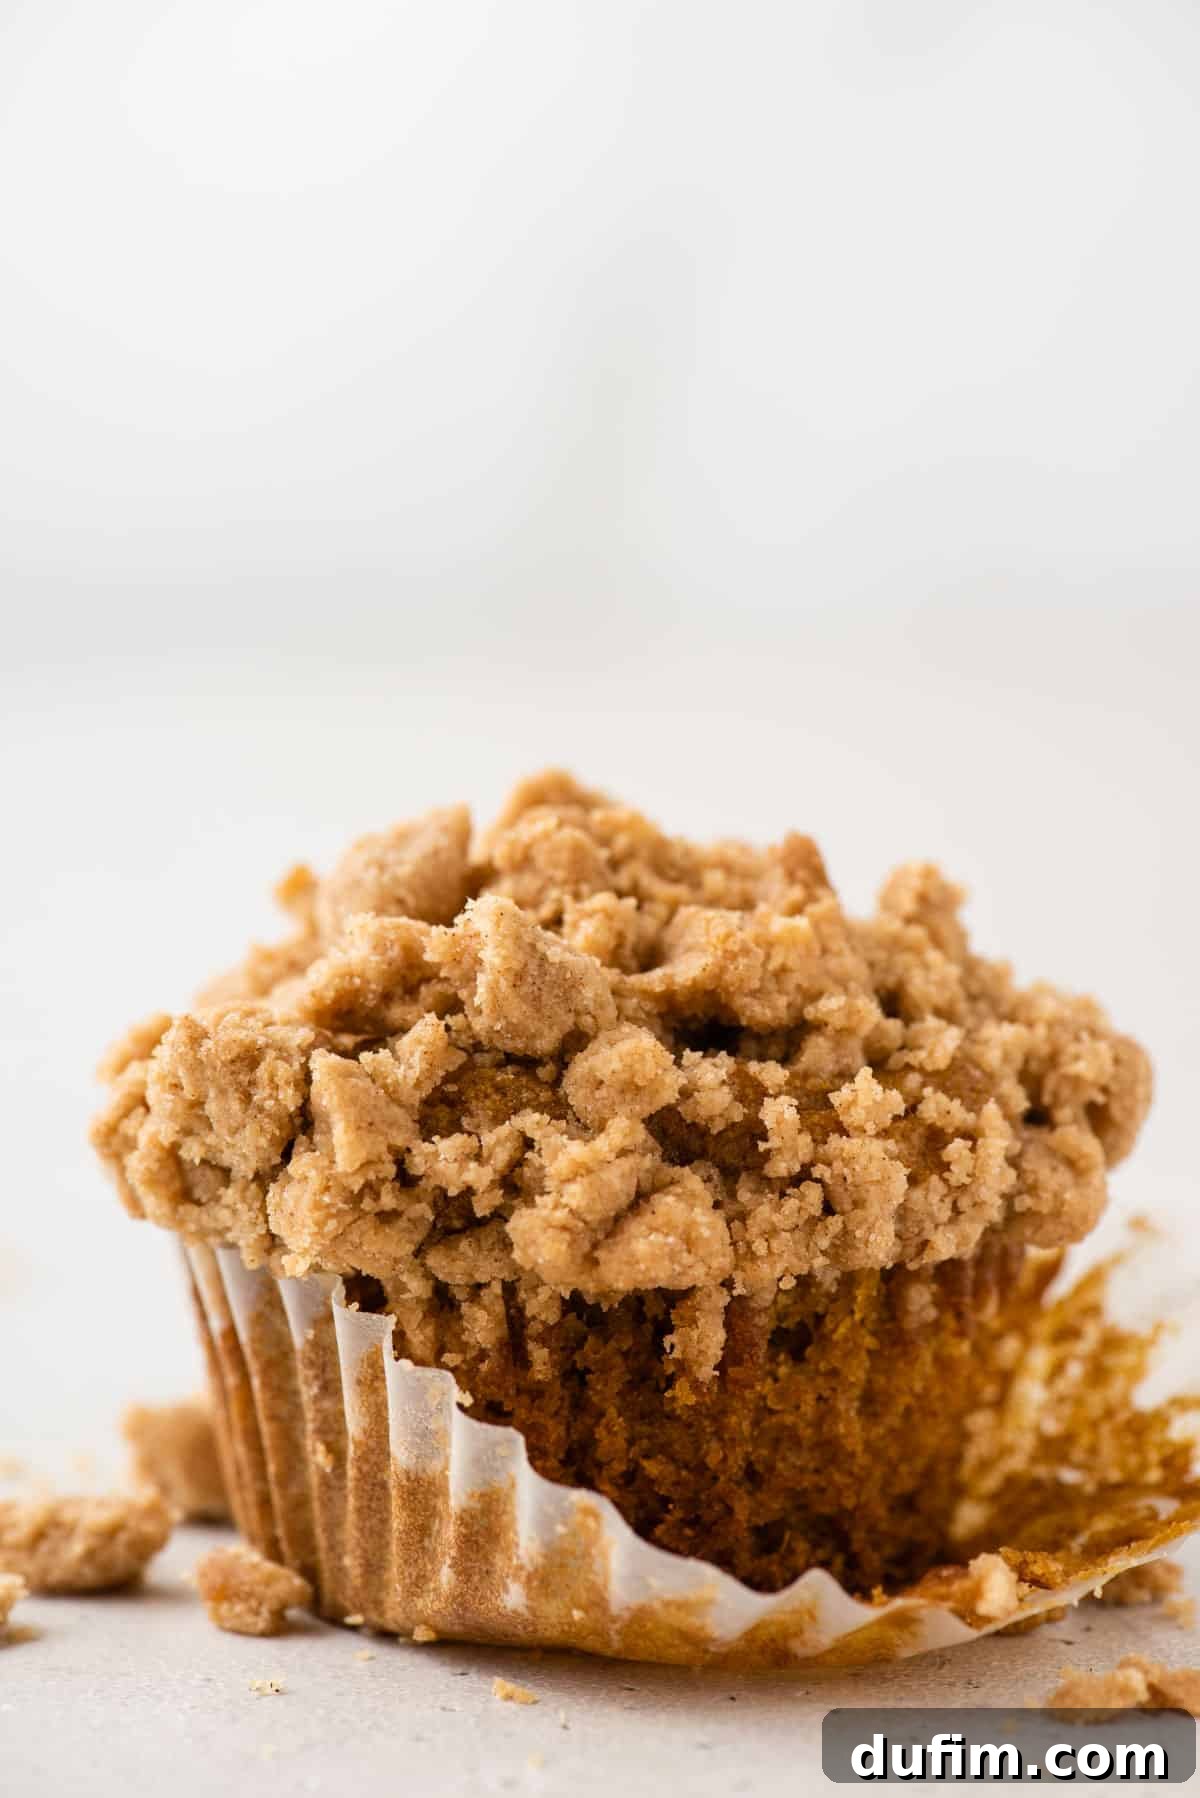
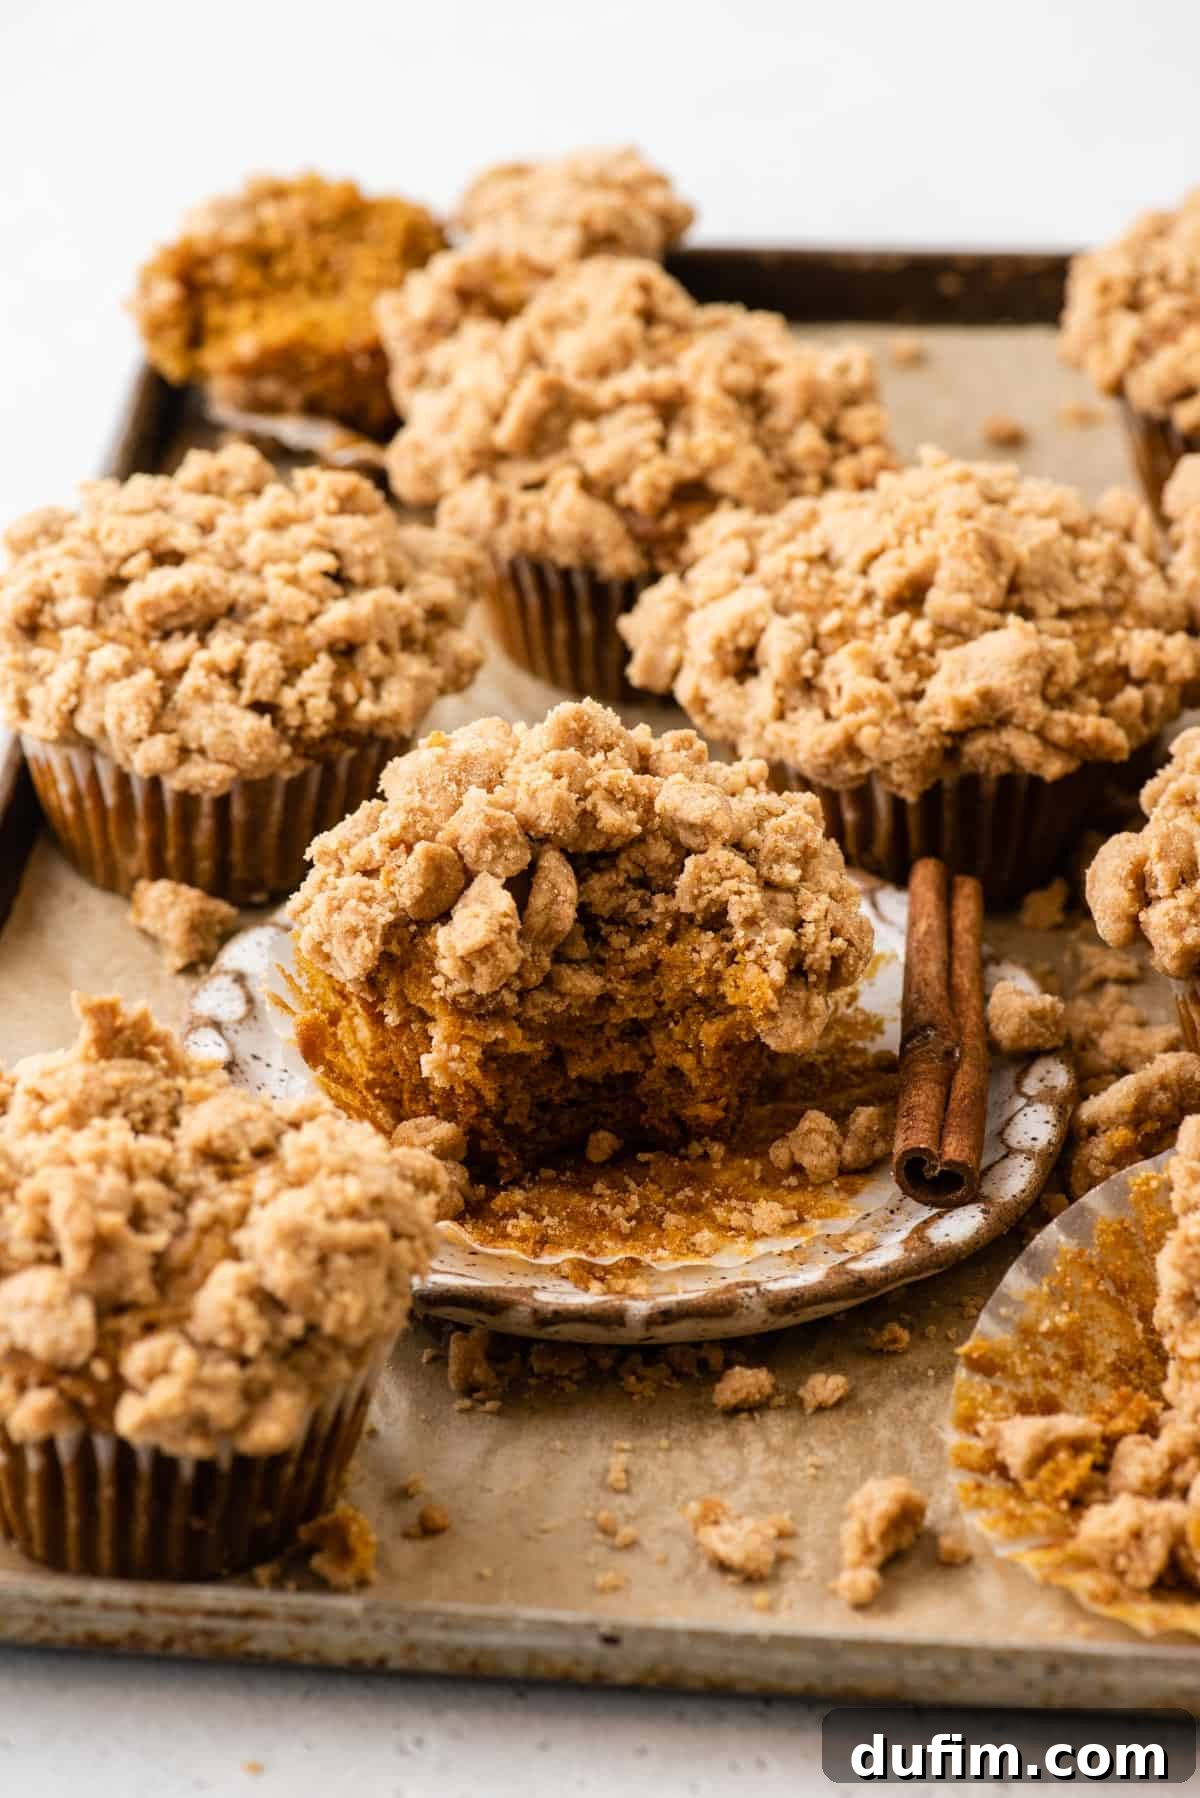
With over 15 years of dedicated experience in gluten-free baking—having personally embraced a gluten-free lifestyle since 2006—I’ve poured my passion and expertise into perfecting this gluten-free pumpkin muffin recipe. I am absolutely thrilled to finally share it with you. These muffins defy expectations, boasting beautifully domed, truly bakery-style tops and an incredible texture that makes it genuinely impossible to tell they’re gluten-free. Prepare to be amazed by their rich flavor and perfect rise, making them a staple in your kitchen all year round, not just in the Fall.
“Best muffins ever! They are not dense like most GF baked goods! I have made them twice now, once with crumble and once with chocolate chips, both ways are good!”
– Melissa
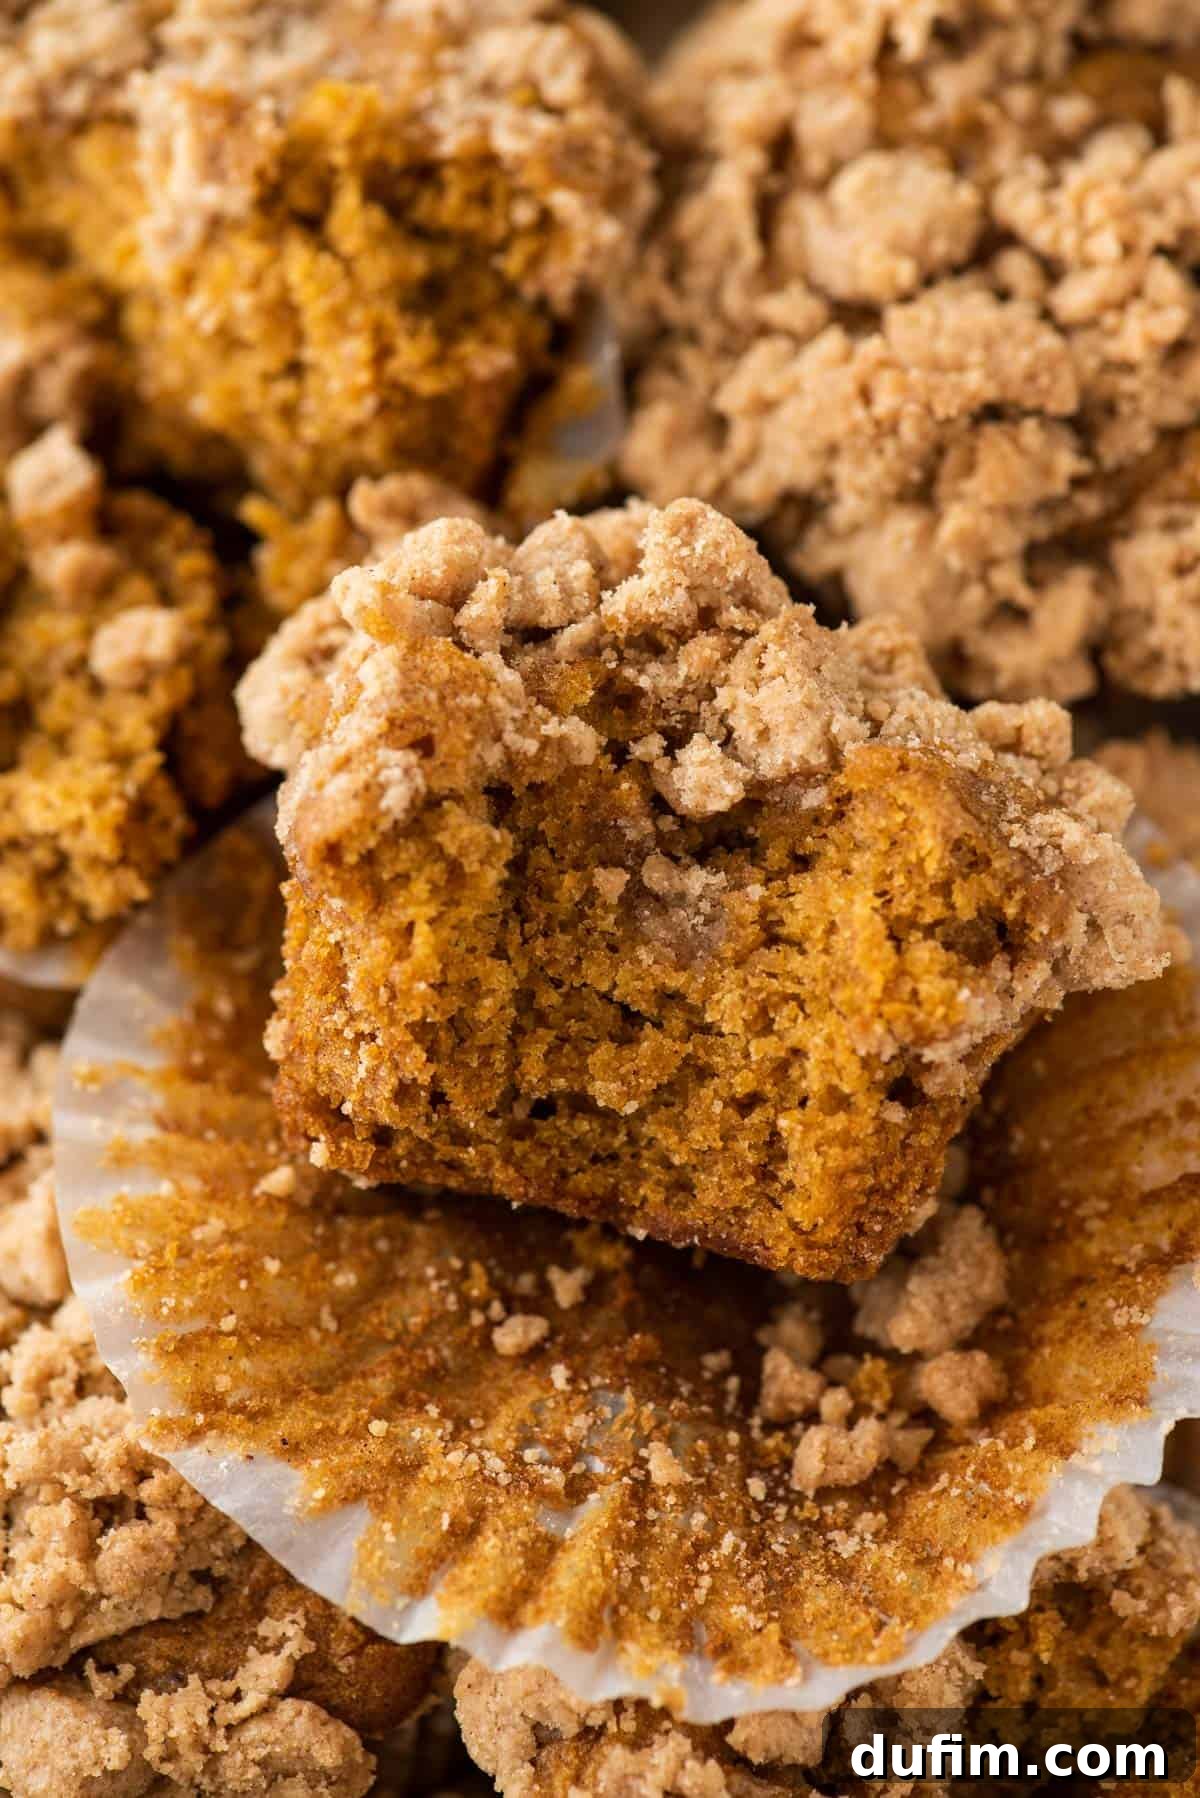
These incredibly moist gluten-free pumpkin muffins are packed with an irresistible pumpkin flavor that transcends seasonal boundaries; you’ll find yourself craving them far beyond the autumn months. Their tender crumb and warm spices make them a comforting treat any time of year. Beyond the delicious taste, I’m excited to reveal four essential, game-changing tips that will consistently help you achieve big, fluffy, and perfectly domed gluten-free muffins every single time! No more dense or flat gluten-free baked goods!
This easy recipe for gluten-free pumpkin muffins is truly a triumph in gluten-free baking and promises not to disappoint. Much like my gluten-free vanilla cupcakes, these muffins offer a tender crumb, a flawless texture, and all those comforting fall flavors you’ve been dreaming of. They are so good, in fact, that you can confidently share them with anyone, and no one will ever suspect they are gluten-free!
Essential Ingredients for Gluten-Free Pumpkin Muffins
Crafting these exceptional gluten-free pumpkin muffins begins with selecting the right ingredients. Each component plays a vital role in achieving their moist texture, rich flavor, and signature bakery-style tops. Below, you’ll find a detailed list for both the irresistible crumb topping (if you choose to add it) and the tender muffin batter. For precise quantities and step-by-step instructions, please refer to the comprehensive recipe card further down this page.
For the Decadent Crumb Topping (Optional):
- Gluten-Free All-Purpose Flour: This forms the base of our crumb. For consistent, excellent results in gluten-free baking, I wholeheartedly recommend King Arthur’s Gluten-Free All-Purpose Flour. It creates a beautiful, delicate crumble.
- Brown Sugar: Adds a delightful molasses sweetness and depth, contributing to the crumble’s rich flavor and golden-brown hue.
- Ground Cinnamon: A warm, aromatic spice that perfectly complements the pumpkin and adds to that cozy fall feeling.
- Salt: A tiny pinch is essential to balance the sweetness and enhance the overall flavor profile of the topping.
- Unsalted Butter: Melted butter is key here, binding all the crumb ingredients together to create that signature sandy yet clumpy streusel texture that bakes up perfectly crisp.
For the Moist & Flavorful Muffins:
- Gluten-Free All-Purpose Flour: As with the topping, King Arthur’s Gluten-Free All-Purpose Flour is my top recommendation for the muffin batter itself. Its balanced blend ensures a tender crumb and excellent structure, which can be a challenge in gluten-free baking.
- Baking Powder & Baking Soda: These dual leavening agents are crucial for a powerful rise and a light, fluffy texture, counteracting the typical density often found in gluten-free baked goods.
- Salt: A necessary ingredient to balance the sweetness of the sugars and amplify the warm notes of the spices.
- Cinnamon, Nutmeg, and Ground Ginger: This classic trio of fall spices is what truly defines the flavor of these pumpkin muffins, infusing them with an irresistible warmth and aroma. Feel free to adjust to your personal preference.
- Pumpkin Puree: It is absolutely vital to use 100% pure pumpkin puree, not pumpkin pie filling. Pie filling contains added sugars, spices, and sometimes thickeners that will alter the recipe’s balance and results.
- Granulated Sugar & Brown Sugar: The combination of both sugars creates the perfect level of sweetness, contributes significantly to the muffins’ moisture content, and helps achieve that beautiful golden-brown exterior.
- Vegetable Oil: This fat provides essential moisture, resulting in tender muffins without the need for butter in the batter, which can sometimes lead to a denser texture in gluten-free recipes.
- Large Eggs: Eggs act as binders, providing structure, richness, and helping the muffins to rise and maintain their shape.
Optional Addition: The Chocolate Chip Experience. If you’re a fan of chocolate and pumpkin, these muffins are an ideal canvas! I recommend incorporating a generous 1 & 1/2 cups of semi-sweet chocolate chips into your batter for a delightful twist.
Choosing the Best Gluten-Free Flour Substitute for Muffins
The key to a truly outstanding gluten-free pumpkin muffin lies significantly in your choice of flour blend. Having extensively tested just about all of them at this point, my absolute favorite for this recipe is King Arthur Gluten-Free All-Purpose Flour. Its consistent performance ensures a reliable outcome, mimicking traditional baked goods with remarkable accuracy.
If King Arthur is not readily available, it is vital to choose another high-quality, measure-for-measure all-purpose gluten-free flour substitute. These blends are specifically formulated to replicate the properties of wheat flour, providing a balance of starches and gums necessary for structure and tenderness. Avoid using single-ingredient flours like almond flour, coconut flour, or oat flour alone in this recipe, as their unique absorbency and protein structures require different liquid ratios and structural support that this specific recipe does not account for. A balanced all-purpose blend is paramount to achieving the perfect tender crumb, loft, and overall structure of these bakery-style gluten-free pumpkin muffins.
How to Make Perfect Gluten-Free Pumpkin Muffins from Scratch
Follow these detailed steps to bake perfectly domed, irresistibly delicious gluten-free pumpkin muffins. Each step is designed to ensure a flawless outcome, from the initial mixing to the final golden-brown bake, guaranteeing a true bakery-style experience in your own kitchen.
Preparing the Irresistible Crumb Topping (If Using):
- Combine All Ingredients: In a medium mixing bowl, combine the gluten-free all-purpose flour, brown sugar, cinnamon, salt, and melted unsalted butter.
- Mix Thoroughly: Use a sturdy spatula to mix the crumb ingredients. Initially, the mixture will appear thick and sandy. Continue stirring vigorously until all the dry ingredients are fully incorporated and the mixture looks consistently wet and clumpy. It’s perfectly normal for it to have a “sandy” texture, but with visible clumps forming.
- Form Crumbles: To create larger, more substantial crumb pieces that will stand out beautifully on your muffins, use your hands to gently squeeze portions of the mixture together, forming small to medium-sized clumps. These will create a fantastic, rustic streusel topping.
- Set Aside: Once prepared, set the crumb topping aside at room temperature until you are ready to use it. For convenience, this streusel can be made in advance and stored in an airtight container in the refrigerator for up to 3 days, making your baking day even smoother.
Crafting the Perfect Muffin Batter:
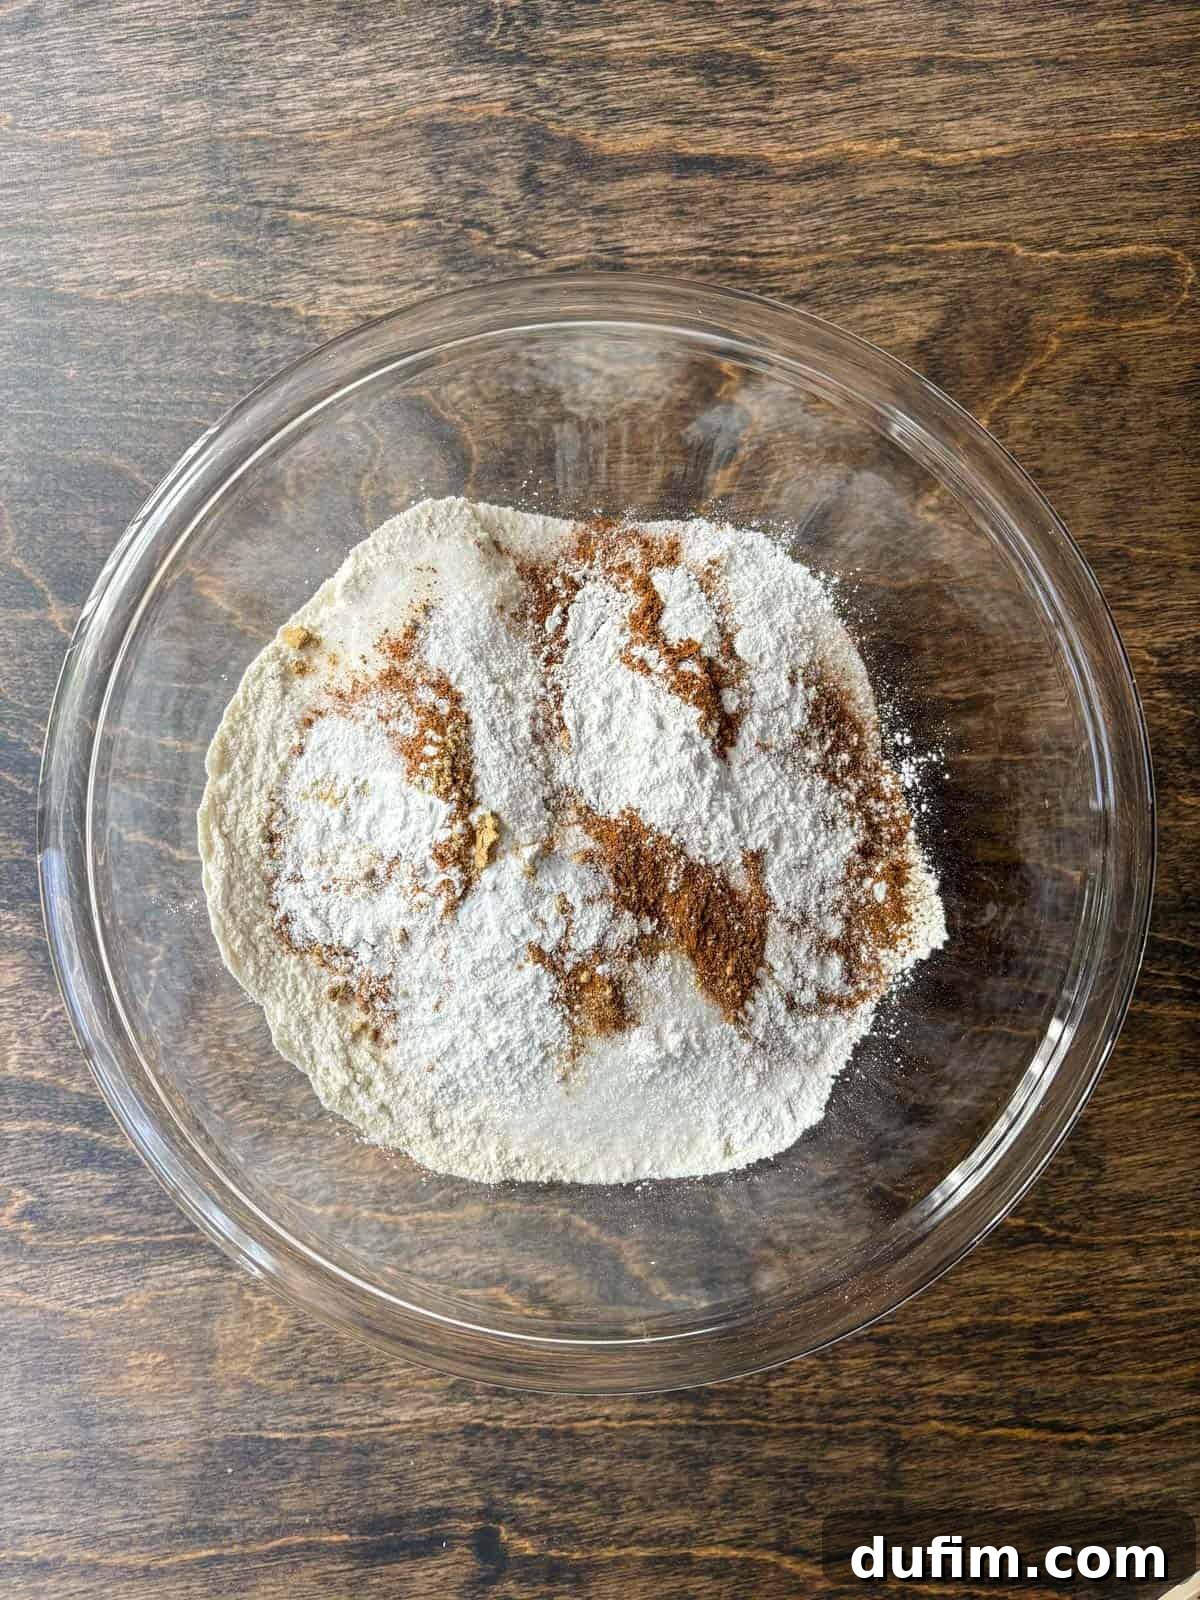
- Combine Dry Ingredients: In a medium mixing bowl, whisk together the gluten-free all-purpose flour, baking powder, baking soda, salt, ground cinnamon, ground nutmeg, and ground ginger. Stir well with a spoon to ensure all the spices and leavening agents are evenly distributed throughout the flour mixture. Set this bowl aside for later.
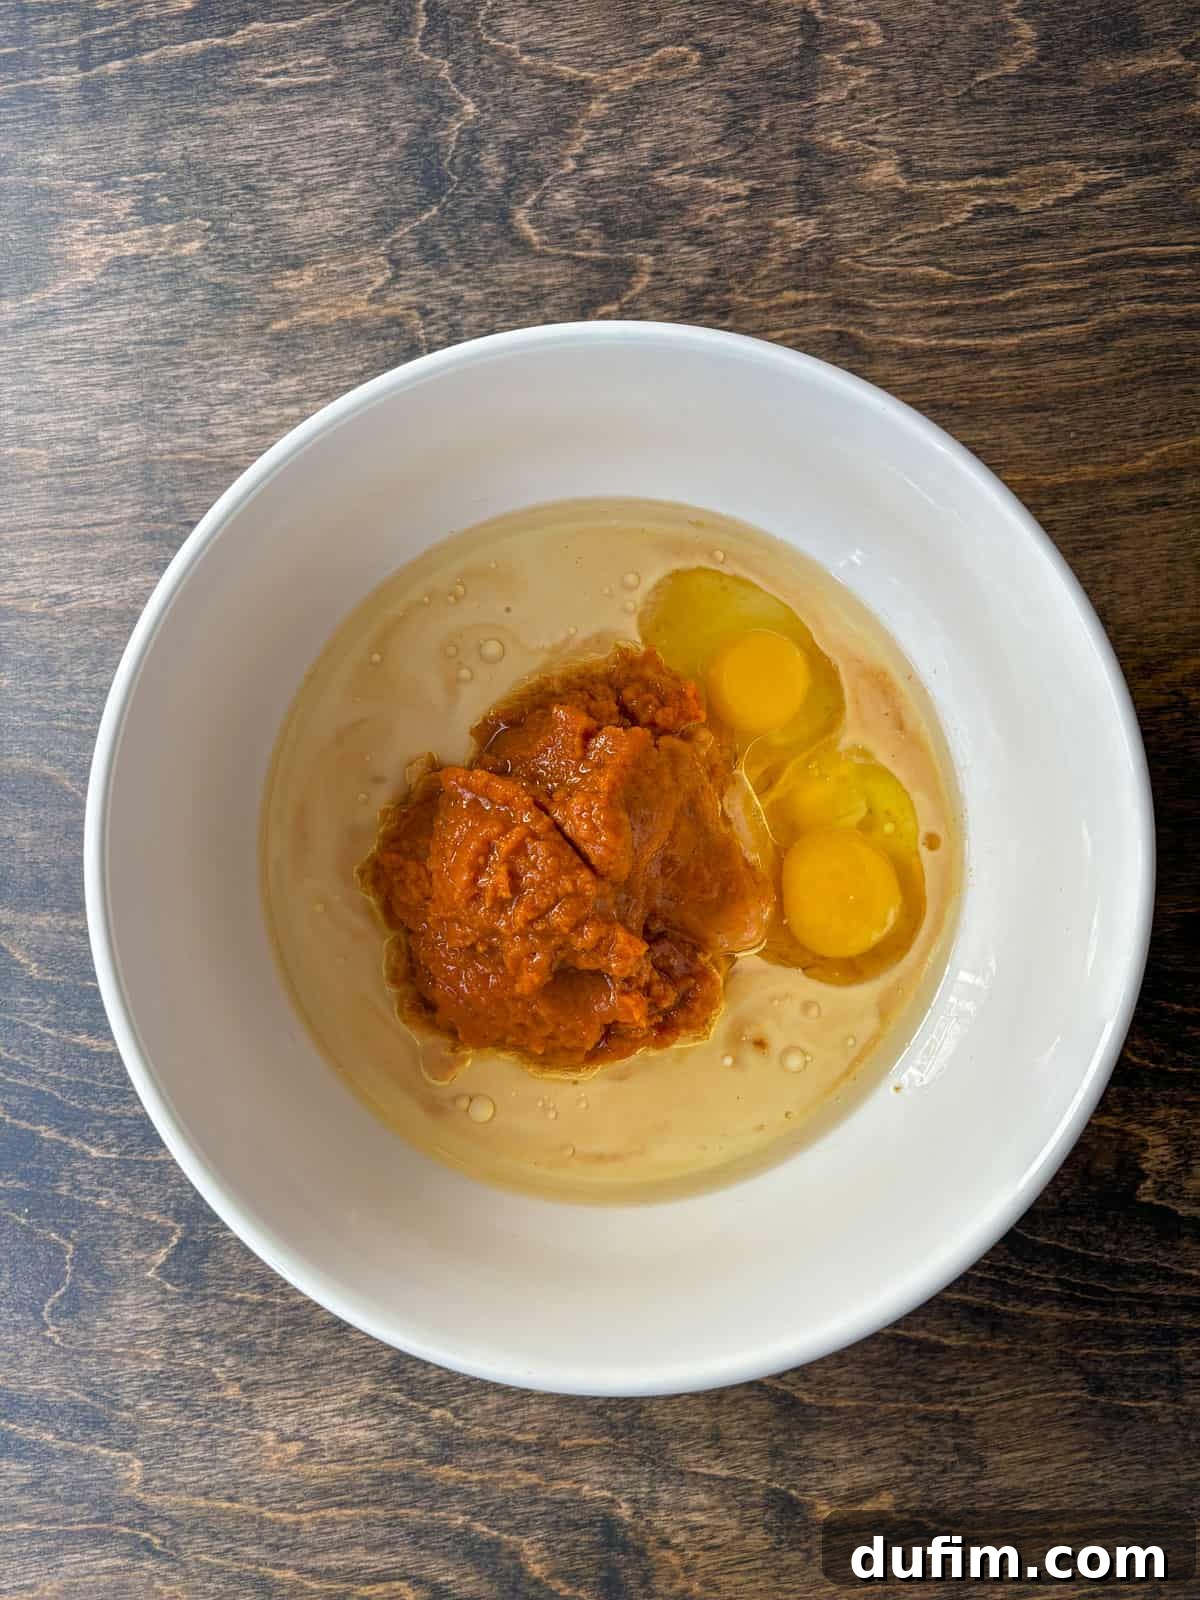
- Combine Wet Ingredients: In a separate, larger mixing bowl, combine the pure pumpkin puree, granulated sugar, brown sugar, vegetable oil, and large eggs. Stir these ingredients thoroughly with a spatula or use an electric mixer on low speed for about 30 seconds until they are completely well combined and the mixture appears smooth and cohesive.
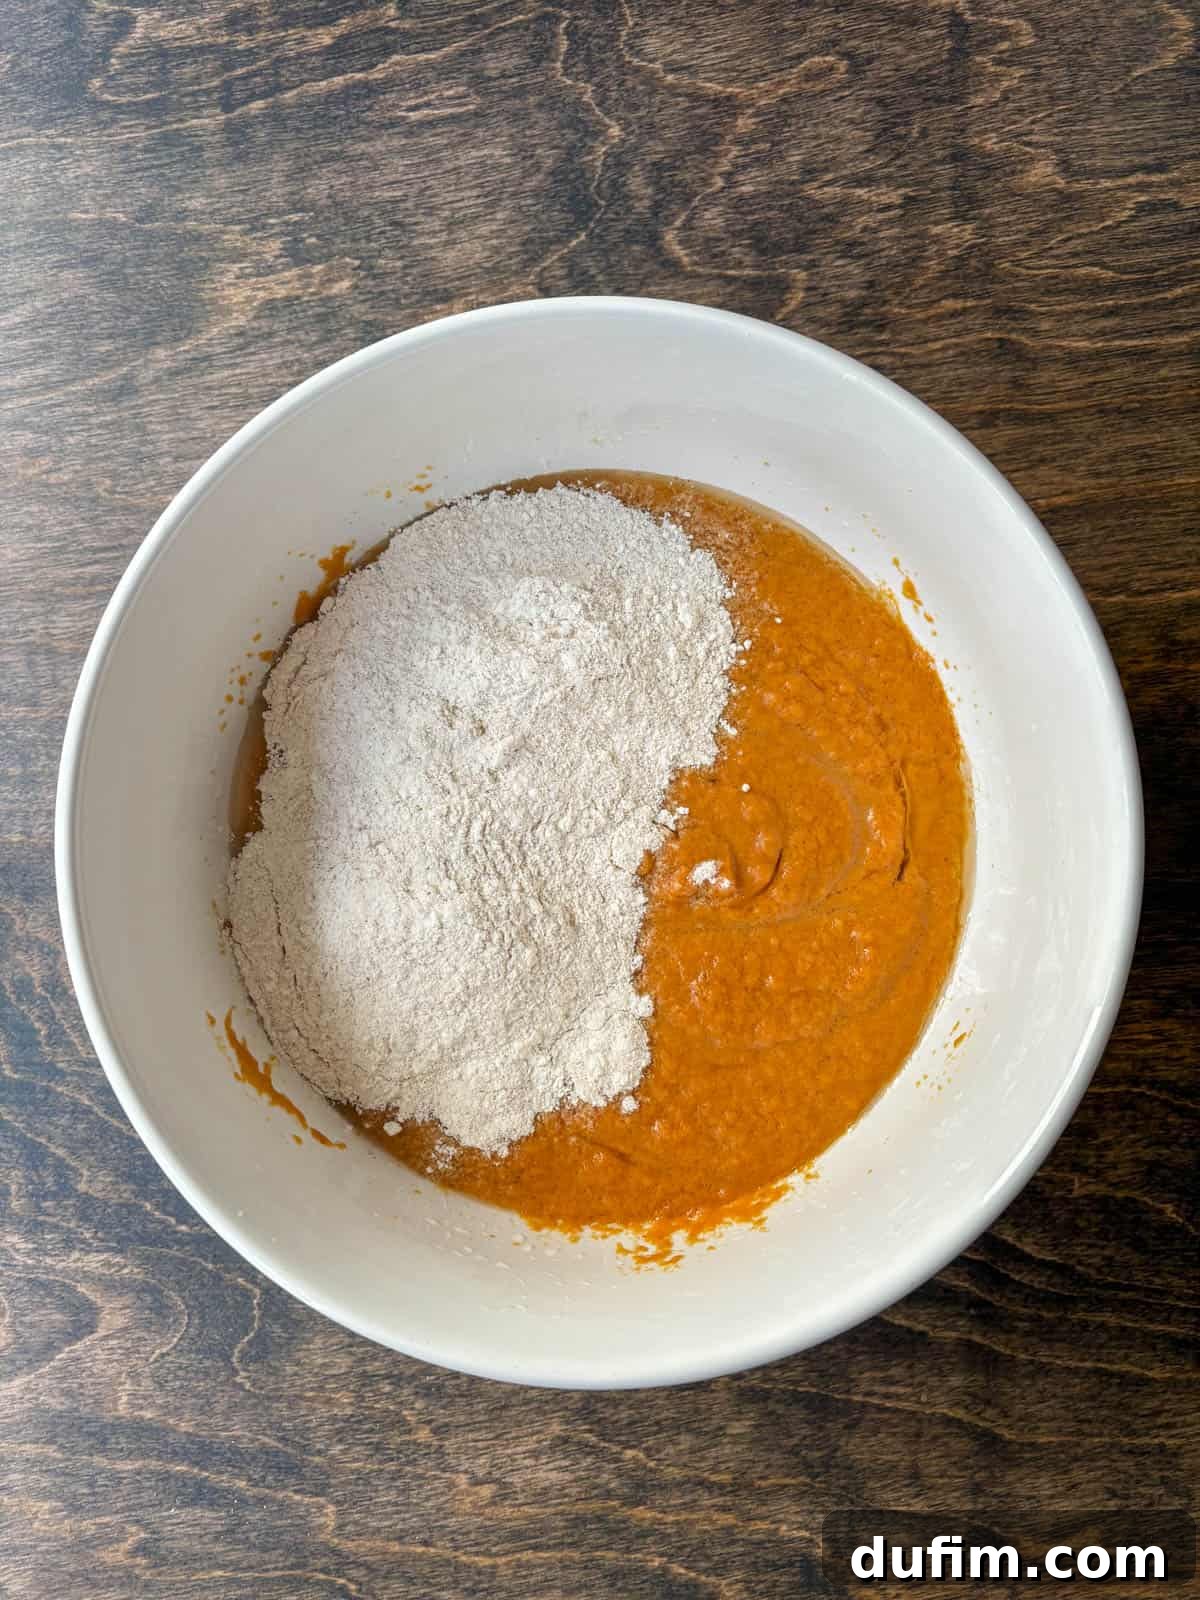
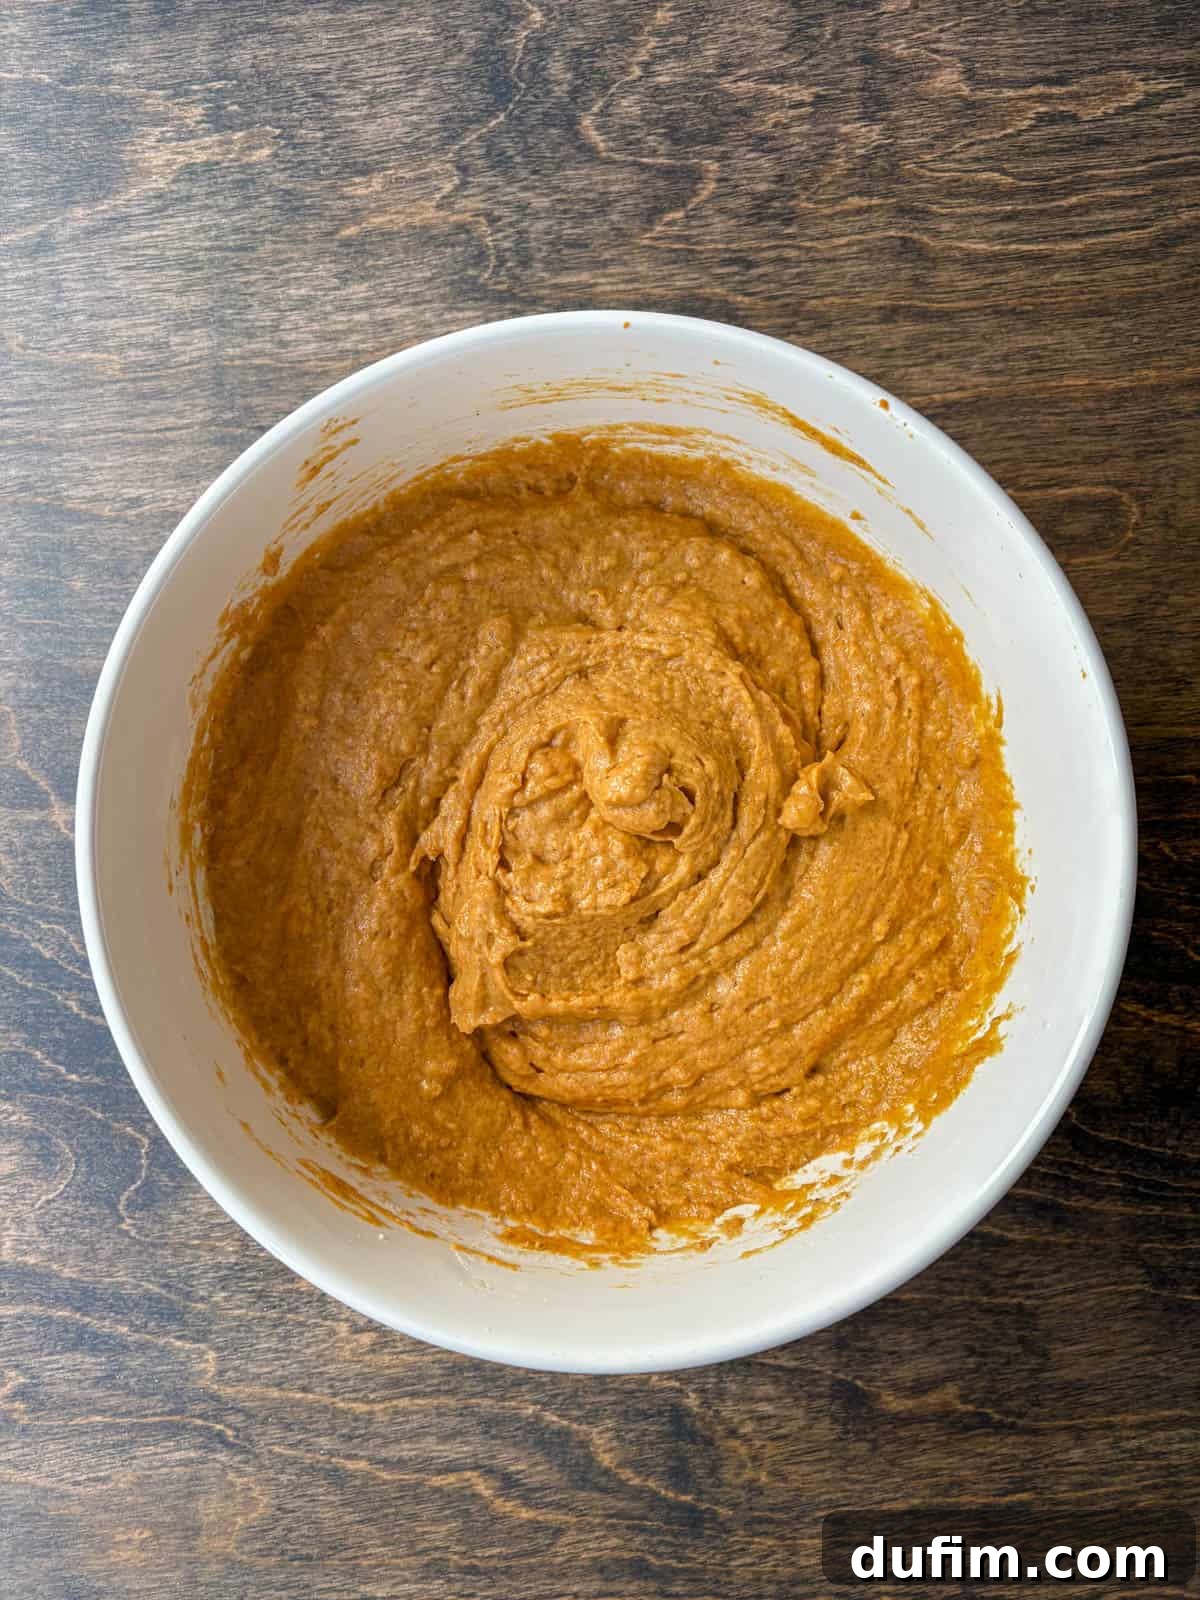
- Finish the Batter: Gradually add the dry ingredient mixture into the wet ingredients. Mix by hand with a spatula or use an electric mixer on low speed, just until everything is combined. Be careful not to overmix, as this can lead to tougher muffins. The batter will be noticeably very thick, which is exactly what we want for perfectly domed muffins. If adding chocolate chips, gently fold in 1 cup of semi-sweet chocolate chips at this stage until just distributed.
- Rest the Batter: This is a crucial, non-negotiable step for bakery-style results! Cover the bowl with a clean kitchen towel and allow the batter to rest for 15 minutes. This period allows the gluten-free flour to fully hydrate, leading to a more tender crumb and significantly contributing to those desirable domed tops. While the batter rests, preheat your oven to 425ºF (220°C).
- Prepare for Baking: To achieve those signature bakery-style muffin tops, line a standard 12-count muffin pan with only 6 muffin liners, meaning you’ll fill every other muffin well with batter. This strategic spacing provides the muffins ample room to spread, rise, and dome without crowding each other, promoting better air circulation and a beautiful golden-brown finish on the tops and sides.
- Fill the Liners Generously: This might feel counter-intuitive if you’re used to traditional muffin recipes, but for maximum height, fill each prepared muffin liner completely to the very top with batter. Yes – completely full! You might wonder how all the batter will fit into just 6 cups, but continue dividing the batter evenly among them. Use a butter knife or the back of a spoon to gently smooth the tops of the muffins if they appear lumpy. If you are making chocolate chip muffins without a crumb topping, press the remaining 1/2 cup of chocolate chips onto the tops of the filled muffin cups now.
Assembling and Baking Your Gluten-Free Pumpkin Muffins for Perfection
Now that your batter is ready and your oven is preheated, let’s bring these magnificent muffins to life with a few key steps that ensure optimal rise and a perfectly set topping.
Adding the Perfect Topping (If Using Crumb Topping):
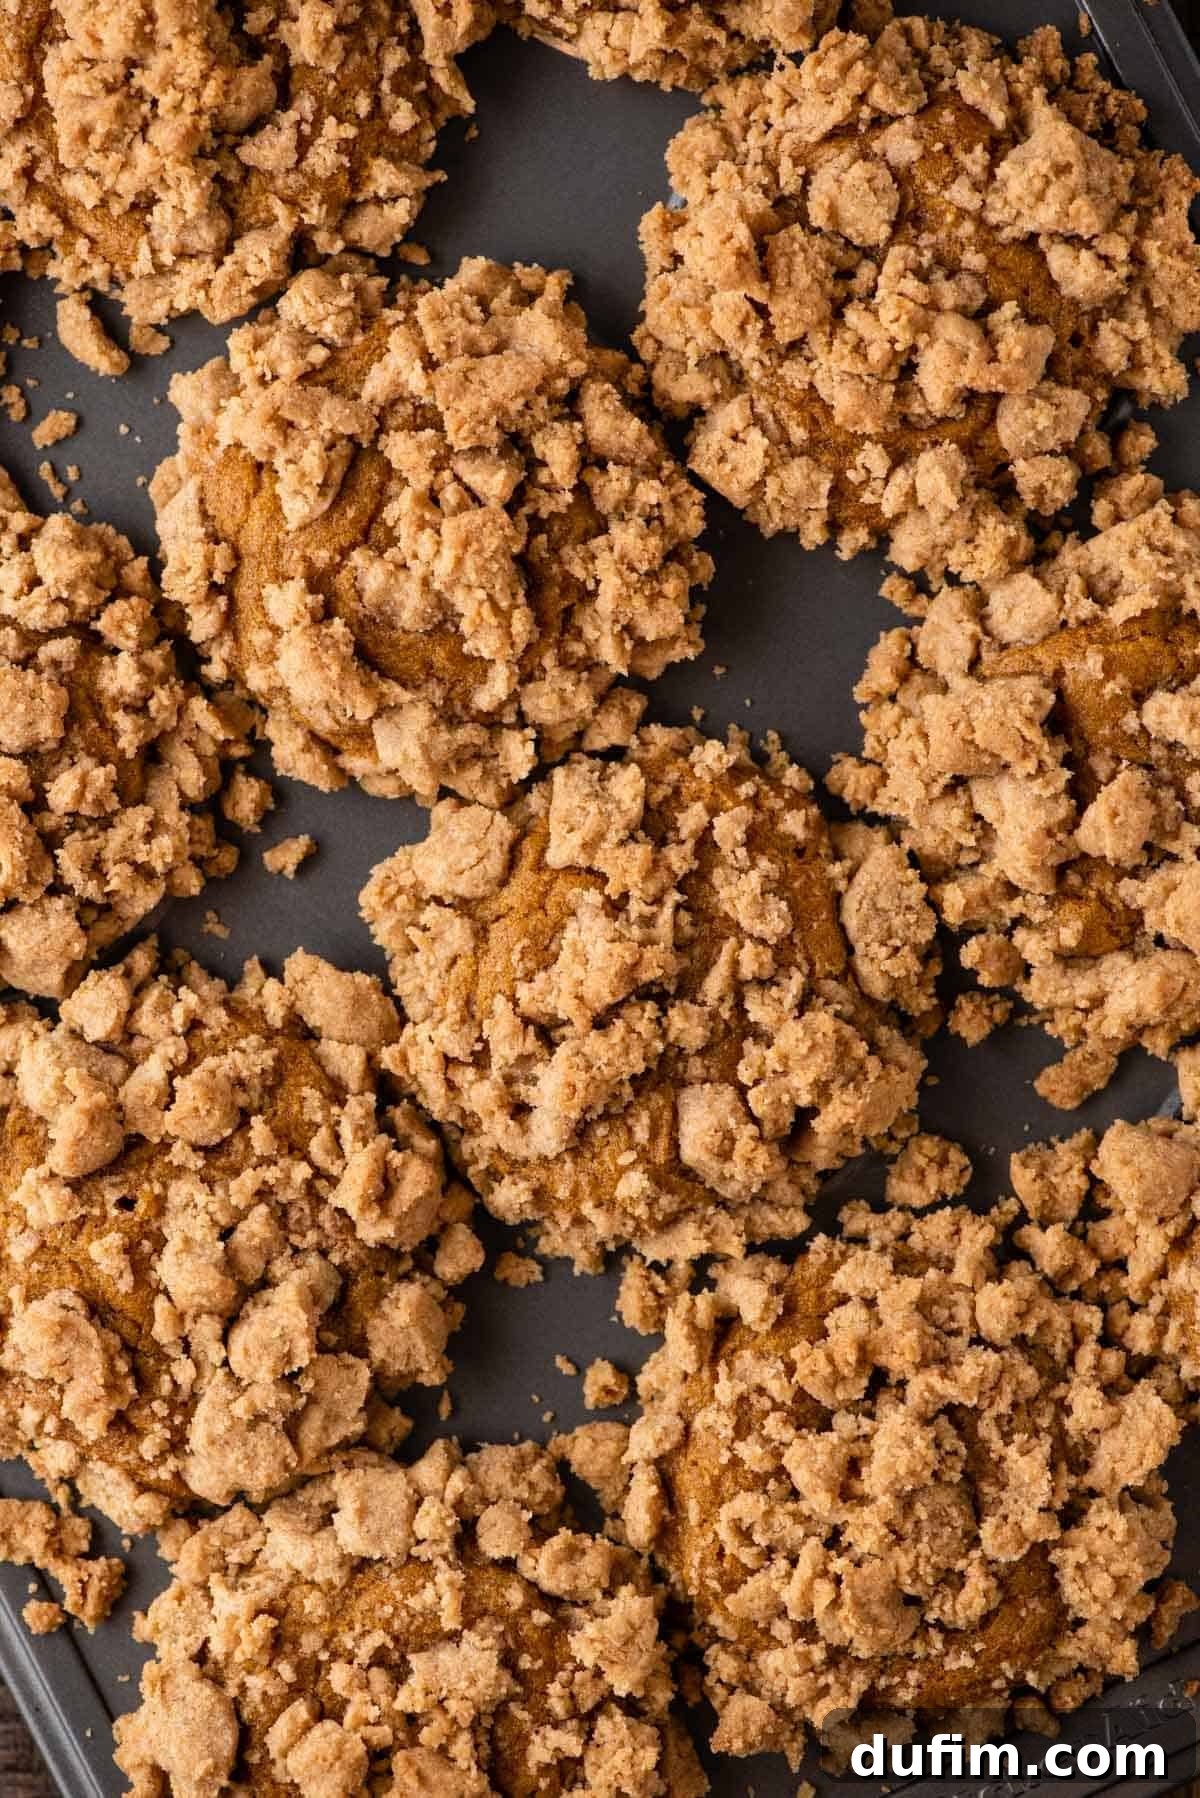
Generously Add Streusel Topping: If you’ve chosen to include the delicious crumb topping, gently break your prepared streusel mixture into small, rustic pieces. Begin to generously pile these crumbs onto the top of each filled muffin cup, ensuring good coverage. I’ve found it easiest to squeeze a small handful of the crumb mixture in my hands to form a loose ball, then break off smaller chunks and lightly press them into the muffin batter. Aim for substantial pieces of crumb for the best texture and visual appeal; tiny crumbs tend to disappear more easily during baking.
The Precision Baking Process:
Initial High-Heat Bake: Place the muffin pan into the preheated 425ºF (220°C) oven and bake for precisely 7 minutes. This initial burst of high heat is a critical step for achieving dramatic, domed muffin tops. The intense heat causes the batter to rise rapidly and sets the exterior quickly, forcing the internal batter upwards.
The Crumb Topping “Correction”: After these initial 7 minutes, carefully remove the muffins from the oven. You’ll likely notice that some of the crumb topping may have started to slide off the sides as the muffins puffed up. While the batter is still wet and pliable, quickly and gently press any stray crumb topping back onto the muffins. This ensures a beautiful, even streusel layer that adheres properly for the remainder of the bake.
Lower Temperature Finish: Immediately return the muffins to the oven, then reduce the oven temperature to 350ºF (175°C). Continue baking for an additional 17-20 minutes, or until a wooden toothpick inserted into the center of a muffin comes out clean. This lower temperature allows the muffins to bake through evenly without over-browning the tops.
Cooling for Structure: Once baked, remove the muffin pan from the oven and allow the muffins to cool in the pan for a crucial 10 minutes. This helps them set up structurally and prevents them from falling apart when removed. After 10 minutes, carefully transfer them to a wire cooling rack to cool completely. If you have remaining batter for a second batch, remember to increase the oven temperature back to 425°F before placing the next pan in.
Delicious Variations for Your Gluten-Free Pumpkin Muffins
Our adaptable base recipe for gluten-free pumpkin muffins serves as a fantastic canvas for various delightful customizations. Whether you crave the crunch of streusel, the sweetness of chocolate, or the pure simplicity of plain pumpkin, these muffins can be easily transformed to suit your preference, offering a new experience with each batch.
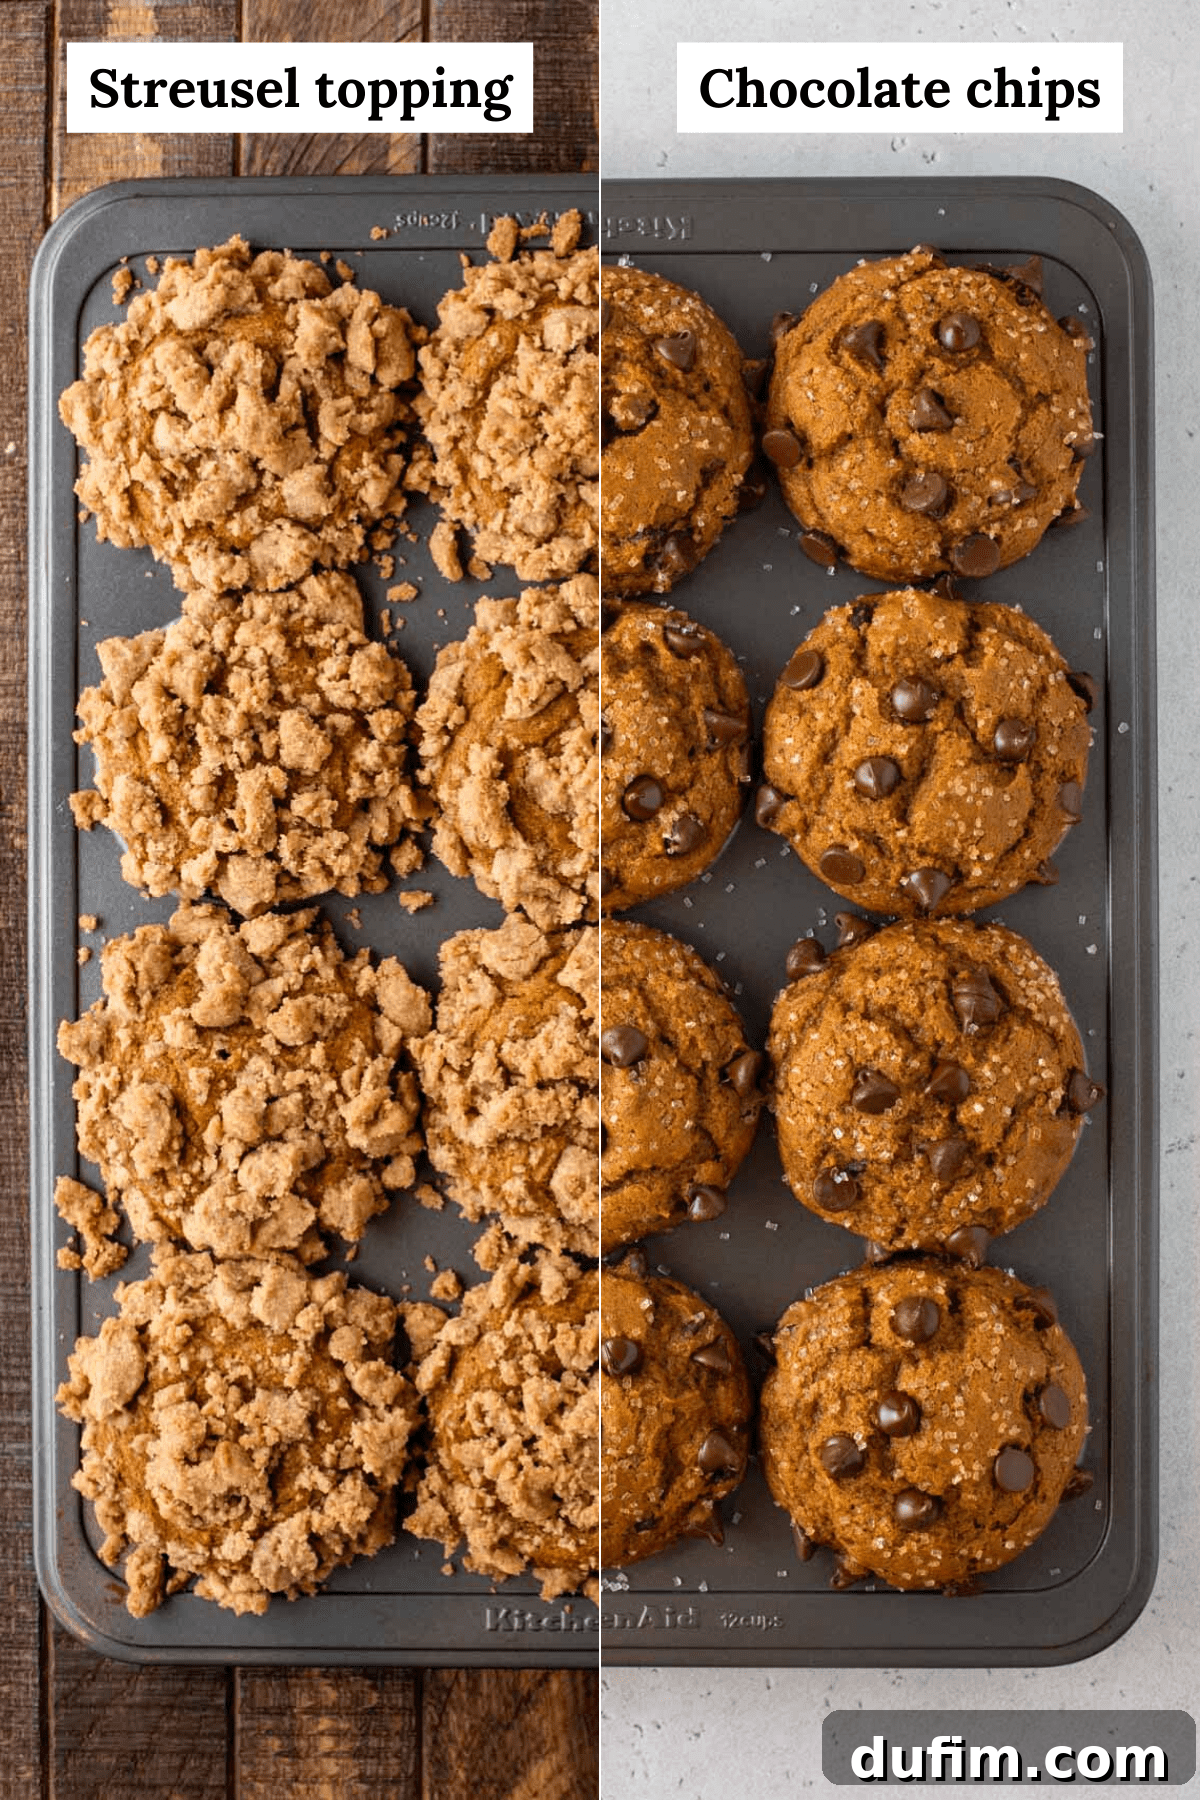
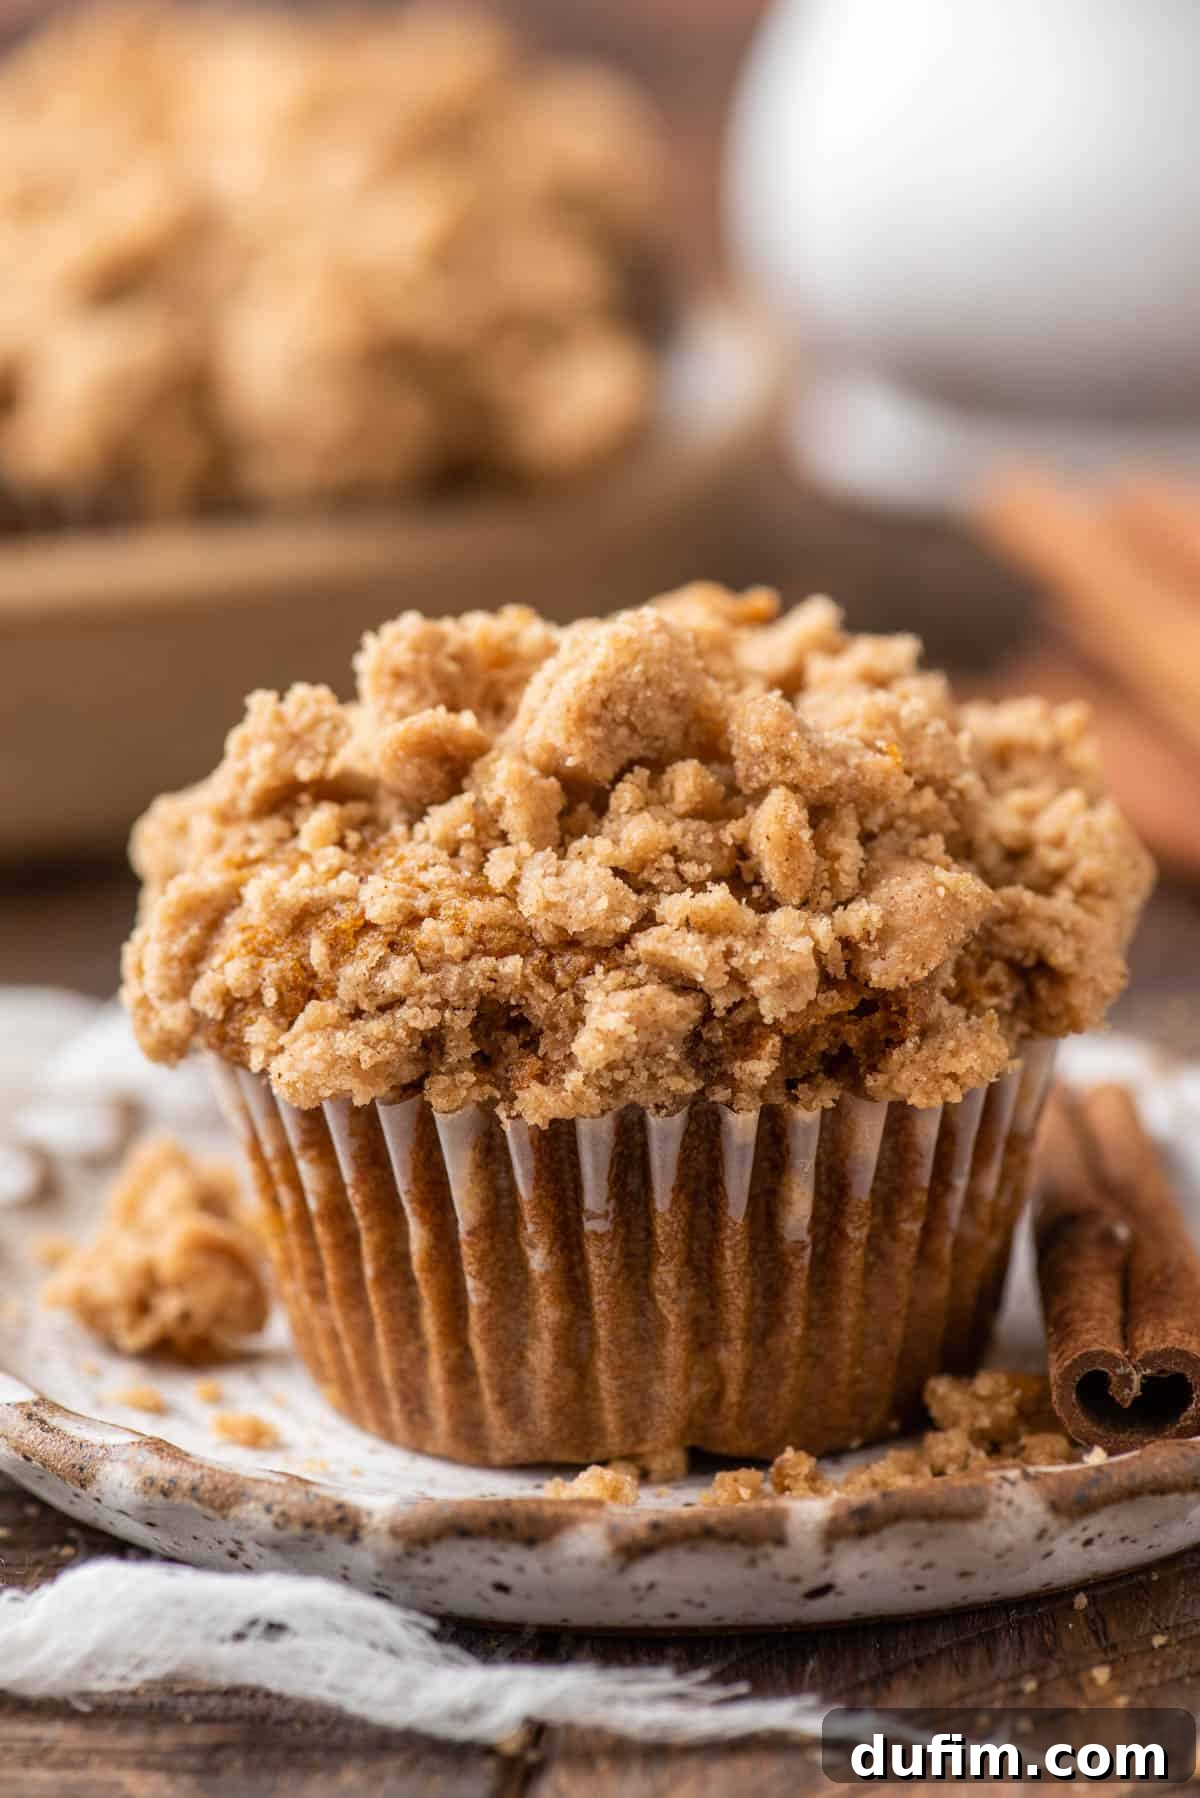
- Gluten-Free Pumpkin Muffins with Streusel Topping: For a truly decadent treat with a delightful textural contrast, simply follow our detailed streusel topping directions provided in the ingredients list and assembly steps. The crumb topping adds a wonderful buttery sweetness and a satisfying crunch that elevates the entire muffin.
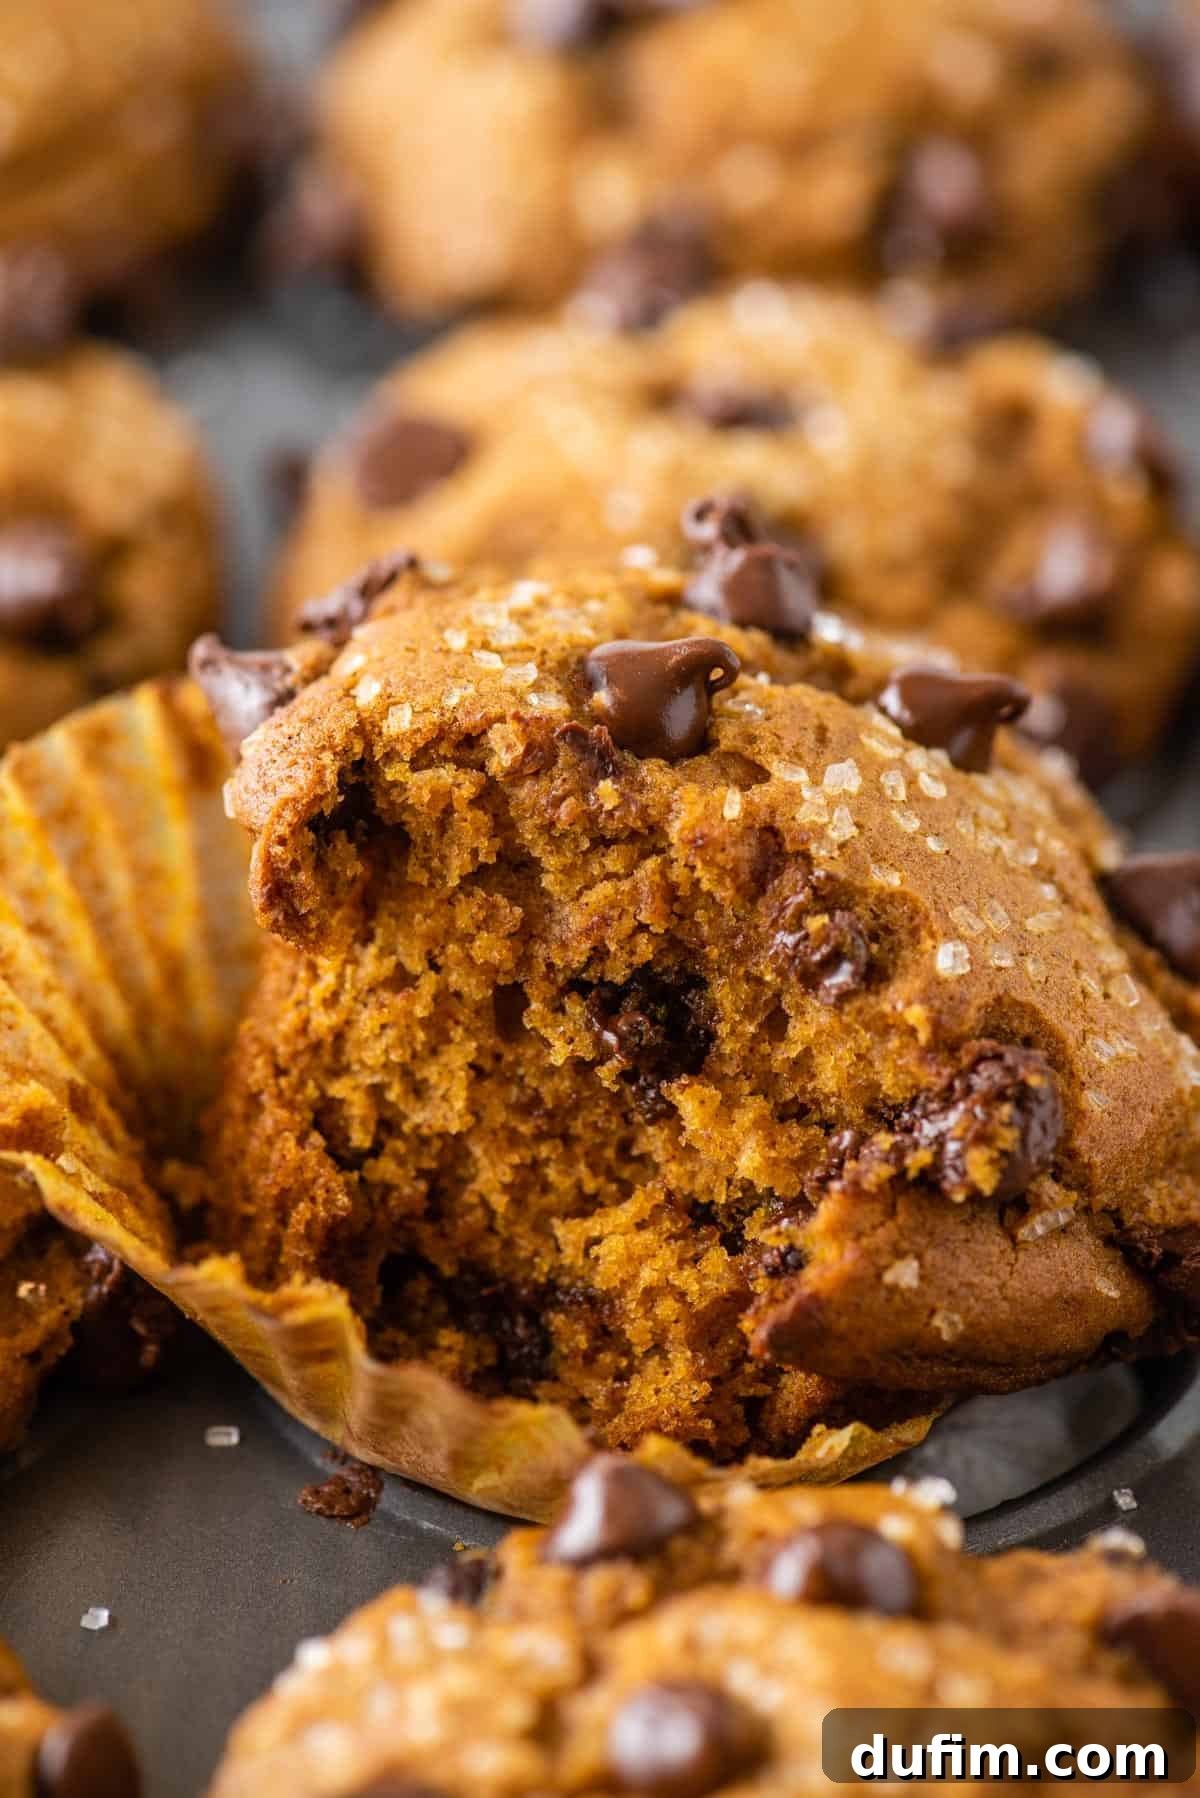
- Gluten-Free Pumpkin Chocolate Chip Muffins: If chocolate is your weakness, these muffins are perfect. To infuse them with rich chocolatey goodness, add 1 cup of semi-sweet chocolate chips directly into the muffin batter during the final mixing stage (Step 3 of “Crafting the Perfect Muffin Batter”). For an extra chocolate boost and a beautiful, inviting presentation, press an additional 1/2 cup of chocolate chips onto the tops of the muffins just before they go into the oven.
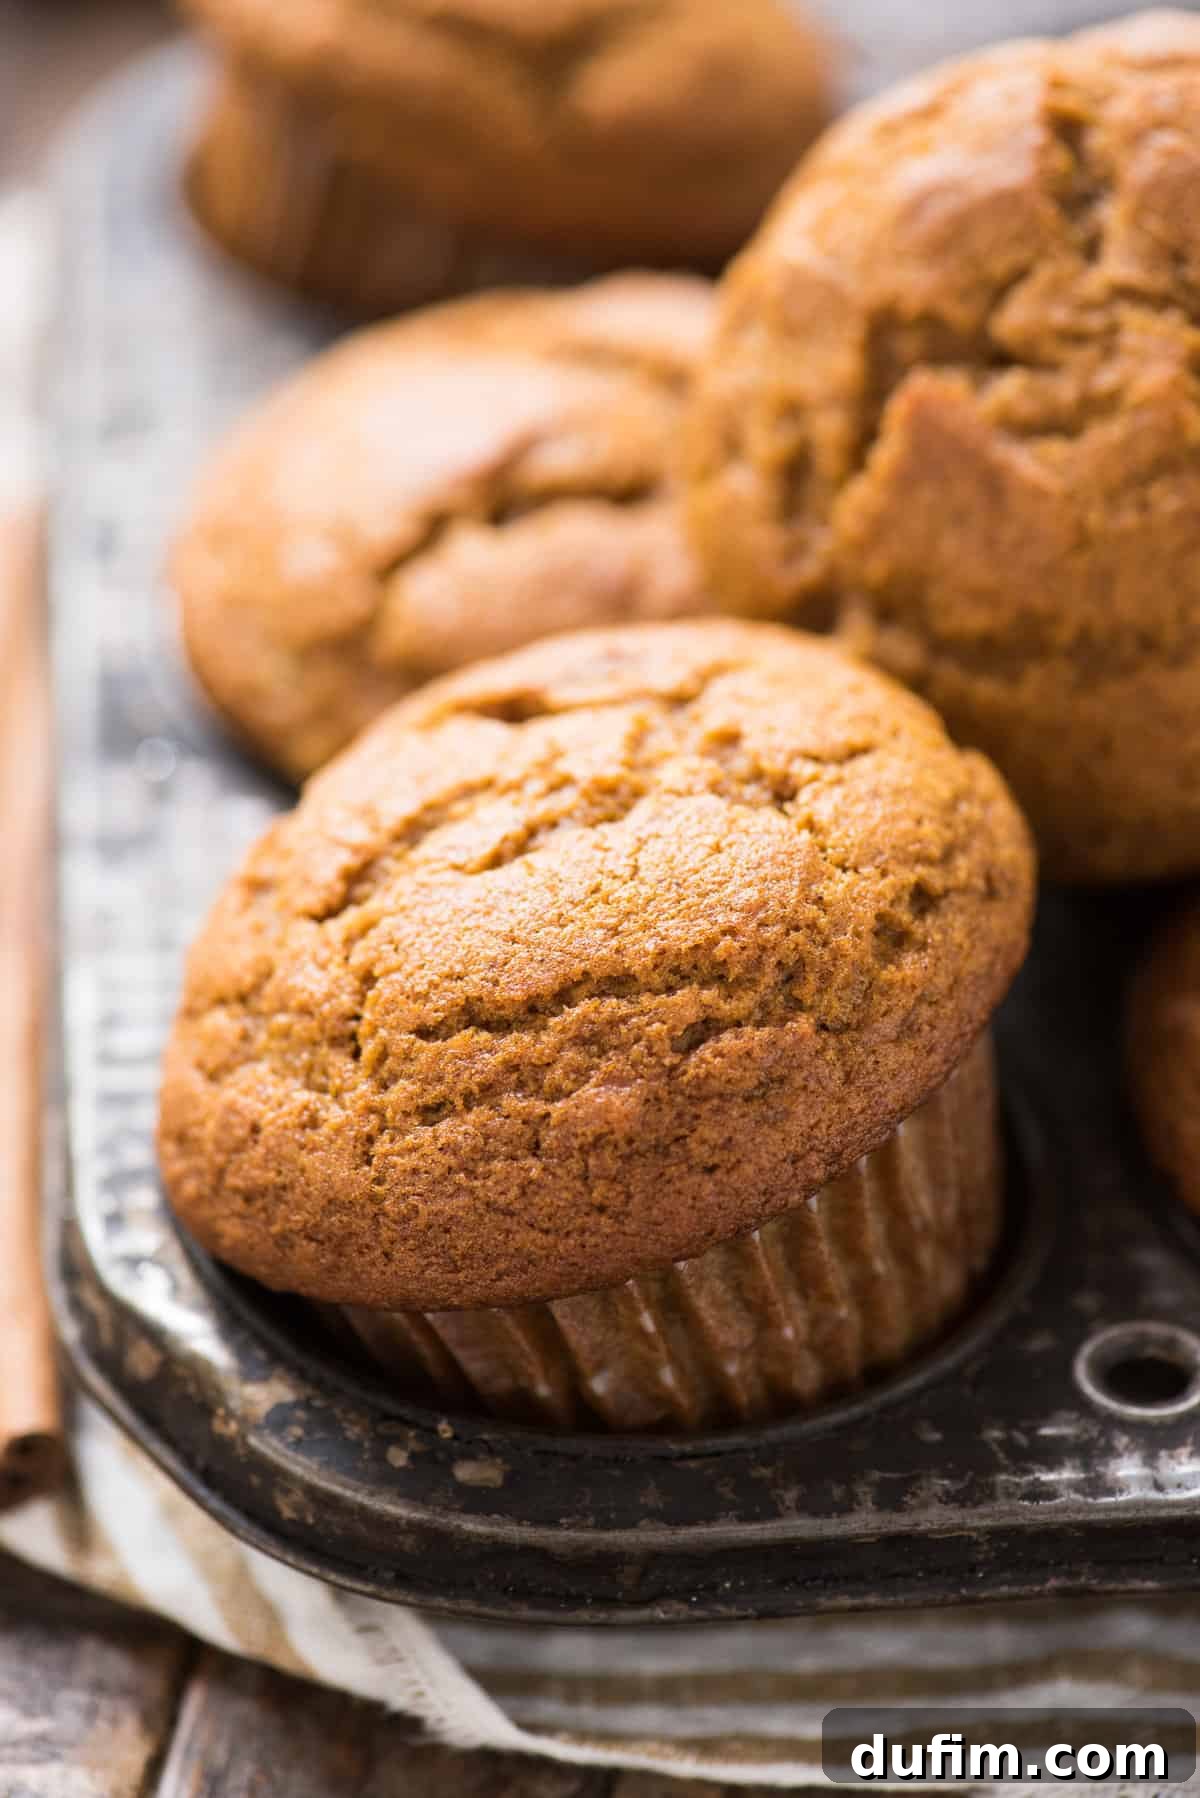
- Plain Gluten-Free Pumpkin Muffins: Sometimes, simplicity allows the core flavors to shine brightest. You can choose to skip both the streusel and the chocolate chips entirely to create wonderfully moist and flavorful plain pumpkin muffins. Their rich pumpkin and classic fall spice notes shine through beautifully on their own, making them a comforting, no-fuss option.
Total Time Required for These Amazing Muffins
From gathering your ingredients to savoring your first bite, here’s a helpful breakdown of the time you’ll need to create these fantastic gluten-free pumpkin muffins:
- Prep the Batter: Approximately 10 minutes of active preparation time, including measuring and mixing.
- Batter Rest Period: A crucial 15-minute rest. This passive time is absolutely essential for allowing the gluten-free flour to hydrate, which helps produce those desirable domed tops!
- Initial High-Heat Bake: 7 minutes at 425ºF (220°C).
- Lower-Heat Bake: An additional 17-20 minutes at 350ºF (175°C) to bake through.
- Cooling Time: A minimum of 10 minutes in the pan, followed by another 10-20 minutes on a wire rack until they’re cool enough to handle and fully set.
Your total estimated time to enjoy warm, homemade gluten-free pumpkin muffins is around 60-70 minutes, with only approximately 20-25 minutes of active, hands-on work!
The Importance of Properly Measuring Flour in Gluten-Free Baking
Accurate ingredient measurement is paramount in all baking, but it is especially critical in gluten-free recipes where the precise balance of wet and dry ingredients is essential for achieving the correct texture and structure. Gluten-free flours can absorb liquids differently than wheat flour, making precise measurement key to preventing dry or dense muffins. The most accurate and recommended way to measure flour is by using a kitchen scale, weighing it in grams.
If you don’t have a kitchen scale, fear not! You can still achieve accurate measurements by following this widely recommended method for measuring flour by volume to avoid inadvertently over-packing, which can lead to a dry, crumbly result:
- Aerate the Flour: Before measuring, take a moment to lightly fluff your gluten-free flour blend with a whisk or spoon. Flour tends to settle and compact in its container or bag, leading to an unintentionally larger amount when scooped directly. Aerating it ensures you’re measuring a lighter, more consistent volume. This is a gentle fluffing, not the same as sifting, unless the recipe specifically instructs sifting.
- Spoon into Measuring Cup: Use a spoon to gently sprinkle the aerated flour into your dry measuring cup. Crucially, do not use the measuring cup itself to scoop directly from the bag, as this action compacts the flour and results in too much being used.
- Level Off: Once the measuring cup is overflowing with lightly spooned flour, use the flat back of a butter knife or any straight edge to level off the excess flour, ensuring a precise and even measurement across the top.
Following these simple steps will help prevent your muffins from becoming dry, crumbly, or overly dense due to an excess of flour, ensuring a consistently delicious outcome every time.
Unlocking the Secrets to Bakery-Style Gluten-Free Muffins
Achieving those impressive, sky-high domed tops characteristic of professional bakery muffins isn’t just a matter of luck; it’s a combination of specific, tried-and-true techniques. Who doesn’t adore a muffin with a generous, golden-brown crown that looks as good as it tastes? I’ve honed these methods over years of baking, and they are truly game-changers for “lifting” your gluten-free muffins to new, impressive heights, making them indistinguishable from their gluten-containing counterparts.
1. The Essential Rest Period
After your batter is fully mixed, resist the urge to immediately scoop it into the muffin pan. Instead, cover the bowl with a clean towel and allow the batter to rest for at least 15 minutes. During this vital resting period, the starch molecules within the gluten-free flour blend begin to absorb the liquid ingredients in the batter. This absorption causes them to swell, significantly thickening the batter’s consistency. A thicker batter is less likely to spread too quickly when introduced to heat, encouraging it to rise upwards rather than spreading outwards, thus forming that beautiful, lofty dome. This short rest makes a noticeable difference in the final texture and impressive height of your muffins.
2. Strategically Fill Every Other Muffin Cup
This tip is a true revelation for achieving magnificent muffin tops! When preparing your standard 12-count muffin pan, only place liners and fill every other muffin well. For example, you would fill cups 1, 3, 5, 7, 9, and 11, leaving the alternate cups empty. This strategic spacing provides each muffin with ample room to spread and dome without bumping into its neighbors. The increased air circulation around each muffin also promotes more even baking and a desirable golden-brown crust, especially on the sides and tops, resulting in a more impressive, truly “bakery-style” appearance. This technique is particularly effective for gluten-free batters, which can sometimes benefit from less crowding.
3. Fill Your Muffin Liners to the Very Top
Contrary to many conventional muffin recipes that suggest filling cups only two-thirds full, for guaranteed bakery-style results with sky-high crowns, you must fill your muffin liners completely to the top with batter. Yes, this might feel audacious, especially for a gluten-free batter, but it is absolutely crucial for encouraging the muffins to gain maximum height. A full cup provides more batter to push upwards as it bakes, resulting in those desirable lofty crowns. Don’t worry about overflow; if combined with the other tips, the batter will rise beautifully within the confines of the liner, creating that perfect domed effect.
4. Begin Baking at a High Temperature Initially
A smart trick employed by professional bakers is to start the baking process at a high temperature, then reduce it. For these gluten-free pumpkin muffins, we begin baking at a scorching 425ºF (220°C) for the first 7 minutes, then promptly lower the oven temperature to 350ºF (175°C) for the remainder of the baking time. The initial blast of high heat causes the outside of the muffin batter to set quickly and rise rapidly, essentially creating a “crust” that forces the muffin to continue rising vigorously upwards rather than spreading outwards. This method is instrumental in achieving that distinct, impressive domed shape that is the hallmark of a bakery-quality muffin.
5. Gently Press the Crumb Topping Back On (If Using)
If you’ve opted for a delightful streusel topping, there’s one more unique step to ensure it adheres perfectly and creates an irresistible crunchy layer. After the initial 7-minute bake at high temperature, carefully remove the muffins from the oven. You’ll likely observe that some of the crumb topping has started to loosen or even fall off the sides as the muffins puffed up rapidly. While the batter is still warm and relatively soft, quickly and gently press any loose crumb pieces back onto the muffin tops. This critical step ensures that your muffins retain their full, delicious streusel crown as they finish baking at the lower temperature. Then, immediately return the muffins to the oven, drop the temperature to 350ºF (175°C), and continue baking for the remaining 17-20 minutes.
Storing and Freezing Your Delicious Pumpkin Muffins for Lasting Freshness
To ensure your gluten-free pumpkin muffins remain fresh, moist, and delicious for as long as possible, proper storage is absolutely essential. These tips will help you preserve their delightful texture and flavor, whether you plan to enjoy them tomorrow or next month.
Muffin Storage for Optimal Freshness
For immediate enjoyment, if you plan to eat the muffins within 24 hours of baking, you can simply leave them uncovered on the counter at room temperature. These muffins are so wonderfully moist that they won’t dry out within a day. In fact, storing them in an airtight container too soon can actually have a detrimental effect, making them soggy and causing those delightful crunchy, sugary streusel tops to soften and disappear due to trapped moisture.
My Secret Trick for Longer Freshness: The Paper Towel Method!
For longer storage, typically extending their freshness for 2-4 days, I highly recommend using paper towels to combat excess moisture. Here’s how:
- Line the bottom of an airtight container with a single layer of paper towels.
- Arrange the cooled muffins in a single layer on top of the paper towels.
- If you need to stack them, add another layer of paper towels between each layer of muffins.
- Finally, cover the top layer of muffins with additional paper towels before securely sealing the container.
The paper towels act as a brilliant sponge, effectively absorbing the excess moisture that the muffins naturally release while they are stored. This simple but effective method helps to maintain their tender texture and prevent them from becoming soggy. If you notice the paper towels becoming overly damp by day 2 or 3, simply replace them with fresh ones to continue preserving your muffins’ quality.
How to Freeze Gluten-Free Pumpkin Muffins
These gluten-free pumpkin muffins freeze beautifully, making them perfect for meal prepping, ensuring you always have a homemade treat on hand, or simply extending their shelf life. To freeze them effectively:
- Cool Completely: Ensure the muffins have cooled completely to room temperature before attempting to wrap them. Freezing warm muffins will create condensation and lead to ice crystals.
- Individual Wrapping: Individually wrap each muffin tightly in plastic wrap. This is a crucial step that prevents freezer burn and helps to maintain their moisture and flavor.
- Airtight Storage: Place the individually wrapped muffins into a large freezer-safe ziploc bag or an airtight container. Press out as much air as possible from the bag before sealing.
- Freeze: Store them in the freezer for up to 3 months.
To thaw and enjoy your perfectly preserved frozen muffins:
- Room Temperature Thawing: For a gentle thaw, simply leave the wrapped muffins at room temperature for approximately 1 hour, or until they are fully defrosted.
- Quick Microwave Thawing: For a faster method, unwrap a frozen muffin and microwave it at 20-second intervals until it is defrosted and warmed through to your liking. Be careful not to overheat, as this can dry them out.
Enjoying a warm, freshly thawed gluten-free pumpkin muffin is a delightful experience, especially on a busy morning or for a quick, comforting snack!
★★★★☆ (4.50 from 4 ratings)
(Note: This is a static representation; interactive rating is not available in this format.)
The Best Bakery-Style Gluten-Free Pumpkin Muffins
Print Recipe
With over 15 years of experience in gluten-free baking, this meticulously tested recipe delivers perfectly moist, tender, and beautifully domed bakery-style pumpkin muffins. You won’t believe they’re gluten-free!
Equipment
- Bakery Style Muffins Cookbook
- 12-Cup Muffin Pan
- Sanding Sugar (Optional, for extra sparkle)
- Large Glass Mixing Bowl Set
- Durable Silicone Spatula
- Digital Kitchen Scale (Highly Recommended for Flour Accuracy)
Ingredients
For the Gluten-Free Pumpkin Muffins:
- 2 ¼ cups (270g) gluten-free all-purpose flour (King Arthur recommended)
- 1 ½ tsp baking powder
- 1 ½ tsp baking soda
- 1 tsp salt
- 2 ½ tsp ground cinnamon
- ½ tsp ground nutmeg
- ¼ tsp ground ginger
- 1 can 15 oz (425g) 100% pure pumpkin puree (not pie mix)
- 1 cup (198g) granulated sugar
- ½ cup (107g) brown sugar, packed
- ½ cup (118ml) vegetable oil
- 2 large eggs
Optional: If adding Chocolate Chips
- 1 ½ cups (255g) semi-sweet chocolate chips (1 cup to batter, ½ cup for topping)
Optional: If adding Crumb Topping
- 1 ½ cups (180g) gluten-free all-purpose flour
- ⅔ cup (142g) brown sugar, packed
- 1 ½ tsp ground cinnamon
- ¼ tsp salt
- ½ cup (113g) unsalted butter, 1 stick, melted
Instructions
Part 1: Preparing the Muffin Batter
-
In a medium mixing bowl, combine the gluten-free all-purpose flour, baking powder, baking soda, salt, cinnamon, nutmeg, and ginger. Stir with a spoon to combine thoroughly and set aside.
-
In a larger mixing bowl, combine the pumpkin puree, granulated sugar, brown sugar, vegetable oil, and eggs. Stir well with a spatula or mixer on low speed for about 30 seconds until the mixture is smooth and fully combined.
-
Gradually mix the dry ingredients into the wet ingredients. If you are adding chocolate chips, gently fold in 1 cup of semi-sweet chocolate chips at this point. Mix by hand or with a mixer on low speed just until combined; be careful not to overmix. The batter will be very thick! Cover the bowl with a clean kitchen towel and allow the batter to rest for 15 minutes. During this resting time, preheat your oven to 425ºF (220°C).
Part 2: Preparing the Crumb Topping (Optional)
-
If making the crumb topping, in a separate medium bowl, combine 1 ½ cups gluten-free all-purpose flour, ⅔ cup brown sugar, 1 ½ tsp cinnamon, ¼ tsp salt, and ½ cup melted unsalted butter. Mix with a spatula until the mixture is wet and sandy. Then, use your hands to squeeze portions together, forming substantial clumps for the streusel. Set aside until needed.
Part 3: Baking Your Bakery-Style Muffins
-
For bakery-style domed tops, line a 12-count muffin pan with only 6 muffin liners, filling every other well with batter. This spacing allows ample room for spreading and doming. Fill each lined cup completely to the top with batter. Use a butter knife or the back of a spoon to smooth the tops if they appear lumpy. If you’re skipping the crumb topping but adding chocolate chips, press the remaining ½ cup of chocolate chips onto the muffin tops now. If using the crumb topping, generously pile the prepared crumb mixture on top of each muffin, gently pressing it into the batter.
-
Bake the muffins at 425ºF (220°C) for the initial 7 minutes. After this time, carefully remove the muffins from the oven. You may notice some crumb topping has shifted or fallen off; while the batter is still warm and pliable, quickly and gently press any loose crumb pieces back onto the muffin tops to ensure they adhere well for the rest of the bake.
-
Immediately return the muffins to the oven, then drop the oven temperature to 350ºF (175°C). Continue baking for an additional 17-20 minutes, or until a wooden toothpick inserted into the center of a muffin comes out clean. Once baked, remove the muffin pan from the oven and allow the muffins to cool in the pan for 10 minutes before carefully transferring them to a wire cooling rack to cool completely. If you have any remaining batter for a second batch, remember to increase the oven temperature back to 425ºF before baking.
Notes
Why is a 15-minute batter rest important? During this resting period, the starch molecules in the gluten-free flour absorb liquid, causing them to swell and creating a thicker batter. This ultimately leads to a more tender muffin and significantly helps in achieving those beautiful, domed tops.
The nutrition information provided is calculated for muffins with the crumb topping and does not include chocolate chips. This versatile recipe allows you to easily customize it to make plain gluten-free pumpkin muffins, pumpkin muffins with crumb topping, or delicious pumpkin chocolate chip muffins.
Nutrition Information (Approximate per Muffin with Crumb Topping)
Calories: 445kcal | Carbohydrates: 68g | Protein: 5g | Fat: 19g | Saturated Fat: 7g | Polyunsaturated Fat: 6g | Monounsaturated Fat: 5g | Trans Fat: 0.4g | Cholesterol: 51mg | Sodium: 453mg | Potassium: 119mg | Fiber: 5g | Sugar: 40g | Vitamin A: 5797IU | Vitamin C: 2mg | Calcium: 95mg | Iron: 2mg
Nutrition Disclosure
All nutritional values are approximate and provided to the reader as a courtesy. Changing ingredients and/or quantities will significantly alter the estimated nutritional calculations.