
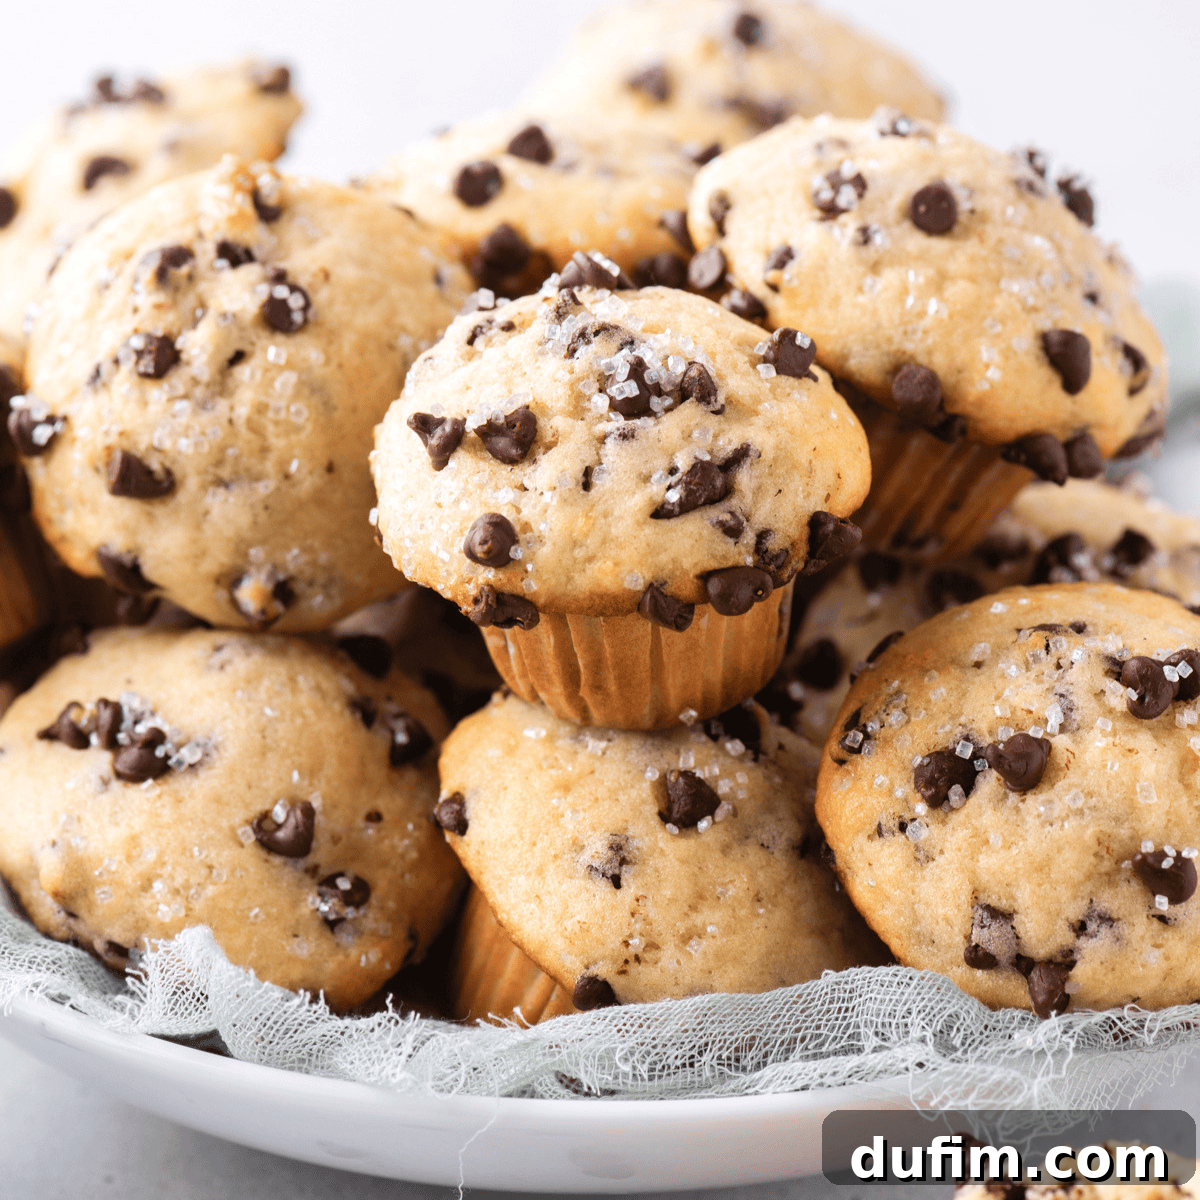
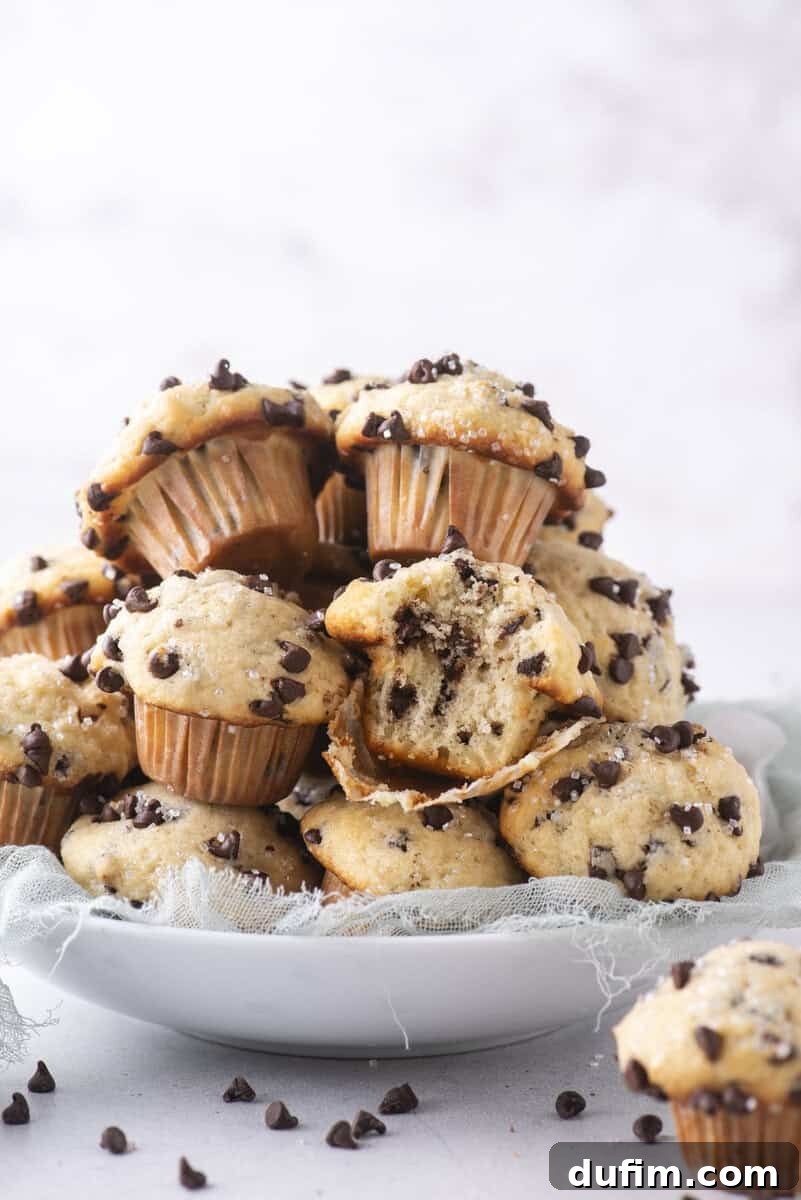
Most mini chocolate chip muffins turn out flat not because of a bad recipe but because of a common pan and technique mistake. I’ve tested countless muffin recipes and methods, and this is the mini muffin approach I trust and use regularly. The result is soft, tall, and full of chocolate in every bite—real bakery-style domes without special equipment.
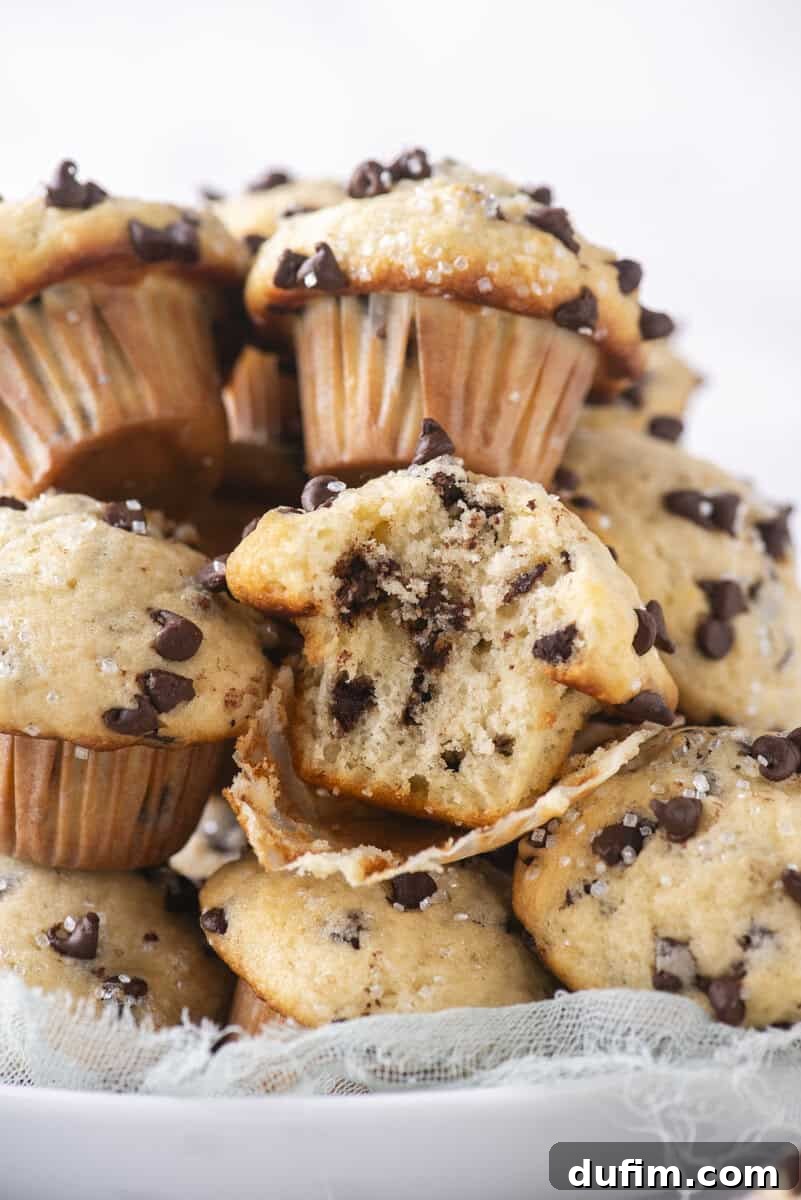
Bakery Style Mini Chocolate Chip Muffins
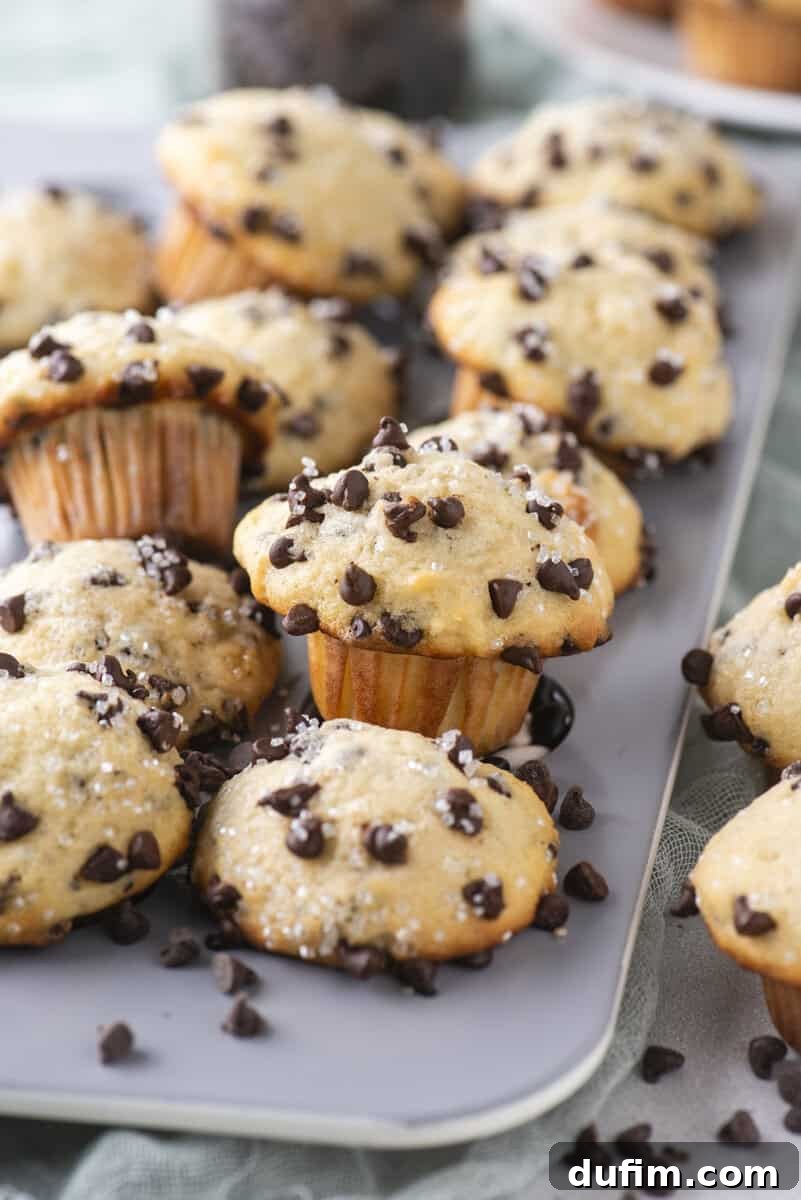
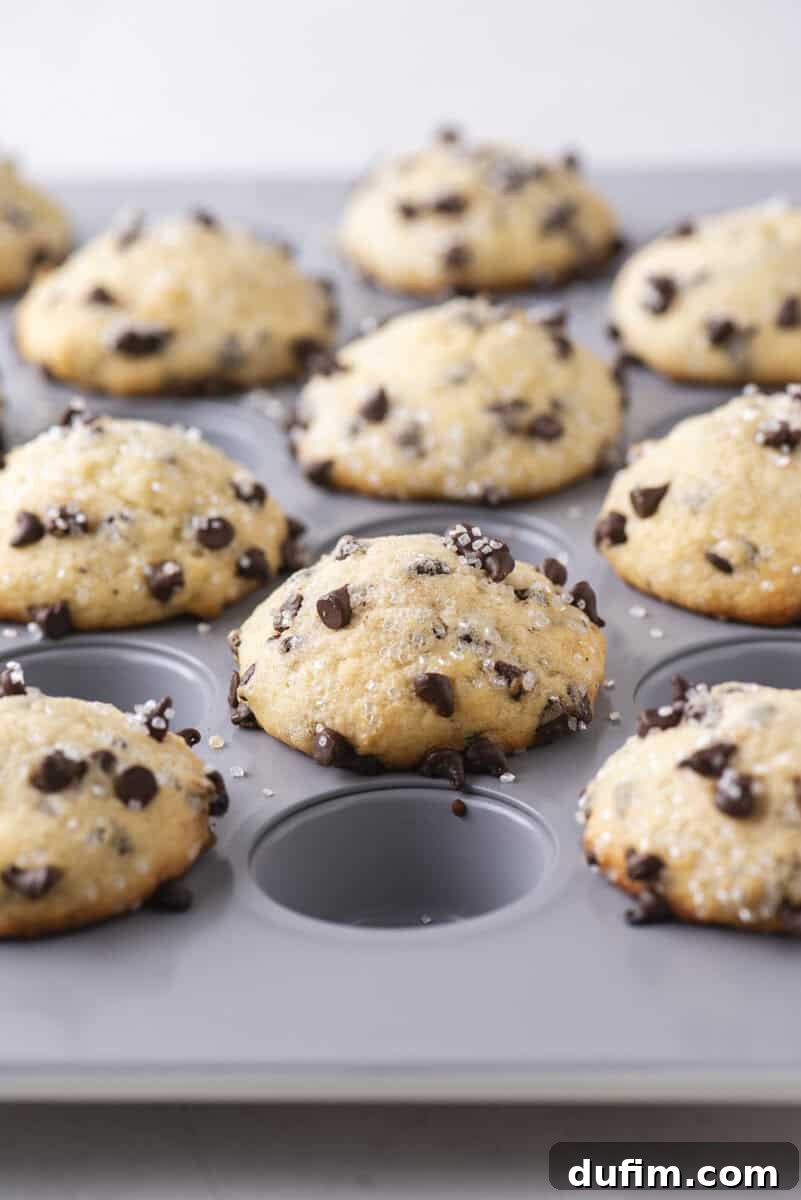
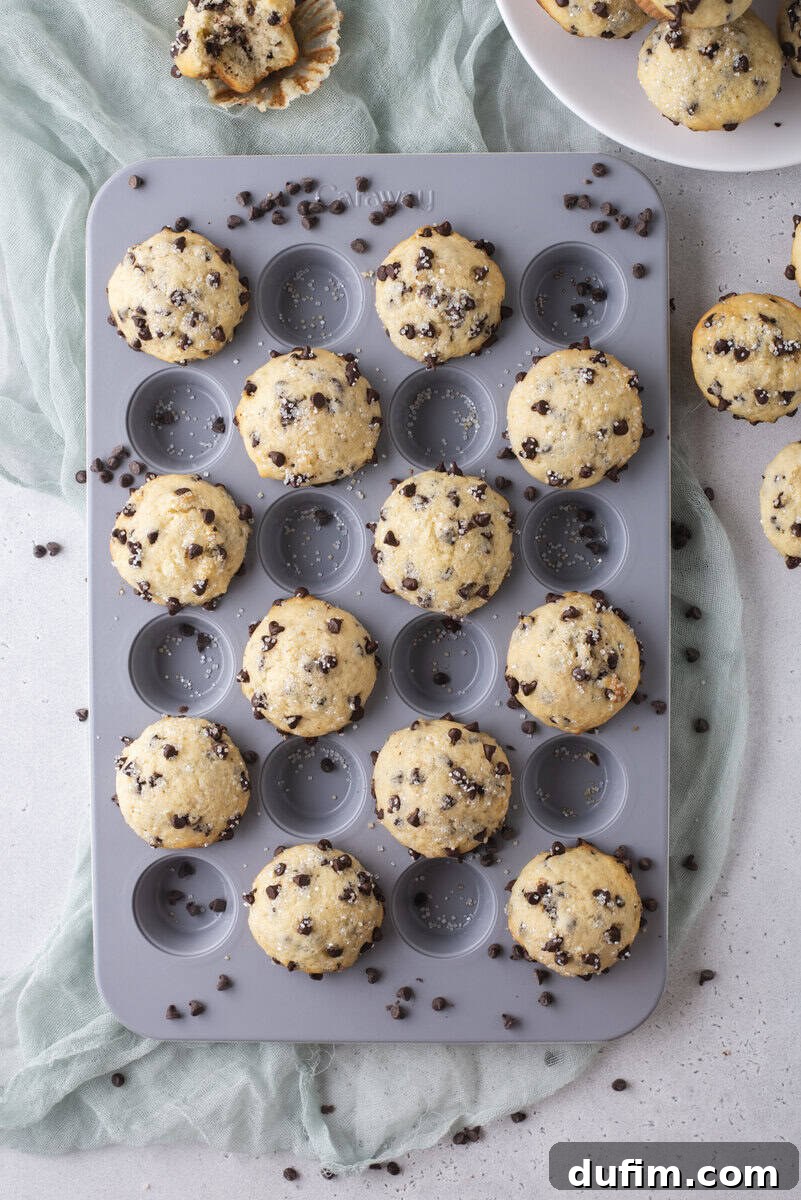
Mini muffins often bake flat because the pan is overcrowded: each muffin fights its neighbor for space and the batter spreads instead of doming. The single most effective fix is to leave empty wells between the filled ones, so each muffin has room to rise. It only takes a few extra seconds and delivers a marked difference in height and appearance.
This recipe produces genuinely tall, tender mini muffins loaded with chocolate. The batter is mixed in two bowls with no mixer required. Once you bake a batch using the simple techniques below, you’ll understand why they’re so hard to stop eating.
Why Mini Muffins Go Flat (And How to Fix It)
When every well in a mini muffin pan is filled, muffins cannot expand upward and instead spread outward. Allowing space between filled wells gives each muffin the breathing room it needs to develop a rounded, bakery-style top. If you use less than about 3 tablespoons of batter per well, filling every cup is fine, but for a generous, domed top, fill every other well.
Another essential factor is the initial oven temperature. A short blast of high heat at the beginning helps the batter rise quickly, which sets the exterior and helps form a dome.
Key Ingredients for Mini Muffins
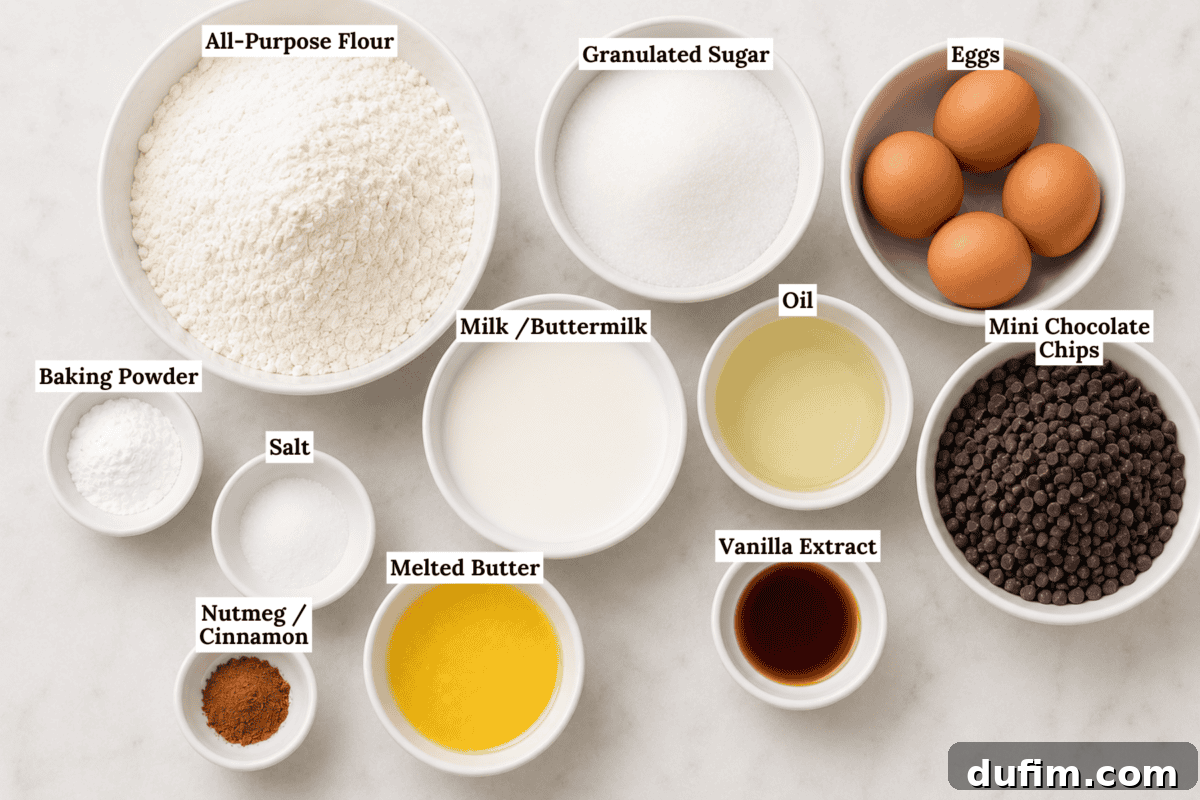
These are the ingredients that make the texture and flavor stand out:
- Mini semi-sweet chocolate chips, divided. Mini chips stay suspended in the thick batter instead of sinking to the bottom. Reserve some to press on top before baking for visual appeal.
- All-purpose flour, properly measured. Weighing flour is best. If measuring by cup, aerate the flour, spoon it into the cup, and level it off without packing—packed flour leads to dense muffins.
- Oil and melted butter. Oil keeps the crumb moist for days while butter provides flavor. Using both gives better day-old texture than either alone.
- Nutmeg. A small pinch rounds out sweetness. Cinnamon is an acceptable substitute.
- Baking powder. This is the leavening that helps the muffin dome, especially important with a thick batter and generous fill.
How to Create Bakery Style Mini Muffins
The method matches what professional bakers use for tall muffin tops, adapted for a mini pan. The main steps are a short rest for the batter, filling every other cup when overfilling, and a brief high-temperature start in the oven.
1. The Rest Period
After mixing, let the batter rest for about 15 minutes before scooping. During this time the flour hydrates and the batter thickens, which helps the muffins rise more strongly and bake up tender.
2. Fill Every Other Muffin Cup
If you plan to fill liners with roughly 2 to 3 heaping tablespoons of batter, line a 24-count mini pan but place liners in only 12 wells, leaving an empty well between each filled one. This prevents the muffins from running into each other and encourages a higher dome and better browning.
3. Fill Them To The Top
For a bakery-style top, fill the liners generously. It may feel counterintuitive, but a full, thick batter yields the dramatic dome when combined with the rest and hot start.
4. Bake at High Temperature Initially
Start at 425°F (220°C) for 5 minutes, then reduce to 400°F and continue baking until a toothpick comes out clean—usually another 5 to 10 minutes. The initial high heat jump-starts the rise and helps set the exterior before the center finishes baking.

How to Make Bakery Style Mini Chocolate Chip Muffins
Here is a concise, step-by-step guide based on the recipe proportions below. Read through first so you have all ingredients and pans ready.
Measure flour correctly: Use a kitchen scale for accuracy. If using cups, aerate the flour, spoon into the cup, level with a knife, and avoid tapping or packing the cup.
Combine dry ingredients: In one bowl whisk together 4 cups (480g) all-purpose flour, 1 1/2 cups (300g) granulated sugar, 4 tsp baking powder, 1 tsp salt, and 1/4 tsp nutmeg.
Combine wet ingredients: In a separate bowl whisk 4 large eggs, 1 cup (227g) whole or 2% milk (buttermilk works too), 1/2 cup (100g) vegetable oil, 4 tbsp (57g) melted and cooled unsalted butter, and 2 tsp vanilla extract.
Mix: Gently fold the dry ingredients and 1 1/2 cups of the mini chocolate chips into the wet mixture until just combined. The batter will be thick.
Rest: Cover and let the batter rest 15 minutes while preheating the oven to 425°F (220°C).
Prepare pans: For bakery-style results, place 12 mini liners in a 24-count pan (every other well). Scoop 2–3 heaping tablespoons of batter into each liner, press a few reserved mini chips on top, and sprinkle sanding sugar if desired.
Bake: Bake in the center of the oven at 425°F for 5 minutes, then reduce to 400°F and bake another 5–10 minutes or until a toothpick inserted in the center comes out clean. Cool in the pan briefly before transferring to a rack. Repeat with remaining batter, reheating the oven to 425°F before starting the next batch.
Note: If you do not overfill the wells (under ~3 tablespoons), you can fill every cup and shorten bake time accordingly. Oven performance varies—this timing is for a conventional gas oven with the rack centered.
Troubleshooting
- Flat muffins: Most often caused by an overcrowded pan. Use the every-other-well approach when filling generously.
- Dense muffins: Check your flour measurement technique. Too much flour yields a heavy muffin.
- Batter rest: The 15-minute rest hydrates the flour and improves rise and texture.
- Skipping the hot start: You can, but the initial high temperature helps set and raise the top; skipping it often results in a flatter top.
- Gluten-free option: Swap a 1:1 gluten-free baking flour blend for all-purpose flour with good results.
Storage and Freezing
If you’ll eat them within 24 hours, leave muffins uncovered at room temperature; they stay moist and won’t dry out that day. For 2–4 day storage, line an airtight container with paper towels and place muffins in a single layer with paper towels on top to absorb excess moisture and keep tops from becoming soggy. For longer storage, freeze in a single layer until firm, then transfer to a freezer bag for up to two months. Thaw at room temperature for about 20 minutes or warm briefly in the microwave.

Mini Muffin Variations
Swap half the chips for chopped nuts for texture, increase nutmeg or use cinnamon for warmer spice notes, or add a heavier sprinkle of sanding sugar before baking for an extra crunchy, glossy top. This method works for other muffin flavors—banana chocolate chip and blueberry are excellent candidates for the same technique.
Recipe Card
Bakery Style Mini Chocolate Chip Muffins
Yield: 48 mini muffins
Ingredients
- 4 cups (480g) all-purpose flour, properly measured
- 1 1/2 cups (300g) granulated sugar
- 4 tsp baking powder
- 1 tsp salt
- 1/4 tsp nutmeg (or cinnamon)
- 4 large eggs
- 1 cup (227g) whole or 2% milk (or buttermilk)
- 1/2 cup (100g) vegetable oil
- 4 tbsp (57g) unsalted butter, melted and cooled
- 2 tsp vanilla extract
- 2 cups (340g) mini semi-sweet chocolate chips, divided
- Sanding sugar, optional
Instructions
- Preheat the oven to 425°F (220°C). Position a rack in the center of the oven.
- In a bowl whisk the flour, sugar, baking powder, salt, and nutmeg.
- In a separate bowl whisk the eggs, milk, oil, melted cooled butter, and vanilla.
- Fold the dry ingredients and 1 1/2 cups of the mini chocolate chips into the wet ingredients until just combined; batter will be thick.
- Cover and let the batter rest 15 minutes.
- Line a 24-well mini muffin pan with 12 liners (every other well). Fill each liner with 2–3 heaping tablespoons of batter. Top with remaining chips and sanding sugar if desired.
- Bake at 425°F for 5 minutes, then reduce temperature to 400°F and bake an additional 5–10 minutes or until a toothpick comes out clean. Cool briefly in the pan, then transfer to a rack. Repeat with remaining batter, reheating oven to 425°F before the next pan.
Notes
If you underfill wells (less than about 3 tablespoons), you can fill every cup and reduce bake time. For longer storage, follow the paper-towel method described above. To freeze, flash-freeze in a single layer, then transfer to a sealed bag for up to two months.