
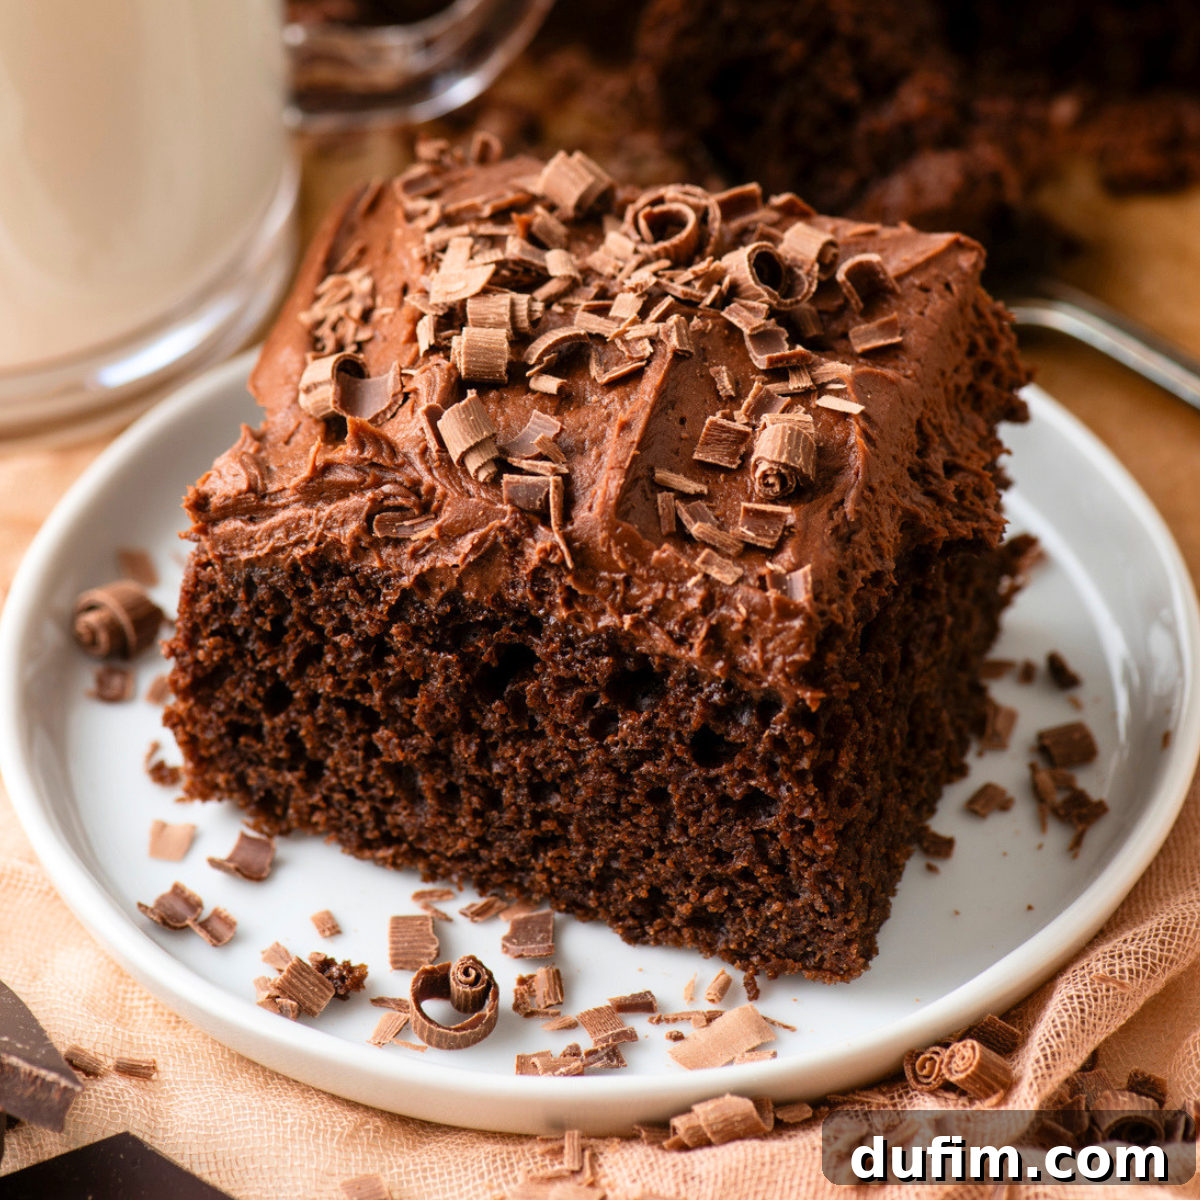
The quest for the perfect homemade chocolate cake often ends in disappointment. Many from-scratch recipes yield a cake that is dry, lacks a deep chocolate flavor, or is simply forgettable. This recipe was born from a desire to fix that. After four meticulous rounds of testing, we’ve unlocked the secrets to a consistently moist, deeply flavorful, and incredibly rich chocolate cake. The magic lies in a combination of cocoa powder and real melted chocolate for complexity, oil instead of butter for lasting moisture, and a surprising ingredient—hot coffee—to make the chocolate flavor truly sing. Bake this once, and it will undoubtedly become your signature, go-to chocolate cake for every occasion.
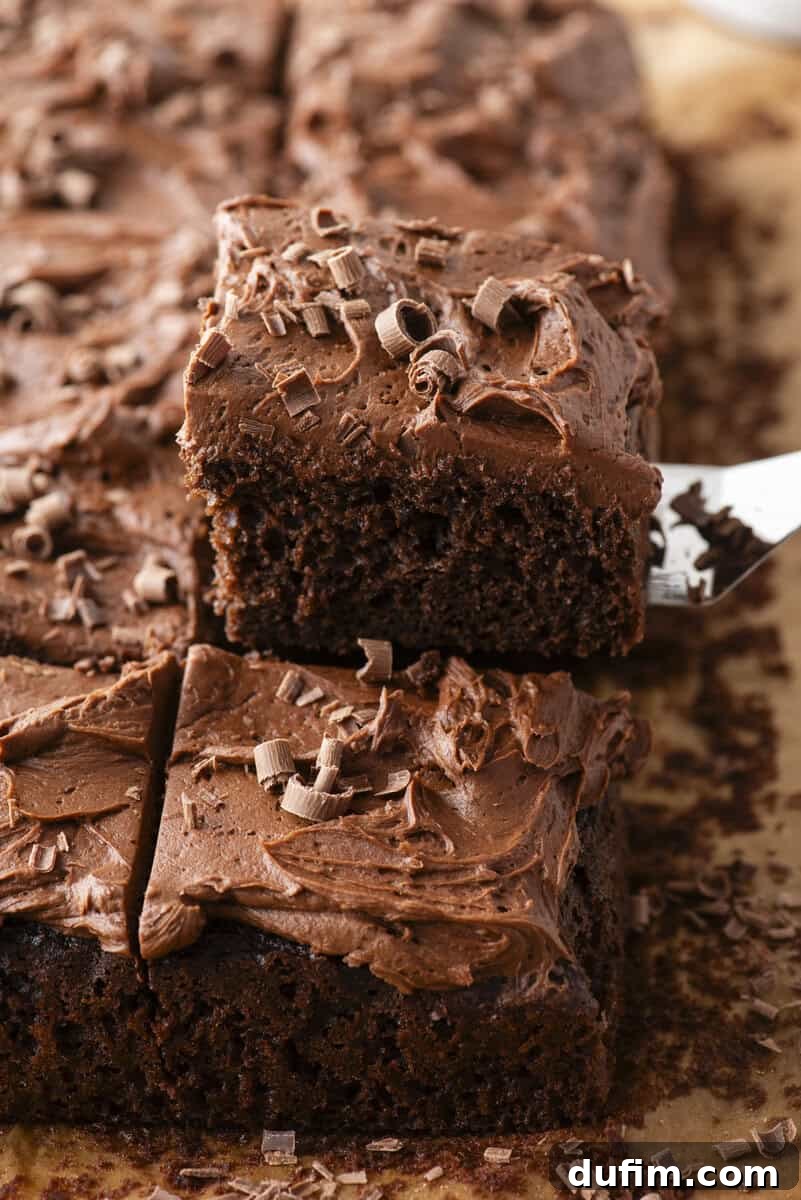
Why This Is The Best Chocolate Cake Recipe
Creating a foolproof chocolate cake recipe is a science. This recipe isn’t just a random assortment of ingredients; it’s the result of rigorous testing and a deep understanding of what makes a cake truly exceptional. Each batch taught us something valuable, leading to the perfected version you see today.
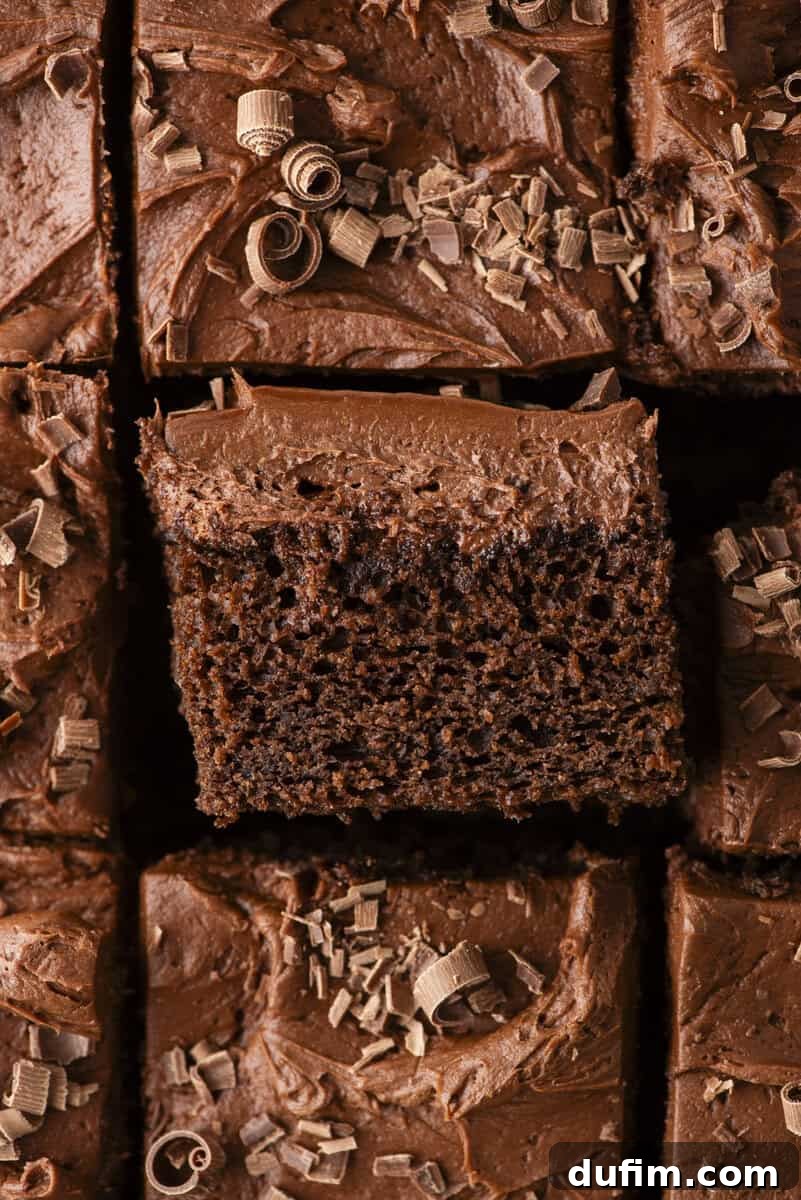
The journey began by blending the best aspects of two beloved recipes. The first test resulted in a cake that was too dry. The second attempt, using unsweetened chocolate, was more moist but unpleasantly bitter. We were close, but not quite there. The third test was the breakthrough. We replaced butter entirely with oil for superior moisture, increased the cocoa powder for more punch, and swapped hot water for strong, hot coffee to amplify the chocolate notes. The result was a light, fluffy cake with an authentic chocolate taste. However, the crumb was slightly too loose, indicating a need for better structure.
A final, simple adjustment—adding one more egg and slightly reducing the coffee—was the key. This small change perfected the structure, creating a tight yet tender crumb that holds up beautifully under a generous layer of frosting. This meticulous process is what separates a good cake from a great one.
One of the core secrets to this cake’s success is the use of two types of chocolate. Using only cocoa powder can result in a flat, one-dimensional flavor. By incorporating melted bittersweet chocolate, we add a layer of richness, fat, and complexity that cocoa alone cannot provide. Together, they create a synergy that produces a cake that tastes profoundly of real chocolate, not just a sweet, brown-colored cake.
Key Ingredients and Their Purpose
Understanding the role of each ingredient is key to baking success. Here’s a breakdown of what makes this chocolate cake so special. For the full list of measurements, please scroll to the recipe card at the bottom.
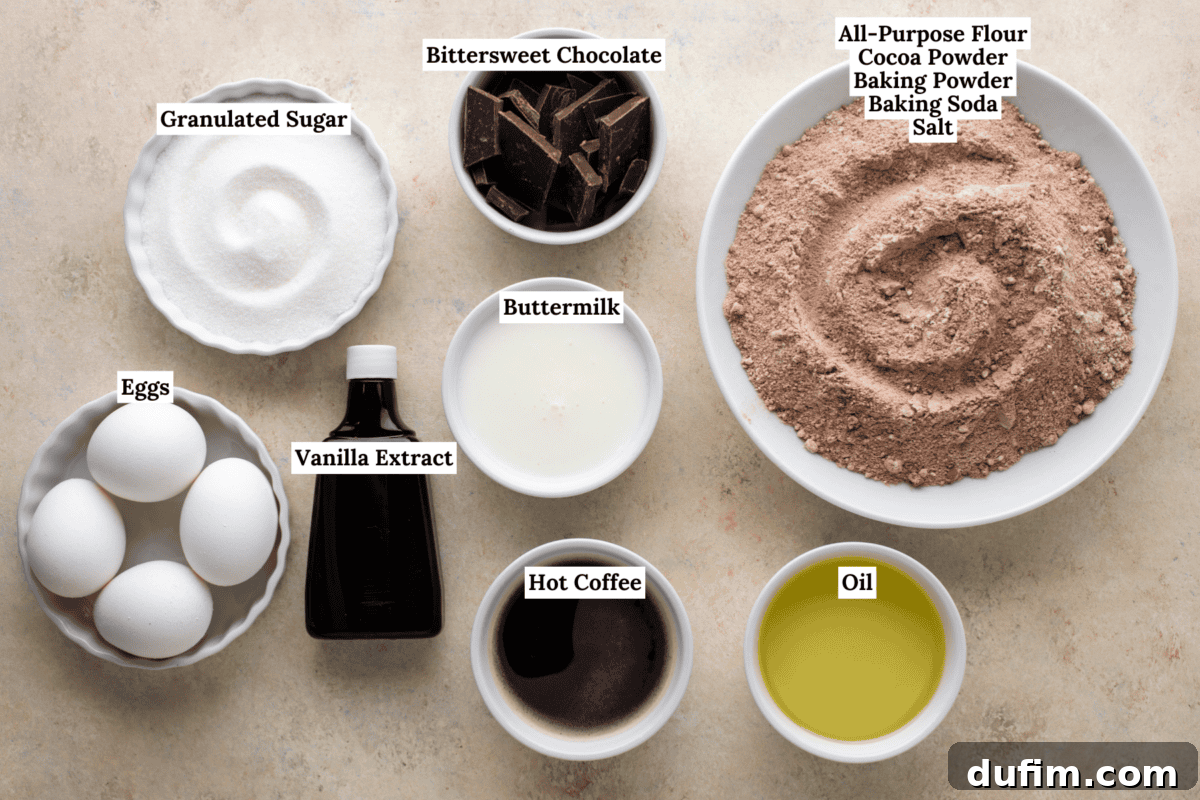
- Natural Unsweetened Cocoa Powder: We use natural cocoa powder because its higher acidity reacts perfectly with the baking soda, providing lift and a tender texture. Avoid using Dutch-process cocoa, as it has a different pH and won’t produce the same results without adjusting the leavening agents.
- Bittersweet Chocolate Baking Bar: Melted bittersweet chocolate is a non-negotiable for achieving a deep, complex flavor. It’s crucial to use a high-quality baking bar rather than chocolate chips, which contain stabilizers that prevent them from melting smoothly and fully incorporating into the batter.
- Buttermilk: The acidity in buttermilk works wonders in this cake. It tenderizes the gluten in the flour, resulting in a softer, finer crumb. It also adds a subtle tang that beautifully balances the richness of the chocolate. If you don’t have buttermilk on hand, you can easily make a substitute by adding a tablespoon of lemon juice or white vinegar to a cup of regular milk and letting it sit for 5-10 minutes.
- Hot Strong Coffee: This is the secret weapon. You will not taste the coffee in the final cake. Its purpose is to “bloom” the cocoa powder, which unlocks its most potent flavor compounds. Coffee intensifies and deepens the chocolate notes in a way that plain hot water simply cannot. For the best result, use a strong brew or dissolve one teaspoon of instant espresso powder in hot water.
- Vegetable Oil: While many cake recipes rely on butter, we chose oil for a specific reason. Oil is a liquid at room temperature, which means it keeps the cake incredibly moist and tender for days. Butter solidifies as it cools, which can lead to a drier, denser cake texture, especially on the second day.
- Large Eggs: Eggs provide structure, richness, and leavening. Our testing revealed that two eggs resulted in a crumb that was too loose. Three large, room-temperature eggs provide the perfect structure to support a thick layer of frosting while maintaining a moist and tender bite.
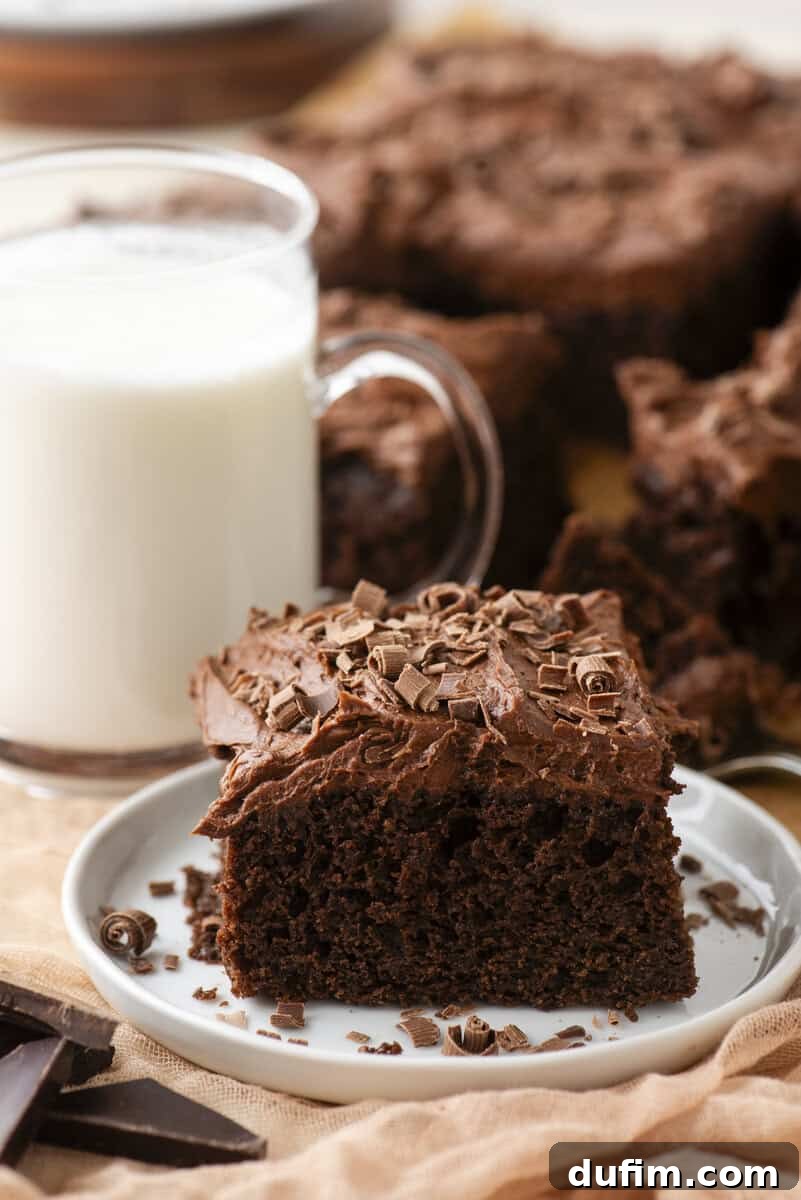
How to Make the Best Chocolate Sheet Cake
This recipe is designed to be straightforward and accessible for bakers of all skill levels. Follow these simple steps for a perfect chocolate cake every time. For the complete, printable recipe, please navigate to the recipe card below.
Making the Chocolate Cake Batter
1. Prepare Your Oven and Pan: First, position a rack in the center of your oven and preheat it to 350°F (180°C). Prepare a 9×13 inch baking pan by greasing it with butter or nonstick spray and lining it with parchment paper, leaving an overhang on the sides to easily lift the cake out later.
2. Combine Dry Ingredients: In a large mixing bowl, whisk together the all-purpose flour, natural cocoa powder, granulated sugar, baking powder, baking soda, and salt. Whisking ensures the leavening agents are evenly distributed, which is crucial for a uniform rise.
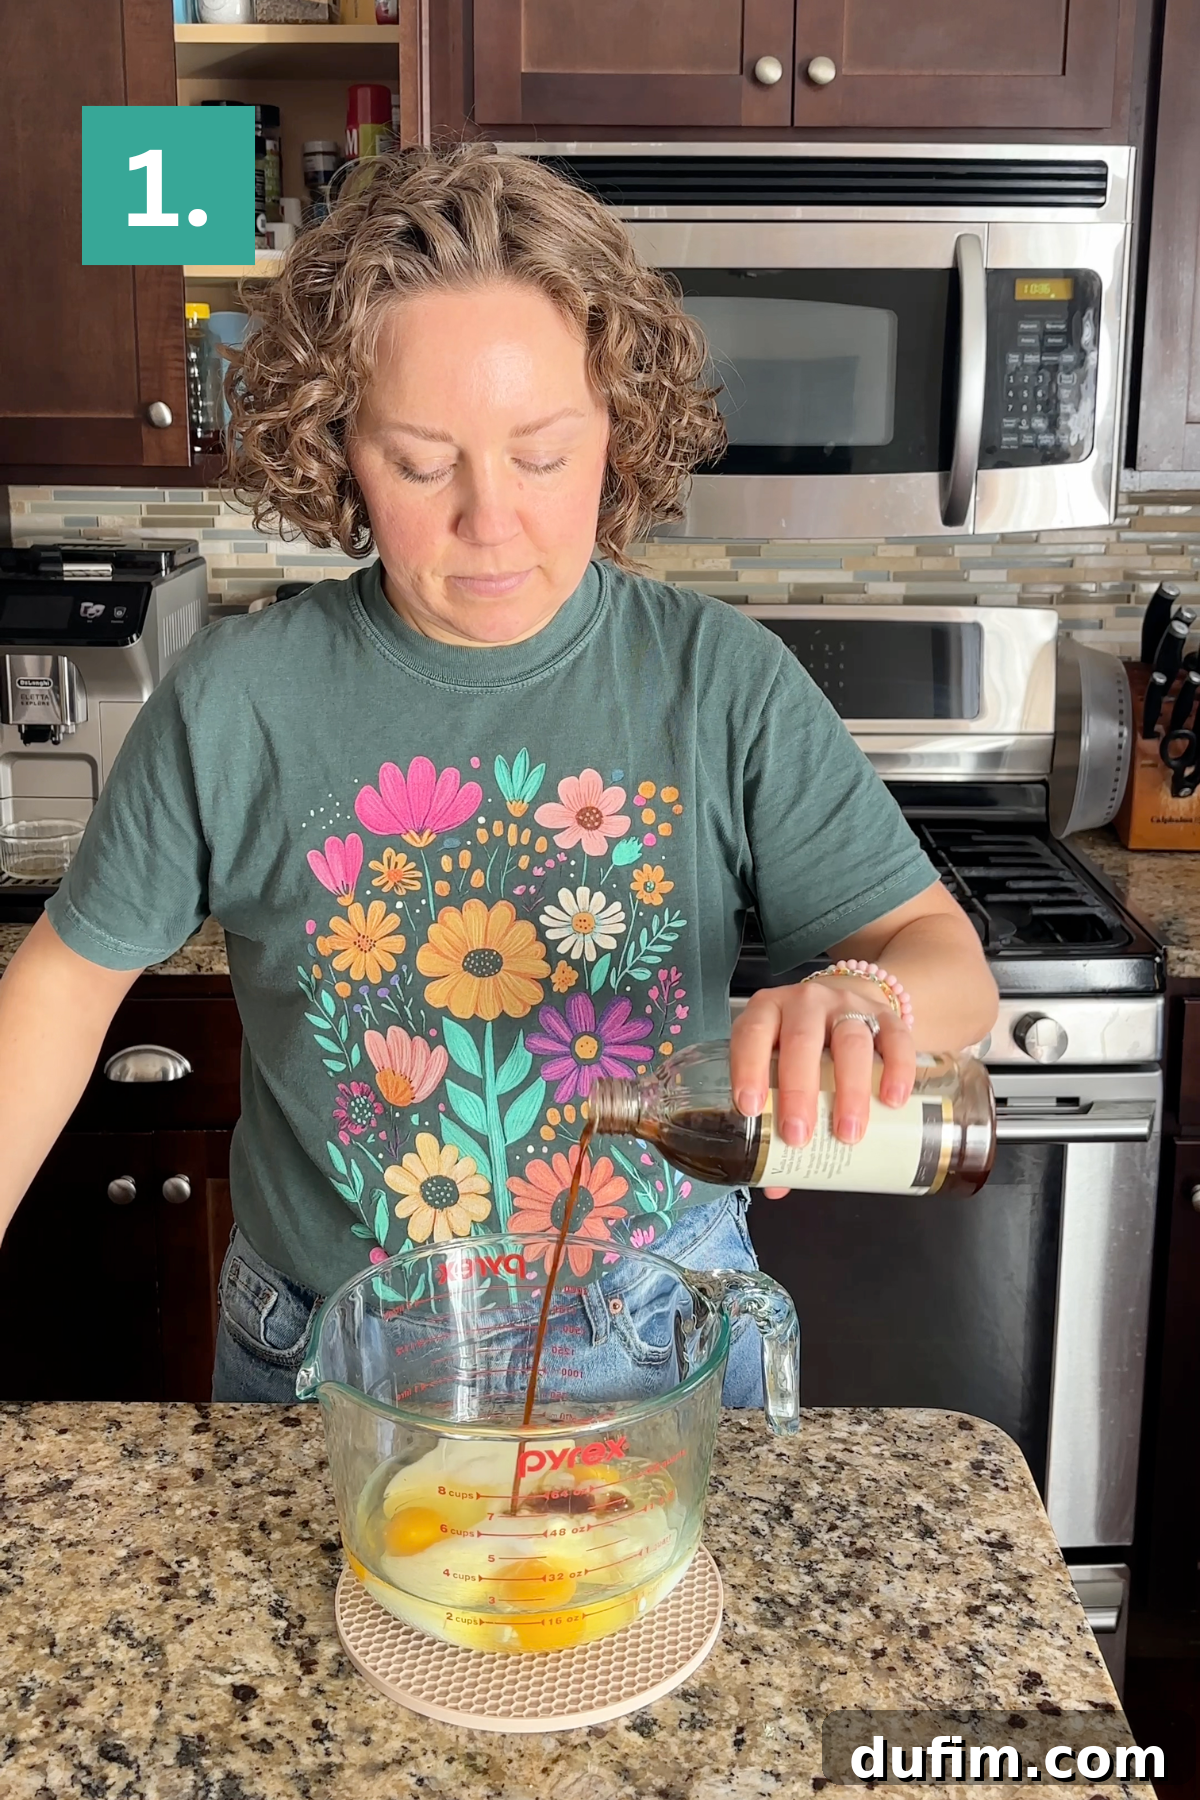
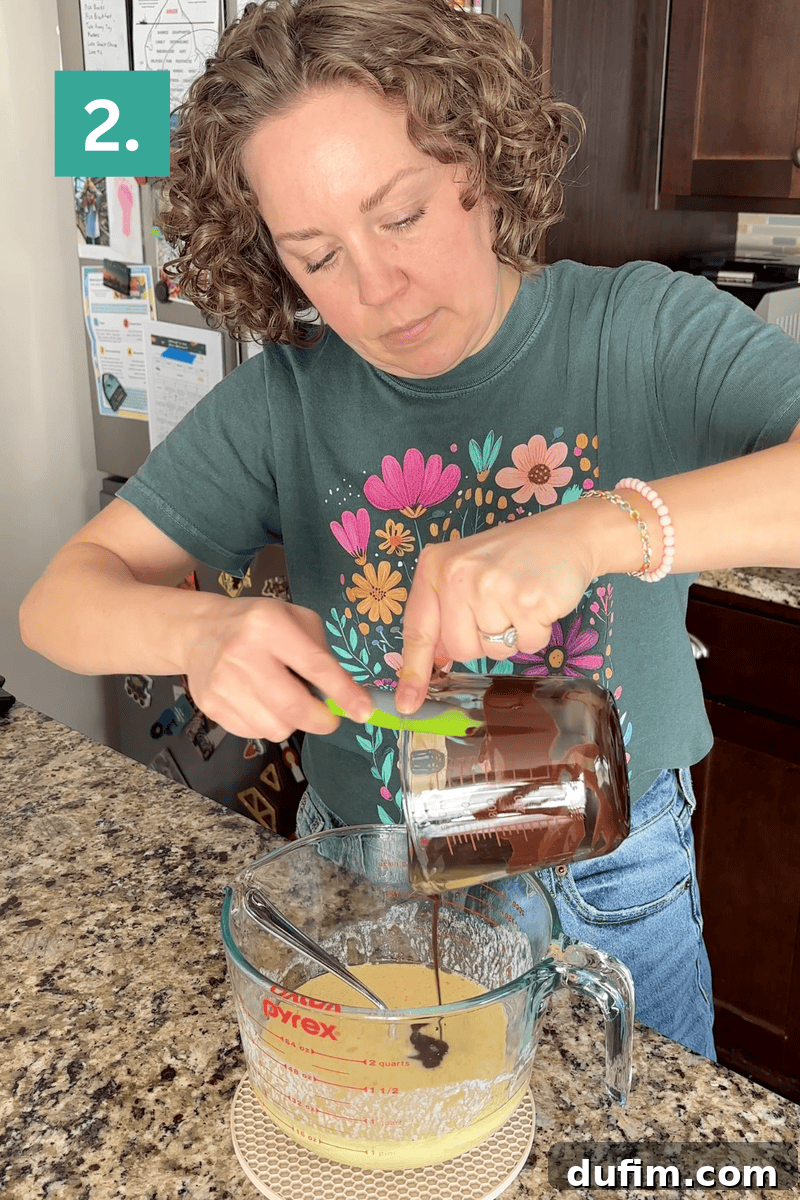
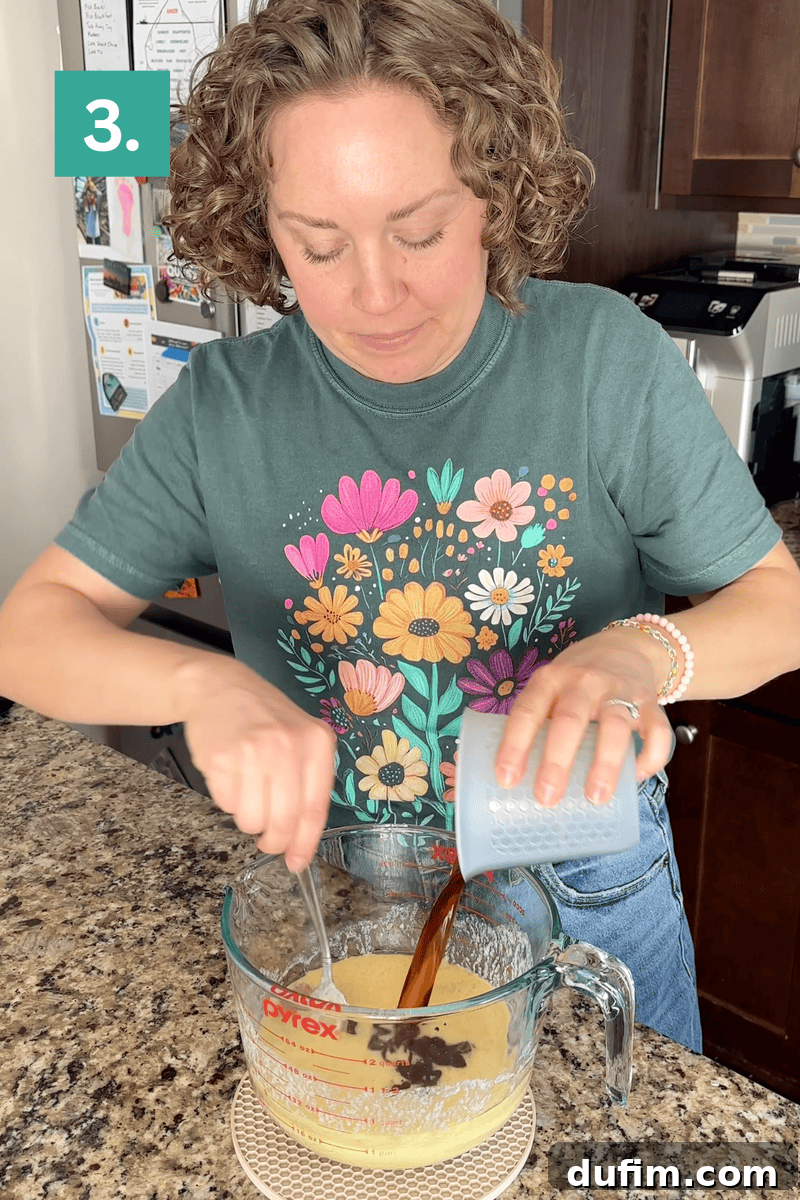
3. Combine Wet Ingredients: In a separate medium bowl, whisk together the vegetable oil, melted and cooled bittersweet chocolate, eggs, buttermilk, hot coffee, and vanilla extract until the mixture is smooth and well-combined.
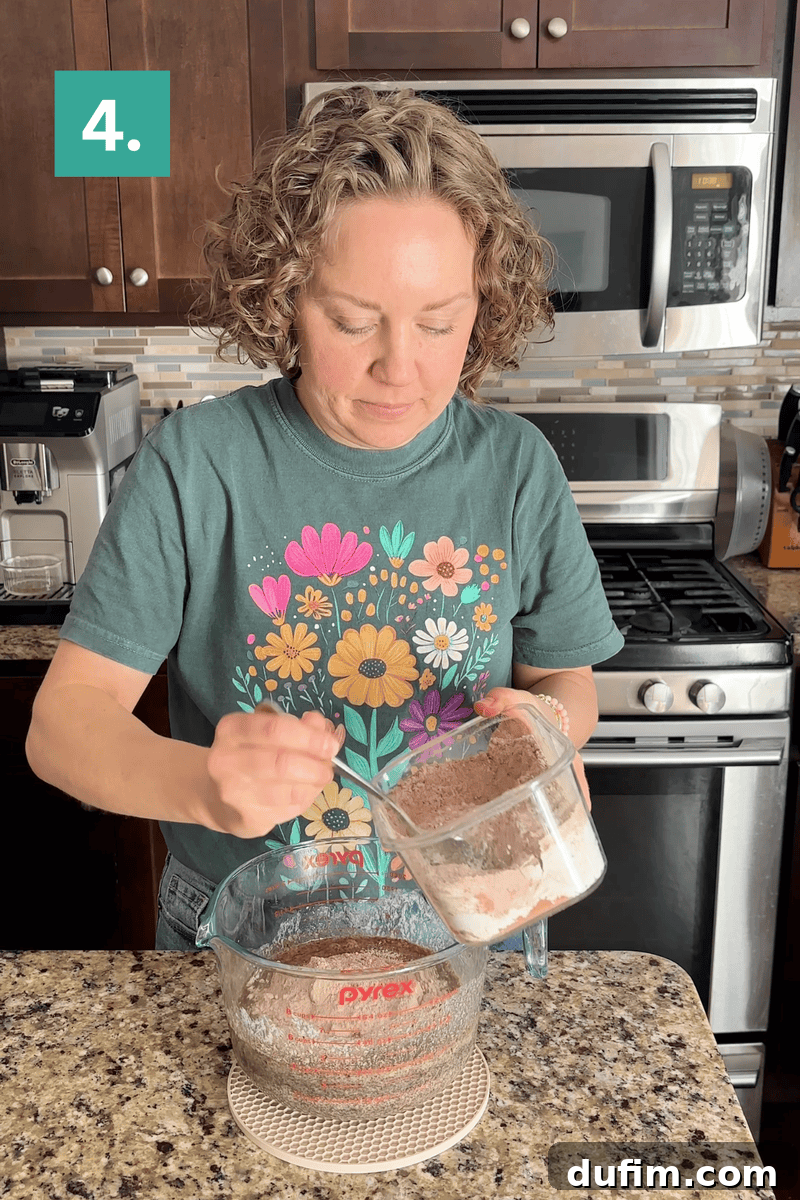
4. Mix the Batter: Pour the wet ingredients into the bowl with the dry ingredients. Mix with a whisk or spatula until everything is just combined. It’s important not to overmix the batter, as this can develop the gluten and result in a tough cake. A few small lumps are perfectly fine.
5. Bake to Perfection: Pour the finished batter into your prepared 9×13 inch pan and use a spatula to spread it into an even layer. Bake for 30-35 minutes. You’ll know it’s done when a toothpick inserted into the center of the cake comes out clean or with a few moist crumbs attached. Note that dark metal pans conduct heat more quickly, so if you’re using one, start checking for doneness around the 28-minute mark.
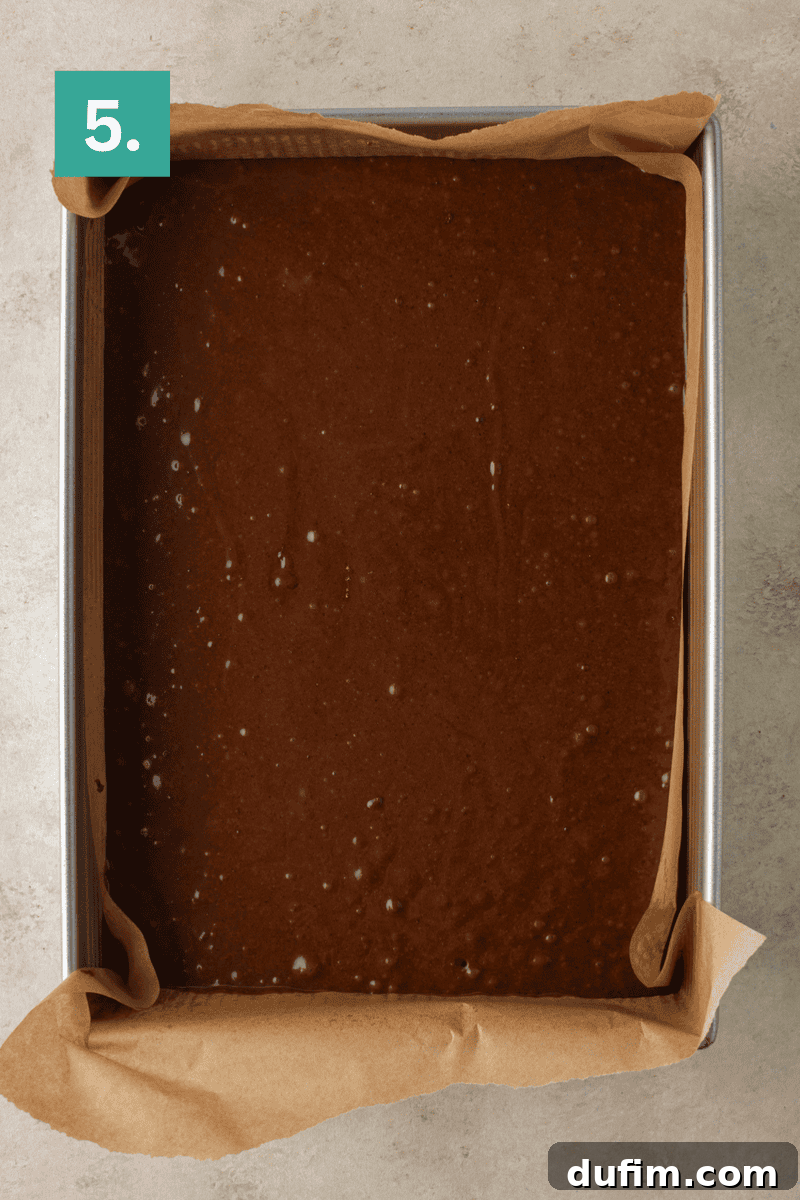
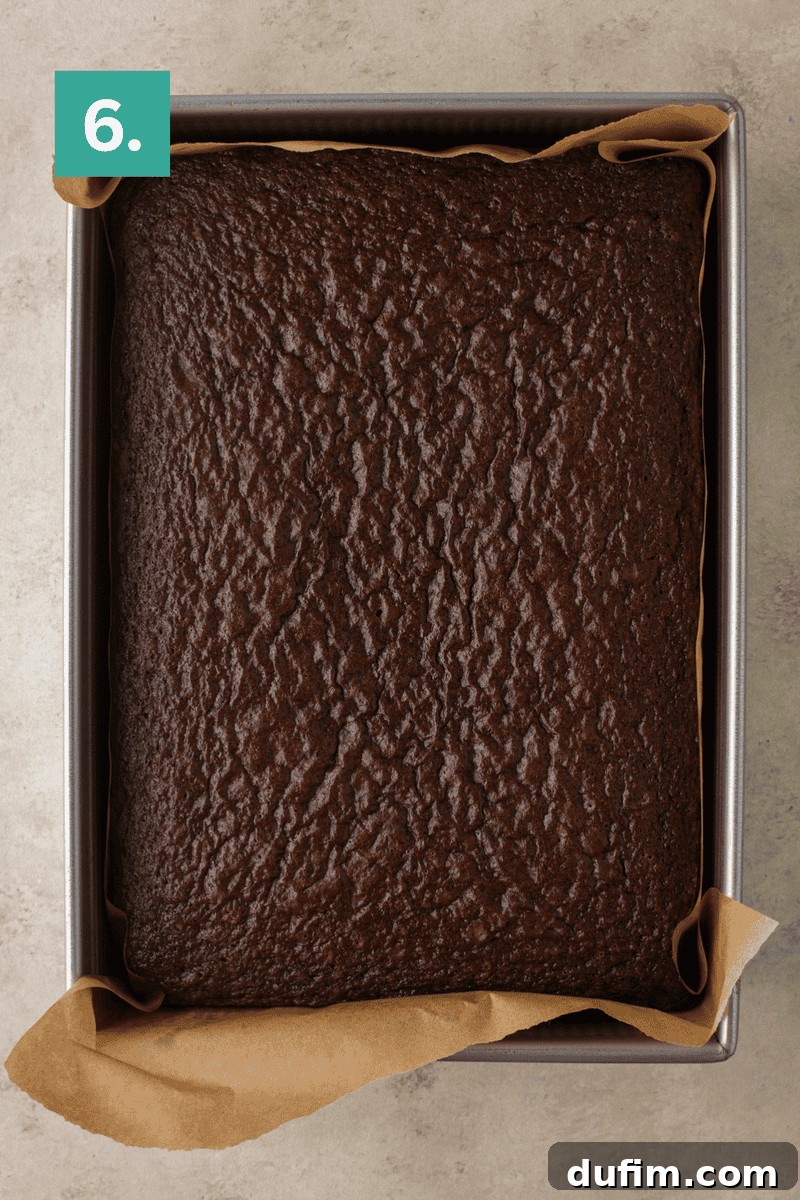
6. Cool Completely: This step is crucial! Allow the cake to cool completely in the pan on a wire rack before you even think about frosting it. Applying frosting to a warm cake will result in a melted, soupy mess.
For the Rich Chocolate Buttercream Frosting
1. Cream the Butter: In a large bowl using a hand mixer or in the bowl of a stand mixer fitted with the paddle attachment, beat the room temperature butter on medium speed for about 2 minutes until it’s smooth, pale, and creamy.
2. Add Flavors: Add the cocoa powder, vanilla extract, and salt to the butter. Mix on low speed until everything is incorporated.
3. Incorporate Sugar: Gradually add 3 cups of the powdered sugar, one cup at a time, mixing on low after each addition until it’s combined. This prevents a sugar explosion in your kitchen.
4. Add Cream and Whip: Pour in 2 tablespoons of heavy cream and increase the mixer speed to medium-high. Beat for 1-2 minutes until the frosting becomes light, fluffy, and spreadable.
5. Adjust Consistency: Check the texture. If the frosting is too thick, add more heavy cream, one tablespoon at a time. If it’s too thin, add more powdered sugar until you reach your desired consistency.
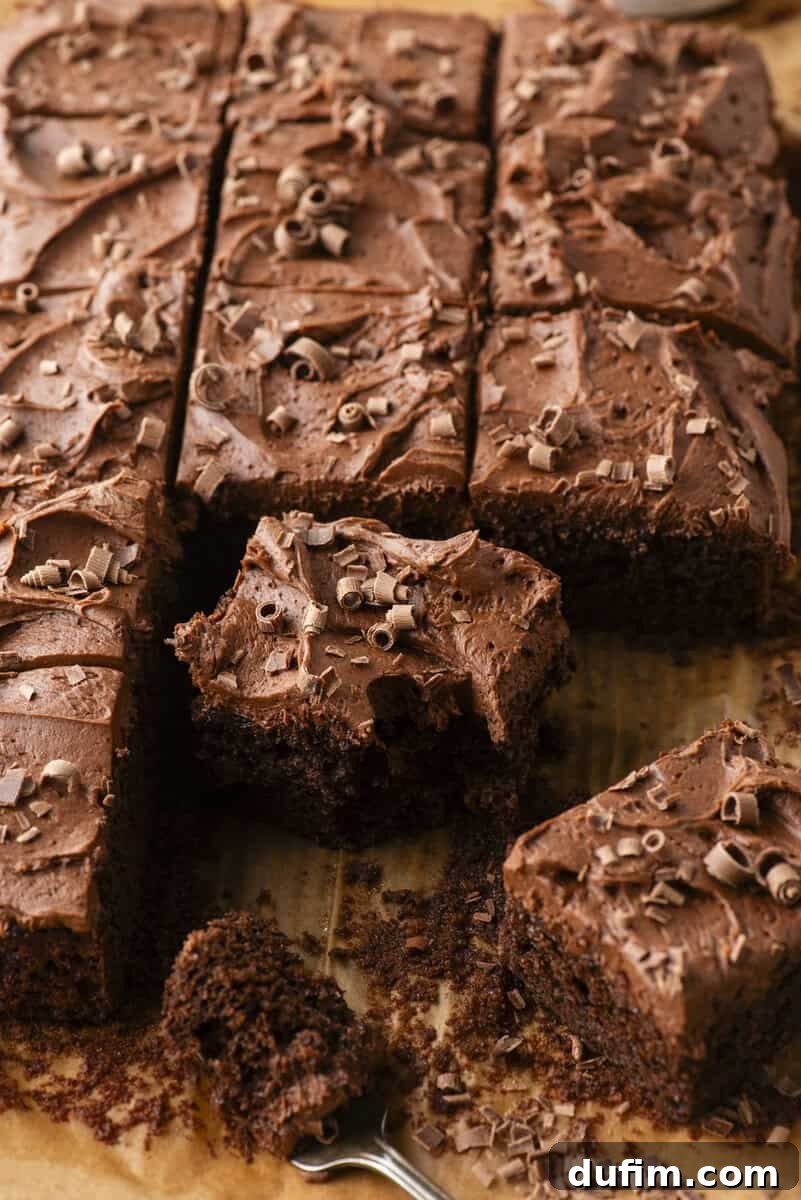
6. Frost the Cake: Spread the finished buttercream evenly over the completely cooled cake using an offset spatula or the back of a spoon. Garnish with chocolate shavings or sprinkles, if desired.
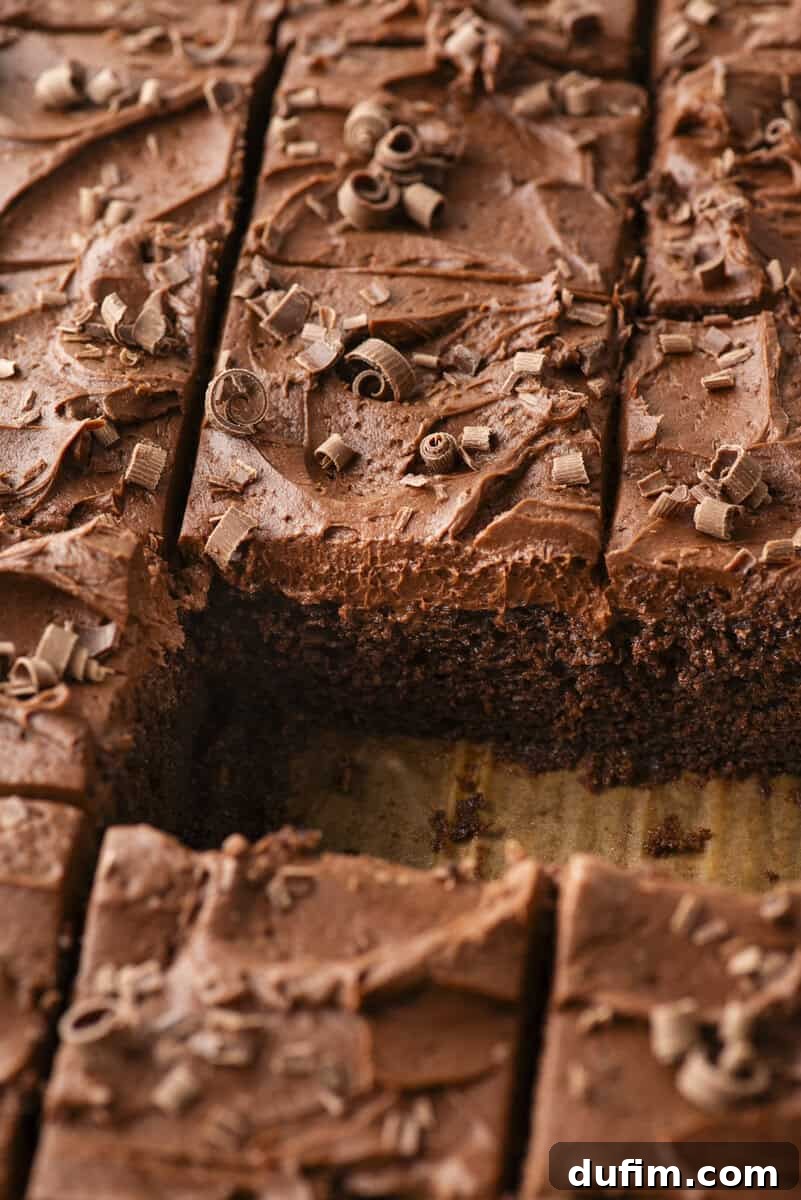
Frosting Options and Variations
This cake is a perfect canvas for a variety of delicious frostings. While our classic chocolate buttercream is a perfect match, feel free to get creative!
- Peanut Butter Frosting: The ultimate combination for any peanut butter and chocolate lover. The salty, nutty flavor is a heavenly match for the rich cake.
- Cream Cheese Frosting: For a less sweet option, the tang of cream cheese frosting cuts through the richness of the chocolate for a perfectly balanced dessert.
- Espresso Buttercream: Lean into the coffee notes already in the cake with a coffee-infused buttercream to create an elegant, mocha-flavored treat.
- Salted Caramel Frosting: The sweet and salty notes of caramel provide a delightful and unexpected contrast to the deep chocolate cake.
- Peppermint Buttercream: A fantastic option for the holiday season, peppermint and chocolate is a classic and festive pairing.
- Strawberry Cream Cheese Frosting: For a lighter, fruitier touch, this frosting adds a bright and fresh flavor that’s perfect for spring and summer.
Storage and Make-Ahead Tips
Proper storage will ensure your cake stays fresh and delicious for as long as possible.
- Room Temperature: The cake can be stored in an airtight container at room temperature for up to 3 days. The flavor and texture often get even better on the second day!
- Refrigerator: If your kitchen is particularly warm, it’s best to store the frosted cake in the refrigerator. Let slices sit at room temperature for about 20-30 minutes before serving to allow the frosting and cake to soften.
- Make-Ahead: You can bake the cake layer a day in advance. Allow it to cool completely, then cover it tightly with plastic wrap and store it at room temperature overnight. Prepare the frosting and frost the cake the day you plan to serve it.
- Freezing: The unfrosted cake freezes beautifully. Once completely cool, wrap it tightly in a double layer of plastic wrap, followed by a layer of aluminum foil. It can be frozen for up to 2 months. Thaw it overnight in the refrigerator before bringing it to room temperature and frosting.
More Delicious Chocolate Cake Recipes
- Chocolate Coffee Cake
- Chocolate Zucchini Cake
- German Chocolate Bundt Cake
- Chocolate Raspberry Cake
The Ultimate 9×13 Chocolate Cake
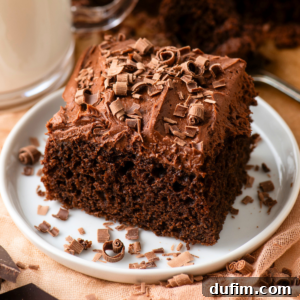
This 9×13 chocolate cake is deeply chocolatey, perfectly moist, and topped with a thick layer of rich chocolate buttercream. Made with both cocoa powder and melted bittersweet chocolate for layered flavor, it is the easiest and most impressive cake you will ever make.
Ingredients
For the Chocolate Cake
- 2 cups (240g) all-purpose flour
- ½ cup (42g) unsweetened natural cocoa powder
- 1¾ cups (346g) granulated sugar
- 2 tsp baking powder
- ½ tsp baking soda
- 1 tsp salt
- ½ cup (100g) vegetable oil
- 3 oz bittersweet chocolate, melted and cooled
- 3 large eggs, room temperature
- 1 cup (227g) buttermilk, room temperature
- ½ cup (111g) hot strong coffee
- 1 tsp vanilla extract
For the Chocolate Frosting
- 1 ½ cups (339g) unsalted butter, room temperature
- ¾ cup (63g) natural unsweetened cocoa powder
- 3-4 cups (339-454g) powdered sugar
- 1 tsp vanilla extract
- ¼ tsp salt
- 2-4 Tbsp heavy cream
Instructions
Chocolate Cake
- Preheat the oven to 350ºF (180ºC). Grease and line a 9×13 inch baking pan with parchment paper.
- In a large bowl, whisk together the flour, cocoa powder, granulated sugar, baking powder, baking soda, and salt.
- In a separate medium bowl, whisk together the vegetable oil, melted bittersweet chocolate, eggs, buttermilk, hot coffee, and vanilla extract until smooth.
- Pour the wet ingredients into the dry ingredients and mix until just combined. Do not overmix.
- Pour the batter into the prepared pan and spread evenly.
- Bake for 30-35 minutes, or until a toothpick inserted into the center comes out clean. If using a dark metal pan, start checking at 28 minutes.
- Allow the cake to cool completely in the pan before frosting.
Chocolate Frosting
- Using a mixer, beat the room temperature butter on medium speed until smooth and creamy, about 2 minutes.
- Add the cocoa powder, vanilla, and salt. Mix on low speed until combined.
- Gradually add 3 cups of powdered sugar, one cup at a time, mixing on low after each addition.
- Add 2 tablespoons of heavy cream and mix on medium-high speed until light and fluffy, about 1-2 minutes.
- Adjust consistency as needed. Add more powdered sugar for a thicker frosting or more heavy cream for a thinner frosting.
- Spread evenly over the completely cooled cake.
Notes
Gluten-Free Option: Use a 1:1 gluten-free baking flour blend in place of the all-purpose flour for excellent results.
Storage: Cover the cake tightly and store at room temperature for up to 3 days. If your kitchen is warm, store it in the refrigerator.
Make-Ahead: Bake the cake one day in advance, cover it, and frost it the day you plan to serve.
Freezing: Freeze the unfrosted cake, wrapped tightly, for up to 2 months. Thaw in the refrigerator overnight before frosting.
Nutrition Information
Serving: 1 slice | Calories: 415kcal | Carbohydrates: 51g | Protein: 4g | Fat: 23g | Saturated Fat: 12g | Cholesterol: 68mg | Sodium: 243mg | Potassium: 153mg | Fiber: 3g | Sugar: 37g
All nutritional values are approximate and provided as a courtesy.