
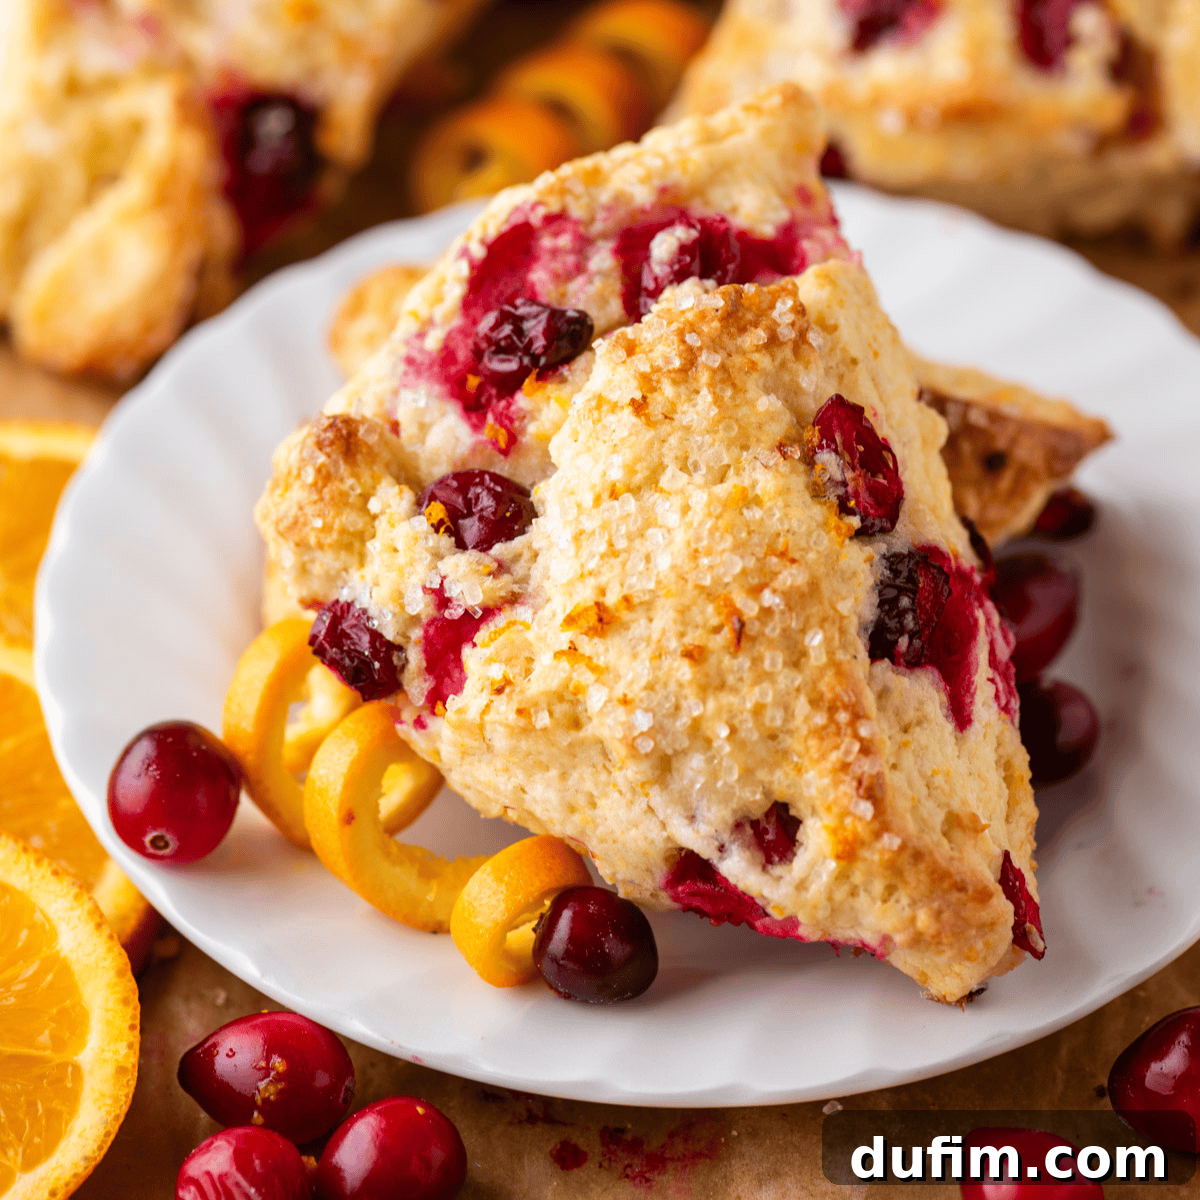
Indulge in the Best Bakery-Style Cranberry Orange Scones at Home
Craving the unmatched taste and texture of bakery-quality cranberry orange scones? Look no further! This meticulously crafted recipe is your key to achieving those golden, flaky, and impossibly delicious scones right in your own kitchen. Built upon a master scone base, honed and perfected over weeks of rigorous testing, this recipe guarantees success. We’ve fine-tuned every detail, from the vibrant citrus-cranberry balance to the ideal flour-to-moisture ratio, ensuring each bite is a perfect symphony of flavors and textures.
After four dedicated rounds of experimentation, we’ve nailed the perfect harmony. We tested various approaches with both fresh and dried cranberries, carefully adjusted the flour content to counteract the natural moisture from the fruit, and precisely measured the zest and juice for an intense, aromatic orange flavor without making the dough too wet. The remarkable result? Beautifully tall, golden-brown scones with tender, flaky layers, generous pockets of juicy cranberries, and a bright, uplifting orange flavor that will transport you straight to your favorite artisanal bakery. Plus, we’ve included comprehensive, step-by-step tips to empower you to recreate this magic effortlessly at home.
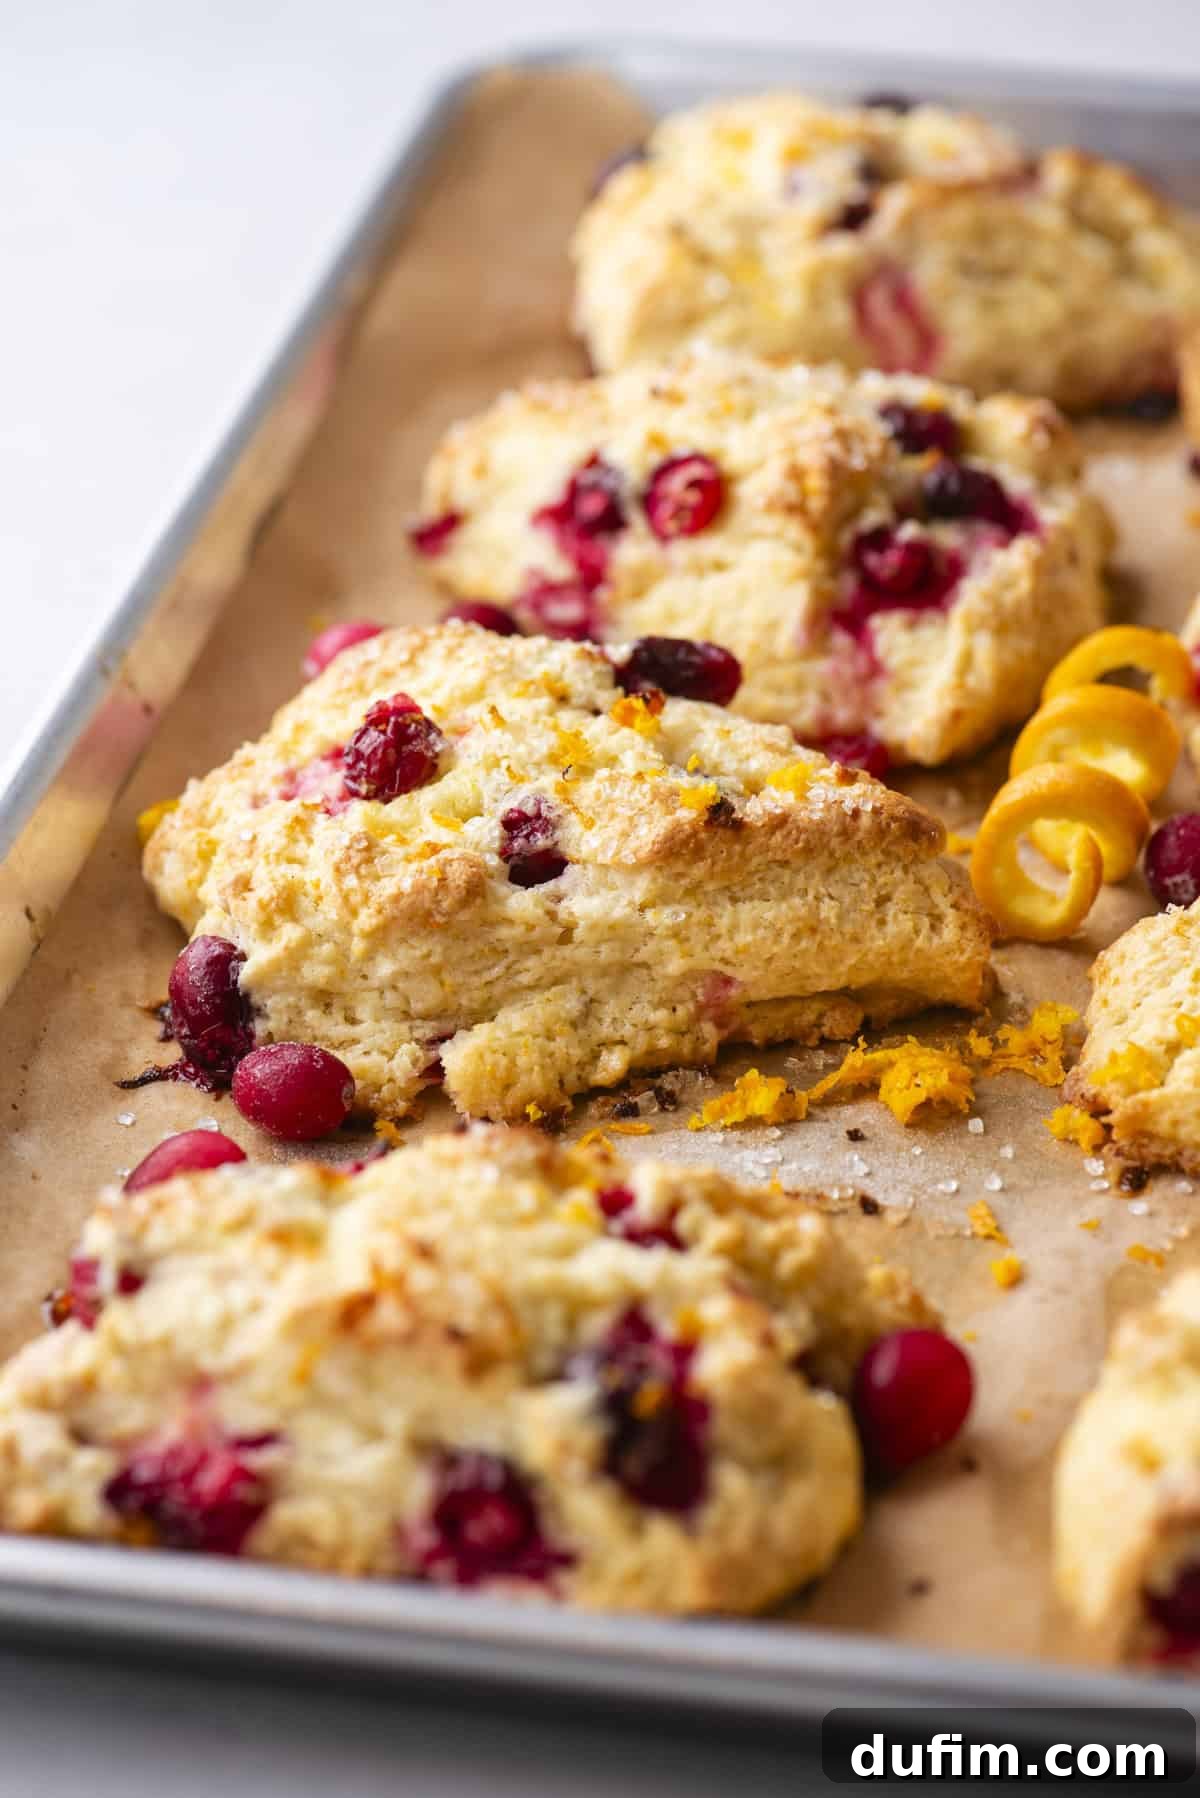
Experience Homemade Scones Better Than Any Bakery
These cranberry orange scones are a testament to meticulous testing and thoughtful refinement, all built upon the same robust and reliable master scone recipe that took weeks to perfect. Our goal was simple yet ambitious: to create a scone that rivals, and even surpasses, those found in high-end bakeries, offering superior flakiness, tenderness, and an exquisite flavor profile.
Through four distinct iterations of this delightful flavor combination, we diligently tweaked every element—from precise flour ratios to the perfect balance of mix-ins—until absolute perfection was achieved. One significant hurdle we encountered during development was managing the moisture introduced by the cranberries, particularly when using fresh fruit. Excess moisture can easily compromise the dough’s texture, leading to a dense rather than flaky scone. Our solution involved adding a precise amount of extra flour (just ¼ cup or 30g) to absorb this additional liquid. This critical adjustment ensures the dough remains soft and workable, maintaining its integrity for those coveted flaky layers.

To provide maximum flexibility for home bakers, we extensively tested this recipe with both fresh and dried cranberries. This means you can confidently bake these scones using whatever type of cranberries you have readily available in your pantry or freezer, always achieving fantastic results.
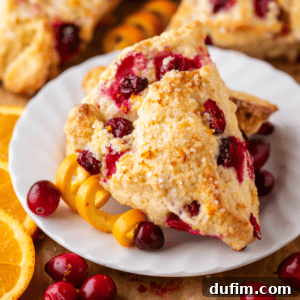
For the quintessential citrus element, we discovered the ideal balance: 1 tablespoon of freshly grated orange zest and 1 tablespoon of freshly squeezed orange juice. This precise ratio infuses the dough with a bright, aromatic orange flavor without introducing too much liquid, which could negatively impact the scone’s structure. The culmination of this careful development process is a batch of tall, beautifully golden-topped scones, generously studded with tart cranberries and vibrant pops of aromatic orange zest, promising an explosion of flavor with every bite.
Whether you are embarking on your very first scone-baking adventure or you’re a seasoned baker aiming to perfect a truly bakery-style version at home, this recipe is your trusted companion. It’s been rigorously tested, proven reliable, and thoughtfully designed to deliver consistent, exceptional results—because all the hard work and legwork have already been done for you.
Why You’ll Fall in Love with These Cranberry Orange Scones
There are countless reasons why these homemade cranberry orange scones will become your new favorite baked treat. Here’s a closer look at what makes this recipe truly special:
- Achieve Bakery-Style Excellence at Home: Say goodbye to sad, flat scones. This recipe guarantees tall, majestically risen, golden-brown scones with an incredibly tender and flaky interior. Each scone boasts succulent pockets of tart cranberries perfectly complemented by a bright, refreshing burst of citrus flavor. Your friends and family will think you bought them from a gourmet patisserie!
- Tested to Utter Perfection: You can bake with confidence knowing this recipe isn’t just thrown together. It’s meticulously built upon our master scone base, a formula that was developed and refined over many weeks of exhaustive testing. Every ingredient, every step, has been optimized for superior results.
- Perfectly Balanced Flavors: We dedicated four comprehensive rounds of testing to achieve the ideal flavor profile. The result is a harmonious blend where the vibrant tartness of cranberries meets the sweet, aromatic notes of fresh orange, all without introducing unwanted excess moisture into the dough.
- Flexible Cranberry Options: Enjoy these scones any time of year! The recipe is incredibly versatile, allowing you to use fresh cranberries, frozen cranberries (no need to thaw them – simply add them straight from the freezer!), or even dried cranberries. Use whatever you have conveniently on hand without compromising on taste or texture.
- Smart Citrus Ratio for Bold Flavor: The precise inclusion of 1 tablespoon each of fresh orange zest and fresh orange juice is a game-changer. This careful balance ensures a powerfully bold and aromatic orange flavor permeates every crumb, yet crucially, it avoids making the dough overly wet or sticky, maintaining the perfect consistency.
- Reliable & Incredibly Beginner-Friendly: Whether you’re a novice baker or looking to expand your scone repertoire, this recipe is designed for success. Our clear, step-by-step instructions, coupled with essential tips, make the entire process easy to follow, leading to stunning, delicious scones even for first-time scone bakers.
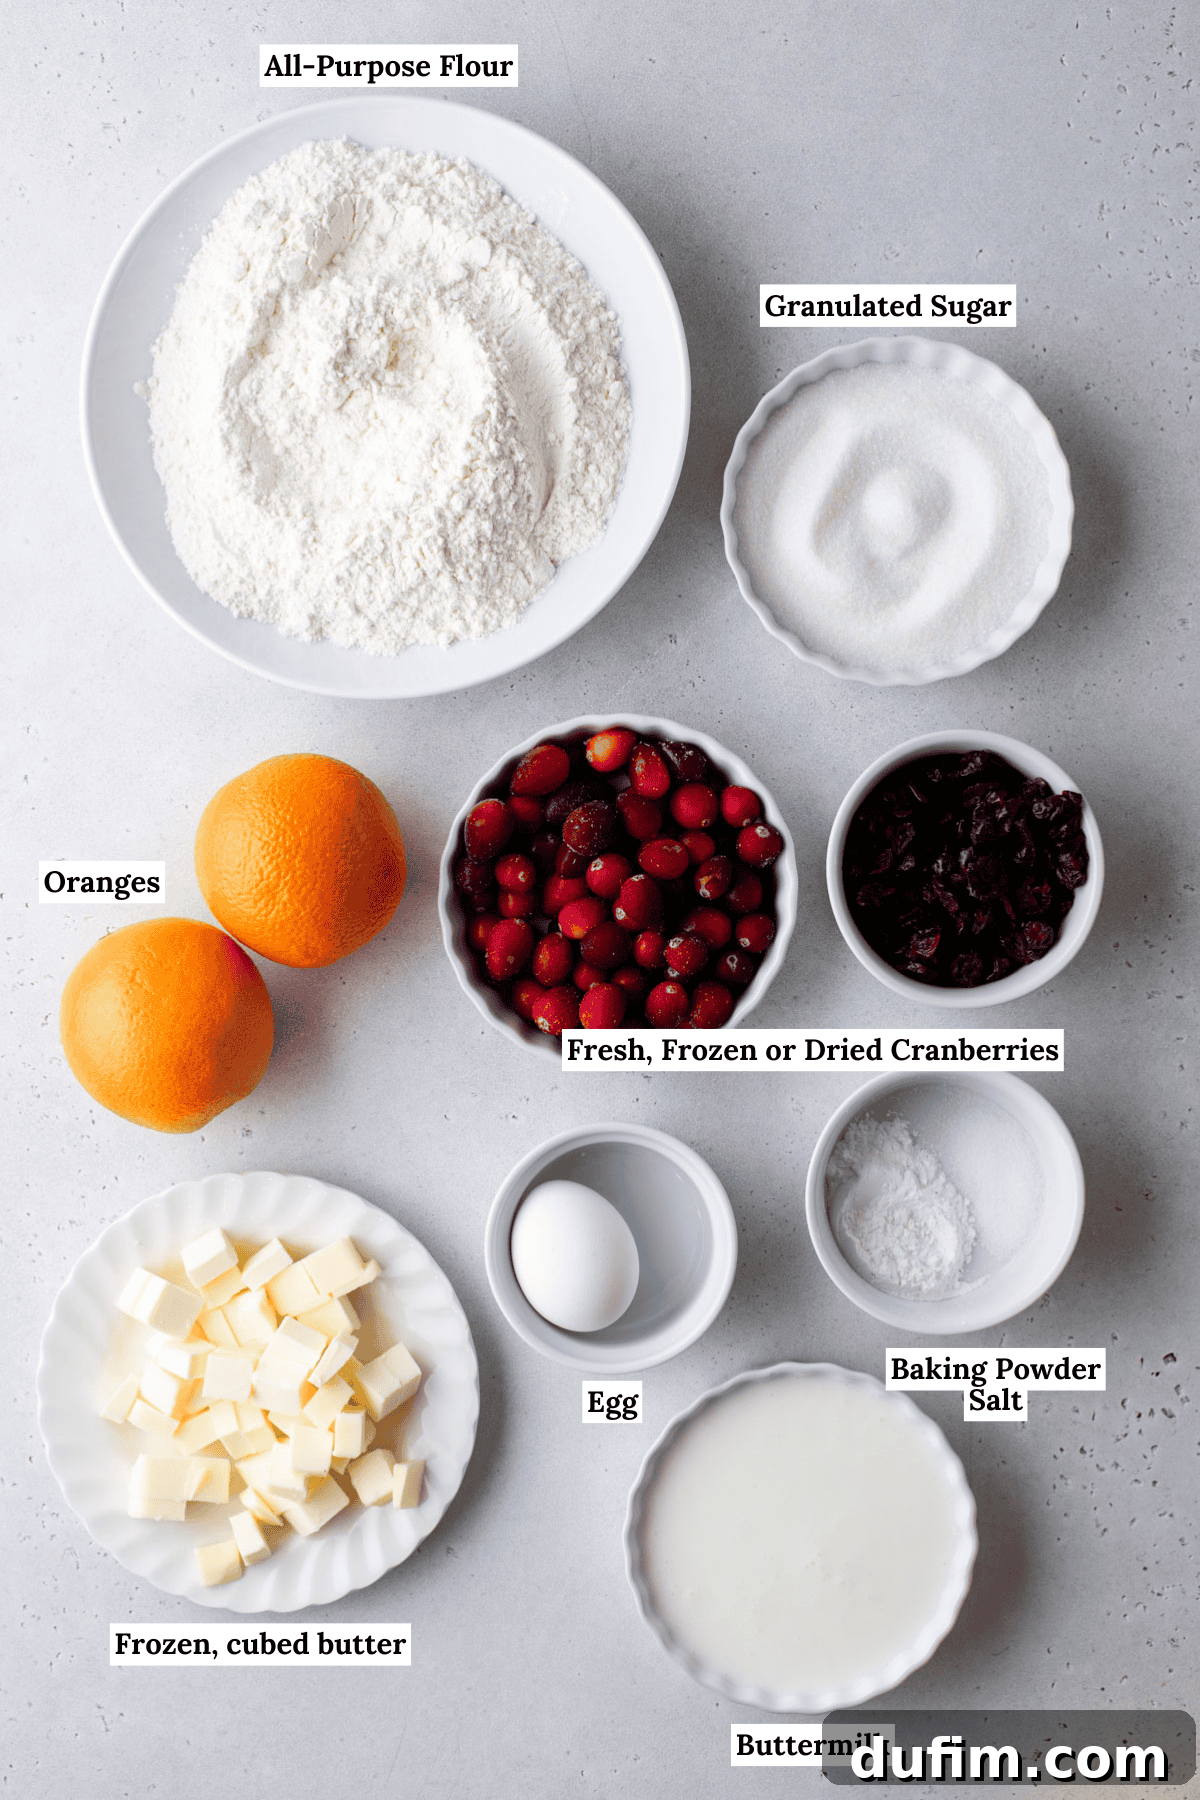
Essential Ingredients for Cranberry Orange Scones
Crafting these exquisite bakery-style cranberry orange scones relies on a few key ingredients. Each one plays a crucial role in achieving that perfect, flaky texture and vibrant flavor profile:
- All-purpose flour: The foundation of our scones. In this carefully tested recipe, we’ve fine-tuned the flour ratio to precisely account for the subtle liquid added by the orange juice. Using the correct amount of flour is paramount for achieving the desired soft yet structured crumb in any baked good.
- Granulated Sugar: Provides just the right amount of sweetness to balance the tartness of the cranberries and the brightness of the orange.
- Baking powder: This is our secret weapon for superior lift. We incorporate a generous 1 whole tablespoon of baking powder, which is absolutely essential for creating those impressive, tall, and airy bakery-style scones that rise beautifully in the oven.
- Salt: A pinch of salt enhances all the other flavors, bringing out the sweetness of the sugar and the zestiness of the orange.
- Orange zest & orange juice: These fresh components are indispensable for infusing the scones with their signature citrus flavor. The zest carries the concentrated aromatic oils of the orange, while a small amount of juice adds brightness without making the dough too wet.
- Unsalted butter: For optimal scone texture, the butter must be cubed and kept very cold. This is the single most critical factor for creating those coveted flaky, tender layers that define a truly great scone.
- Buttermilk: Adds a subtle tang and helps create a tender crumb. Its acidity reacts with the baking powder, further enhancing the scone’s lift.
- Fresh or frozen cranberries, or dried cranberries: The star fruit of this recipe. The great news is you have options! Feel free to use fresh cranberries for a juicy burst, frozen cranberries (do not thaw them; add them directly to the dough), or plump dried cranberries for a chewier texture.
- Large Egg: Binds the dough together and contributes to the richness and golden color of the scones.
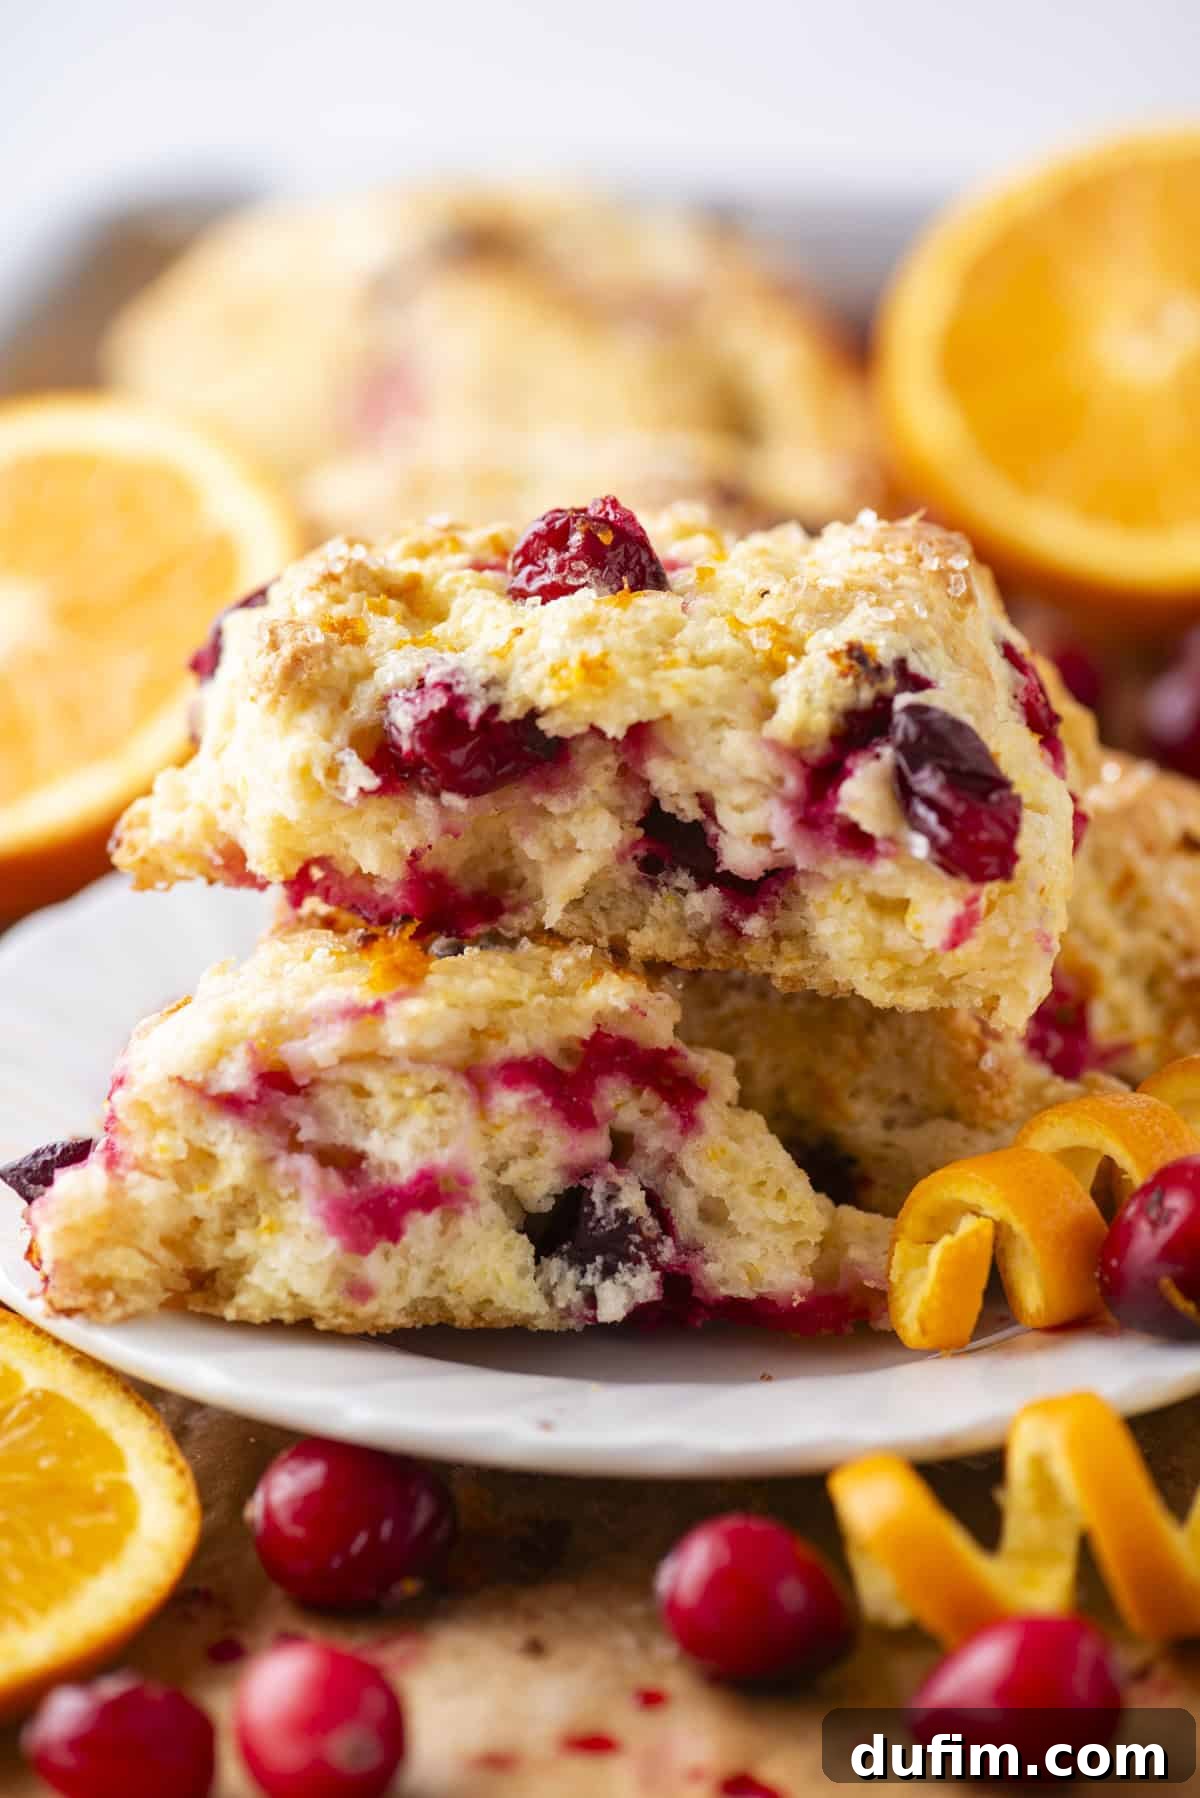
How to Bake Perfect Cranberry Orange Scones
Follow these straightforward, step-by-step instructions to effortlessly bake cranberry orange scones like a seasoned professional, ensuring delicious results every time:
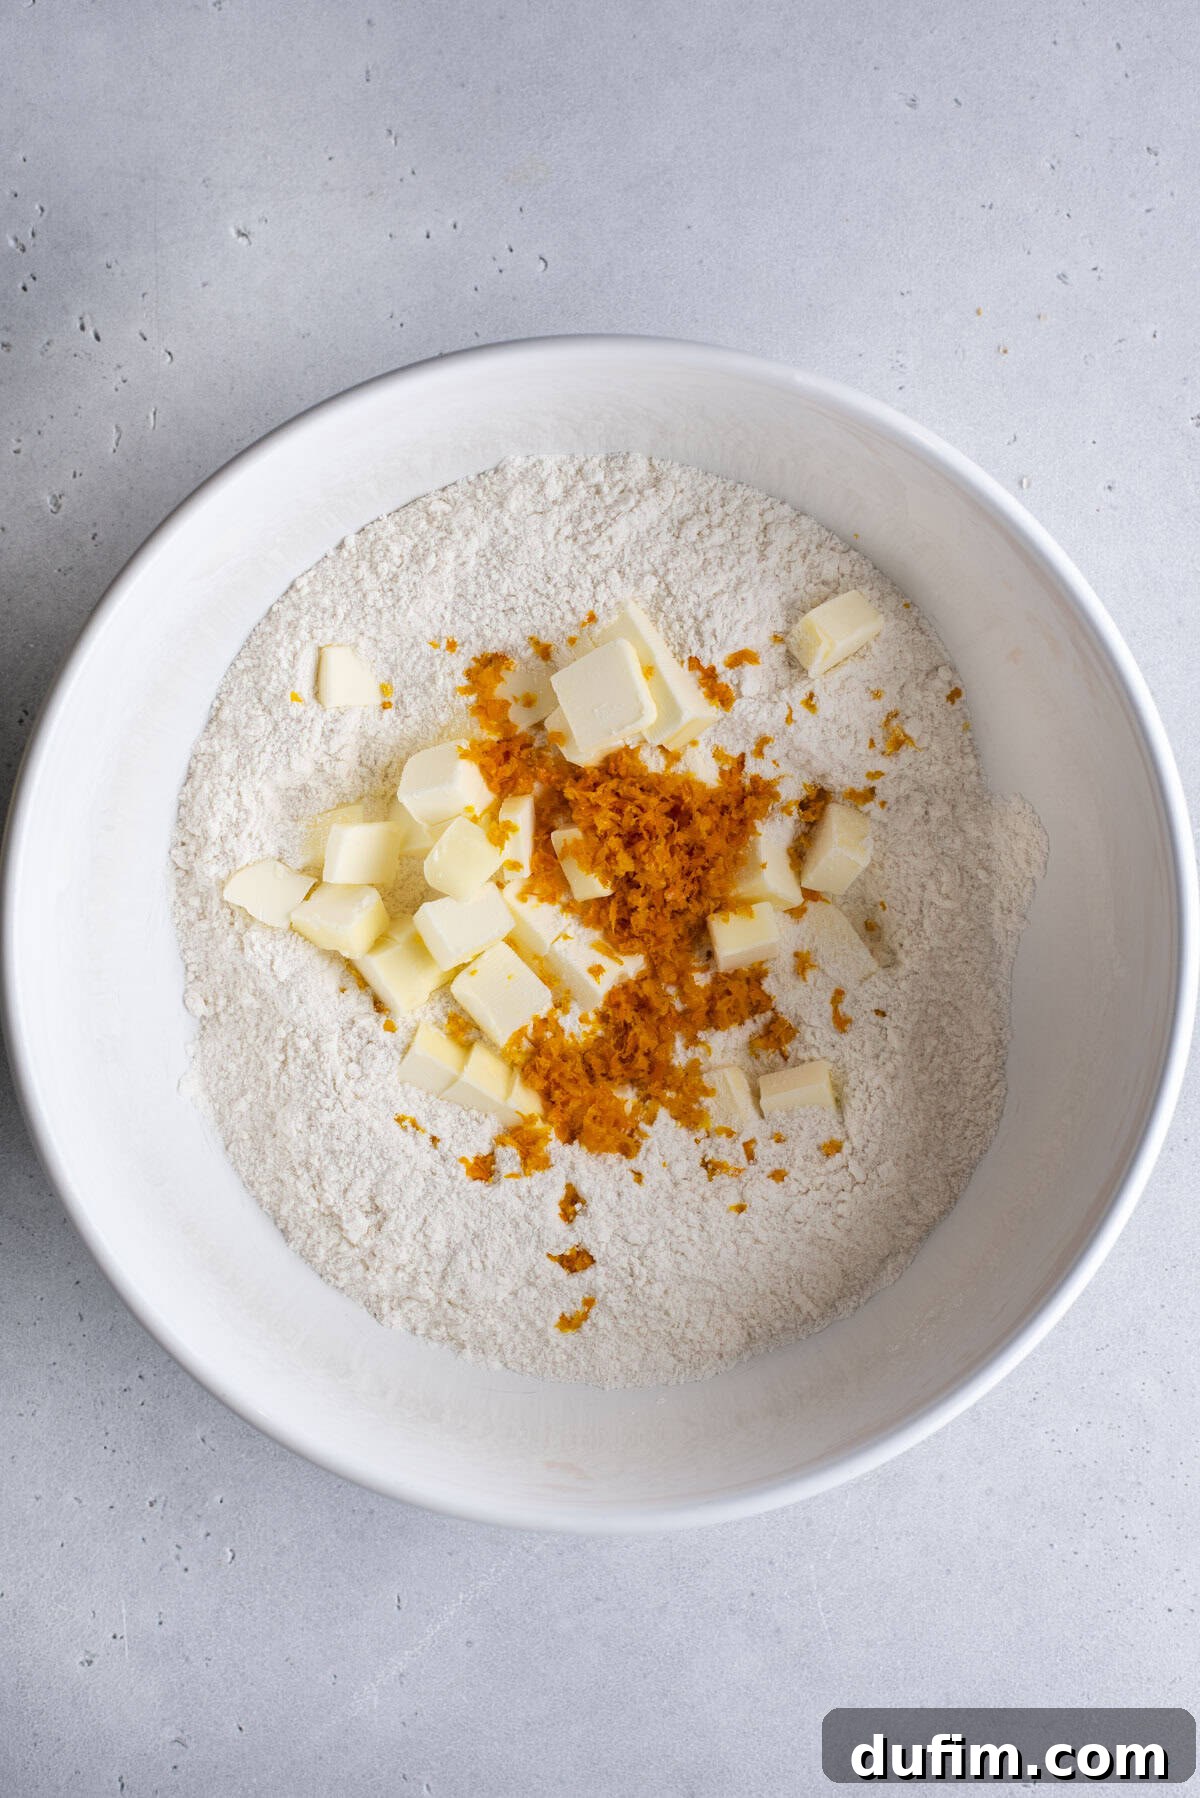
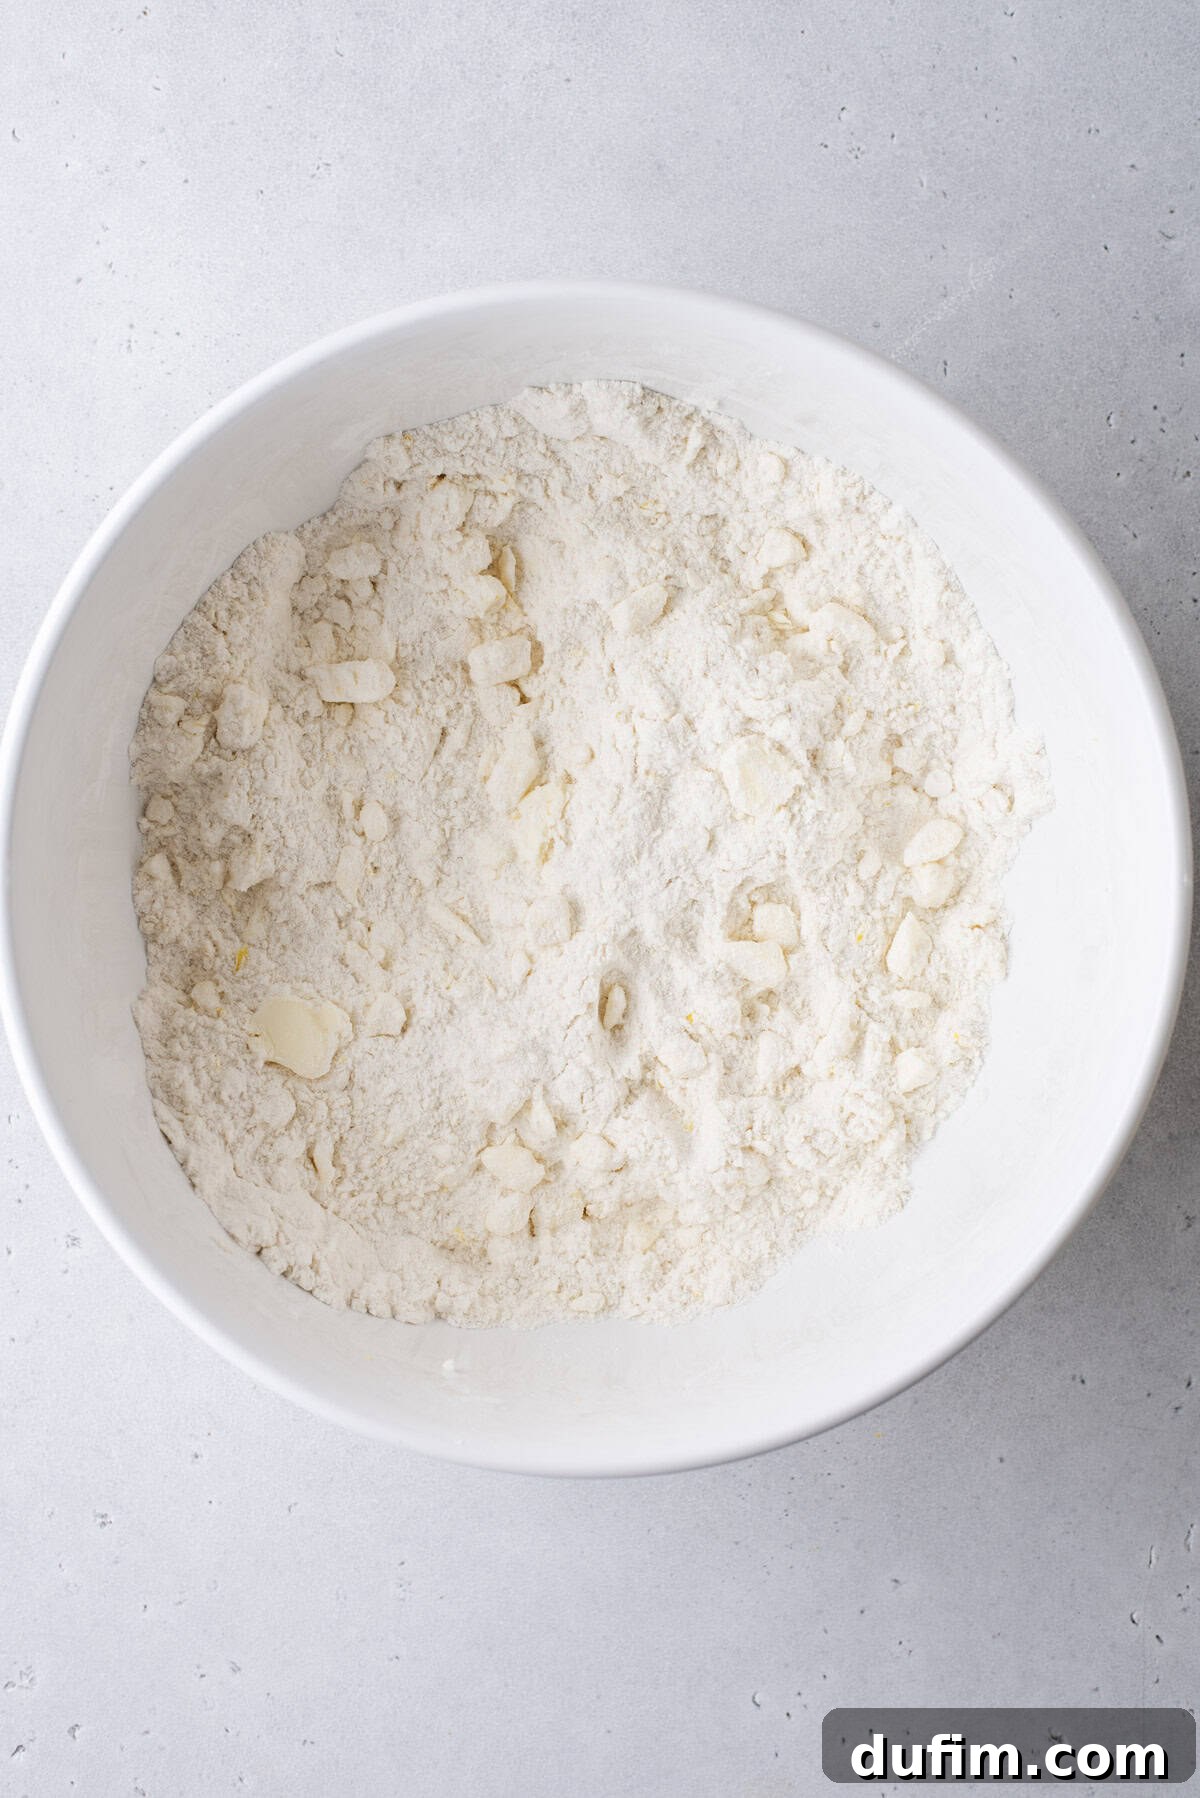
- Combine Dry Ingredients and Cut in Butter: In a generously sized mixing bowl, whisk together the all-purpose flour, granulated sugar, baking powder, salt, and fresh orange zest until thoroughly combined. Add the very cold, cubed unsalted butter. Using either your fingertips or a sturdy pastry cutter, work the butter into the dry mixture until it resembles coarse crumbs with pea-sized pieces of butter still visible. This is crucial for flaky scones!
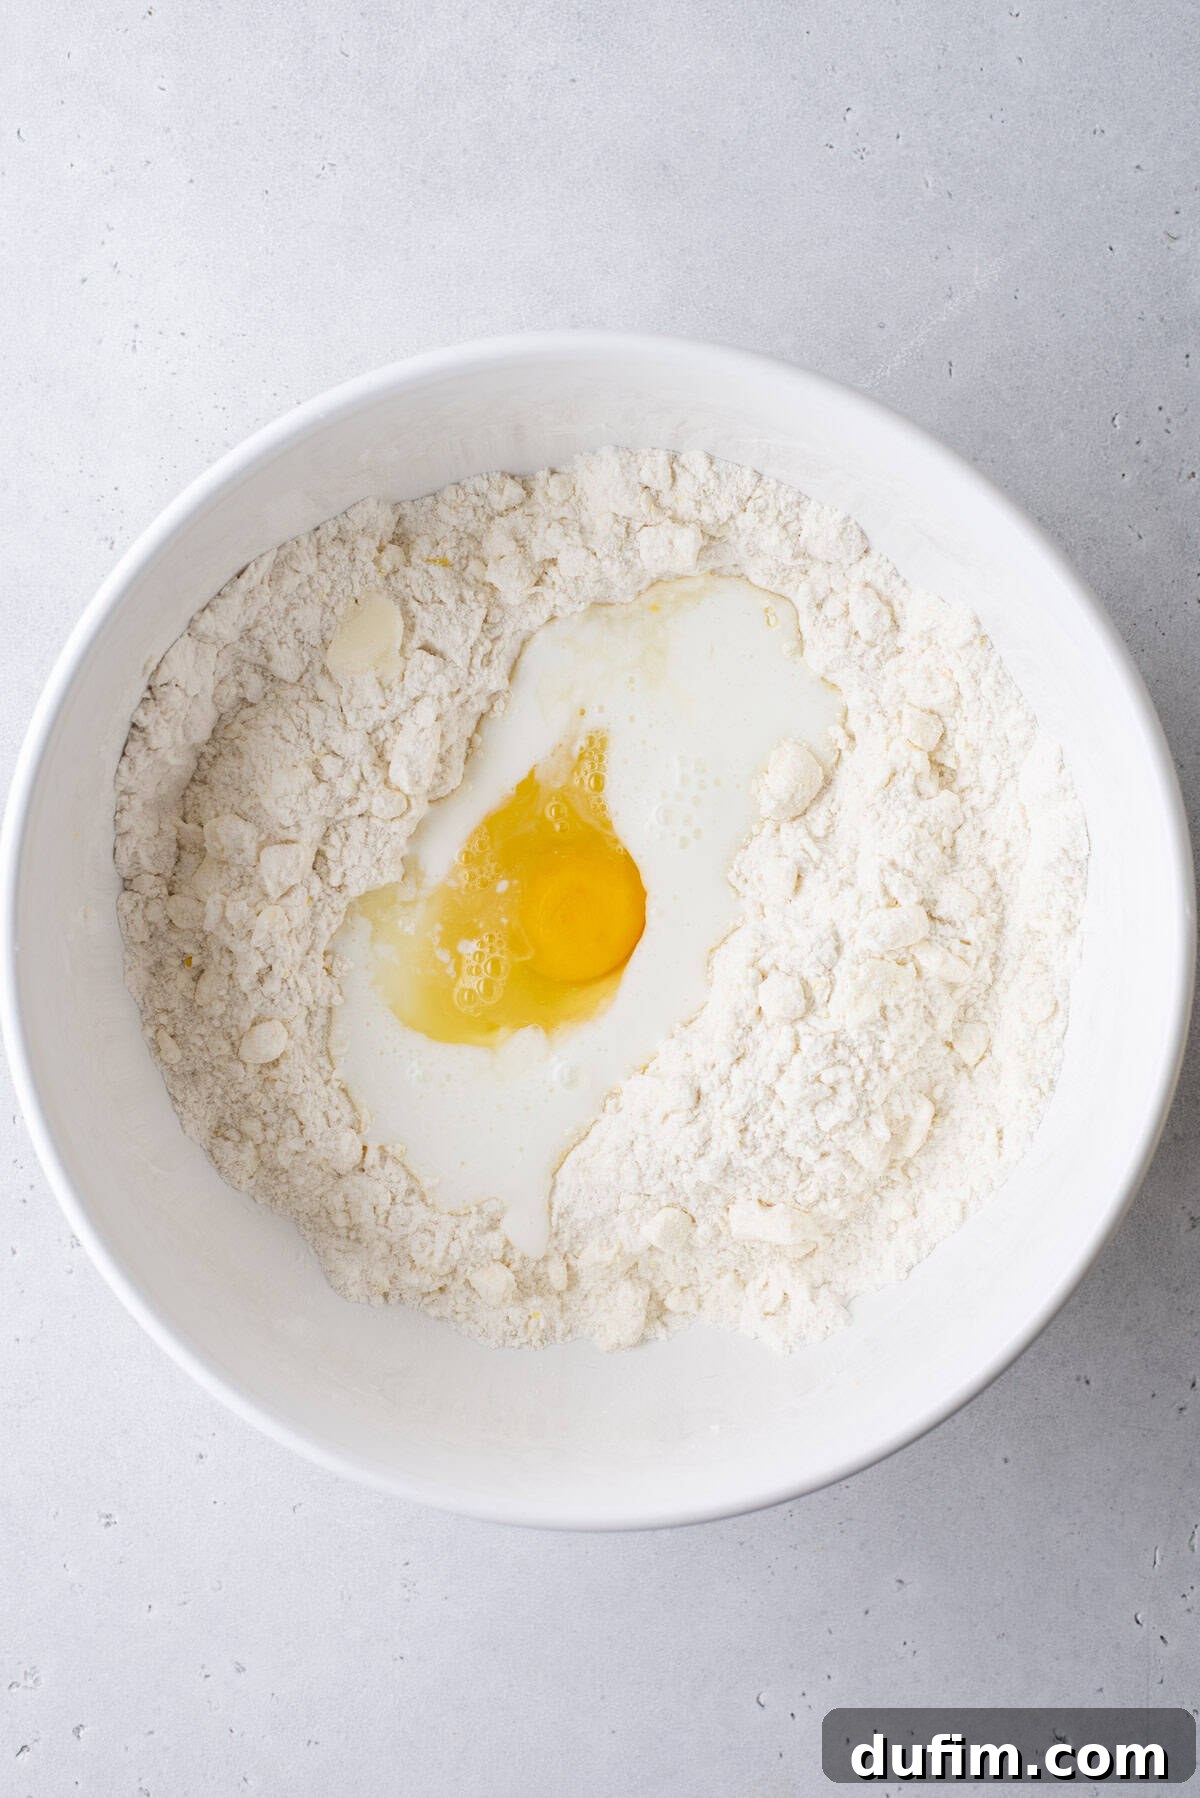
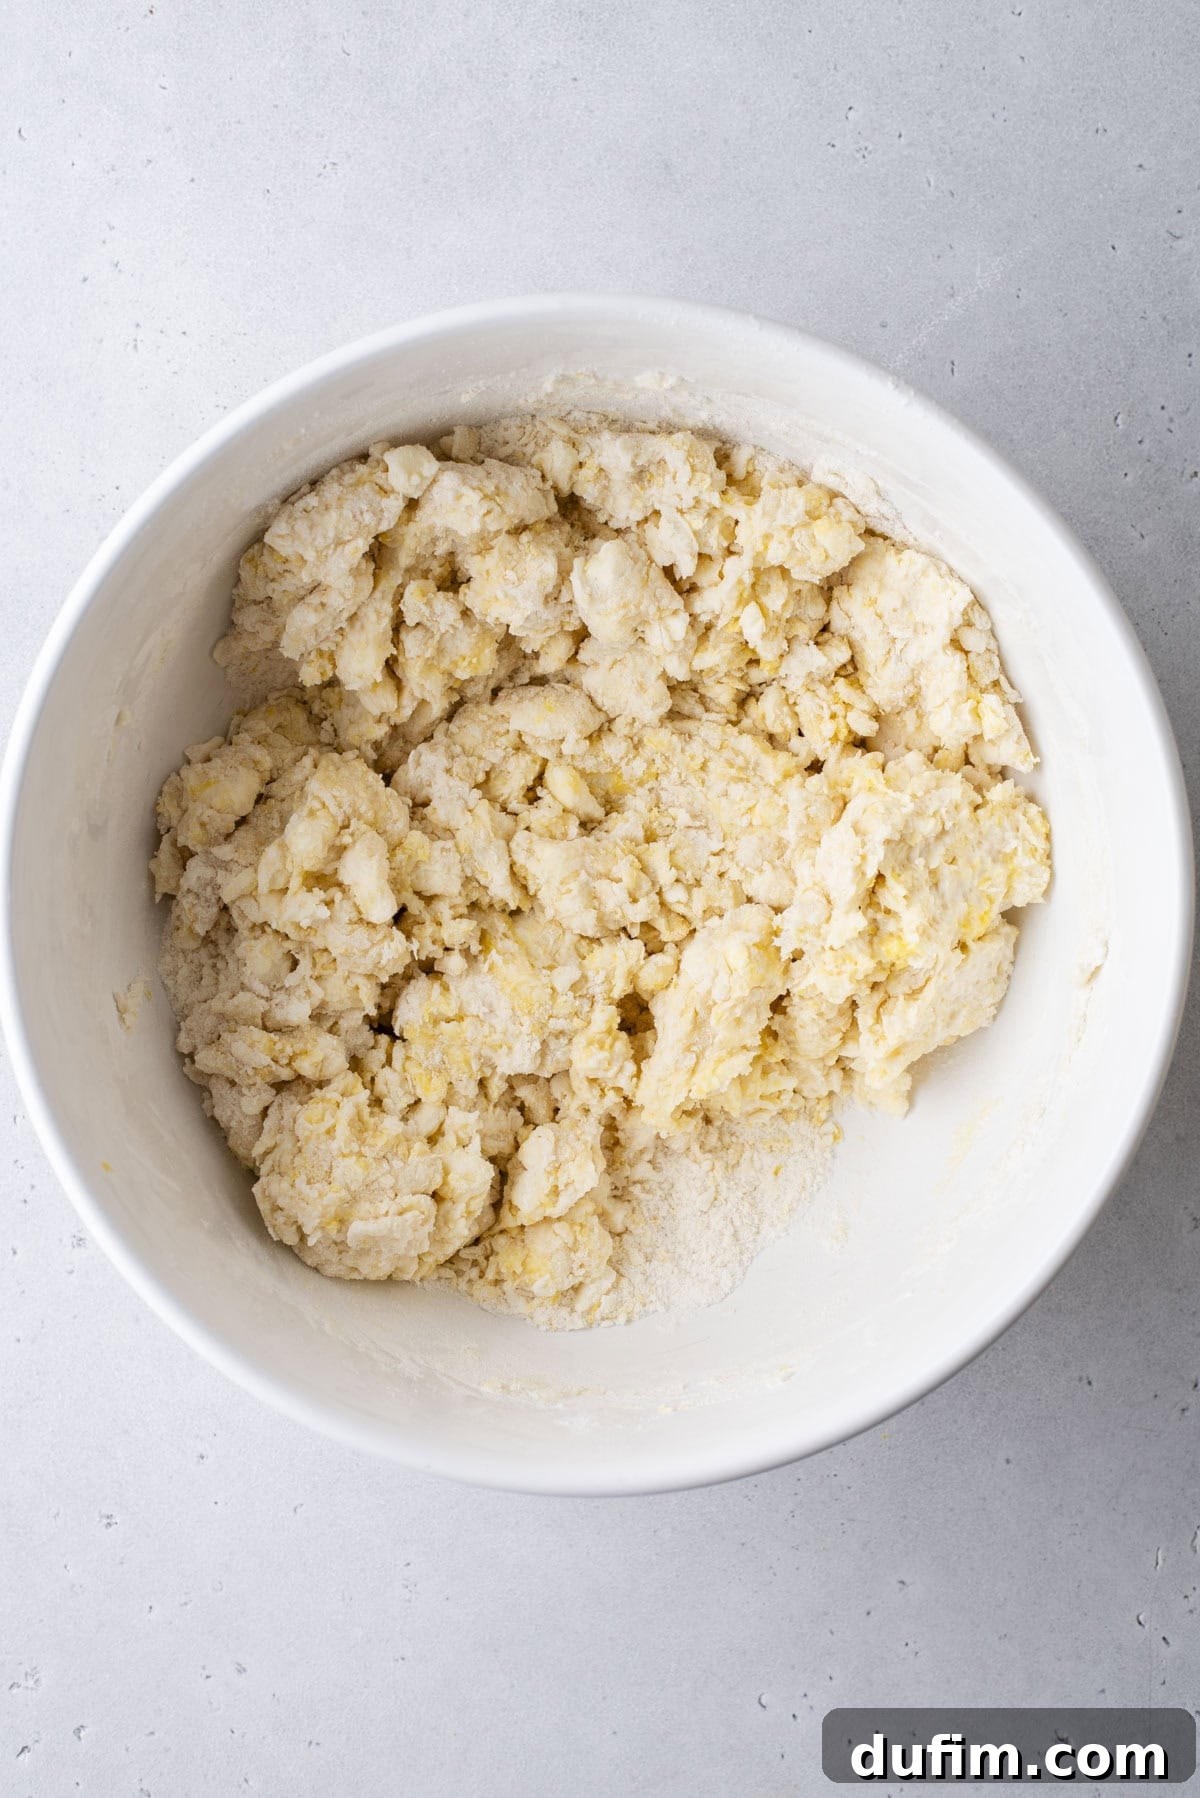
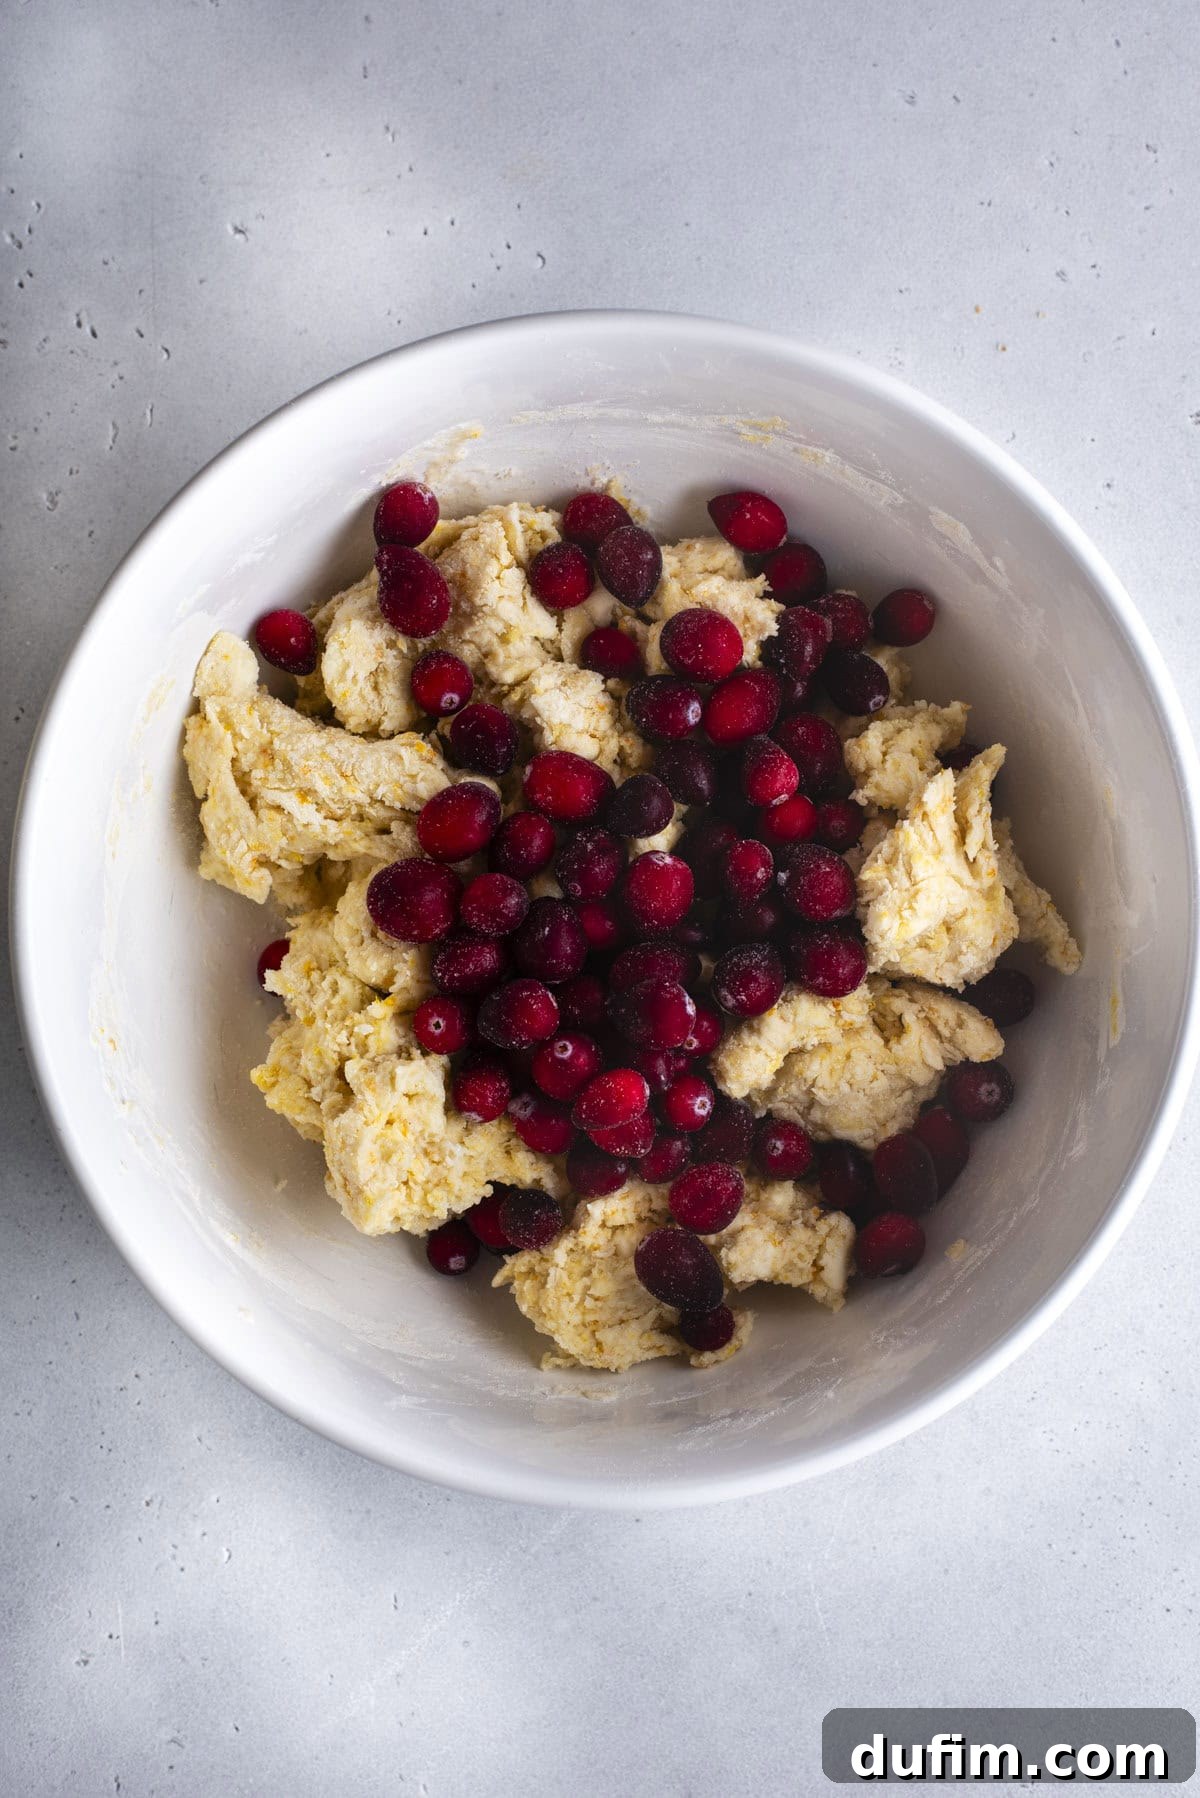
- Incorporate Wet Ingredients: Create a shallow well in the center of your dry ingredients. Pour in the buttermilk, fresh orange juice, and the large egg. Using a flexible spatula, gently fold and combine the ingredients until a thick, somewhat sticky dough forms. Be careful not to overmix! Once the wet and dry ingredients are mostly combined, gently fold in your fresh, frozen (no need to thaw), or dried cranberries until evenly distributed.
- Gentle Kneading: Lightly flour a clean silicone mat or your kitchen counter. Turn the scone dough out onto the prepared surface. Gently knead the dough a few times, just until any remaining loose flour is incorporated and the dough comes together. The key here is minimal handling to keep the butter cold and prevent gluten development.
- Adjust as Needed: If you find the dough is excessively sticky and difficult to manage, add 1-2 additional tablespoons of flour, a little at a time, until it reaches a manageable consistency. It should still be soft, not stiff.
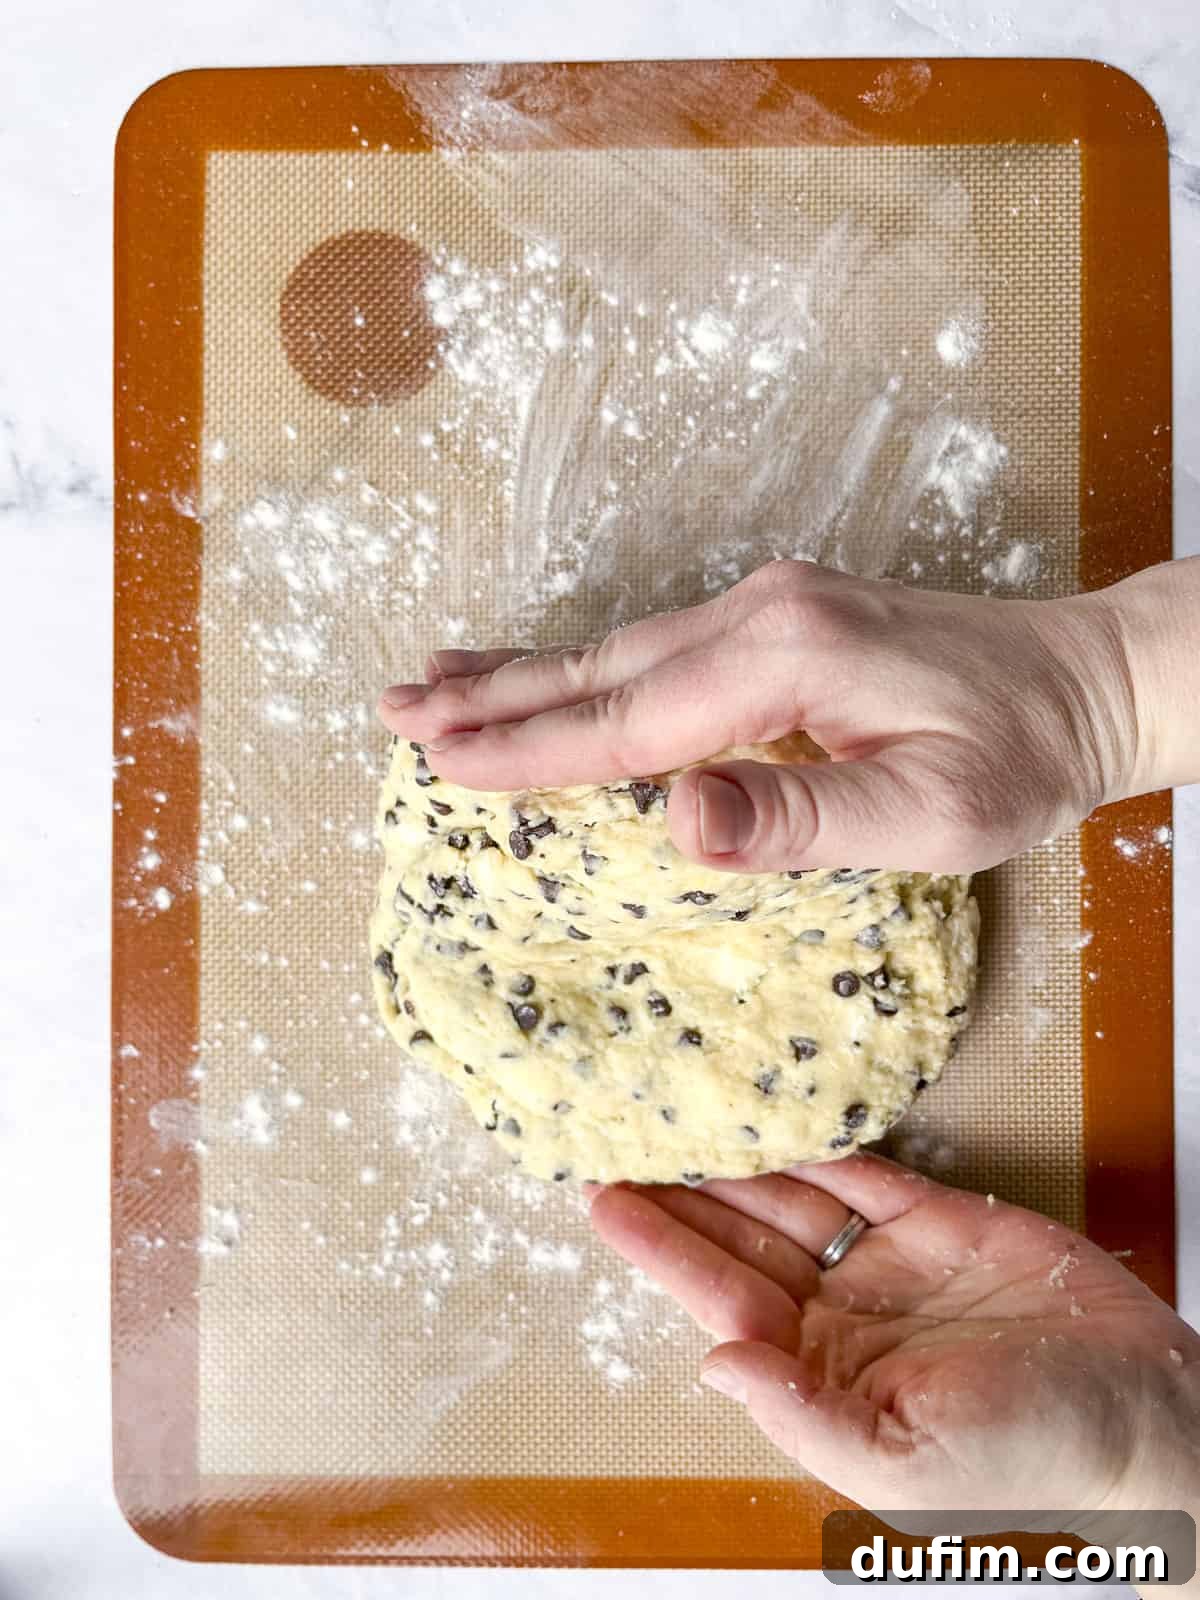
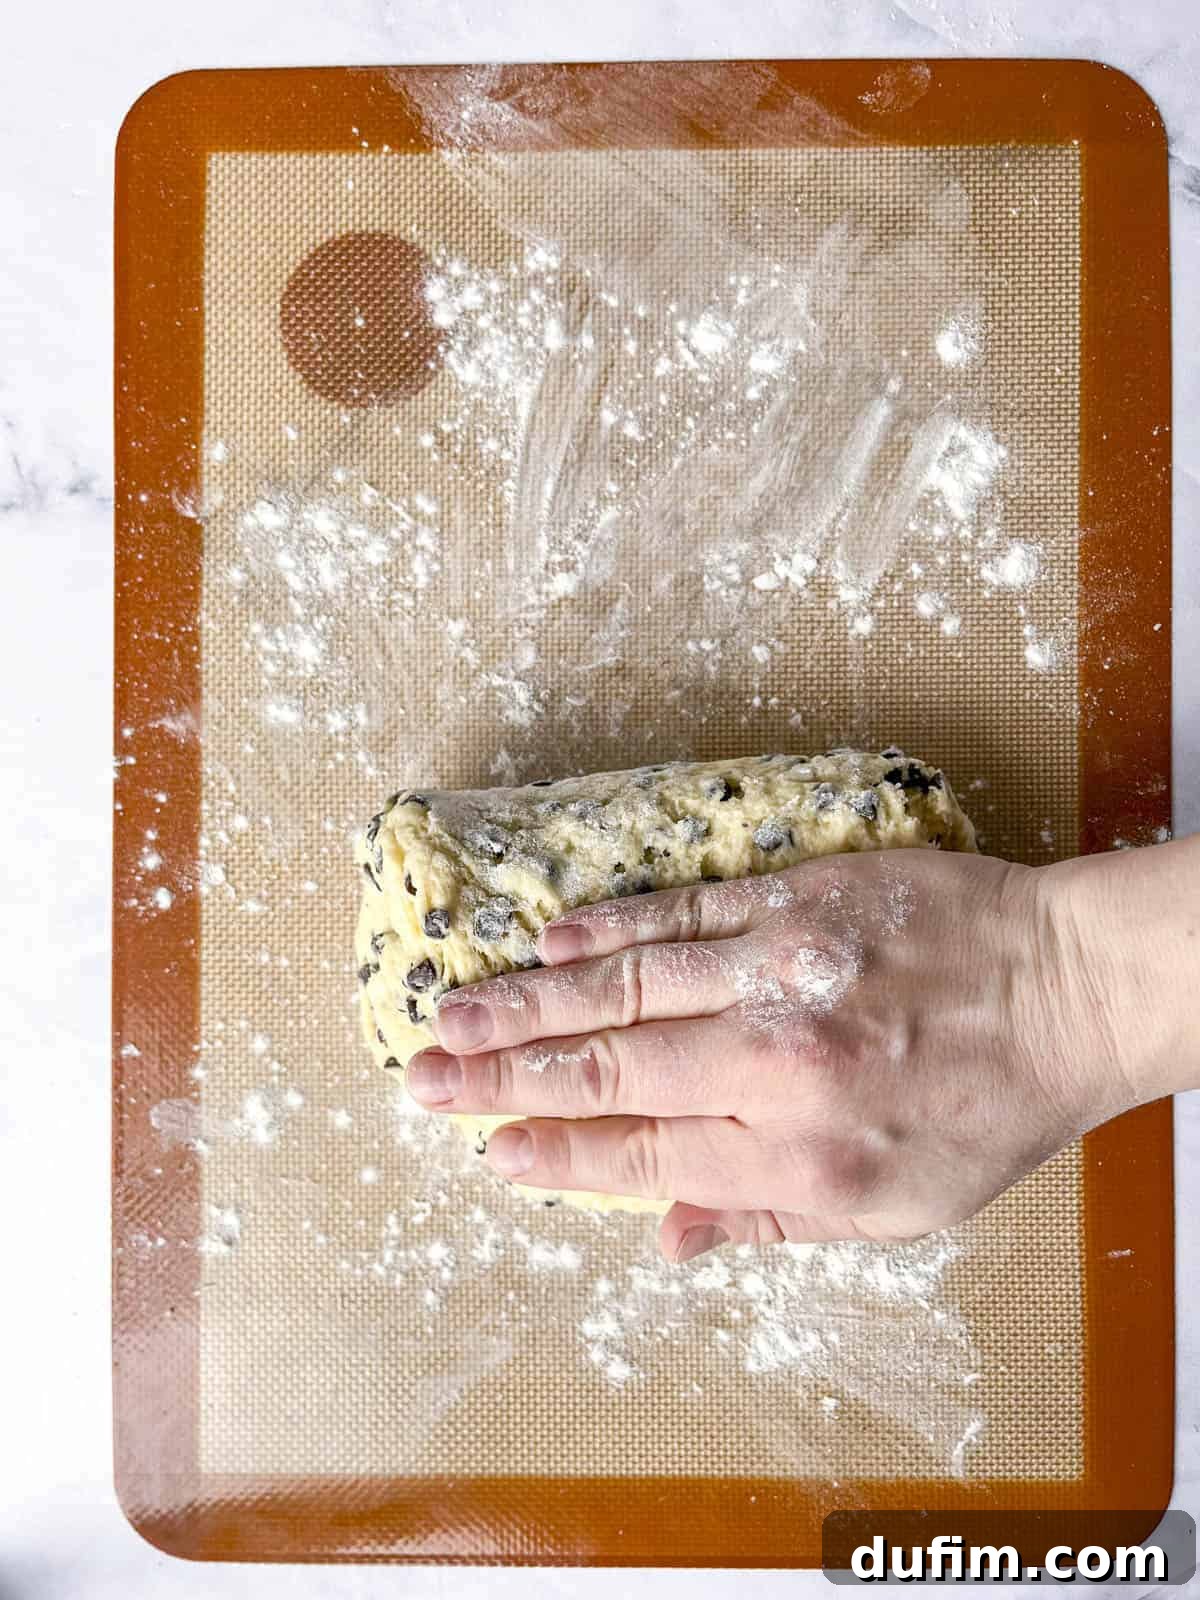
- Lamination for Flaky Layers: This step is essential for creating those beautiful, tall, flaky layers. Fold the dough in half, then gently press it down to flatten it slightly. Rotate the dough 90 degrees, then fold it in half again. Repeat this folding and turning process 4-5 times. This technique layers the cold butter throughout the dough, which will create steam and separation during baking.
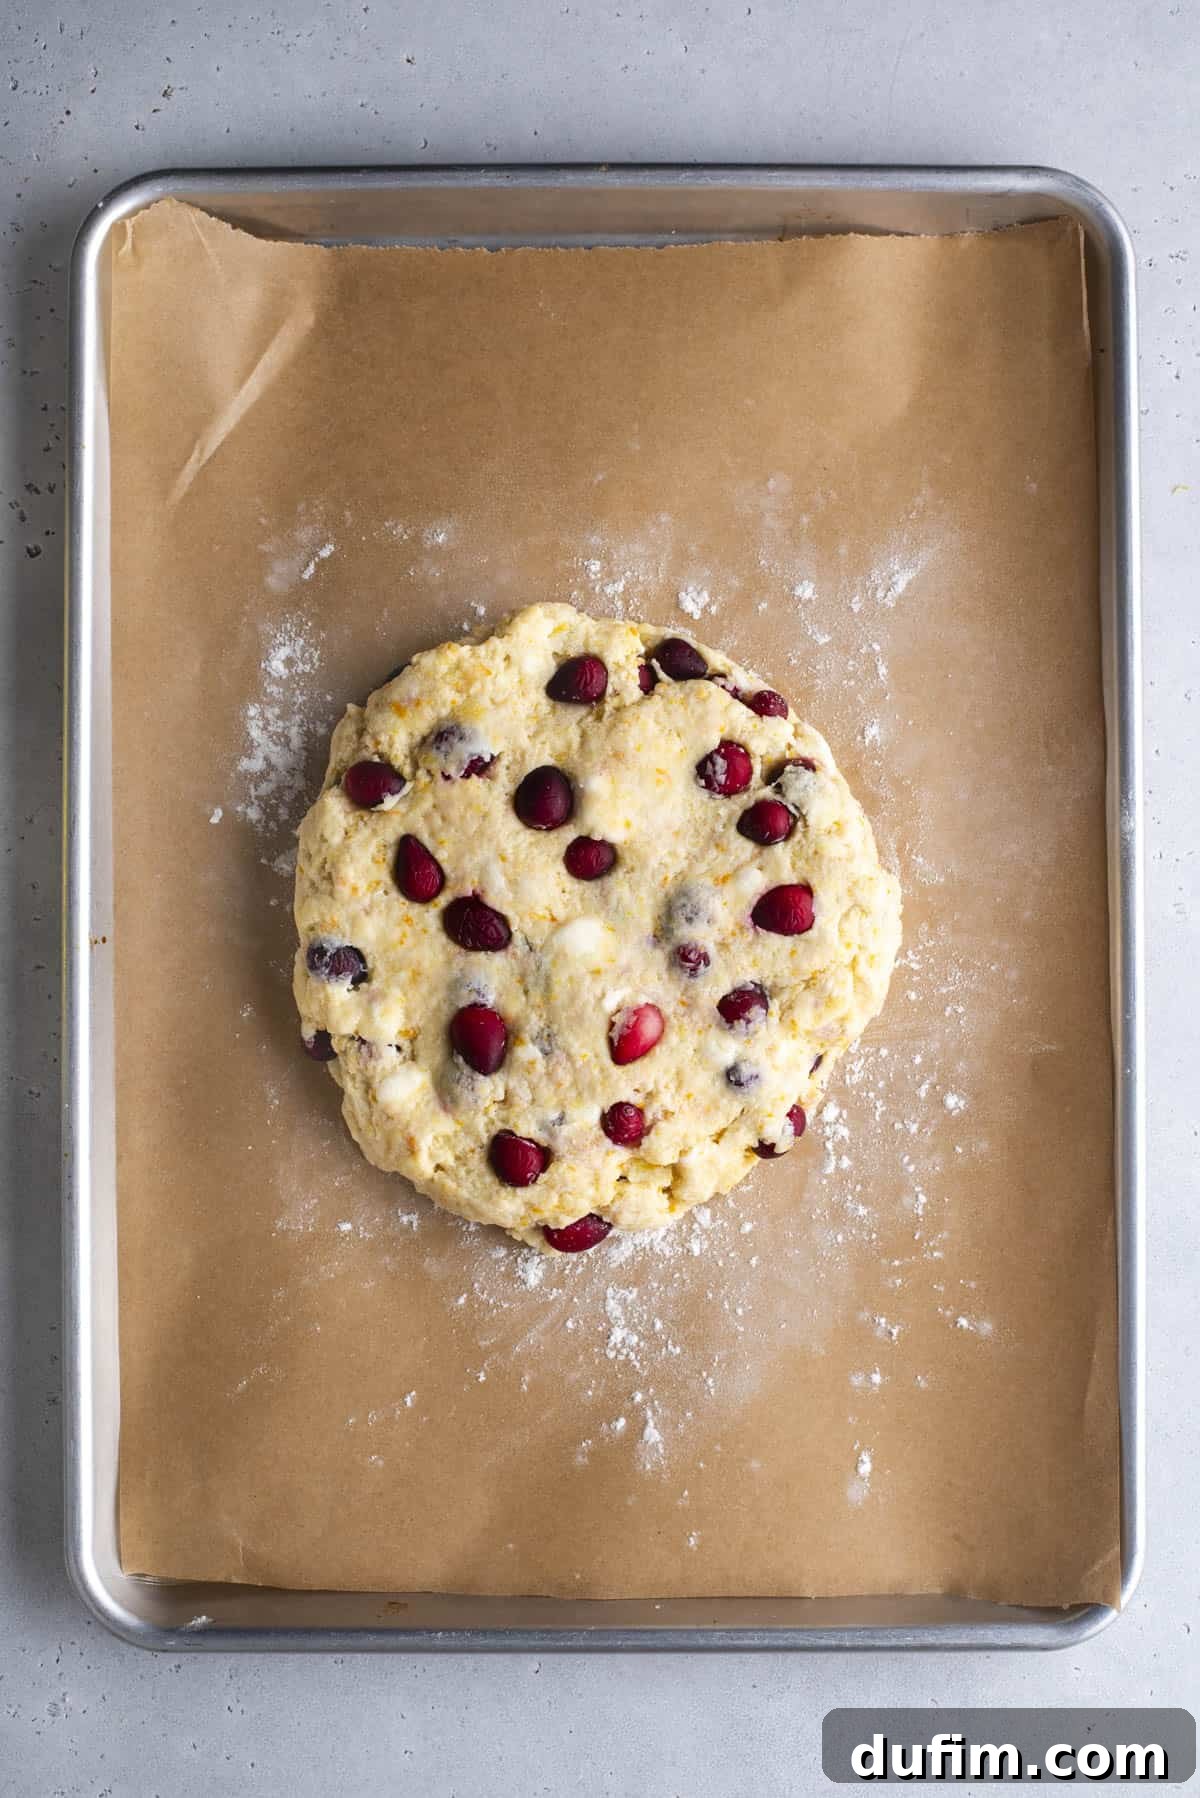
- Shape and Chill Dough: Gently shape the laminated dough into an 8-10 inch disc, ensuring it is about 1.5 to 2 inches tall. Place the entire scone disc onto a baking sheet and refrigerate it for 5-10 minutes. This quick chill helps the butter firm up, ensuring cleaner cuts and better rise.
- Cut Dough: Once chilled, transfer the disc to a lightly floured surface. Use a sharp knife or a pizza cutter to cut the dough into 8 equal wedges. Try to make clean, straight cuts without dragging the knife, which can seal the edges and inhibit rising.
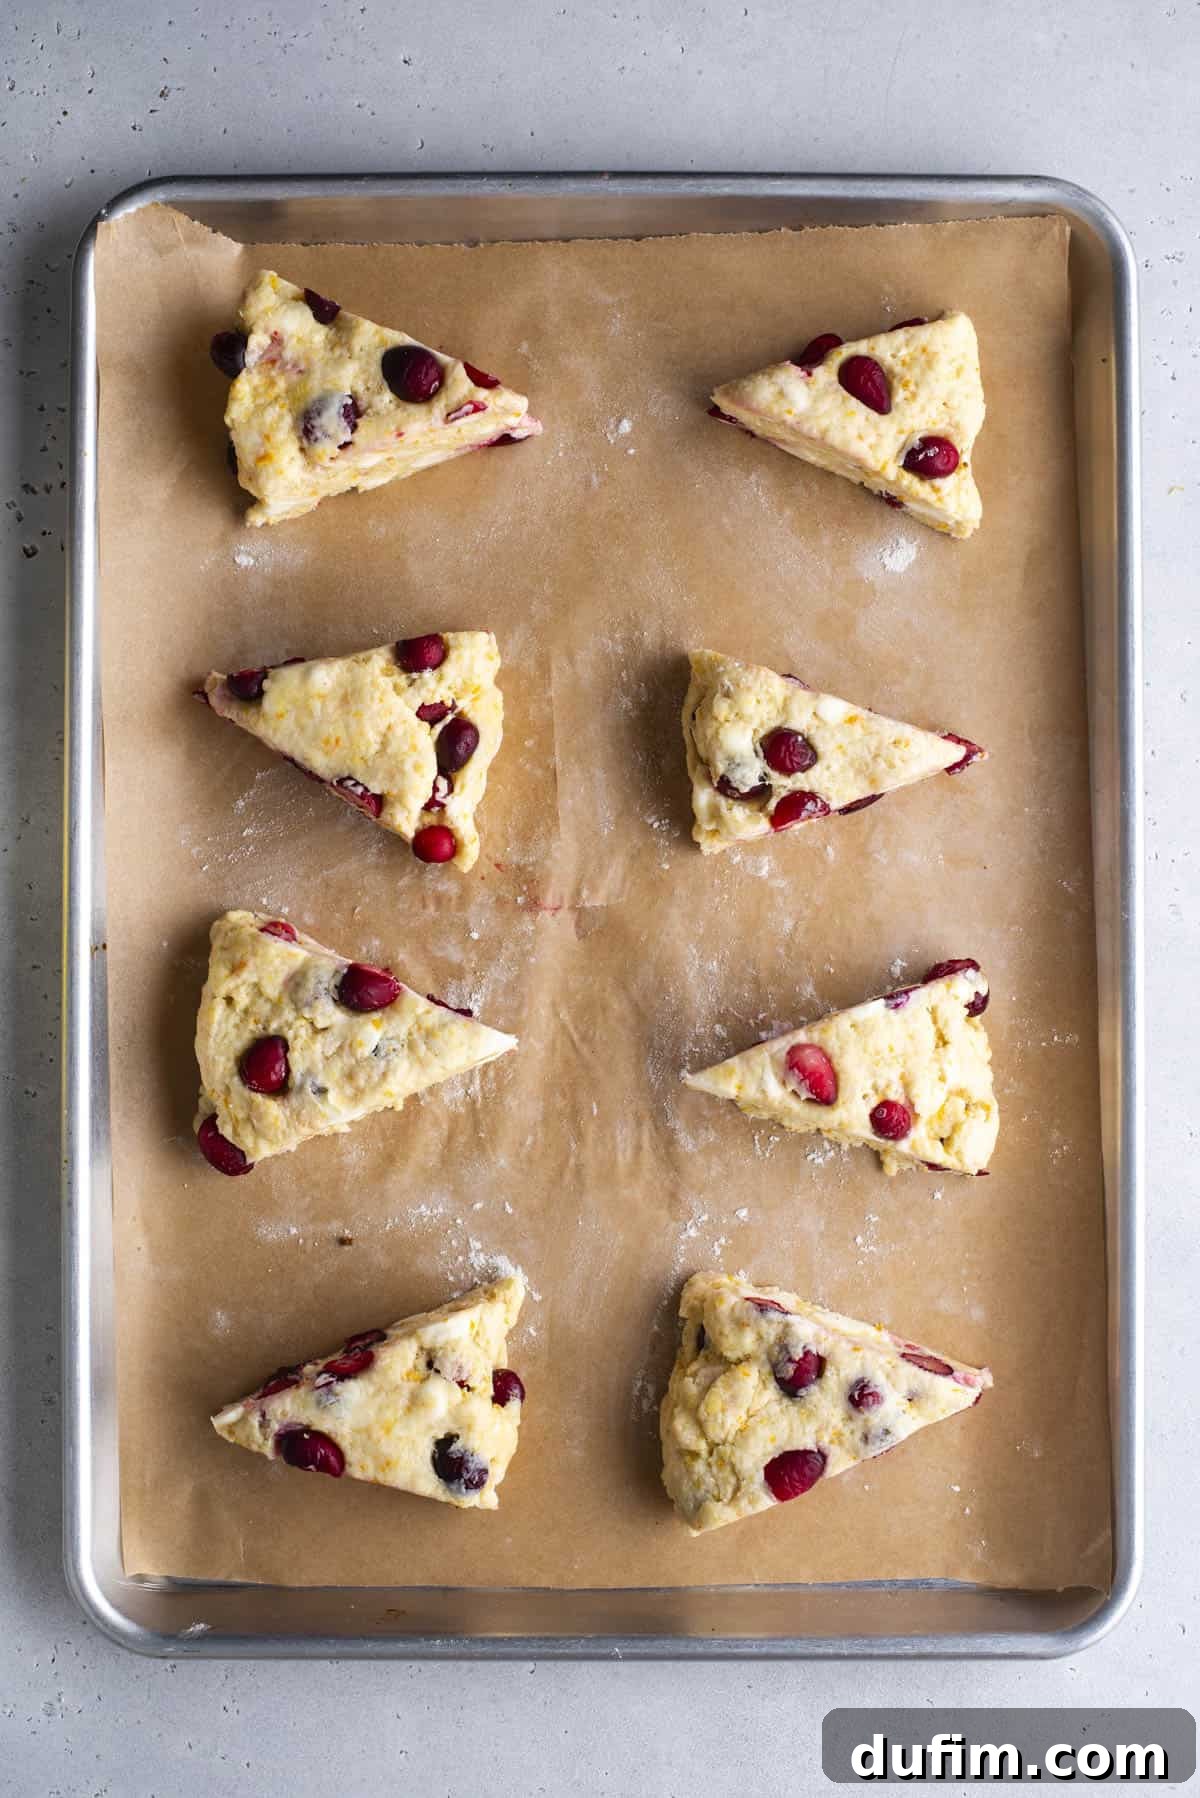
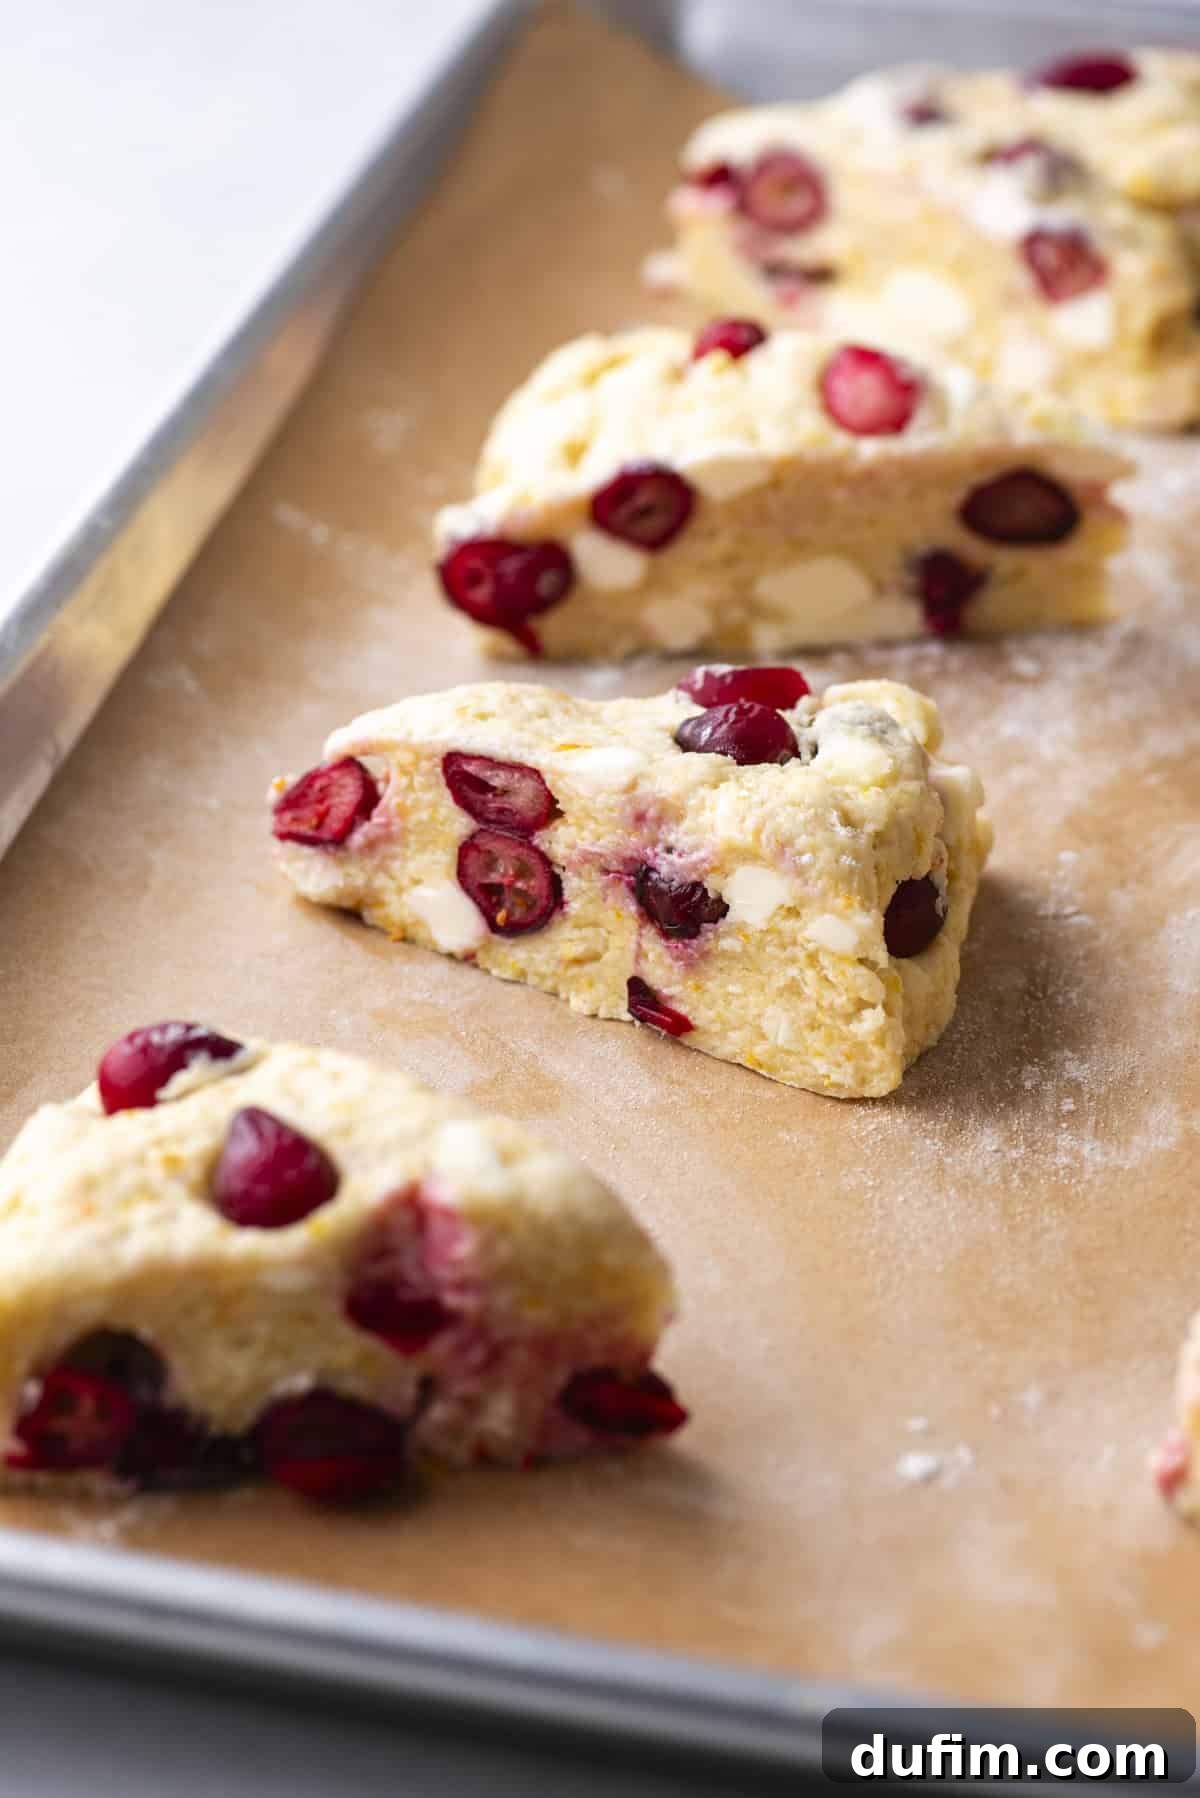
- Prepare Scones on Baking Sheet: Arrange the cut scone wedges 2-3 inches apart on a baking sheet lined with either a silicone baking mat or parchment paper. This spacing allows for even baking and prevents them from sticking together.
- Final Chill & Preheat: Freeze the scones on the baking sheet for a crucial 30 minutes. This final chill is vital for achieving maximum rise and flakiness. During the last 5 minutes of freezing, preheat your oven to 400°F (200°C).
- Egg Wash & Sugar (Optional): Just before baking, gently brush the tops of the frozen scones with an egg wash (made by whisking 1 large egg with 1 tablespoon of water), buttermilk, or heavy cream. For an extra touch of sweetness and sparkle, sprinkle coarse sanding sugar over the tops.
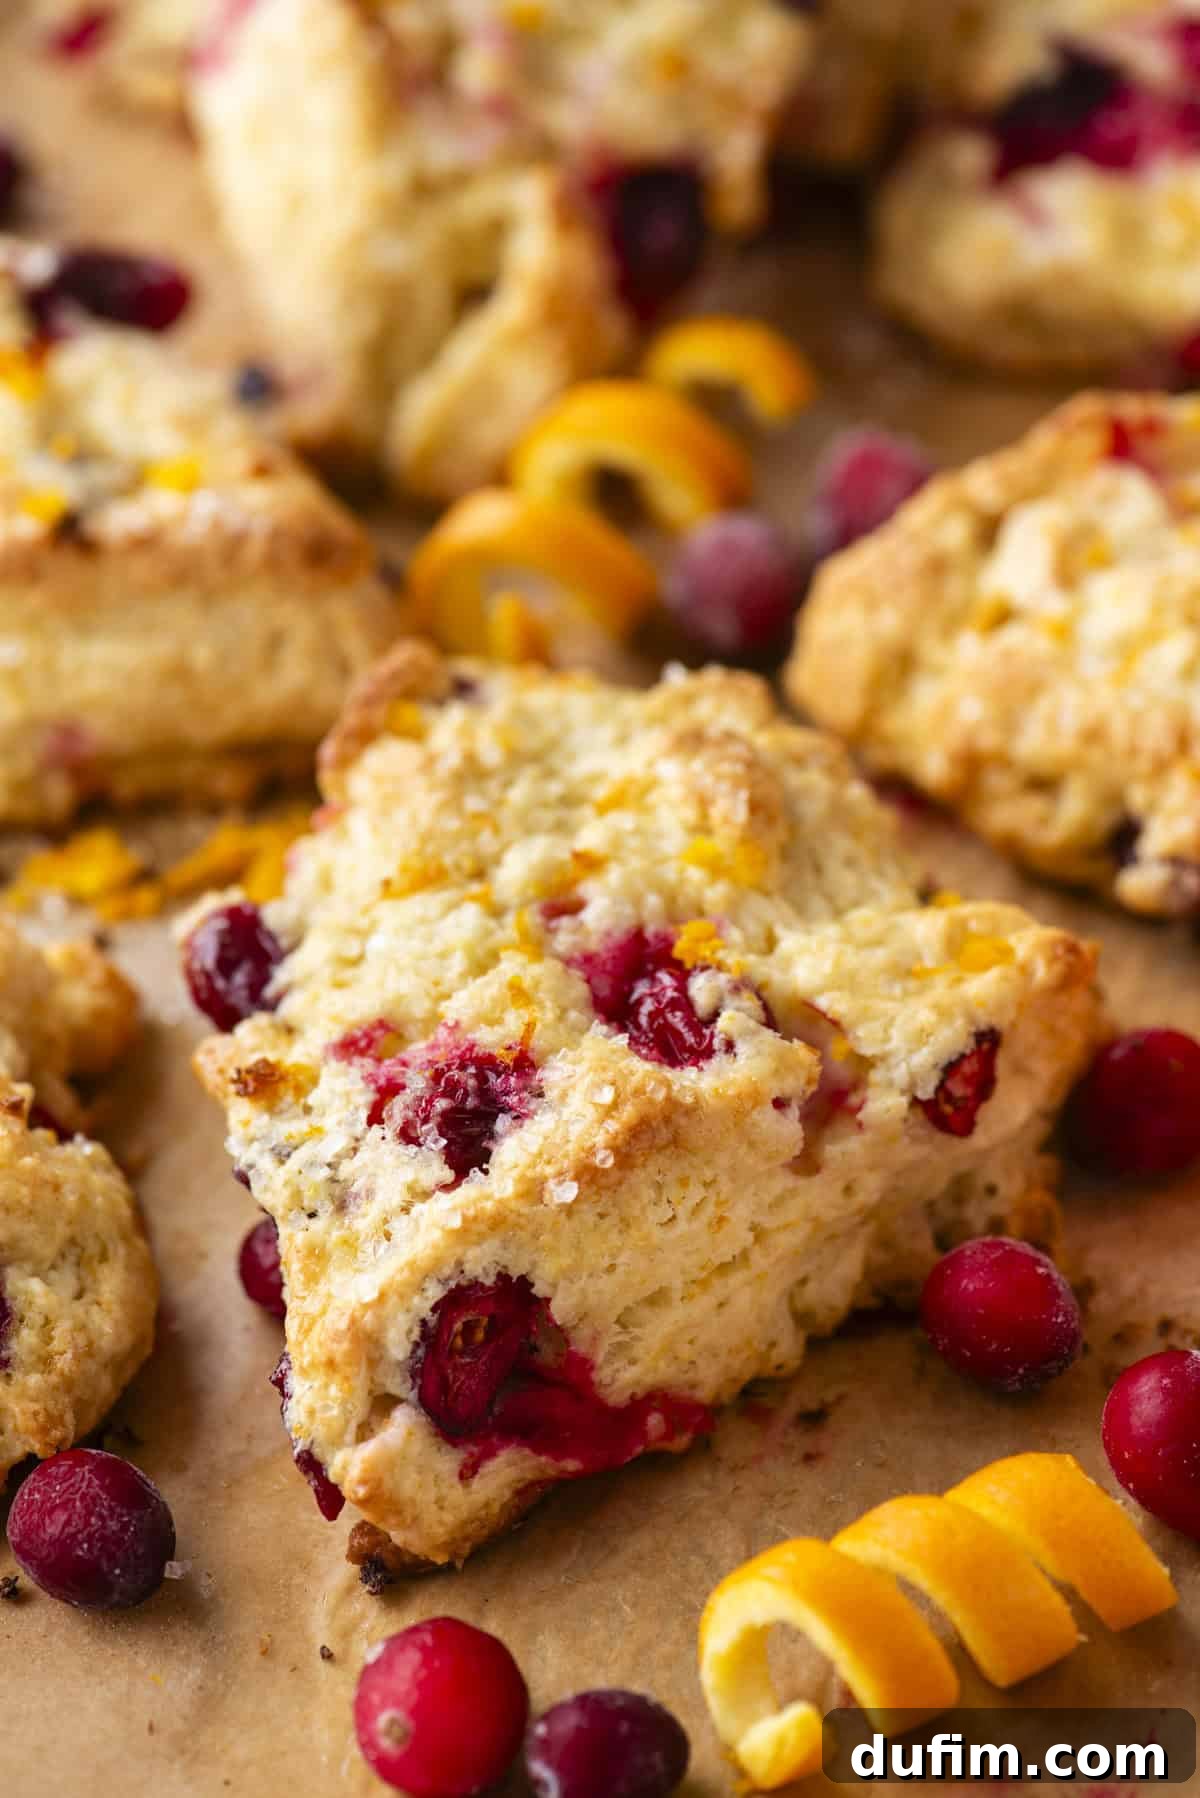
- Bake to Golden Perfection: Bake the scones in the preheated oven for 20-26 minutes, or until they are beautifully golden brown on top and cooked through. The exact time may vary depending on your oven. Once baked, transfer the scones to a wire rack and allow them to cool slightly before serving.
Optional Orange Glaze
For an extra touch of sweetness and vibrant orange flavor, consider adding a simple glaze:
- Combine and Drizzle: In a small bowl, whisk together 1 cup of powdered sugar with 2 tablespoons of fresh orange juice. Add more orange juice, a teaspoon at a time, until you achieve your desired consistency – a thick but pourable glaze. Drizzle generously over the cooled scones just before serving.
Expert Tips for the Best Cranberry Orange Scones
Achieving consistently perfect, bakery-quality scones is simpler with a few tried-and-true techniques. Keep these helpful tips in mind for the best results:
- Always Start with Cold Unsalted Butter: This is arguably the most crucial tip for exceptional scones. Cold butter creates pockets within the dough. As the scones bake, these pockets release steam, which pushes the dough upwards, resulting in those characteristic tender, flaky layers. Cube your unsalted butter and, if possible, place it in the freezer for 10-15 minutes before mixing it into your dry ingredients.
- Don’t Skip Freezing the Dough Before Baking: This step is non-negotiable for achieving tall, flaky scones that hold their shape. Chilling the shaped scones in the freezer for 30 minutes before baking helps solidify the butter within the dough. When this ultra-cold butter encounters the hot oven, it rapidly creates steam. This steam dramatically separates the layers of dough, producing an incredibly light, tender, and visibly flaky texture while preventing the scones from spreading too much.
- Avoid Overmixing the Dough: Scones thrive on minimal handling. Overmixing develops the gluten in the flour, leading to tough, dense scones rather than light and tender ones. Mix just until the ingredients are combined and no dry streaks of flour remain. A slightly shaggy dough is perfectly fine!
- Use Freshly Zested Orange Peel: The majority of the orange flavor comes from the zest, not just the juice. Use a microplane zester to finely grate the outer orange peel, being careful to avoid the bitter white pith. This ensures a bright, intense citrus aroma and taste throughout your scones.
- Don’t Twist the Cutter (if using a round cutter): If you choose to use a round biscuit or scone cutter, press straight down without twisting. Twisting can seal the edges of the scone, which prevents it from rising as high as it should. For this recipe, cutting into wedges is recommended, but the principle applies: make clean cuts.
- Bake on a Cold Baking Sheet: Starting with a cold baking sheet helps keep the butter in the scones cold for longer when they hit the hot oven, maximizing their rise and flakiness.

How to Make Gluten-Free Cranberry Orange Scones
Good news for those with gluten sensitivities! This delectable recipe can easily be adapted to be gluten-free, yielding equally awesome results. We highly recommend using a high-quality, all-purpose gluten-free flour blend, specifically one designed as a “measure for measure” or “1:1” substitute. Our top recommendation is King Arthur’s Gluten-Free Measure for Measure Flour. When using this type of blend, simply substitute it directly for regular all-purpose flour in a one-to-one ratio. Ensure your other ingredients, like baking powder, are also certified gluten-free if cross-contamination is a concern.
Mastering Tall, Flaky Scones with Lamination
The secret to achieving those impressive, sky-high, and exquisitely flaky scones lies in a simple yet powerful technique called lamination. This process of folding the dough repeatedly is what creates distinct, delicate layers that puff up beautifully during baking.
Lamination works by artfully sandwiching thin layers of cold butter between layers of dough. As your scones bake in a hot oven, the cold butter rapidly melts and then turns into steam. This steam becomes trapped between the dough layers, forcing them to separate and rise, ultimately creating that signature flaky texture that is the hallmark of a perfectly baked scone. It’s the same principle used in pastries like croissants and puff pastry, but simplified for scone baking.
The process of laminating scone dough is actually quite straightforward and doesn’t require specialized equipment. Once your dough is mixed and comes together, simply turn it out onto a lightly floured surface. Fold the dough in half, then gently press it down to flatten it slightly. Next, rotate the dough 90 degrees, and fold it in half again. Repeat this folding and turning process 4-5 times. This brief, gentle lamination dramatically improves the texture and height of your finished scones.
How to Store Fresh Cranberry Orange Scones
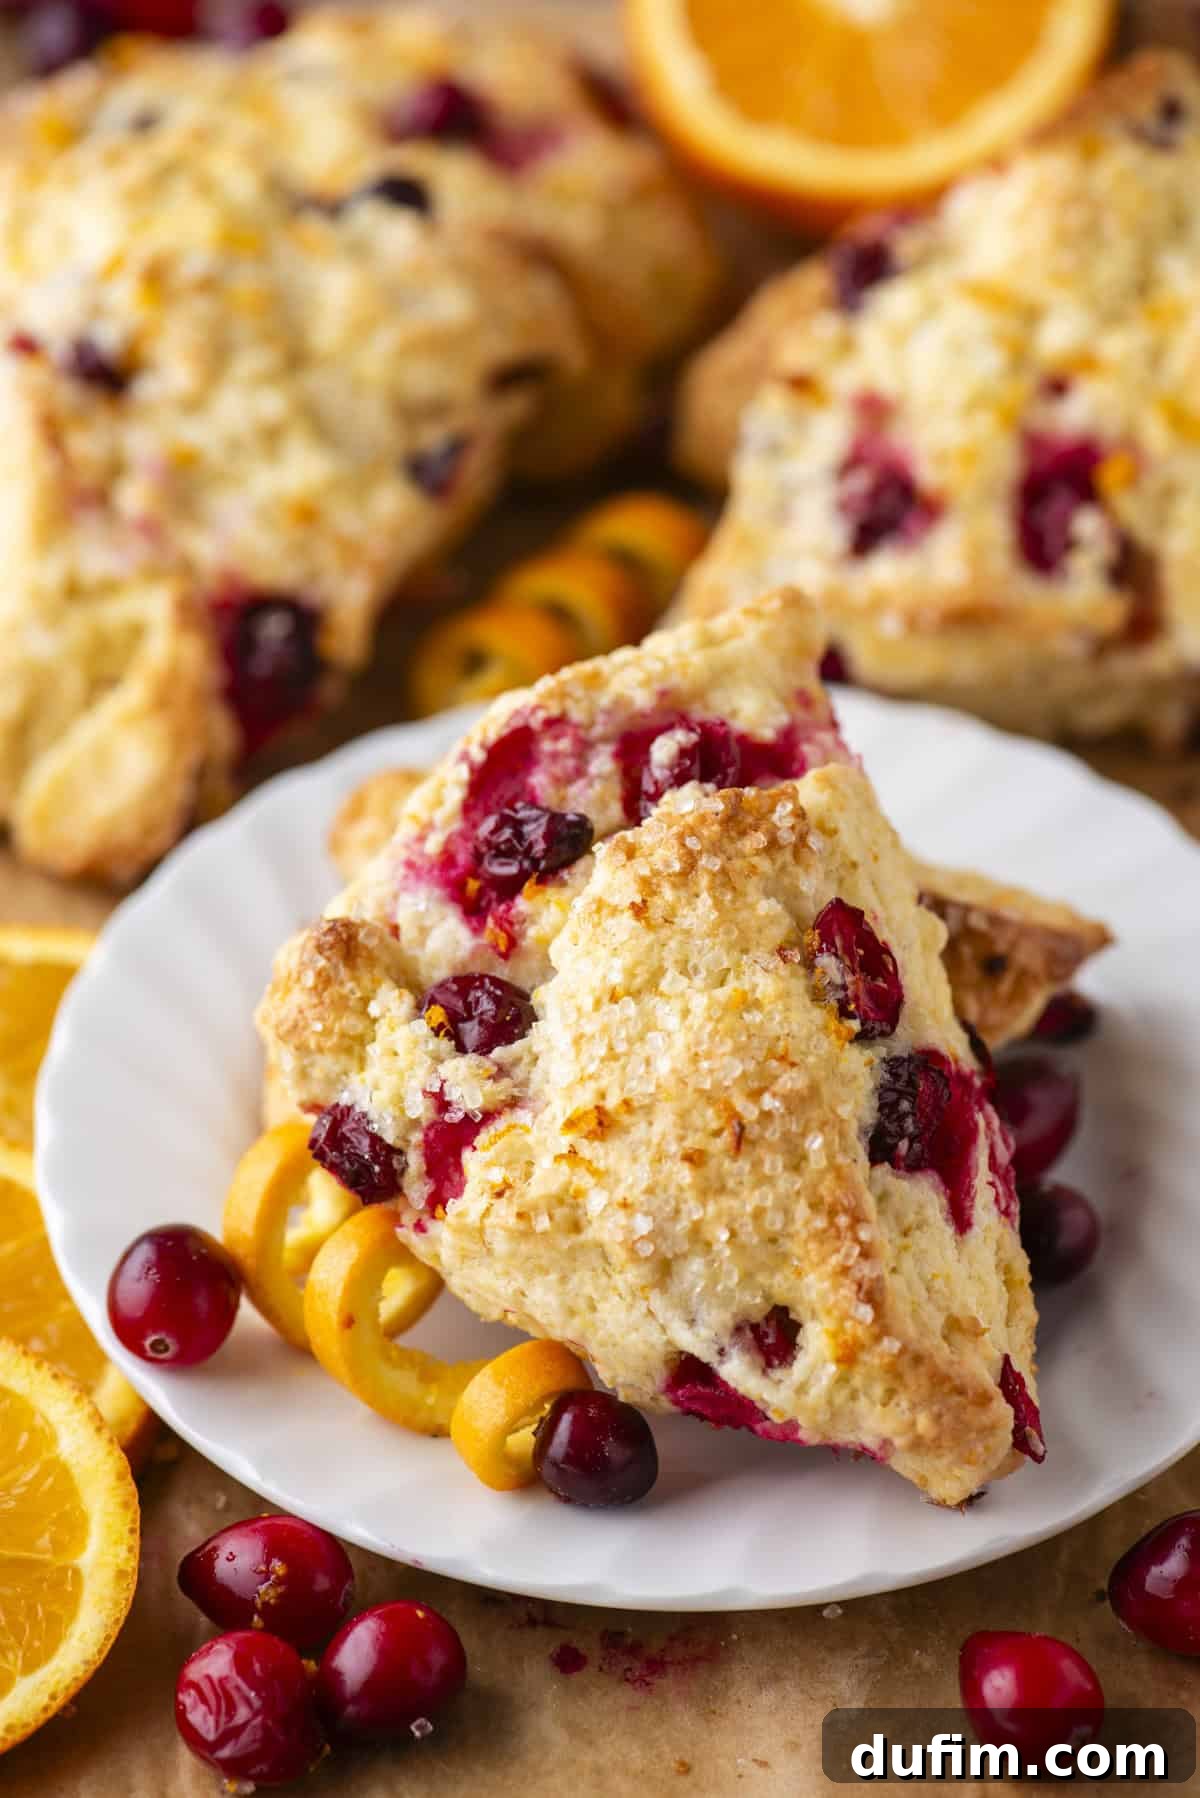
Proper storage is key to keeping your homemade cranberry orange scones tasting fresh and delightful. First and foremost, ensure the scones have cooled down completely to room temperature before attempting to store them. Packing them while they are still warm will create condensation inside the container, leading to a soggy texture that compromises their flakiness. Once fully cooled, place your scones in an airtight container or a resealable plastic bag. Store them at room temperature in a cool, dry spot, away from direct sunlight or heat. They will retain their freshness and best texture for 1 to 2 days. It’s generally best to avoid refrigerating scones, as the cold air tends to dry them out, making them stale more quickly.
For longer-term storage, scones freeze exceptionally well. Arrange the cooled scones in a single layer on a baking sheet and freeze until solid, about 1-2 hours. Once frozen, transfer them to a freezer-safe airtight container or a heavy-duty freezer bag, removing as much air as possible. Stored this way, they will remain fresh for up to a month. When you’re ready to enjoy a frozen scone, simply let it thaw at room temperature for a few hours, or gently rewarm it in a toaster oven for that freshly baked taste and texture.
Cranberry Orange Scones Recipe FAQs
The absolute best butter for making scones is cold, unsalted, high-quality butter. Using unsalted butter gives you complete control over the salt content in your recipe. Keeping it very cold is essential because it creates steam during baking, which results in those desirable flaky layers.
Chilling scones before baking is a critical step that helps the dough maintain its shape during the baking process and is fundamental for promoting a wonderfully flaky texture. It ensures the butter within the dough stays very cold, which in turn prevents the scones from spreading excessively and guarantees a light, tender, and high-rising result.
Resting scones for approximately 30 minutes in the freezer before baking is ideal. This chilling period allows the butter to firm up further and the gluten to relax, both of which are crucial for achieving optimal texture and an impressive rise in your scones. Don’t skip this step!
While buttermilk is preferred for its tang and tenderizing properties (its acidity reacts with baking powder for extra lift), you can make a substitute if you don’t have any on hand. For every ½ cup of buttermilk, combine ½ cup of regular milk (whole or 2%) with ½ tablespoon of lemon juice or white vinegar. Let it sit for 5-10 minutes until it slightly curdles before adding to the recipe.
The most common culprits for hard or dense scones are overmixing the dough, using butter that isn’t cold enough, or adding too much flour. Overmixing develops the gluten, making the scones tough. Warm butter melts too quickly, leading to flat scones. Always handle the dough minimally and ensure your butter is very cold for best results.
More Delightful Baked Goods Recipes to Explore
If you loved baking these cranberry orange scones, we invite you to explore more of our tested and cherished recipes for homemade baked goods:
- Fluffy & Flavorful Corn Muffins
- How to Make Rich Red Velvet Brownies
- Our Best Moist Coffee Cake Recipe
- Bright & Zesty Lemon Poppy Seed Bread
Tap stars to rate!
Cranberry Orange Scone
Rate
Ingredients
- 2 ½ cups (300g) all-purpose flour
- ½ cup (99g) granulated sugar
- 1 Tbsp baking powder
- ½ tsp salt
- 1 Tbsp orange zest, about 2 oranges
- ½ cup (113g) cold unsalted butter, cubed
- ½ cup (118ml) buttermilk
- 1 Tbsp orange juice, freshly squeezed
- 1 large egg
- 1 cup (99g) fresh or frozen cranberries, or dried cranberries (do not thaw frozen cranberries)
Glaze, optional
- 1 cup (113g) powdered sugar
- 2-3 Tbsp orange juice
Instructions
- In a large mixing bowl combine the flour, granulated sugar, baking powder, salt, and orange zest. Add in the cold, cubed butter and use your hands or a pastry cutter to cut in the butter until pea sized amounts of butter remain.
- Create a well in the center of the flour mixture. Add the buttermilk, orange juice, and egg. Use a spatula to gently combine until the dough is thick and sticky. Gently stir in the fresh or frozen cranberries (do not thaw), or dried cranberries.
- On a silicone mat or kitchen counter, gently knead the dough, until all the flour is incorporated.
- Add 1-2 additional tablespoons of flour if the dough is too sticky.
- Lamination (folding the dough to create flaky layers!): Fold the dough in half, press it down slightly, then turn the dough 90 degrees and fold in half again. Repeat this folding and turning process 4-5 times.
- Shape the dough into a 8-10 inch disc that is about 1.5 to 2 inches tall. Refrigerate the scone in a disc for 5-10 minutes.
- Use a knife or pizza cutter to cut the scones into 8 equal wedges.
- Place the scones 2-3 inches apart on a baking sheet that’s lined with a silicone mat or parchment paper.
- Freeze the scones for 30 minutes. The last 5 minutes, preheat the oven to 400º F.
- Brush the tops of the scones with egg wash (1 large egg + 1 Tbsp water), buttermilk or heavy cream. Add coarse sanding sugar if desired.
- Bake for 20-26 minutes or until the scones are lightly golden. Allow the scones to cool.
Glaze, optional
- Combine the powdered sugar and 2 Tbsp of orange juice. Add more orange juice as needed to achieve your desired consistency. Drizzle over the scones.
Video
Nutrition
Serving: 1 scone | Calories: 379kcal | Carbohydrates: 61g | Protein: 6g | Fat: 13g | Saturated Fat: 8g | Polyunsaturated Fat: 1g | Monounsaturated Fat: 3g | Trans Fat: 0.5g | Cholesterol: 55mg | Sodium: 332mg | Potassium: 99mg | Fiber: 2g | Sugar: 29g | Vitamin A: 437IU | Vitamin C: 6mg | Calcium: 121mg | Iron: 2mg
Nutrition Disclosure
All nutritional values are approximate and provided to the reader as a courtesy. Changing ingredients and/or quantities will alter the estimated nutritional calculations.