
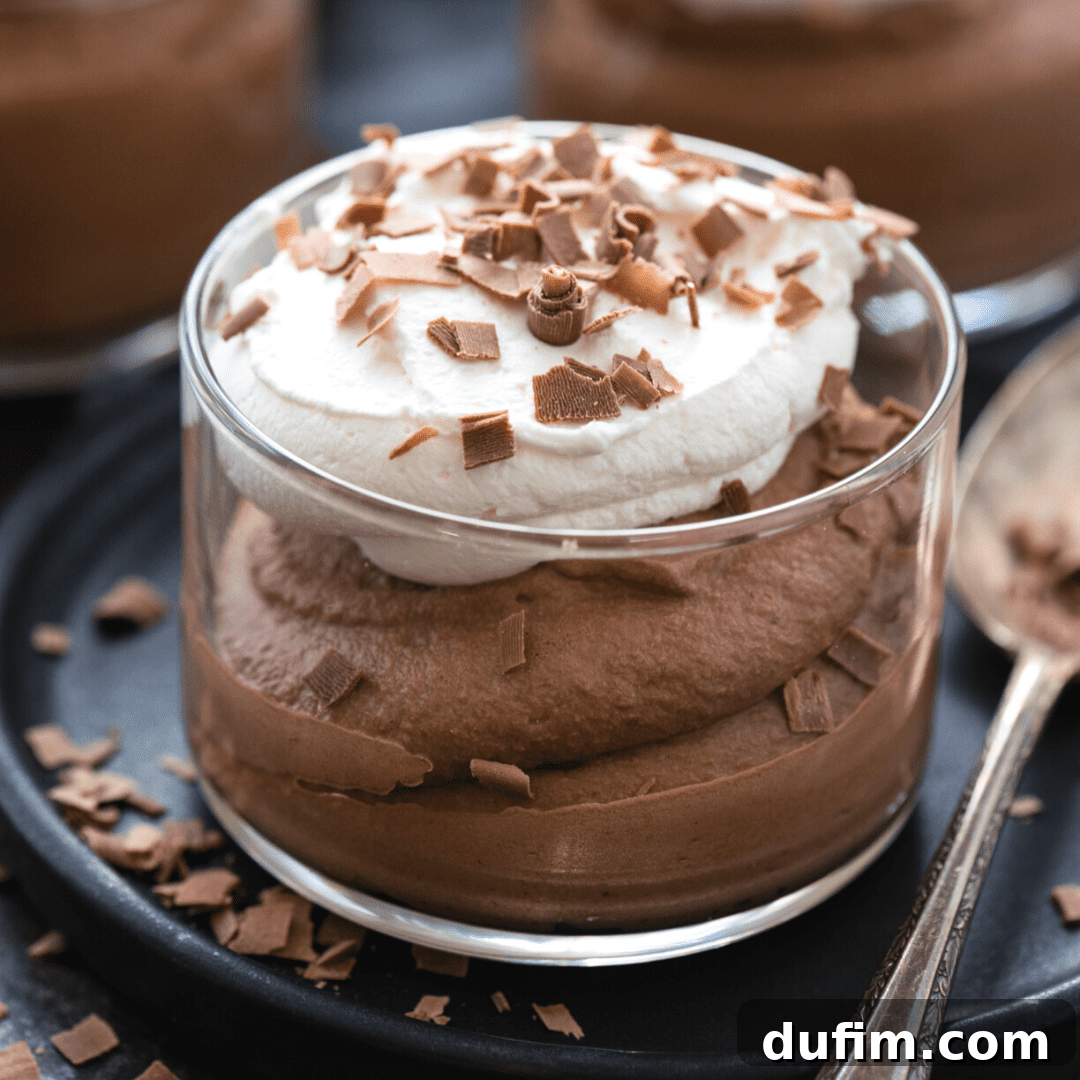
Forget complicated desserts and intimidating techniques. This revolutionary **easy chocolate mousse recipe** lets you skip the eggs, double the indulgence, and achieve a restaurant-quality dessert with minimal effort. After countless experiments, I’ve perfected a **no-egg chocolate mousse** that’s incredibly rich, wonderfully silky, and unbelievably airy. Made with just two main ingredients – whipped cream and melted chocolate chips – it’s a foolproof delight designed for every home baker, from novice to expert. No fancy equipment or culinary school degrees needed to master this luxurious treat.
“This was my first attempt at making mousse, and it was absolutely delicious! So rich and creamy, and the best part is how incredibly easy it is to prepare!”
– Nadine, a delighted home baker
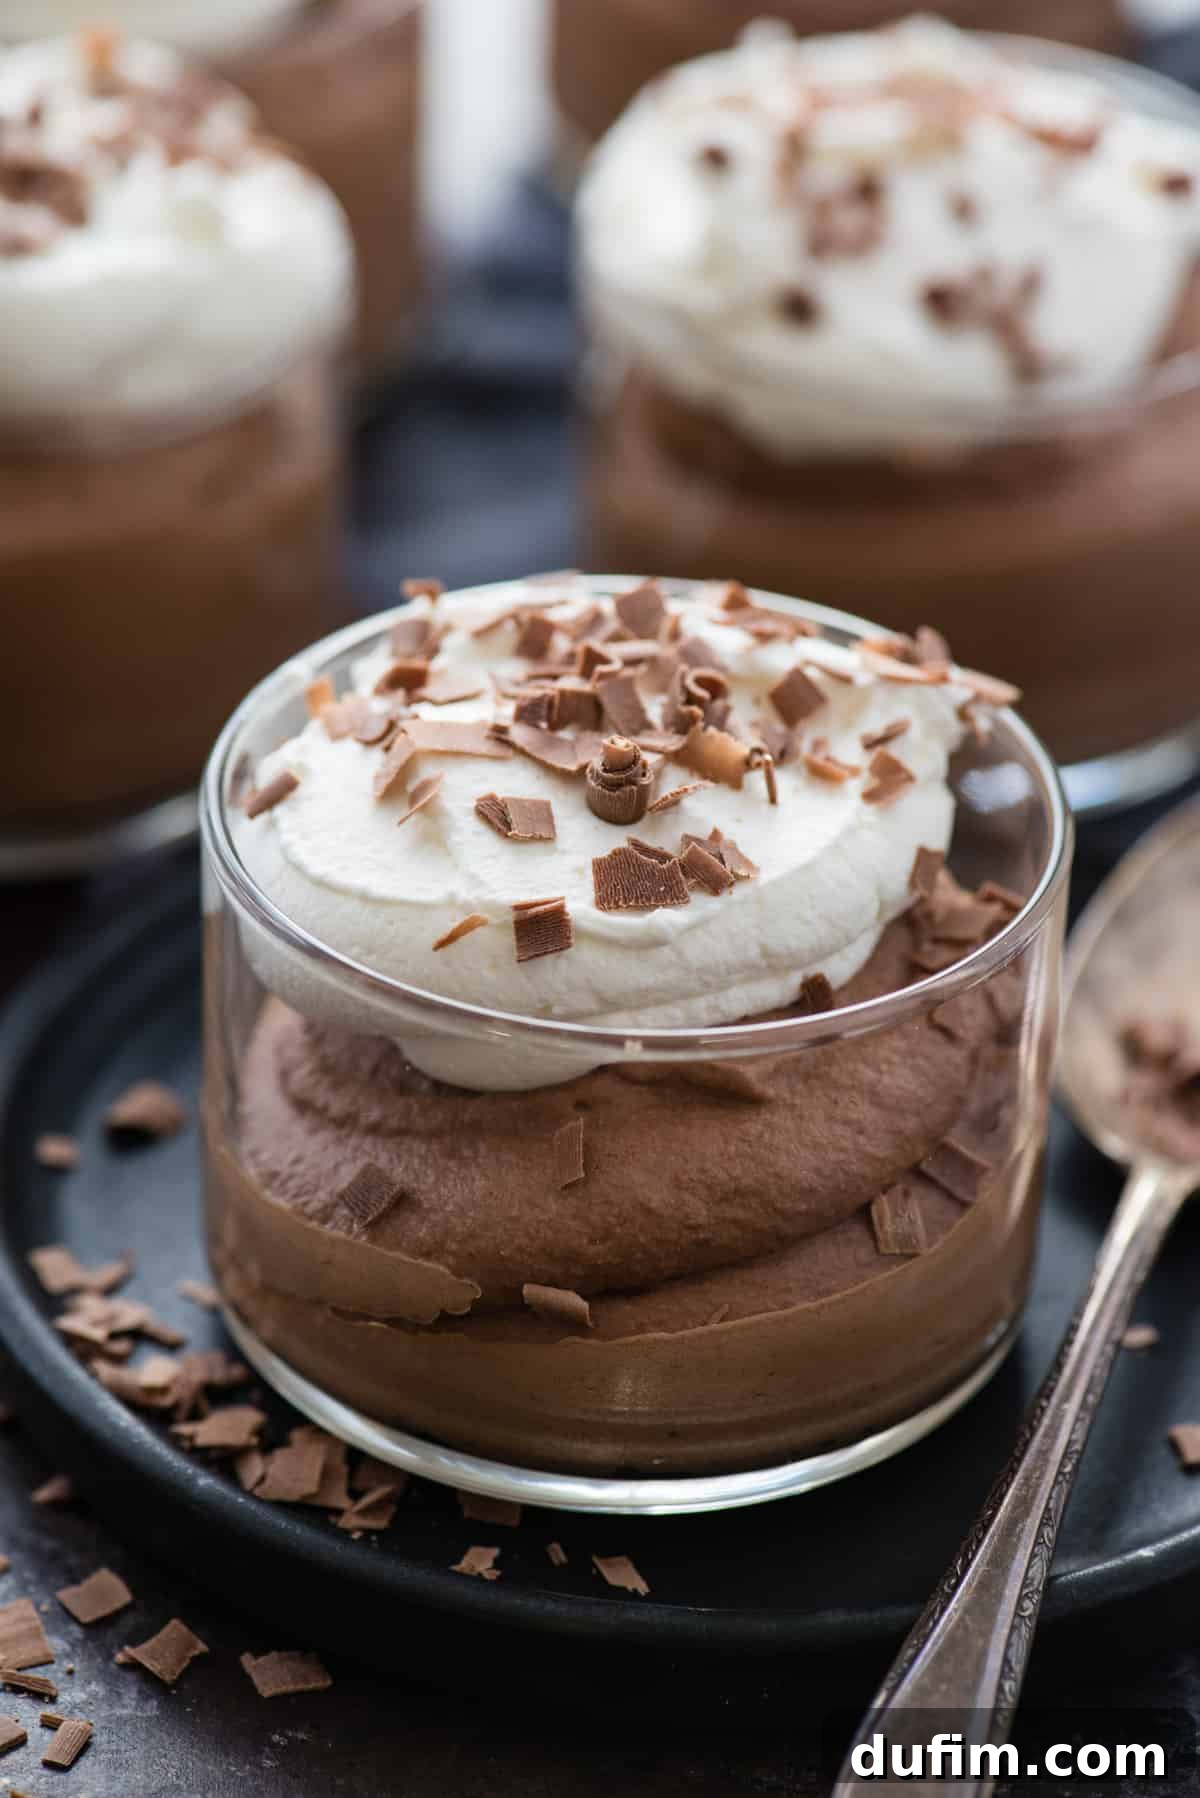
Why You’ll Adore This Easy No-Egg Chocolate Mousse Recipe
For years, I explored traditional chocolate mousse recipes – those intricate, custard-based versions demanding raw eggs, precise tempering, and a mountain of dirty dishes. My constant thought was, “There has to be a simpler, more accessible path to this beloved dessert.” After extensive kitchen trials, I finally cracked the code, developing a **foolproof, eggless chocolate mousse** that delivers on all fronts: rich flavor, airy texture, and incredible ease. It relies on the harmonious blend of just two core ingredients – heavy whipping cream and quality semi-sweet chocolate chips – yet it achieves a texture and depth of flavor that rivals its more complex counterparts.
This innovative method completely bypasses the need for eggs, delivering a perfectly silky, indulgent dessert every single time. How does it work? The magic lies in the whipped cream. When expertly folded with cooled, melted chocolate, the whipped cream performs the crucial work of aeration and structure, creating a mousse that’s simultaneously light and densely flavored with chocolate, all without the fuss of egg whites or gelatin. It’s a dessert so straightforward, you can whip it up for a casual weeknight treat, yet so elegant, it’s guaranteed to impress at any dinner party.
Every single step in this **simple chocolate mousse recipe** has been meticulously tested and refined for both consistency and ease of execution. From utilizing the microwave to gently melt chocolate at 50% power (which prevents scorching and allows for better control), to the vital tip of chilling your mixing bowl before whipping the cream, each piece of advice serves a specific purpose. My goal is to empower home bakers – especially those who are new to dessert making – to feel like they’ve effortlessly created something truly spectacular. You don’t need a professional culinary background to craft professional-level desserts. All you need is a reliable, thoroughly tested recipe like this one, and you’re well on your way to chocolate mousse perfection.
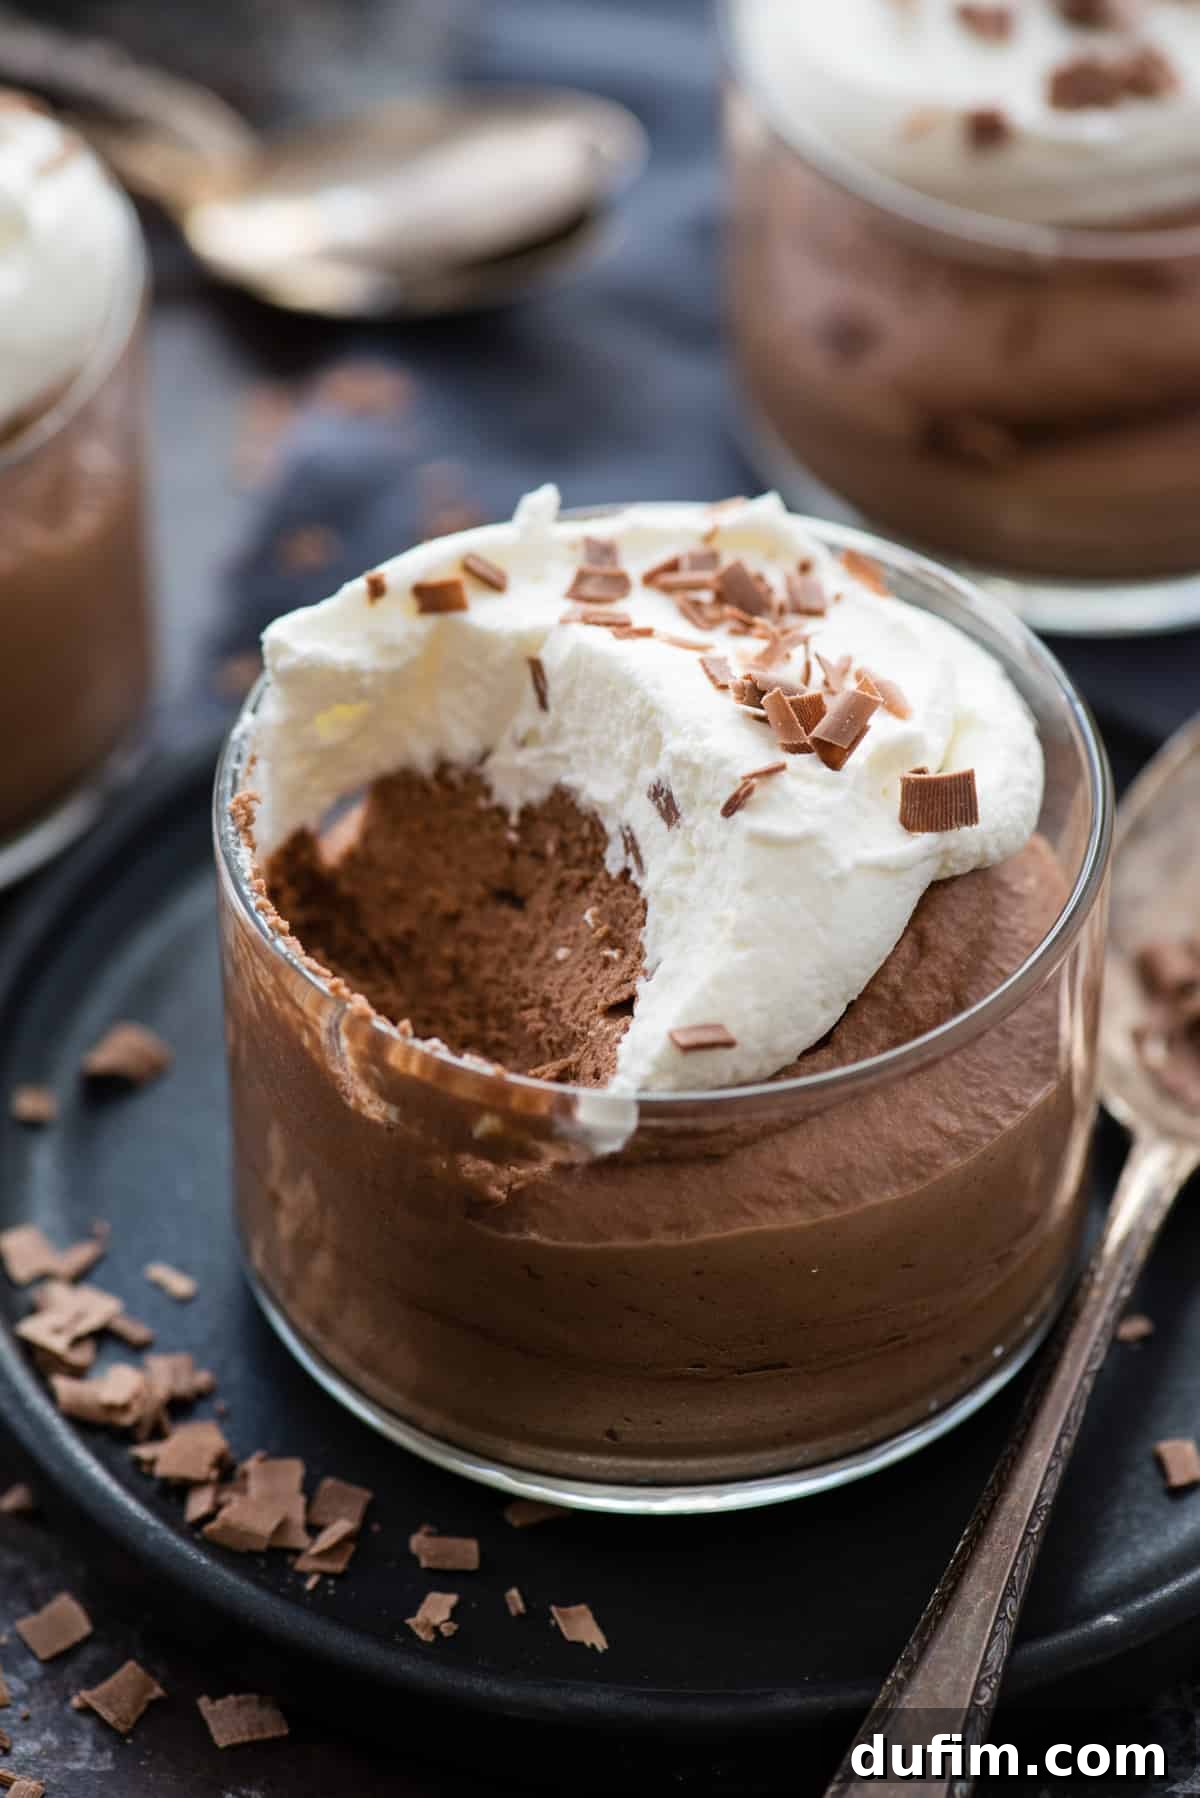
What is Chocolate Mousse? (Traditional vs. Our Easy Version)
Chocolate mousse is a revered classic in French patisserie, celebrated for its rich, melt-in-your-mouth texture and profound chocolate flavor. Historically, a traditional chocolate mousse relies on a complex interplay of ingredients, typically involving whipped egg whites, egg yolks (or both), sugar, melted chocolate, and whipped cream. Its signature light-yet-decadent consistency is achieved through precise techniques like tempering eggs over a double boiler or delicately folding aerated egg whites into a chocolate base.
How My Easy Chocolate Mousse Recipe Stands Out:
While many mousse recipes intimidate with their requirements for raw eggs and meticulous culinary skills, my version revolutionizes the process. It simplifies everything without compromising on that luxurious texture or deep chocolate taste you crave. Here’s what makes this **simple chocolate mousse** truly unique:
- Completely Egg-Free: This recipe eliminates raw eggs entirely, making it a safer and more approachable option for everyone, including those new to baking or individuals avoiding eggs. No worries about tempering or salmonella!
- Drastically Fewer Steps: Bid farewell to the complex steps of tempering chocolate with egg yolks or painstakingly folding in whipped egg whites. Our method is streamlined: melt chocolate with a portion of cream, whip the remaining cream, then gently combine.
- Just Two Core Ingredients: Yes, that’s right! All you fundamentally need is quality heavy cream and semi-sweet chocolate chips. The heavy cream, when whipped to perfection, provides all the necessary lightness and structural integrity, beautifully replacing the role of eggs.
- Microwave-Friendly Chocolate Melting: We leverage the convenience of a microwave, melting the chocolate with a small amount of cream at 50% power. This technique ensures a smooth, even melt without the need for a double boiler and eliminates the risk of scorched chocolate.
The delightful outcome? A sumptuously rich, velvety chocolate mousse that tastes and presents like a gourmet dessert, yet comes together in under 15 minutes of active prep time with absolutely zero stress. It’s an impressive dessert, simplified.
Essential Ingredients for Easy Chocolate Mousse
You’ll be amazed at how few ingredients are required to create such a decadent dessert. This **2-ingredient chocolate mousse** recipe keeps things incredibly simple:
- Heavy Whipping Cream: This is the star of our mousse, providing both richness and the essential airy texture. Ensure it’s cold for best whipping results.
- Semi-Sweet Chocolate Chips: Choose a good quality brand, as the flavor of your chocolate will shine through. Semi-sweet offers a balanced sweetness that’s perfect for this indulgent dessert.
The Secret to Perfect Peaks: Why Chill Your Bowl for Chocolate Mousse?
One of the simplest yet most crucial tips for achieving perfectly airy, stable whipped cream – and thus, a superior chocolate mousse – is to chill your mixing bowl and beaters. I highly recommend placing a metal or glass mixing bowl (metal is generally preferred as it stays cold longer) and the beaters from your electric mixer into the freezer for at least 15 minutes before you begin whipping the cream.
Cream thrives in a cold environment. When heavy cream is thoroughly chilled, its fat molecules solidify and can trap air more efficiently. A cold bowl and cold beaters maintain this essential low temperature throughout the whipping process, which is critical for two main reasons:
- Optimal Volume: Cold cream whips up faster and more effectively, allowing it to triple in volume and become incredibly light and airy.
- Stiff, Stable Peaks: The consistent cold ensures that the whipped cream forms stiff peaks that hold their shape beautifully. This stability is paramount for giving your mousse its characteristic light yet firm structure, preventing it from collapsing or becoming runny.
This small step makes a significant difference in the final texture of your **homemade chocolate mousse**, ensuring it’s light, fluffy, and holds its shape.
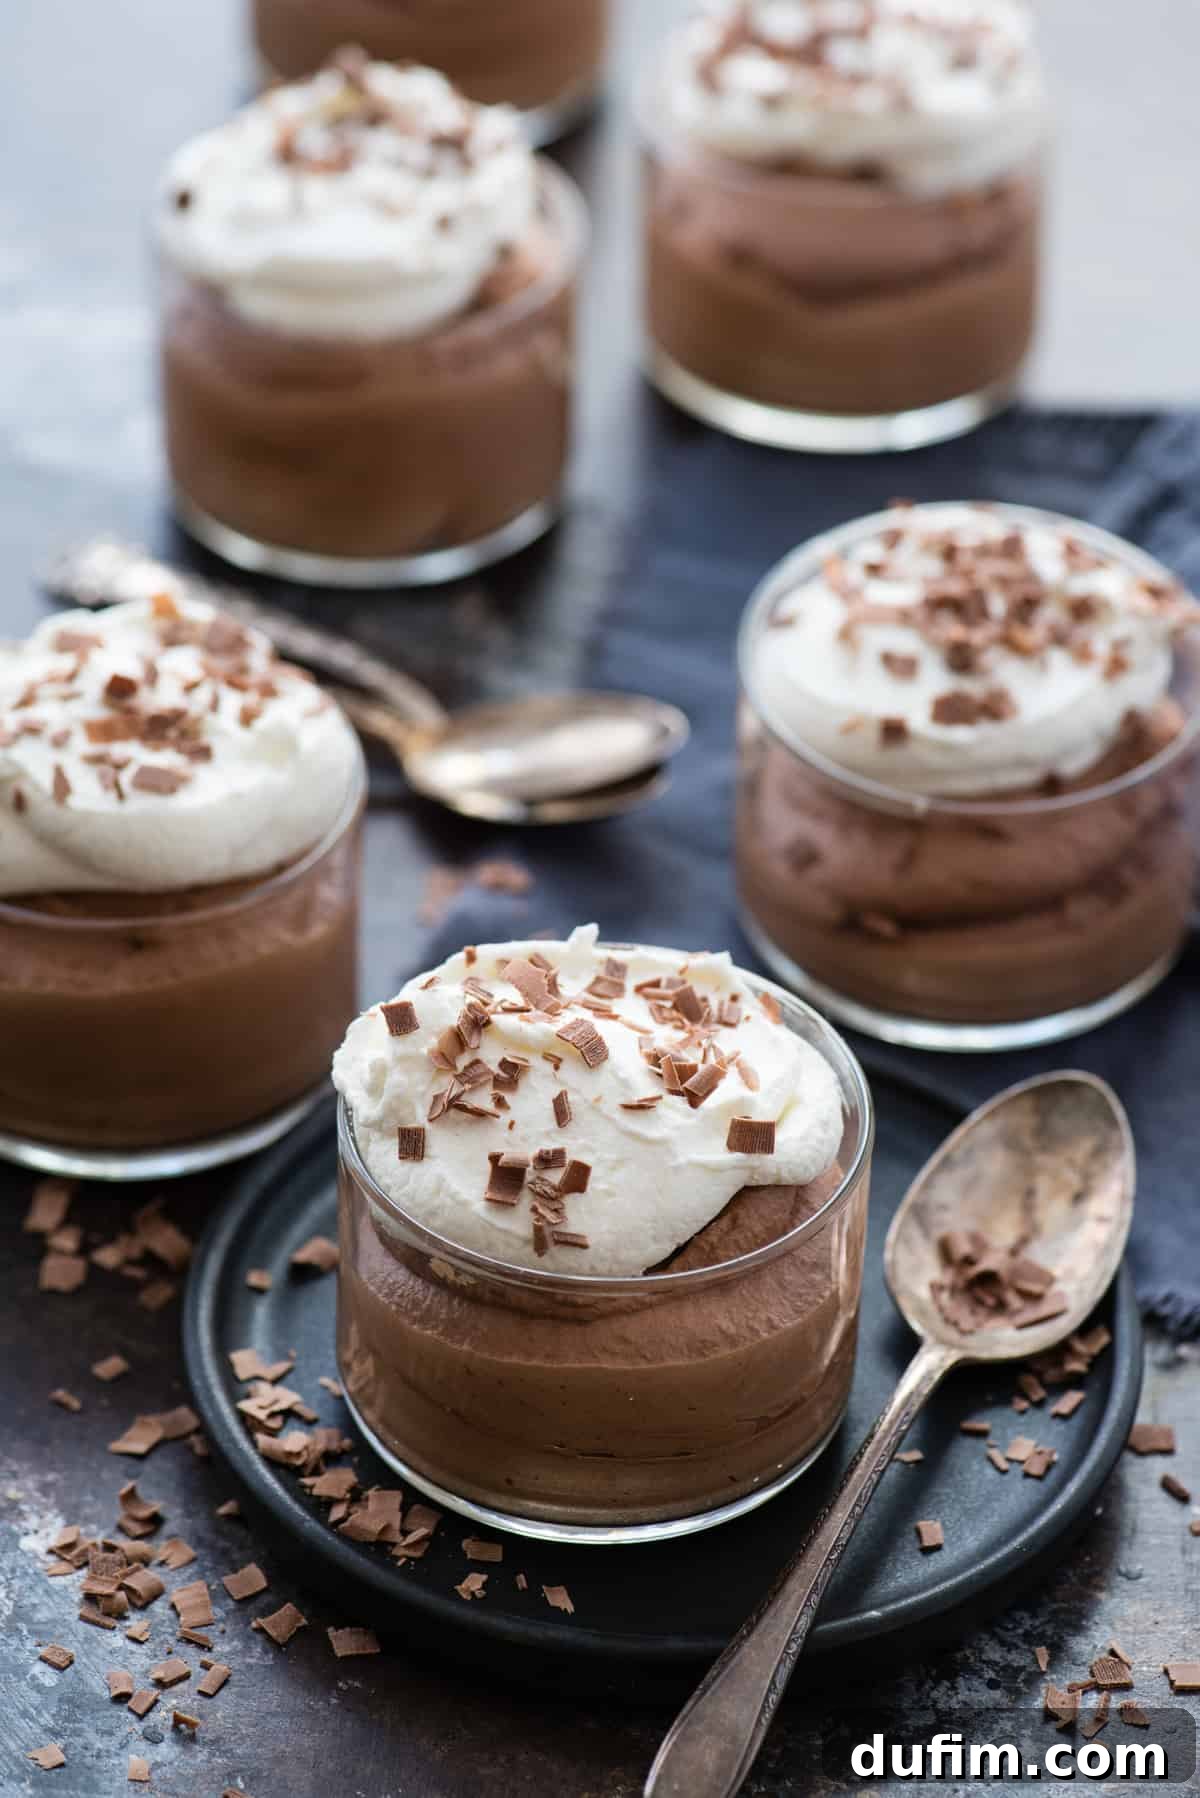
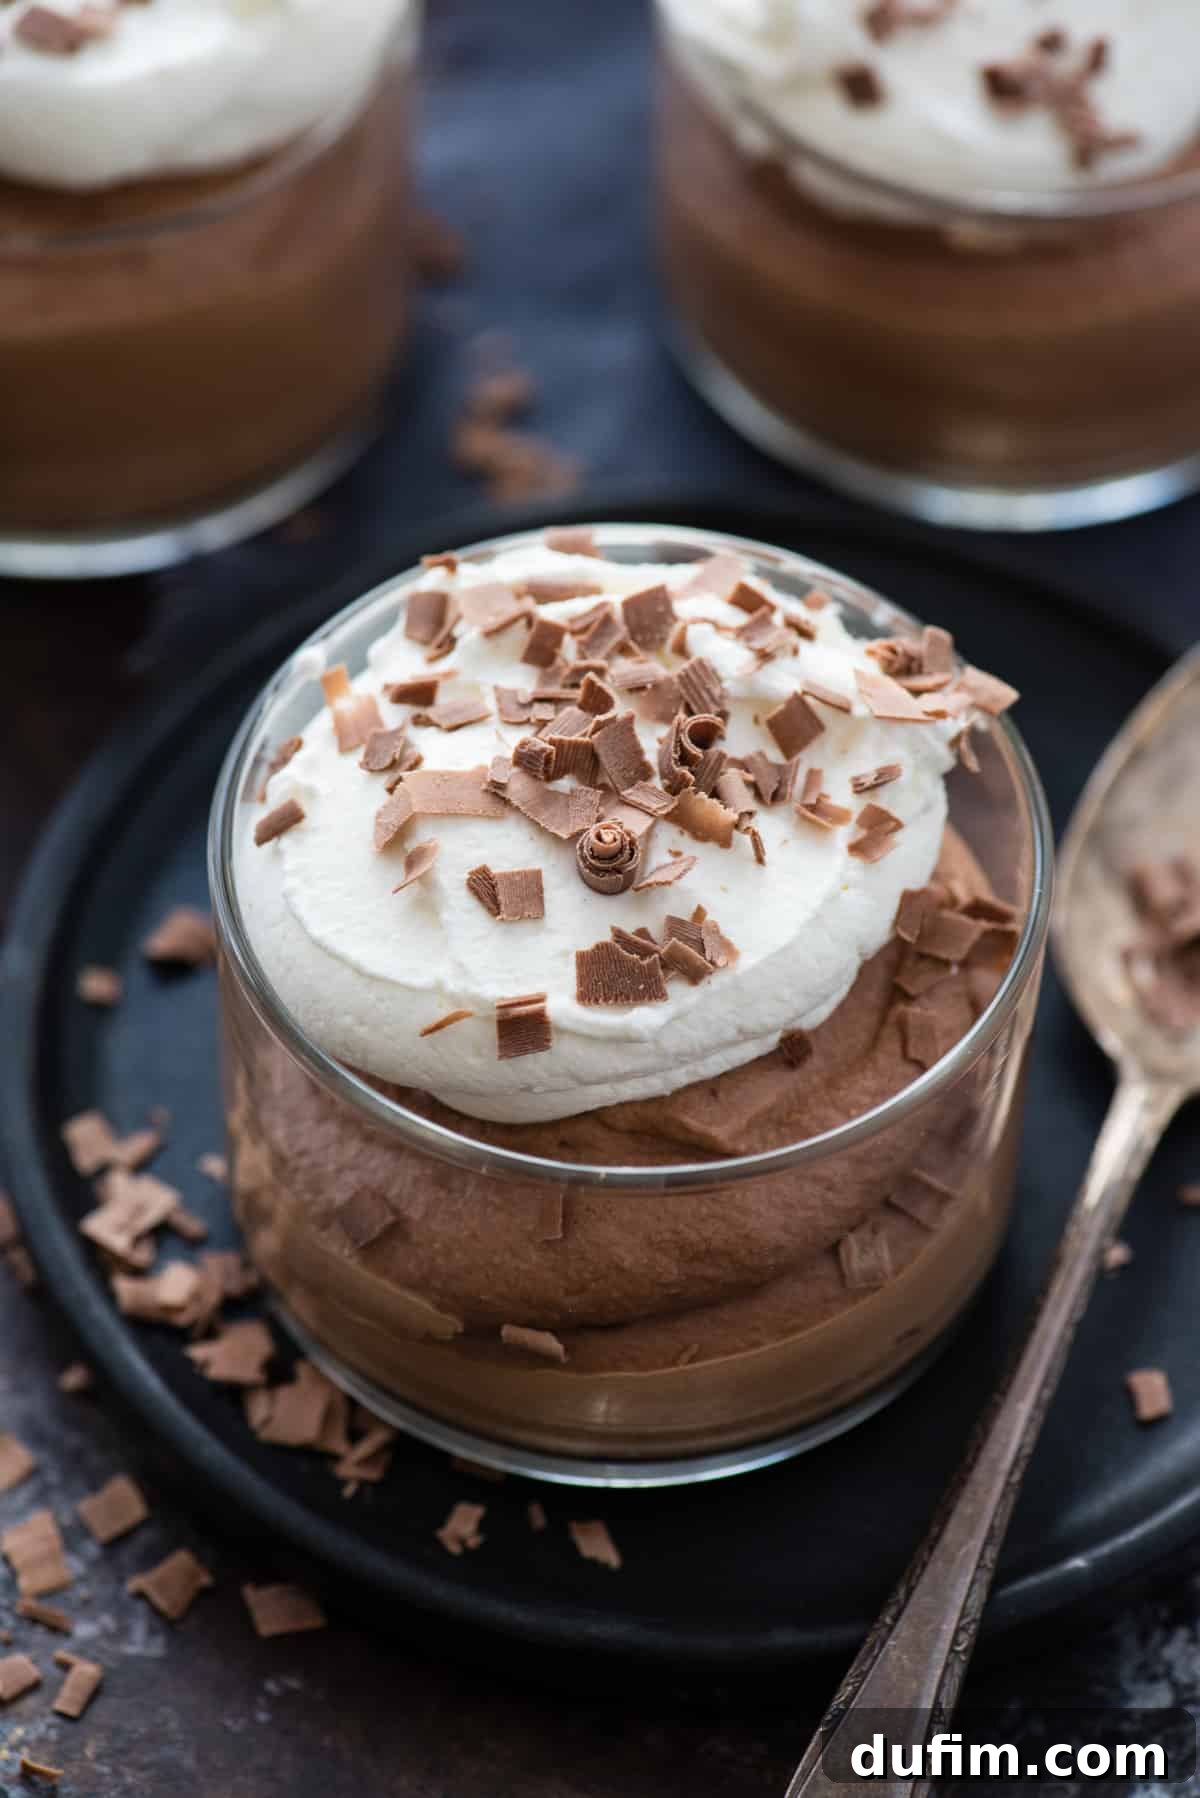
How to Make This Effortlessly Easy Chocolate Mousse
This streamlined **simple chocolate mousse recipe** comes together in just two primary stages: preparing the melted chocolate base and whipping the cream. Follow these steps for perfect results:
- Prepare the Chocolate Base: In a microwave-safe bowl, combine ½ cup of heavy cream with all the semi-sweet chocolate chips. Microwave this mixture for 2 minutes at 50% power. This lower power setting is key to gently melting the chocolate without scorching it. Stir well after 2 minutes; if any chips remain, microwave in additional 15-second intervals, stirring after each, until the mixture is completely smooth and glossy. Crucially, allow this melted chocolate ganache to cool down to room temperature. It should still be pourable but no longer warm to the touch. This step prevents the warm chocolate from deflating your whipped cream.
- Whip the Cream: Pour the remaining 1½ cups of very cold heavy cream into your pre-chilled mixing bowl. Using an electric mixer (handheld or stand mixer with a whisk attachment), beat the cream on high speed until beautiful, stiff peaks form. This typically takes about 3-5 minutes. The cream should be thick and hold its shape firmly when the beaters are lifted.
- Combine and Chill: Gently pour the cooled chocolate mixture into the bowl of whipped cream. Continue beating on medium speed, just until the chocolate is fully incorporated and the mixture is a uniform, light brown color with a smooth, airy consistency. Be careful not to overmix! Once combined, immediately divide the **homemade chocolate mousse** into individual serving bowls or ramekins. Cover each tightly with plastic wrap to prevent a skin from forming, and refrigerate for at least 3 hours. Chilling is essential for the mousse to set properly and develop its signature firm yet airy texture.
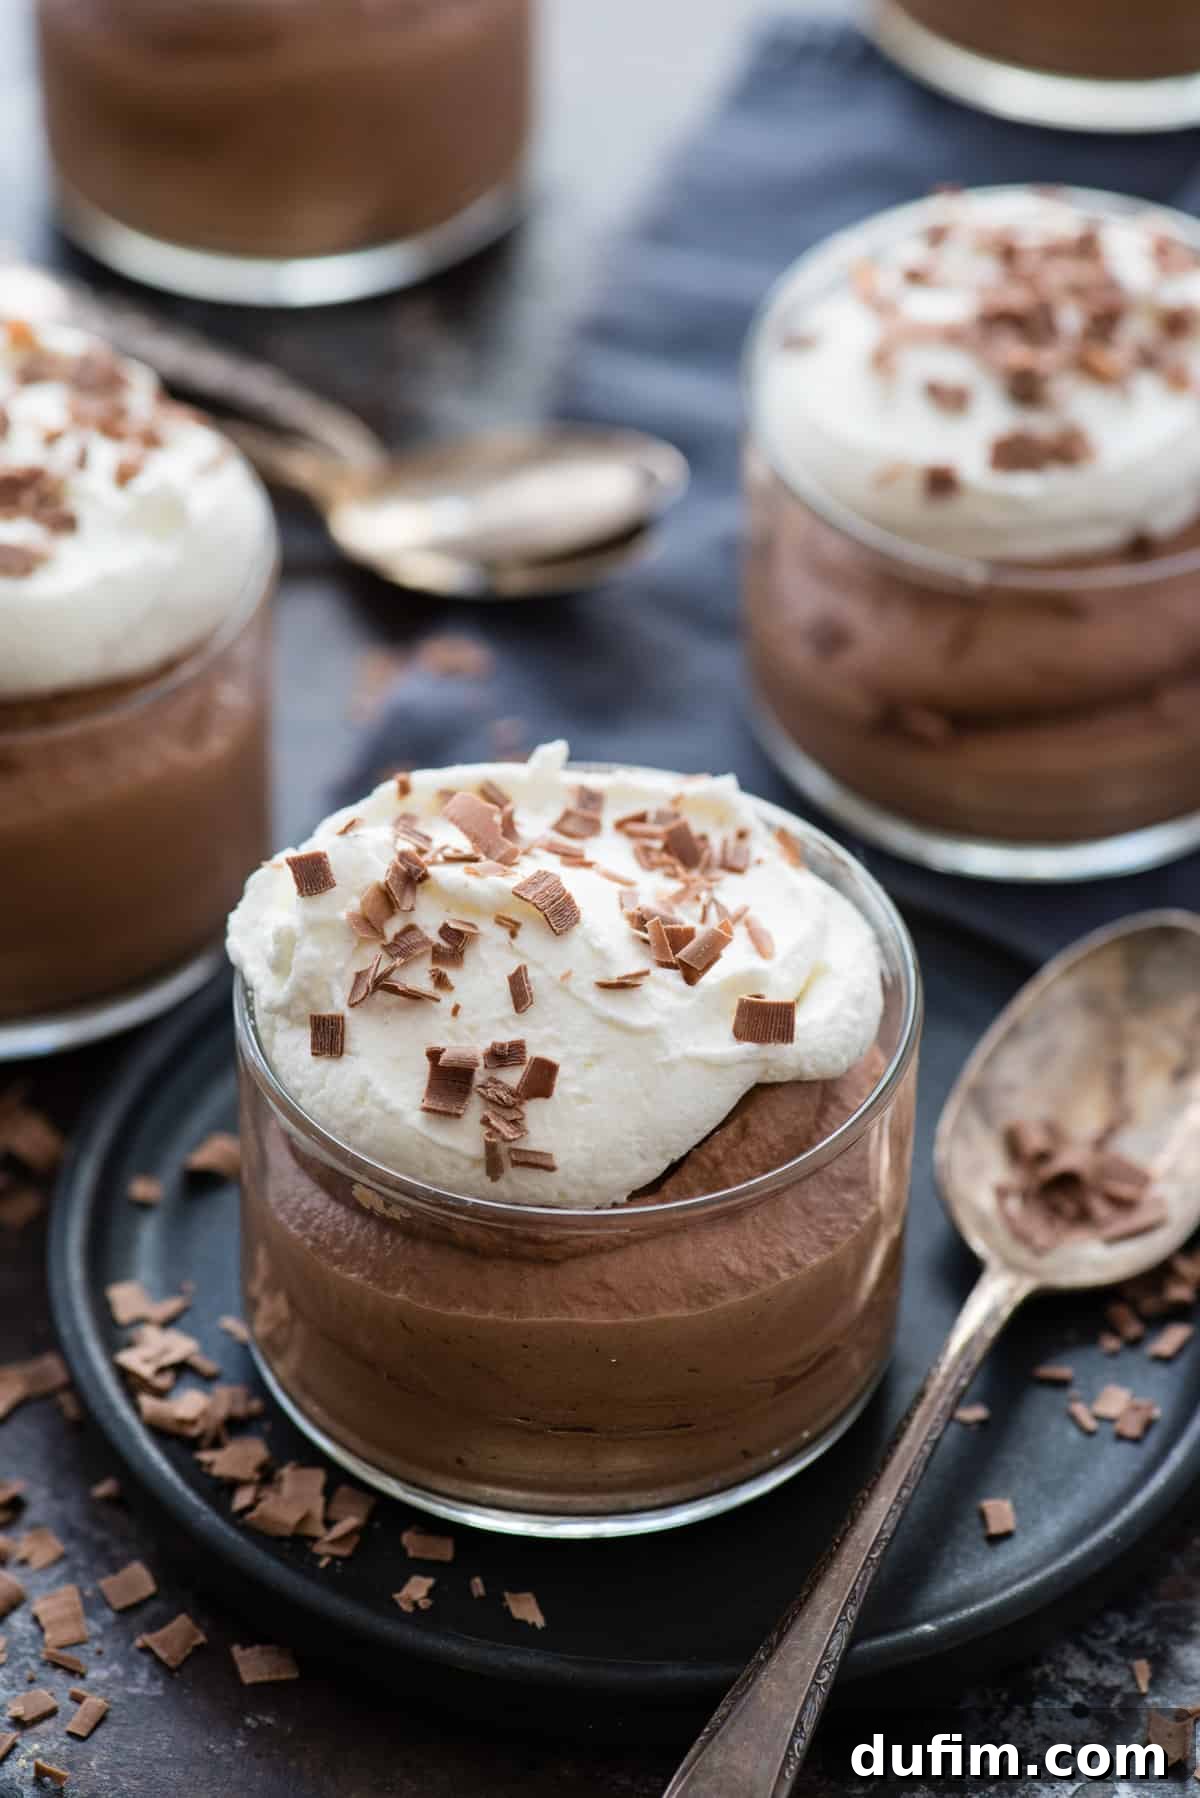
The Importance of Chilling Your Easy Chocolate Mousse
Just as chilling the mixing bowl is vital for whipping cream, chilling the finished mousse is an absolutely crucial step that cannot be skipped. After you’ve prepared and portioned your **easy chocolate mousse**, refrigeration allows it to truly transform into its desired state. As the mousse chills in the refrigerator, the fat in the cream and the cocoa butter in the chocolate firm up. This process stiffens and stabilizes the mousse, enabling it to set into that delightful, scoopable yet incredibly light and airy consistency we all adore. Adequate chilling time ensures your mousse holds its shape, boasts a smooth, uniform texture, and delivers the perfect melt-in-your-mouth experience. Don’t rush this step – patience is rewarded with perfection!
Expert Tips for Your Perfect Chocolate Mousse
To ensure your **2-ingredient chocolate mousse** turns out perfectly every time, keep these expert tips in mind:
- Choose the Right Cream: Always use **heavy cream** or **heavy whipping cream**. These terms often refer to the same product, which must have a fat content of at least 36%. “Whipping cream” (sometimes called light whipping cream) has a lower fat content (30-35%) and won’t yield the same stable, voluminous peaks. The higher fat content in heavy cream is essential for the mousse’s rich texture and stability.
- Yield and Serving Sizes: This recipe typically yields between 2 to 3 cups of finished mousse. I find this amount perfectly fills six 5.3-ounce dessert bowls or ramekins, making it ideal for individual servings. Adjust the number of servings based on the size of your chosen containers.
- Optimal Storage: Once prepared and chilled, your **eggless chocolate mousse** will remain fresh and delicious for 2-3 days when stored in the refrigerator. To maintain its freshness and prevent it from absorbing fridge odors or forming a dry skin, always cover individual serving containers tightly with plastic wrap directly touching the surface of the mousse if possible.
- Elegant Topping Ideas: While delicious on its own, a simple topping elevates this dessert. I highly recommend topping your mousse with a dollop of fresh, homemade whipped cream. The creamy, slightly sweet contrast of the light whipped cream against the rich, deep chocolate mousse is simply divine. For an extra touch, add a sprinkle of chocolate shavings, cocoa powder, or fresh berries.
- Quality Chocolate Matters: Since chocolate is one of only two main ingredients, its quality significantly impacts the final flavor. Use a brand of semi-sweet chocolate chips that you enjoy eating on its own for the best results.
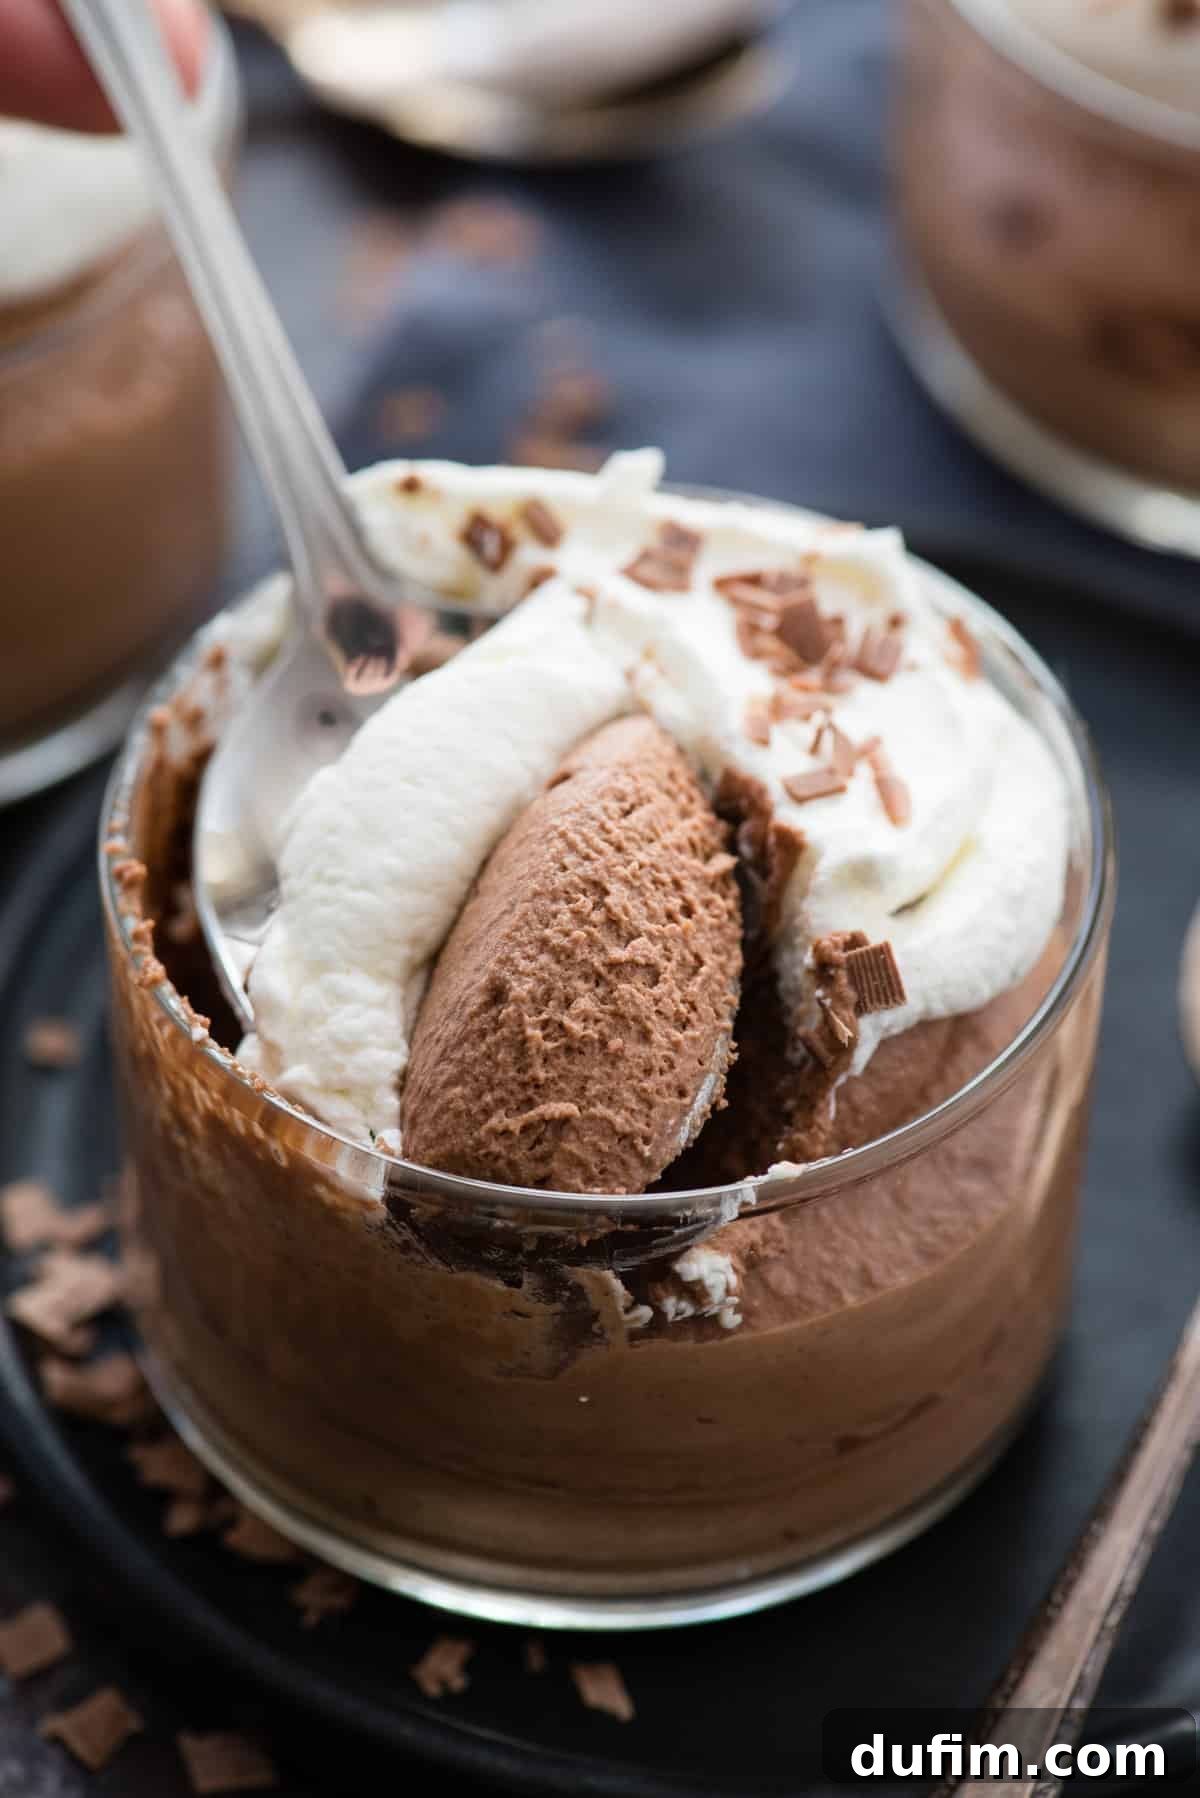
Storing Your 2-Ingredient Chocolate Mousse: Make-Ahead Perfection
This **simple chocolate mousse** is an exceptional make-ahead dessert, as its flavor and texture often deepen and improve after a few hours in the refrigerator. Once you’ve prepared the mousse, portion it into individual serving vessels such as ramekins, small jars, or elegant glasses. Cover each tightly with plastic wrap, ensuring the wrap lightly touches the surface of the mousse to prevent any skin from forming, and then refrigerate.
For optimal enjoyment and presentation, especially if you’re serving it for a special occasion or dinner party, it’s best to make it at least **3 hours ahead of time**. This allows ample time for it to thoroughly chill and fully set, achieving that perfect, stable consistency. You can even prepare this **easy eggless chocolate mousse** 1 to 2 days in advance, making it an ideal stress-free option for entertaining guests without last-minute scrambling.
Can You Freeze This Chocolate Mousse?
Absolutely! This **homemade chocolate mousse** freezes beautifully, offering a convenient way to enjoy a decadent treat whenever a craving strikes. To freeze, spoon the mousse into individual freezer-safe containers, or simply freeze the individual servings you’ve already prepared in their ramekins. Cover them tightly with plastic wrap and then with a layer of aluminum foil to prevent freezer burn. It can be stored in the freezer for up to **2 months**.
When you’re ready to indulge, simply transfer the frozen mousse from the freezer to the refrigerator and allow it to thaw overnight. While the texture might be slightly firmer upon thawing compared to fresh, it will still be wonderfully smooth, creamy, and utterly delicious.
How Long Does Chocolate Mousse Last?
- In the Refrigerator: When stored properly in an airtight container or individual servings tightly covered with plastic wrap, this **easy chocolate mousse** will stay fresh and delightful for up to **4–5 days**.
- In the Freezer: For extended storage, freeze your mousse for up to **2 months**. Just remember to ensure it’s thoroughly covered to protect against freezer burn and maintain its quality.
Easy Chocolate Mousse Recipe FAQs
To ensure your **easy chocolate mousse** with heavy cream and chocolate chips turns out perfectly, avoid these common pitfalls:
- Overheating Chocolate: Never overheat the chocolate while melting, as this can cause it to seize or become grainy. Gentle, low-power microwave intervals with stirring are key.
- Not Cooling Chocolate: Always allow the melted chocolate to cool to room temperature before folding it into the whipped cream. Warm chocolate will deflate your beautifully whipped cream, resulting in a dense mousse.
- Improper Cream Whipping: Ensure your heavy cream is whipped to stiff peaks. Under-whipped cream won’t provide the necessary structure for an airy mousse, while over-whipped cream can become grainy. A chilled bowl and beaters help achieve perfect peaks.
- Incomplete Mixing: Make sure the melted chocolate is thoroughly and evenly incorporated into the whipped cream for a smooth, consistent texture and flavor. However, avoid overmixing once combined, as this can also lead to deflation.
- Insufficient Chilling: This mousse requires adequate time in the refrigerator to set properly. Rushing the chilling process will result in a runny or overly soft mousse. Aim for at least 3 hours.
- Low-Quality Chocolate: Since chocolate is a primary flavor, using high-quality semi-sweet chocolate chips will significantly enhance both the flavor and consistency of your mousse.
If your **homemade chocolate mousse** lacks its characteristic fluffiness, several factors could be at play. The most common reasons include:
- Under-whipped Cream: The heavy cream must be whipped to stiff peaks before combining with the chocolate. If the cream isn’t sufficiently aerated, it won’t be able to provide the light, airy structure needed for a fluffy mousse.
- Warm Chocolate: If the melted chocolate was still warm when folded into the whipped cream, it would have melted the delicate air bubbles in the cream, causing it to deflate. Always ensure the chocolate is cooled to room temperature.
- Overmixing: While you need to ensure the chocolate is fully incorporated, overmixing the combined chocolate and cream can break down the air bubbles in the whipped cream, leading to a denser texture. Mix just until combined.
- Insufficient Chilling Time: Adequate chilling time in the refrigerator is essential for the mousse to set and firm up, allowing its airy structure to stabilize. Without enough time, the mousse can remain too soft or loose.
Chocolate mousse and chocolate ganache are both delicious chocolate preparations, but they differ significantly in texture, ingredients, and primary use.
- Chocolate Mousse: Characterized by its light, airy, and fluffy texture, mousse is designed to be a standalone spoonable dessert. Its signature aeration comes from folding a base of melted chocolate with whipped cream (as in this **no-egg chocolate mousse recipe**) or whipped egg whites/yolks. The goal is a delicate, melt-in-your-mouth consistency.
- Chocolate Ganache: In contrast, ganache is smooth, rich, and dense. It’s typically made by combining warm cream with finely chopped chocolate, allowing the chocolate to melt and emulsify with the cream. Depending on the cream-to-chocolate ratio, ganache can range from a pourable glaze or sauce to a thicker frosting, filling, or even a truffle base. It is generally not eaten as a light dessert on its own, but rather used as a component in other pastries.
In essence, mousse is all about lightness and air, while ganache is about rich density and versatility.
Yes, you can experiment with different types of chocolate, though it will affect the final taste and texture of your **homemade chocolate mousse**.
- Dark Chocolate: For a more intense and less sweet chocolate flavor, you can use dark chocolate chips (60-70% cacao). Keep in mind that darker chocolate can result in a slightly firmer mousse due to its higher cocoa solids content. You might also find it less sweet, which can be desirable for some palates.
- Milk Chocolate: Using milk chocolate will yield a sweeter, milder, and creamier mousse. However, milk chocolate has a lower cocoa solid content and a higher milk fat and sugar content, which can make it softer and potentially less stable than mousse made with semi-sweet or dark chocolate. You might need a slightly longer chilling time.
Stick to quality chocolate chips or finely chopped bar chocolate for the best melting and emulsifying results. Avoid using baking chocolate squares that are very high in cacao unless you are an experienced baker, as they can be trickier to work with for a light mousse.
More Irresistible Desserts You’ll Love
If you enjoyed the simplicity and decadence of this **easy chocolate mousse**, you’ll surely love these other delightful recipes:
- Classic Chocolate Pudding Pie
- Simple & Delicious Chocolate Cake (from a mix!)
- Velvety Chocolate Whipped Cream
- Decadent Chocolate Cheesecake
Tap stars to rate!
Easy Chocolate Mousse Recipe (No Eggs!)
Beth
10
3
3 10
9 servings
Rate this Recipe
Print Recipe
Equipment
-
Glass Mixing Bowl
-
Electric Hand Mixer (or Stand Mixer)
-
Heat-Resistant Spatula
Ingredients
For the Mousse
- 2 cups (473ml) heavy whipping cream (very cold)
- 1 cup (170g) semi-sweet chocolate chips (good quality)
For Optional Whipped Cream Topping
- ½ cup (118ml) heavy whipping cream (very cold)
- 3 Tbsp powdered sugar
Instructions
-
Prepare for Whipping: Place a metal or glass mixing bowl and the beaters from your electric mixer in the freezer for 10-15 minutes. This crucial step ensures your cream whips up light and airy.
-
Melt the Chocolate Base: In a separate microwave-safe bowl, combine ½ cup of the heavy cream with the semi-sweet chocolate chips. Microwave on 50% power for 2 minutes. Stir well, then microwave in additional 15-second bursts (if needed) until the chocolate is fully melted and smooth. Let this chocolate mixture cool completely to room temperature before proceeding. It must not be warm to the touch, or it will deflate the whipped cream.2 cups (473ml) heavy whipping cream,
1 cup (170g) semi-sweet chocolate chips -
Whip the Cream: Pour the remaining 1½ cups of very cold heavy cream into your chilled mixing bowl. Using an electric mixer, beat on high speed until stiff peaks form. This typically takes 3-5 minutes. The cream should be thick and hold its shape firmly.
-
Combine to Form Mousse: Gently add the completely cooled chocolate mixture to the whipped cream. Beat on medium speed just until the chocolate is fully combined and no streaks of white cream remain. Be careful not to overmix, as this can make the mousse dense.
-
Chill the Mousse: Divide the finished mousse evenly among individual serving containers (like ramekins or small glasses). Cover each container tightly with plastic wrap, ensuring the wrap touches the surface of the mousse to prevent a skin from forming. Refrigerate for at least 3 hours, or ideally overnight, to allow the mousse to fully set and achieve its perfect airy texture. The mousse will keep fresh for 2-3 days in the fridge.
-
Optional Topping & Serve: Before serving, prepare the optional whipped cream topping: In another chilled bowl, combine the ½ cup heavy cream and powdered sugar. Beat on high with an electric mixer until stiff peaks form (2-3 minutes). Top each serving of chilled chocolate mousse with a dollop of fresh whipped cream and optional chocolate shavings. Serve immediately. Cover any leftovers with plastic wrap and refrigerate.½ cup (118ml) heavy whipping cream,
3 Tbsp powdered sugar
Video Tutorial
Notes
- Cream Type is Key: Always use **heavy cream** or **heavy whipping cream** with a fat content of at least 36%. “Whipping cream” (30-35% fat) will not yield the same stable, voluminous mousse.
- Serving Yield: This recipe produces approximately 2-3 cups of mousse, which is perfect for serving in six 5.3 oz bowls or similar individual dessert containers.
- For a Darker Mousse: If you prefer a richer, less sweet chocolate flavor, you can substitute dark chocolate chips (60-70% cacao) for semi-sweet. Adjust sweetness with an optional tablespoon of powdered sugar in the whipped cream if desired.
Nutrition Information (Approximate)
Calories: 354kcal |
Carbohydrates: 15g |
Protein: 3g |
Fat: 32g |
Saturated Fat: 20g |
Polyunsaturated Fat: 1g |
Monounsaturated Fat: 9g |
Trans Fat: 1g |
Cholesterol: 92mg |
Sodium: 27mg |
Potassium: 163mg |
Fiber: 2g |
Sugar: 10g |
Vitamin A: 982IU |
Vitamin C: 1mg |
Calcium: 55mg |
Iron: 1mg
Nutrition Disclosure
All nutritional values are approximate and provided to the reader as a courtesy. Changing ingredients and/or quantities will alter the estimated nutritional calculations.
Loved this recipe? Share your thoughts below!