
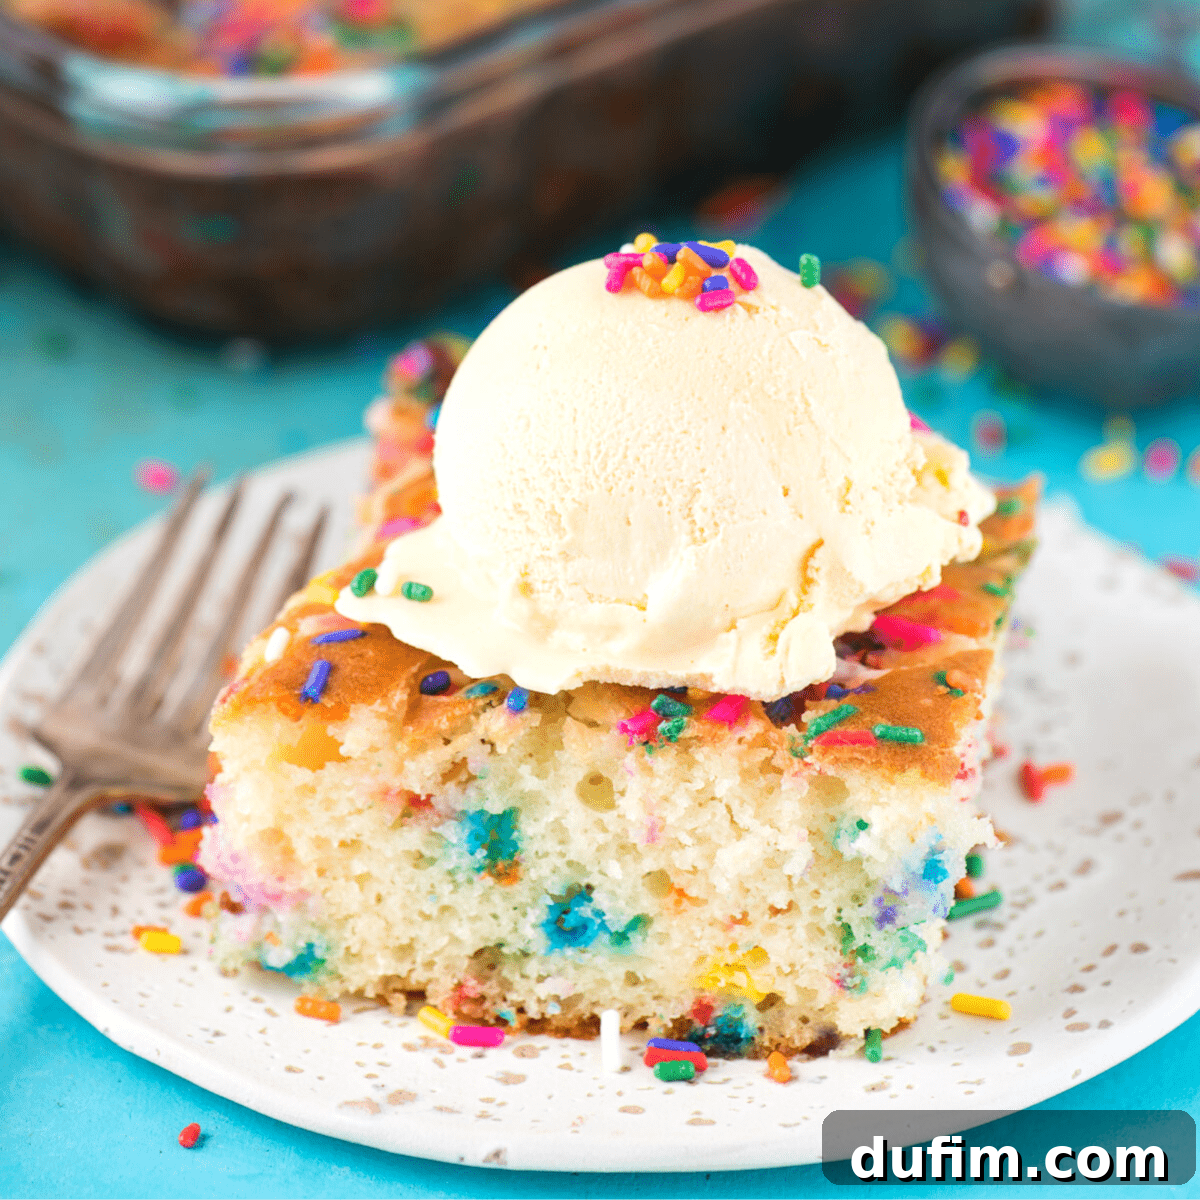
Prepare to be amazed by this vibrant Funfetti Earthquake Cake! This extraordinary dessert elevates a classic white cake mix by generously infusing it with colorful sprinkles and delightful funfetti chocolate chips. The magic happens when a luscious layer of cream cheese frosting is swirled directly into the batter before baking. As it bakes, this frosting layer “melts” and sinks, creating a stunning network of crevices, cracks, and pockets of creamy goodness throughout the cake. The result is a spectacularly moist, visually captivating, and incredibly delicious treat that’s perfect for any celebration!
“I was searching for a cake recipe that would impress my entire family, and I happily discovered this article. I meticulously followed the instructions, and the cake turned out absolutely delicious! Every member of my family was thrilled! Thank you for sharing this wonderful recipe!”
– Kate
Unveiling the Mystery: What Exactly is an Earthquake Cake?
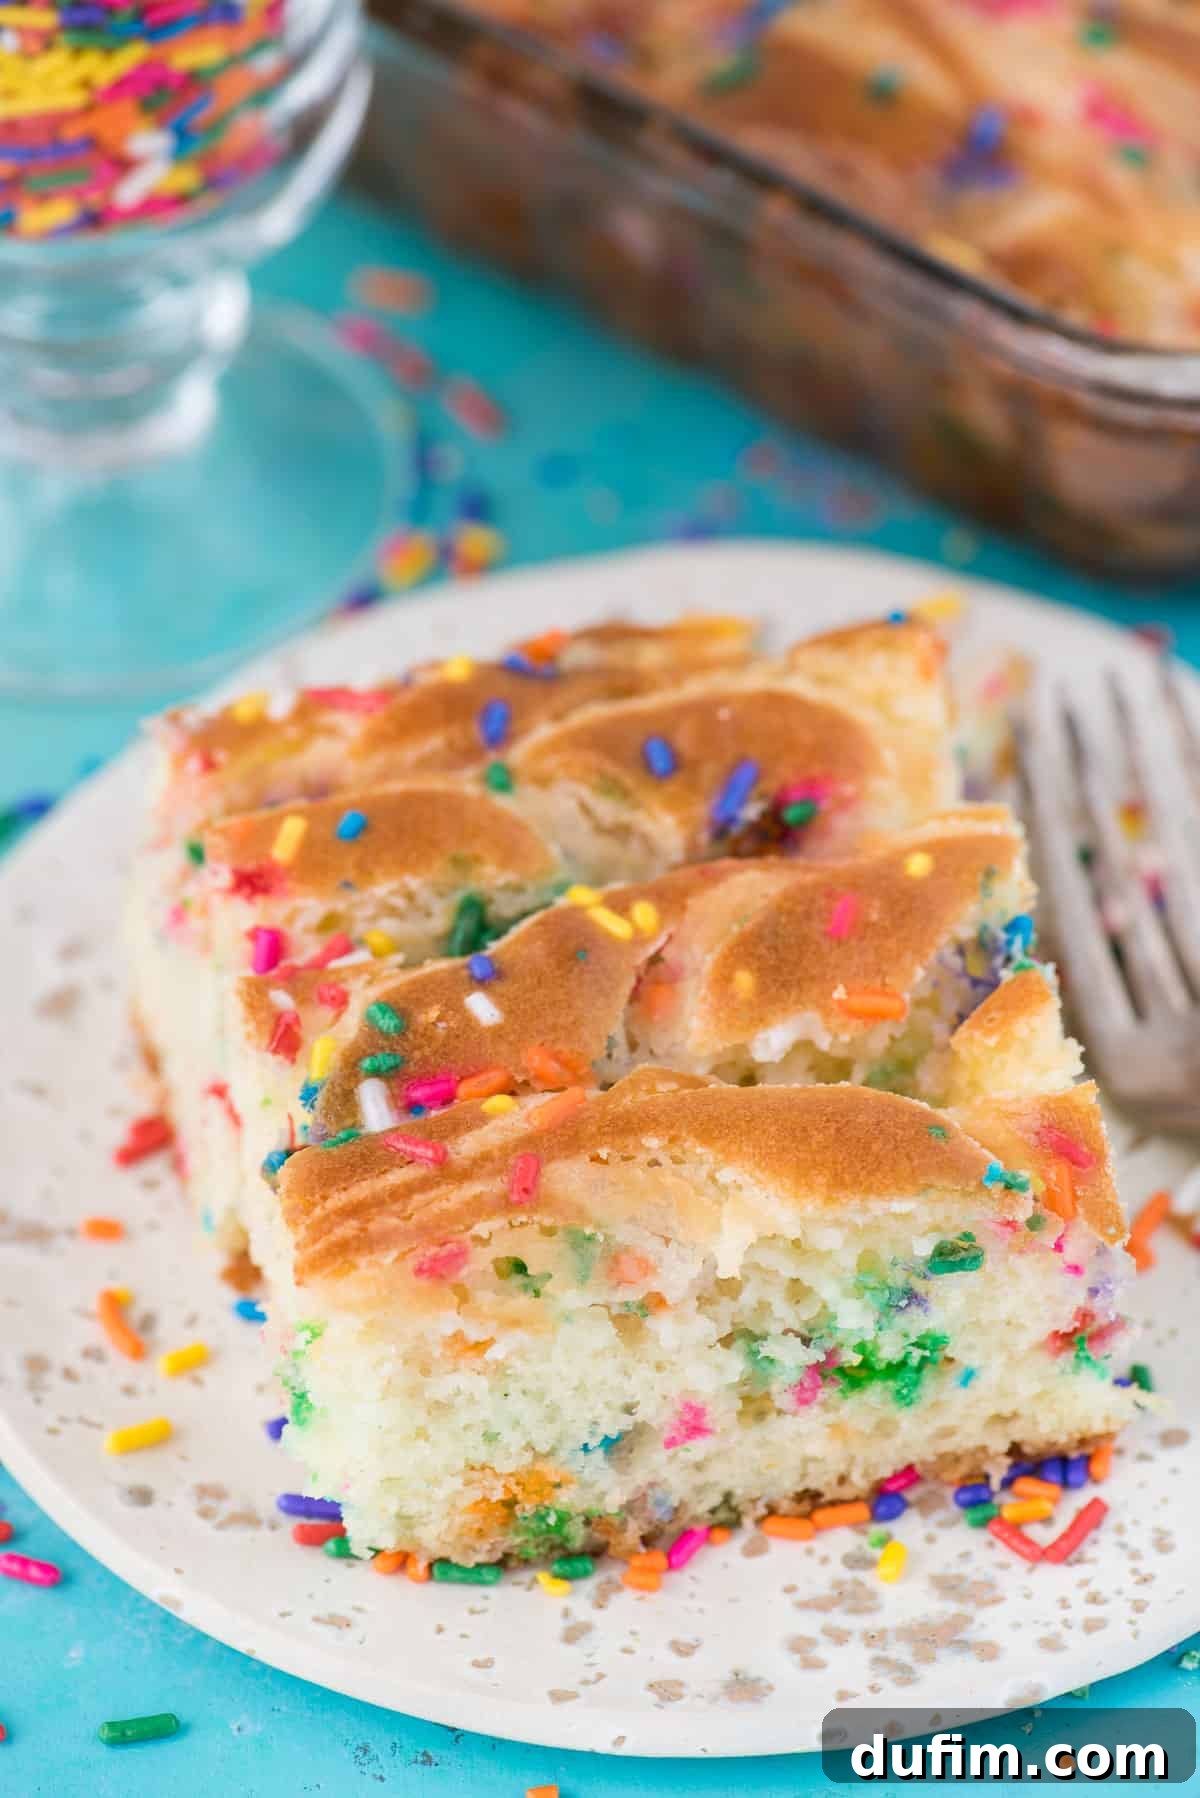
An Earthquake Cake is a unique and wonderfully inventive dessert named for its distinctive appearance. Unlike traditional cakes where frosting is applied after baking, an Earthquake Cake incorporates a generous layer of cream cheese frosting directly into the cake batter before it goes into the oven. As the cake bakes, the rich cream cheese mixture undergoes a fascinating transformation: it softens, melts, and then sets into delightful pockets and swirls throughout the cake. This process causes the cake’s surface to crack and fissure, creating an intriguing, “earthquake-like” landscape. The result is not only visually stunning but also incredibly flavorful, as the frosting bakes directly into the cake, infusing it with moisture and a tangy sweetness.
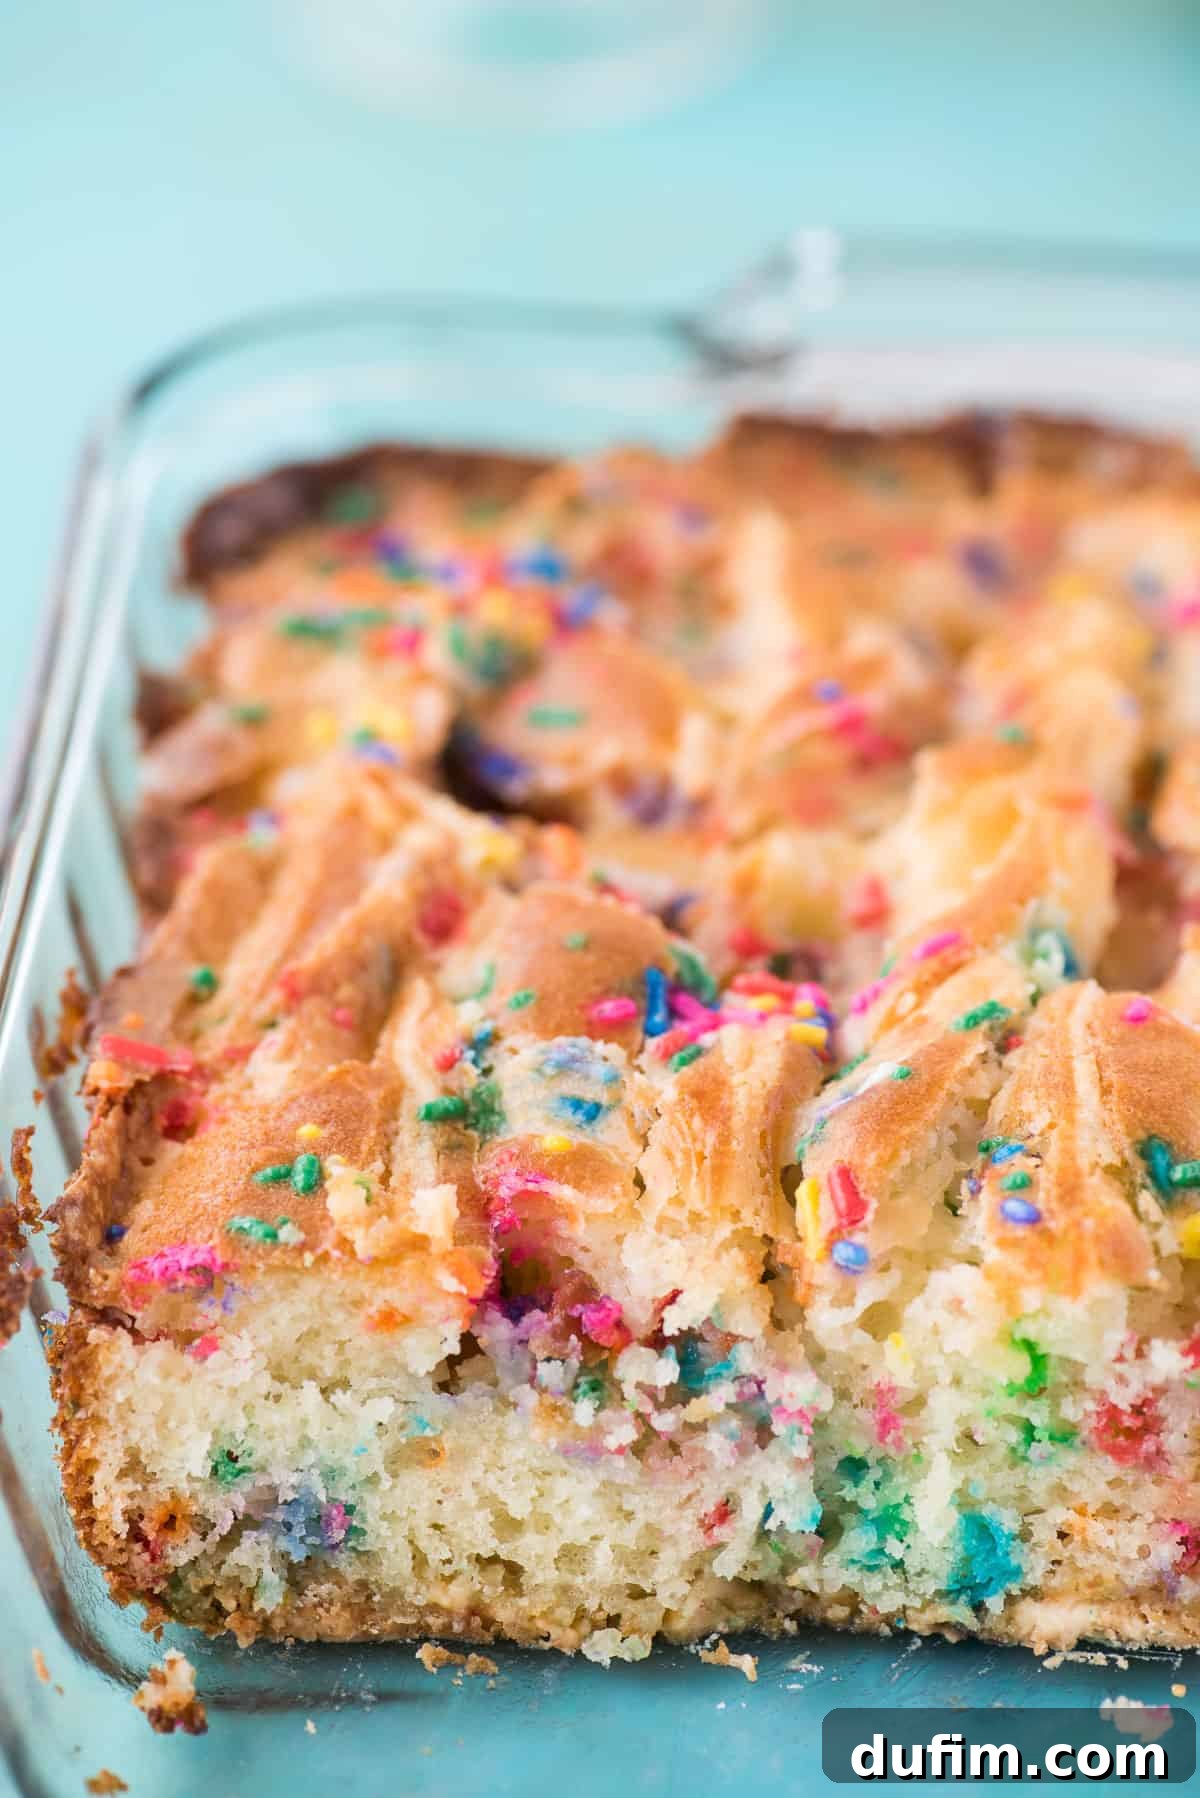
This innovative baking method means that there’s no need for additional frosting on top of the finished cake. The creamy, dreamy frosting is already baked right into every bite, ensuring a moist, tender crumb with ribbons of cheesecake-like texture. It’s a game-changer for anyone who loves rich, flavorful cakes without the extra step of post-baking decoration. The simplicity combined with the incredible flavor and visual appeal makes it a standout recipe that’s sure to impress with minimal effort.
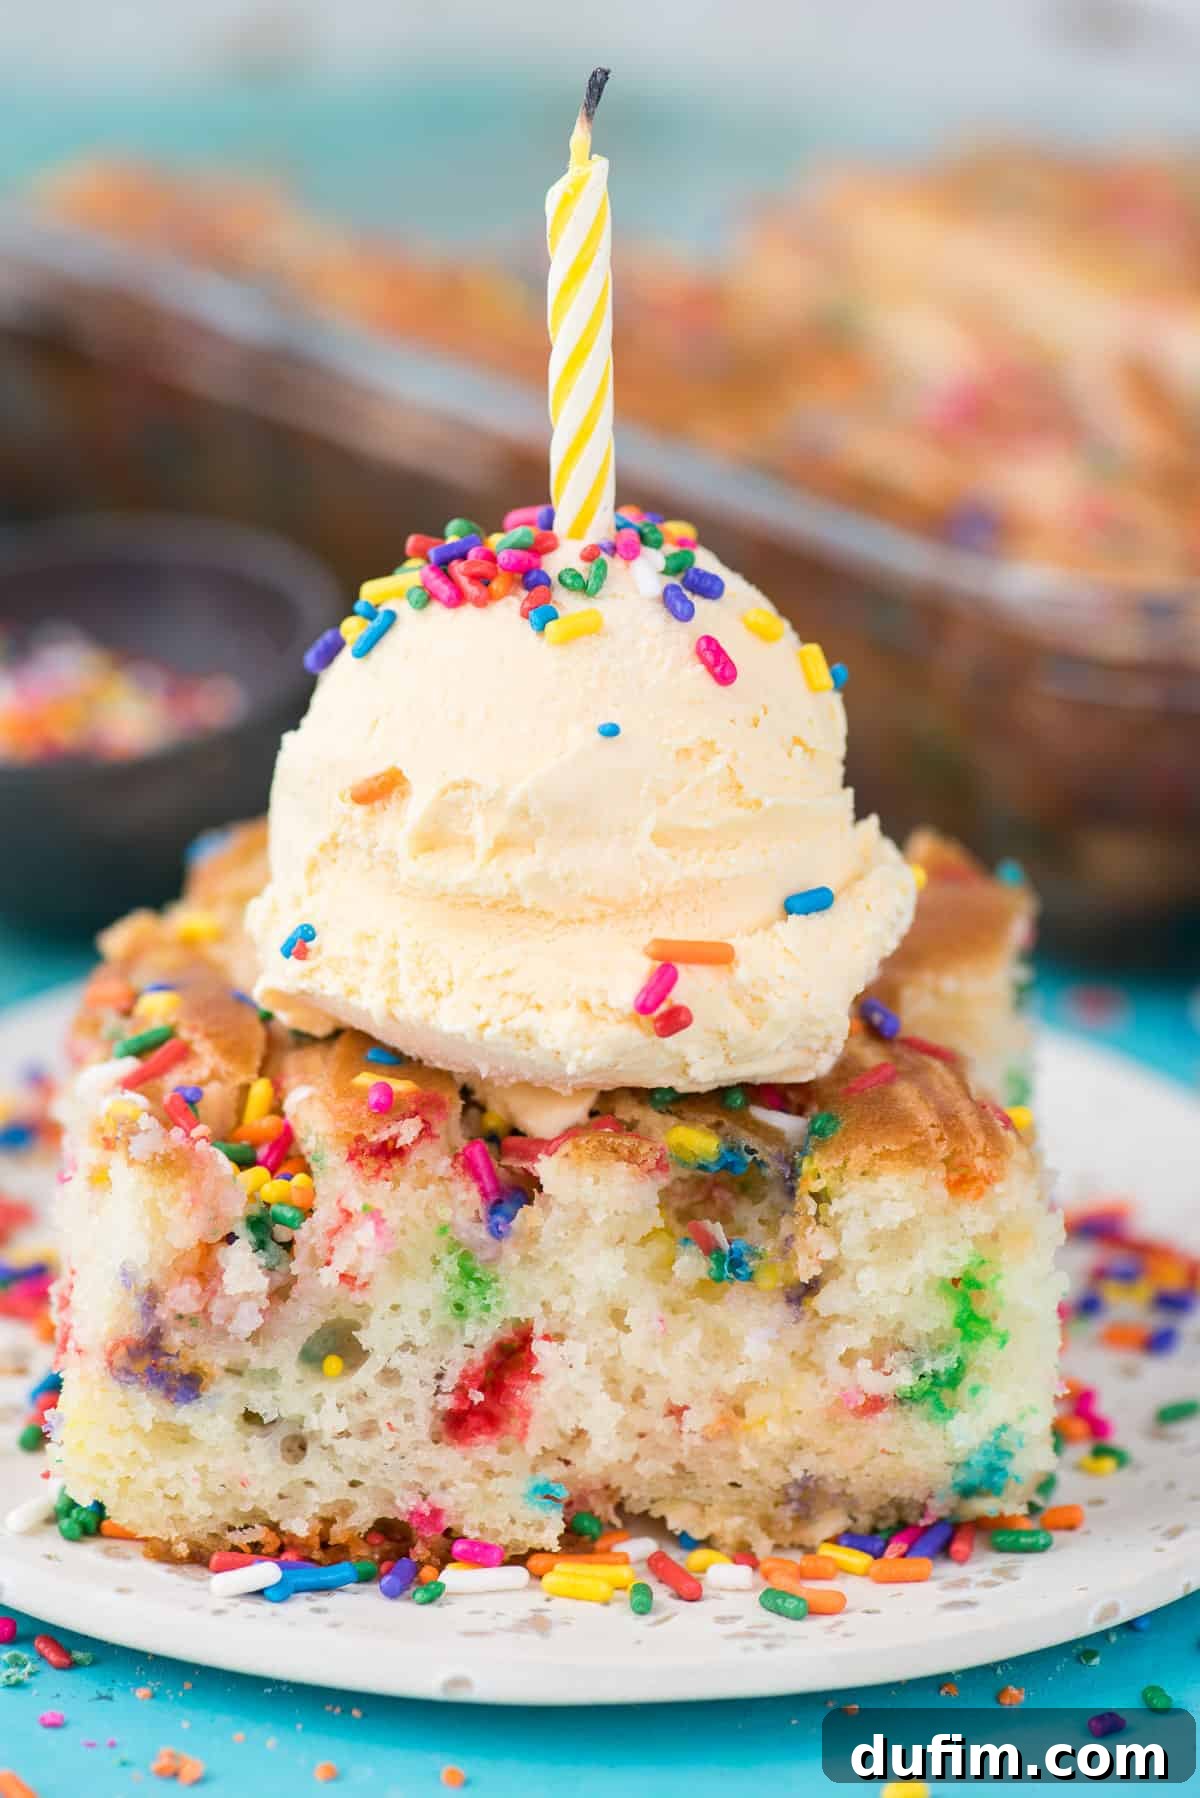
Why This Funfetti Earthquake Cake Will Become Your New Favorite
This Funfetti Earthquake Cake isn’t just another dessert; it’s a celebration in itself! Here’s why this recipe stands out and why you’ll find yourself making it again and again:
- Unforgettable Moistness: The secret lies in the baked-in cream cheese layer. As it melts and integrates with the cake, it guarantees an incredibly moist and tender crumb that won’t dry out.
- Explosion of Flavor and Texture: You get the best of both worlds – the light sweetness of a white funfetti cake combined with the rich, slightly tangy cream cheese frosting. The sprinkles add a delightful textural pop and an extra burst of fun.
- Effortlessly Impressive: Despite its elaborate appearance, this cake is remarkably easy to make, thanks to a convenient cake mix base. The “earthquake” effect happens naturally, making you look like a baking wizard without the extra work.
- Visual Delight: The vibrant confetti chocolate chips and sprinkles throughout the cake, coupled with the unique crackled surface, make this cake a showstopper. It’s perfect for birthdays, potlucks, or any occasion that calls for a splash of color and joy.
- Perfect for Any Occasion: Whether it’s a casual family dessert or the centerpiece of a festive gathering, its playful aesthetic and comforting flavors appeal to all ages.
Step-by-Step Guide: Crafting Your Funfetti Earthquake Cake
Creating this spectacular Funfetti Earthquake Cake is simpler than you might imagine. The process involves a few key layers that come together to form a truly magical dessert. All earthquake cake recipes begin with a foundation layer at the bottom of a 9×13-inch baking pan, which can include various delightful additions like coconut, chocolate chips, or nuts, or even a combination of these. For our funfetti version, we’re going all in on colorful goodness!
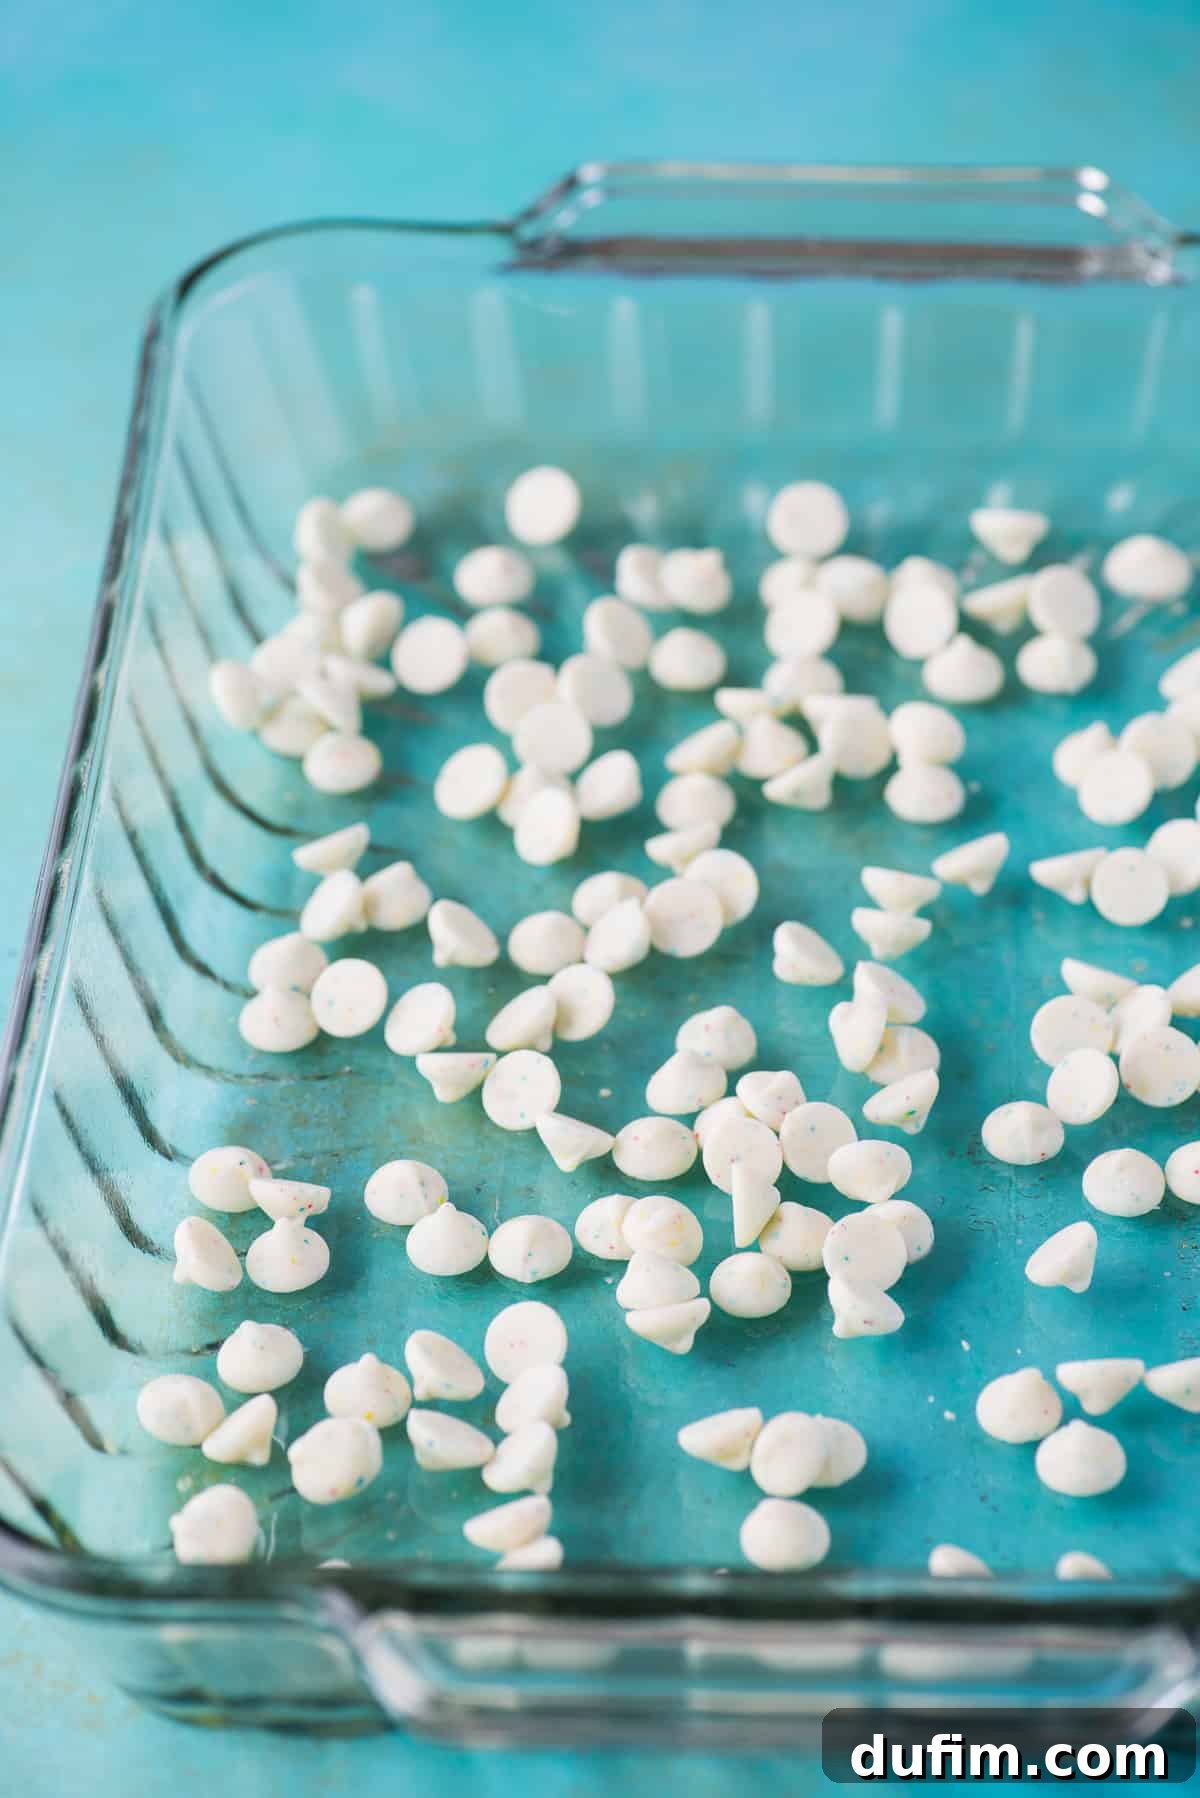
Step 1: Lay the Foundation with Funfetti Chocolate Chips
To start, generously sprinkle two cups of vibrant confetti chocolate chips across the bottom of your lightly greased 9×13-inch glass pan. These aren’t just for flavor; they add an exciting burst of color and a lovely chewiness to the base of your cake. You can often find excellent quality confetti chocolate chips at major retailers like Walmart – look for their Great Value brand for a budget-friendly and delicious option.
Step 2: Prepare and Pour the Funfetti Cake Batter
Next up is the star of the show: the cake layer itself. Prepare one box of your favorite funfetti cake mix according to the package directions. Here’s a pro tip to enhance the richness and moisture: substitute milk for the water called for in the instructions. This simple swap will make your cake taste more homemade and luxurious. For an extra dose of fun and color, don’t hesitate to stir in an additional tablespoon of rainbow jimmie sprinkles into the batter. Once your vibrant batter is perfectly mixed, carefully pour it evenly over the confetti chocolate chips in the prepared pan.
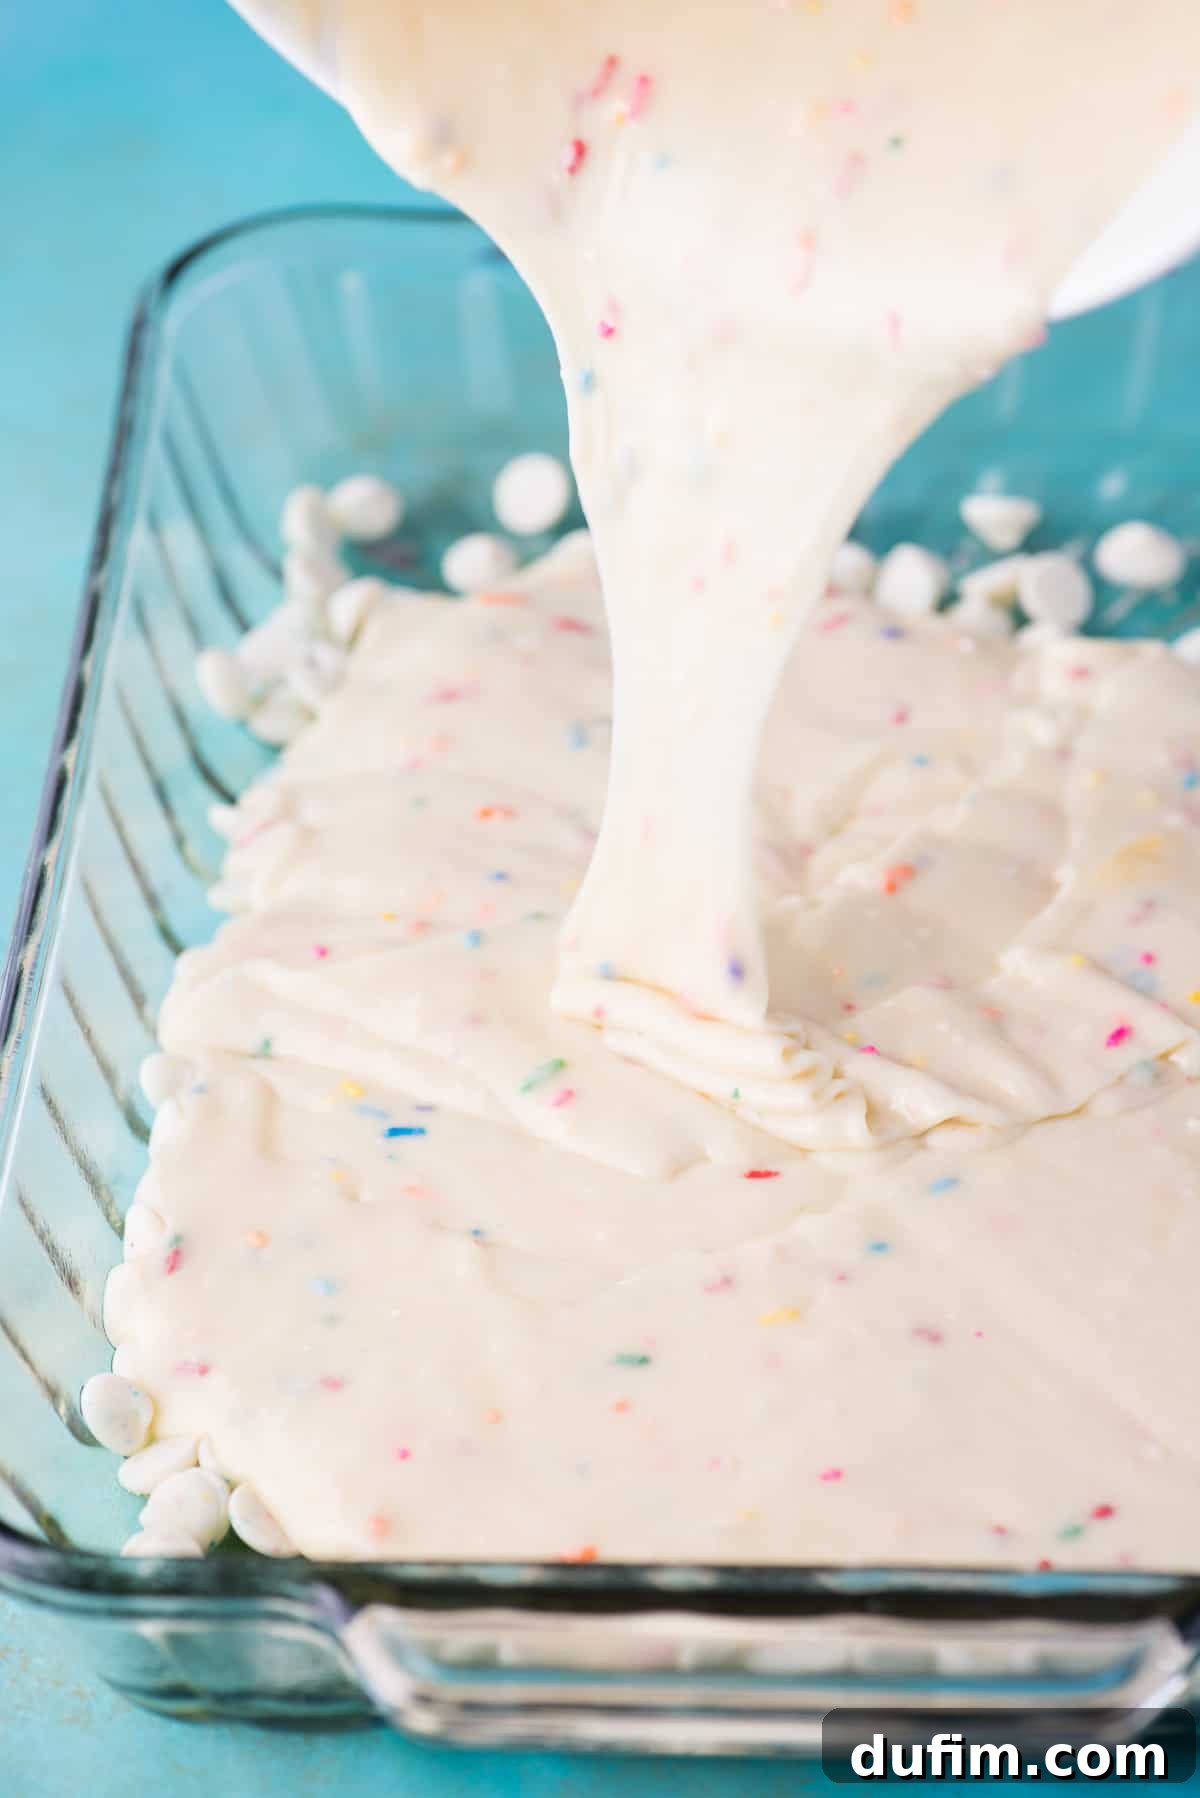
Step 3: Add the Cream Cheese Frosting Swirl
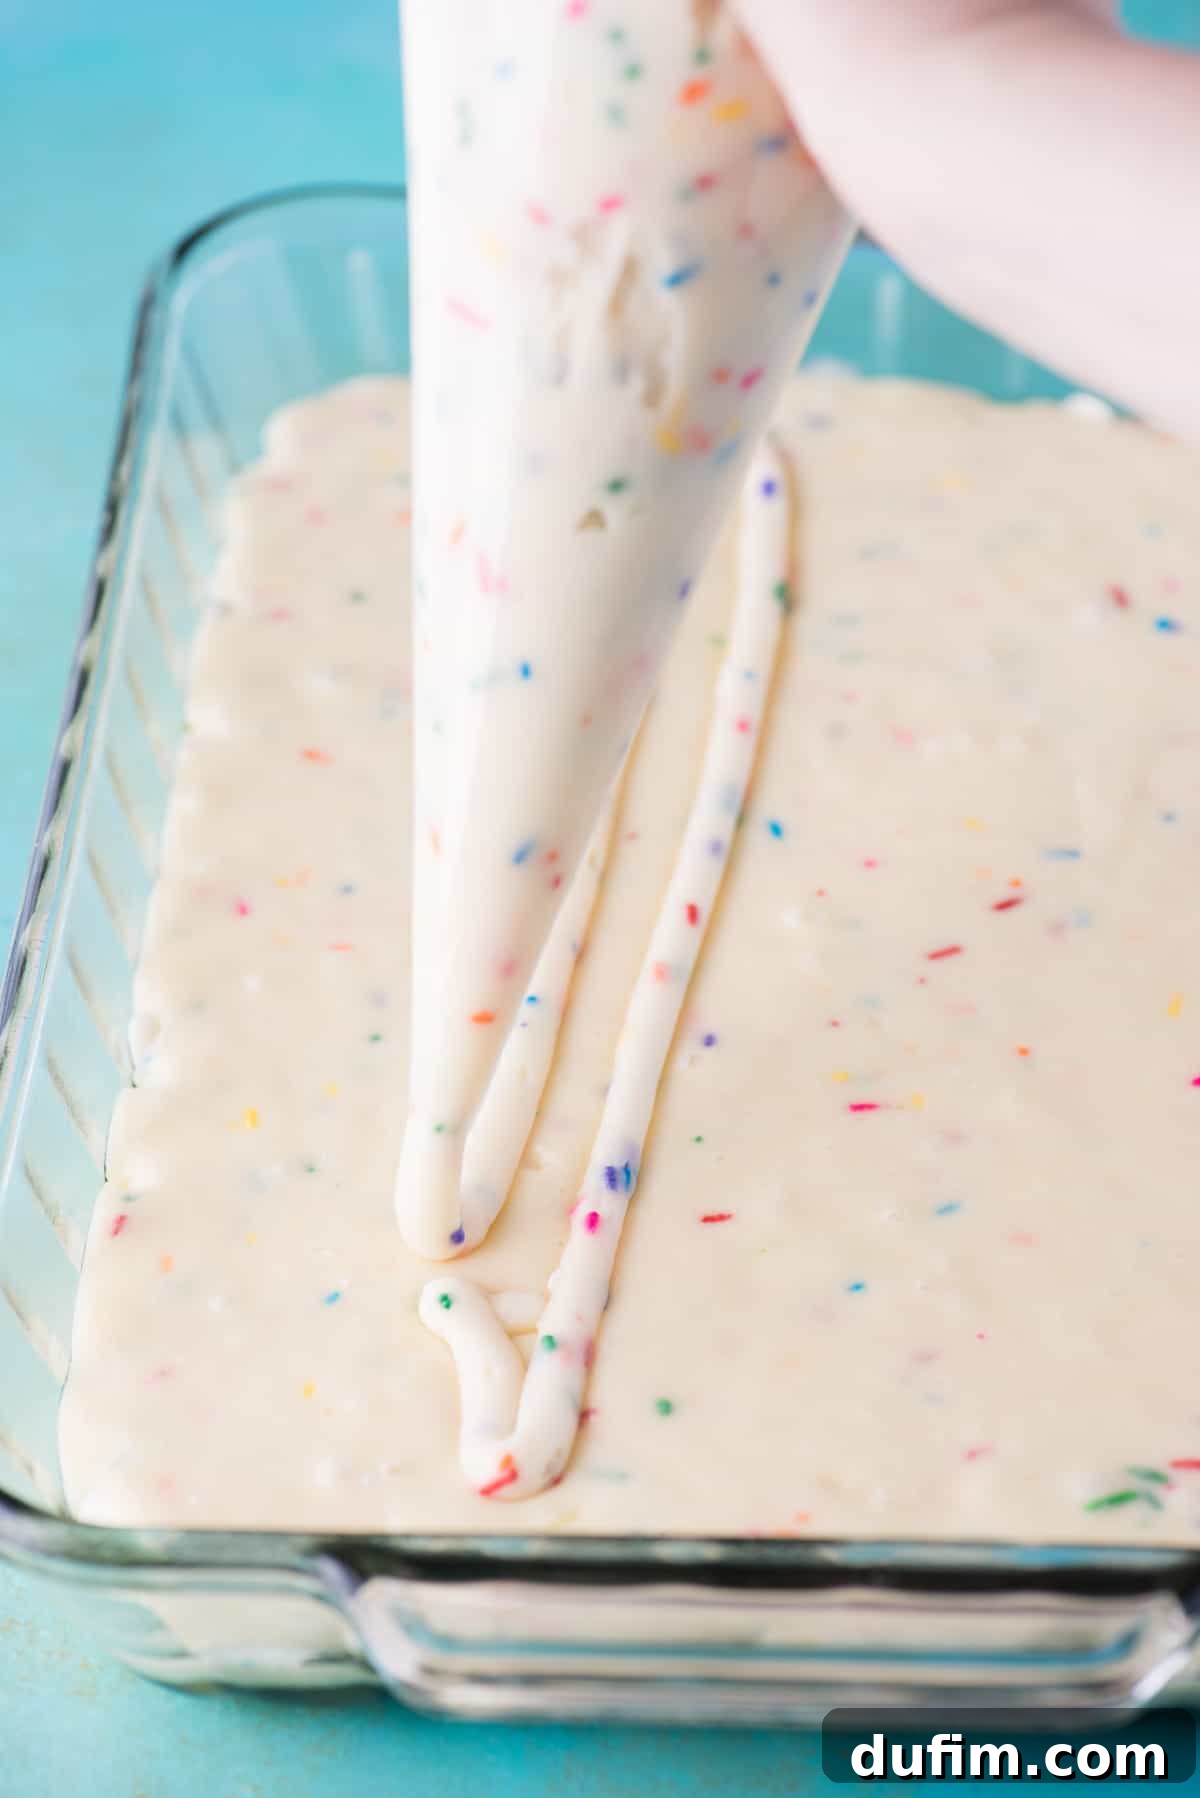
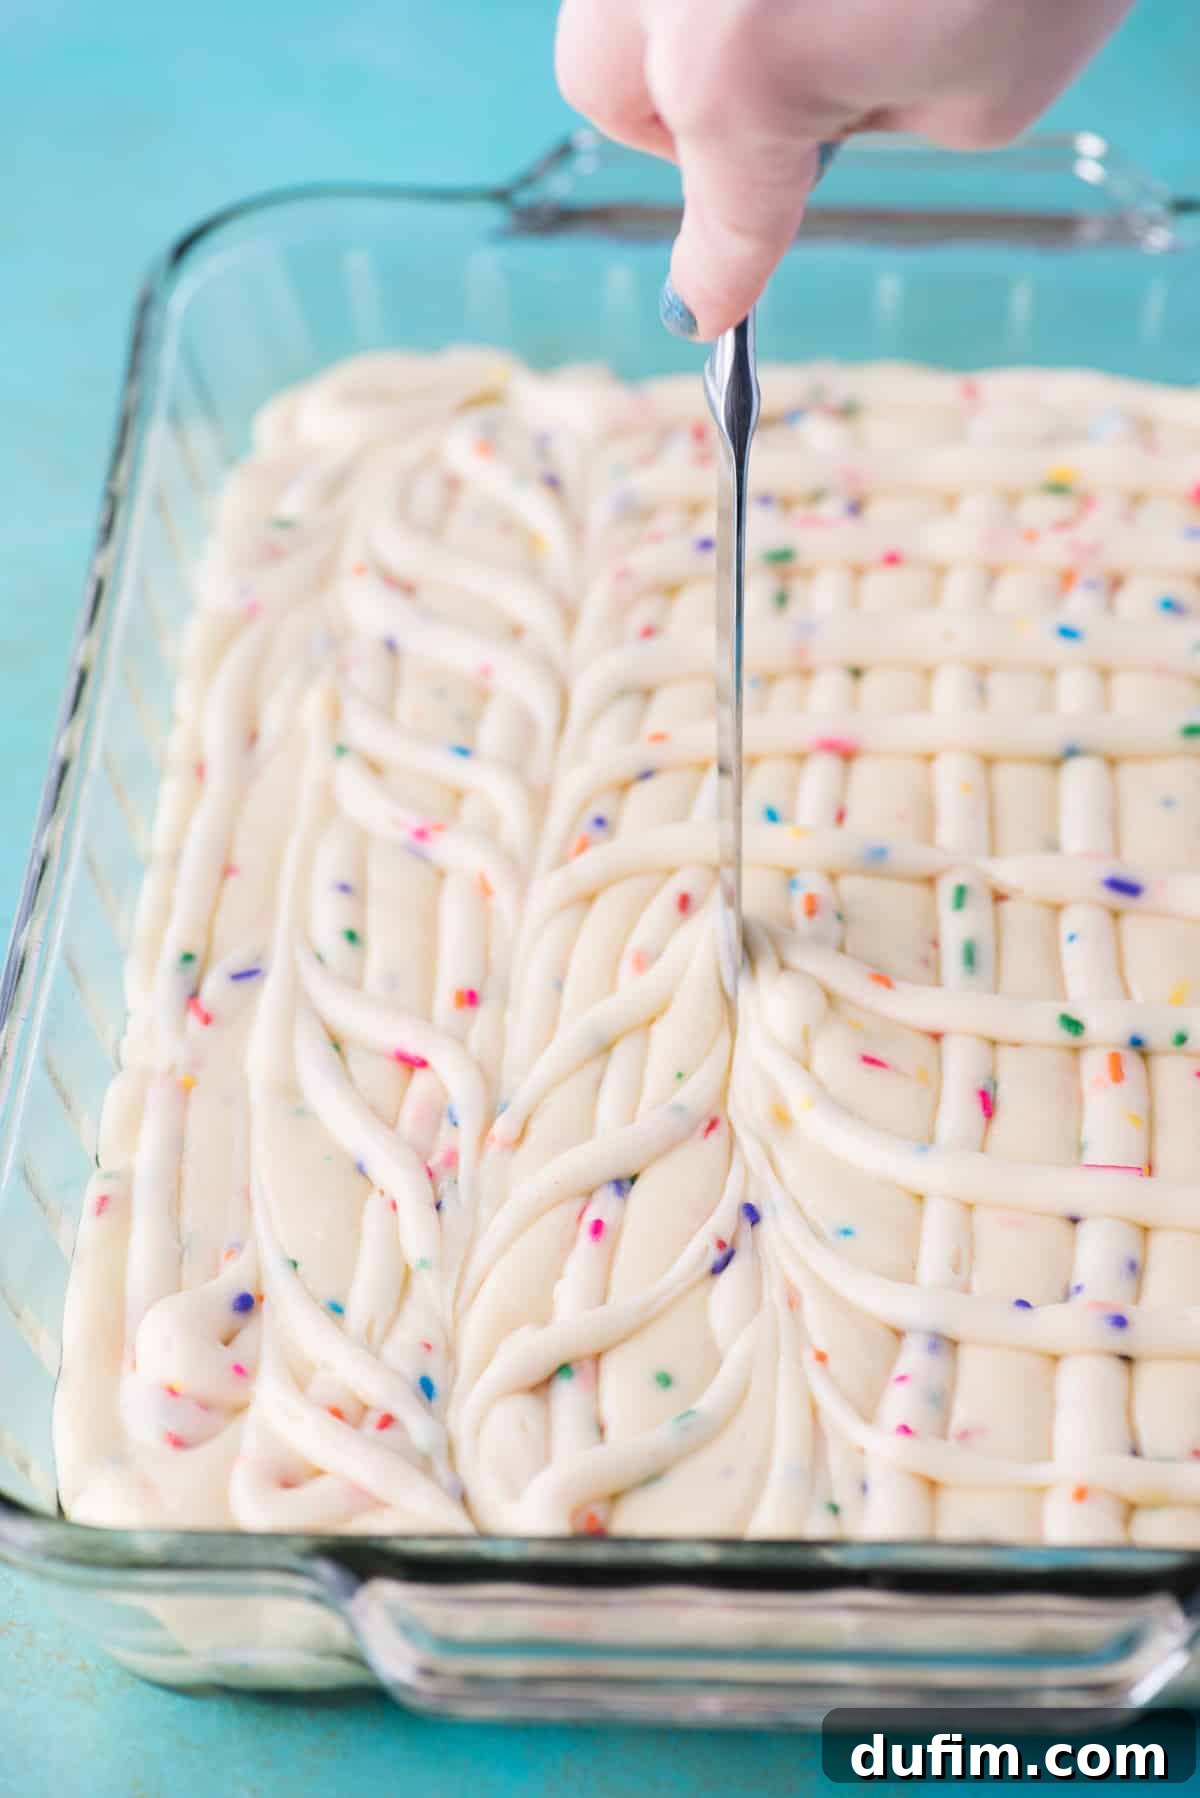
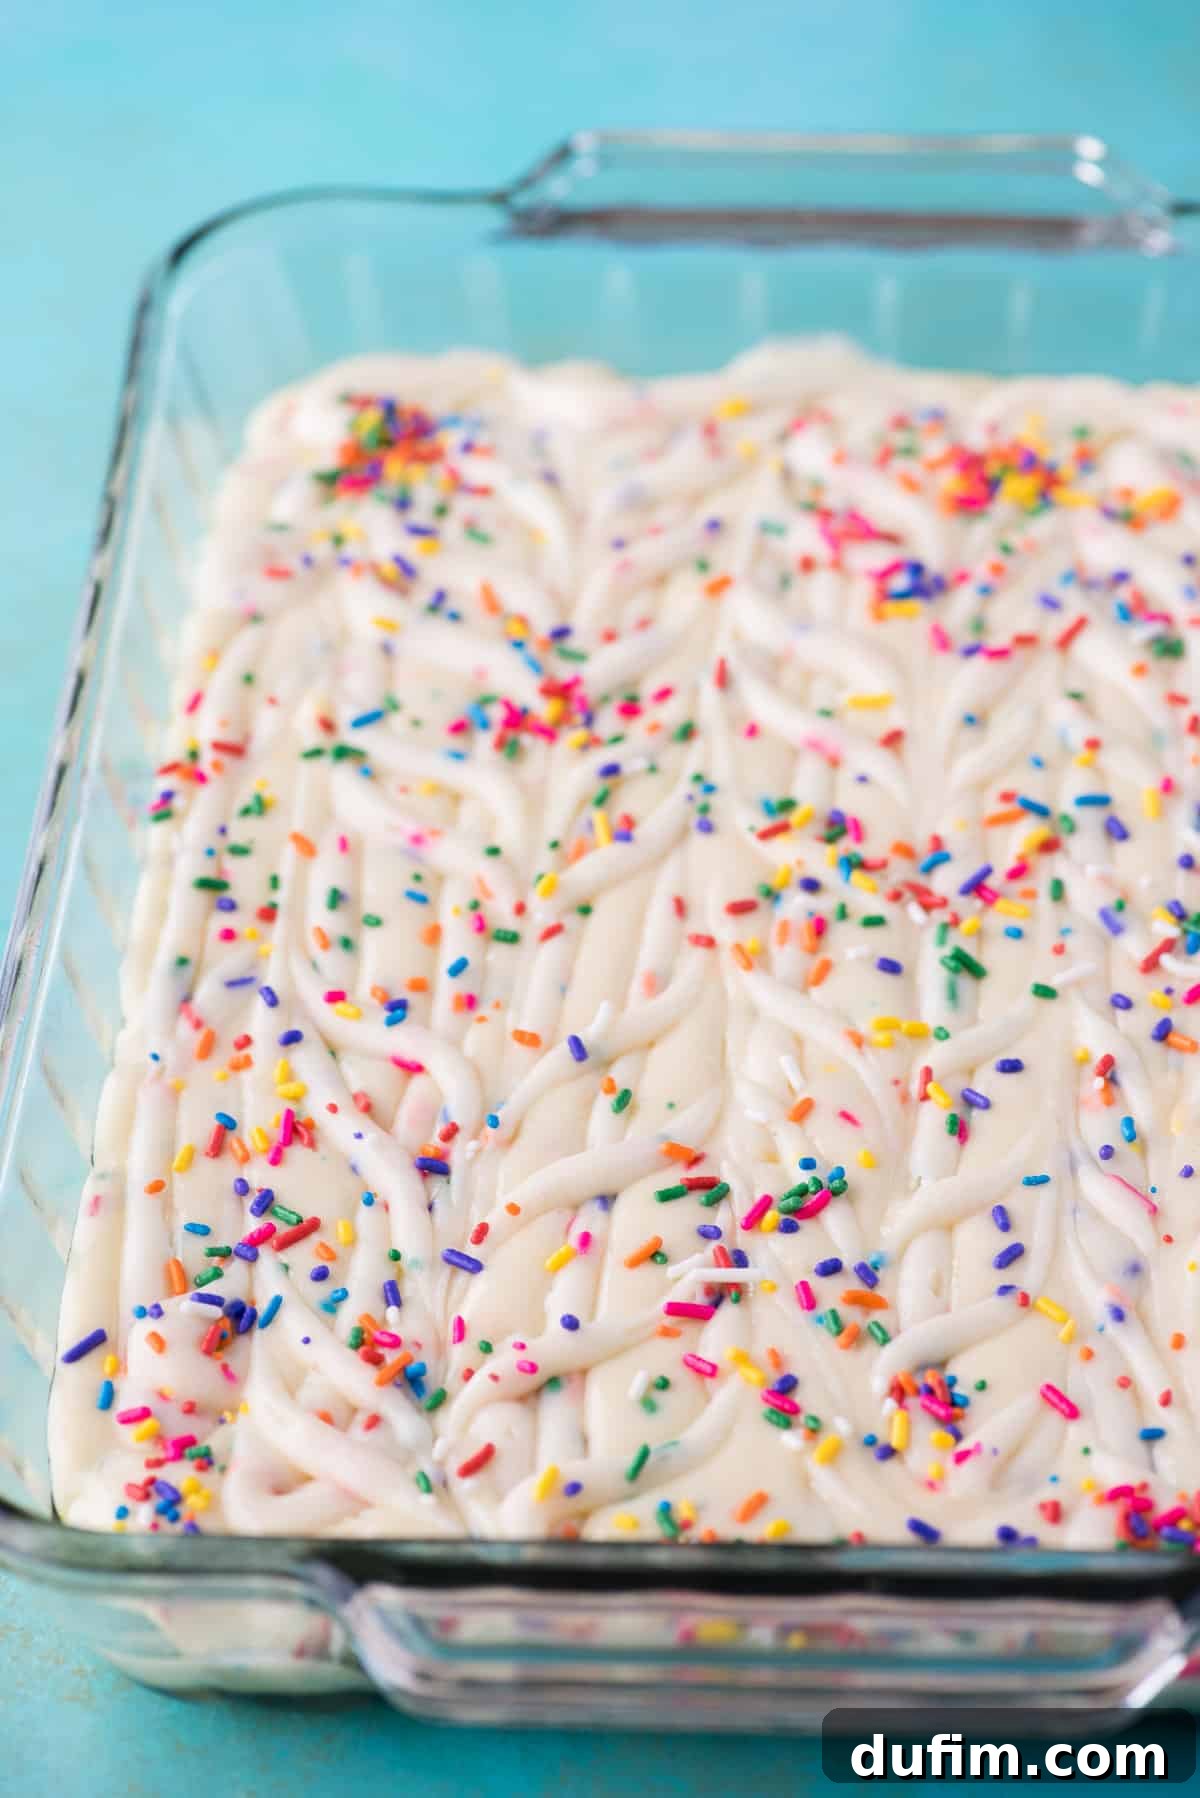
Now for the luscious cream cheese frosting layer that gives this cake its signature “earthquake” effect. Prepare your cream cheese frosting following the recipe below, ensuring it’s smooth and creamy. Transfer the prepared frosting into a piping bag or a large ziplock bag with one corner snipped off. Carefully pipe the frosting over the cake batter. You can create a simple grid pattern, or get creative with swirls and dollops. After piping, take a butter knife and gently swirl the frosting into the cake batter. Don’t overmix; the goal is to create distinct ribbons and pockets of frosting that will bake into the cake.
Step 4: A Final Flourish of Sprinkles
Because it’s a funfetti cake, and more sprinkles always mean more fun, finish off your creation with another generous sprinkle of rainbow jimmies directly on top of the swirled batter and frosting. This final layer of sprinkles ensures every bite is packed with color and joy, and it adds an extra festive touch to the cake’s surface as it bakes.
Essential Tips for Baking Your Best Funfetti Earthquake Cake
To ensure your Funfetti Earthquake Cake turns out perfectly moist, flavorful, and visually stunning every time, keep these expert tips in mind:
- Room Temperature Ingredients: For the cream cheese frosting, ensure your cream cheese and butter are softened to room temperature. This allows them to cream together smoothly, preventing lumps and ensuring a consistently creamy frosting that blends beautifully into the cake batter.
- Don’t Overmix the Batter: When preparing the cake mix, mix only until the ingredients are just combined. Overmixing can develop the gluten in the flour, leading to a tougher, drier cake. A few small lumps are perfectly fine.
- Gentle Swirling: When swirling the cream cheese frosting into the cake batter, use a light hand. You want distinct ribbons and pockets of frosting, not a fully integrated mixture. The contrast is what creates the “earthquake” effect and pockets of rich creaminess.
- Monitor Baking Time: Oven temperatures can vary. Start checking your cake around the 30-minute mark. The cake is done when a toothpick inserted into the cake part (avoiding the cream cheese pockets) comes out with moist crumbs, not wet batter. The aluminum foil step is crucial to prevent the top from browning too much while the inside finishes baking.
- Cool Completely: Resist the urge to cut into the cake while it’s still warm. Allowing the Funfetti Earthquake Cake to cool completely is vital. This allows the baked-in frosting to fully set and the cake’s structure to stabilize, resulting in a cleaner slice and optimal texture.
- Quality Sprinkles Matter: For that vibrant “funfetti” look, choose high-quality jimmie sprinkles that won’t bleed their color into the batter. Brighter colors make a bigger impact!
To Refrigerate or Not to Refrigerate: Storing Your Earthquake Cake
The question of whether to refrigerate a cake containing cream cheese is a common one, and the answer can vary depending on a few factors. While cream cheese typically requires refrigeration, the baking process alters its stability within the cake. Many experienced bakers suggest that if you plan to consume the cake within one to two days, and if your home maintains a cool room temperature (around 70 degrees Fahrenheit or cooler), you can safely leave the cake covered on the counter. The sugar content in the cake and frosting acts as a preservative, making it stable for a short period at room temperature.
However, if your home tends to be warmer, especially during hot summer months, or if you plan to store the cake for longer than two days, refrigeration is the safer and recommended option. The cooler temperatures will help prevent spoilage and maintain the cake’s freshness and texture.
If you choose to refrigerate your Funfetti Earthquake Cake, it’s best to pull it out of the fridge at least an hour or two before serving. This allows the cake to come closer to room temperature, which significantly improves its texture and flavor. Cold cake can be denser and less aromatic. When serving, a slightly warmer slice will highlight the moistness and the creamy, distinct flavor of the baked-in frosting. Always ensure the cake is well-covered with a cake lid or plastic wrap, regardless of whether it’s on the counter or in the fridge, to prevent it from drying out.
Perfect Pairings: What to Serve with Funfetti Birthday Earthquake Cake
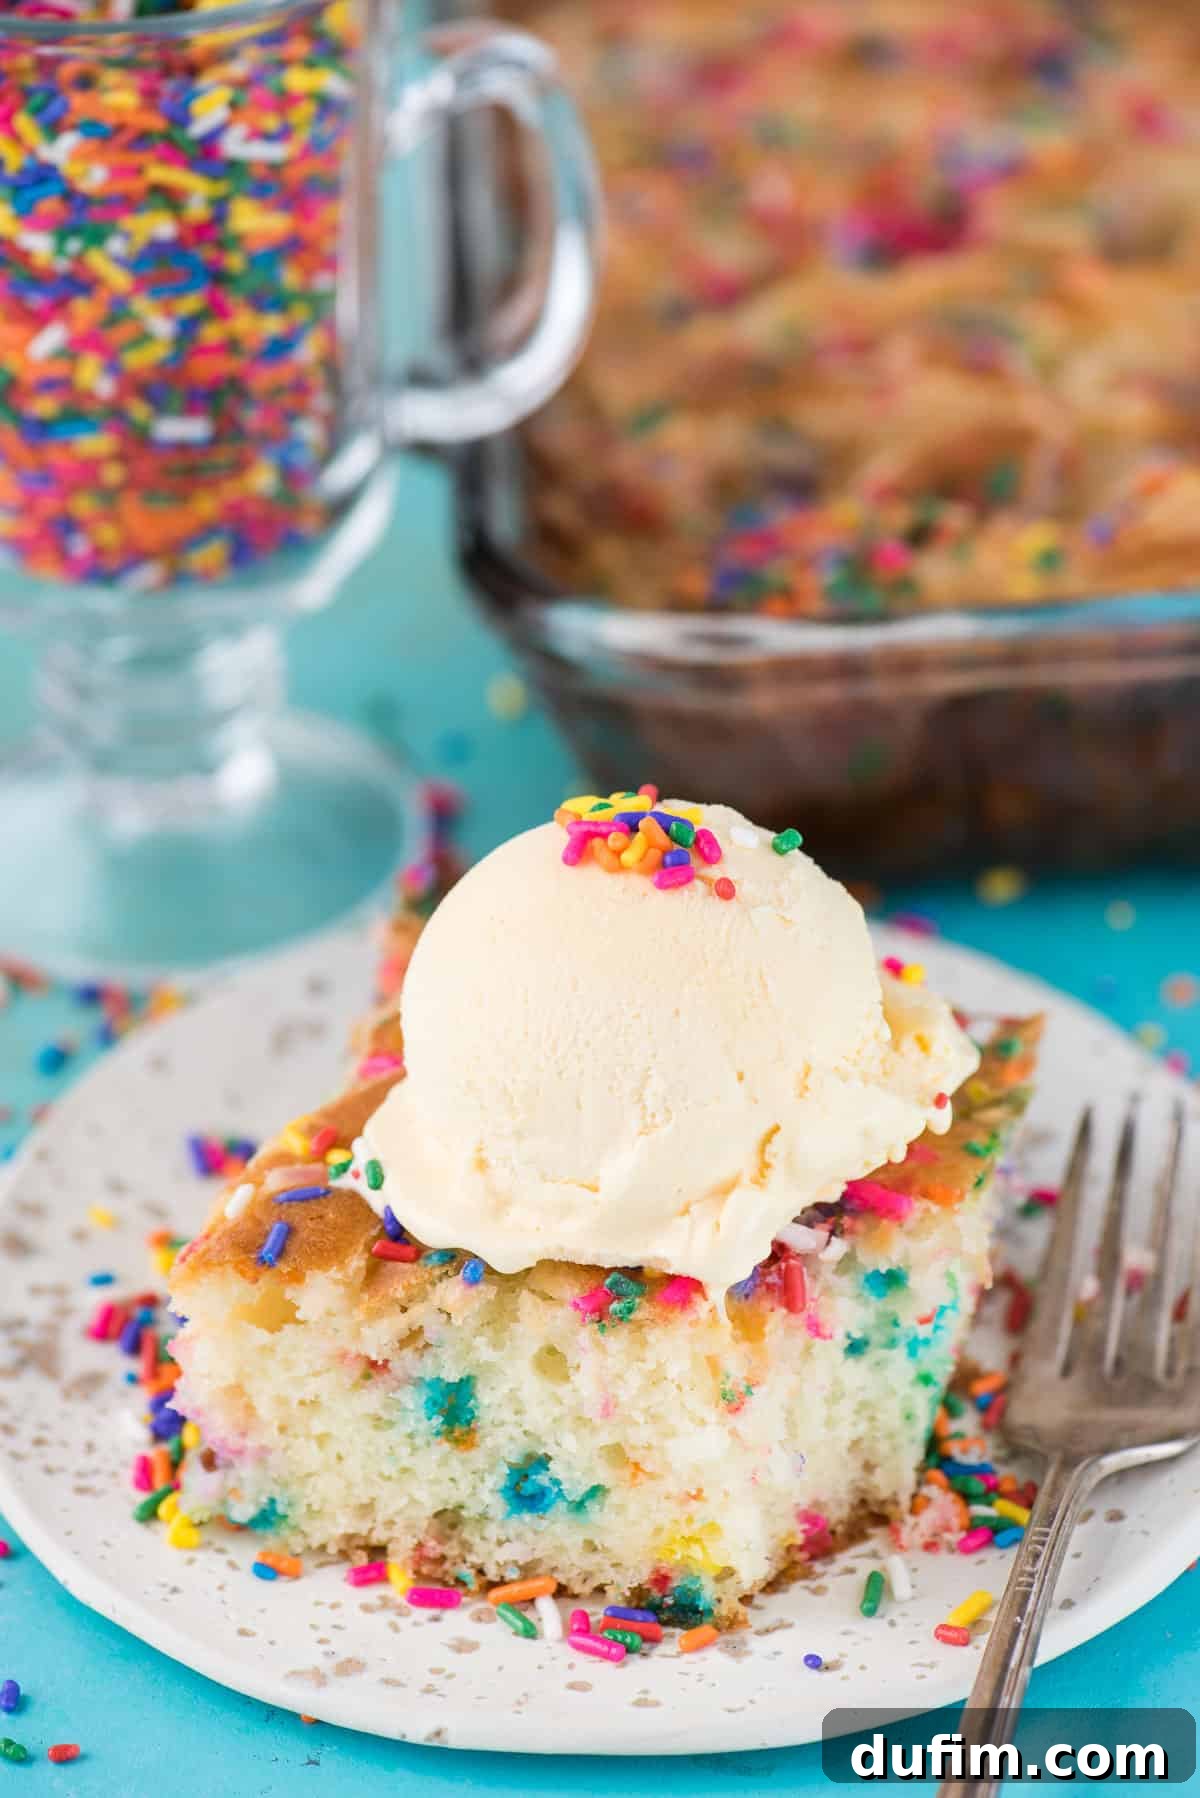
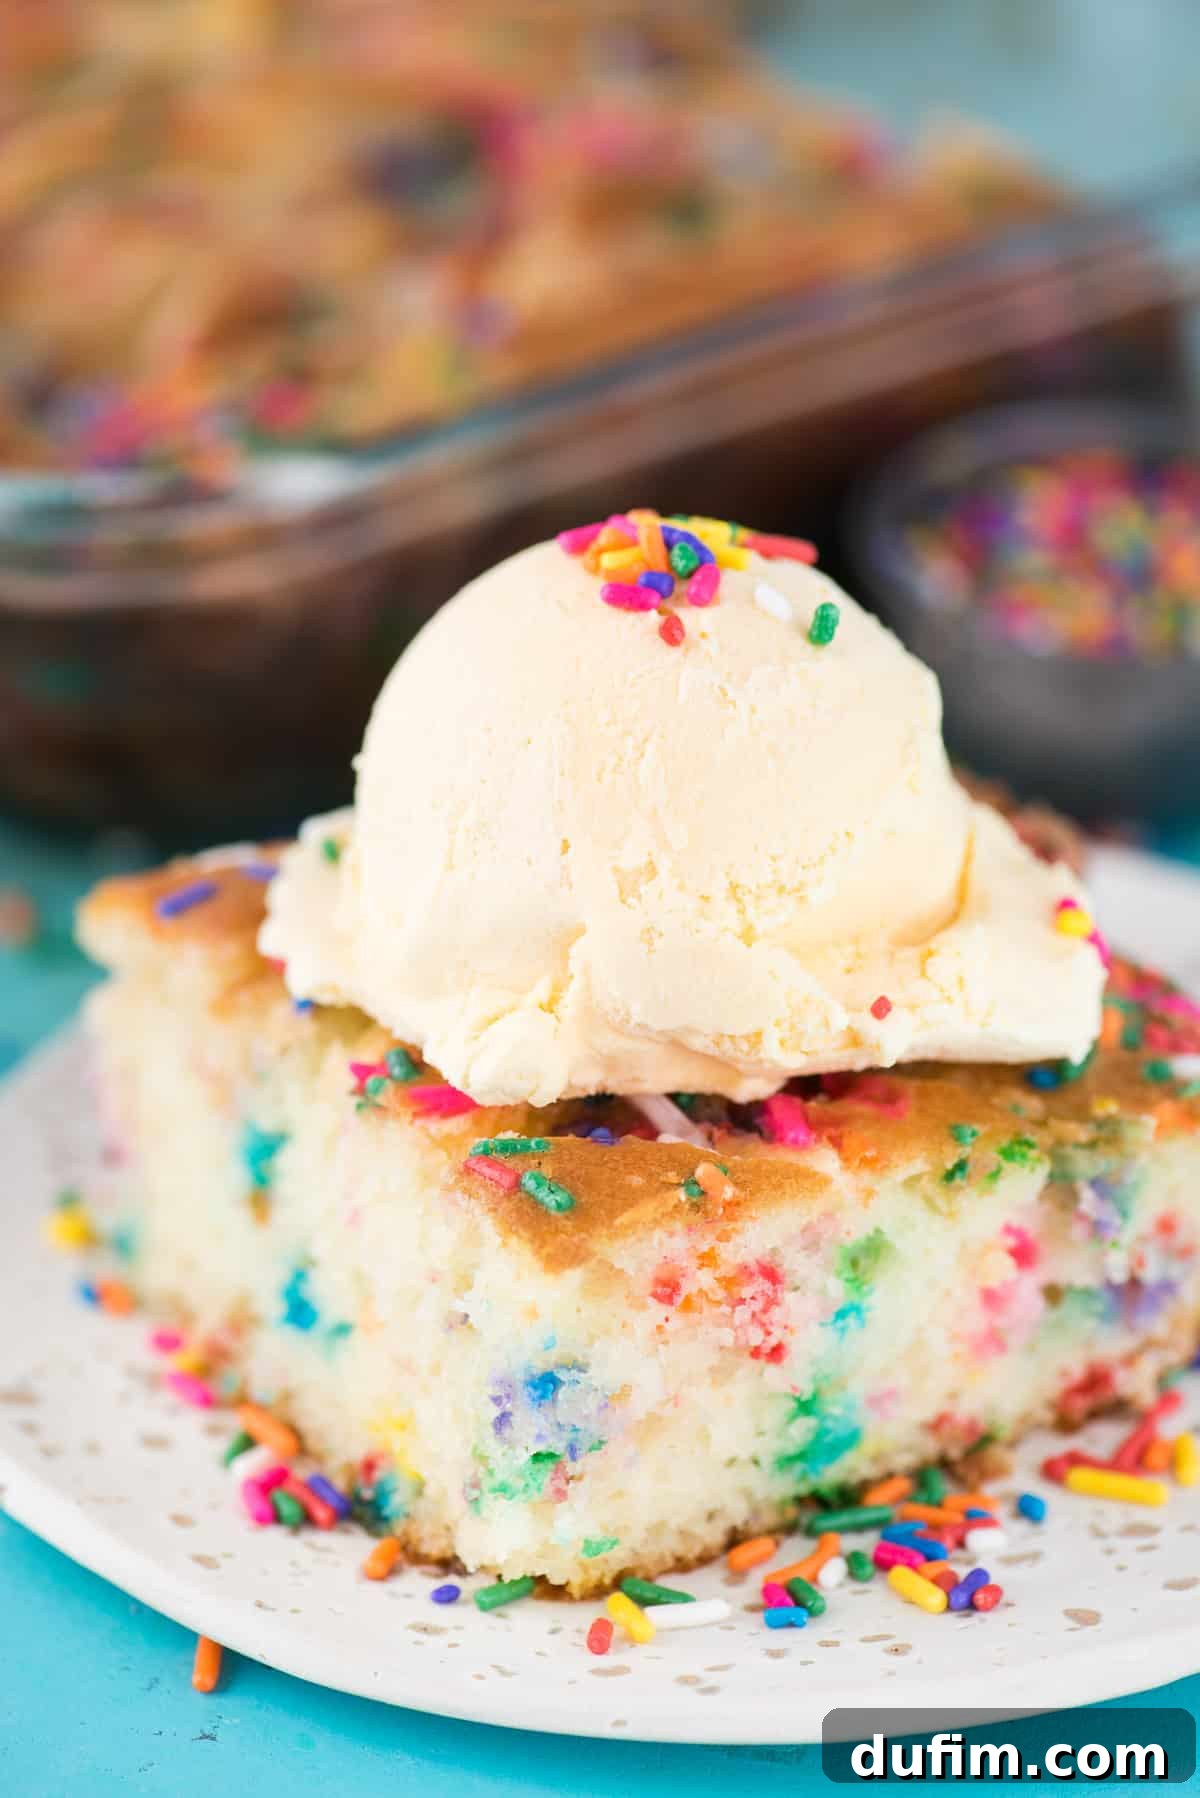
This Funfetti Earthquake Cake is a celebration on its own, but a few simple additions can elevate the experience even further. For a truly decadent treat, nothing beats a generous scoop of creamy vanilla ice cream. The cool, smooth ice cream provides a wonderful contrast to the warm, moist cake, creating a delightful interplay of temperatures and textures. Alternatively, a dollop of light, homemade whipped cream adds a cloud-like freshness that complements the rich cake beautifully. And, of course, for a funfetti cake, you can never have too many sprinkles! A final shower of extra rainbow jimmies right before serving will boost the festive appeal and add an extra crunch to each bite. Other delightful options include a glass of cold milk, a warm cup of coffee, or even a side of fresh berries for a touch of tartness.
Finding the Best Bright Jimmie Sprinkles for Your Funfetti Creations
For a truly spectacular Funfetti Earthquake Cake, the quality and vibrancy of your sprinkles make all the difference. After much searching, I’ve found that Walmart consistently offers some of the prettiest and brightest jimmie sprinkles on the market. Their Great Value brand often features a fantastic mix that truly stands out. What makes them exceptional? They typically contain no dull brown sprinkles, which can often dilute the rainbow effect. Instead, you’ll find intensely bright pinks, purples, blues, greens, and yellows that maintain their vibrant hues even after baking. These high-quality sprinkles ensure your funfetti cake bursts with color and joy in every slice, living up to its festive name.
Explore More Delicious Cake Recipes
- Applesauce Cake: A Comforting Classic
- Classic Earthquake Cake: The Original Delight
- Homemade Chocolate Cake: Rich and Indulgent
- Classic Yellow Cake: A Timeless Favorite
- Oreo Cake: Cookies and Cream Dream
Funfetti Earthquake Cake
Print Recipe
Equipment
-
Confetti Baking Chips
-
Great Value Sprinkles
-
9×13 inch glass pan
-
KitchenAid 9-Speed Mixer
Ingredients
Cake Layer
- 2 cups (340g) confetti chocolate chips (can find at Walmart)
- 1 box Funfetti cake mix, 15.25 oz
- 1 Tbsp rainbow jimmie sprinkles
- ½ cup (118ml) vegetable oil
- 3 large eggs
- 1 cup (236ml) milk
Frosting Layer
- 4 oz (114g) cream cheese, softened
- ½ cup (113g) unsalted butter, 1 stick, melted
- 1 Tbsp vanilla extract
- 2 ½ cups (283g) powdered sugar
- 2 Tbsp rainbow jimmie sprinkles
Instructions
- Preheat the oven to 350 degrees F (175°C).
- Lightly spray a 9 x 13 inch pan with non-stick cooking spray.
- Sprinkle 2 cups (340g) confetti chocolate chips evenly on the bottom of the pan.
- Using an electric mixer, beat the 1 box Funfetti cake mix with ½ cup (118ml) vegetable oil, 3 large eggs, and 1 cup (236ml) milk until just combined on low speed.
- Pour the cake mix on top of the confetti chocolate chips in the prepared pan.
- Using an electric mixer, beat 4 oz (114g) softened cream cheese, ½ cup (113g) melted unsalted butter, and 1 Tbsp vanilla extract until combined. Gradually add 2 ½ cups (283g) powdered sugar, mixing until the frosting is thick and smooth. Stir in 2 Tbsp rainbow jimmie sprinkles. Transfer the frosting mixture into a piping bag (or a ziplock bag with a corner cut off).
- Pipe the frosting mixture over the cake batter, creating any pattern you wish. Use a butter knife to gently create swirls. Top the cake with additional sprinkles for extra flair.
- Bake for 30 minutes. Then, loosely place a piece of aluminum foil over the cake to prevent excessive browning and continue baking for another 5-10 minutes (for a total bake time of 35-40 minutes). The cake is done when a toothpick inserted into the cake portion comes out with moist crumbs.
- Allow the cake to cool completely before serving. As it cools, the frosting layer will “sink” into the cake, creating delicious ribbons of frosting INSIDE the cake!
- Cover the cake and keep it on the counter if you plan to serve it within the next day or two in a cool environment. Otherwise, refrigerate for longer storage.
Nutrition
Nutrition Disclosure
All nutritional values are approximate and provided to the reader as a courtesy. Changing ingredients and/or quantities will alter the estimated nutritional calculations.
We hope you enjoy baking and savoring this delightful Funfetti Earthquake Cake! It’s truly a recipe that combines ease with incredible flavor and a playful spirit. Perfect for bringing smiles to any table, this cake promises moistness, a burst of color, and that irresistible cream cheese swirl in every bite. Don’t hesitate to share your creations and experiences!