
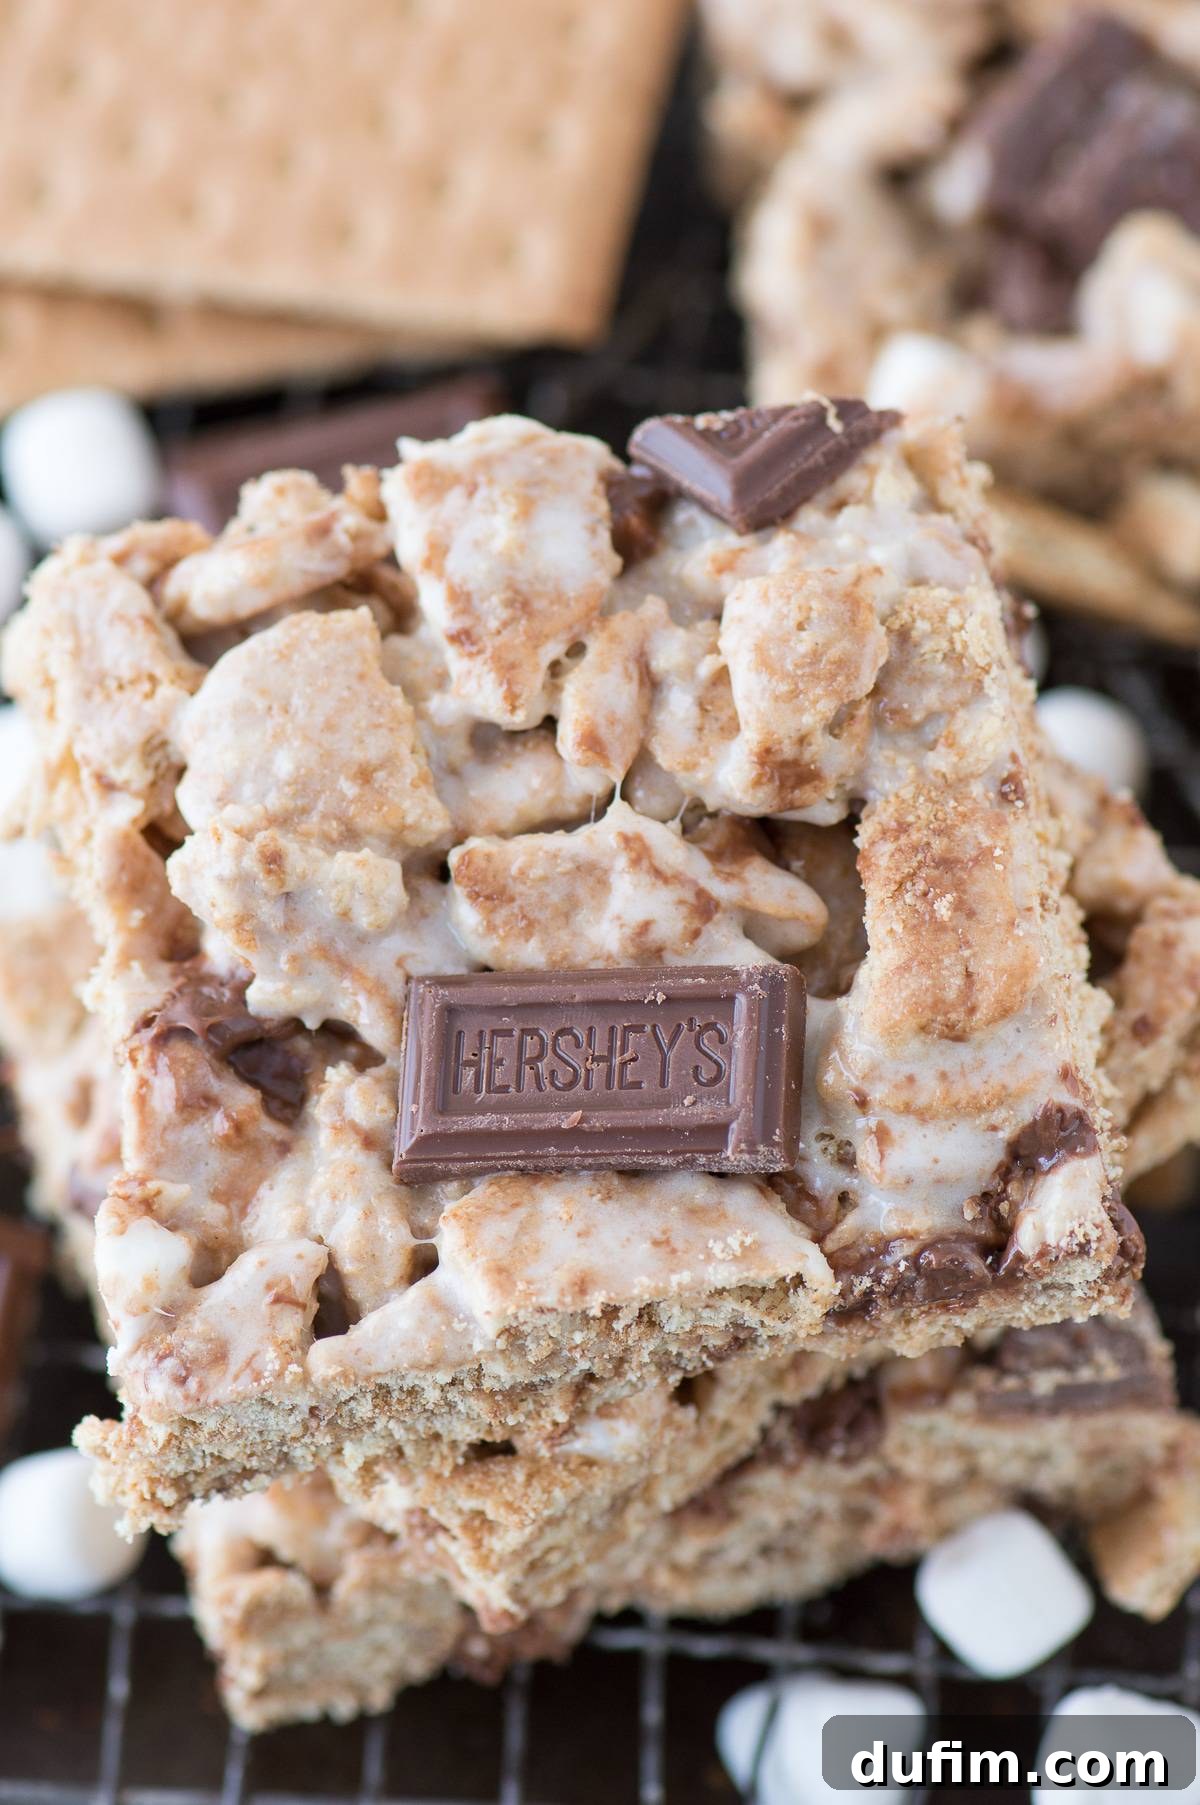
Irresistible No-Bake S’mores Bars: Your Go-To Easy Party Dessert
Craving the classic campfire treat without the fire? These incredibly easy S’mores Bars are your answer! Crafted with crisp graham crackers, gooey melted marshmallows, and rich chocolate, this no-bake dessert comes together in just 10 minutes. Imagine the beloved texture of rice krispie treats, but with the delightful, honeyed crunch of broken graham crackers instead of cereal. They’re a guaranteed crowd-pleaser that will have everyone asking for the recipe. Perfect for parties, potlucks, or simply a quick family treat, these s’mores bars bring all the joy of a traditional s’more indoors, no flames required!
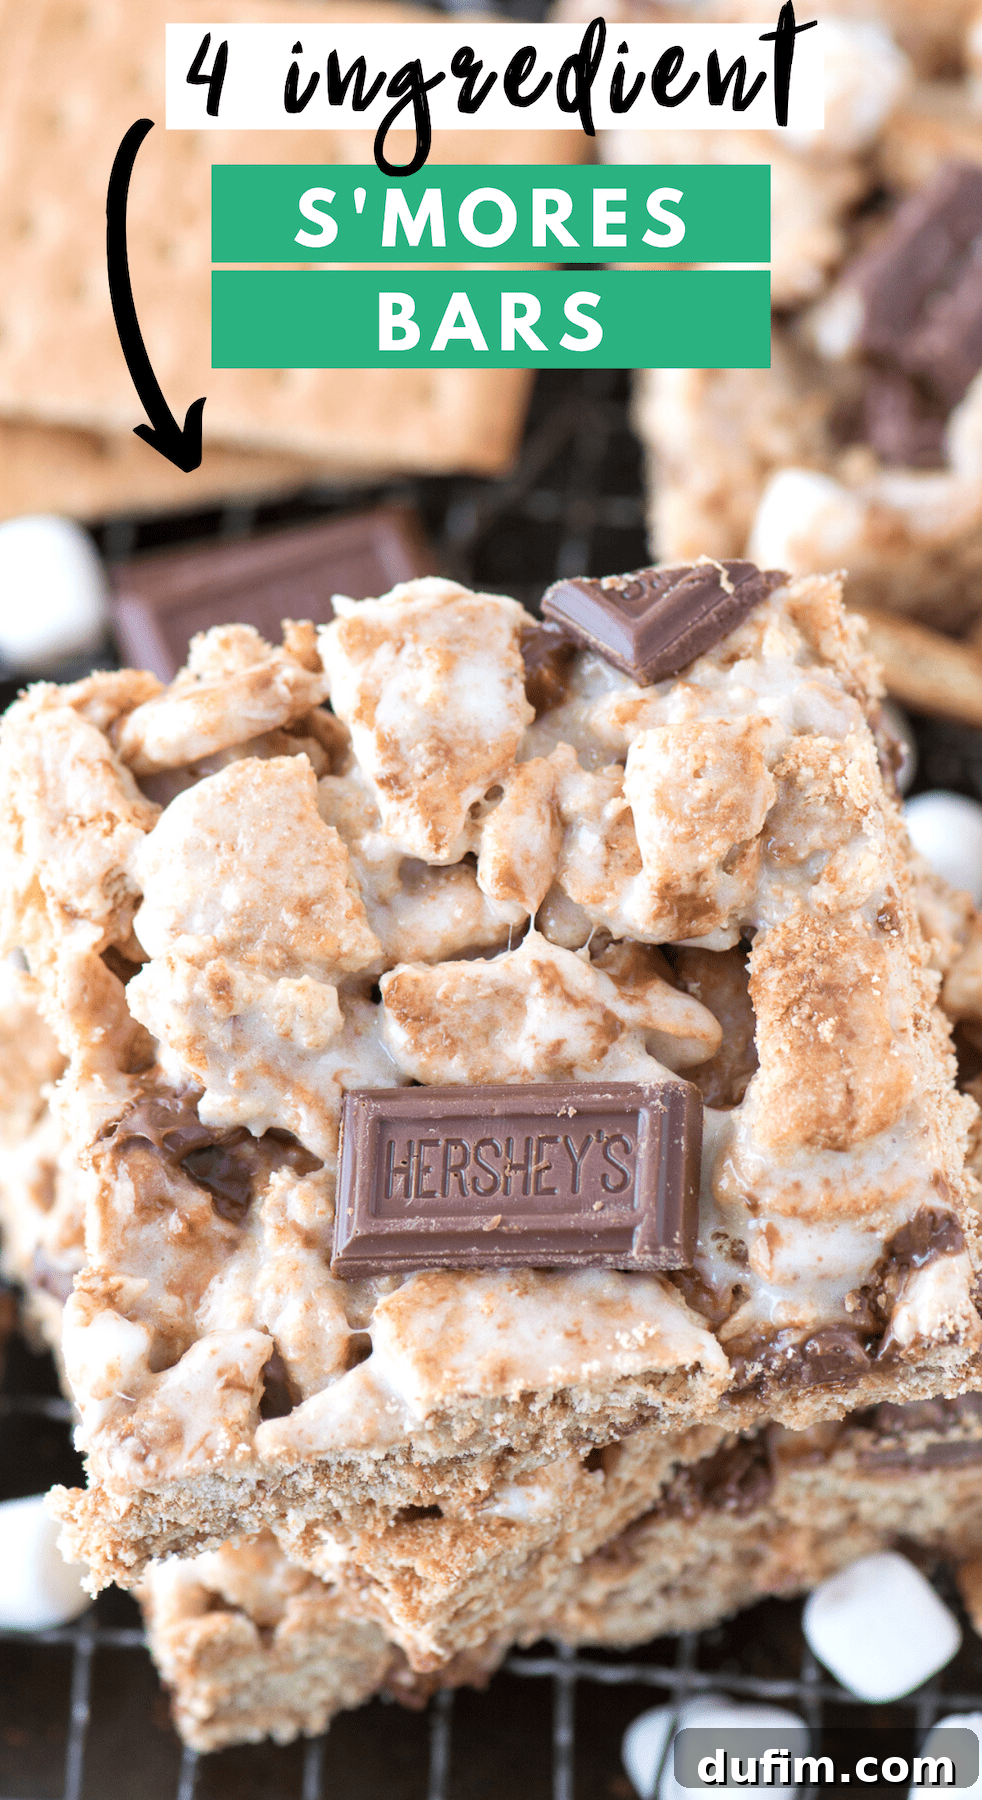
“Super easy and delicious! My new favorite no-bake treat.”
– April
Prepare to unleash your new secret weapon for every gathering! I used to guard this recipe closely, but it’s far too good not to share. Whenever I bring these spectacular indoor s’mores bars to a party, potluck, or any event, the reaction is always the same: a chorus of excited “WHAT ARE THESE?!”
Unveiling My Famous S’mores Bar Recipe
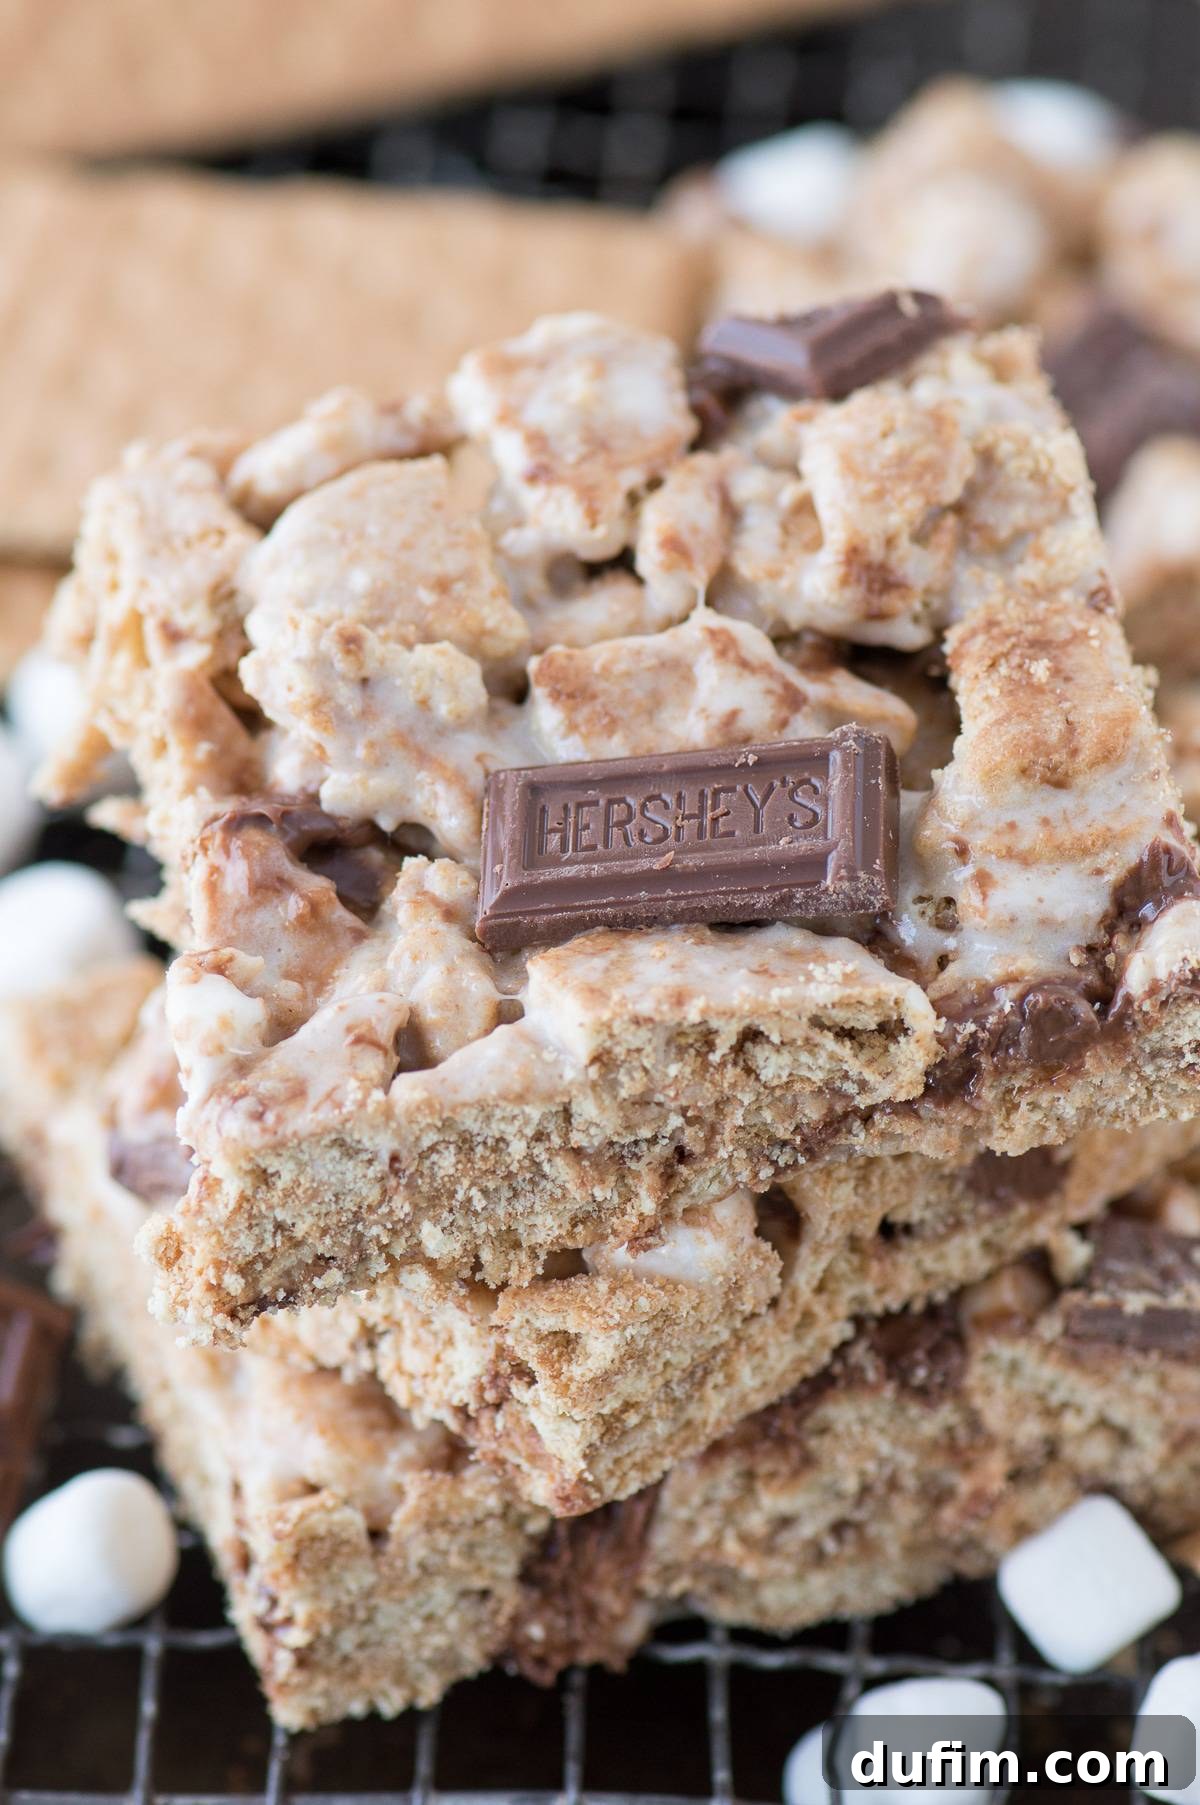
Allow me to formally introduce you to the magic that is S’mores Rice Krispie Bars – with a delightful twist. This recipe takes the beloved concept of a traditional rice krispie treat and elevates it by replacing the standard cereal with hearty, broken graham crackers. The result? A perfectly balanced treat that captures the authentic s’mores flavor and texture in every bite. People genuinely go crazy for them!
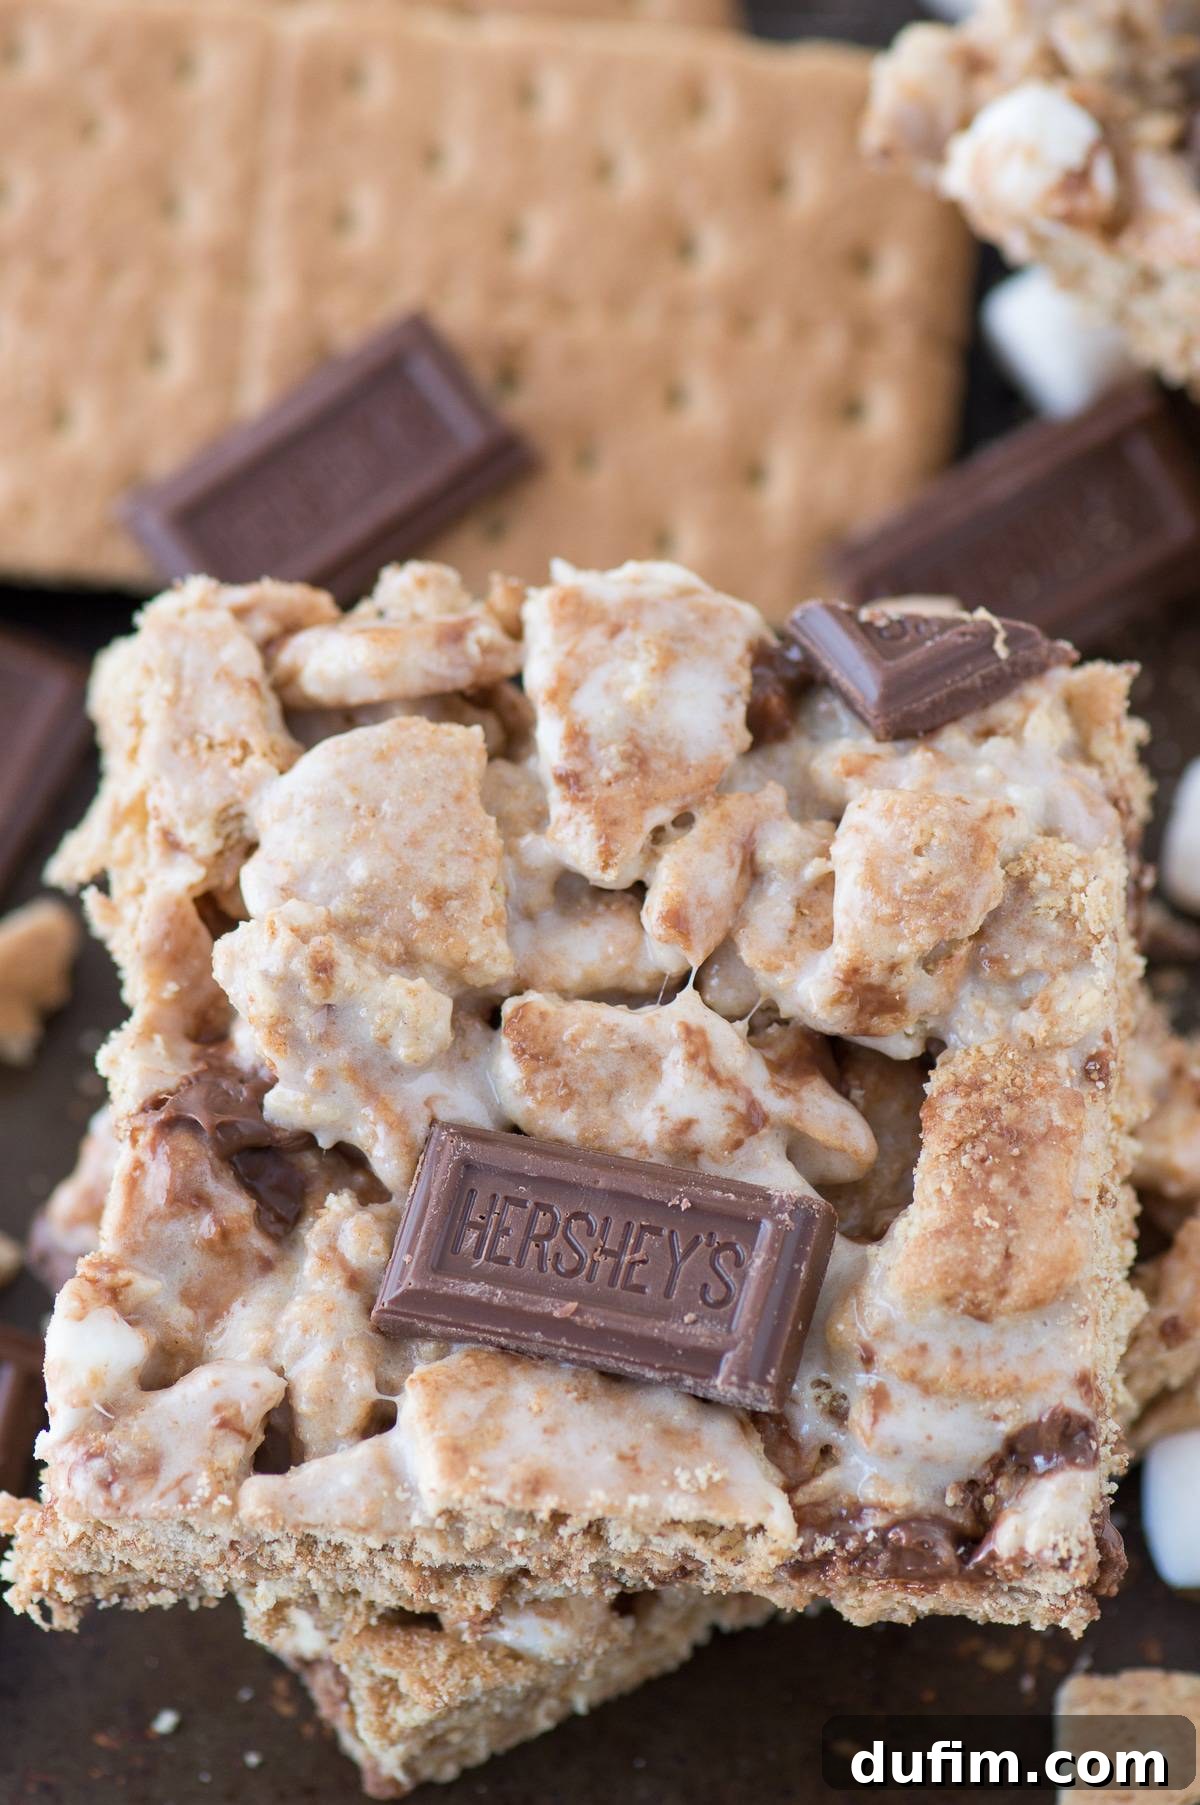
To ensure these bars embody the true essence of s’mores, we generously incorporate extra mini marshmallows and chunks of classic Hershey’s chocolate bars into the mix. These graham cracker-based treats are not only incredibly flavorful but also incredibly convenient. They are the quintessential no-bake dessert, ideal for any party or social gathering because you can effortlessly whip up an entire pan in under 10 minutes. Imagine less time in the kitchen and more time enjoying your guests!
Furthermore, I firmly believe these S’mores Bars surpass variations made with golden grahams cereal. While delicious in their own right, golden grahams can sometimes be overly sweet, overpowering the delicate balance of s’mores flavors. Classic honey graham crackers, on the other hand, provide a wonderfully plain and neutral base, much like rice krispie cereal, allowing the distinct tastes of marshmallow and chocolate to shine through beautifully.
The Simple Ingredients for Perfect S’mores Bars
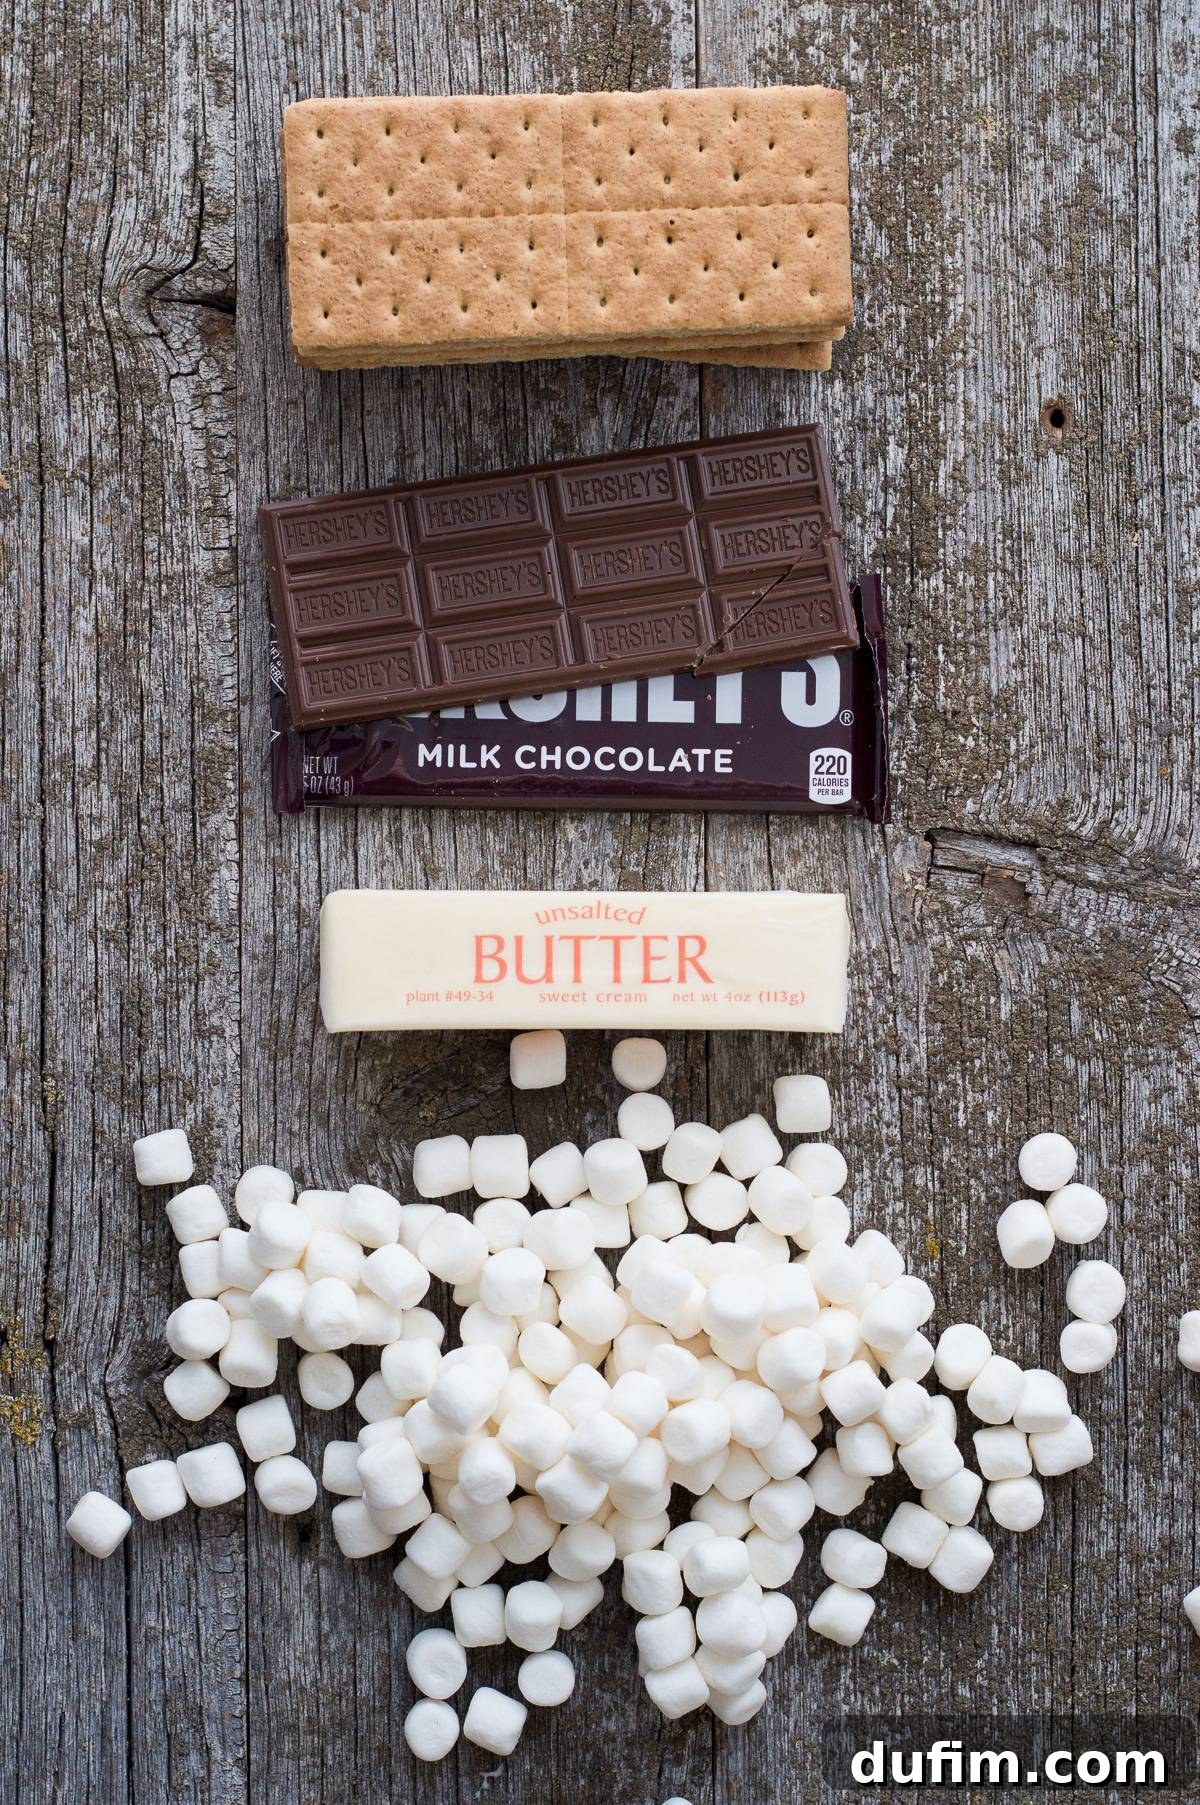
Creating these sensational s’mores bars requires just a handful of readily available ingredients. The beauty of this recipe lies in its simplicity, ensuring you can quickly gather what you need for a spontaneous baking session or a planned party treat.
- Graham Crackers: The star of the show! A full box, broken into smaller, bite-sized pieces, provides that essential crunchy base reminiscent of a campfire s’more. Their slightly sweet, biscuity flavor is the perfect foundation.
- Mini Marshmallows: These create the signature gooey, stretchy texture that makes s’mores so irresistible. Using mini marshmallows ensures they melt quickly and evenly, creating a consistent bind for your bars.
- Hershey’s Chocolate Bars: For an authentic s’mores experience, classic Hershey’s milk chocolate bars are a must. Breaking them into pieces allows for pockets of melted chocolate throughout the bars, delivering that iconic sweet burst.
- Butter: Essential for achieving the perfect sticky, luscious marshmallow base. Unsalted butter is preferred to control the overall sweetness, but salted butter can also work if that’s what you have on hand, just be mindful of the added salt.
How to Make S’mores Bars: A Simple Step-by-Step Guide
The process for making these s’mores bars is wonderfully straightforward, mirroring the simplicity of traditional rice krispie treats. The key is in creating that perfectly melted, sticky marshmallow base.
- Prepare Your Pan: First, lightly spray a 9×13 inch baking pan with non-stick cooking spray. This crucial step ensures your delicious bars won’t stick, making for easy removal and clean cuts later.
- Break the Graham Crackers: Take your box of graham crackers and break them into smaller, roughly 1-inch pieces. Don’t worry about perfection here; irregular shapes add to the rustic charm. Place these broken pieces into a large mixing bowl and set aside.
- Break the Chocolate: Similarly, break your Hershey’s chocolate bars into smaller chunks. These pieces will be folded into the bars, creating delightful pockets of melted chocolate. Place these in a separate bowl.
- Melt the Gooey Base: In a large, sturdy pot, combine the butter and the majority of your mini marshmallows. It’s important to reserve about 1/3 cup of the marshmallows for later, which will add extra pockets of soft, unmelted marshmallow in the final bars. Place the pot over low heat, stirring continuously until the butter and marshmallows are completely melted and smooth. Be patient and keep the heat low to prevent scorching the marshmallows, which can lead to a tough, brittle texture. Once melted, immediately remove the pan from the heat.
- Combine with Graham Crackers: Gently add the broken graham crackers to the melted marshmallow mixture. Using a rubber spatula, carefully fold and stir until the graham crackers are evenly coated. Try not to overmix, as this can crush the crackers too much.
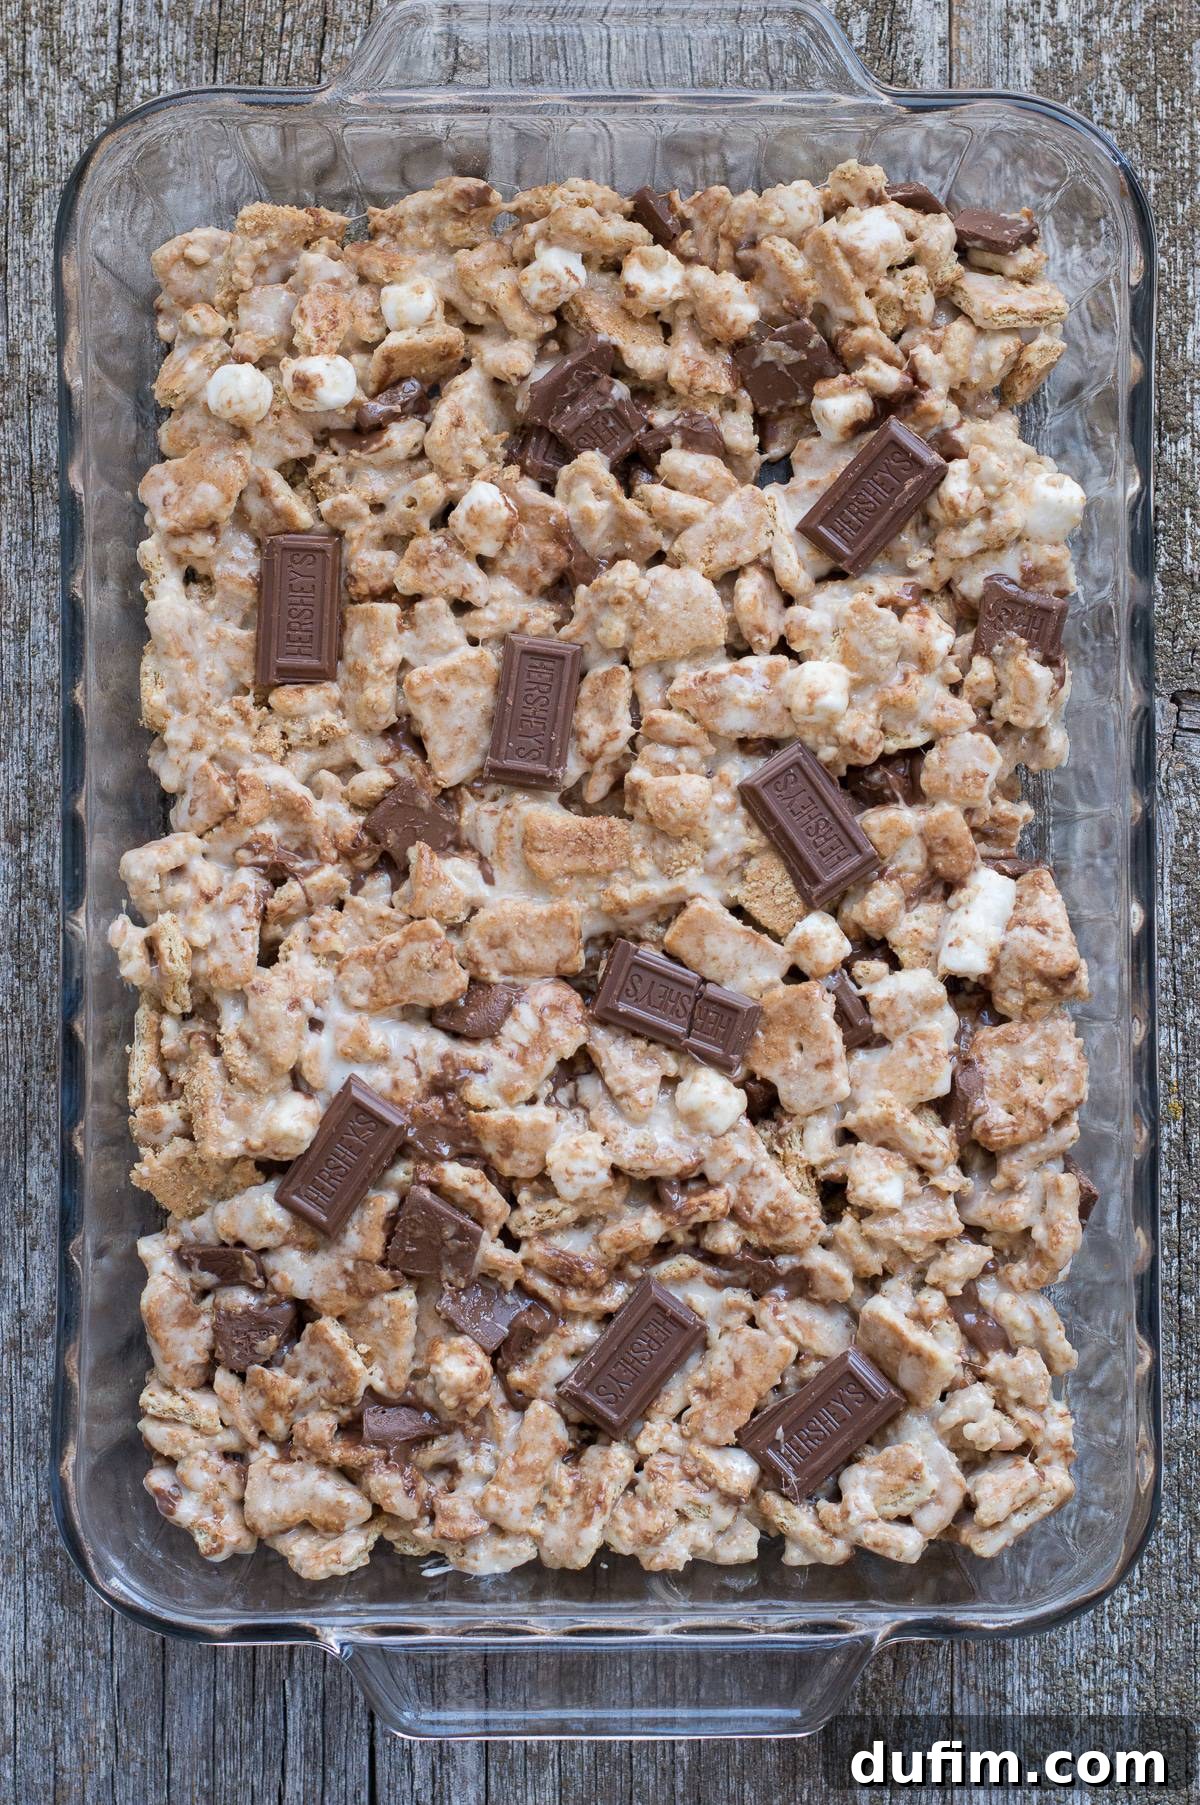
- Add Chocolate and Remaining Marshmallows: Now, add the reserved 1/3 cup of mini marshmallows and the broken Hershey’s chocolate bar pieces (or chocolate chips, if using) to the mixture. Stir just until they are evenly distributed. The warmth of the mixture will slightly soften the chocolate and remaining marshmallows, but they should retain some of their shape, providing textural variety.
- Press into Pan and Cool: Transfer the mixture to your prepared 9×13 inch pan. Using a buttered spatula or your lightly buttered hands, evenly press the s’mores mixture into the pan. Press firmly but not too hard, to ensure the bars hold together without becoming overly dense. Allow the bars to cool completely at room temperature for at least 1-2 hours before cutting into squares. This cooling time is essential for them to set properly.
S’mores Bar Variations and Serving Suggestions
While the classic S’mores Bar is perfection, there are countless ways to customize this recipe to your taste or for different occasions. Get creative with these delicious variations!
- Golden Graham Twist: For a slightly sweeter, crunchier base, substitute Golden Grahams cereal for the traditional graham crackers. This variation offers a unique texture and a cereal-like sweetness.
- Peanut Butter Indulgence: Add 1/2 cup of creamy peanut butter to the pot when melting the marshmallows and butter. This creates a rich, nutty depth of flavor that pairs beautifully with chocolate and marshmallow.
- Chocolate Chip Swap: If you don’t have Hershey’s bars on hand, or prefer a different chocolate intensity, feel free to use chocolate chips instead. Milk chocolate, semi-sweet, or even dark chocolate chips work wonderfully.
- White Chocolate Dream: For a different flavor profile, use white chocolate chips or chopped white chocolate bars in place of milk chocolate.
- Caramel Swirl: Drizzle melted caramel sauce over the top of the bars before they set for an extra layer of sweetness and chewiness.
- Nutty Crunch: Fold in 1/2 cup of chopped nuts like pecans or walnuts with the graham crackers for added texture and flavor.
- Holiday Spice: Add a pinch of cinnamon or pumpkin pie spice to the marshmallow mixture for a warm, comforting twist, especially great for autumn gatherings.
Want Them Extra Marshmallow-y?
For those who adore an abundance of gooey marshmallow, here’s a tip: instead of one 16 oz bag, use two 10 oz bags of mini marshmallows. This will significantly increase the marshmallow content, making your bars even more delightfully chewy. From the second bag, reserve about 1/2 cup of marshmallows to add in at the very end when you’re mixing in the chocolate bars. These will remain largely intact, offering soft, pockets of marshmallow throughout your bars.
For a truly stellar presentation, once you’ve pressed the s’mores mixture into the pan, artfully arrange a few extra chocolate bar pieces and mini marshmallows on top of the warm bars. Gently press them down so they adhere slightly. As the bars cool, these additions will set, creating an appealing visual and an extra treat for those first bites.
S’mores are undeniably a classic summer treat, evoking memories of campfires and starry nights. However, we wanted to create another equally delightful way to enjoy the irresistible combination of graham crackers, chocolate, and marshmallows without the need for an open flame. These bars deliver all that nostalgic flavor and gooey goodness, making them accessible any time of year, indoors or out!
S’mores Bars Recipe Tips for Success
Achieving perfectly gooey, delightful s’mores bars is simple with a few key tips:
- Low Heat is Your Friend: Always melt the butter and marshmallows over low heat. This prevents the marshmallows from scorching or becoming grainy, ensuring a wonderfully smooth and stretchy base. Patience here pays off!
- Mix Gently but Thoroughly: When adding the graham cracker pieces to the marshmallow mixture, stir gently to combine. Over-mixing can break the crackers down too much, resulting in a denser bar rather than one with distinct cracker bits.
- Buttered Spatula for Pressing: To prevent the sticky mixture from clinging to your hands or spatula, lightly butter your spatula or hands before pressing the bars into the pan. This makes the process much cleaner and easier.
- Cool Completely: Resist the urge to cut into the bars immediately! Allowing them to cool completely at room temperature (or even in the refrigerator for a quicker set) ensures they firm up properly and cut into neat, clean squares.
- Fresh Marshmallows Matter: For the best texture and melt, use fresh marshmallows. Older marshmallows can be drier and may not melt as smoothly, affecting the overall consistency of your bars.
S’mores Bar Storage and Freezing Instructions
These S’mores Bars are best enjoyed fresh, but they also store well, making them an excellent make-ahead dessert.
Storage: Store your cooled S’mores Bars in an airtight container at room temperature for 2-3 days. To prevent them from sticking together, you can place pieces of parchment paper between layers.
Can You Freeze S’mores Bars? Absolutely!
Yes, you can absolutely freeze these no-bake s’mores bars! This is a fantastic option for meal prepping desserts or saving some for a rainy day.
- Cut into Squares: Once the bars are completely cooled and set, cut them into individual squares.
- Wrap Individually: Wrap each square tightly with plastic wrap. Ensure each bar is thoroughly covered to protect against freezer burn and to keep them from sticking together.
- Place in Freezer Bag: Transfer the individually wrapped bars into a large freezer-safe ziploc bag. Press out as much air as possible before sealing.
- Freeze: Store in the freezer for up to 6 weeks.
To thaw the bars, simply remove the desired number from the freezer bag and place them on the counter. Let them come to room temperature for about an hour before serving. They will be just as gooey and delicious as when they were first made!
More Irresistible Bar Desserts to Explore
If you loved these easy S’mores Bars, you’ll surely enjoy these other fantastic bar dessert recipes perfect for sharing or indulging yourself:
- Classic 7 Layer Bars: A delightful medley of coconut, chocolate, nuts, and butterscotch, all baked on a graham cracker crust.
- Reese’s Magic Bars: The ultimate treat for peanut butter and chocolate lovers, featuring Reese’s cups in a rich bar form.
- No Bake Butterscotch Marshmallow Bars: Sweet and chewy, these bars combine the distinct flavor of butterscotch with soft marshmallows for an easy indulgence.
- Easy Pumpkin Pie Bars: All the comforting flavors of pumpkin pie in a convenient, sliceable bar format, perfect for fall.
Scroll down to find the full recipe card!
S’mores Bars
Print Recipe
Equipment
-
9×13 inch glass pan
-
Large mixing bowl
-
Large pot
Ingredients
- 1 box graham crackers, broken into smaller pieces (14.4 oz)
- 16 oz mini marshmallows (or use two 10 oz bags for extra marshmallow-y bars)
- 4 Hershey’s Bars, broken into smaller pieces (or 1 cup chocolate chips)
- ½ cup unsalted butter
Instructions
-
Lightly spray a 9×13 inch baking pan with non-stick cooking spray.
-
Break the graham crackers into smaller pieces and place them in a large bowl.1 box graham crackers
-
Break the chocolate bars into smaller pieces and place them in a separate bowl.4 Hershey’s Bars
-
In a large pot over low heat, combine the butter and all but 1/3 cup of the mini marshmallows. Stir constantly until the mixture is fully melted and smooth. Remove the pan from the heat immediately.1/2 cup unsalted butter, 16 oz mini marshmallows
-
Add the broken graham crackers to the melted marshmallow mixture and stir gently until well combined.
-
Fold in the chocolate pieces and the remaining 1/3 cup of marshmallows. Stir just until everything is evenly distributed.
-
Evenly press the s’mores mixture into the prepared pan. Allow the bars to cool completely at room temperature before cutting them into squares and serving.
Video
A video tutorial for making these S’mores Bars is available on the original blog post.
Notes
Use two 10 oz bags of mini marshmallows instead of one 16 oz bag. Reserve 1/2 cup of marshmallows to add in at the end when mixing in the chocolate bars for extra gooey pockets.
For a stellar presentation, press some extra chocolate bars and marshmallows on top of the bars once they are in the pan, before cooling.
Nutrition (per serving)
Calories: 301kcal | Carbohydrates: 46g | Protein: 3g | Fat: 14g | Saturated Fat: 7g | Polyunsaturated Fat: 1g | Monounsaturated Fat: 4g | Trans Fat: 1g | Cholesterol: 12mg | Sodium: 156mg | Potassium: 97mg | Fiber: 2g | Sugar: 28g | Vitamin A: 141IU | Calcium: 23mg | Iron: 1mg
Nutrition Disclosure
All nutritional values are approximate and provided to the reader as a courtesy. Changing ingredients and/or quantities will alter the estimated nutritional calculations.
Enjoyed this recipe? Please share your thoughts and rate it below!