
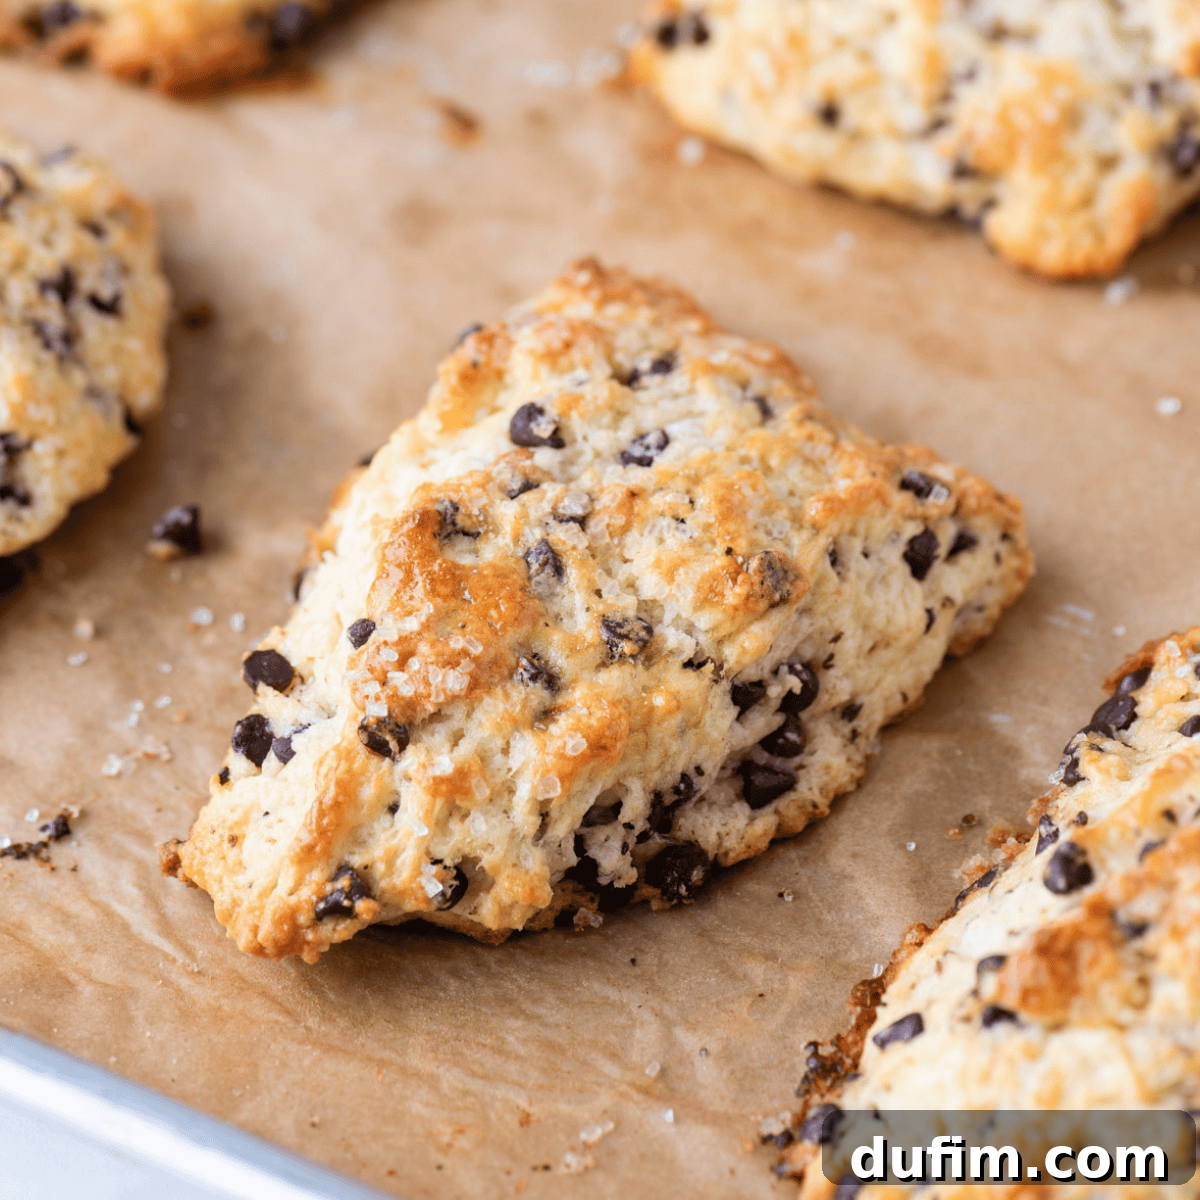
Mastering Bakery-Style Chocolate Chip Scones at Home
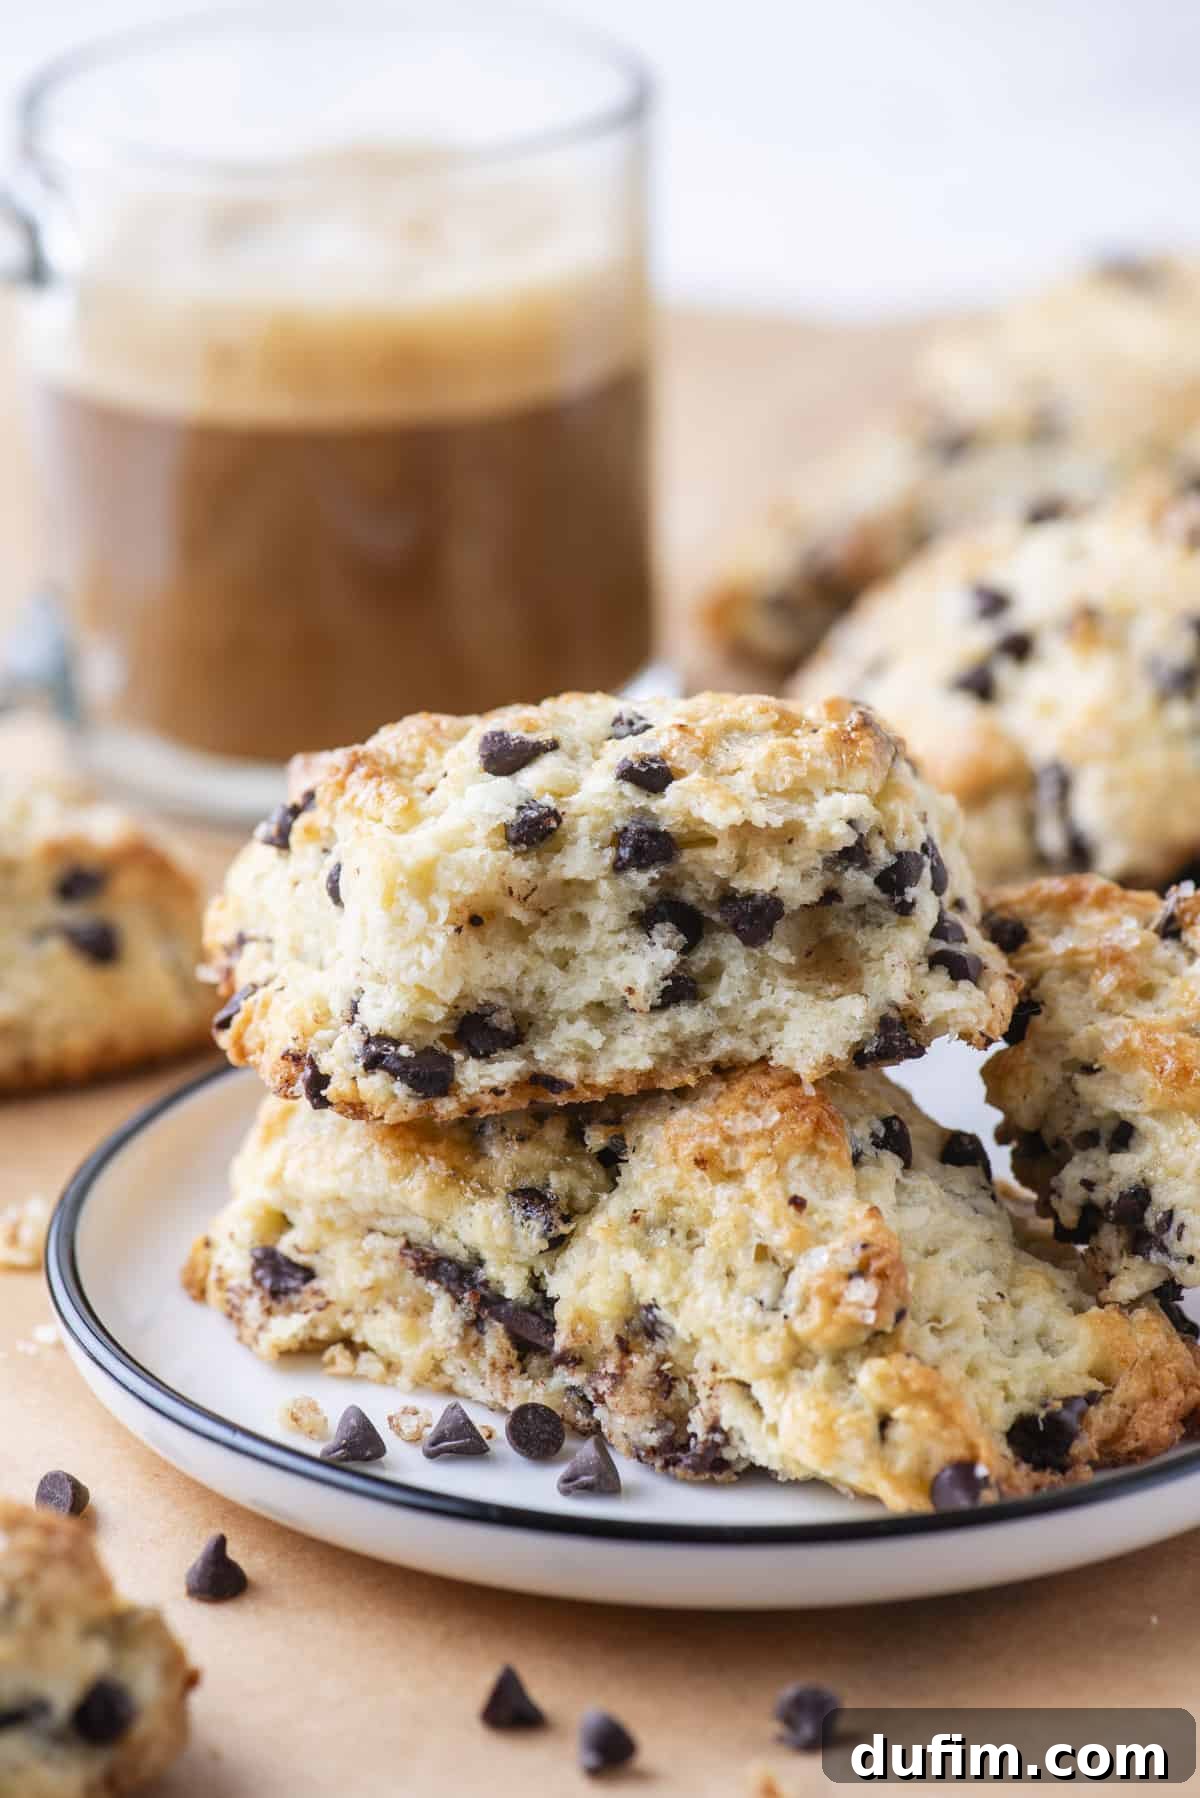
Imagine biting into a warm, tender scone, rich with melty chocolate chips, boasting a perfectly golden crust and an impossibly fluffy interior. This isn’t just a dream; it’s the reality of what you can create in your own kitchen. For countless hours, I’ve immersed myself in the art of scone making, meticulously testing and refining every step to achieve those coveted tall, flaky, bakery-quality chocolate chip scones. Now, you don’t have to navigate the common pitfalls of dry or flat scones; you can simply follow my tried-and-true recipe, armed with all the essential tips and tricks for guaranteed success.
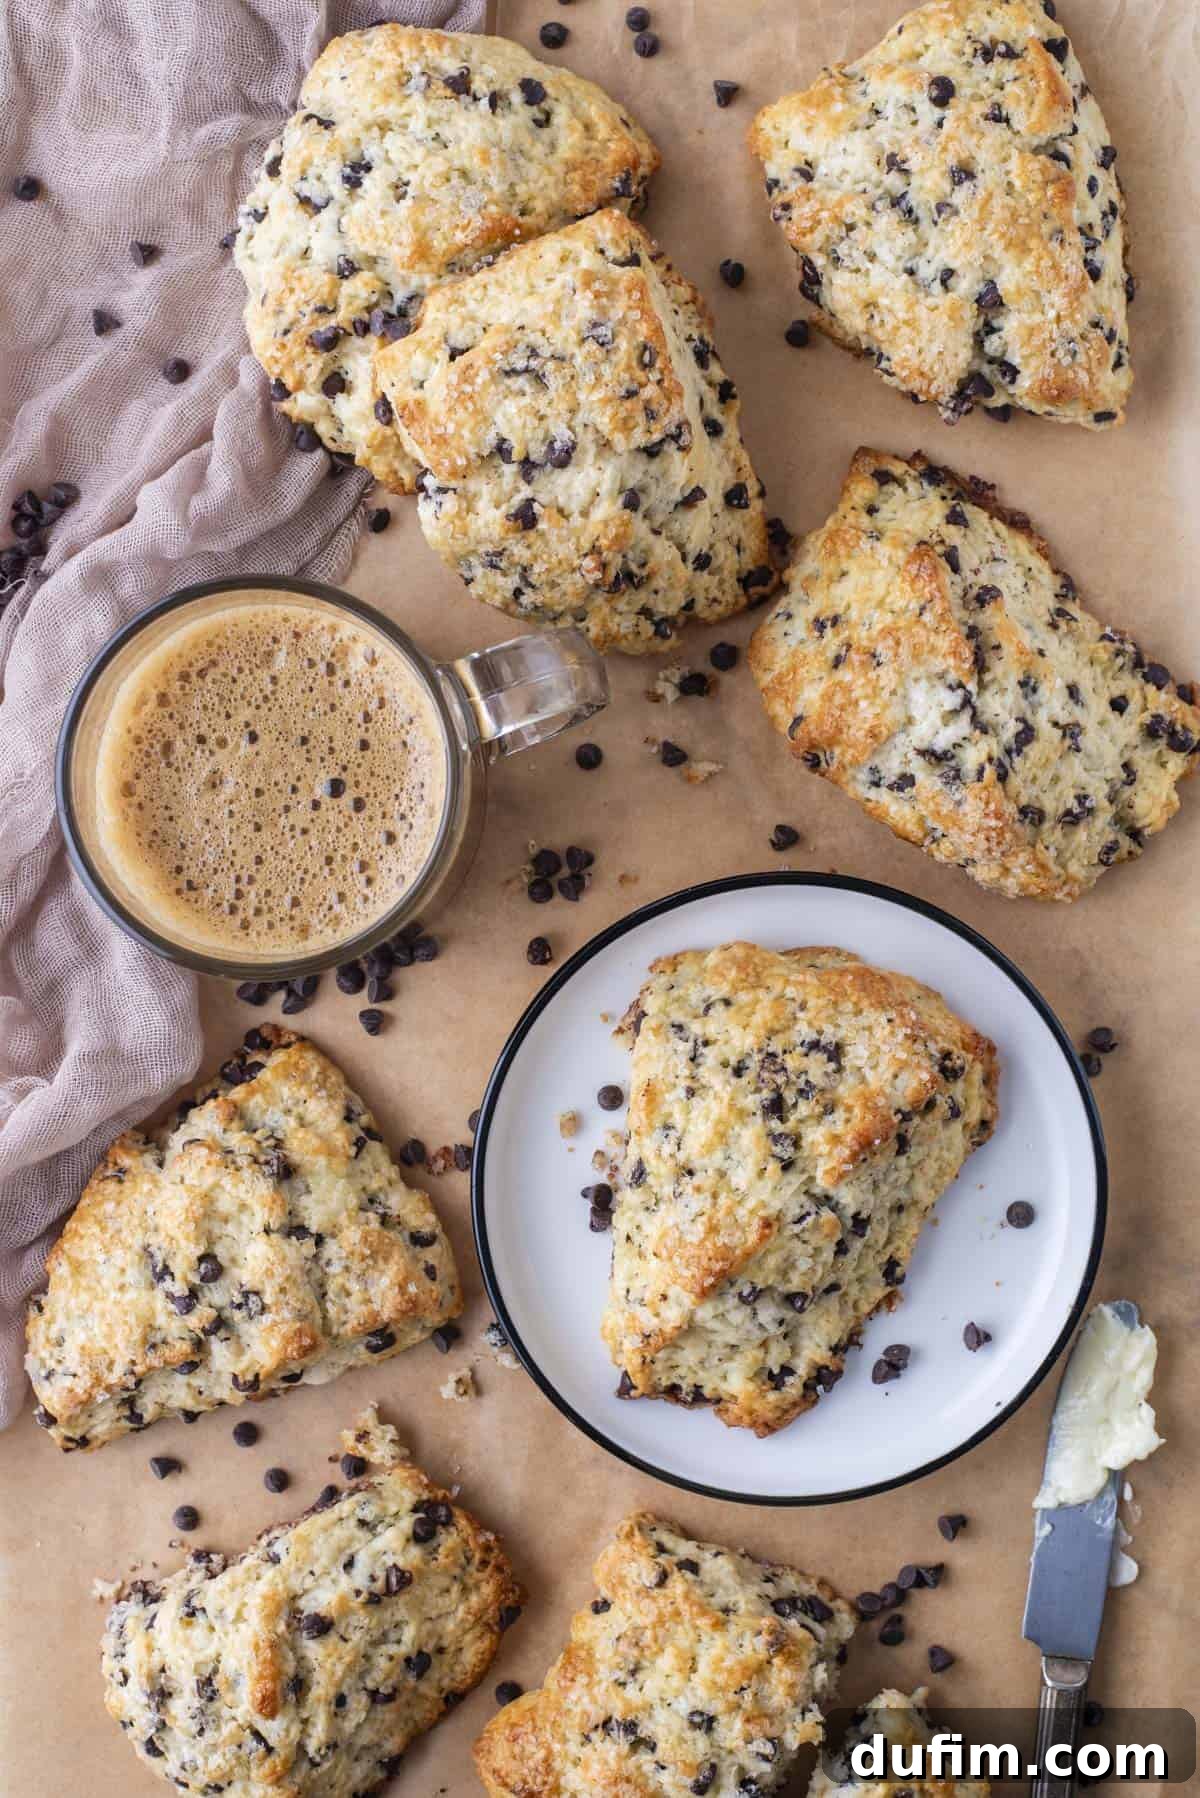
Crafting delicious scones at home can often feel intimidating. Many home bakers encounter challenges like scones that spread too much, turn out dry and dense, or possess an undesirable texture. However, with this comprehensive guide, those worries become a thing of the past. I’ve undertaken all the trial and error for you, uncovering the precise methods and techniques that elevate a simple scone recipe into a truly extraordinary one. The secret lies in a harmonious blend of high-quality ingredients, the transformative lamination process (a fancy term for strategic folding), and the critical step of chilling the dough before it meets the heat of your oven. My recipe is meticulously balanced, ensuring the right ratios of ingredients, and I’ll walk you through my perfected techniques for achieving the tallest, fluffiest, and most irresistibly flaky scones you’ve ever baked.
These are so good. I have made lots of scones and these are by far the best. So easy and delicious.
-Elizabeth
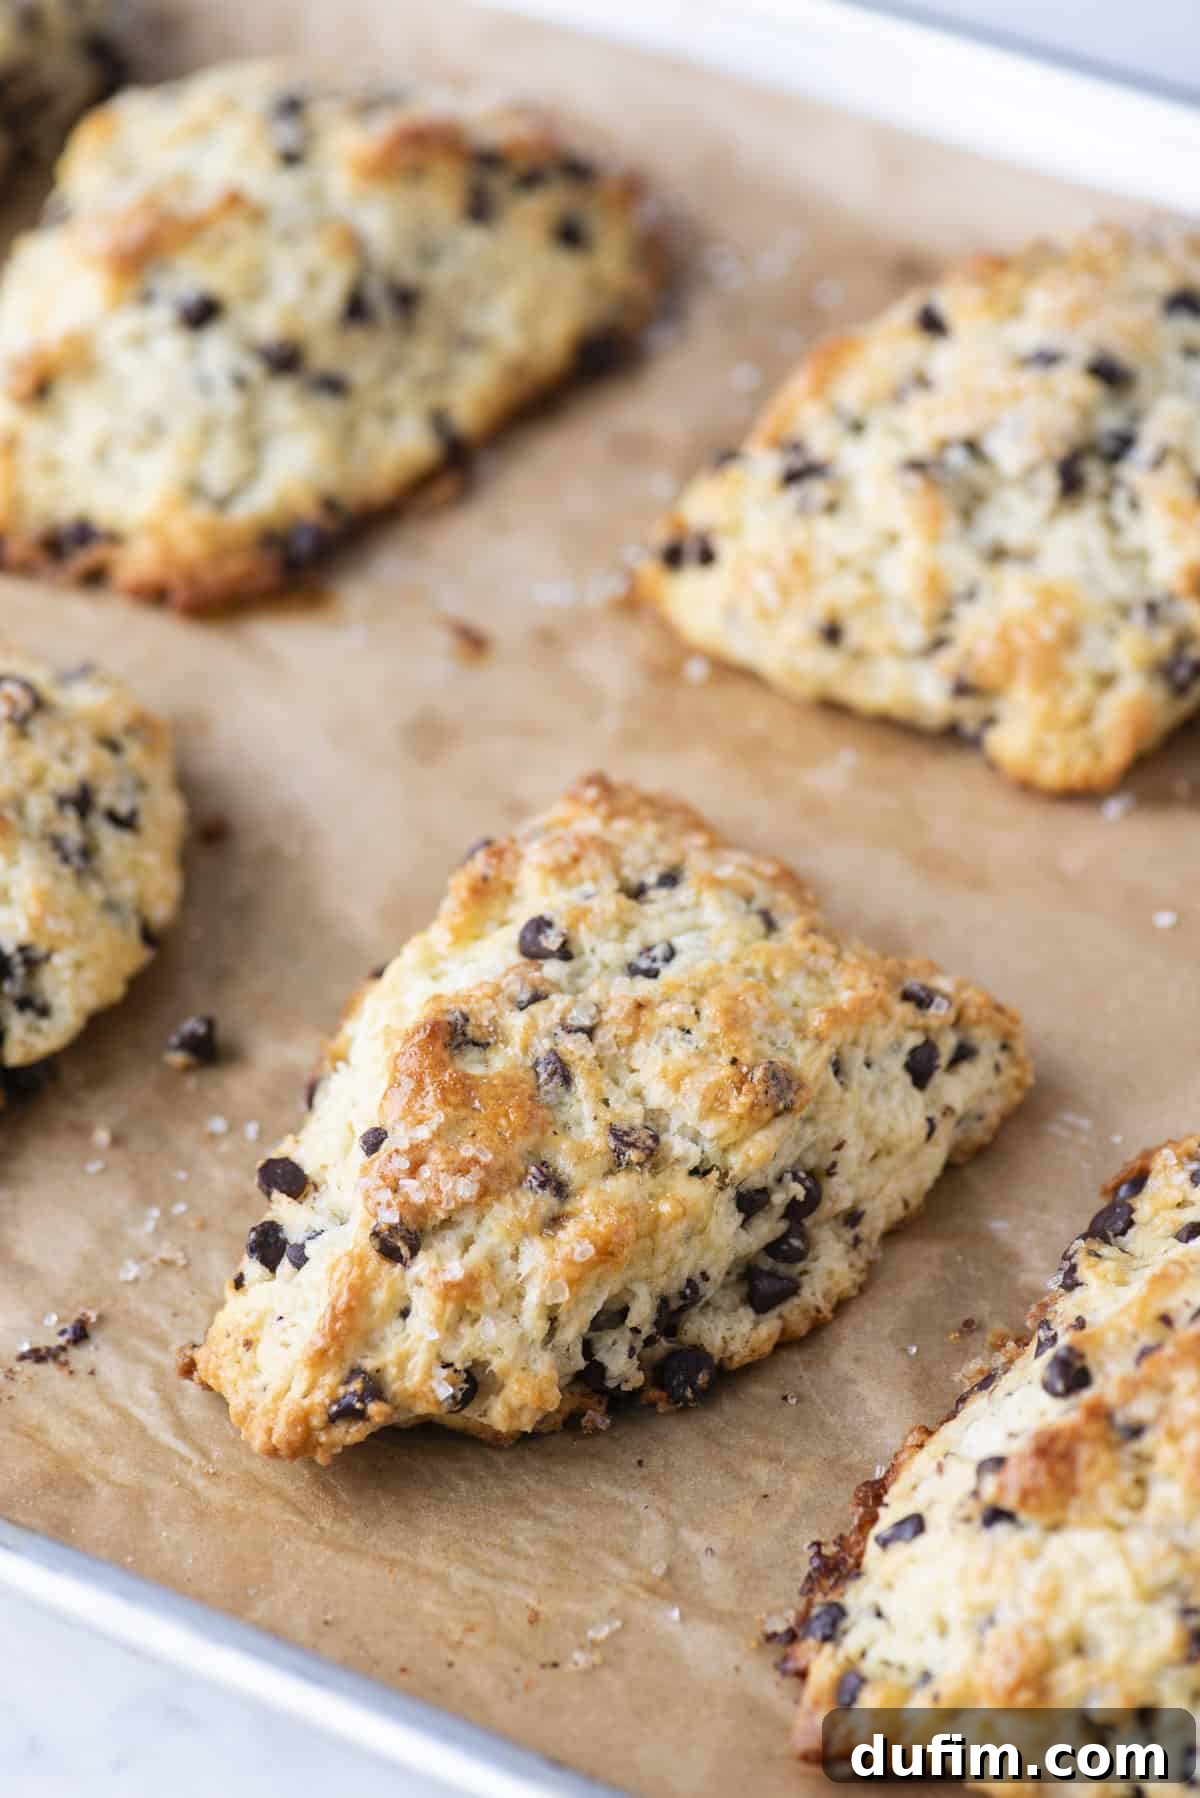
Why Chilling Scone Dough is the Key to Ultimate Flakiness
The cornerstone of creating flaky, tender, and sky-high scones lies in one crucial principle: keeping your butter and dough consistently cold. As you work the scone dough, even with the lightest touch, the warmth from your hands or the ambient kitchen temperature can begin to soften the butter. This premature softening is the enemy of a flaky scone. To counteract this, a vital step is to freeze your shaped scones for at least 30 minutes before they enter the oven.
Freezing the scone dough before baking serves multiple critical functions. Firstly, it helps the scones maintain their beautiful shape, preventing them from spreading excessively into flat discs on the baking sheet. Secondly, and most importantly for texture, it ensures the butter within the dough remains solid and firm. When these small, frigid pockets of butter encounter the intense heat of a preheated oven, they rapidly melt and release steam. This trapped steam forces apart the layers of dough, creating those coveted, delicate, and airy layers that define a truly exceptional scone.
Without adequate chilling, the butter melts too slowly and is absorbed into the dough rather than creating steam. This results in a denser, tougher scone lacking that characteristic flakiness. The contrast between the cold butter and the hot oven is what ignites the magic, transforming simple ingredients into a light, airy, and irresistible treat. Remember, the colder the butter, the flakier your scones will be.
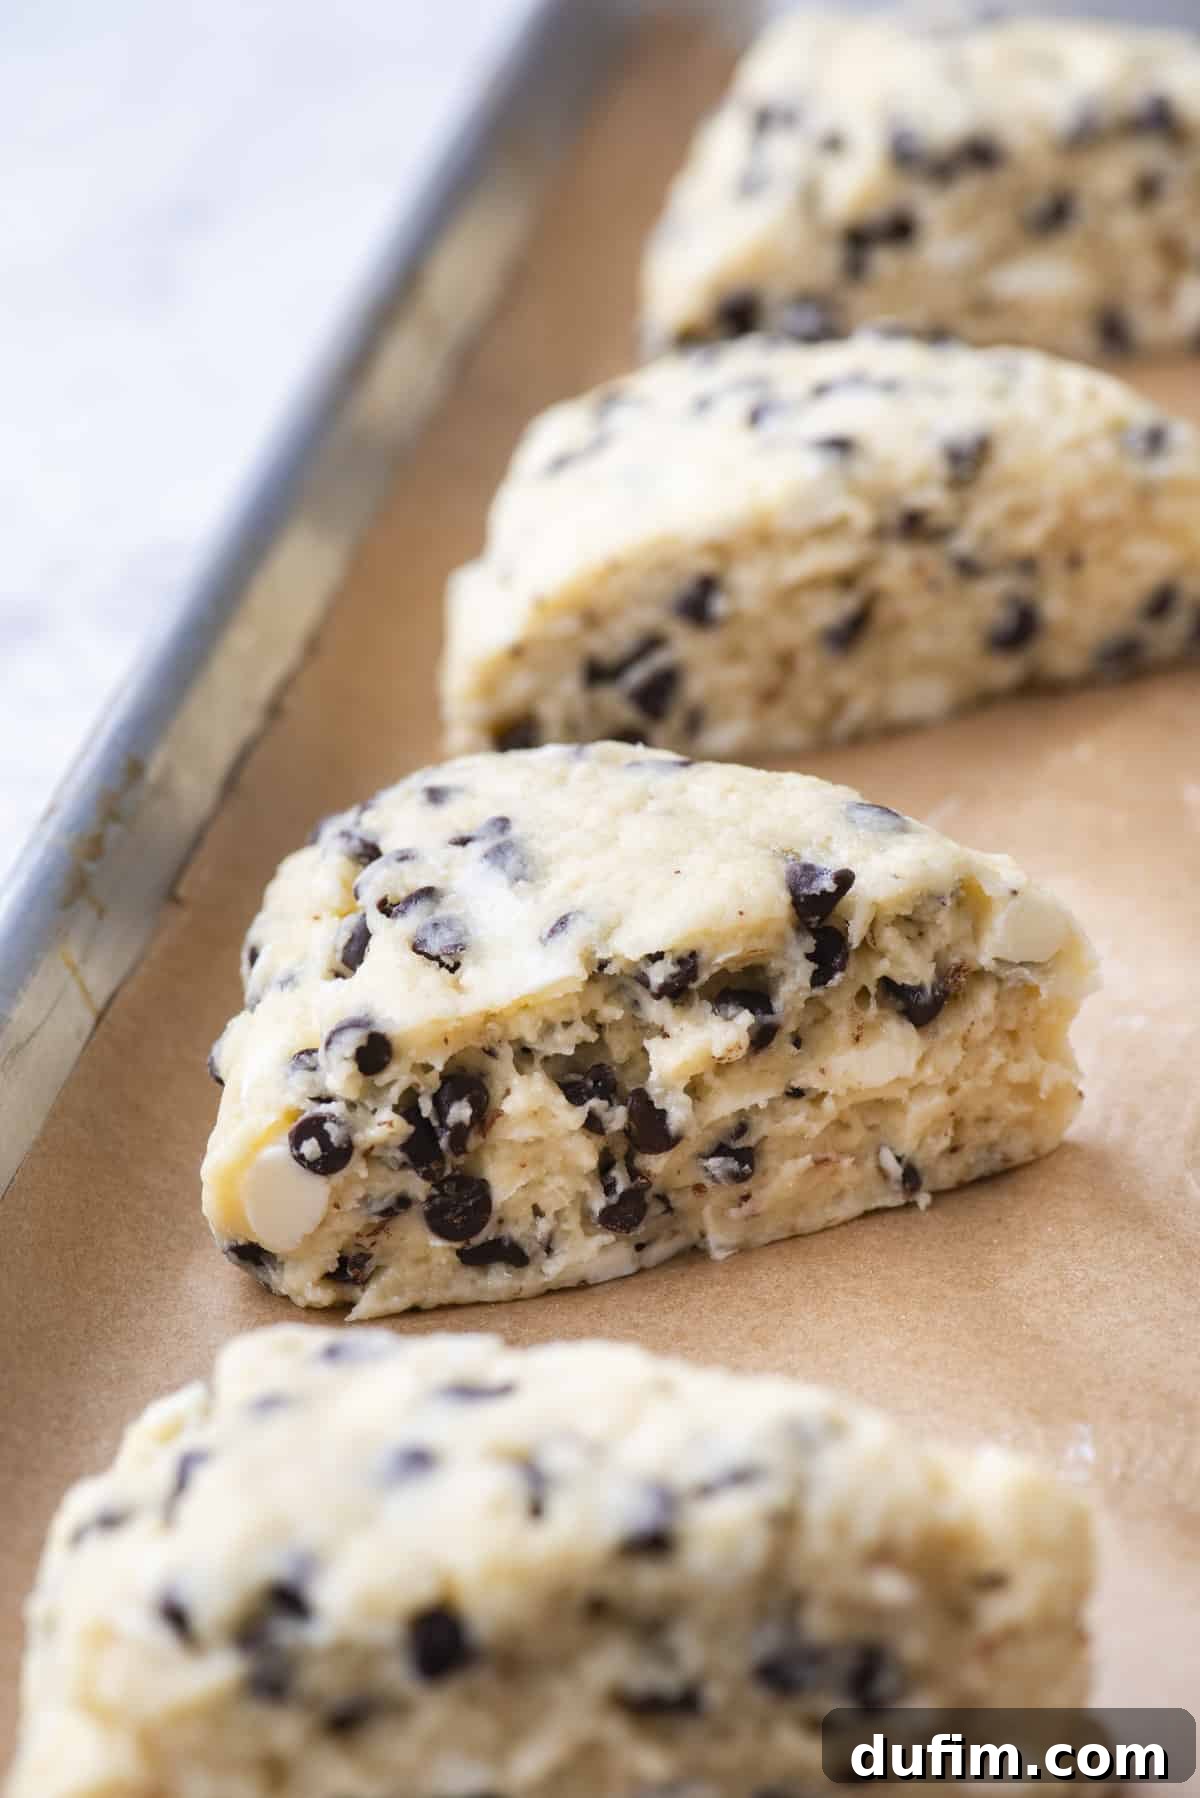
When to Chill the Dough: After cutting your scone dough into wedges, arrange them on a baking sheet, ensuring they are spaced apart. Then, place the entire tray in the freezer. If your recipe calls for an egg wash, a brush of heavy cream, or a sprinkle of coarse sugar, apply these toppings just before the scones are transferred from the freezer directly into the hot oven. Don’t be alarmed if your unbaked scones appear smaller than expected; they will expand significantly during baking thanks to the leavening power of baking powder.
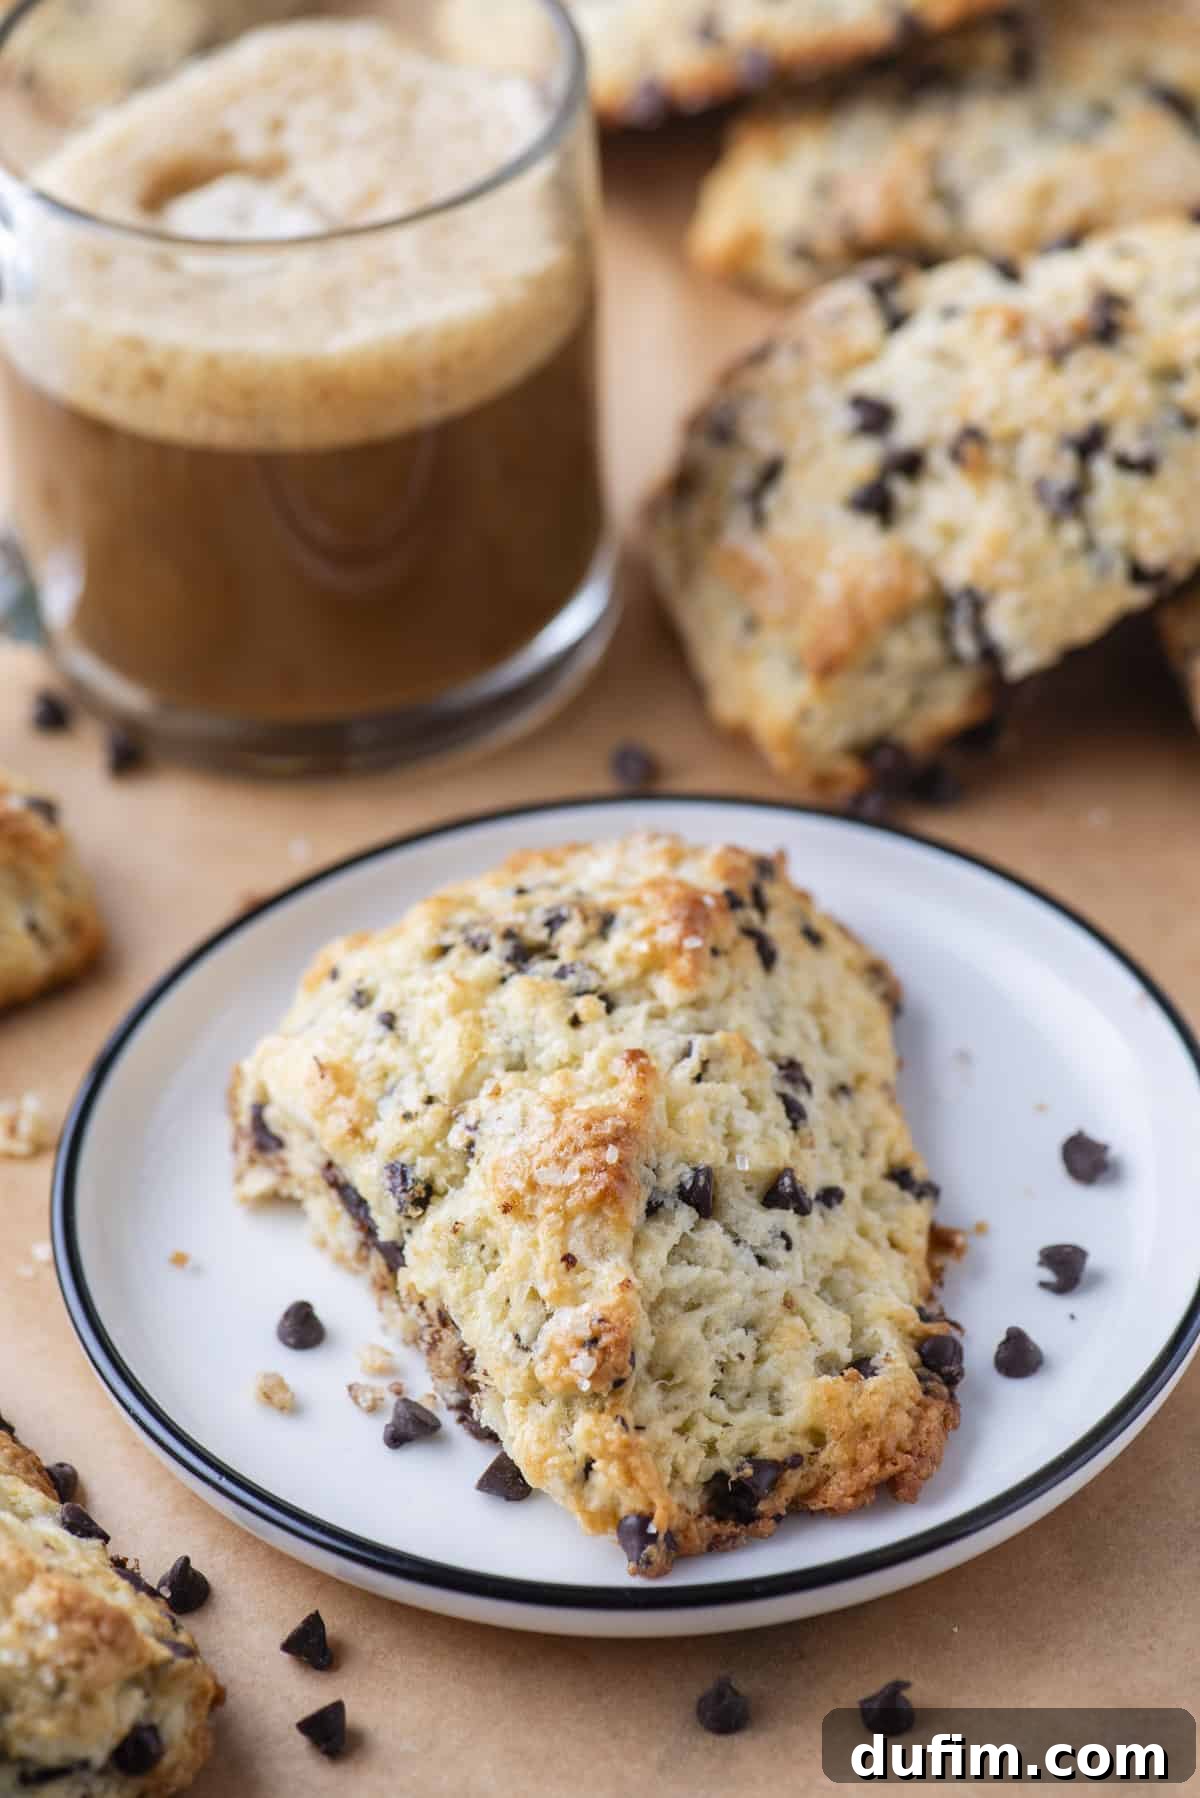
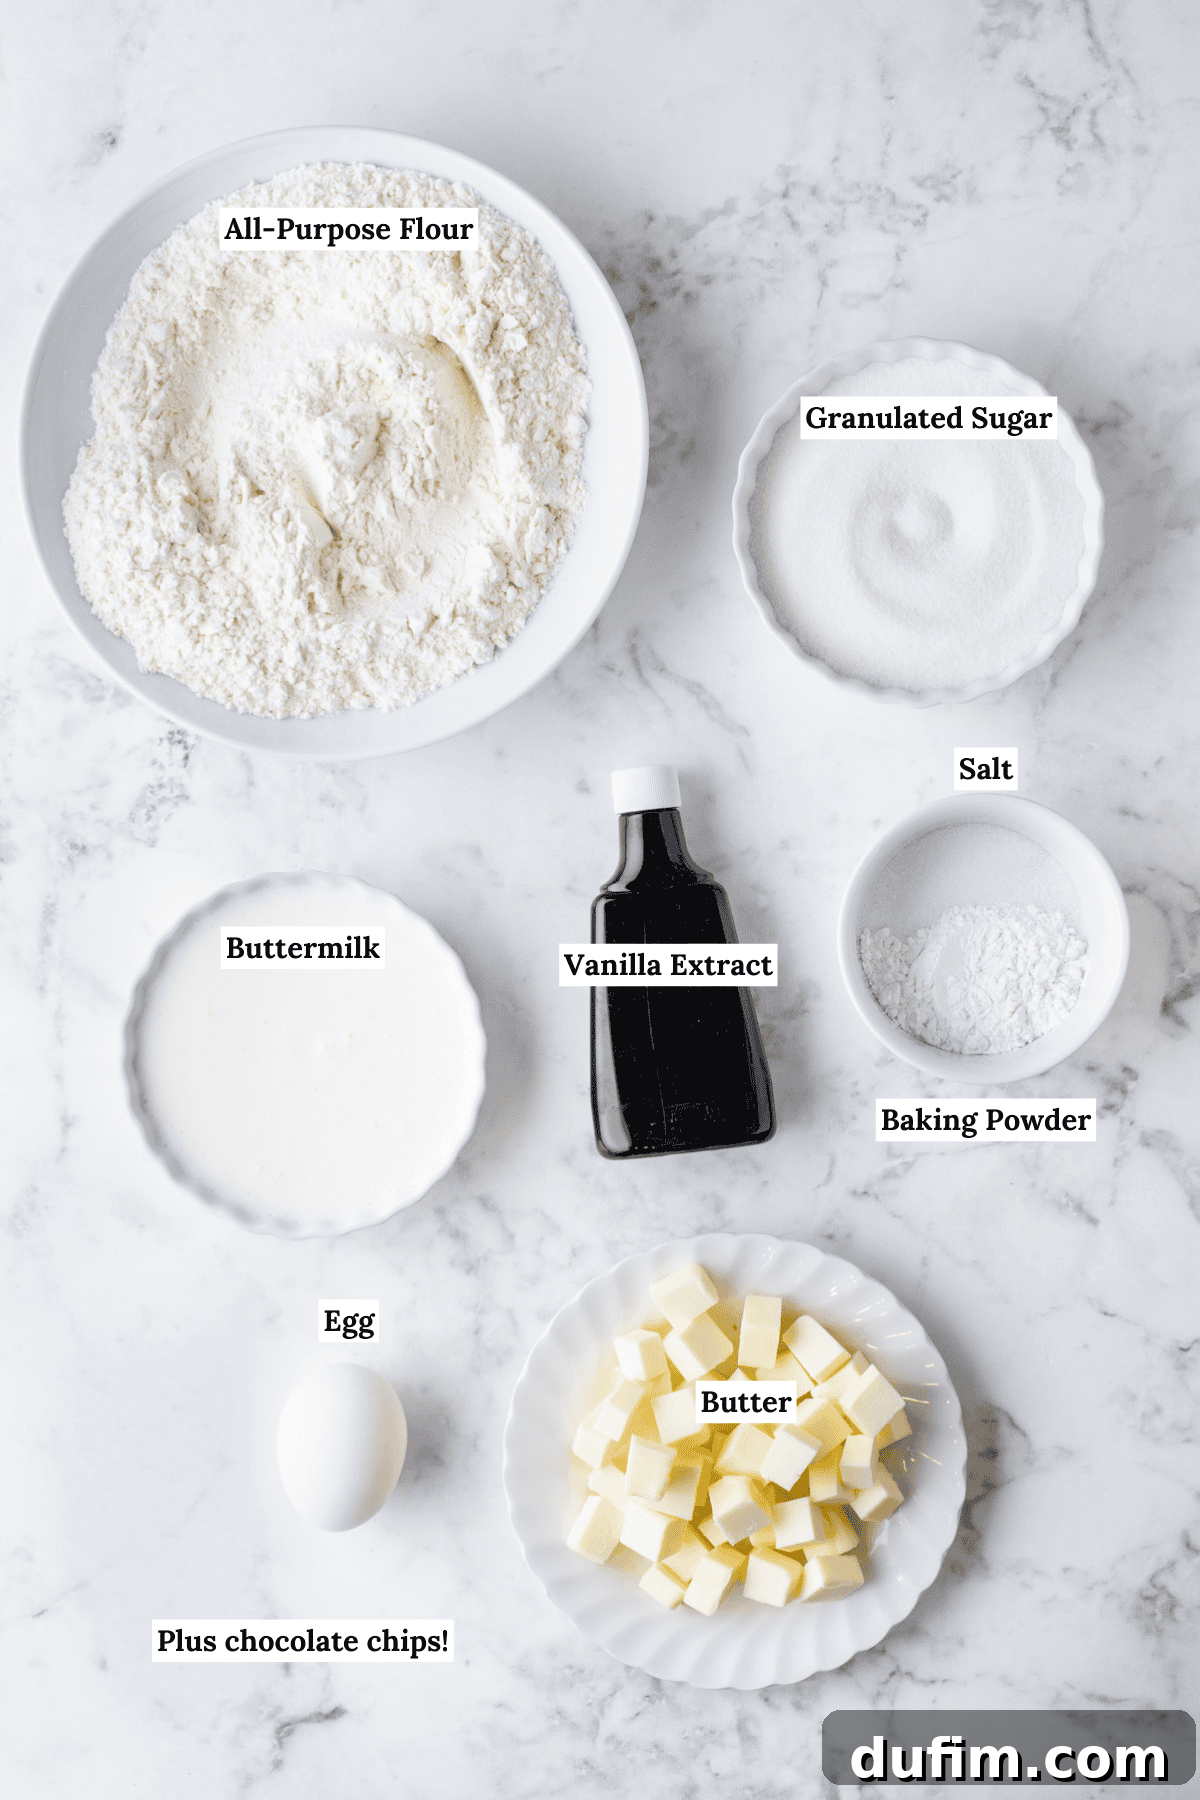
Essential Ingredients for Perfect Chocolate Chip Scones
Every ingredient plays a crucial role in achieving the perfect balance of flavor and texture in these bakery-style scones. Understanding their individual contributions will help you appreciate the science behind a truly great scone.
- All-Purpose Flour: This is the structural foundation of our scones. It provides the necessary framework and gluten development, which, when handled correctly, results in a tender crumb. Using a kitchen scale for precise measurement (270g) is highly recommended for consistent results.
- Granulated Sugar: Beyond just sweetness, sugar contributes to the overall flavor profile, aids in browning the exterior for that beautiful golden hue, and helps keep the scones moist.
- Baking Powder: Our primary leavening agent, baking powder reacts with the acidic buttermilk and heat to create carbon dioxide bubbles. These bubbles are responsible for the scone’s impressive lift and fluffy texture. Ensure your baking powder is fresh for maximum efficacy.
- Salt: A pinch of salt is vital for balancing the sweetness of the sugar and chocolate, enhancing all the other flavors, and preventing the scones from tasting bland.
- Cold Unsalted Butter, Cubed: This is perhaps the most important ingredient for texture. Keeping the butter cold and cutting it into small, pea-sized pieces is essential. As mentioned earlier, cold butter creates steam during baking, leading to incredibly flaky layers. Unsalted butter allows you to control the exact amount of salt in the recipe.
- Buttermilk: The magic ingredient for tenderness! Buttermilk is acidic, which reacts beautifully with the baking powder to create lift. Its tang adds a subtle depth of flavor, while its rich consistency contributes to an incredibly moist and tender crumb that regular milk simply cannot replicate.
- Vanilla Extract: A splash of good quality vanilla extract adds a warm, aromatic note that complements the chocolate chips perfectly, rounding out the overall flavor.
- Large Egg: The egg acts as a binder, providing structure and richness to the dough. It helps hold everything together and contributes to a slightly richer flavor and golden color.
- Chocolate Chips or Chunks: The star of the show! Use your favorite variety – milk, semi-sweet, or dark chocolate chips will all work wonderfully. Mini chips distribute more evenly throughout the dough, but regular-sized chunks create delightful pockets of melted chocolate.
How to Bake Irresistible Chocolate Chip Scones: A Step-by-Step Guide
Follow these detailed instructions carefully to achieve perfectly fluffy and flaky chocolate chip scones every time.
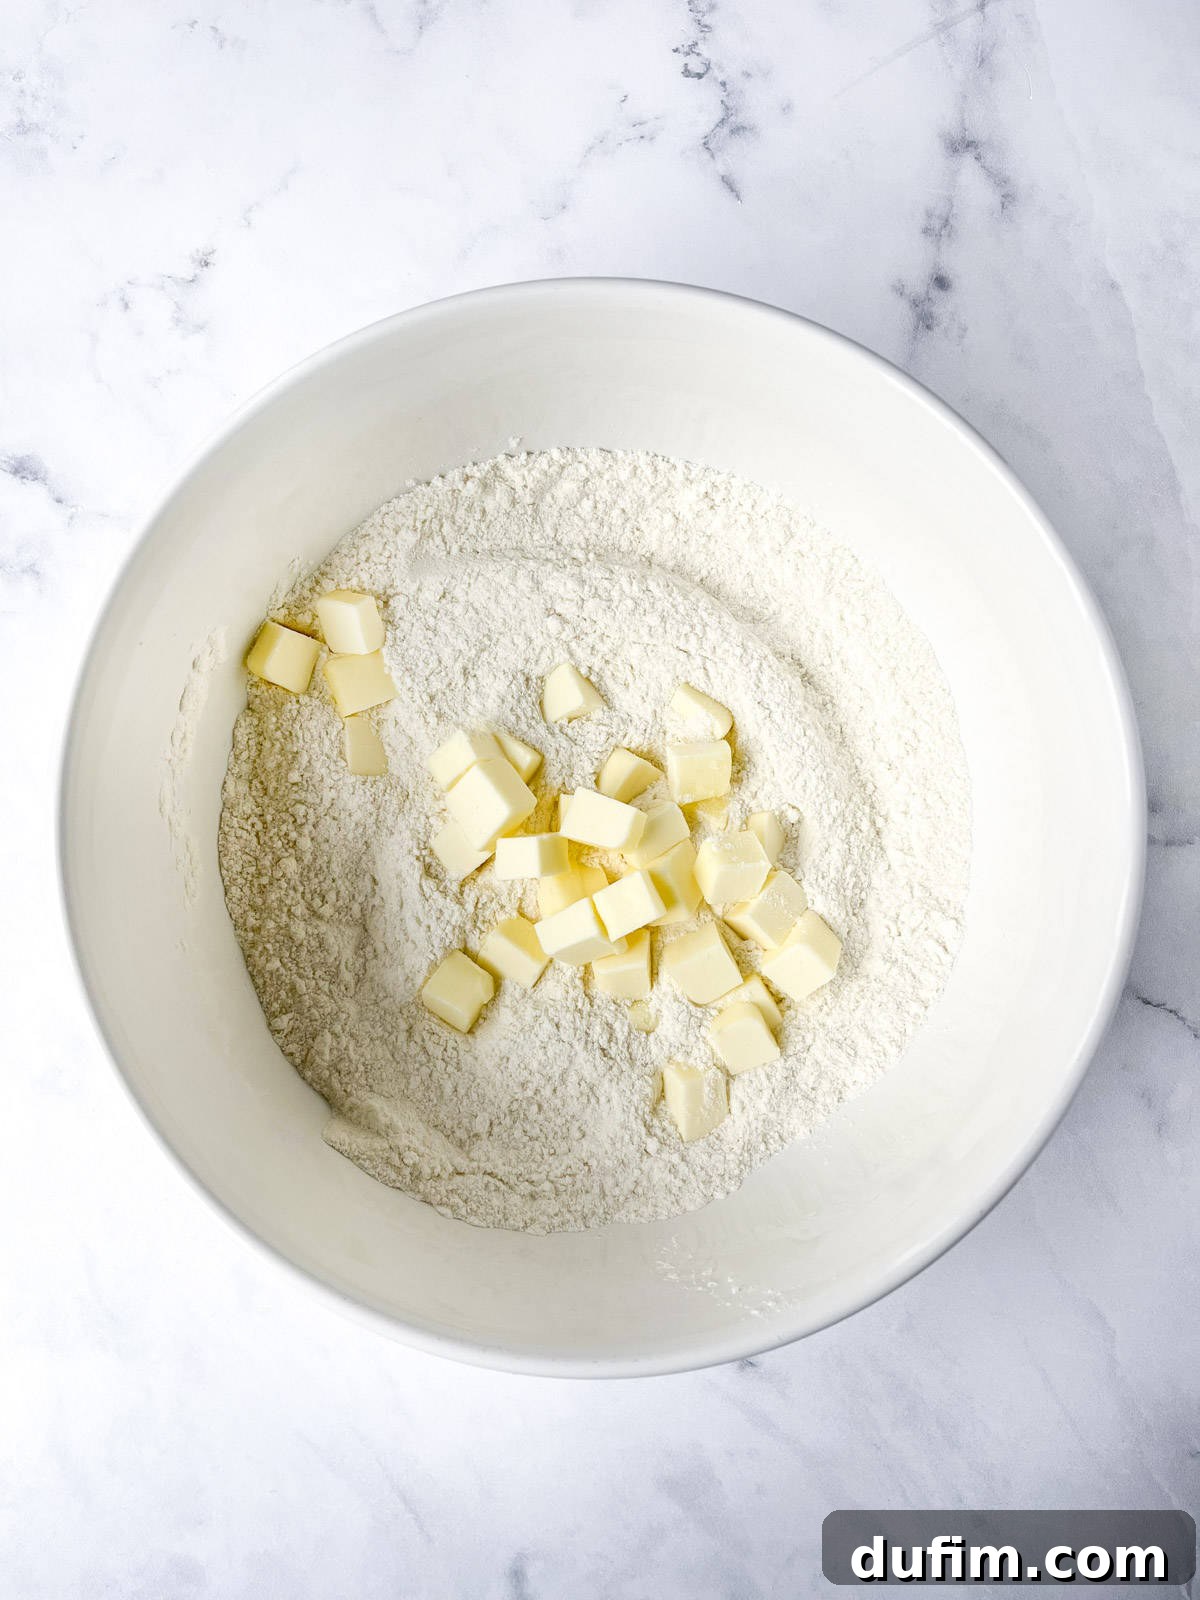
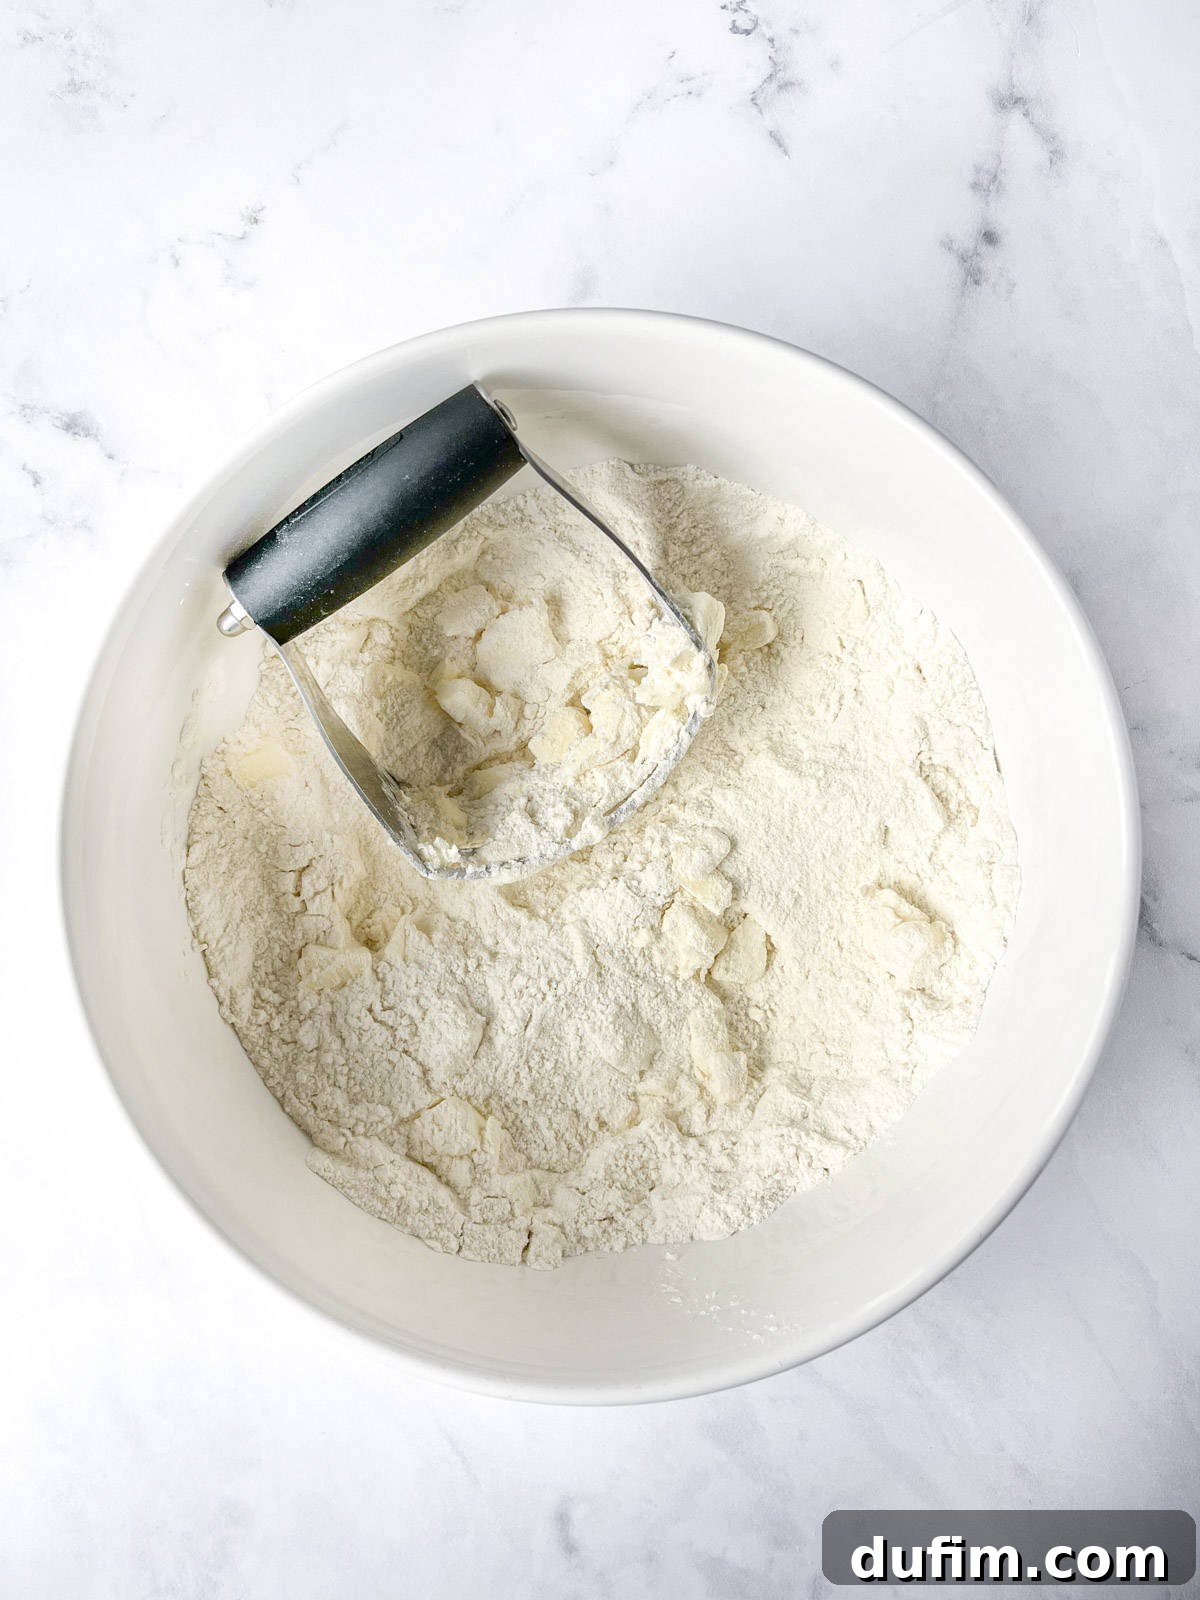
- Combine Dry Ingredients and Cut in Butter: In a large mixing bowl, thoroughly whisk together the all-purpose flour, granulated sugar, baking powder, and salt. Add the cold, cubed unsalted butter to the dry mixture. Using your fingertips or a pastry cutter, work the butter into the flour until the mixture resembles coarse crumbs with some pea-sized pieces of butter still visible. Avoid overworking the butter; larger pieces are good for flakiness.
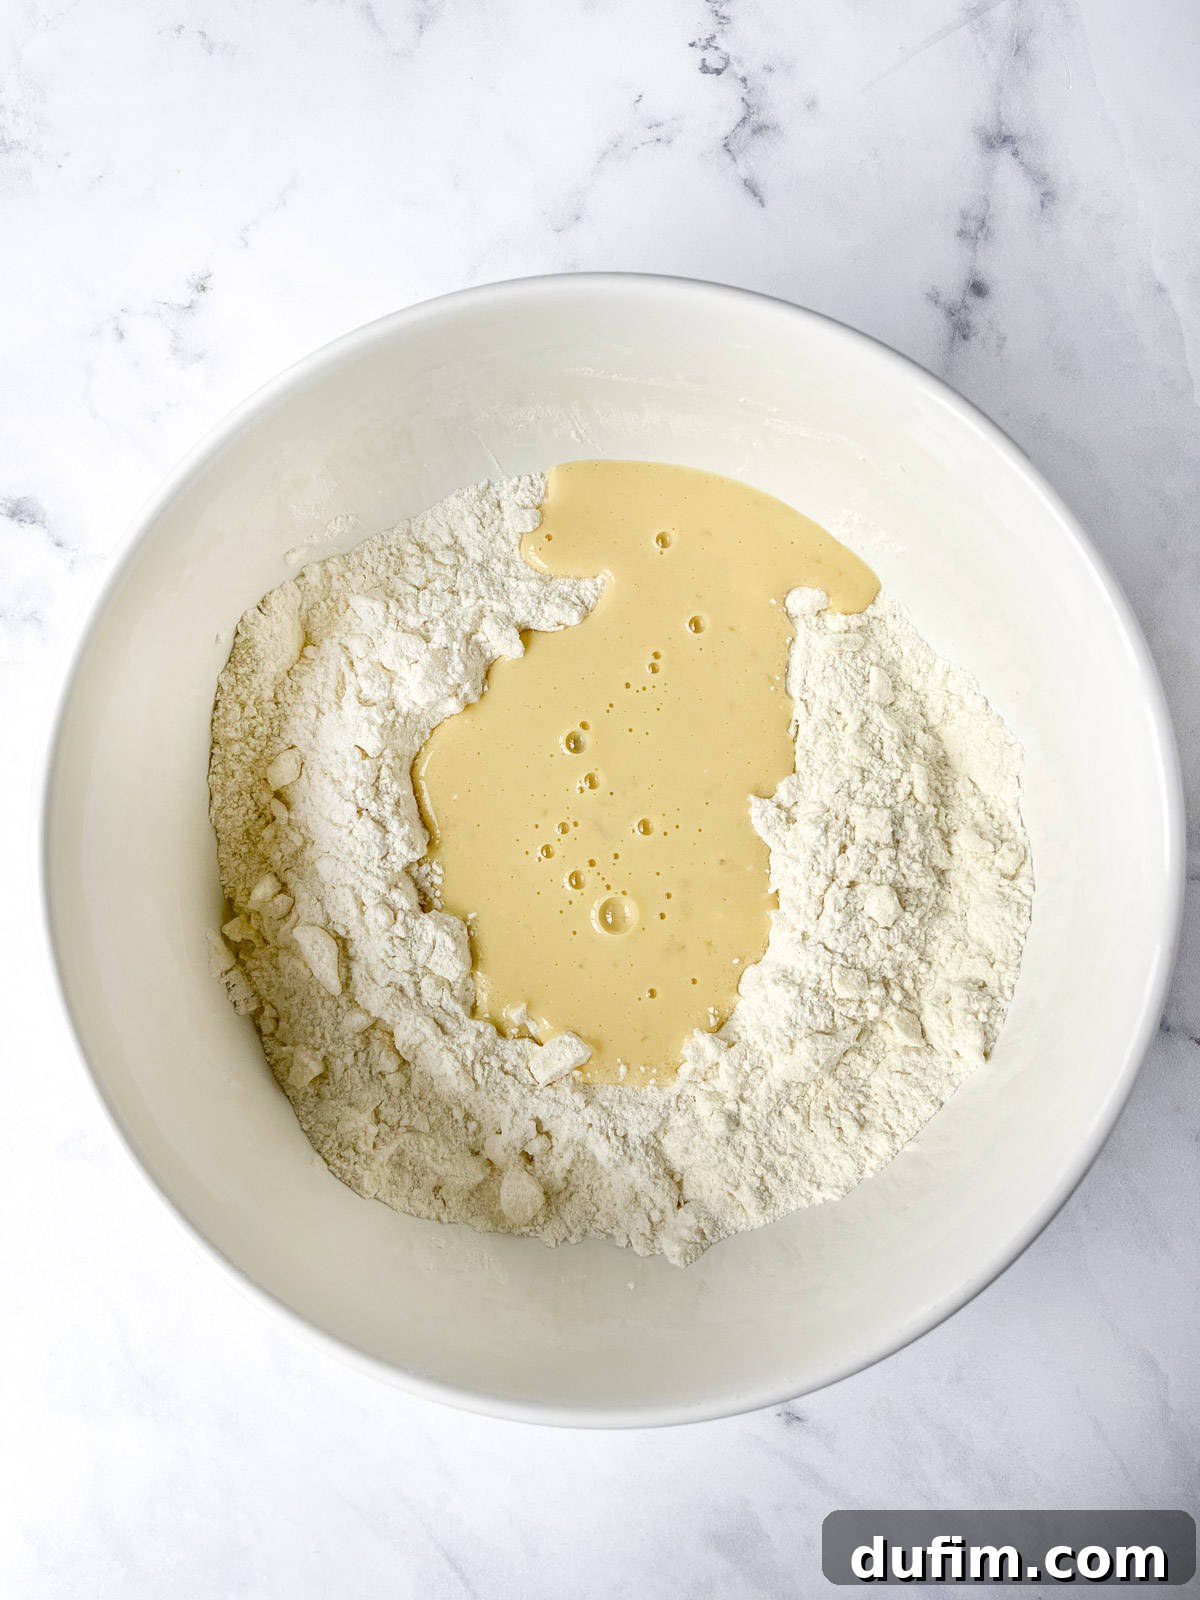
- Add Wet Ingredients and Chocolate Chips: Create a small well in the center of your flour and butter mixture. Pour in the cold buttermilk, vanilla extract, and the lightly beaten large egg. Using a sturdy spatula, gently fold the wet ingredients into the dry until a thick, sticky dough begins to form. Be careful not to overmix; just combine until no dry streaks of flour remain. Finally, gently fold in your chosen chocolate chips until they are evenly distributed.
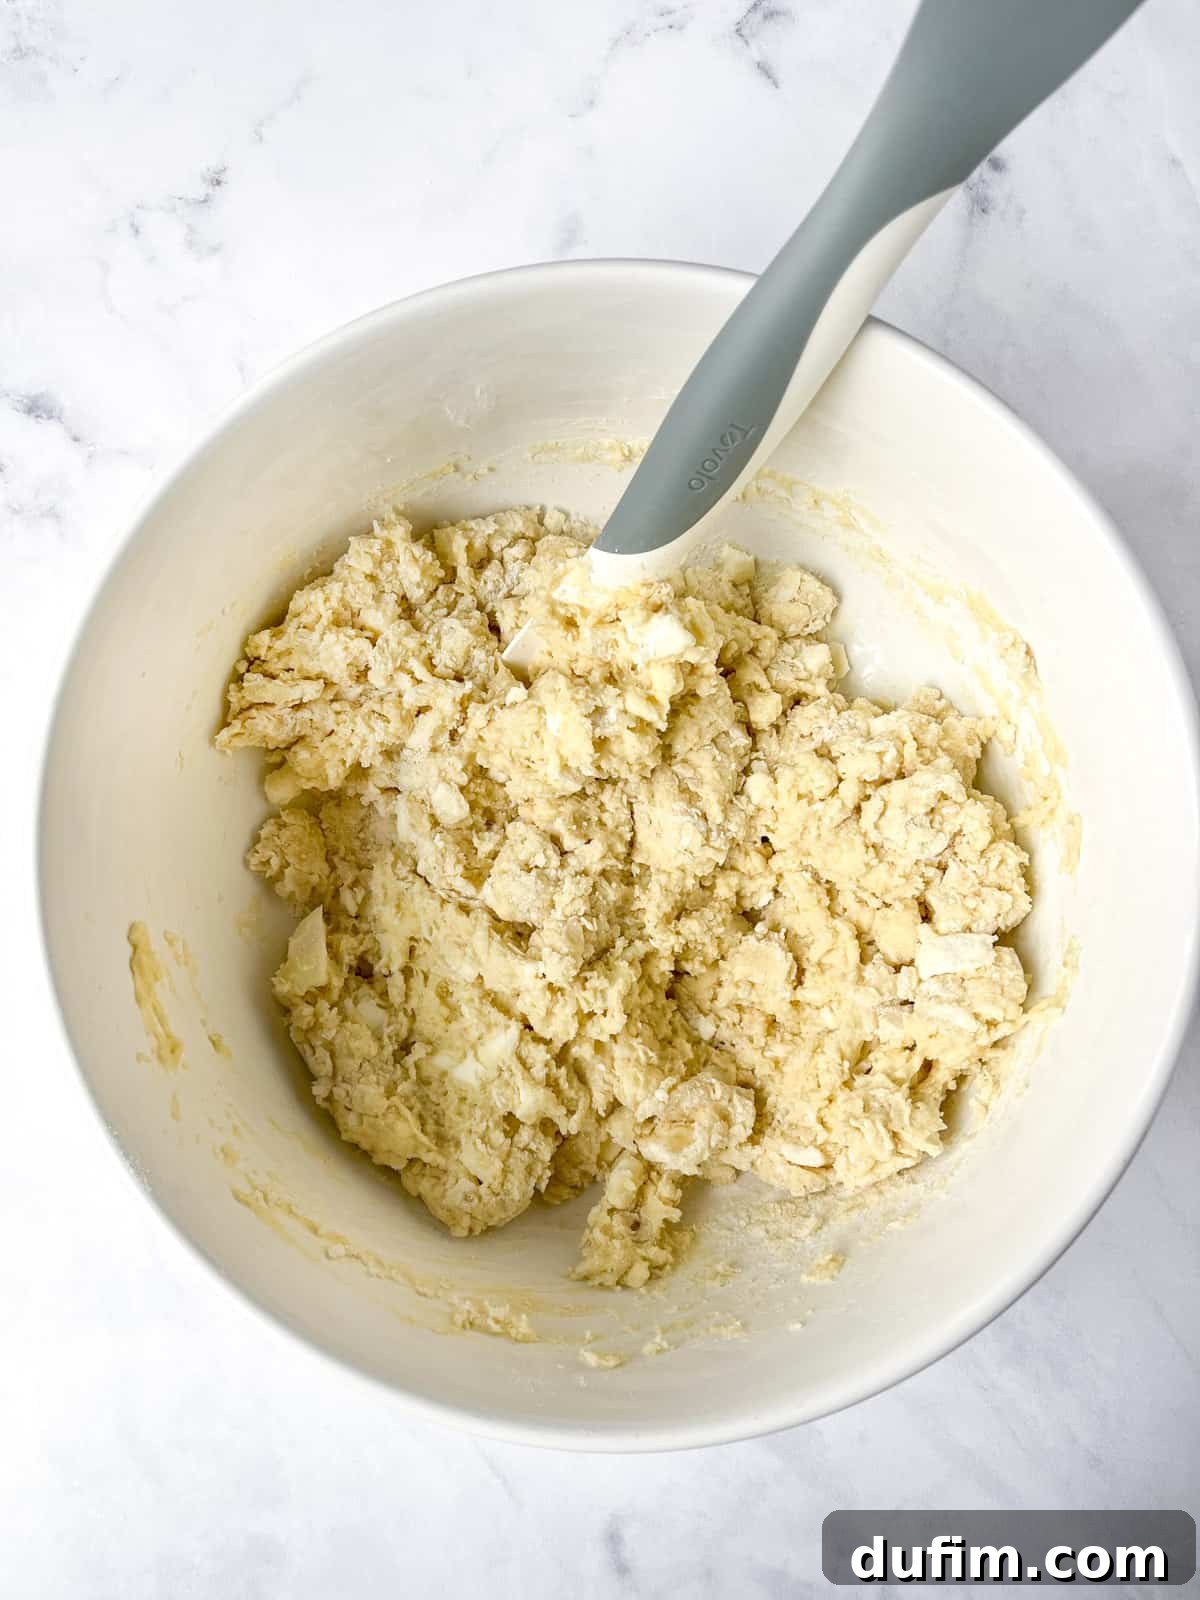
- Lightly Knead the Dough: Turn the sticky dough out onto a lightly floured silicone baking mat or a clean kitchen counter. Gently knead the dough a few times, just until any remaining loose flour is fully incorporated and the dough comes together. If the dough feels excessively sticky, add 1-2 additional tablespoons of flour, but be cautious not to add too much, as this can lead to dry scones.
- Perform the Lamination Technique: This step is crucial for achieving those desirable tall, flaky layers. Gently pat the dough into a rough rectangle. Fold the dough in half (like a book). Press it down slightly with your hands or a rolling pin. Then, rotate the dough 90 degrees and fold it in half again. Repeat this folding and turning process 4-5 times. This creates multiple thin layers of butter and dough, which will steam and separate during baking.
- Shape and Briefly Chill the Disc: After lamination, gently shape the dough into a round disc, approximately 8-10 inches in diameter and about 1.5 to 2 inches thick. Transfer this disc to a plate or a small baking sheet and refrigerate it for 5-10 minutes. This brief chill helps the dough firm up slightly before cutting, making it easier to handle.
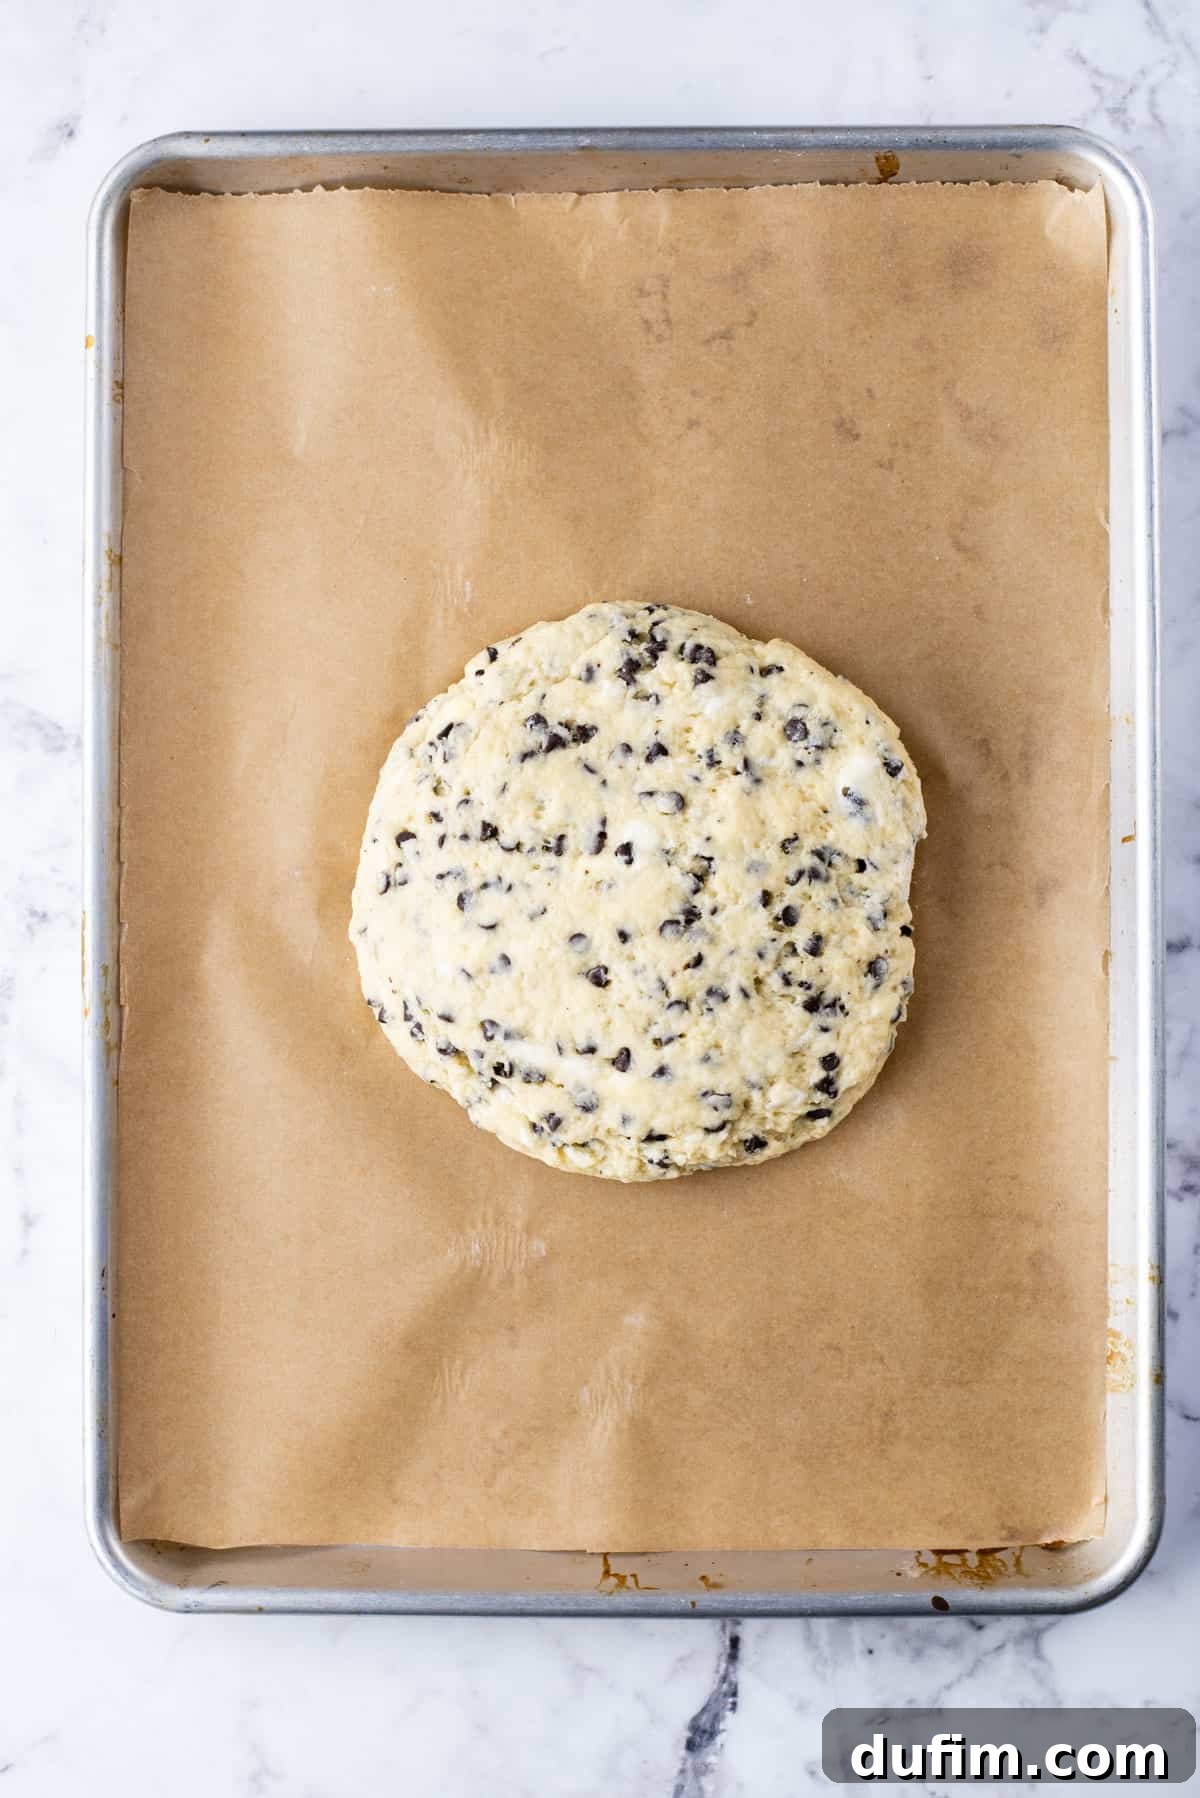
- Cut into Wedges: Using a sharp knife or a pizza cutter, cut the chilled dough disc into 8 equal wedges, just like slicing a pizza.
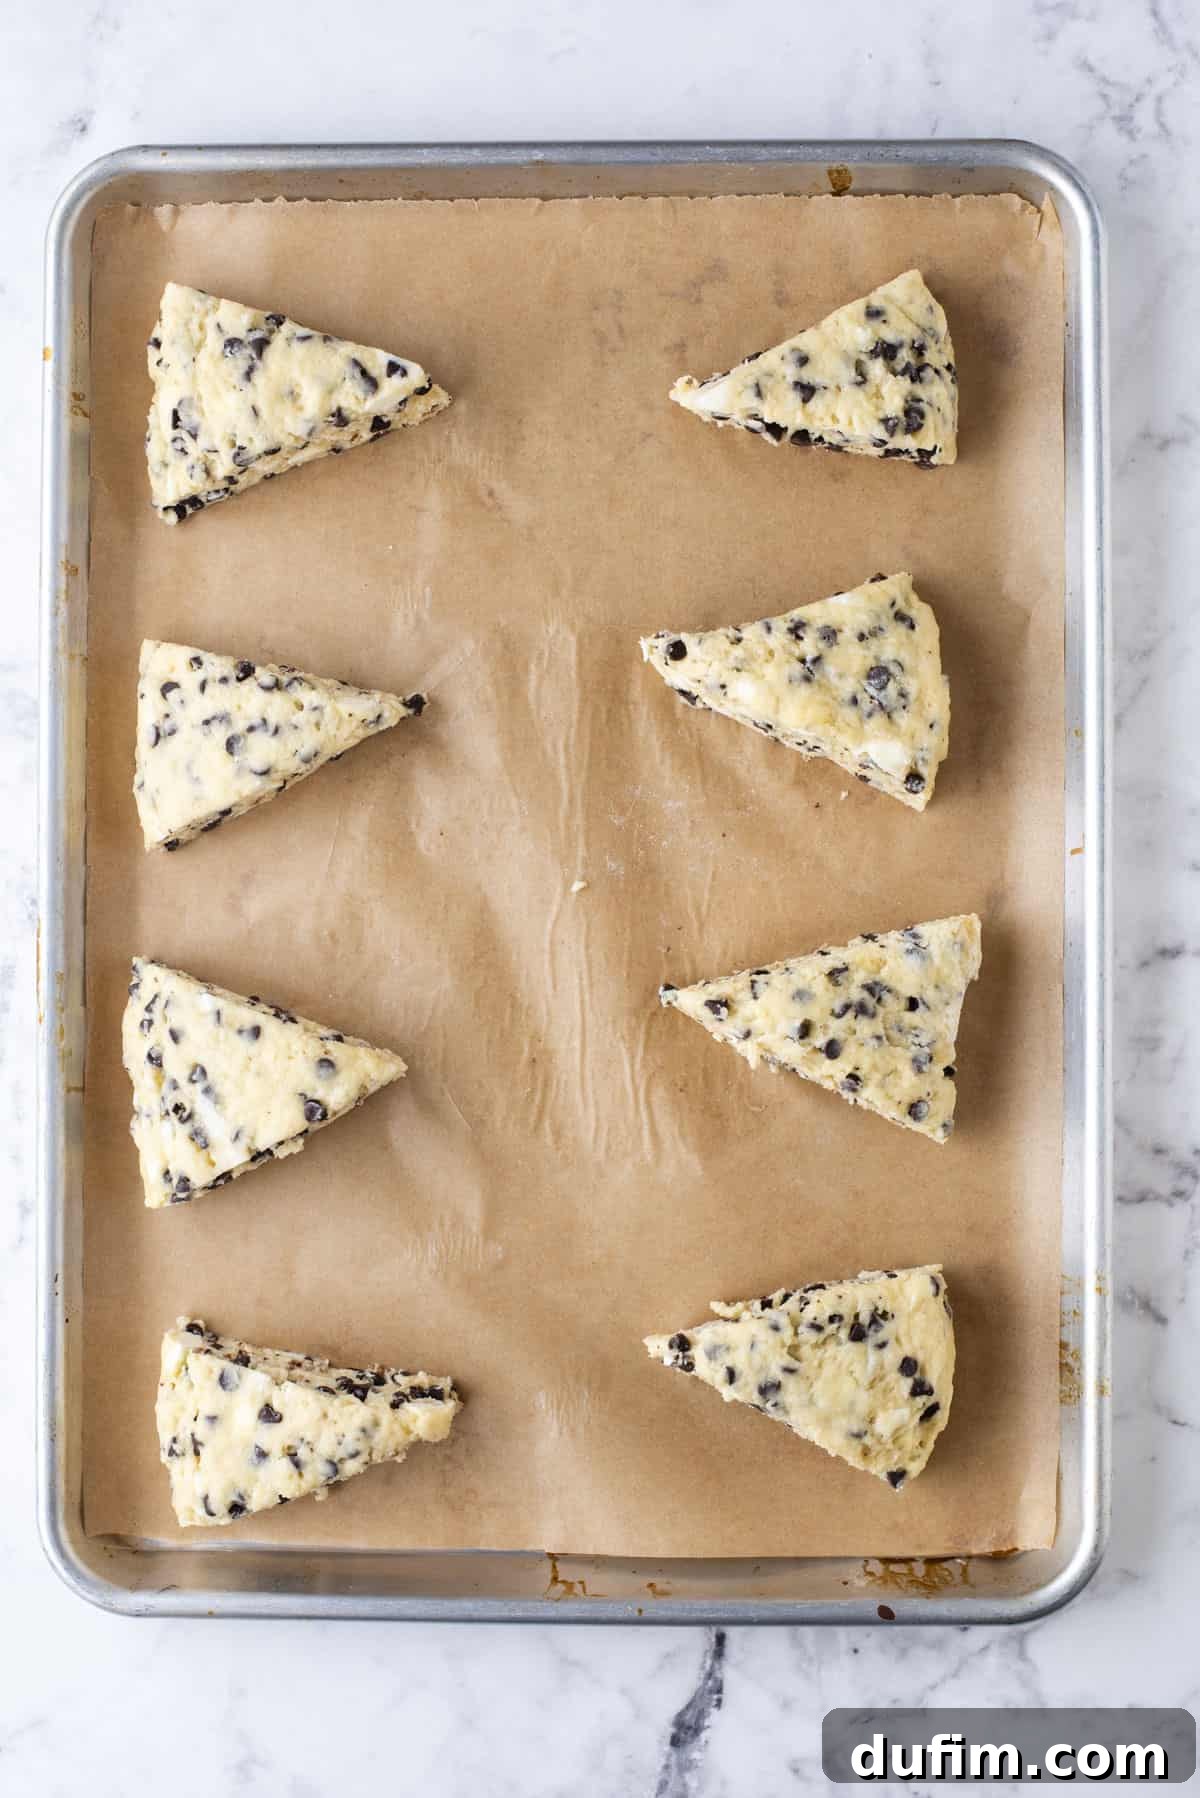
- Arrange on Baking Sheet: Line a large baking sheet with a silicone mat or parchment paper. Place the scone wedges on the prepared baking sheet, ensuring they are spaced 2-3 inches apart to allow for proper air circulation and expansion during baking.
- Final Freeze and Preheat Oven: Place the entire baking sheet with the cut scones into the freezer for a crucial 30 minutes. During the last 5 minutes of this freezing time, preheat your oven to 400°F (200°C). This ensures the oven is thoroughly hot when the cold scones go in.
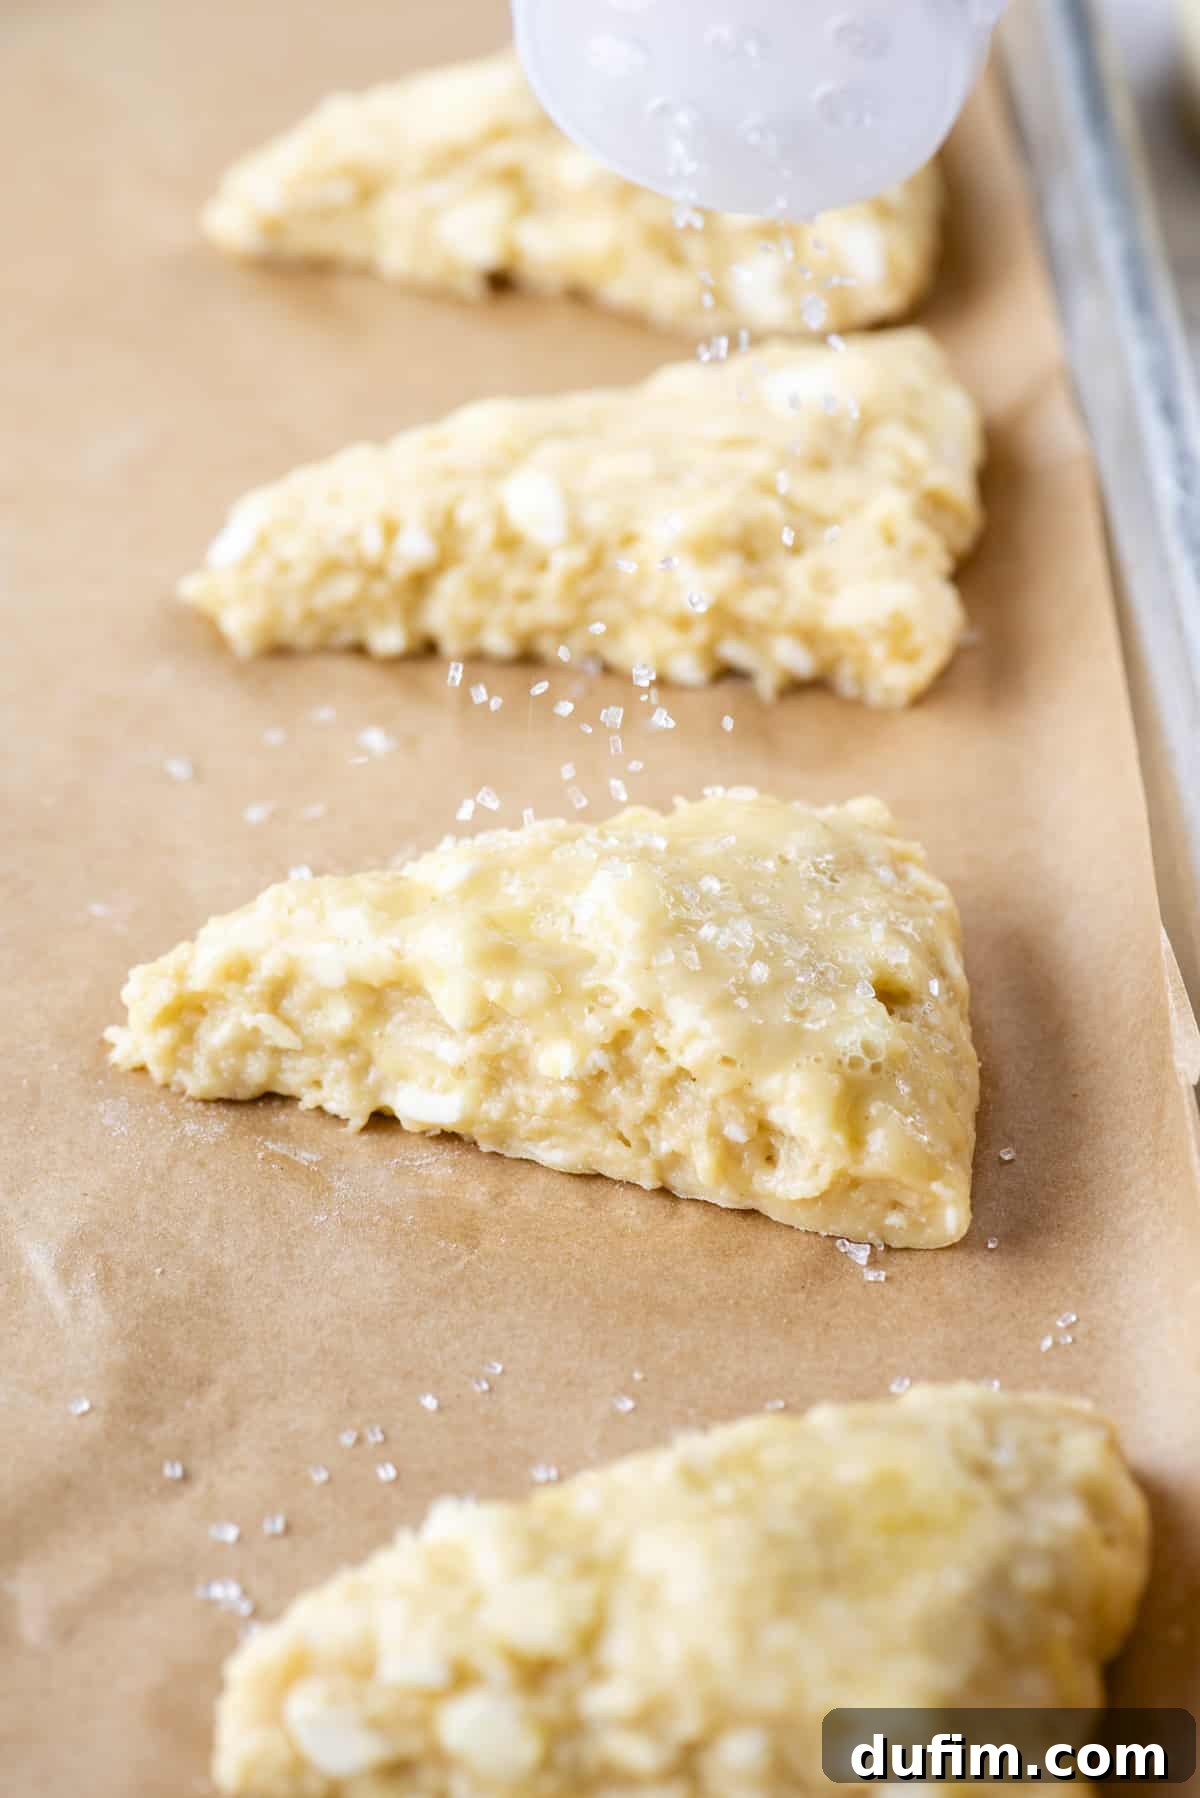
- Apply Wash and Sugar (Optional): Just before transferring the scones to the oven, brush the tops with an egg wash (one large egg beaten with 1 tablespoon of water), buttermilk, or heavy cream. For an extra touch of bakery charm and a delightful crunch, sprinkle coarse sanding sugar over the tops.
- Bake to Golden Perfection: Bake the scones in the preheated oven for 20-26 minutes, or until they are beautifully golden brown on top and cooked through. The internal temperature should reach about 200-205°F (93-96°C). Allow the freshly baked scones to cool on the baking sheet for a few minutes before transferring them to a wire rack to cool completely.
Expert Tips for Fluffy and Flaky Chocolate Chip Scones
Achieving bakery-quality scones consistently relies on understanding a few key principles:
- Embrace the Cold Butter: This cannot be stressed enough. Always use butter that is straight from the refrigerator and cut it into small cubes. Incorporate it quickly into the flour mixture using a pastry cutter or your fingertips to minimize warmth transfer. The colder the butter, the better the flakiness.
- Handle with Care – Avoid Overmixing: Scone dough is delicate. Overmixing develops gluten, leading to tough, dense scones rather than light and fluffy ones. Mix only until the ingredients are just combined and no dry flour streaks remain. A gentle hand is your best friend here.
- Precision in Shaping: While not strictly necessary for flavor, using a ruler to ensure your dough disc is approximately 8-10 inches in diameter and 1.5 to 2 inches tall will help achieve uniformly sized and consistently baked scones. Even thickness is key for even baking.
- The Essential Freeze: Freezing the shaped scones for 30 minutes before baking is a non-negotiable step for tall, flaky results. This firms up the butter, ensuring it melts slowly and creates steam for maximum lift and separation of layers.
The Lamination Secret for Tall, Flaky Scones
Lamination is the professional baker’s technique for creating those wonderfully tall, flaky layers in pastries like croissants and puff pastry. While it sounds complex, laminating scone dough is surprisingly simple and makes all the difference in achieving that desired bakery texture.
Lamination works by strategically folding the dough multiple times, creating numerous thin layers of butter sandwiched between layers of dough. During the baking process, as the oven heats up, the cold butter melts and turns into steam. This steam is trapped between the dough layers, causing them to puff up and separate, resulting in a beautiful, airy, and flaky structure that simply cannot be achieved with traditional mixing methods alone.
To laminate your scone dough, once it’s mixed and just come together, gently pat it into a rough rectangle. Fold the dough in half, pressing down lightly to seal. Then, rotate the dough 90 degrees and fold it in half again. Repeat this simple folding and turning process 4-5 times. This brief, gentle handling is enough to create those incredible layers without overworking the dough. It’s a small step that yields monumental results in texture.
Buttermilk Chocolate Chip Scone Recipe: Substitutions and Variations
While this recipe is perfected with buttermilk, there’s flexibility to adapt to what you have on hand or to explore different flavor profiles.
Buttermilk Alternatives
If you don’t have buttermilk readily available, heavy cream makes an excellent substitute. It will yield a scone with a richer, more indulgent flavor and a slightly denser, yet still tender, crumb. I do not recommend substituting regular milk, as its lower fat content and lack of acidity will not produce the same tender texture and impressive rise that buttermilk or heavy cream provides.
DIY Buttermilk: If you’re out of buttermilk but have regular milk and lemon juice or white vinegar, you can easily make your own. For ½ cup of buttermilk, add ½ tablespoon of lemon juice or white vinegar to a liquid measuring cup, then fill the rest of the way with milk (any fat percentage is fine, but whole milk works best). Stir gently and let it sit for 5-10 minutes until it looks slightly curdled. This quick homemade version works wonderfully in this recipe.
Gluten-Free Chocolate Chip Scones Made Easy
For those avoiding gluten, you’ll be delighted to know that these scones can be made gluten-free with fantastic results. I’ve successfully prepared this recipe on multiple occasions using both traditional and gluten-free flour. My top recommendation for a reliable gluten-free option is King Arthur’s Gluten Free Measure for Measure Flour. This blend is specifically formulated to be a direct one-for-one substitute for regular all-purpose flour, making adaptation incredibly simple without compromising on taste or texture.
Flavor Variations
Once you’ve mastered the classic chocolate chip scone, feel free to experiment with other delightful additions:
- Mixed Berry Scones: Fold in ½ to ¾ cup of fresh or frozen mixed berries (raspberries, blueberries, chopped strawberries) along with the chocolate chips, or as a standalone addition.
- Orange Cranberry Scones: Add 1 teaspoon of orange zest and ½ cup of dried cranberries to the dough.
- Lemon Poppy Seed: Incorporate 1-2 teaspoons of lemon zest and 1 tablespoon of poppy seeds for a bright, refreshing flavor.
- Nutty Scones: Add ½ cup of chopped toasted pecans or walnuts for extra texture and flavor.
Serving and Storing Your Homemade Chocolate Chip Scones
How to Serve Buttermilk Chocolate Chip Scones
While delicious straight from the oven, these scones are particularly delightful when served warm. The best way to enjoy them is to pop them in the microwave for a few seconds (10-15 seconds) to allow the chocolate chips to become wonderfully melty and gooey. They are perfect on their own, but also shine when accompanied by a dollop of clotted cream, your favorite jam, or a pat of butter. Pair them with a hot cup of coffee, tea, or even a glass of cold milk for an exquisite breakfast, brunch, or afternoon treat.
How to Store Chocolate Chip Buttermilk Scones
To maintain their freshness and delicious texture, store leftover chocolate chip buttermilk scones in an airtight container at room temperature for up to 3 days. For longer storage, scones freeze exceptionally well. You can freeze baked scones for up to 2-3 months. Simply wrap them individually in plastic wrap and then place them in a freezer-safe bag. To reheat, thaw at room temperature and then warm in a preheated oven at 300°F (150°C) for 10-15 minutes, or microwave briefly until warm.
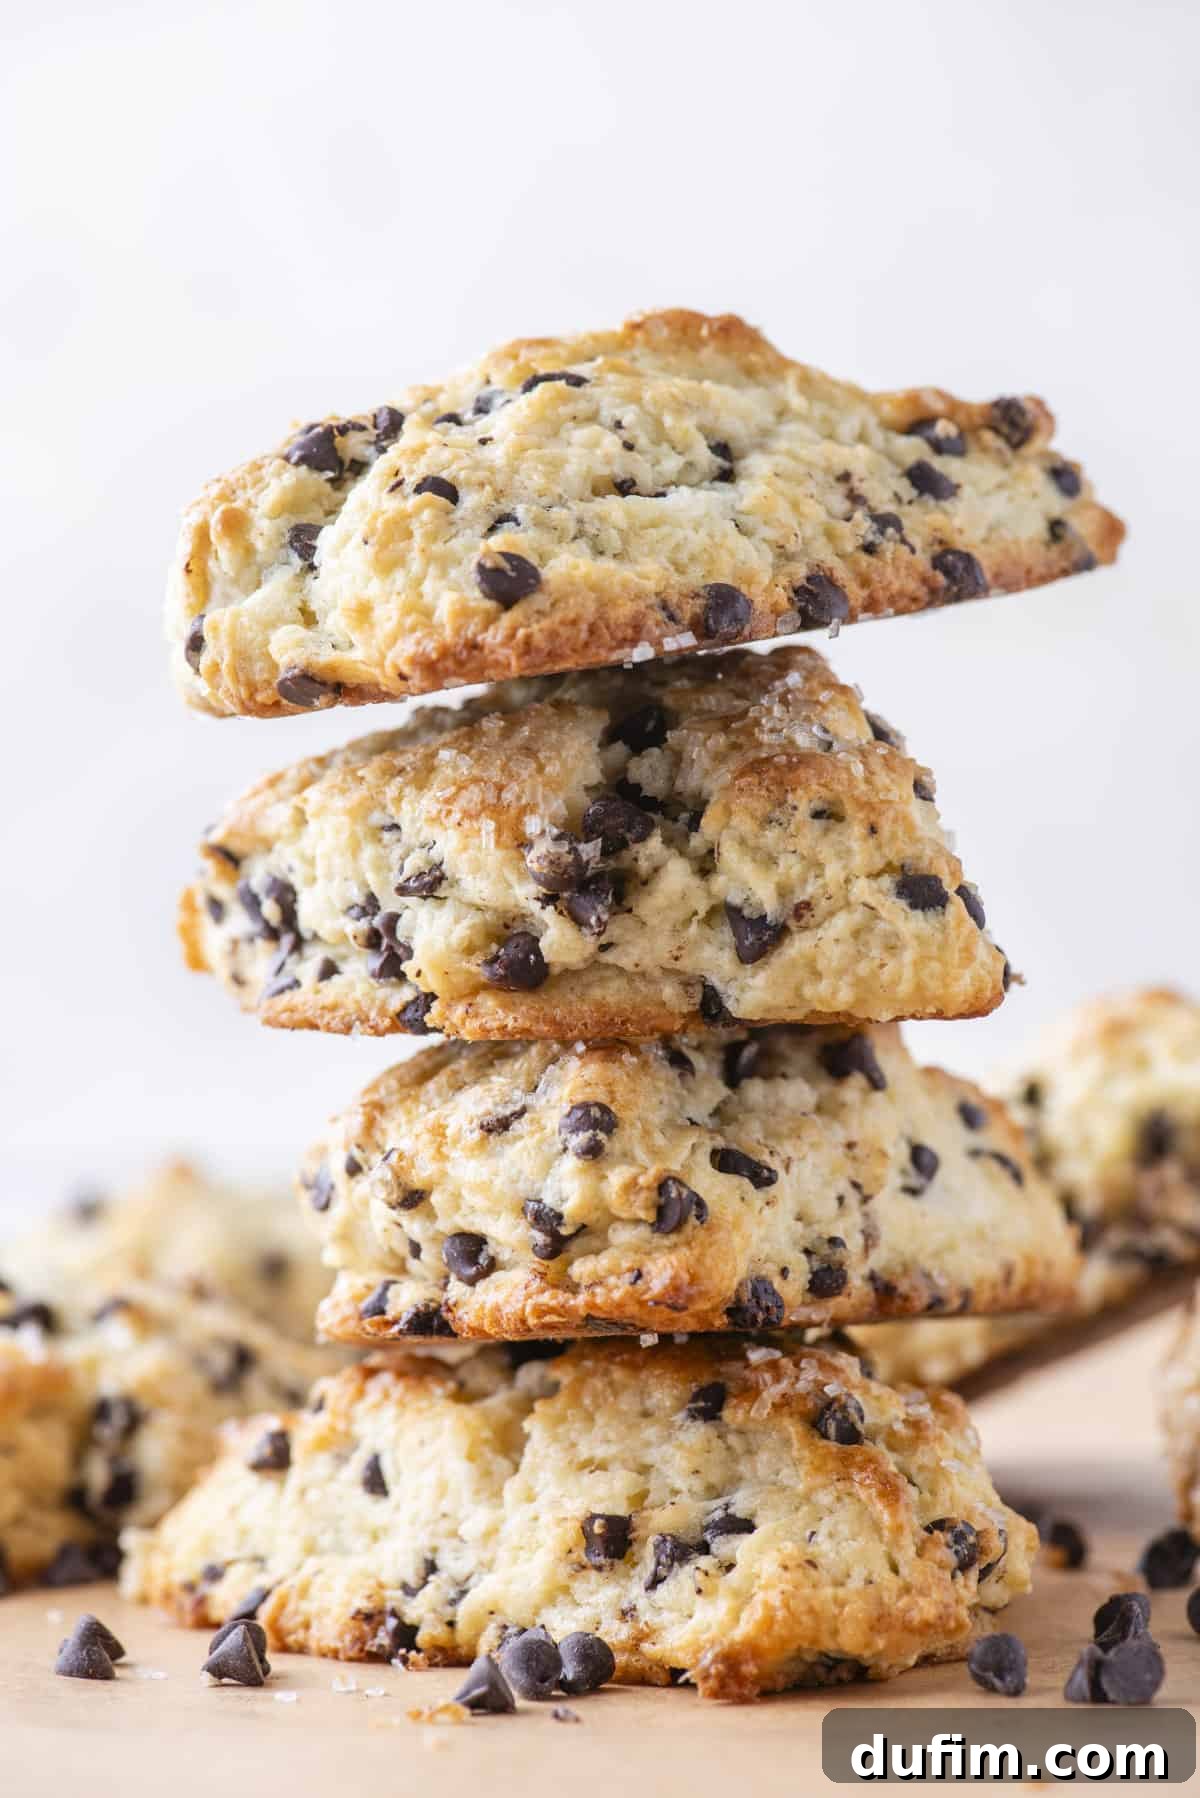
These are SO GOOD. Even my 13y/o son was asking for more. Easy recipe. 10/10 would recommend these scones. Do not miss out on trying this recipe.
-Michelle
More Delightful Baked Goods to Explore
If you’ve enjoyed mastering these chocolate chip scones, you might love these other delicious baking projects:
- Lemon Blueberry Scones
- Baked Vanilla Donuts
- Peanut Butter Banana Bread
Frequently Asked Questions About Chocolate Chip Buttermilk Scones
To ensure perfect, light, and fluffy scones, avoid overworking the dough at all costs, as this develops too much gluten and leads to a tough texture. Always ensure all your ingredients, especially the butter and liquids, are very cold. Using warm ingredients can cause the butter to melt prematurely, hindering flakiness. Precise measurements are also crucial; consider using a kitchen scale for flour and sugar. Finally, do not over- or under-bake; keep a close eye on the baking time and look for a golden-brown finish.
Several factors can contribute to scones that aren’t light and fluffy. The most common reasons include overworking the dough, which develops gluten and makes them dense, or using ingredients that are not sufficiently cold, preventing the butter from creating steam and flaky layers. Incorrect proportions of leavening agents (like baking powder) or improper mixing can also be culprits. Make sure your baking powder is fresh, mix only until just combined, and chill your dough rigorously before baking.
Both buttermilk and heavy cream produce delicious scones, but they impart slightly different characteristics. Buttermilk, being acidic, reacts with baking powder to create excellent lift and a wonderfully tender crumb, along with a subtle tangy flavor. Heavy cream, on the other hand, yields a richer, more indulgent scone with a slightly denser, yet incredibly moist, texture due to its higher fat content. The choice largely depends on your personal preference: for a lighter, tangier, and exceptionally tender scone, use buttermilk; for a richer, more cake-like scone, opt for heavy cream.

Buttermilk Chocolate Chip Scones
By: Beth
Prep Time: 10 minutes
Cook Time: 25 minutes
Additional Chilling Time: 30 minutes
Total Time: 1 hour 5 minutes
Servings: 8 scones
Learn to make tall, fluffy, and bakery-style chocolate chip scones easily at home! These buttermilk scones are made flaky thanks to lamination, packed with delicious chocolate chips, and ready to enjoy in just over an hour. Master the tips for achieving taller, more flavorful scones with this simple recipe!
Equipment
- Silicone Baking Mat
- Glass Mixing Bowl
- Favorite Spatula
- Kitchen Scale
- Baking Sheet
- Pastry Cutter
Ingredients
- 2 ¼ cups (270g) all-purpose flour
- ½ cup (99g) granulated sugar
- 1 Tbsp baking powder
- ½ tsp salt
- ½ cup (113g) cold unsalted butter, cubed
- ½ cup (118ml) buttermilk
- 1 tsp vanilla extract
- 1 large egg
- 1 cup (170g) mini semi-sweet chocolate chips (or regular size chips)
Instructions
- In a large mixing bowl, combine the flour, granulated sugar, baking powder, and salt. Add in the cold, cubed butter and use your hands or a pastry cutter to cut in the butter until pea-sized amounts of butter remain.
- Create a well in the center of the flour mixture. Add the buttermilk, vanilla extract, and egg. Use a spatula to gently combine until the dough is thick and sticky. Gently stir in the chocolate chips.
- On a silicone mat or kitchen counter, gently knead the dough until all the flour is incorporated. Add 1-2 additional tablespoons of flour if the dough is too sticky, but avoid overworking.
- Lamination for Flaky Layers: Fold the dough in half, press it down slightly, then turn the dough 90 degrees and fold in half again. Repeat this folding and turning process 4-5 times.
- Shape the dough into an 8-10 inch disc that is about 1.5 to 2 inches tall. Refrigerate the scone disc for 5-10 minutes.
- Use a knife or pizza cutter to cut the scones into 8 equal wedges.
- Place the scones 2-3 inches apart on a baking sheet that’s lined with a silicone mat or parchment paper.
- Freeze the scones for 30 minutes. During the last 5 minutes of freezing, preheat the oven to 400ºF (200°C).
- Brush the tops of the scones with egg wash (1 large egg + 1 Tbsp water), buttermilk, or heavy cream. Add coarse sanding sugar if desired.
- Bake for 20-26 minutes or until the scones are lightly golden and cooked through. Allow the scones to cool for a few minutes on the baking sheet before transferring to a wire rack.
Notes
The buttermilk can be replaced with heavy cream if you have that on hand for a richer scone. I do not recommend substituting regular milk, as it will not produce the same tender texture and rise.
For gluten-free chocolate chip scones, I’ve had great results using King Arthur’s Gluten Free Measure for Measure Flour. It’s a reliable 1:1 substitute for regular flour in this recipe.
Nutrition Information (Approximate Per Scone)
Calories: 470kcal | Carbohydrates: 56g | Protein: 7g | Fat: 24g | Saturated Fat: 14g | Polyunsaturated Fat: 1g | Monounsaturated Fat: 7g | Trans Fat: 0.5g | Cholesterol: 57mg | Sodium: 334mg | Potassium: 239mg | Fiber: 3g | Sugar: 24g | Vitamin A: 428IU | Calcium: 136mg | Iron: 4mg
Nutrition Disclosure: All nutritional values are approximate and provided as a courtesy. Changing ingredients and/or quantities will alter the estimated nutritional calculations.
Enjoyed baking this recipe? Please consider leaving a rating and comment below!