
The Ultimate Chocolate Peanut Butter Thumbprint Cookies: A Reese’s Lover’s Dream
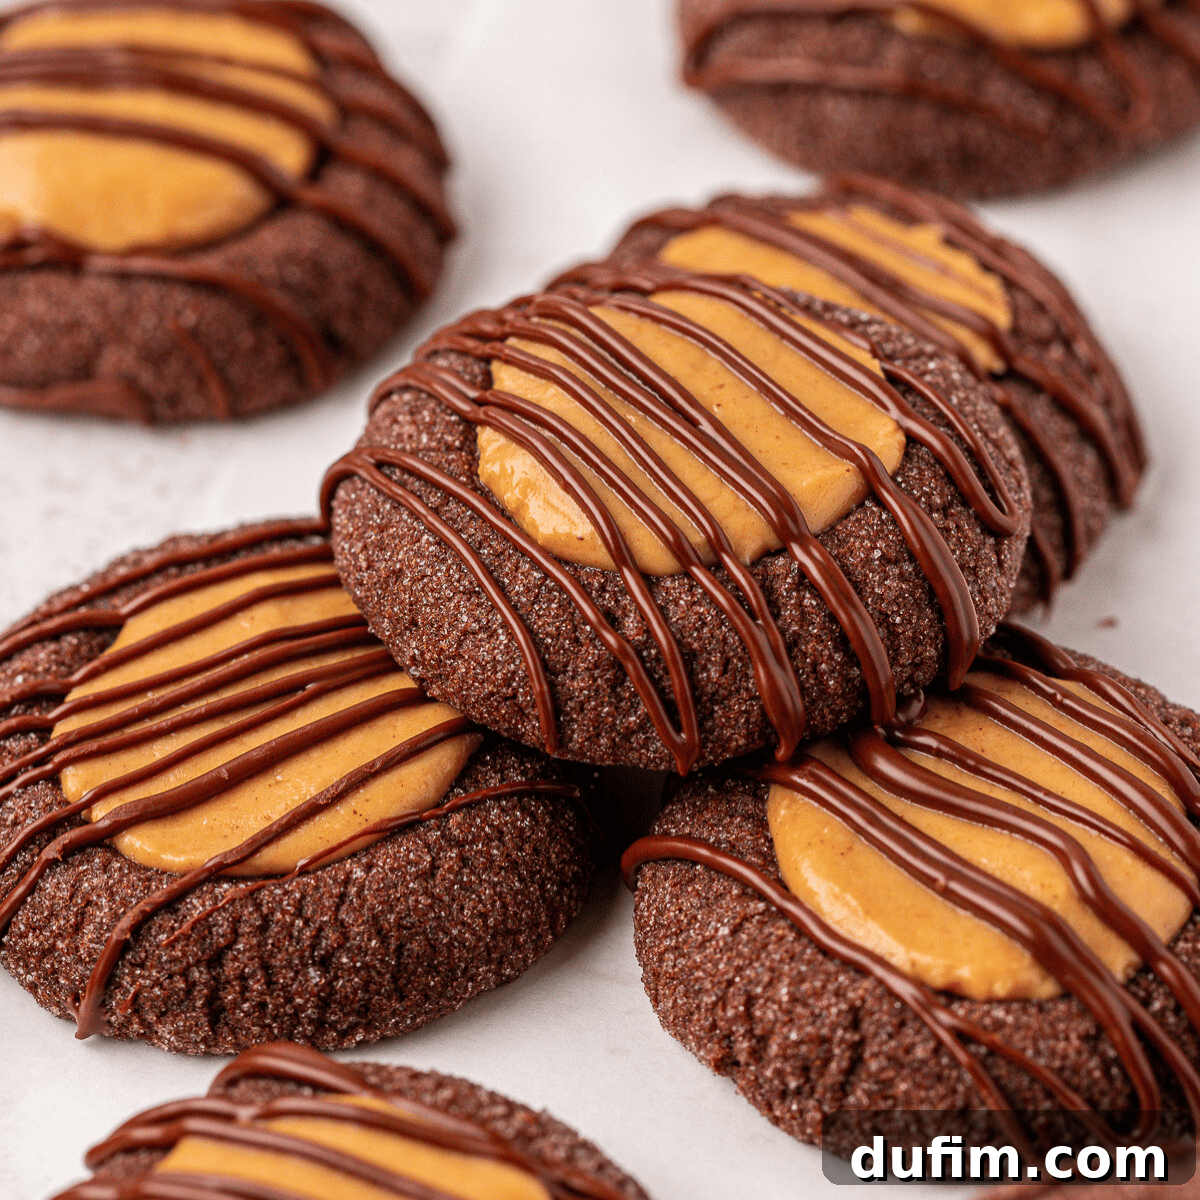
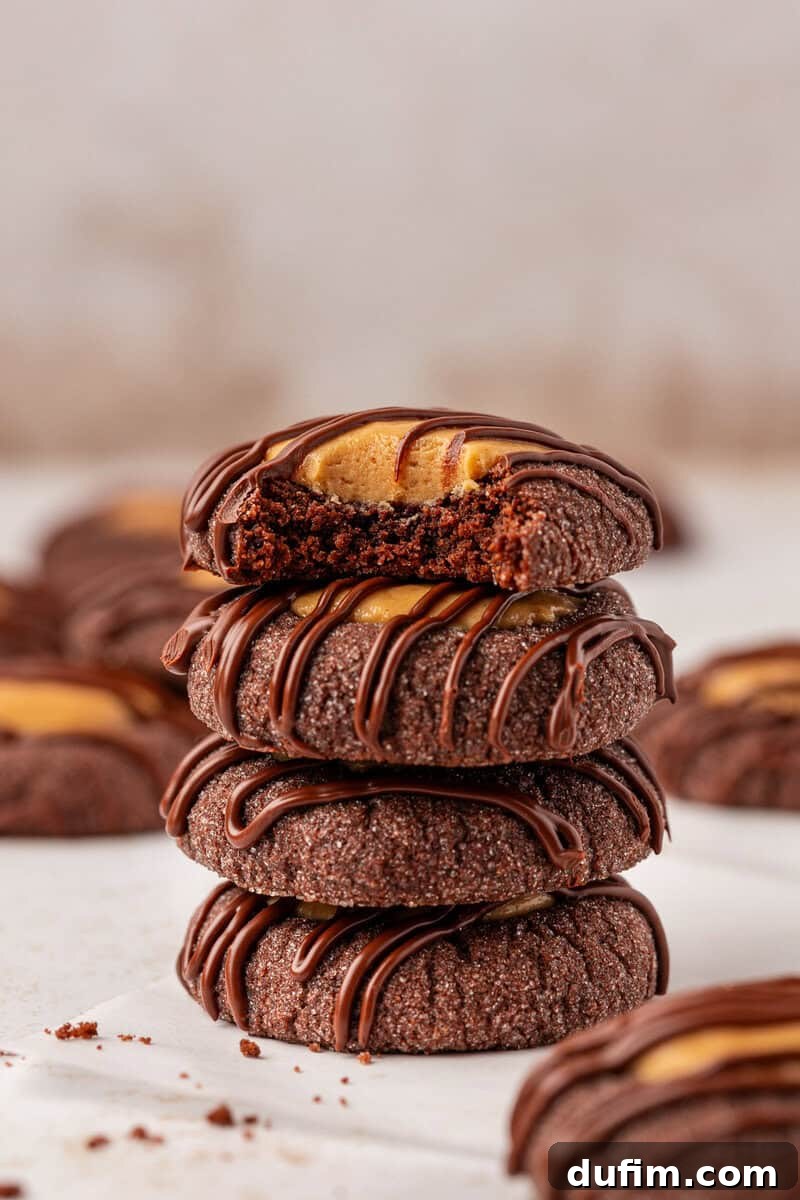
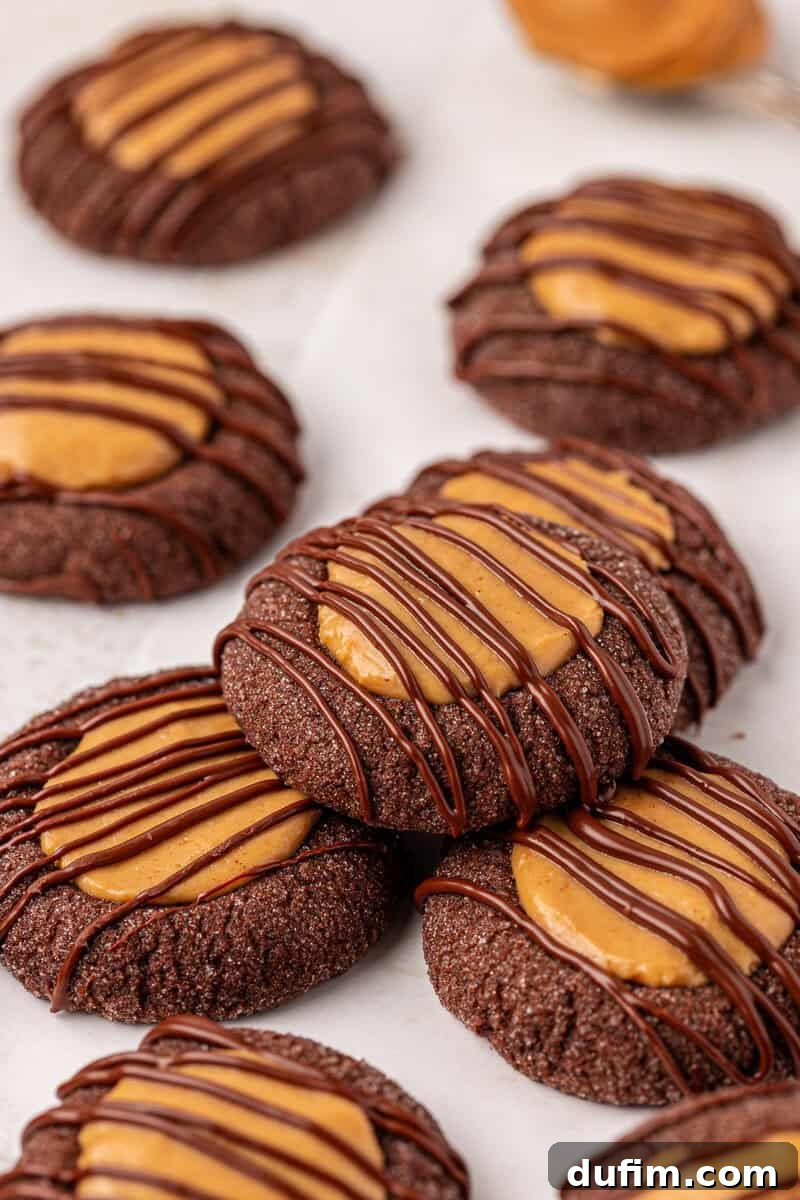
Prepare to fall in love with these irresistible chocolate peanut butter thumbprint cookies. After extensive testing, we’ve perfected a recipe that guarantees a cookie that stays wonderfully soft, delivers a bold chocolate flavor, and features a lusciously thick, buckeye-like peanut butter filling. Each cookie is beautifully crowned with a glossy chocolate drizzle, tying all the decadent flavors together in a harmonious bite. If you’re searching for a surefire crowd-pleaser that evokes nostalgic memories of your favorite chocolate and peanut butter candies, this is the recipe you’ve been waiting for. Get ready to bake a guaranteed win!
The Journey to the Perfect Chocolate Peanut Butter Thumbprint Cookie
Creating a truly exceptional chocolate peanut butter thumbprint cookie requires more than just combining great flavors; it demands a meticulous balance of textures and consistencies. Our journey to this ultimate recipe was filled with delightful experimentation and persistent refinement, ensuring every element is absolutely perfect for home bakers.
Developing the Ideal Chocolate Cookie Base
Our initial approach for these delightful treats began with a beloved, tried-and-true chocolate cookie recipe, known for its rich flavor and satisfying chewiness. It had proven itself as a fantastic foundation for many other cookie variations. However, the unique demands of a thumbprint cookie quickly revealed its limitations. The very first batch, fresh from the oven, spread excessively, turning our intended indentations into smooth, flat chocolate discs. Even an attempt to firm up the dough by freezing it beforehand yielded no improvement, making it clear that a completely new formula was essential to achieve a cookie that would confidently hold its thumbprint shape.
This challenge led to a complete overhaul of the chocolate cookie dough. We started from scratch, systematically adjusting key ingredients to achieve the desired stability and texture. More flour was added to provide structure, and baking powder was introduced to ensure a perfect lift without compromising the shape. Cornstarch, a secret weapon for tender cookies, was retained for its remarkable stabilizing properties. A crucial change involved swapping out a whole egg for two egg yolks, particularly after removing corn syrup from the original formula. This modification was intended to boost richness and moisture. Yet, the first revised dough still presented issues, cracking unappealingly when the thumbprint was pressed.
Further experimentation revealed that even with increased butter and a switch to all brown sugar for enhanced moisture and chewiness, the dough remained too dry and prone to cracking. The true breakthrough arrived with the addition of just one more egg yolk. This seemingly small alteration proved to be the magic touch, providing precisely the right amount of moisture and richness. The result was a dough that not only held its perfect thumbprint shape through baking but also emerged from the oven incredibly soft, tender, and consistently delightful.
Crafting the Irresistible Peanut Butter Filling
With the chocolate cookie base finally perfected, our attention shifted to developing an equally stellar peanut butter filling. Our initial concept leaned towards a light and fluffy texture, but feedback from our diligent taste testers guided us towards something with more substance and a richer mouthfeel. A subsequent attempt with a peanut butter ganache proved too sweet, as the intensity of chocolate chips overshadowed the distinct peanut butter flavor we sought. This led us to draw inspiration from our beloved buckeye balls recipe.
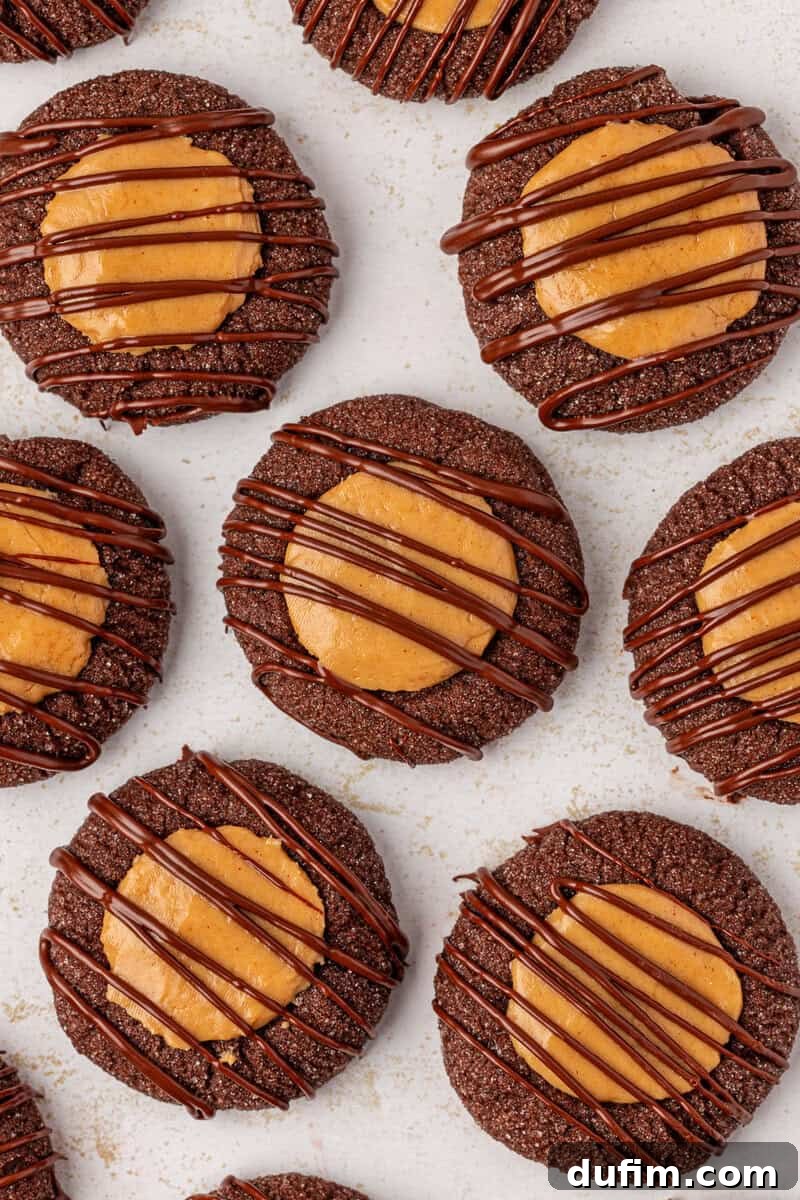
By carefully adjusting the ratios of that tried-and-true buckeye filling, we achieved a remarkable consistency and flavor profile. The result is a filling that is wonderfully thick, exquisitely creamy, and delivers the authentic taste of a classic peanut butter cup center. When this glorious peanut butter filling is nestled into our soft chocolate cookies and adorned with a shimmering chocolate drizzle, every single bite is a symphony of rich, soft, and deeply nostalgic flavors. Each component of these chocolate peanut butter thumbprint cookies has been meticulously tested and refined, empowering home bakers with a recipe that is reliable, delicious, and truly works as written.
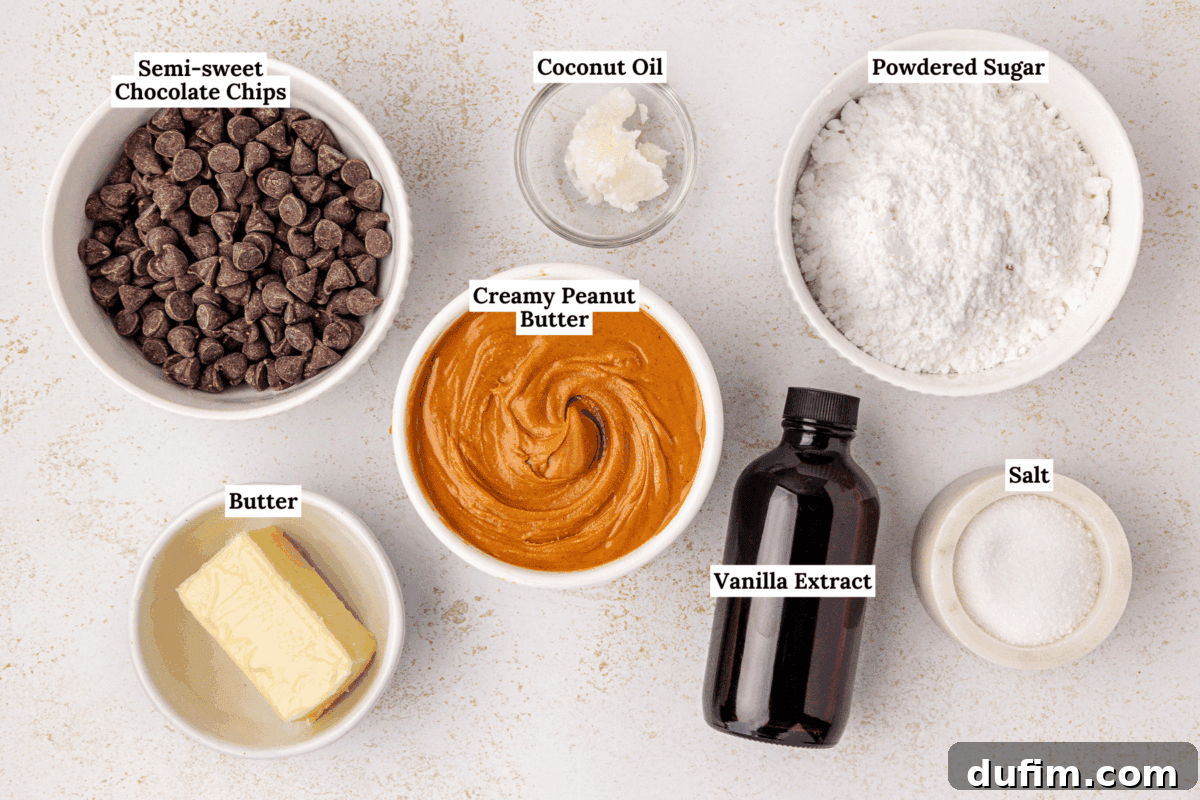
Essential Ingredients and Their Crucial Roles
Understanding the purpose of each ingredient is key to mastering these delectable chocolate peanut butter thumbprint cookies. Here’s a detailed look at what each component contributes to achieving perfection:
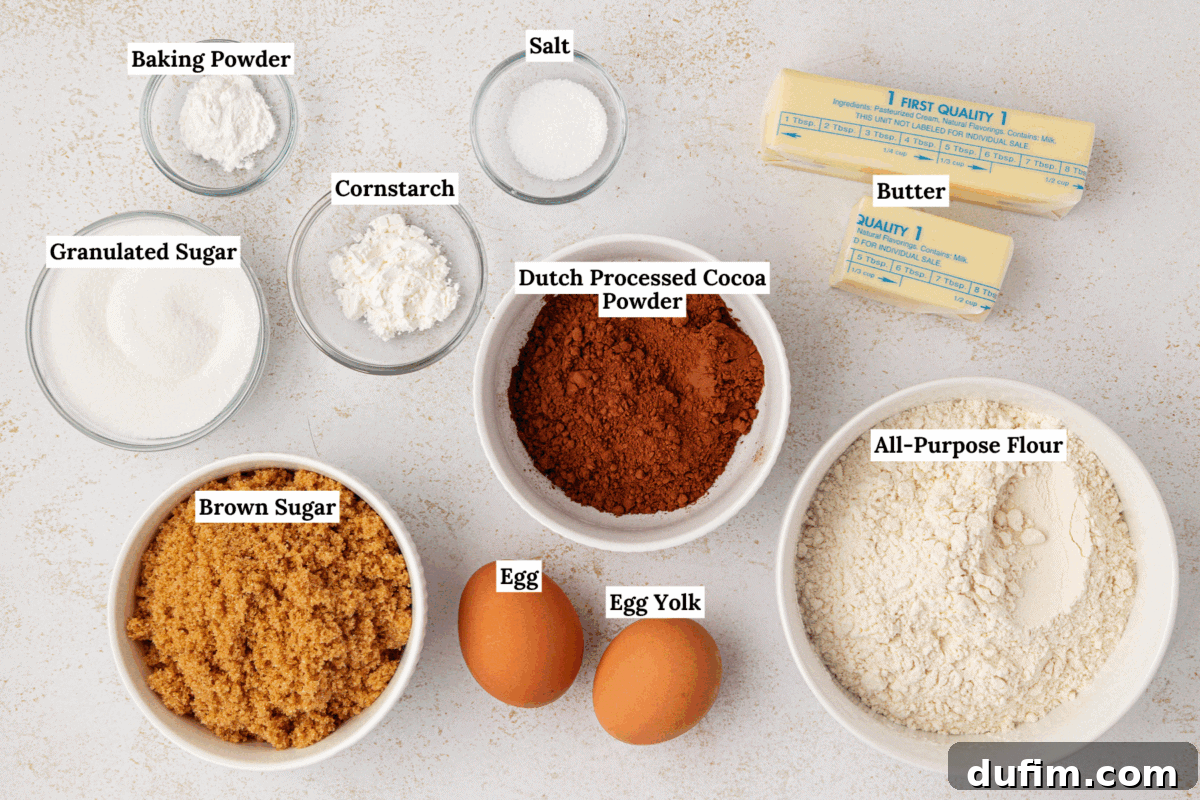
- Dutch-processed cocoa powder: This isn’t just for color! Dutch-processed cocoa provides a deep, robust chocolate flavor without the bitterness often associated with natural cocoa. It also reacts differently with leavening agents, resulting in a darker, richer cookie with a smooth, velvety texture.
- Brown sugar: More than just a sweetener, brown sugar is vital for the cookie’s structure and moisture. Its molasses content locks in moisture, ensuring the cookies remain wonderfully soft and chewy. It also imparts a subtle, warm caramel note that beautifully complements the rich chocolate and creamy peanut butter.
- Unsalted butter: The foundation of flavor and tenderness. Butter contributes significantly to the cookie’s rich taste and helps create that melt-in-your-mouth crumb texture, all while ensuring the dough remains pliable enough to hold its shape during baking.
- Cornstarch: This unassuming ingredient is a true game-changer for thumbprint cookies. It adds a crucial element of stability to the dough, preventing excessive spreading and ensuring that your carefully pressed thumbprint divots remain perfectly defined throughout the baking process, yielding a consistently beautiful cookie.
- Egg yolks: While some recipes use whole eggs, we specifically use egg yolks for their high fat content and emulsifying properties. This boosts the richness of the dough, making the cookies incredibly tender and soft, and crucially prevents them from cracking around the edges when pressed, ensuring a pristine finish.
- Creamy peanut butter: The star of our filling, creamy peanut butter provides the iconic, nutty flavor that forms the heart of these cookies. Its smooth consistency is essential for creating a filling that’s thick yet spreadable, delivering that classic peanut butter cup experience.
- Powdered sugar: Also known as confectioners’ sugar, this ingredient gives our peanut butter filling its wonderfully thick, fudgy, and smooth texture. It dissolves easily, creating a silky consistency that contrasts perfectly with the soft cookie base and prevents a grainy mouthfeel.
- Semi-sweet chocolate chips: For the final touch, semi-sweet chocolate chips, when melted with a touch of coconut oil, create a smooth, glossy, and indulgent drizzle. This not only enhances the visual appeal but also adds an extra layer of chocolatey goodness, uniting all the flavors into one cohesive, decadent cookie.
Step-by-Step: Crafting Irresistible Chocolate Peanut Butter Thumbprint Cookies
Get ready to bake a batch of these crowd-pleasing chocolate peanut butter thumbprint cookies! Follow these detailed instructions to achieve cookie perfection every time. For a quick reference, scroll down to our printable recipe card.
Making the Perfect Chocolate Cookie Dough
- Prepare Baking Sheets: Line two large baking sheets with parchment paper or silicone mats. This prevents sticking and ensures even baking.
- Combine Dry Ingredients: In a medium bowl, thoroughly whisk together the all-purpose flour, Dutch-processed cocoa powder, salt, baking powder, and cornstarch. Whisking ensures these ingredients are evenly distributed, which is crucial for uniform cookie texture. Set this mixture aside.
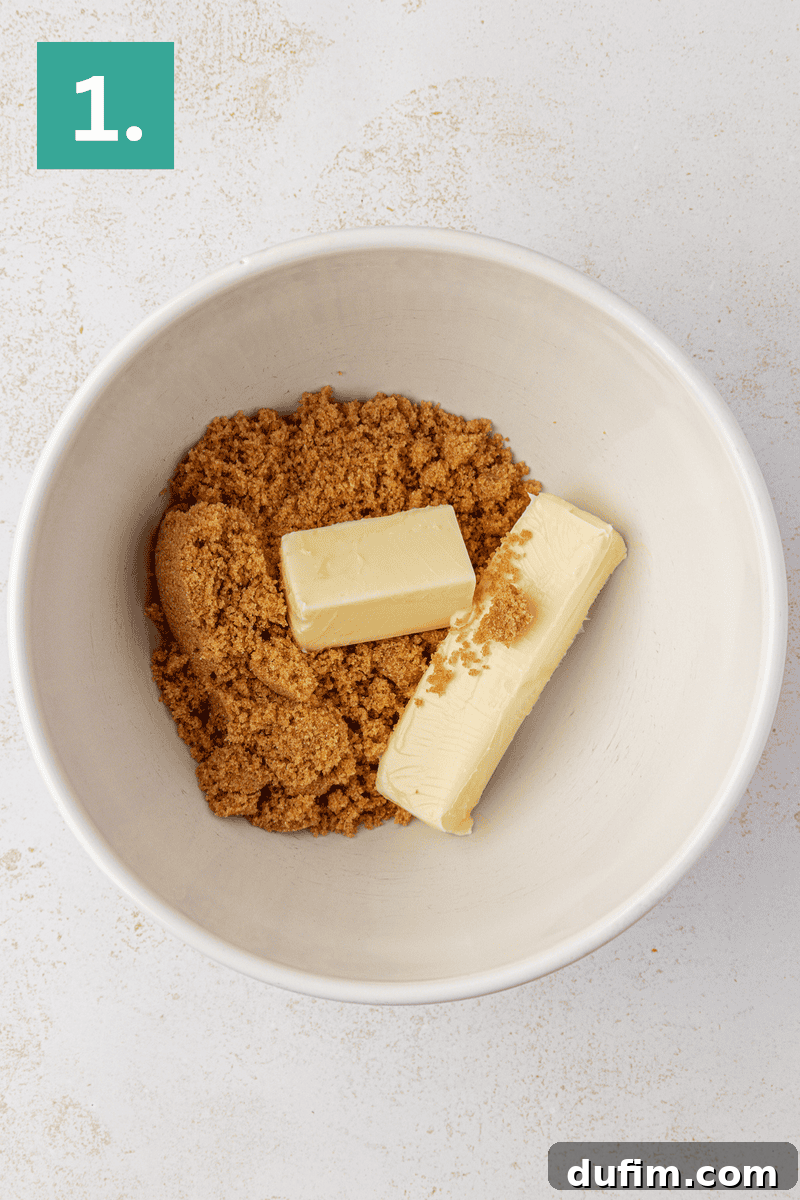
- Cream Butter and Sugar: In a large mixing bowl, using an electric mixer, beat the softened unsalted butter and brown sugar on medium speed. Continue beating for 1 to 2 minutes until the mixture is light, fluffy, and well combined. This creaming process incorporates air, contributing to the cookies’ soft texture.
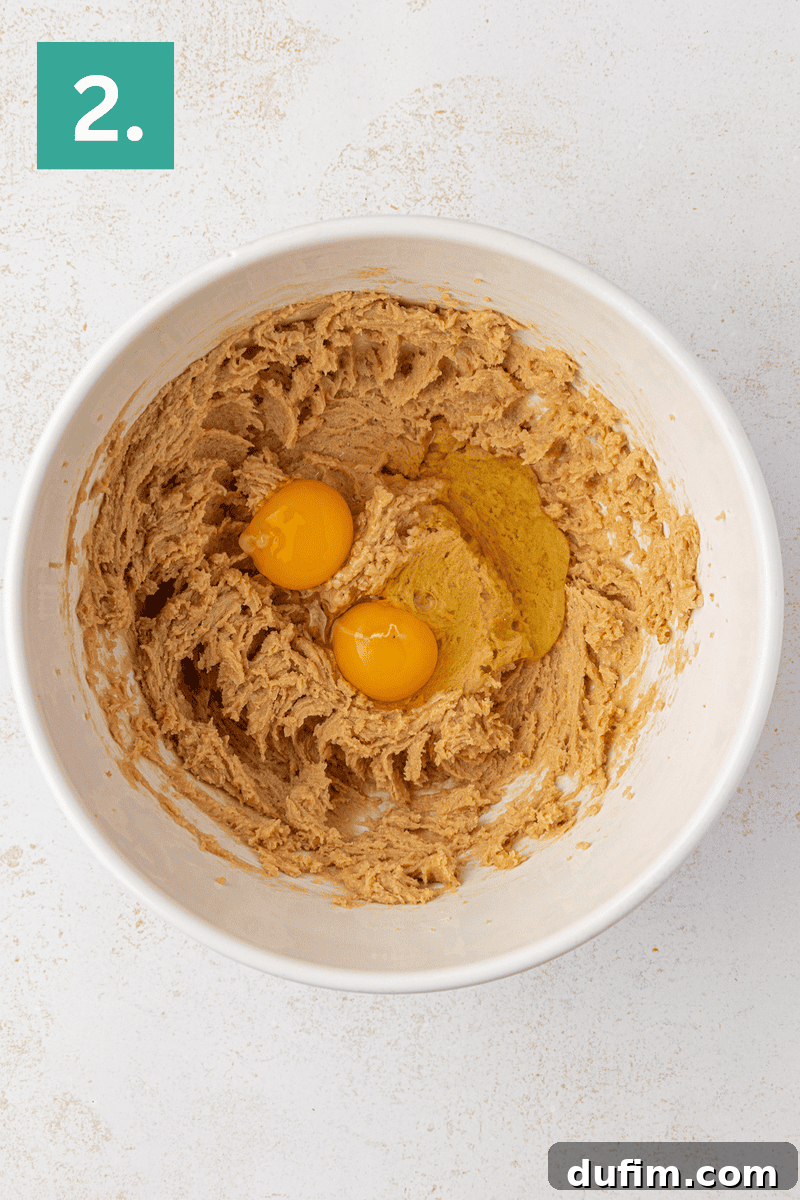
- Incorporate Eggs: Add the large egg and the extra egg yolk to the butter and sugar mixture. Beat for a full 30 seconds, ensuring everything is thoroughly combined. Don’t forget to scrape down the sides of the bowl with a spatula as needed to integrate all ingredients.
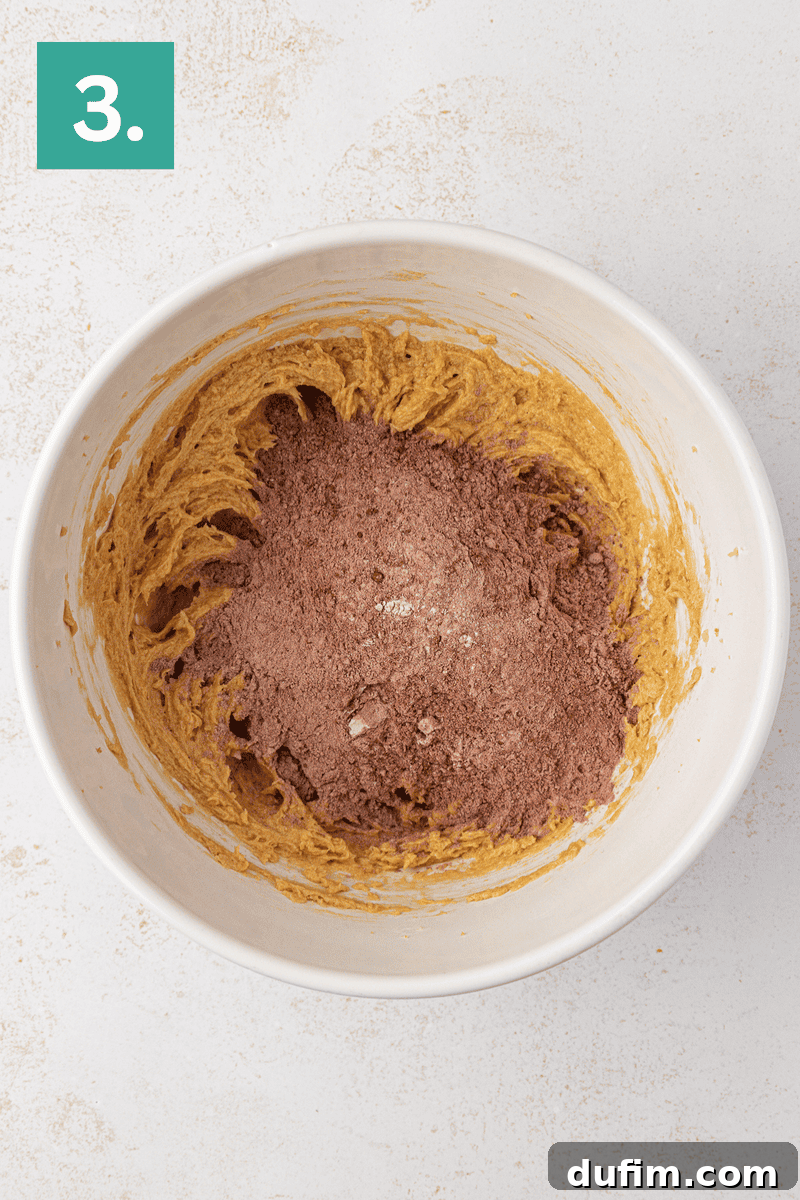
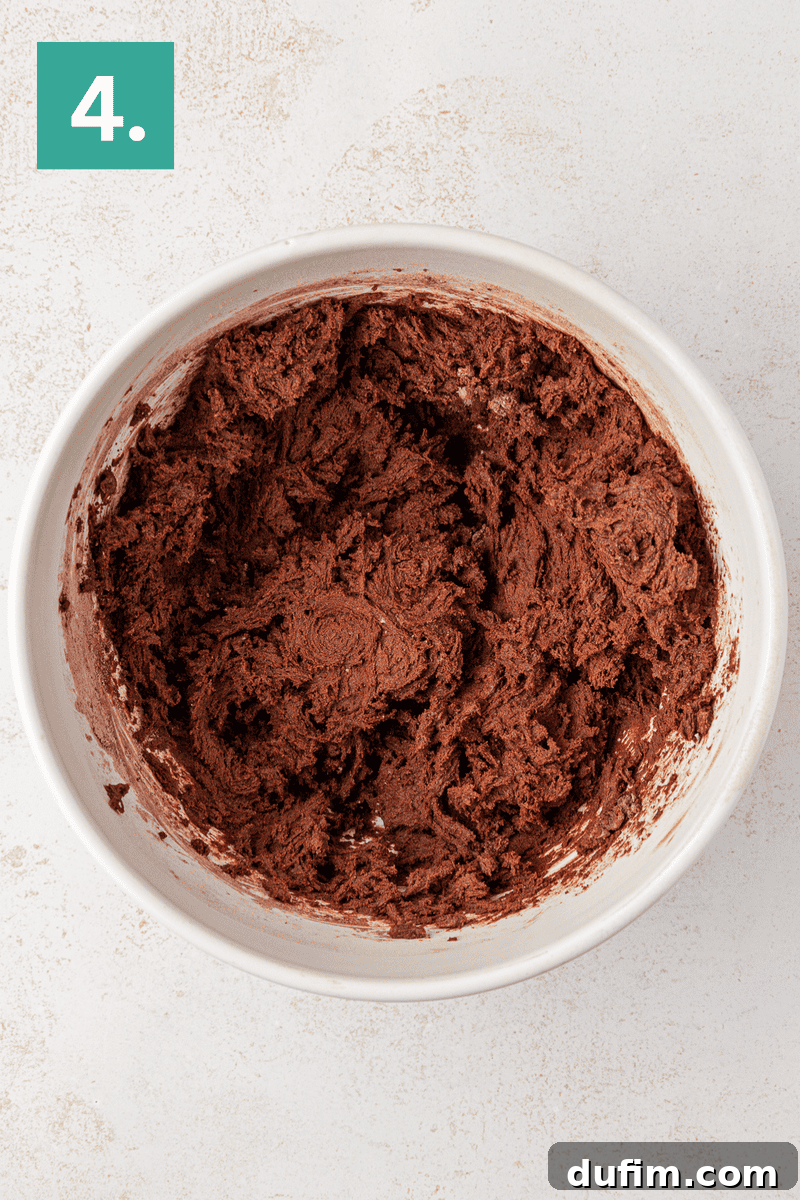
- Combine Wet and Dry: Gradually add the whisked dry mixture to the wet ingredients in the large mixing bowl. Mix on low speed until the flour streaks have just disappeared and the ingredients are combined. Be careful not to overmix, as this can lead to tough cookies. The resulting dough will be notably thick.
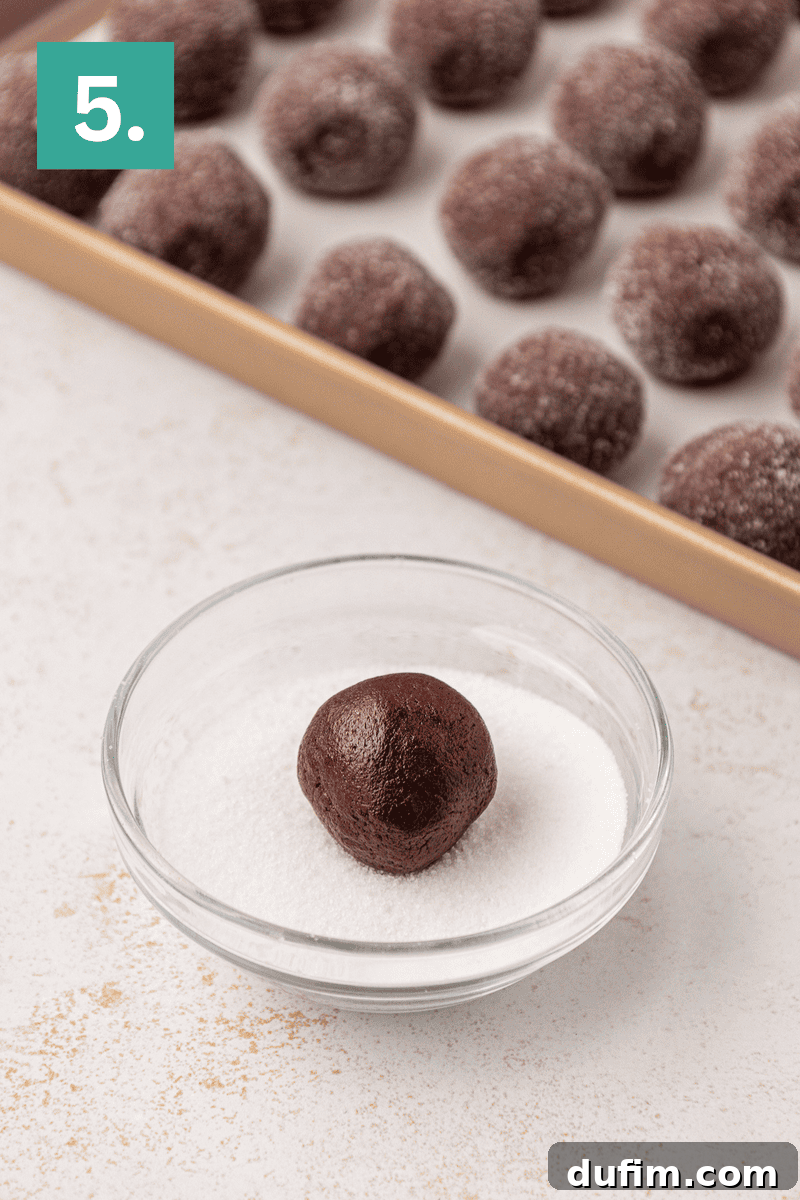
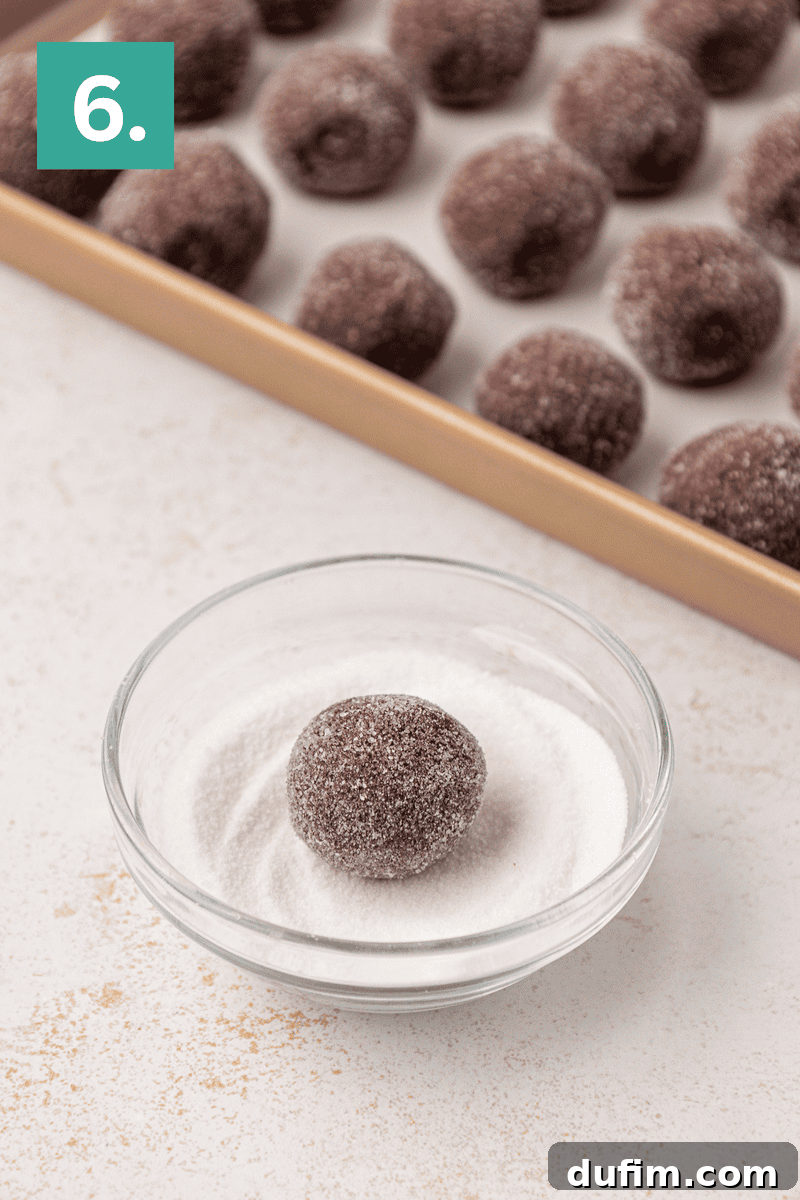
- Form and Sugar Coat Cookie Dough Balls: Using a #60 cookie scoop (approximately 1 tablespoon), scoop portions of the thick dough and roll them into smooth, uniform balls. Roll each cookie dough ball generously in granulated sugar to create a sparkling, slightly crisp exterior. Place the sugared balls about 2 inches apart on your prepared baking sheets.
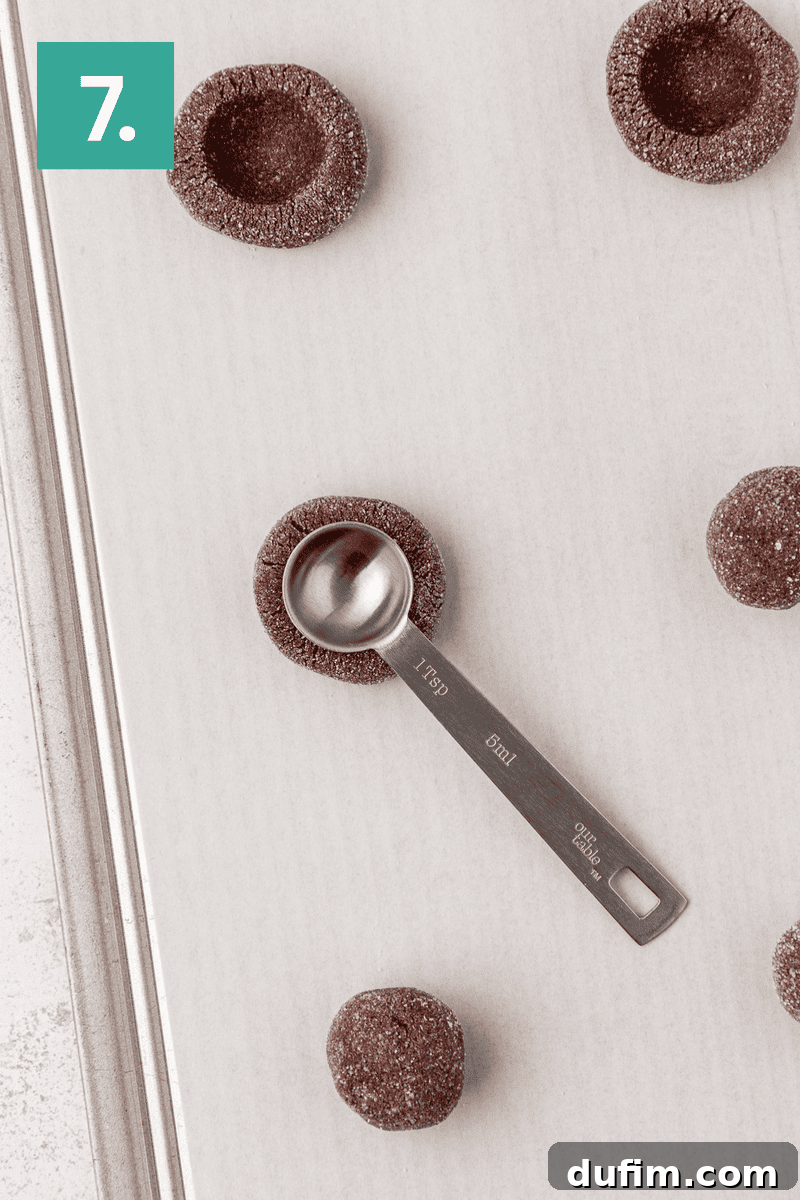
- Press and Chill Cookies: Using the back of a measuring teaspoon or your thumb, gently but firmly press a divot into the center of each cookie dough ball. This creates the “thumbprint” for the filling. Immediately after pressing, place the entire baking sheet into the freezer for at least 10 minutes. This crucial chilling step helps firm up the dough, preventing the cookies from spreading too much and ensuring the indentation remains visible during baking. You can freeze them for longer if preferred or if preparing ahead of time.
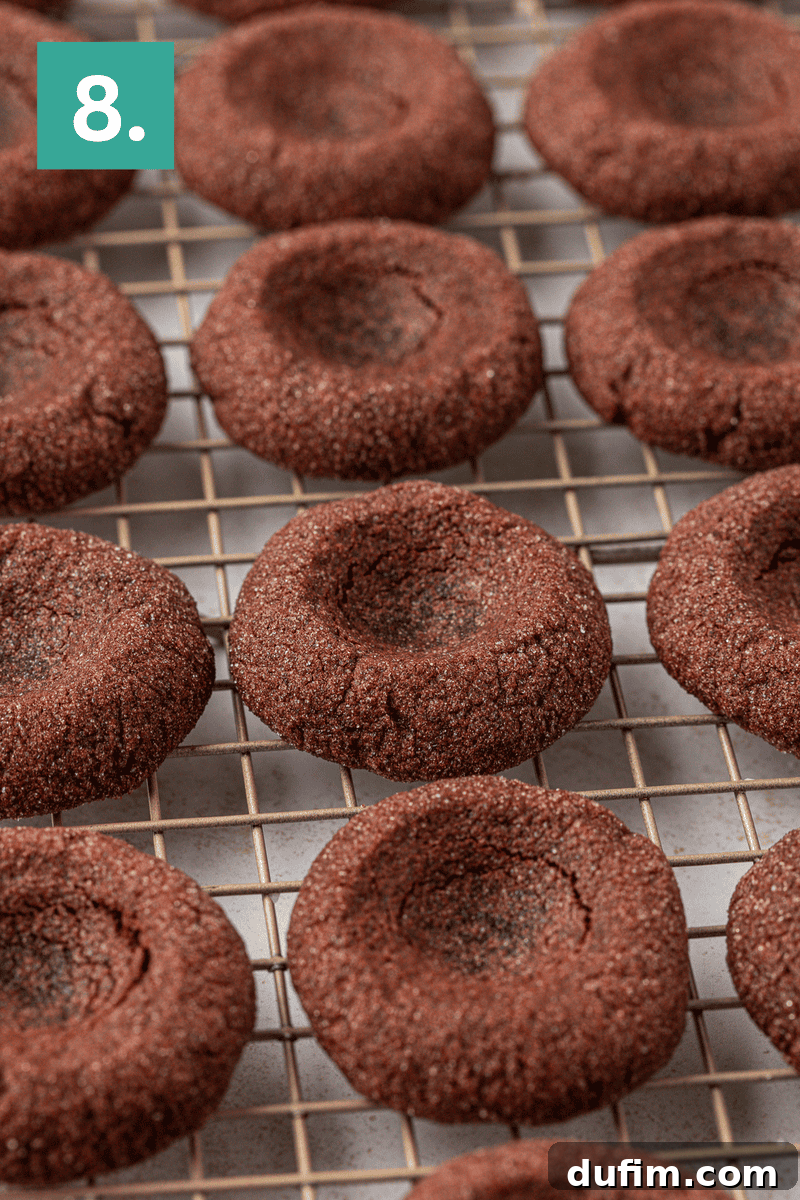
- Bake and Re-indent: Preheat your oven to 350°F (177°C). Bake the chilled cookies for 10-11 minutes. The cookies are ready when the edges appear set, but the centers still look soft and slightly puffy. Upon removing them from the oven, quickly and gently use the back of your teaspoon again to deepen any indentations that may have puffed up during baking. This creates the perfect pocket for your peanut butter filling.
- Cool Completely: Transfer the cookies to a wire rack and allow them to cool completely before attempting to fill them. Filling warm cookies will cause the peanut butter mixture to melt and spread.
Assembling the Rich Peanut Butter Filling
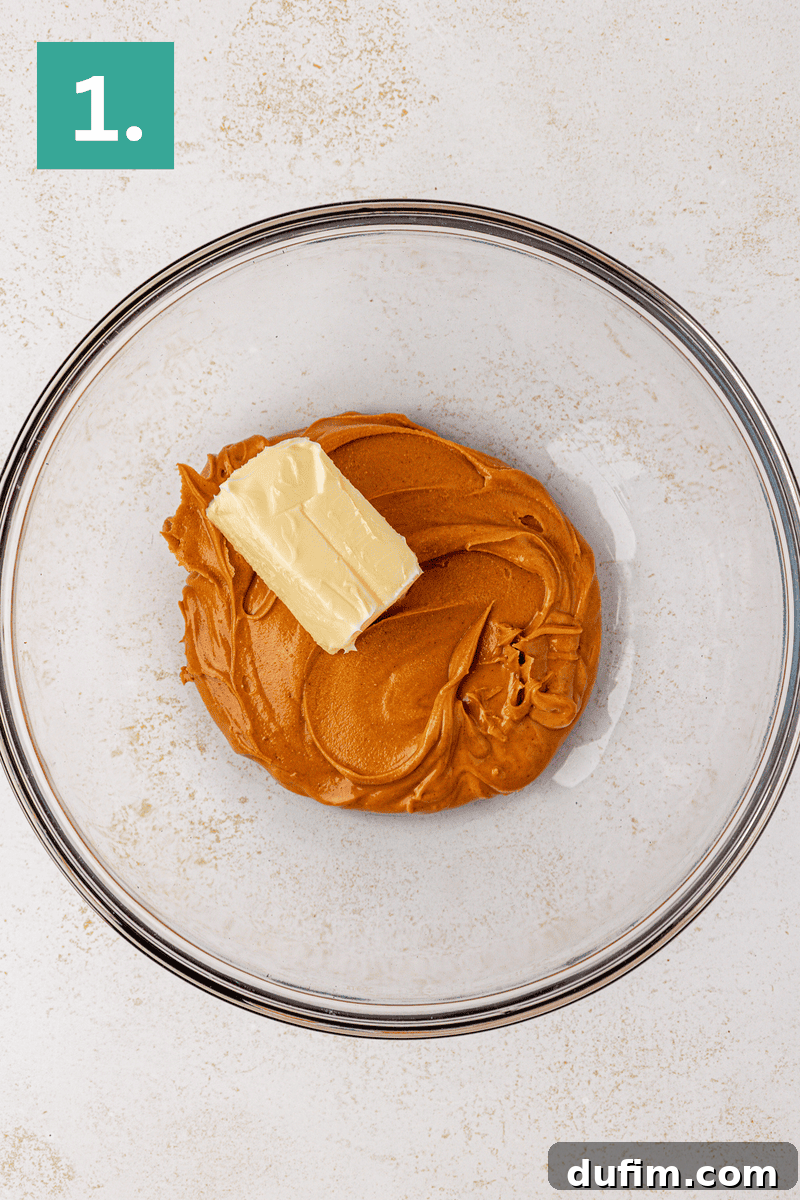
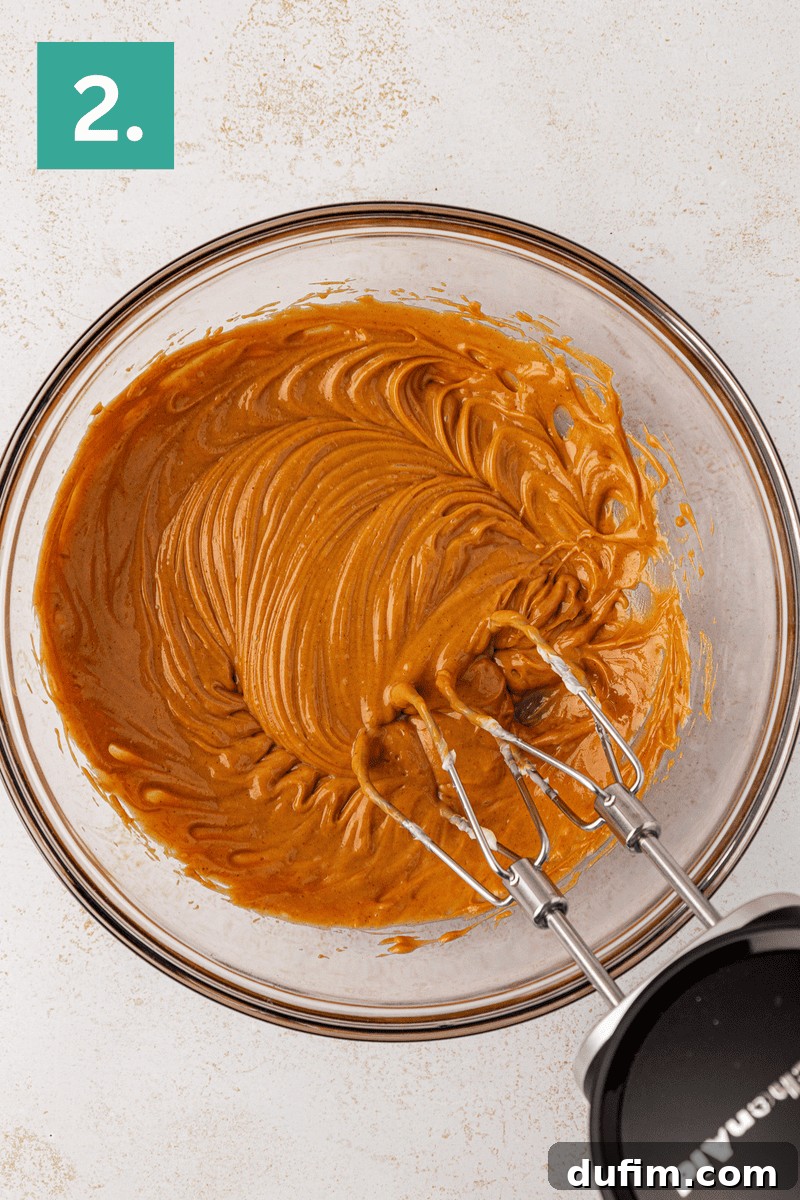
- Prepare the Filling Base: In a medium bowl, use an electric mixer to beat together the creamy peanut butter and softened unsalted butter. Beat for 1 to 2 minutes until the mixture is beautifully smooth and creamy.
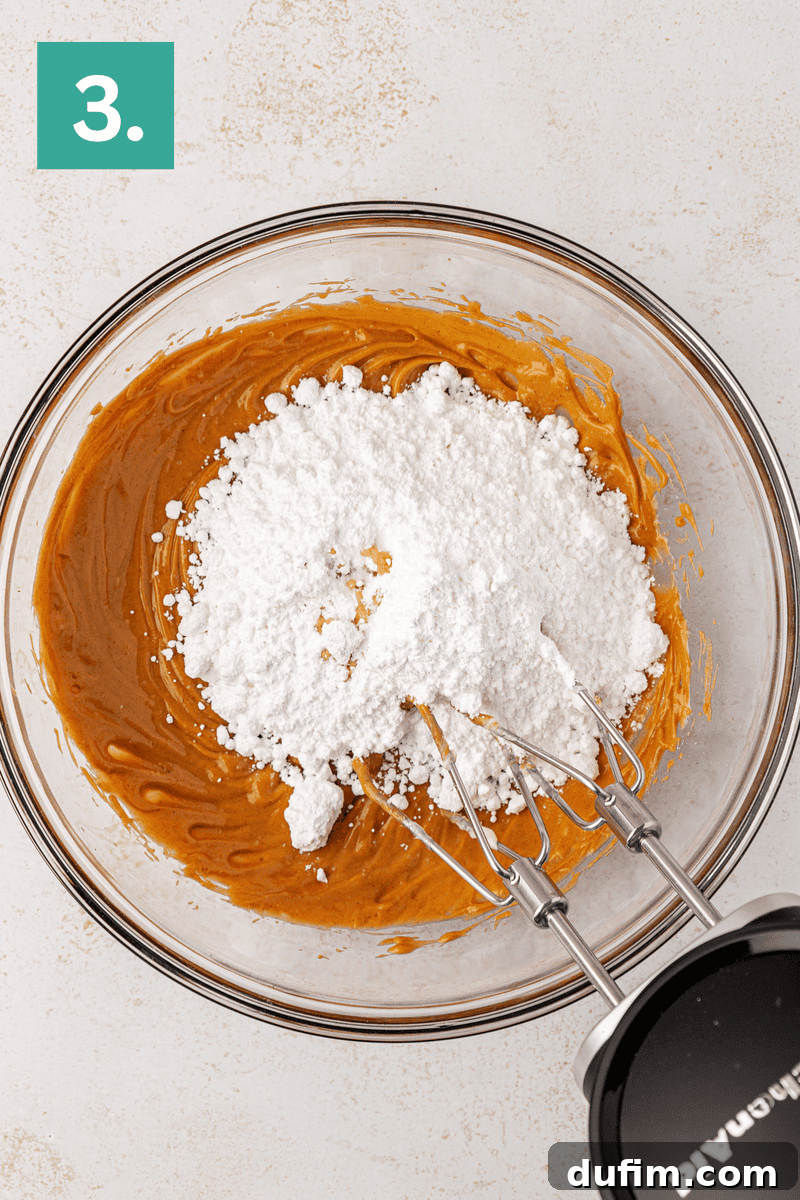
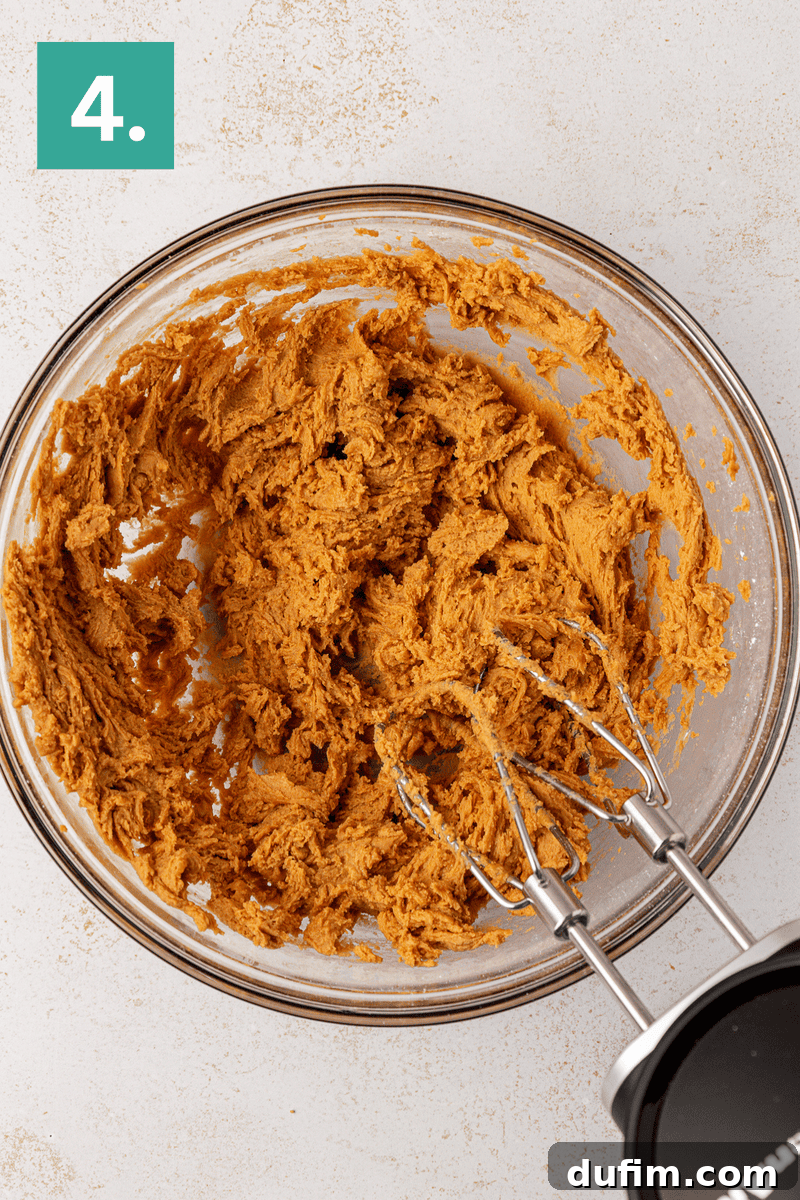
- Create the Thick Filling: Add the powdered sugar, vanilla extract, and a pinch of salt to the peanut butter mixture. Mix on low speed until a thick, cohesive, and dough-like filling forms. It should be firm enough to hold its shape when pressed.
- Fill the Cookies: Portion out about 2 teaspoons of the peanut butter mixture for each cooled cookie. Carefully press the filling into the center indentation. Pro Tip: The peanut butter mixture can be quite sticky. To make handling easier, lightly wet your fingertips, shake off any excess water, and then use your damp fingers to gently press the filling into the cooled cookie centers.
The Finishing Chocolate Drizzle
- Melt the Chocolate: In a microwave-safe bowl, combine the semi-sweet chocolate chips and coconut oil (or vegetable shortening). Microwave on 50% power for 1 minute, then stir well. Return to the microwave for another minute on 50% power, stirring again until the chocolate is completely melted and smooth. The coconut oil helps achieve a perfectly smooth, drippable consistency and adds a lovely shine.
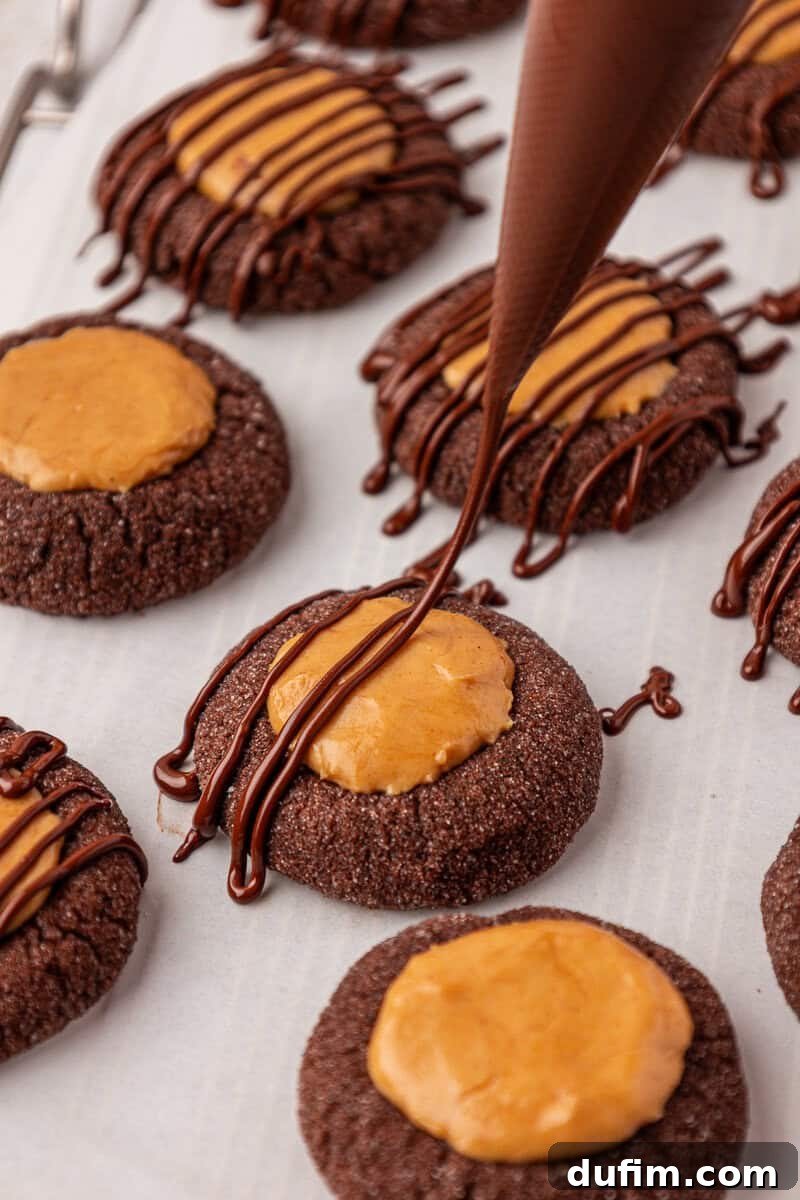
- Drizzle and Serve: Using a spoon, a piping bag with a small hole, or simply by drizzling directly from the bowl, generously drizzle the melted chocolate over the peanut butter filling of each cookie. Allow the chocolate to set slightly before serving. This creates a beautiful presentation and adds an extra layer of rich chocolate flavor.
Expert Tips for Baking Success
Achieving bakery-quality chocolate peanut butter thumbprint cookies is easy with these helpful tips:
- Measuring Flour Accurately: Precision in baking is paramount. The most accurate method for measuring flour is by using a digital kitchen scale to weigh it in grams. If you don’t have a scale, always use the “spoon and level” method: first, aerate your flour by whisking it or stirring it with a spoon in its container. Then, spoon the flour into your measuring cup until it overflows, without packing or shaking it down. Finally, use the flat back of a butter knife to level off the top, removing any excess. Re-fluff the flour each time you scoop for consistent results.
- Keeping Thumbprints Defined: Don’t skip the chilling step! Freezing the formed cookie dough balls for at least 10 minutes before baking is crucial for preventing spread and ensuring those beautiful indentations hold their shape. After baking, a quick re-press with a spoon while the cookies are still warm will help deepen any pockets that might have puffed up.
- Handling Sticky Peanut Butter Filling: The thick peanut butter filling can be a bit sticky. To make it easier to work with, simply wet your fingertips, shake off any excess water, and then use your damp fingers to gently press the filling into the cooled cookie centers. This trick will prevent sticking and allow for a smooth, even application.
- Soften Butter Correctly: For both the cookie dough and the peanut butter filling, ensure your butter is properly softened. It should be pliable enough to leave an indentation when pressed, but not melted or greasy. This allows for proper creaming and a uniform texture.
Storage, Make-Ahead, and Freezing Options
These chocolate peanut butter thumbprint cookies are perfect for making ahead or storing for later enjoyment:
- To Store: Once completely cooled, store the finished cookies in an airtight container at room temperature for up to 4 days. They tend to stay delightfully soft, but for optimal freshness, enjoy them within a few days.
- To Make Ahead (Dough): You can prepare the cookie dough up to 24 hours in advance. Once mixed, cover the bowl tightly with plastic wrap and refrigerate. Before shaping and baking, allow the dough to sit at room temperature for about 15-20 minutes to soften slightly, making it easier to roll and press.
- To Freeze Baked Cookies: For longer storage, flash freeze the fully assembled and drizzled cookies on a baking sheet until solid. Once frozen, transfer them to a freezer-safe airtight container or heavy-duty freezer bag. They can be stored for up to 2-3 months. To thaw, simply arrange a single layer of cookies on a plate or baking sheet and let them come to room temperature overnight.
- To Freeze Cookie Dough: Roll the dough into individual balls as instructed, then flash freeze them on a baking sheet until solid. Transfer the frozen dough balls to a freezer-safe container or bag for up to 3 months. When ready to bake, transfer the desired number of dough balls to the refrigerator to thaw overnight. Once thawed, roll them in granulated sugar, create the thumbprint indentation, and bake as directed.
Essential Equipment for Baking Success
Having the right tools makes baking these thumbprint cookies a breeze:
- Silicone Baking Mat (or parchment paper for easy release)
- Baking Sheets
- Electric Mixer (stand mixer or hand mixer)
- Cookie Dough Scoop (for consistent sizing)
- Measuring Spoons and Cups
- Mixing Bowls
- Wire Cooling Rack
Discover More Irresistible Thumbprint Cookie Recipes
If you love the versatility and charm of thumbprint cookies, explore these other fantastic recipes from our collection:
- Chocolate Peppermint Thumbprint Cookies
- Chocolate Orange Thumbprint Cookies
- Turtle Thumbprint Cookies
- Eggnog Thumbprint Cookies
Chocolate Peanut Butter Thumbprint Cookies Recipe
These exquisite chocolate peanut butter thumbprint cookies are the culmination of careful recipe development, designed to deliver a soft, intensely flavored chocolate base with a rich, thick peanut butter center, finished with a elegant chocolate drizzle. A guaranteed hit for any occasion, capturing the essence of a classic flavor pairing.
Yields: 35 cookies
Prep Time: 10 minutes
Cook Time: 10-11 minutes
Chill Time: 10 minutes
Author: Beth
Equipment
- Baking Sheets
- Parchment Paper or Silicone Baking Mats
- Electric Mixer (stand or hand-held)
- Medium and Large Mixing Bowls
- Cookie Dough Scoop (#60, approx. 1 tbsp)
- Measuring Spoons and Cups
- Wire Cooling Rack
- Microwave-safe Bowl
Ingredients
For the Cookies:
- 1 ¾ cup (210g) all-purpose flour
- ½ cup (40g) Dutch-processed cocoa powder
- ½ tsp salt
- ½ tsp baking powder
- 1 tsp cornstarch
- ¾ cup (170g) unsalted butter, softened
- 1 cup (213g) brown sugar, packed
- 1 large egg
- 1 large egg yolk
- ¼ cup (50g) granulated sugar, for rolling
For the Peanut Butter Filling:
- ¾ cup (201g) creamy peanut butter (not natural, oil-separated kind)
- ¼ cup (57g) unsalted butter, softened
- 1 cup (113g) powdered sugar
- ½ tsp vanilla extract
- Pinch of salt
For the Chocolate Drizzle:
- ¾ cup (129g) semi-sweet chocolate chips
- 1 tsp coconut oil or vegetable shortening
Instructions
For the Cookies:
- Line baking sheets with parchment paper or silicone mats.
- In a medium bowl, whisk together the flour, cocoa powder, salt, baking powder, and cornstarch. Set aside.
- In a large mixing bowl, beat the softened butter and brown sugar on medium speed until light and fluffy, about 1-2 minutes.
- Beat in the large egg and the additional egg yolk for 30 seconds, scraping down the sides of the bowl as needed.
- Gradually add the dry mixture to the wet ingredients, mixing on low speed until just combined. The dough will be very thick.
- Scoop 1 tablespoon of dough (using a #60 cookie scoop) and roll into smooth balls. Roll each ball in granulated sugar and place 2 inches apart on the prepared baking sheets.
- Use the back of a teaspoon to press a divot into the center of each cookie before baking. Place the baking sheet in the freezer for 10 minutes to firm up the dough. You can freeze longer if needed.
- Preheat the oven to 350°F (177°C). Bake for 10-11 minutes or until the edges are set but the centers still look soft.
- Immediately upon removing from the oven, use the teaspoon again to gently deepen the center indentation as it may disappear slightly while baking.
- Allow cookies to cool completely on a wire rack before filling.
For the Peanut Butter Filling:
- In a medium bowl, beat the creamy peanut butter and softened butter with an electric mixer until smooth and creamy, 1 to 2 minutes.
- Add the powdered sugar, vanilla extract, and a pinch of salt. Mix on low speed until a thick, dough-like filling forms.
- Portion out about 2 teaspoons of this mixture and add to the center of each cooled thumbprint cookie. Pro tip: The mixture will be sticky, so wet your fingertips, shake them dry, and use them to press the mixture evenly into the cookies.
For the Chocolate Drizzle:
- In a microwave-safe bowl, combine the semi-sweet chocolate chips and coconut oil (or vegetable shortening). Microwave for 1 minute on 50% power, stir, and return to the microwave for another minute on 50% power until completely melted and smooth.
- Drizzle the melted chocolate over the peanut butter filling of each cookie. Let the chocolate set before serving.
Recipe Notes:
- Gluten-Free Option: To make these cookies gluten-free, substitute the all-purpose flour with a high-quality 1:1 gluten-free baking flour blend, such as King Arthur’s Measure for Measure Gluten Free Flour.
- Storage: Store these delicious cookies in an airtight container at room temperature for up to 4 days to maintain their softness and flavor.
- Make Ahead (Dough): The chocolate cookie dough can be prepared up to 24 hours in advance. Cover tightly and refrigerate. Allow to come to room temperature for 15-20 minutes before rolling.
- Freezing Baked Cookies: Flash freeze the finished, drizzled cookies on a baking sheet until solid, then transfer to a freezer-safe container or bag for up to 2-3 months. Thaw overnight at room temperature.
- Freezing Dough: Roll cookie dough into individual balls and flash freeze until solid. Transfer to a freezer bag. To bake from frozen, thaw in the refrigerator overnight, then roll in sugar, make indentations, and bake as usual.
- Accurate Flour Measurement: For best results, measure flour by weight using a kitchen scale. If using volume, spoon flour into the measuring cup and level off with a knife (do not pack).
Approximate Nutrition Information (per cookie):
- Calories: 174 kcal
- Carbohydrates: 20g
- Protein: 3g
- Fat: 10g
- Saturated Fat: 5g
- Polyunsaturated Fat: 1g
- Monounsaturated Fat: 3g
- Trans Fat: 0.2g
- Cholesterol: 25mg
- Sodium: 69mg
- Potassium: 91mg
- Fiber: 1g
- Sugar: 13g
- Vitamin A: 179IU
- Calcium: 19mg
- Iron: 1mg
All nutritional values provided are approximate and intended as a courtesy. Changes to ingredients or quantities will alter these estimated calculations.
Enjoyed this recipe? Share your thoughts and rate it below! Your feedback helps us create more delicious content.