
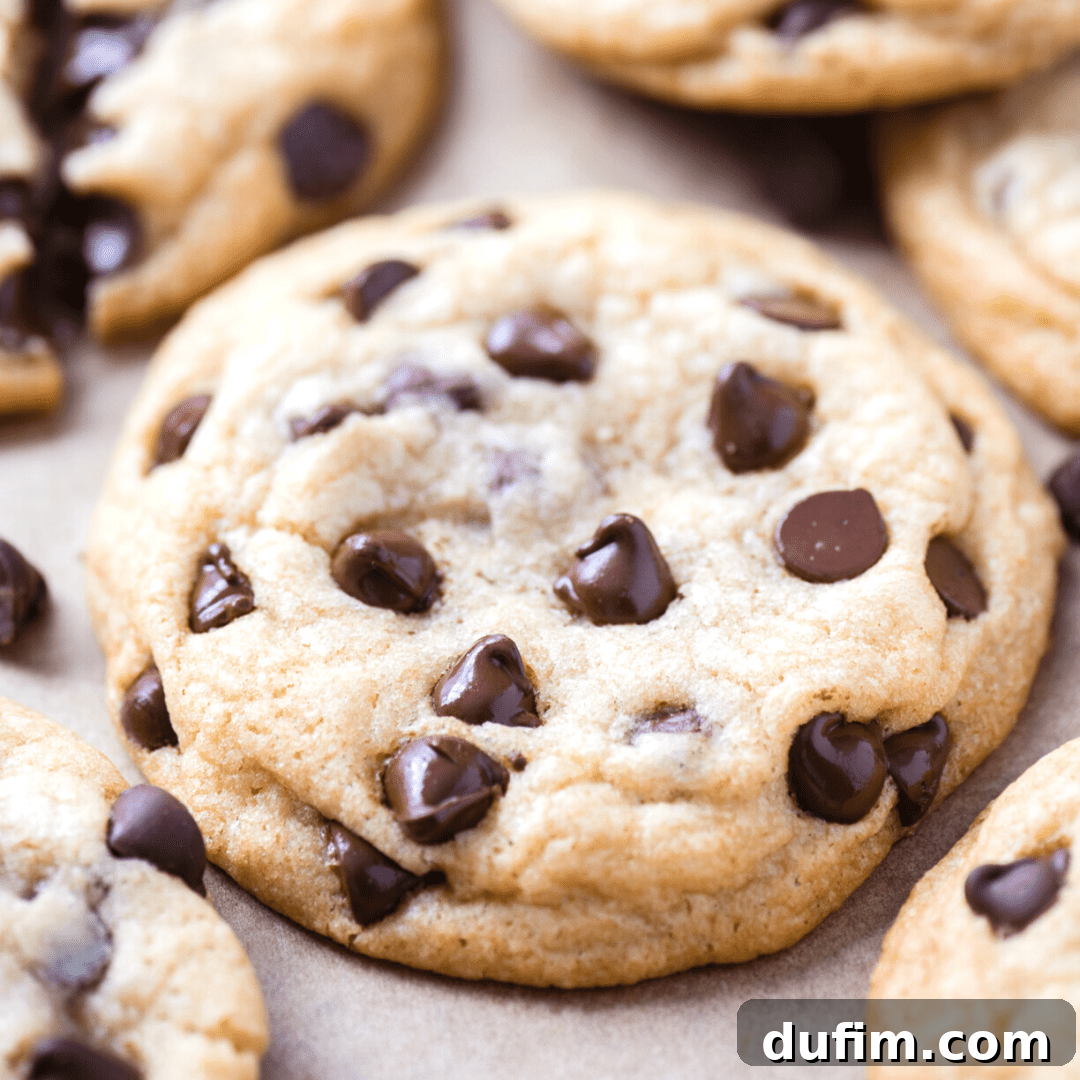
Welcome to the world of truly **easy chocolate chip cookies**, where deliciousness is just minutes away! Imagine sinking your teeth into a warm, gooey cookie that boasts crispy edges, a delightfully soft and chewy center, and an abundance of melty chocolate chips. What if we told you these perfect treats could be **ready to bake in just 10 minutes** because there’s absolutely no need to chill the dough? That’s right! Our recipe is designed for instant gratification, delivering thick, rich cookies that hold their shape beautifully without spreading too thin. Dive into our quick tips and tricks to master the art of no-chill chocolate chip cookies and impress everyone with your baking prowess!
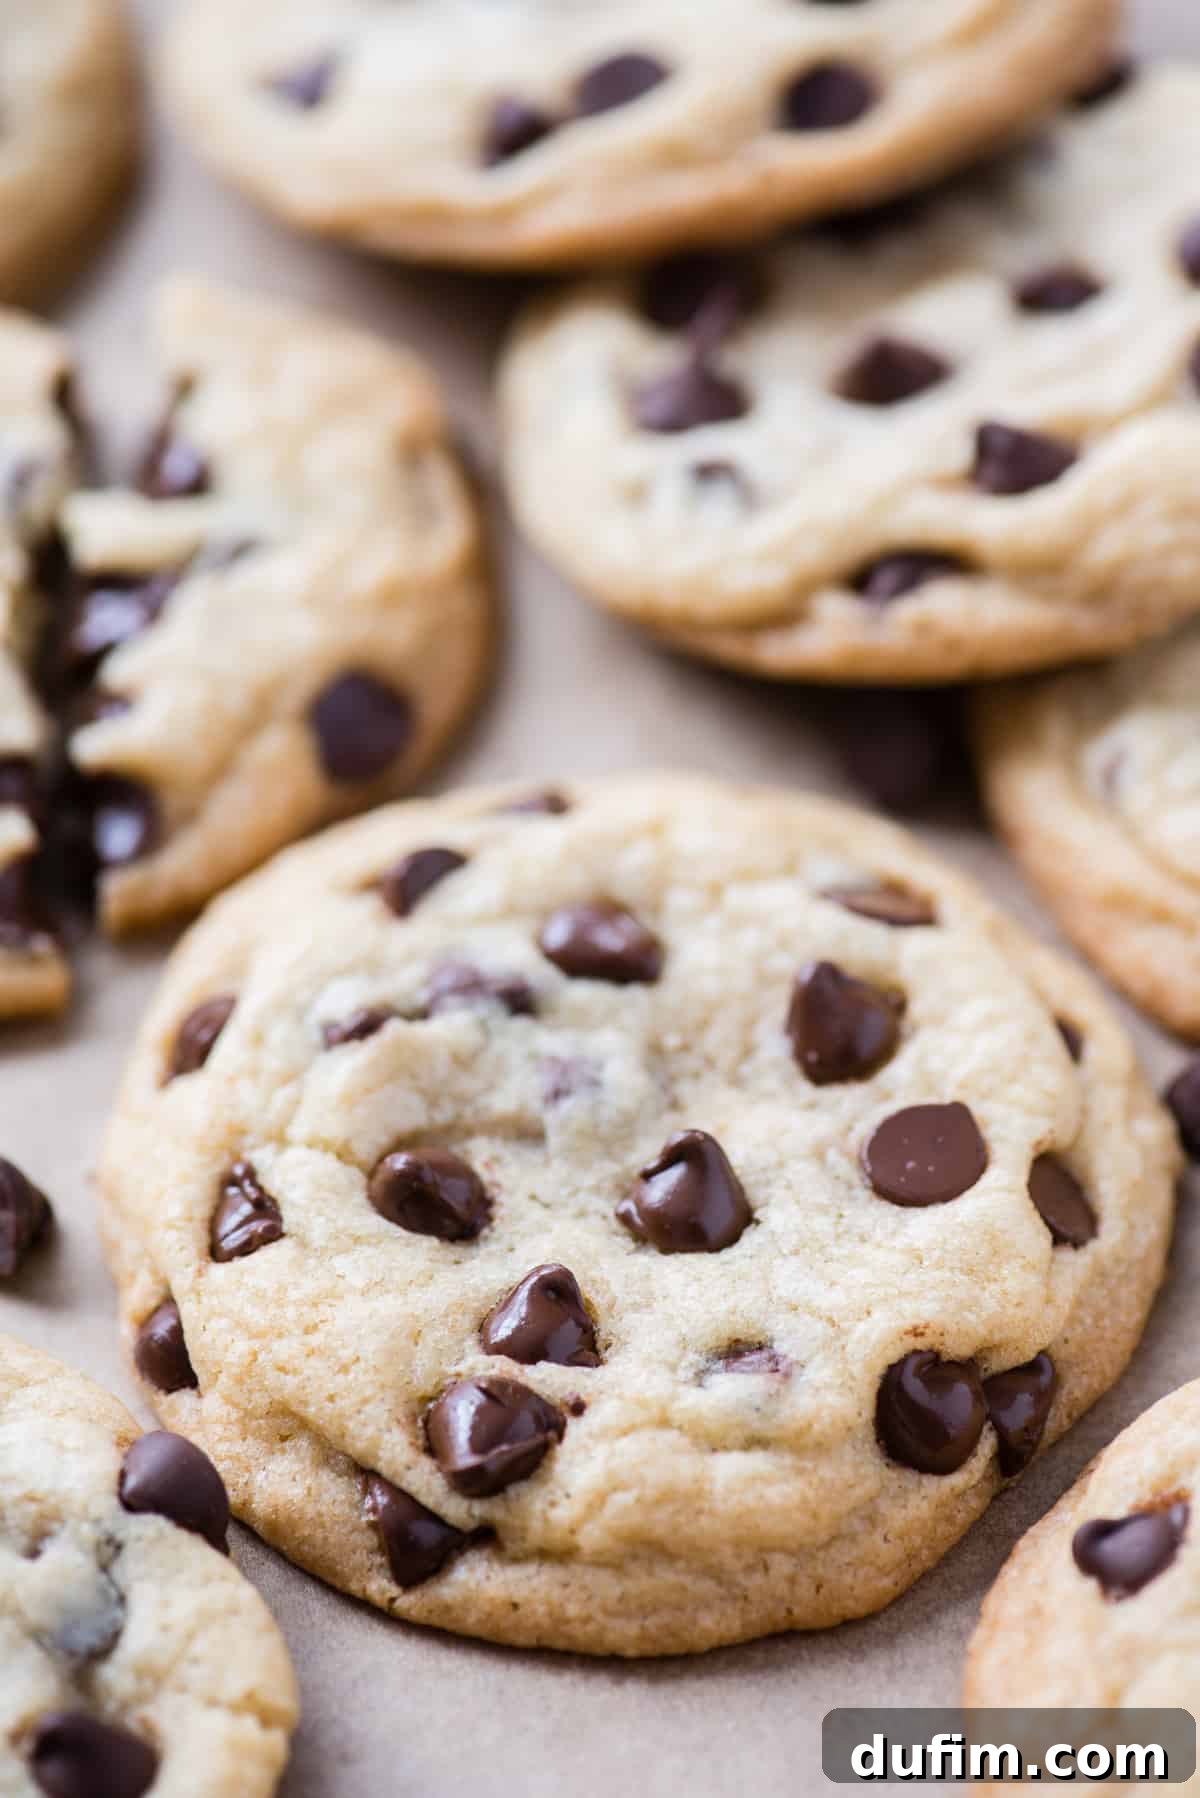
“I absolutely adored this recipe! It was incredibly scrumptious, so much so that I nearly devoured the entire tray myself! This is definitely my new go-to cookie recipe.”
-Sara
Decoding Cookie Spread: Why Do Chocolate Chip Cookies Spread Too Much?
One of the most common frustrations for home bakers is when their beautiful cookie dough balls melt into flat, thin disks during baking. Cookie spreading is a complex issue, often caused by a combination of factors. Understanding these elements is key to achieving that perfect, thick, and chewy chocolate chip cookie every single time.
- Inadequate Flour Content: Flour provides the essential structure for your cookies. If your dough lacks sufficient flour, or if the flour isn’t measured correctly, the butter and other fats will melt too quickly in the oven, leading to excessive spreading. The cookie simply won’t have enough “backbone” to hold its shape.
- Excessive Sugar or Butter: While crucial for flavor and texture, too much sugar or butter can disrupt the delicate balance of your cookie dough. An overabundance of these ingredients, especially when coupled with too little flour, will result in a dough that is too wet and prone to spreading. It’s all about finding that ideal ratio for a firm yet tender cookie.
- Melted vs. Softened Butter: Our recipe prides itself on being a no-chill recipe, which means using the correct butter consistency is paramount. If your butter is melted, even slightly, it will significantly contribute to spreading. Always ensure you’re using **softened, room-temperature butter** – butter that yields slightly when pressed but isn’t greasy or liquid. This allows for proper creaming and emulsification, creating a stable dough structure.
- Greased Baking Sheets: It might seem counterintuitive, but greased cookie sheets can encourage spreading. The slick surface reduces friction, allowing the cookie dough to slide and spread more easily. For best results, always opt for parchment paper or silicone baking mats. They provide a non-stick surface without promoting unwanted spreading.
- Inconsistent Oven Temperature: Your oven’s temperature plays a vital role. If your oven is too hot, the cookies may brown too quickly on the outside before setting internally, leading to a hard cookie that spreads. If it’s too cool, the fat can melt before the structure sets, resulting in thin cookies. Hot spots within your oven can also cause uneven baking and spreading. Investing in an oven thermometer can help you verify your oven’s accuracy.
- Warm Cookie Sheets: Using a warm cookie sheet for subsequent batches is a common culprit for spreading. When cookie dough hits a warm surface, the butter begins to melt immediately, causing the cookies to spread prematurely. To combat this, always allow your baking sheets to cool completely between batches. A quick trick is to have two cookie sheets on hand, so one can cool while the other is in the oven. If you only have one, place it in the fridge for a couple of minutes to chill before loading it with the next batch of dough.
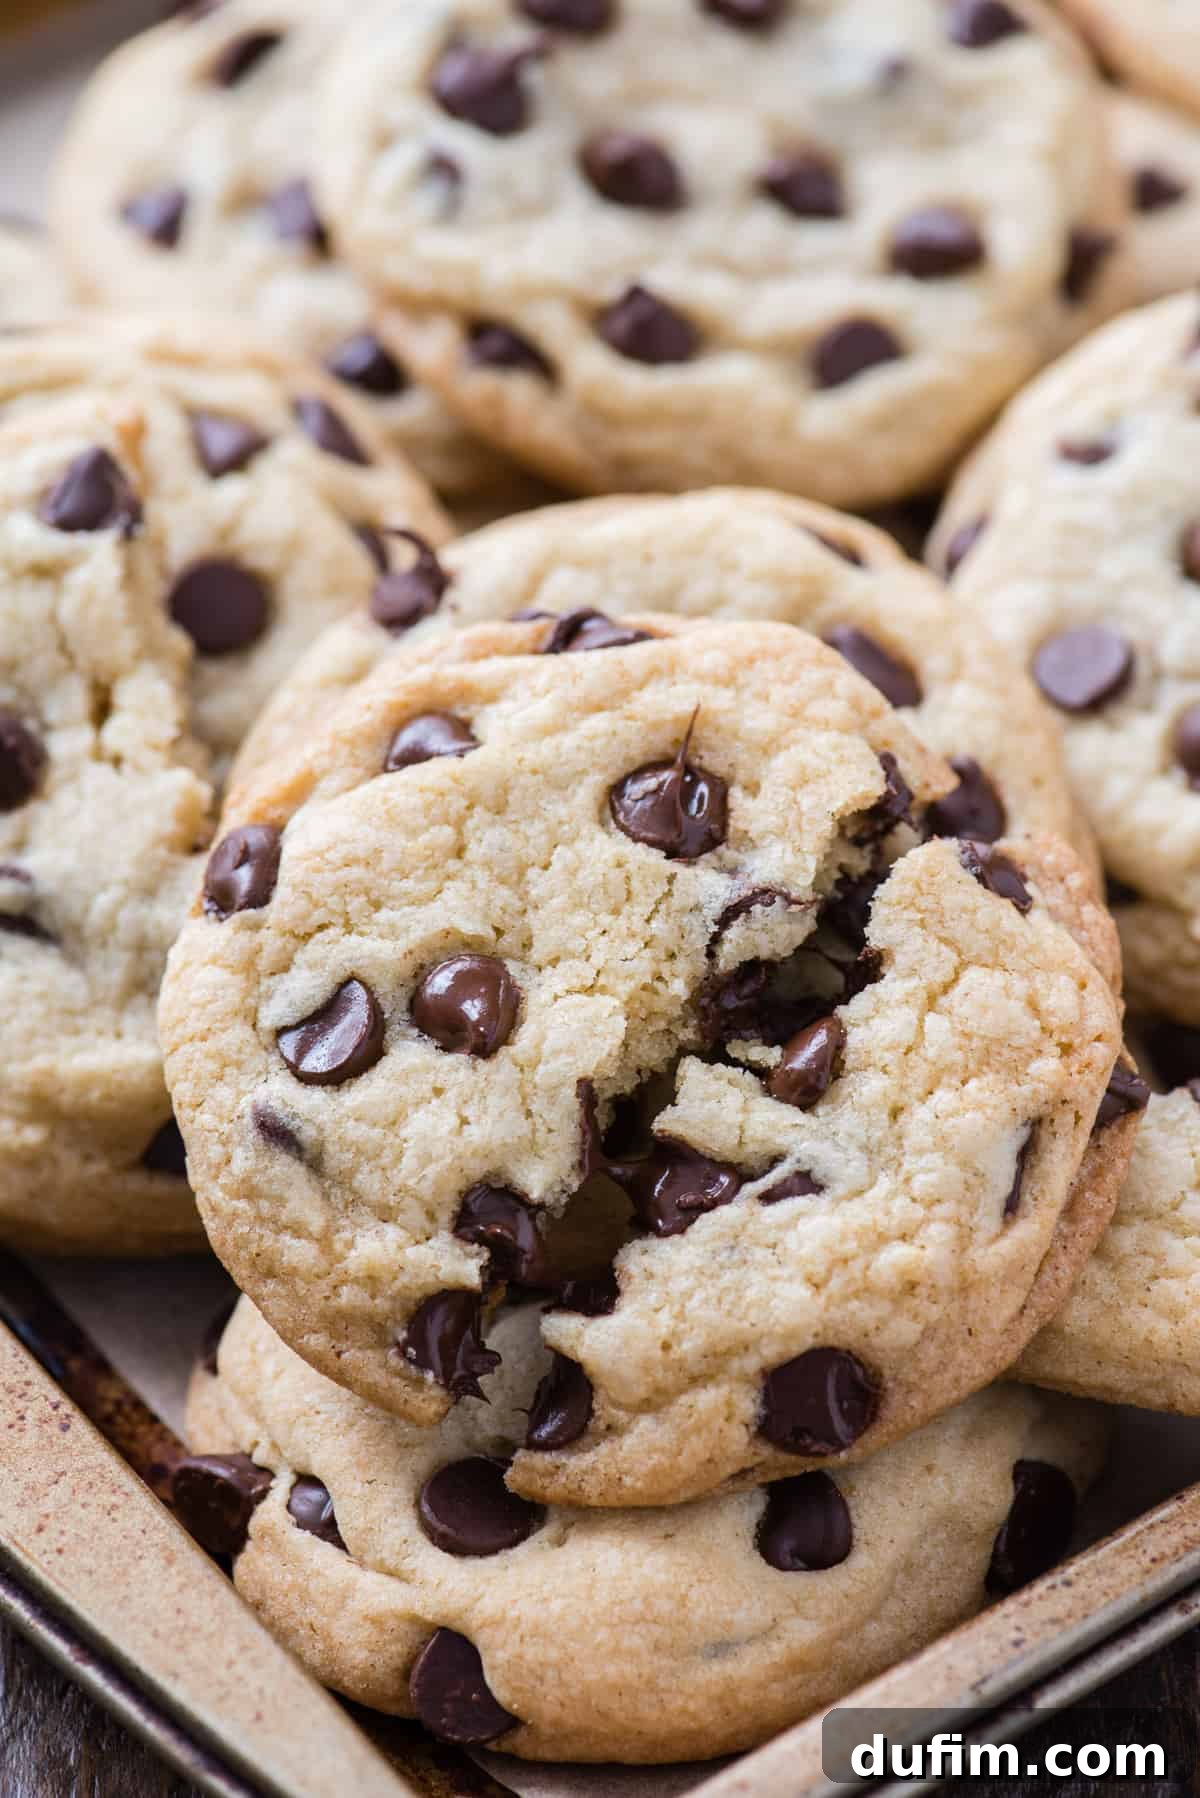
For the absolute best results and to minimize spreading, the quality of your ingredients matters. We highly recommend using a high-quality, reputable brand of all-purpose flour, such as Gold Medal, Pillsbury, or King Arthur. From extensive testing, we’ve found that using certain generic or store-brand flours can lead to significantly more spreading and a less desirable cookie texture compared to when this recipe is made with a premium name-brand flour. The consistency and protein content of flours can vary, impacting the final outcome of your cookies.
Mastering Flour Measurement for Perfect Cookies
Properly measuring flour is one of the most critical steps in baking, often overlooked, but it can drastically impact the texture and consistency of your cookies. Too much flour will result in dry, crumbly cookies, while too little will cause them to spread excessively. Here’s the tried-and-true method for accurate flour measurement:
- Fluff the Flour: Before scooping, use a fork or whisk to lightly fluff the flour in its container or bag. Flour settles and compacts over time, especially after shipping or storage, making it denser than it should be. Fluffing aerates it, bringing it back to its original volume.
- Spoon and Scoop: Instead of directly dipping your measuring cup into the flour bag, use a spoon to gently scoop the fluffed flour into your measuring cup. Continue adding spoonfuls until the flour overflows slightly above the rim of the cup.
- Level It Off: Using the flat side of a butter knife or a straight edge, level off the excess flour from the top of the measuring cup. This ensures you have an exact, uncompacted amount of flour.
**Why this method works:** Sticking your measuring cup directly into the bag of flour compresses it, packing in far more flour than the recipe calls for. This compacted flour can add a significant amount of extra weight, resulting in a dough that is too stiff and cookies that are disappointingly dry and dense, rather than soft and chewy. The spoon and sweep method guarantees light, accurate flour measurements every time.
The Essential Ingredients for Irresistible Chocolate Chip Cookies
Crafting the perfect chocolate chip cookie relies on a harmonious blend of simple ingredients, each playing a crucial role in achieving that coveted balance of flavor and texture. Here’s a breakdown of what you’ll need and why:
- All-Purpose Flour: This forms the foundational structure of our cookies. It provides the necessary gluten to give the cookies their shape and chewiness.
- Cornstarch: A secret ingredient for many, cornstarch contributes to an incredibly soft, tender, and distinctly chewy texture. It helps prevent the cookies from becoming too crisp and extends their freshness.
- Baking Soda: As a leavening agent, baking soda reacts with the acidic brown sugar to create carbon dioxide, which gives the cookies a beautiful lift and contributes to their characteristic golden-brown edges.
- Salt: Far from just a seasoning, salt is a flavor enhancer. It balances the sweetness of the sugars and chocolate, making all the other flavors shine brighter. Don’t skip it!
- Semi-Sweet Chocolate Chips: The star of the show! We recommend semi-sweet for a classic balance of sweetness and rich cocoa flavor. Feel free to use your favorite type – milk, dark, or even a mix!
- Unsalted Butter (Room Temperature): Butter adds unparalleled richness, flavor, and a tender texture to the cookies. Using unsalted butter allows you to control the exact amount of salt in the recipe. Crucially, it must be softened to room temperature for proper creaming with the sugars, which is vital for the dough’s structure.
- Brown Sugar (Packed): This ingredient is key to the cookie’s moisture, chewiness, and depth of flavor. The molasses in brown sugar keeps the cookies soft and lends a delightful caramel note. Make sure to pack it firmly when measuring.
- Granulated Sugar: Working in conjunction with brown sugar, granulated sugar contributes to overall sweetness, helps the cookies spread slightly, and encourages beautiful golden-brown edges.
- Large Eggs (Room Temperature): Eggs act as a binder, providing structure and moisture. They emulsify the fats and liquids, holding the dough together. Using room temperature eggs helps them incorporate more smoothly into the butter and sugar mixture.
- Vanilla Extract: A staple in most baked goods, vanilla extract enhances and complements the chocolate flavor, adding a warm, aromatic depth that makes these cookies irresistible.
Achieving Your Desired Cookie Texture: Baking Time Guidelines
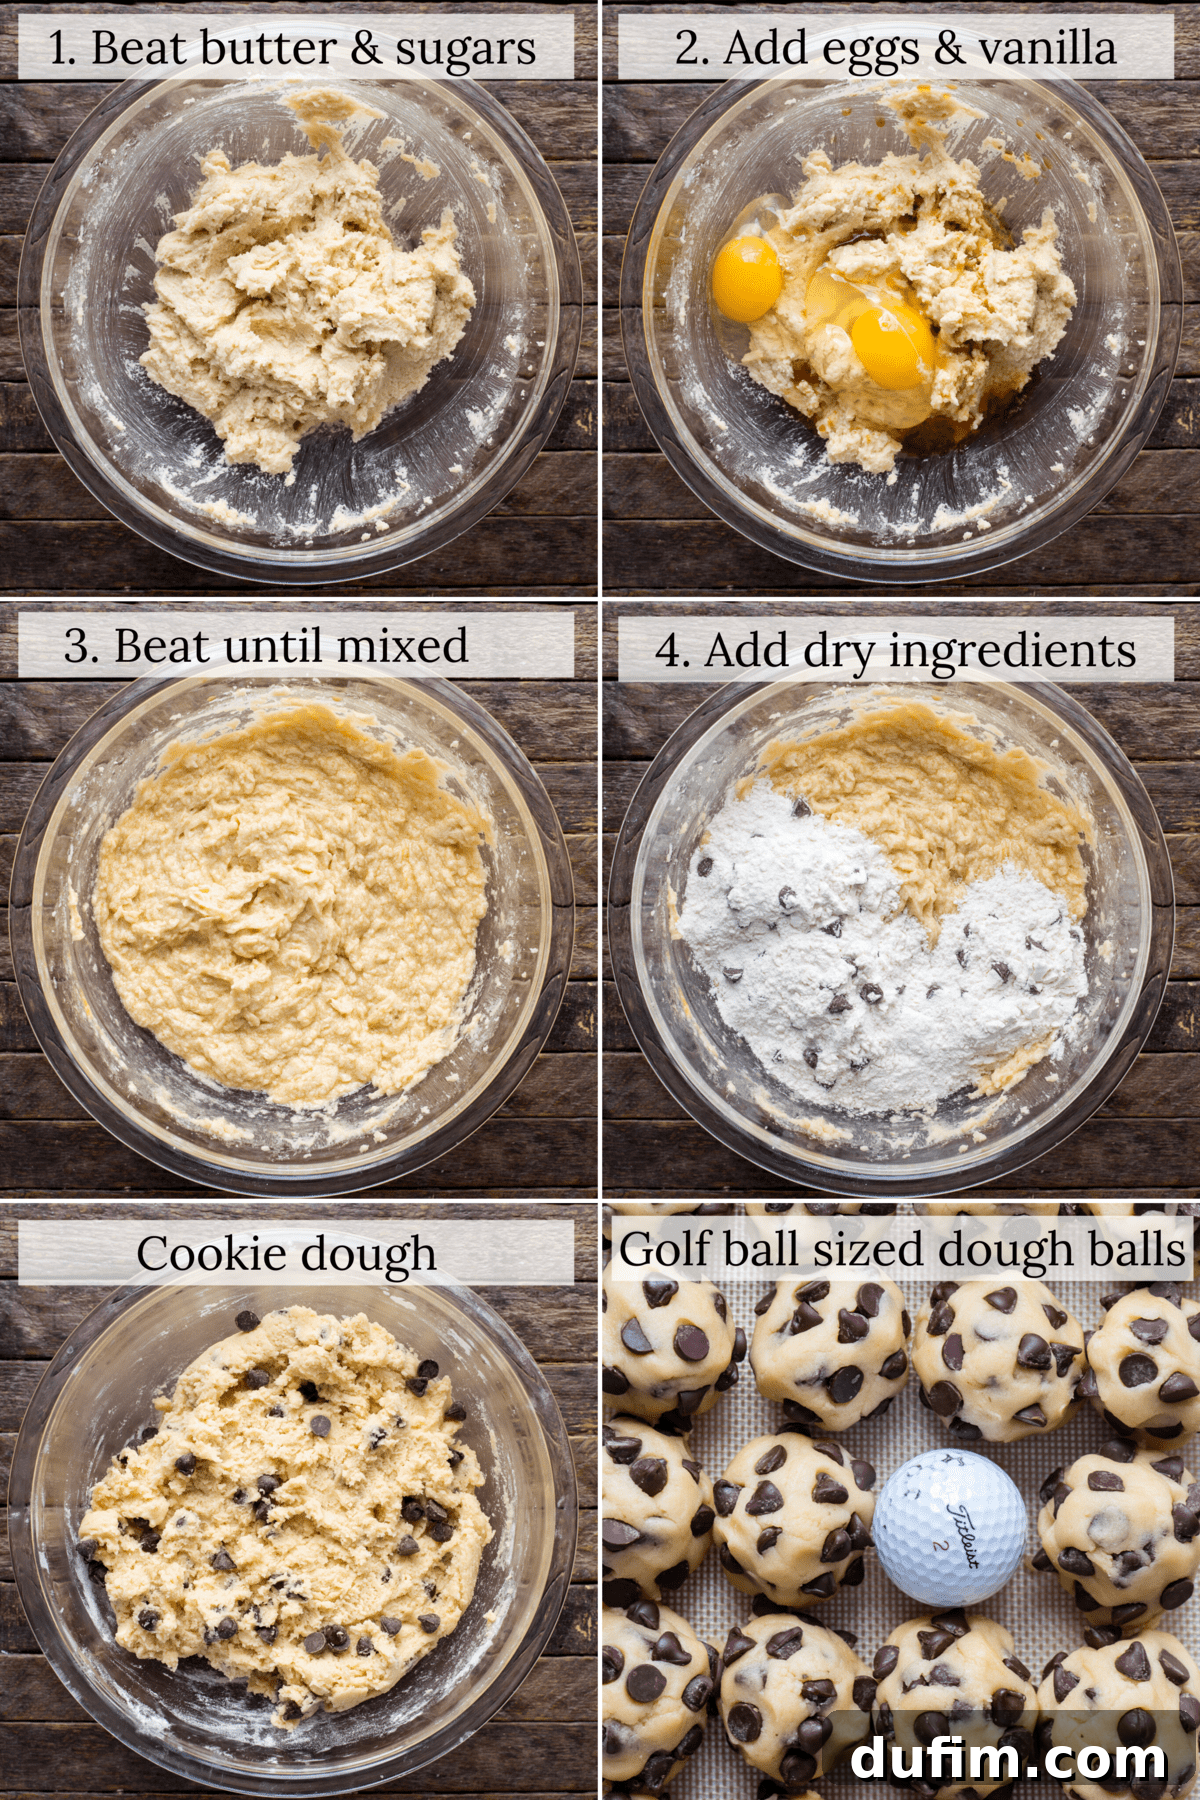
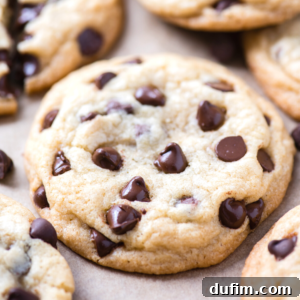
The perfect chocolate chip cookie is a matter of personal preference, especially when it comes to texture. Do you prefer them super soft, or with a satisfying crunch? The baking time is your dial to customize this experience. For the impressive, substantial cookies shown in our photos, we used dough balls that were quite large – about 3-4 heaping tablespoons, roughly the size of a golf ball. These larger cookies require a bit more time in the oven to cook through evenly without overbaking.
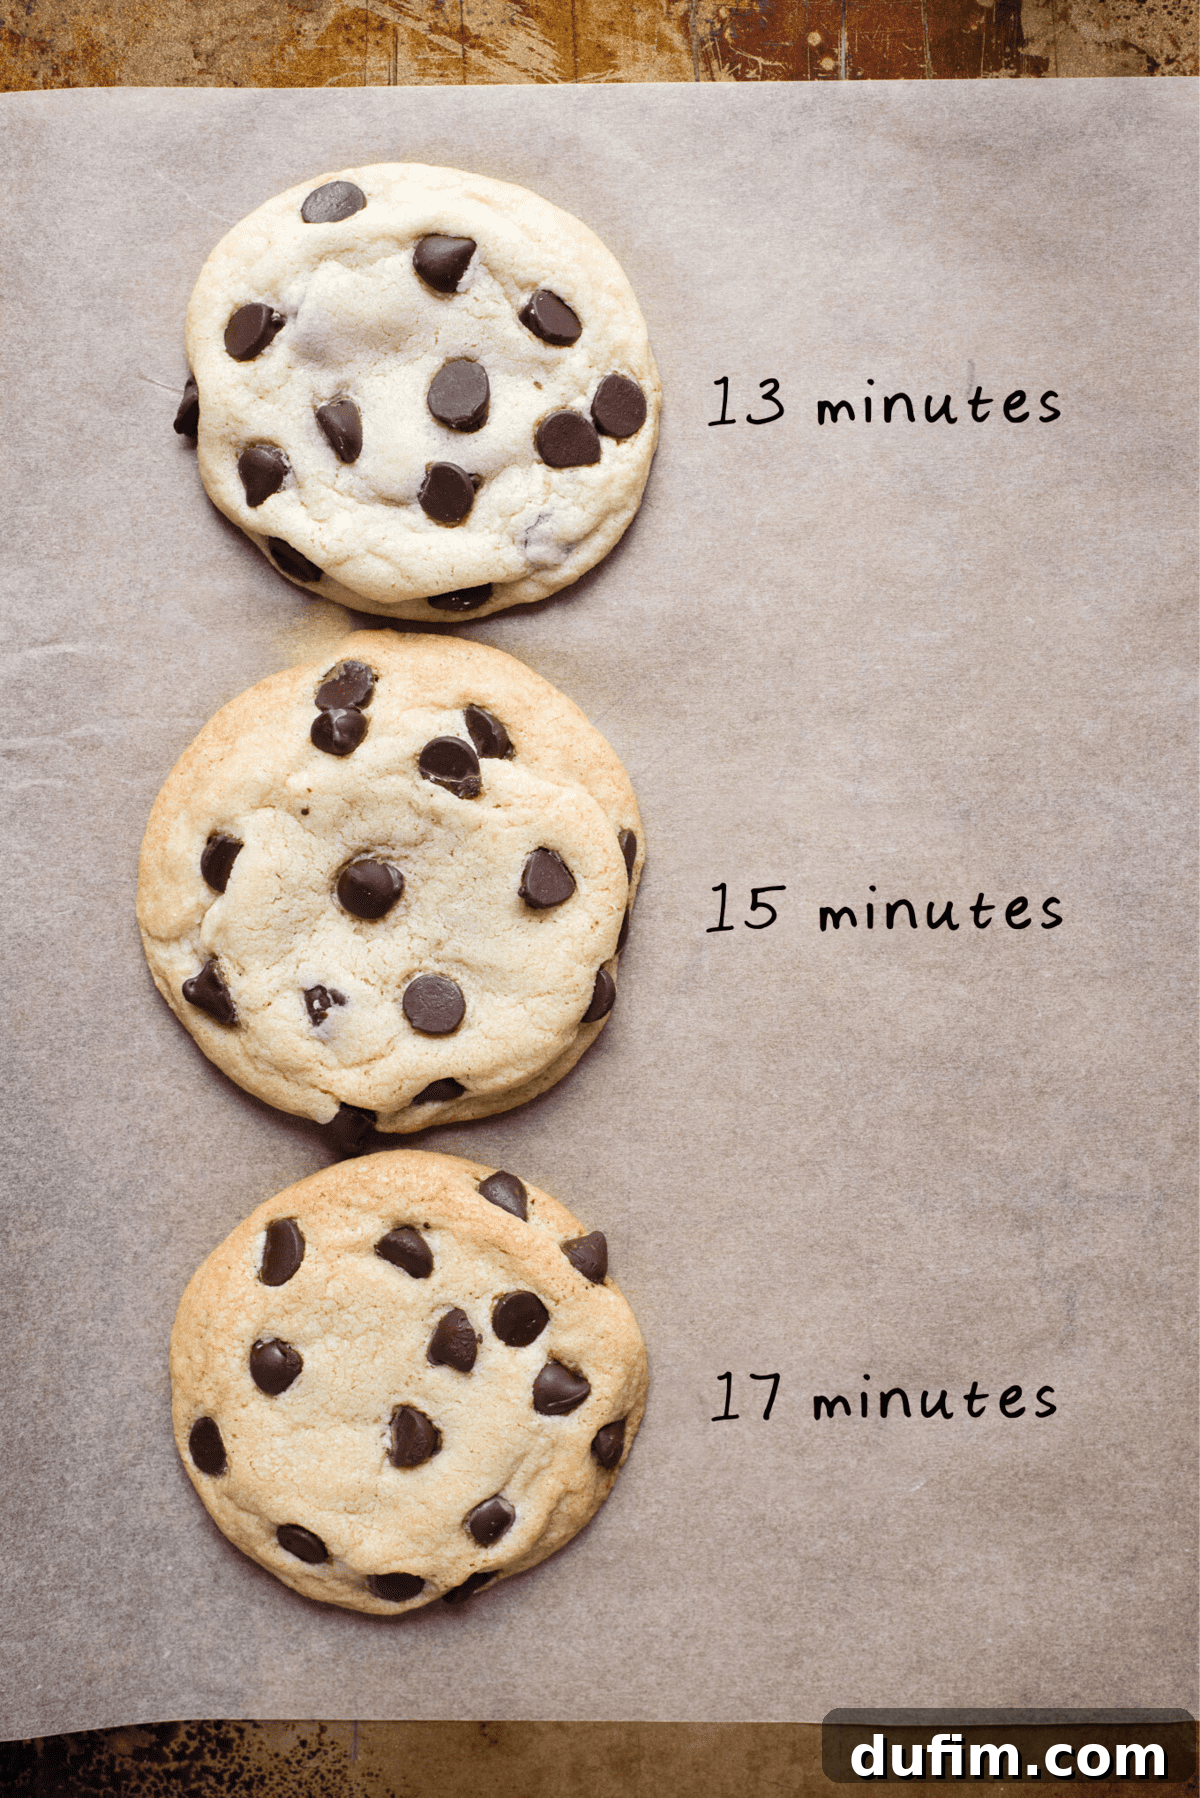
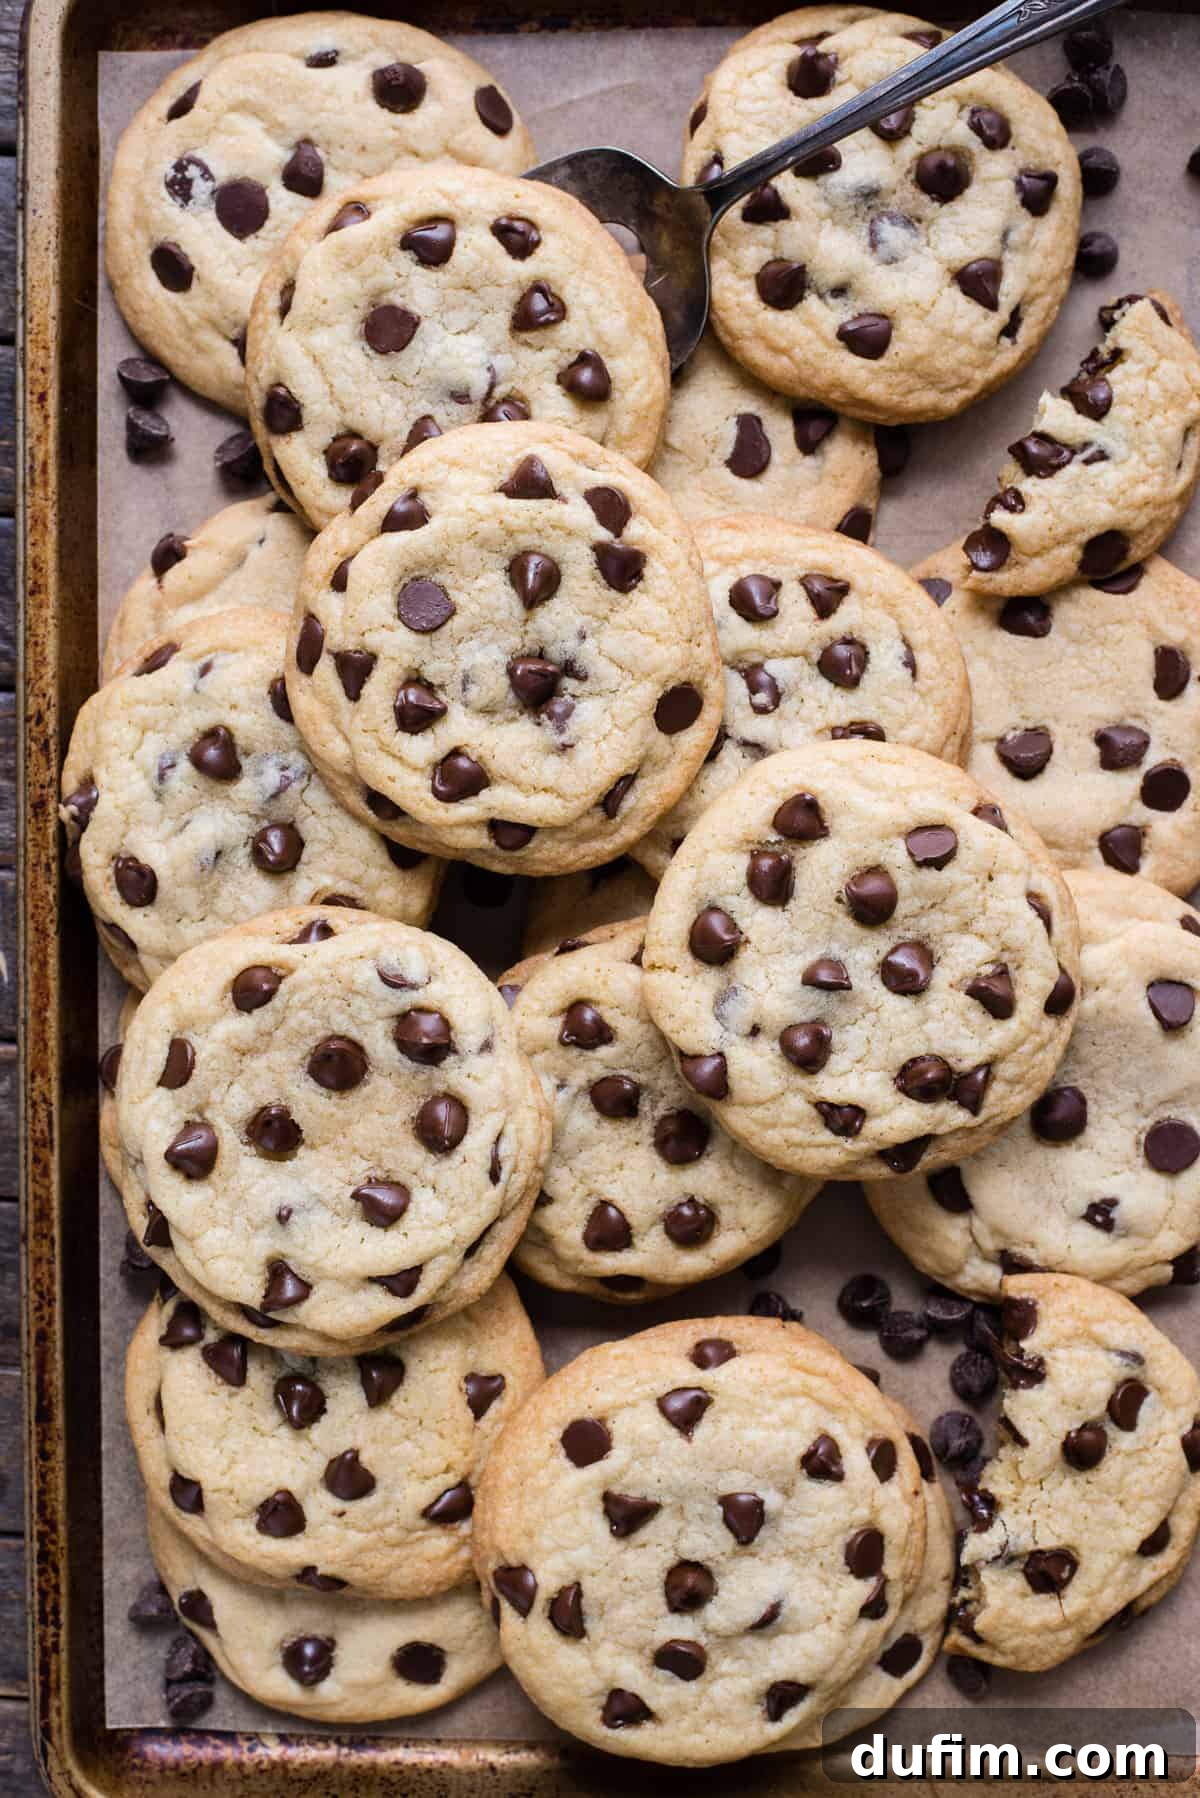
For these golf-ball-sized dough portions, we found that baking them for precisely 15 minutes yielded phenomenal results. At this duration, the edges of the cookies begin to firm up and turn a delicate golden brown, while the centers remain wonderfully soft and incredibly chewy. The outcome is a truly satisfying, soft-baked chocolate chip cookie that holds its shape beautifully.
If you opt to make smaller cookie dough balls, it is absolutely essential to reduce the baking time accordingly. Overbaking smaller cookies will quickly lead to a dry, hard texture that lacks the delightful chewiness we’re aiming for.
Use the following guide to tailor your baking time to your preferred cookie texture:
- 13 minutes: Cookies will be noticeably paler in color with virtually no crispy edges. The interior will be exceptionally soft and intensely chewy, almost melt-in-your-mouth. Ideal for those who love an ultra-soft cookie.
- 15 minutes: This is our recommended sweet spot for a balanced cookie. You’ll observe a beautiful browning around the edges, which will provide a slight crispness. The inside will remain perfectly soft and delightfully chewy, offering the best of both worlds.
- 17 minutes: For those who enjoy more structure and a subtle crunch, baking for 17 minutes will result in more pronounced browning and crispier edges. The interior will still retain its softness and chewiness but will offer a more substantial bite with a pleasant crunch.
For what we consider “regular-sized” dough balls, typically about 2 tablespoons of dough, a baking time of 10-13 minutes is generally sufficient. Always keep an eye on your cookies, as oven temperatures can vary.
Efficient Baking: Total Time Commitment
One of the many joys of this no-chill chocolate chip cookie recipe is its efficiency. You can go from craving to cookie in under an hour, making it perfect for spontaneous baking sessions or last-minute dessert needs. Here’s a breakdown of the time required:
- Dough Preparation: Only 5 minutes! This rapid prep time is thanks to the no-chill method and straightforward mixing instructions.
- Baking Time: Depending on your preferred texture and cookie size, baking will take approximately 13-17 minutes per batch.
- Cooling Time: Allow your freshly baked cookies to cool on the baking sheet for about 15 minutes. This crucial step allows them to set properly and prevents them from breaking apart when transferred.
From start to finish, you’re looking at roughly 30-37 minutes for a batch of homemade, warm chocolate chip cookies. Fast, fresh, and utterly delicious!
Keeping Your Cookies Fresh: Storage Best Practices
Once your irresistible chocolate chip cookies have cooled and you’ve enjoyed a few (or more!), proper storage is essential to maintain their delightful freshness and soft texture. Nobody likes a stale cookie!
To keep these cookies at their peak, store them in an airtight container at room temperature on your kitchen counter. They will remain wonderfully fresh and soft for up to 5 days. For an extra touch that truly makes a difference, place a piece of plain white bread (such as sandwich bread) inside the container with your cookies. The moisture from the bread will be absorbed by the cookies, helping them stay incredibly soft and chewy for an extended period. This simple trick is a baker’s secret weapon!
Bake Ahead: How to Freeze Chocolate Chip Cookie Dough
For ultimate convenience and to ensure you always have fresh-baked cookies within reach, freezing cookie dough is a fantastic option. It’s perfect for meal prep, unexpected guests, or simply satisfying a sudden cookie craving without the full prep work.
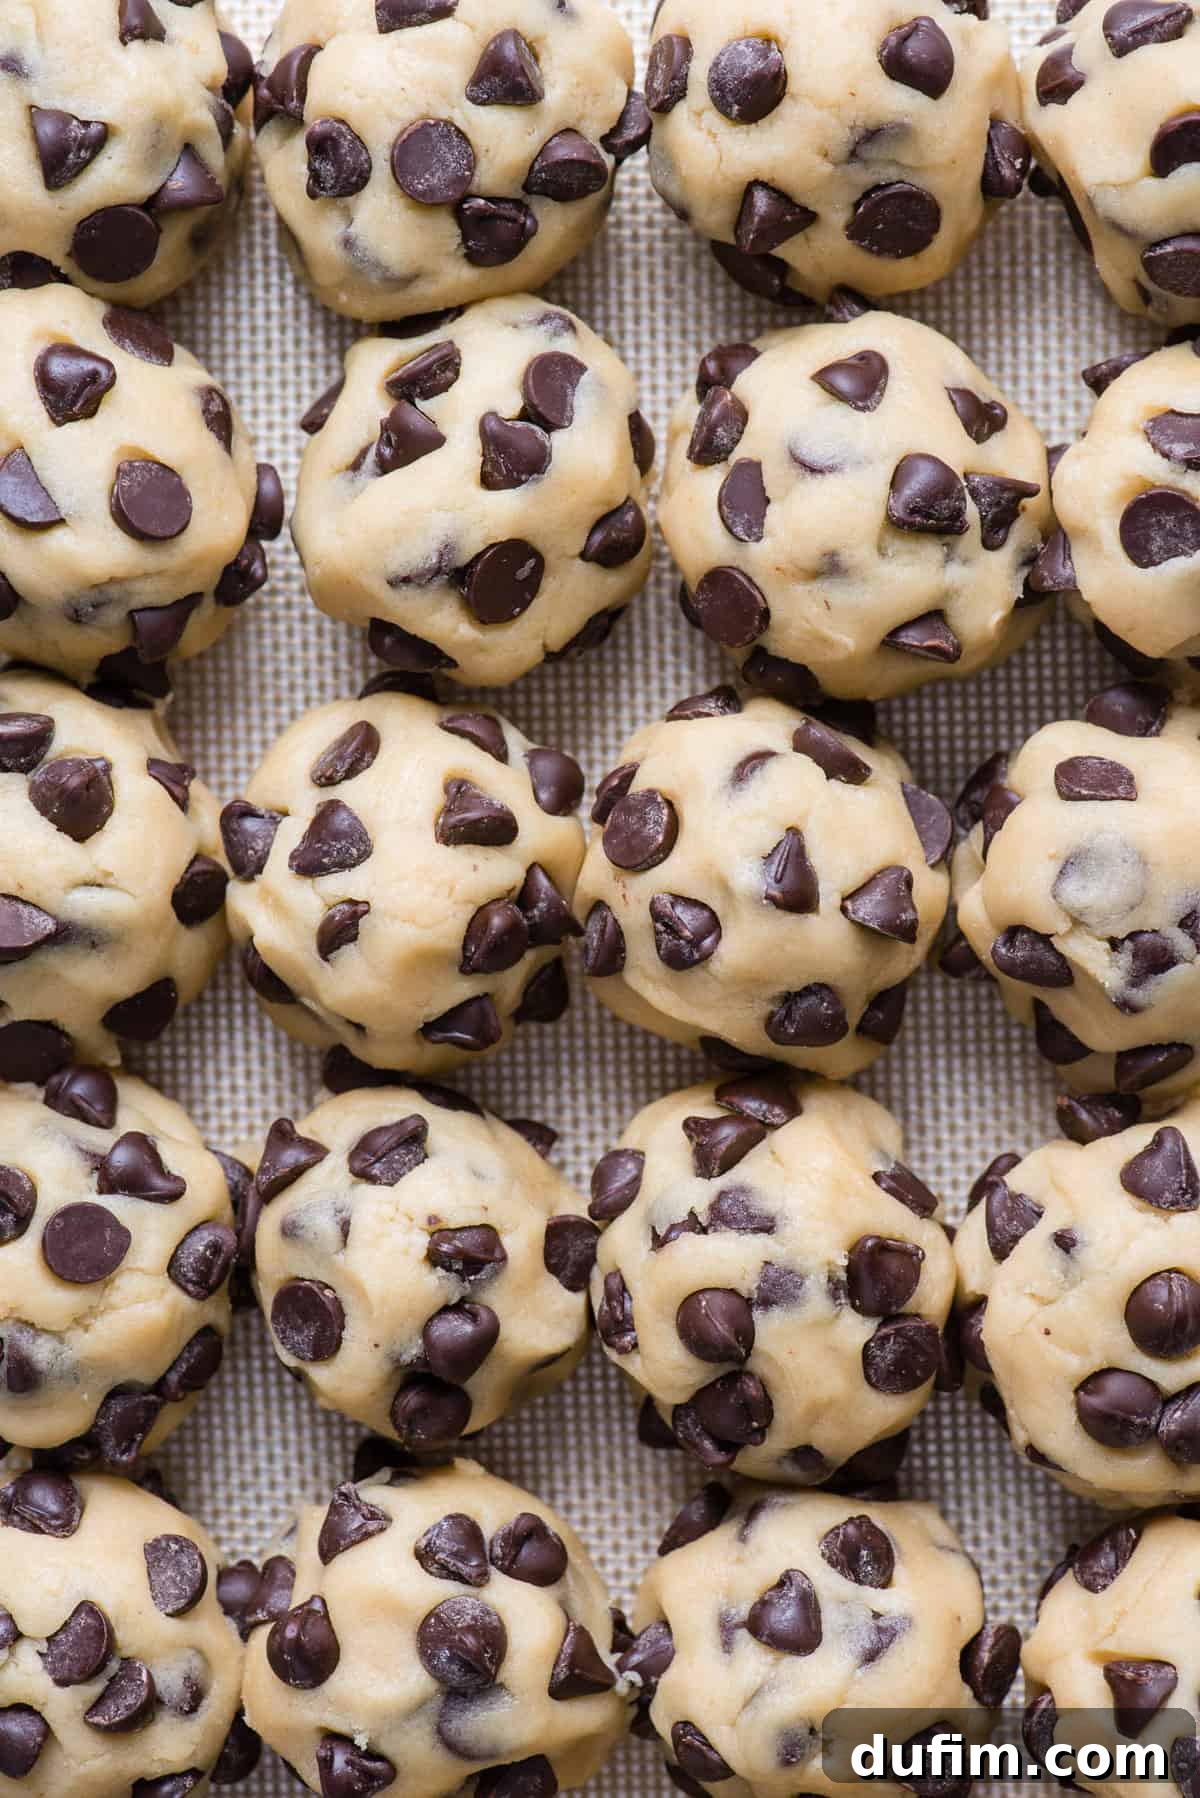
- Portion the Dough: Begin by scooping the cookie dough into individual balls, just as you would if you were baking them immediately. For an extra touch, press a few additional chocolate chips onto the outside of each dough ball; this ensures a beautiful, chocolate-loaded appearance once baked.
- Flash Freeze: Arrange the cookie dough balls on a baking sheet lined with a silicone mat or parchment paper. You can place them relatively close together since they won’t be spreading at this stage. Place the entire baking sheet into the freezer and allow the dough balls to freeze solid, which usually takes about 1 hour. This “flash freezing” step prevents them from sticking together in the storage bag.
- Transfer and Store: Once thoroughly frozen, remove the baking sheet from the freezer. Transfer the solid cookie dough balls into a freezer-safe ziplock bag. Be sure to label the bag with the date and baking instructions (oven temperature and estimated bake time).
- Freezer Life: Your frozen cookie dough can be stored in the freezer for up to 3 months, ready whenever you are.
- Baking from Frozen: To bake from frozen, there’s no need to thaw! Simply preheat your oven to 350ºF (175ºC). Place the frozen dough balls on a prepared baking sheet and bake for approximately 13-17 minutes. You might find that frozen cookies require an additional 1-2 minutes of baking time compared to fresh dough, so keep an eye on them until the edges are golden and the centers look set.
Gluten-Free Delights: Adapting Your Chocolate Chip Cookies
For those following a gluten-free diet, you don’t have to miss out on the joy of these incredible chocolate chip cookies! This recipe is wonderfully adaptable. We have successfully made these cookies numerous times using King Arthur’s Gluten-Free Measure for Measure Flour, achieving consistently excellent results that rival their gluten-containing counterparts. This type of flour blend is specifically designed to be a 1:1 substitute for all-purpose flour in most recipes, simplifying the conversion process.
If you’re exploring other gluten-free flour options or looking for a different flavor profile, you might also consider recipes that utilize alternative flours. For example, if you’re interested in a unique texture and flavor, you could try coconut flour chocolate chip cookies, which offer a distinct twist on the classic.
Essential Tools for Baking the Perfect Cookies
While you can certainly make delicious cookies with basic kitchenware, having the right tools can elevate your baking experience, ensure consistent results, and make the process more enjoyable. These are our top recommendations for baking perfect chocolate chip cookies:
- Cookie Scoop: A cookie scoop is a game-changer for achieving uniformly sized cookies. Uniformity ensures even baking across the entire batch, preventing some cookies from being overdone while others are underbaked. We use a scoop with a diameter of 1.6 inches, which is technically considered a small cookie scoop. When scooping, we heap the dough over the scoop to create substantial, golf-ball-sized portions. This ensures a thick, chewy cookie.
- Silicone Baking Mat: Essential for non-stick baking without the need for greasing. Silicone mats provide an excellent, even heat distribution, promote consistent browning, and prevent cookies from sticking. They are also reusable, making them an eco-friendly and cost-effective alternative to parchment paper.
- High-Quality Cookie Sheet: The type of baking sheet you use significantly impacts your cookies. We specifically favor light-colored aluminum cookie sheets. Their lighter tone prevents excessive browning and helps in achieving even heat conduction across the bottom of the cookies, leading to consistent baking. The half-sheet size is incredibly versatile and fits silicone baking mats perfectly. Look for shiny, heavy-gauge cookie sheets with very low or no sides, as this allows for better air circulation. Avoid dark aluminum sheets, as they absorb more heat and can cause cookies to overcook or burn on the bottom.
Pro Tip for Even Baking: To ensure that every cookie bakes perfectly and evenly, always place only one cookie sheet in the oven at a time. Crowding your oven can interfere with heat circulation, leading to inconsistent baking results and potentially uneven spreading.
Unlock Perfection: Advanced Tips for Your Best Chocolate Chip Cookies
Beyond the recipe itself, a few expert techniques can elevate your chocolate chip cookies from great to absolutely extraordinary. These simple yet effective tips will ensure your cookies are not only delicious but also visually appealing and consistently perfect every time you bake them.
- Accurate Flour Measurement is Key: As discussed, correctly measuring your all-purpose flour using the “spoon and sweep” method is paramount. This prevents dense, dry cookies and ensures the ideal texture and spread. Take that extra minute to get it right!
- Room Temperature Butter and Eggs: While this is a no-chill dough recipe, using **room temperature butter** and eggs is still crucial. Room temperature butter creams beautifully with the sugars, incorporating air that creates a lighter, softer cookie. Cold butter won’t emulsify correctly, leading to a denser dough and potentially more spreading. Similarly, room temperature eggs integrate more smoothly into the mixture.
- Uniformity with a Cookie Scoop: For professional-looking cookies that bake evenly, a cookie scoop is your best friend. It helps create perfectly uniform dough balls, ensuring each cookie requires the same baking time and comes out consistently delicious.
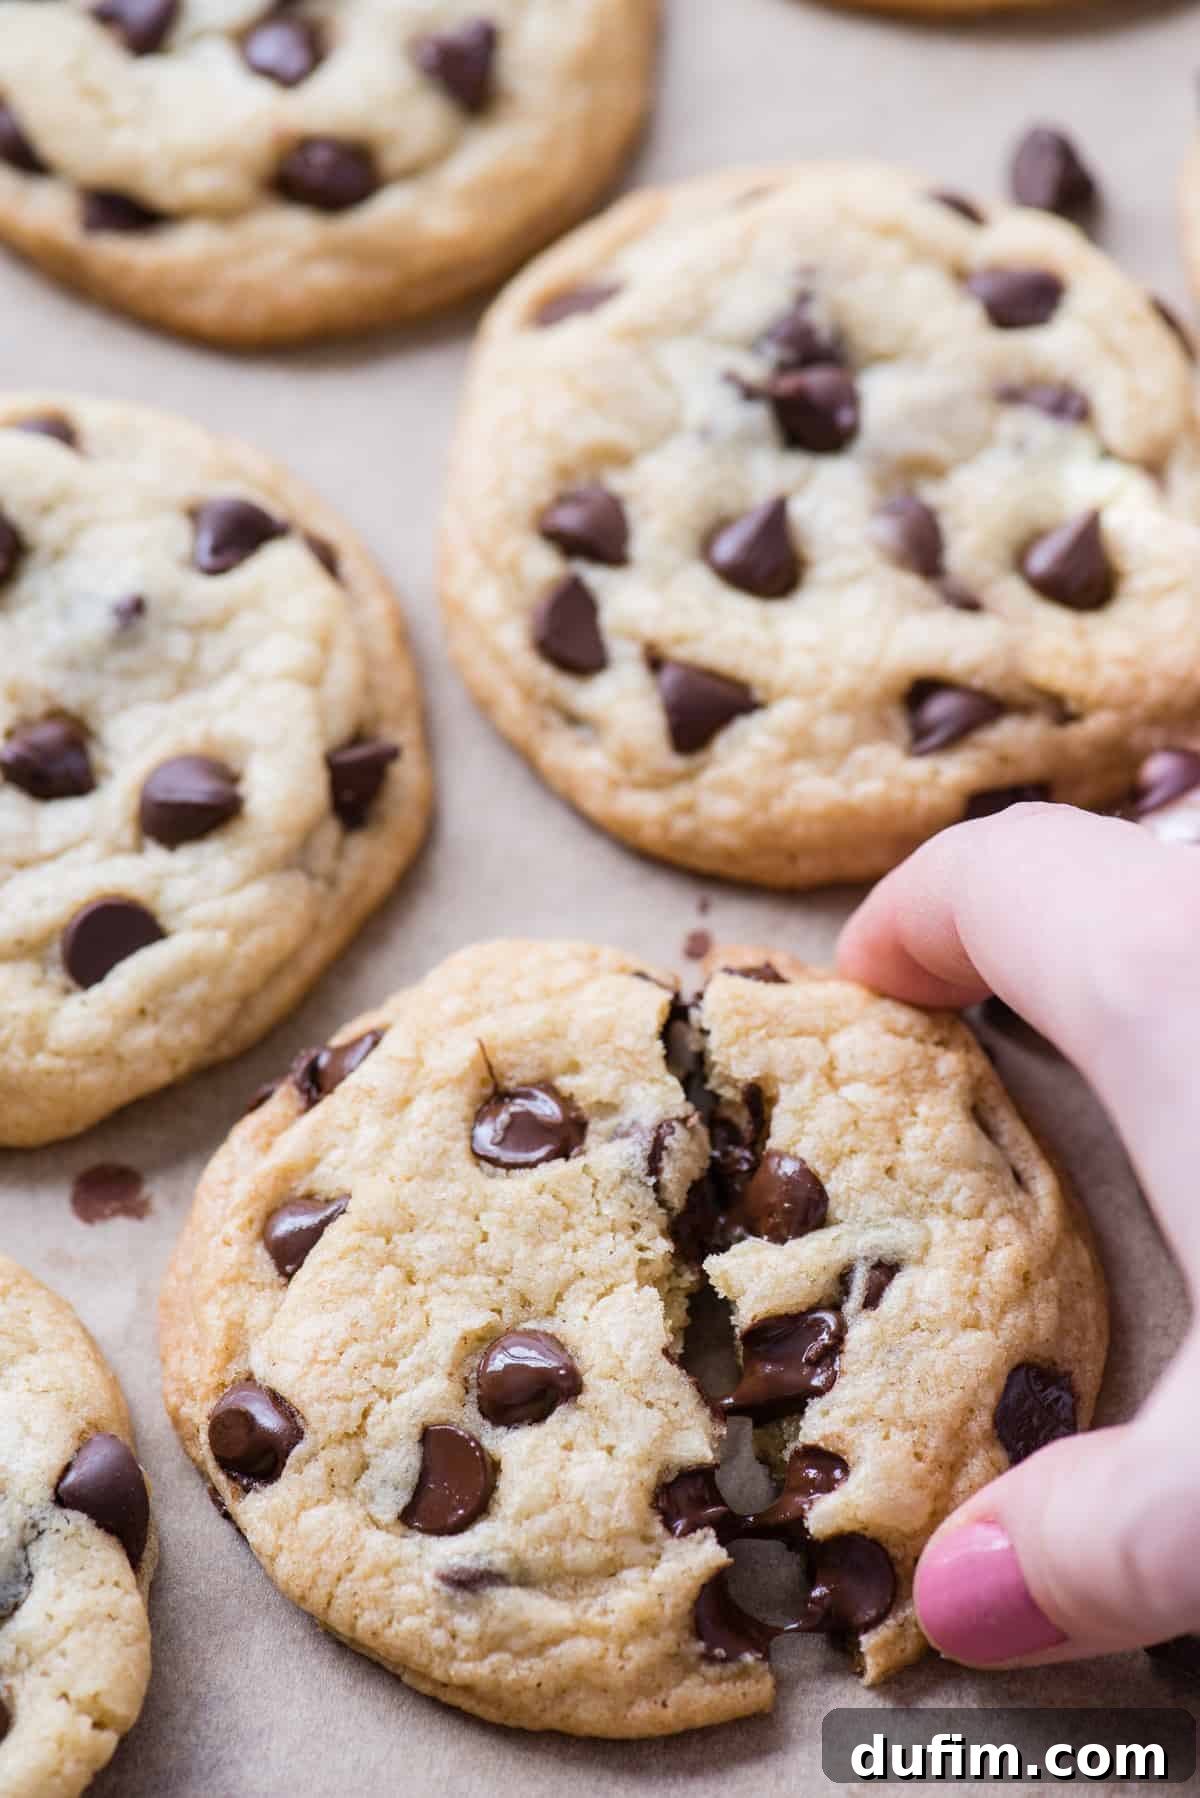
- The “Chocolate Chip Presentation” Trick: For that magazine-worthy look, where every cookie appears generously studded with chocolate chips, try this simple trick: once you’ve formed your dough balls, gently press a few extra chocolate chips onto the outside surface of each ball before baking. As the cookies bake, these visible chips melt beautifully, giving them that irresistible, loaded cookie appearance, just like in our photos!
“These cookies are unbelievably good! I made them for my family, and everyone agreed they were the best I’ve ever baked. This recipe is officially replacing my old favorite. Thank you so much for sharing such a fantastic recipe!”
-Kate
Explore More Delicious Cookie Recipes
If you’ve loved these no-chill chocolate chip cookies, we invite you to explore more of our delightful cookie creations. There’s always a perfect cookie for every occasion and craving!
- Bright & Zesty Lemon Sugar Cookies
- Indulgent Double Chocolate Chip Cookies
- Soft & Sweet Frosted Sugar Cookies (Lofthouse Style)
Average rating: 4.58 from 35 ratings
Tap stars to rate!
Ultimate No-Chill Chocolate Chip Cookies
Rate
Equipment
-
Silicone Baking Mat
-
Baking Sheet
-
Large Cookie Scoop
-
Glass Mixing Bowl
Ingredients
- 3 cups (360g) all purpose flour
- 2 tsp cornstarch
- 1 tsp baking soda
- ¼ tsp salt
- 2 cups (340g) semi-sweet chocolate chips
- 1 cup (226g) unsalted butter, room temperature, equal to 2 sticks
- 1 ¼ cups (267g) brown sugar
- ¼ cup (50g) granulated sugar
- 2 large eggs, room temperature
- 1 tsp vanilla extract
Instructions
-
Preheat your oven to 350º F (175ºC). Line a cookie sheet with a silicone baking mat or parchment paper.
-
In a medium mixing bowl, whisk together the flour, cornstarch, baking soda, salt, and 1 cup of the chocolate chips. Set this dry mixture aside.3 cups (360g) all purpose flour, 2 tsp cornstarch, 1 tsp baking soda, 1/4 tsp salt, 2 cups (340g) semi-sweet chocolate chips
-
In a larger mixing bowl, using an electric mixer, combine the softened butter, brown sugar, and granulated sugar. Beat on medium speed for 2 minutes until the mixture is light, fluffy, and pale in color.1 cup (226g) unsalted butter, room temperature, 1 1/4 cups (267g) brown sugar, 1/4 cup (50g) granulated sugar
-
Add in the room temperature eggs one at a time, followed by the vanilla extract. Beat for another 30 seconds until just combined.2 large eggs, 1 tsp vanilla extract
-
Gradually mix the dry ingredients into the wet ingredients on low speed. Mix until just combined and a thick dough forms. For best results, finish incorporating the last bit of flour by hand with a spatula to avoid overmixing.
-
Use a cookie scoop to form golf-ball-sized cookie dough balls (about 3-4 heaping tablespoons). Roll each portion into a smooth ball between your hands. For a visually appealing “chocolate-loaded” cookie, press the remaining 1 cup of chocolate chips onto the outside of the dough balls. Place about 8 cookies on your prepared cookie sheet at a time, ensuring ample space between them for even baking. We recommend baking only one cookie sheet at a time.
-
Bake for 13-17 minutes, depending on your desired texture. For the large, golf-ball-sized cookies shown in the photos, we baked them for 15 minutes, until the edges were lightly golden and firm, and the centers were soft and chewy. If making smaller dough balls (e.g., 2 tbsp), reduce baking time to 10-13 minutes.
-
Baking time estimates for golf-ball-sized dough balls (3-4 tbsp dough):
- 13 minutes: very soft & chewy, pale color, no crispy edges.
- 15 minutes: soft & chewy inside, light browning, crispy edges.
- 17 minutes: more browning, crispier edges, still soft & chewy with more crunch.
Baking time estimates for regular-sized dough balls (2 tbsp of dough): 10-13 minutes.
-
Once baked, remove the cookie sheet from the oven and allow the cookies to cool on the baking sheet for a full 15 minutes before transferring them to a wire rack. This allows them to set and firm up, preventing breakage.
Video
Notes
- This recipe works beautifully with King Arthur’s Gluten Free Measure for Measure Flour, yielding delicious gluten-free chocolate chip cookies.
- For optimal results and to prevent excessive spreading, we highly recommend using a high-quality, name-brand all-purpose flour such as Gold Medal, Pillsbury, or King Arthur. Generic brands may lead to flatter cookies.
- Always measure your all-purpose flour correctly using the “spoon and sweep” method to avoid dry, dense cookies.
Nutrition
Nutrition Disclosure
All nutritional values are approximate and provided to the reader as a courtesy. Changing ingredients and/or quantities will alter the estimated nutritional calculations.
Like this recipe? Rate and comment below!