
“Wonderful recipe! So delicious!”
-Olga
Easy Black Forest Icebox Cake: Your 5-Ingredient No-Bake Summer Escape
Ah, summer! The season of sunshine, long days, and the delightful dilemma of wanting delicious treats without heating up the kitchen. While some might argue that summer truly begins after the Fourth of July, in the world of a food blogger, it feels like we’ve been basking in summer recipes for weeks on end! Especially when the weather takes an unexpected turn, bringing dreary, abnormally cold days, it’s easy to feel the pull towards cozy fall recipes. But fear not, as I, like many of you, firmly believe in savoring each season in its turn. Pumpkin spice can wait until September – we still have plenty of glorious summer weeks ahead!
I’m certainly not one to rush from one holiday to the next. You won’t find me decorating for Christmas in October or eyeing back-to-school supplies in July. There’s a special joy in fully embracing the present season, and that means indulging in all the wonderful flavors and conveniences summer has to offer. So, let’s take our own advice and dive into the goodness of summer right now!
And what better way to celebrate summer than with a no-bake recipe? The mere thought of turning on the oven when temperatures soar is enough to make anyone break into a sweat. This is precisely why no-bake desserts are summer superstars: they keep your kitchen cool and often come with an incredibly simple ingredient list. That’s a win-win in my book!
Introducing Your New Favorite Summer Treat: The Black Forest Icebox Cake
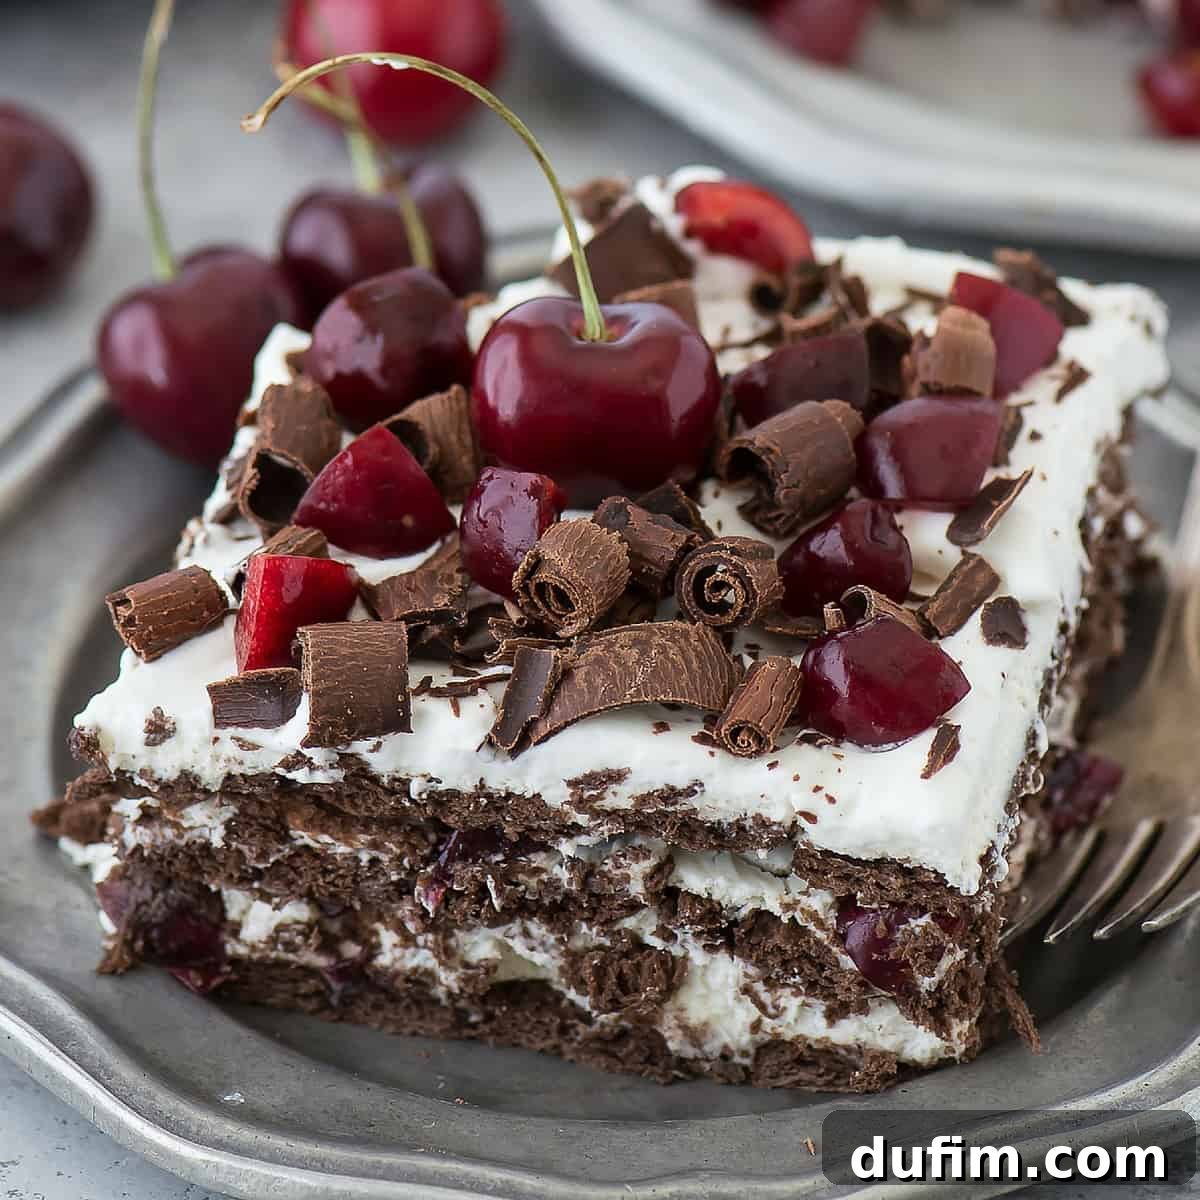
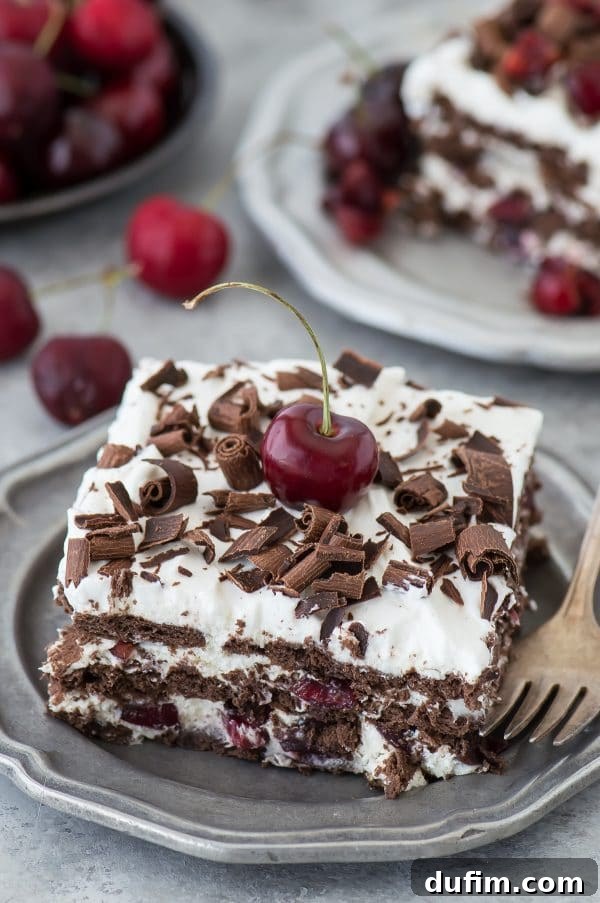
To get us all firmly back into the summertime groove – and perhaps provide a much-needed mental escape from any premature fall cravings – I’m thrilled to share our very first icebox cake recipe! This delightful creation takes the classic, rich flavors of a Black Forest cake and transforms them into an effortless, no-bake masterpiece. Imagine the perfect blend of chocolate, cherries, and creamy goodness, all without ever touching your oven. It’s truly a game-changer for summer entertaining or simply a sweet indulgence for yourself.
What Exactly is an Icebox Cake?
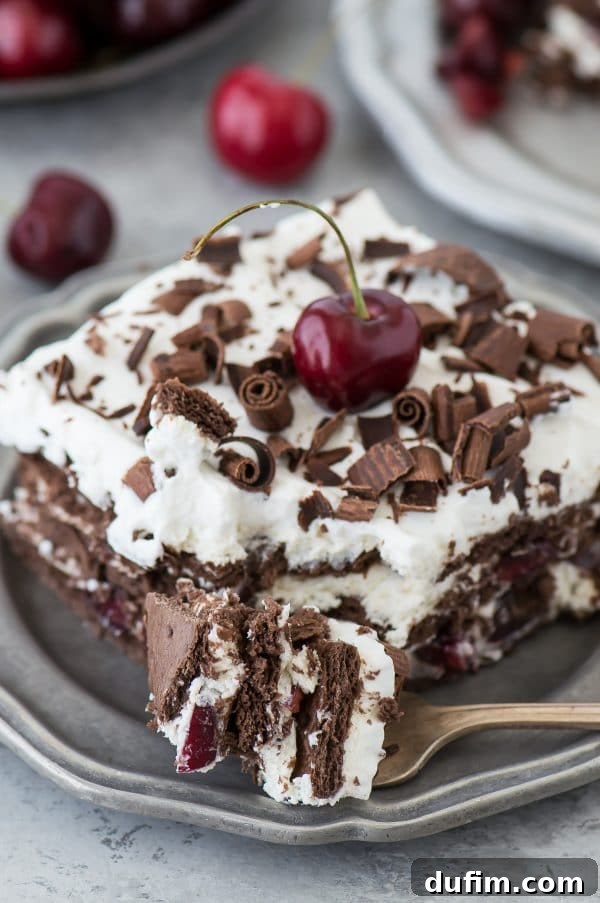
For those new to the concept, an icebox cake is pure genius. It’s a type of no-bake dessert typically made by layering cookies, graham crackers, or wafers with a creamy filling and then chilling it in the refrigerator (or “icebox,” as they were once called). Over time, the cookies soften, absorbing moisture from the filling to create a tender, cake-like texture. The beauty lies in its simplicity and the magical transformation that happens during the chilling process. They are incredibly versatile, allowing for endless flavor combinations, but the core elements remain consistent: a crispy base that becomes soft, a luscious filling, and delicious additions like fruit or chocolate.
Why This 5-Ingredient Black Forest Icebox Cake is a Must-Try
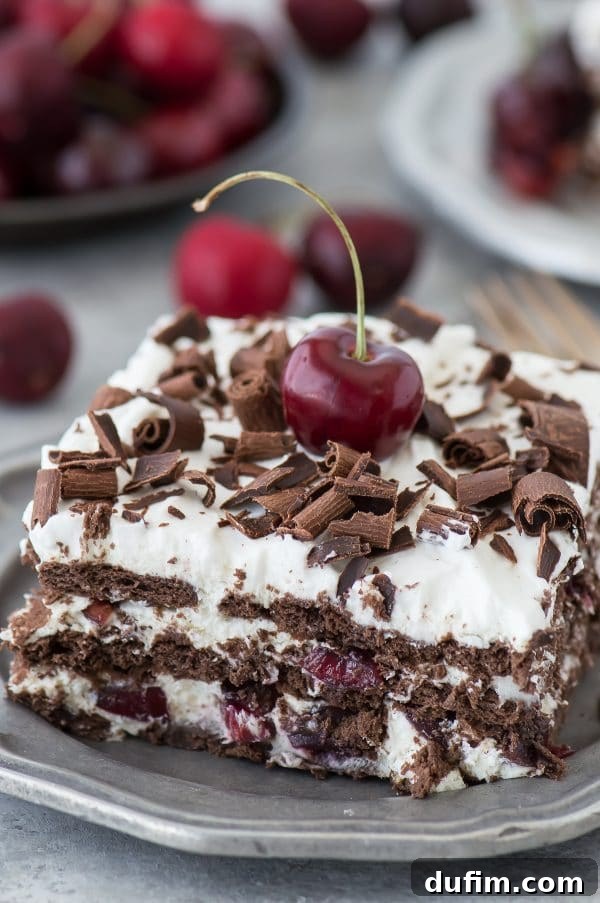
This particular Black Forest Icebox Cake is an absolute winner for several compelling reasons. First and foremost, it requires just five simple ingredients, making it incredibly accessible and budget-friendly. Secondly, its no-bake nature means a cool kitchen, which is invaluable during hot summer months. But beyond the practicality, the flavor profile is simply divine. It captures the essence of a traditional Black Forest cake – rich chocolate, sweet-tart cherries, and velvety cream – in a remarkably light and refreshing format. Each bite offers a harmonious balance of textures and tastes, from the softened chocolate graham crackers to the creamy, cherry-studded filling.
The Magic of Black Forest Flavors, Simplified
The classic Black Forest profile is beloved for a reason: the decadent pairing of chocolate, cherries, and cream is simply irresistible. In this icebox cake, we achieve that same iconic flavor profile with minimal effort. The chocolate graham crackers provide a delightful cocoa base that softens to mimic a chocolate cake, while the fresh, juicy cherries bring that essential fruity brightness and a hint of tang. The creamy filling, a simple yet effective blend, ties all these elements together, resulting in a dessert that feels both indulgent and wonderfully light. It’s a nostalgic flavor journey made modern and incredibly easy.
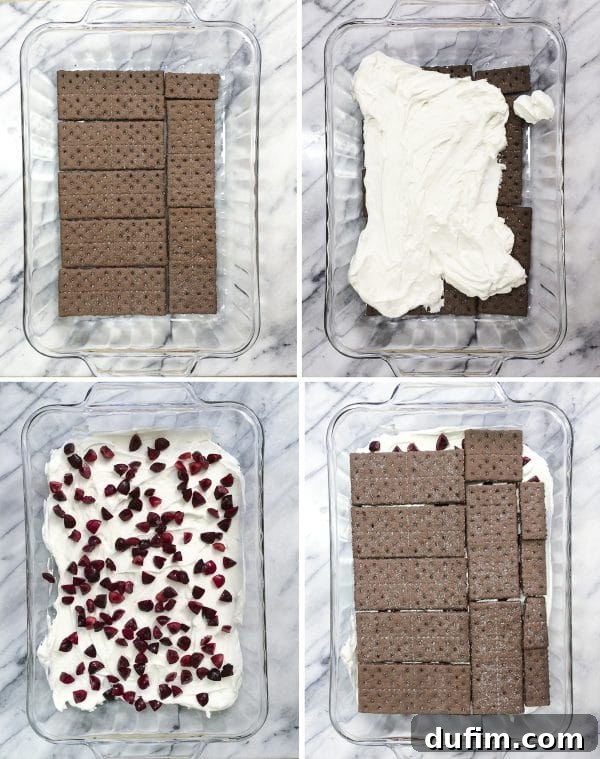
Assembling Your Masterpiece: A Step-by-Step Guide
Creating this Black Forest Icebox Cake is incredibly straightforward. It’s all about thoughtful layering and giving it ample time to chill. Here’s how to build your decadent no-bake delight:
First, grab a 9×13 inch pan. This size is perfect for generous servings and creates beautiful layers. Your first step is to lay down a solid layer of chocolate graham crackers at the bottom of the pan. Don’t worry if they don’t fit perfectly; you’ll likely need to break some pieces to fill in any gaps, ensuring the entire bottom surface is covered. This forms the foundational chocolatey layer of your cake.
Next, spread half of your luscious creamy filling evenly over the graham cracker base. Be gentle but thorough, aiming to cover every cracker. Then, generously sprinkle a layer of finely chopped cherries over the cream. The vibrant red of the cherries peeking through the chocolate and cream layers is not only beautiful but promises a burst of flavor in every bite.
Now, repeat the layering process: another layer of chocolate graham crackers, followed by the remaining half of your creamy filling, and then the rest of your chopped cherries. Finally, cap it all off with a third and final layer of chocolate graham crackers. The goal is to create distinct, delicious layers that will meld together beautifully during chilling.
The grand finale before chilling is a topping of freshly whipped cream. This adds another layer of velvety texture and classic Black Forest flavor. For an extra touch of elegance and true Black Forest appeal, I love to add delicate chocolate curls. If you’re like me and find making perfect chocolate curls a bit daunting, here’s a simple trick: gently warm a bar of chocolate in the microwave for a few seconds until it’s just soft enough. Then, use a vegetable peeler to shave off beautiful, rustic curls. It’s surprisingly easy and makes a big visual impact!
Once your icebox cake is fully assembled, cover the pan tightly and pop it into the refrigerator. It needs at least 4 hours to chill, but honestly, more time is always better. This is where the magic happens; the graham crackers soften, and the flavors meld into a cohesive, cake-like texture that’s utterly irresistible. After its chilling period, simply slice, serve, and indulge in all the glorious Black Forest goodness!
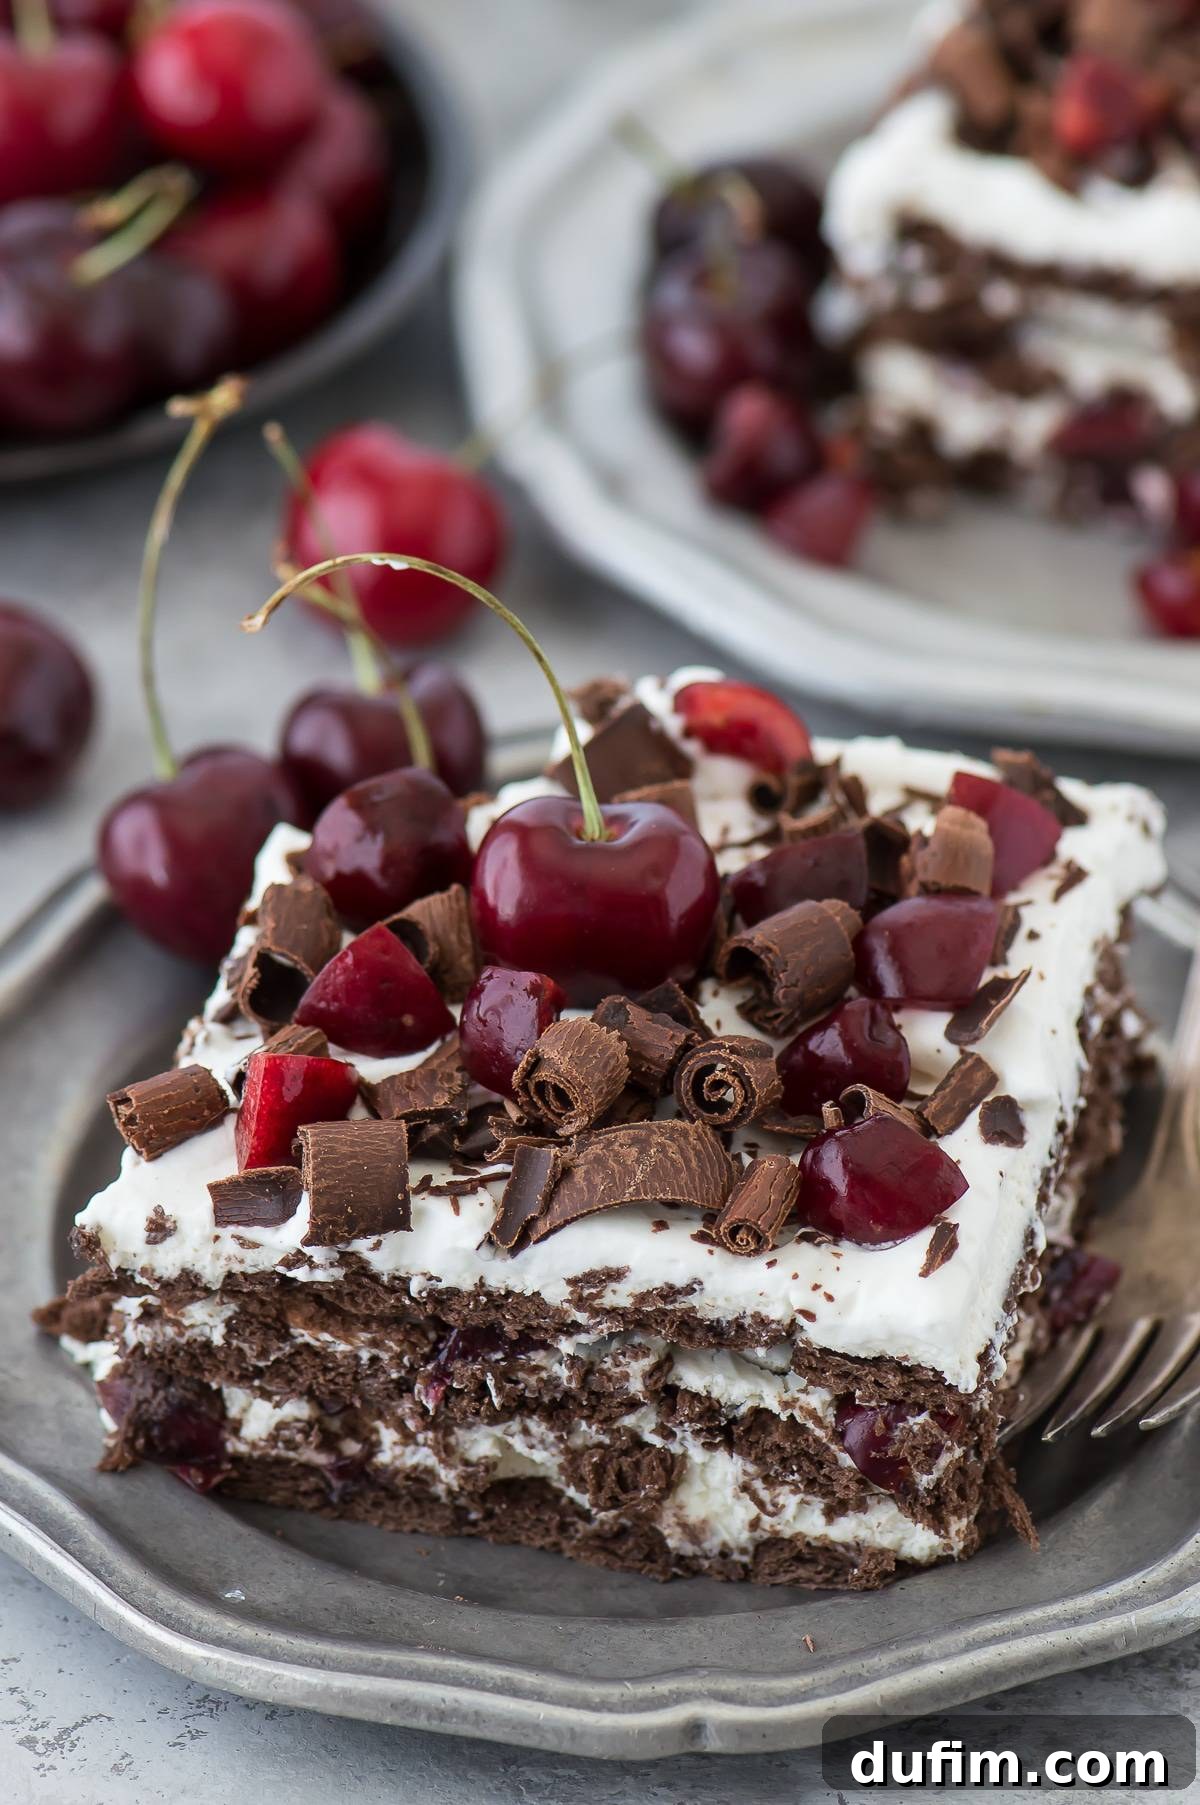
Black Forest Icebox Cake Video Tutorial
Black Forest Icebox Cake
5 easy ingredients, including fresh cherries, make up this classic icebox cake! This no-bake wonder delivers rich chocolate, sweet cherries, and creamy layers for the perfect summer dessert.
Equipment
- Glass Mixing Bowl
- KitchenAid 9-Speed Mixer (or hand mixer)
- 9×13 inch glass pan
- Spatula
Ingredients
For the Icebox Cake
- 1 box chocolate graham crackers (14.4 oz)
- 2 cups (473ml) heavy whipping cream
- 8 oz (226g) cream cheese, softened
- ½ cup (56g) powdered sugar
- 3 cups (480g) finely chopped cherries (fresh or thawed frozen)
For the Topping & Garnish
- 1 cup (236ml) heavy whipping cream
- ¼ cup (28g) powdered sugar
- Optional: chocolate curls, extra chopped or whole cherries to garnish
Instructions
-
In a large mixing bowl, use an electric mixer to beat the softened cream cheese until it is light and fluffy, usually 1-2 minutes. This ensures a smooth, lump-free filling.(Uses: 8 oz (226g) cream cheese)
-
Gradually pour in the heavy whipping cream (2 cups). Continue beating the mixture on medium-high speed until stiff peaks form, which typically takes 4-6 minutes. The mixture should hold its shape firmly.(Uses: 2 cups (473ml) heavy whipping cream)
-
Add the ½ cup of powdered sugar to the whipped cream and cream cheese mixture. Beat briefly, just until the sugar is fully incorporated and the mixture is smooth.(Uses: 1/2 cup (56g) powdered sugar)
-
Ensure your cherries are properly prepared. Pit and finely chop at least 3 cups of fresh or thawed frozen cherries. A finer chop helps distribute the cherry flavor evenly throughout the cake.
-
In a 9 x 13 inch pan, arrange a single layer of chocolate graham crackers at the bottom. You may need to break some crackers to fit them snugly and cover the entire base of the pan.(Uses: 1 box chocolate graham crackers)
-
Carefully spread half of the prepared whipped cream and cream cheese mixture over the first layer of graham crackers. Ensure it’s spread evenly, completely covering the crackers.
-
Sprinkle 1½ cups of the finely chopped cherries evenly over the whipped cream layer.(Uses: 3 cups (480g) finely chopped cherries)
-
Add a second layer of chocolate graham crackers on top of the cherries.
-
Spread the remaining half of the whipped cream mixture evenly over this second cracker layer.
-
Top with the remaining 1½ cups of chopped cherries.
-
Place the third and final layer of chocolate graham crackers on top, completing the main structure of the cake.
-
Now, prepare the topping. In a separate clean mixing bowl, beat 1 cup of heavy whipping cream with ¼ cup of powdered sugar until soft peaks form, typically 2-4 minutes. This lighter whipped cream will be your final layer.(Uses: 1 cup (236ml) heavy whipping cream, 1/4 cup (28g) powdered sugar)
-
Spread this freshly made whipped cream topping evenly over the final layer of chocolate graham crackers.
-
Cover the pan tightly with a lid or aluminum foil and refrigerate for at least 4 hours. For best results and a fully softened cake-like texture, chilling overnight is highly recommended.
-
Before serving, garnish the cake with optional chocolate curls or additional chopped or whole cherries for an appealing presentation.(Uses: Optional: chocolate curls, chopped or whole cherries to garnish)
Video
Nutrition
Carbohydrates: 25g
Protein: 3g
Fat: 19g
Saturated Fat: 11g
Polyunsaturated Fat: 1g
Monounsaturated Fat: 6g
Cholesterol: 61mg
Sodium: 184mg
Potassium: 124mg
Fiber: 1g
Sugar: 12g
Vitamin A: 688IU
Vitamin C: 2mg
Calcium: 53mg
Iron: 1mg
Nutrition Disclosure
All nutritional values are approximate and provided to the reader as a courtesy. Changing ingredients and/or quantities will alter the estimated nutritional calculations.
Loved this Easy Black Forest Icebox Cake?
We hope you enjoy making and devouring this delightful no-bake dessert! If you tried this recipe, we’d love to hear from you. Please share your thoughts and experiences in the comments section below.
Your feedback helps us and other home bakers discover new favorites!