
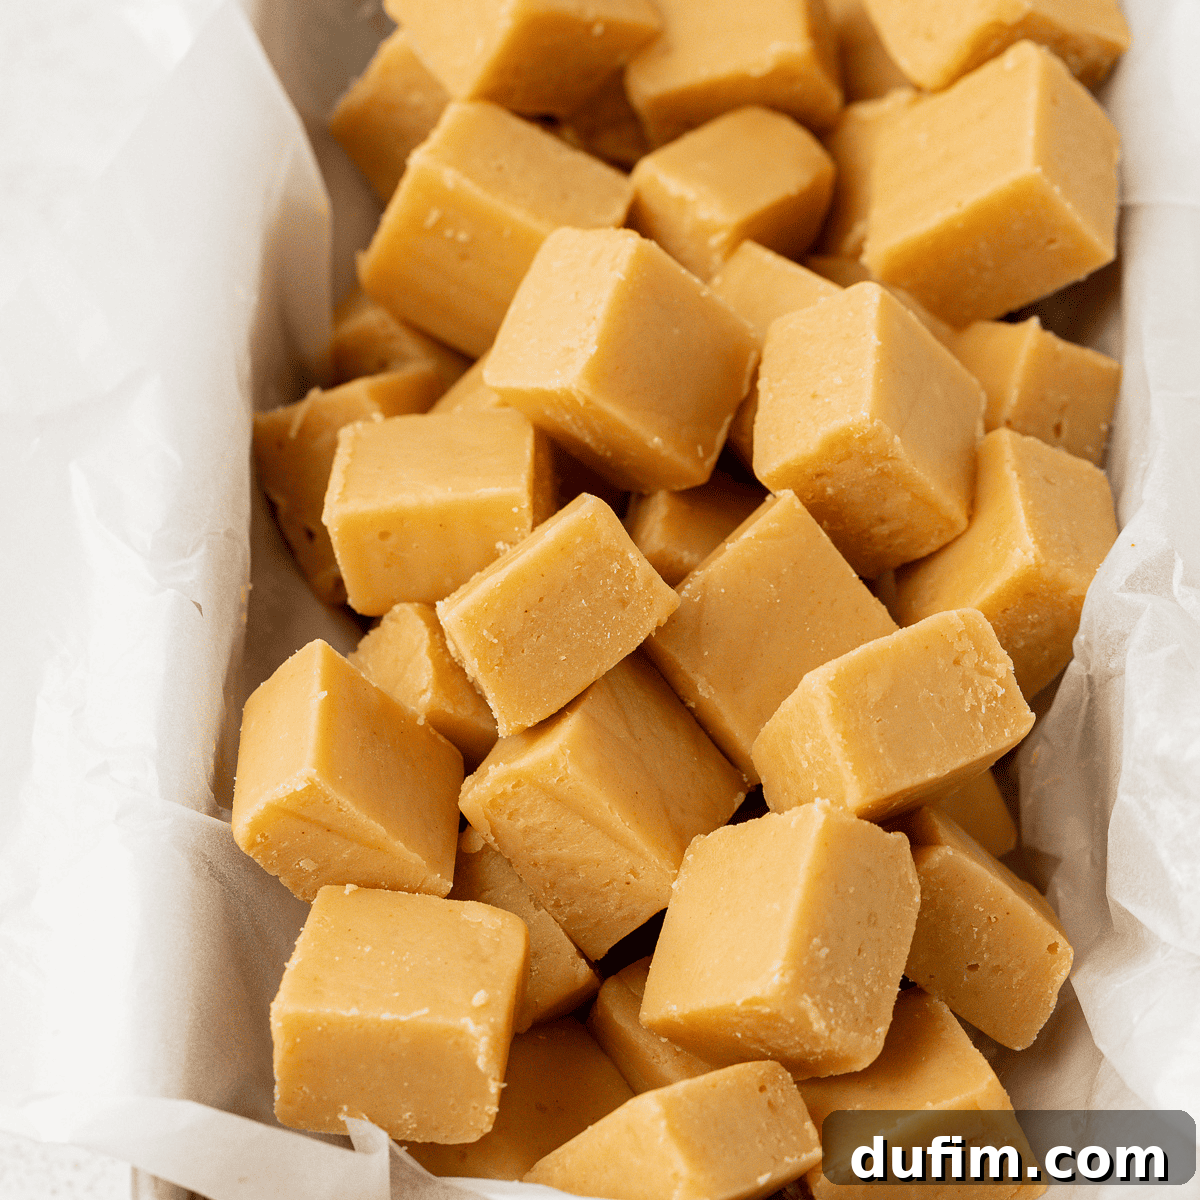
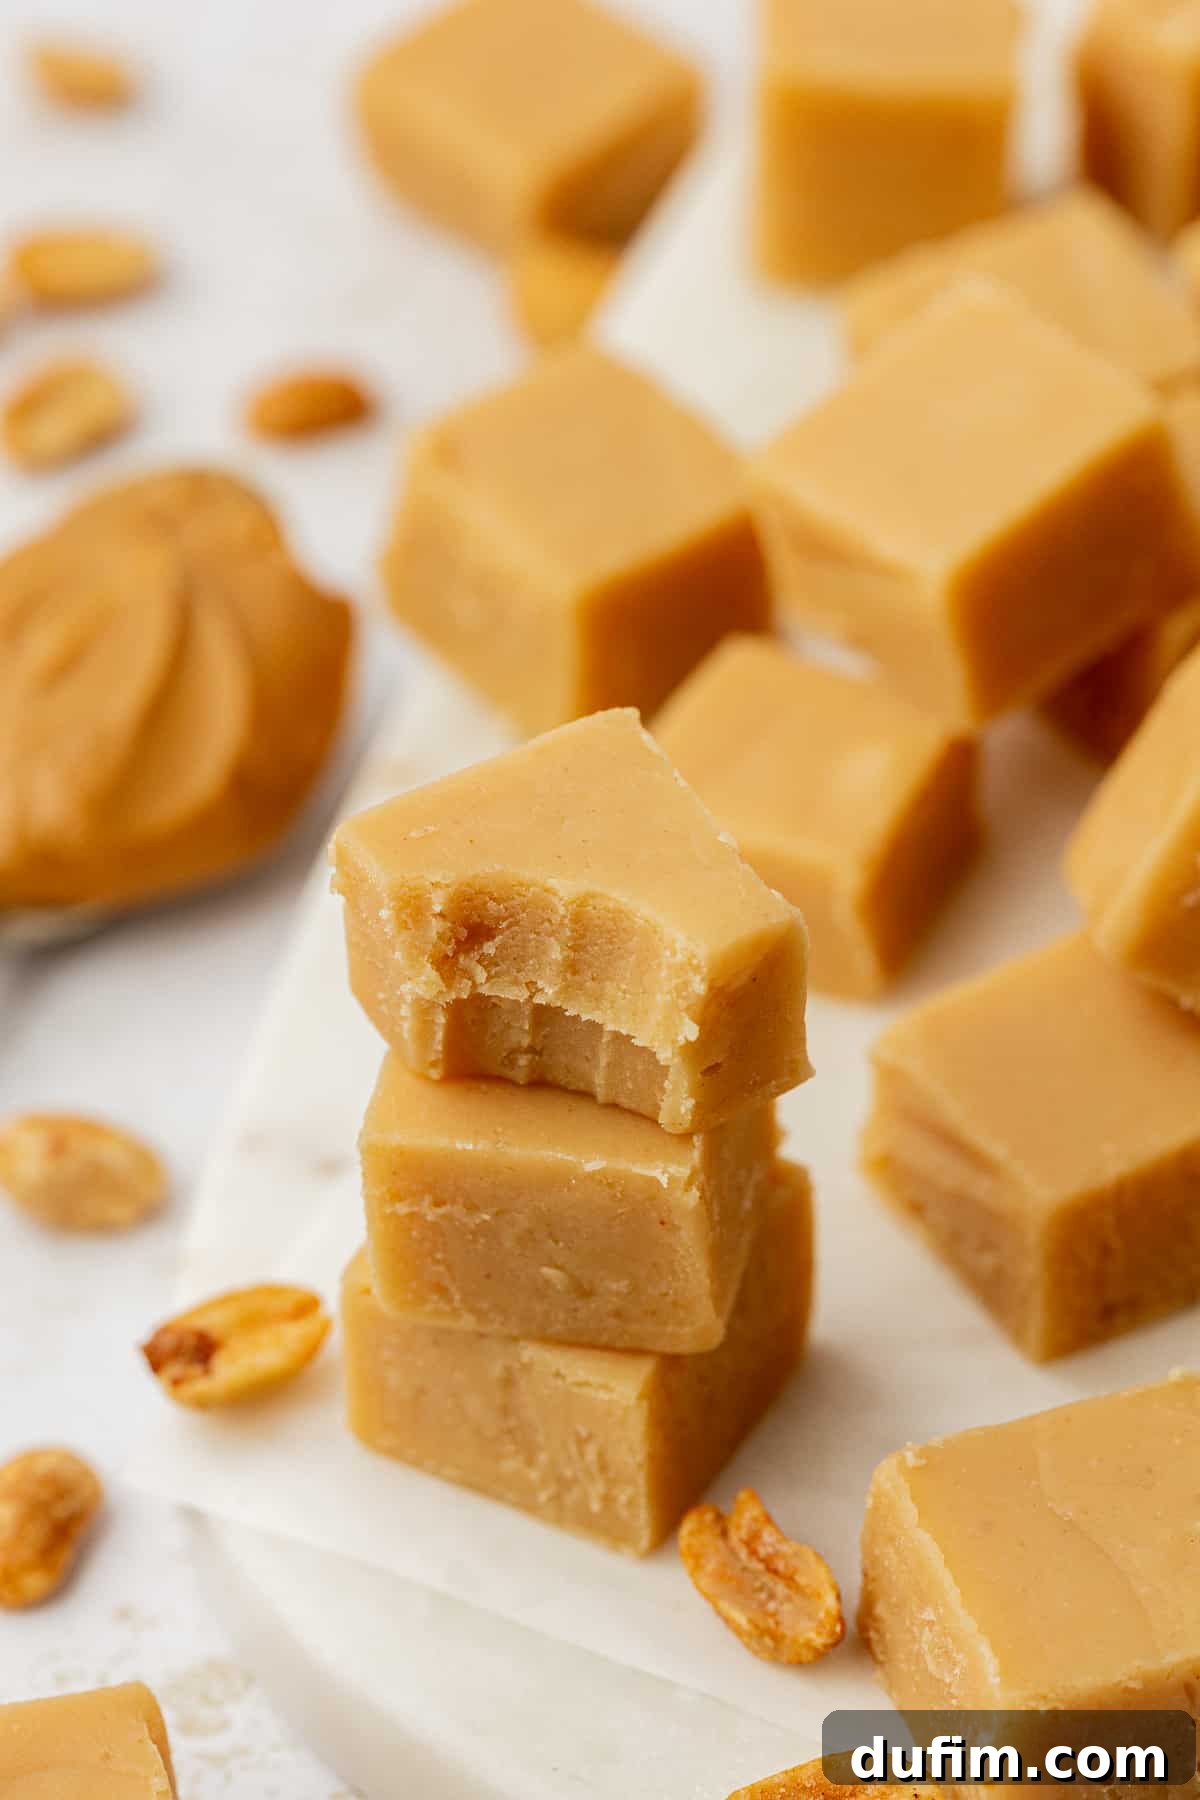
Imagine a rich, creamy, melt-in-your-mouth peanut butter fudge that comes together with astonishing ease and speed. With this incredible microwave peanut butter fudge recipe, you can achieve dessert perfection without the need for fancy candy thermometers, complex cooking skills, or a mountain of dirty dishes. It’s the ultimate shortcut to a truly satisfying sweet treat that will impress everyone, and only you’ll know just how effortless it was!
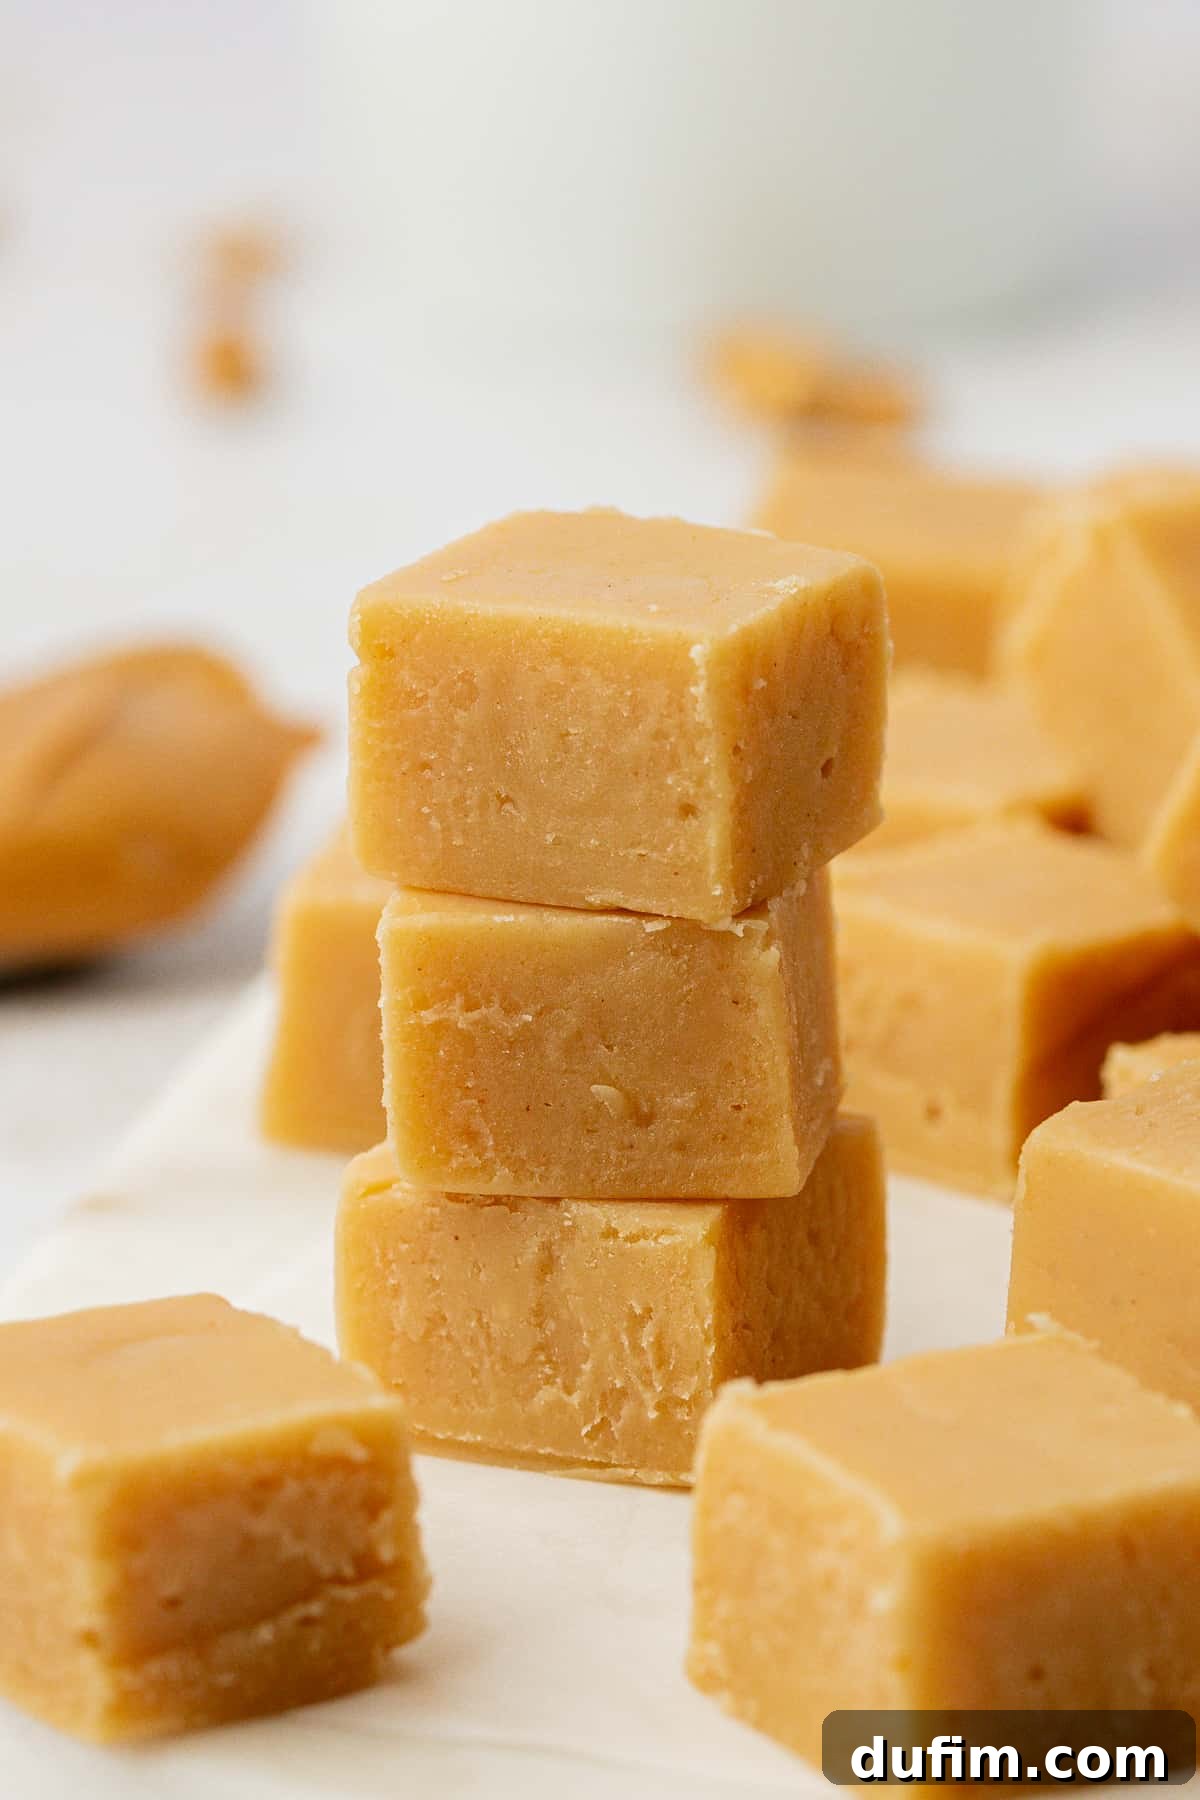
Microwave fudge is a true kitchen superhero, delivering maximum deliciousness with minimal fuss. This method transforms simple ingredients into a luxurious confection using just a microwave-safe bowl and a few precious minutes. Forget the traditional stovetop methods that often involve constant stirring, precise temperature monitoring, and a chaotic cleanup. Our microwave approach keeps things wonderfully simple, allowing you to enjoy a homemade sweet treat without the stress. And the possibilities are endless! While we’re focusing on classic peanut butter today, this versatile technique can be adapted for flavors ranging from rich chocolate to vibrant fruit variations.
Whether you’re a seasoned baker looking for a quick fix or a complete kitchen novice, microwave fudge is your best friend. It’s incredibly forgiving, making it nearly foolproof. The resulting texture is consistently spot-on – wonderfully creamy, dreamy, and truly melt-in-your-mouth. Plus, it cools down remarkably fast, so you won’t be left impatiently waiting to dig in. It’s perfect for satisfying those sudden sweet cravings, preparing a last-minute dessert for guests, or creating thoughtful homemade gifts for friends and family. This recipe truly is a win-win for everyone.
Why You’ll Fall in Love with This Microwave Peanut Butter Fudge
This microwave peanut butter fudge isn’t just a recipe; it’s a game-changer for anyone who loves delectable desserts but is short on time or culinary confidence. Here are the compelling reasons why this will become your go-to fudge recipe:
- Incredibly Quick & Easy: Say goodbye to long prep times and complicated steps. This recipe allows you to whip up a batch of rich, satisfying peanut butter fudge in mere minutes. It’s perfect for those spontaneous sweet cravings or when you need an impressive dessert in a flash.
- Minimal Cleanup Required: With traditional fudge, you often face a daunting stack of pots, pans, and utensils. Our microwave method simplifies this dramatically, requiring just one microwave-safe bowl and a spatula. Cleanup is truly a breeze, leaving you more time to enjoy your creation.
- Effortlessly Customizable: While the basic recipe is phenomenal on its own, it also serves as a fantastic canvas for your creativity. Easily customize your fudge with a variety of mix-ins like chocolate chips, chopped nuts, mini marshmallows, or a swirl of caramel. Make it uniquely yours!
- Perfect for Homemade Gifts: There’s something incredibly special about a homemade gift, and this microwave fudge fits the bill perfectly. Package these delicious squares in pretty boxes or bags for thoughtful presents during the holidays, birthdays, or any special occasion.
- Versatile & Adaptable Flavor: While we celebrate the irresistible taste of peanut butter in this recipe, the core technique is highly adaptable. Feel free to experiment with other nut butters (almond, cashew) or different flavor extracts to create an array of unique fudge varieties.
- Kid-Friendly & Fun: This simple and safe recipe is fantastic for getting kids involved in the kitchen. Measuring ingredients and stirring the mixture offers a fun and educational activity, introducing them to basic cooking skills in an engaging way.
- A No-Fail Recipe for Everyone: Whether you’re a seasoned pro or a complete beginner, this microwave fudge recipe is designed for success. Its clear, straightforward instructions and minimal room for error ensure that you’ll achieve perfectly creamy, delicious fudge every single time.
The Magic of Microwave Desserts: Saving Time, Maximizing Flavor
In our fast-paced lives, time is a precious commodity, and that often means desserts take a back seat. However, microwave desserts, and particularly this fudge, change that narrative entirely. The microwave, often underestimated in its culinary power, becomes your secret weapon for creating quick, delicious, and satisfying sweets. It’s not just about speed; it’s about efficiency and simplicity, especially crucial during busy times like the holiday season.
When holidays roll around, I love to prepare a variety of treats. My strategy is always to balance a few super easy, no-fuss recipes with one or two more time-intensive bakes, like intricate cutout sugar cookies. This approach ensures a diverse and impressive spread without overwhelming my schedule. This microwave peanut butter fudge fits perfectly into the “super easy” category, allowing me to focus my efforts elsewhere while still delivering a show-stopping dessert.
For those who appreciate classic no-bake holiday recipes, you might also enjoy English Toffee, No-Bake Butterscotch Marshmallow Bars, and Tiger Butter. All of these treats are fantastic additions to any festive platter, creating a delightful assortment of textures and flavors that complement each other beautifully.
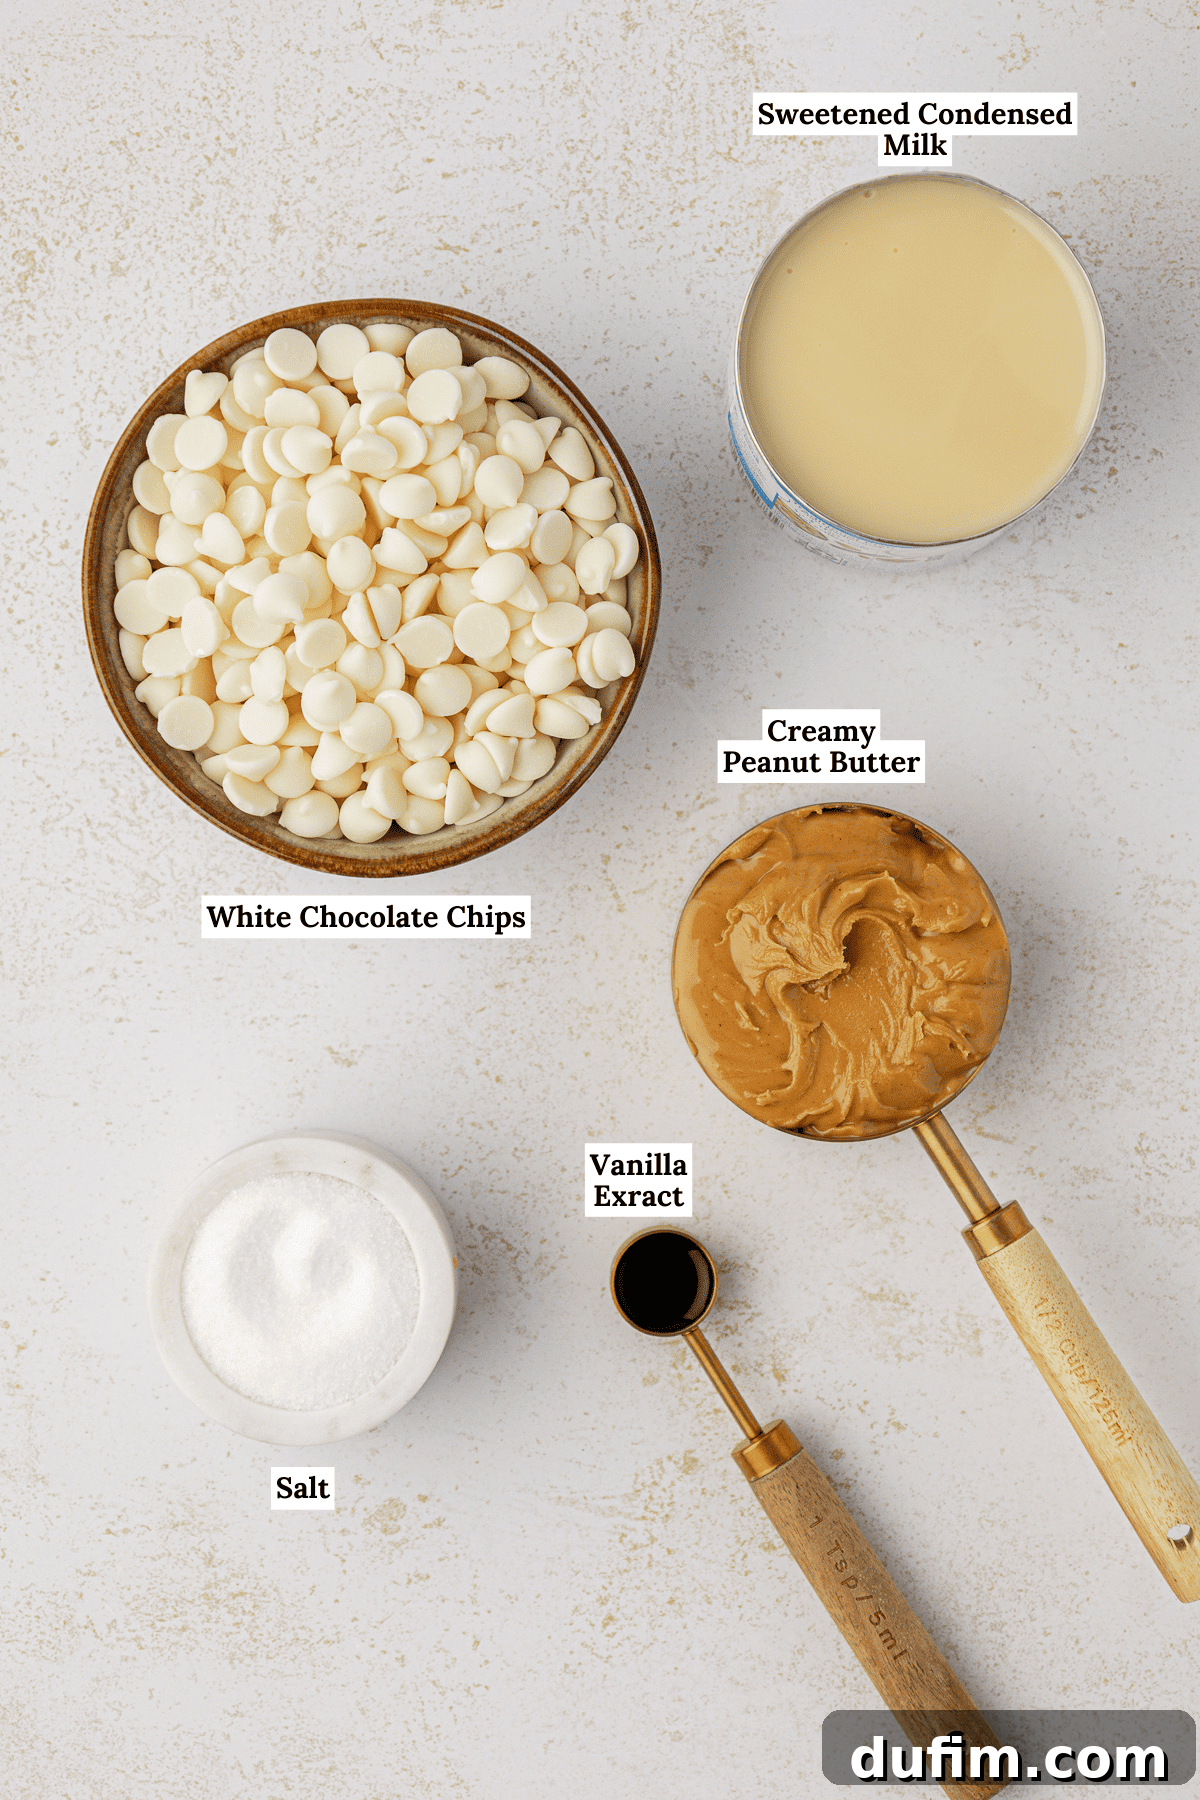
Essential Ingredients for Your Microwave Peanut Butter Fudge
The beauty of this recipe lies in its simplicity, requiring just a handful of readily available ingredients. You’ll be amazed at how such minimal components can create such a rich and flavorful treat.
- 1 ½ cups White Chocolate Chips: These form the base of our fudge, providing sweetness and that crucial creamy texture. High-quality chips will yield the best flavor.
- ½ cup Creamy Peanut Butter: The star of the show! Use your favorite creamy peanut butter for that unmistakable nutty, savory-sweet profile.
- 1 can (14 oz) Sweetened Condensed Milk: This magical ingredient binds everything together, adds sweetness, and contributes significantly to the fudge’s smooth, decadent consistency.
- ¼ tsp Salt: A pinch of salt is essential to balance the sweetness and enhance the rich peanut butter flavor, making the fudge even more irresistible.
- 1 tsp Vanilla Extract: While optional, vanilla adds a warm, aromatic depth that elevates the overall flavor profile of the fudge.
You might even consider this a 3-ingredient peanut butter fudge recipe, as the salt and vanilla, though highly recommended for enhancing flavor, are often considered pantry staples and minor additions to the core trio!
How to Make Microwave Peanut Butter Fudge: Step-by-Step Guide
Creating this delicious fudge is incredibly straightforward. Follow these simple steps for perfect results every time:
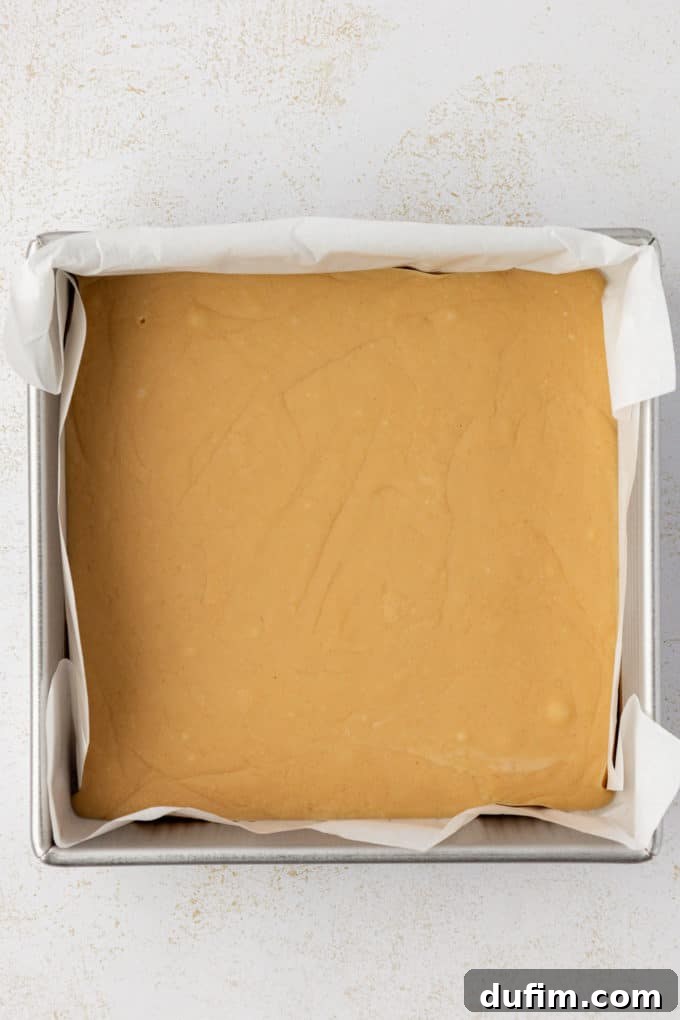
- Prepare Your Pan: Begin by lining an 8-inch or 9-inch square baking pan with aluminum foil or parchment paper. Leave an overhang on the sides, which will act as “handles” to easily lift the set fudge out of the pan later.
- Combine Ingredients: Place all your ingredients – the white chocolate chips, peanut butter, sweetened condensed milk, salt, and vanilla extract – into a large, microwave-safe glass bowl. A glass bowl is recommended because it distributes heat more evenly than plastic, helping to prevent hot spots.
- Microwave and Stir: Microwave the mixture for 1 minute at 50% power. After 1 minute, remove the bowl and stir the mixture thoroughly with a spatula. Return it to the microwave for another 30-45 seconds at 50% power. Stir again until the mixture is completely smooth and melted. If there are still unmelted chips, microwave for additional 30-45 second bursts at 50% power, stirring well after each interval, until silky smooth. Avoid high power settings to prevent scorching.
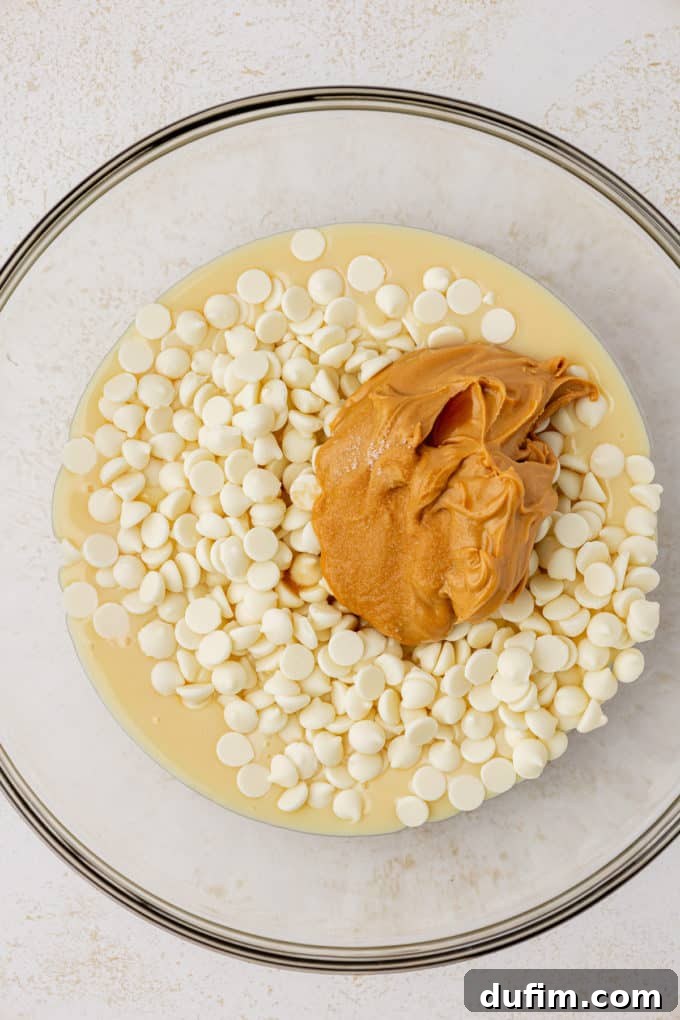
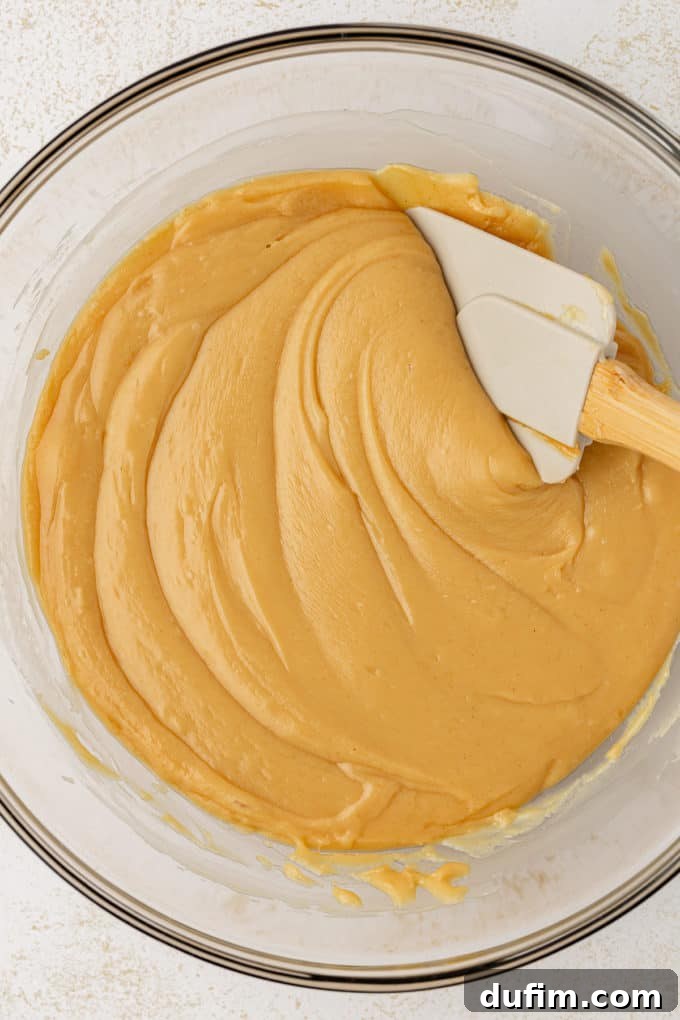
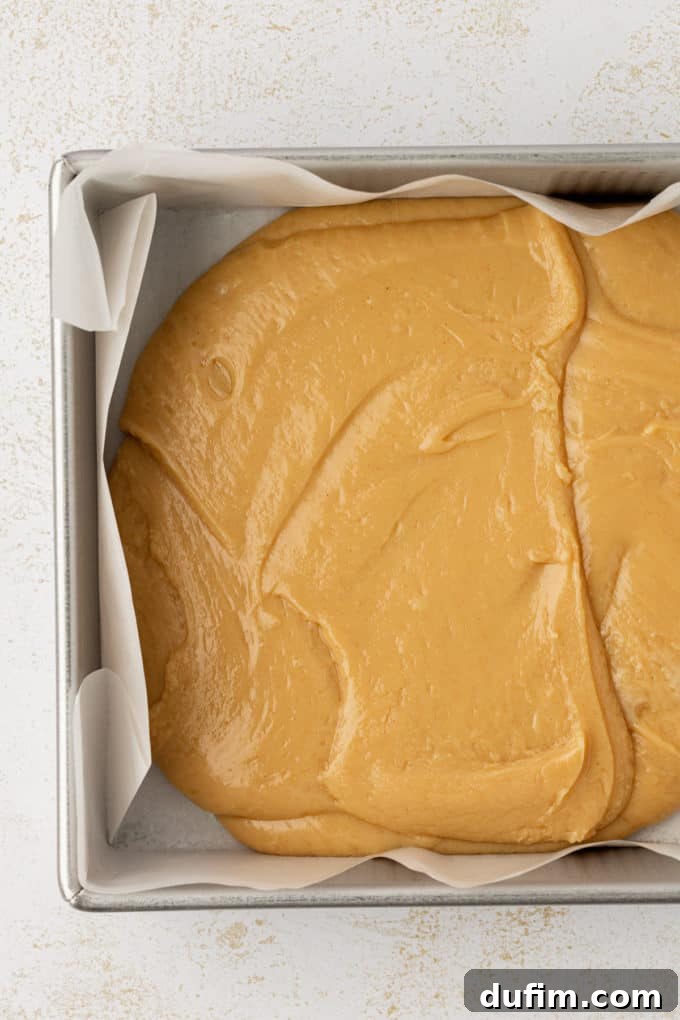
- Pour into Pan: Working quickly, pour the warm fudge mixture into your prepared baking pan. Use your spatula to spread and smooth the top evenly. Speed is key here, as the fudge will begin to set as it cools.
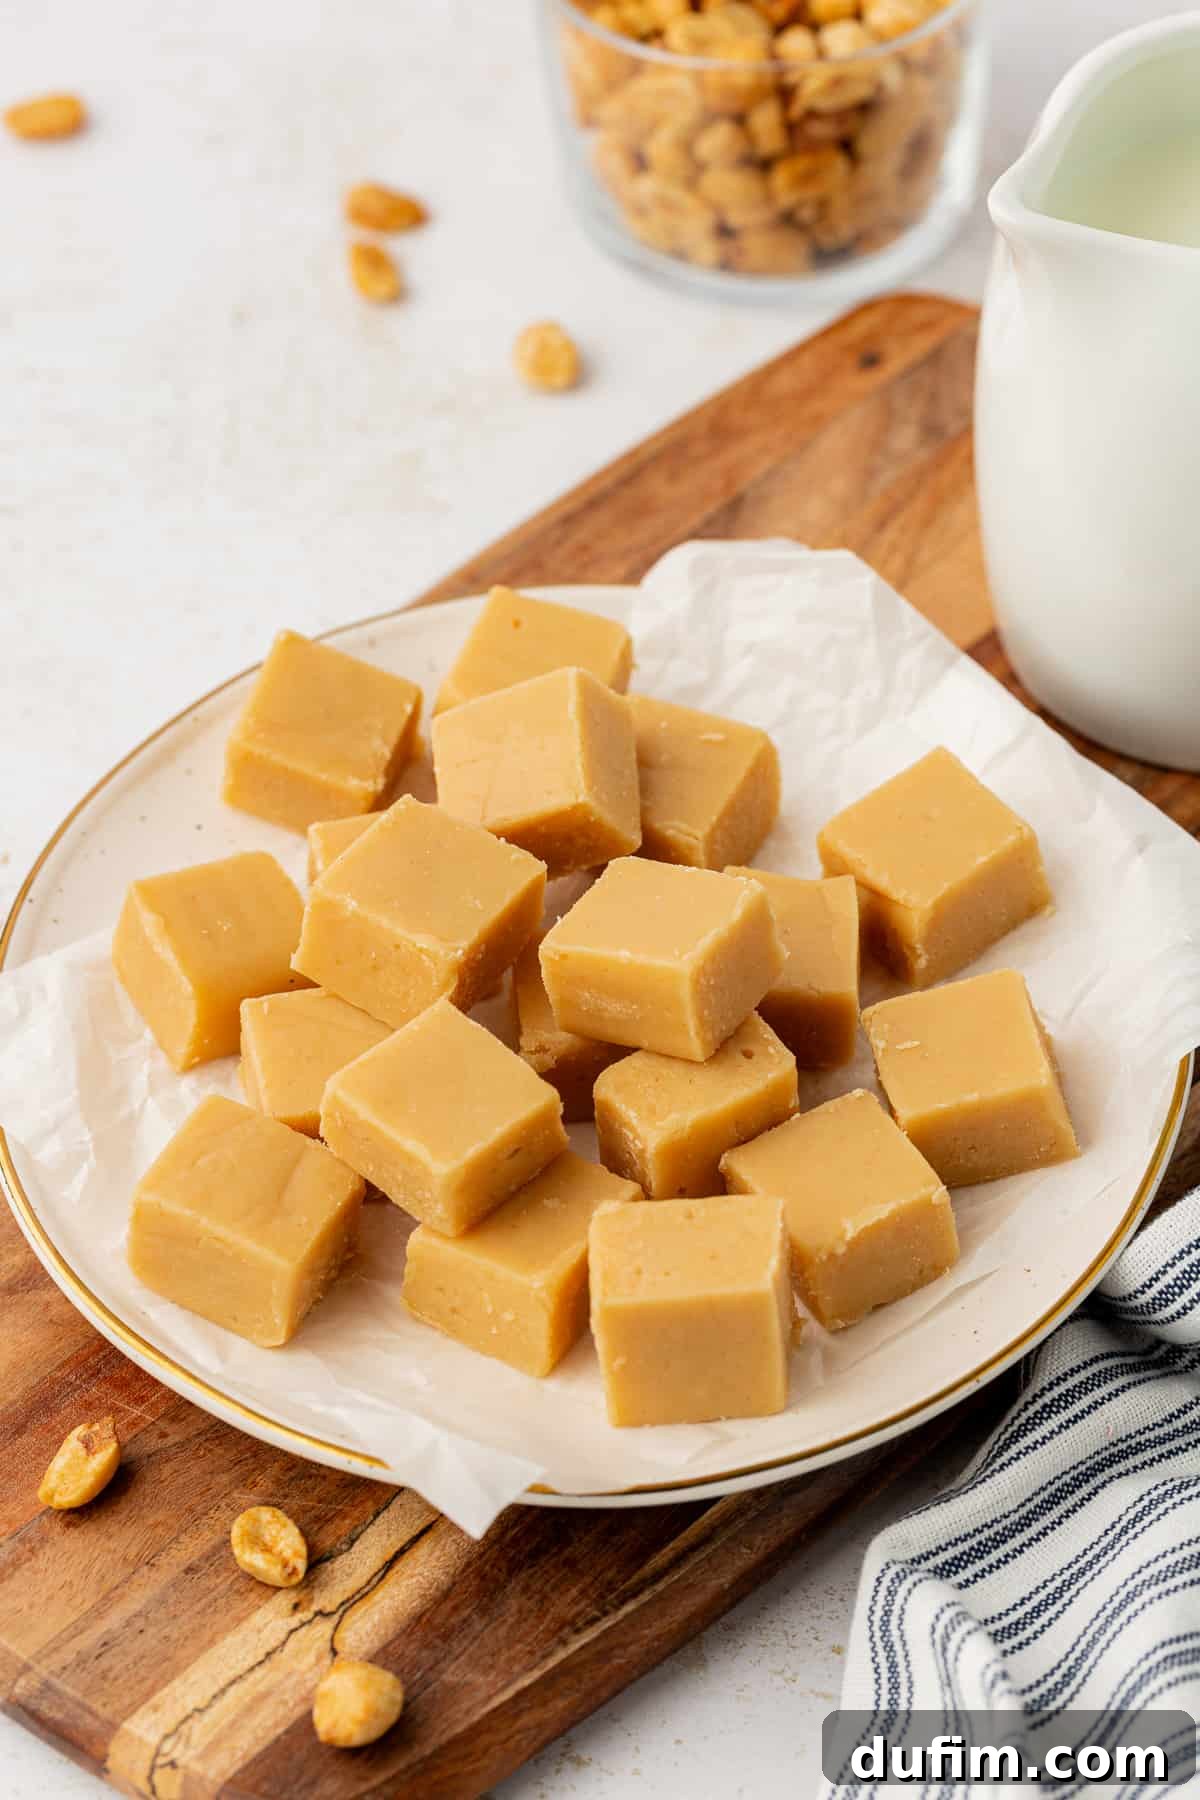
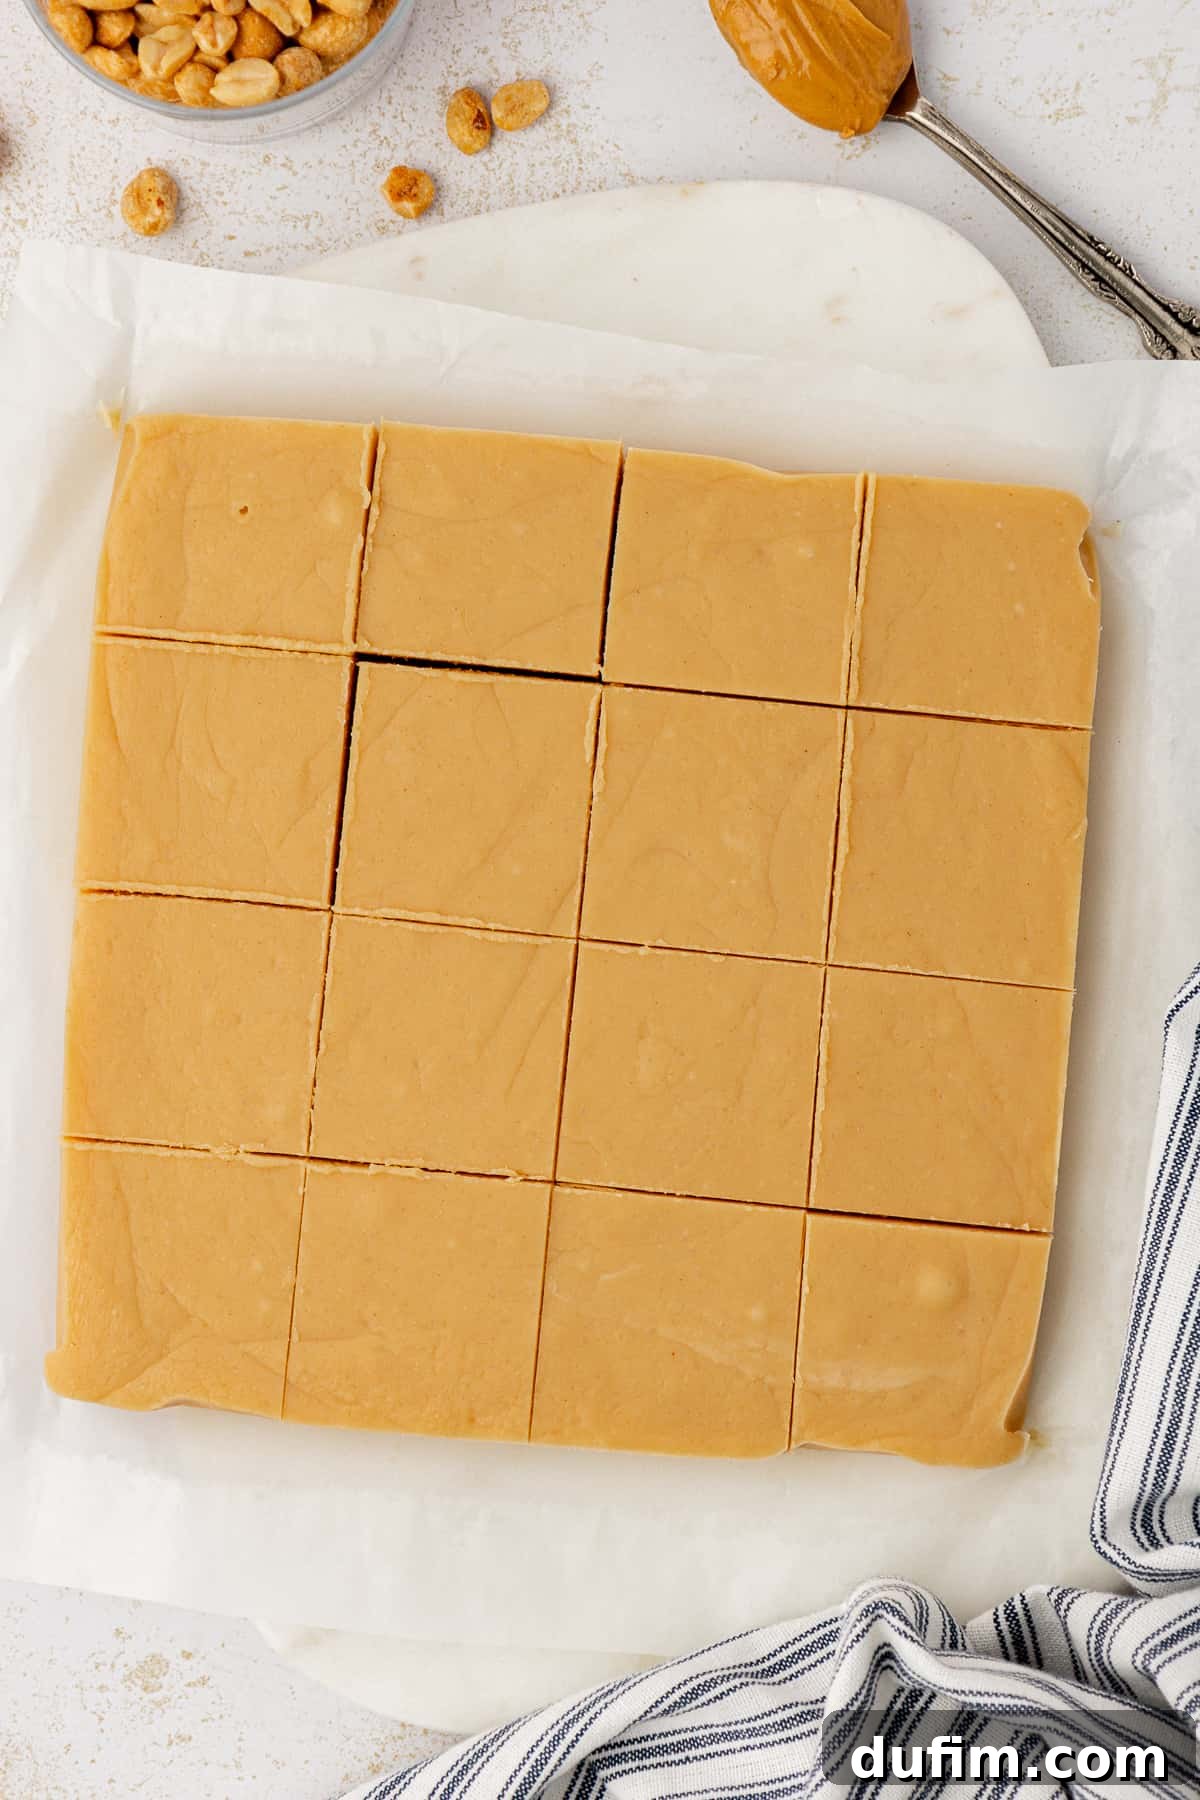
- Cool and Cut: Allow the fudge to cool completely on the counter at room temperature for 2-3 hours, or until fully set. For even cleaner and easier cutting, you can place the pan in the refrigerator for about 30 minutes before slicing. Once chilled, lift the fudge out using the foil or parchment overhang, remove the lining, and cut into desired squares.
Creative Variations for Your Microwave Peanut Butter Fudge
This microwave peanut butter fudge recipe is wonderfully adaptable, serving as a perfect base for numerous delicious additions. Feel free to get creative and customize your batch with these exciting mix-ins:
- Reese’s Pieces: Stir in a handful of colorful Reese’s Pieces for an extra burst of peanut butter and candy shell crunch.
- Chopped Peanuts: Add some texture and intensify the nutty flavor with finely chopped roasted peanuts.
- Chopped Reese’s Peanut Butter Cups: Fold in chunks of miniature Reese’s Peanut Butter Cups for an ultimate peanut butter and chocolate experience.
- Mini Chocolate Chips: A classic pairing! Swirl in mini semi-sweet or milk chocolate chips for a delightful chocolatey touch.
- Crushed Oreo Pieces: For a cookies-and-cream twist, mix in crushed Oreo cookies after the fudge is melted and smooth.
- Dare I say… Bacon Bits?! For an adventurous sweet and savory flavor profile, try incorporating crispy, cooked bacon bits. It’s surprisingly delicious!
Remember to add your chosen mix-ins *after* the fudge mixture has been fully melted and smoothed, before pouring it into the prepared pan. This ensures even distribution and prevents them from getting overcooked.
Expert Tips for Making Perfect Microwave Peanut Butter Fudge
While this recipe is incredibly forgiving, a few expert tips can elevate your microwave peanut butter fudge from great to absolutely extraordinary. Precision and patience are your best allies:
- Prioritize High-Quality Ingredients: The flavor of your fudge is directly tied to the quality of your ingredients. Opt for good quality white chocolate chips and creamy peanut butter. Better ingredients mean a richer, more delicious final product.
- Master Your Microwave Settings: Always use a sturdy, microwave-safe glass bowl, as glass heats more evenly. The crucial tip here is to avoid cooking the fudge on high power. High heat can easily lead to overcooking and result in a dry, crumbly, or gritty texture. Instead, always start with 50% power. Stir the fudge mixture thoroughly and evenly before the first microwave session and diligently between each subsequent burst. This ensures consistent heating and eliminates hot spots. Microwave in short bursts, typically 30-second to 45-second intervals, allowing you to maintain control over the melting process and prevent any accidental scorching.
- Embrace Patience in Cooling: Don’t rush the setting process. Allow the fudge to cool completely at room temperature for the recommended 2-3 hours before attempting to cut it into squares. This patient cooling period is vital for the fudge to set properly and develop its signature smooth, firm yet creamy texture. Premature cutting can lead to a messy, unformed result.
- Optimal Storage Practices: Once cooled and cut, store your delicious peanut butter fudge in an airtight container at room temperature. Proper storage helps maintain its freshness and prevents it from drying out. While it might be tempting, avoid refrigerating the fudge for daily storage, as the cold can cause condensation, which can alter its desirable creamy texture and make it slightly grainy.
By attentively following these techniques and practicing good microwave habits, you will consistently produce smooth, irresistible peanut butter fudge with remarkable ease. Remember, the combination of quality ingredients, gentle heating, and proper cooling is the key to fudge-making success.
Why is my peanut butter fudge dry and crumbly?
The science of fudge-making largely revolves around sugar crystallization. The most common culprit for dry and crumbly fudge is overcooking or overheating the mixture. When fudge is exposed to too much heat or cooked for too long, the sugar molecules crystallize prematurely or excessively, leading to a grainy, crumbly texture instead of the desired smooth, creamy consistency.
Unfortunately, with microwave fudge, there isn’t a reliable way to salvage an overcooked batch. The best defense is prevention: strictly adhere to the suggested microwave times and power settings, and stir frequently. Using a glass bowl is also beneficial as it promotes more even heat distribution, reducing the risk of localized overheating.
How to Store Microwave Peanut Butter Fudge for Lasting Freshness
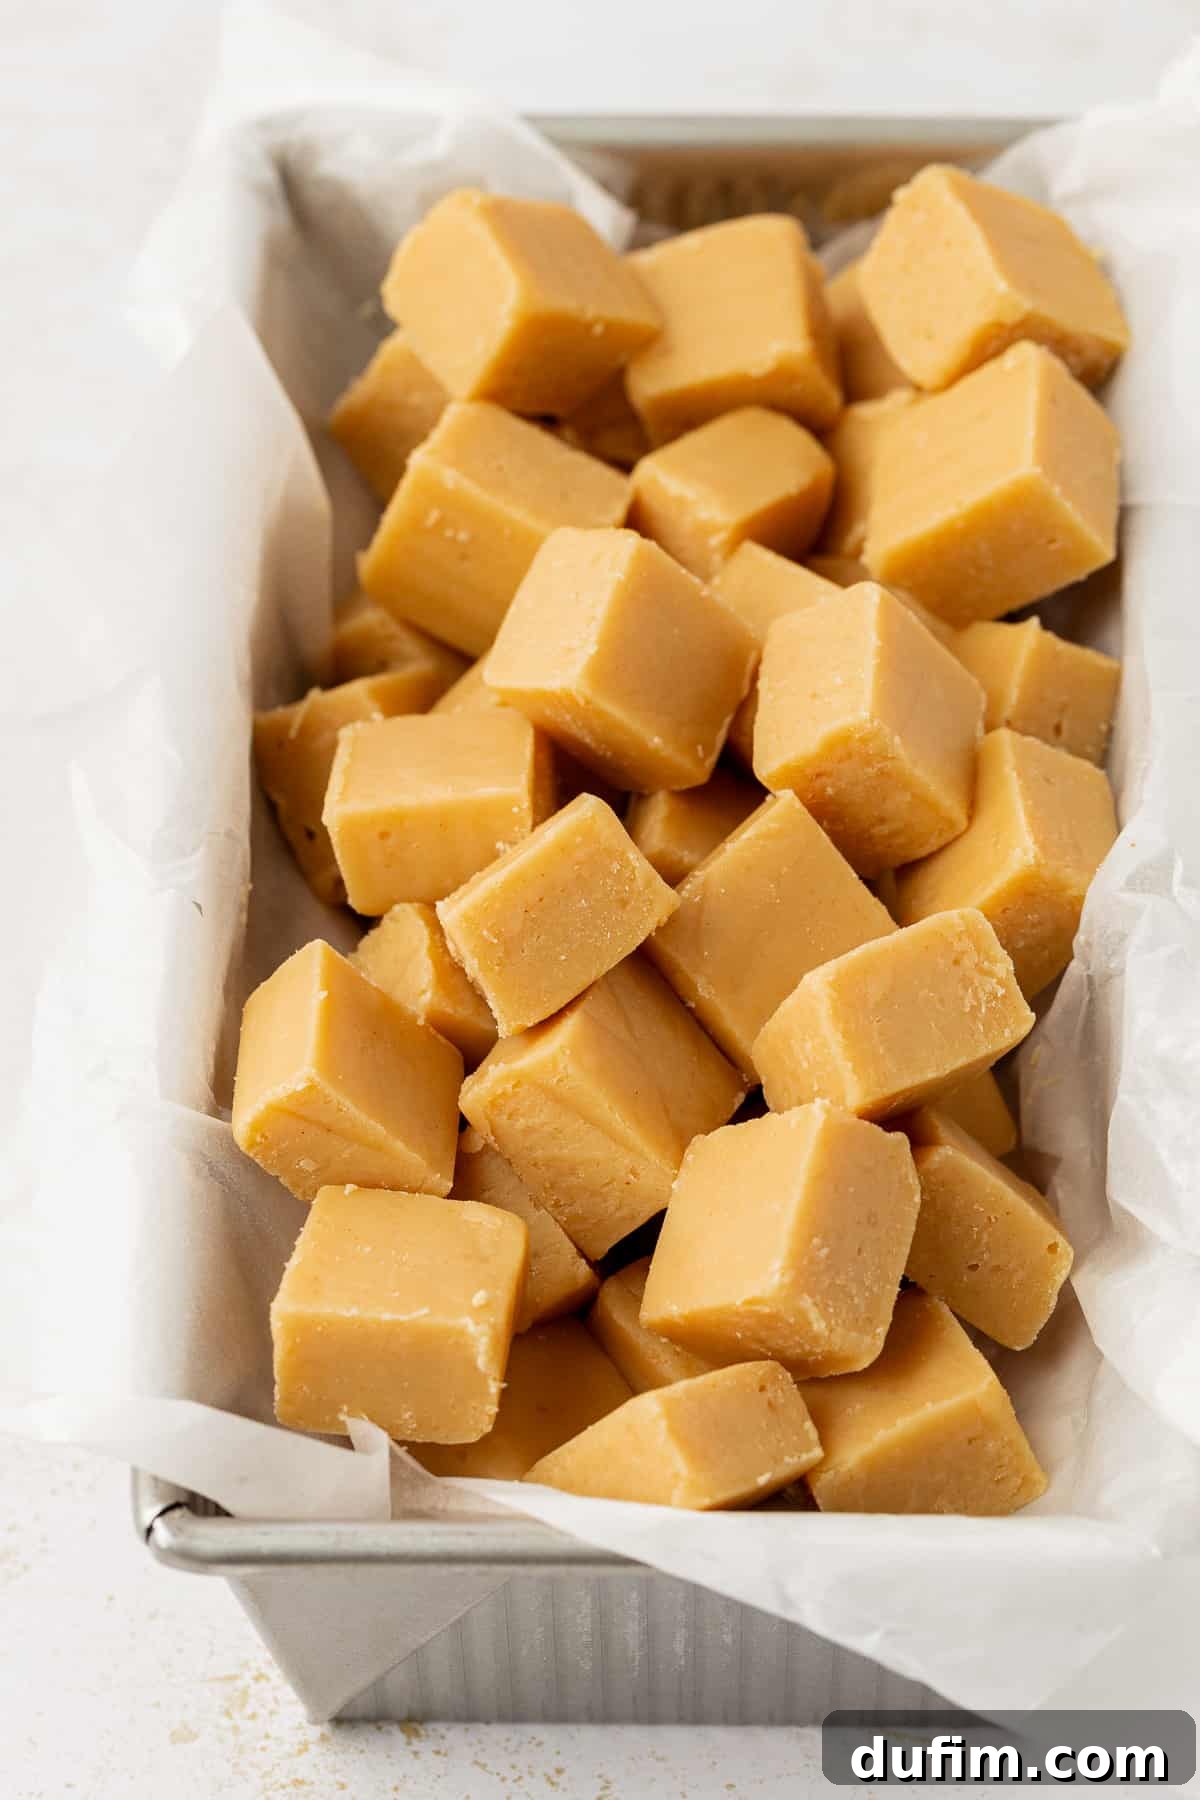
Proper storage is key to keeping your microwave peanut butter fudge fresh and delicious for as long as possible. Store the fudge in an airtight container at room temperature. When stored this way on the counter, your fudge will maintain its quality for about 2-3 weeks, remaining wonderfully soft and creamy.
If you wish to extend its shelf life further, you can store the fudge in an airtight container in the refrigerator for up to 4 weeks. Just be aware that refrigeration can sometimes alter the texture slightly, making it a bit firmer. Allow it to come to room temperature before serving for the best experience.
Can I freeze Peanut Butter Microwave Fudge?
Absolutely! Freezing is an excellent way to preserve your microwave peanut butter fudge for an extended period, making it perfect for preparing ahead for holidays or special events. You can freeze the fudge as a large slab or after it’s been cut into individual pieces.
For either method, first place the fudge in the refrigerator for about 1 hour to ensure it’s firm and completely chilled. Then, wrap the fudge tightly in plastic wrap, ensuring no air can get in, and place it inside a heavy-duty zip-top freezer bag. Properly wrapped, fudge can be stored in the freezer for up to 3 months.
To thaw, simply transfer the frozen fudge from the freezer to the refrigerator and allow it to defrost slowly for about 24 hours. For the best texture, let it sit at room temperature for a short while before serving.
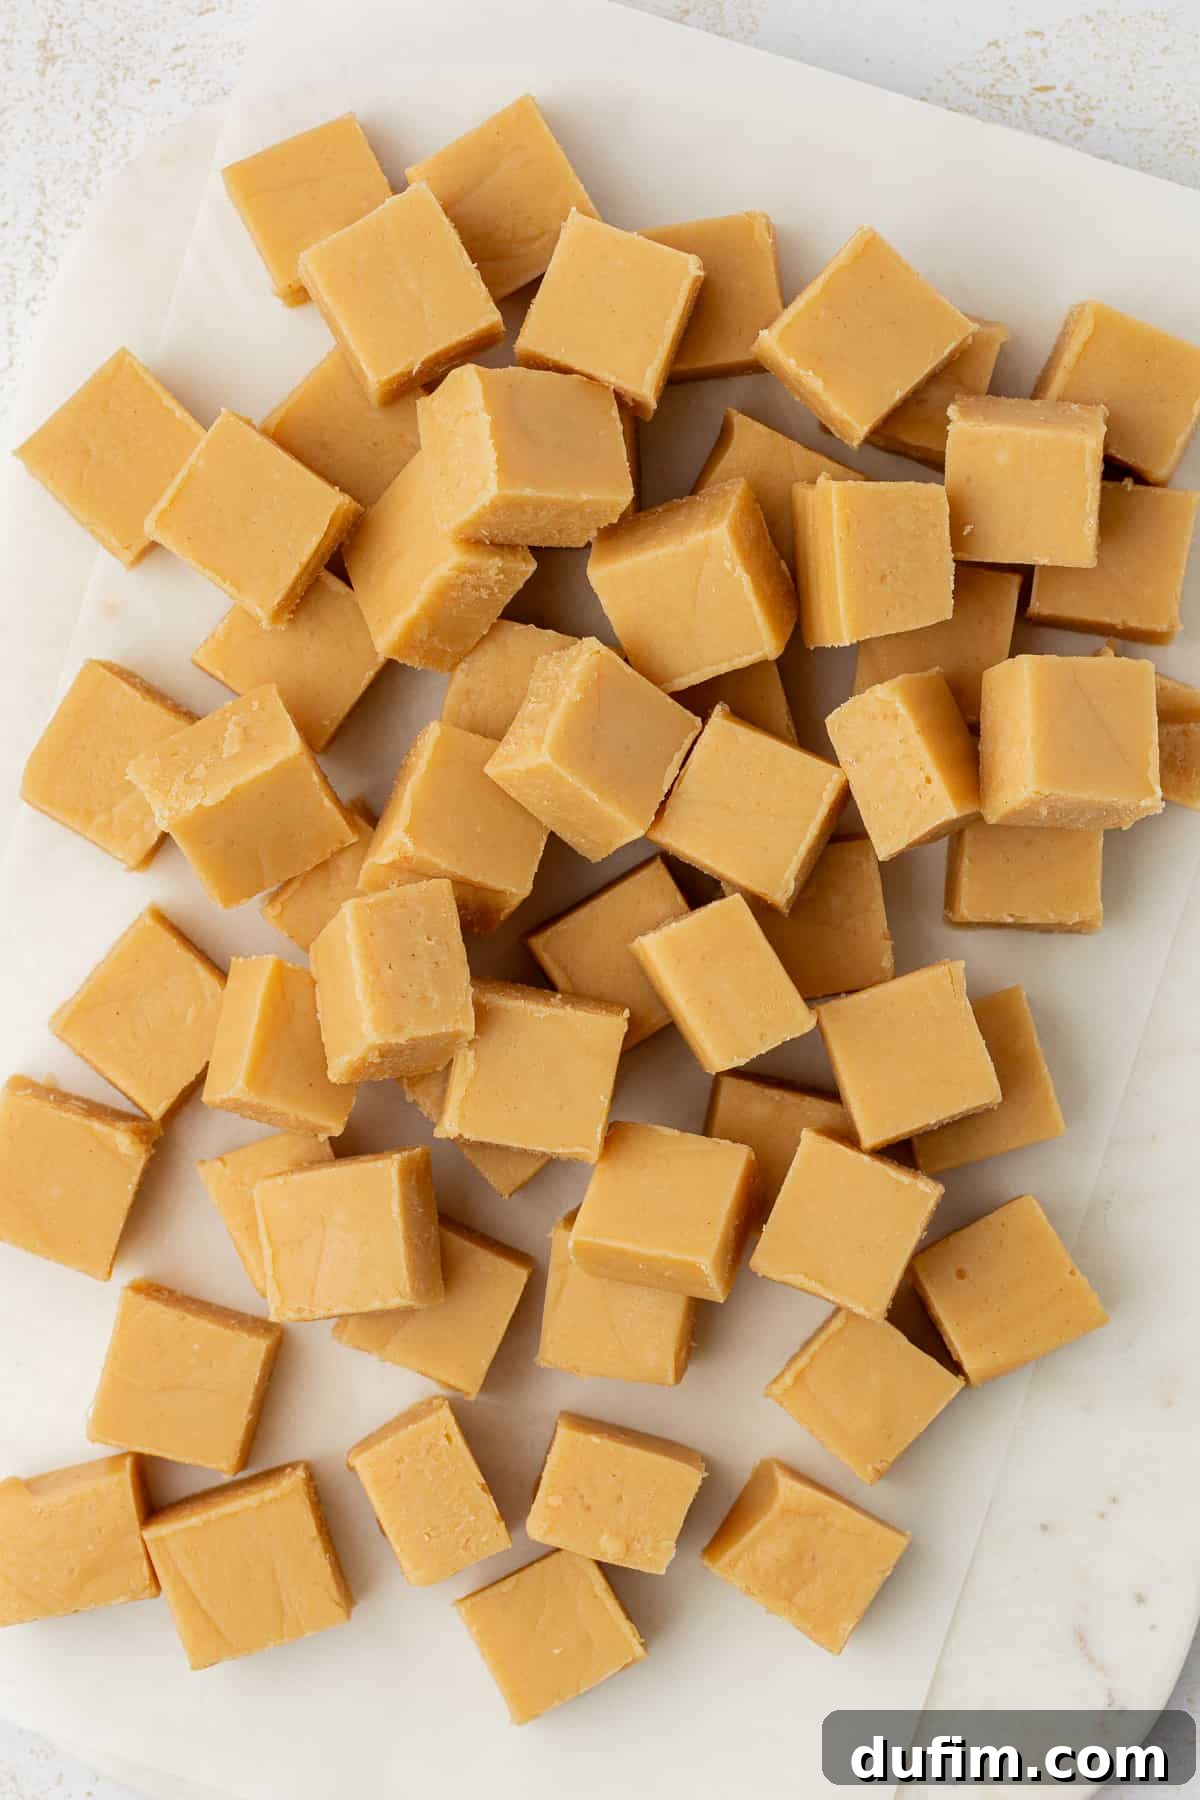
For perfectly square pieces of fudge with clean cut lines, we recommend using a ruler to guide your cuts and a sharp, clean knife. Wiping your knife blade with a damp cloth or paper towel between each cut will prevent sticking and ensure beautiful, precise squares.
Frequently Asked Questions About Peanut Butter Microwave Fudge
Yes, traditional peanut butter fudge recipes, including this microwave version, are naturally gluten-free. It’s an excellent choice for a gluten-free dessert or a thoughtful addition to a gluten-free holiday treat platter.
More Delicious Christmas & Holiday Desserts to Try
If you’ve enjoyed this easy fudge recipe, you might love these other delightful treats, perfect for holiday gatherings or any time you need a sweet indulgence:
- Dark Chocolate Cayenne Nut Clusters
- Peppermint Kiss Oreo Balls
- Swirled Peppermint Bark
Microwave Peanut Butter Fudge Recipe
This remarkably easy microwave peanut butter fudge delivers a rich, creamy, and decadent treat in minutes. Forget complex stovetop methods and candy thermometers – just a few simple ingredients and your microwave are all you need for melt-in-your-mouth perfection.
Prep Time: 10 minutes
Additional Time (Cooling): 30 minutes
Total Time: 40 minutes
Yields: 16 pieces
Equipment
- Glass Mixing Bowl
- Spatula
- 8×8 or 9×9 inch square baking pan
- Parchment paper or aluminum foil
Ingredients
- 1 ¾ cups (298g) white chocolate chips
- ½ cup (135g) creamy peanut butter
- 1 can (14 oz) sweetened condensed milk
- ¼ tsp salt
- 1 tsp vanilla extract
Instructions
- Line an 8-inch or 9-inch square baking pan with aluminum foil or parchment paper, leaving an overhang on the sides for easy removal.
- Place all ingredients (white chocolate chips, peanut butter, sweetened condensed milk, salt, and vanilla extract) into a large, microwave-safe glass bowl.
- Microwave for 1 minute at 50% power. Remove and stir thoroughly. Microwave for another 30-45 seconds at 50% power. Stir until the mixture is smooth and completely melted. If needed, microwave in additional 30-45 second intervals at 50% power, stirring well after each, until silky smooth.
- Quickly pour the melted fudge mixture into the prepared pan. Use a spatula to spread and smooth the top evenly before it begins to set.
- Allow the fudge to cool completely on the counter at room temperature for 2-3 hours. For easier, cleaner cutting, you may chill the fudge in the refrigerator for 30 minutes before slicing. Cut into squares and enjoy!
How to Store Fudge
- Store fudge in an airtight container at room temperature for 2-3 weeks.
- For longer storage (up to 4 weeks), store in an airtight container in the refrigerator.
Can peanut butter fudge be frozen?
- Yes! Freeze fudge as a large slab or cut pieces. Chill fudge in the fridge for 1 hour, then wrap tightly in plastic wrap and place in a zip-top freezer bag. Freeze for up to 3 months.
- To thaw, transfer fudge to the refrigerator for 24 hours.
Recipe Notes
Want to pep up your peanut butter fudge? Mix in these add-ins:
- Reese’s pieces
- Chopped peanuts
- Chopped Reese’s peanut butter cups
- Mini chocolate chips
- Crushed Oreo pieces
- Bacon bits (for the adventurous!)
Fold in your desired add-ins after the fudge is fully melted and smooth, just before pouring into the pan.
Nutrition Information (Approximate per serving)
All nutritional values are approximate and provided to the reader as a courtesy. Changing ingredients and/or quantities will alter the estimated nutritional calculations.
- Calories: 234 kcal
- Carbohydrates: 27g
- Protein: 5g
- Fat: 13g
- Saturated Fat: 6g
- Polyunsaturated Fat: 1g
- Monounsaturated Fat: 4g
- Cholesterol: 13mg
- Sodium: 123mg
- Potassium: 201mg
- Fiber: 1g
- Sugar: 26g
- Vitamin A: 72IU
- Vitamin C: 1mg
- Calcium: 113mg
- Iron: 1mg