
Master the Art of Gluten-Free Scones: Tall, Flaky & Bakery-Style Perfection at Home
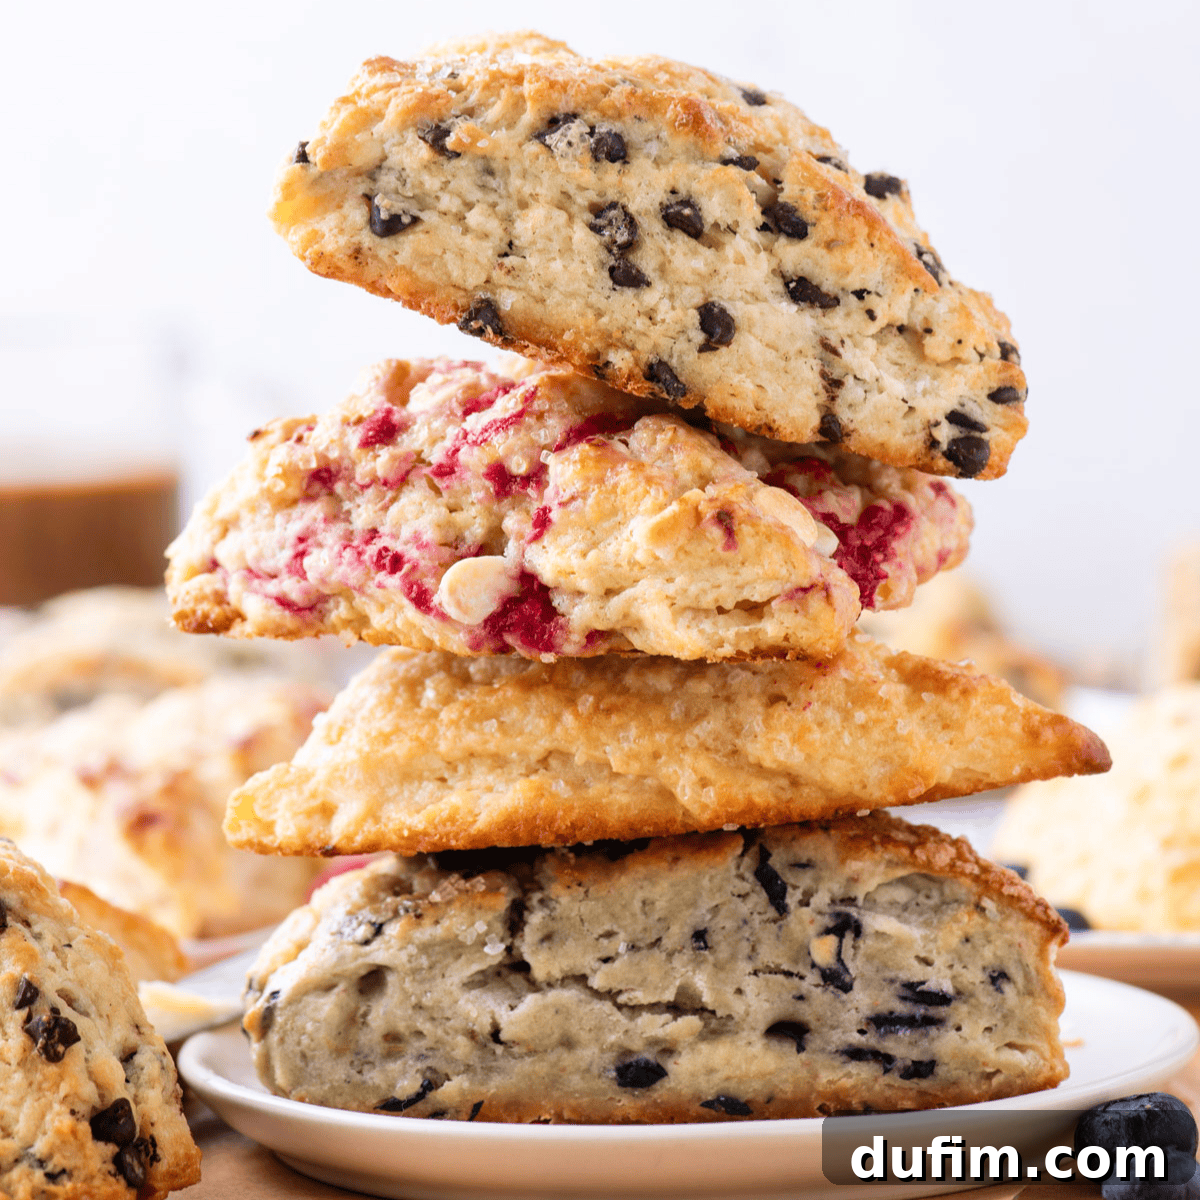
Imagine biting into a scone that’s perfectly tall, exquisitely flaky, and delightfully tender, with a crumb that simply melts in your mouth – and it’s completely gluten-free. This isn’t a dream; it’s the result of countless hours spent perfecting this extraordinary gluten-free scone recipe. Built upon a meticulously developed master scone formula, this recipe has been rigorously tested using King Arthur’s Gluten-Free Measure for Measure Flour to ensure consistent, stellar results every time. We’ve even cracked the code on how to adjust your flour measurements based on your chosen mix-ins – whether you’re craving juicy blueberries, tangy raspberries, bright lemon, sweet cranberries, or decadent chocolate chips, you are guaranteed perfect, bakery-quality gluten-free scones.
Why You Can Trust This Gluten-Free Scone Recipe for Bakery-Quality Results
Unlike many recipes that simply swap gluten-free flour for traditional wheat, this isn’t just a quick substitution. This is a fully developed, extensively tested, bakery-style scone recipe rooted in the foundation of my master scone formula – a recipe I dedicated weeks to perfecting. My testing involved precise flour ratios, the ideal butter techniques, and careful consideration of various mix-ins to ensure you achieve scones that are not only tall and flaky but also taste as if they came directly from a professional bakery, all without any gluten.
Gluten-free baking often presents unique challenges: textures can be crumbly, edges can turn dry, and doughs might struggle to hold their shape. Recognizing these common hurdles, I didn’t just guess. This recipe was specifically developed and tested using King Arthur’s Gluten-Free Measure for Measure Flour. This meticulous approach means you can rely on consistent, successful outcomes. Expect a magnificent rise, robust structure, and a delightful, melt-in-your-mouth crumb that defies common gluten-free baking stereotypes.
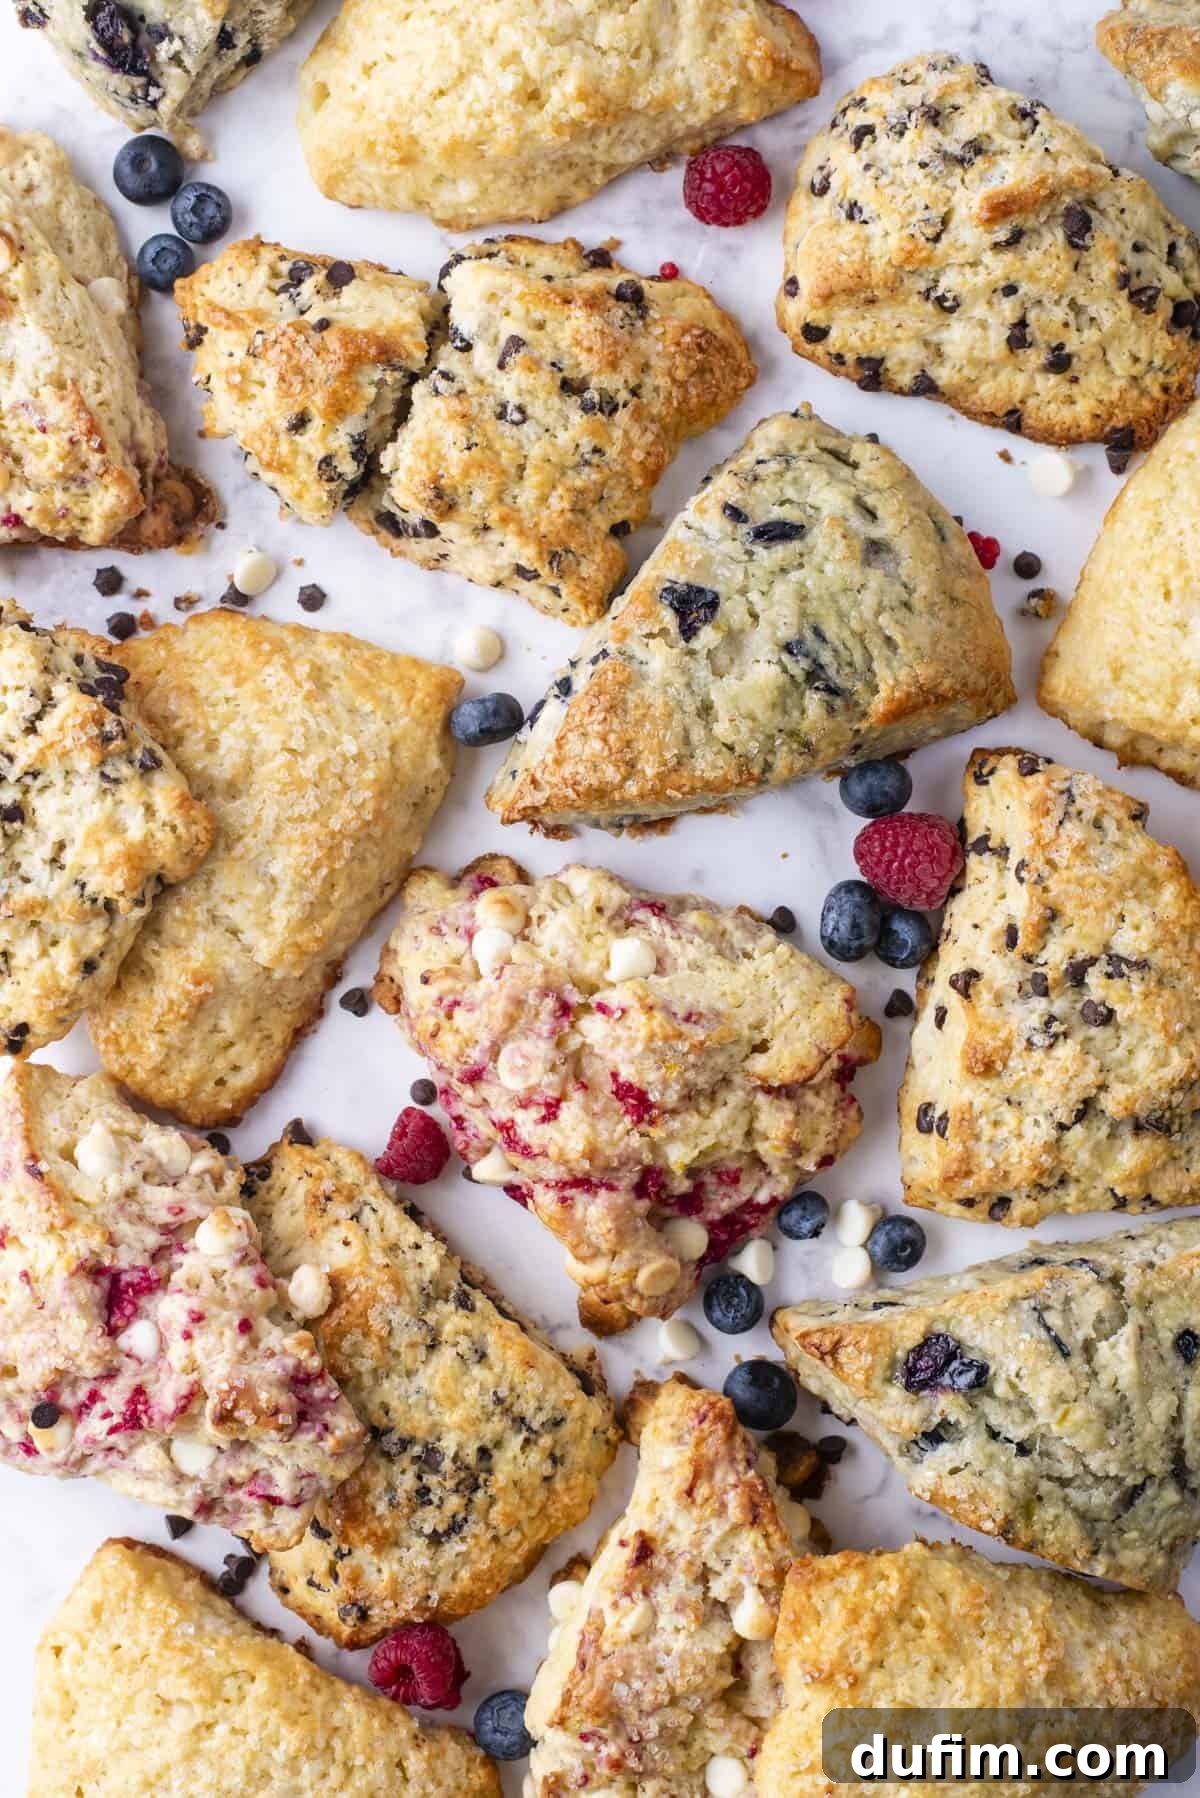
Furthermore, I thoroughly tested how various popular add-ins—such as juicy blueberries, tart raspberries, zesty lemon juice, sweet cranberries, and rich chocolate chips—impact the dough’s consistency. Through this testing, I precisely determined how much extra flour is needed for each type of inclusion. This is crucial because add-ins, especially fruits with high moisture content, can significantly alter the dough’s texture if not properly accounted for. Now, you no longer need to guess or experiment; my detailed adjustments ensure perfect gluten-free scones, regardless of your chosen flavor.
Whether you prefer the simplicity of classic vanilla scones or wish to customize with exciting variations like lemon poppyseed, a delicate almond glaze, or fresh seasonal fruits, this gluten-free scone recipe is designed to be your unwavering companion. With explicit step-by-step instructions, tested adjustments, and invaluable tips to prevent common pitfalls like flat or dry scones, this recipe eliminates all the guesswork, empowering you to achieve truly bakery-quality results every single time you bake.
Unveiling the Key Ingredients for Exceptional Gluten-Free Scones
Crafting perfect gluten-free scones relies on a few core ingredients, each playing a vital role in achieving that desirable bakery texture and flavor. Here’s what you’ll need and why:
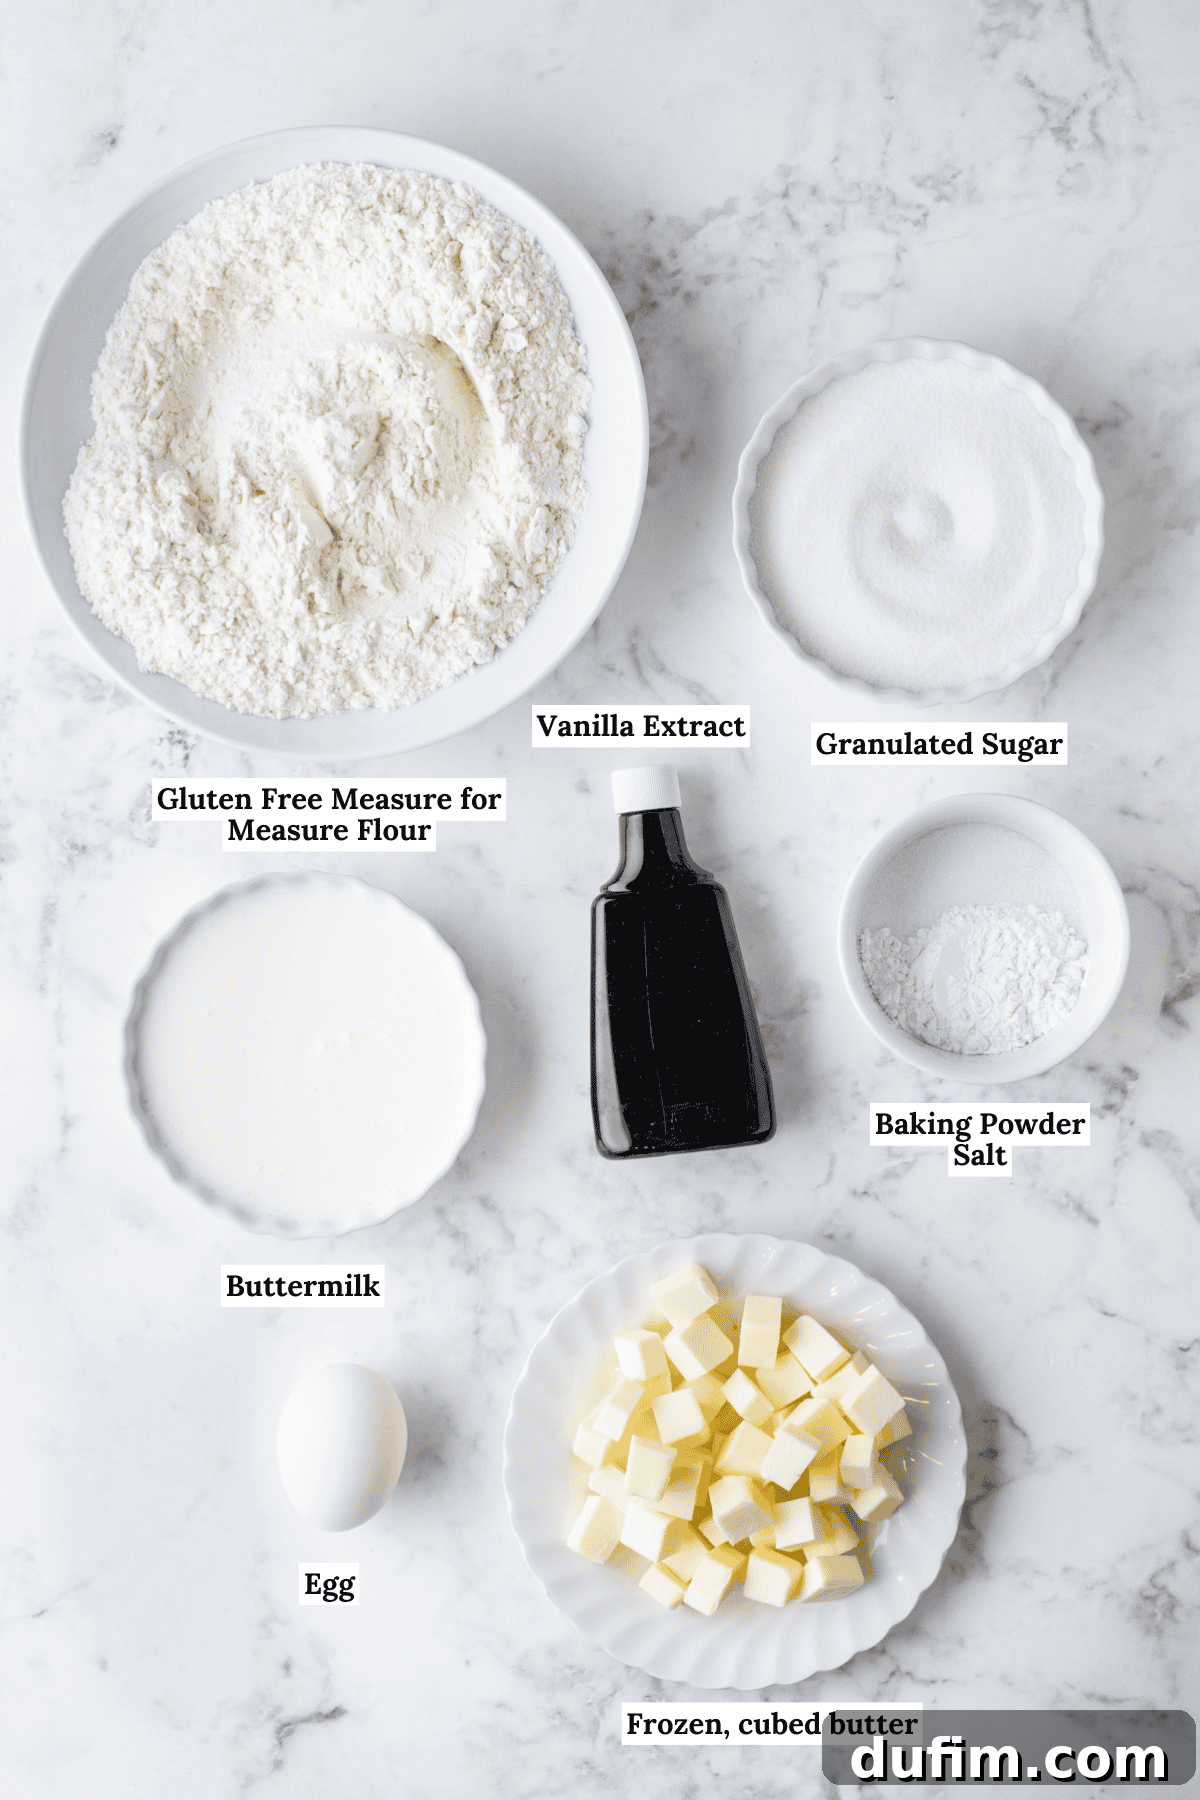
- Gluten-free Measure for Measure Flour: The foundation of our scones. I specifically recommend and use King Arthur’s Gluten-Free Measure for Measure Flour. This blend is crucial because it’s formulated to behave much like all-purpose flour and typically includes xanthan gum, which provides essential binding and structure in gluten-free baking. For accuracy, always weigh your flour in grams with a kitchen scale.
- Baking Powder: This leavening agent is critical for giving our scones their impressive lift and airy texture. Our recipe calls for a full tablespoon to ensure maximum rise.
- Unsalted Butter: Butter is paramount for both flavor and the characteristic flaky texture of scones. The key is to use very small, cold cubes of unsalted butter. As the cold butter melts in the oven, it creates steam, separating the dough into distinct, delicious layers.
- Buttermilk: A non-negotiable ingredient for superior scones. Buttermilk contributes vital moisture and a subtle tang from its acidity. This acidity reacts with the baking powder, enhancing the rise, and tenderizes the dough without making it heavy or dense. It’s simply the best choice for achieving optimal texture and lift.
- Egg: A large egg acts as a binder, adding richness, structure, and a beautiful golden hue to the scones.
- Vanilla Extract: Provides a comforting, aromatic base flavor that complements any add-ins.
- Add-ins (Optional): Customize your scones with your favorite flavors! Whether you choose fruits, chocolate, or zest, remember that moist additions will require specific flour adjustments to maintain the dough’s perfect consistency.

Buttermilk Alternatives: What You Can Substitute (and What to Avoid)
Buttermilk is a star ingredient, but don’t fret if you don’t have it on hand. You can easily make your own DIY buttermilk at home with milk and lemon juice or vinegar – just check out my simple DIY buttermilk guide for instructions. Alternatively, you can swap in an equal quantity of heavy whipping cream or sour cream thinned slightly with a touch of water until it reaches a similar consistency to buttermilk. However, for the best results in terms of texture and rise, I strongly advise against using whole milk, almond milk, or other non-dairy alternatives, as they lack the crucial acidity and fat content that buttermilk provides.
Choosing Your Gluten-Free Flour: A Crucial Decision
This recipe was specifically developed and optimized using King Arthur’s Gluten-Free Measure for Measure Flour. This particular blend is chosen because it already contains xanthan gum, a vital binding agent that provides structure in gluten-free baking. If you opt for a different gluten-free flour brand, your results may vary considerably. The blend, the types of flours used, and whether it includes binding agents like xanthan gum can all impact the scone’s texture, rise, and overall structure. For the most reliable, bakery-quality texture and consistent results, I highly recommend sticking with King Arthur’s Gluten-Free Measure for Measure Flour.
Creative Add-Ins for Your Signature Scones (Optional)
Elevate your gluten-free scones with a burst of flavor! If you choose to incorporate additional ingredients, aim for a total of 1 to 1.5 cups of your selected add-in. It’s essential to read the flour adjustment tips in the recipe card below, as different add-ins affect dough moisture differently. Here are some fantastic ideas to inspire your next batch:
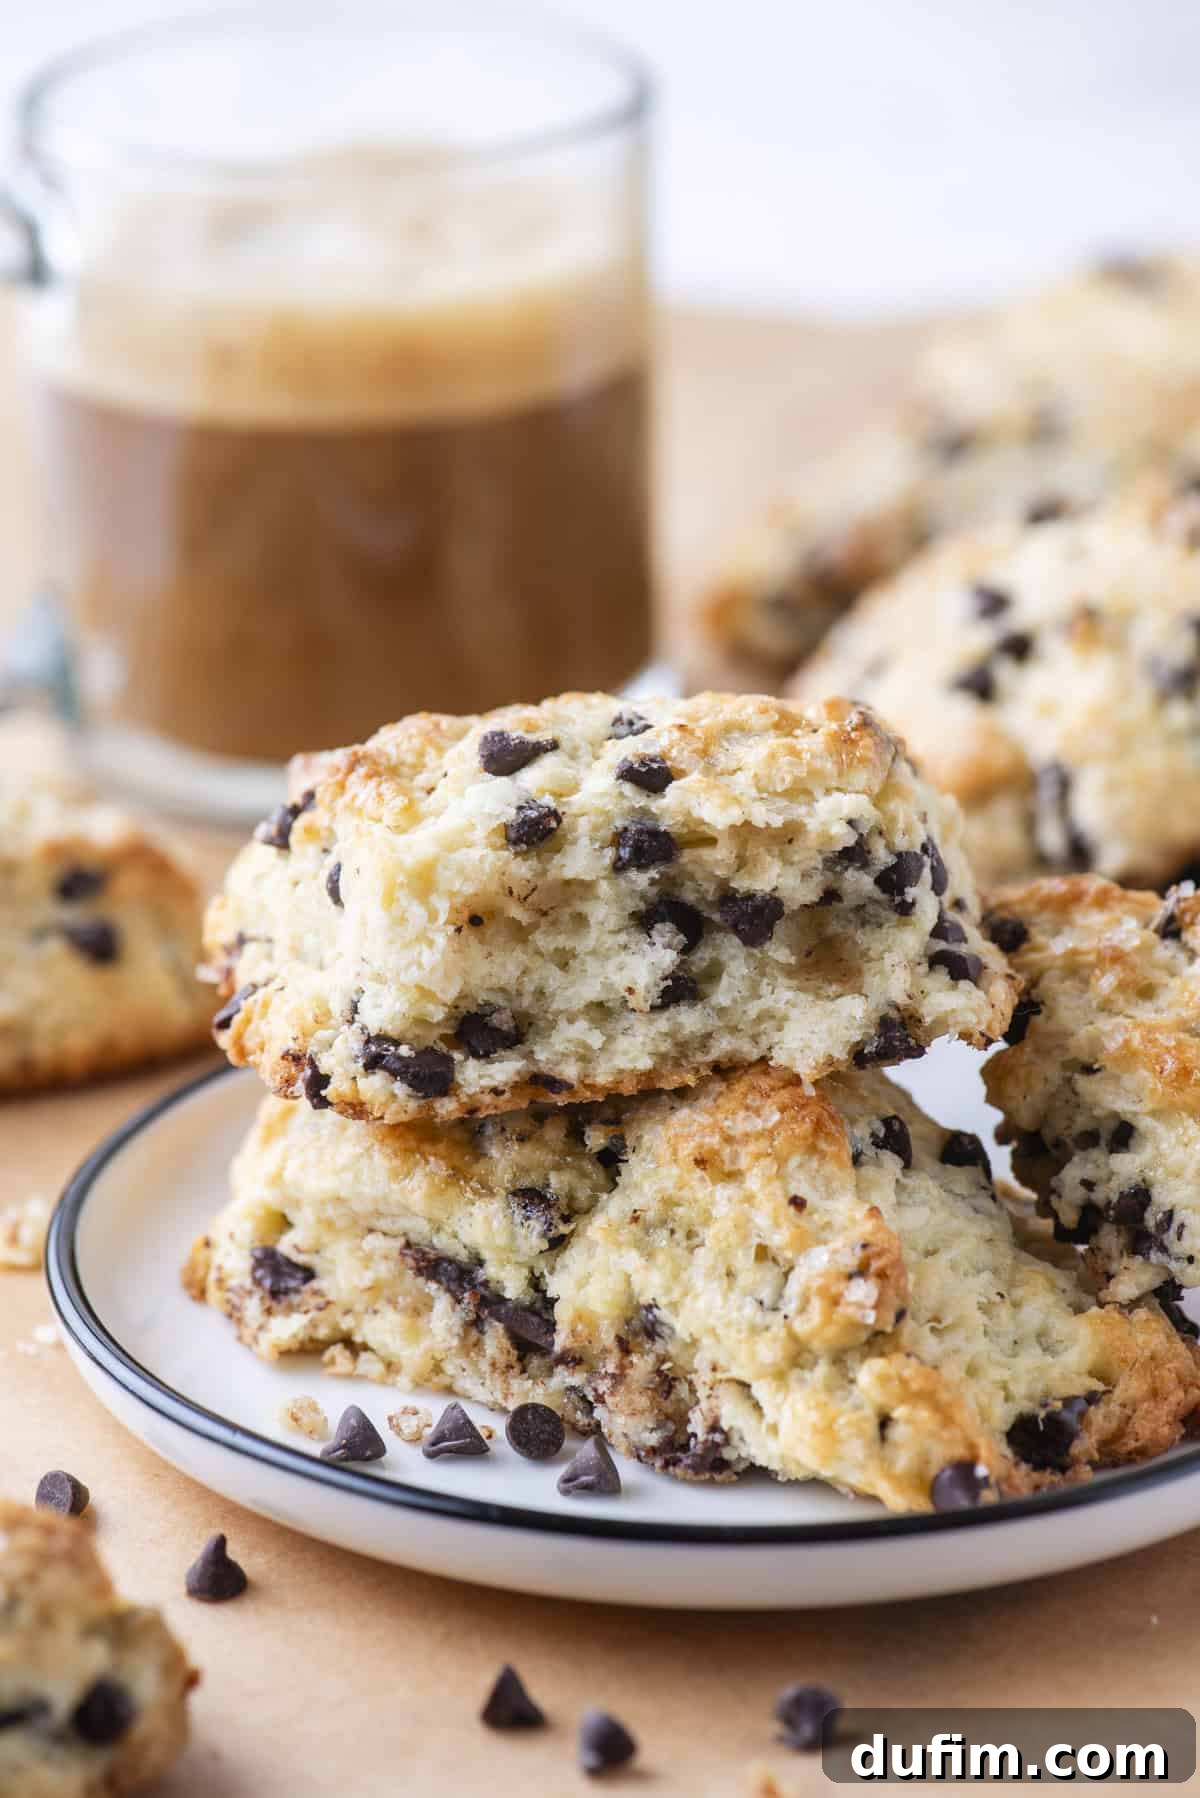
- Chocolate Chips: Classic and always a crowd-pleaser. I used mini chocolate chips in the photos for even distribution.
- White Chocolate Chips: For a sweeter, creamy contrast.
- Fresh Raspberries: Broken into smaller pieces and frozen to help maintain their shape and prevent bleeding during mixing.
- Blueberries: Fresh or frozen (do not thaw) for a burst of juicy flavor.
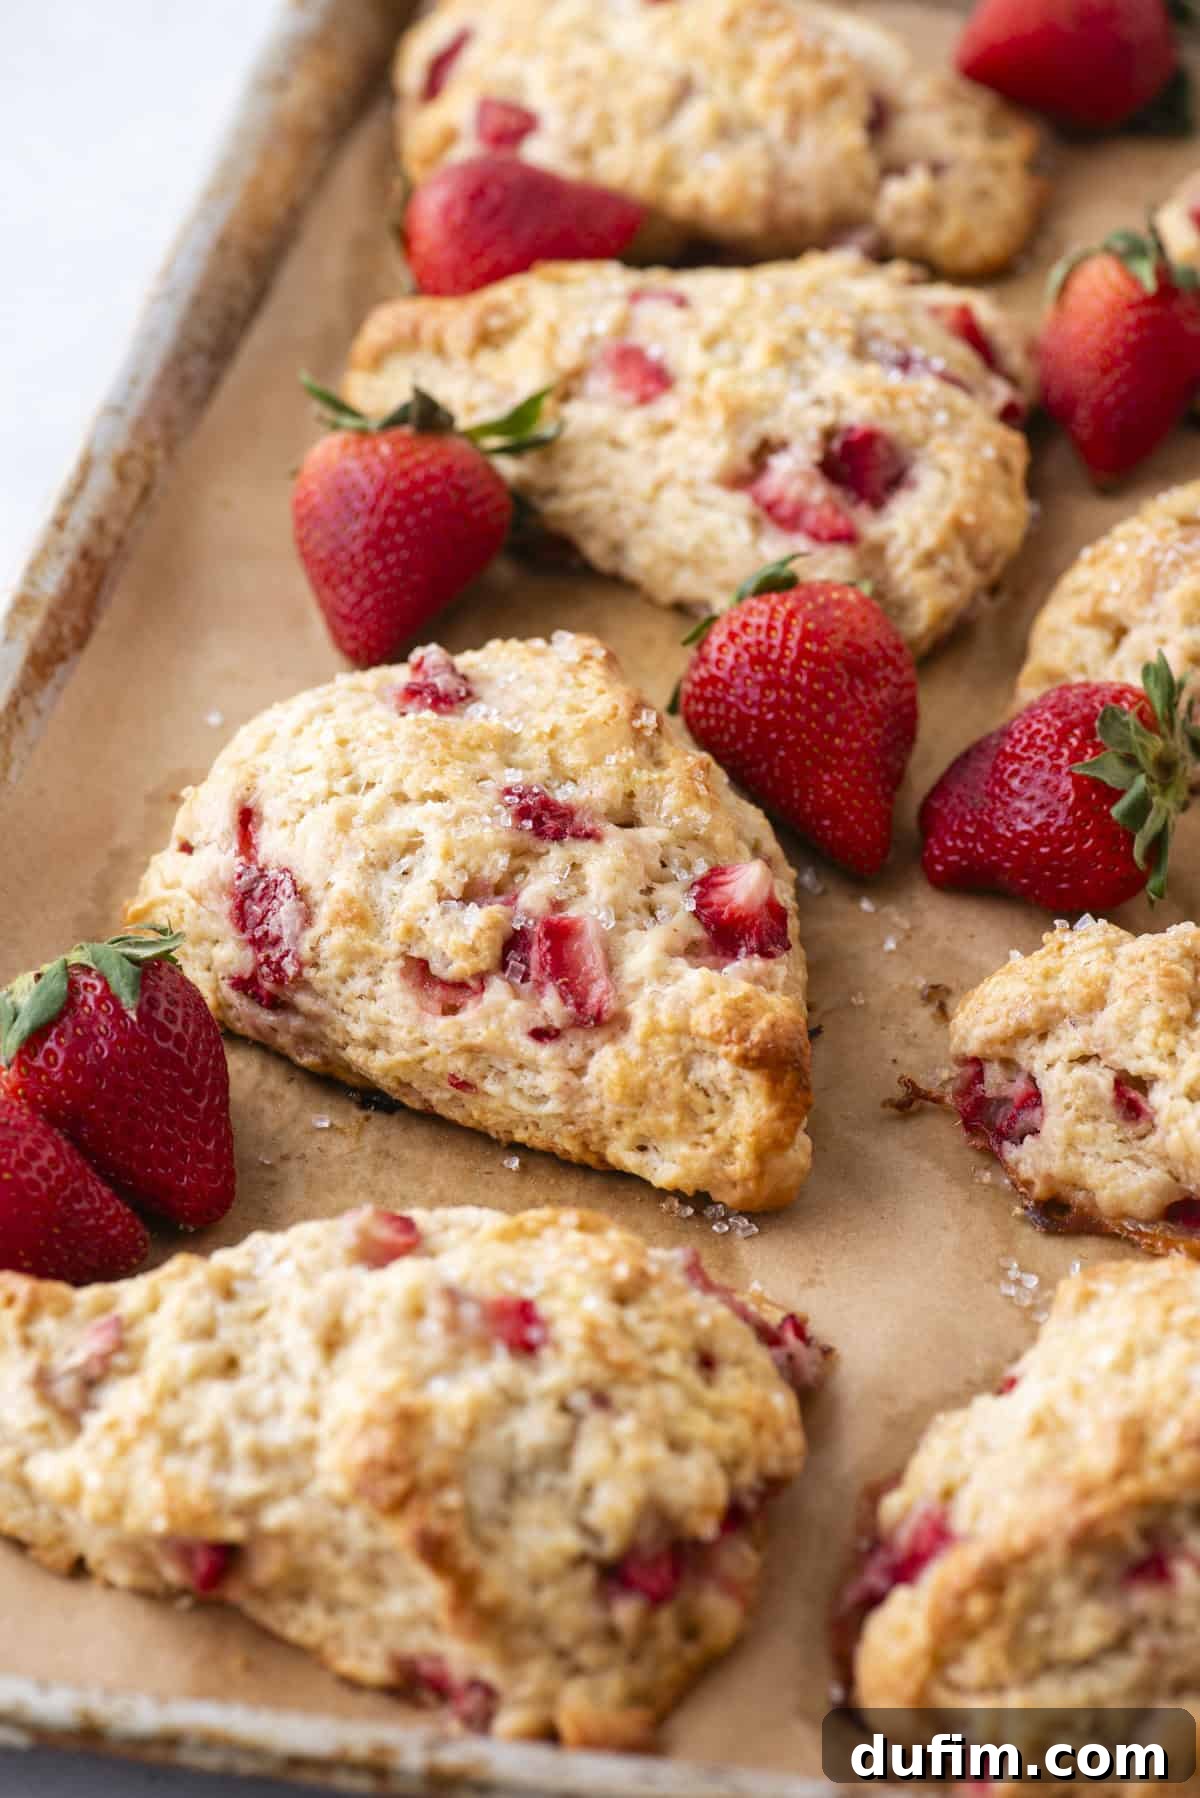
- Strawberries: Chopped into small pieces to distribute their sweetness throughout the scone.
- Lemon: Brighten your scones with 1 tablespoon of fresh lemon zest and 1 tablespoon of freshly squeezed lemon juice.
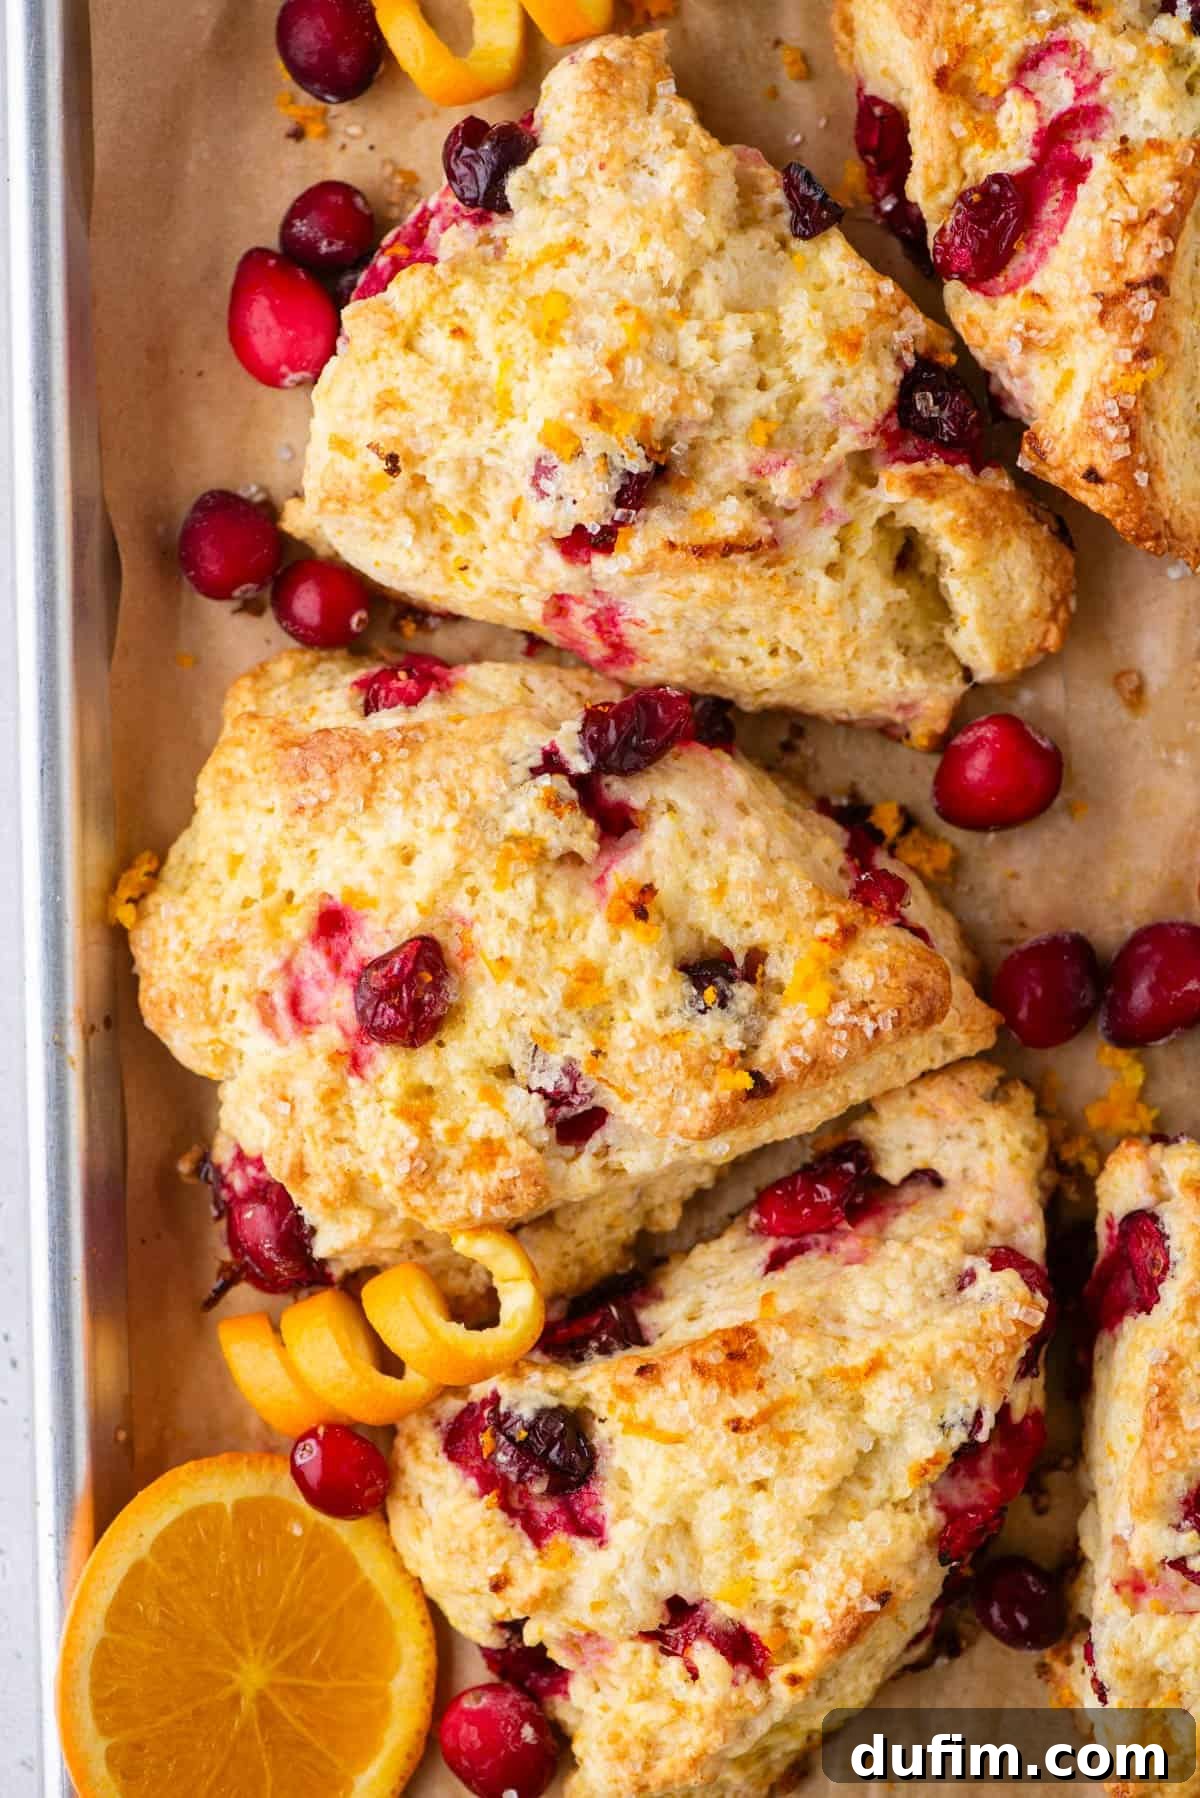
- Cranberry and Orange: A delightful pairing of tart and citrus. Use 1 tablespoon of orange zest, 1 tablespoon of freshly squeezed orange juice, and 1 cup of fresh, frozen (unthawed), or dried cranberries.
Step-by-Step Guide: Crafting Your Perfect Gluten-Free Scones
Get ready to impress your friends and family with these incredible gluten-free scones. They’ll never guess they’re gluten-free, or how surprisingly simple they were to create! Follow this comprehensive step-by-step guide to achieve baking perfection. The full, concise recipe is also available in the recipe card below.
- Understand Your Flour Ratios: This is arguably the most critical step for gluten-free scones, especially when adding mix-ins.
- For plain scones or chocolate chip scones, begin with 2 ¼ cups (270g) of gluten-free flour.
- If you’re making raspberry scones, fresh raspberries release a significant amount of moisture. You’ll need to add an additional ¾ cup (90g) of gluten-free flour, bringing your total to 3 cups (360g).
- For blueberry, strawberry, lemon, or cranberry orange scones, add an extra ¼ cup (30g) of gluten-free flour, totaling 2 ½ cups (300g). This extra flour is essential to counteract the moisture from the fresh fruit, preventing a wet, unstructured dough that would spread too much during baking.
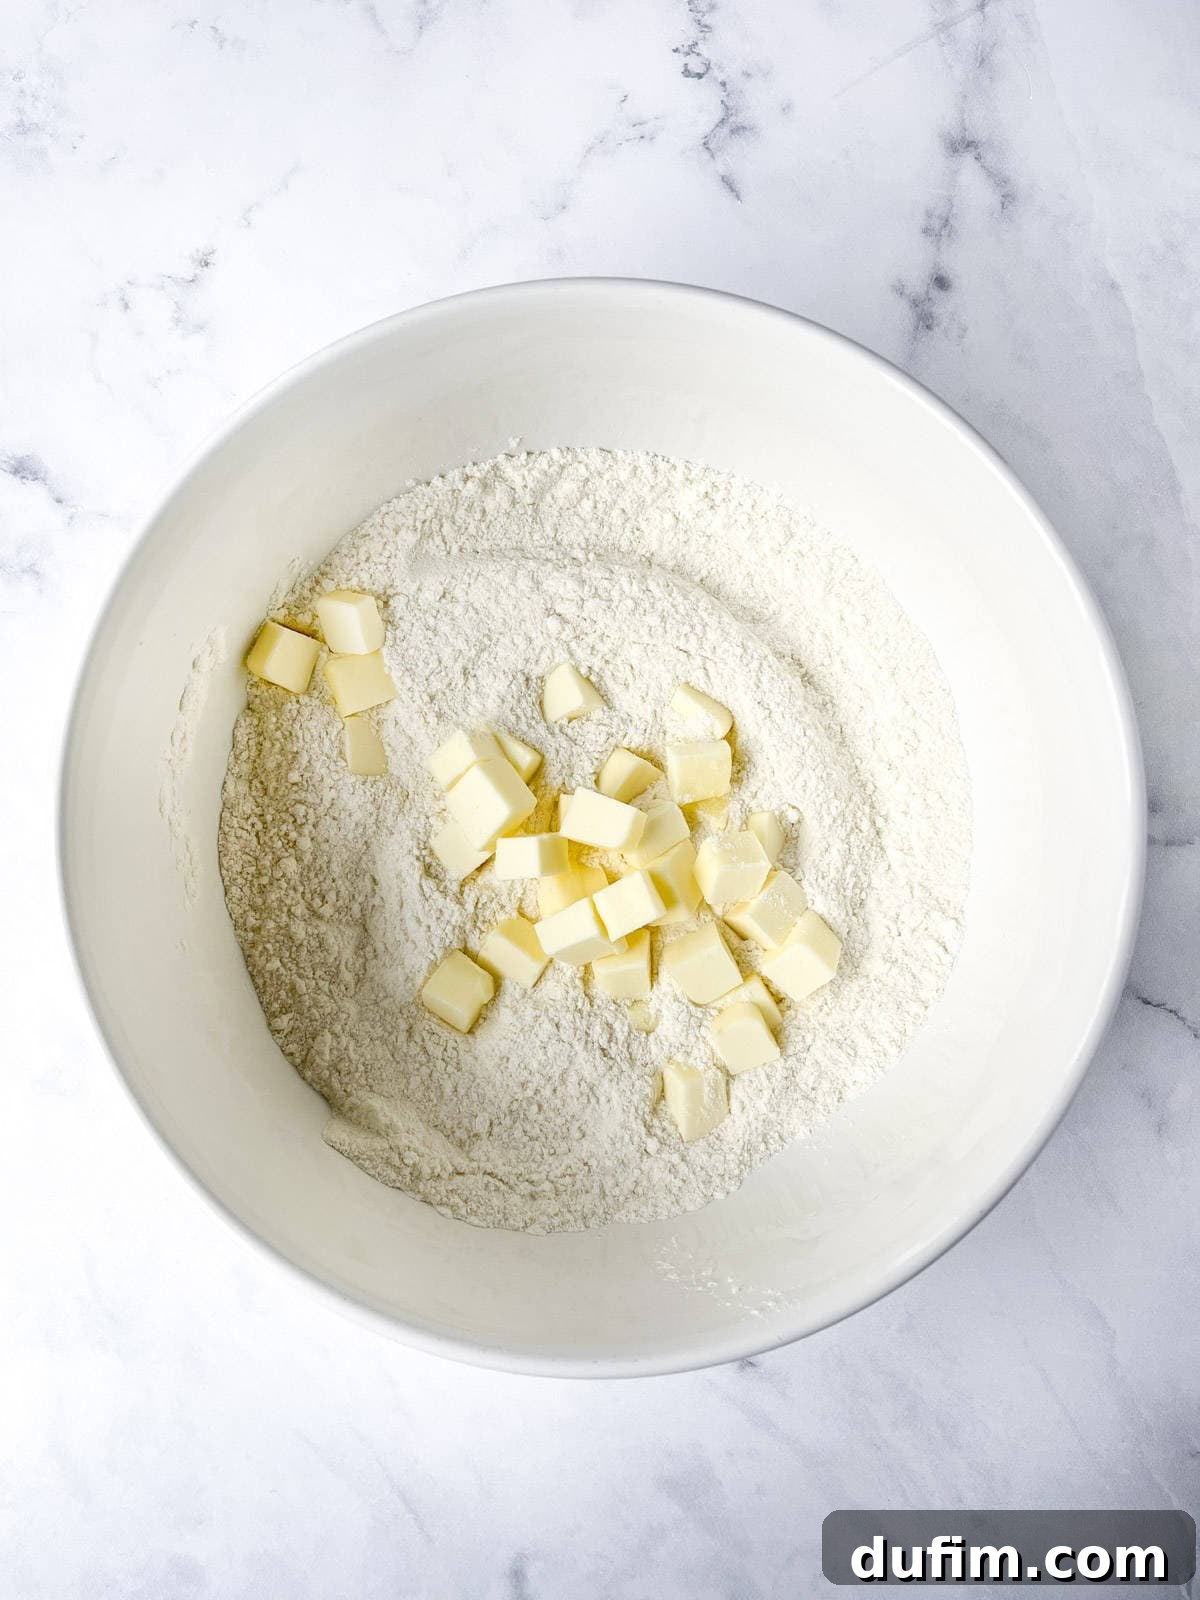
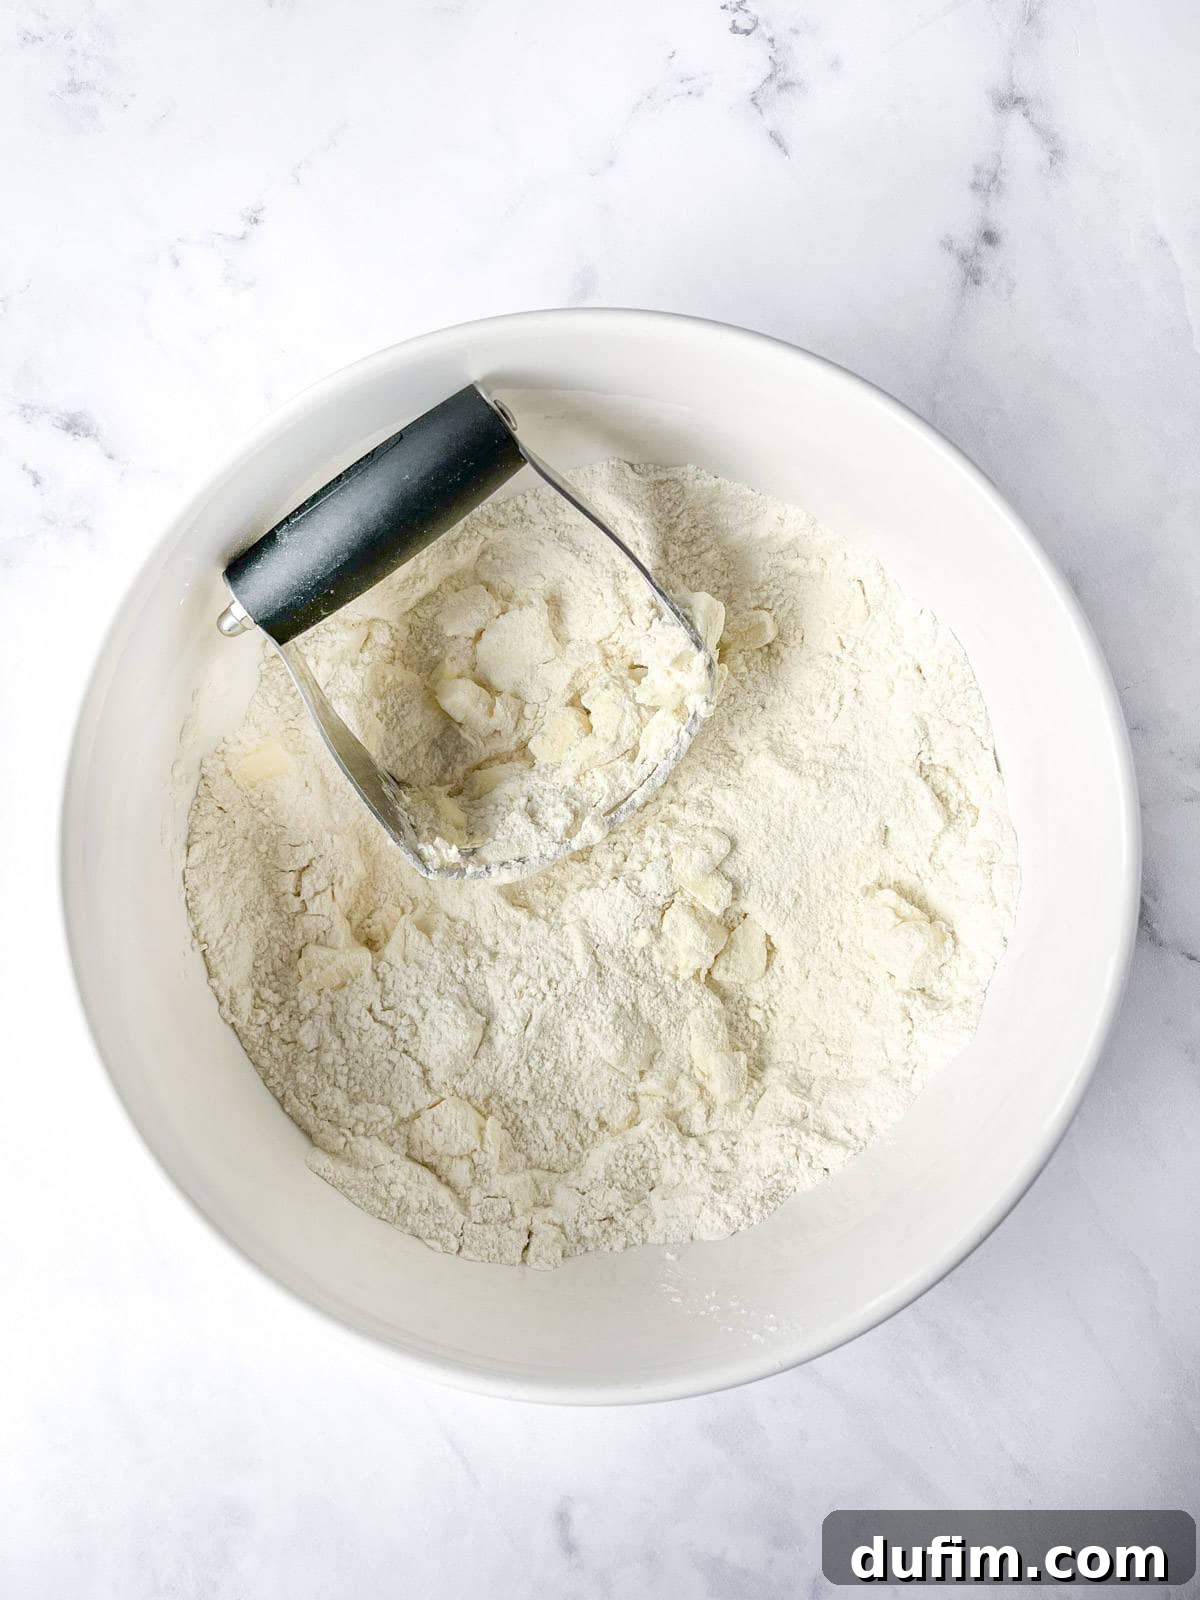
- Combine Dry Ingredients and Cut in Cold Butter: In a spacious mixing bowl, thoroughly whisk together your measured gluten-free flour, granulated sugar, baking powder, and salt. Add the very cold, cubed unsalted butter. Using either your hands (working quickly to prevent butter from warming) or a pastry cutter, cut the butter into the dry mixture until it resembles coarse meal with pea-sized pieces of butter remaining. These pockets of butter are key to achieving flakiness!
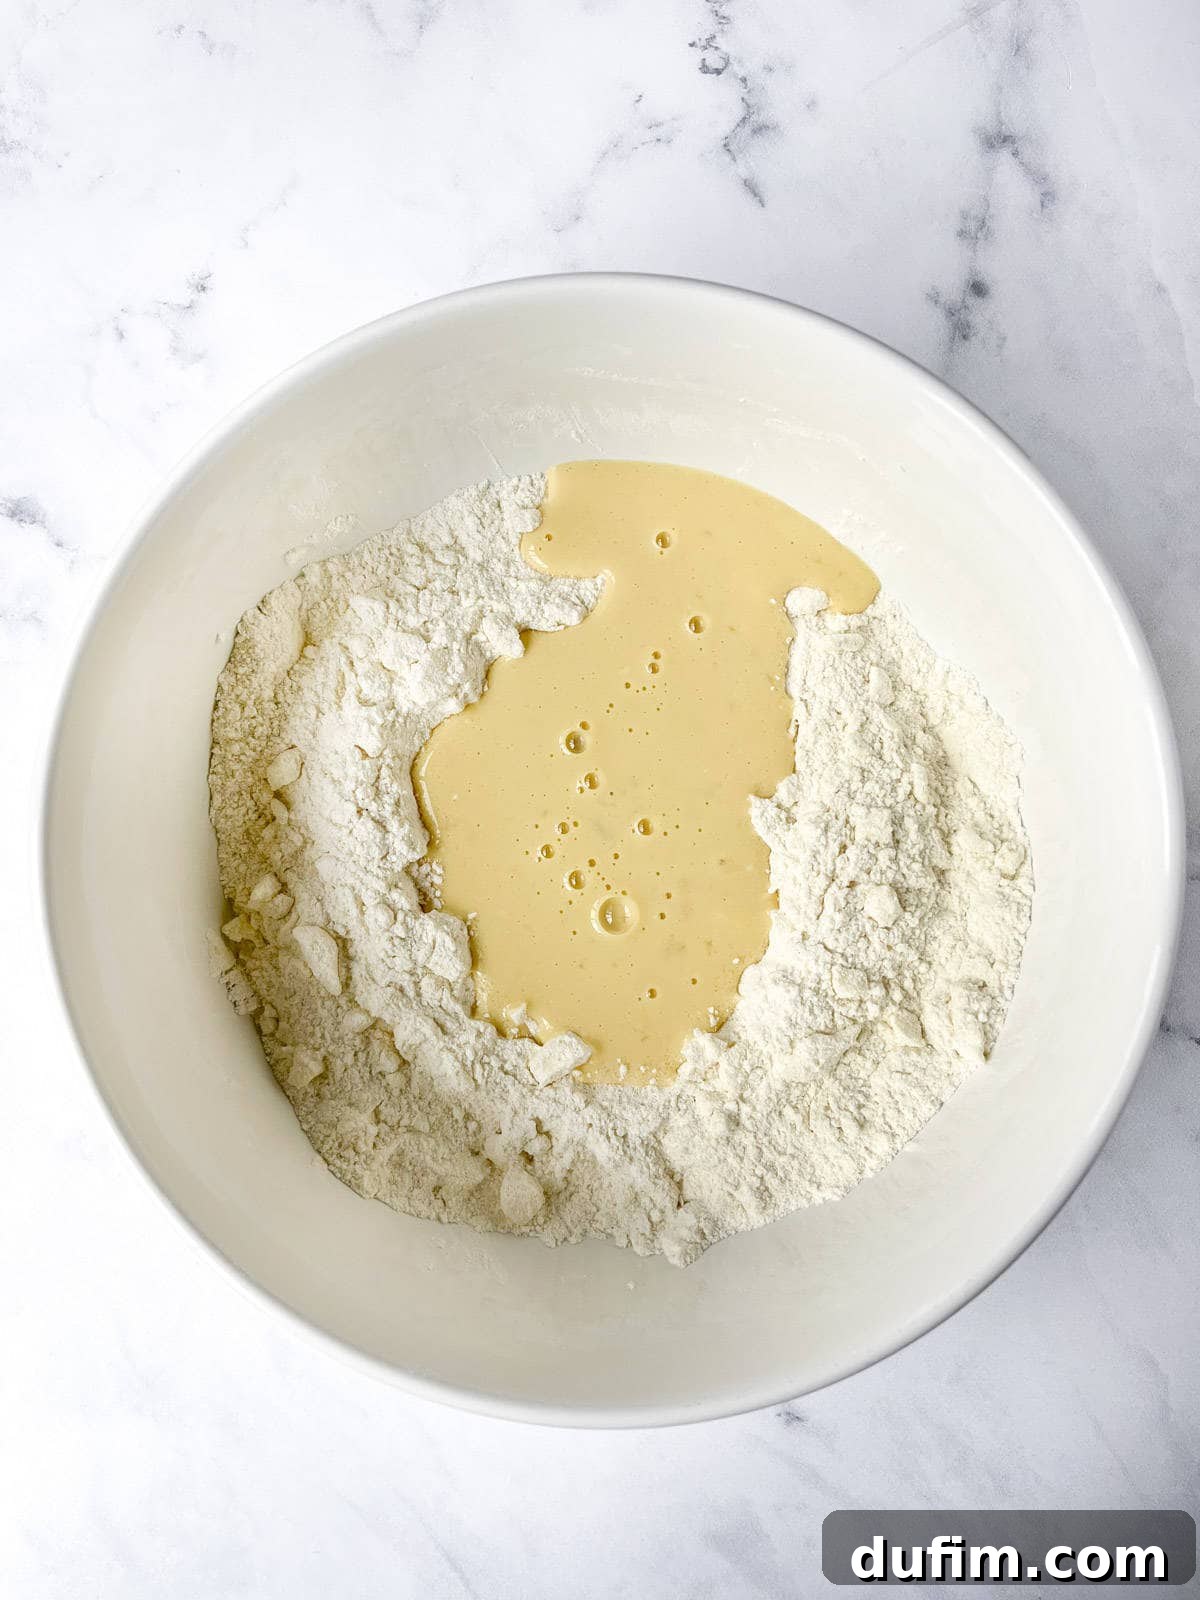
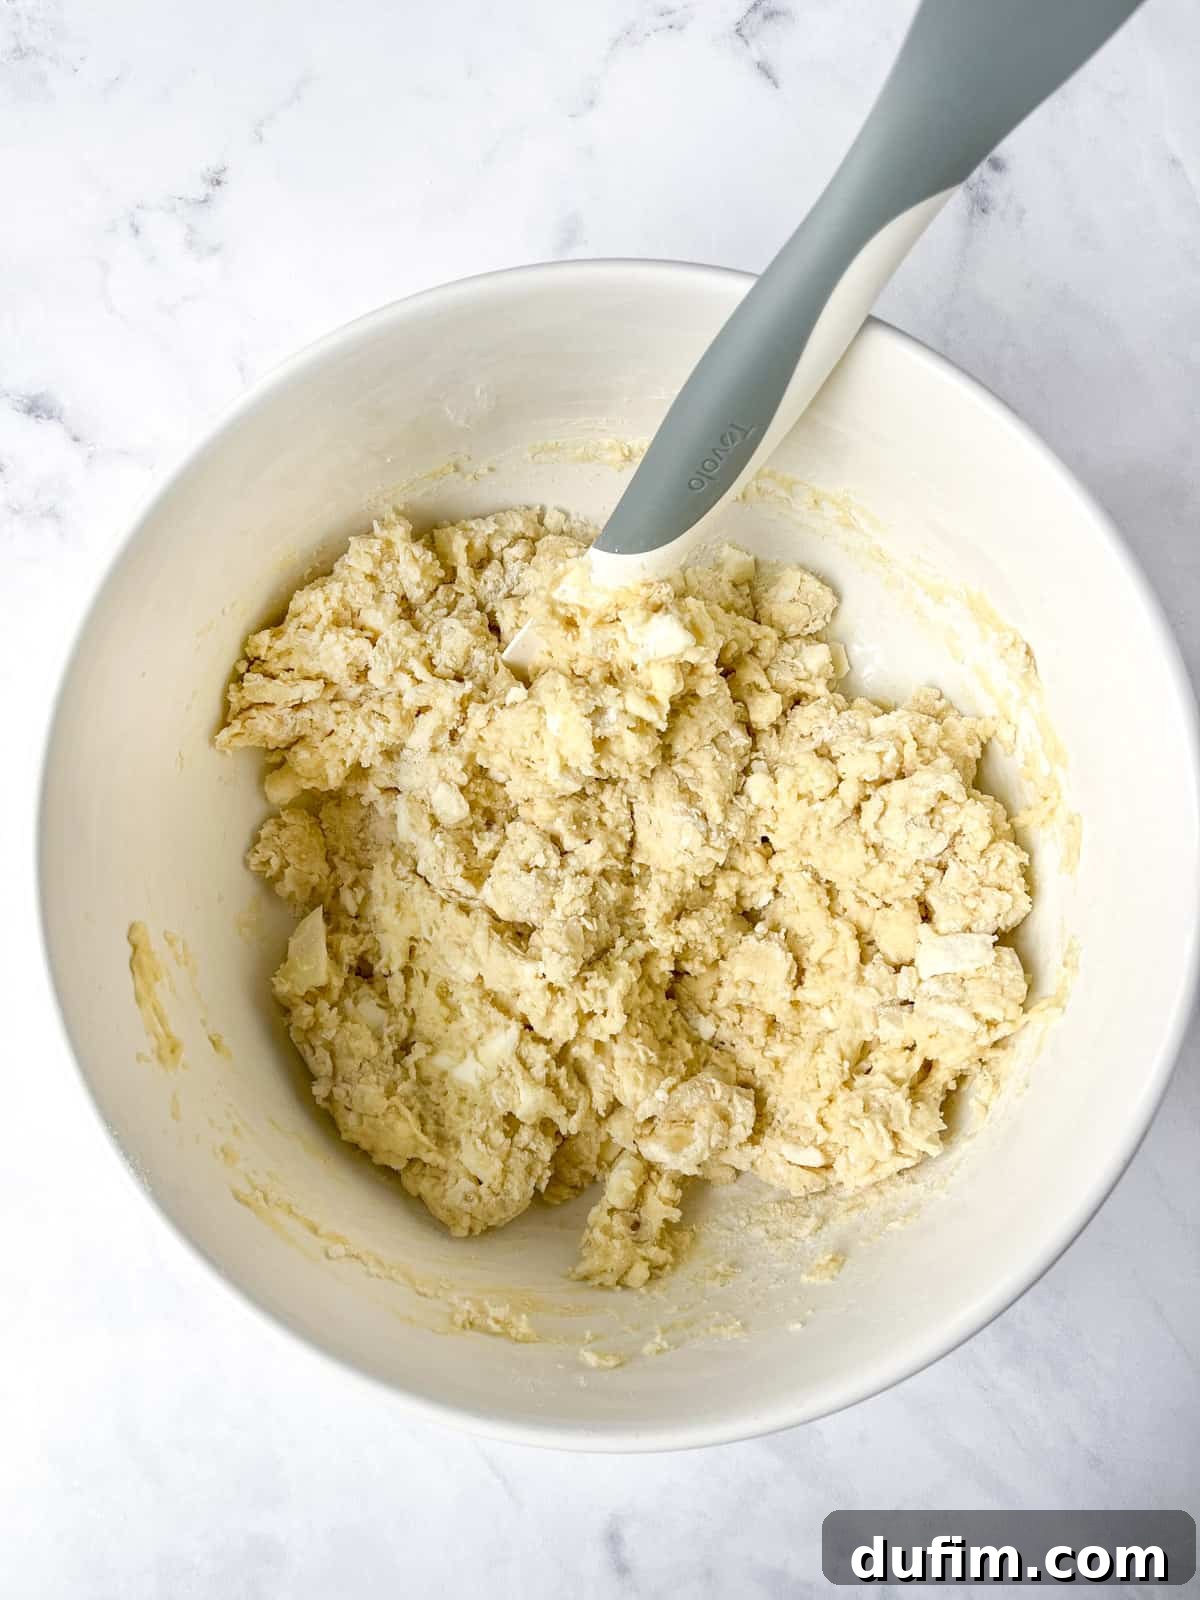
- Incorporate Wet Ingredients and Mix-ins: Create a well in the center of your dry ingredients. Pour in the buttermilk, vanilla extract, and the large egg. Using a spatula, gently fold and combine the ingredients until the dough comes together and is thick and sticky. At this stage, gently fold in your chosen mix-ins. For example, add 1 cup of chocolate chips, OR 1 cup of fresh raspberries (broken into pieces and frozen), OR 1 cup of blueberries, OR 1 cup of chopped strawberries, OR 1 tablespoon of lemon zest with 1 tablespoon of freshly squeezed lemon juice, OR 1 cup of fresh/frozen/dried cranberries with 1 tablespoon of freshly squeezed orange juice.
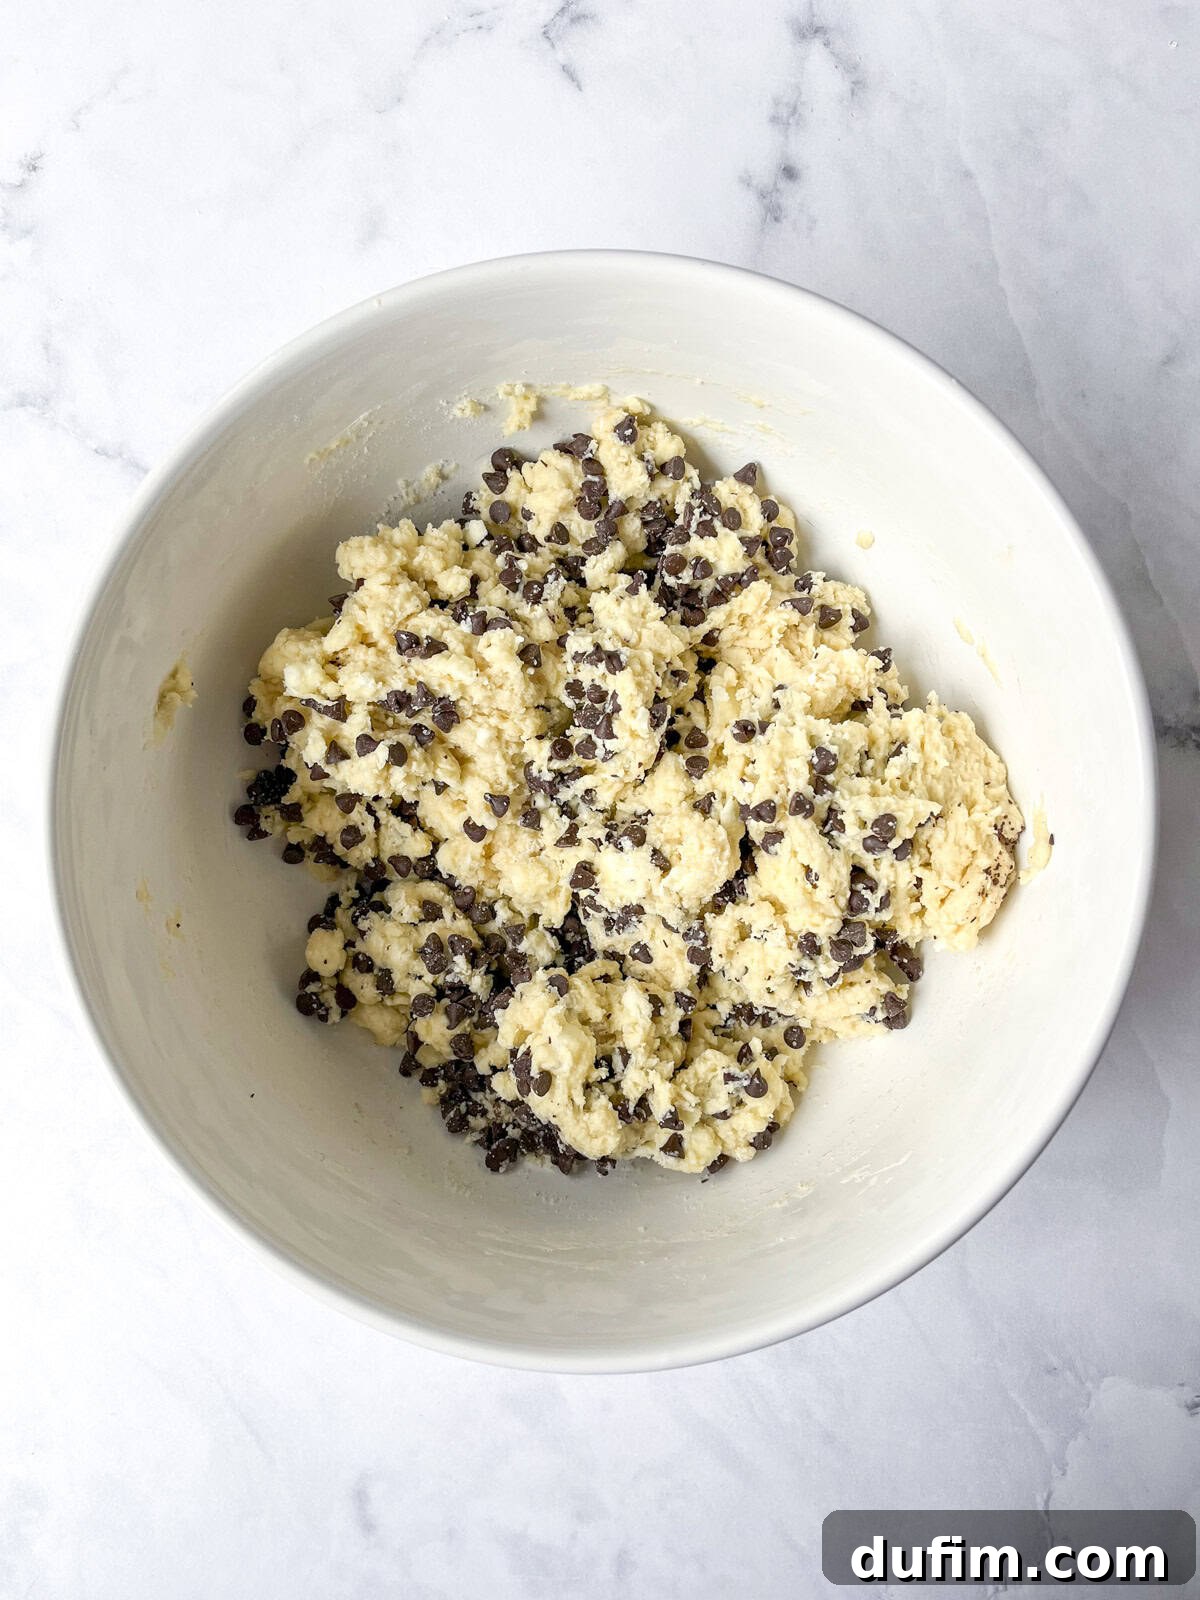
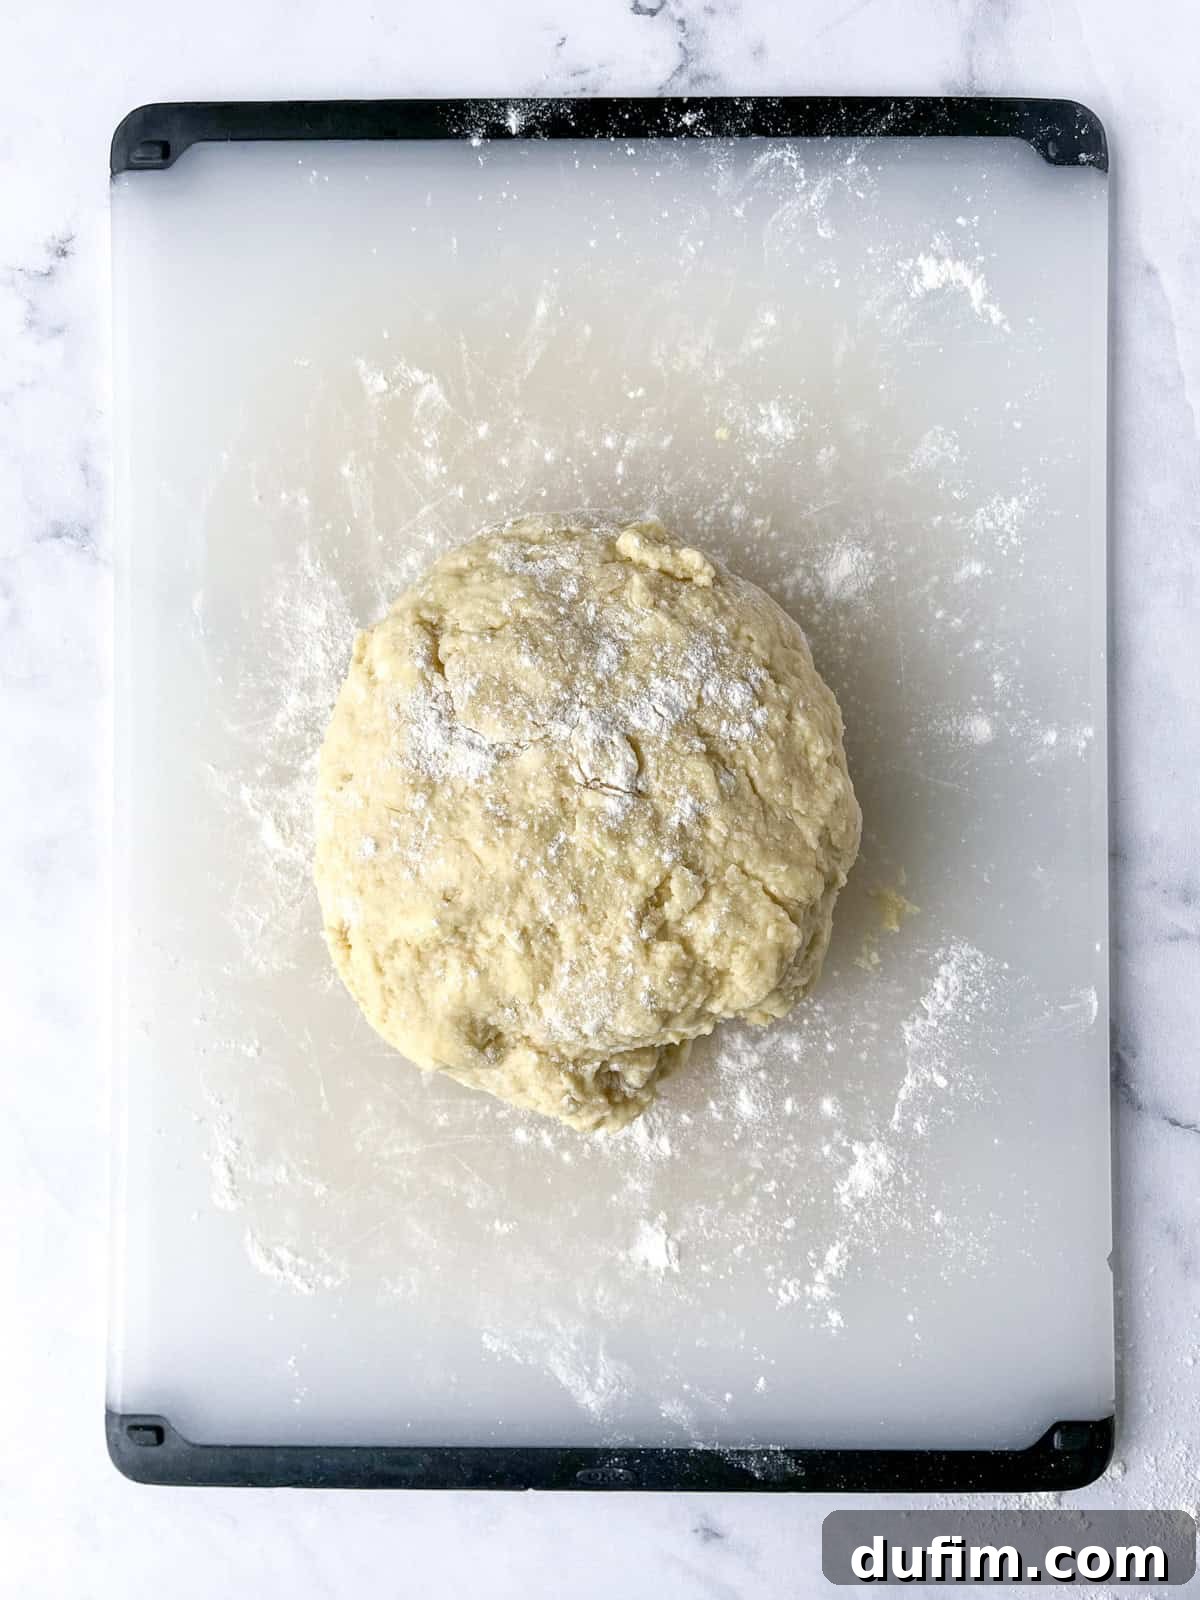
- Gentle Kneading for a Smooth Dough: Transfer the sticky dough onto a lightly floured silicone mat or a clean kitchen counter. Gently knead the dough just until all the flour is fully incorporated and the dough comes together. Be careful not to over-knead, as this can lead to tough scones. If the dough is excessively sticky, add 1-2 additional tablespoons of gluten-free flour, but only as needed.
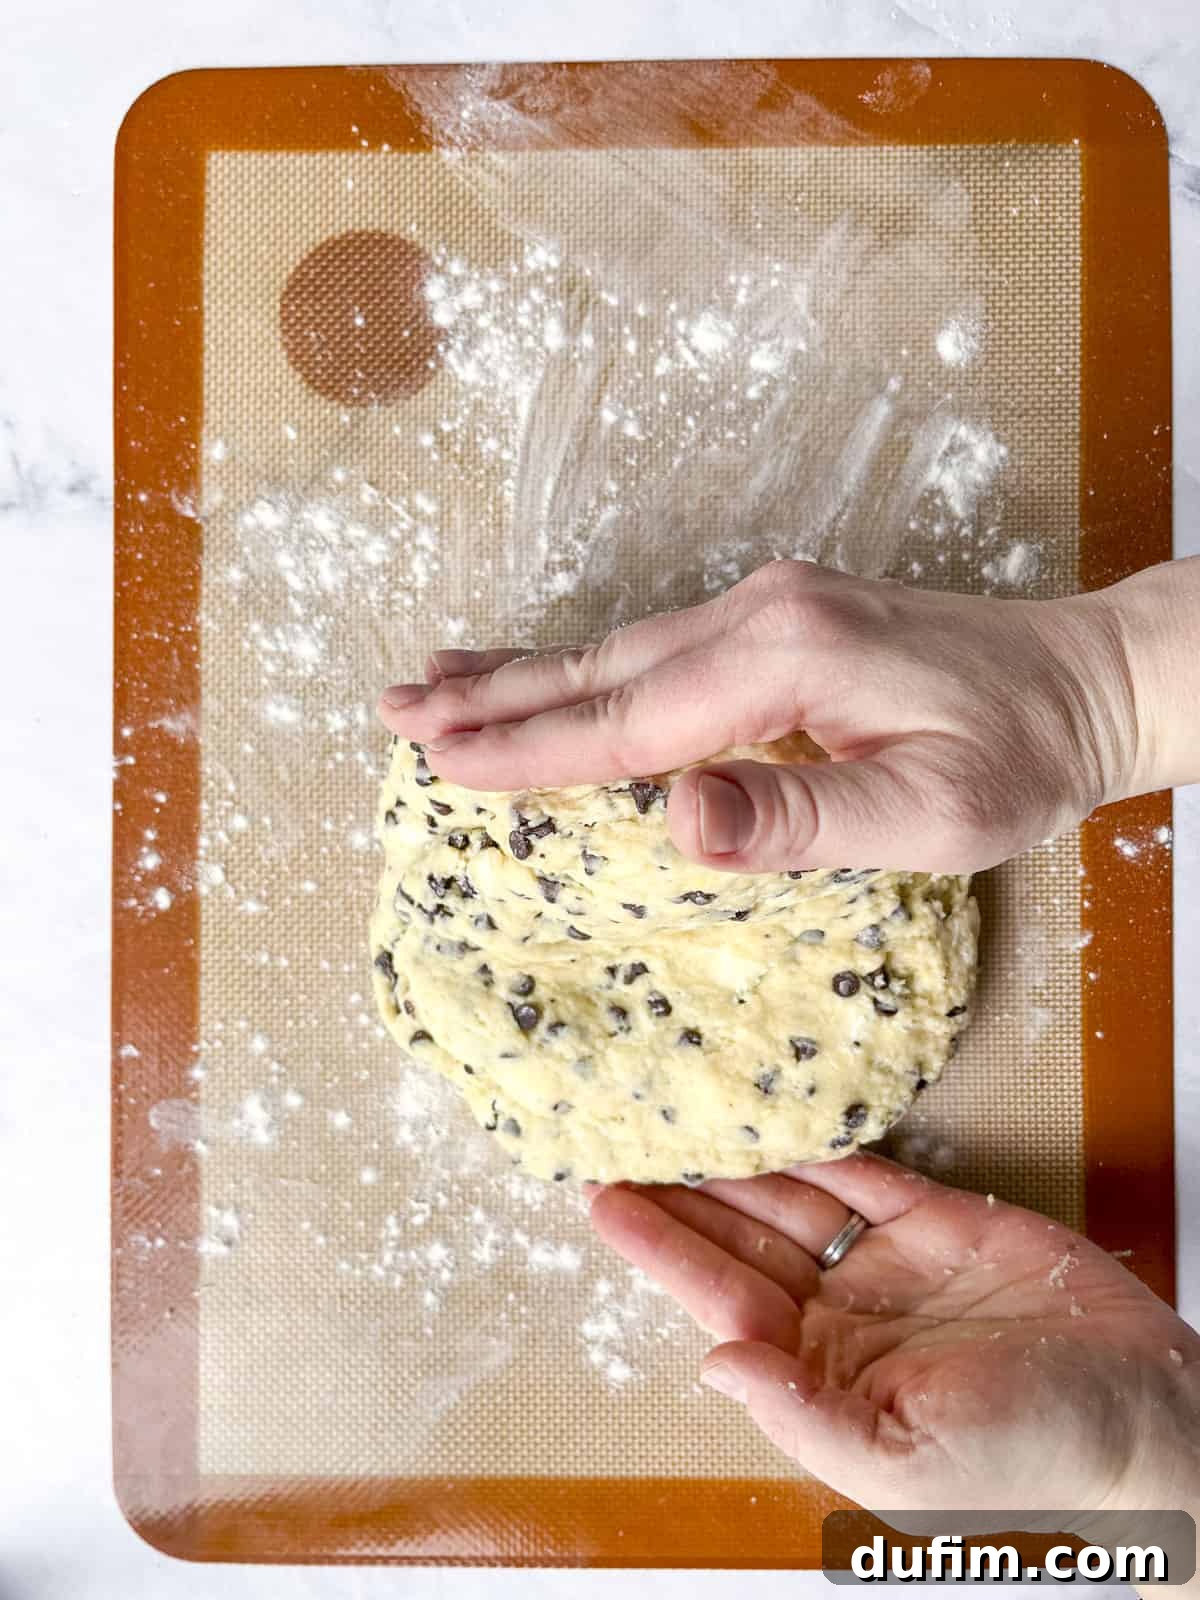
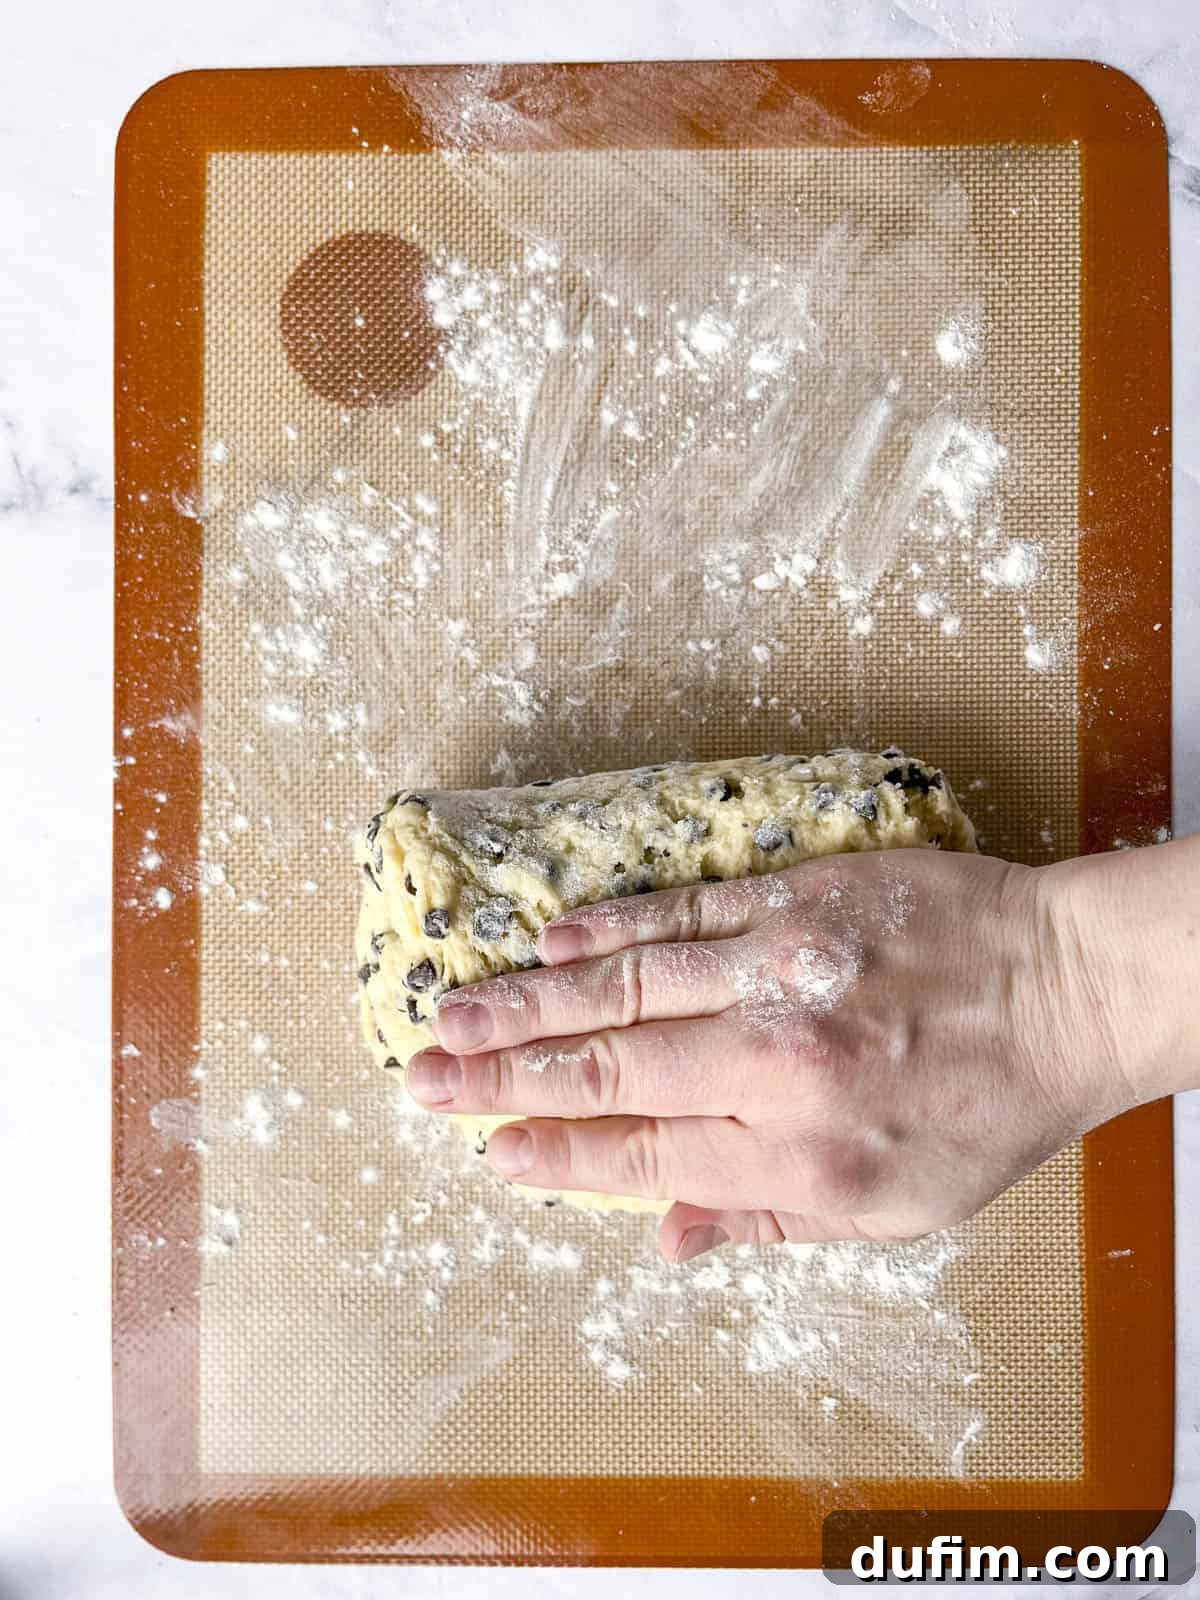
- Lamination: The Secret to Flaky Layers: This simple folding technique is crucial for creating those coveted tall, flaky layers. Fold the dough in half, gently press it down to seal slightly, then turn the dough 90 degrees. Fold it in half again. Repeat this folding and turning process 4-5 times. This action helps distribute the butter evenly and builds layers that will puff up in the oven.
- Chill the Dough for Optimal Structure: After lamination, gently shape the dough into a disc that is approximately 8-10 inches in diameter and about 1.5 to 2 inches thick. Transfer this disc to the refrigerator and chill for 5-10 minutes. This brief chill time helps the butter firm up again, making the dough easier to handle and ensuring the scones hold their shape during cutting.
- Cut Your Scones into Even Wedges: Once chilled, place the disc on a clean surface. Using a sharp knife or a pizza cutter, slice the dough into 8 equal wedges, just like cutting a pizza. This creates uniform scones that will bake evenly.
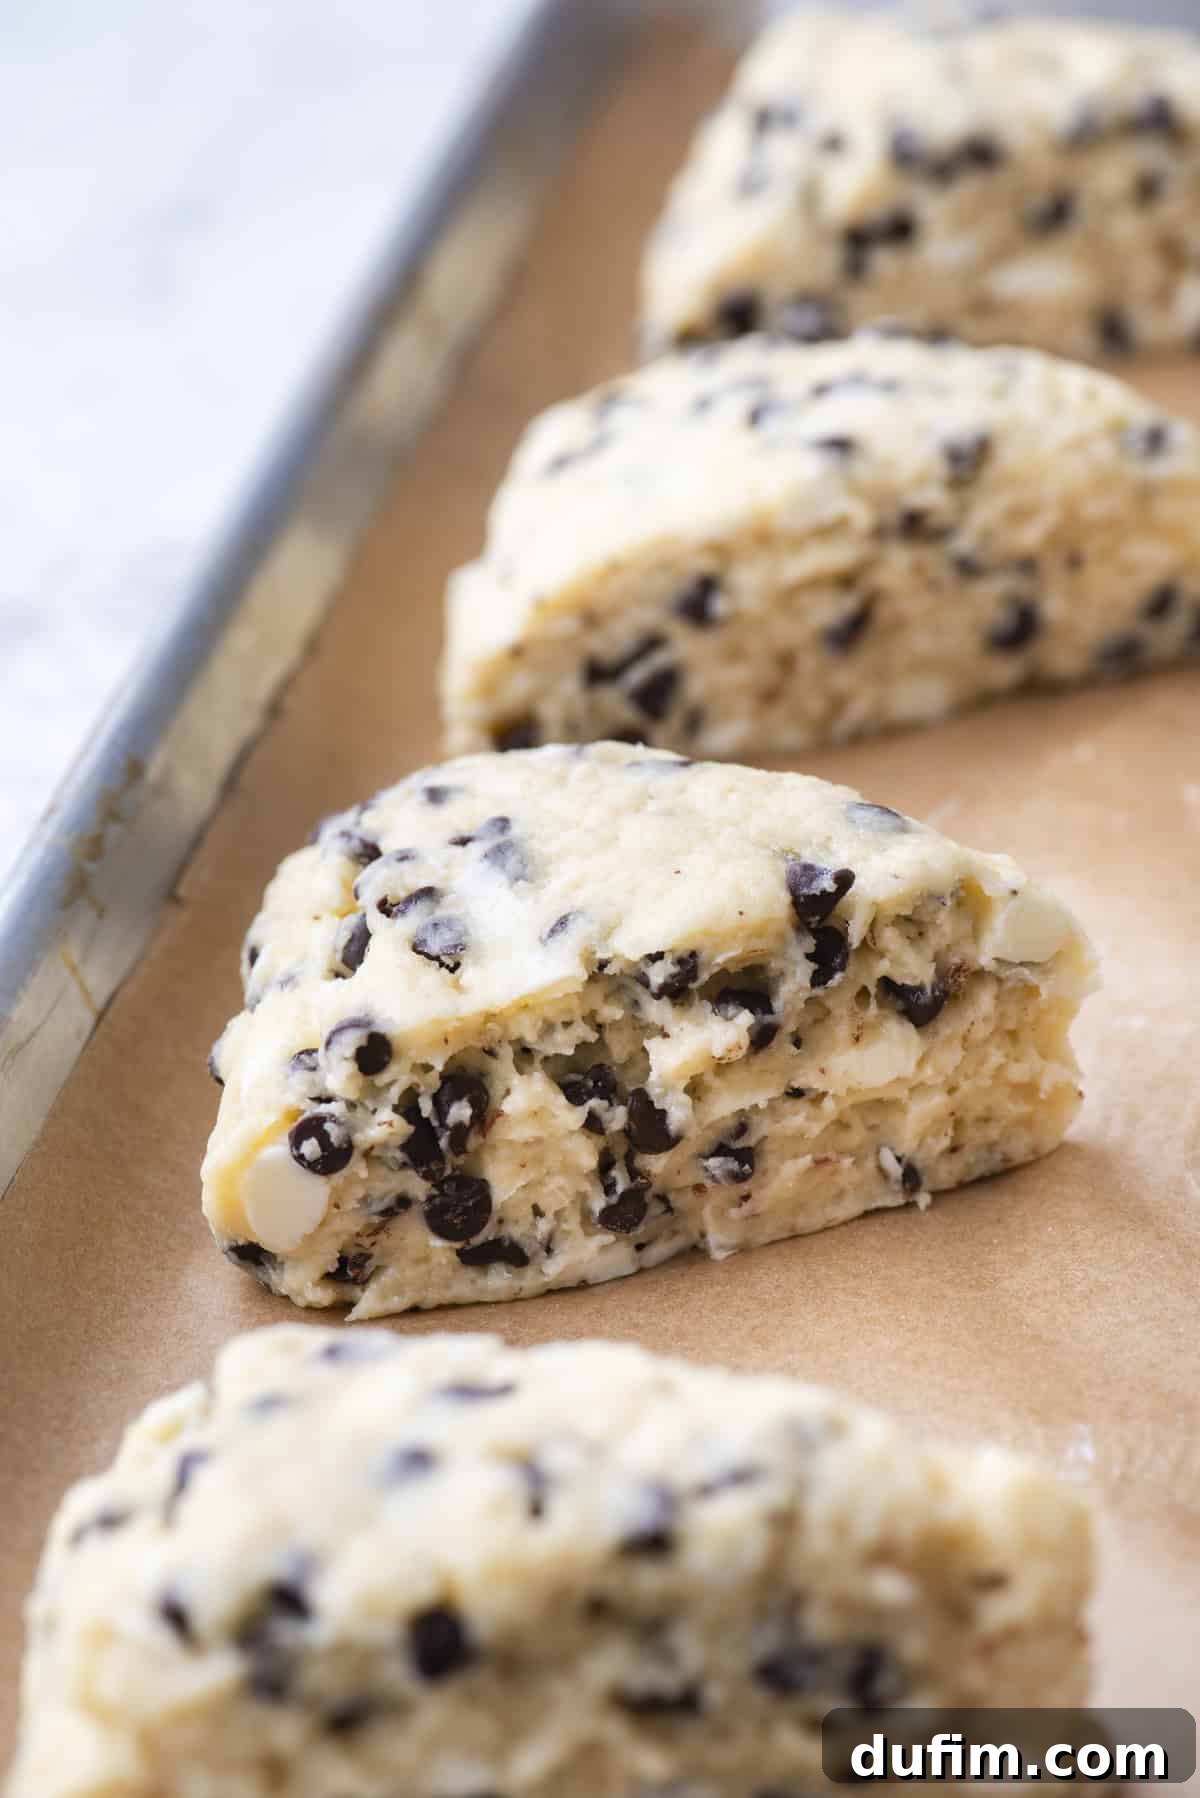
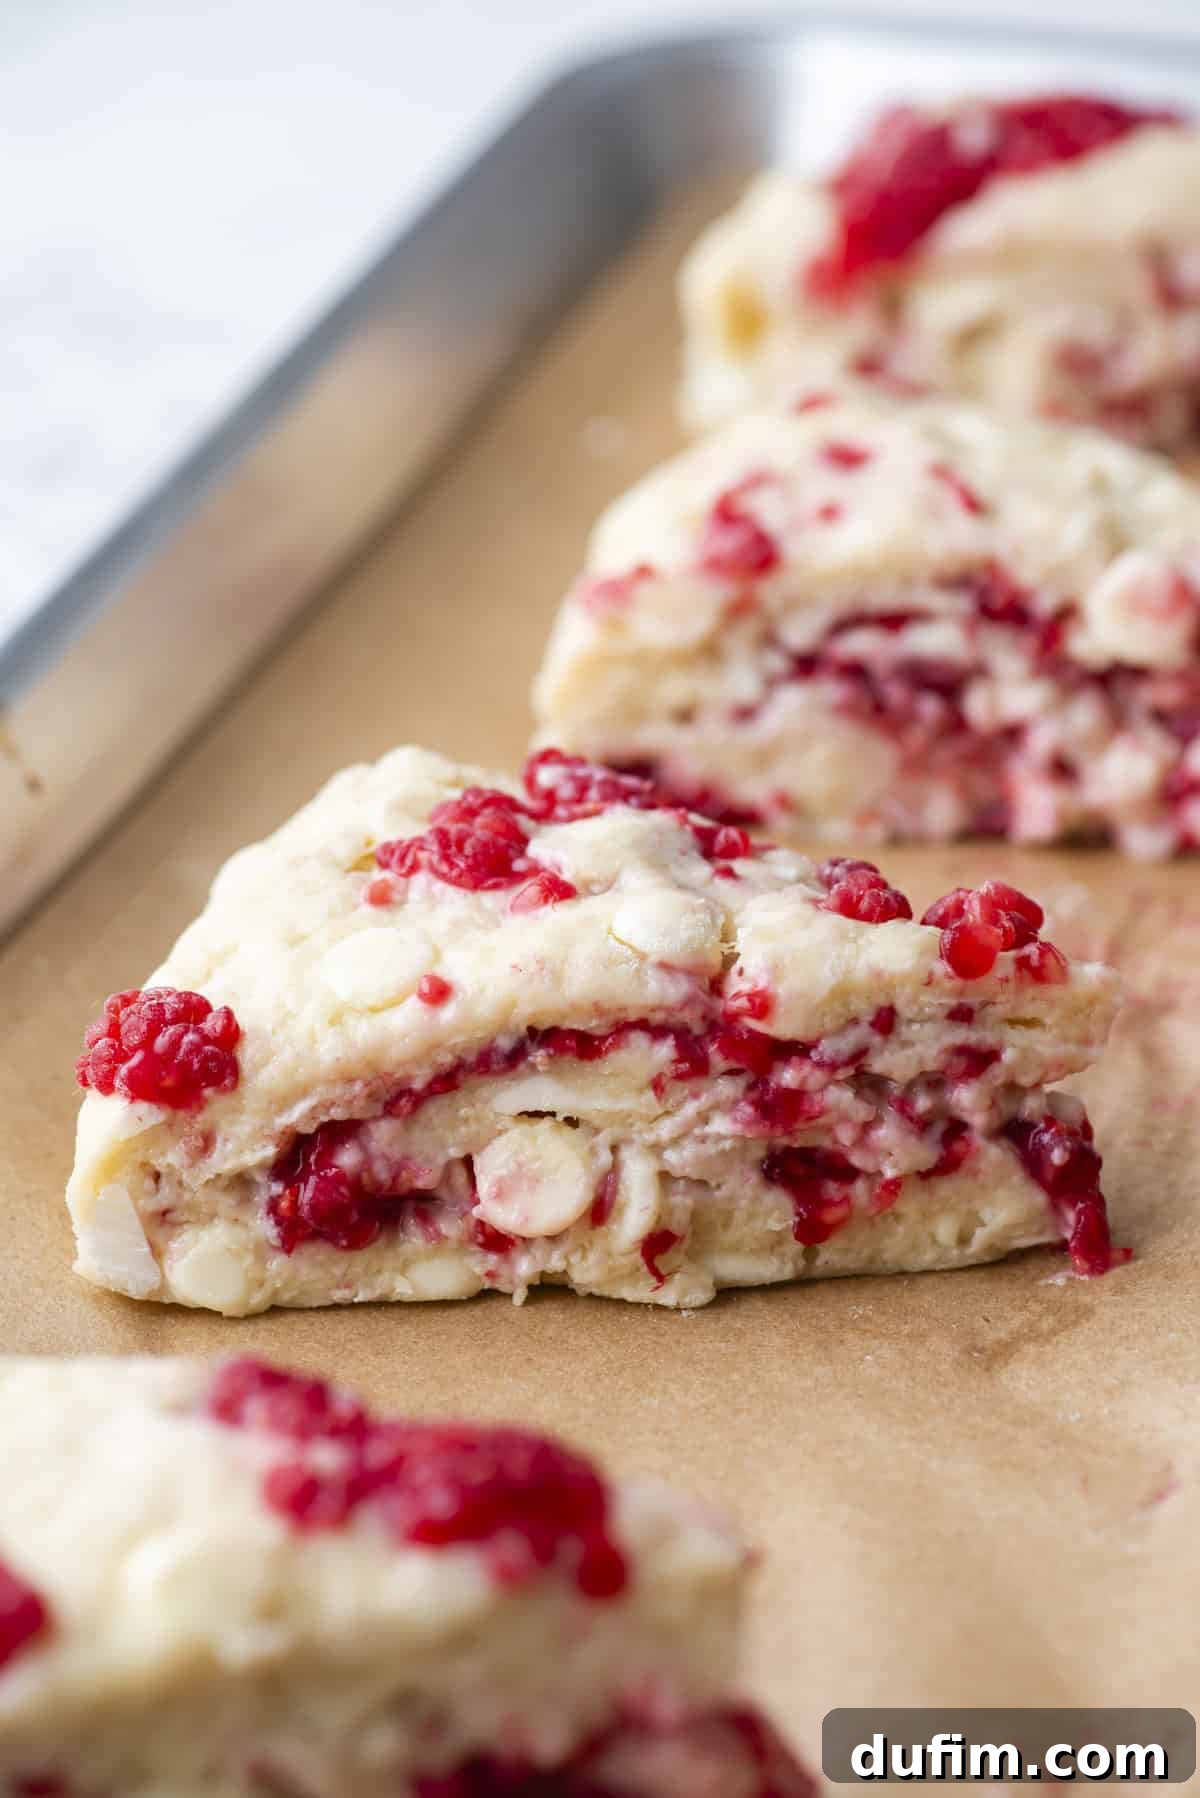
- Prepare for Baking: Carefully transfer the cut scone wedges onto a baking sheet that has been lined with a silicone mat or parchment paper. Ensure you space them at least 2-3 inches apart to allow for proper air circulation and expansion during baking.
- Freeze Before Baking: This step is non-negotiable for tall, flaky scones! Place the entire baking sheet with the scones into the freezer for 30 minutes. During the last 5 minutes of freezing, preheat your oven to 400ºF (200ºC). Freezing solidifies the butter, which then creates more steam when it hits the hot oven, resulting in a superior rise and flakiness.
- Apply Egg Wash and Sugar (Optional): Just before baking, gently brush the tops of your frozen scones with an egg wash (prepared by whisking 1 large egg with 1 tablespoon of water), buttermilk, or heavy cream. For an extra touch of sparkle and a delightfully crisp crust, sprinkle coarse sanding sugar over the tops, if desired.
- Bake to Golden Perfection: Bake the scones in the preheated oven for 20-26 minutes, or until their tops are beautifully golden brown and they feel firm to the touch. Remove from the oven and allow the scones to cool on the baking sheet for a few minutes before transferring them to a wire rack to cool completely. Cooling is important to allow the internal structure to set.
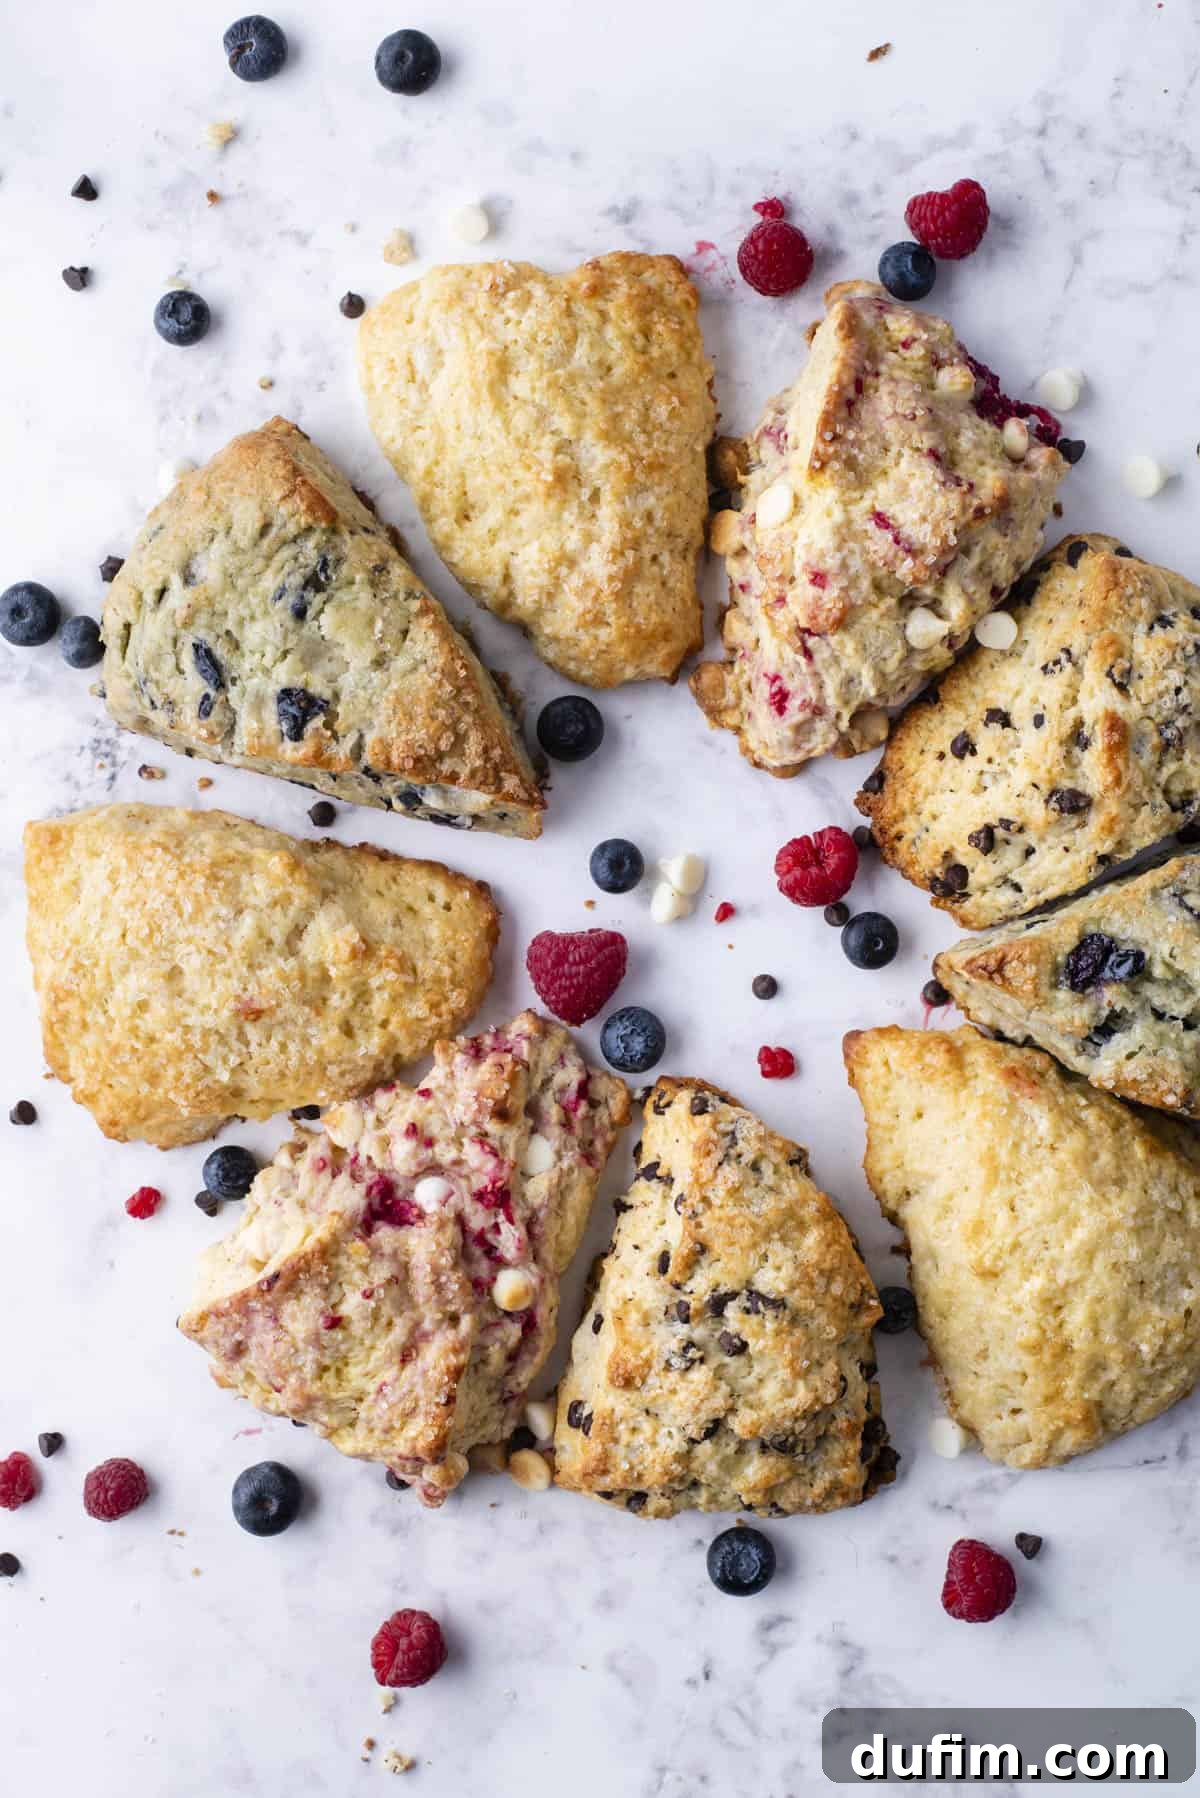
How To Make Tall, Flaky Gluten-Free Scones: The Power of Lamination
The secret to achieving those desirable tall, flaky gluten-free scones lies in a simple yet powerful technique called lamination. Lamination is the process of creating multiple layers of dough and butter, which then separate during baking to produce an incredibly light and airy texture.
Here’s how it works: When layers of cold butter are encased within layers of dough, and the scones are introduced to a hot oven, the butter quickly melts. As it melts, the water content in the butter rapidly turns into steam. This steam becomes trapped between the dough layers, forcing them apart and creating distinct, delicate flakes. This is what gives scones their signature height and tender, stratified interior.
The beauty of laminating scones is that it’s surprisingly easy and doesn’t require any special equipment or advanced pastry skills! Once your dough is mixed and gently kneaded, simply follow these steps: fold the dough in half, press it down lightly to flatten it slightly, then rotate the dough 90 degrees. Fold it in half again. Repeat this folding and turning motion 4 to 5 times. Each fold adds more layers, ensuring maximum flakiness in your final baked scone.
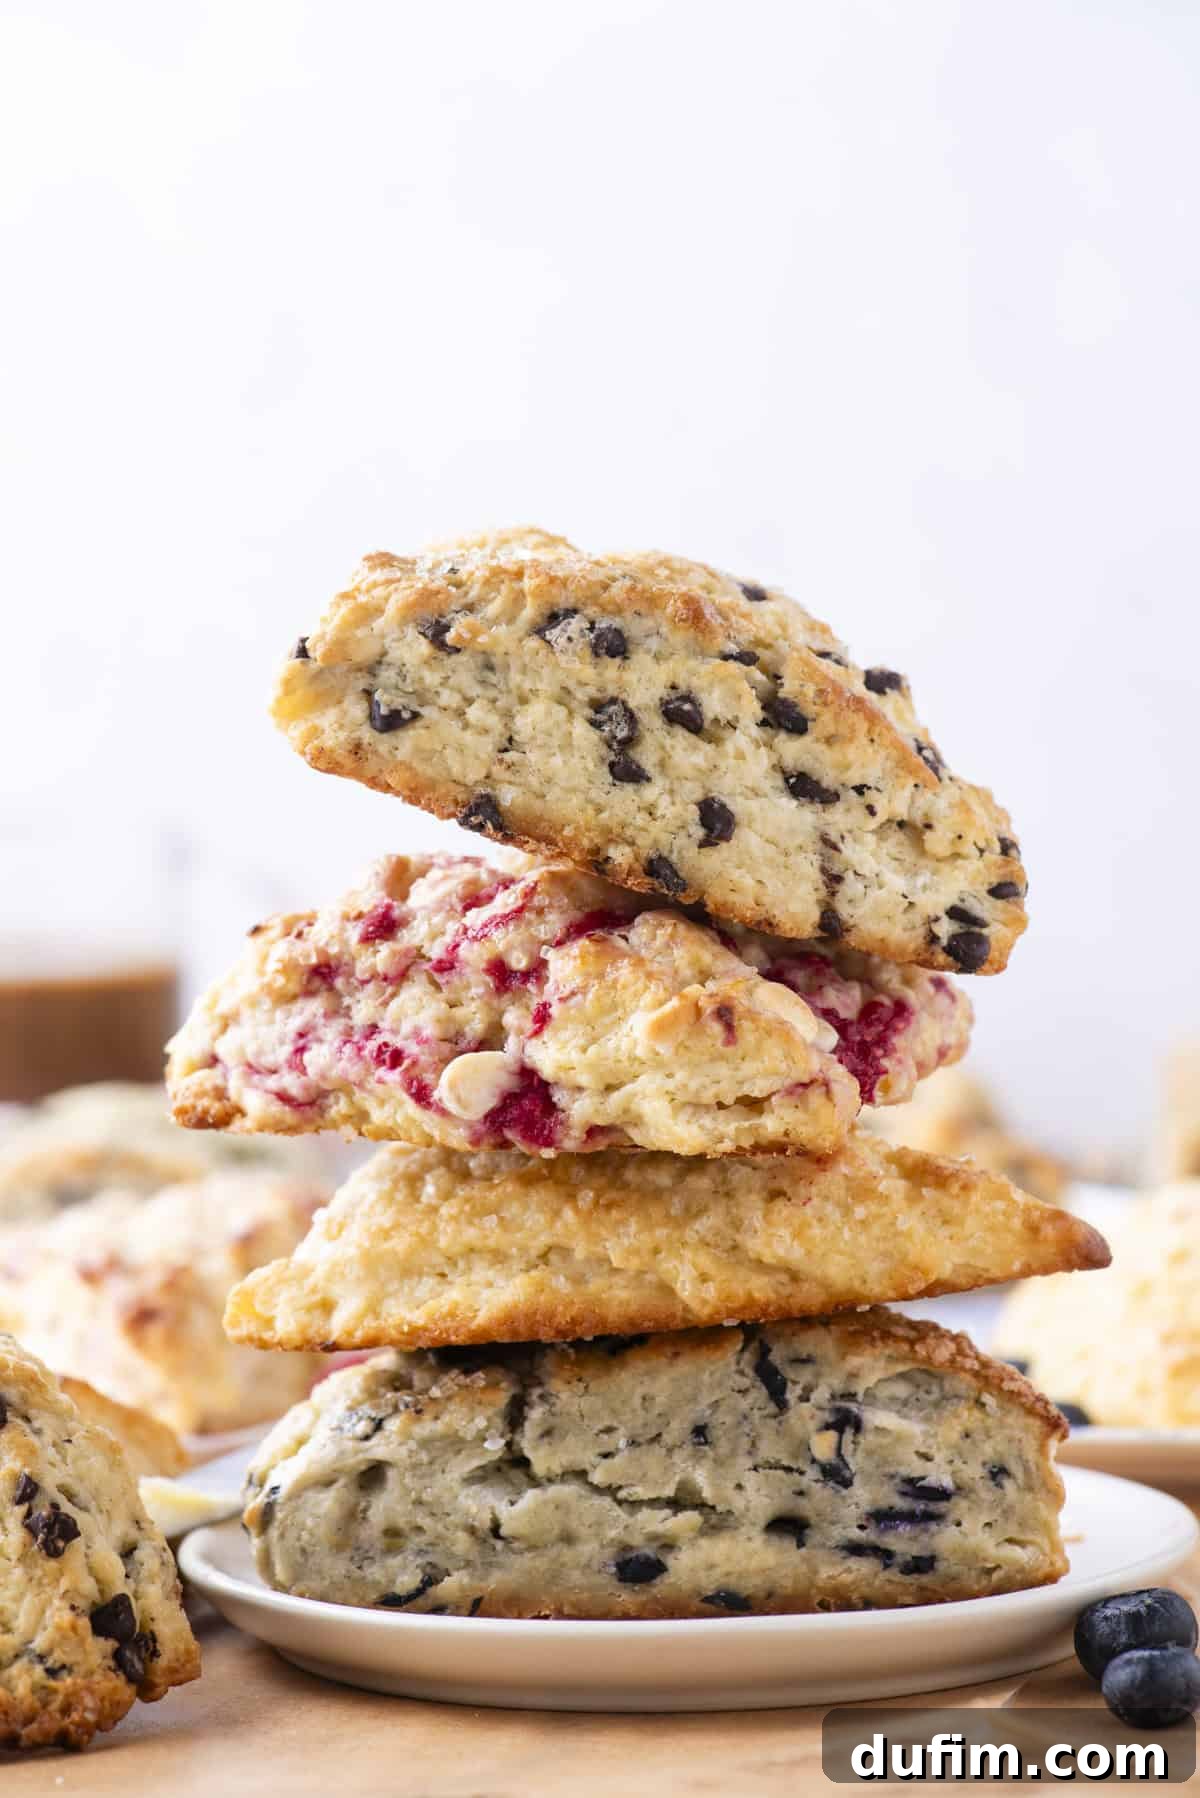
Expert Tips for Unforgettable Gluten-Free Scones
To ensure your gluten-free scones consistently turn out perfectly tall, flaky, and delicious, keep these expert tips in mind:
- Always Use Cold, Unsalted Butter: This is arguably the most crucial tip for flaky scones. Cold butter, cut into small cubes, ensures that the butter remains solid until it hits the hot oven. This controlled melting creates steam, which is essential for separating the dough layers and achieving that wonderful flakiness. If your butter starts to warm, pop it back in the freezer for a few minutes.
- Limit Fresh Fruit to 1 Cup Total: While fruit adds wonderful flavor and moisture, too much can quickly make your dough overly wet and cause your scones to spread excessively in the oven, resulting in flat, dense results. Stick to a maximum of 1 cup of fresh or frozen fruit per batch.
- Adjust Flour Based on Fruit Type: Different fruits have varying moisture levels. High-moisture fruits like raspberries or juicy blueberries require a bit more gluten-free flour to balance the dough’s consistency. Always follow the specific flour adjustments detailed in the recipe card depending on your chosen add-in to prevent sticky dough or flat scones.
- Don’t Skip Freezing Before Baking: This step is a game-changer for achieving tall, beautifully structured scones. Chilling (and specifically freezing) the cut scones for 30 minutes before baking serves multiple purposes: it firms up the butter, ensuring maximum steam production and flakiness; it prevents the butter from melting too quickly, which can lead to spreading; and it helps the scones maintain their shape during the initial blast of oven heat, resulting in a superior rise and delicate texture.
- Handle the Dough Gently: Gluten-free dough can be more delicate than traditional dough. Overworking it can lead to tough scones. Mix and knead just until the ingredients are combined and no dry streaks of flour remain.
How to Store Your Delicious Gluten-Free Scones
To keep your gluten-free scones tasting their best, proper storage is key. Always allow your scones to cool completely to room temperature before storing them. Sealing warm scones will trap moisture, leading to a soggy texture and potentially a shorter shelf life.
Once fully cooled, place your scones in an airtight container or a re-sealable zip-top bag. Store them at room temperature in a cool, dry place for up to 1-2 days. It’s best to skip the refrigerator, as the cold, dry air can quickly dry out scones, making them stale and hard.
For longer enjoyment, these gluten-free scones freeze beautifully! Simply transfer the cooled scones to a freezer-safe bag or airtight container and store them in the freezer for up to one month. When you’re ready to indulge, just take them out and let them thaw at room temperature. For a truly fresh-baked experience, you can warm them briefly in a toaster oven or microwave after thawing.
Explore More Scone Recipes
If you’ve enjoyed mastering these gluten-free scones, you might also like to try some of these other delicious scone recipes from our collection:
- Blueberry Buttermilk Scones
- Chocolate Chip Buttermilk Scones
- Lemon Scones
Tap stars to rate!
Gluten Free Scones Recipe
Beth
10
30
40
8 scones
Ingredients
Plain Scones (Base Recipe)
- 2 ¼ cups (270g) gluten-free measure for measure flour, I used King Arthur’s Gluten-Free Measure for Measure Flour
- ½ cup (99g) granulated sugar
- 1 Tbsp baking powder
- ½ tsp salt
- ½ cup (113g) cold unsalted butter, cubed
- ½ cup (118ml) buttermilk
- 1 tsp vanilla extract
- 1 large egg
Optional Add-ins (Choose ONE, adjust flour as specified in step 1 of instructions)
For Chocolate Chip Scones:
- 1 cup (170g) chocolate chips, I used mini chocolate chips in the photos
For Raspberry White Chocolate Chip Scones:
- 1 cup (120g) fresh raspberries, broken into pieces and frozen
- 1 cup (170g) white chocolate chips
For Blueberry Scones:
- 1 cup (150g) blueberries
For Strawberry Scones:
- 1 cup (167g) strawberries, chopped
For Lemon Scones:
- 1 Tbsp lemon zest
- 1 Tbsp lemon juice, freshly squeezed
For Cranberry Orange Scones:
- 1 cup (99g) fresh or frozen cranberries, or dried cranberries, do not thaw frozen cranberries
- 1 Tbsp orange juice, freshly squeezed
Instructions
- Flour Ratio Adjustment for Add-ins: Use 2 ¼ cups (270g) gluten-free flour for plain or chocolate chip scones. For raspberry scones, add an additional ¾ cup (90g) of gluten-free flour for a total of 3 cups (360g). For blueberry, strawberry, lemon, or cranberry orange scones, add an additional ¼ cup (30g) of gluten-free flour for a total of 2 ½ cups (300g). Fresh fruit introduces significant moisture, necessitating more flour for proper dough structure.
- In a large mixing bowl, combine the flour, granulated sugar, baking powder, and salt. Add the cold, cubed butter and use your hands or a pastry cutter to cut in the butter until pea-sized amounts remain.
- Create a well in the center of the flour mixture. Add the buttermilk, vanilla extract, and egg. Use a spatula to gently combine until the dough is thick and sticky.
- Gently stir in your chosen mix-in (if using): 1 cup chocolate chips OR 1 cup fresh raspberries (broken into pieces and frozen) OR 1 cup blueberries OR 1 cup chopped strawberries OR 1 Tbsp lemon zest plus 1 Tbsp freshly squeezed lemon juice OR 1 cup fresh, frozen (do not thaw), or dried cranberries plus 1 Tbsp freshly squeezed orange juice.
- On a silicone mat or kitchen counter, gently knead the dough until all the flour is incorporated. Add 1-2 additional tablespoons of flour if the dough is too sticky.
- Lamination: Fold the dough in half, press it down slightly, then turn the dough 90 degrees and fold in half again. Repeat this folding and turning process 4-5 times to create flaky layers.
- Shape the dough into an 8-10 inch disc, about 1.5 to 2 inches tall. Refrigerate the scone disc for 5-10 minutes.
- Use a sharp knife or pizza cutter to cut the scone disc into 8 equal wedges.
- Place the scones 2-3 inches apart on a baking sheet lined with a silicone mat or parchment paper.
- Freeze the scones for 30 minutes. During the last 5 minutes of freezing, preheat your oven to 400ºF (200ºC).
- Brush the tops of the scones with an egg wash (1 large egg + 1 Tbsp water), buttermilk, or heavy cream. Sprinkle with coarse sanding sugar if desired.
- Bake for 20-26 minutes, or until the scones are lightly golden brown. Allow them to cool fully before serving.