
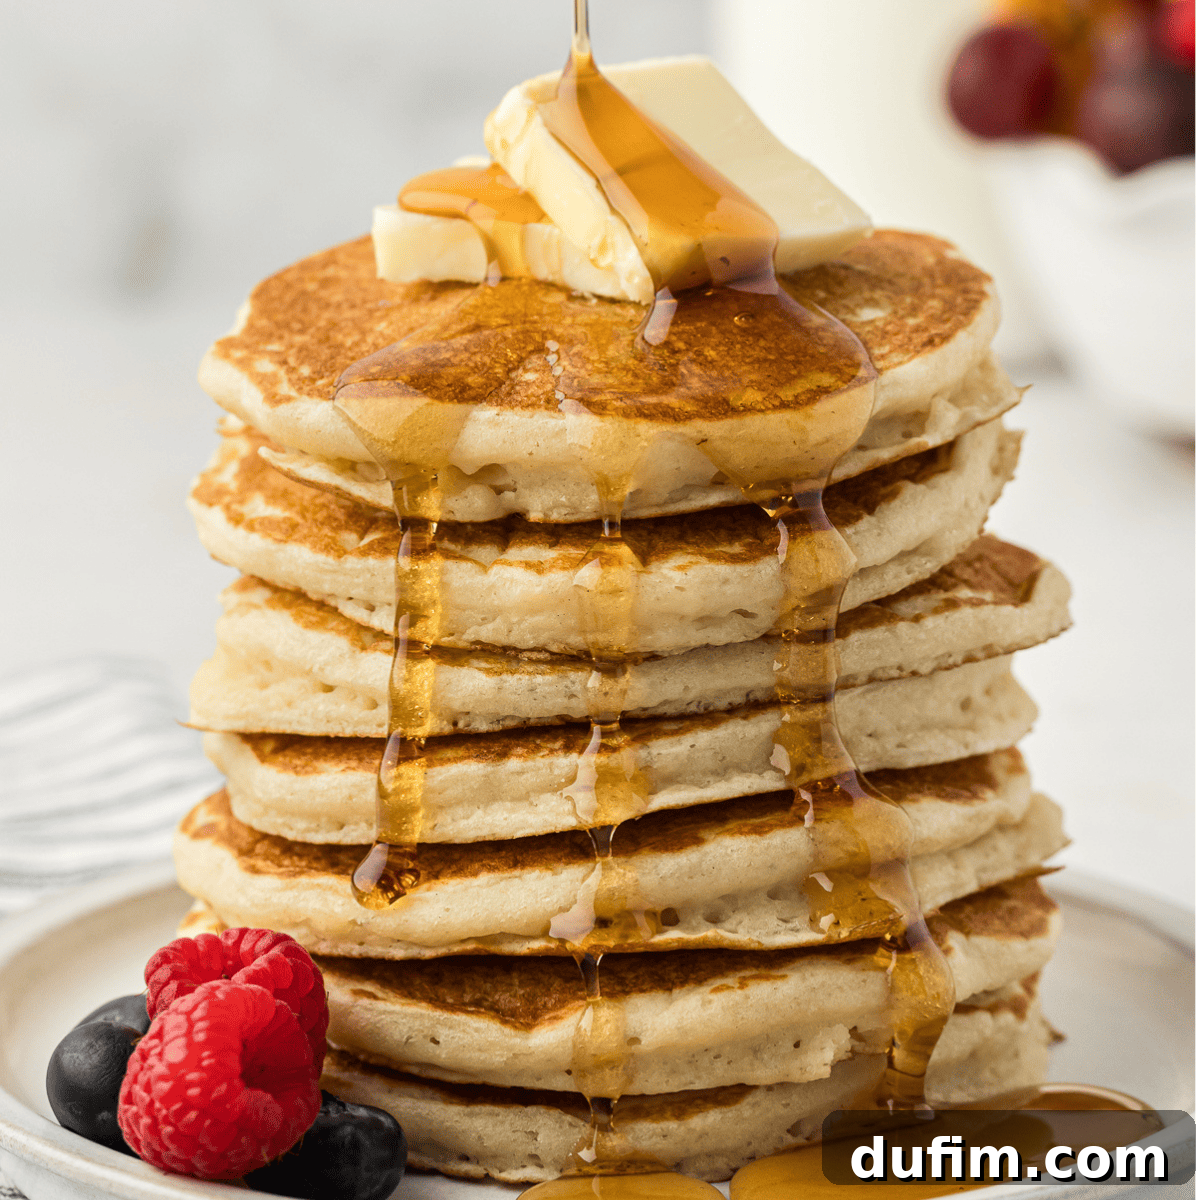
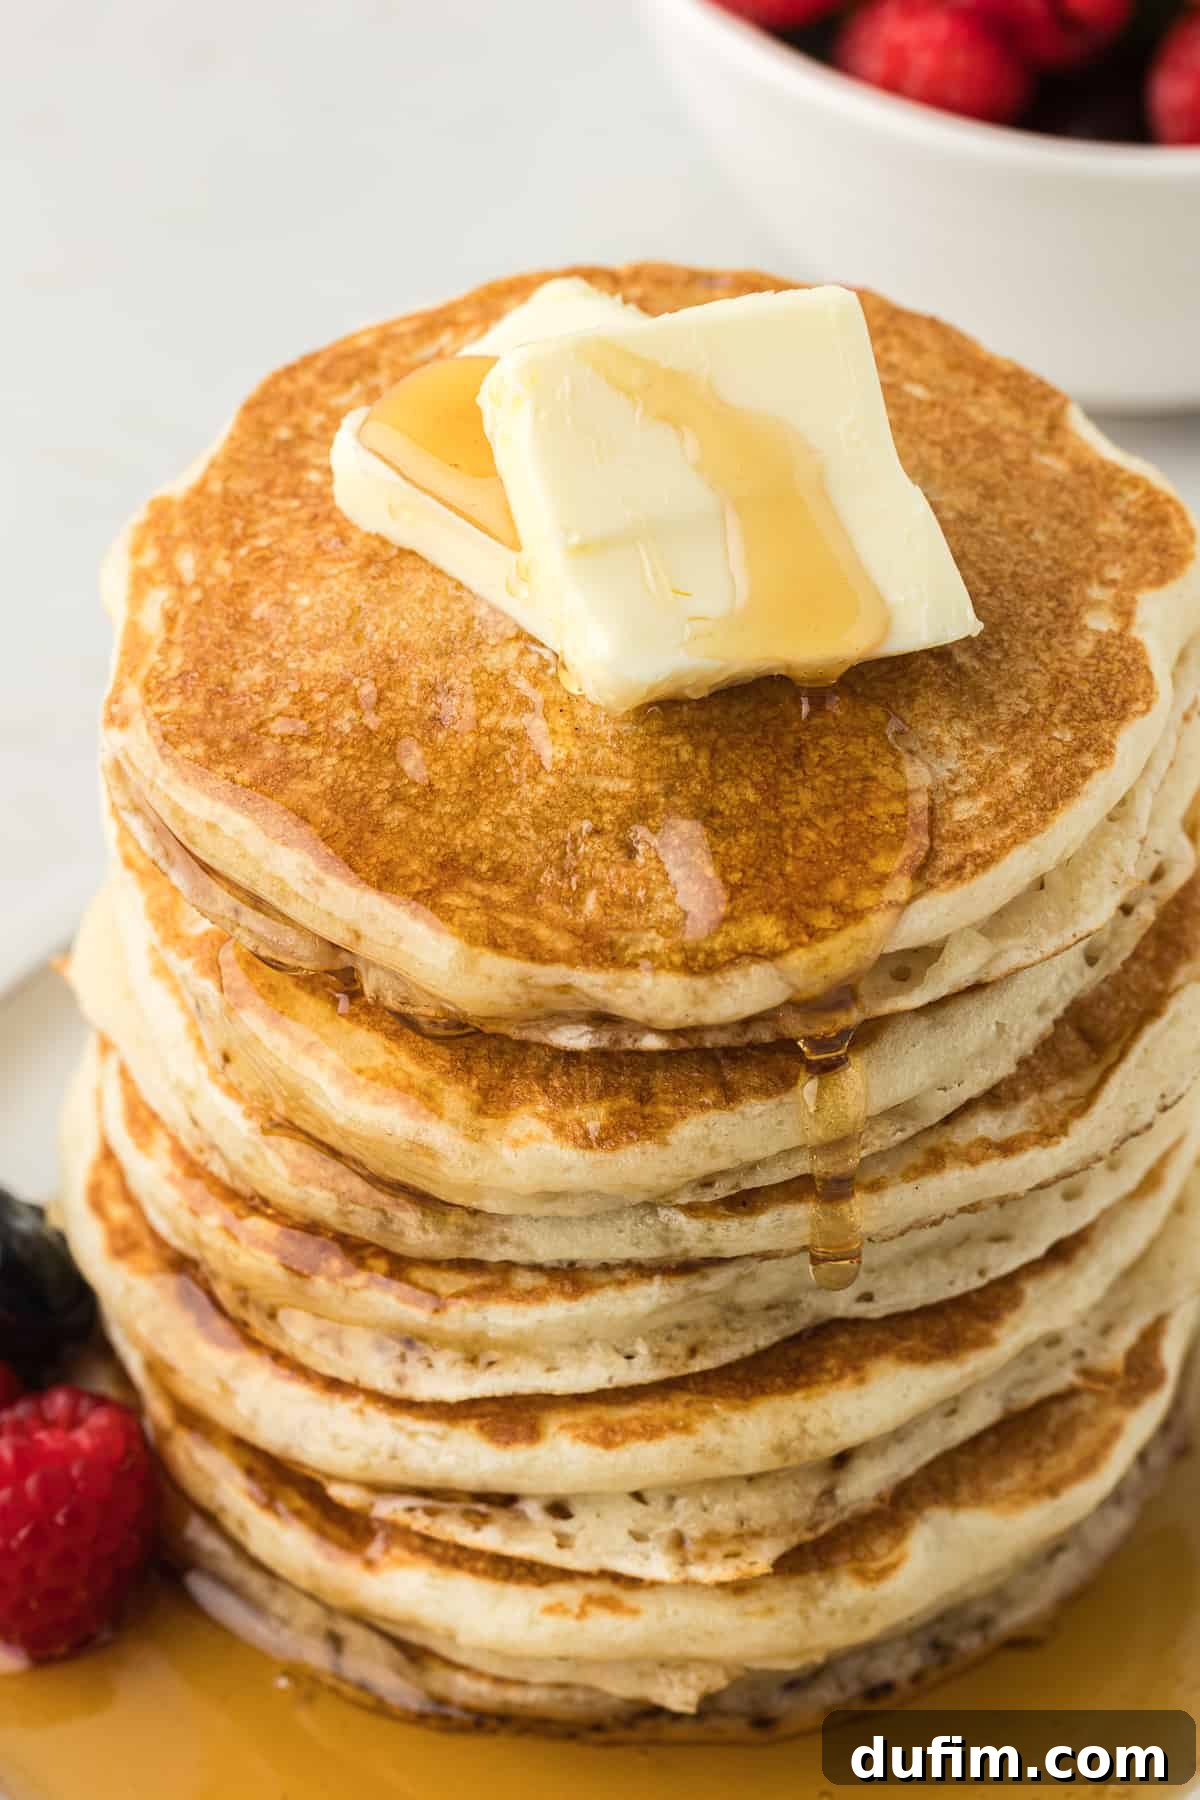
Forget everything you thought you knew about pancake making. This isn’t just another buttermilk pancake recipe; it’s the culmination of countless hours spent tweaking, testing, and perfecting the art of the ultimate fluffy homemade buttermilk pancake. From the precise ingredient ratios to the exact duration for resting the batter, every detail has been meticulously refined. And now, I’m thrilled to share these hard-won secrets with you, empowering you to create perfect, restaurant-quality pancakes on your very first attempt.
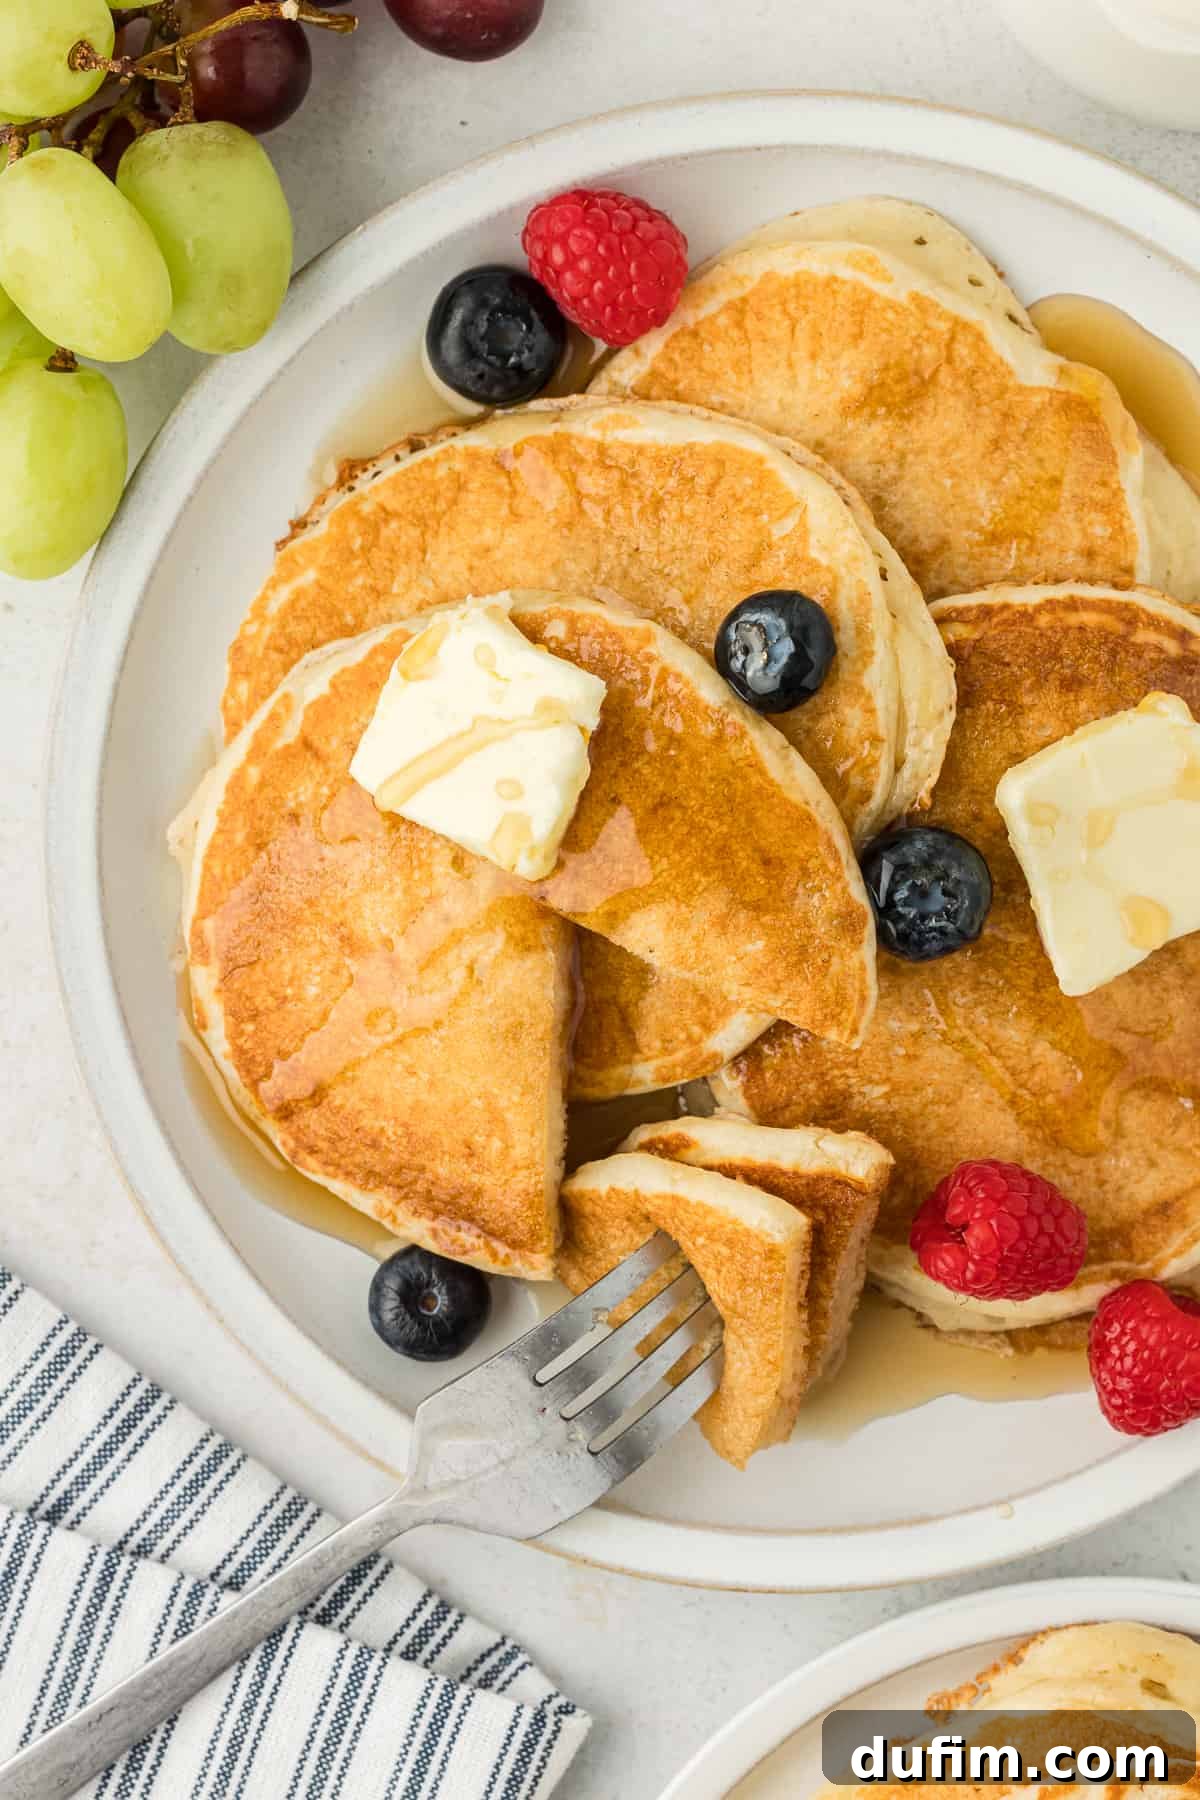
Perfect pancakes! The lightest & fluffiest pancakes I’ve ever made. We will be keeping this recipe around to use again & again!
-Leah
Experience the Best Fluffy Buttermilk Pancakes from Scratch
Are you tired of flat, rubbery, or utterly flavorless pancakes? It’s time to elevate your breakfast game with these incredible homemade buttermilk pancakes. Crafted with premium ingredients and a touch of culinary science, this recipe promises pancakes that are not just fluffy and moist, but bursting with a subtle tang that sets them apart. We’re unlocking the secrets to pancake perfection, including the exact, often overlooked, batter resting time (detailed in our essential tips below) that guarantees that ethereal light and airy texture.
If your mornings have been defined by the convenience of store-bought pancake mix, prepare for a revelation. This straightforward, easy-to-follow recipe will transport your taste buds straight to fluffy pancake heaven, quickly becoming a cherished family favorite. Beyond just mixing and flipping, we’ll dive deep into the nuances that make these the best buttermilk pancakes you’ll ever taste. Keep reading to uncover my ultimate tips for achieving flawless pancakes, discover creative topping ideas, and much more!
Essential Ingredients for Fluffy Buttermilk Pancakes
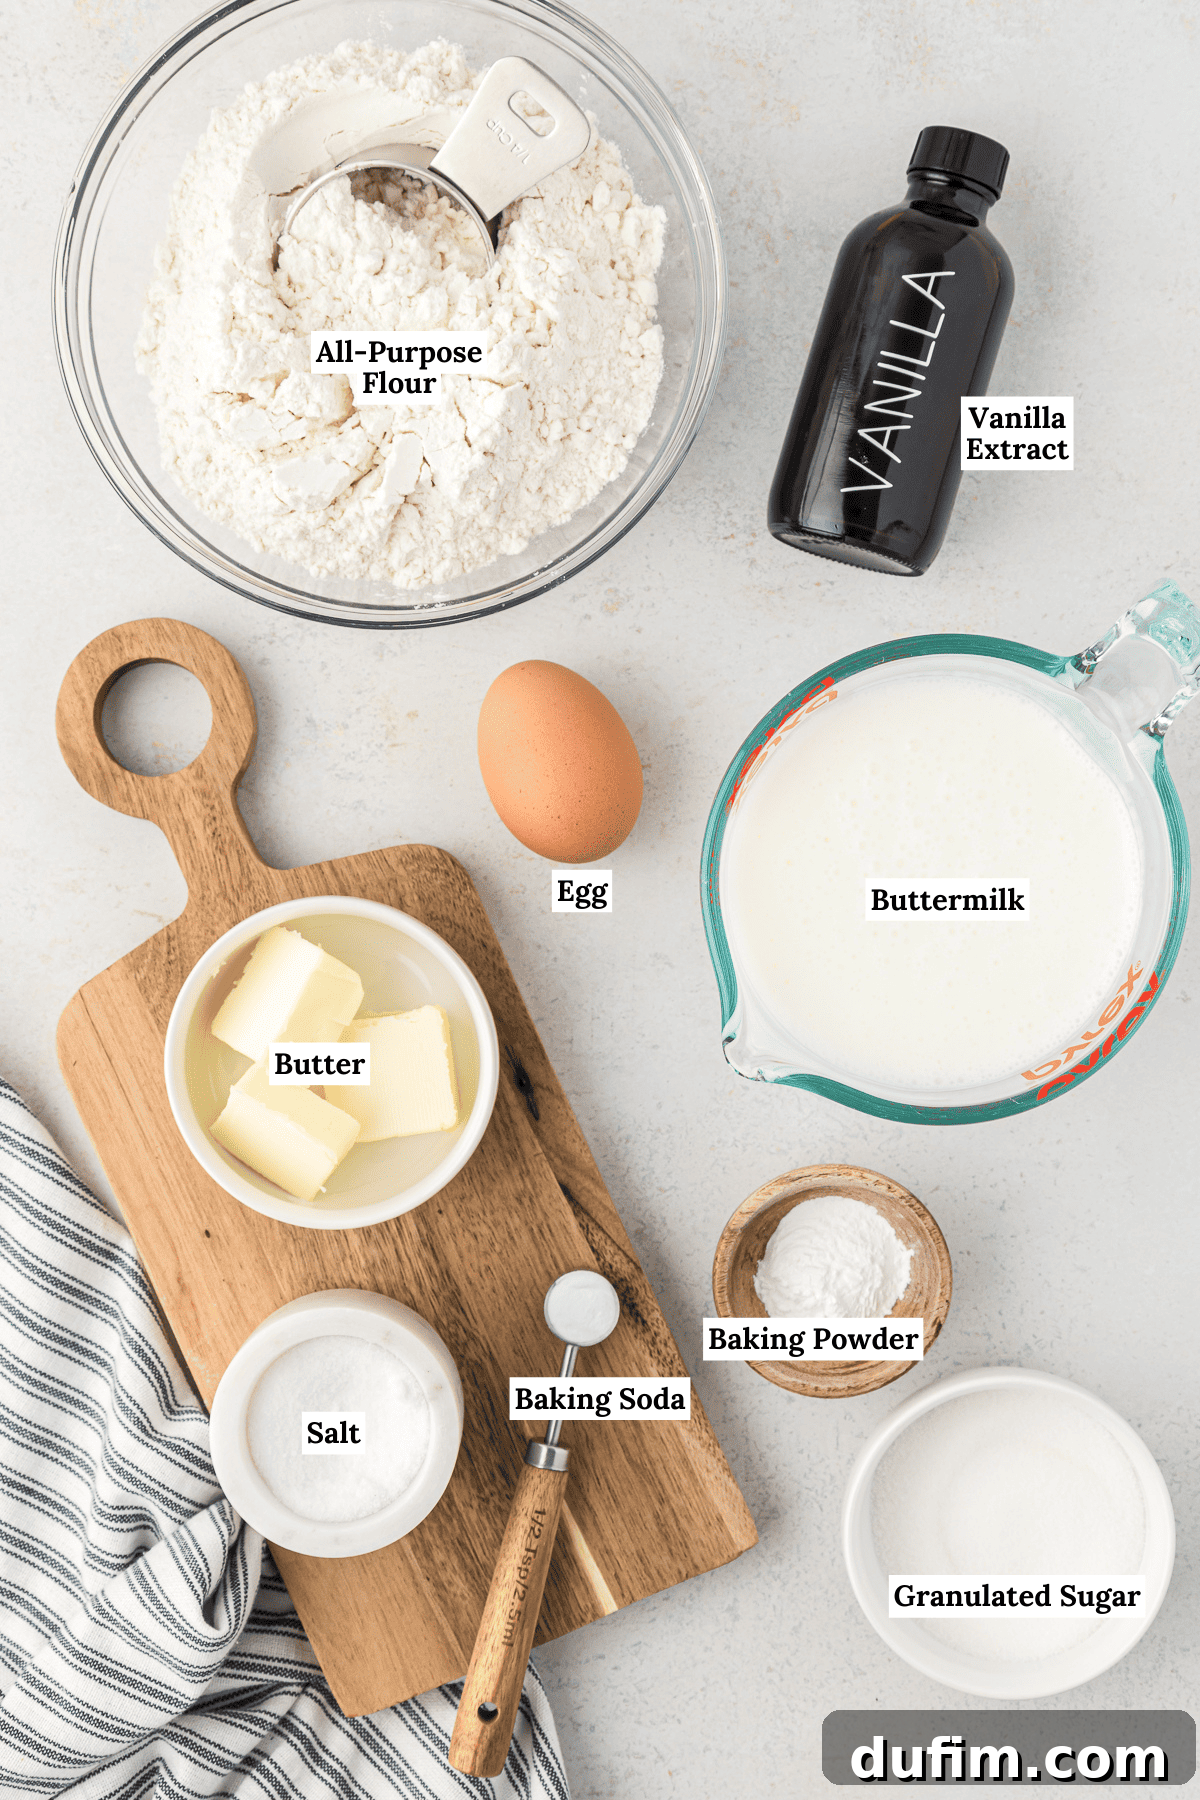
Crafting these classic, irresistible buttermilk pancakes requires a handful of simple, readily available ingredients. The magic happens when these components come together in just the right way. You’ll find the complete recipe with precise measurements and detailed instructions in the dedicated recipe card further down the page. Here’s a closer look at what you’ll need and why each element is crucial:
- All-purpose flour: The fundamental building block, providing the primary structure for your pancakes.
- Granulated sugar: Adds a touch of sweetness, balances the tang of buttermilk, and contributes to that beautiful golden-brown crust.
- Baking powder: A primary leavening agent that reacts with the liquid in the batter, creating carbon dioxide bubbles for lift and fluffiness.
- Baking soda: The secondary leavening agent, crucial for reacting with the acidity of the buttermilk. This acid-base reaction produces even more gas, resulting in extra airy pancakes.
- Salt: A flavor enhancer that brings out the best in all the other ingredients, preventing the pancakes from tasting bland.
- Buttermilk: The star ingredient! Its acidity reacts with baking soda for superior rise and contributes to a tender crumb and distinct, slightly tangy flavor.
- Unsalted butter: Melted and cooled, butter adds rich flavor and moisture, making the pancakes incredibly tender. Using unsalted butter gives you control over the overall saltiness.
- Large egg: Acts as a binder, adds richness, and contributes to the overall structure and moisture content of the pancakes.
- Vanilla extract: While not listed in the initial outline, vanilla extract is vital for a depth of flavor, adding a warm, aromatic note that complements the other ingredients beautifully.
Step-by-Step Guide: How to Make Fluffy Buttermilk Pancakes From Scratch
You might be surprised at how simple it is to achieve truly amazing homemade buttermilk pancakes. Forget any intimidation; with these foolproof steps, you’ll be upgrading your breakfast routine in no time. Follow these instructions carefully to ensure light, fluffy, and perfectly cooked pancakes every time:
- Prepare your cooking surface. Begin by heating your griddle or a non-stick pan over medium-high heat. If you’re using an electric griddle, aim for a temperature of 350°F (175°C). Ensuring your cooking surface is at the correct temperature from the start is crucial for even cooking and a beautiful golden crust.
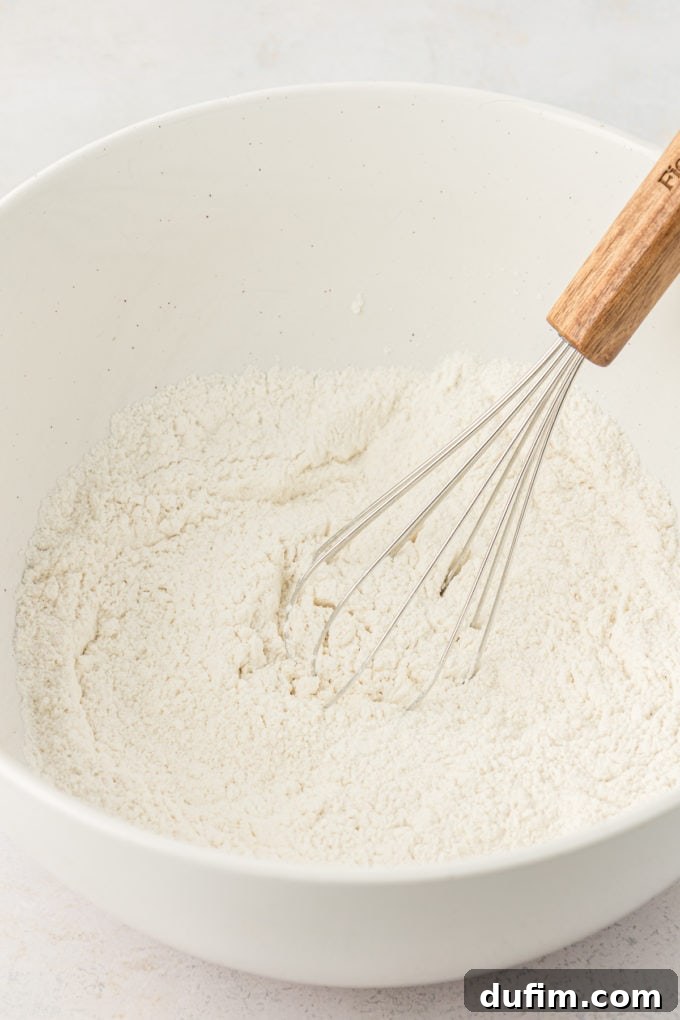
- Combine dry ingredients. In a large mixing bowl, thoroughly whisk together the all-purpose flour, granulated sugar, baking powder, baking soda, and salt. Whisking these dry ingredients together ensures that the leavening agents (baking powder and baking soda) are evenly distributed throughout the flour, which is essential for uniform rise and consistent fluffiness in every pancake.
- Mix wet ingredients separately. In a separate, medium-sized bowl, whisk together the buttermilk, the melted and *cooled* unsalted butter, the large egg, and the vanilla extract. It’s important for the butter to be cooled to avoid prematurely cooking the egg when combined, which could affect the batter’s texture.
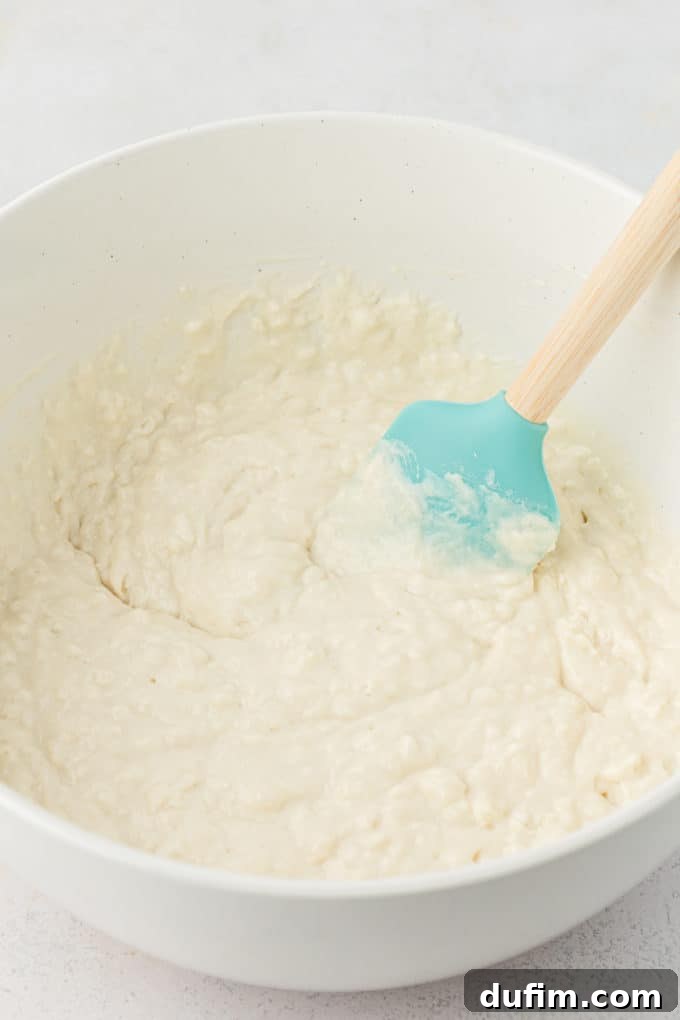
- Gently combine wet and dry ingredients. Pour the wet ingredient mixture into the bowl containing your dry ingredients. Using a spatula or wooden spoon, gently stir until just combined. The key here is to avoid overmixing at all costs. A few lumps in the batter are perfectly normal and even desirable; overmixing develops the gluten in the flour, leading to tough, chewy pancakes instead of light and airy ones. Stir only until no dry streaks of flour remain.
- Rest the batter (a crucial step!). Allow your pancake batter to rest undisturbed for approximately 10 minutes. This resting period is a game-changer for achieving truly fluffy pancakes. It allows the gluten to relax (further preventing toughness), gives the flour time to fully hydrate, and permits the leavening agents to begin their work, producing tiny bubbles that translate into extra rise and a tender texture during cooking. We’ll delve deeper into the science behind this in our tips section.
- Lightly grease the cooking surface. After the batter has rested, lightly grease your heated griddle or pan with a small amount of butter or non-stick cooking spray. A light coating is key; too much grease can make the pancakes unevenly browned or greasy.
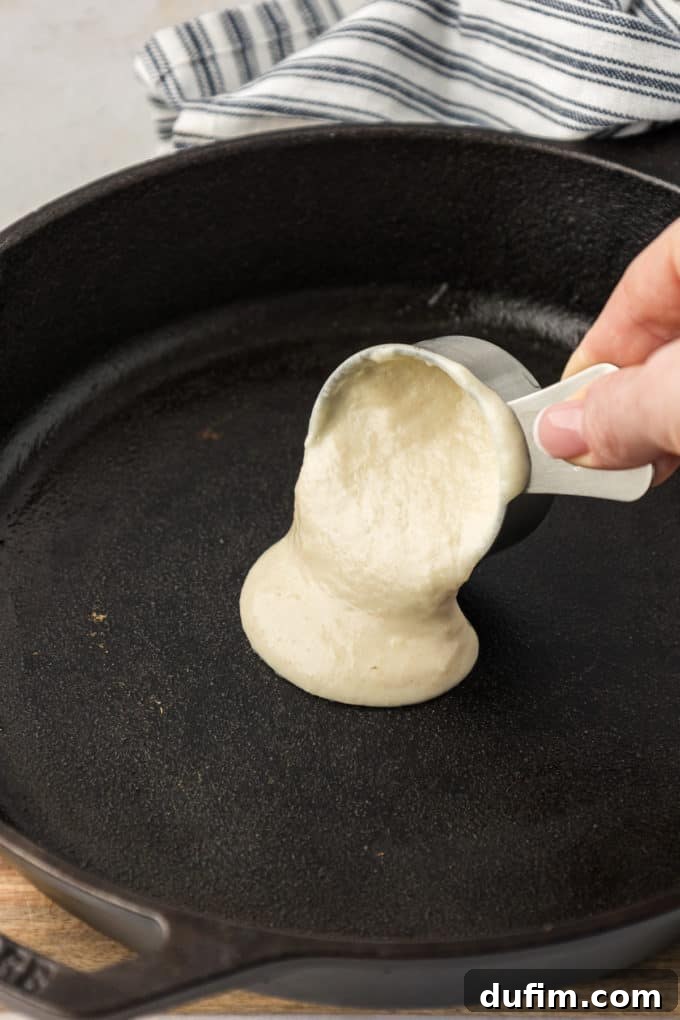
- Begin cooking your pancakes. For each pancake, pour approximately 1/4 cup of batter onto the preheated and lightly greased griddle. For perfectly round pancakes, you can gently use the back of a spoon to spread the batter slightly if needed, but often the batter will spread naturally.
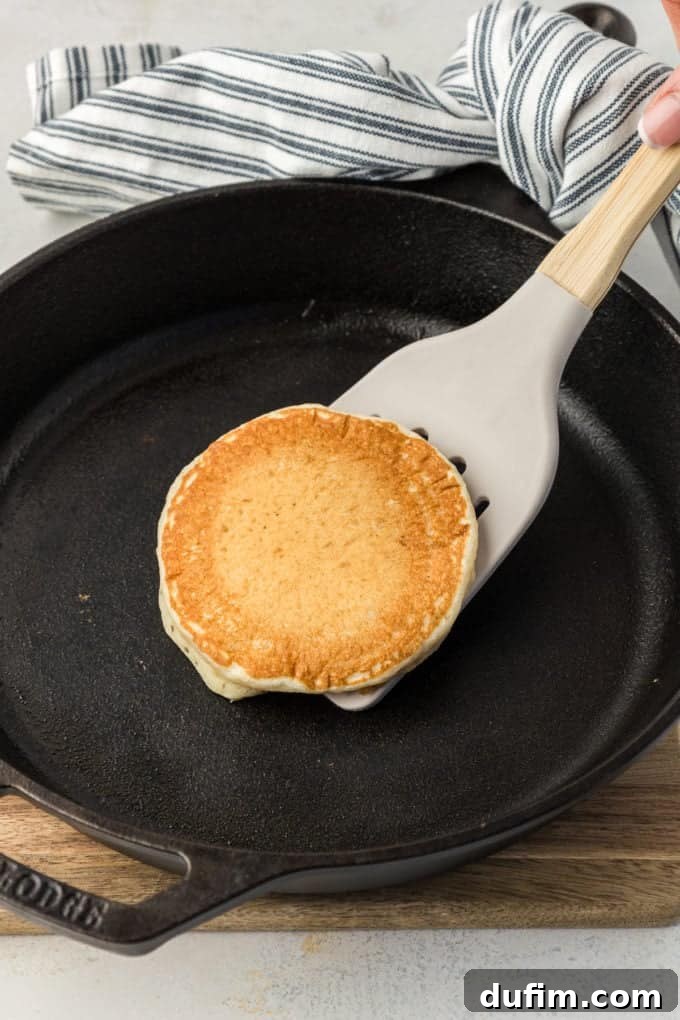
- Flip and finish cooking. Cook the pancakes until you see numerous bubbles forming on the surface and the edges begin to look set and slightly dry, typically about 3-4 minutes. This is your cue! With a spatula, carefully flip the pancakes and cook the other side until it’s also beautifully golden brown, usually another 2-3 minutes. Remove the finished pancakes from the griddle and keep them warm (on a plate covered with foil or in a low oven) while you cook the remaining batter. Repeat this process until all the batter is used.
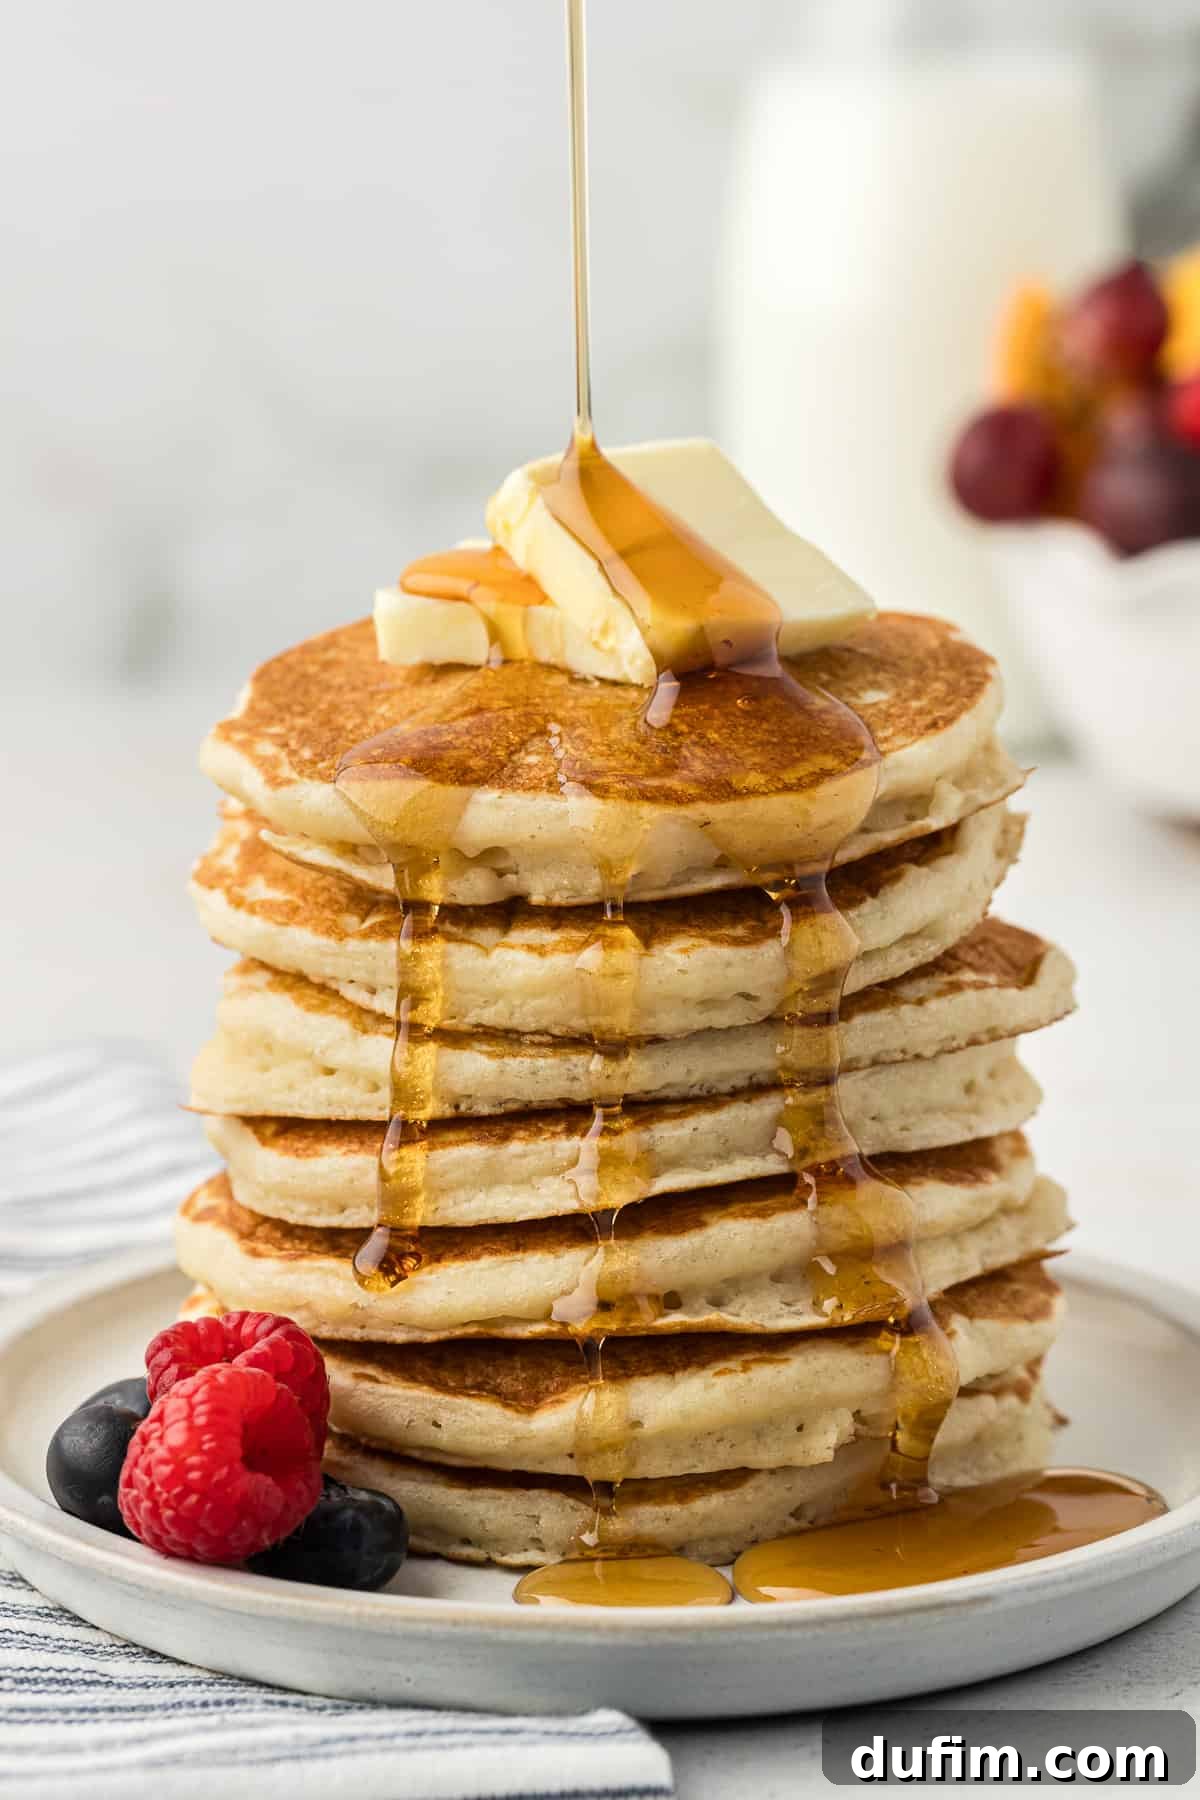
- Serve and enjoy! Serve your exquisite buttermilk pancakes warm, piled high with your favorite toppings. Classic choices like pure maple syrup and fresh seasonal fruits are always a hit. For an extra touch of indulgence, add a dollop of homemade whipped cream. Don’t hesitate to personalize your pancakes by stirring in extras like chocolate chips, fresh blueberries, or chopped nuts directly into the batter before cooking for added flavor and delightful texture.
Mastering Pancake Perfection: Essential Buttermilk Pancakes Recipe Tips
While the recipe itself is straightforward, incorporating these two fundamental tips will truly elevate your buttermilk pancake experience from good to absolutely extraordinary. These insights are born from extensive testing and are key to achieving that coveted light and fluffy texture.
- The transformative power of resting your pancake batter. This single step is the unsung hero in your quest for pancake perfection. Allowing the batter to rest for the recommended time significantly contributes to pancakes that are not only softer and more tender but also boast an incredible internal structure. Here’s why this pause is so crucial:
- Gluten relaxation: When you mix flour with liquid, gluten proteins begin to form. If cooked immediately, this gluten can make your pancakes tough and chewy. Resting gives the gluten strands a chance to relax, resulting in a much more tender bite.
- Hydration: Flour needs time to fully absorb the liquids. Resting allows the starch molecules in the flour to properly hydrate, ensuring a consistently moist pancake and a smoother batter consistency.
- Leavening activation: The chemical reactions initiated by the baking powder and baking soda (especially with the acidic buttermilk) need a moment to truly kick in. During the rest, tiny carbon dioxide bubbles form and become trapped in the batter, which then expand rapidly when cooked, leading to those beautiful, airy pockets and a remarkable rise.
During my rigorous recipe testing, I experimented extensively with various resting times to pinpoint the sweet spot. Here’s what I discovered:
- When the batter was cooked right away: The pancakes were thinner and denser, lacking the desirable lift. While still edible, they missed that signature fluffy characteristic.
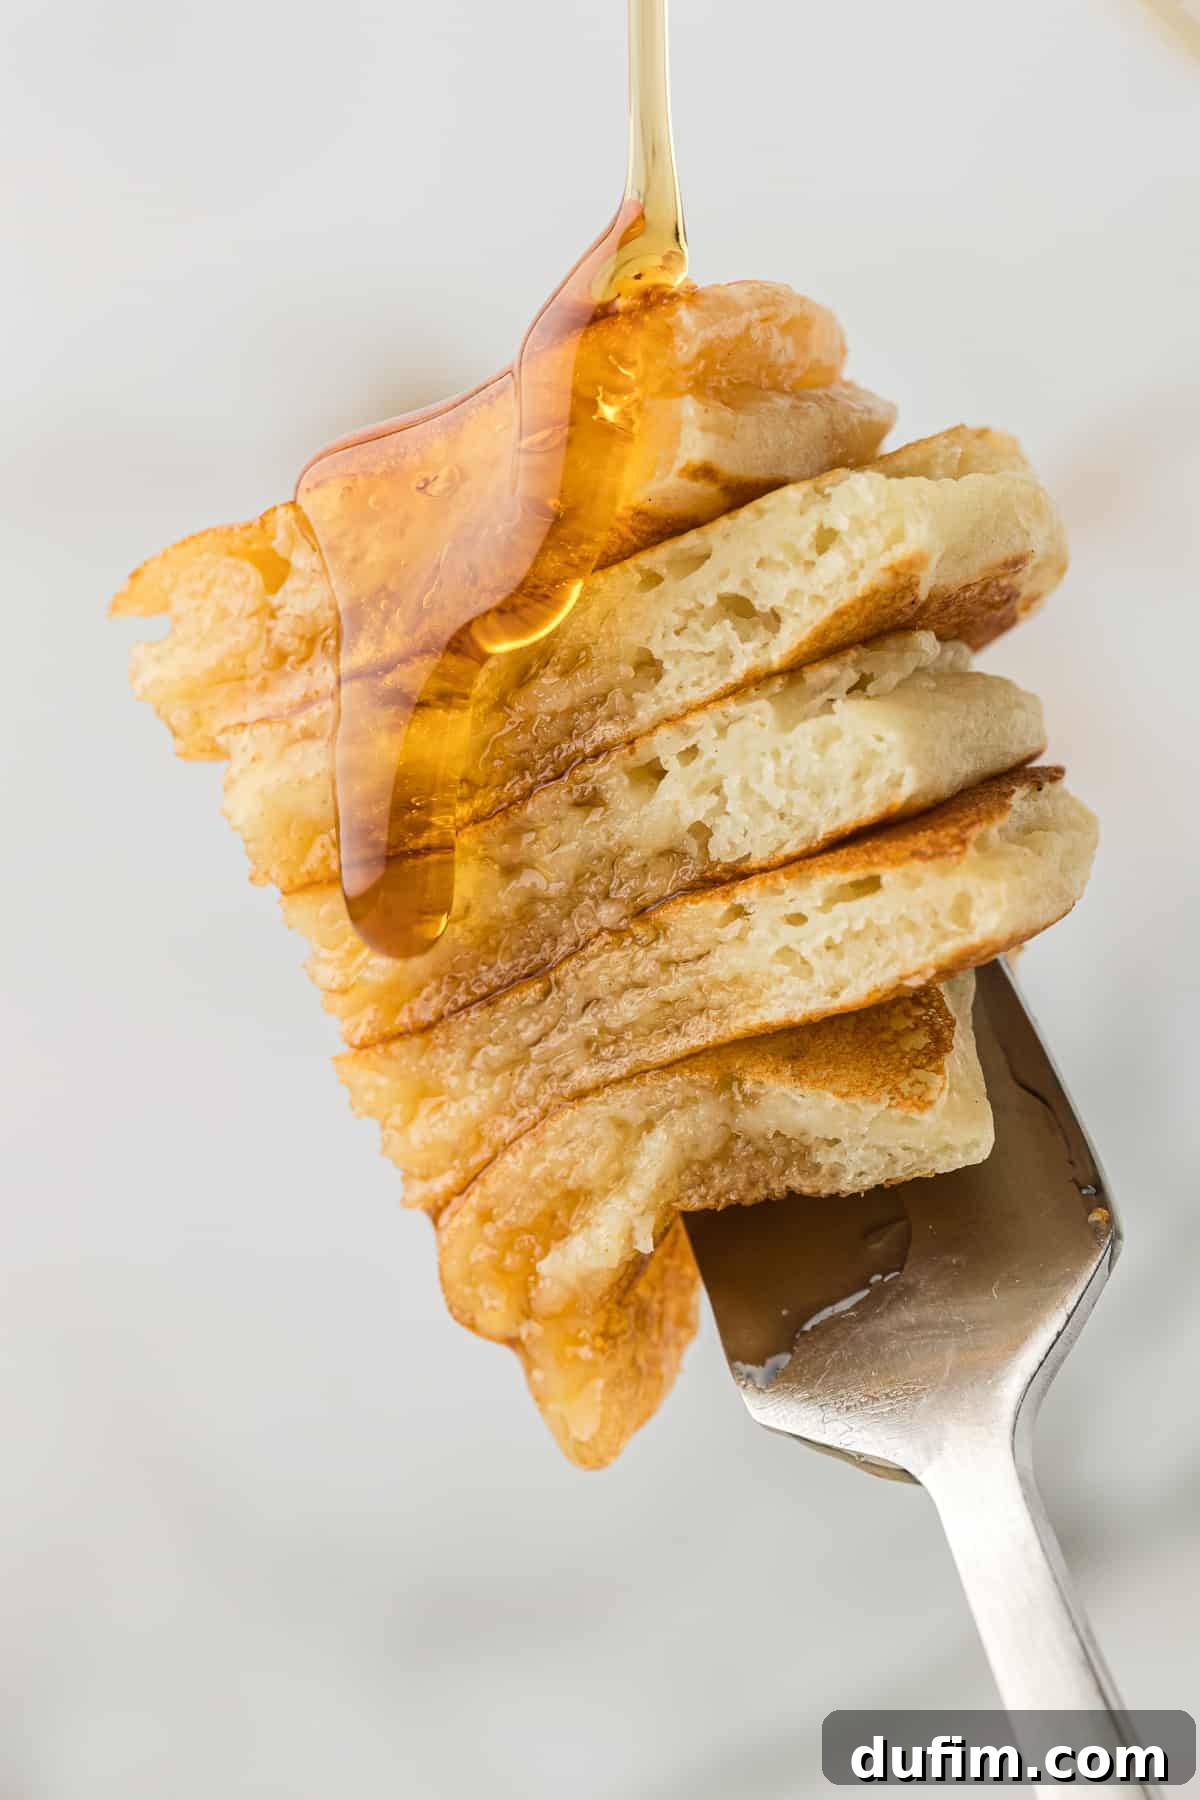
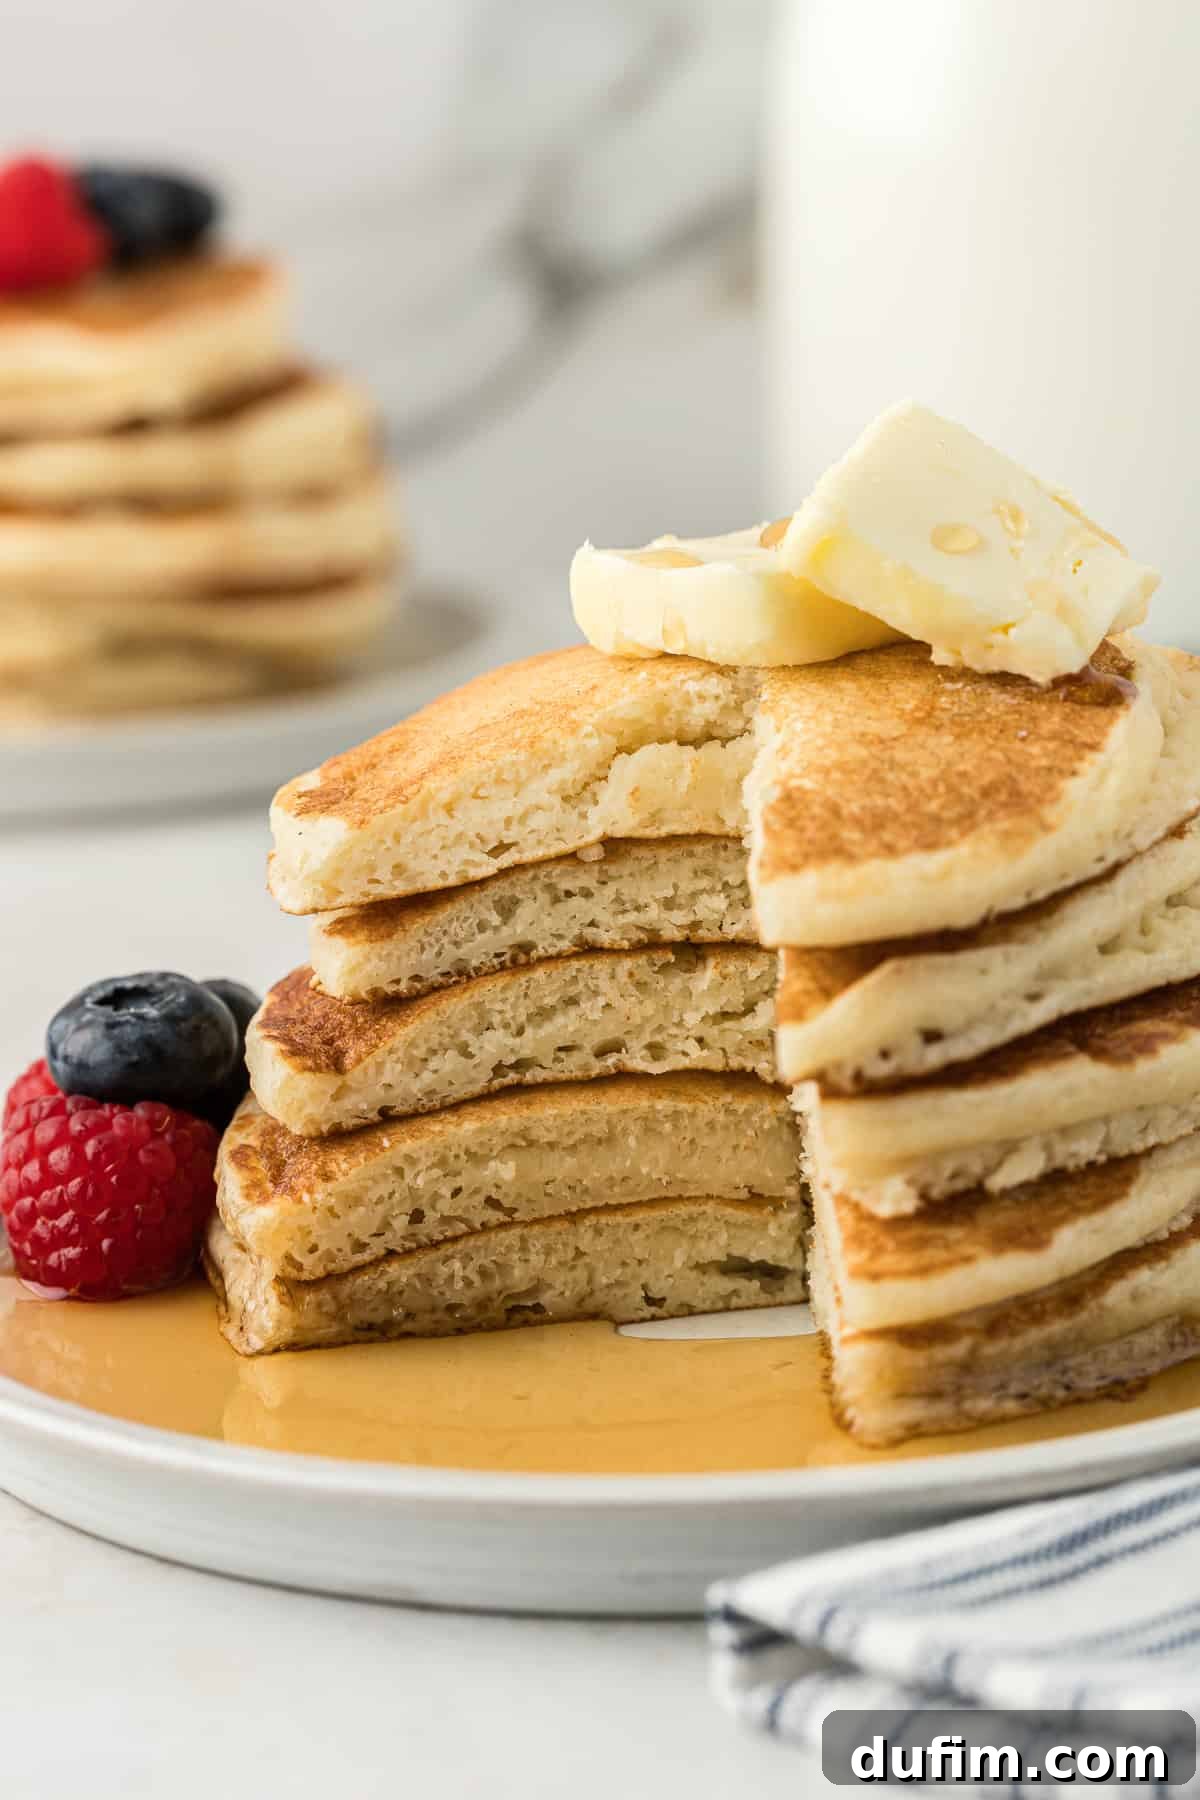
- When the batter was rested for 10 minutes: These pancakes emerged noticeably thicker, taller, and significantly fluffier compared to those cooked immediately. The texture was light, tender, and incredibly satisfying. This was the ideal balance of convenience and perfection.
- When the batter was rested for 15 minutes: While still excellent, it was hard to discern a significant difference in height or fluffiness compared to the 10-minute rest. This indicated that 10 minutes provides maximum benefit without unnecessary waiting.
Therefore, I confidently recommend a 10-minute rest as the perfect duration to unlock the full potential of these buttermilk pancakes!
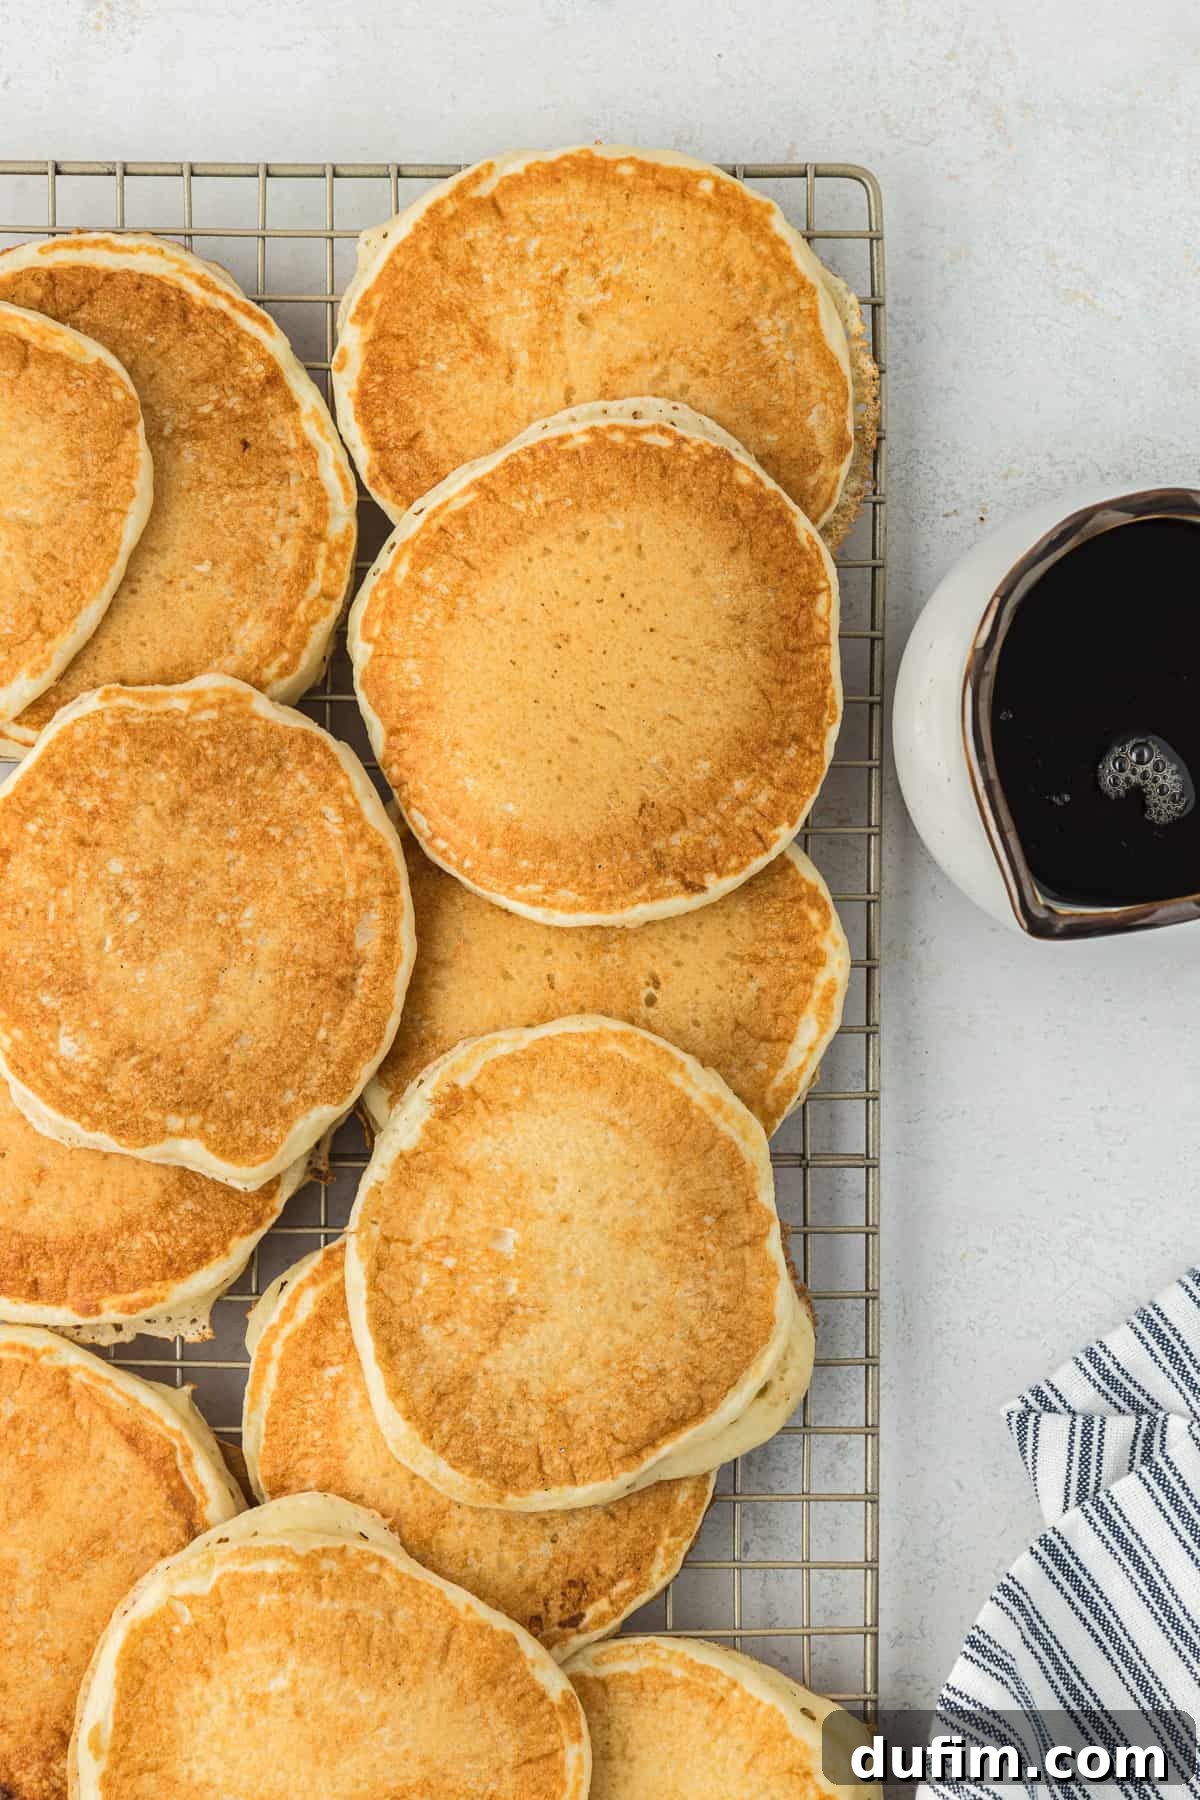
- Timing your flip for golden-brown glory. Knowing precisely when to flip your pancakes is essential for achieving a perfectly cooked exterior and a fully cooked interior without burning. The easiest and most reliable indicator is to observe the surface of the pancake:
- Look for bubbles: As the pancake cooks, you’ll see small bubbles forming and rising to the surface. These bubbles indicate that the leavening agents are actively working and the bottom side is cooking.
- Observe the edges: Once these bubbles start to pop and the edges of the pancake appear set and slightly dry, it’s the ideal moment to flip. The bottom should be a beautiful golden-brown.
Flipping too early means a messy, undercooked pancake. Flipping too late risks a burnt exterior and a dry interior. With practice, you’ll learn to recognize these visual cues perfectly. Remember to use a wide, thin spatula for an easy, clean flip!
- Maintain consistent griddle temperature: A common mistake is letting the griddle temperature fluctuate. After the first batch, your griddle might be too hot. Adjust the heat down slightly if subsequent pancakes are browning too quickly on the outside before cooking through, or up if they’re taking too long.
- Resist the urge to press: Once you’ve flipped your pancake, do not press down on it with your spatula. This compresses the air bubbles that contribute to fluffiness, resulting in a denser pancake. Let them rise naturally!
Unleash Your Creativity: Buttermilk Pancake Recipe Variations
While these classic buttermilk pancakes are undeniably delicious on their own, they also serve as a perfect canvas for incorporating your favorite flavors and textures. Don’t be shy about experimenting! Here are some fantastic ideas to inspire your next batch:
- Irresistible Chocolate Chip Pancakes: Simply fold in about 1/2 to 1 cup of your favorite chocolate chips (milk, semi-sweet, dark, or even white chocolate) into the batter just before cooking. For an extra special touch, sprinkle a few more chips directly onto the pancakes as soon as you pour the batter onto the griddle – this ensures they melt beautifully on the surface.
- Naturally Sweet Fresh Fruit Pancakes: Banana pancakes and blueberry pancakes are perennially popular for a reason! Gently fold about 1 cup of fresh fruit into your batter. If using blueberries, avoid overmixing to prevent the batter from turning grey. For banana pancakes, thin slices work best. You can also experiment with diced strawberries, raspberries, or even chopped apples for a seasonal twist. If using frozen fruit, add it directly to the batter without thawing to prevent excessive moisture and color bleed, though it might slightly cool the batter.
- Crunchy & Nutty Pancakes: Add a delightful crunch and rich flavor by mixing in about 1/2 cup of your favorite chopped nuts. Toasted pecans, walnuts, or almonds are excellent choices. Toasting the nuts lightly beforehand can significantly enhance their flavor profile. You can also combine nuts with chocolate chips or fruit for a truly decadent experience.
- Warm Spice Pancakes: For a comforting twist, add 1/2 to 1 teaspoon of ground cinnamon, nutmeg, or a pumpkin pie spice blend to your dry ingredients. These spices pair wonderfully with apples, pumpkin puree (you can even add 1/4 cup of pureed pumpkin to the wet ingredients for pumpkin buttermilk pancakes!), or simply on their own.
- Lemon Zest Pancakes: For a bright, refreshing flavor, add 1-2 teaspoons of fresh lemon zest to the wet ingredients. The citrus notes beautifully complement the tang of the buttermilk.
What to Serve with Your Homemade Buttermilk Pancakes
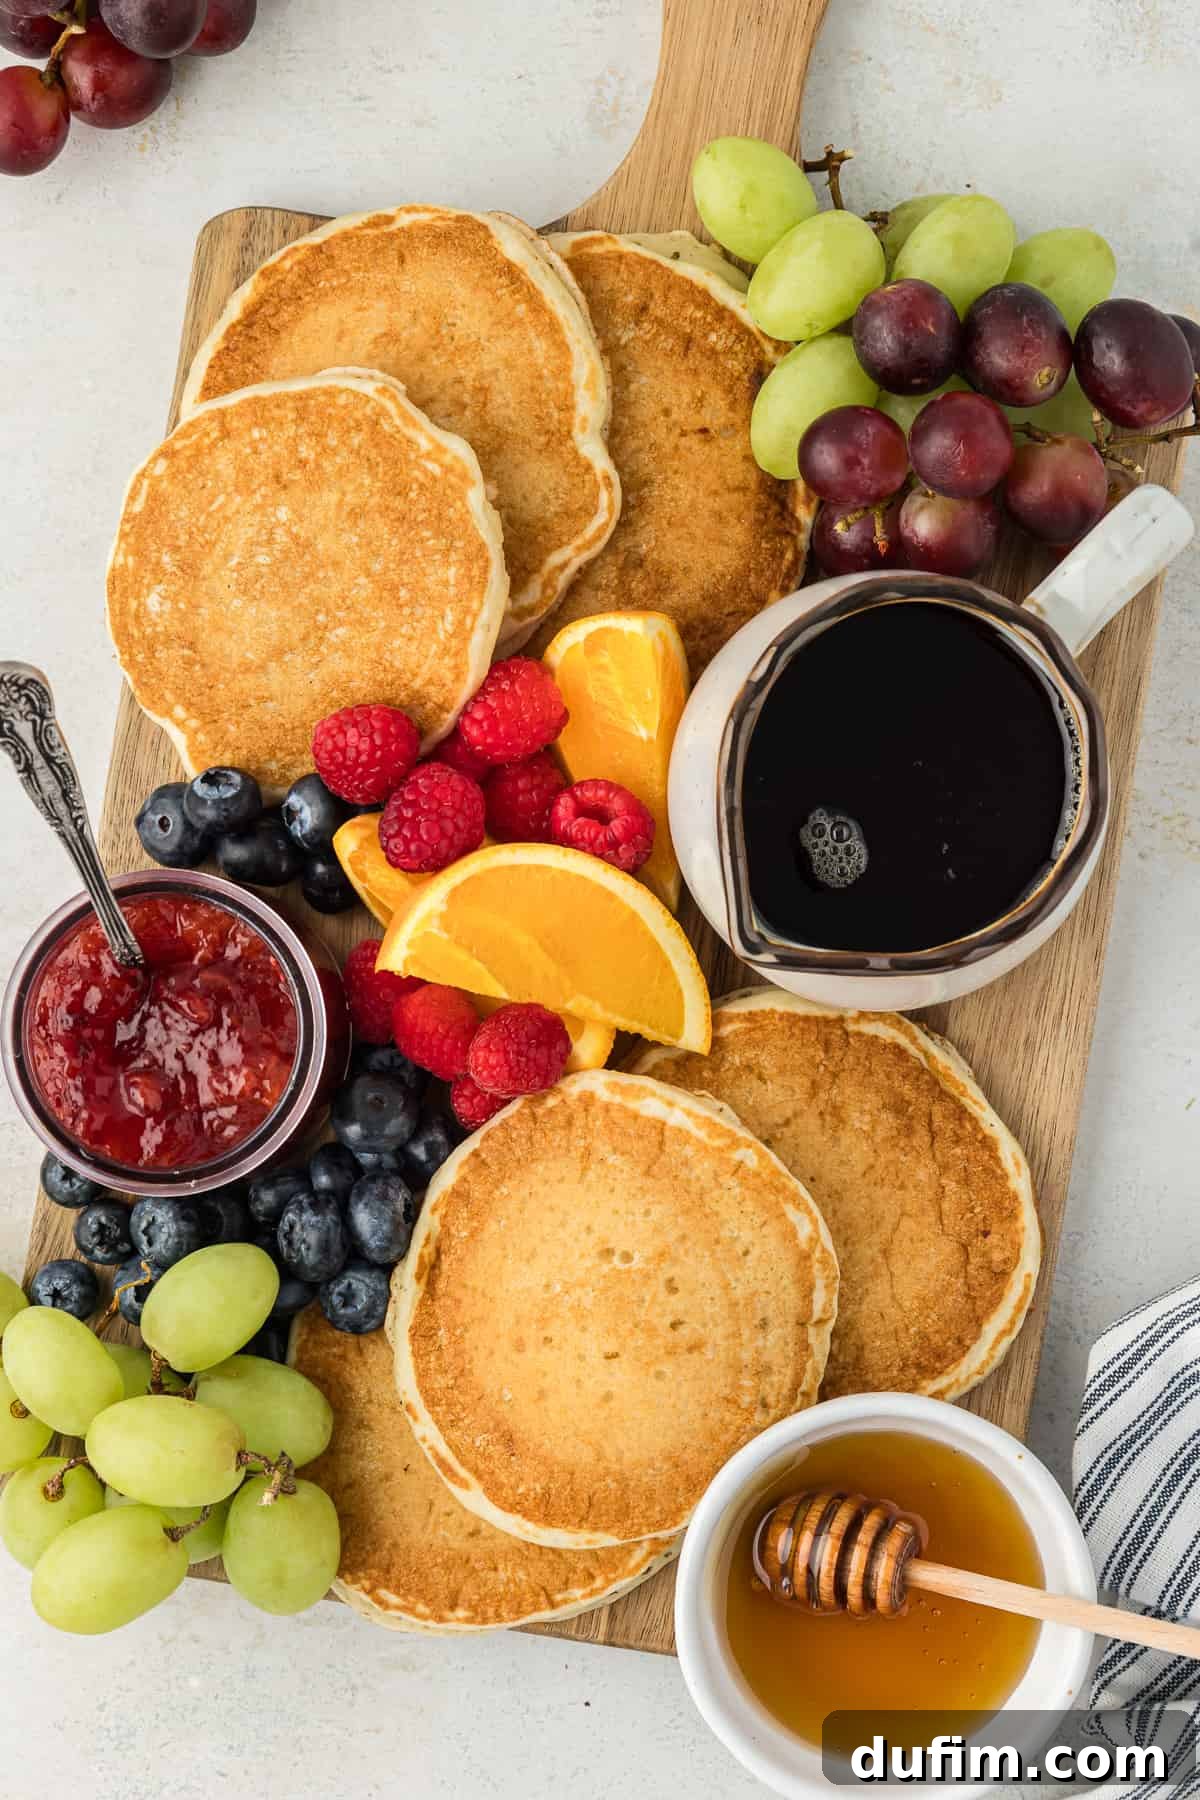
The beauty of buttermilk pancakes lies in their versatility. You can stick to beloved traditional pairings or let your imagination run wild with creative additions. There are no hard and fast rules when it comes to pancake toppings and accompaniments! Here’s a comprehensive list of ideas to inspire your next breakfast or brunch:
- Classic Sweet Toppings:
- Pure Maple Syrup: The quintessential pancake partner. Warm it gently for an extra luxurious touch. Look for Grade A Dark Robust for a richer flavor.
- Fresh Fruit: Berries (blueberries, raspberries, strawberries), sliced bananas, peaches, or even a mixed fruit salad.
- Homemade Whipped Cream: Light, airy, and incomparably better than store-bought. A perfect cloud of indulgence.
- Chocolate Chips: A sprinkle on top, especially if they weren’t mixed into the batter.
- Honey: A natural, sweet alternative to syrup.
- Jams/Preserves: Strawberry, raspberry, apricot, or any fruit spread you love.
- Powdered Sugar: A simple dusting adds an elegant finish and a subtle sweetness.
- Cinnamon Sugar: A delightful blend for a warm, spicy note.
- Lemon Zest: A bright and refreshing sprinkle, particularly good with berries.
- Nutella or Chocolate Sauce: For a truly decadent, dessert-like experience.
- Nutty & Textural Toppings:
- Chopped Nuts: Pecans, walnuts, almonds, or even pistachios, toasted for enhanced flavor.
- Peanut Butter: Or almond butter, for a hearty and protein-packed option.
- Shredded Coconut / Flakes: Toasted coconut adds a wonderful aroma and texture.
- Savory Pairings (for a complete meal):
- Crispy Bacon: The ultimate sweet and savory combination.
- Breakfast Sausage: Patties or links, a hearty addition.
- Scrambled or Fried Eggs: For a full American breakfast experience.
- Ham: Slices of grilled ham can be surprisingly good.
- Dessert Inspired Options:
- Ice Cream: Yes, really! A scoop of vanilla or your favorite flavor turns pancakes into an indulgent dessert.
- Caramel Sauce: Drizzled generously for a sticky, sweet treat.
- Sautéed Apples or Pears: Cooked down with a bit of cinnamon and butter for a warm, comforting topping.
- Beverages to complete the meal:
- Freshly Brewed Coffee: A classic morning staple.
- Orange Juice or Grapefruit Juice: A bright, refreshing counterpoint.
- Milk: A simple, comforting choice.
Don’t be afraid to mix and match to discover your personal favorite buttermilk pancake combination!
Buttermilk Pancakes Recipe FAQs
Buttermilk is a superstar ingredient for pancakes and many other baked goods because it dramatically enhances their texture, flavor, and moisture. Its natural acidity is key: it reacts with baking soda to create carbon dioxide gas, which gives the pancakes their incredible lift and airy fluffiness. Beyond leavening, the acid in buttermilk tenderizes the gluten in the flour, resulting in a remarkably softer, more tender crumb. Moreover, buttermilk imparts a distinct, subtle tang that beautifully balances the sweetness of the sugar, adding an extra layer of complex flavor that plain milk simply can’t provide. It also contributes to a richer, more moist final product.
The secret to truly extra fluffy pancakes lies in a combination of factors, primarily the strategic use of leavening agents and, crucially, the proper resting of the batter. Our recipe utilizes both baking powder and baking soda. Baking powder provides initial lift, while baking soda reacts with the buttermilk’s acidity for an additional boost of carbon dioxide gas. However, the often-overlooked step of letting the batter rest for about 10 minutes is equally vital. This resting period allows the gluten to relax, the flour to fully hydrate, and the leavening agents to fully activate, creating a multitude of tiny air pockets that expand during cooking, resulting in those perfectly tall, airy, and incredibly tender buttermilk pancakes.
The primary and most significant difference between buttermilk pancakes and regular pancakes is the use of buttermilk instead of standard milk. This single ingredient substitution leads to noticeable differences in taste, texture, and rise. Buttermilk pancakes are typically much fluffier and taller due to the acidic reaction with baking soda, which produces more gas than baking powder alone (often used in regular pancake recipes). They also possess a distinct, delicate tangy flavor that adds depth and complexity, providing a more tender and moist crumb than their regular counterparts. Many people prefer buttermilk pancakes precisely for these superior textural and flavor qualities.
While freshly made pancakes are always best, you can prepare the dry and wet ingredients separately a day in advance. Store the dry mix in an airtight container at room temperature, and the whisked wet ingredients (buttermilk, melted butter, egg, vanilla) in a sealed container in the refrigerator. Combine them just before cooking, then allow the batter to rest for 10 minutes as directed. Cooked pancakes can be stored in an airtight container in the fridge for 2-3 days and reheated in a toaster, microwave, or oven.
Yes, you can easily make a homemade buttermilk substitute! For every 1 cup of buttermilk needed, measure 1 tablespoon of lemon juice or white vinegar into a liquid measuring cup. Then, fill the rest of the cup with regular milk (any fat percentage works) up to the 1-cup line. Stir gently and let it sit for 5-10 minutes until it visibly curdles. This acidified milk will work in most recipes, including these pancakes, providing the necessary acidity for the baking soda reaction.
More Delicious Breakfast Recipes to Explore
If you love starting your day with a delightful homemade breakfast, you’ll adore these other popular recipes. They’re perfect for family gatherings, weekend treats, or simply a cozy morning at home.
- Morning Glory Muffins
- Vibrant Rainbow Smoothie
- Sweet & Simple Strawberry Muffins
- Decadent Cinnamon Roll Casserole
Tap stars to rate!
Homemade Fluffy Buttermilk Pancakes
Beth
5
20
10
12 pancakes
Rate
Equipment
-
Glass Mixing Bowl
-
My favorite spatula!
Ingredients
- 2 cups (240g) all-purpose flour
- 2 Tbsp granulated sugar
- 2 tsp baking powder
- ½ tsp baking soda
- ½ tsp salt
- 2 cups (473ml) buttermilk
- 3 Tbsp (43g) unsalted butter, melted & cooled
- 1 large egg
- 2 tsp vanilla extract
Instructions
-
Heat a griddle or non-stick pan over medium-high heat. If using a griddle, set it to 350°F (175°C).
-
In a large mixing bowl, whisk together the all-purpose flour, granulated sugar, baking powder, baking soda, and salt.2 cups (240g) all-purpose flour,
2 Tbsp granulated sugar,
2 tsp baking powder,
½ tsp baking soda,
½ tsp salt -
In a separate bowl, whisk together the buttermilk, melted and cooled unsalted butter, egg and vanilla extract.2 cups (473ml) buttermilk,
3 Tbsp (43g) unsalted butter,
1 large egg,
2 tsp vanilla extract -
Pour the wet ingredients into the bowl with the dry ingredients. Gently stir until just combined. Be careful not to overmix; a few lumps are okay.
-
Allow the batter to rest for about 10 minutes. This helps the ingredients meld, improves the texture of the pancakes, and helps to create fluffier pancakes.
-
Lightly grease the griddle or pan with butter or non-stick cooking spray.
-
Pour 1/4 cup of batter onto the griddle for each pancake. Use the back of a spoon to spread the batter into a round shape if needed.
-
Cook until bubbles form on the surface of the pancake and the edges look set, about 3-4 minutes. Flip the pancakes with a spatula and cook the other side until golden brown, about 3-4 minutes. Remove the pancakes from the griddle or pan and keep warm. Repeat the process with the remaining batter.
-
Serve the buttermilk pancakes warm with your favorite toppings such as maple syrup, fresh fruits, or whipped cream. Feel free to add extras like chocolate chips, blueberries, or nuts to the batter for added flavor and texture.
Video
A short video showcasing the process of making these fluffy buttermilk pancakes would typically be displayed here.
Nutrition
Serving:
1pancake
|
Calories:
140kcal
|
Carbohydrates:
20g
|
Protein:
4g
|
Fat:
5g
|
Saturated Fat:
3g
|
Polyunsaturated Fat:
0.4g
|
Monounsaturated Fat:
1g
|
Trans Fat:
0.1g
|
Cholesterol:
27mg
|
Sodium:
262mg
|
Potassium:
83mg
|
Fiber:
1g
|
Sugar:
4g
|
Vitamin A:
176IU
|
Calcium:
92mg
|
Iron:
1mg
Nutrition Disclosure
All nutritional values are approximate and provided to the reader as a courtesy. Changing ingredients and/or quantities will alter the estimated nutritional calculations.
Like this recipe? Rate and comment below!