
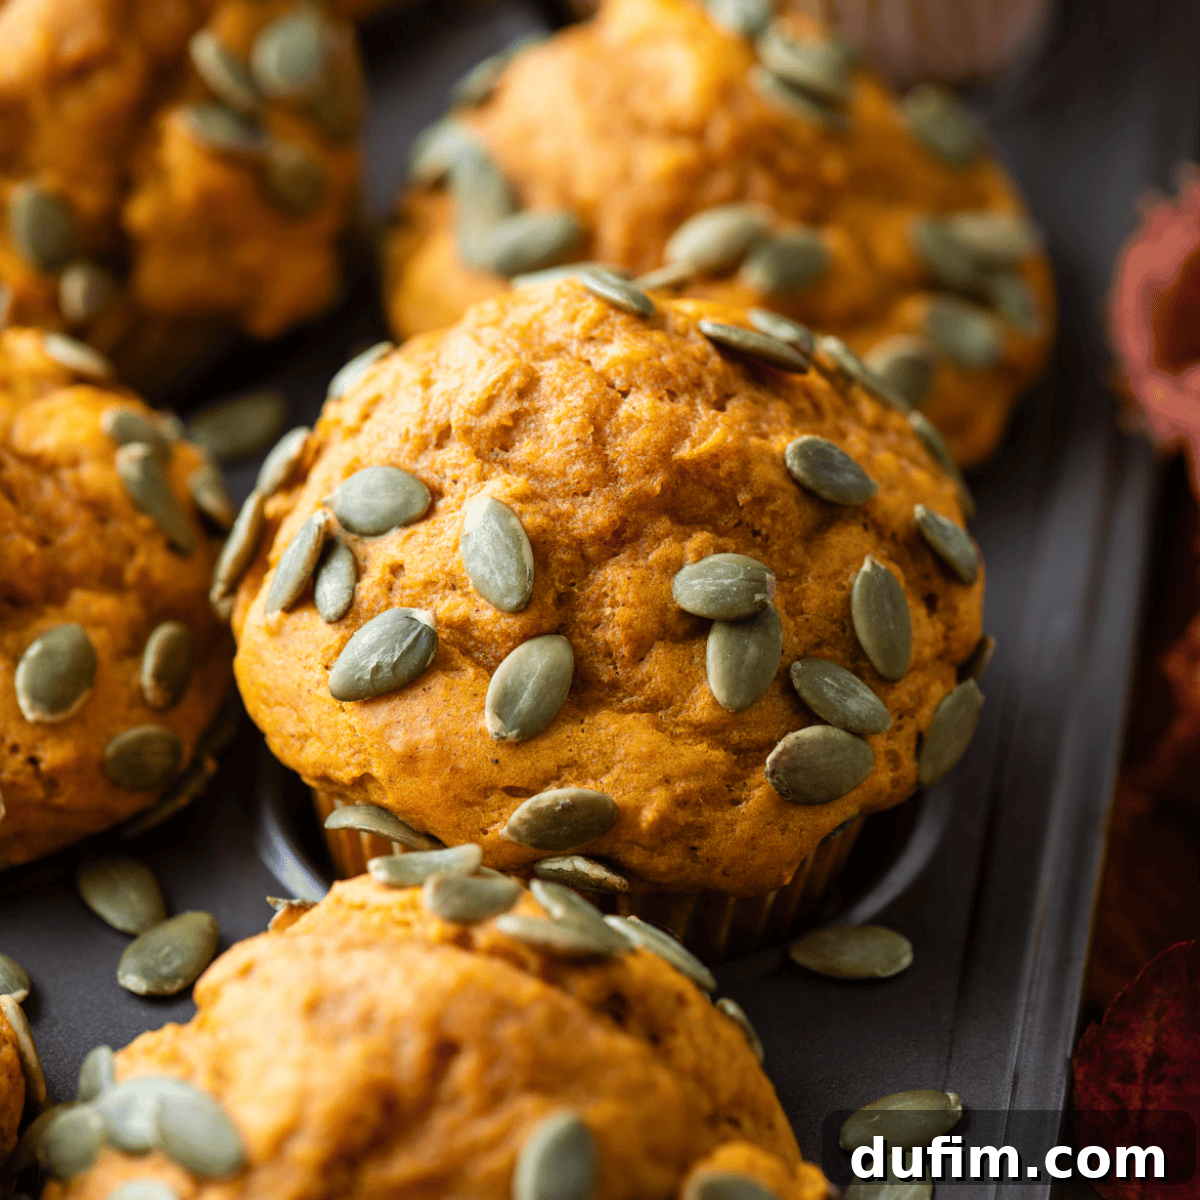
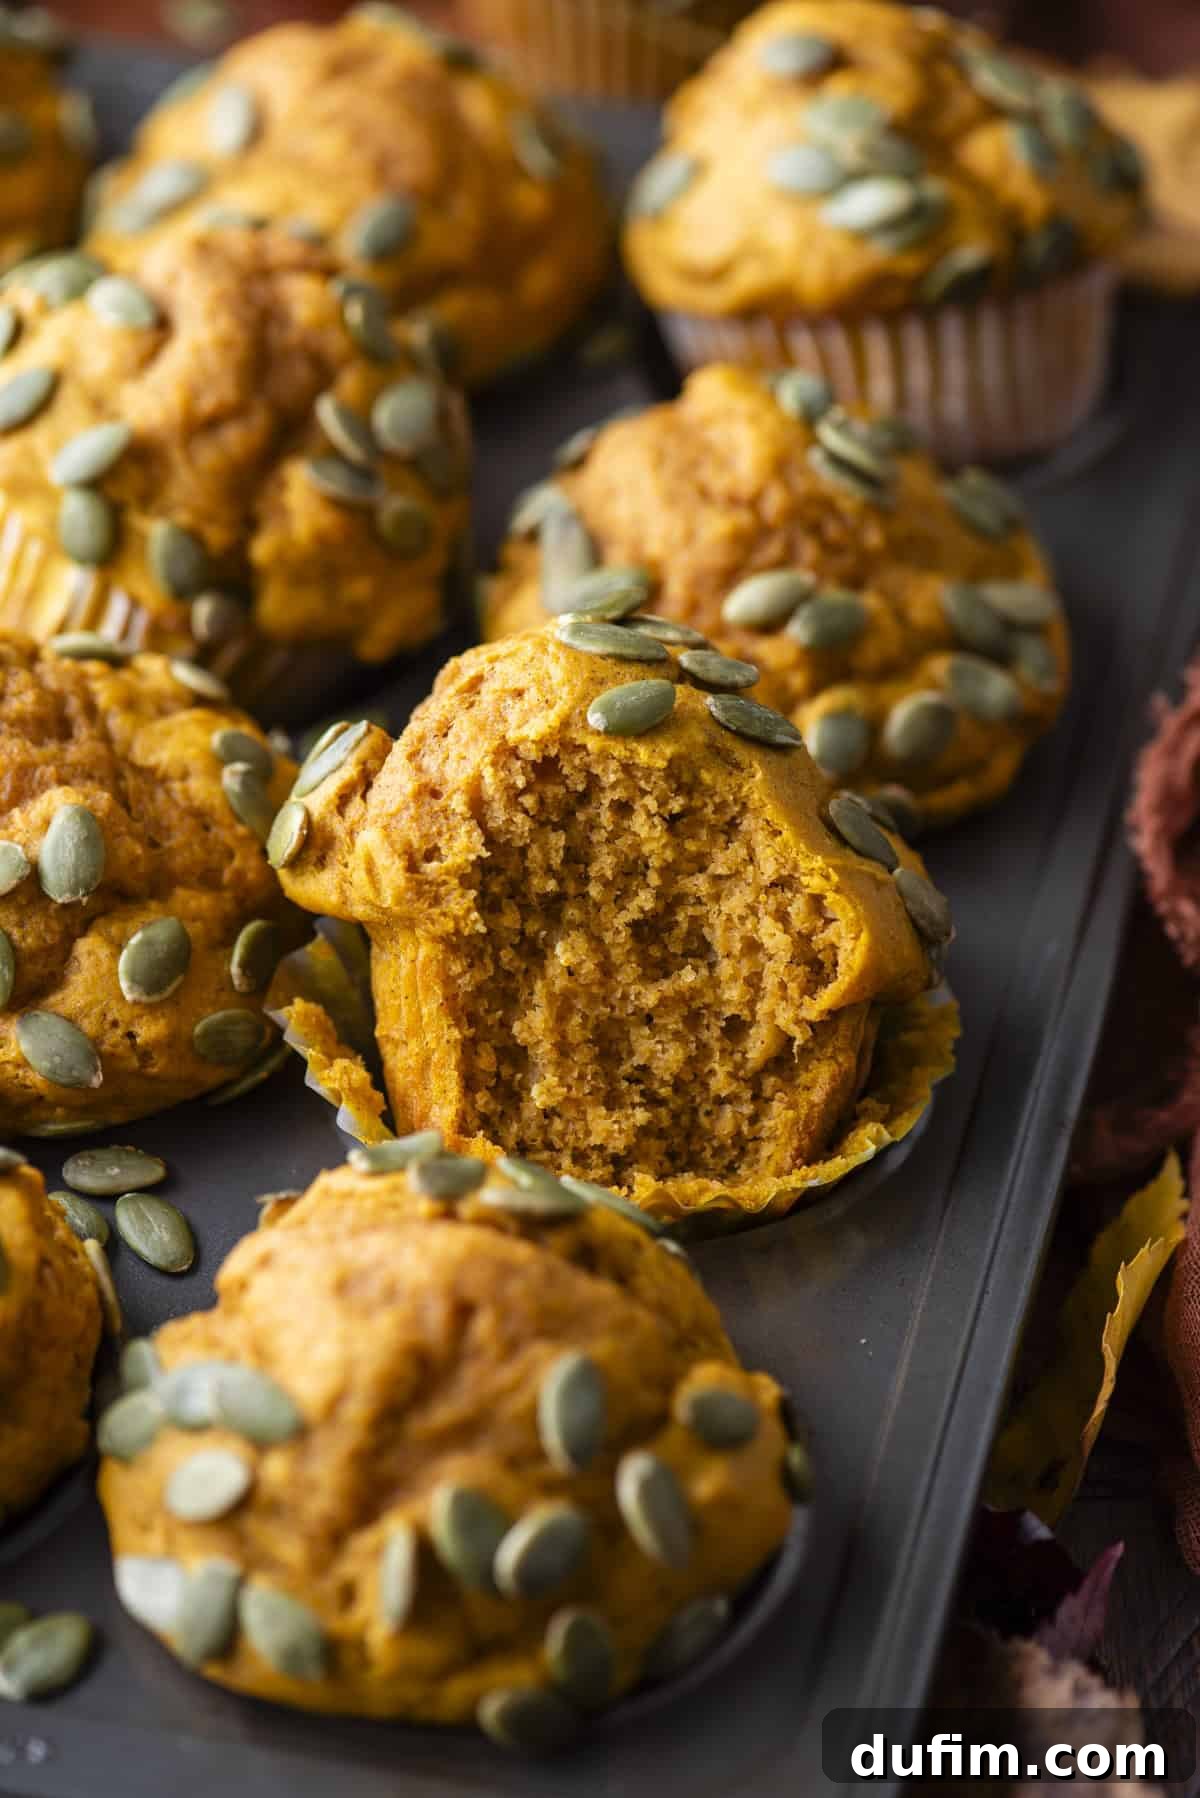
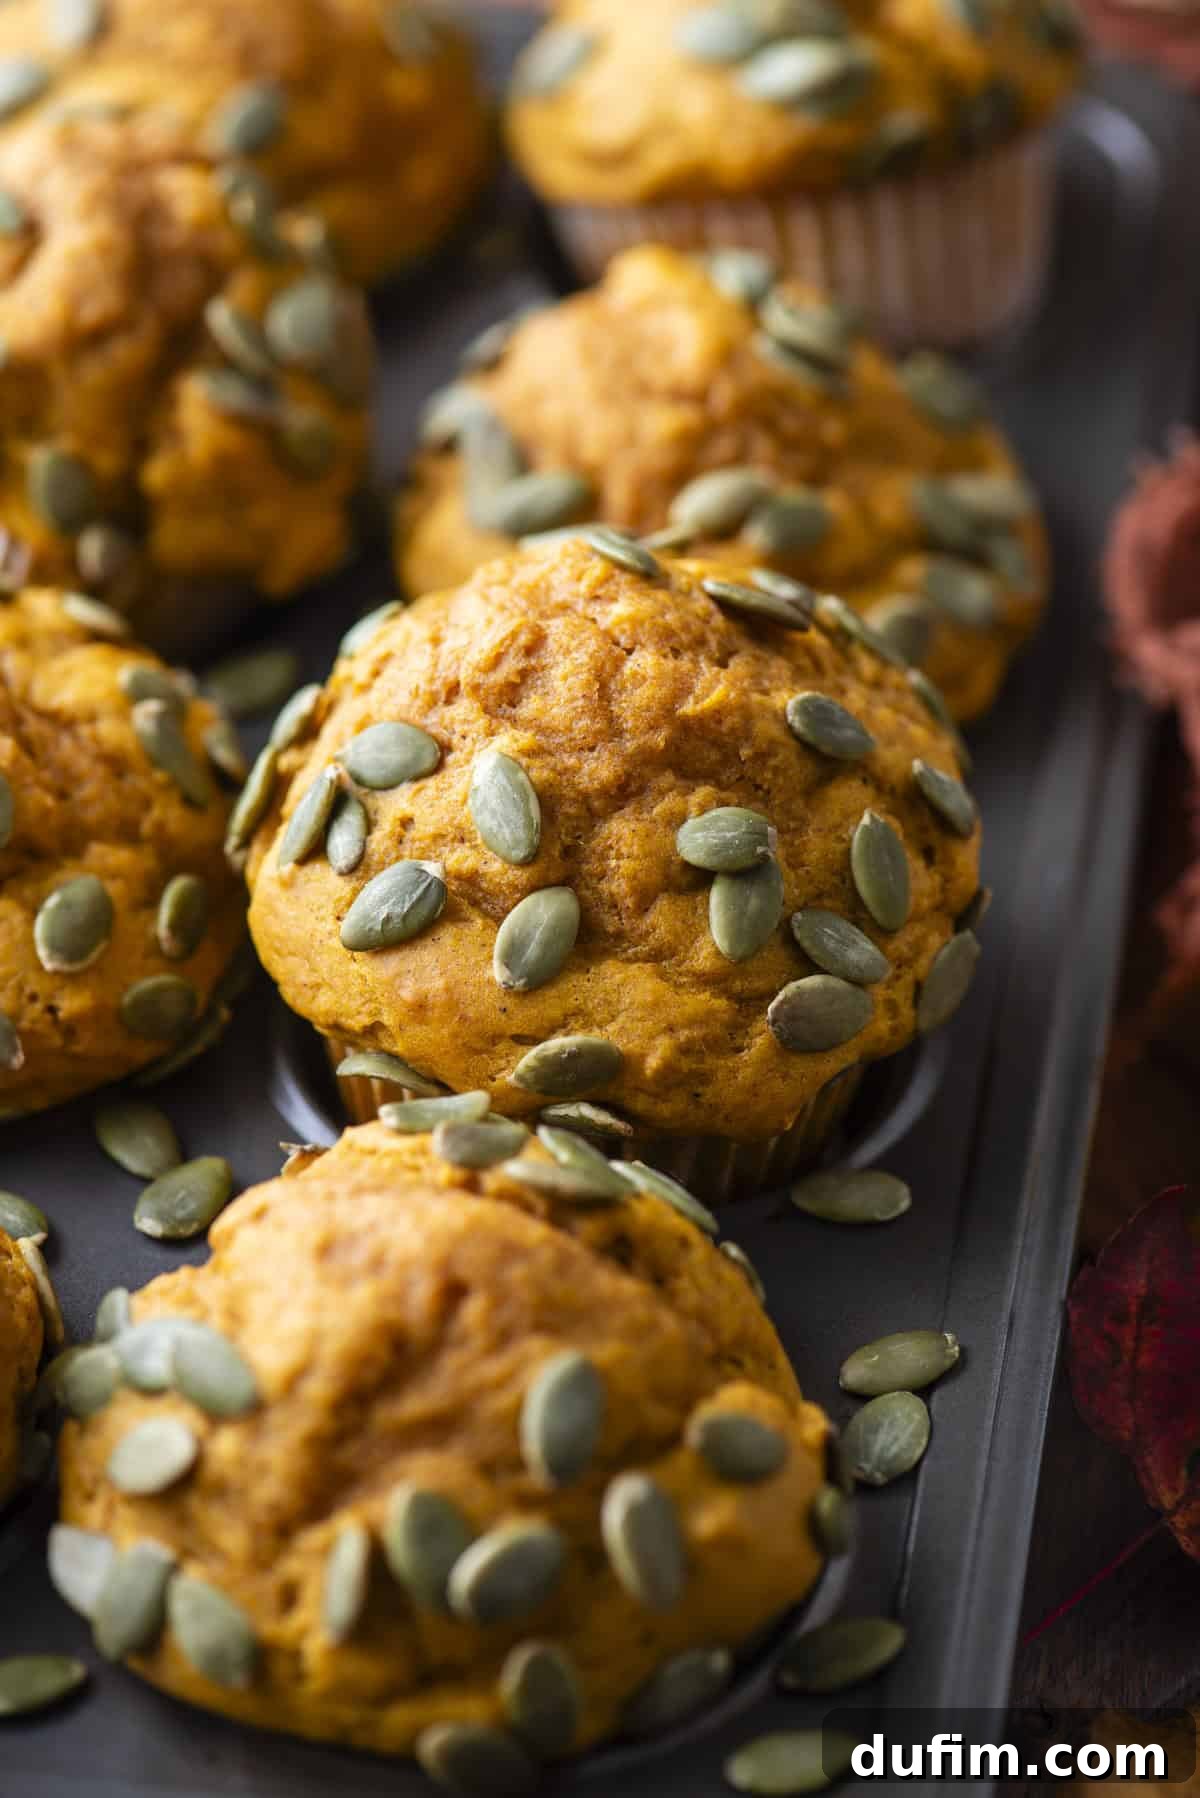
Embark on a delightful culinary journey with these remarkably healthy pumpkin muffins, a beloved family recipe meticulously re-imagined for a lighter, more nutritious experience. We’ve expertly swapped traditional vegetable oil for heart-healthy olive oil, introduced creamy Greek yogurt for added moisture and protein, and thoughtfully reduced the sugar content. This transformative process slashed the calorie count from a rich 460 calories per muffin to an astonishingly light 220 calories, all without sacrificing an ounce of their incredible flavor. Prepare to be amazed – you’d never guess they were healthy!
“You can’t even tell they’re healthy. Love that it’s all common ingredients. Very fluffy and delicious.”
– Alissa
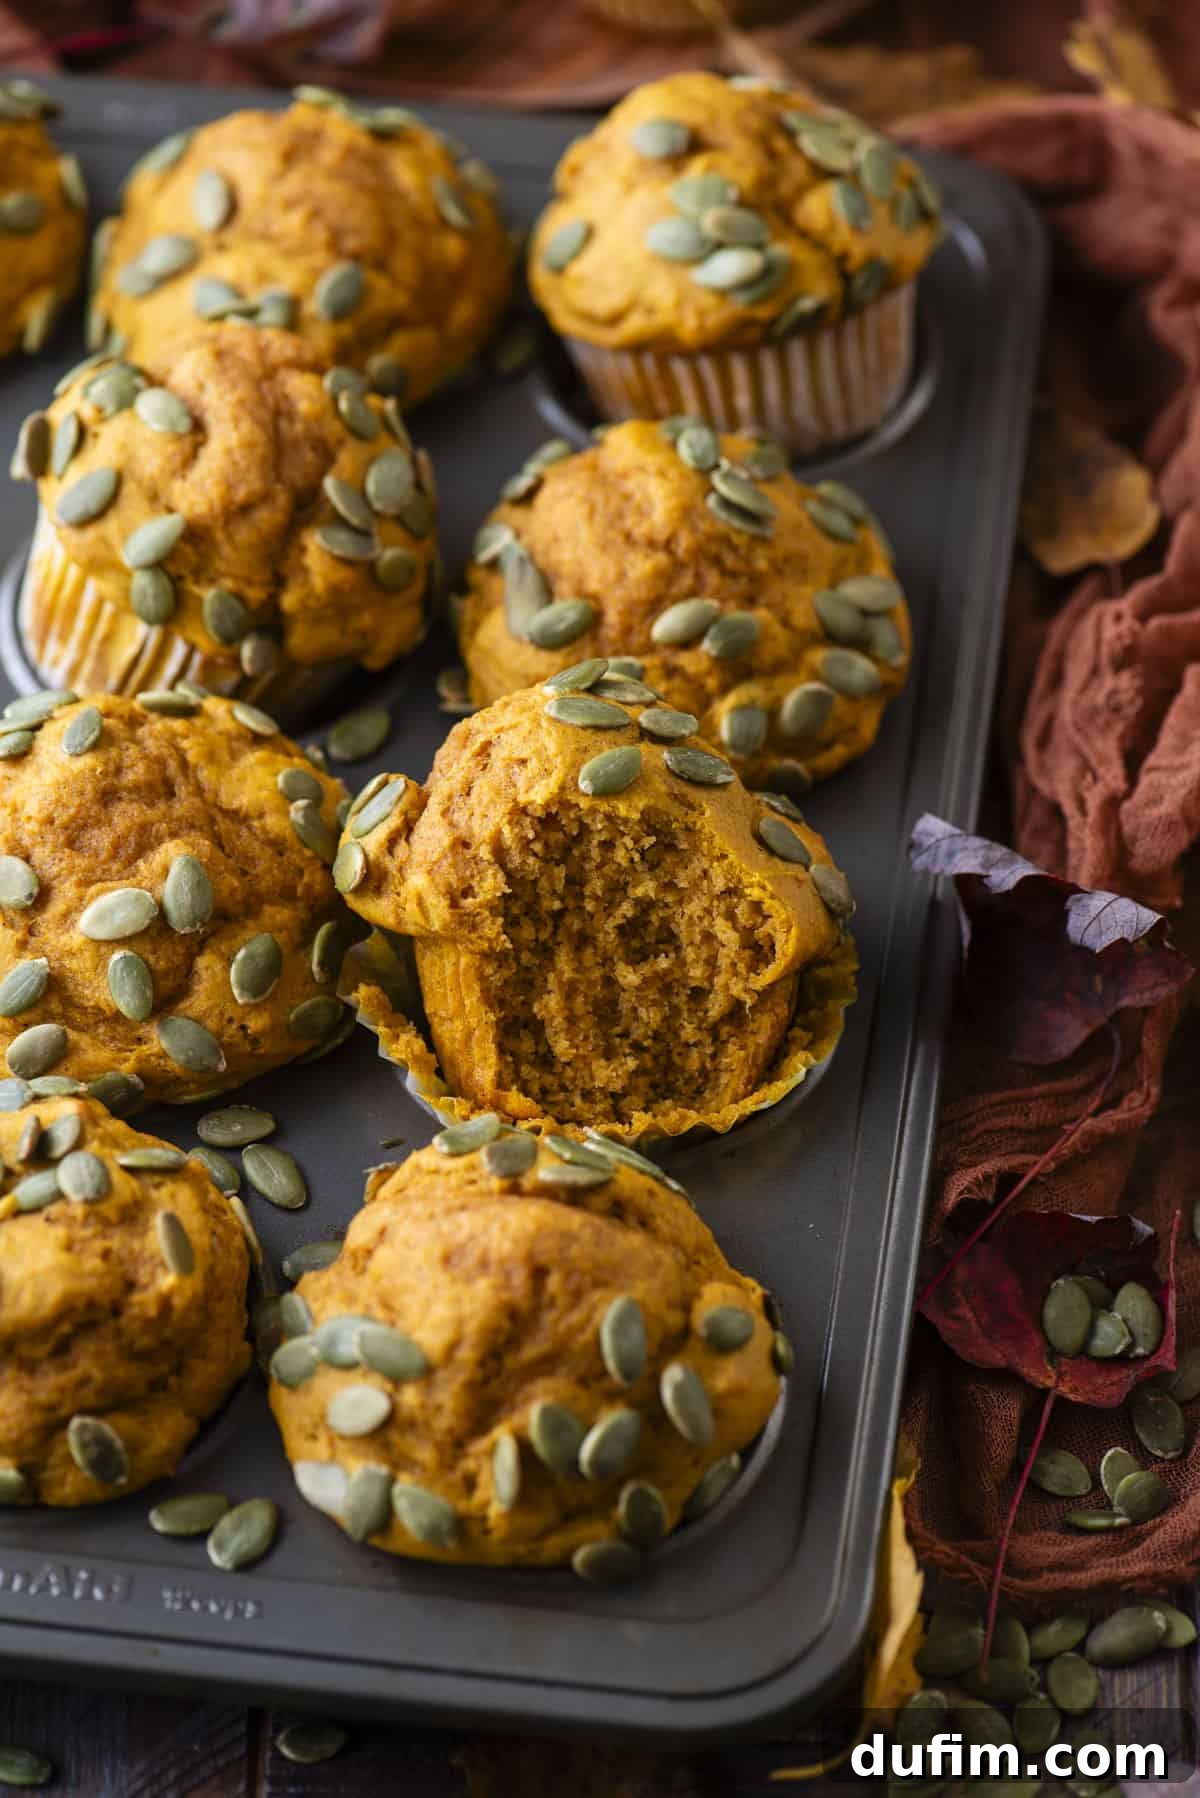
My passion for recipe development means I dedicate countless hours to testing and tweaking until every dish is perfected and truly share-worthy. This commitment meant facing a few initial setbacks when I first set out to create a healthier version of my classic pumpkin muffin recipe. But honestly, I wasn’t worried. It’s my mission to tackle all the trial and error, ensuring that when you bake, you get nothing short of delicious success!
During the initial stages of this recipe’s transformation, I experimented with various healthier ingredient substitutions. Some batches unfortunately resulted in muffins that were gummy, overly dense, and lacked the ideal sweetness. These less-than-perfect outcomes only fueled my determination to find the perfect balance.
After persistent tweaking, careful adjustments, and extensive taste tests, I finally discovered the ideal combination of wholesome ingredients. This breakthrough allowed me to create healthy pumpkin muffins that hit every mark: exceptional flavor, just the right amount of sweetness, and that wonderfully moist and fluffy texture everyone craves.
With each muffin coming in at 230 calories less than my traditional pumpkin muffins, this lighter version is an undeniable success. It’s truly a testament to how healthy eating can be both satisfying and incredibly delicious!
If the irresistible aroma of pumpkin spice captures your heart during the Fall season, then these delightful muffins are an absolute must-try. They are incredibly versatile, making them a fantastic choice for a quick and energizing breakfast, a satisfying afternoon pick-me-up, or my personal favorite – a cozy late-night snack. Give my recipe a try just once, and you’ll quickly understand why these are hailed as the best healthy pumpkin muffins you’ll ever bake!
Why You’ll Adore This Healthy Pumpkin Muffin Recipe
These aren’t just any pumpkin muffins; they are a celebration of flavor and health, crafted to bring joy without the guilt. Here’s why this recipe is destined to become a staple in your kitchen:
- Significantly Lighter: Enjoy the rich taste of pumpkin for just 220 calories per muffin, thanks to smart swaps like olive oil, protein-rich Greek yogurt, and a reduced sugar content. You get all the indulgence with less of the caloric impact.
- Perfected Texture and Flavor: Years of baking experience and rigorous recipe testing have culminated in a muffin that is consistently moist, incredibly fluffy, and bursting with authentic pumpkin spice flavors. Every bite is a testament to careful craftsmanship.
- Trusted Foundation: Built upon my original pumpkin muffin recipe, which has garnered thousands of rave reviews and delighted countless families, this healthy version carries forward that same beloved taste and comforting appeal.
- Simple Ingredients, Exceptional Results: Forget obscure components. This recipe relies on readily available, everyday ingredients that come together effortlessly to create a gourmet-quality muffin right in your home kitchen.
- Versatile for Any Time: Whether you need a quick, wholesome breakfast to start your day, a satisfying snack to beat the afternoon slump, or a cozy treat for a late-night craving, these muffins fit every occasion perfectly.
- Easy to Master: Designed with both novice and experienced bakers in mind, the straightforward instructions ensure a stress-free baking experience from start to finish.
Essential Ingredients for Healthy Pumpkin Muffins
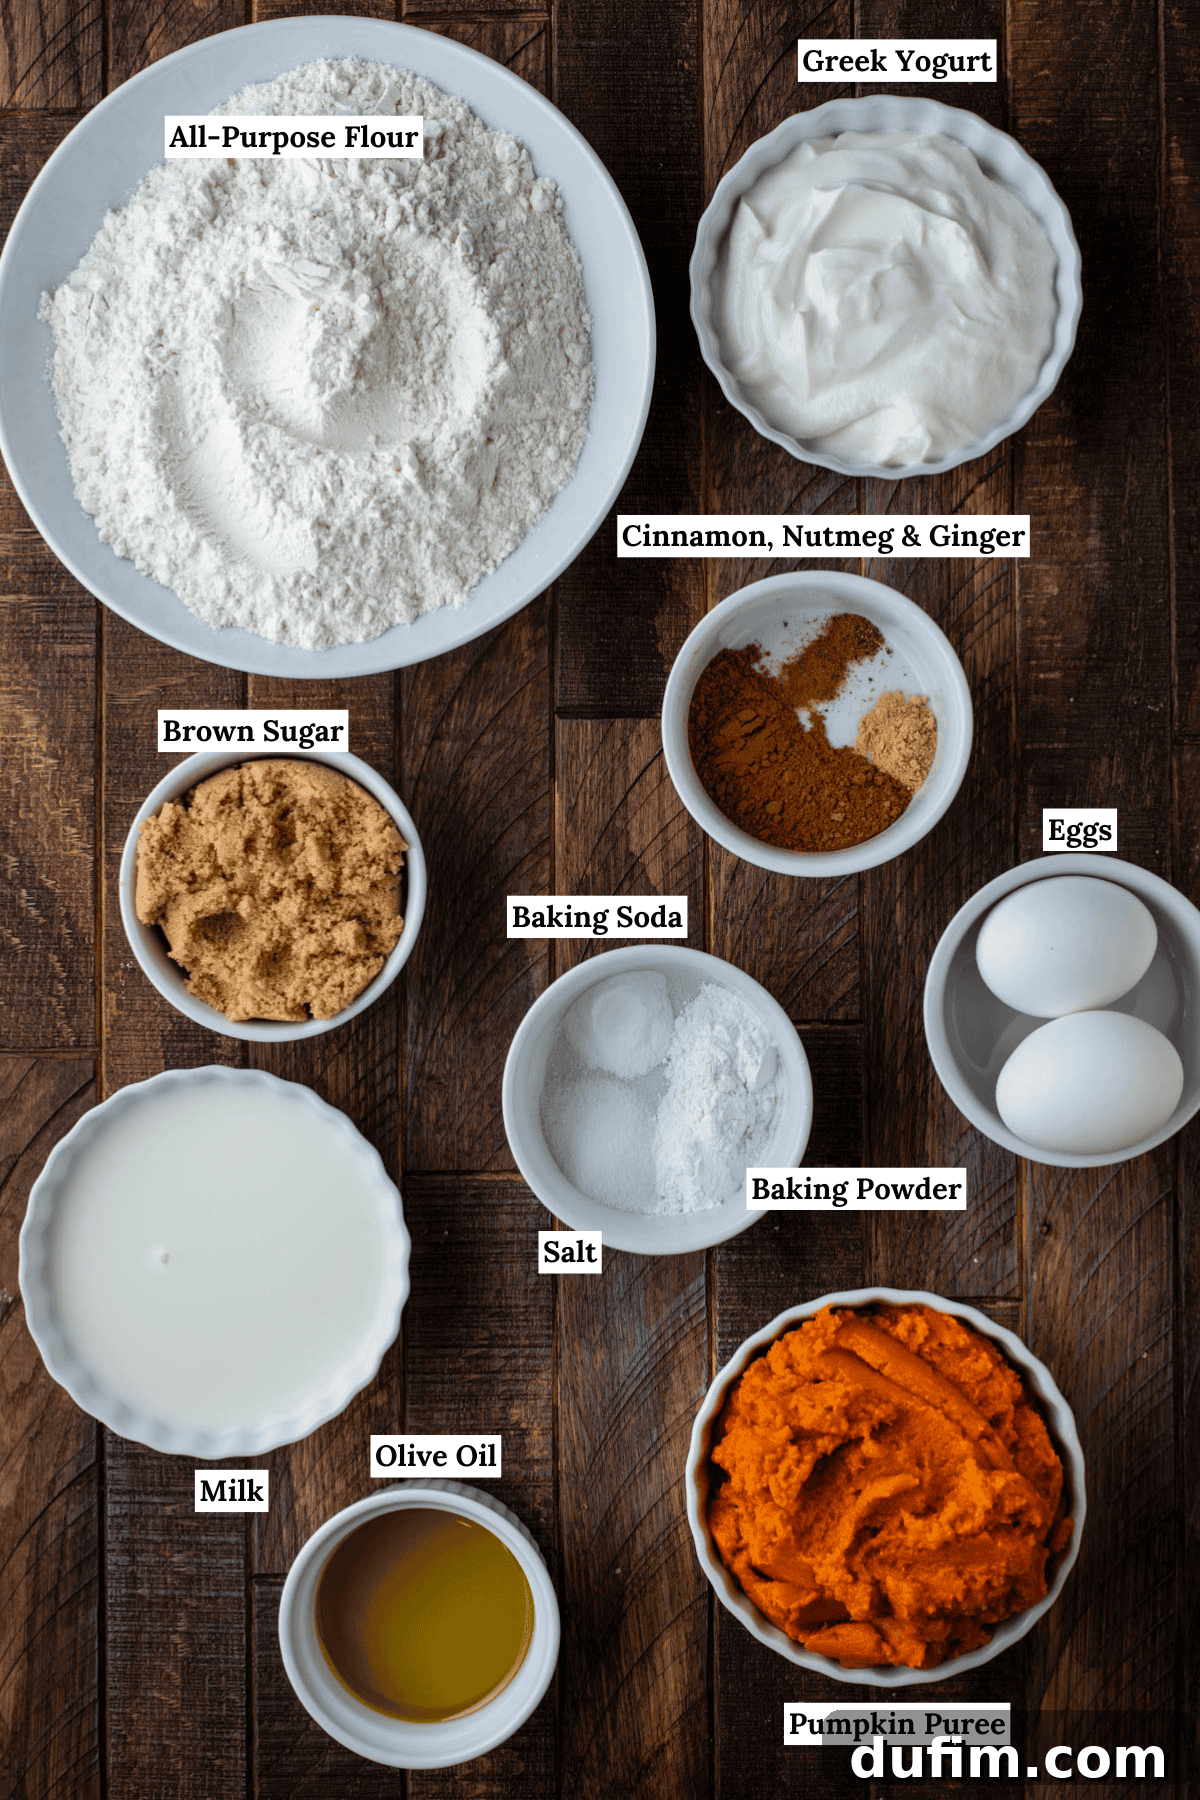
Crafting a truly delicious and healthy snack begins with selecting the finest ingredients. Our recipe calls for simple, wholesome items that combine to create a treat brimming with the quintessential flavors of Fall. You’ll find the complete list with precise measurements and detailed instructions in the dedicated recipe card below. Here’s an overview of what you’ll need, along with insights into their role:
- All-purpose flour: The foundation of our muffins, providing structure and tender crumb. Always measure it properly, ideally using a kitchen scale, to ensure perfect results.
- Brown sugar: This adds a rich, molasses-like sweetness and helps keep the muffins moist. Make sure it’s firmly packed for accurate measurement.
- Baking powder: A key leavening agent that works alongside baking soda to give our muffins that desirable light and fluffy texture.
- Baking soda: Reacts with the acidic Greek yogurt and pumpkin puree to create lift and a tender crumb.
- Salt: Essential for balancing the sweetness and enhancing all the delicious flavors in the muffin.
- Ground cinnamon: The star spice of pumpkin baking, offering warmth and aromatic complexity.
- Ground nutmeg: A classic pairing with pumpkin, adding a subtly sweet and spicy note.
- Ground ginger: Provides a gentle, zesty kick that complements the other spices beautifully.
- Pure pumpkin puree: Crucial for both flavor and moisture. Ensure you use 100% pure pumpkin puree, not pumpkin pie mix, which contains added sugars and spices.
- Eggs: Act as binders, adding structure, richness, and helping to emulsify the batter for a smoother texture.
- Nonfat Greek yogurt: A brilliant healthy swap! It adds incredible moisture, a slight tang, and a boost of protein, making the muffins incredibly tender. Plain nonfat Greek yogurt is ideal, but vanilla can also work if you adjust for sweetness.
- Olive oil: Replacing vegetable oil, olive oil provides a healthier fat source, contributing to a moist texture without imparting a strong flavor.
- Milk: Adds necessary liquid to the batter. I typically use whole milk for richness, but skim, 1%, 2%, or even almond milk work perfectly, offering flexibility for various dietary preferences.
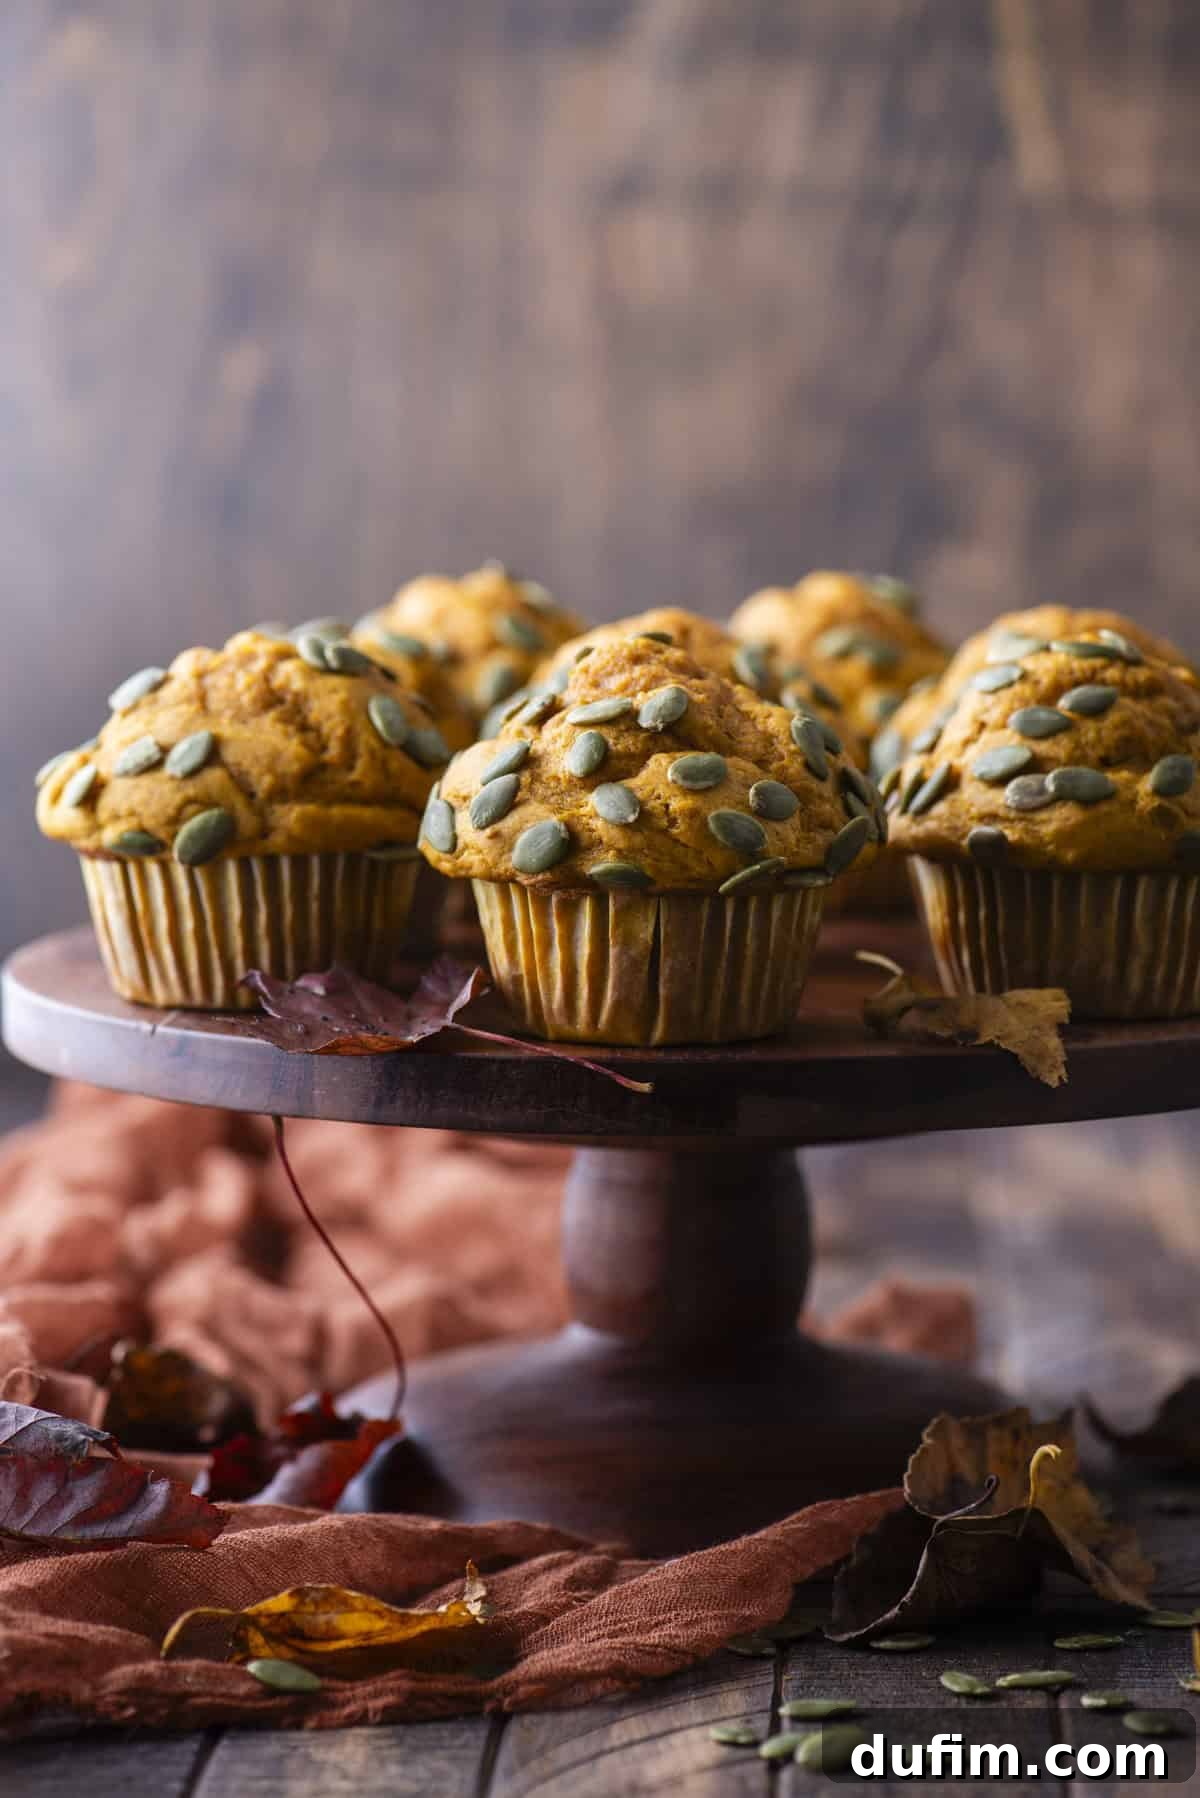
- Pumpkin seeds (optional): These are fantastic for adding a delightful crunch and a beautiful visual garnish to the tops of your muffins.
Crafting Your Delicious Pumpkin Muffins: A Step-by-Step Guide
Achieving bakery-quality pumpkin muffins at home is easier than you think, requiring just 5 straightforward steps. Follow along closely for these simple instructions, and remember to consult the full recipe card below for all the essential details and additional tips!
- Combine Dry Ingredients: Begin by taking a large mixing bowl. Into this bowl, add your measured all-purpose flour, packed brown sugar, baking powder, baking soda, salt, ground cinnamon, ground nutmeg, and ground ginger. Use a whisk to gently but thoroughly combine these dry ingredients. This ensures that the leavening agents and spices are evenly distributed throughout the flour, which is crucial for uniform rising and flavor in every muffin. Once mixed, set this bowl aside.
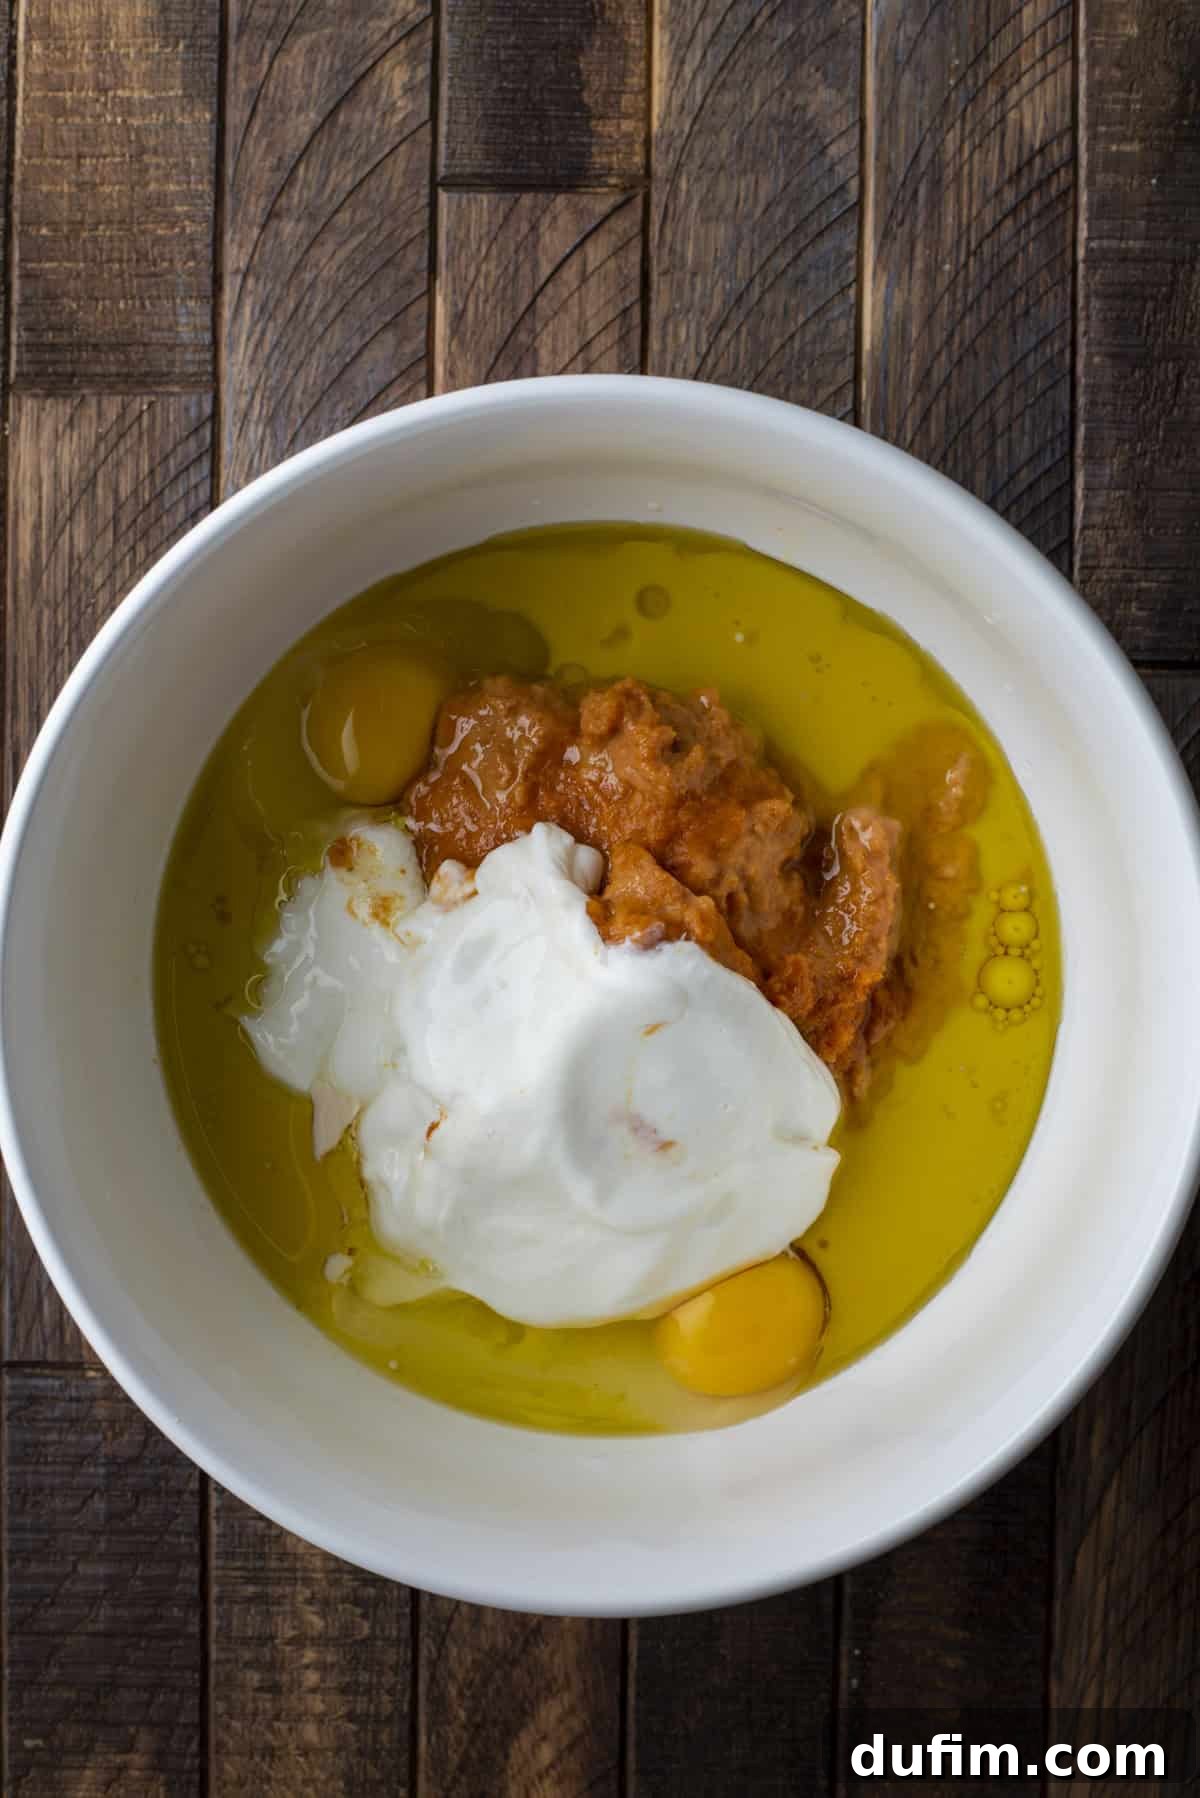
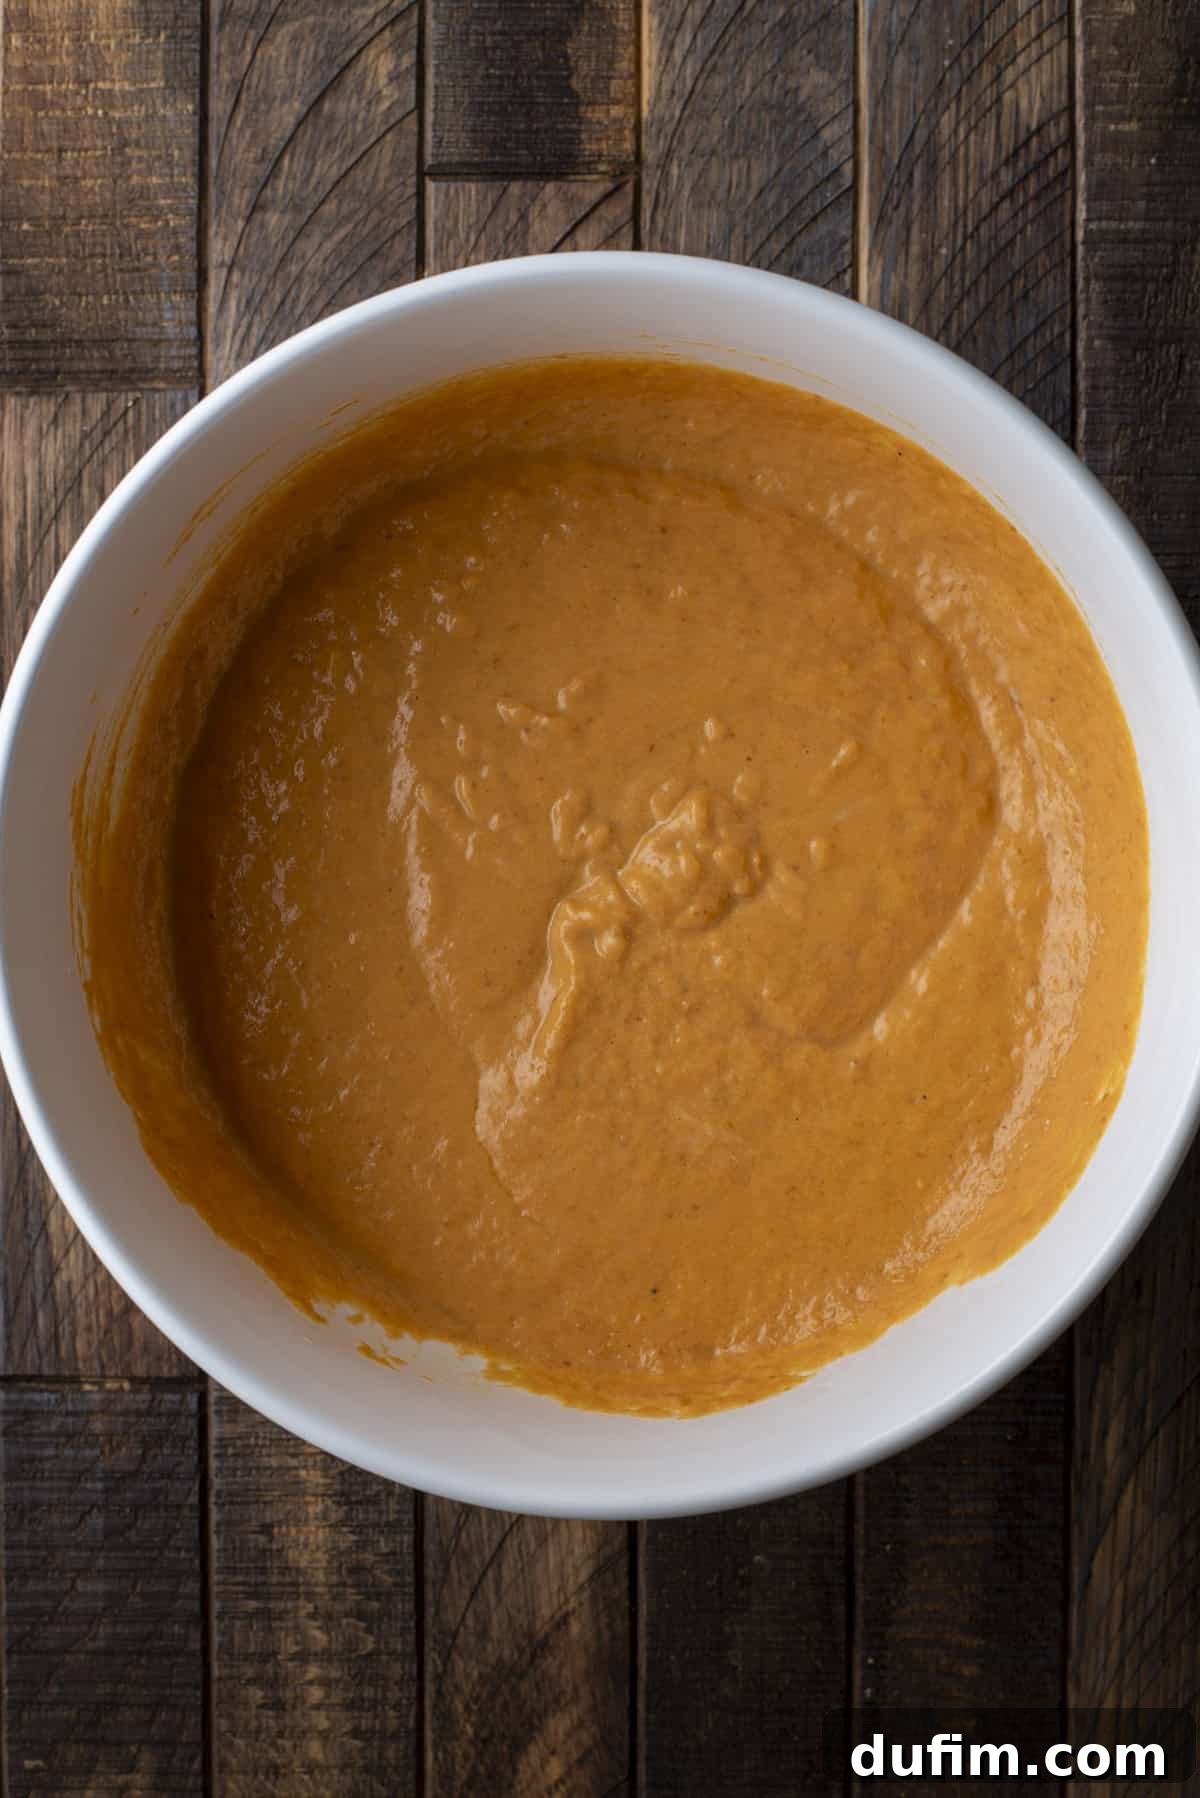
- Combine Wet Ingredients: In a separate, larger mixing bowl, bring together all your wet ingredients: the pure pumpkin puree, large eggs, nonfat Greek yogurt, olive oil, and milk. Using a whisk or a sturdy spatula, mix these ingredients thoroughly until they are completely combined and form a smooth, uniform mixture. Ensure there are no streaks of unmixed yogurt or oil.
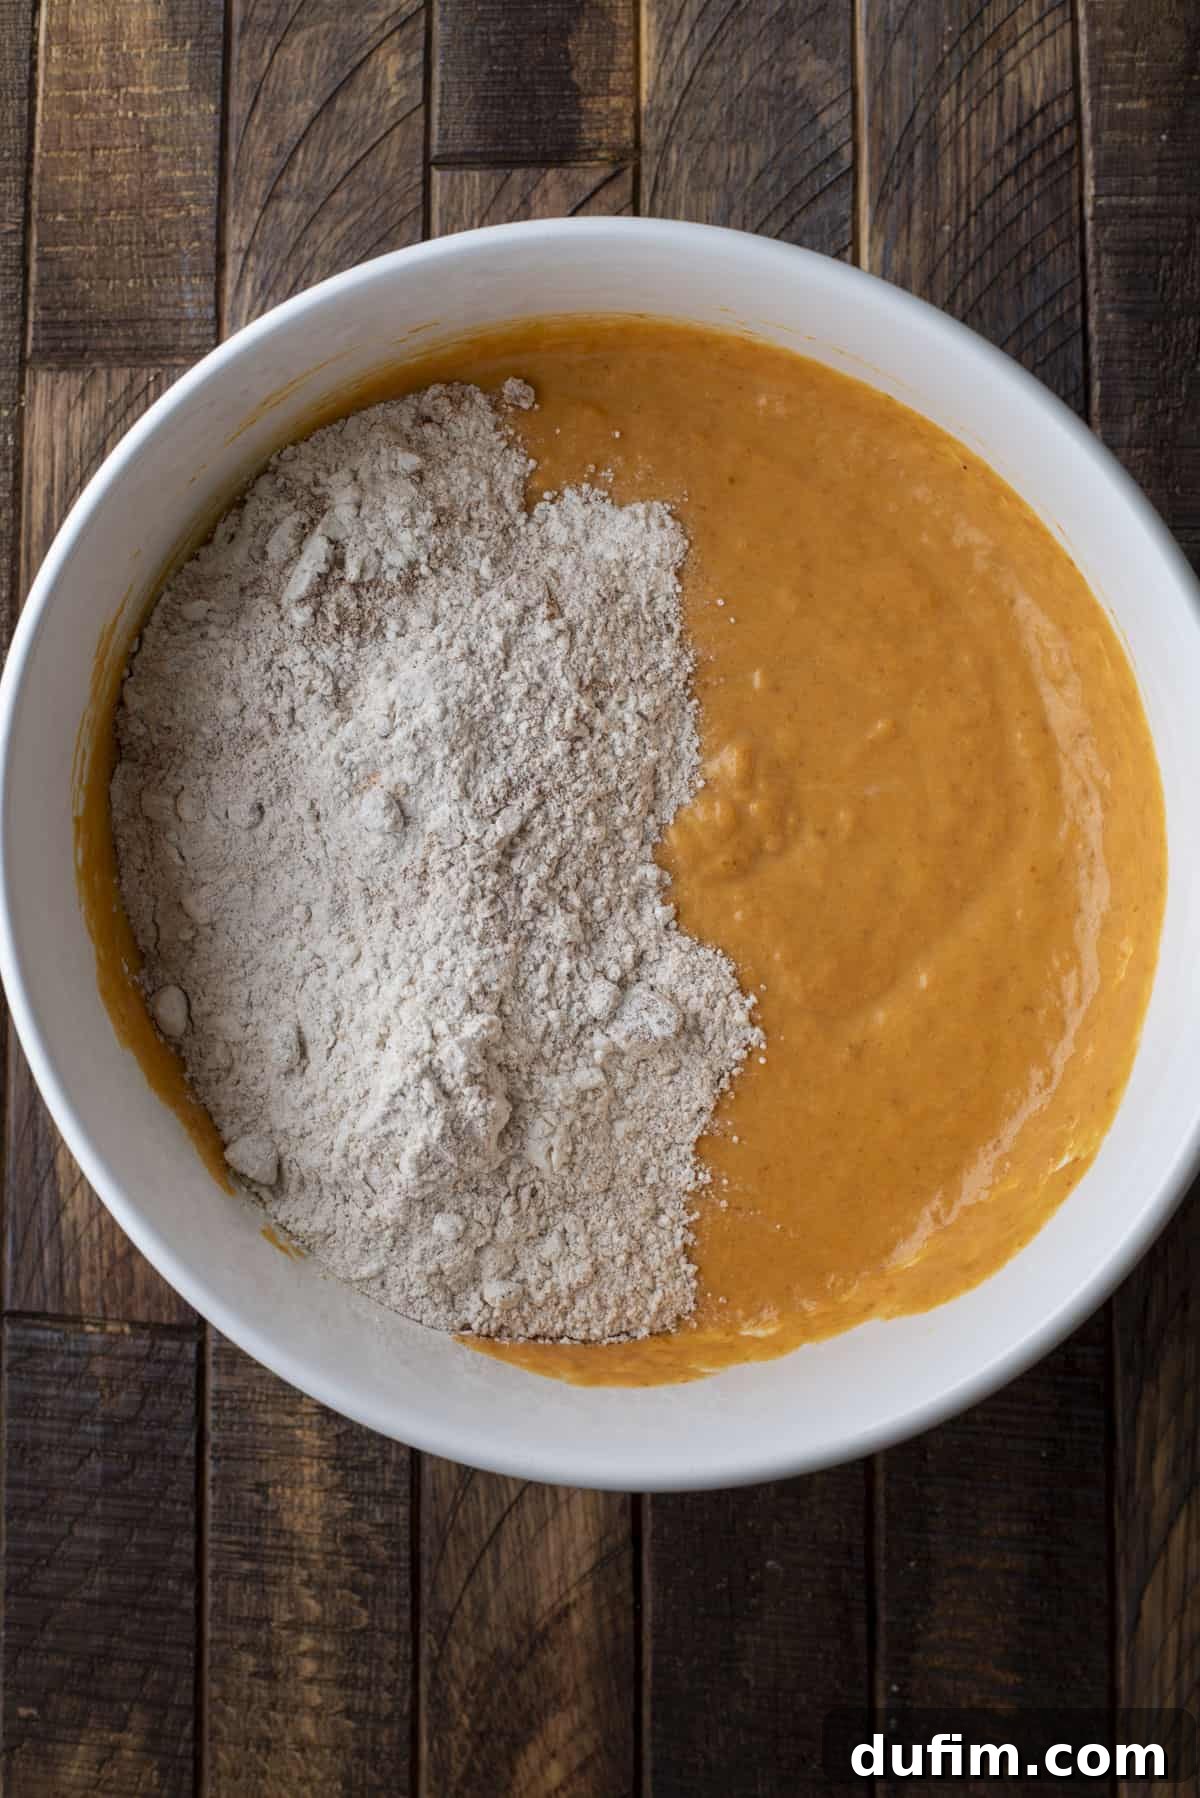
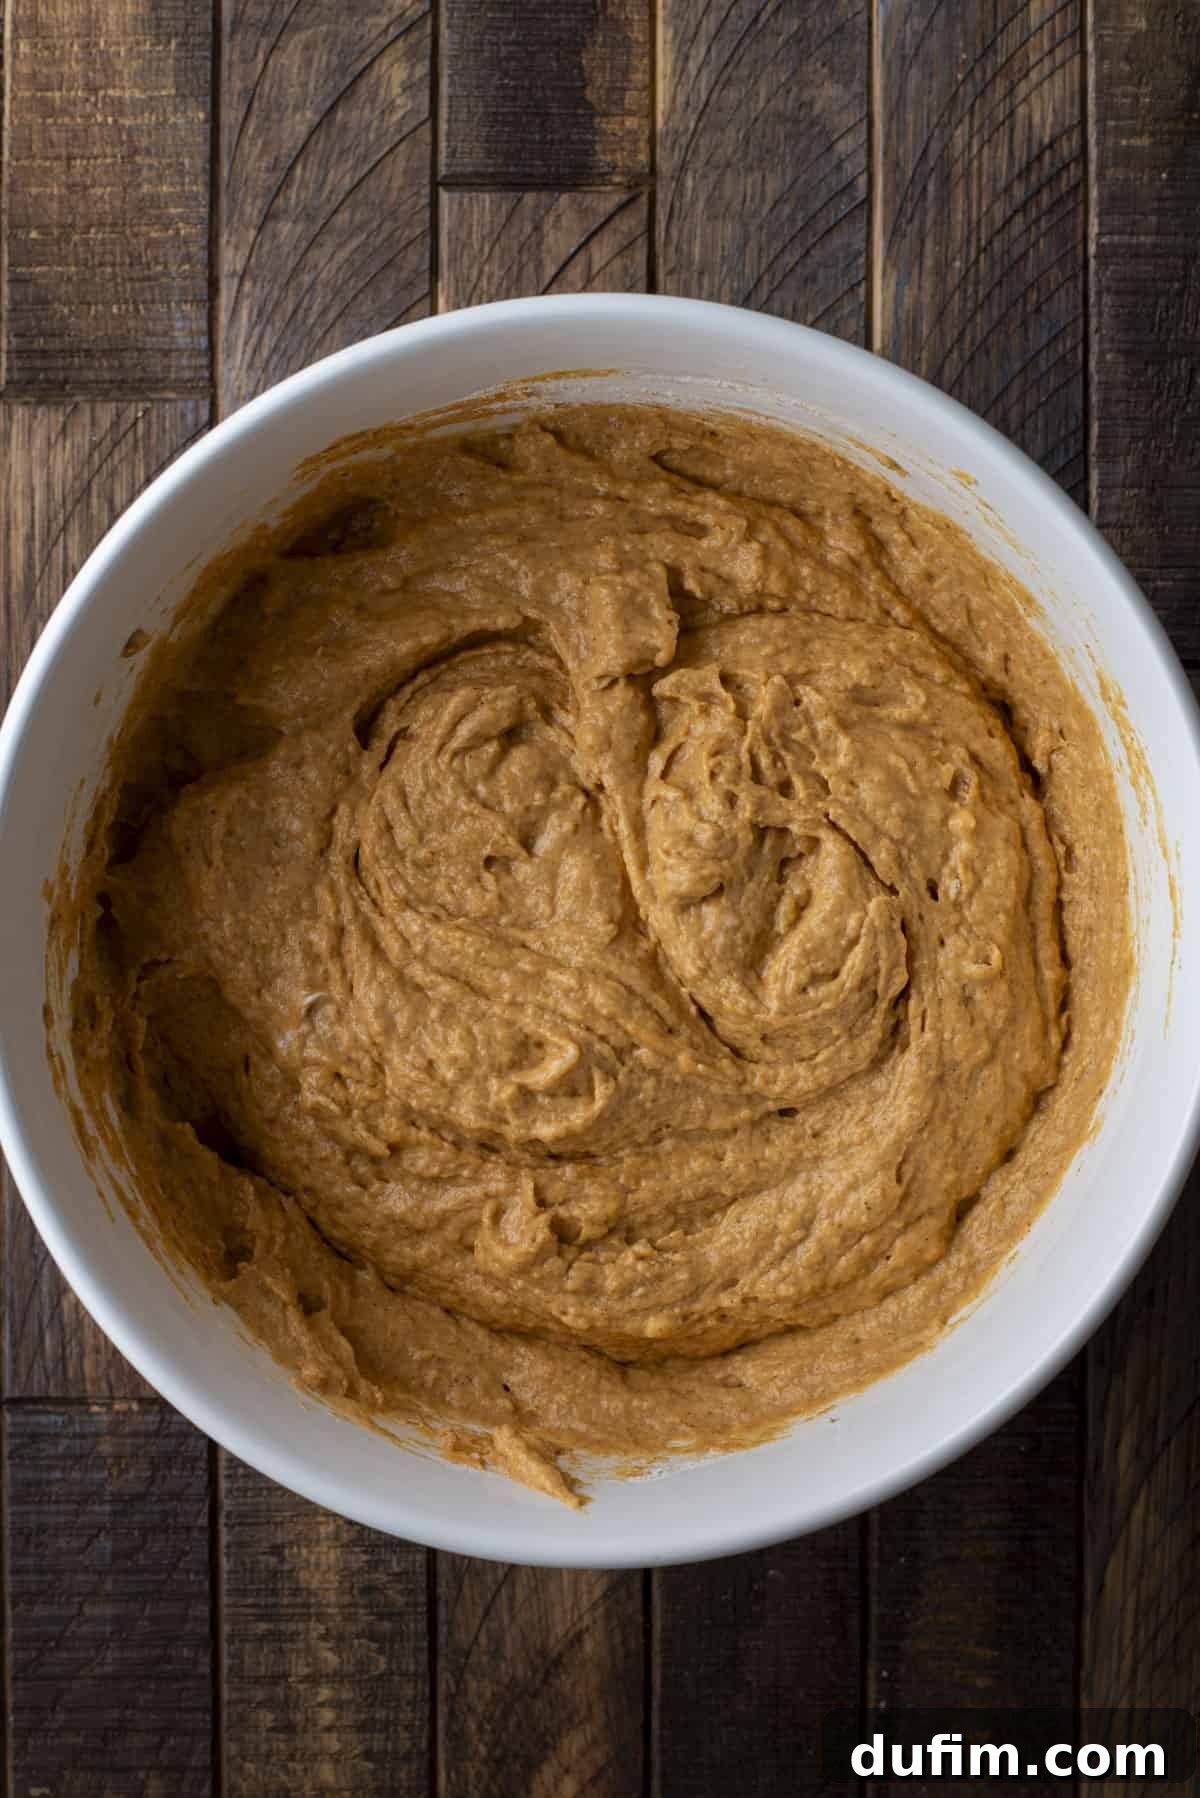
- Combine Wet and Dry Ingredients: Now, it’s time to bring everything together. Gradually add the dry ingredient mixture into the wet ingredients. Mix carefully, just until the dry streaks of flour have disappeared and the ingredients are barely combined. It’s crucial not to overmix the batter, as this can lead to tough, dense muffins. The batter will be noticeably thick at this stage, which is perfectly normal.
- Rest Muffin Batter: This often-overlooked step is a secret to tender, fluffy muffins. Cover the bowl containing your thick muffin batter with a clean kitchen towel and allow it to rest undisturbed for 15 minutes. During this resting period, the flour fully hydrates, leading to a softer texture, and the leavening agents begin to activate. While your batter rests, preheat your oven to a high temperature of 425ºF (220ºC).
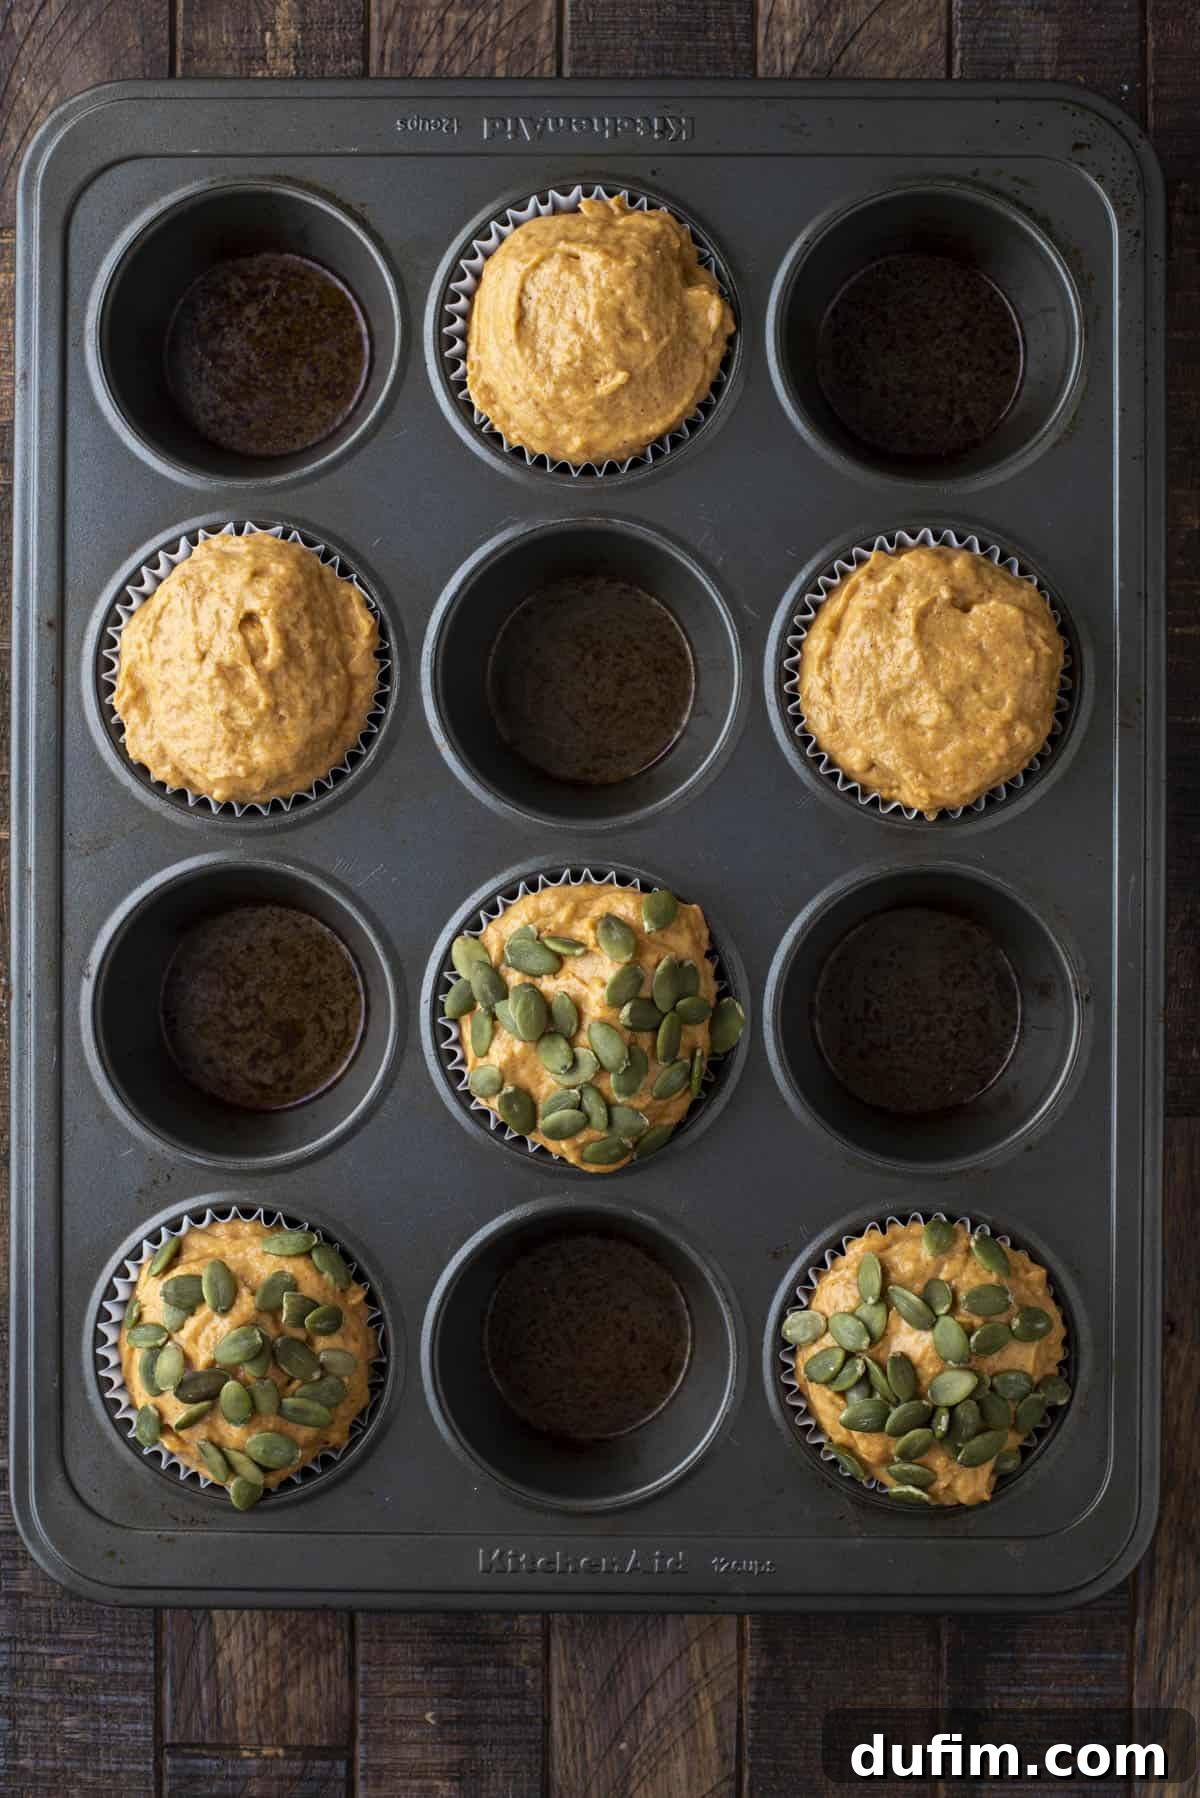
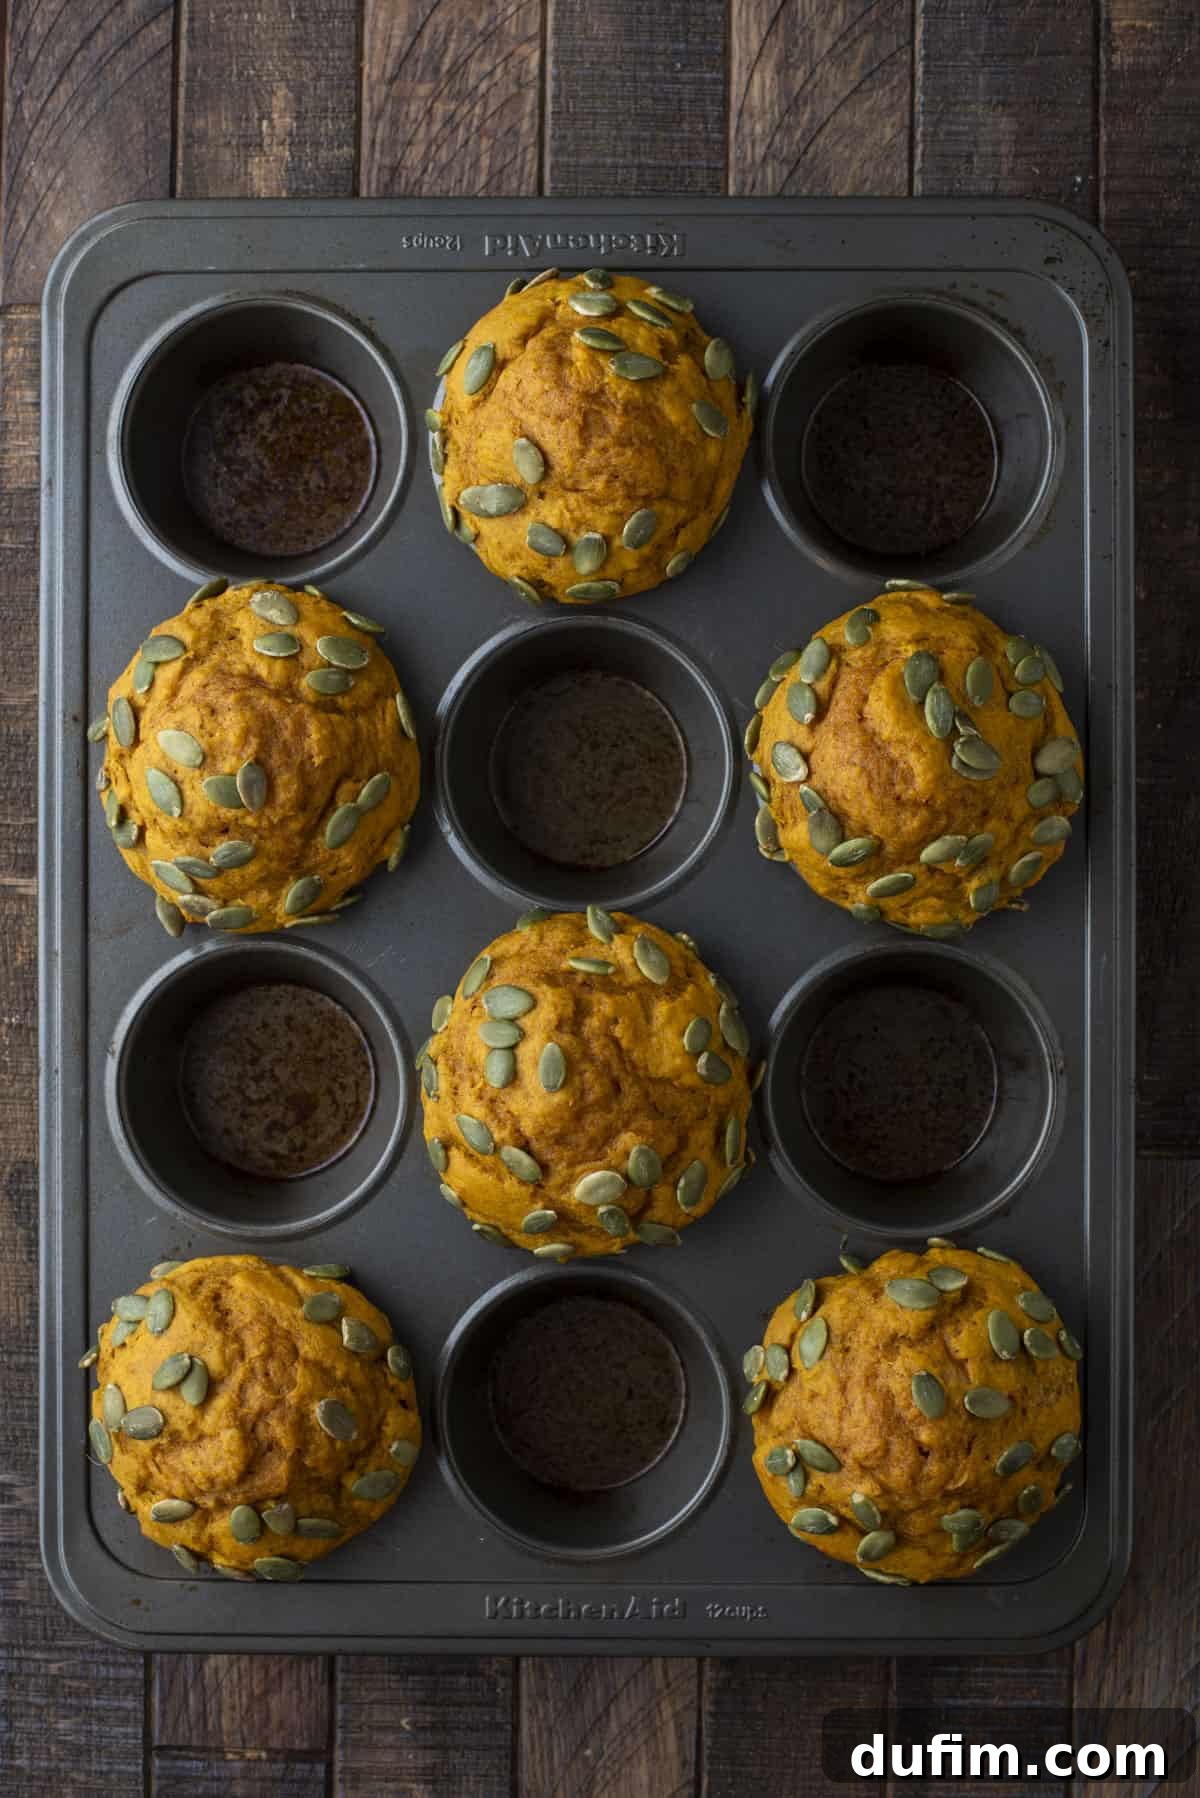
- Add to Pan and Bake: To achieve those coveted bakery-style domed muffin tops, line a standard 12-count muffin tin with only 6 muffin liners, filling every other muffin well. This spacing allows the muffins to spread and rise without crowding. Crucially, I highly recommend spraying the muffin cups, even with liners, with non-stick cooking spray, as this healthier batter tends to stick more easily. Fill each lined cup with 6-8 heaping tablespoons of batter. If desired, sprinkle a generous amount of pumpkin seeds over the tops of the muffins for added texture and visual appeal. Place one muffin pan in the center of your preheated oven. Bake at 425ºF (220ºC) for an initial 7 minutes. This high heat provides a rapid burst of leavening, encouraging a beautiful domed top. Without opening the oven door, reduce the temperature to 350ºF (180ºC) and continue baking for another 13-16 minutes, or until a toothpick inserted into the center of a muffin comes out clean. Once baked, allow the muffins to cool in the pan for a few minutes before transferring them to a wire rack to cool completely. If you have remaining batter, repeat the baking process, ensuring to bump the oven temperature back up to 425ºF (220ºC) before the next batch.
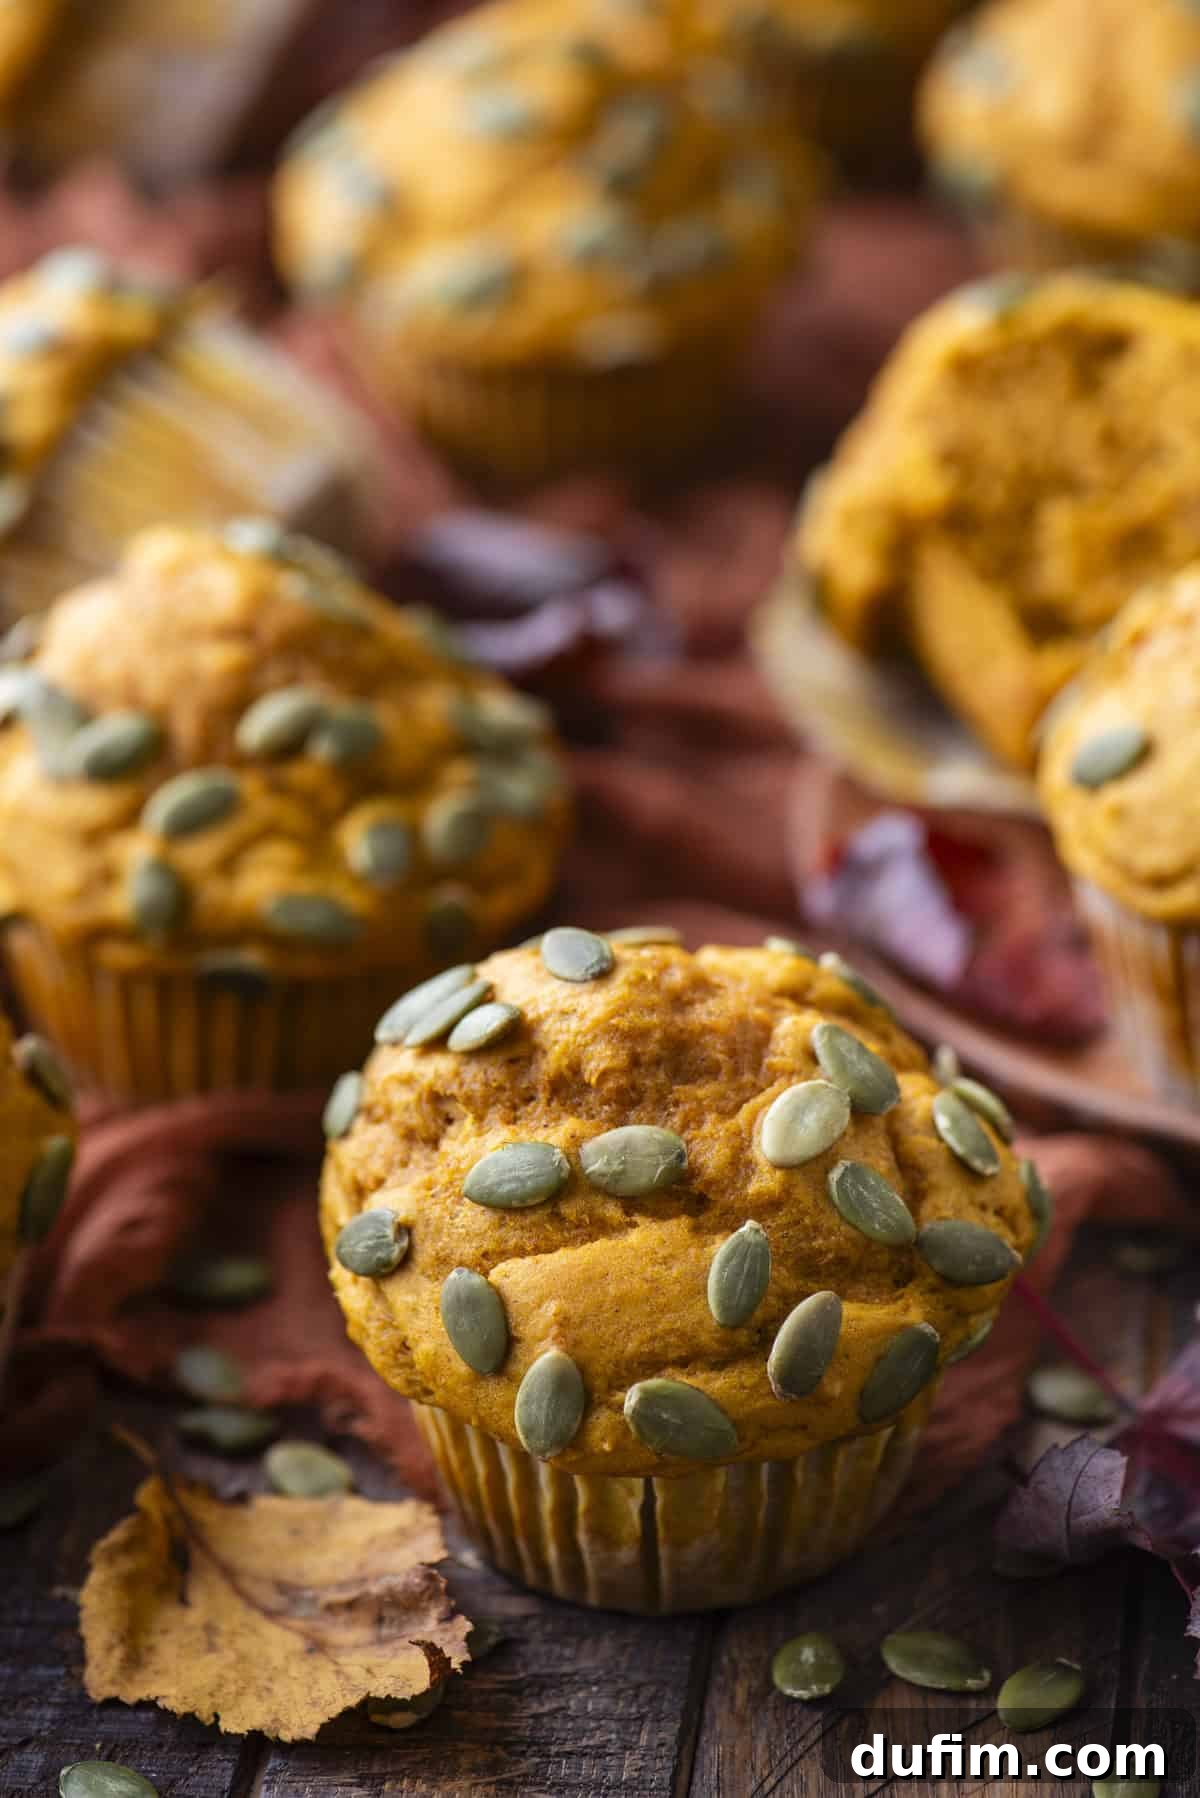
Expert Tips for the Best Healthy Pumpkin Muffins
Elevate your healthy pumpkin muffin baking with these invaluable tips, ensuring every batch is exceptionally delicious and perfectly textured:
- Always Spray the Liners: This is a crucial step for this particular batter! While liners generally prevent sticking, this healthy recipe’s moist batter has a tendency to adhere more. A light coating of non-stick cooking spray on the inside of each muffin liner will make for easy removal and intact muffins.
- Do Not Skip the Rest Time: Allowing the batter to rest for 15 minutes in the mixing bowl is not just a suggestion; it’s a game-changer. This time allows the flour to fully hydrate, resulting in a more tender crumb and a noticeably softer, fluffier muffin. It also gives the leavening agents a head start, contributing to better rise.
- Master Bakery-Style Domed Muffin Tops: For those impressive, high-domed muffin tops you see in bakeries, here’s the trick: only fill every other cup in your 12-count muffin tin. This spacing provides ample room for the muffins to expand and rise without running into each other. The extra space also promotes better air circulation, leading to a beautiful golden-brown top.
- The High-Then-Low Temperature Trick: Begin baking your muffins at a higher temperature (425ºF / 220ºC) for the initial few minutes. This rapid heat causes a quick burst of steam, forcing the muffins to rise dramatically and set their dome shape. Then, reduce the temperature to a moderate 350ºF (180ºC) to ensure they bake through evenly without burning, resulting in a perfectly cooked interior.
- Properly Measure Your Flour: Accuracy in flour measurement is paramount for the right texture. Too much flour can lead to dry, dense muffins, while too little can make them too moist or crumbly. Always follow the detailed instructions below for measuring flour correctly.
- Exciting Add-ins and Variations: While these muffins are fantastic on their own, feel free to customize them! I love topping mine with pumpkin seeds for an appealing presentation and a delightful textural contrast. For a touch of indulgence, consider mixing in a handful of mini chocolate chips to create delicious healthy pumpkin chocolate chip muffins. You could also experiment with chopped nuts like pecans or walnuts, or even a sprinkle of rolled oats for extra fiber.
- Avoid Overmixing: Once you combine the wet and dry ingredients, mix just until the flour streaks disappear. Overmixing develops the gluten in the flour too much, which can result in tough, chewy muffins instead of light and tender ones. A few small lumps are perfectly fine!
- Check Your Oven Temperature: Ovens can vary significantly. If your muffins aren’t rising as expected or baking unevenly, consider using an oven thermometer to verify that your oven is actually at the temperature you set.
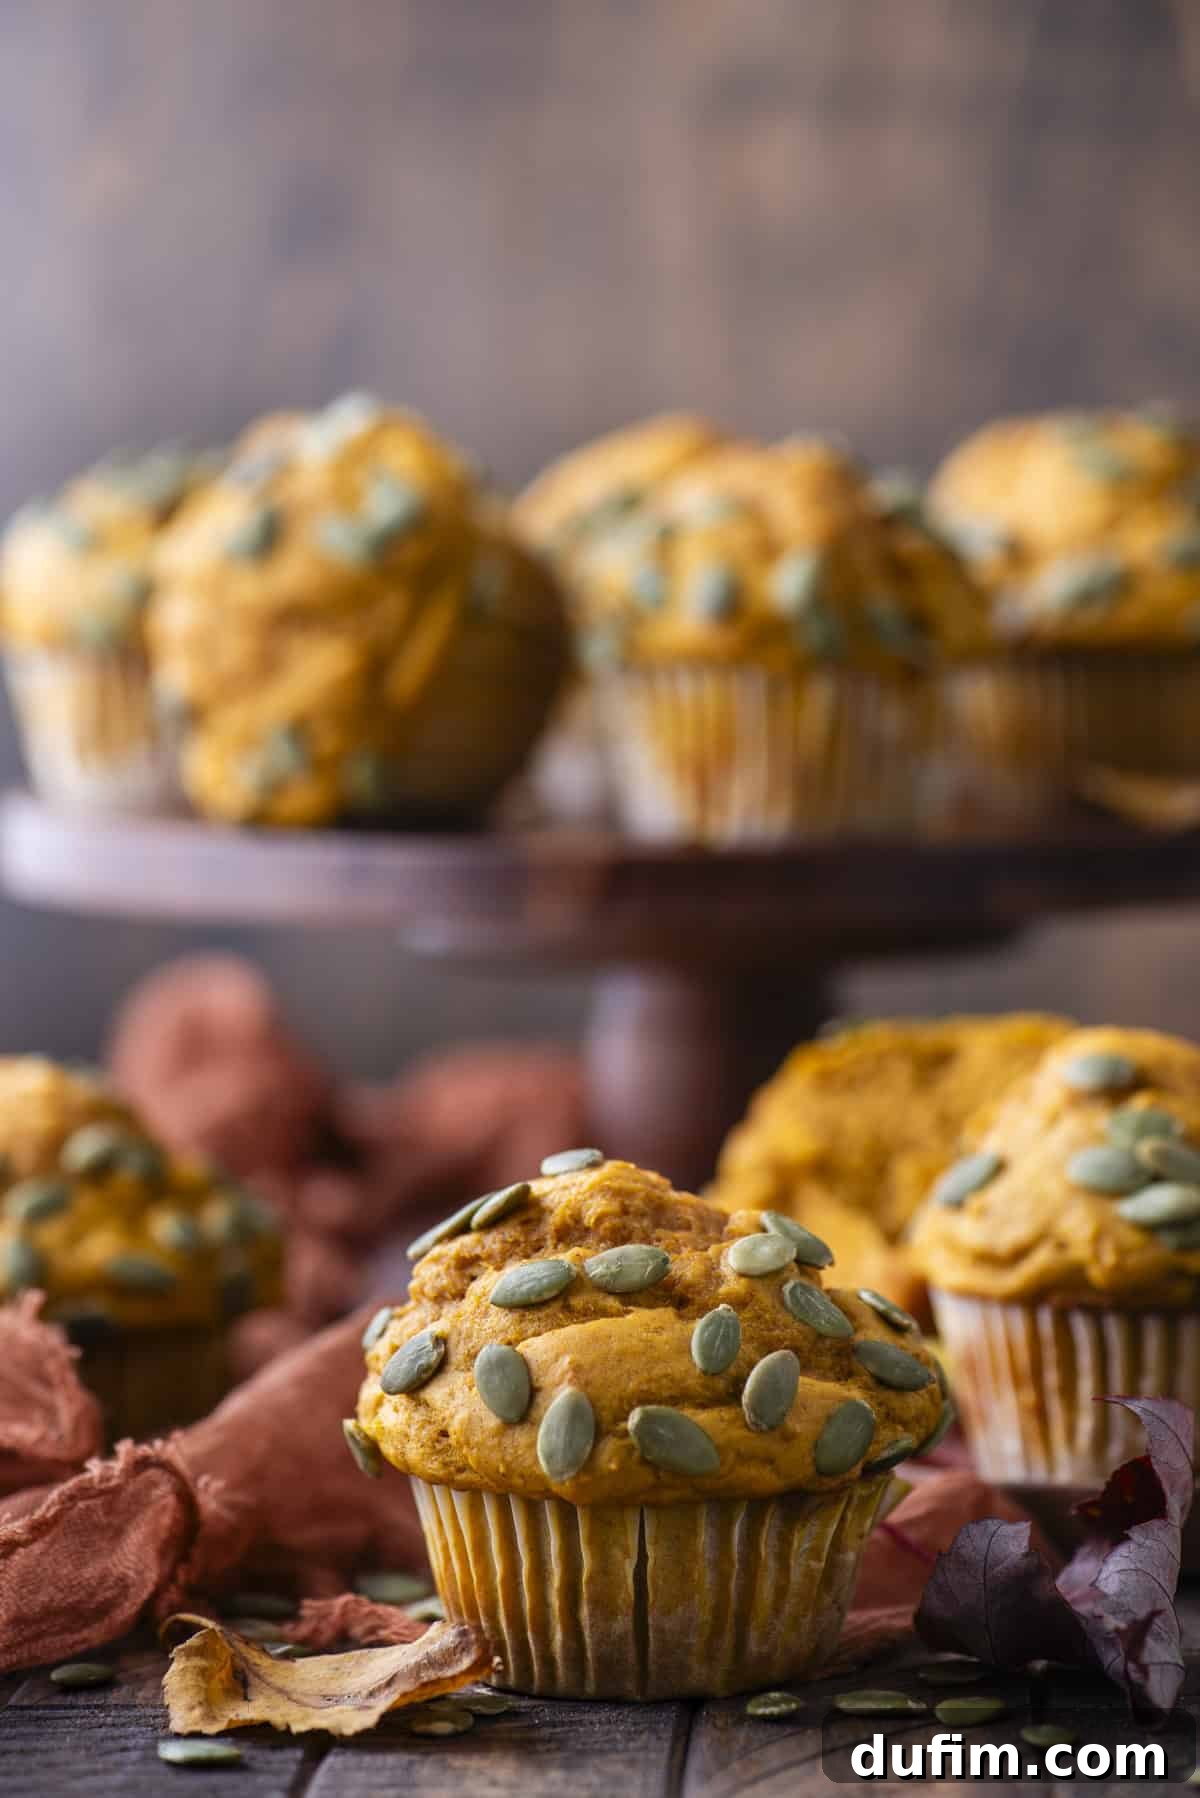
The Art of Properly Measuring Flour for Baking Success
Precision in baking often hinges on accurate ingredient measurement, and flour is no exception. Incorrectly measured flour is a common culprit behind many baking mishaps, from dense cakes to crumbly cookies.
The gold standard for measuring flour, offering unparalleled accuracy, is to use a kitchen scale, weighing it in grams. This eliminates variables caused by different packing densities.
If a kitchen scale isn’t available, follow this reliable method known as the “spoon and level” technique:
- Aerate the Flour: Before you even think about scooping, aerate your flour. Flour naturally settles and compacts in its container, meaning a scoop directly from the bag will yield significantly more than the recipe intends. Use a whisk or a spoon to gently fluff up the flour in its bag or canister. This is simply making it lighter and looser, distinct from sifting (unless the recipe explicitly calls for sifting).
- Spoon into the Measuring Cup: Do not use the measuring cup itself to scoop directly from the flour bag. Instead, use a separate spoon to gently sprinkle the aerated flour into your dry measuring cup. Overfill the cup slightly.
- Level Off the Excess: Once the cup is overfilled, use the straight edge of a butter knife or a flat spatula to level off the excess flour, ensuring it’s flush with the top rim of the measuring cup. Resist the urge to tap the cup against the counter, as this will re-compact the flour and defeat the purpose of aeration.
Storing and Freezing Your Delicious Pumpkin Muffins
Proper storage is key to maintaining the freshness and delicious texture of your homemade pumpkin muffins. Follow these guidelines to enjoy your baked goods for as long as possible.
Muffin Storage: Keeping Them Fresh
For immediate enjoyment or if you plan to devour all the muffins within 24 hours of baking, you can simply leave them uncovered on your countertop. Believe it or not, these moist muffins won’t dry out within a day at room temperature.
In fact, muffins are so wonderfully moist that storing them in an airtight container immediately can sometimes make them soggy, causing those delightful crunchy, sugary tops to soften and disappear.
But fear not, I have a brilliant trick to combat this: paper towels!
For longer storage, typically 2-4 days, an airtight container is ideal, but with a crucial addition. Line the bottom of your airtight container with a layer of paper towels. Arrange the cooled muffins in a single layer over the paper towels. If you have more muffins, place another layer of paper towels on top of the first layer of muffins before adding the next batch. These paper towels will act like a sponge, diligently absorbing any excess moisture that the muffins release during storage, helping to preserve their texture.
Make sure to check the paper towels around day 2 or day 3. If they feel damp or overly moist, promptly replace them with fresh, dry paper towels to continue absorbing moisture effectively.
How To Freeze Muffins for Long-Term Enjoyment
Freezing your pumpkin muffins is an excellent way to extend their shelf life and enjoy a quick, homemade treat whenever the craving strikes. To freeze them effectively:
- Individual Wrapping: Once the muffins are completely cooled (this is critical to prevent ice crystals), individually wrap each muffin tightly in plastic wrap. This prevents freezer burn and keeps them fresh.
- Airtight Container/Bag: Place the individually wrapped muffins into a large freezer-safe ziploc bag or an airtight container. This provides a second layer of protection against freezer odors and moisture.
- Freeze: Store in the freezer for up to 3 months. For best quality, try to consume them within this timeframe.
To thaw your frozen muffins:
- Room Temperature: Simply remove the desired number of muffins from the freezer and unwrap them. Leave them at room temperature for approximately 1 hour, or until fully defrosted.
- Microwave Method: For a quicker thaw, unwrap a muffin and place it on a microwave-safe plate. Microwave it at 20-second intervals, checking for softness after each interval, until it is defrosted and warm. Be careful not to overheat, as this can make them tough.
Explore More Delicious Pumpkin Recipes
If you’re enchanted by the warm, comforting flavors of pumpkin, then you’ll love exploring these other delightful recipes that celebrate this iconic fall ingredient:
- Homemade Pumpkin Pie Recipe: The ultimate classic, perfect for any holiday gathering.
- Pumpkin Patch Cupcakes: Adorably decorated and wonderfully moist, these are a hit with kids and adults alike.
- Pumpkin Dump Cake (Easy!): A delightfully simple dessert that’s rich, gooey, and packed with pumpkin flavor.
- No Bake Whipped Cream Pumpkin Pie: A fantastic option when you need a quick, impressive dessert without turning on the oven.
Healthy Pumpkin Muffins Recipe FAQs
Absolutely! This versatile batter works wonderfully as a quick bread. Simply pour the prepared batter into a greased 9×5-inch loaf pan. Reduce the oven temperature to 350ºF (180ºC) for baking. The bake time will naturally be longer, typically around 45-60 minutes. Keep a close eye on it, and test the center with a toothpick; it should come out clean when the loaf is fully baked.
While I haven’t personally tested these specific substitutes with this exact recipe, purees with similar textures and mild flavors often work well. Sweet potato puree or butternut squash puree are generally good candidates as they offer a similar consistency and earthy sweetness to pumpkin. The key is to ensure your chosen puree is smooth and not overly watery, which could affect the final consistency of the muffins. Always use 100% pure puree, not seasoned pie mixes.
Yes, mini muffins are a fantastic idea for portion control or for serving at parties! Divide the batter into a mini muffin pan, making sure to follow the ‘fill every other cup’ trick if you want domed tops. You’ll need to significantly reduce the bake time. Start checking them around 10-14 minutes, or until a toothpick inserted into the center comes out clean. Mini muffins bake much faster, so watch them closely to prevent overbaking.
While this recipe uses all-purpose flour, you can often substitute it with a 1:1 gluten-free baking flour blend. Look for blends that specifically state “for baking” or “cup-for-cup.” Results may vary slightly in texture, as gluten-free flours behave differently, but many bakers have success with this swap. Ensure your chosen blend contains xanthan gum for structure, or add 1/2 teaspoon per cup of flour if it doesn’t.
Several factors contribute to moist muffins. Using Greek yogurt and olive oil in this recipe already provides a great foundation. Key tips include: 1) Do not overmix the batter – stop as soon as the dry ingredients are just incorporated. 2) Measure your flour accurately (using a scale is best). 3) Don’t overbake; remove the muffins from the oven as soon as a toothpick comes out clean. 4) The resting period for the batter also helps ensure a tender, moist crumb.
Tap stars to rate!
Healthy Pumpkin Muffins Recipe
Beth
10
22
15
12 muffins
Pin
Rate
Equipment
-
Muffin Pan
-
Large Mixing Bowl
-
Kitchen Scale (Recommended)
-
Spatula or Whisk
Ingredients
- 3 cups (360g) all-purpose flour
- ½ cup (107g) packed brown sugar
- 3 tsp baking powder
- ½ tsp baking soda
- 1 tsp salt
- 3 tsp ground cinnamon
- ¼ tsp ground nutmeg
- ¼ tsp ground ginger
- 15 oz can (425g) pure pumpkin puree
- 2 large eggs
- ¾ cup (170g) nonfat Greek yogurt
- ¼ cup (59ml) olive oil
- ½ cup (118ml) milk
- Pumpkin seeds, optional
Instructions
-
In a mixing bowl combine the flour, brown sugar, baking powder, baking soda, salt, cinnamon, nutmeg, and ginger. Stir together until well combined and set aside.
-
In a larger mixing bowl, combine the pumpkin puree, eggs, Greek yogurt, olive oil, and milk. Whisk or stir until completely smooth and thoroughly combined.
-
Gradually add the dry ingredients into the wet ingredients. Mix gently with a spatula or spoon, just until the dry ingredients are moistened and no streaks of flour remain. Be careful not to overmix; a few small lumps are acceptable. The batter will be quite thick.
-
Cover the bowl with a clean kitchen towel and allow the batter to rest at room temperature for 15 minutes. During this time, preheat your oven to 425ºF (220ºC).
-
For bakery-style muffins, line a 12-count muffin pan with 6 muffin liners, filling every other muffin well. It is highly recommended to spray the muffin liners with non-stick cooking spray, as this batter tends to stick. Fill each lined cup with 6-8 heaping tablespoons of batter. Sprinkle pumpkin seeds over the tops of the muffins if desired. Place one muffin pan in the center of the preheated oven and bake for 7 minutes at 425ºF (220ºC). Without removing the muffins, reduce the oven temperature to 350ºF (180ºC) and continue baking for another 13-16 minutes, or until a toothpick inserted into the center of a muffin comes out clean. Allow the muffins to cool in the pan for a few minutes before transferring them to a wire rack. Repeat with any remaining batter, ensuring the oven temperature is bumped back up to 425ºF (220ºC) before baking the next batch.
Video
(Video content would be displayed here by a plugin, but is omitted for strict HTML output without JavaScript)

Watch how to make these delicious Healthy Pumpkin Muffins!
Nutrition
Serving:
1
muffin
|
Calories:
228
kcal
|
Carbohydrates:
37
g
|
Protein:
6
g
|
Fat:
6
g
|
Saturated Fat:
1
g
|
Polyunsaturated Fat:
1
g
|
Monounsaturated Fat:
4
g
|
Trans Fat:
0.004
g
|
Cholesterol:
33
mg
|
Sodium:
371
mg
|
Potassium:
166
mg
|
Fiber:
2
g
|
Sugar:
11
g
|
Vitamin A:
5579
IU
|
Vitamin C:
2
mg
|
Calcium:
117
mg
|
Iron:
2
mg
Nutrition Disclosure
All nutritional values are approximate and provided to the reader as a courtesy. Changing ingredients and/or quantities will alter the estimated nutritional calculations.
Like this recipe? Rate and comment below!