
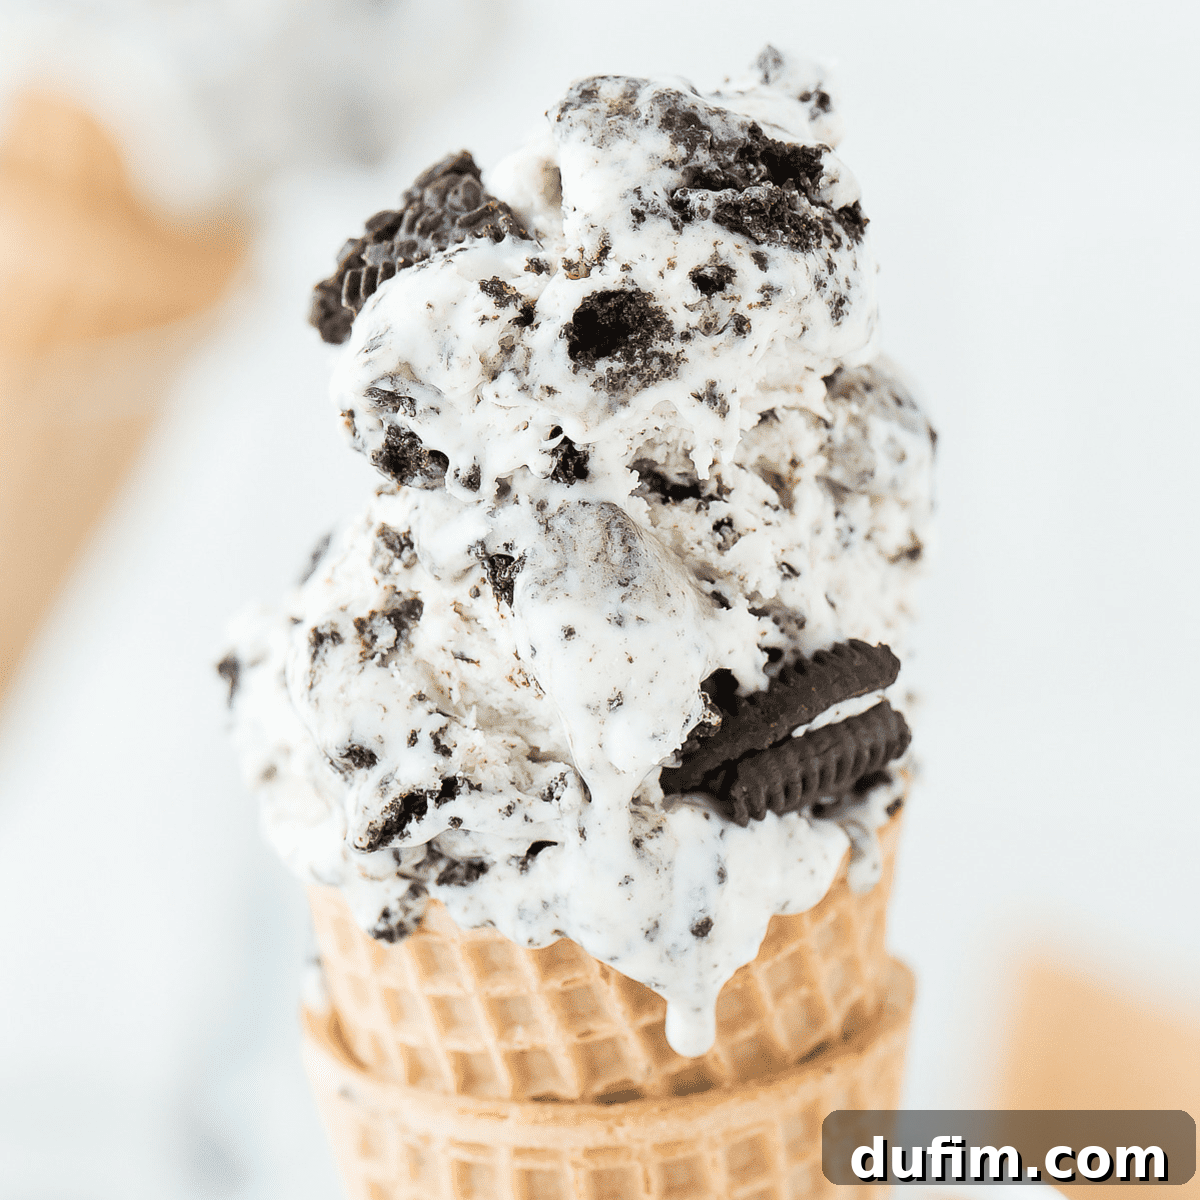
Embark on your own delightful journey to master the art of homemade ice cream! After months of dedicated recipe testing and perfecting, I am thrilled to share with you the ultimate recipe for this incredibly easy and unbelievably delicious Oreo Ice Cream. The best part? You don’t need any prior experience or even an expensive ice cream maker to create this rich, creamy dessert. Get ready to impress your taste buds and those of your loved ones with this simple, no-fail method.
I made this and licked the bowl clean lol! Sooo good and sooo simple. I will never BUY shop bought Oreos ice cream ever again!!!!!
-Angel
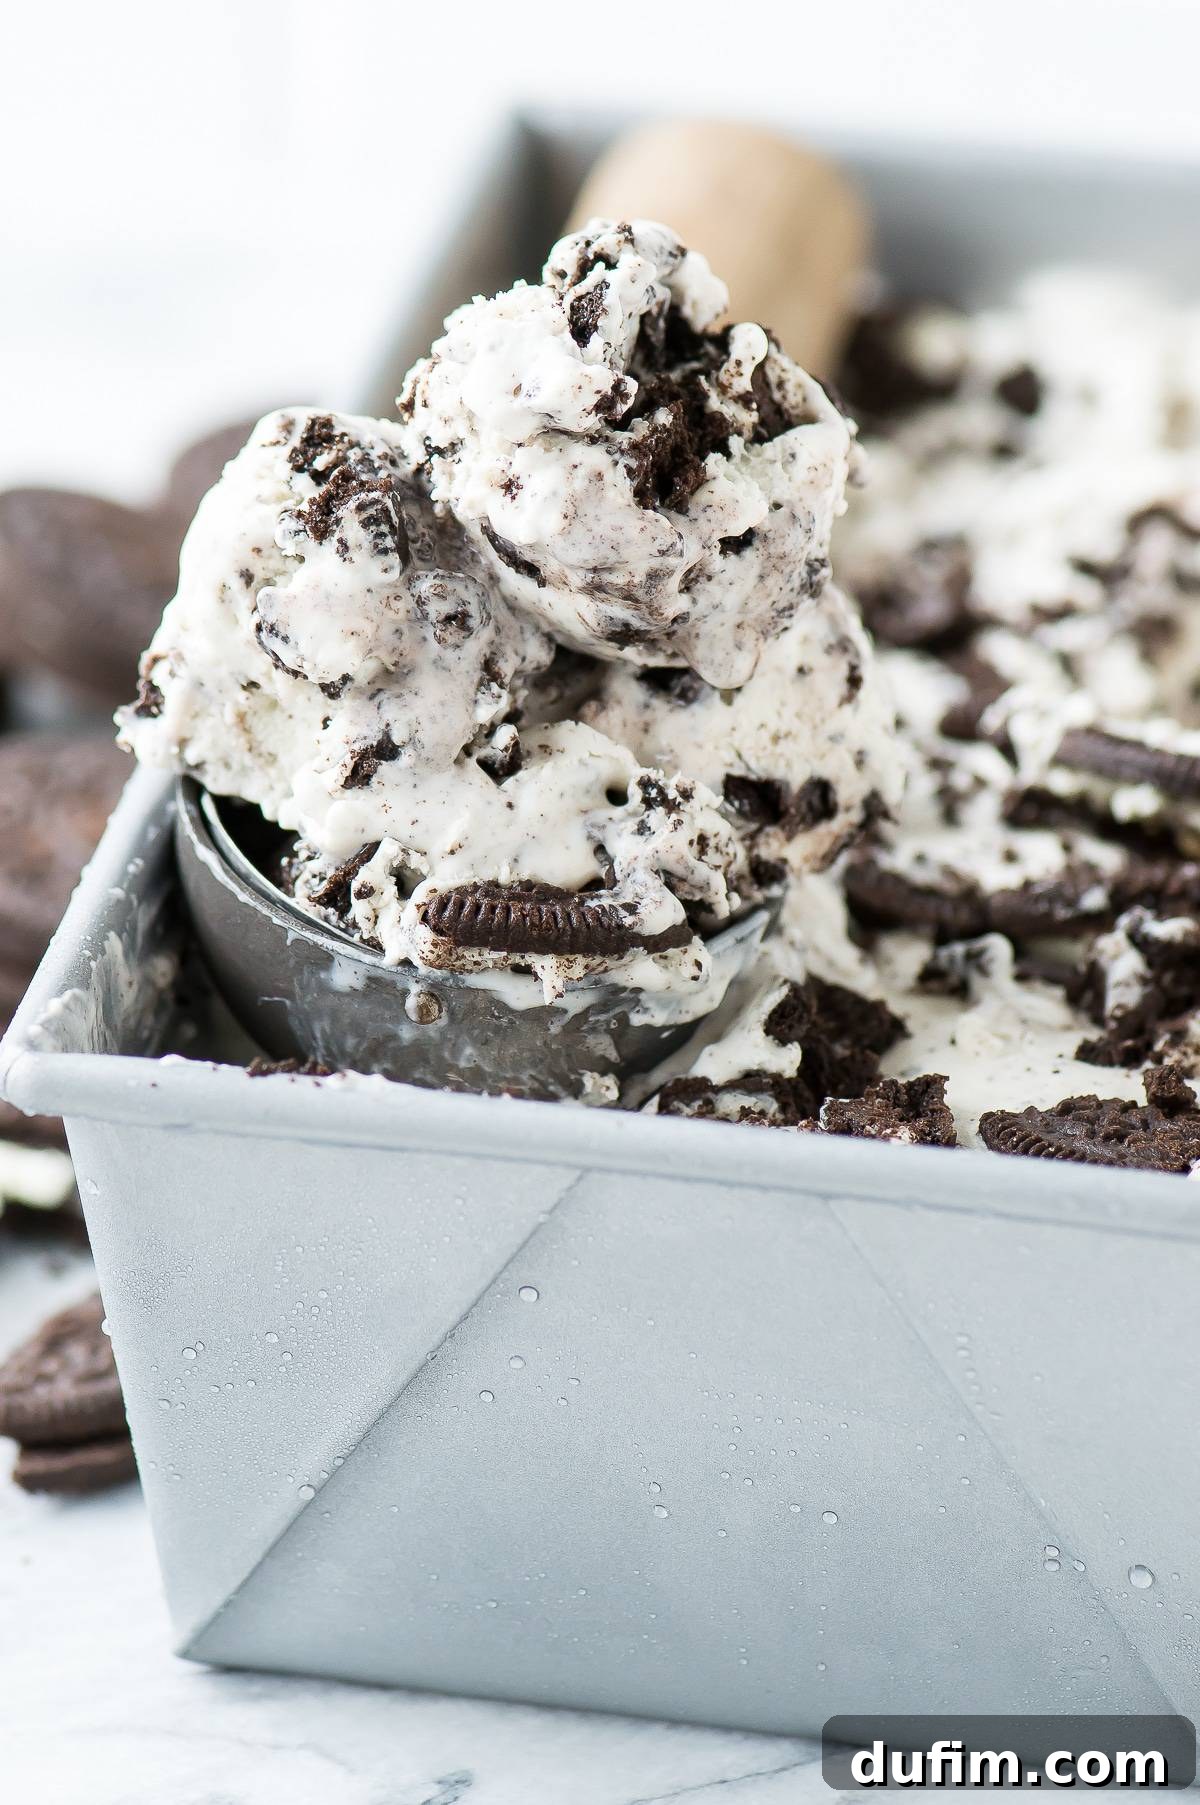
Irresistible No-Churn Oreo Ice Cream: Your New Favorite Homemade Treat
Just like my popular Strawberry Cheesecake Ice Cream, this exceptional Oreo ice cream recipe relies on two magical ingredients: heavy whipping cream and sweetened condensed milk. This dynamic duo unlocks the secret to crafting intensely rich, velvety smooth ice cream right in your own kitchen, all without the need for a specialized ice cream maker. The brilliance of this no-churn method lies in whipping the heavy cream into stiff peaks. This ingenious step incorporates air into the mixture, resulting in an incredibly light and airy texture that perfectly mimics traditional churned ice cream. Forget about tedious churning or the constant stirring required by other no-churn recipes; this method delivers a superior, fuss-free result every single time.
This simple no-churn ice cream is not only ridiculously easy to prepare but also packed to the brim with generous chunks of your favorite Oreo cookies. I’ve taken all the guesswork out of the process, enduring all the trial and error myself, so you don’t have to! Below, I’m sharing all my expert tips and clever tricks to ensure your very first attempt at homemade ice cream is a resounding success. You’ll be whipping up professional-quality frozen desserts in no time, becoming a true homemade ice cream pro!
Why No-Churn Ice Cream is a Game-Changer
For many years, making ice cream at home meant investing in a bulky, often expensive ice cream maker. But thanks to the ingenious no-churn method, those days are a sweet memory. This technique offers several compelling advantages, making it accessible to every home cook:
- Simplicity: With minimal ingredients and straightforward steps, it’s perfect for beginners.
- No Special Equipment: All you need is a mixer (electric is best, but a whisk and strong arm work too!) and a freezer-safe container.
- Creamy Texture: The whipped heavy cream creates a light, airy base, while sweetened condensed milk contributes to incredible richness and prevents large, icy crystals from forming, ensuring a consistently smooth and soft scoop.
- Versatility: Once you master the base, the flavor possibilities are endless!
- Quick Prep: Active preparation time is usually under 15 minutes, leaving the freezer to do the rest of the work.
This method truly democratizes homemade ice cream, allowing everyone to enjoy gourmet-quality frozen treats without the fuss.
Essential Ingredients for Your Dream Oreo Ice Cream
The beauty of this recipe lies in its incredibly short ingredient list. You only need three core components to create a luscious, flavorful batch of homemade Oreo ice cream. Each ingredient plays a crucial role in achieving that perfect texture and taste:
- Heavy Whipping Cream (equal to one pint): This is the foundation of your no-churn ice cream. When whipped, it transforms into a light, airy base that gives the ice cream its characteristic volume and smooth consistency. Ensure it’s very cold for optimal whipping.
- One 14 oz can of Sweetened Condensed Milk: This sweet, thick dairy product is essential. It not only adds the perfect level of sweetness but also contributes significantly to the creamy texture, preventing ice crystals from forming and making your ice cream wonderfully smooth.
- 1 package of Oreos: The star of the show! A standard package provides plenty of cookies for mixing into the base and for extra garnish. You’ll want to chop or crush these for the best distribution of flavor and texture.
Did you know that sweetened condensed milk is also a secret weapon in other delectable desserts? For instance, you can use it to make a homemade Wendy’s frosty, showcasing its versatility beyond just ice cream!
Ingredient Spotlight: Achieving Perfection
To truly elevate your Oreo ice cream, understanding a bit more about your ingredients can make all the difference:
- **Heavy Whipping Cream:** For the best results, use heavy cream (also known as heavy whipping cream) with at least 36% milk fat. Make sure it’s straight from the refrigerator, as cold cream whips up faster and holds its peaks better. A warm bowl or beaters can hinder this process, which is why chilling them is a crucial step!
- **Sweetened Condensed Milk:** This ingredient is more than just a sweetener; its high sugar content lowers the freezing point of the mixture, contributing to that desirable soft, scoopable texture right out of the freezer. Do not confuse it with evaporated milk, as they are not interchangeable in this recipe.
- **Oreos:** The beauty of Oreos is that they hold their crunch well even when frozen. You can crush them coarsely for larger chunks or finely for a more even distribution. For an extra touch, consider using double-stuffed Oreos for even more creamy filling, or try different Oreo flavors like Golden Oreos or Mint Oreos for a unique twist!
Essential Tools for Your Oreo Vanilla Ice Cream Adventure
Gathering the right tools before you start will make the entire process smooth and enjoyable:
- Metal Mixing Bowl: A large metal mixing bowl is ideal because it chills faster and stays colder longer than plastic or glass. Placing it in the freezer for 20-30 minutes before you begin is a game-changer for achieving perfectly whipped cream.
- Electric Mixer: Whether it’s a stand mixer with a whisk attachment or a handheld electric mixer, this tool is crucial for whipping the heavy cream into stiff peaks efficiently. Trying to do this by hand can be quite a workout!
- A Freezer-Safe Container: You’ll need a suitable vessel to freeze your delicious creation. Options range from simple to specialized.
- Spatula: A sturdy rubber or silicone spatula is perfect for gently folding in the sweetened condensed milk and chopped Oreos without deflating the whipped cream.
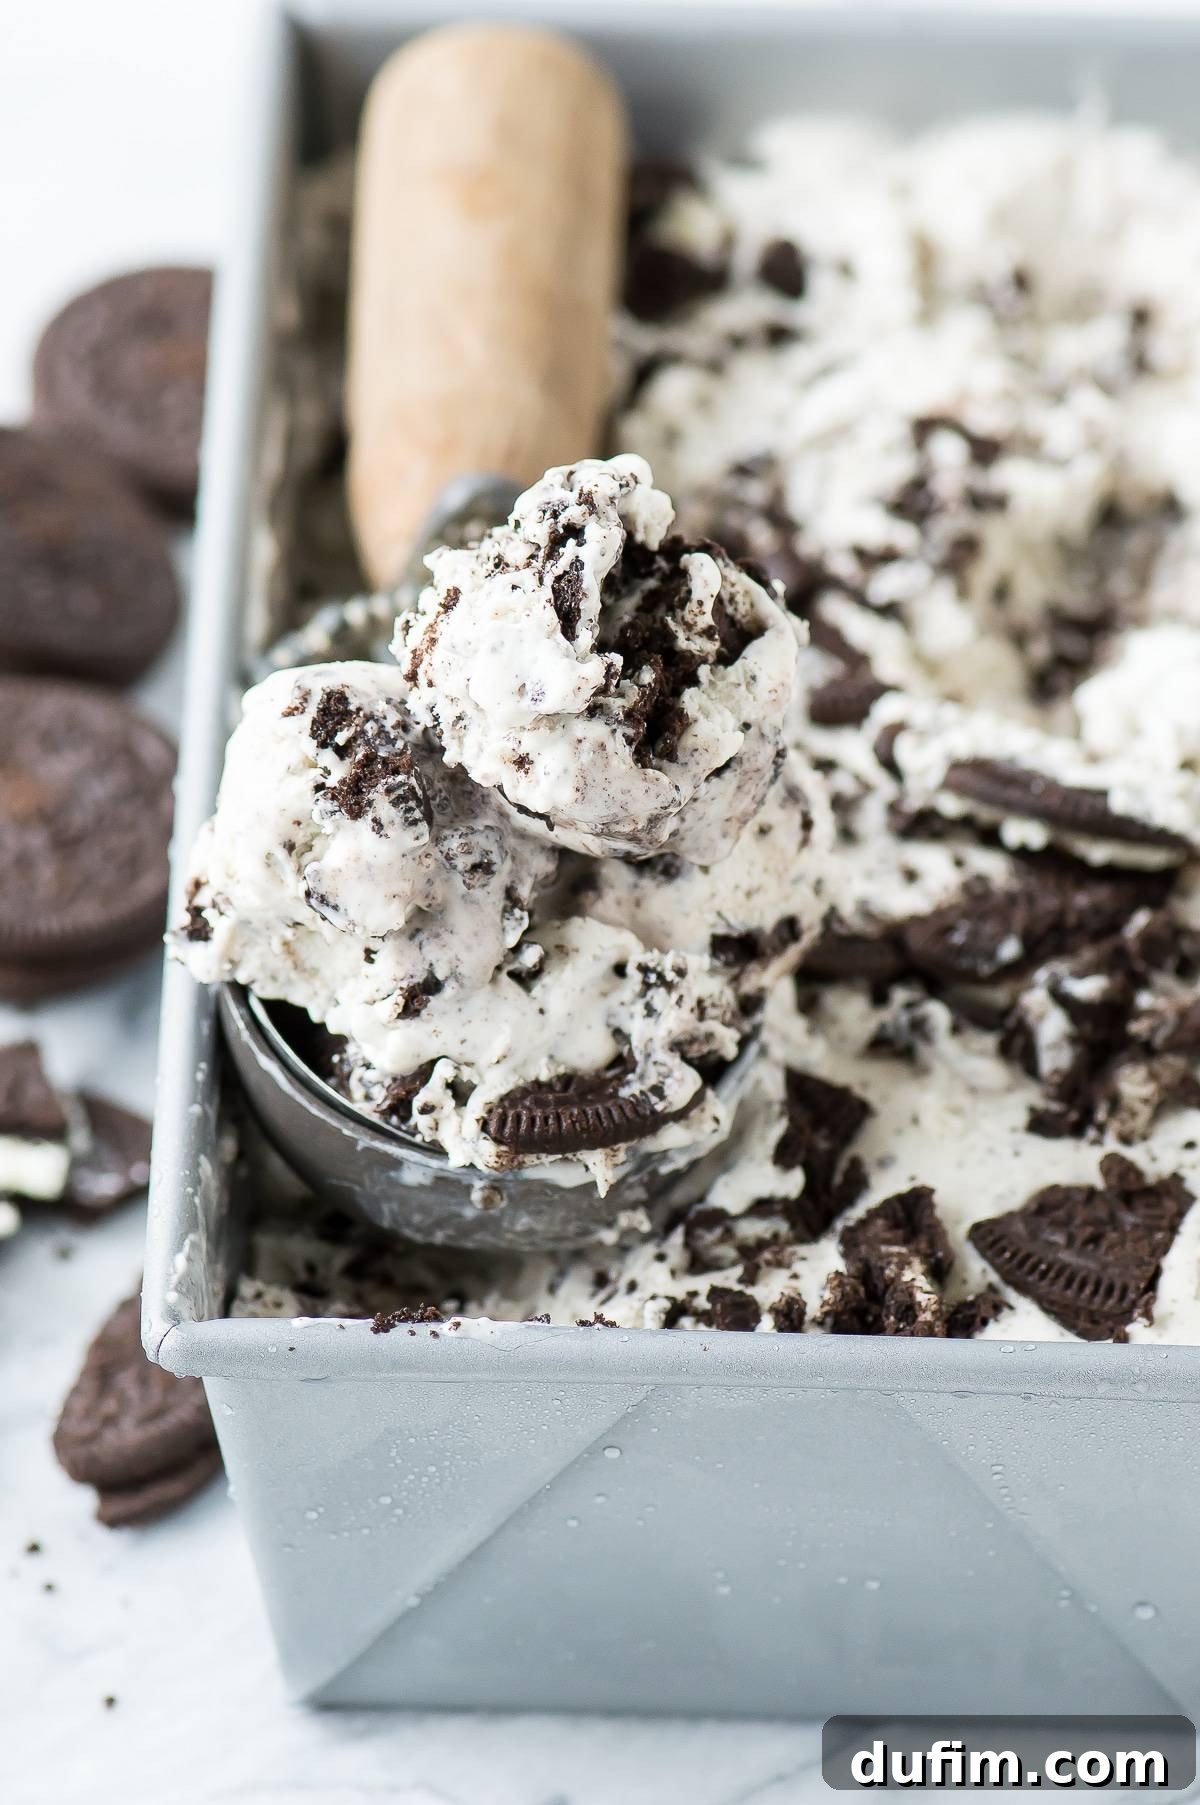
Essential Oreo Ice Cream Recipe Tips for Success
To guarantee your homemade Oreo ice cream turns out perfectly creamy and delicious, keep these crucial tips in mind:
- Plan Ahead for Freezing: You will definitely want to make the ice cream the day before you plan to serve it. This allows ample time for it to freeze thoroughly and reach the ideal scoopable consistency.
- The Golden Rule of Freezing Time: The ice cream needs approximately 8 hours to fully set and freeze. While it might be tempting to sneak a spoonful earlier, patience is key for the best texture. Freezing overnight is truly the best approach.
- Cold is Your Friend: Always start with very cold heavy whipping cream, and ensure your mixing bowl and beaters are chilled in the freezer for at least 20-30 minutes beforehand. This dramatically aids in achieving stiff peaks quickly and efficiently.
- Gentle Folding: When incorporating the sweetened condensed milk and crushed Oreos, fold them in gently using a spatula. Overmixing can deflate the whipped cream, leading to a less airy and fluffy ice cream texture.
Choosing the Perfect Container to Freeze Your Ice Cream In
The right container can make a difference in how well your homemade ice cream freezes and stores. When it comes to a container for freezing your no-churn Oreo ice cream, you have several excellent options:
- Metal Loaf Pan: A standard metal loaf pan is a fantastic choice. It conducts cold efficiently, helping the ice cream freeze evenly, and its shape makes for easy scooping.
- Sturdy Tupperware Container: Any robust, freezer-safe plastic container with a good, tight-fitting lid will work wonderfully. Choose one that’s roughly equivalent to a 2-quart capacity.
- Reusable Ice Cream Containers: If you’re passionate about making homemade ice cream regularly, you might consider investing in a dedicated reusable ice cream container. These are often insulated and designed to prevent freezer burn, making them a worthwhile purchase for long-term storage. Consider a fun option like this round one or this unique long one!
A container with a tight-fitting lid is crucial to help prevent freezer burn, which can compromise the texture and flavor of your ice cream. If your chosen container doesn’t have an airtight lid, a layer of plastic wrap pressed directly onto the surface of the ice cream before covering will work great. This creates an extra barrier against air and ice crystal formation, especially if the ice cream isn’t devoured within a few days. But let’s be honest… with this deliciousness, do you truly think this ice cream will last more than a few days?!
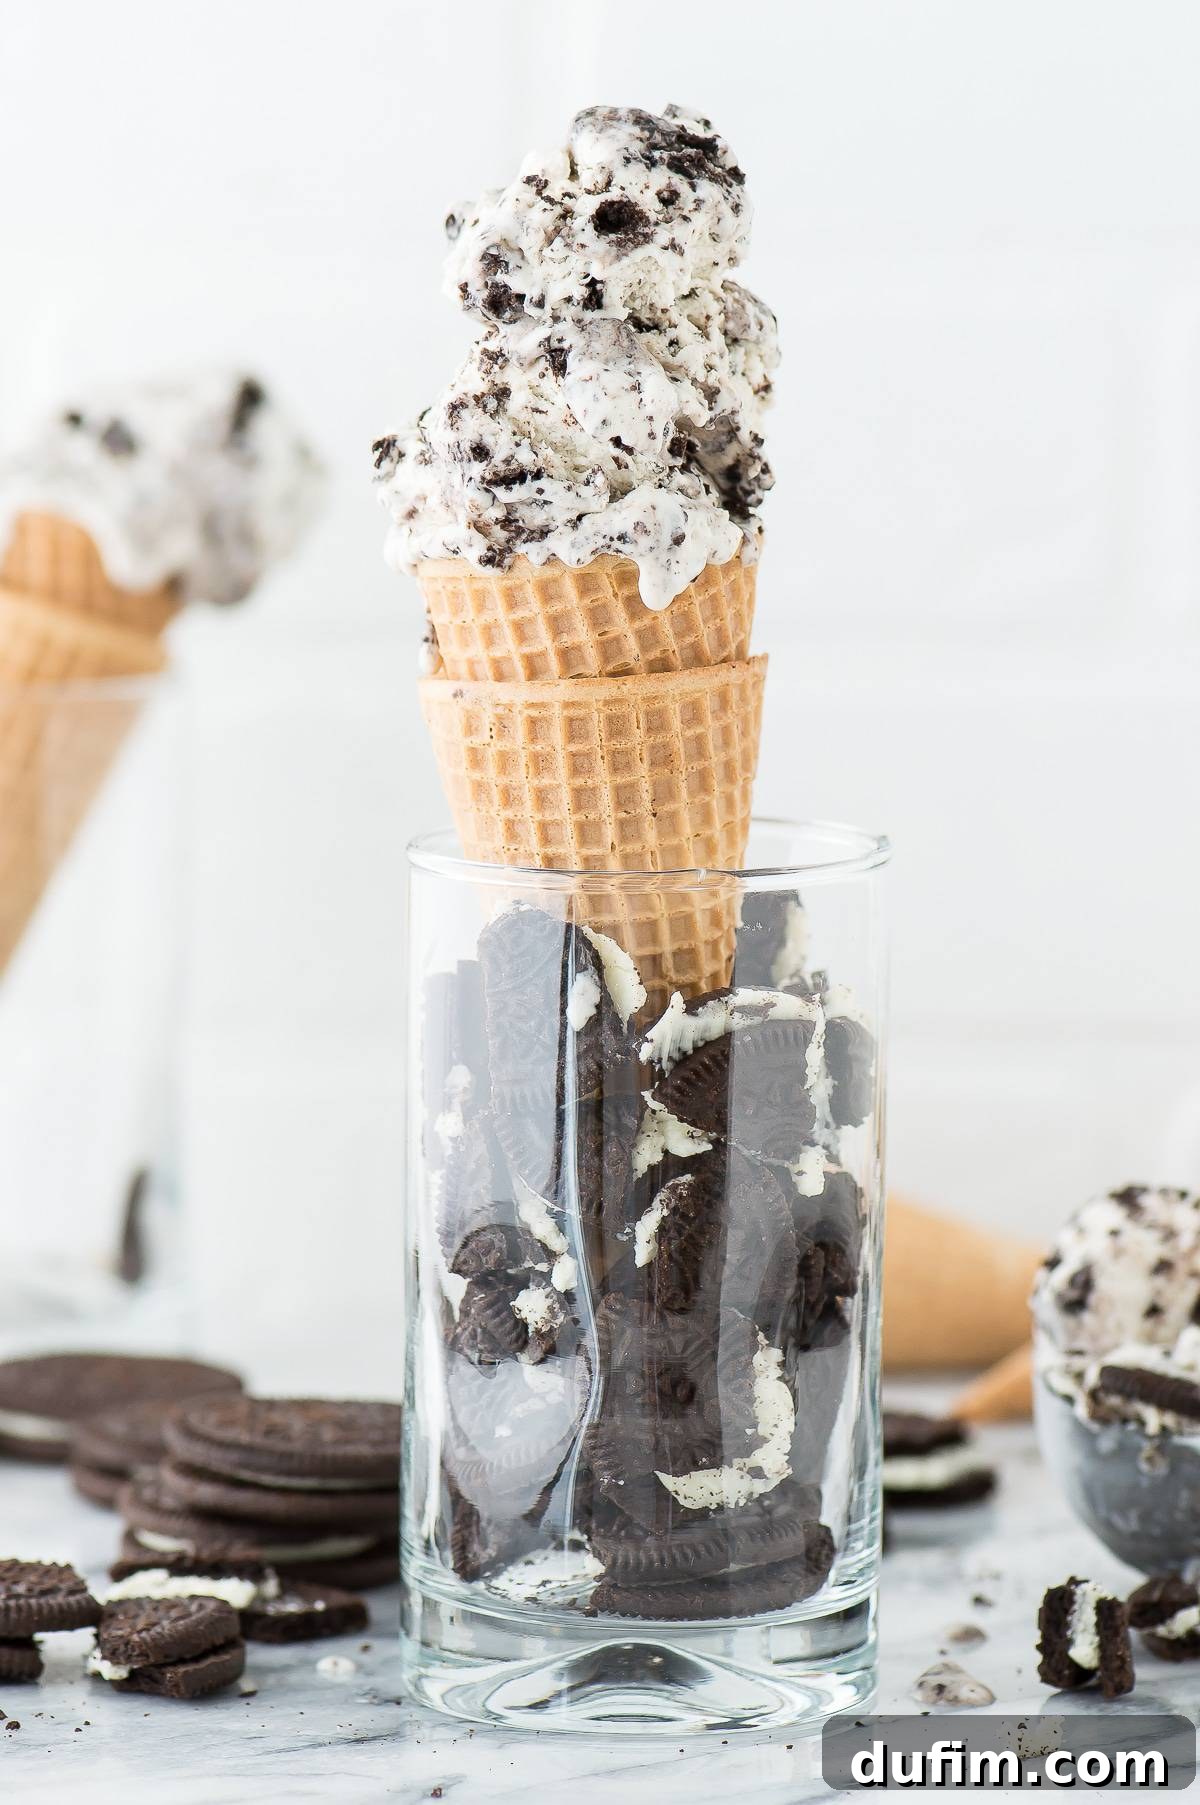
Simple Steps to Make Your Dream Oreo Ice Cream
Creating this irresistible no-churn Oreo ice cream is incredibly straightforward. Follow these easy steps for a perfect frozen treat every time:
- **Chill Your Equipment:** Approximately 20-30 minutes before you plan to begin mixing, place your metal mixing bowl and the beaters from your electric mixer into the freezer to chill thoroughly. This critical step ensures your heavy cream whips up quickly and holds its volume beautifully.
- **Whip the Cream:** Once your equipment is chilled, remove the bowl and beaters from the freezer. Pour the cold heavy whipping cream into the bowl. Using your electric mixer, beat the cream on medium-high speed until stiff peaks form. This usually takes about 5-7 minutes. You’ll know it’s ready when the cream holds its shape firmly when the beaters are lifted.
- **Combine and Fold:** Gently stir in the entire can of sweetened condensed milk with a spatula or on low speed with your mixer until just combined. Be careful not to deflate the whipped cream. Next, add 2 cups of your chopped Oreos to the mixture. Gently fold them in until they are evenly distributed throughout the creamy base.
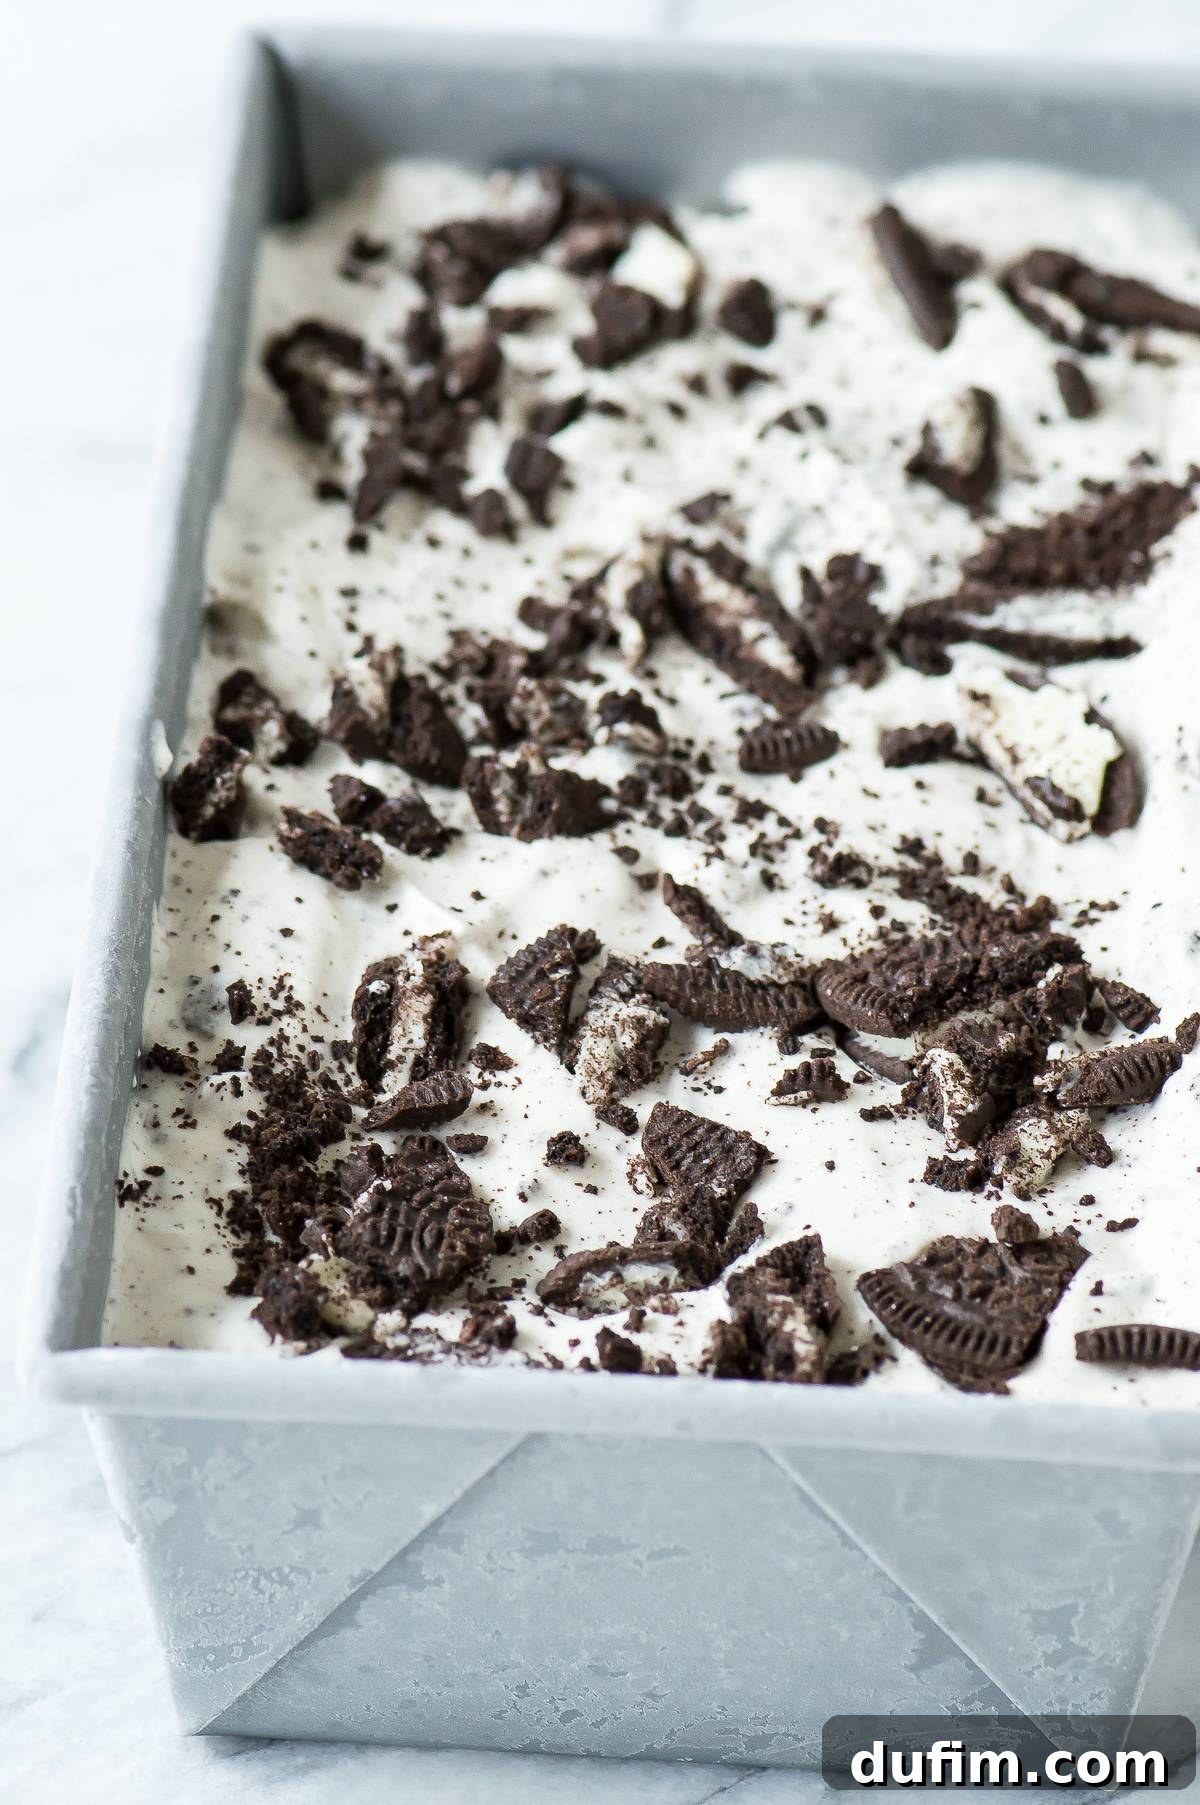
- **Freeze to Perfection:** Carefully pour the ice cream mixture into your chosen freezer-safe container. For an extra touch of visual appeal and flavor, top the surface of the ice cream with additional broken Oreo pieces. Cover the container tightly, ensuring it’s as airtight as possible to prevent ice crystals. Place it in the freezer and allow it to freeze overnight, or for a minimum of 8 hours, until it is completely firm.
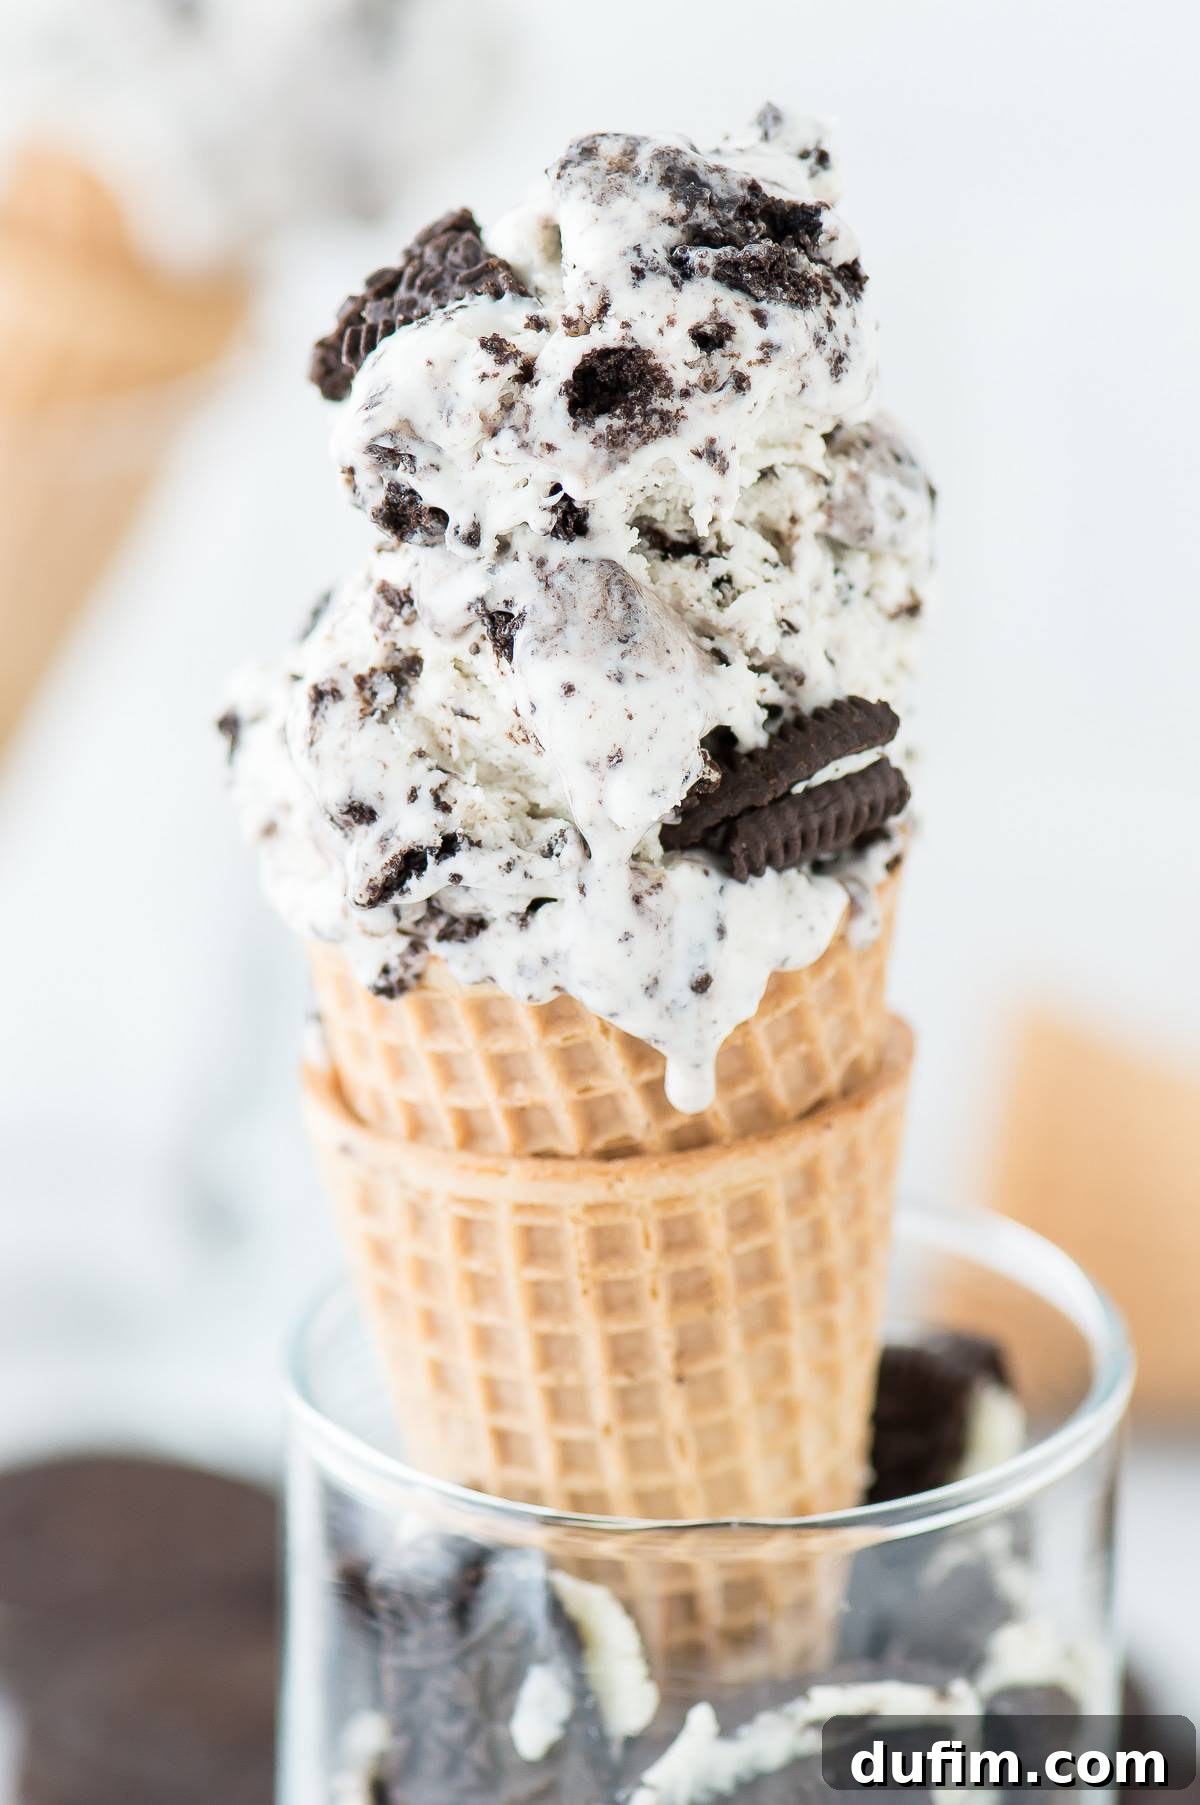
- **Scoop and Serve:** Once fully frozen, your homemade Oreo ice cream is ready! Remove it from the freezer, let it sit for a few minutes to soften slightly if needed, then scoop generously and serve immediately. Enjoy your delicious, labor-of-love dessert!
Explore More Oreo-Inspired Delights
If you’re a fan of Oreos, you’ll love these other fantastic recipes that celebrate the classic cookie:
- Oreo Dessert
- Oreo Brownies
- No Bake Oreo Cheesecake
- Oreo Mousse
Frequently Asked Questions About Homemade Oreo Ice Cream
There’s absolutely no need to soften Oreos for ice cream! The beauty of using Oreos in this recipe is that they maintain their delightful crunch and texture even when frozen. You can simply crush them into your desired size – whether you prefer large chunks for a satisfying bite or smaller crumbs for even distribution – and add them directly to your ice cream mixture. The freezing process will integrate them perfectly.
The secret to achieving wonderfully soft and scoopable ice cream, especially with the no-churn method, lies in a few key factors. First, the right balance of fat (from the heavy cream) and sugar (from the sweetened condensed milk) is crucial. Sugar acts as an anti-freeze, lowering the freezing point of the mixture and preventing large, hard ice crystals from forming. Additionally, incorporating enough air into the heavy cream by whipping it to stiff peaks gives the ice cream its light, fluffy, and soft texture. Stabilizers (naturally present in some ingredients or added in commercial ice creams) also help, but with the heavy cream and condensed milk base, you achieve excellent results naturally.
When making no-churn ice cream, there are a few common pitfalls to avoid to ensure the best outcome. Firstly, resist the temptation to substitute lower-fat dairy products (like half-and-half or milk) or reduced-sugar alternatives for the heavy cream or sweetened condensed milk. These substitutions will significantly compromise the texture and flavor, often resulting in an icy or less creamy dessert. Secondly, do not rush the freezing process; patience is paramount. Give the mixture enough time, ideally 8 hours or overnight, to properly set and firm up. Lastly, avoid overmixing once you’ve added the sweetened condensed milk and Oreos, as this can deflate the whipped cream and reduce the overall volume and fluffiness of your ice cream.
No, it is highly recommended to use heavy whipping cream (with at least 36% milk fat). Light cream or half-and-half does not contain enough fat to whip into stiff peaks, which is essential for creating the light, airy texture of no-churn ice cream. Using lighter creams will result in a much icier and less satisfying dessert.
When stored in an airtight container, homemade no-churn Oreo ice cream typically lasts for up to 2-3 weeks in the freezer. Beyond that, while it will still be safe to eat, its texture and freshness might begin to diminish, and it can become more prone to freezer burn. Always ensure your container is tightly sealed to maximize freshness.
Absolutely! The no-churn base is incredibly versatile. Feel free to experiment with other mix-ins like chocolate chips, mini marshmallows, sprinkles, chopped nuts, or a swirl of caramel or hot fudge. Just be sure to fold them in gently at the same stage you add the Oreos to prevent deflating the whipped cream.
I added 1-2 tsp vanilla. It’s the best I’ve ever eaten. My husband loves it too.
-Carol
Tap stars to rate!
No-Churn Oreo Ice Cream
Rate
Equipment
-
Electric Mixer (e.g., KitchenAid 9-Speed Mixer)
-
Sturdy Spatula
-
Large Mixing Bowl (metal recommended)
-
Freezer-Safe Container (e.g., loaf pan or reusable ice cream container)
Ingredients
- ▢ 2 cups (473ml) heavy whipping cream, 1 pint, very cold
- ▢ 14 oz sweetened condensed milk, 1 can
- ▢ 2 cups chopped Oreos, plus extra for topping
Instructions
-
20-30 minutes before beginning, place a metal mixing bowl and the beaters from the mixer in the freezer to chill. This ensures the cream whips faster and holds stiff peaks better.
-
Remove the chilled bowl and beaters from the freezer.
-
Add the very cold heavy cream to the chilled bowl. Using an electric mixer, beat the heavy cream into stiff peaks. This process typically takes about 5-7 minutes. The cream should be thick and hold its shape.2 cups (473ml) heavy whipping cream
-
Gently stir in the sweetened condensed milk with a spatula or mix on very low speed until just combined. Be careful not to deflate the whipped cream.14 oz sweetened condensed milk
-
Add in the 2 cups of chopped Oreos. Gently fold them into the ice cream base until they are evenly distributed. Avoid overmixing.2 cups chopped oreos
-
Pour the mixed ice cream into a freezer-safe container. Ensure it’s spread evenly.
-
Top the ice cream with any additional broken Oreo pieces for extra crunch and visual appeal. Cover the container tightly (with plastic wrap directly on the surface if no airtight lid) and freeze overnight, or for a minimum of 8 hours, until completely set.
-
Once frozen solid, scoop and serve your delightful homemade Oreo ice cream! Enjoy this easy, creamy treat.
Video Tutorial
For a visual guide to making this easy Oreo ice cream, please check out our video tutorial on our website!
Nutrition Information
Carbohydrates: 76g |
Protein: 10g |
Fat: 46g |
Saturated Fat: 25g |
Polyunsaturated Fat: 3g |
Monounsaturated Fat: 15g |
Trans Fat: 1g |
Cholesterol: 131mg |
Sodium: 359mg |
Potassium: 420mg |
Fiber: 1g |
Sugar: 58g |
Vitamin A: 1344IU |
Vitamin C: 2mg |
Calcium: 251mg |
Iron: 5mg
Nutrition Disclosure
All nutritional values are approximate and provided to the reader as a courtesy. Changing ingredients and/or quantities will alter the estimated nutritional calculations.
Love this recipe? Show us some love!Rate and leave a comment below to let us know what you think. Your feedback helps us create more delicious recipes!