
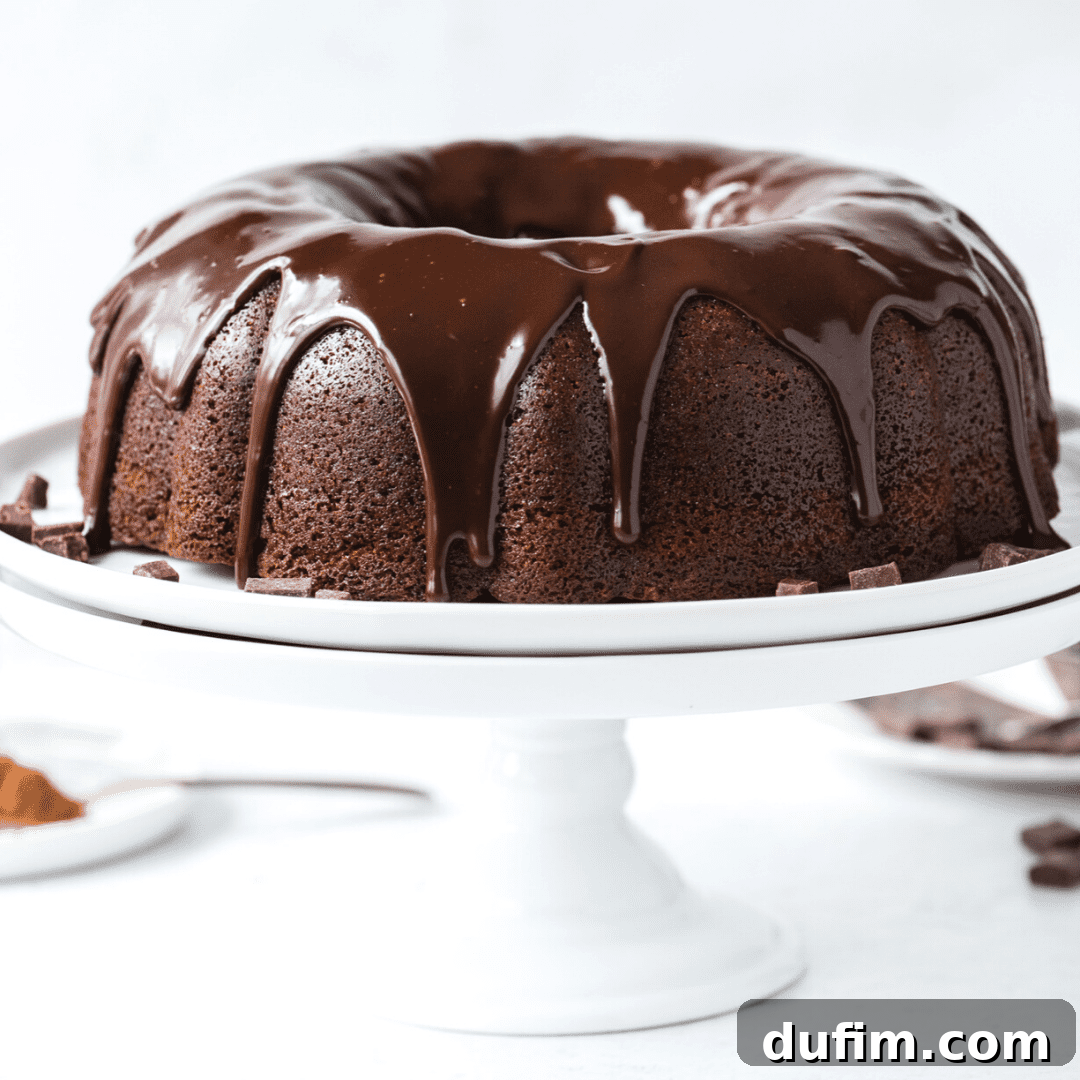
Welcome to your new favorite dessert! Even if you’re a beginner baker, this chocolate bundt cake recipe will guide you to create a show-stopping dessert that’s truly perfect every time. Imagine sinking your teeth into a rich, incredibly fudgy, and remarkably moist chocolate cake, generously draped in a glossy, smooth glaze that never cracks. This isn’t just a cake; it’s an experience that consistently earns rave reviews from everyone who tries it. Get ready to impress with minimal effort and maximum flavor!
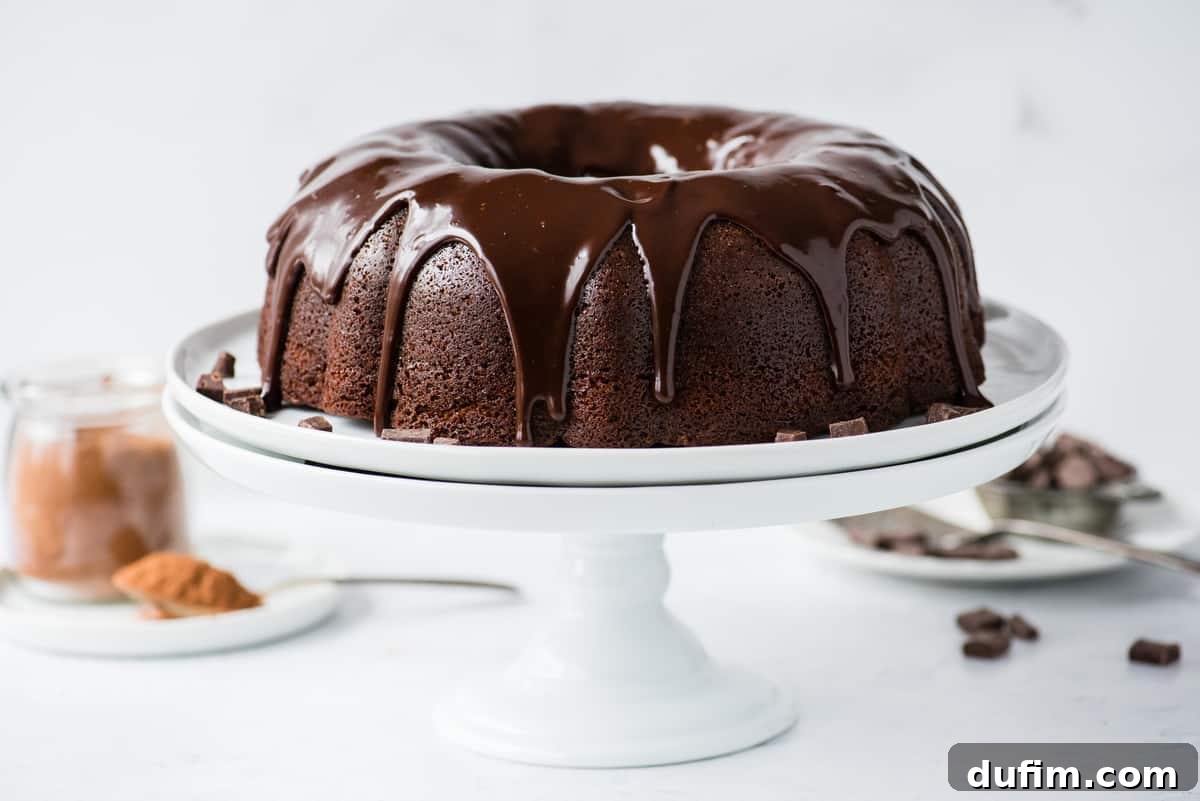
Baking a bundt cake might initially seem daunting, especially with its beautiful, intricate pan designs. However, I’ve spent years perfecting this recipe to make it utterly foolproof, transforming it into a stress-free baking adventure. Consider me your personal baking mentor, guiding you through every step! I’ve crafted an incredibly straightforward recipe, complemented by all my essential tips for achieving the ideal cake texture, creating a brilliant, crack-free chocolate glaze, and most importantly, ensuring your beautiful bundt cake releases effortlessly from its pan every single time. Say goodbye to stuck cakes and hello to baking confidence!
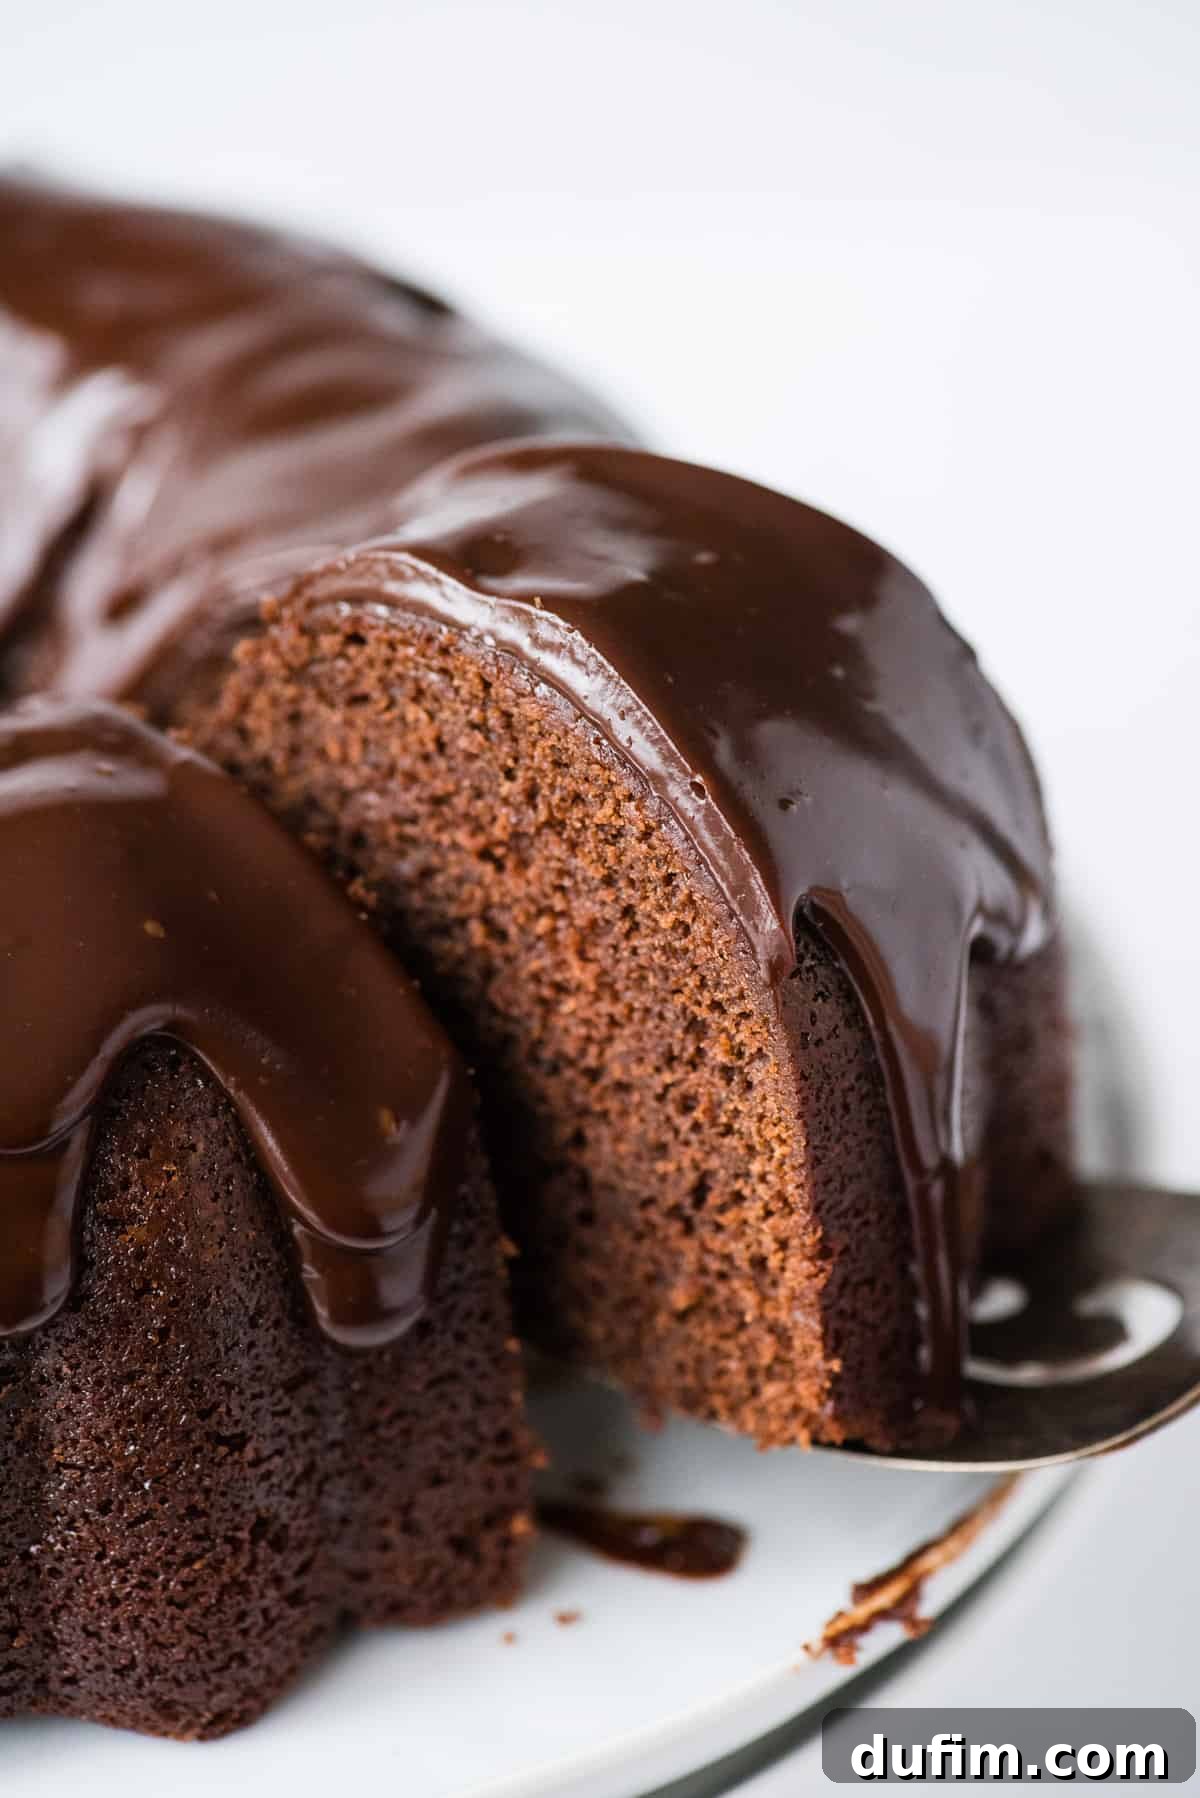
This chocolate bundt cake truly stands out. It boasts an intensely fudgy texture and a deep, decadent chocolate flavor, made irresistibly moist thanks to a combination of thoughtfully selected ingredients, including a secret one that amplifies its richness. The entire cake is then crowned with a gorgeous, three-ingredient chocolate glaze that dries to a stunning shine without a single crack. It’s truly a delight for both the eyes and the palate, making it an ideal centerpiece for any gathering or a luxurious treat for yourself.
For those who love an extra touch of indulgence, feel free to elevate this already divine cake. Simply mix in 1 & 1/2 cups of your favorite semi-sweet chocolate chips, milk chocolate chips, or finely chopped nuts (like pecans or walnuts) directly into the batter just before pouring it into the pan. This simple addition creates delightful pockets of melted chocolate or a satisfying crunch, taking each slice to an even more decadent level.
Why This Chocolate Bundt Cake is Your Next Must-Bake Recipe
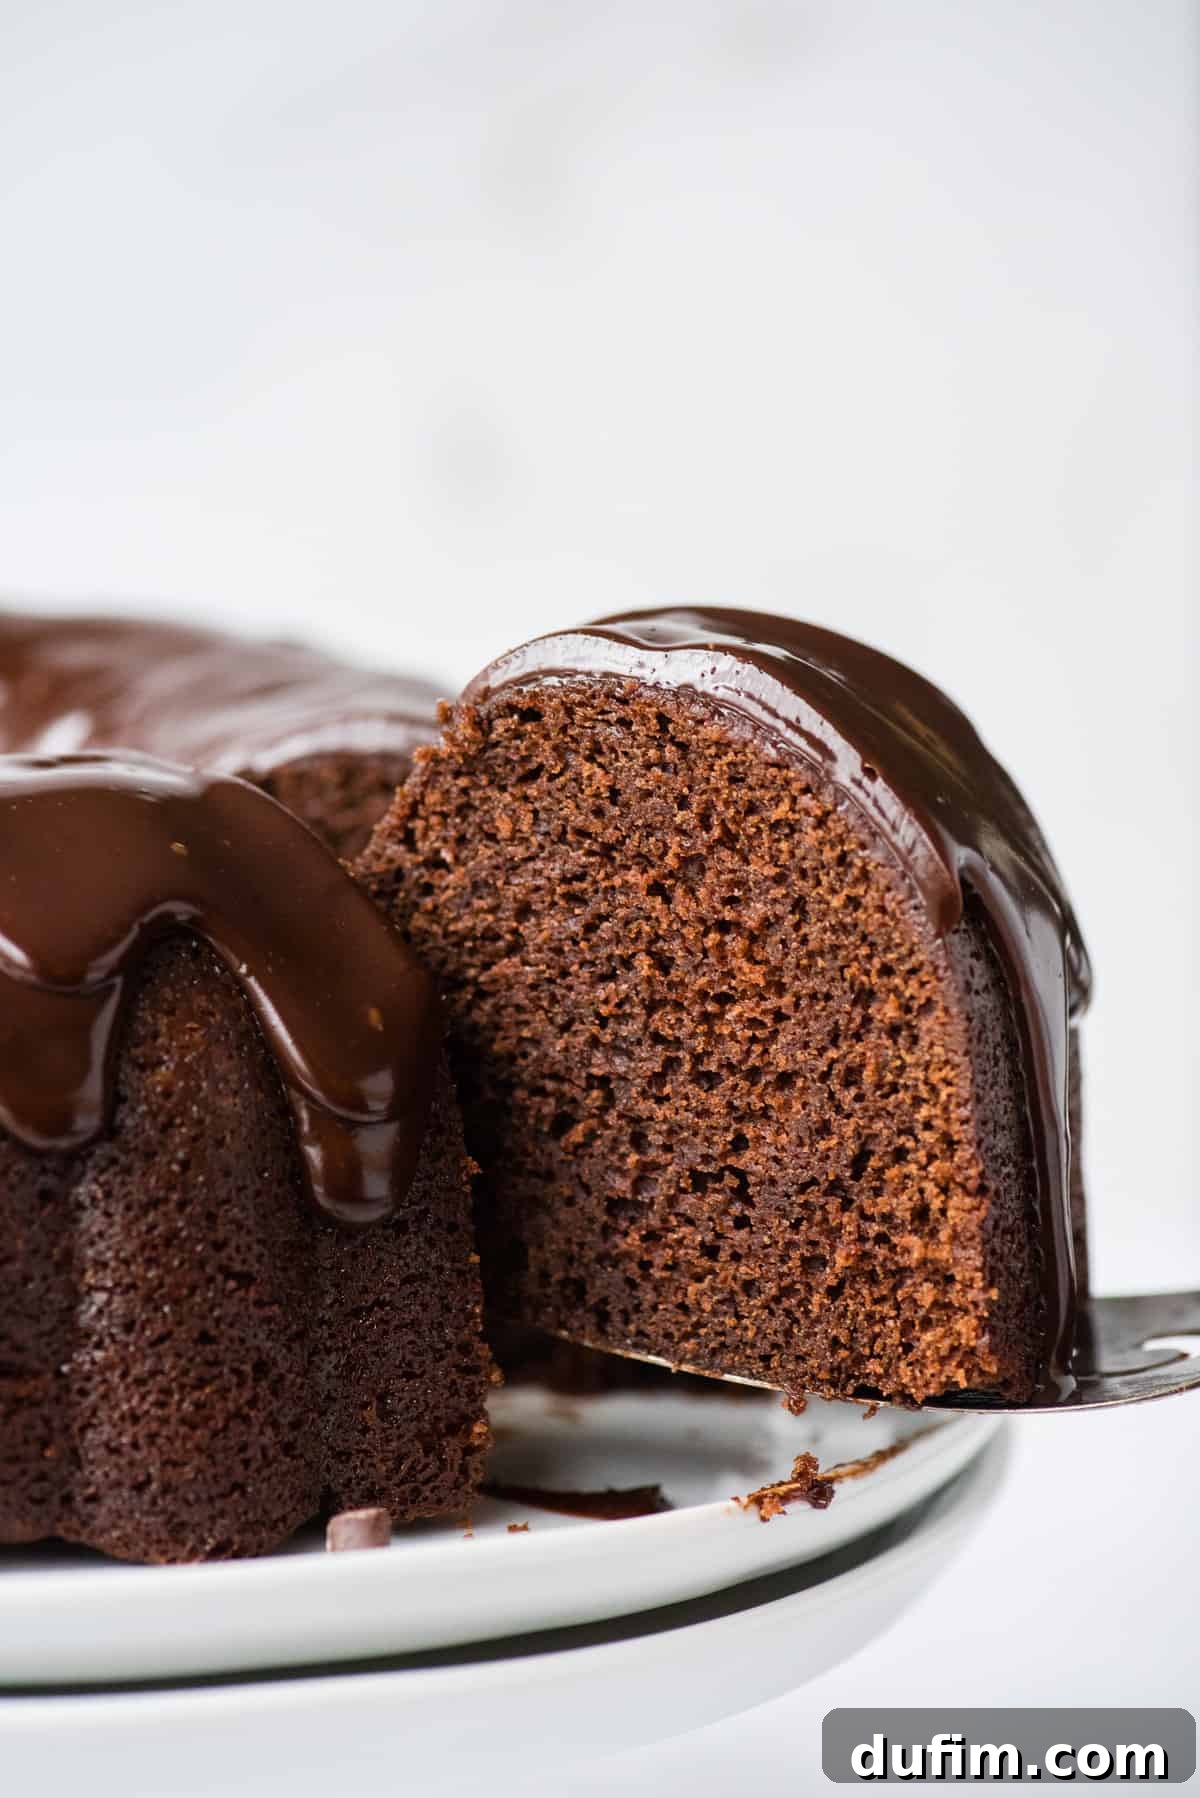
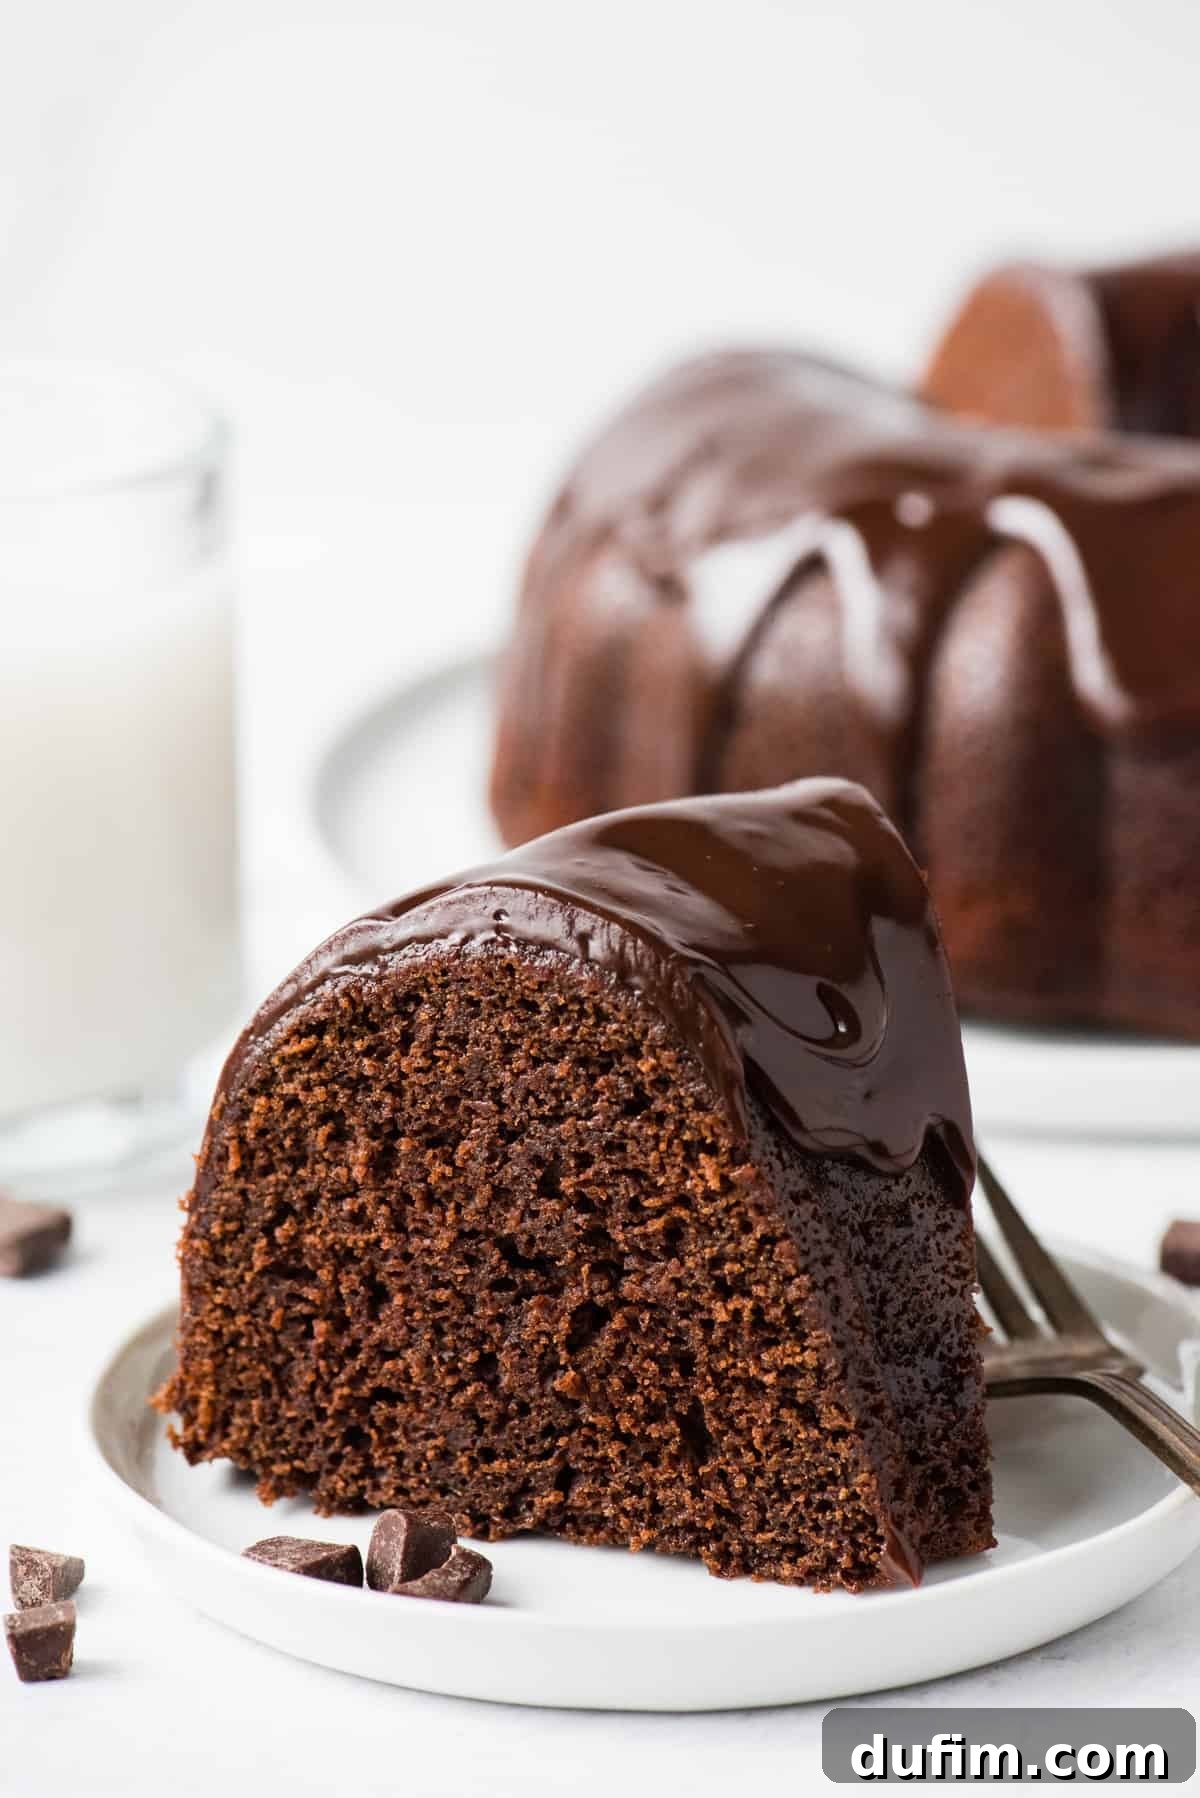
There are countless reasons why this particular chocolate bundt cake recipe has become a cherished favorite among our readers. Its profound, deep chocolate flavor stems from a harmonious blend of natural unsweetened cocoa powder and semi-sweet chocolate chips. This chocolate intensity is notably amplified by the strategic use of hot water, a technique that “blooms” the cocoa for maximum flavor extraction. Additionally, the inclusion of buttermilk is crucial, contributing to an incredibly tender and moist crumb, resulting in a cake that practically melts in your mouth without feeling overly dense or heavy.
Beyond its unparalleled taste and exquisite texture, the sheer ease of preparation is another significant draw. You can have this rich, glossy batter ready for the oven with just about 15 minutes of active prep time. The stunning, shiny chocolate glaze is equally effortless, requiring only three common pantry ingredients and minimal fuss, making it approachable for even the most novice bakers. Furthermore, our comprehensive tips cover every aspect of the baking process, from the precise method for measuring flour to the foolproof technique for releasing your cake flawlessly from the bundt pan. This ensures that success is not just possible but highly probable for bakers of all skill levels. It’s truly the perfect dessert for celebrations, holiday gatherings, or simply treating yourself and your loved ones to something genuinely special and deeply satisfying.
Essential Ingredients for Your Perfect Chocolate Bundt Cake
Crafting a truly exceptional chocolate bundt cake begins with selecting high-quality ingredients. Each component plays a vital role in achieving that signature fudgy texture, rich flavor, and perfect moistness. Here’s a detailed look at what you’ll need for both the cake and its irresistible glaze:
For the Fudgy Bundt Cake:
- 2 ¼ cups all-purpose flour: This forms the foundational structure of our cake. Accurate measurement is crucial for preventing a dense or dry crumb, so ensure you use the “spoon and level” method.
- 2 cups granulated sugar: Beyond providing essential sweetness, sugar contributes significantly to the cake’s moistness and helps create that wonderfully tender crumb.
- ⅓ cup natural unsweetened cocoa powder: This is the heart of our cake’s rich, deep chocolate flavor. When combined with hot liquid, it “blooms,” intensifying the chocolate notes.
- 1 tsp baking soda: A powerful leavening agent that works in tandem with the acidic buttermilk to create lift and a light, airy texture within the cake.
- 1 tsp salt: Often overlooked, salt is critical for balancing the sweetness of the sugar and enhancing the complex chocolate flavors, making them pop.
- 1 stick unsalted butter (½ cup): Provides luxurious richness and essential moisture. Using unsalted butter allows you precise control over the overall salt content of your recipe.
- ½ cup semi-sweet chocolate chips: These chips melt into the batter, adding an extra layer of chocolatey depth and contributing to the cake’s luscious, fudgy texture.
- 2 large eggs: Eggs are vital for binding all the ingredients, providing structure, and adding richness and moisture to the cake. Ensure they are at room temperature for better emulsification.
- 1 cup buttermilk: A star ingredient for a super moist and tender cake. Its acidity reacts with the baking soda to create a perfect rise. If you don’t have buttermilk, you can easily make a substitute: add 1 tablespoon of white vinegar or lemon juice to a liquid measuring cup, then fill the rest with milk (dairy or non-dairy) to make 1 cup. Let it sit for 5-10 minutes until it visibly curdles.
- 1 cup hot tap water: The secret weapon for maximizing chocolate flavor! Hot water helps to “bloom” the cocoa powder, releasing its full aroma and deepening its taste, while also ensuring a wonderfully tender and moist crumb.
For the Shiny Chocolate Glaze:
- 1 cup semi-sweet chocolate chips: The delicious base for our rich, decadent, and easy-to-make glaze.
- ½ cup heavy cream: This provides the necessary liquid and fat content to create a smooth, luscious, and pourable texture for your glossy glaze.
- 1 tbsp corn syrup: This small but mighty ingredient is the key to achieving that professional-looking, crack-free, and wonderfully shiny glaze. It prevents sugar crystallization, ensuring a smooth finish.
Step-by-Step Guide: How to Bake Your Perfect Chocolate Bundt Cake with Glaze
Follow these meticulously detailed instructions to ensure a delicious, beautifully presented, and flawlessly baked chocolate bundt cake that will impress everyone.
Preparing the Bundt Cake
- Prepare Dry Ingredients: Begin by preheating your oven to 350°F (175°C). In a spacious mixing bowl, thoroughly whisk together the all-purpose flour, granulated sugar, natural unsweetened cocoa powder, baking soda, and salt. Continue whisking until all ingredients are well combined and you see no visible lumps of cocoa powder. Set this bowl aside for later.
- Melt Butter and Chocolate: In a small, heavy-bottomed saucepan, gently melt the unsalted butter and ½ cup of semi-sweet chocolate chips together over low heat. Stir the mixture occasionally with a heat-resistant spatula to ensure an even melt and prevent any scorching. Once the mixture is completely smooth and liquid, remove the saucepan from the heat and allow it to cool for approximately 5 minutes. This crucial cooling period prevents the eggs from scrambling when they are added to the mixture.
- Combine Wet Ingredients: In a separate, clean mixing bowl, pour in the slightly cooled melted chocolate and butter mixture. Add the large eggs and the buttermilk. Using an electric mixer, beat these ingredients together on medium-low speed for about 30 seconds, or until they are thoroughly combined and present a smooth consistency.
- Integrate Dry and Wet Mixtures (First Half): Add precisely half of your pre-whisked dry ingredients into the wet mixture. Beat on low speed until the dry ingredients are just combined with the wet, taking care not to overmix at this stage.
- Add Hot Water and Remaining Dry Ingredients: Carefully pour the hot tap water into the batter and beat again on low speed until it is fully incorporated. The hot water works wonders here by “blooming” the cocoa powder, significantly intensifying its chocolate flavor. Following this, add the remaining dry ingredients, mixing on low speed only until the batter is completely smooth and unified. Remember, overmixing can lead to a tough and dry cake.
- Prepare Your Bundt Pan: This is perhaps the most critical step for ensuring an easy cake release! Liberally grease your bundt pan (it’s important to know your pan’s size; this recipe is optimized for a 9-inch bundt pan with a 10-12 cup capacity) with a generous tablespoon of softened butter or shortening. Be meticulous and pay very close attention to coating all the intricate nooks, crannies, and the central tube of the pan. A complete and even coating is your ultimate safeguard against sticking.
- Bake and Initial Cool: Pour the prepared cake batter evenly into the generously greased bundt pan. Place it in the preheated oven and bake for 50-55 minutes, or until a wooden skewer or toothpick inserted into the thickest part of the cake comes out perfectly clean. Once baked, remove the cake from the oven and place the entire pan on a wire cooling rack. Allow it to cool (without inverting it) for 15 minutes. During this period, the cake will firm up and naturally pull away slightly from the sides of the pan.
- Release and Final Cool: After the 15-minute cooling period, gently use a small, thin spatula or a butter knife to help carefully loosen any edges of the cake that may still be clinging to the pan. Slowly work your way around the entire perimeter and around the central tube. Once loosened, place a piece of parchment paper or another clean cooling rack directly over the top of the bundt pan. Firmly grip both the pan and the parchment/rack, then swiftly and confidently invert them. Gently tap the bottom of the pan several times to encourage the cake to fully release. Allow the cake to cool completely to room temperature on the parchment paper or cooling rack before attempting to add the chocolate glaze. This complete cooling is absolutely vital for the glaze to set properly and beautifully.
Crafting the Perfect Shiny Chocolate Glaze for Your Bundt Cake
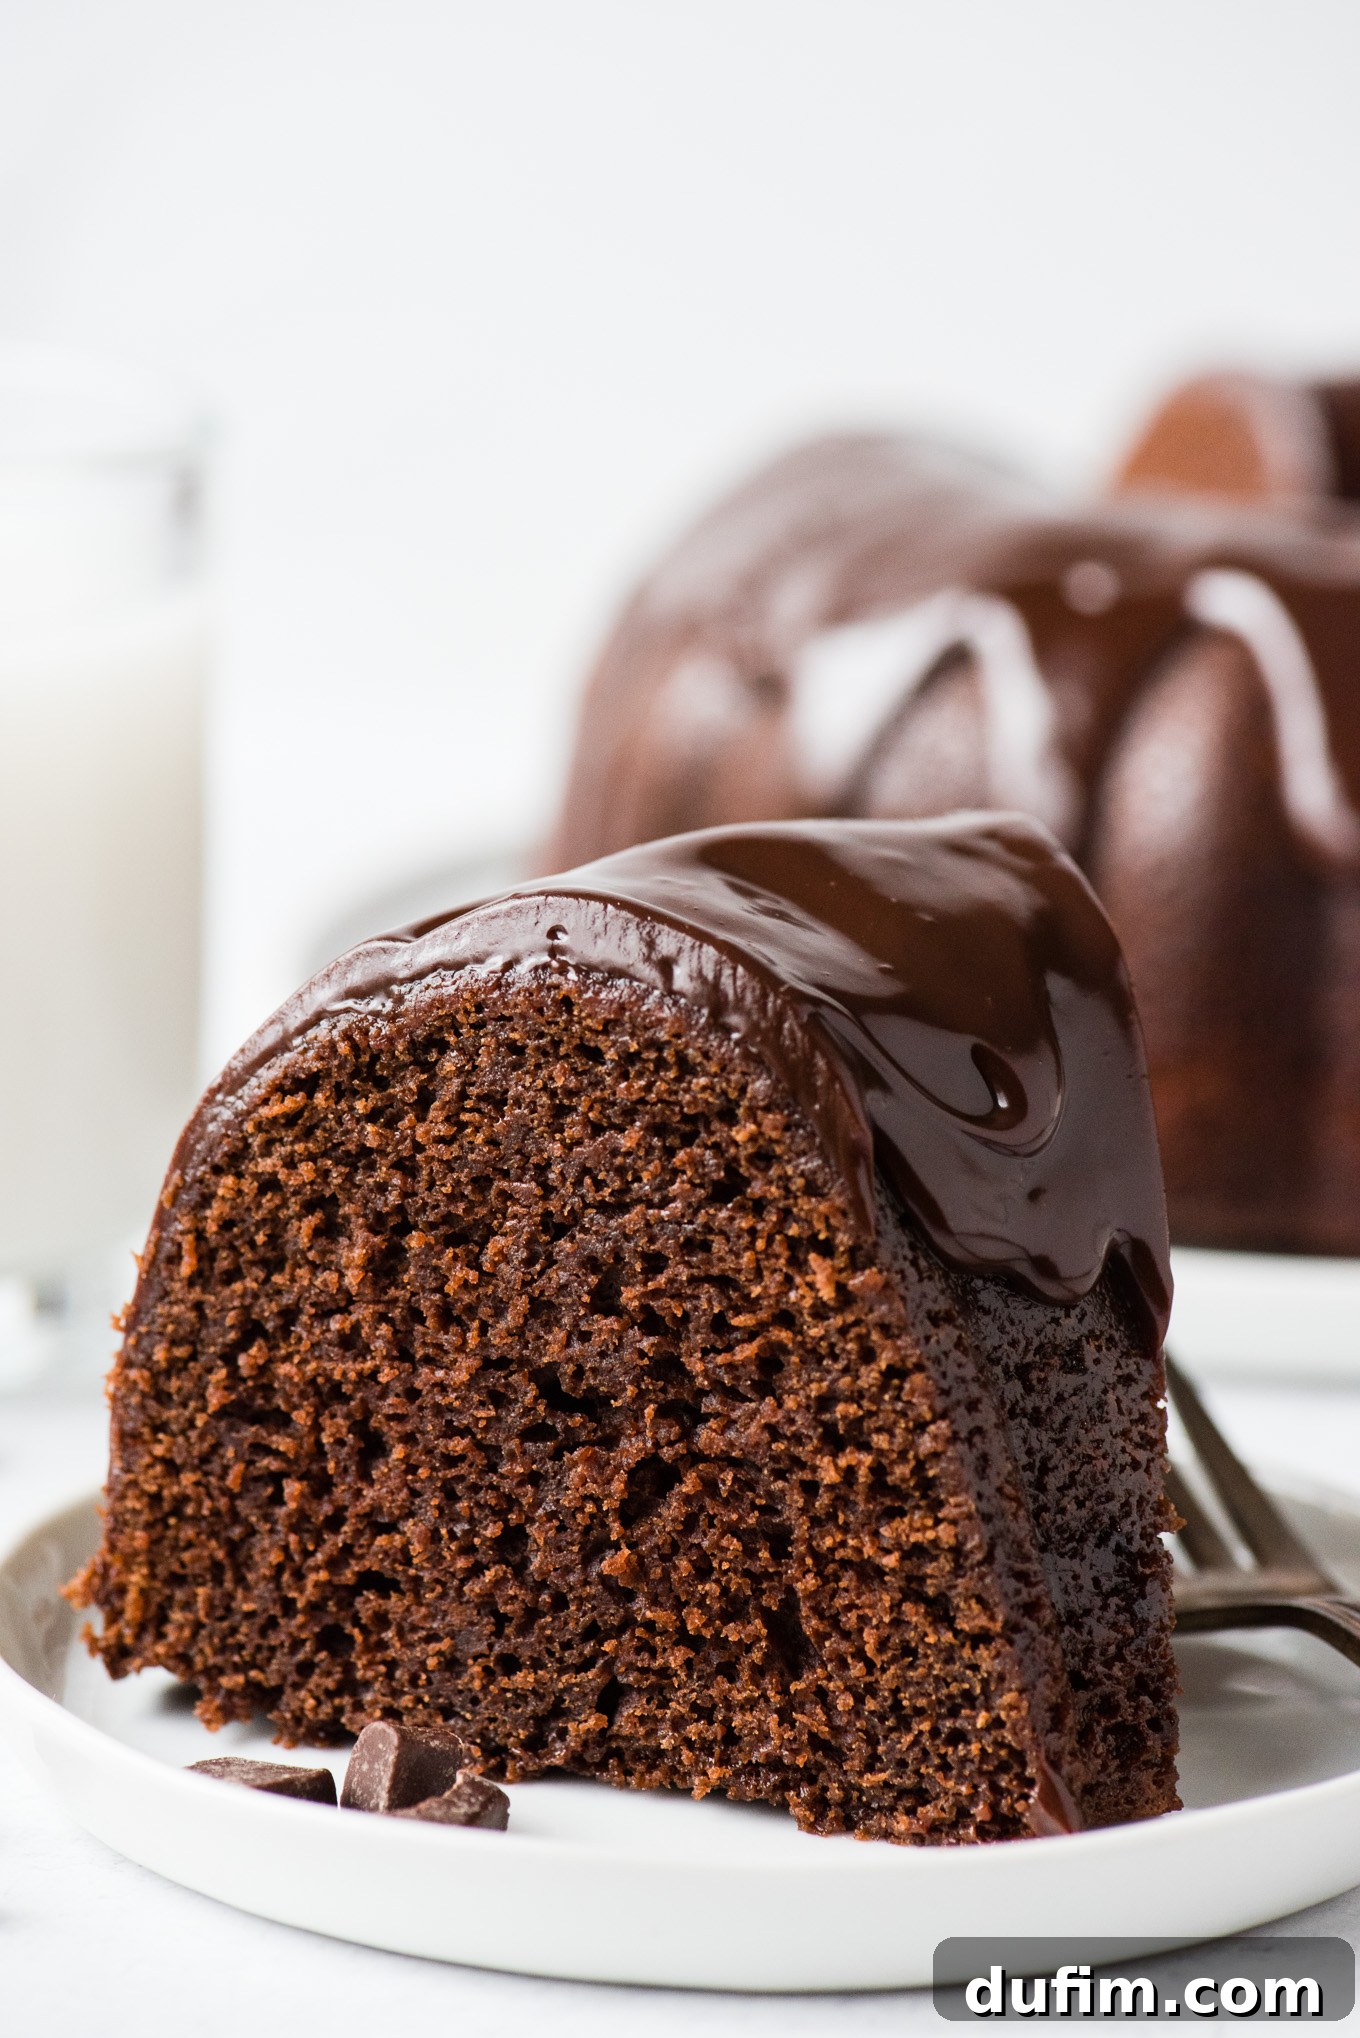
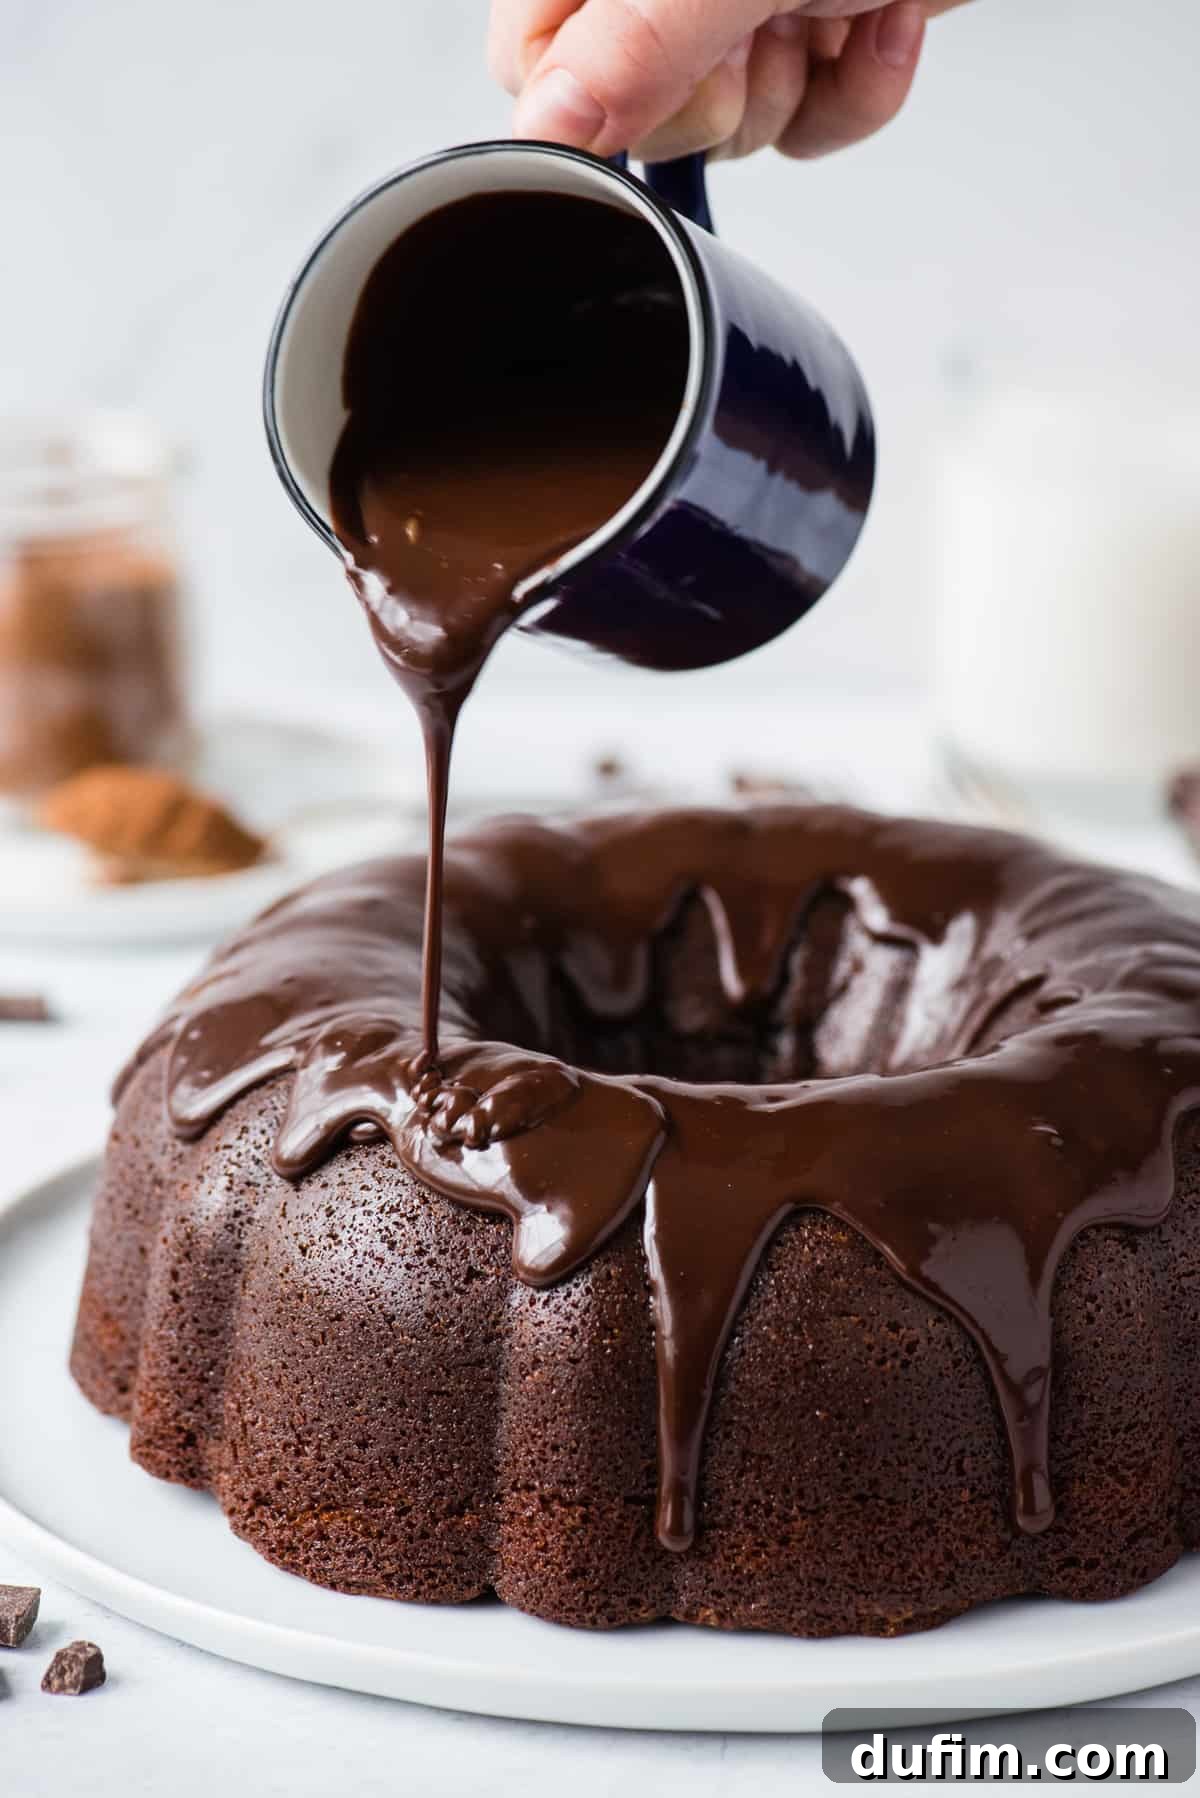
This simple, three-ingredient glaze is the ideal finishing touch, providing a beautiful shine and rich flavor without cracking, ensuring a professional presentation every time.
- Prepare Chocolate Chips: Place your semi-sweet chocolate chips into a medium-sized, heat-proof mixing bowl. Ensure the bowl is dry and clean.
- Heat Heavy Cream: In a small saucepan, heat the heavy cream over low heat, stirring occasionally to prevent it from sticking or scorching. Watch it closely and remove it from the heat just as it begins to boil, indicated by small bubbles forming around the edges of the pan.
- Combine Cream and Chocolate: Immediately pour the hot heavy cream directly over the chocolate chips in the bowl. Do not stir at this stage. Allow the mixture to stand undisturbed for 1-2 minutes. This crucial resting time allows the residual heat from the cream to thoroughly melt the chocolate chips evenly and thoroughly.
- Stir Until Smooth: After allowing it to stand, use a flexible spatula or whisk to gently stir the mixture, starting from the center and working your way outwards, until it becomes completely smooth, glossy, and uniform in consistency. Once smooth, stir in the 1 tablespoon of corn syrup until it is fully incorporated. The corn syrup is your secret weapon for a professional-looking, crack-free, and wonderfully shiny glaze!
- Cool and Drizzle: Let the glaze cool down to room temperature before applying it to your completely cooled bundt cake. If the glaze is too warm, it will simply run off the cake; if it’s too cool, it might become too thick and difficult to drizzle smoothly. Once at the perfect room temperature, drizzle the glaze generously over the top and down the sides of your bundt cake.
- Storage: Any leftover glazed cake should be stored covered in an airtight container at room temperature for up to 4 days, preserving its freshness and moistness.
Expert Tips for Chocolate Bundt Cake Success
Achieving a perfect bundt cake—one that’s moist, delicious, and releases cleanly from the pan—requires a few key techniques. These expert tips will help you avoid common pitfalls and ensure your chocolate bundt cake is always a triumph, looking and tasting like it came from a professional bakery!
- Know Your Bundt Pan Size: This is more important than many bakers realize! Not all bundt pans are created equal. This specific chocolate bundt cake recipe was developed and rigorously tested in a standard 9-inch bundt pan, which typically holds 10-12 cups of batter. Using a significantly different size can drastically affect baking time, the rise of the cake, and its overall density. If your pan is notably smaller, you might have excess batter; if it’s much larger, the cake could turn out too thin or overbaked. Always check your pan’s capacity.
- Measure Flour Accurately: Over-measuring flour is one of the most common, yet easily avoidable, causes of dry, dense, and crumbly cakes. Flour can compact significantly in its container, so scooping directly with your measuring cup can add up to 20-30% more flour than required. Always use the “spoon and level” method for precise measurement, which we’ve detailed in its own dedicated section below, to ensure a tender and moist crumb.
- Liberally Grease Your Bundt Pan: This is arguably the most critical step for guaranteeing easy and successful cake release. For bundt cakes, we highly recommend using a solid fat like softened butter or shortening instead of non-stick cooking sprays. These fats create a more substantial, protective barrier between the cake and the pan. Ensure every single crevice, nook, and cranny of the bundt pan’s intricate design is thoroughly and generously coated. This meticulous approach is detailed further in our “How to Grease a Bundt Pan” section.
- Cool Before Inverting: Resist the common urge to immediately flip your bundt cake out of the pan the moment it exits the oven. This can lead to breakage or a cake that sticks. Allowing the cake to cool undisturbed in its pan for a full 15 minutes is a crucial step. During this cooling period, the cake’s structure firms up, and it naturally begins to shrink slightly, pulling away from the sides of the pan. This process significantly reduces the risk of it sticking or tearing when you finally invert it.
How to Properly Measure Flour: The Essential “Spoon and Level” Method
Accurate flour measurement is absolutely paramount for baking a cake with a perfectly moist and tender crumb. Incorrectly measured flour is one of the most common reasons why cakes, muffins, and other baked goods turn out dry, dense, and heavy. To avoid this common baking pitfall, always employ the “spoon and level” method, ensuring precise results every time:
- Fluff the Flour: Before you even begin to scoop, take a moment to use a fork or a whisk to gently fluff up the flour within its bag or container. Flour naturally settles and compacts over time, and if you scoop it as is, you’ll end up with much more than intended.
- Spoon into Measuring Cup: Rather than plunging your measuring cup directly into the flour, use a regular kitchen spoon to gently scoop the fluffed flour into your dry measuring cup. Pile it lightly into the cup, making sure not to pack it down or tap the cup.
- Level Off: Once the measuring cup is slightly overflowing with flour, use the straight edge of a butter knife or a flat spatula to carefully level off the top. Simply scrape the excess flour back into the bag or container, creating a perfectly flat and accurate measure.
Never, under any circumstances, stick your measuring cup straight into the bag of flour and scoop. This common mistake will inevitably pack far too much flour into the cup, often resulting in an extra 20-30% more flour than your recipe truly calls for. This excess flour will absorb too much moisture, invariably leading to a noticeably dry, dense, and heavy cake that lacks the desired delicate texture.
The Secret to a Seamless Release: How to Properly Grease a Bundt Pan
A well-greased bundt pan is the absolute difference between producing a perfectly molded, stunning cake and encountering a frustrating, cake-destroying baking disaster. When it comes to bundt cakes, you should forget the convenience of non-stick cooking sprays entirely; for these intricate pans, solid fat is unequivocally your best friend. I consistently and strongly recommend using softened butter or shortening because it creates a much more substantial, impermeable barrier between the delicate cake batter and the pan’s surface. This robust layer ensures a smooth, clean, and complete release every single time, preserving your cake’s beautiful details.
To grease your bundt pan with maximum effectiveness and minimal mess: you will need about 1 tablespoon of softened butter or shortening. For a clean and efficient application, you can either place your hand inside a resealable plastic bag or wrap your hand with a paper towel. Then, use your butter-covered hand to liberally and thoroughly rub the fat over the entire interior surface of the bundt pan. Be incredibly meticulous! Pay special attention to working the fat into all the intricate designs, tight crevices, and, critically, around the central tube. Ensure every single part of the pan, from top to bottom and all the decorative elements, is completely and thoroughly coated. This comprehensive greasing technique is your ultimate safeguard against any sticking and guarantees your beautiful cake emerges perfectly intact, ready for glazing and admiration.
Foolproof Method: How to Get Your Cake Out of a Bundt Pan Every Time
After all your hard work and anticipation in baking, the absolute last thing you want is a stuck or broken cake. Follow these precise steps for a stress-free and consistently successful bundt cake release, ensuring your creation looks as perfect as it tastes:
- Grease the Pan Just Before Use: Grease your bundt pan liberally with butter or shortening, but timing is key – do not do it too early. If your kitchen is warm, the butter or shortening could melt and pool at the very bottom of the pan, leaving the intricate sides and top edges unprotected. The ideal time to meticulously grease the pan is immediately after you have finished mixing the cake batter, just before you are ready to pour it in.
- Allow Initial Cooling in the Pan: Once your bundt cake is perfectly baked and removed from the oven, place the entire pan, right-side up, on a wire cooling rack. Allow the cake to cool (without inverting it) directly in the pan for a full and uninterrupted 15 minutes. This crucial cooling period is essential: it allows the cake’s delicate structure to firm up properly, and as it cools, the cake will naturally shrink slightly, gently pulling away from the sides of the pan. This natural separation makes for a much easier release.
- Gentle Release and Inversion: After the precise 15-minute cooling period, use a small, thin, flexible spatula or a butter knife to very gently loosen any edges of the cake that might still be clinging to the pan. Slowly and carefully work your way around the entire perimeter of the cake and, crucially, around the central tube. Once you feel the edges have released, place a piece of parchment paper or another clean wire cooling rack directly over the top of the bundt pan. Firmly grip both the bundt pan and the parchment/rack together, then swiftly and confidently invert them. Gently tap the bottom of the inverted pan several times to encourage the cake to fully release.
- Complete Cooling: Once your beautiful cake is successfully out of the pan, allow it to cool completely to room temperature on the parchment paper or cooling rack. This step is absolutely essential before you attempt to apply the chocolate glaze. Applying glaze to a warm or even slightly warm cake will cause the glaze to melt, run off, and create a messy, unappealing finish, instead of setting into a smooth, shiny coating. Patience here is truly a virtue!
Storing Your Delicious Chocolate Bundt Cake: Keeping it Fresh
To ensure your chocolate bundt cake remains as fresh, fudgy, and moist as the day it was baked, proper storage is absolutely essential. First, confirm that the cake has cooled completely to room temperature after you’ve applied the glaze. Once thoroughly cooled, you have a few excellent options for storage:
At Room Temperature: For short-term enjoyment, place the entire cake or any individual slices into an airtight container. Store this container on your kitchen counter at room temperature. The cake will maintain its wonderful freshness, delectable fudginess, and moist texture for up to 3 days. This is generally the best method for preserving its immediate eating quality.
In the Refrigerator: If you need to store the cake for a slightly longer period, it can be kept in the refrigerator. Again, place it in an airtight container to prevent it from absorbing refrigerator odors and drying out. Refrigerated, the cake will stay fresh for up to a week. Remember to let it come to room temperature for about 30 minutes before serving for the best flavor and texture.
Freezing for Long-Term Storage: For extended storage, chocolate bundt cake freezes beautifully. Ensure the cake is completely cooled and, if glazed, that the glaze is fully set. For an unglazed cake, wrap it tightly in several layers of plastic wrap, then an additional layer of aluminum foil. For a glazed cake, you might want to freeze it uncovered first until the glaze is solid, then wrap it. Place the well-wrapped cake in a freezer-safe bag or container. It can be stored in the freezer for up to 2-3 months. When ready to enjoy, thaw the cake overnight in the refrigerator, then let it come to room temperature before serving.
Chocolate Bundt Cake Frequently Asked Questions
Why Use Hot Water in Chocolate Cake?
The use of hot water in chocolate cake recipes, including this bundt cake, serves a crucial and delightful purpose: it significantly intensifies the chocolate flavor of the cocoa powder through a process known as “blooming.” When cocoa powder is mixed with hot liquid, its flavor compounds are released and become much more potent and aromatic. This chemical reaction means your chocolate bundt cake will boast an even deeper, richer, and more intense chocolate flavor once it’s baked, elevating the overall taste experience from merely good to truly extraordinary.
Why Use Corn Syrup in Chocolate Glaze?
Adding just a tablespoon of corn syrup to your chocolate glaze is a clever and highly effective trick that yields impressive results for both appearance and texture. Corn syrup acts as an invert sugar, which is vital for preventing the glaze from crystallizing as it cools and sets. This means your beautiful, shiny glaze won’t crack or become brittle when you cut into the bundt cake, thereby maintaining its pristine and smooth appearance. Furthermore, corn syrup is directly responsible for imparting that desirable glossy, professional finish, making your cake look as exquisitely appealing as it tastes.
What makes a bundt cake different from a regular cake?
Bundt cakes distinguish themselves from regular cakes primarily through their unique, iconic shape and often a distinct textural profile. They are baked in special bundt pans, which feature a distinctive ring shape and often intricate fluted designs that create a beautiful, decorative presentation without the need for complex frosting techniques. While traditional layer cakes often aim for a lighter, fluffier crumb, bundt cakes typically have a more substantial, compact, and inherently moist texture. This denser crumb makes them particularly well-suited for absorbing rich glazes, syrups, and fillings, which is often a hallmark of bundt cake recipes. This unique combination of elegant form and satisfying texture gives bundt cakes an irresistible charm that sets them apart on any dessert table.
What causes a bundt cake to be dry?
A dry bundt cake is a common baking disappointment, but fortunately, several factors contributing to it can be easily addressed. The most frequent culprit is undoubtedly overbaking; leaving the cake in the oven even a few minutes too long can cause excessive moisture to evaporate, resulting in a dry and sometimes crumbly texture. Another very common issue is inaccurate flour measurement; using too much flour (especially if you’re scooping directly from the bag without properly leveling it) can dramatically lead to a dense, dry crumb because excess flour absorbs too much liquid. Insufficient fat or liquid in the recipe, or not ensuring key ingredients like butter and eggs are at room temperature (which aids in proper emulsification), can also adversely impact the cake’s moistness. To ensure a perfectly moist, tender, and delicious bundt cake every single time, keep a close eye on your baking time, measure all ingredients precisely, and always adhere closely to the recipe’s specified liquid-to-dry ratios.
“This cake! Amazing flavor! I made it yesterday for a dinner party and received raving reviews.”
– Pam
Explore More Decadent Chocolate Desserts
If you’re a true chocolate lover and can’t get enough of rich, indulgent treats, you’ll adore these other irresistible recipes from our extensive collection. Each one is designed to satisfy your deepest chocolate cravings!
- Silky Smooth Classic Chocolate Mousse
- Effortless No-Bake Chocolate Pudding Pie
- Easy Elevated Chocolate Cake (from a mix!)
- Rich and Creamy Decadent Chocolate Cheesecake
Tap stars to rate!
The Ultimate Chocolate Glazed Bundt Cake
Beth
15 minutes
50 minutes
1 hour 15 minutes (cooling)
2 hours 20 minutes
16 servings
Rate This Recipe
Print Recipe
Even a novice baker can make this chocolate bundt cake perfect the first time when you follow my easy step-by-step instructions below. It’s fudgy, moist, and covered in a shiny glaze that doesn’t crack, and it always gets rave reviews!
Equipment
- 9-inch Bundt Pan (10-12 cup capacity)
- Large Glass Mixing Bowl
- Electric Hand Mixer or Stand Mixer
- Heat-Resistant Spatula
- Small Saucepan
- Wire Cooling Rack
- Parchment Paper
Ingredients
For the Fudgy Bundt Cake:
- 2 ¼ cups (270g) all-purpose flour
- 2 cups (396g) granulated sugar
- ⅓ cup (28g) natural unsweetened cocoa powder
- 1 tsp baking soda
- 1 tsp salt
- ½ cup (113g) unsalted butter (1 stick), melted and slightly cooled
- ½ cup (85g) semi-sweet chocolate chips, melted with butter
- 2 large eggs, at room temperature
- 1 cup (236ml) buttermilk, at room temperature
- 1 cup (236ml) hot tap water
- Optional: 1 ½ cups extra chocolate chips or chopped nuts for a more decadent cake
For the Shiny Chocolate Glaze:
- 1 cup (170g) semi-sweet chocolate chips
- ½ cup (118ml) heavy cream
- 1 Tbsp corn syrup
Instructions
Making the Bundt Cake:
-
Preheat your oven to 350°F (175°C). In a large mixing bowl, combine the flour, granulated sugar, cocoa powder, baking soda, and salt. Whisk them together thoroughly until well blended. Set aside.
-
In a small saucepan, gently melt the unsalted butter and ½ cup semi-sweet chocolate chips over low heat. Stir occasionally until the mixture is completely smooth. Remove from heat and let it cool for about 5 minutes.
-
In a separate mixing bowl, combine the slightly cooled melted chocolate mixture, the two large eggs, and 1 cup of buttermilk. Using an electric mixer, beat on medium-low speed for approximately 30 seconds until all ingredients are well combined and smooth.
-
Add half of the dry ingredient mixture to the wet ingredients. Beat on low speed until just combined.
-
Next, carefully add the 1 cup of hot tap water to the batter and beat again on low speed until integrated. This step helps to intensify the chocolate flavor. Then, add the remaining dry ingredients, mixing on low speed until the batter is fully combined and smooth. Be careful not to overmix the batter.
-
Liberally grease your 9-inch bundt pan with a tablespoon of butter or shortening, ensuring all crevices are thoroughly coated. This is crucial for easy release!
-
Pour the prepared cake batter into the greased bundt pan. Bake in the preheated oven for 50-55 minutes, or until a wooden skewer or toothpick inserted into the center of the cake comes out clean.
-
Once baked, remove the bundt cake from the oven and allow it to cool in the pan (do not invert yet) on a wire cooling rack for 15 minutes. This cooling period helps the cake firm up and pull away from the pan sides.
-
After 15 minutes, gently use a small spatula or knife to help release any edges that might still be clinging to the pan. Then, invert the pan over a piece of parchment paper or a clean cooling rack and gently tap the bottom to release the cake. Allow the cake to cool completely to room temperature before adding the glaze.
Preparing the Chocolate Glaze:
-
Place the 1 cup of semi-sweet chocolate chips in a medium, heat-proof bowl.
-
In a small saucepan, heat the ½ cup of heavy cream over low heat until it just begins to boil, forming small bubbles around the edges. Remove immediately from heat.
-
Pour the hot heavy cream over the chocolate chips. Let the mixture stand undisturbed for 1-2 minutes to allow the chocolate to melt.
-
After standing, use a spatula to stir the mixture until it is completely smooth and glossy. Then, stir in the 1 tablespoon of corn syrup until fully incorporated. The corn syrup will give your glaze a beautiful shine and prevent it from cracking.
-
Allow the chocolate glaze to cool to room temperature before generously drizzling it over the completely cooled bundt cake. This ensures the glaze sets beautifully. Store any remaining cake in an airtight container for up to 4 days.
Notes
Gluten-Free Chocolate Bundt Cake Variation:
Good news for gluten-free bakers! This recipe performs exceptionally well with gluten-free flour. I have successfully made and tested this cake multiple times using both regular and gluten-free flour, achieving fantastic results each time. For a reliable one-to-one substitute, I highly recommend King Arthur’s Gluten-Free Measure for Measure Flour. Simply use it in the exact same quantity as the all-purpose flour specified in the recipe without any other modifications.
Nutrition Information
Calories: 361 kcal | Carbohydrates: 50g | Protein: 5g | Fat: 16g | Saturated Fat: 10g | Polyunsaturated Fat: 1g | Monounsaturated Fat: 5g | Trans Fat: 1g | Cholesterol: 51mg | Sodium: 246mg | Potassium: 178mg | Fiber: 2g | Sugar: 33g | Vitamin A: 353IU | Vitamin C: 1mg | Calcium: 44mg | Iron: 2mg
Nutrition Disclosure
All nutritional values provided are approximate and are offered to the reader as a courtesy. Please note that altering ingredients and/or quantities will inevitably change these estimated nutritional calculations. This information is intended for general guidance only and is not a substitute for professional dietary advice.
Enjoyed this recipe? Please take a moment to rate it and share your feedback below! Your comments help other bakers.