
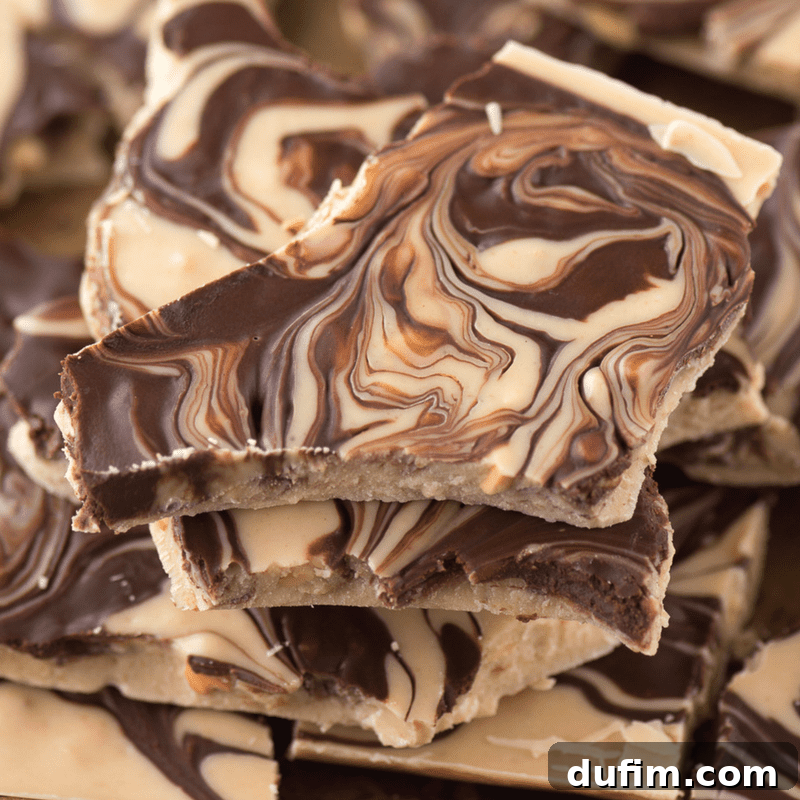
Irresistible 4-Ingredient Tiger Butter: The Ultimate Chocolate Peanut Butter Bark
Prepare for an obsession! This incredibly simple 4-ingredient Tiger Butter is not only highly addictive but also a guaranteed crowd-pleaser that earns rave reviews every time.
It’s everyone’s go-to chocolate peanut butter Christmas candy, demanding only 10 minutes of active preparation time for a treat that tastes like it took hours.

“Absolutely enjoyed this!! Highly recommend! So easy to make and so tasty!”
-Tazlyn
What is Tiger Butter Made Of?
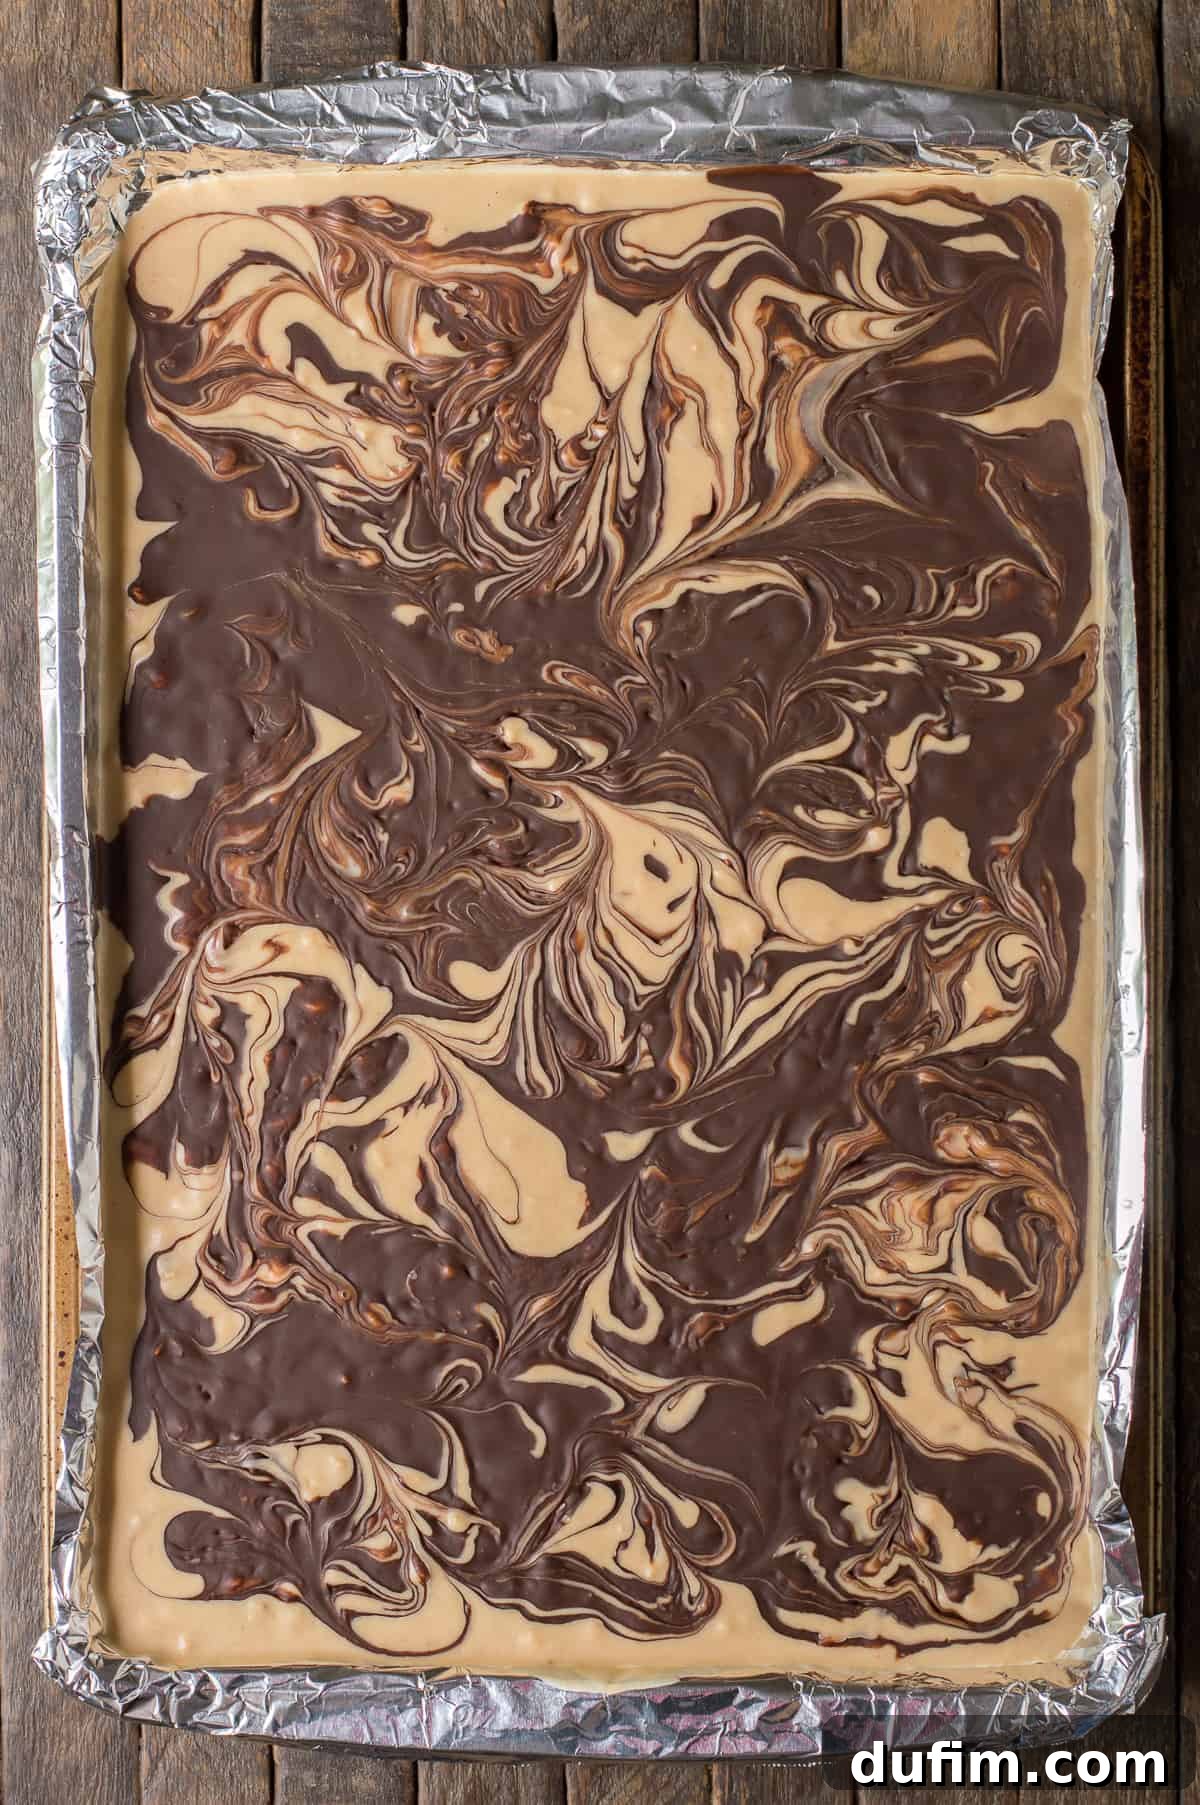
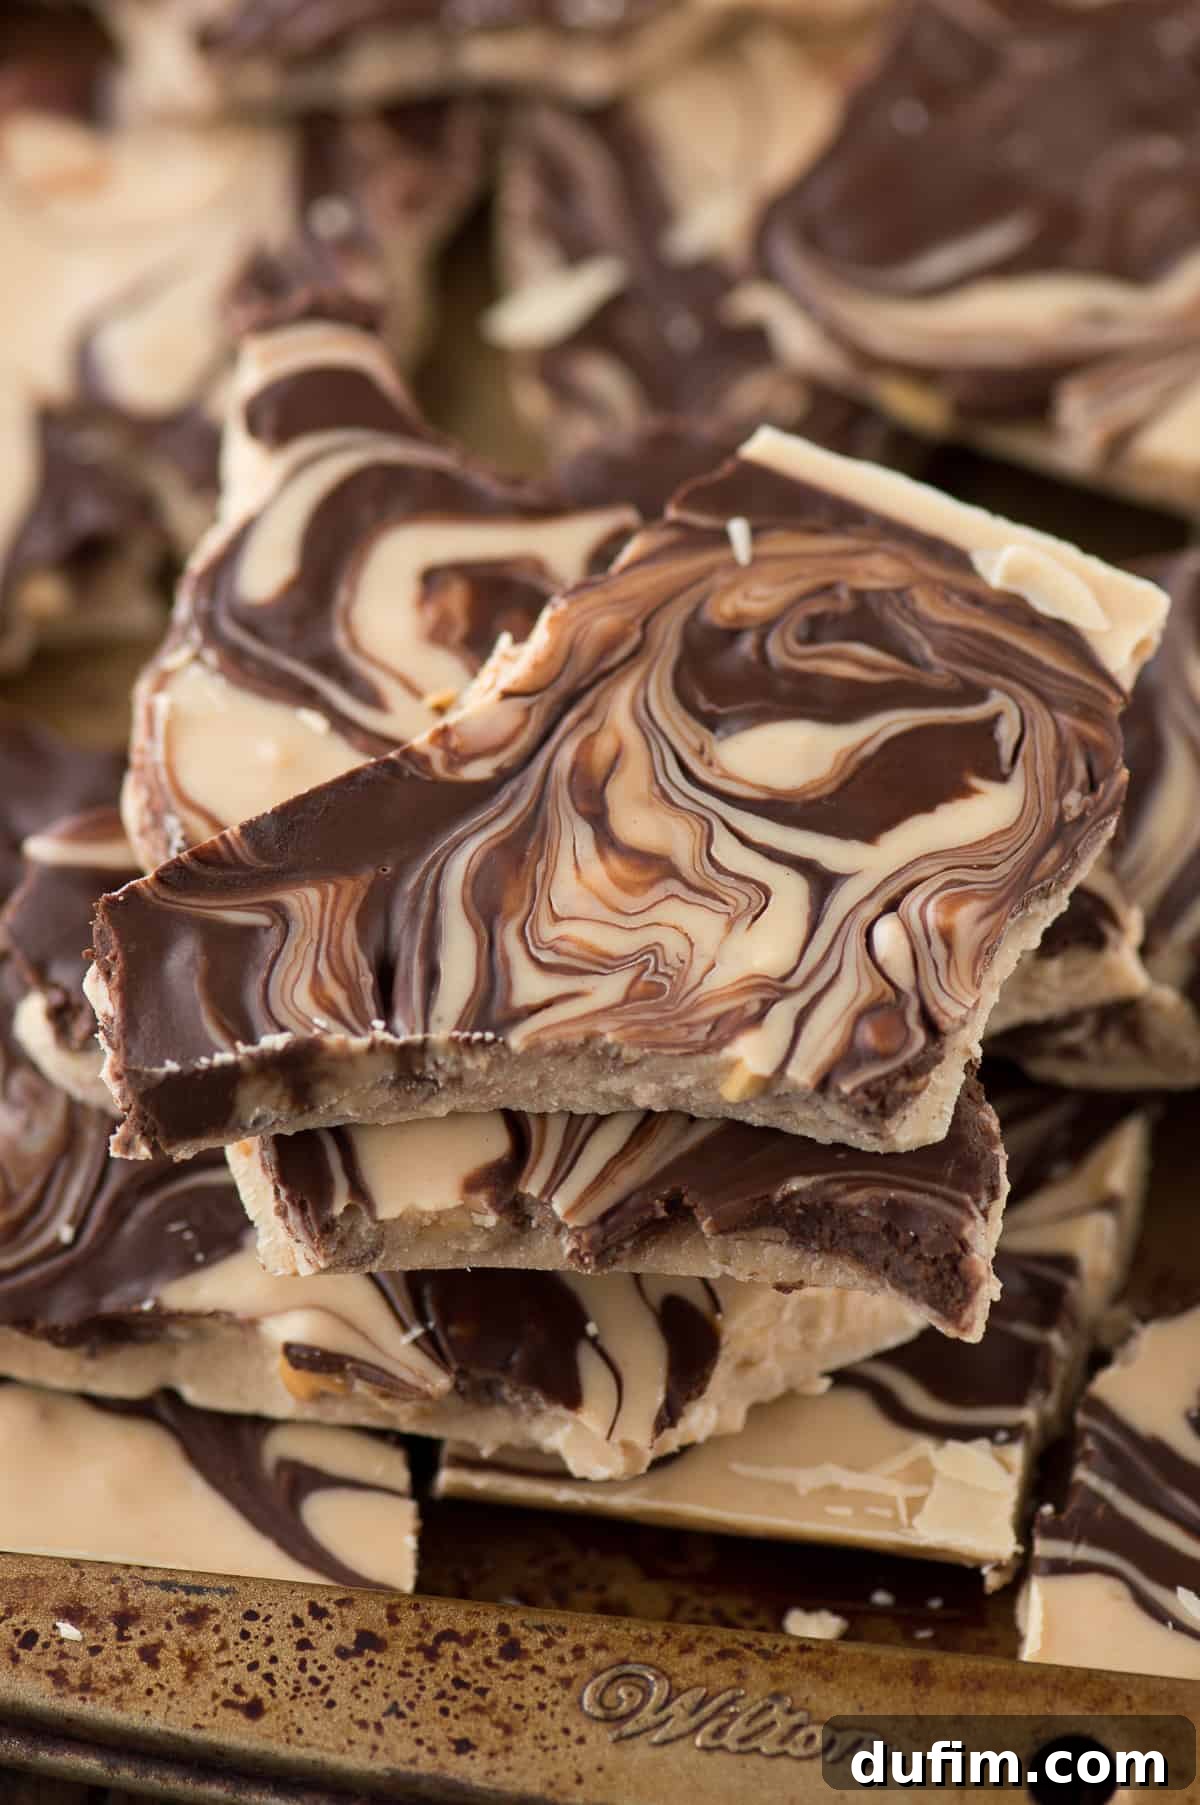
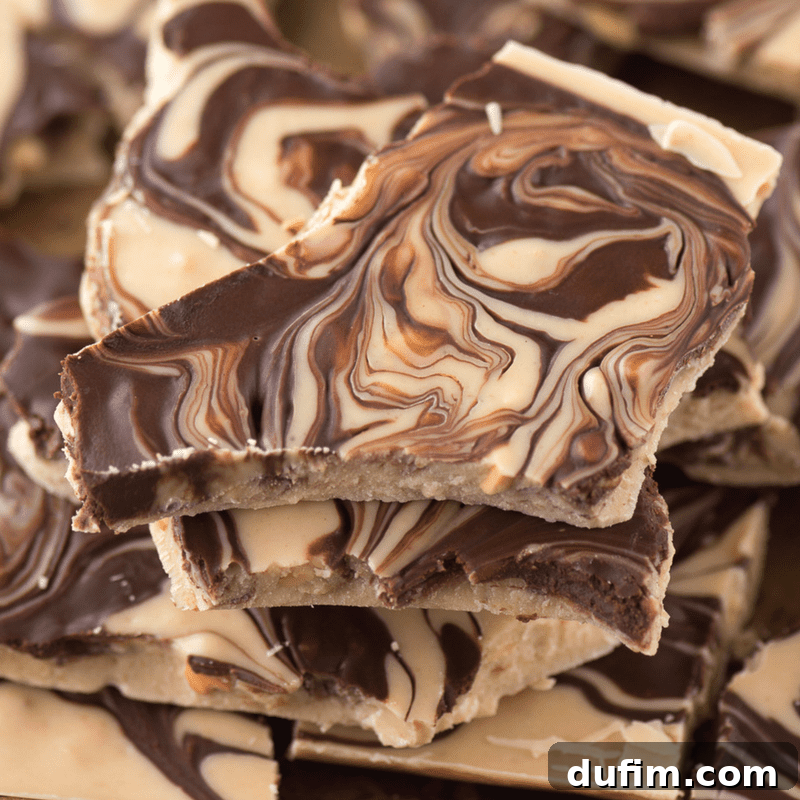
Despite its intriguing name, “Tiger Butter” isn’t actually made with butter (thank goodness!). Instead, this delightful confection is a harmonious blend of rich chocolate and creamy peanut butter. The “tiger” in its name comes from the striking marbled effect created when the two mixtures are swirled together, resembling the distinctive stripes of a tiger. The final result is a stunning display of big, beautiful swirls that are as pleasing to the eye as they are to the palate.
This effortless holiday candy occupies a sweet spot somewhere between traditional bark and classic fudge. It boasts the smooth, melt-in-your-mouth consistency and satisfying texture of fudge, yet it’s poured onto a baking sheet and broken into pieces, much like chocolate bark. Due to this unique combination, you might also hear this recipe referred to as Tiger Fudge, Tiger Butter Fudge, or even Tiger Bark.
If you’ve never had the pleasure of making this incredible tiger butter candy before, consider this your cue to elevate it to the top of your holiday season baking list! It’s a recipe that delivers immense flavor and visual appeal with minimal effort, making it a true festive miracle.
This is precisely the kind of recipe that requires very little input but yields a spectacular output – a batch of insanely delicious, beautifully marbled bark that will disappear in no time.
A Holiday Treat You’ll Love
One of the many reasons this stands out as a favorite holiday candy is its reliance on incredibly simple, readily available ingredients. The exquisite blend of creamy peanut butter and rich, smooth chocolate, often enhanced by delightful little bits of crunchy peanuts from the chunky peanut butter, is sure to be the highlight of any holiday gathering or party.
It’s not just delicious; it’s also one of the easiest holiday treats you can whip up and share this time of year, making it perfect for last-minute gifts, potlucks, or simply satisfying your sweet tooth.
For those who adore a classic, creamy fudge, this tiger butter recipe pairs wonderfully with a batch of traditional peanut butter fudge or decadent chocolate fudge for an ultimate dessert spread.
Why You’ll Fall in Love with This Tiger Butter Recipe
There are countless reasons why this Tiger Butter recipe is destined to become a staple in your kitchen, especially during the busy holiday season:
- Only 4 Ingredients: Simplicity is key! You only need vanilla almond bark, peanut butter, chocolate chips, and a touch of oil. This minimal ingredient list means less shopping, less expense, and less fuss, allowing you to create something truly special without complication.
- Minimal Hands-On Time: The active prep time is an astonishing 10 minutes. This makes it perfect for those hectic days when you crave a homemade treat but are short on time. The majority of the process involves melting and chilling, leaving you free to focus on other tasks.
- No Candy Thermometer Needed: Forget intimidating candy-making equipment! This recipe doesn’t require precise temperature monitoring, making it incredibly beginner-friendly. If you can melt chocolate, you can make this candy.
- Perfect for Little Helpers: Children absolutely adore making this candy. The swirling step is particularly fun and allows kids to express their creativity safely in the kitchen. It’s a wonderful activity to do with family, creating lasting holiday memories.
- Versatile Storage: Once firm, Tiger Butter can be stored both in the refrigerator or at room temperature, offering flexibility depending on your preference and available space. This makes it ideal for gifting or preparing ahead of time for parties.
- Ideal for Gifting: Break it into charming small squares or irregular pieces, and it becomes the perfect filler for festive cookie tins, gift boxes, or cellophane bags. Its beautiful appearance and delicious taste make it a cherished homemade gift that everyone appreciates.
Essential Ingredients for Your Tiger Butter
Gathering your ingredients for this easy candy is half the fun! You’ll be amazed at what deliciousness comes from such a short list:
- Vanilla Almond Bark: This forms the creamy, light base of our tiger butter. Almond bark is a candy coating that melts smoothly and sets quickly, providing a fantastic texture without the need for tempering. You might also find it labeled as chocolate-flavored candy coating or Candiquik in your local grocery store.
- Crunchy Peanut Butter: For that delightful textural contrast, crunchy peanut butter adds tiny bits of roasted peanuts that elevate the experience. However, if you prefer a perfectly smooth finish, feel free to substitute with creamy smooth peanut butter. Both work beautifully!
- Semi-Sweet Chocolate Chips: These provide the classic chocolate flavor and the darker contrast for the tiger stripes. Semi-sweet chocolate chips are versatile and melt easily, creating a rich layer that complements the peanut butter perfectly.
- A Little Bit of Vegetable Oil or Coconut Oil: Just a teaspoon of oil helps the chocolate melt into a smoother, more fluid consistency, making it easier to drizzle and swirl over the peanut butter mixture. This prevents the chocolate from becoming too thick or seizing.

How to Craft Your Delicious Tiger Butter
Making Tiger Butter is a delightfully simple process that even novice candy makers can master. Follow these straightforward steps to create your own batch of this irresistible treat:
Step 1: Prepare Your Baking Sheet
First, line a standard baking sheet (typically 10×15 inches, also known as a jelly roll pan) with aluminum foil or parchment paper. This crucial step ensures that your tiger butter will lift off the pan easily once set, making cleanup a breeze. If you have a silicone baking mat, that works wonderfully too for a reusable option.
Step 2: Melt the Vanilla Almond Bark and Peanut Butter
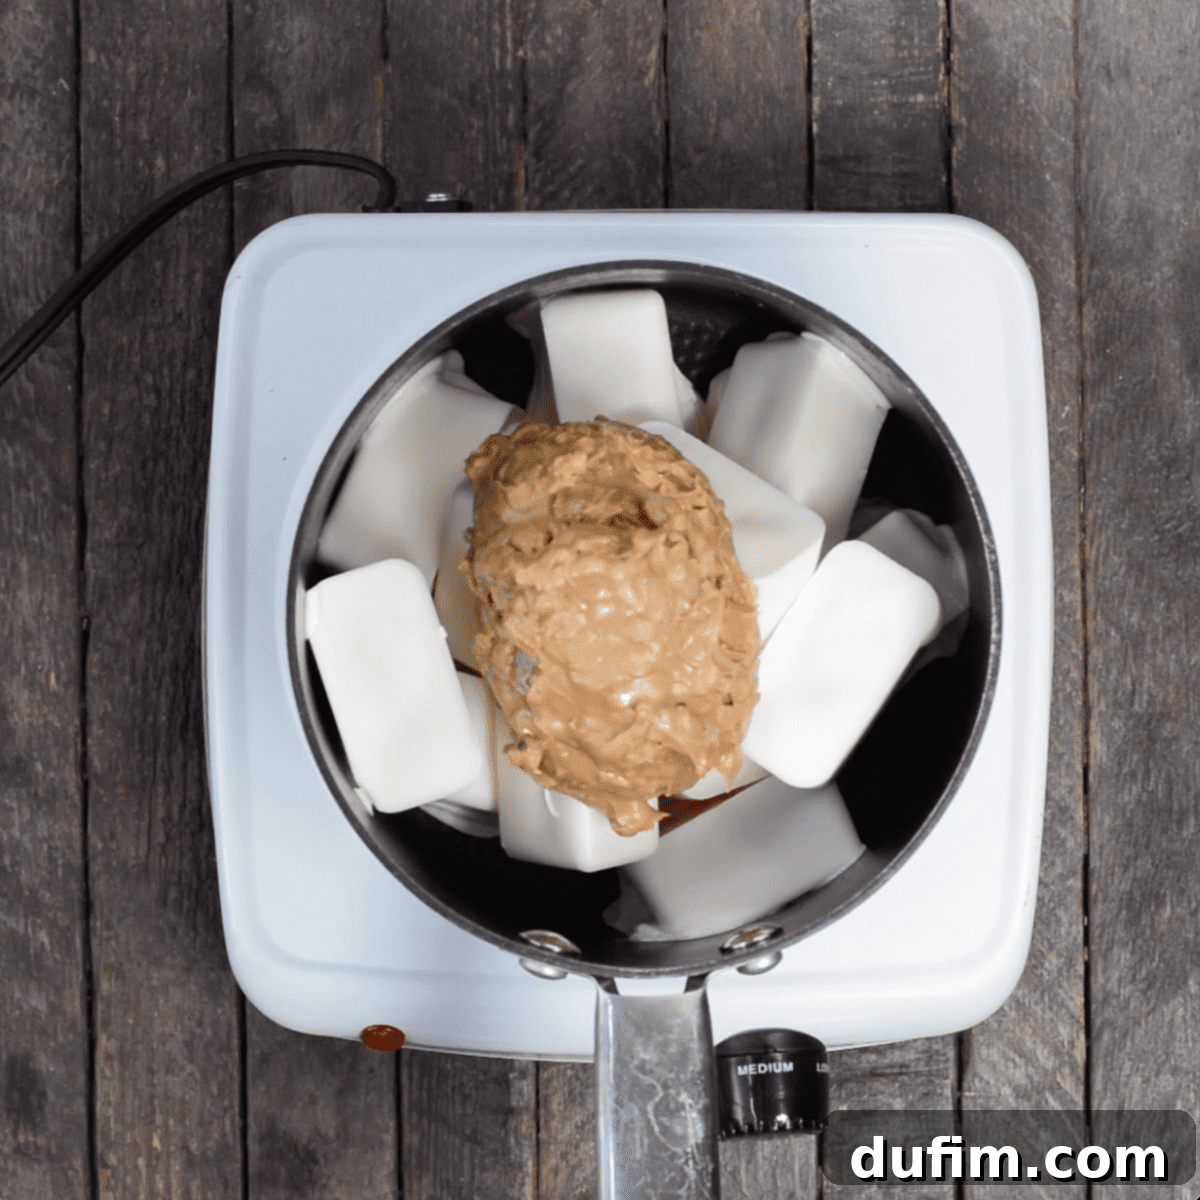
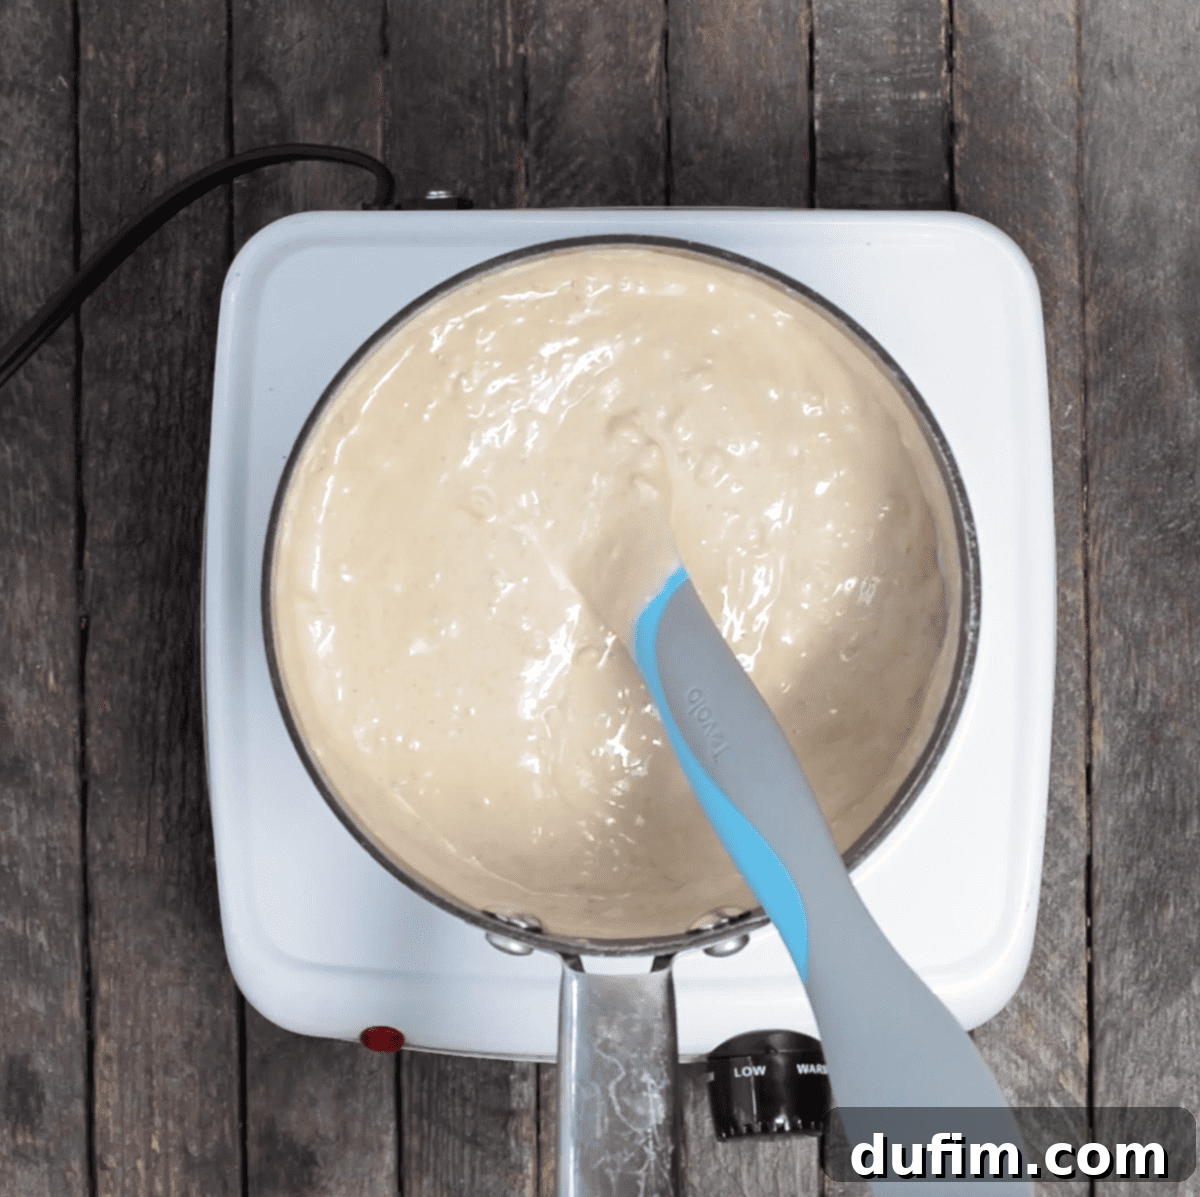
In a medium-sized saucepan, combine the vanilla almond bark and your choice of chunky peanut butter (or creamy, if preferred). Place the pot over medium-low heat. Stir the mixture occasionally with a heat-proof spatula until both the almond bark and peanut butter have fully melted and are smooth. Be patient and keep the heat low to prevent scorching.
Step 3: Melt the Chocolate Chips and Oil
While the almond bark and peanut butter are melting, you can simultaneously melt your chocolate. In a second, smaller saucepan, combine the semi-sweet chocolate chips and the vegetable oil (or coconut oil). Heat over medium-low heat, stirring occasionally until completely melted and smooth. Alternatively, for a quicker method, you can microwave the chocolate chips and oil in a microwave-safe bowl. Heat at 50% power in 30-second intervals, stirring well after each interval, until fully melted and glossy. Be careful not to overheat the chocolate, as it can seize.


Step 4: Combine and Swirl
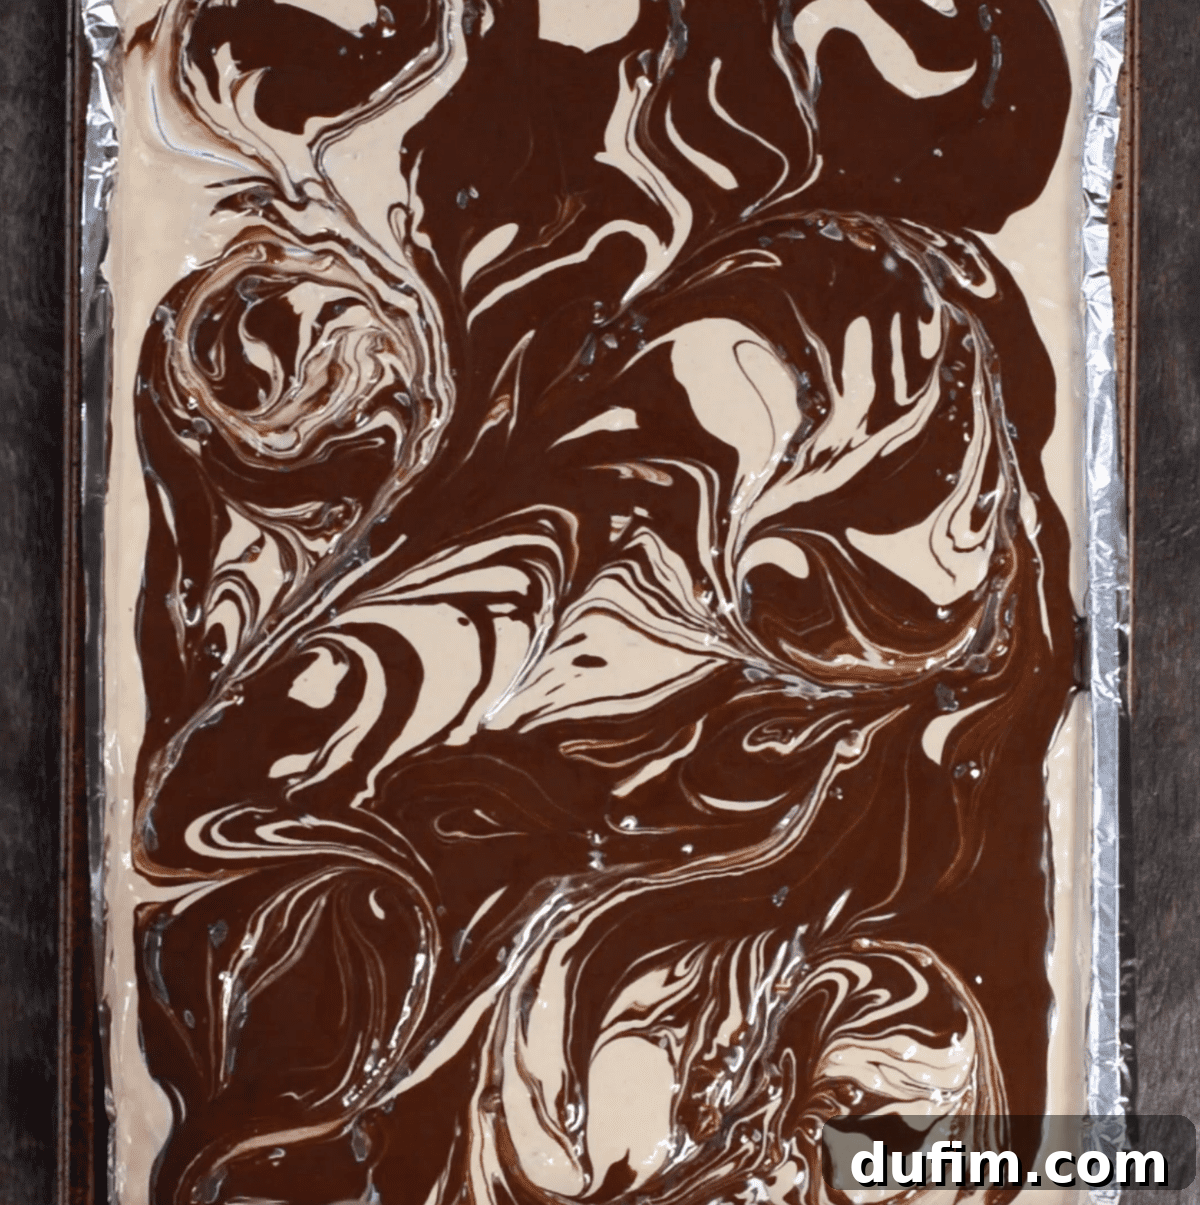
Once both mixtures are melted, carefully pour the almond bark and peanut butter mixture onto your prepared baking sheet. Use a spatula to gently spread it into an even layer across the pan. Next, drizzle the melted chocolate mixture generously over the peanut butter layer. For that signature tiger stripe effect, take a knife or a small offset spatula and gently swirl the two layers together. The key to beautiful marbling is to avoid over-mixing; you want distinct ribbons of each color, not a fully blended brown.

Step 5: Chill and Serve
Carefully transfer the baking pan to the refrigerator and chill until the tiger butter is completely firm, which usually takes about 1-2 hours. If you live in a cold climate during winter, a cool garage can also work wonders! Once firm, remove the candy from the pan by lifting the foil or parchment paper. Break the large slab into smaller, irregular pieces or use a sharp knife to cut it into neat squares. Store your delicious tiger butter in an airtight container to maintain its freshness.
Want a Thicker, More Fudge-Like Version?
If you prefer your tiger butter to be thicker and have a consistency more akin to traditional fudge, simply pour the mixture into a smaller 7×11 inch baking dish instead of a larger jelly roll pan. This will result in a denser, more substantial treat.

Tips for Melting Chocolate in the Microwave
If you’d rather skip using the stovetop, melting your chocolate and almond bark in the microwave is a perfectly viable and often quicker option. Here’s how to do it right:
Always use a sturdy glass bowl or ceramic bowl, as plastic bowls can retain heat and cause chocolate to seize. Microwave on 50% power settings; this lower power level helps prevent the chocolate from overheating and burning. Check and stir the chocolate after every 30 to 60 seconds. Even if the chocolate doesn’t look fully melted, stirring helps distribute the heat and allows residual warmth to melt any remaining chunks. For best results, especially when working with larger pieces of almond bark or chocolate, chop them into smaller, uniform pieces before melting. This ensures a more even and faster melt.
Creative Variations for Your Tiger Butter
While the classic Tiger Butter is perfect as is, it’s also wonderfully adaptable! Here are a few simple variations to customize your bark:
White Chocolate Delight: For a different flavor profile, or if you prefer a lighter base, you can easily substitute white chocolate chips in place of the vanilla almond bark. This creates a slightly sweeter, creamier foundation that pairs beautifully with peanut butter.
Smooth Operator: If the crunch of peanuts isn’t your preference, simply replace the crunchy peanut butter with creamy peanut butter. This will give your tiger butter a silky-smooth texture throughout, which many find equally delightful.
Chocolate Twist: Experiment with different types of chocolate chips! Instead of semi-sweet, try dark chocolate chips for a more intense, less sweet chocolate flavor, or opt for milk chocolate chips for an even creamier, sweeter contrast.
Add a Sprinkle of Salt: A pinch of sea salt flakes sprinkled over the top before chilling can really enhance the flavors, balancing the sweetness and bringing out the depth of the chocolate and peanut butter.
Nutty Additions: Consider adding a sprinkle of chopped pecans, walnuts, or even mini pretzels on top of the swirled mixture before chilling for extra texture and flavor dimension.
How to Store Your Delicious Tiger Butter
Proper storage is key to keeping your Tiger Butter fresh and delicious for as long as possible. Once you’ve broken the bark into pieces or cut it with a sharp knife, transfer the tiger butter fudge to an airtight container or a heavy-duty ziploc bag. It can be stored at room temperature on your kitchen counter for up to 2 weeks. Ensure it’s kept in a cool, dry place away from direct sunlight to prevent it from melting or becoming sticky.
Does Tiger Butter Need to Be Refrigerated?
No, surprisingly, this wonderful treat does not strictly need to be refrigerated. It holds up well at room temperature, provided your kitchen isn’t overly warm. However, if you personally prefer your candy cold, or if your home is particularly warm, feel free to refrigerate it! Storing it in an airtight container or ziplock bag in the fridge will keep it perfectly fresh and firm for up to 2 weeks. Just be aware that refrigeration can sometimes make the chocolate a bit harder, so you might want to let it sit out for a few minutes before enjoying if you prefer a slightly softer bite.
How to Freeze Tiger Butter for Later Enjoyment
One of the fantastic advantages of this tiger butter fudge recipe is that it freezes beautifully, making it an excellent candidate for make-ahead holiday gifts or simply to have a stash of delicious candy on hand. You can easily prepare a batch (or two!) in advance and store it in the freezer until you’re ready to enjoy or share it.
To freeze: After the tiger bark has fully set and been broken or sliced into individual squares or pieces, arrange them in a single layer on a parchment-lined baking sheet and flash freeze for about 30 minutes until solid. This prevents them from sticking together. Then, transfer the solid pieces to a heavy-duty freezer-safe ziploc bag or an airtight container. Make sure to remove as much excess air as possible from the bag to prevent freezer burn. Label with the date and place it in the freezer for up to 3-4 months.
To thaw: When you’re ready to enjoy your frozen tiger butter, simply transfer the entire ziploc bag or container to the refrigerator overnight. This allows the candy to thaw gradually and evenly, maintaining its texture and flavor. Alternatively, for a quicker thaw, you can leave it at room temperature for a few hours, though be mindful of condensation forming on the candy.
More Delightful Christmas Recipes to Explore
If you’ve enjoyed making this easy Tiger Butter, you’re in for a treat! Here are more festive recipes to add to your holiday baking repertoire, guaranteed to spread cheer and deliciousness:
- Sticky Paws Williams Sonoma Copycat: Recreate this beloved caramel and chocolate treat at home.
- Peppermint Oreo Balls: No-bake, minty, and absolutely irresistible.
- Church Window Cookies: A colorful and classic no-bake cookie with marshmallows and chocolate.
- Swirled Peppermint Bark: Another beautiful bark, perfect for mint chocolate lovers.
- Eggnog Pie: A creamy, spiced dessert that captures the essence of the holidays.
Rate this recipe!
Tiger Butter
By: Beth
Prep Time: 10 minutes
Additional Time: 2 hours (chilling)
Total Time: 2 hours 10 minutes
Servings: 30 pieces
This 4 ingredient tiger butter is highly addictive and receives tons of compliments! It’s everyone’s favorite chocolate peanut butter Christmas candy, and only requires 10 minutes!
Equipment
- Silicone Baking Mat (or parchment paper/foil)
- Glass Mixing Bowl (for microwave melting, optional)
- A sturdy spatula
Ingredients
- 24 oz vanilla almond bark (also known as chocolate flavored candy coating or Candiquik)
- ⅔ cup (167g) chunky peanut butter (can substitute creamy peanut butter)
- ⅔ cup (140g) semi-sweet chocolate chips
- 1 tsp vegetable oil or coconut oil
Instructions
- Line a jelly roll pan (10×15 inches) with aluminum foil, a silicone baking mat, or parchment paper.
- In a medium pot over medium-low heat, melt the vanilla almond bark and chunky peanut butter, stirring occasionally until fully melted and smooth.
- At the same time, in a second smaller pot over medium-low heat, melt the semi-sweet chocolate chips and vegetable oil, stirring occasionally until melted and glossy. Alternatively, microwave in a glass bowl at 50% power in 30-second intervals, stirring between each, until smooth.
- Pour the almond bark and peanut butter mixture onto the lined pan and spread evenly with a spatula. Drizzle the melted chocolate over the almond bark layer. Using a knife or small spatula, gently swirl the two mixtures together to create a marbled “tiger stripe” pattern. Avoid over-mixing to maintain distinct layers.
- Place the pan in the refrigerator to chill until completely firm, about 1-2 hours. Once firm, lift the candy from the pan and break or cut the tiger butter into smaller pieces. Store in an airtight container on the counter or in the fridge.
Notes
How to store tiger butter: After breaking or cutting the bark into pieces, store the tiger butter fudge in an airtight container or ziploc bag on the counter for up to 2 weeks. Ensure it’s kept in a cool, dry place.
Variations:
- Use white chocolate chips in place of the vanilla almond bark for a different flavor.
- Replace crunchy peanut butter with creamy peanut butter for a smoother texture.
- Switch up the chocolate chips by using dark or milk chocolate chips to alter the chocolate intensity.
- Add a sprinkle of sea salt or chopped nuts before chilling for extra flavor and texture.
Nutrition
All nutritional values are approximate and provided to the reader as a courtesy. Changing ingredients and/or quantities will alter the estimated nutritional calculations.
Calories: 145kcal | Carbohydrates: 14g | Protein: 2g | Fat: 9g | Saturated Fat: 6g | Polyunsaturated Fat: 1g | Monounsaturated Fat: 2g | Trans Fat: 1g | Cholesterol: 1mg | Sodium: 31mg | Potassium: 60mg | Fiber: 1g | Sugar: 13g | Vitamin A: 2IU | Calcium: 5mg | Iron: 1mg