
Irresistible Oreo Overload Baked Donuts: Your Ultimate Guide
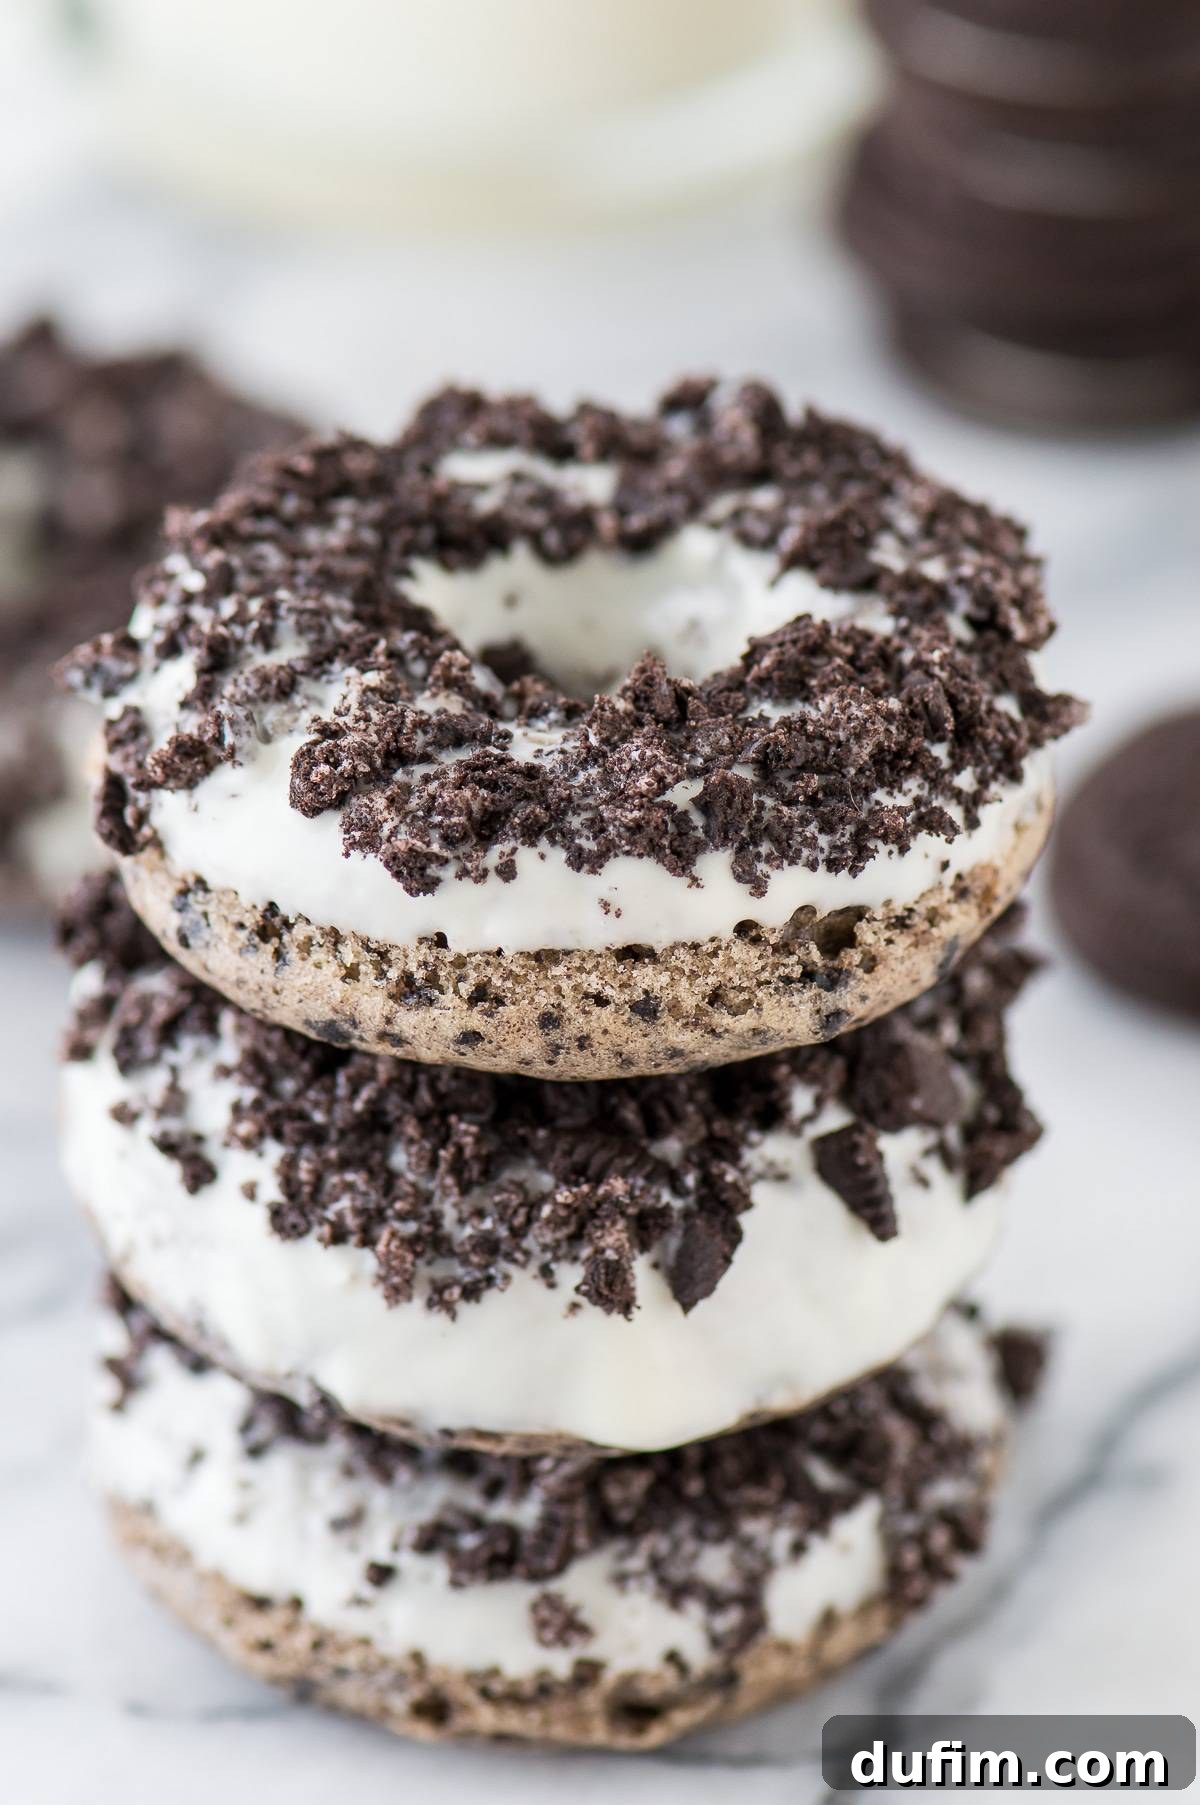
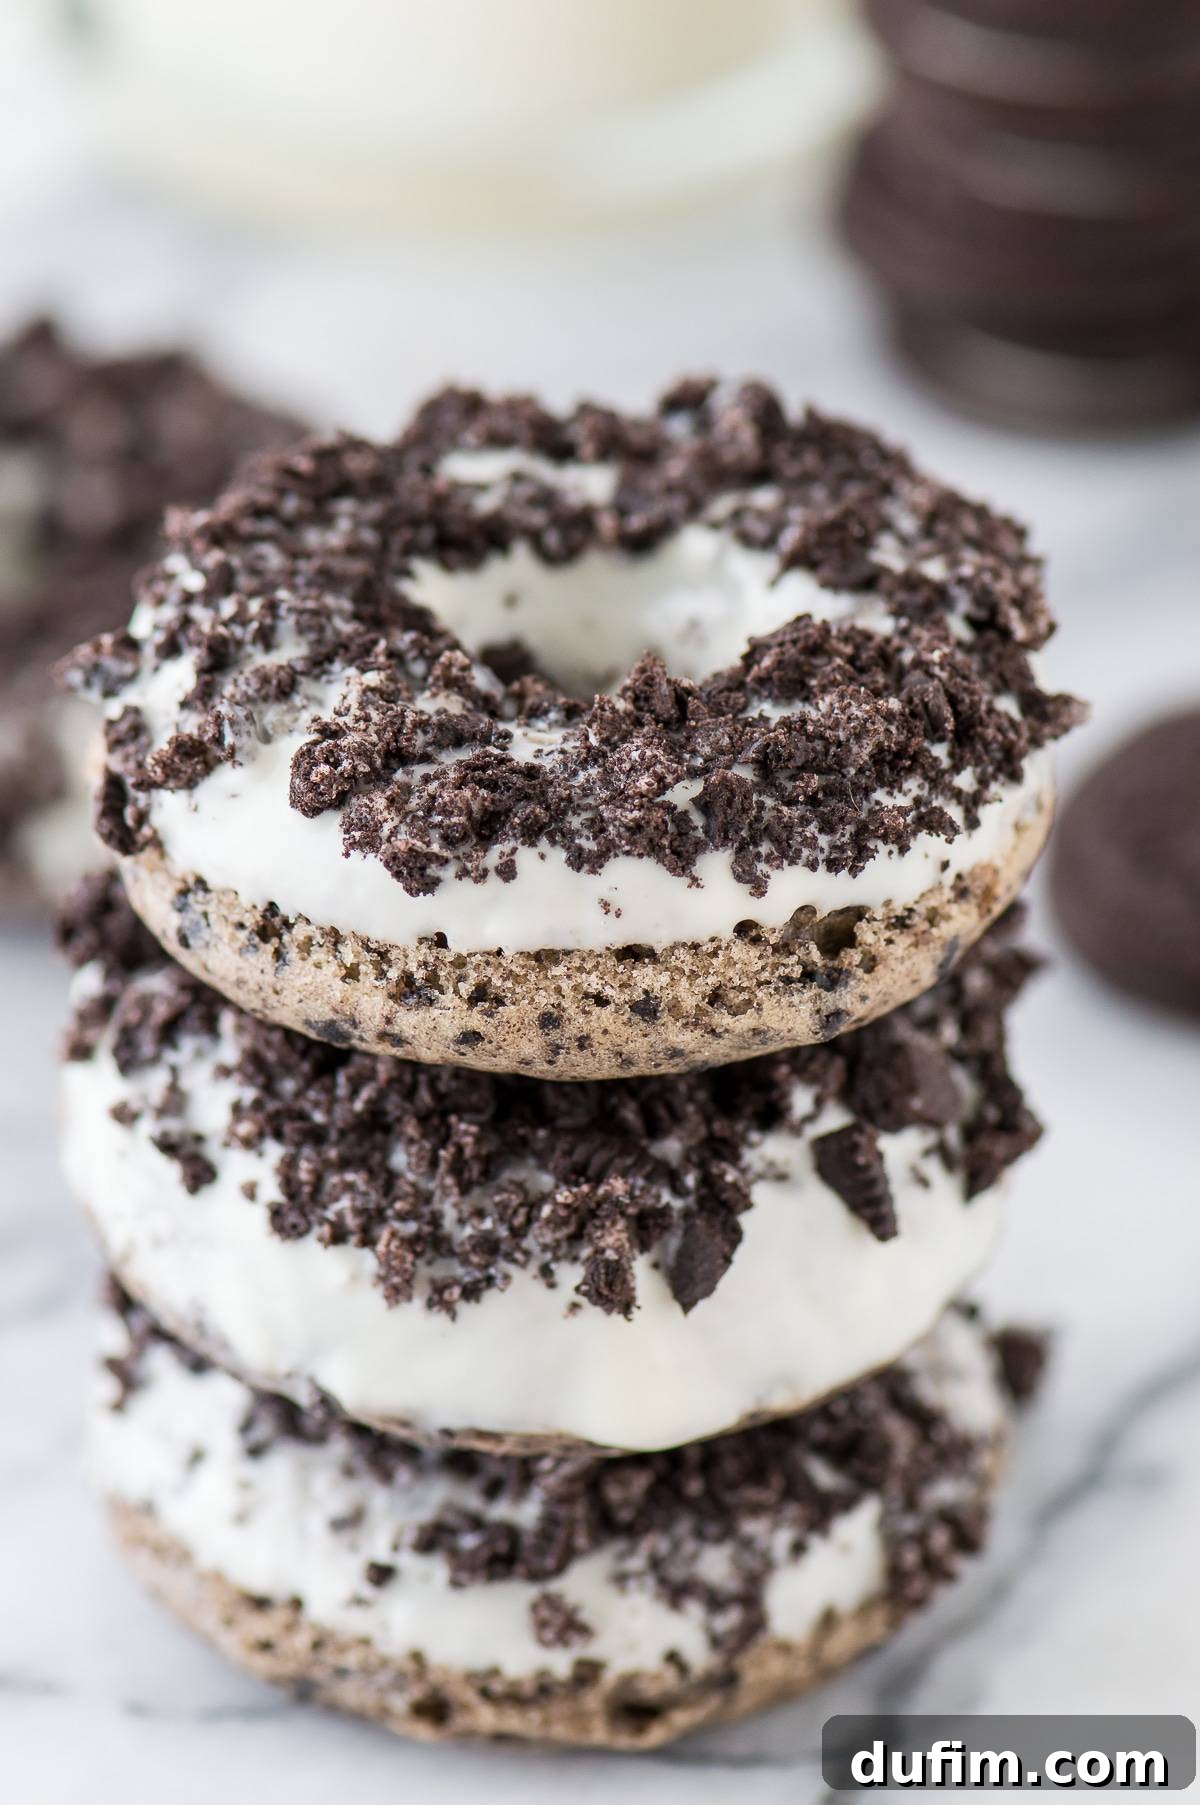
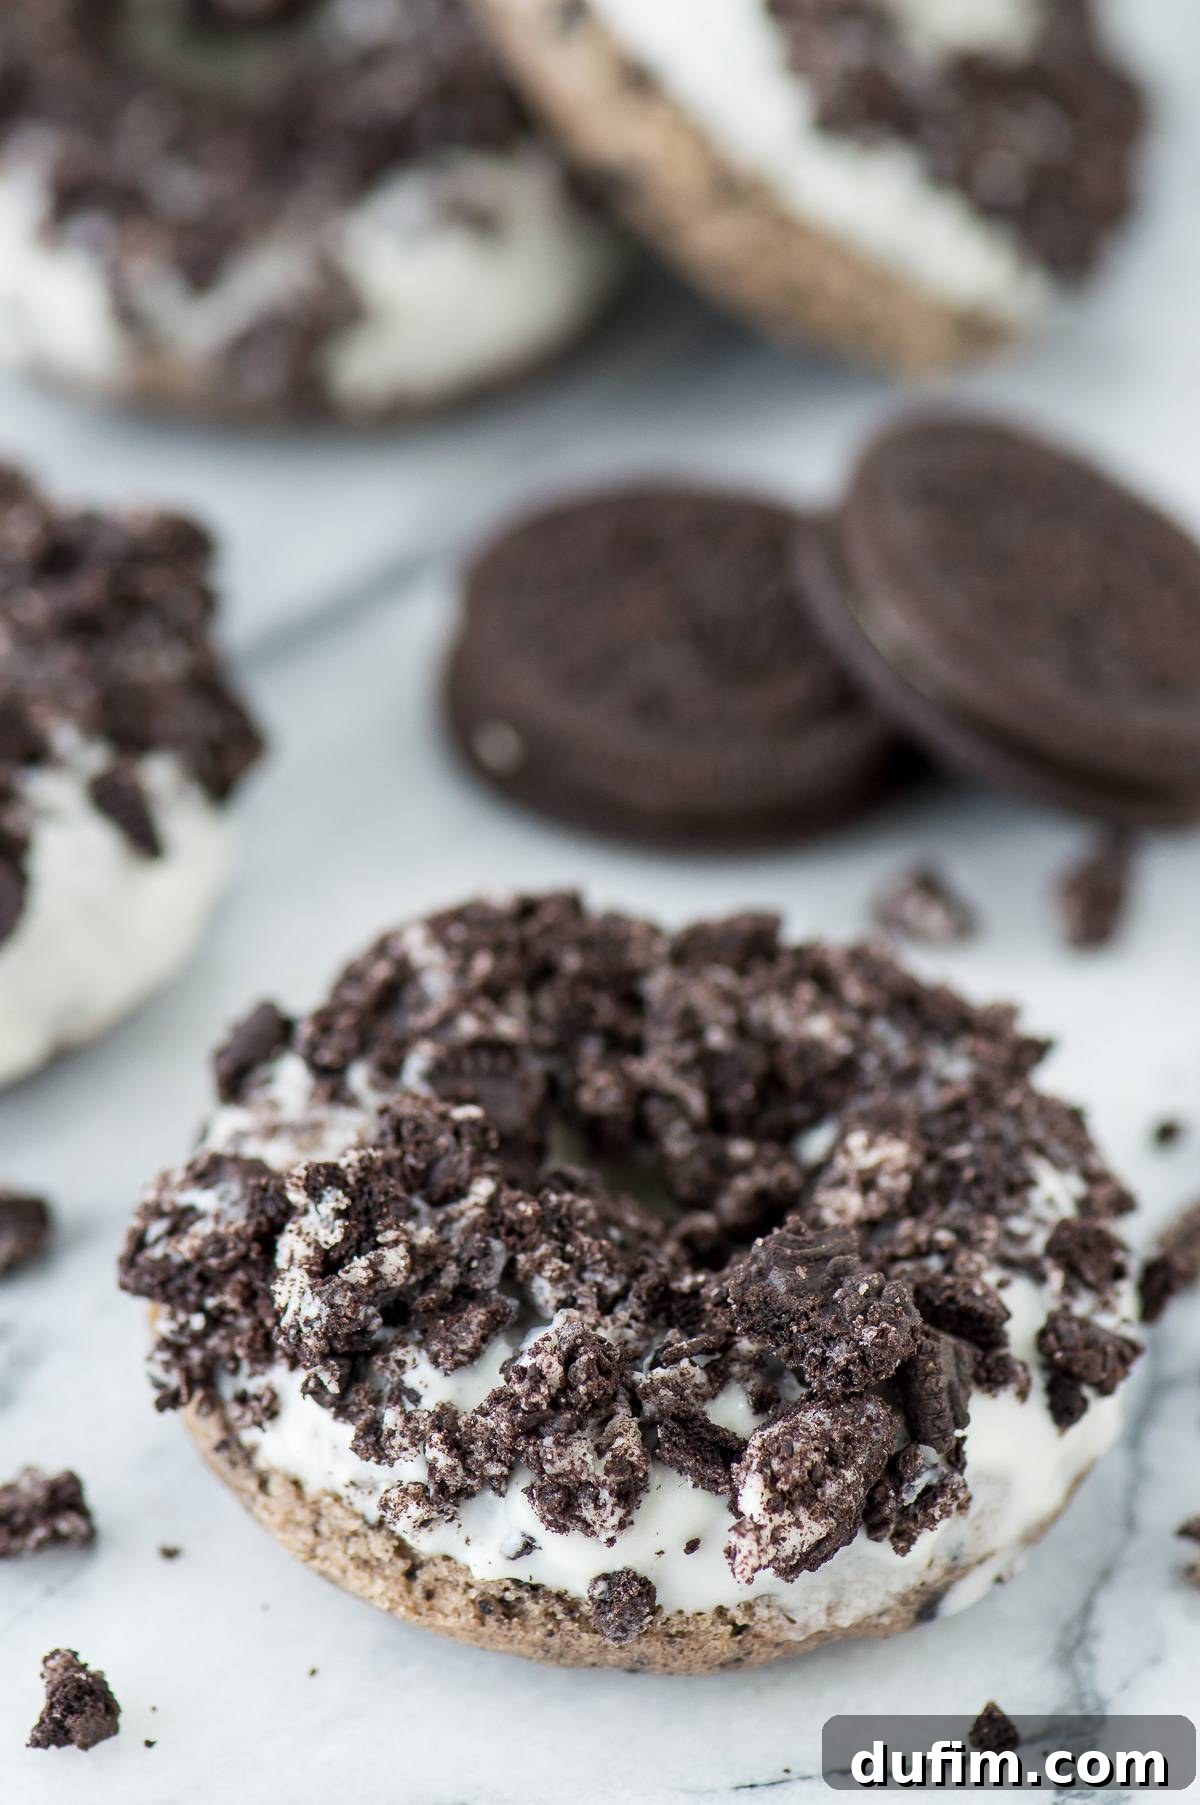
Prepare to fall in love with these delightful Oreo Overload Donuts! We’ve packed them with crushed Oreos right into the batter, then topped them with a rich white chocolate glaze and an extra generous sprinkle of Oreo crumbs. They’re undeniably delicious and dangerously addictive!
I made these last night and received rave reviews today! My coworkers, my boyfriend’s coworkers, and my entire family all absolutely LOVE them! I will definitely be adding this incredible recipe to my arsenal. Thank you so much!
-Angelica
Welcome to Donut Paradise: A New Favorite Recipe!
It’s always a good day for a new donut recipe, wouldn’t you agree? While our last creation, the Double Dipped Chocolate and Blueberry Glaze Donuts, holds a special place in my heart (because who can resist the combination of blueberries and chocolate?), it has been a little over a month, and that means it’s time to introduce another sensation to your baking repertoire. If you loved the fruity twist, get ready for a cookies-and-cream dream that will sweep you off your feet!
Blueberries are fantastic, but if we’re being honest, my passion for Oreos runs deep. And when those iconic cookies find their way into a warm, fluffy donut? That’s pure magic. So, if you share my enthusiasm for America’s favorite cookie, then you are in for an extraordinary treat with these Oreo Overload Donuts! This isn’t just a donut; it’s a celebration of all things Oreo, designed to satisfy your deepest cravings.
Why These Oreo Donuts Are Unforgettable
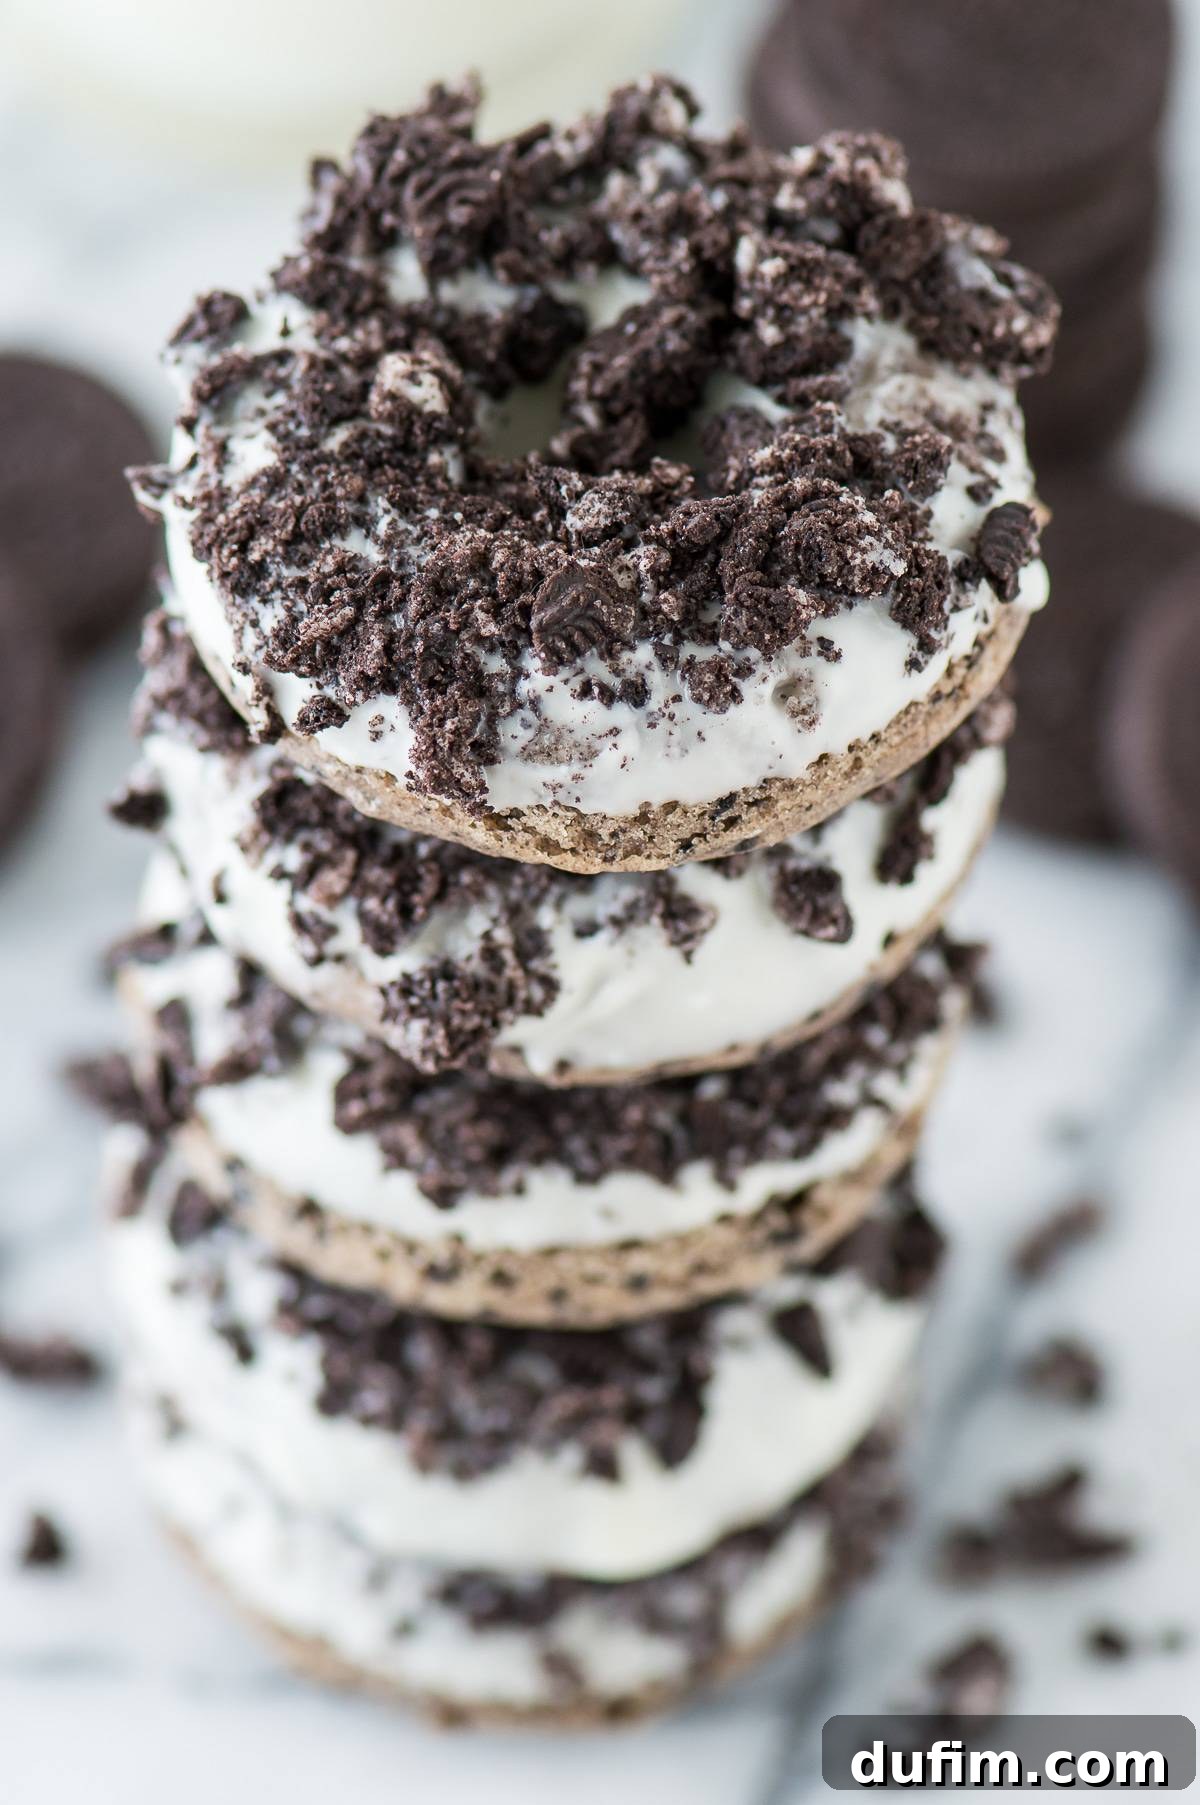
What makes these donuts “Oreo Overload”? It’s a double dose of deliciousness! First, we finely chop real Oreo cookies and fold them directly into the donut batter, ensuring that every bite delivers that signature chocolatey crunch and creamy filling. As the donuts bake, these cookie pieces soften slightly, creating pockets of rich, familiar flavor throughout the fluffy cake-like texture. But we don’t stop there!
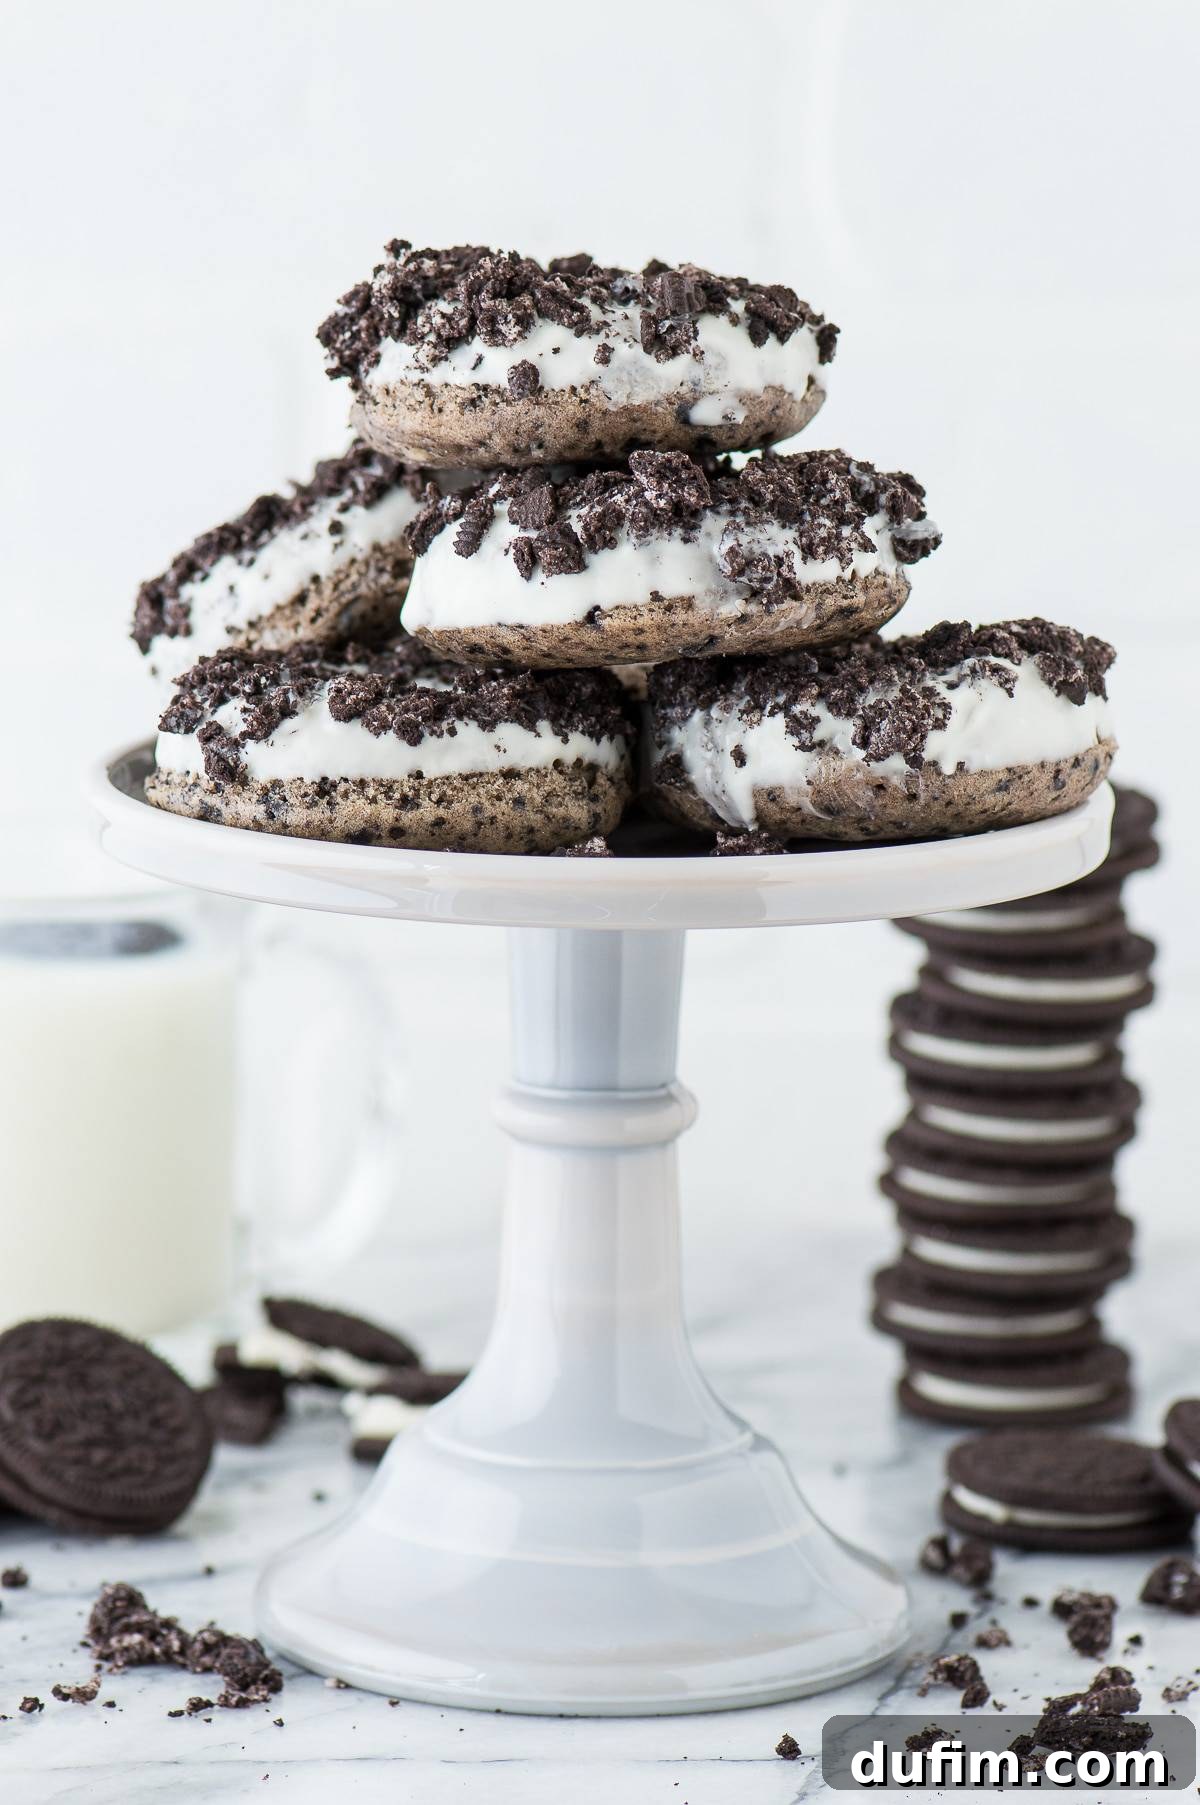
Once baked to golden perfection, each donut is generously dipped in a smooth, sweet white chocolate frosting. This provides the perfect canvas for the grand finale: a lavish sprinkle of extra crushed Oreo crumbs. The contrast between the soft donut, the crisp chocolate shell, and the crumbly cookie topping creates a symphony of textures and flavors that is truly exceptional. It’s an indulgence that goes beyond a simple donut – it’s an experience.
When to Enjoy Your Oreo Overload Donuts
While the idea of enjoying cookies for breakfast in donut form is undeniably appealing, please don’t feel restricted to morning hours! These decadent treats are so versatile, they can elevate any part of your day. Imagine a “second breakfast” delight, a sweet mid-morning pick-me-up, or a satisfying afternoon snack. They also make an absolutely incredible dessert, perfect for sharing with friends and family after dinner. Let’s be honest, with all that sugar and delightful flavor, donuts often lean more towards a dessert in my book! For my actual breakfast, I confess I’m a creature of habit, preferring a simple bowl of plain oatmeal to start the day. But when it’s time for a treat, these Oreo donuts are my ultimate go-to!
Essential Tools and Expert Tips for Donut Baking
Achieving perfectly shaped and consistently baked donuts is simpler than you might think, especially with the right tools and a few insider tips. Your donut pan is your most crucial piece of equipment. I personally use this donut pan, and it consistently delivers excellent results. Before adding any batter, always ensure your pan is properly prepared. A thorough spray with nonstick cooking spray is essential, but don’t just spray and fill. Take a paper towel and gently wipe the spray around each donut well. This ensures even coating, prevents sticking, and helps create that beautiful, smooth donut surface.
Mastering the Donut Pan Filling Technique
Once your pan is prepped, it’s time for the batter. The most effective and cleanest way to fill a donut pan is by using a piping bag. I recommend using a piping bag fitted with a large round tip. If you don’t have one, a sturdy ziplock bag with one corner snipped off will work just as well. Transfer your donut batter into the bag, twist the top to secure it, and apply gentle, even pressure with one hand as you pipe the batter into each well. Aim to fill each donut cavity about two-thirds full to allow for proper rising without overflowing.
I’ve found that piping the batter not only significantly reduces mess compared to spooning in dollops, but it also contributes to a more uniform and professional-looking donut. The even distribution of batter helps ensure each donut bakes consistently and maintains a beautiful, round shape. This simple step can truly elevate the final presentation of your homemade treats.
Total Time Required
- 10 minutes to prep batter and fill donut pan
- 10-13 minutes to bake
- 10-15 minutes to cool and glaze
- Total Time: Approximately 30-38 minutes
How To Make Gluten-Free Oreo Donuts
Don’t let dietary restrictions keep you from enjoying these incredible Oreo Overload Donuts! I’ve successfully made this recipe on multiple occasions using both regular and gluten-free flour, yielding equally awesome results. For a seamless gluten-free experience, I highly recommend using King Arthur’s Gluten Free Measure for Measure Flour. This blend is specifically designed to be a one-to-one substitute for traditional all-purpose flour, making your conversion process incredibly easy.
It’s crucial to remember that while the flour is gluten-free, your Oreos must be too! Fortunately, many brands now offer delicious gluten-free sandwich cookies that mimic the classic Oreo taste and texture perfectly. Always double-check your cookie packaging to ensure they are certified gluten-free. With these simple adjustments, everyone can indulge in the joy of a homemade Oreo donut!
How To Properly Measure Flour for Baking Success
Measuring flour might seem straightforward, but it’s a common area where baking mistakes can occur, leading to dry or dense baked goods. The “scoop and level” method is often recommended, but even that can be misleading if not done correctly. Here’s the precise method to ensure you get the perfect amount of flour every time:
- Fluff the Flour: Before scooping, use a fork or a whisk to gently aerate the flour in its container or bag. Flour tends to compact over time, and fluffing it up loosens it, preventing over-measurement.
- Spoon into the Measuring Cup: Do not, under any circumstances, stick your measuring cup directly into the bag of flour! This action compresses the flour, packing in far more than needed. Instead, use a spoon to lightly scoop the fluffed flour into your measuring cup until it overflows slightly.
- Level with a Butter Knife: Once the cup is slightly overflowing, use the straight edge of a butter knife or a similar flat utensil to carefully level off the excess flour. Simply run the knife across the top of the measuring cup, pushing off any extra.
Following this method ensures an accurate measurement of flour by weight, preventing too much flour from being packed into the cup. Excess flour can drastically alter the texture of your baked goods, making them dry, crumbly, and dense instead of light and moist. Precision in baking starts with proper ingredient measurement!
I have made these, and I really loved them! Thanks for sharing!
-Jhuls
More Delicious Breakfast and Snack Recipes
If you’ve enjoyed baking these amazing Oreo Overload Donuts, you’ll be thrilled to explore more of our delightful breakfast and snack recipes. We love creating treats that are both easy to make and incredibly satisfying. Here are a few other popular recipes that our readers adore:
- Easy Banana Bread: A timeless classic, moist and flavorful, perfect with your morning coffee.
- Bright and Zesty Lemon Muffins: Bursting with citrus flavor, these muffins are a refreshing treat.
- Decadent Chocolate Muffins: For the chocolate lovers, these rich muffins are a guaranteed hit.
- Fluffy Blueberry Muffins: A staple, packed with juicy blueberries and a tender crumb.
Whether you’re looking for a quick morning bite or a comforting snack, our collection of recipes has something for everyone. Happy baking!
Overall Rating: 4.65 out of 5 stars from 17 ratings
Oreo Overload Donuts
By: Beth
The BEST Oreo donuts you’ll ever make! Featuring crushed Oreos baked into the batter and a delightful topping of white chocolate glaze with even more Oreo crumbs – truly delicious and a must-try!
Print Recipe
Equipment
- Donut Pan
- Kitchen Scale (optional, for precise flour measurement)
- Glass Mixing Bowl
- Piping Bag or Ziplock Bag
- Wire Cooling Rack
Ingredients
- 1 cup (120g) all-purpose flour (or gluten-free measure-for-measure flour)
- 3 Tbsp sugar
- 1 tsp baking powder
- ½ tsp salt
- 6 Tbsp milk
- 1 large egg
- ½ tsp vanilla extract
- 3 Tbsp vegetable/canola oil
- 9 Oreos (or gluten-free sandwich cookies), finely chopped for the batter
- 5-6 additional Oreos (or gluten-free sandwich cookies), crushed into crumbs for topping
- 2-3 pieces of Candiquik White Chocolate (or preferred white chocolate for melting)
Instructions
- Preheat your oven to 325 degrees F (160 degrees C). Lightly spray a donut pan with nonstick cooking spray, then use a paper towel to gently spread and remove any excess spray, ensuring a smooth, even coating in each donut well.
- In a large mixing bowl, combine all the dry ingredients: flour, sugar, baking powder, and salt. In a separate bowl, whisk together the wet ingredients: milk, large egg, vanilla extract, and vegetable/canola oil until well combined.
- Pour the wet ingredients into the dry ingredients. Mix gently until just combined. Be careful not to overmix, as this can lead to tough donuts. A few lumps are perfectly fine.
- Take 9 Oreos and finely chop them. You can do this by hand or pulse them briefly in a blender or food processor. Ensure the pieces are small enough to easily pass through a piping bag tip. Fold these chopped Oreo pieces into your donut batter until evenly distributed.
- Transfer the batter into a large piping bag fitted with a round tip, or into a sturdy ziplock bag with one corner snipped off. Carefully pipe the batter into each well of your prepared donut pan, filling each cavity approximately 2/3 full.
- Bake the donuts for 10-13 minutes, or until a toothpick inserted into a donut comes out clean. Remove the pan from the oven and let the donuts cool in the pan for about 5-10 minutes before carefully transferring them to a wire rack to cool completely.
- While the donuts are baking and cooling, prepare your topping. Crush the remaining 5-6 Oreos into fine crumbs. A blender or food processor works best for this. Transfer the Oreo crumbs to a shallow plate and set aside.
- Prepare the white chocolate glaze. Follow the package instructions for your Candiquik White Chocolate (or other melting chocolate) to melt it smoothly. Once melted, let it sit for a few minutes to cool slightly and thicken. This prevents the glaze from being too runny when you dip the donuts, ensuring a nice, thick coating.
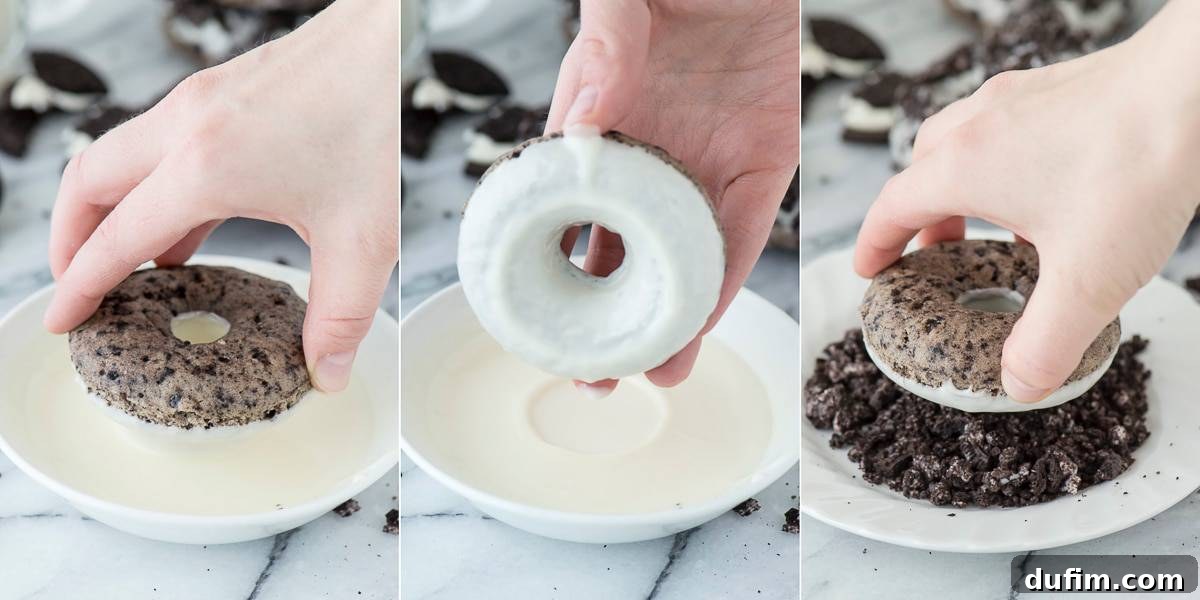
- Dip each cooled donut into the melted white chocolate, allowing any excess glaze to drip off back into the bowl before placing the donut back on the wire cooling rack. Let the chocolate set for about 2-3 minutes; you want it to be slightly tacky but not fully hardened, so the crumbs will adhere perfectly.
- Immediately after the chocolate has slightly set, dip each donut into the prepared Oreo crumbs. Gently press the donut into the crumbs to ensure they completely cover the white chocolate glaze.
- Allow the donuts to set completely before serving. Enjoy your homemade Oreo Overload Donuts!
Nutrition Information
Carbohydrates: 36g |
Protein: 5g |
Fat: 12g |
Saturated Fat: 3g |
Polyunsaturated Fat: 5g |
Monounsaturated Fat: 4g |
Trans Fat: 1g |
Cholesterol: 33mg |
Sodium: 366mg |
Potassium: 93mg |
Fiber: 1g |
Sugar: 14g |
Vitamin A: 70 IU |
Calcium: 68mg |
Iron: 3mg
Nutrition Disclosure
All nutritional values are approximate and provided to the reader as a courtesy. Changing ingredients and/or quantities will alter the estimated nutritional calculations. For precise dietary information, please consult a professional.
Storage and Serving Suggestions
Once your irresistible Oreo Overload Donuts are complete and the glaze has fully set, it’s essential to know how to store them to maintain their freshness and flavor. Store these donuts in an airtight container at room temperature for up to 2-3 days. While they are best enjoyed fresh on the day they are made, they will remain wonderfully soft and delicious for a couple of days after. If you prefer a slightly firmer glaze, you can briefly refrigerate them before serving, though the donut cake itself might become a little denser when cold.
These donuts are perfect served with a glass of cold milk, a hot cup of coffee, or even as a delightful dessert with a scoop of vanilla bean ice cream. For an extra touch of indulgence, consider warming them slightly in the microwave for a few seconds before serving to bring out their freshly baked aroma and soften the glaze. They are guaranteed to be a hit at any gathering, brunch, or as a special treat just for yourself!
Creative Variations for Your Oreo Overload Donuts
While the classic Oreo Overload Donut is perfect as is, the world of baking encourages creativity! Here are a few ideas to inspire you to put your own spin on this recipe:
- Mint Oreo Madness: Substitute regular Oreos with Mint Oreos for a refreshing twist. The minty flavor would pair beautifully with the white chocolate glaze.
- Peanut Butter Bliss: Drizzle a thin layer of melted peanut butter over the white chocolate glaze before adding the Oreo crumbs, or use peanut butter-filled Oreos in the batter.
- Dark Chocolate Dream: Swap the white chocolate glaze for a rich dark chocolate ganache. The bittersweet chocolate would offer a wonderful contrast to the sweet Oreos.
- Seasonal Sprinkles: Add a festive touch by sprinkling colorful sprinkles over the white chocolate glaze along with the Oreo crumbs, perfect for holidays or themed parties.
- Double Glaze: For an even more decadent experience, dip the donuts first in a simple vanilla glaze, let it set, then proceed with the white chocolate and Oreo crumb topping.
Don’t be afraid to experiment with different types of Oreos or other cookie variations to customize these donuts to your liking. The possibilities are endless!
Like this recipe? We’d love to hear from you!
Rate and leave a comment below to share your experience with these delicious Oreo Overload Donuts!