
The Ultimate Guide to Mini Funfetti Cheesecakes: A Celebration of Sprinkles
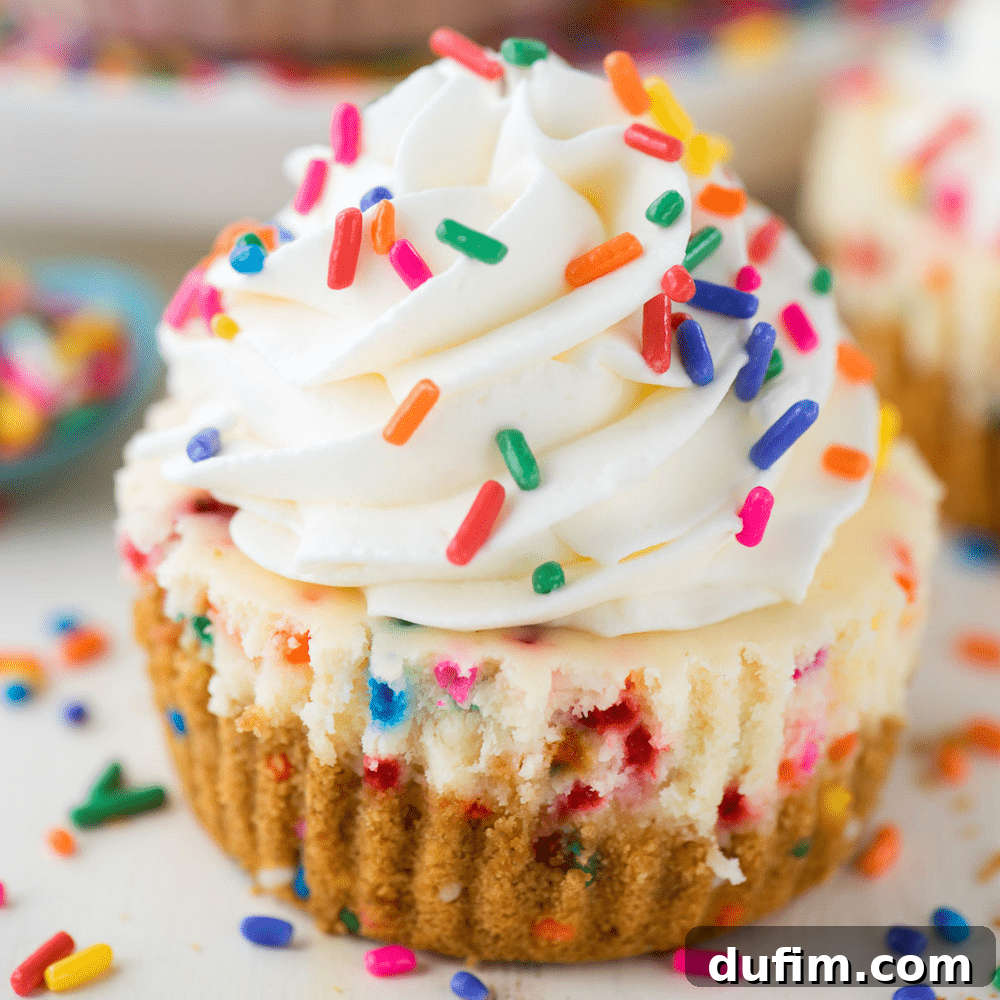
Imagine a dessert so charming, so celebratory, that it instantly brings a smile to anyone’s face. That’s precisely what these mini funfetti cheesecakes deliver! They are not just any cheesecakes; they are a delightful explosion of color and flavor, generously loaded with vibrant rainbow sprinkles. Every element, from the buttery graham cracker crust to the silky-smooth cheesecake batter, is infused with these joyful specks, creating a truly unique and irresistible treat. Perfect for birthdays, holidays, or simply brightening an ordinary day, these individual cheesecakes promise a burst of happiness in every single bite.
“AMAZING! Made these for my daughter’s birthday and they turned out delicious!”
– Miranda
There’s a universal charm to sprinkles that transcends age. While children are often mesmerized by their vibrant hues, choosing a donut simply because it’s showered with colorful dots, adults are just as susceptible to their playful appeal. Sprinkles evoke a sense of nostalgia, fun, and effortless celebration, reminding us that sometimes, life simply calls for a little extra joy. Why should fun be reserved only for kids?
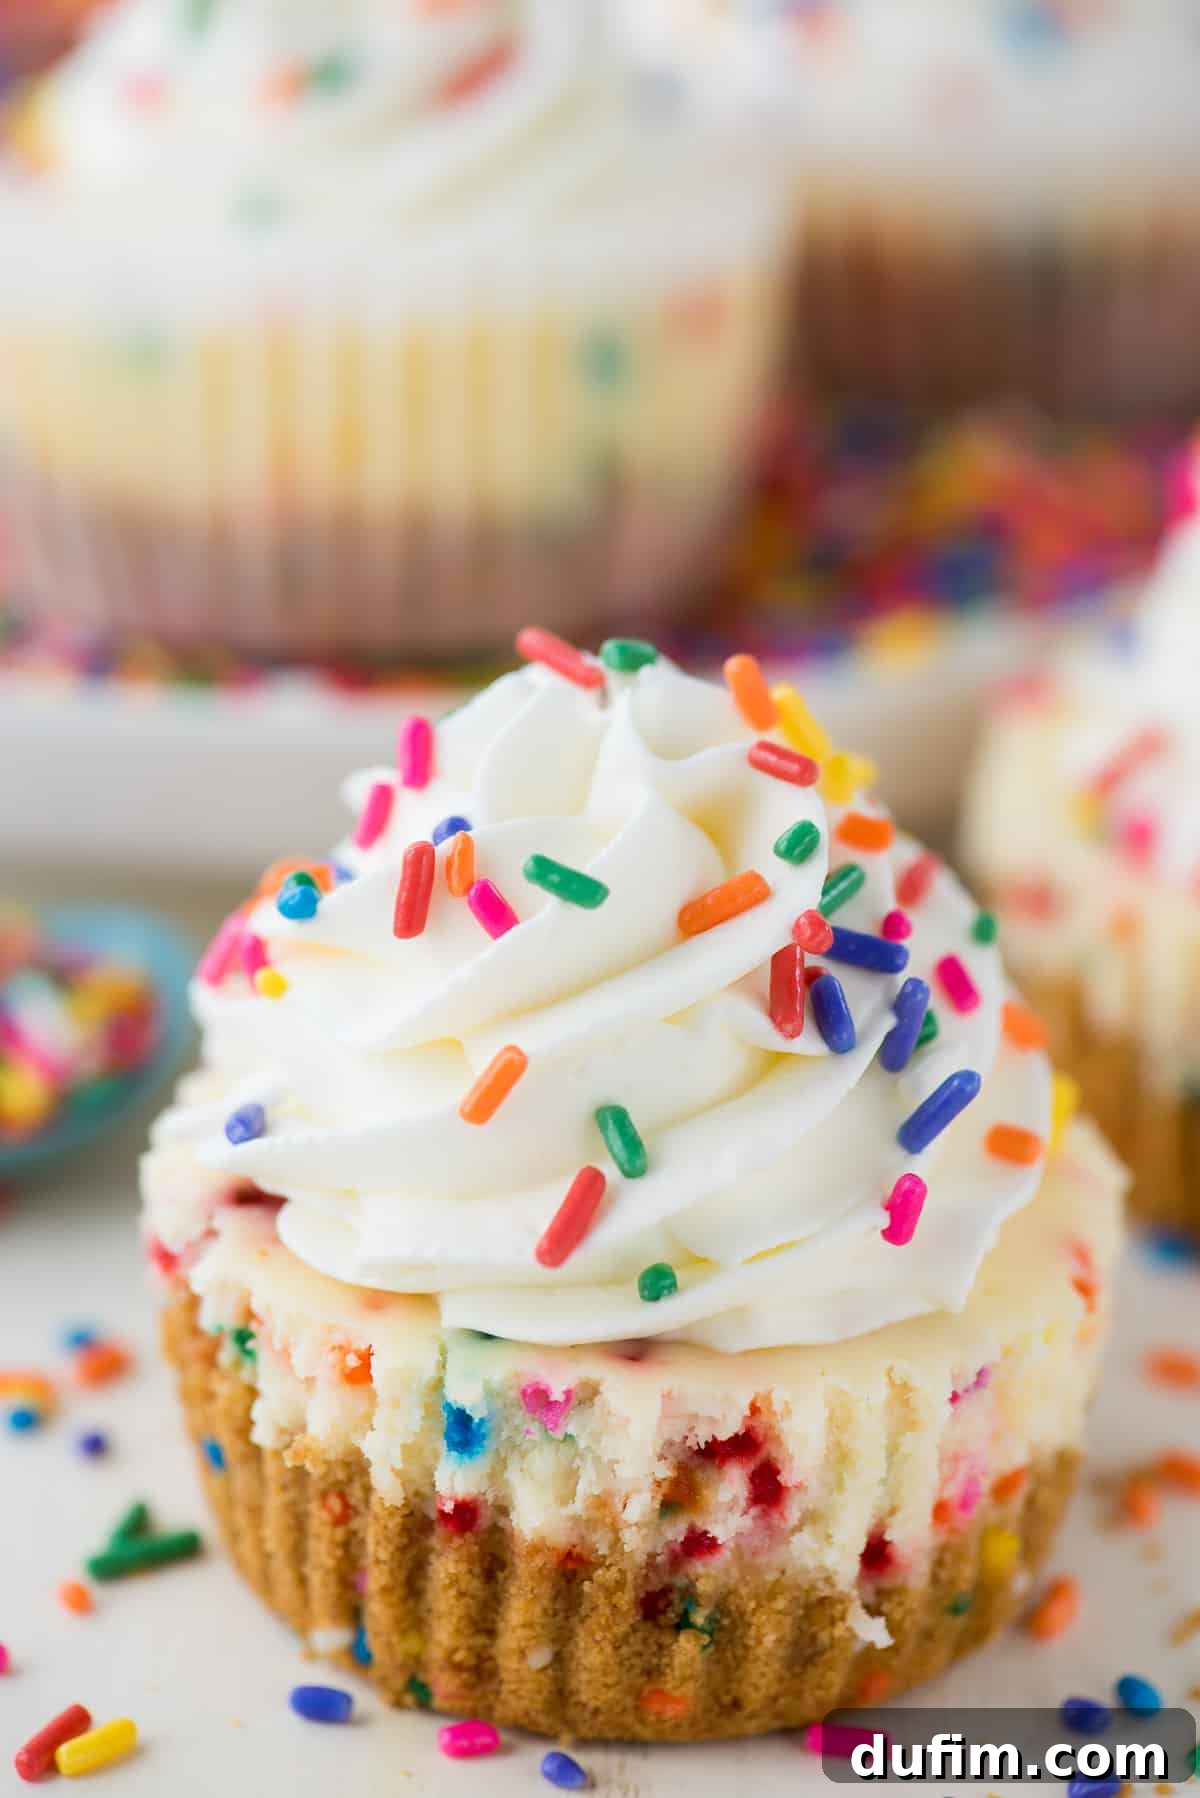
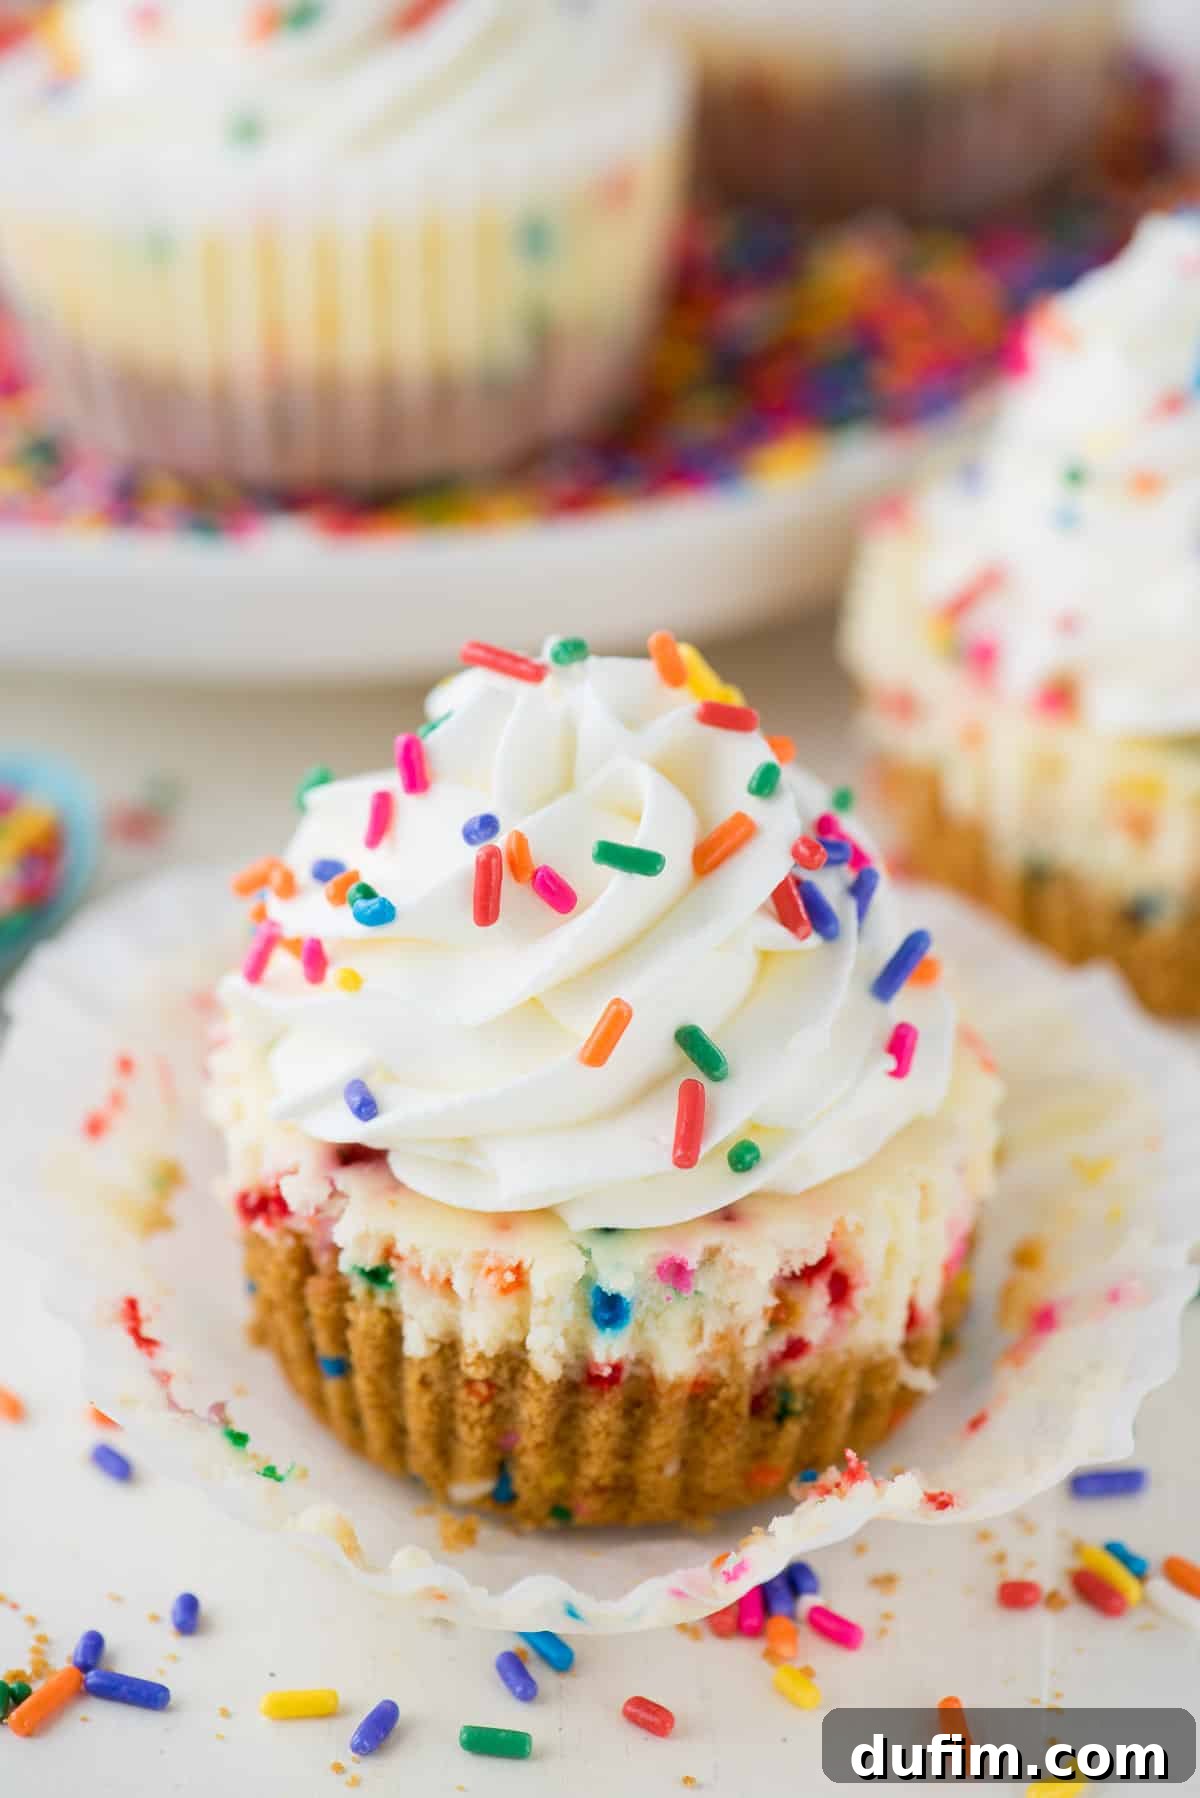
These mini funfetti cheesecakes are meticulously crafted to maximize that sprinkle-filled enjoyment. We don’t just add a few; we go all out! You’ll find them not only elegantly scattered over the top but also enthusiastically mixed into two distinct layers of this decadent dessert. First, the sweet, crunchy graham cracker crust gets a delightful infusion of rainbow jimmies, creating a surprisingly colorful base. Then, the rich, creamy cheesecake batter itself is lovingly folded with more sprinkles, ensuring that every spoonful delivers a pop of color and a whisper of sugary crunch. This multi-layered sprinkle approach makes these cheesecakes truly extraordinary, turning a classic dessert into a festive masterpiece that’s as delightful to look at as it is to eat.
Selecting the Perfect Sprinkles for Your Funfetti Cheesecake
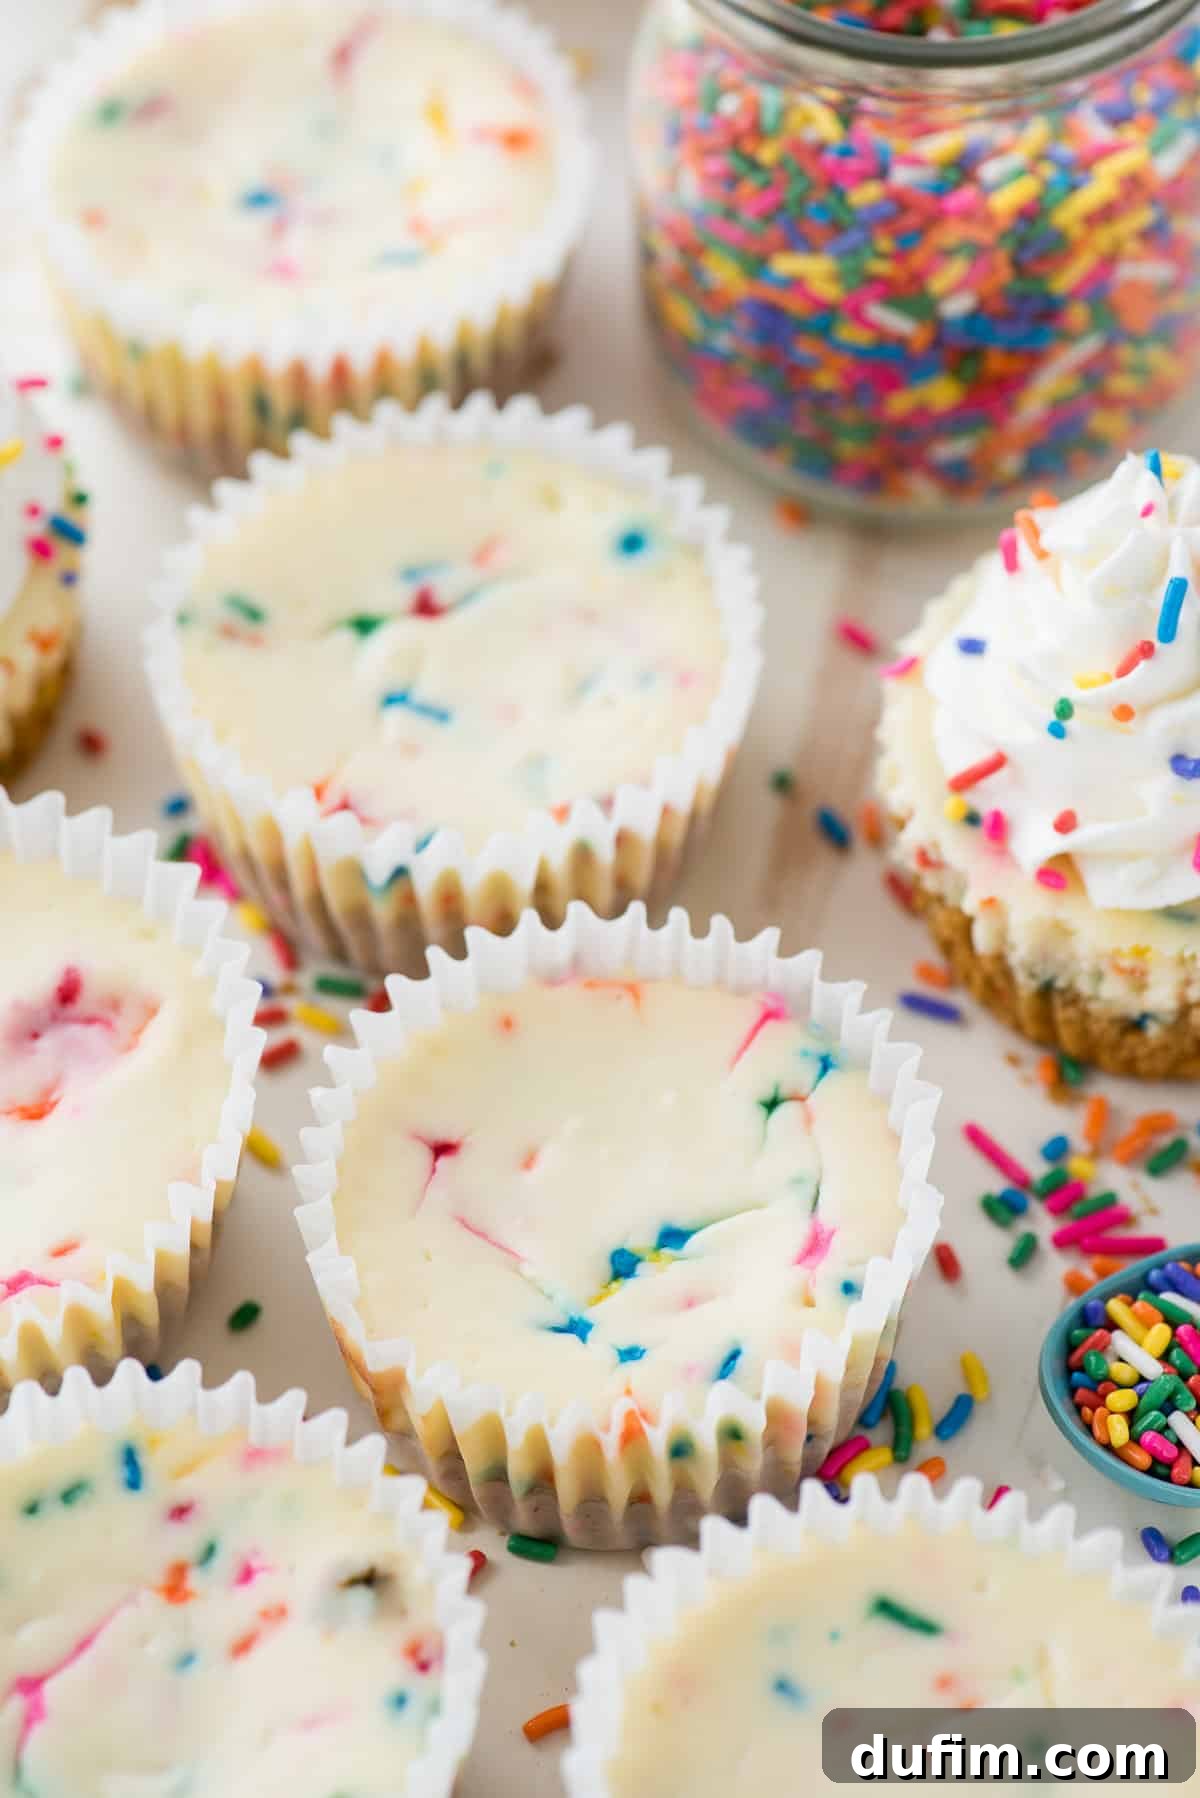
The success of a funfetti dessert largely hinges on the quality and type of sprinkles you use. For these mini funfetti cheesecakes, your choice of sprinkles is crucial for both aesthetic appeal and texture. We highly recommend using **rainbow jimmie sprinkles**. Jimmies are the elongated, rod-shaped sprinkles that are specifically designed to withstand baking temperatures without losing their shape or bleeding their colors excessively. Their robust structure ensures they maintain their individual vibrant colors, creating distinct specks of joy within your cheesecake and crust.
It’s important to differentiate jimmies from other common sprinkle types. Nonpareils, for instance, are the tiny, spherical sprinkles often used for decorating cupcakes or cookies. While visually appealing for external garnishes, nonpareils are notorious for melting and bleeding their colors when mixed into batters or doughs that are then baked. This can result in a muddy, rather unappetizing appearance, far from the bright funfetti effect you’re aiming for. Some softer sugar pearls or sanding sugars can also suffer from the same issue. To ensure your mini cheesecakes boast crisp, distinct rainbow dots, stick with jimmies. When shopping, look for brands that offer brightly colored jimmies and ideally avoid mixes that include brown sprinkles, as these can dull the overall rainbow palette. High-quality jimmies are readily available at most major grocery stores or specialty baking suppliers.
Essential Equipment for Crafting Mini Cheesecakes in a Muffin Pan
One of the many reasons mini cheesecakes are a favorite among home bakers is their accessibility. You don’t need a pantry full of specialized gadgets to create these delightful treats. The primary tools required are likely already staples in your kitchen, making this a fuss-free baking project. Here’s a breakdown of the essential equipment:
- A standard size muffin pan (a 12-cup capacity is perfect for this recipe).
- Paper muffin or cupcake liners. These are crucial for easy removal and serving, ensuring your mini cheesecakes maintain their perfect shape.
- Several mixing bowls – at least two: one for the crust mixture and a larger one for the cheesecake batter.
- An electric mixer, either a handheld model or a stand mixer. This will make light work of blending the cream cheese into a smooth, lump-free consistency.
- Basic measuring cups and spoons for accurate ingredient portions.
- A spatula for scraping down the sides of the bowl and gently folding in ingredients.
The beauty of making individual cheesecakes in a muffin pan extends beyond just simplicity. This method offers several practical advantages over baking a traditional large cheesecake. Firstly, mini cheesecakes typically do not require the use of a water bath, a common technique for larger cheesecakes to prevent cracking. This eliminates a potentially messy and intimidating step, simplifying the entire baking process. Secondly, they bake significantly faster than a full-sized cheesecake, cutting down on oven time and allowing for quicker gratification. Thirdly, their individual portions are ideal for entertaining, offering easy serving and built-in portion control. They are also much more convenient for make-ahead preparations and freezing. In essence, mini cheesecakes offer all the luxurious flavor of a classic cheesecake with considerably less fuss and a quicker turnaround.
Key Ingredients for Your Luscious Mini Funfetti Cheesecakes
Crafting truly outstanding mini funfetti cheesecakes begins with a selection of high-quality ingredients. Our recipe uses a concise list, but each component plays a vital role in achieving that perfect balance of creamy texture, sweet flavor, and festive fun. Pay close attention to the details for each ingredient to ensure the best results:
- Cream Cheese: You will need two 8 oz (226g) packages, totaling 16 oz (452g) of full-fat cream cheese. This is a non-negotiable ingredient for achieving the signature rich, dense, and ultra-creamy texture of a traditional cheesecake. Avoid using low-fat or “neufchâtel” cream cheese, as these contain more water and less fat, which can lead to a less stable, runnier batter and a less satisfying final product. Crucially, ensure your cream cheese is at **room temperature**. Cold cream cheese will be lumpy and difficult to beat smooth, often resulting in an overmixed batter which can cause issues like cracks or sinking.
- Granulated Sugar: A modest ¼ cup (50g) of sugar perfectly sweetens the tangy cream cheese base. The sugar not only adds sweetness but also contributes to the cheesecake’s smooth texture.
- Vanilla Extract: Just one teaspoon of pure vanilla extract elevates the flavor profile, adding a warm, aromatic depth that complements the other ingredients beautifully. Invest in good quality pure vanilla for the best taste.
- Large Eggs: Two large eggs provide essential structure, richness, and binding to the cheesecake batter. They are the final ingredient to be incorporated. The golden rule here is gentle mixing: add them one at a time, beating only until the yolk breaks and the egg is *just* combined. Over-beating eggs introduces too much air, which can cause the cheesecake to puff up excessively in the oven and then tragically collapse or crack as it cools.
- Rainbow Jimmie Sprinkles: You’ll need ⅓ cup for the cheesecake batter, in addition to the ¼ cup for the crust. As previously discussed, jimmie sprinkles are essential for their ability to hold their shape and color during baking. Seek out a brand with bright, vibrant colors and, ideally, no dull brown sprinkles to maintain the cheerful funfetti aesthetic.
For the delightfully crunchy and colorful crust, you’ll also need:
- Graham Cracker Crumbs: 1 cup (113g) provides the classic, sweet, and slightly spiced base. You can purchase pre-crushed crumbs for convenience or crush whole graham crackers yourself.
- Unsalted Butter (Melted): 4 tablespoons (57g), or half a stick, of unsalted butter binds the graham cracker crumbs together, creating a firm and flavorful foundation for your cheesecake. Using unsalted butter allows you to control the overall salt content of the dessert.
Step-by-Step Guide: Crafting Your Perfect Mini Cheesecakes
Creating these charming mini funfetti cheesecakes is a rewarding process. Follow these detailed instructions to ensure each bite is as delicious and vibrant as it looks:
- Preheat Oven and Prepare Muffin Pan: Begin by preheating your oven to 350°F (175°C). Line a standard 12-cup muffin pan with paper cupcake liners. These liners are indispensable for easy removal of the cheesecakes after baking and chilling.
- Prepare the Sprinkled Graham Cracker Crust: In a medium-sized mixing bowl, combine the graham cracker crumbs and the melted unsalted butter. Stir thoroughly with a fork or spatula until the crumbs are evenly moistened and resemble coarse, wet sand. This ensures a cohesive crust. Gently fold in ¼ cup of the rainbow jimmie sprinkles, distributing them evenly throughout the mixture for a colorful base.
- Form and Pack the Crusts: Spoon about 1 heaping tablespoon (roughly 2 tablespoons) of the sprinkle-infused graham cracker mixture into the bottom of each lined muffin cup. Using the flat bottom of a smaller measuring cup (like a 1/3 cup measure) or a small glass, firmly press the crumbs down to create a compact, even layer. A well-packed crust will hold its shape and prevent crumbling.
- Pre-bake the Crust: Place the muffin pan in the preheated oven and bake the crusts for 5 minutes. This quick bake helps to set the crust, preventing it from becoming soggy once the creamy cheesecake batter is added. Remove the pan from the oven and set it aside to cool completely while you prepare the cheesecake filling.
- Prepare the Cheesecake Batter – Cream Cheese Base: In a large mixing bowl, using an electric mixer (either a handheld or stand mixer fitted with a paddle attachment), beat the room temperature full-fat cream cheese on medium speed for 2-3 minutes. Beat until the cream cheese is perfectly smooth, fluffy, and completely free of any lumps. Scrape down the sides and bottom of the bowl frequently to ensure even mixing.
- Incorporate Sugar and Vanilla: Add the granulated sugar and vanilla extract to the cream cheese. Continue beating on medium speed for another 1-2 minutes until these ingredients are fully combined and the mixture is smooth and creamy. Again, scrape the bowl as needed.
- Gently Mix in Eggs: This is a critical step for a crack-free cheesecake! Reduce the mixer speed to low. Add the large eggs one at a time, beating only until the yolk breaks and the egg is *just* incorporated into the batter. This should take no more than 15-20 seconds per egg. Avoid overmixing at this stage, as excessive air incorporation is the leading cause of cheesecake cracks and sinking.
- Fold in Remaining Sprinkles: Remove the bowl from the mixer. Using a spatula, gently fold in the remaining ⅓ cup of rainbow jimmie sprinkles. Mix just enough to distribute them evenly throughout the batter, taking care not to crush them or overmix, which could cause the colors to bleed.
- Fill the Muffin Liners: Carefully spoon or pour a little more than 2 tablespoons of the creamy, sprinkle-studded cheesecake batter into each muffin cup, directly on top of the cooled, pre-baked crusts. Fill each cup approximately two-thirds of the way.
- Bake the Mini Cheesecakes: Return the muffin pan to the oven. Bake for approximately 15-20 minutes. The cheesecakes are done when the edges appear set and slightly puffy, but the center still exhibits a slight, subtle jiggle when you gently shake the pan. This “jiggle test” indicates a perfectly baked, creamy cheesecake that will continue to set as it cools.
- Cool Gradually and Chill Thoroughly: Once baked, immediately remove the muffin pan from the oven and place it on a wire rack to cool completely to room temperature. This gradual cooling process is essential for preventing cracks. Once the cheesecakes have reached room temperature, loosely cover the muffin pan with plastic wrap and transfer it to the refrigerator. Chill for a minimum of 4 hours, but for the absolute best texture, flavor development, and firmness, chilling them overnight is highly recommended. Patience here truly pays off!
- Serve and Garnish: Once thoroughly chilled, carefully lift each mini cheesecake out of its liner. Serve them as they are, or for an extra special touch, adorn each with a dollop of freshly whipped cream and a final sprinkling of rainbow jimmies for maximum festive appeal.
A Detailed Look at the Total Time for Your Mini Cheesecakes
While mini cheesecakes are often touted for their quicker baking time compared to traditional large cheesecakes, it’s essential to understand the full timeline, especially the crucial chilling period, to plan your baking process effectively. Being aware of the total time ensures you’re not rushing and allows for the best possible outcome.
- Crust Preparation and Pre-bake: This initial stage is quite quick, taking approximately 10 minutes. This includes combining your graham cracker crumbs, butter, and sprinkles, forming them into the muffin cups, and the crucial 5-minute pre-bake to set the crust.
- Cheesecake Batter Preparation: The actual mixing of the cheesecake batter is relatively fast, typically requiring only 5-7 minutes. This accounts for beating the cream cheese until smooth, incorporating the sugar and vanilla, and then very gently adding the eggs.
- Baking the Cheesecakes: The mini cheesecakes bake swiftly, usually within 15-20 minutes. Keep a close eye on them and perform the “jiggle test” for perfect doneness.
- Cooling to Room Temperature: After baking, the cheesecakes need to cool gradually on a wire rack. This step takes about 1-2 hours. Rushing this can lead to cracks.
- Refrigeration/Chilling: This is the most time-consuming, yet passive, part of the process. For the cheesecakes to properly set, firm up, and for the flavors to fully develop, they require at least 4 hours of refrigeration. However, for an unparalleled texture and stability, we strongly advocate chilling them overnight (8+ hours). While the wait can be challenging, this step is absolutely non-negotiable for a truly delicious, sliceable (or rather, peelable) mini cheesecake.
In total, expect about an hour of active work and baking, followed by a substantial, but passive, chilling period. Plan accordingly, perhaps baking them in the evening to chill overnight for next-day enjoyment!
The Jiggle Test: Your Secret to Perfectly Baked Mini Cheesecakes
Knowing precisely when a cheesecake is done can be tricky, as overbaking leads to dry, cracked results, while underbaking leaves a soupy mess. For mini cheesecakes, the most reliable and universally recommended method is the “jiggle test.” To perform this test, gently shake the muffin pan. The edges of the mini cheesecakes should appear set, slightly puffed, and perhaps a touch golden. The very center, however, should still have a slight, delicate jiggle, resembling a firm custard or gelatin. It shouldn’t be liquid, nor should it be completely solid. This subtle movement indicates that the cheesecake has cooked just enough to set, but still retains enough moisture to continue cooking and firming up as it cools outside the oven. Trust the jiggle; it’s the key to achieving that wonderfully creamy, smooth, and perfect cheesecake texture without any cracks or dryness.
The Art of Cooling: Preventing Cracks and Ensuring Creaminess
The cooling process for cheesecakes is just as crucial as the baking itself for achieving a flawless finish and ideal texture. Once your mini cheesecakes have successfully passed the jiggle test and are removed from the oven, resist the temptation to extract them immediately from the muffin pan. Instead, place the entire muffin pan on a wire rack on your kitchen counter. Allow the cheesecakes to cool slowly and gradually to room temperature within their liners and the pan. This slow, controlled cooling helps prevent rapid temperature changes that can shock the cheesecake, leading to unsightly cracks on the surface. Once they have completely cooled to room temperature, which can take 1-2 hours, loosely cover the muffin pan with plastic wrap. This prevents them from drying out or absorbing any ambient refrigerator odors. Then, transfer the pan to the refrigerator for the essential chilling period. As highlighted, chilling overnight is truly the secret to a perfectly firm, creamy, and flavorful mini cheesecake, allowing all the delicate flavors to meld beautifully and the texture to fully set.
Troubleshooting: Understanding and Preventing Sinking Cheesecakes
Observing your beautifully baked mini cheesecakes sink in the middle after cooling can be disheartening. This common issue, often accompanied by cracks, primarily stems from one major culprit: **over-beating the eggs**. When eggs are incorporated too vigorously or for too long into the cheesecake batter, excessive air is whipped in. During the baking process, this trapped air expands rapidly, causing the cheesecake to rise and puff up more than it should. However, once removed from the oven and exposed to cooler air, this air quickly escapes, and the cheesecake’s structure collapses, resulting in a sunken center. Additionally, this uneven expansion and contraction can put stress on the delicate cheesecake structure, leading to cracks.
To prevent your mini cheesecakes from sinking, adhere strictly to the gentle egg incorporation method. Add your room temperature eggs one at a time, and mix them on the lowest speed of your electric mixer *just* until the yolk breaks and the egg is barely blended into the cream cheese mixture. Stop mixing as soon as the last streaks of yolk disappear. Once all eggs are added, beat for no more than 30-60 seconds on low speed to ensure everything is combined without incorporating any additional, unnecessary air. This gentle approach will help you achieve beautifully level, creamy, and crack-free mini cheesecakes every time.
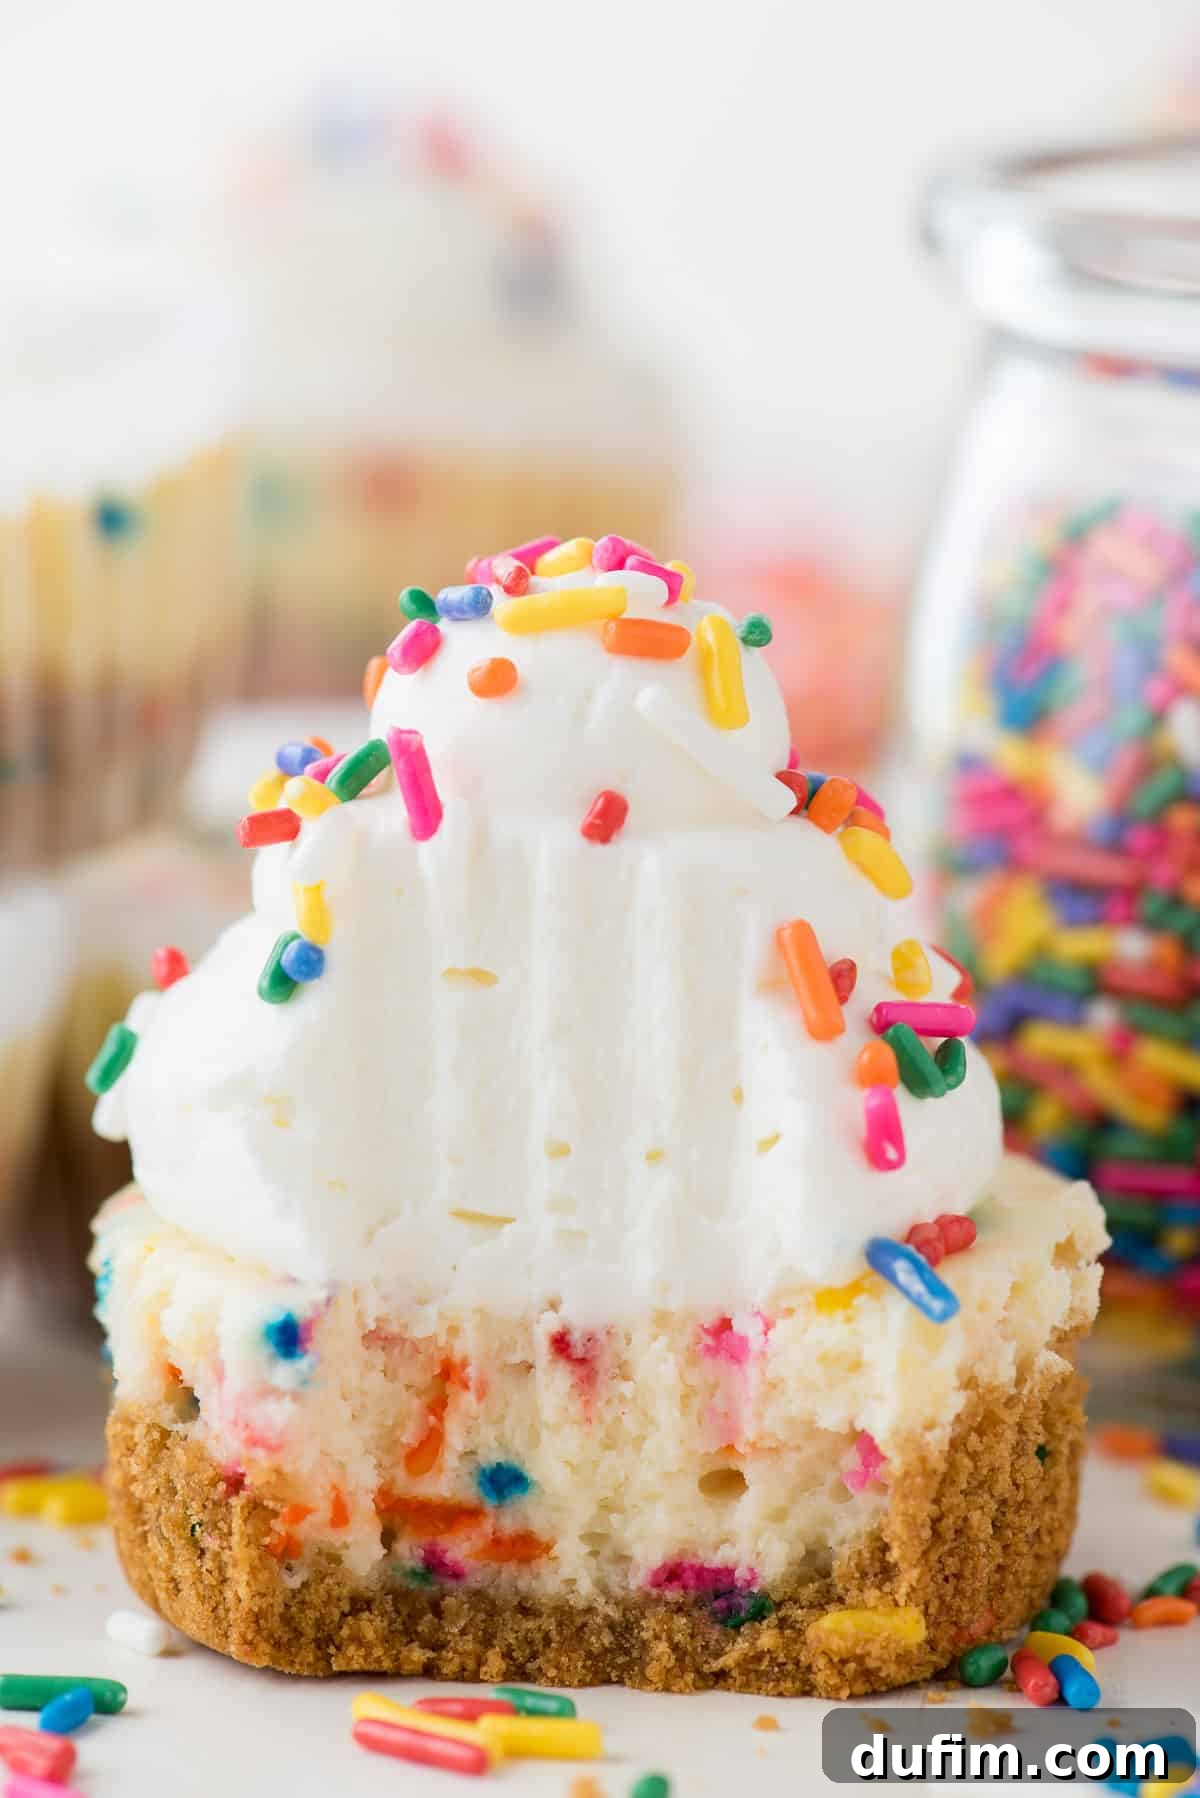
Top Tips for Flawless Mini Funfetti Cheesecakes Every Time
Achieving consistently perfect mini cheesecakes involves more than just following the steps; it’s about understanding the nuances of cheesecake baking. Here are some expert tips to ensure your funfetti treats are nothing short of spectacular:
- Start with Room Temperature Cream Cheese: This is arguably the most important tip. Cold cream cheese is stiff and difficult to beat smooth without overworking it, which can introduce too much air or leave lumps. Allow your cream cheese to sit on the counter for at least an hour (or two) until it’s soft and pliable. This ensures a silky-smooth batter from the start.
- Gentle Egg Incorporation is Paramount: As emphasized, eggs provide structure but can also be the downfall of a cheesecake if overmixed. Always add them one at a time, beating on the lowest speed of your mixer *just* until the yolk breaks and is barely combined. Stop mixing immediately once incorporated. This prevents excess air from being whipped into the batter, which causes sinking and cracking.
- Scrape Down the Bowl Frequently: During the mixing process, especially when beating the cream cheese and sugar, pause several times to scrape down the sides and bottom of your mixing bowl with a spatula. This ensures all ingredients are uniformly incorporated, preventing pockets of unmixed cream cheese or sugar.
- Thorough Chilling is Non-Negotiable: Do not rush the chilling process. A minimum of 4 hours is necessary, but chilling your mini cheesecakes overnight in the refrigerator is highly recommended. This allows the cheesecake to fully set, develop its rich flavor, and achieve that coveted dense, creamy texture. Rushing this step will result in a softer, less satisfying cheesecake.
- Don’t Forget the Crust Bake: Pre-baking the graham cracker crust for a few minutes is a small step that makes a big difference. It helps to set the crust, preventing it from becoming soggy when the wet cheesecake batter is added.
- Use a Water Bath (Optional, but can help): While mini cheesecakes generally don’t *require* a water bath, if you’re experiencing persistent cracking issues, you can place the muffin pan into a larger roasting pan filled with about an inch of hot water. The steam helps create a moist environment, reducing the chances of cracks. Ensure no water gets into the muffin cups!
- Avoid Opening the Oven Door: During baking, try to resist the urge to constantly open the oven door. Fluctuations in oven temperature can also contribute to cheesecake cracking. Peek through the oven window if possible.
Preserving Perfection: How to Freeze Mini Cheesecakes
Mini cheesecakes are an excellent make-ahead dessert, and they freeze beautifully, allowing you to enjoy a festive treat whenever the craving strikes or to prepare for future events. Proper freezing ensures they retain their exquisite texture and flavor. Here’s a step-by-step guide to freezing your sprinkled delights:
- Ensure Complete Cooling and Chilling: Before freezing, it’s crucial that your mini cheesecakes are completely cooled to room temperature, and ideally, have undergone their initial refrigeration to set fully. This prevents condensation and helps maintain their structure.
- Initial Uncovered Freeze: Place the cooled, unwrapped mini cheesecakes (without any fresh garnishes like whipped cream) on a baking sheet, ensuring there is space between each one so they don’t stick together. Place the baking sheet into the freezer for 1-2 hours, or until the cheesecakes are firm and frozen solid. This step, known as flash-freezing, prevents them from clumping together once wrapped.
- Individual Wrapping for Protection: Once the cheesecakes are flash-frozen, remove them from the baking sheet. Wrap each individual mini cheesecake tightly in a layer of aluminum foil. Follow this with a second layer of plastic wrap, ensuring it’s snug. This double layer of protection is vital for preventing freezer burn, which can compromise the cheesecake’s texture and flavor.
- Storage in an Airtight Container: Place the individually wrapped cheesecakes into a freezer-safe ziplock bag or a rigid airtight container. This provides an additional layer of protection. Don’t forget to label the container with the date of freezing for easy tracking. Properly stored, mini cheesecakes can be kept in the freezer for up to 3-4 months.
- Thawing Process: To thaw, simply transfer the desired number of frozen cheesecakes (still wrapped in their foil and plastic) from the freezer to the refrigerator overnight. A slow thaw in the fridge is essential to preserve their creamy texture and prevent any moisture issues. Avoid thawing at room temperature, as this can lead to a less desirable consistency.
- Garnish Just Before Serving: Once thawed, unwrap your mini cheesecakes and add any desired toppings, such as a fresh dollop of whipped cream, fresh berries, or an extra sprinkle of rainbow jimmies, just before serving to ensure the freshest and most appealing presentation.
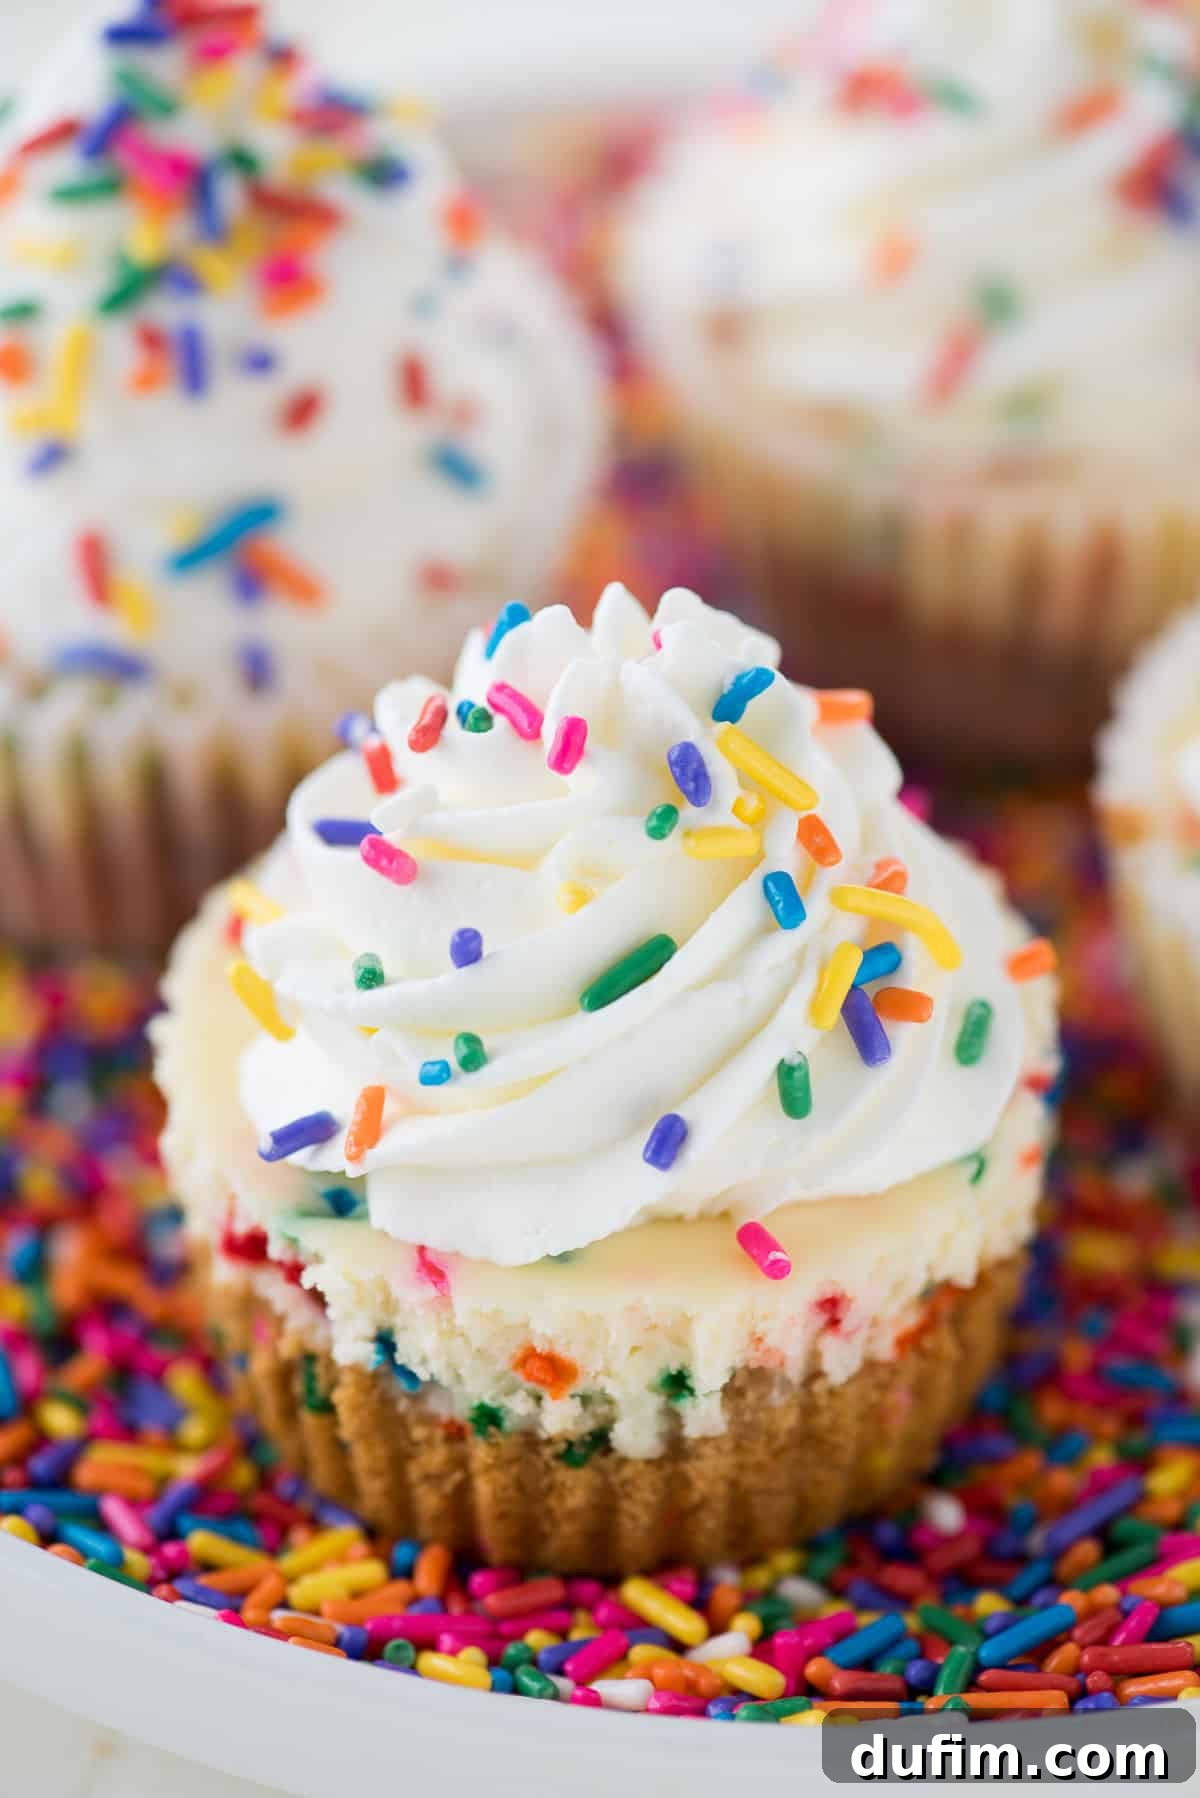
Explore More Delectable Cheesecake Creations
If you’ve fallen in love with the ease and charm of these mini funfetti cheesecakes, you’ll be thrilled to discover the vast world of other cheesecake recipes. From timeless classics to inventive, flavor-packed variations, there’s a cheesecake for every taste and occasion. Expanding your cheesecake repertoire is a rewarding culinary journey!
- Classic New York Style Cheesecake: The gold standard of cheesecakes, known for its dense, rich, and creamy texture.
- Mini Chocolate Chip Cookie Dough Cheesecakes: A delightful fusion of two beloved desserts, perfect for cookie dough lovers.
- Irresistible Mini Oreo Cheesecakes: For those who can’t get enough of the iconic sandwich cookie, blended into a creamy cheesecake.
- Decadent Cream Cheese Swirl Brownies: Not quite a cheesecake, but a rich brownie elevated with a luscious cream cheese swirl.
Dive into these recipes and discover your next favorite dessert!
Mini Funfetti Cheesecakes Recipe
Love this recipe? Share your thoughts and rate it below!
By: Beth
Prep Time: 15 minutes
Cook Time: 20 minutes
Additional Time (Chilling): 4 hours (minimum)
Total Time: 4 hours 35 minutes
Yields: 12 servings
These mini funfetti cheesecakes are an explosion of color and flavor, featuring vibrant rainbow sprinkles in both the graham cracker crust and the creamy cheesecake batter. They are perfect for birthdays, celebrations, or any time you need a cheerful and delicious treat!
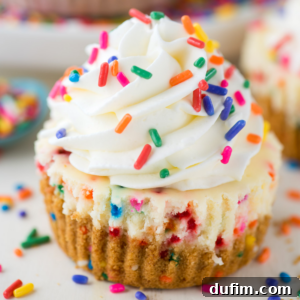
Equipment Needed
- Standard 12-cup Muffin Pan
- Paper Cupcake/Muffin Liners
- Large and Medium Mixing Bowls
- Glass Mixing Bowl (optional, but convenient)
- Electric Mixer (handheld or stand mixer)
- Measuring Cups and Spoons
- Rubber Spatula
- Kitchen Scale (optional, for precise measurements)
Ingredients List
For the Sprinkled Graham Cracker Crust:
- 1 cup (113g) graham cracker crumbs
- ¼ cup rainbow jimmie sprinkles
- 4 Tbsp (57g) unsalted butter, melted (approx. 1/2 stick)
For the Funfetti Cheesecake Filling:
- 16 oz (452g) full-fat cream cheese, at room temperature (two 8 oz packages)
- ¼ cup (50g) granulated sugar
- 1 tsp pure vanilla extract
- 2 large eggs, at room temperature, added one at a time
- ⅓ cup rainbow jimmie sprinkles
Detailed Instructions
Crust Preparation:
- Preheat your oven to 350º F (175°C).
- Line a standard 12-cup muffin pan with paper cupcake liners.
- In a medium mixing bowl, combine the graham cracker crumbs and melted unsalted butter. Stir until the mixture is thoroughly moistened and resembles coarse, wet sand.
- Gently fold in the ¼ cup of rainbow jimmie sprinkles until they are well distributed throughout the crumb mixture.
- Place approximately 1 heaping tablespoon of the sprinkled graham cracker mixture into the bottom of each lined muffin cup.
- Using the flat bottom of a 1/3 cup measuring cup or a small glass, firmly press the crumbs down into an even, compact layer in each cup.
- Bake the crusts for 5 minutes. Remove the pan from the oven and allow them to cool completely on a wire rack while you prepare the cheesecake filling.
Cheesecake Filling and Baking:
- In a large mixing bowl, using an electric mixer (either handheld or stand mixer), beat the room temperature full-fat cream cheese on medium speed for 2-3 minutes until it is perfectly smooth, creamy, and completely free of lumps. Scrape down the sides of the bowl as needed.
- Add the granulated sugar and pure vanilla extract to the cream cheese mixture. Continue beating on medium speed for another 1-2 minutes until these ingredients are fully incorporated and the batter is smooth. Scrape the bowl again.
- Reduce the mixer speed to low. Add the large eggs one at a time, beating only until the yolk breaks and the egg is *just* barely incorporated into the batter. This should only take about 15-20 seconds per egg. Avoid overmixing the eggs at all costs, as this is the primary cause of cheesecake cracks and sinking.
- Remove the mixing bowl from the electric mixer. Using a rubber spatula, gently fold in the remaining ⅓ cup of rainbow jimmie sprinkles until they are evenly dispersed throughout the cheesecake batter. Be careful not to crush the sprinkles or overmix.
- Carefully spoon or pour a little more than 2 tablespoons of the funfetti cheesecake batter into each muffin cup, filling it approximately two-thirds full, over the cooled, pre-baked crusts.
- Return the muffin pan to the oven and bake for 15-20 minutes. The cheesecakes are done when the edges appear set and slightly puffed, but the center still exhibits a slight, delicate jiggle when you gently shake the pan.
- Remove the muffin pan from the oven and place it on a wire rack to cool completely to room temperature. Allow at least 1-2 hours for this step.
- Once cooled to room temperature, loosely cover the muffin pan with plastic wrap and transfer it to the refrigerator. Chill for a minimum of 4 hours, but ideally overnight (8+ hours), for the best possible texture, firmness, and flavor development.
- For an extra festive presentation before serving: add a dollop of freshly whipped cream to the top of each mini cheesecake and finish with an additional sprinkle of rainbow jimmies.
Video Tutorial
For a visual guide on making these delightful mini funfetti cheesecakes, watch the video below:
Nutrition Information (per serving)
All nutritional values are approximate and provided to the reader as a courtesy. Changes to ingredients and/or quantities will alter the estimated nutritional calculations. These values are based on 12 servings.
- Calories: 254 kcal
- Carbohydrates: 18g
- Protein: 4g
- Fat: 19g
- Saturated Fat: 10g
- Polyunsaturated Fat: 1g
- Monounsaturated Fat: 5g
- Trans Fat: 1g
- Cholesterol: 83mg
- Sodium: 180mg
- Potassium: 78mg
- Fiber: 1g
- Sugar: 14g
- Vitamin A: 669 IU
- Calcium: 48mg
- Iron: 1mg