

I’ve refined and perfected this classic thumbprint cookie recipe to such a degree that you’ll wonder why we ever limit these delightful treats to just the holiday season! Forget the notion that these buttery, jam-filled cookies are only for festive gatherings. With fewer than ten simple ingredients and a straightforward process, you’ll learn to bake melt-in-your-mouth cookies with a sweet, vibrant jam center that will have everyone begging for more, all year round.

“These were delicious! First time ever making a thumbprint cookie. My daughter thought I bought them! They came out perfect.”
-Linda
The Ultimate Classic Jam Thumbprint Cookie Recipe for Any Season
While often associated with Christmas and other holiday festivities, these classic jam thumbprint cookies are far too delicious to be reserved for only a few weeks out of the year. This recipe yields seriously the best thumbprint cookies – soft, buttery, and bursting with fruity flavor. Once you experience how easy and delightful they are, you’ll find yourself baking them for every occasion, from cozy weeknights to celebratory gatherings.
These classic thumbprint cookies are perfect for a festive cookie exchange, an elegant platter for parties, a delicious addition to bake sales, or simply anytime you crave a truly exceptional homemade cookie. My comprehensive, step-by-step guide below ensures that even novice bakers can achieve perfectly formed, tender, and incredibly flavorful thumbprint cookies with ease.
What Are Thumbprint Cookies? A Brief History and Description
Thumbprint cookies are a beloved type of shortbread-style cookie characterized by a small indentation in the center, typically made by pressing a thumb (or a round utensil) into the dough before baking. This central depression is then filled with a variety of sweet delights, most commonly fruit jam or preserves, but also chocolate ganache, caramel, or lemon curd. Originating from Sweden, where they are known as “Hallongrottor” (raspberry caves), these cookies have garnered international popularity due to their simple elegance and delightful combination of tender cookie and sweet filling.
The beauty of thumbprint cookies lies in their simplicity and versatility. The cookie base is usually a rich, buttery dough that provides the perfect complement to the chosen filling. Their charm is not just in their taste but also in their appearance – the colorful jam peeking out from the golden cookie creates an inviting visual appeal, making them a staple in many home bakeries.
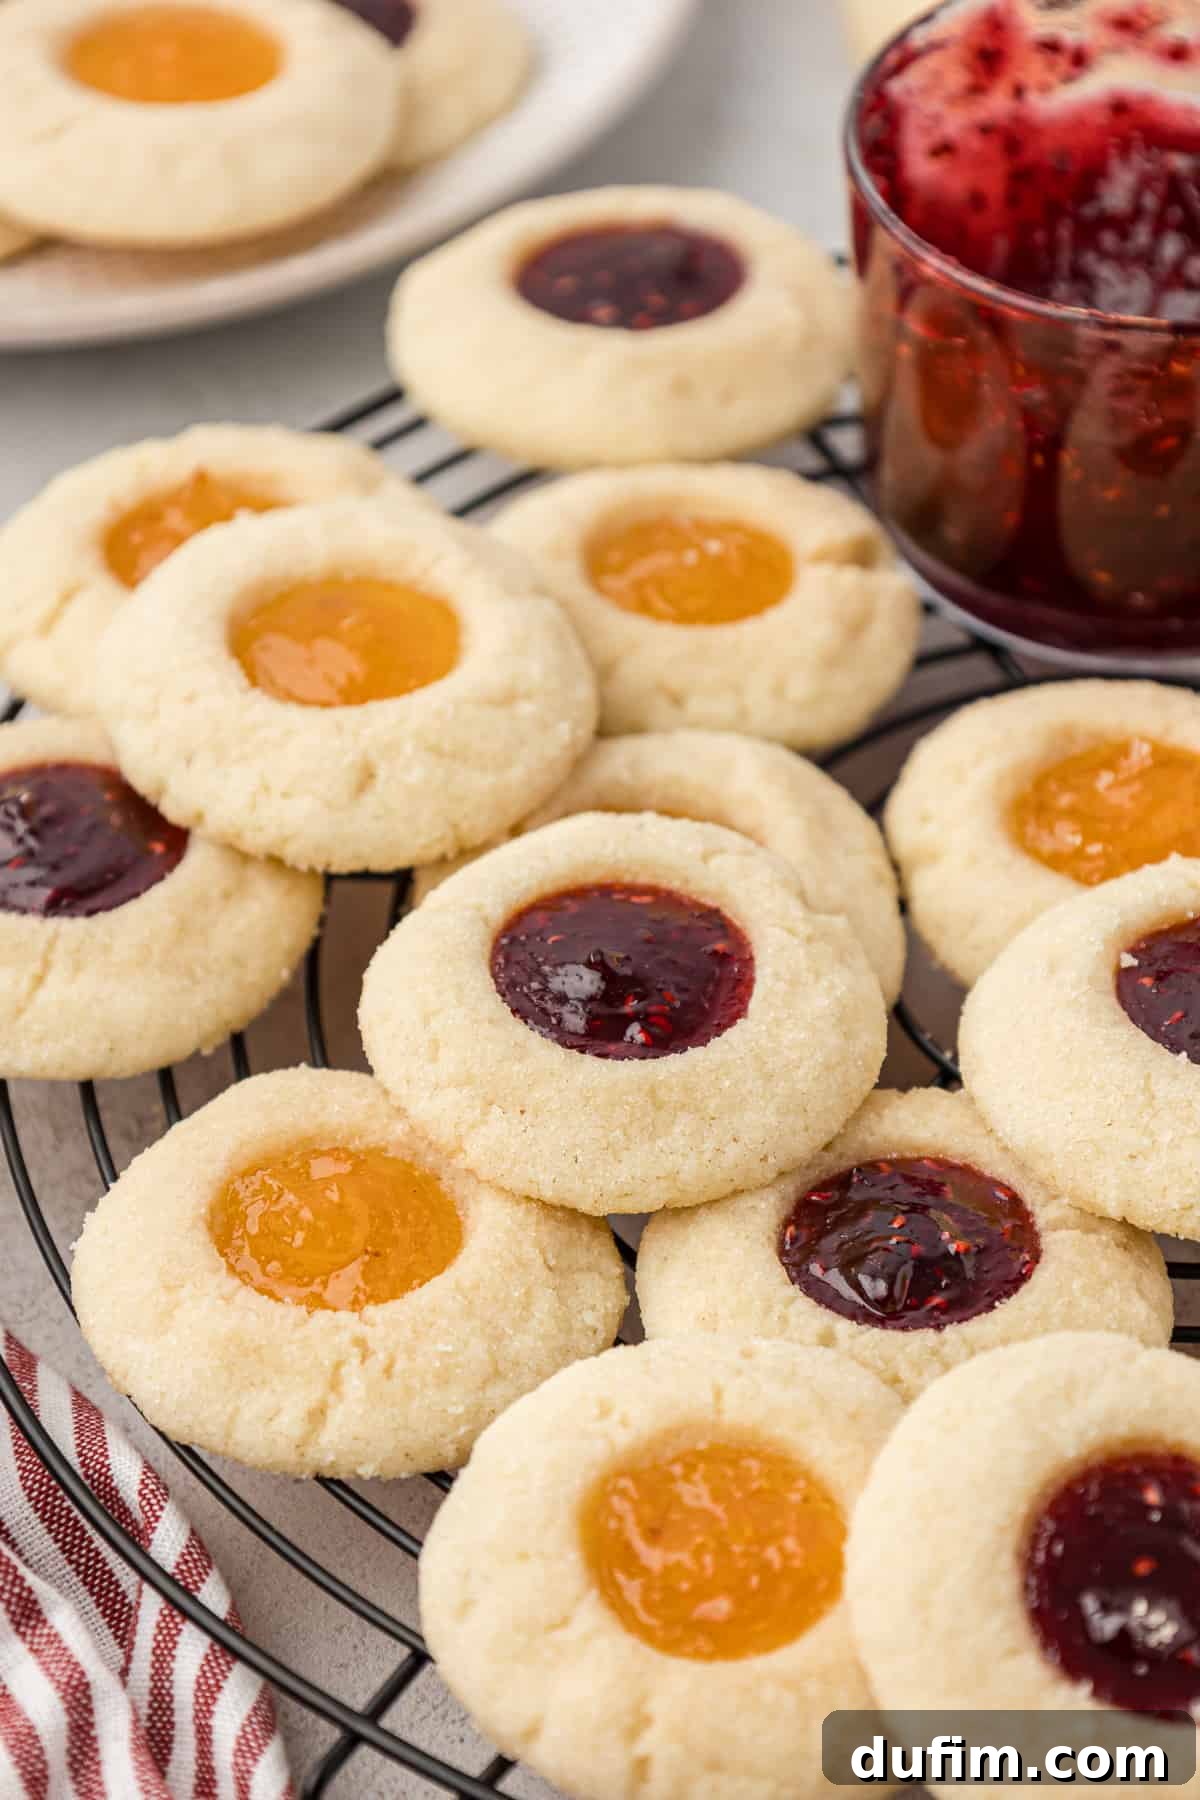
Why You Will Fall in Love with These Jelly Thumbprint Cookies
There are countless reasons to adore this particular recipe, making it a guaranteed favorite in your baking repertoire. Here are just a few compelling factors:
- Remarkably Easy Recipe: Even if you’re new to baking, the simple instructions ensure a successful batch every time.
- Fewer Than 10 Basic Ingredients: You likely have most of these pantry staples on hand already, making impromptu baking sessions a breeze.
- Quick Preparation & Baking: From mixing bowl to cooling rack, these cookies are ready in under 30 minutes, perfect for satisfying sudden sweet cravings.
- Endless Customization: Easily adapt the recipe with your favorite jam flavors, allowing for creative experimentation.
- Perfect for Any Occasion: While they shine during the Christmas season, their timeless appeal makes them a wonderful treat year-round.
- Melt-in-Your-Mouth Texture: The addition of cornstarch ensures an incredibly tender, almost crumbly shortbread base that won’t crack.
- Kid-Friendly Fun: Rolling the dough balls and pressing the indentations are enjoyable tasks for little helpers in the kitchen.
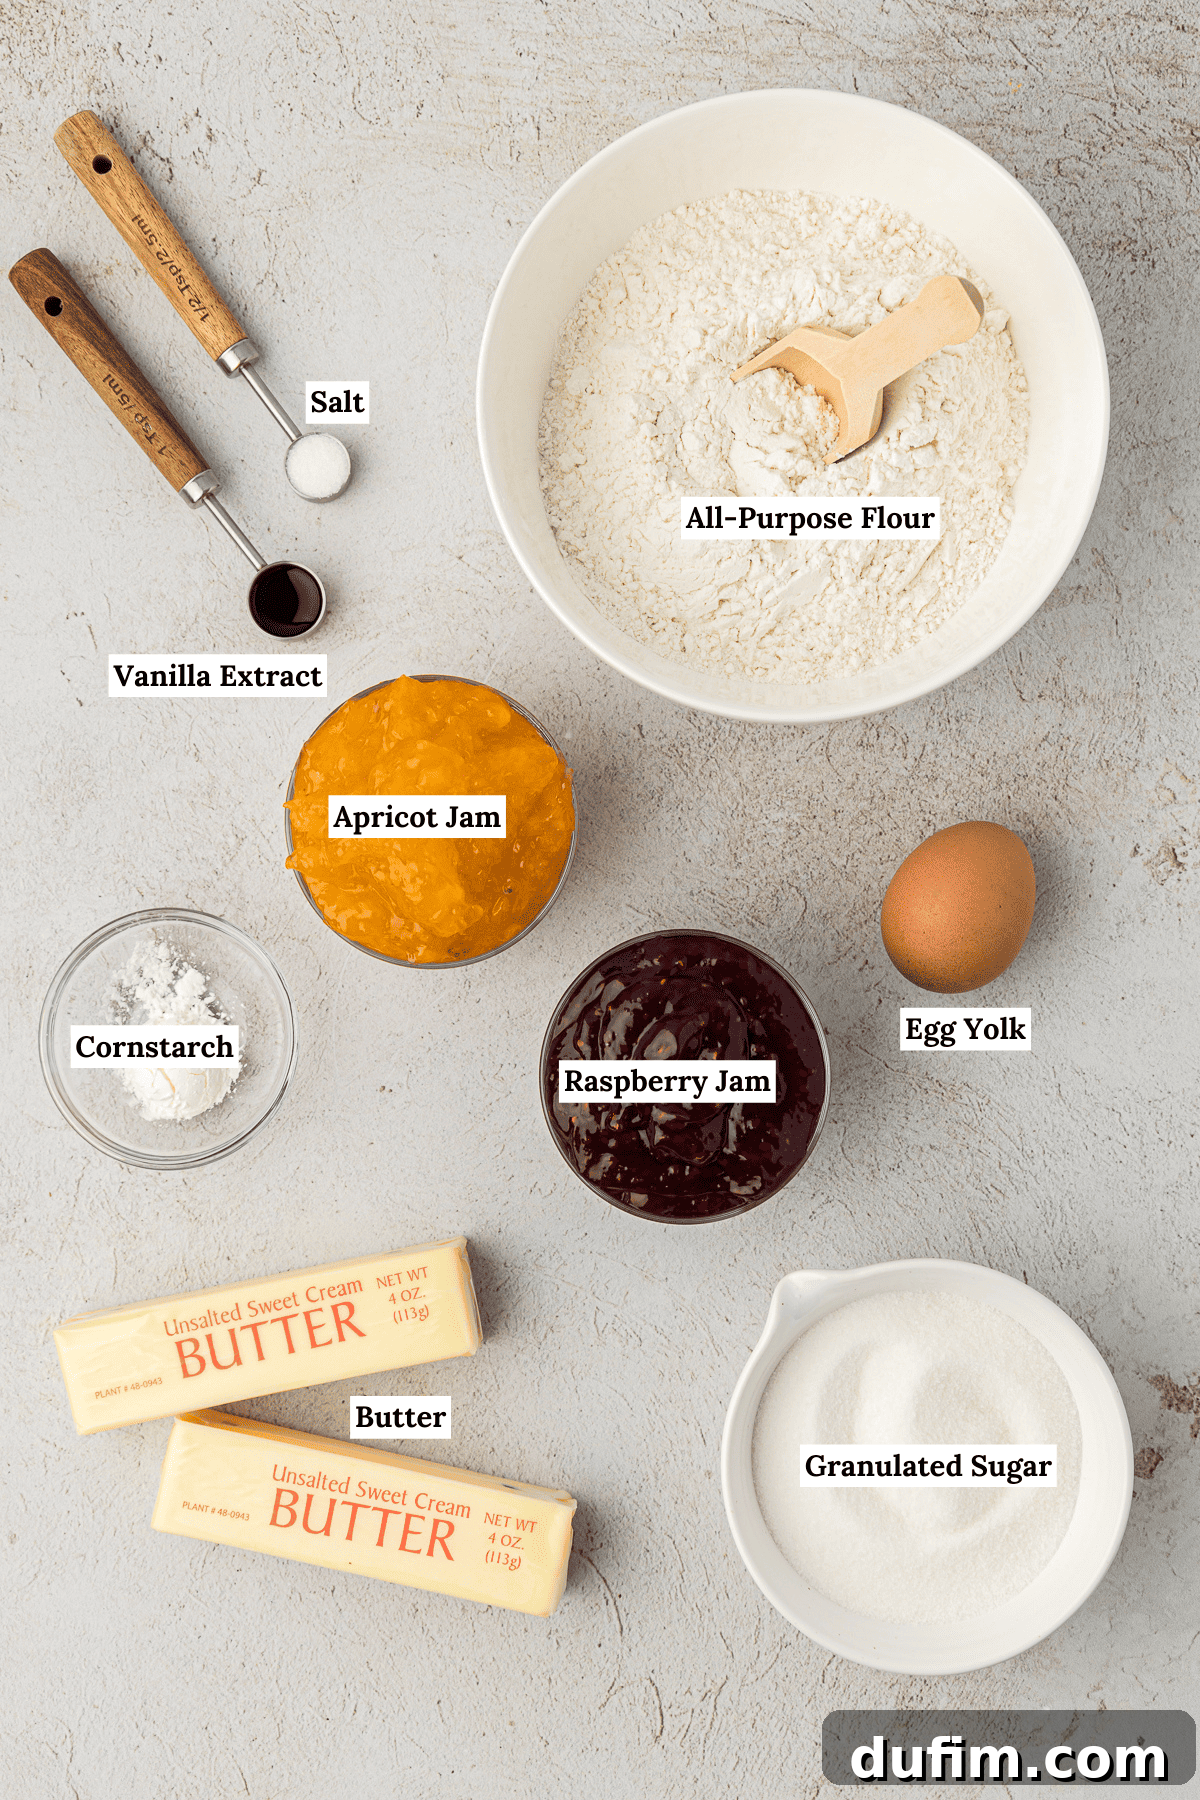
Essential Ingredients for the Best Raspberry Thumbprint Cookies
One of the many reasons this recipe is a true winner is that it doesn’t call for any obscure or hard-to-find ingredients. You’ll find these everyday staples in most well-stocked kitchens, making this a wonderfully accessible cookie to bake. For precise measurements and the full recipe details, please refer to the recipe card located further down the page.
- Unsalted Butter: Ensure it’s softened to room temperature. This is crucial for achieving a light and fluffy creamed mixture with the sugar, which contributes to the cookies’ tender texture.
- Granulated Sugar: Provides sweetness and helps create the crisp edges and tender crumb that are characteristic of these shortbread-style cookies.
- Egg Yolk: The secret to richness and a beautiful golden hue. Using only the yolk adds fat without too much moisture, preventing a tough cookie and promoting a delicate crumb.
- Vanilla Extract: A classic flavor enhancer that deepens the overall taste profile of the cookie dough.
- All-Purpose Flour: The structural base of our cookies. Proper measurement is key for the right consistency.
- Cornstarch: This is a game-changer! Cornstarch helps tenderize the dough, giving the cookies that irresistible melt-in-your-mouth texture and preventing cracking.
- Salt: Balances the sweetness and enhances all the other flavors, bringing out the best in both the cookie and the jam.
- Jam: Your favorite variety! I often use vibrant raspberry jam and sweet apricot jam for a colorful and flavorful assortment.
For Rolling the Cookies
- Granulated Sugar: A light coating of sugar before baking adds a lovely sparkling finish and a slight crispness to the exterior of the cookies.
How to Make Perfect Thumbprint Cookies with Jam
Creating these easy jam thumbprint cookies is a straightforward process when you follow this step-by-step guide. You’ll be amazed at how simple it is to achieve bakery-quality results right in your own kitchen!
- Prepare Your Oven and Baking Sheet: Begin by preheating your oven to 350°F (175°C). While the oven heats, line a sturdy baking sheet with parchment paper or a silicone baking mat. This prevents sticking and ensures even baking and easy cleanup.
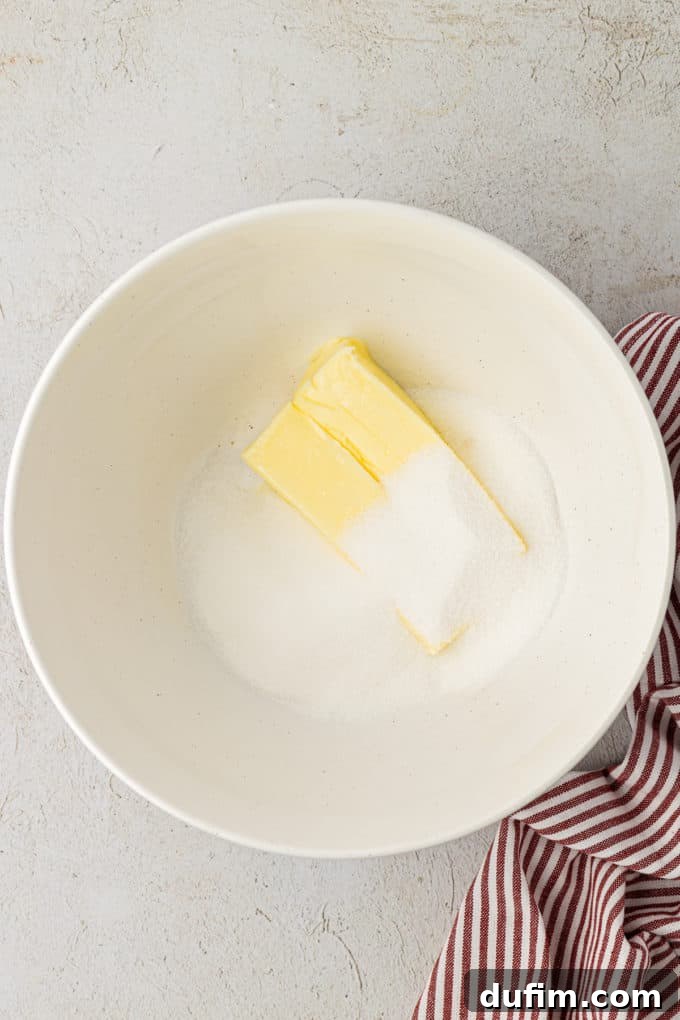
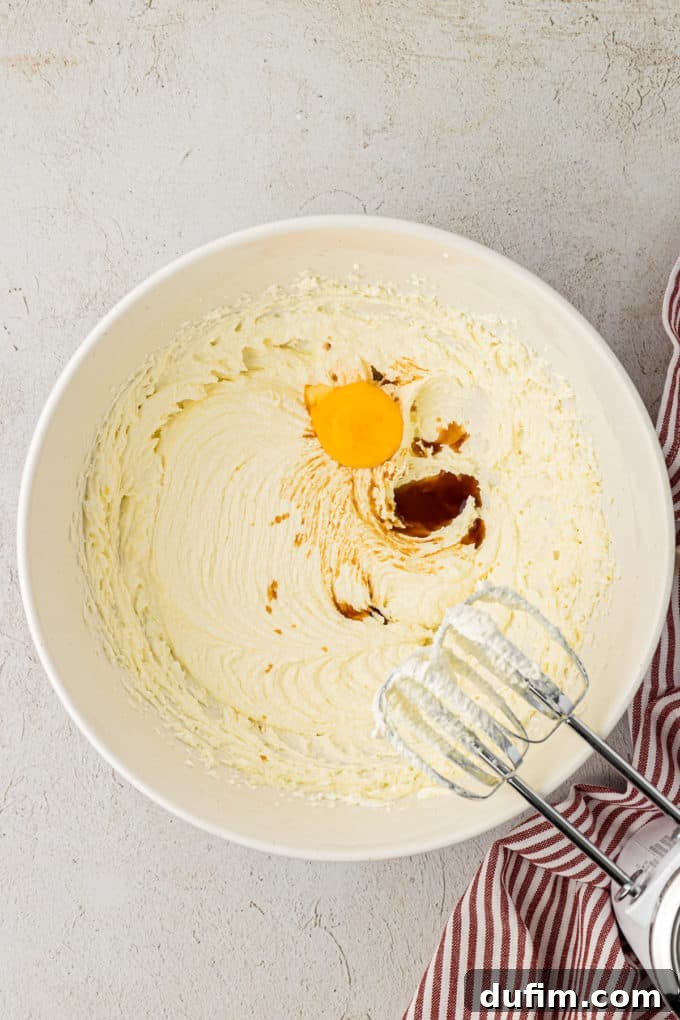
- Cream Butter and Sugar: In a large mixing bowl, combine the softened unsalted butter and granulated sugar. Using a hand mixer or a stand mixer fitted with the paddle attachment, cream these two ingredients together on medium speed until the mixture becomes light, fluffy, and pale in color. This usually takes about 1-2 minutes. This step incorporates air, leading to a tender cookie.
- Incorporate Egg Yolk and Vanilla: Add the single large egg yolk and the vanilla extract to the creamed butter and sugar mixture. Beat on medium speed until these ingredients are fully combined and the mixture is smooth. Scrape down the sides of the bowl as needed to ensure everything is well-integrated.
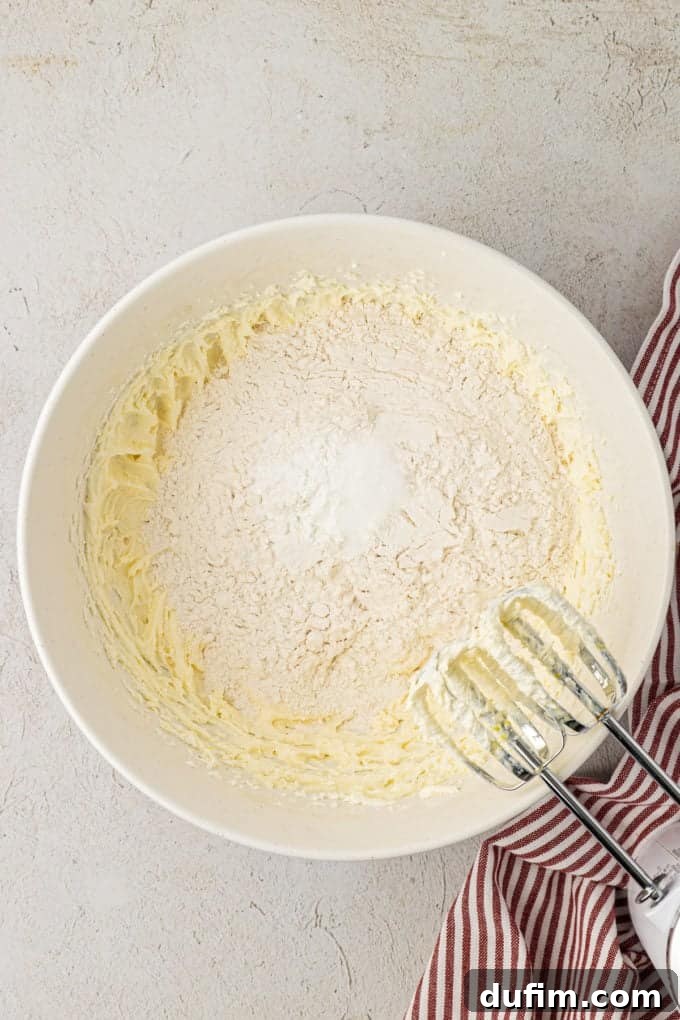
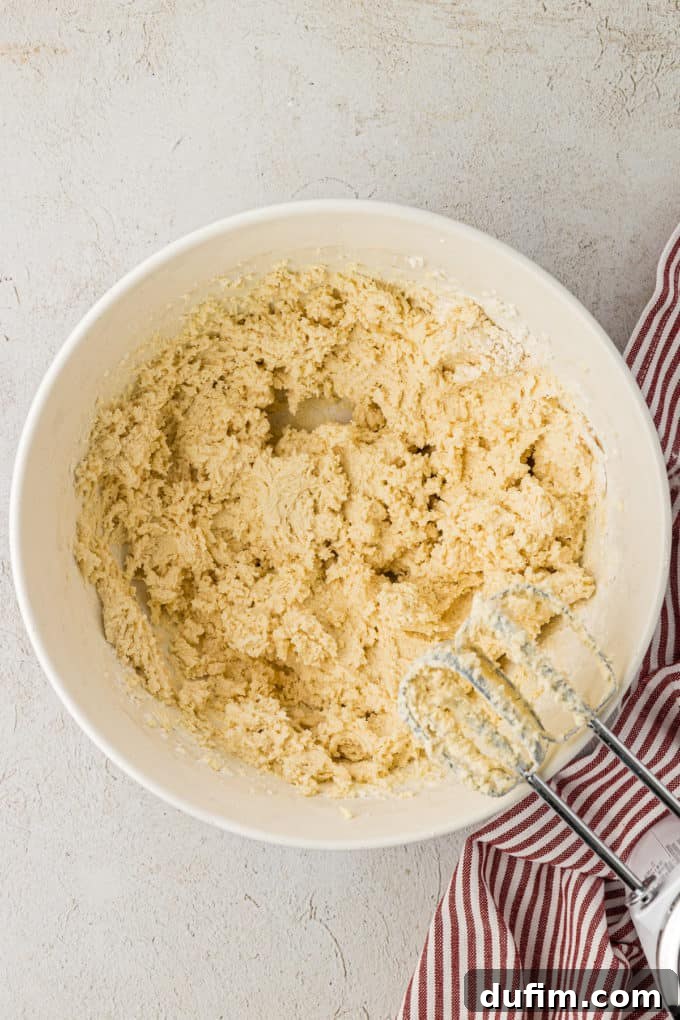
- Add Dry Ingredients: Reduce the mixer speed to low. Gradually add the all-purpose flour, cornstarch, and salt to the wet ingredients. Mix just until a soft, cohesive cookie dough forms. Be very careful not to overmix the dough, as this can develop the gluten in the flour and result in tough cookies. Stop mixing as soon as no dry streaks of flour are visible.
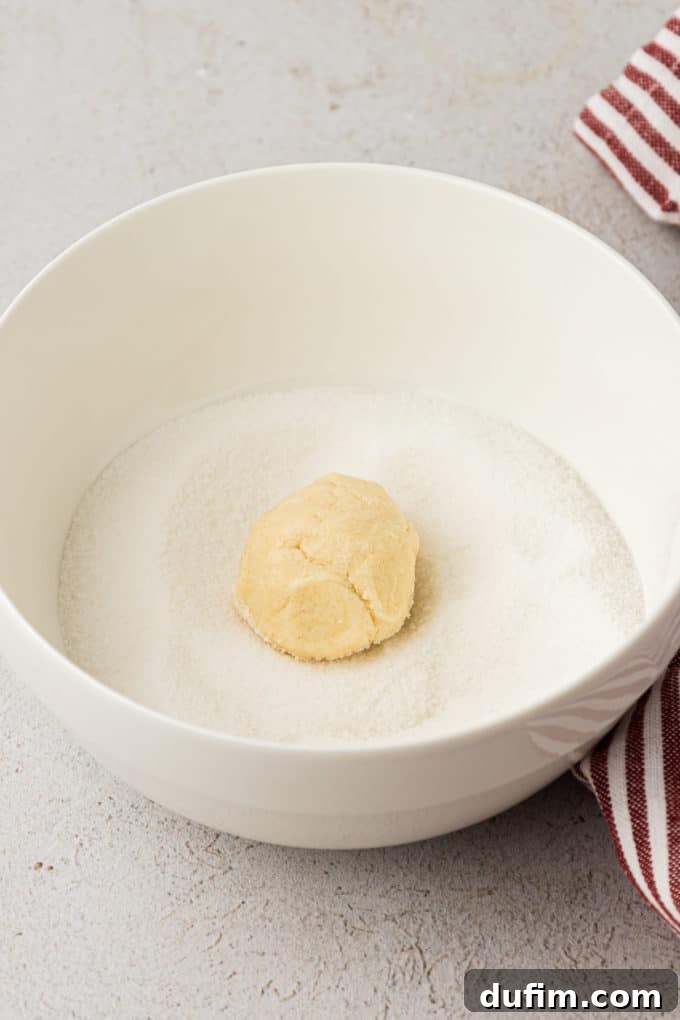
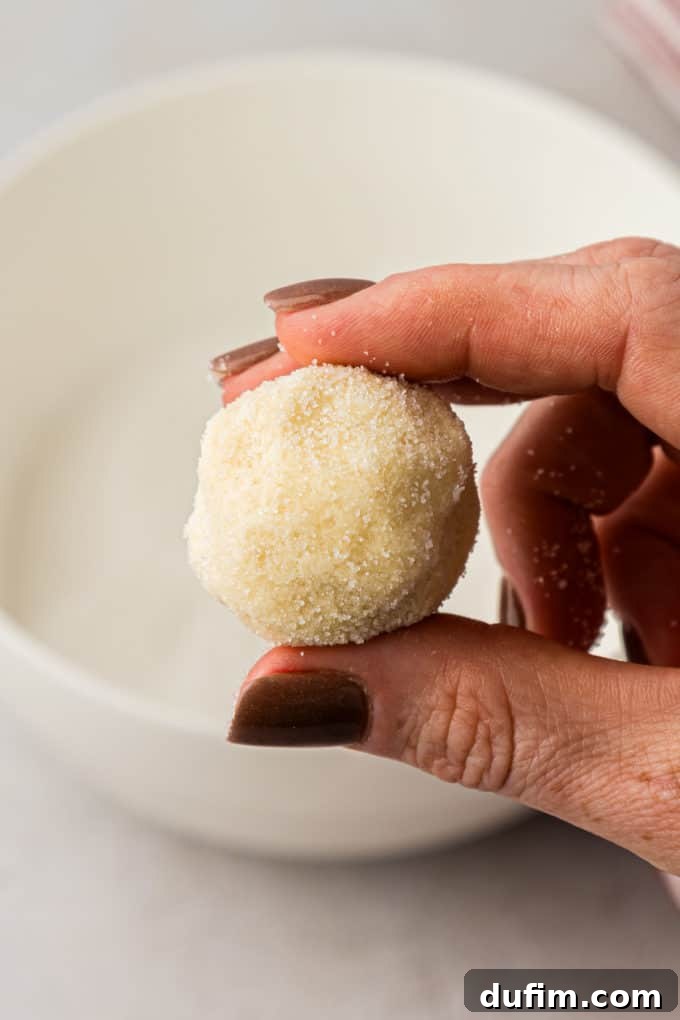
- Form Cookie Balls: Using a 1-inch cookie scoop or simply your hands, roll the cookie dough into uniform 1-inch balls. Consistency in size helps ensure even baking.
- Roll in Granulated Sugar: Pour the additional granulated sugar for rolling into a shallow bowl. Gently roll each cookie dough ball in the sugar until it is evenly coated all around. This adds a delightful sparkle and a touch of extra sweetness.
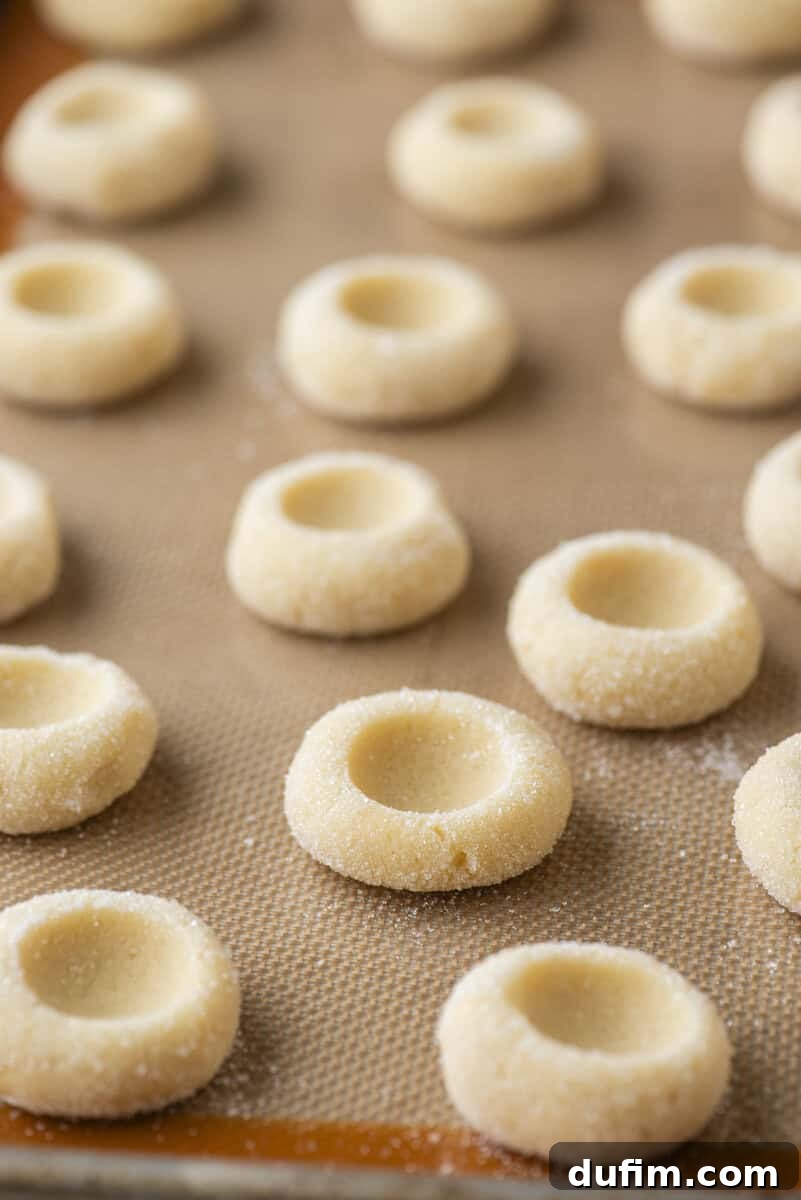
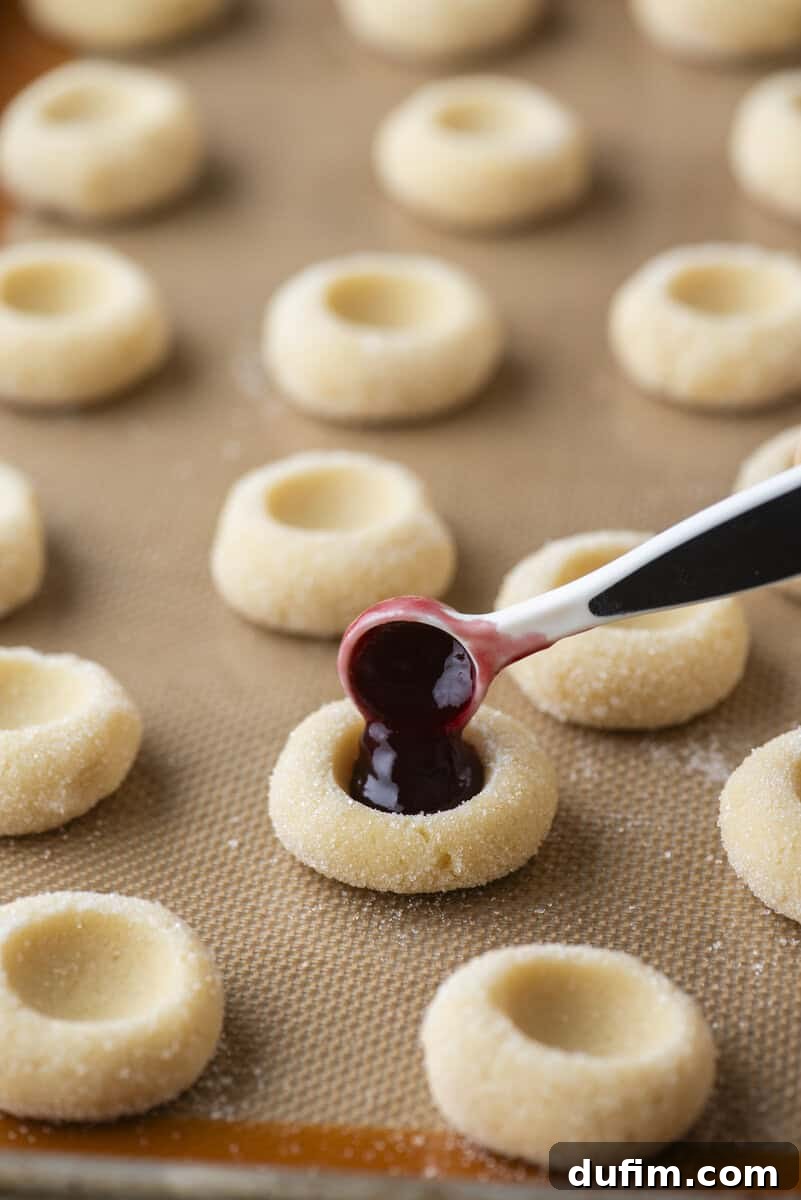
- Arrange and Indent: Place the sugar-coated cookie dough balls onto the prepared baking sheet, leaving about 2 inches of space between each to allow for slight spreading. Then, use your thumb, the back of a rounded teaspoon, or a small measuring spoon to create a deep indentation in the center of each cookie. Make sure the indentations are deep enough to hold a good amount of jam without overflowing.
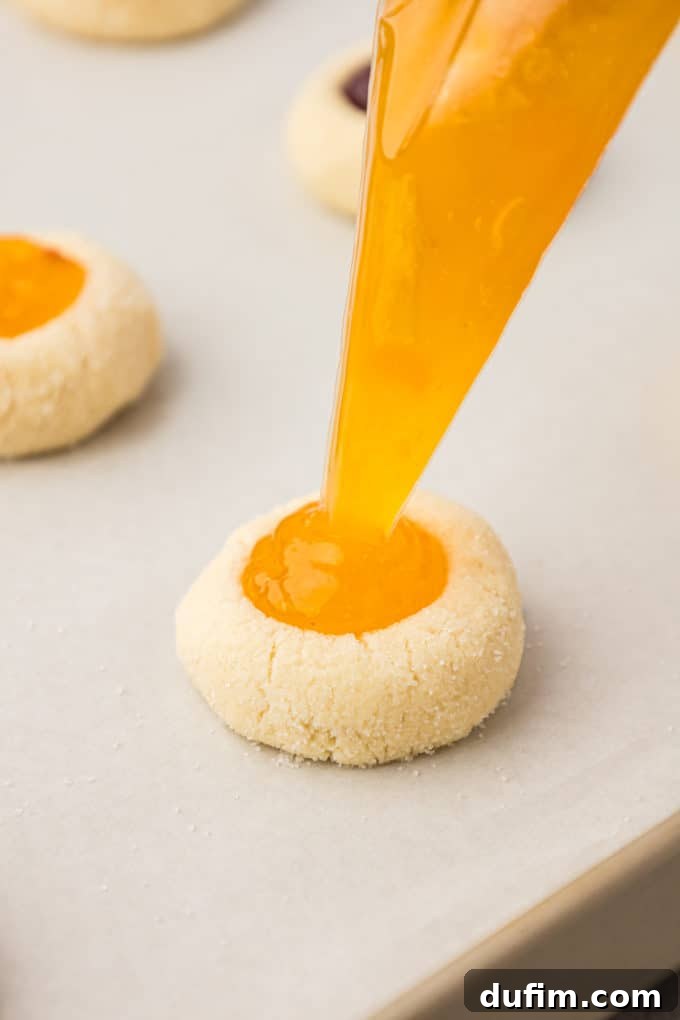
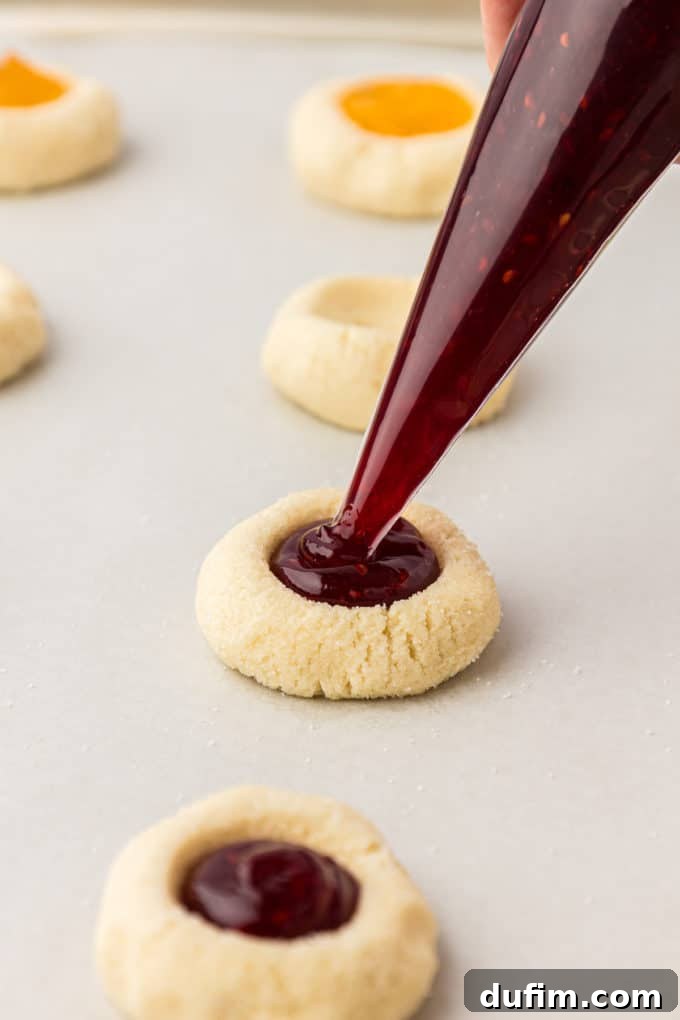
- Add the Jam Filling: Carefully spoon a small amount of your chosen jam (about 1/2 teaspoon) into the indentation of each cookie. You can use one flavor or mix and match different jams for a colorful assortment. Don’t overfill, as the jam will bubble slightly during baking.
- Bake and Cool: Transfer the baking sheet to the preheated oven and bake for 10-13 minutes, or until the edges of the cookies are lightly golden and the jam is bubbly. The cookies should still be soft in the center. Remove the cookies from the oven and allow them to cool completely on the baking sheet. They will firm up as they cool.
How to Properly Measure Flour for Baking Perfection
Accurate ingredient measurement is paramount in baking, especially for flour, as too much or too little can drastically alter your cookie’s texture. The most precise method is always to use a kitchen scale, weighing your flour in grams. If you don’t own a scale, follow this tried-and-true “spoon and level” method:
- Aerate the Flour: Before measuring, lightly fluff the flour in its container with a whisk or spoon. Flour tends to settle and compact over time, making it denser than it should be. Aerating it will give you a more accurate measurement. Note: This is different from sifting; do not sift unless the recipe explicitly calls for it.
- Spoon into Measuring Cup: Use a spoon to gently sprinkle the aerated flour into your dry measuring cup. Do not scoop directly with the measuring cup, as this compacts the flour.
- Level Off: Once the measuring cup is overflowing, use the flat back of a butter knife or a straight edge to level off the excess flour, ensuring it’s flush with the rim of the cup.
Total Time Required for These Speedy Treats
These delightful shortbread-style cookies come together surprisingly fast, making them an excellent choice when you need a delicious dessert in a pinch. Here’s a breakdown of the total time commitment:
- Prep Time: Approximately 15 minutes. This includes creaming butter and sugar, mixing in dry ingredients, forming balls, and indenting.
- Cook Time: A quick 10-13 minutes in the oven until edges are lightly golden and jam is set.
- Cooling Time: Around 10 minutes on the baking sheet allows them to set fully before handling.
- Total Time: In just about 35-38 minutes, you can have a batch of freshly baked, warm thumbprint cookies ready to enjoy!
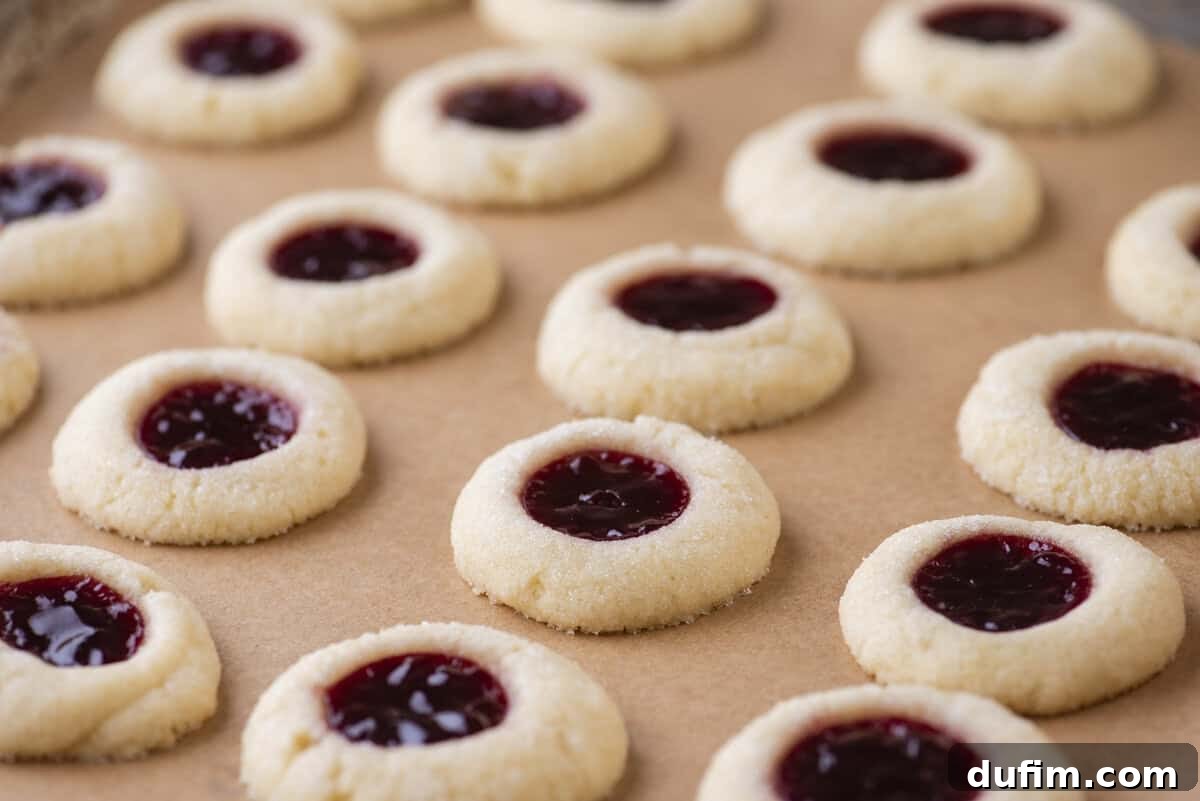
Expert Tips for Perfect Jam Thumbprint Cookies Every Time
Achieving the perfect thumbprint cookie is easy with these simple yet effective baking tips:
- Use Room Temperature Egg Yolk: If possible, take your egg yolk out of the refrigerator at least 30 minutes before you begin baking. Room temperature ingredients emulsify much better, resulting in a smoother, more uniform dough and a better final texture for your cookies.
- Prevent Spreading with Cool Baking Sheets: To avoid your cookies from spreading too much and losing their shape, always place them on a cool baking sheet. If you’re baking multiple batches, use alternate baking sheets, or allow your used sheet to cool completely between batches. A hot baking sheet will start to melt the butter in the dough prematurely, causing the cookies to spread before they have a chance to set.
- Measure Ingredients Precisely: Accuracy in baking cannot be overstated. This is especially true for flour. Refer to my detailed “How to Properly Measure Flour” guide above to ensure you’re getting the exact amount needed for the perfect dough consistency. Too much flour can make cookies dry and crumbly, while too little can lead to excessive spreading.
- Don’t Overmix the Dough: Once you add the dry ingredients, mix only until they are just combined. Overmixing develops the gluten in the flour, which can lead to tough, chewy cookies instead of the desired tender, melt-in-your-mouth texture.
- Deep Indentations: When making the thumbprint, press firmly enough to create a noticeable cavity. This ensures there’s ample space for a good amount of jam and helps prevent the jam from overflowing or becoming lost as the cookie bakes.
Thumbprint Jam Cookies: Variations and Creative Fillings
While classic jam-filled thumbprint cookies are undeniably delicious, their versatility allows for endless creative variations. Don’t hesitate to experiment with different flavors and additions to make them uniquely yours:
- Lively Lemon Curd: For a bright and zesty twist, try filling your cookie indentations with homemade or store-bought lemon curd instead of jam. The tangy lemon perfectly complements the sweet, buttery cookie.
- Explore a Rainbow of Jams: The beauty of these cookies is how easily you can customize the fruit filling. While I love apricot jam and raspberry jam for their vibrant colors and classic flavors, feel free to use any preserve you adore. Consider strawberry jam, blueberry jam, cherry preserves, peach jam, or even exotic flavors like pineapple or mango jam for a tropical flair.
- Add a Nutty Crunch: If you appreciate a little extra texture and flavor, finely chopped nuts make a wonderful addition. Before baking, sprinkle a small amount of your favorite finely chopped nuts (such as pistachios, walnuts, or pecans) around the jam filling or directly on top. Pistachios, in particular, are a popular and beautiful choice for thumbprint cookies.
- Chocolate Decadence: After baking and cooling, fill the indentations with melted chocolate, a dollop of Nutella, or a rich chocolate ganache for a truly indulgent treat.
Exploring Different Types of Thumbprint Cookies
Beyond varying the jam, the base cookie itself offers a world of possibilities. In this recipe, we focus on a classic shortbread-style base with two types of jam (raspberry and apricot). However, the “thumbprint” concept can be applied to many cookie doughs:
- Chocolate Thumbprint Cookies: These can be made with a rich chocolate cookie base, or a standard base filled with a decadent chocolate ganache or chocolate hazelnut spread.
- Other Cookie Base Variations: Get creative with the dough! You could make thumbprint cookies with a festive red velvet base, a nutty peanut butter base (much like peanut butter blossom cookies without the Hershey’s Kiss), a chewy coconut cookie base, or even a spicy gingerbread dough for a true holiday twist.
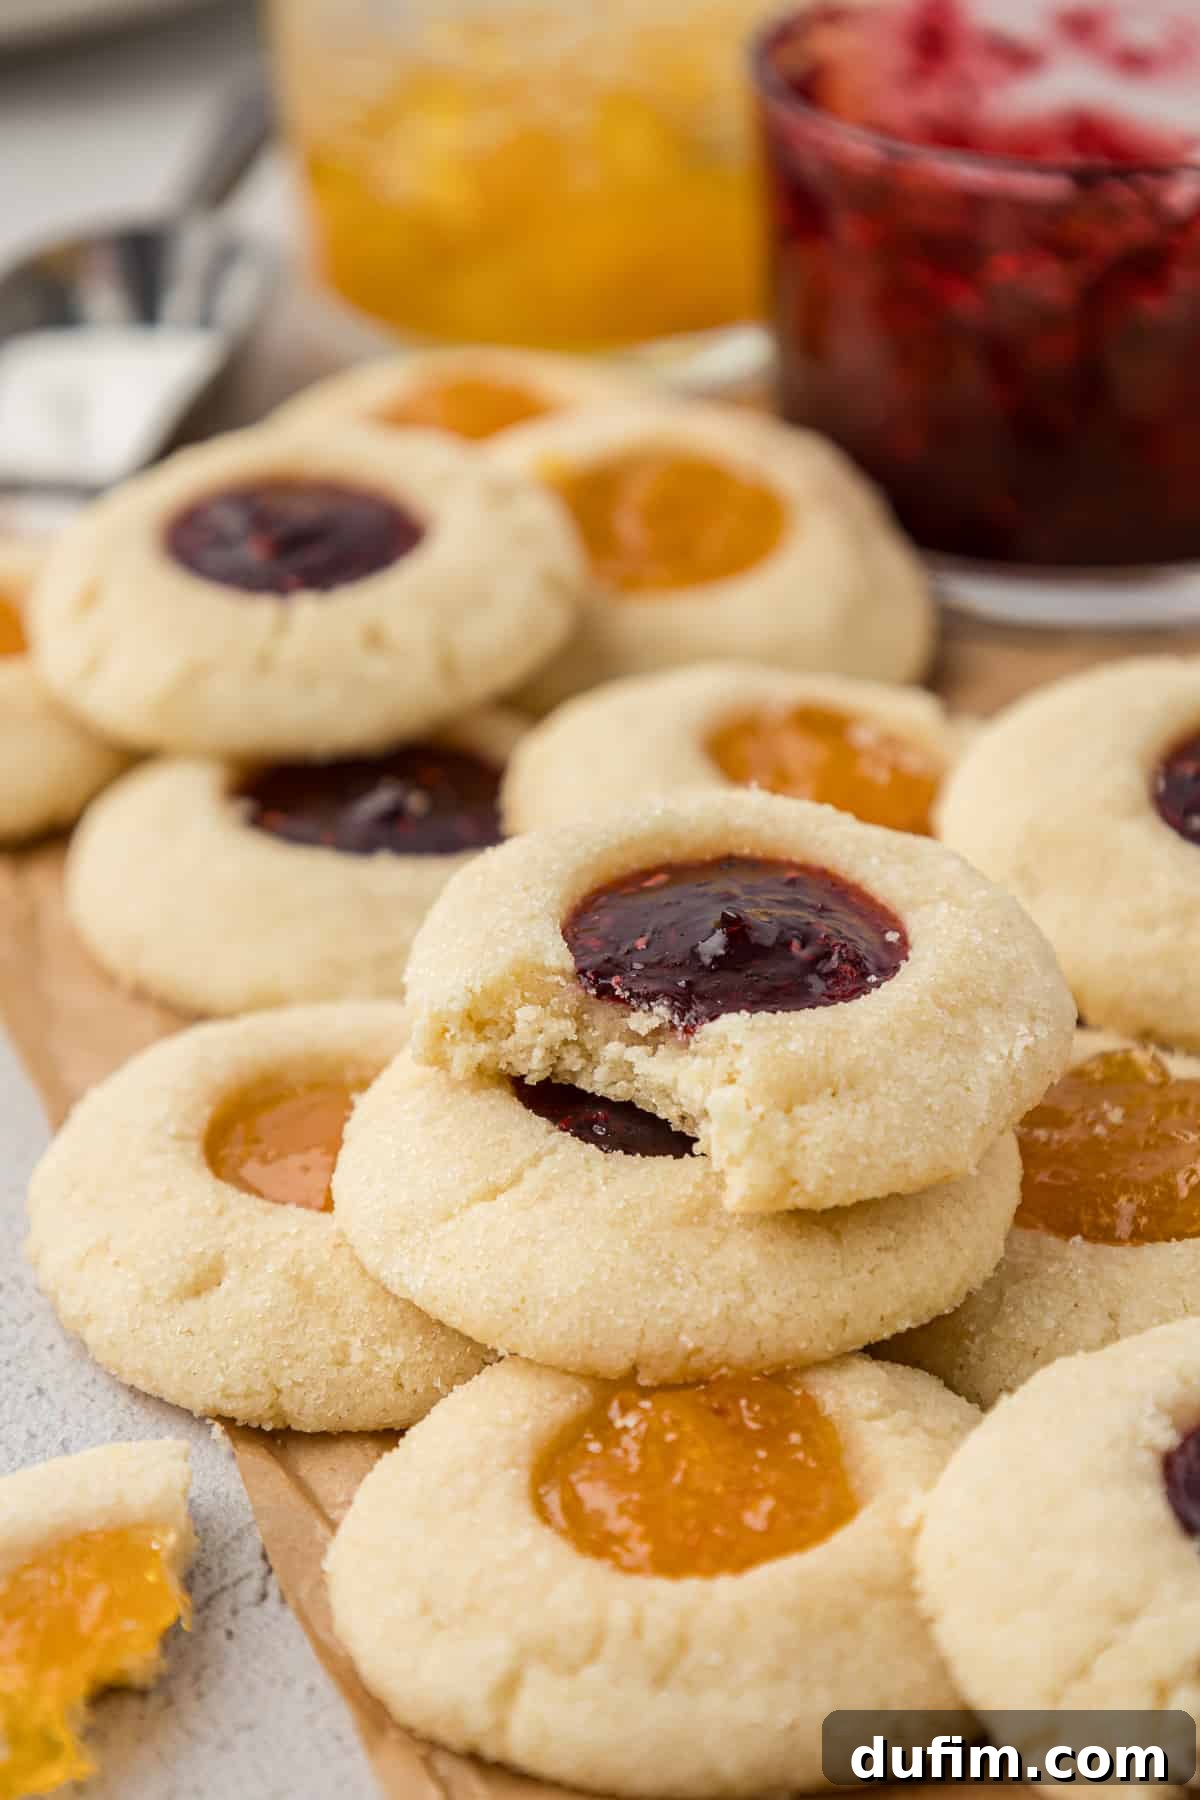
Fun and Creative Ways to Serve Thumbprint Jam Cookies
Thumbprint cookies, with their vibrant jam fillings and irresistible buttery taste, are a fantastic addition to any dessert spread. Using different jam colors not only offers a variety of flavors but also creates a stunning visual display. Here are a few creative ideas to serve these charming cookies:
- Elegant Cookie Tower: For a show-stopping centerpiece, stack the cookies in a pyramid or tower formation, alternating between different jam colors if you’ve used multiple varieties.
- Festive Christmas Cookie Tin: Pack these beautiful cookies into a holiday-themed tin for a thoughtful and delicious homemade gift during the festive season.
- Gourmet Cookie Charcuterie Board: Elevate your dessert presentation by arranging these thumbprint cookies alongside an assortment of fresh fruits, various nuts, artisanal cheeses, and different chocolates on a large board.
- Charming Cookie Wreath: On a round platter, arrange the cookies in a circular pattern to create a lovely edible wreath. You can even add a small bowl of extra jam or fresh berries in the center for garnish.
- Coffee & Tea Companion: Simply serve them alongside a warm cup of coffee, tea, or hot cocoa for a comforting and indulgent snack.
Storing and Freezing Your Raspberry Thumbprint Cookies
Proper storage is key to keeping your delicious thumbprint cookies fresh and enjoyable. They also freeze exceptionally well, making them ideal for make-ahead baking.
Storing Baked Thumbprint Cookies
Once completely cooled, store your baked thumbprint cookies in an airtight container at room temperature for up to 3-5 days. To prevent the jam from sticking to the lid or other cookies, you can place a piece of parchment paper between layers if stacking.
Can You Freeze Thumbprint Cookies? Yes, and Here’s How!
These cookies are perfect for freezing, either baked or unbaked, allowing you to enjoy them long after they’re made.
How to Freeze Unbaked Thumbprint Cookies Dough:
Prepare the cookie dough as directed, shaping it into balls and rolling them in granulated sugar (if the recipe calls for it). Press the indentations for the jam, but do not add the jam yet. Arrange the unbaked dough balls in a single layer on a baking sheet and freeze them until they are solid, which usually takes about 1-2 hours. Once firm, transfer the frozen dough balls to a freezer-safe bag or an airtight container, ensuring they are well-sealed to prevent freezer burn. They can be stored in the freezer for up to 3 months. When you’re ready to bake, simply place the frozen dough balls on a prepared baking sheet, spoon your favorite jam into the centers, and bake them straight from frozen – no thawing necessary! You may need to add an extra 1-2 minutes to the baking time.
How to Freeze Baked Thumbprint Cookies:
Bake the cookies according to the recipe instructions and allow them to cool completely on the baking sheet. Once fully cooled, place them in a single layer on a separate baking sheet and freeze until they are firm (this helps prevent the jam from sticking). Once firm, transfer the frozen cookies to a freezer-safe container. To protect the jam centers and prevent sticking, layer the cookies with sheets of parchment paper between them. Freeze for up to 2-3 months. When you’re ready to enjoy them, simply thaw the cookies at room temperature for about an hour before serving.
Classic Thumbprint Cookies FAQs
The most common reason for thumbprint cookies going flat is an incorrect ratio of butter to flour, often due to improper flour measurement. Too much butter or too little flour can cause excessive spreading. Ensure your butter is softened, not melted, and follow my “spoon and level” tips for accurately measuring flour. Additionally, placing dough on a hot baking sheet can also contribute to spreading; always use a cool sheet.
The key to preventing thumbprint cookies from cracking and ensuring they remain beautifully soft and tender is the strategic use of cornstarch. In this recipe, the precise amount of cornstarch works wonders to tenderize the dough, giving you a smooth, buttery shortbread cookie that resists cracking when you make the indentation and as it bakes. Also, ensure your butter is properly softened, not cold and hard, as this can make the dough less pliable and prone to cracking.
Several factors can cause thumbprint cookies to spread excessively. The primary culprits are an incorrect butter-to-flour ratio (as mentioned, always measure flour accurately using the spoon and level method) or using butter that is too warm, almost melted, rather than just softened. Another significant reason is placing the cookie dough on a hot baking sheet. A warm surface will cause the butter in the dough to melt rapidly before the cookie structure has a chance to set in the oven, leading to flattened cookies. Always use cool baking sheets for each batch.
“Made these cookies with raspberry preserves, they are so yummy. They were gone in 1 sitting.”
-Marlene
More Irresistible Cookie Recipes
If you loved baking these classic jam thumbprint cookies, you’re sure to enjoy these other delightful cookie recipes:
- Almond Joy Cookies
- Cookie Monster Cookies
- S’mores Cookies
- Lemon Cake Mix Cookies

Tap stars to rate! (Functionality removed for static HTML)
Classic Jelly Thumbprint Cookies
Beth
15 minutes
13 minutes
10 minutes
24 cookies
Print Recipe
Equipment
-
Large Mixing Bowl
-
Baking Sheet with Parchment Paper or Silicone Mat
-
Electric Mixer (Handheld or Stand)
-
Small Cookie Scoop (optional)
Ingredients
- 1 cup (226g) unsalted butter, softened to room temperature
- ⅔ cup (132g) granulated sugar
- 1 large egg yolk
- 1 tsp vanilla extract
- 2 ¼ cups (270g) all-purpose flour
- 1 tsp cornstarch
- ½ tsp salt
- ½ cup (170g) jam (such as raspberry or apricot jam)
For Rolling Cookies
- ⅓ cup (66g) granulated sugar
Instructions
- Preheat your oven to 350°F (175°C). Line a baking sheet with parchment paper or a silicone baking mat.
- In a large mixing bowl, cream together the softened butter and granulated sugar until the mixture is light and fluffy, about 1-2 minutes. This can be done using a hand mixer or a stand mixer.
- Beat in the egg yolk and vanilla extract until well combined.
- Add the all-purpose flour, cornstarch, and salt. Mix on low speed until a soft cookie dough forms. Be careful not to overmix; just mix until the ingredients are combined and no dry streaks remain.
- Shape the cookie dough into 1-inch balls. You can use a cookie scoop or your hands for this.
- Roll each cookie dough ball in granulated sugar until it’s coated evenly.
- Place the sugar-coated cookie dough balls onto the prepared baking sheet, spacing them about 2 inches apart. Use your thumb or the back of a teaspoon to create an indentation in the center of each cookie.
- Spoon a small amount (about 1/2 teaspoon) of jam into the indentation of each cookie. You can use your favorite flavor of jam or preserve.
- Bake the cookies in the preheated oven for 10-13 minutes or until the edges are lightly golden. Remove the cookies from the oven and let them cool on the baking sheet completely.
Notes
Gluten-Free: For a gluten-free version, substitute a 1:1 gluten-free baking flour blend in place of the all-purpose flour. Brands like King Arthur’s Measure for Measure Gluten Free Flour typically work well.
To Store: Keep baked and cooled thumbprint cookies in an airtight container at room temperature for 3–4 days. Place parchment paper between layers if stacking to prevent sticking.
To Make Ahead (Freeze Dough): Shape the dough into balls and press indents (do not add jam). Freeze on a baking sheet until firm, then transfer to a freezer-safe bag or container for up to 3 months. When ready to bake, add jam to the frozen dough and bake from frozen, adding 1–2 extra minutes to the baking time.
To Freeze Baked Cookies: Allow cookies to cool completely after baking. Place them in a single layer on a baking sheet and freeze until firm. Once firm, transfer to an airtight freezer-safe container, using parchment paper between layers to protect the jam centers. Freeze for up to 2–3 months. Thaw at room temperature for about an hour before serving.
Nutrition (per cookie)
| Carbohydrates: 21g
| Protein: 1g
| Fat: 8g
| Saturated Fat: 5g
| Polyunsaturated Fat: 0.4g
| Monounsaturated Fat: 2g
| Trans Fat: 0.3g
| Cholesterol: 28mg
| Sodium: 52mg
| Potassium: 20mg
| Fiber: 0.4g
| Sugar: 12g
| Vitamin A: 247 IU
| Vitamin C: 1mg
| Calcium: 6mg
| Iron: 1mg
Nutrition Disclosure
All nutritional values are approximate and provided to the reader as a courtesy. Changing ingredients and/or quantities will alter the estimated nutritional calculations.
Like this recipe? Leave a comment below!