
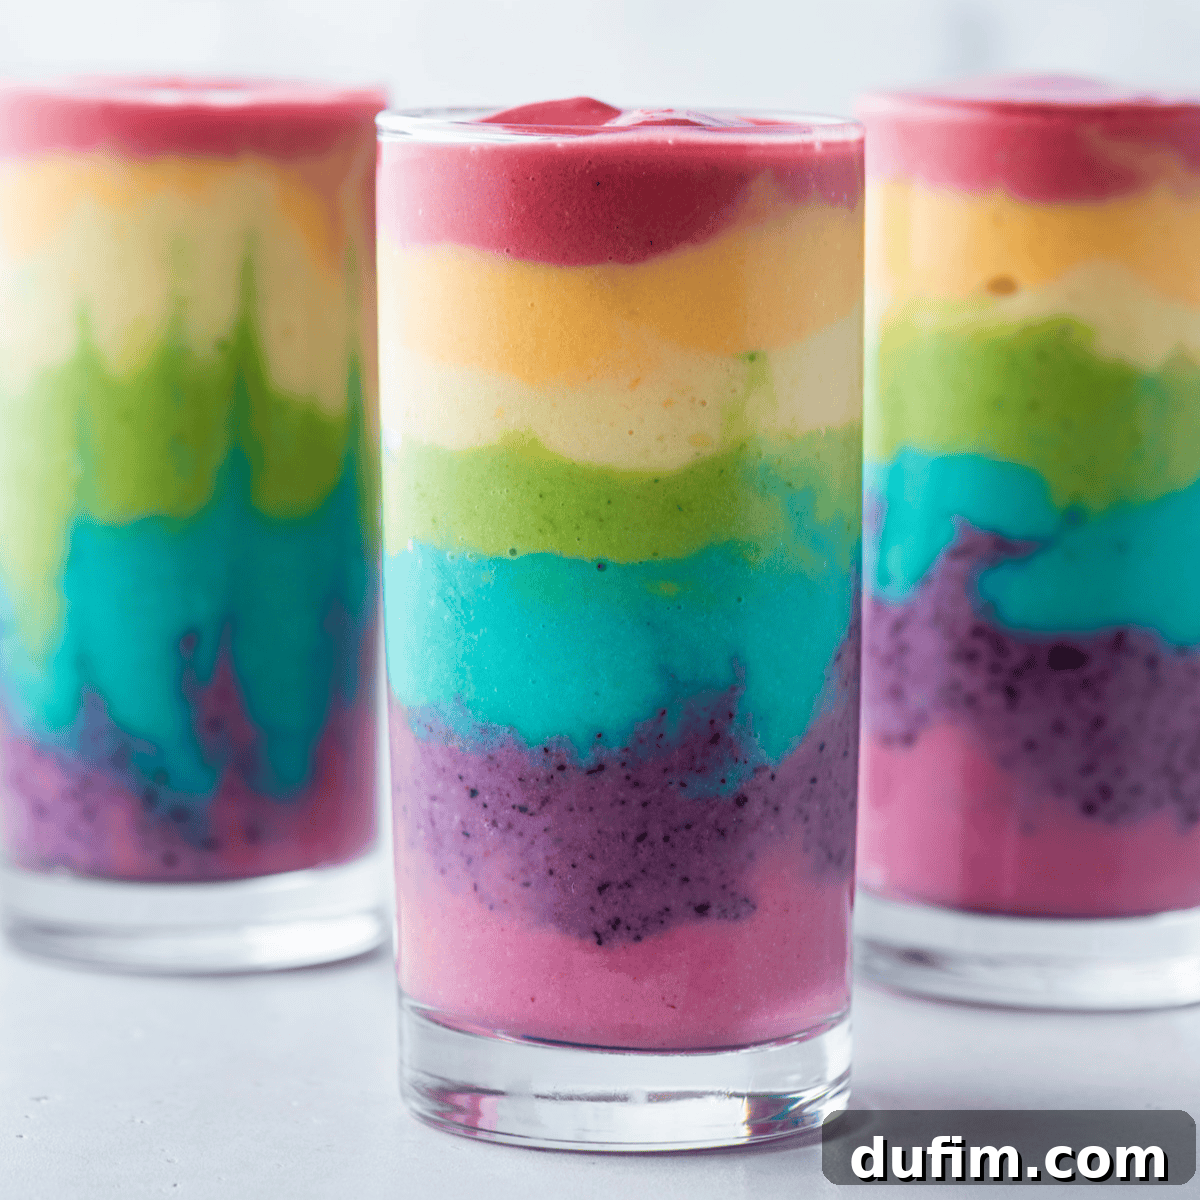
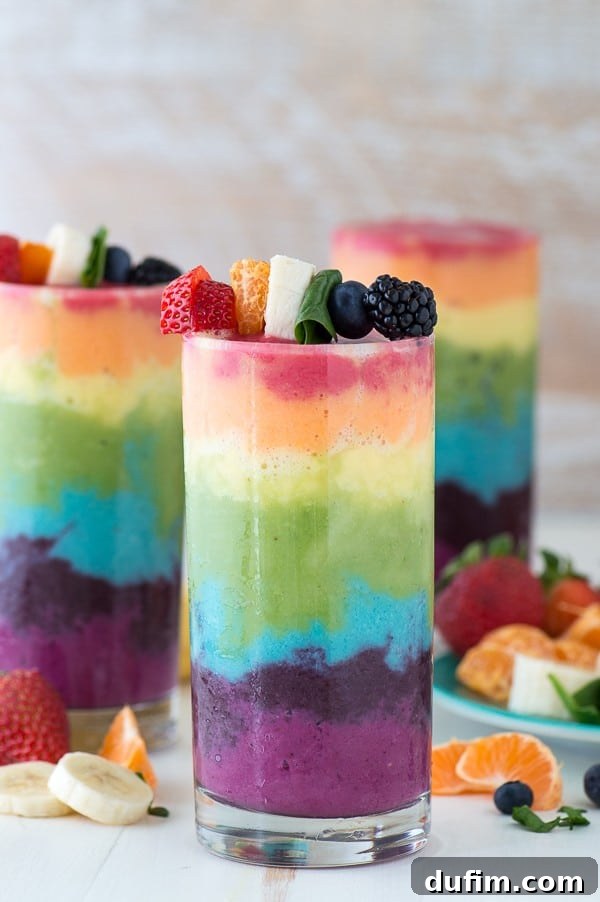
Welcome to a burst of color and flavor with our incredible Rainbow Smoothie recipe! More than just a simple drink, this creation is an edible masterpiece, meticulously layered with seven distinct and vibrant hues of fruity goodness. Each layer is a testament to the power of fresh and frozen fruits, culminating in a stunning visual and delicious taste experience. To make it even more fun, we’ve topped it with an adorable fruit skewer, transforming it into a truly unforgettable treat.
While it might not be your everyday grab-and-go breakfast, this Rainbow Smoothie is absolutely perfect for those moments that call for something extra special. Imagine the joy it brings to birthday celebrations, the festive touch for St. Patrick’s Day gatherings, or simply as a show-stopping way to celebrate any occasion with a vibrant flourish! First conceptualized in 2016, this popular recipe received a fresh update in 2025, complete with new photos and expanded tips to ensure your layering success.
A Smoothie That’s All About the Celebration
With its striking colors and playful presentation, this layered smoothie is specifically designed for moments of pure joy and festivity. It’s a delightful way to elevate any gathering, turning an ordinary day into something extraordinary. Consider the possibilities:
- Birthdays: Ditch the sugary drinks and offer a naturally sweet, eye-catching alternative that kids and adults alike will adore.
- St. Patrick’s Day: What’s a rainbow without a pot of gold at the end? For an extra touch of magic, place a gold chocolate coin at the bottom of the glass before you begin layering your smoothie. It’s a whimsical detail that makes the experience even more enchanting.
- Pride Celebrations: Show your support and spread joy with a drink that perfectly embodies the spirit of inclusivity and color.
- Summer Parties: A refreshing and visually stunning treat to keep guests cool and entertained.
- Kids’ Playdates: A fun and healthy way to encourage fruit consumption, disguised as a magical drink!
Two Treats in One: Smoothies and Popsicles!
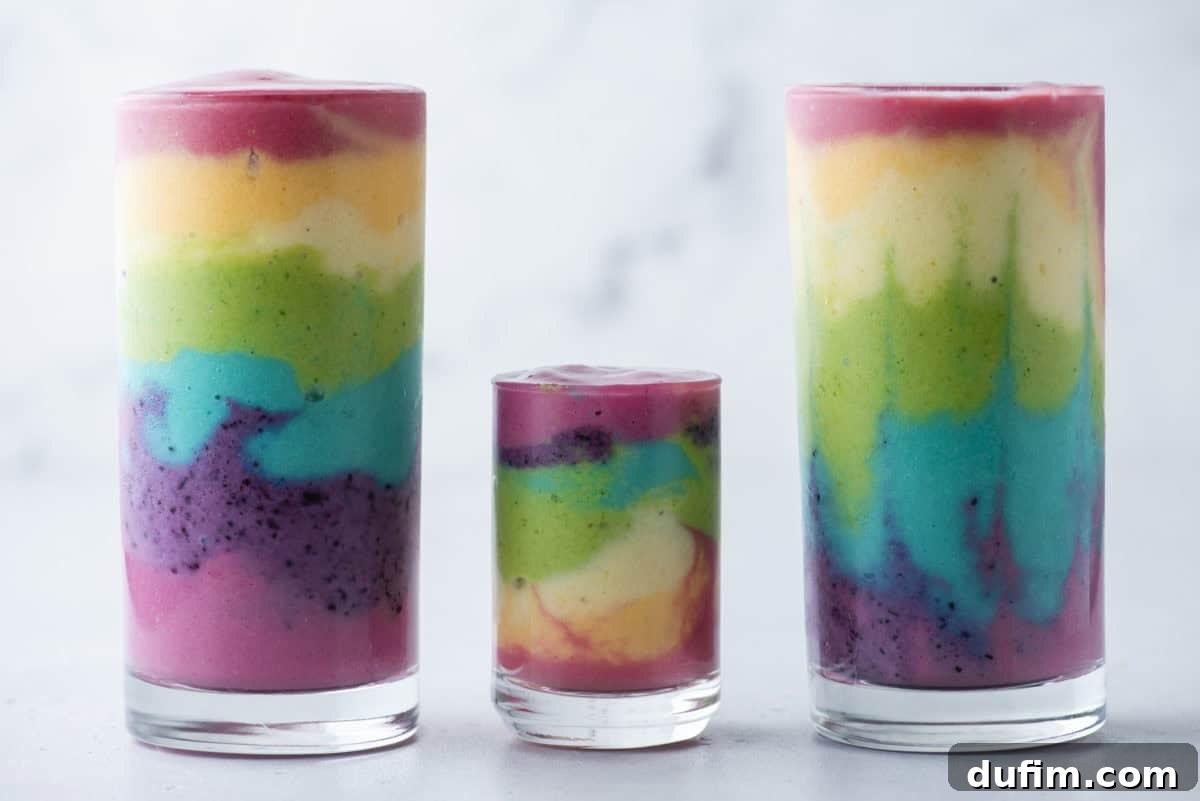
One of the best things about this recipe is its incredible versatility. I never like to let any delicious ingredients go to waste, so I discovered a fantastic way to utilize any leftover smoothie mixture: transform it into vibrant rainbow popsicles! And let me assure you, these popsicles are just as fun, refreshing, and delicious as the original layered smoothie. It’s truly a two-for-one deal, providing instant enjoyment with the smoothie and a perfect make-ahead snack for later. Imagine the delight of having a freezer full of colorful, fruity popsicles ready for a hot afternoon or an impromptu treat.
Think of it like baking a batch of muffins or a loaf of bread from the same batter—the core is the same, but the presentation and experience differ. Just as you can use one simple batter to create delightful bakery-style banana bread muffins or a comforting slice of classic banana bread, this rainbow smoothie offers dual functionality. Sip it fresh, layer by layer, or pour the extra into popsicle molds for a chilled, convenient, and equally stunning frozen snack. These popsicles are an ideal option for meal prep, ensuring you always have a healthy, colorful treat on hand for busy summer days, kids’ parties, or whenever a fruity craving strikes. The beautiful layers hold up wonderfully in the freezer, making them just as eye-catching when frozen solid.
Whether you’re sipping it fresh from a glass or enjoying it as a frozen pop, this recipe guarantees a colorful, delicious, and fun experience every single time. 🌈
Core Smoothie Ingredients: The Foundation of Every Layer
Each individual layer of our magnificent rainbow smoothie is crafted using a consistent set of simple, wholesome, and delicious ingredients. This uniformity ensures that while the colors change, the creamy texture and delightful flavor remain a constant throughout the entire rainbow. These core components are the secret to achieving both the smooth consistency and the vivid pigmentation for each vibrant segment:
- Frozen Banana: A true smoothie superstar! Frozen bananas are essential for adding natural sweetness, contributing to an incredibly smooth and thick base, and providing a delightful creaminess that makes each layer luxurious. They also help keep the smoothie frosty without diluting the flavor.
- Greek Yogurt: Incorporating Greek yogurt not only enhances the overall creaminess of the smoothie but also provides a beneficial boost of protein. This makes the smoothie more filling and satisfying, turning it into a substantial snack or light meal. For dietary preferences, plain or vanilla Greek yogurt works perfectly, but dairy-free alternatives can also be used.
- Liquid for Blending: The choice of liquid is flexible, allowing you to customize the smoothie to your taste and dietary needs. Options include classic dairy milk, lighter almond milk, oat milk, coconut water, or even plain water. Start with a small amount and gradually add more until you achieve your desired, perfectly thick consistency – crucial for successful layering.
- Frozen Fruit: This is where the magic of color truly happens! Each layer features a specific combination of frozen fruits carefully selected to achieve the vibrant hue we’re aiming for. Using frozen fruit is key to a thick, cold smoothie that holds its layers without needing extra ice, which can water down the flavor.
By keeping these foundational ingredients consistent and simply varying the fruit, we can effortlessly create distinct, stunningly colorful layers. The result is a delicious, nutritious, and visually impressive drink that’s smooth, flavorful, and packed with vitamins and antioxidants from every fruity blend.
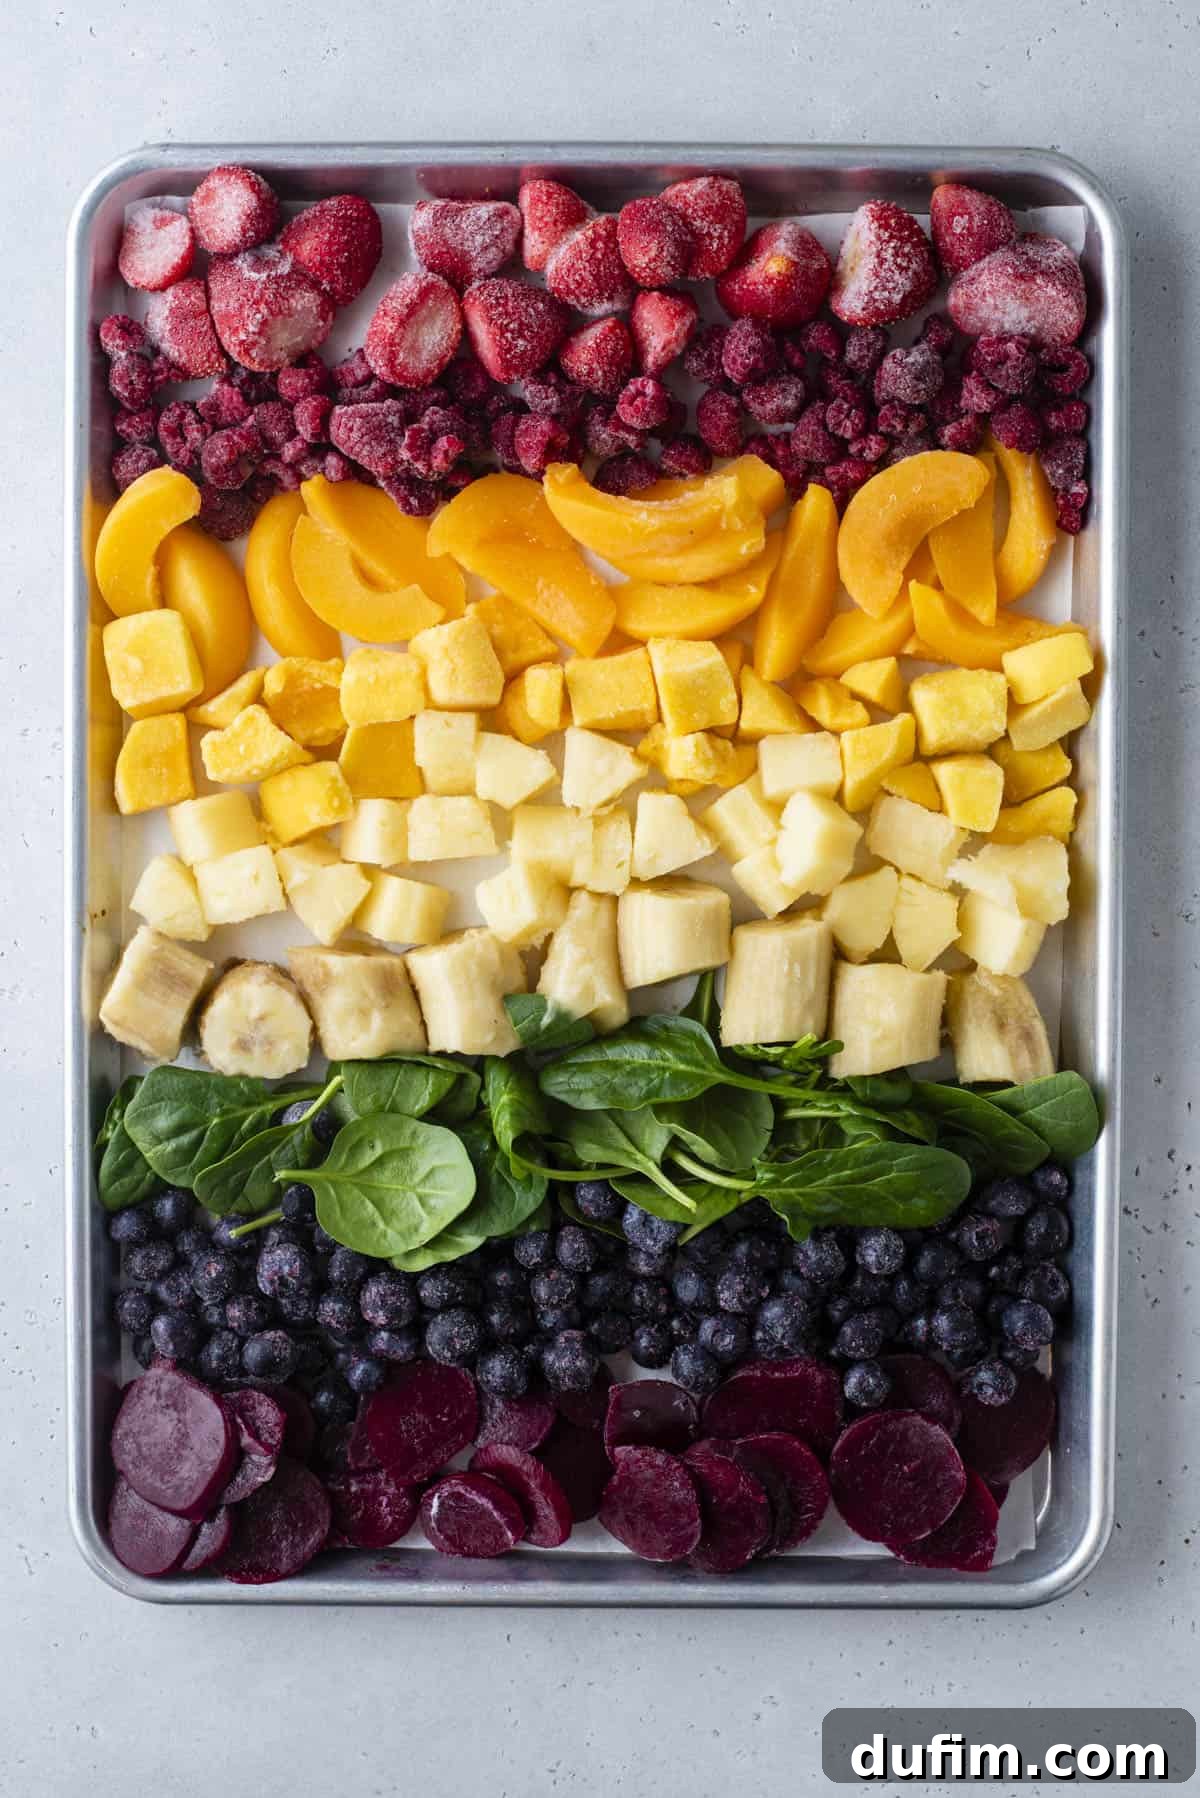
Smart Sourcing: Frozen Fruit Hacks for Smoothies
Creating this spectacular rainbow smoothie does require a generous amount of fruit to achieve those vibrant, distinct colors. However, that doesn’t mean you need to break the bank on pre-packaged frozen produce. Many common frozen fruits like strawberries, blueberries, and mango are readily available in the freezer aisle and often at reasonable prices. But for those other fruits, or if you’re simply looking to be more economical, here’s my favorite budget-friendly hack for ensuring you always have a freezer stocked with thick, frosty smoothie-ready fruit:
The Canned Fruit Freezing Trick
Instead of purchasing expensive bags of frozen fruit like peaches or pineapple, head to the canned goods aisle! Canned fruits, packed in juice or light syrup, are often significantly cheaper and just as effective once frozen. Here’s how it works:
- Drain the Juice: Carefully drain away all the packing liquid from the can. This ensures you’re freezing pure fruit and prevents excess ice crystals.
- Transfer and Freeze: Place the drained fruit into a freezer-safe zip-top bag or an airtight container. Lay the fruit flat in a single layer if possible to prevent clumping.
- Voila! Instant Frozen Fruit: Pop it into the freezer, and in a few hours, you’ll have perfectly frozen fruit ready to blend. This simple trick provides you with high-quality frozen fruit at a mere fraction of the cost of store-bought frozen varieties, making your rainbow smoothie accessible anytime.
Don’t Forget Bananas!
This same cost-saving method applies beautifully to bananas, which are a cornerstone of almost every smoothie recipe. Whenever you have ripe bananas nearing their peak, don’t let them go to waste! Peel them, slice them into coin-sized pieces, toss them into a freezer bag, and stash them away. This ensures you always have a creamy, naturally sweet base for your smoothies, and it’s a fantastic way to reduce food waste.
These straightforward and smart swaps make it incredibly easy to maintain a well-stocked freezer with all the essential fruits needed for this magnificent rainbow smoothie. You’ll be able to whip up this colorful, healthy, and fun treat whenever inspiration strikes, without worrying about fresh fruit going bad or expensive freezer aisle trips. Happy blending! 🌈🥤
Layer by Layer: Crafting Your Edible Rainbow
Get ready to create a visual masterpiece! Below is a detailed breakdown of the ingredients for each vibrant layer of your rainbow smoothie. Remember, the key is to blend each layer separately until thick and creamy before gently adding it to your glass. This ensures those beautiful, distinct color separations that make this smoothie so special.
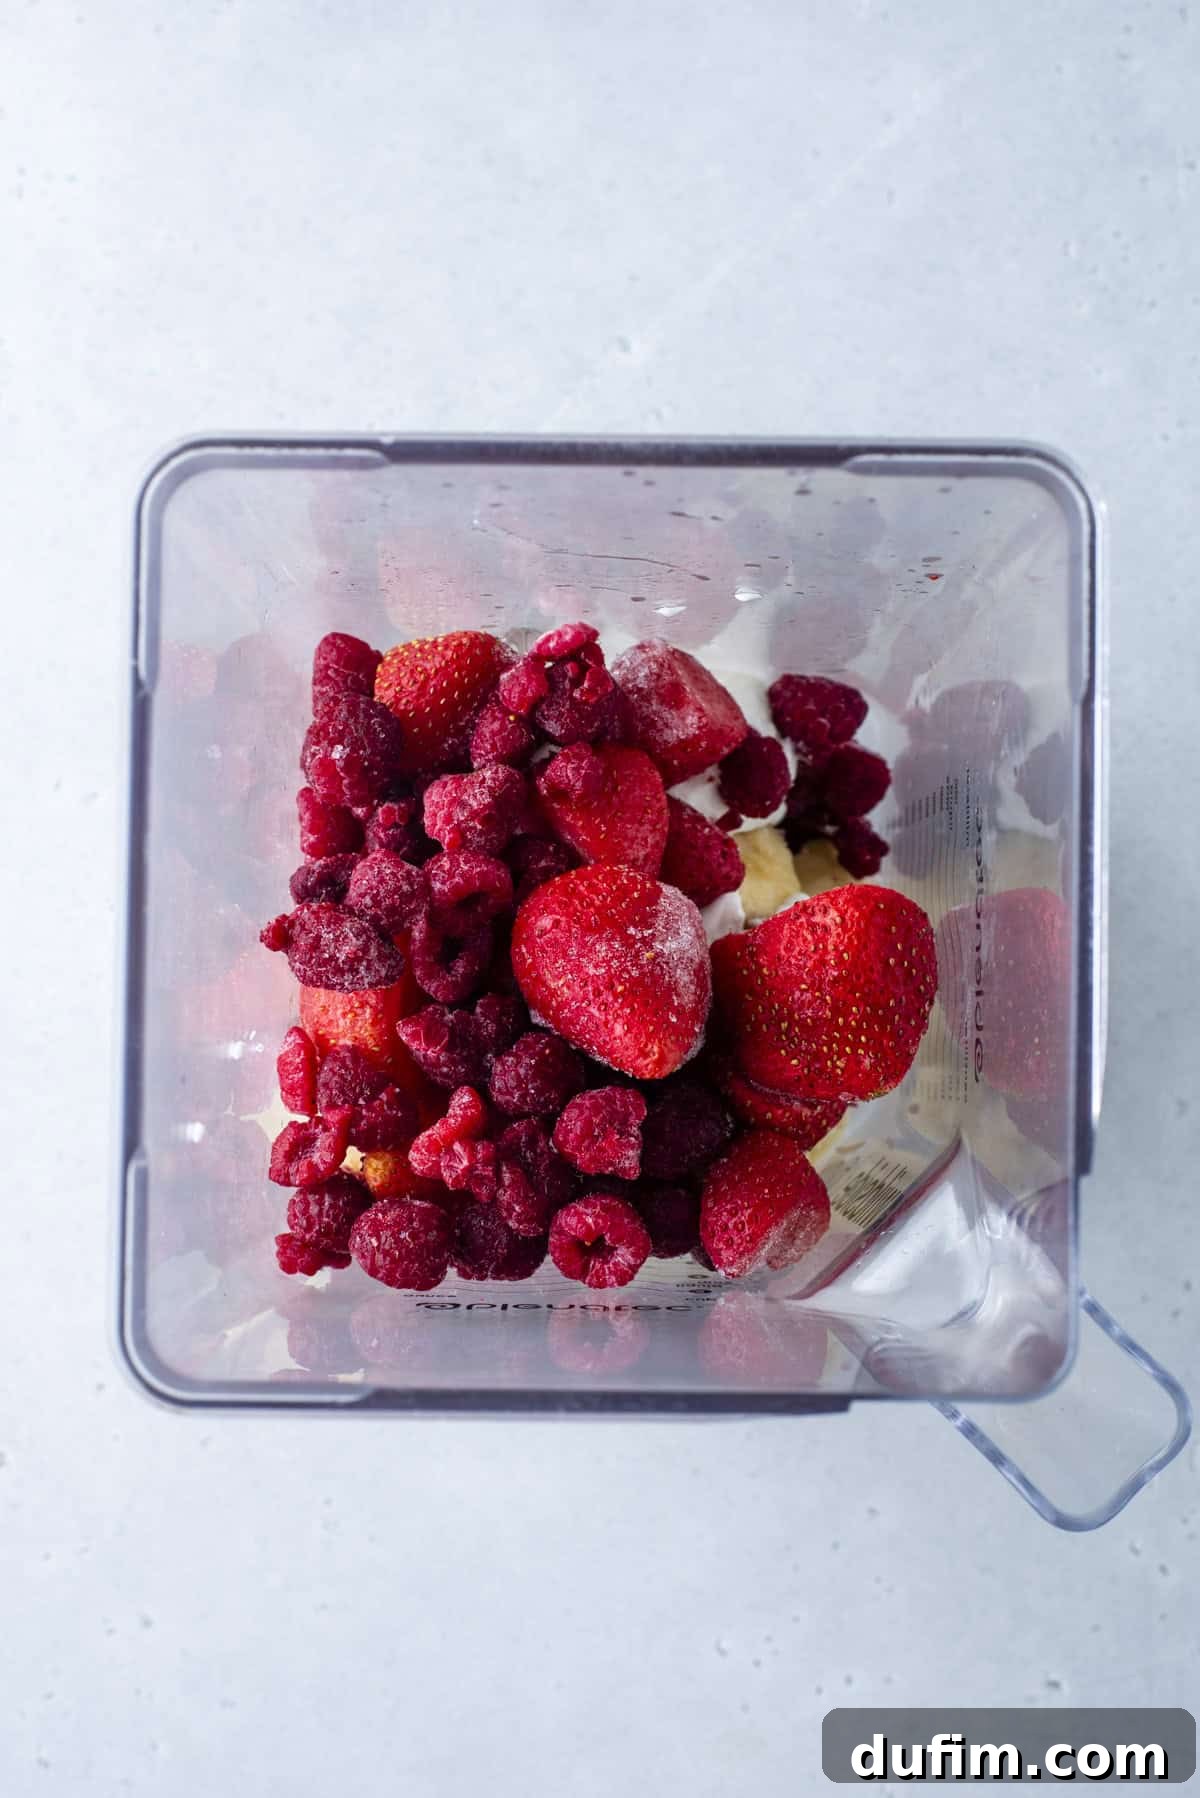
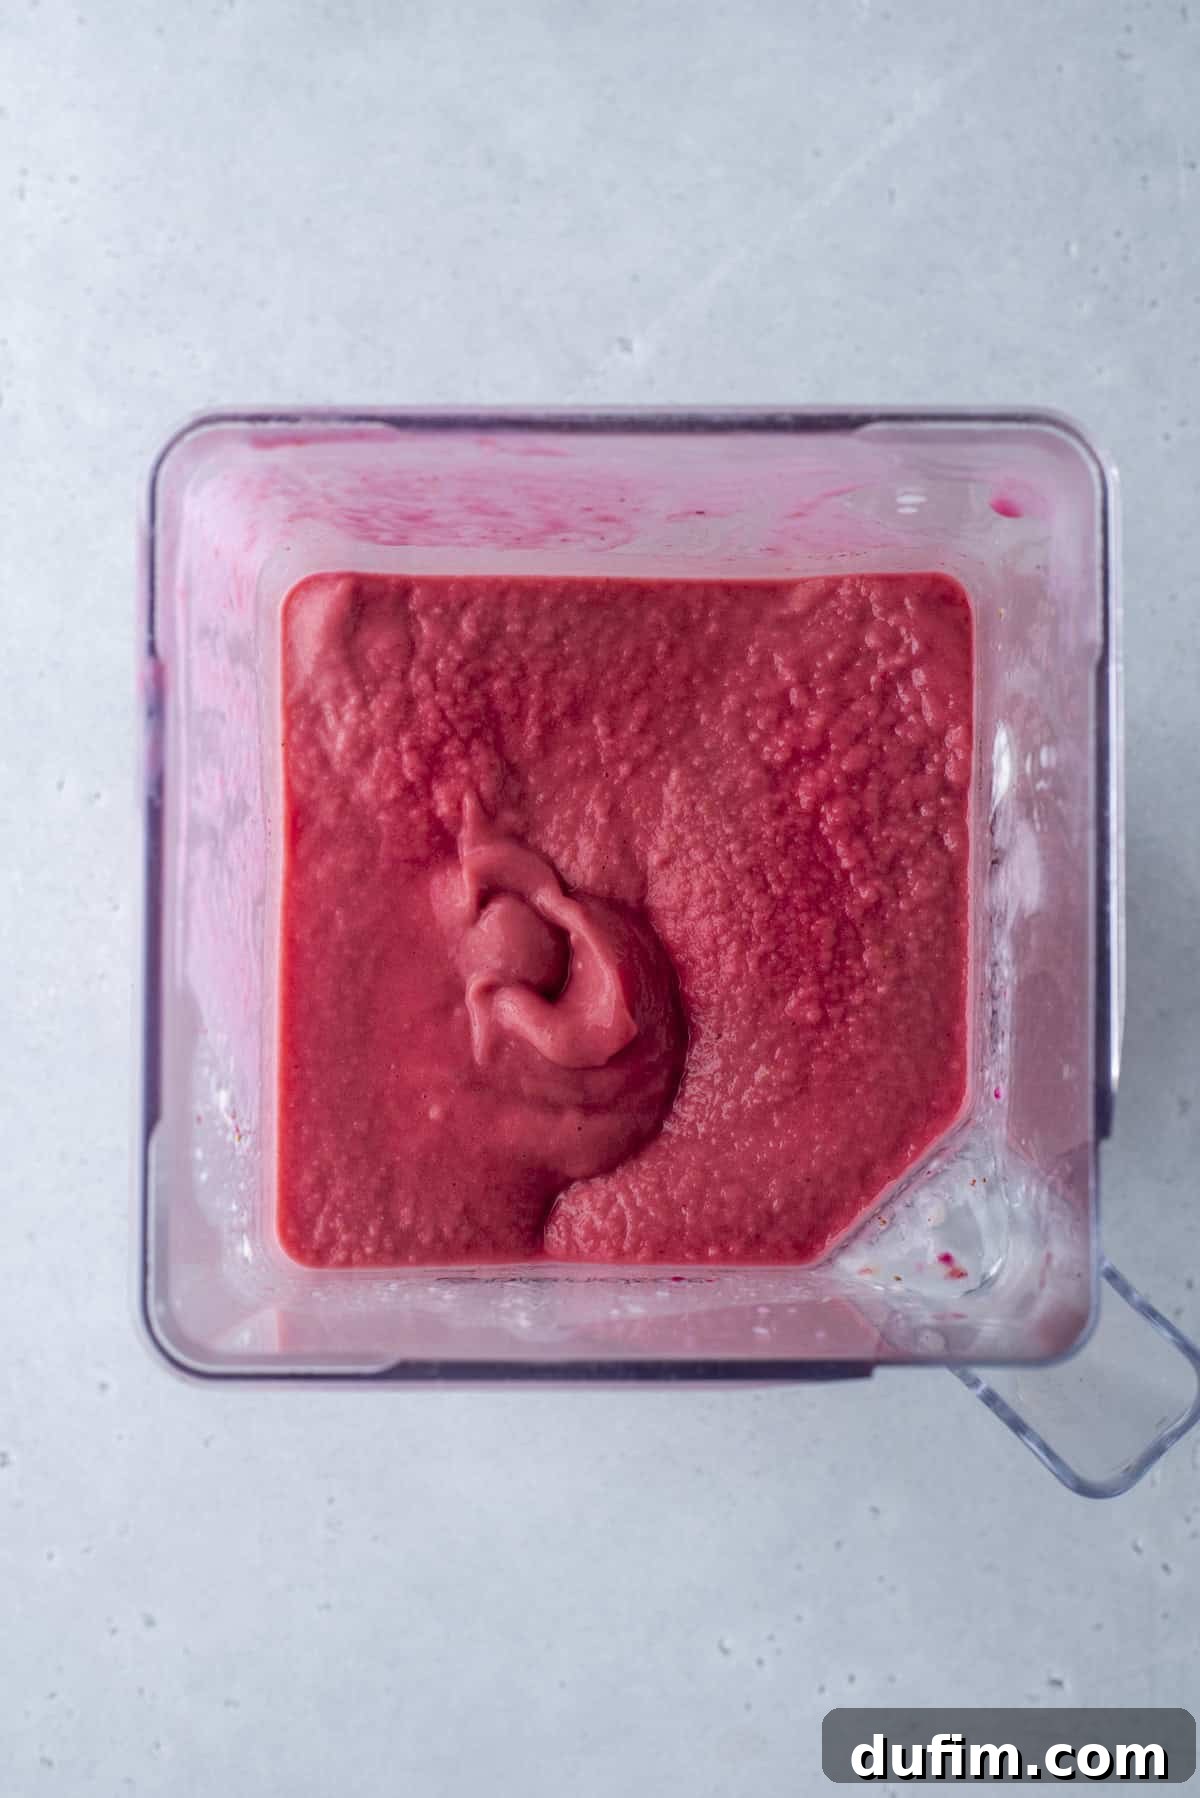
Red Layer: This foundational layer is bursting with berry flavor. Blend together 1 frozen banana, ½ cup Greek yogurt (vanilla or plain), ½ cup frozen raspberries, ½ cup frozen strawberries, and enough liquid for blending (almond milk or milk) until perfectly smooth and thick. The combination of raspberries and strawberries provides a naturally deep red hue and a sweet-tart profile.
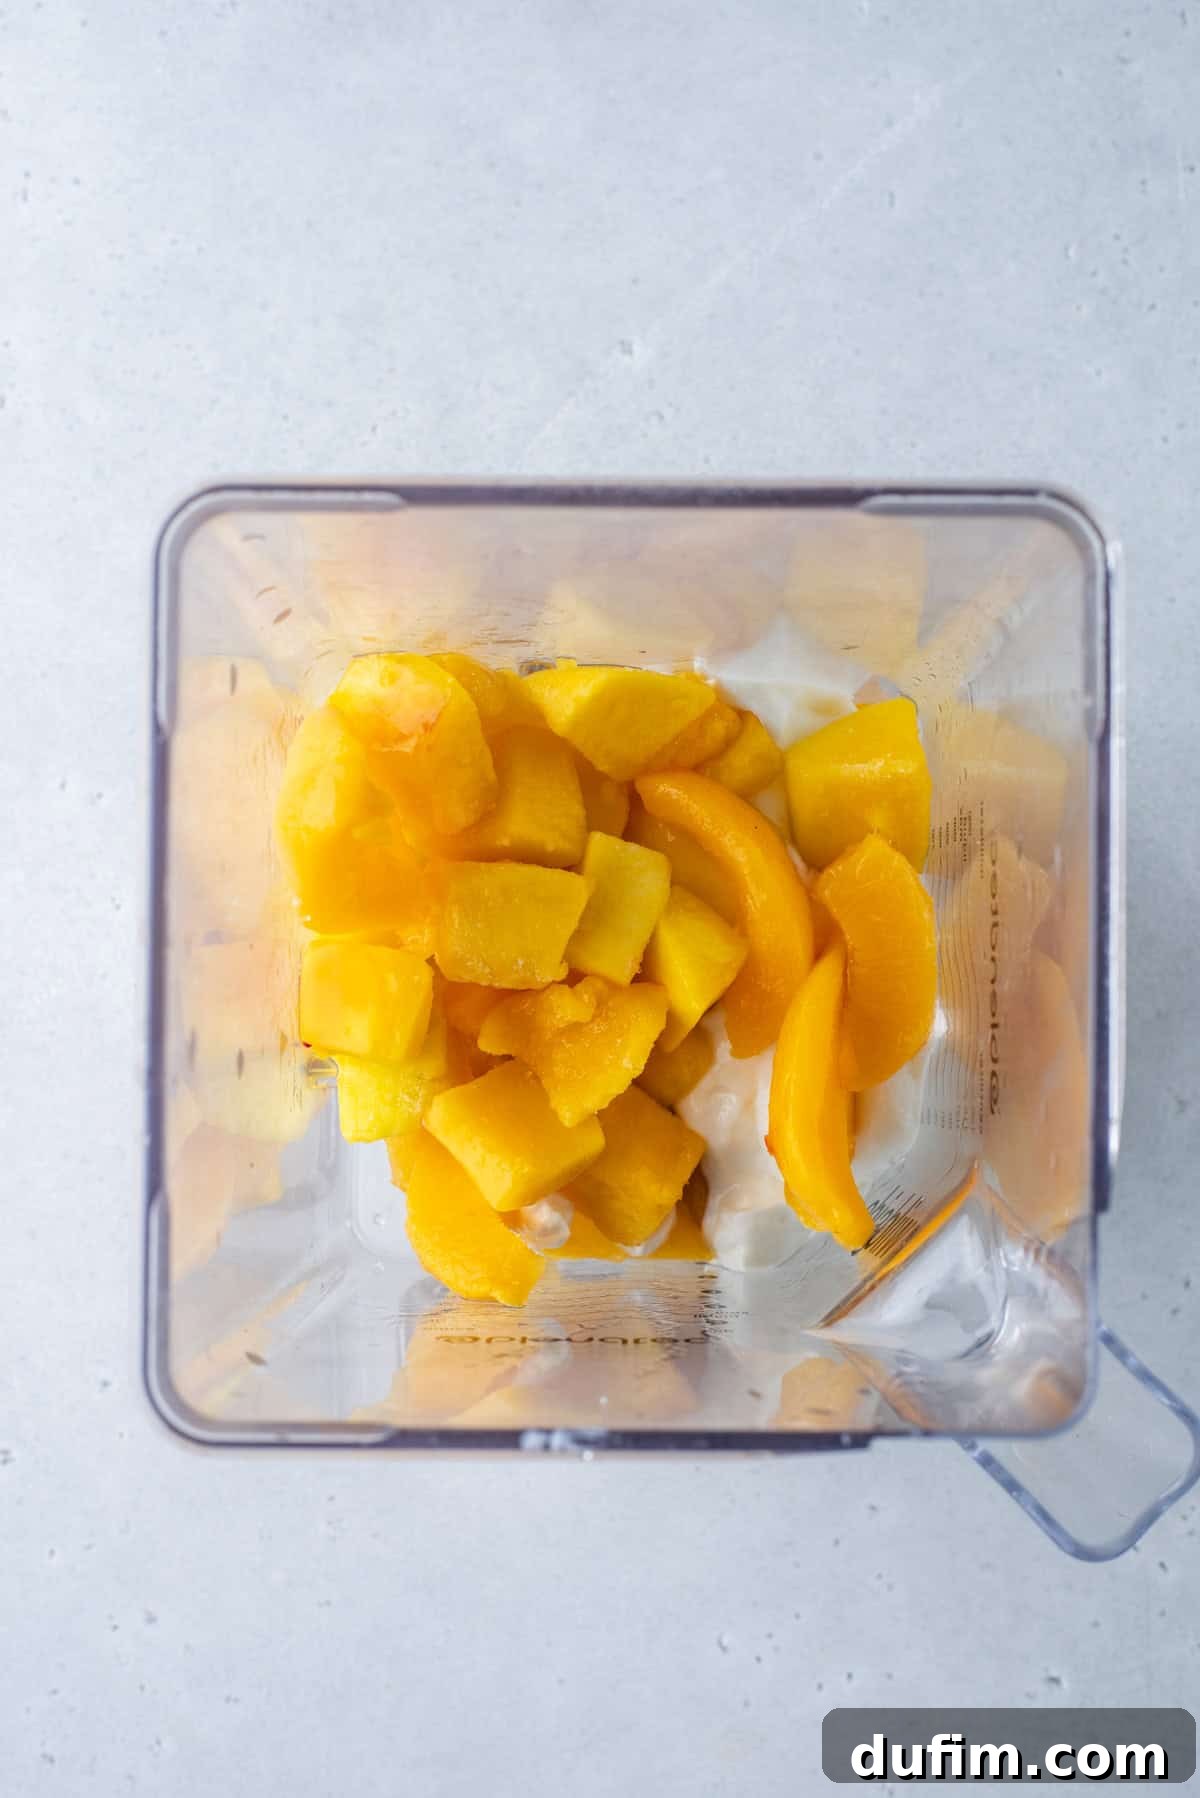
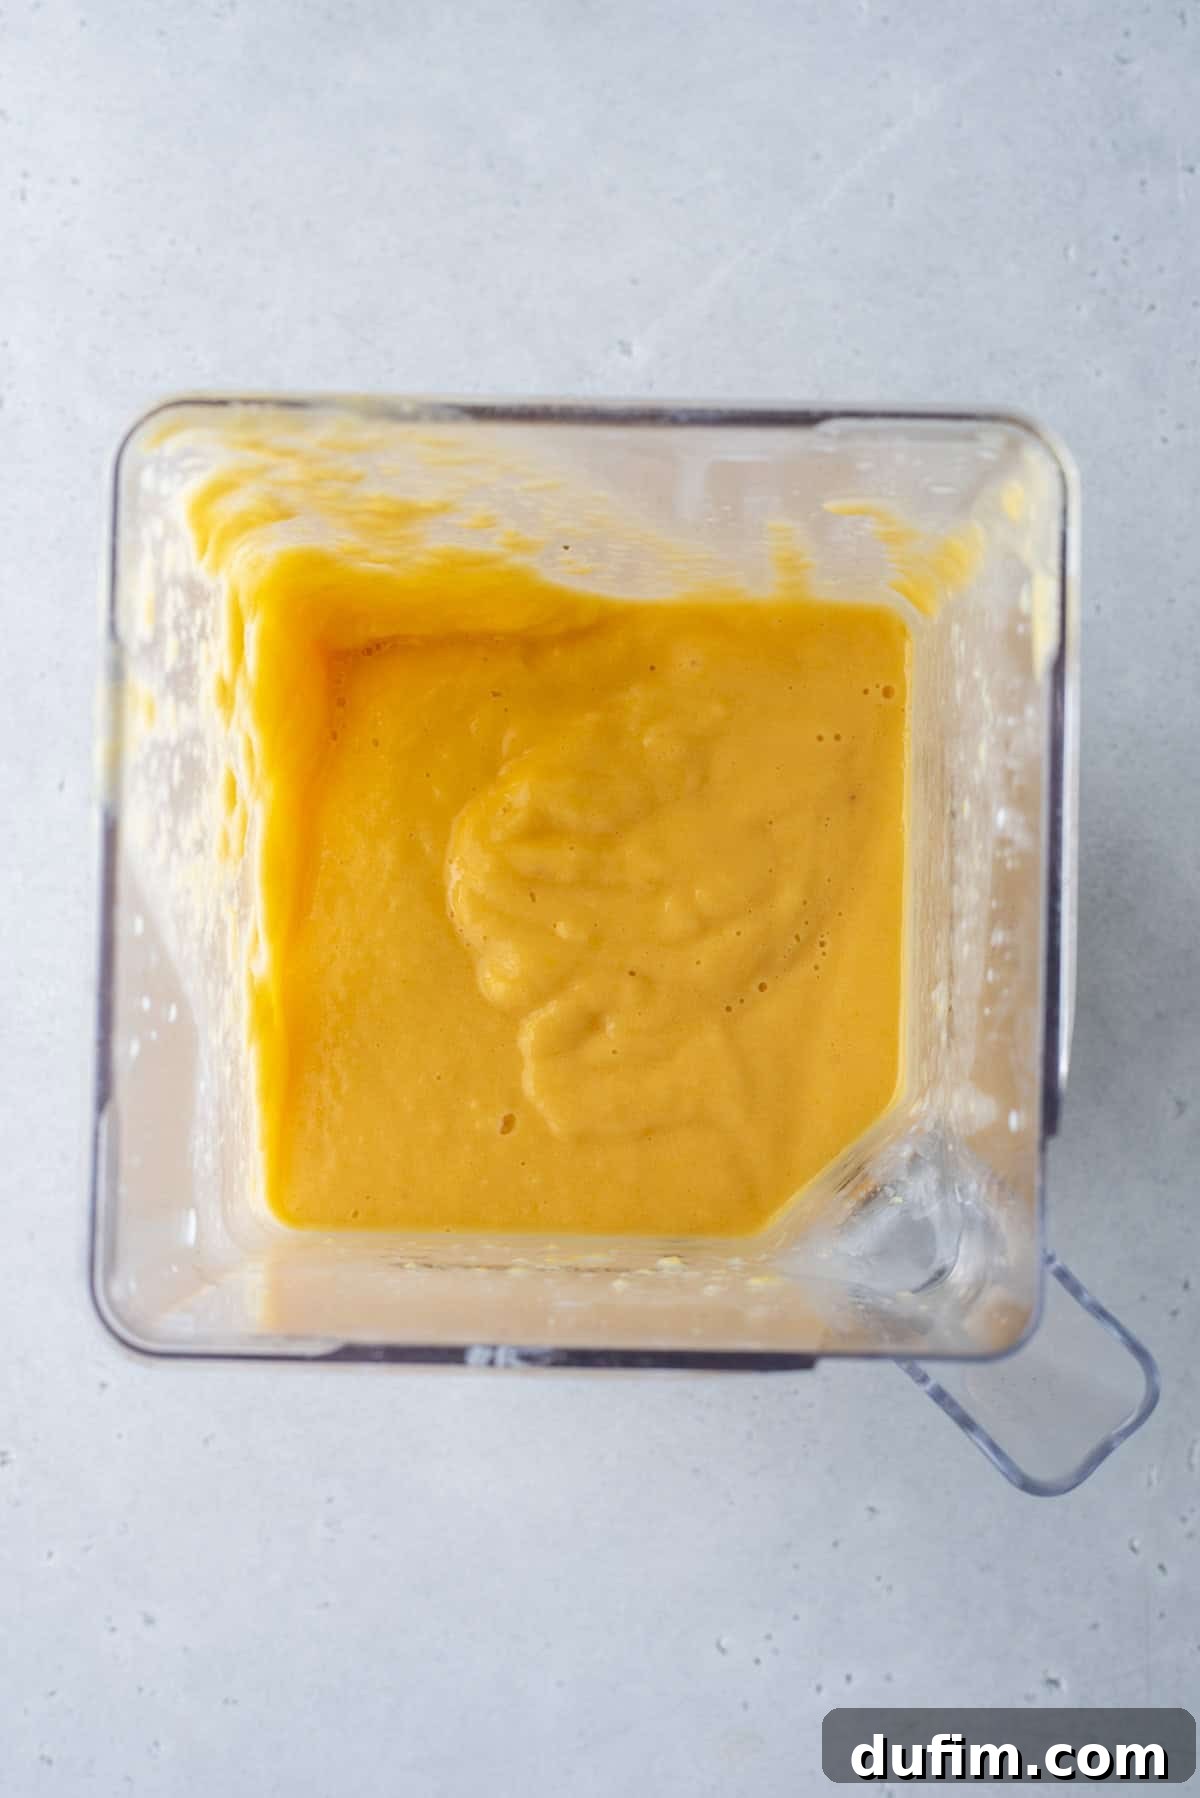
Orange Layer: For a sunny, sweet layer, combine 1 frozen banana, ½ cup Greek yogurt (vanilla or plain), ½ cup frozen peaches, ¼ cup frozen mango, a small amount of orange food coloring (optional, but recommended for vibrancy), and liquid for blending. The peaches and mango create a beautiful natural orange, enhanced by a touch of coloring if desired.
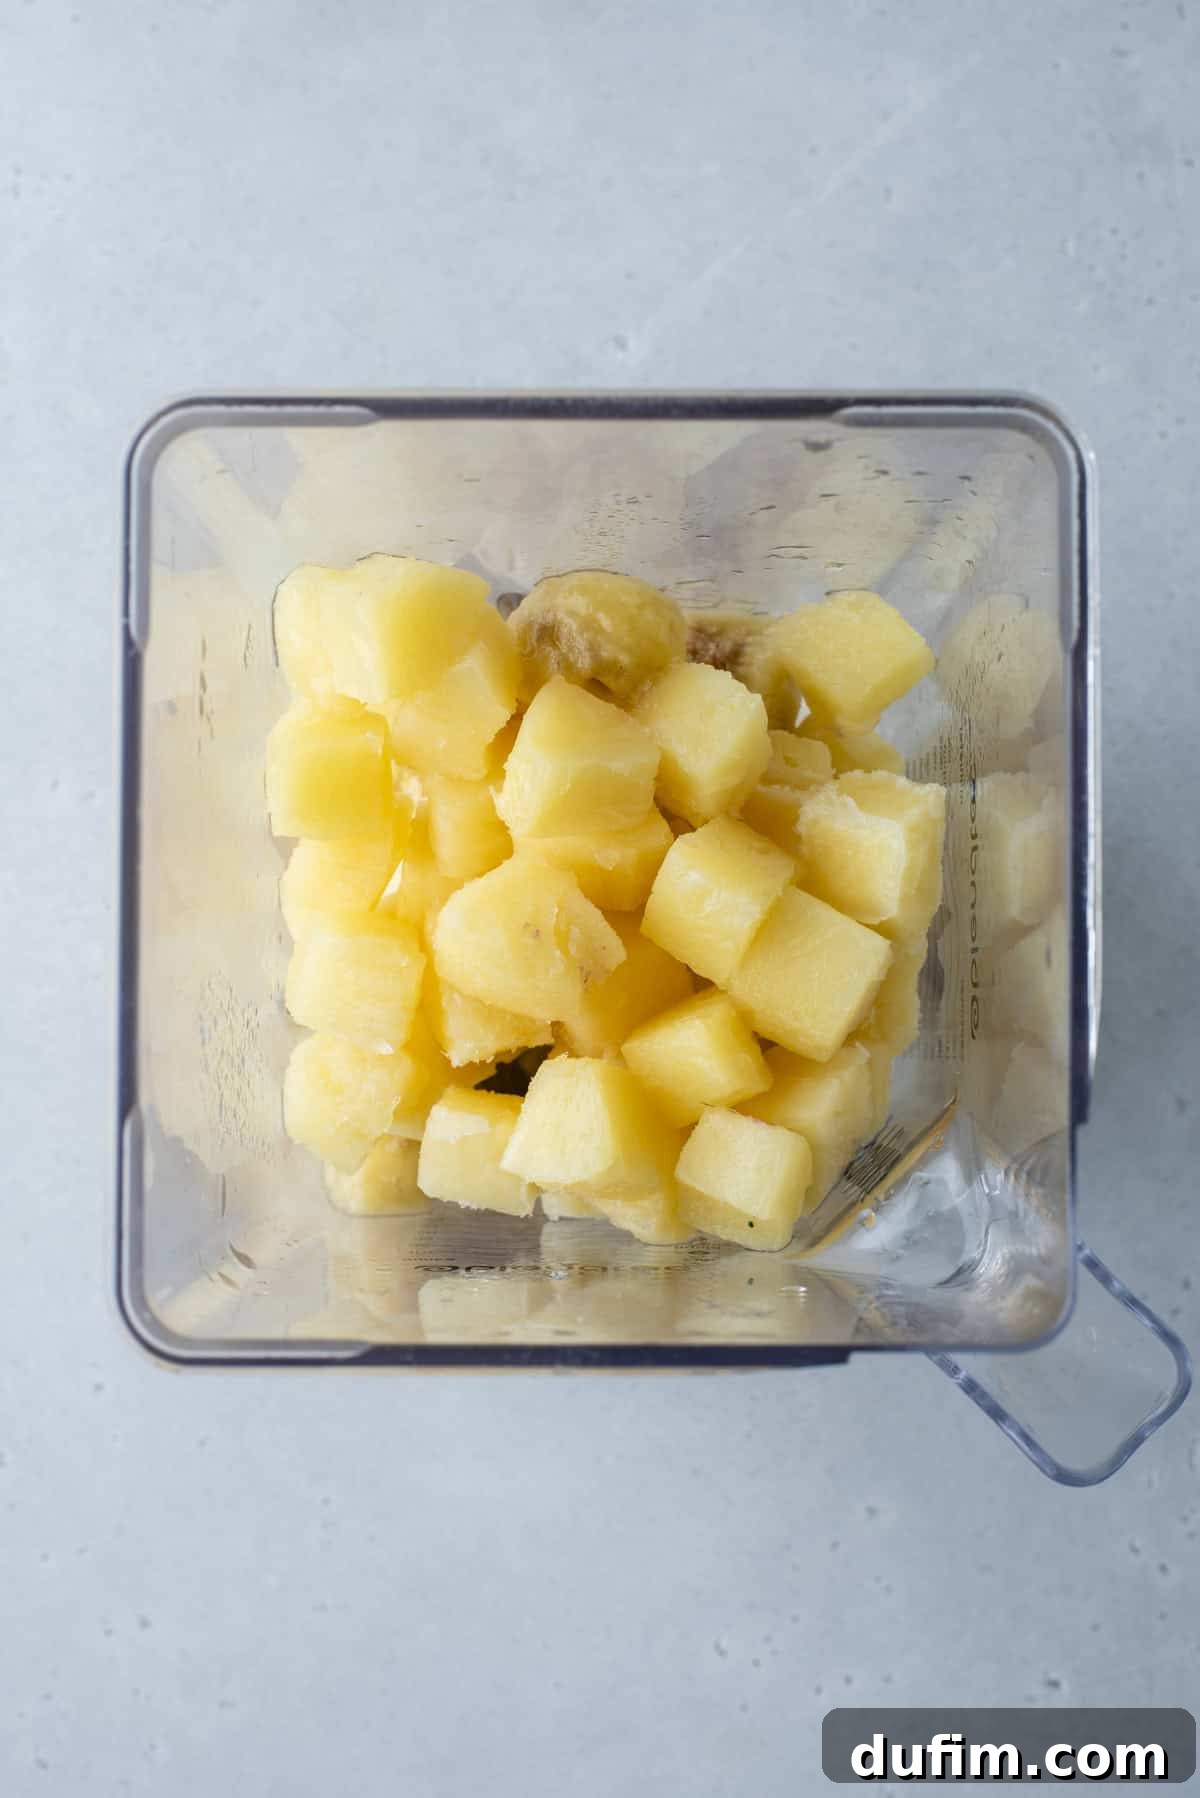
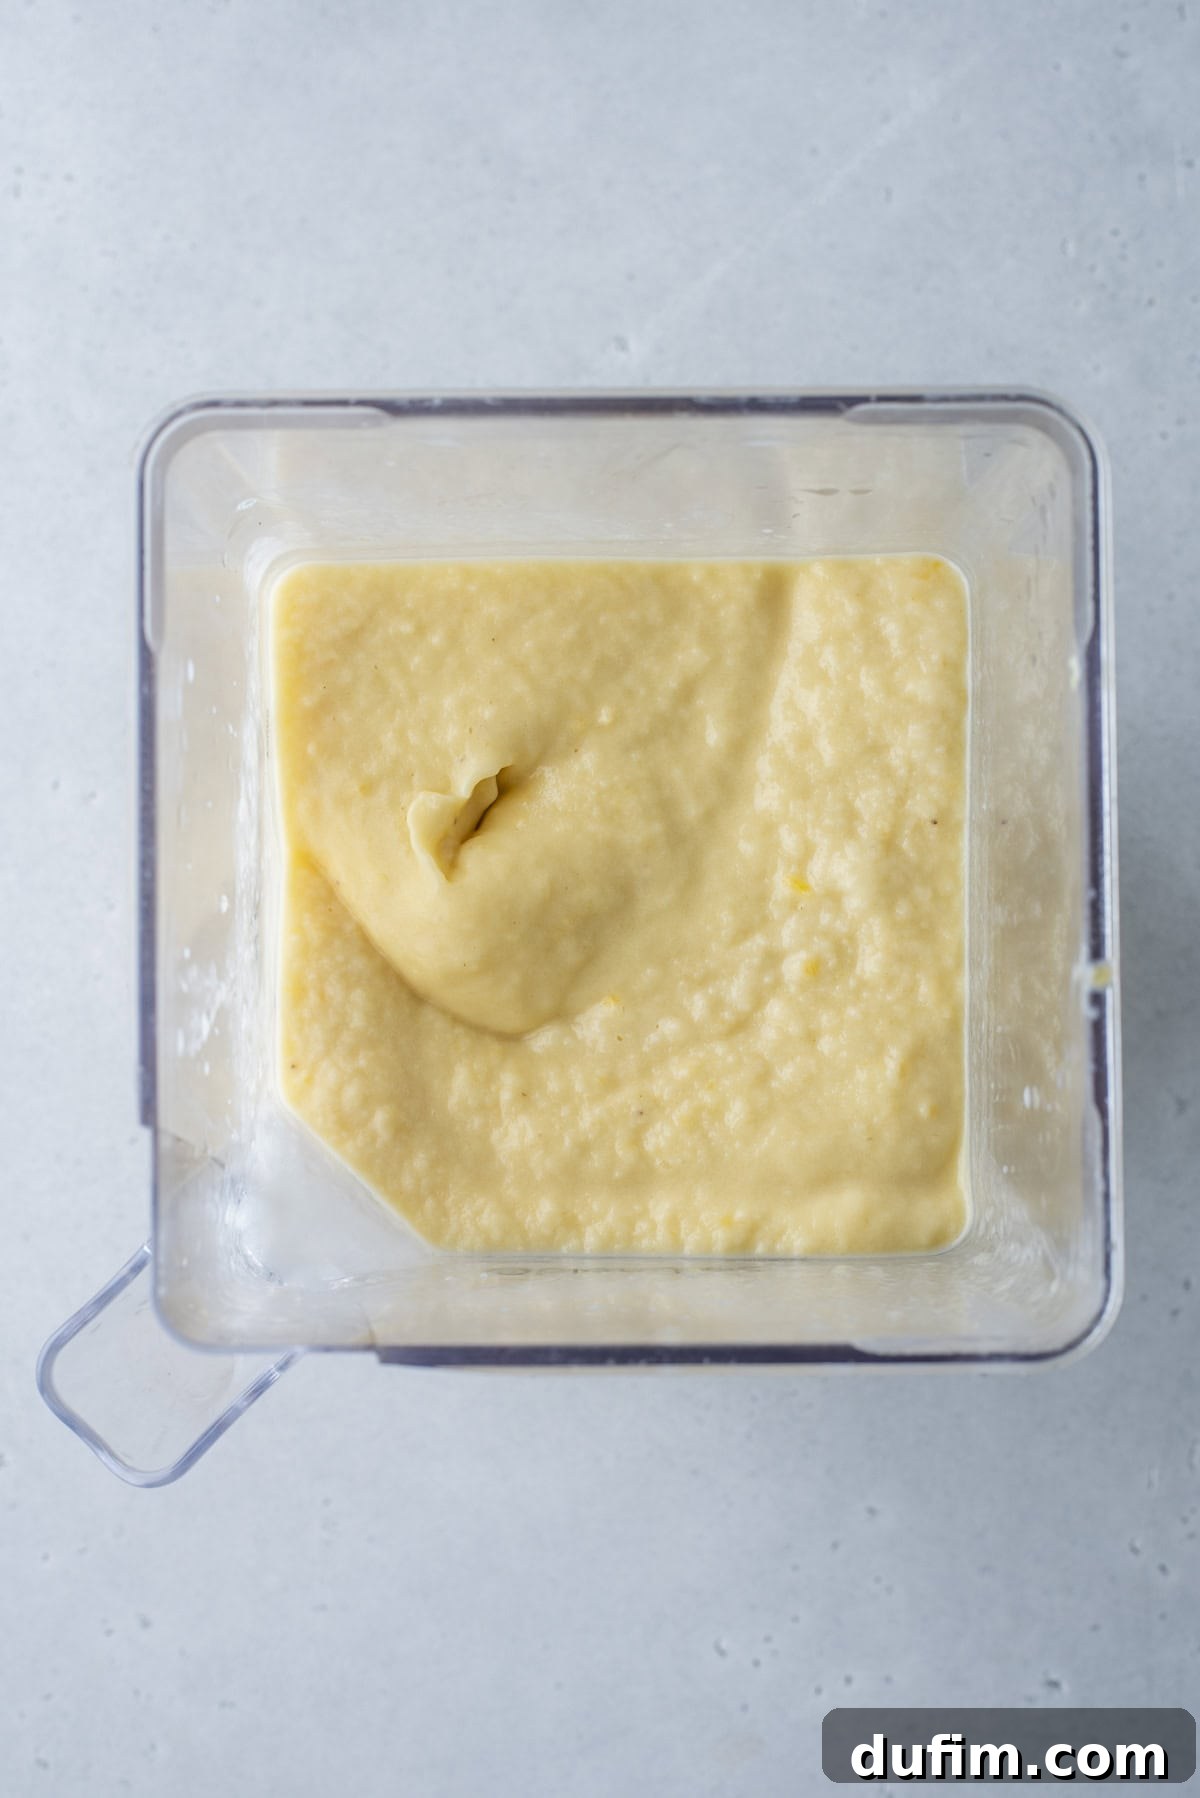
Yellow Layer: This layer is pure tropical sunshine. Blend 2 frozen bananas, ½ cup Greek yogurt (vanilla or plain), 1 cup frozen pineapple, and liquid for blending. The natural sweetness of the banana and the tartness of the pineapple create a bright and refreshing yellow.
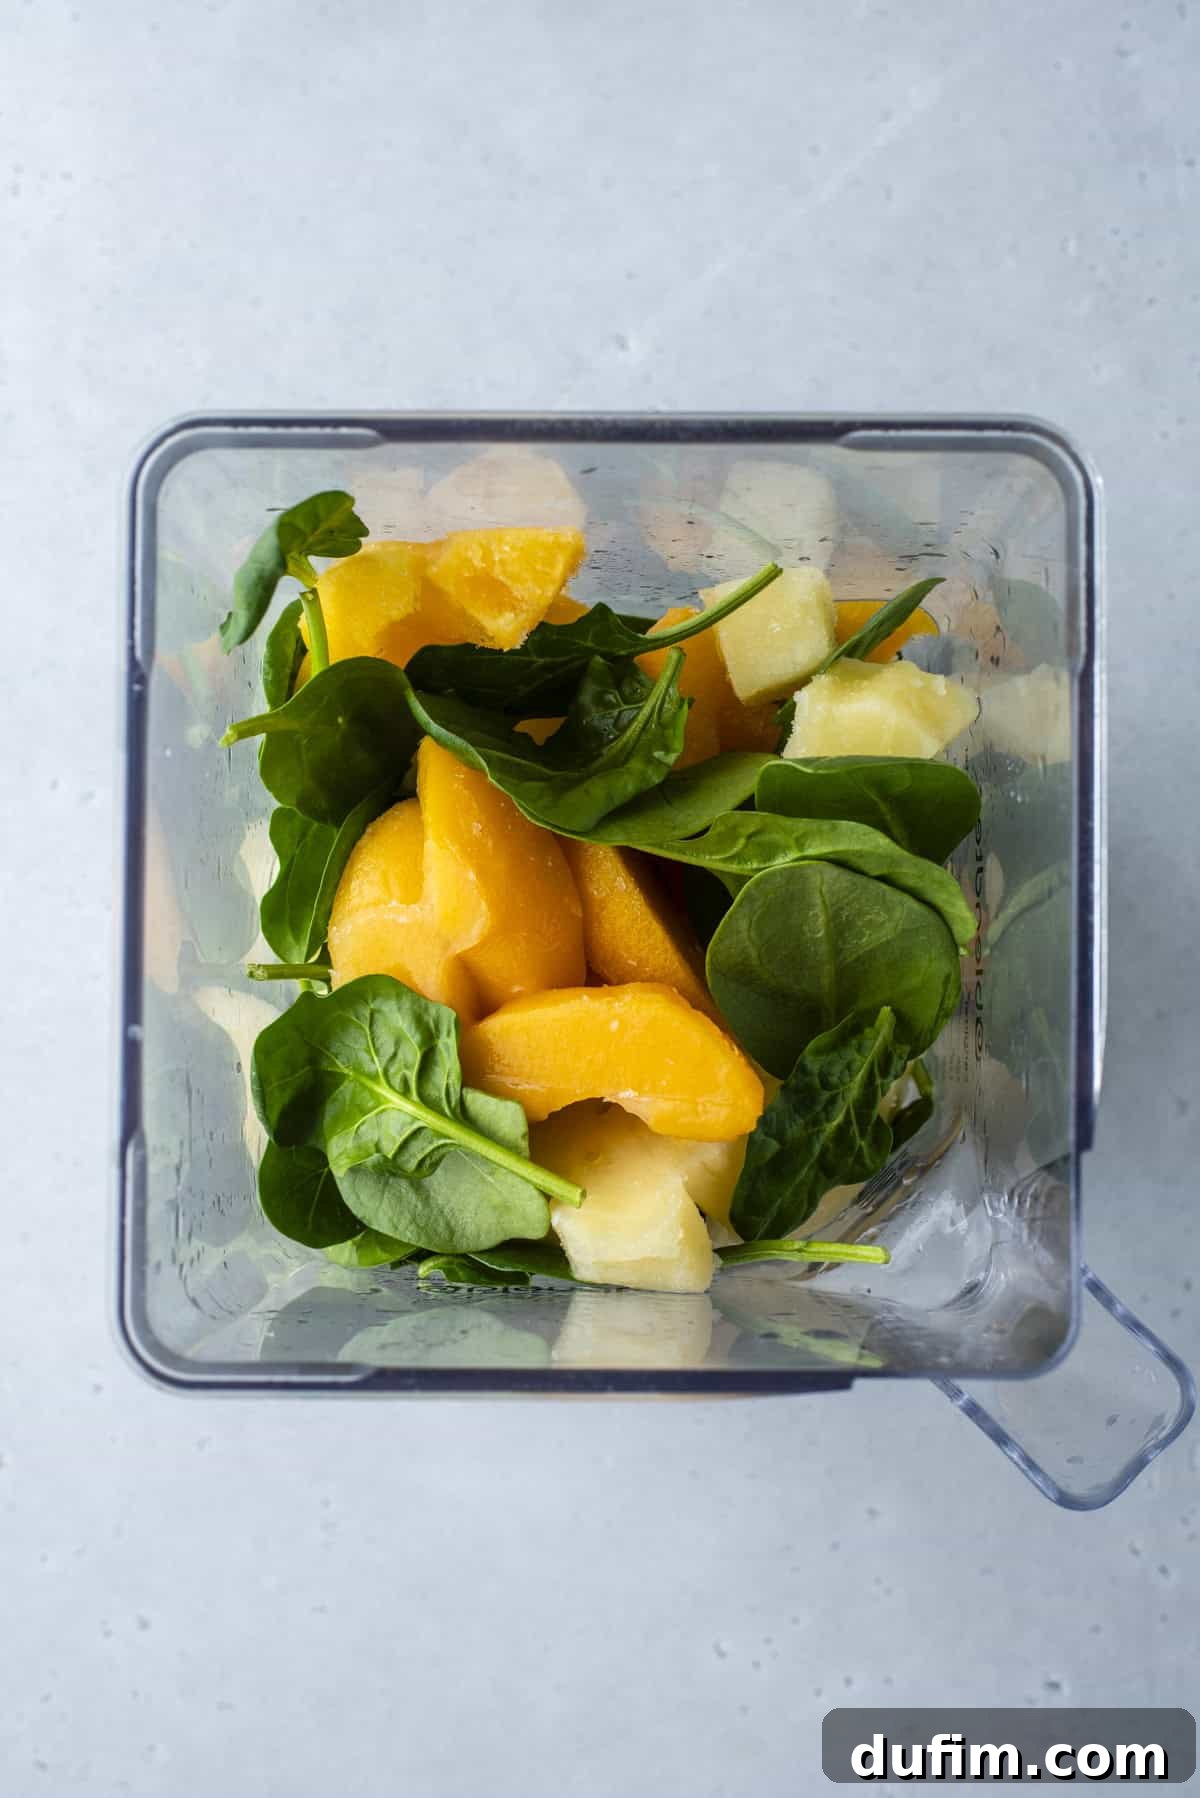
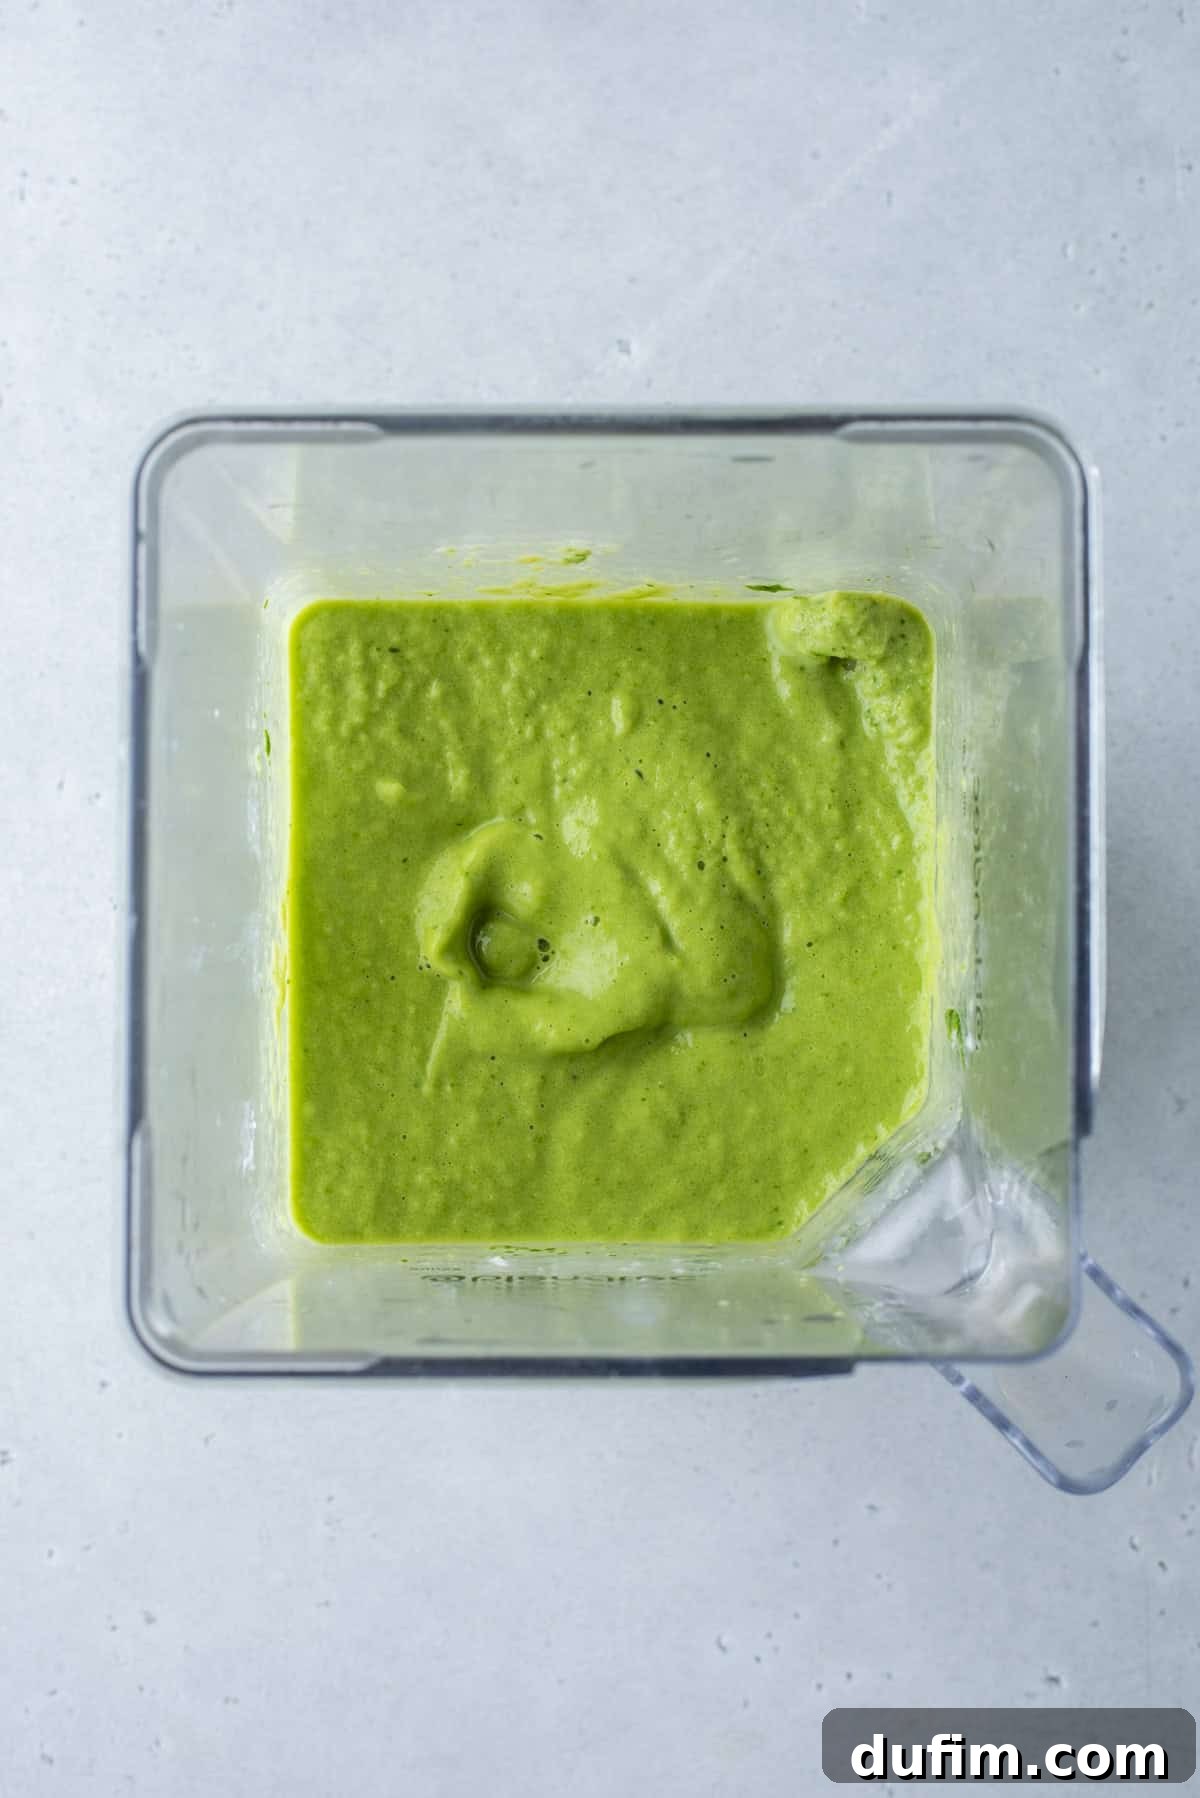
Green Layer: Sneak in some veggies with this vibrant green! Combine 2 frozen bananas, ½ cup Greek yogurt (vanilla or plain), 1 handful (or more!) of fresh spinach, 1 cup frozen pineapple (or peaches or mango for sweetness), and liquid for blending. The spinach adds nutrients without overpowering the fruity taste, especially when paired with sweet fruits.
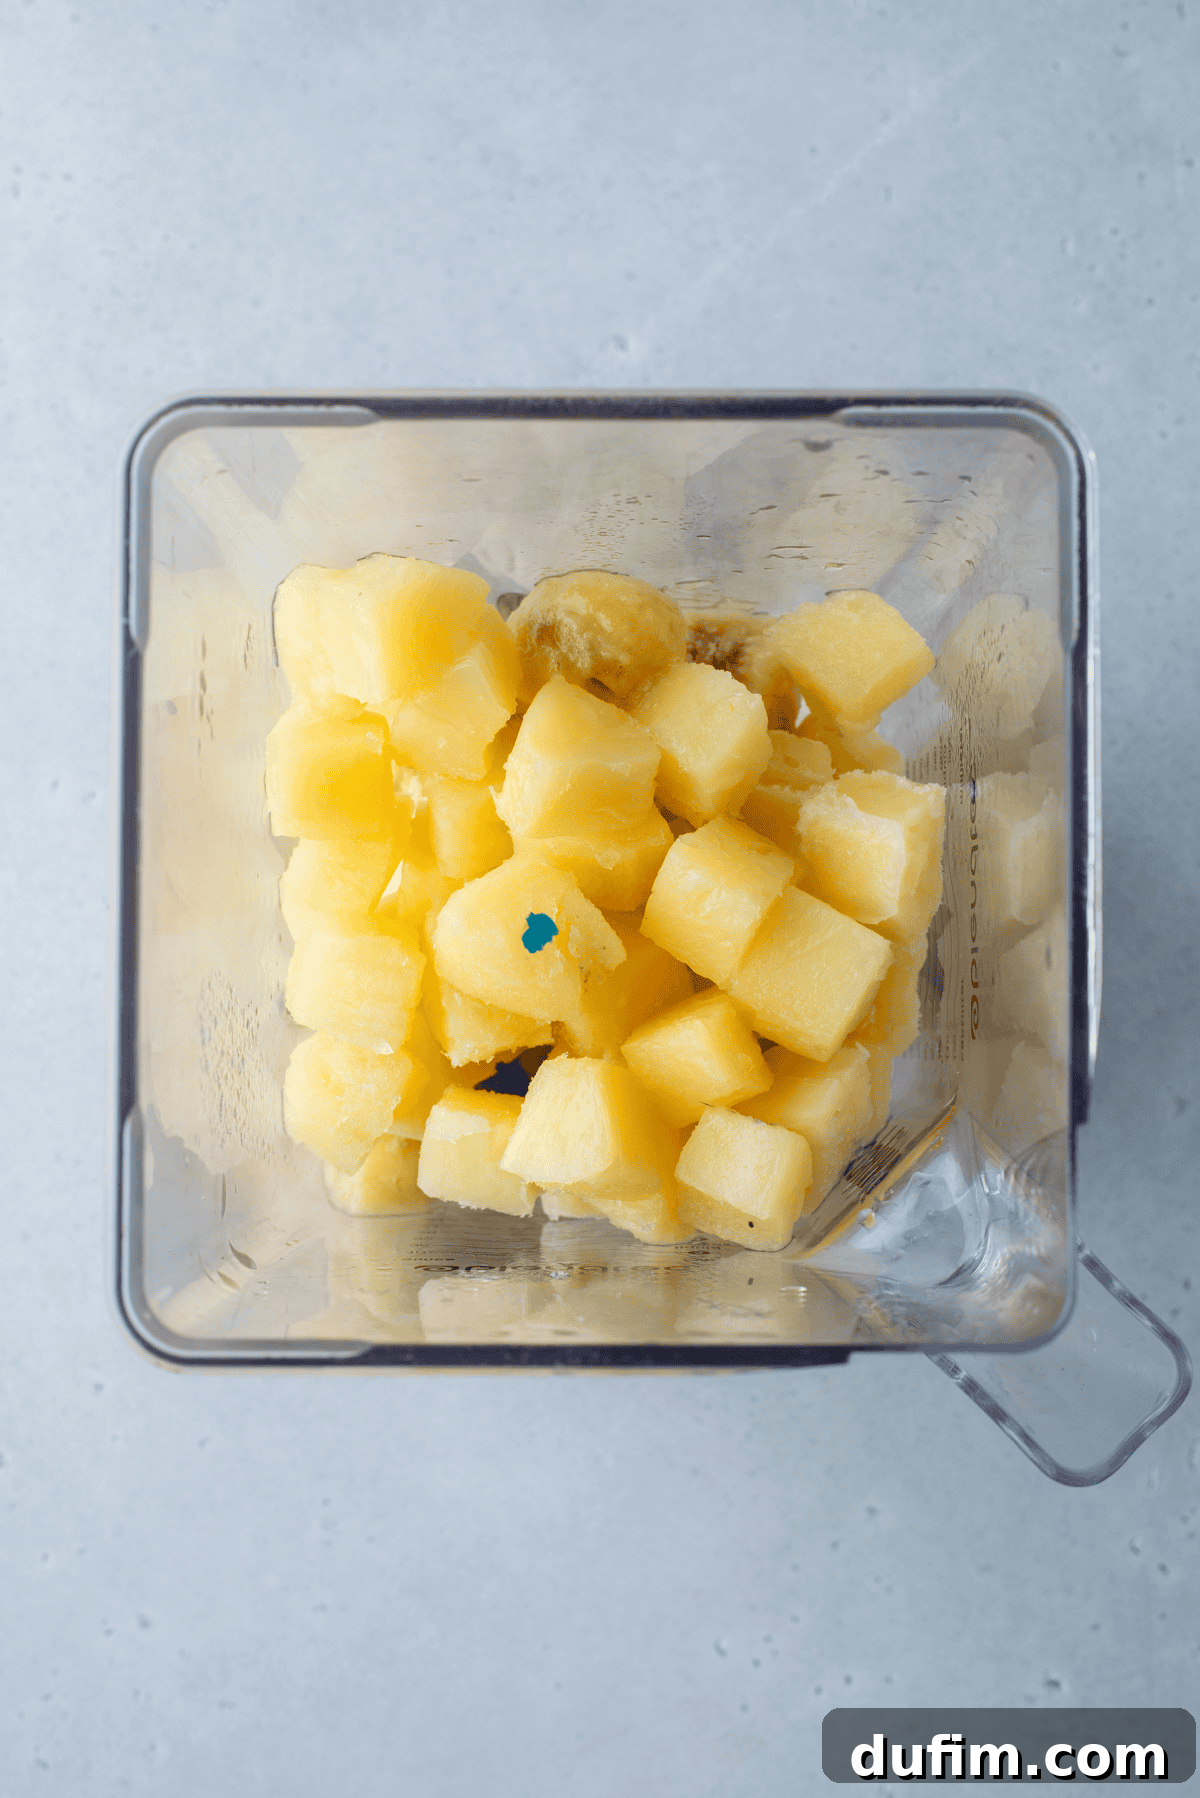
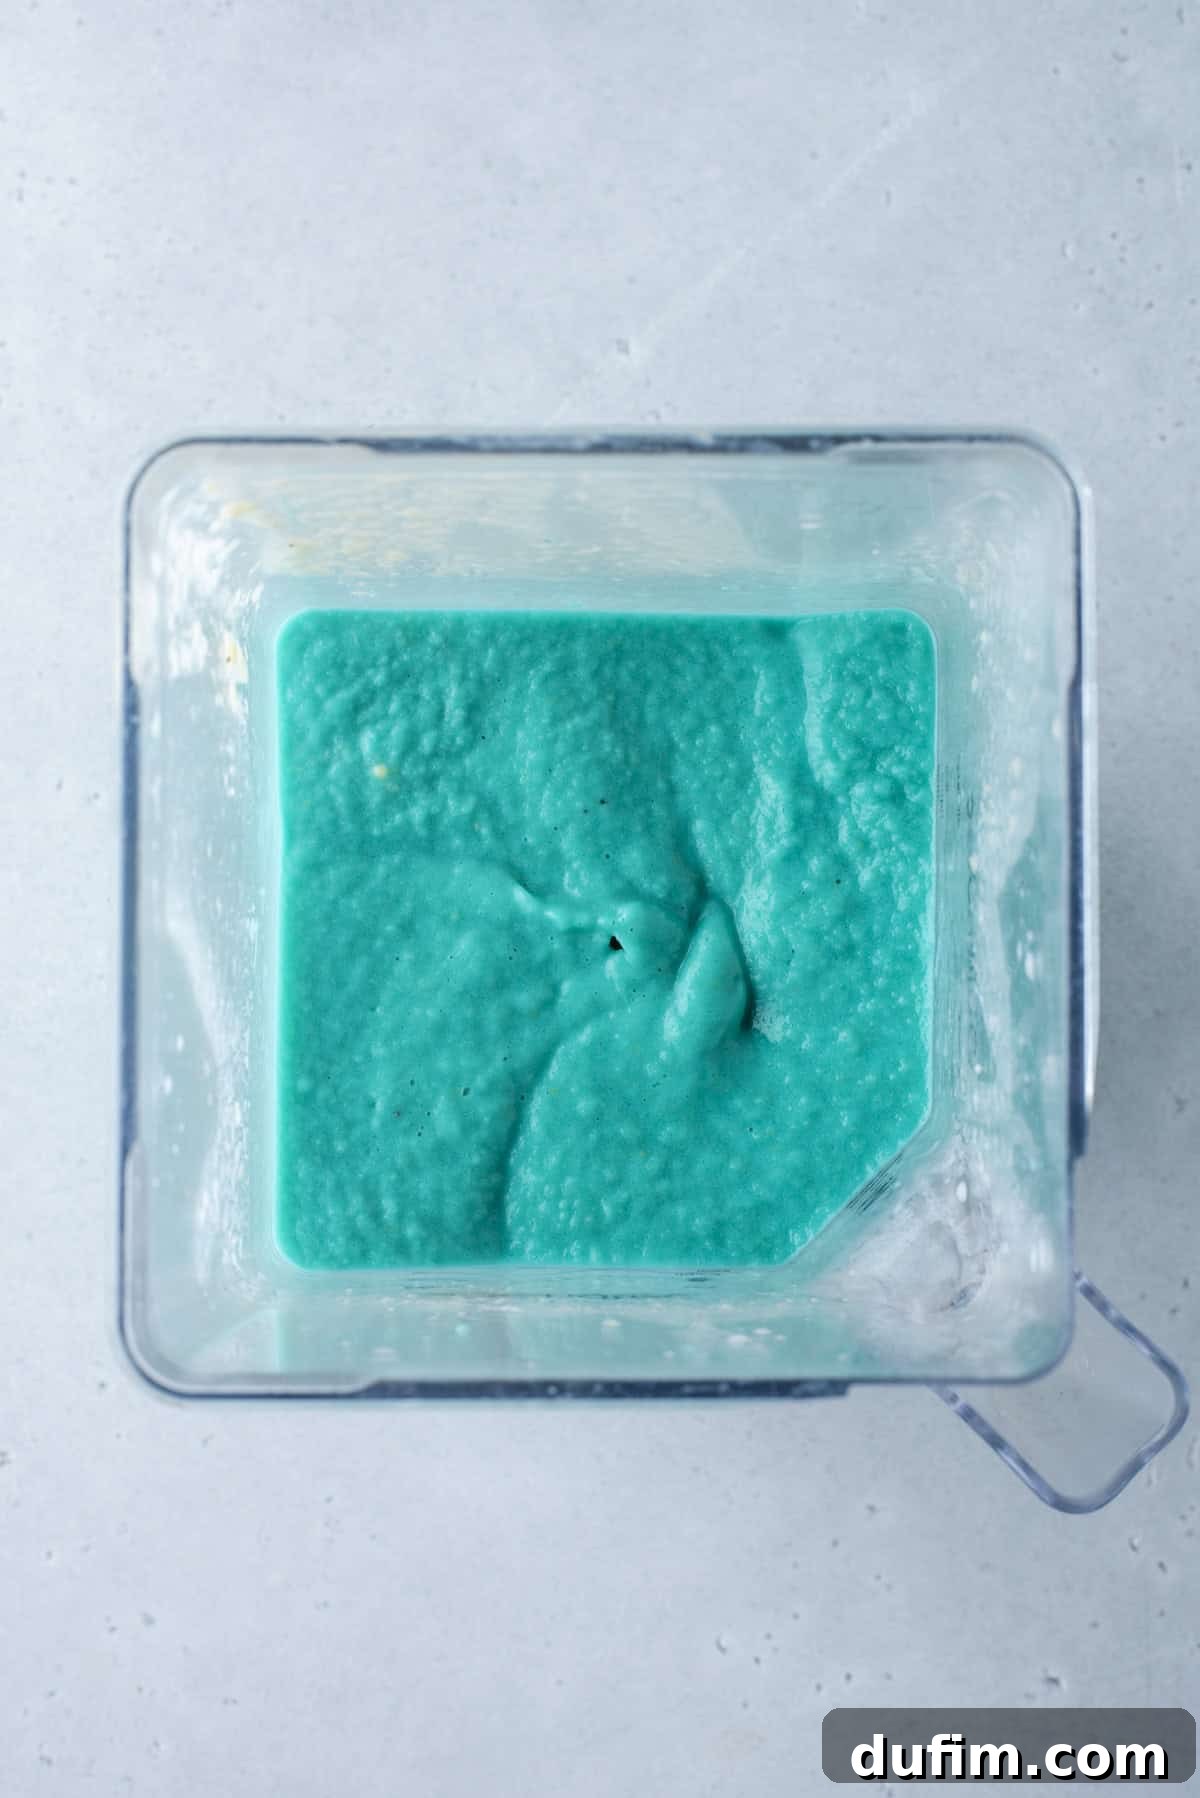
Blue Layer: This one can be tricky, as discussed below! To achieve a true blue, blend 2 frozen bananas, ½ cup Greek yogurt (vanilla or plain), 1 cup frozen pineapple, a small amount of blue food coloring (essential for a vivid blue), and liquid for blending. The pineapple base ensures a light color for the blue to really pop.
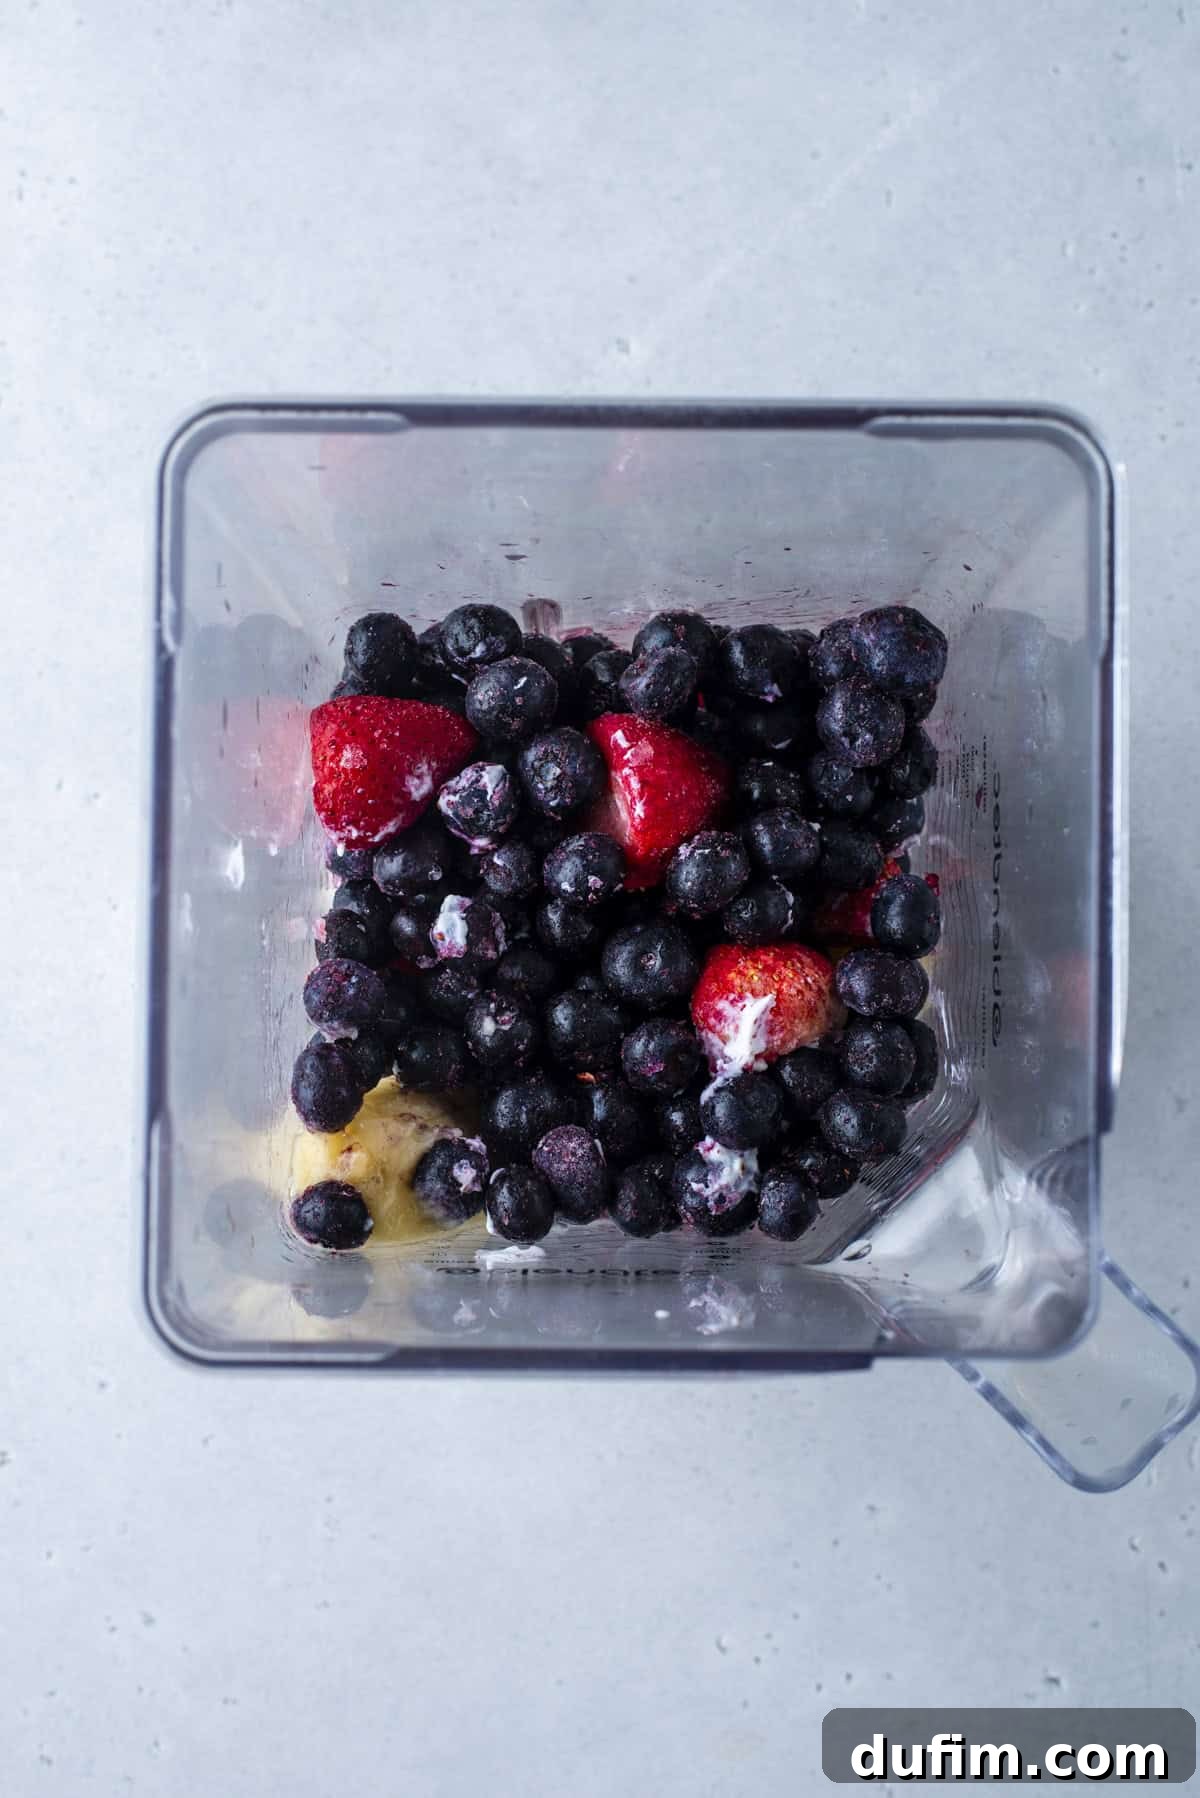
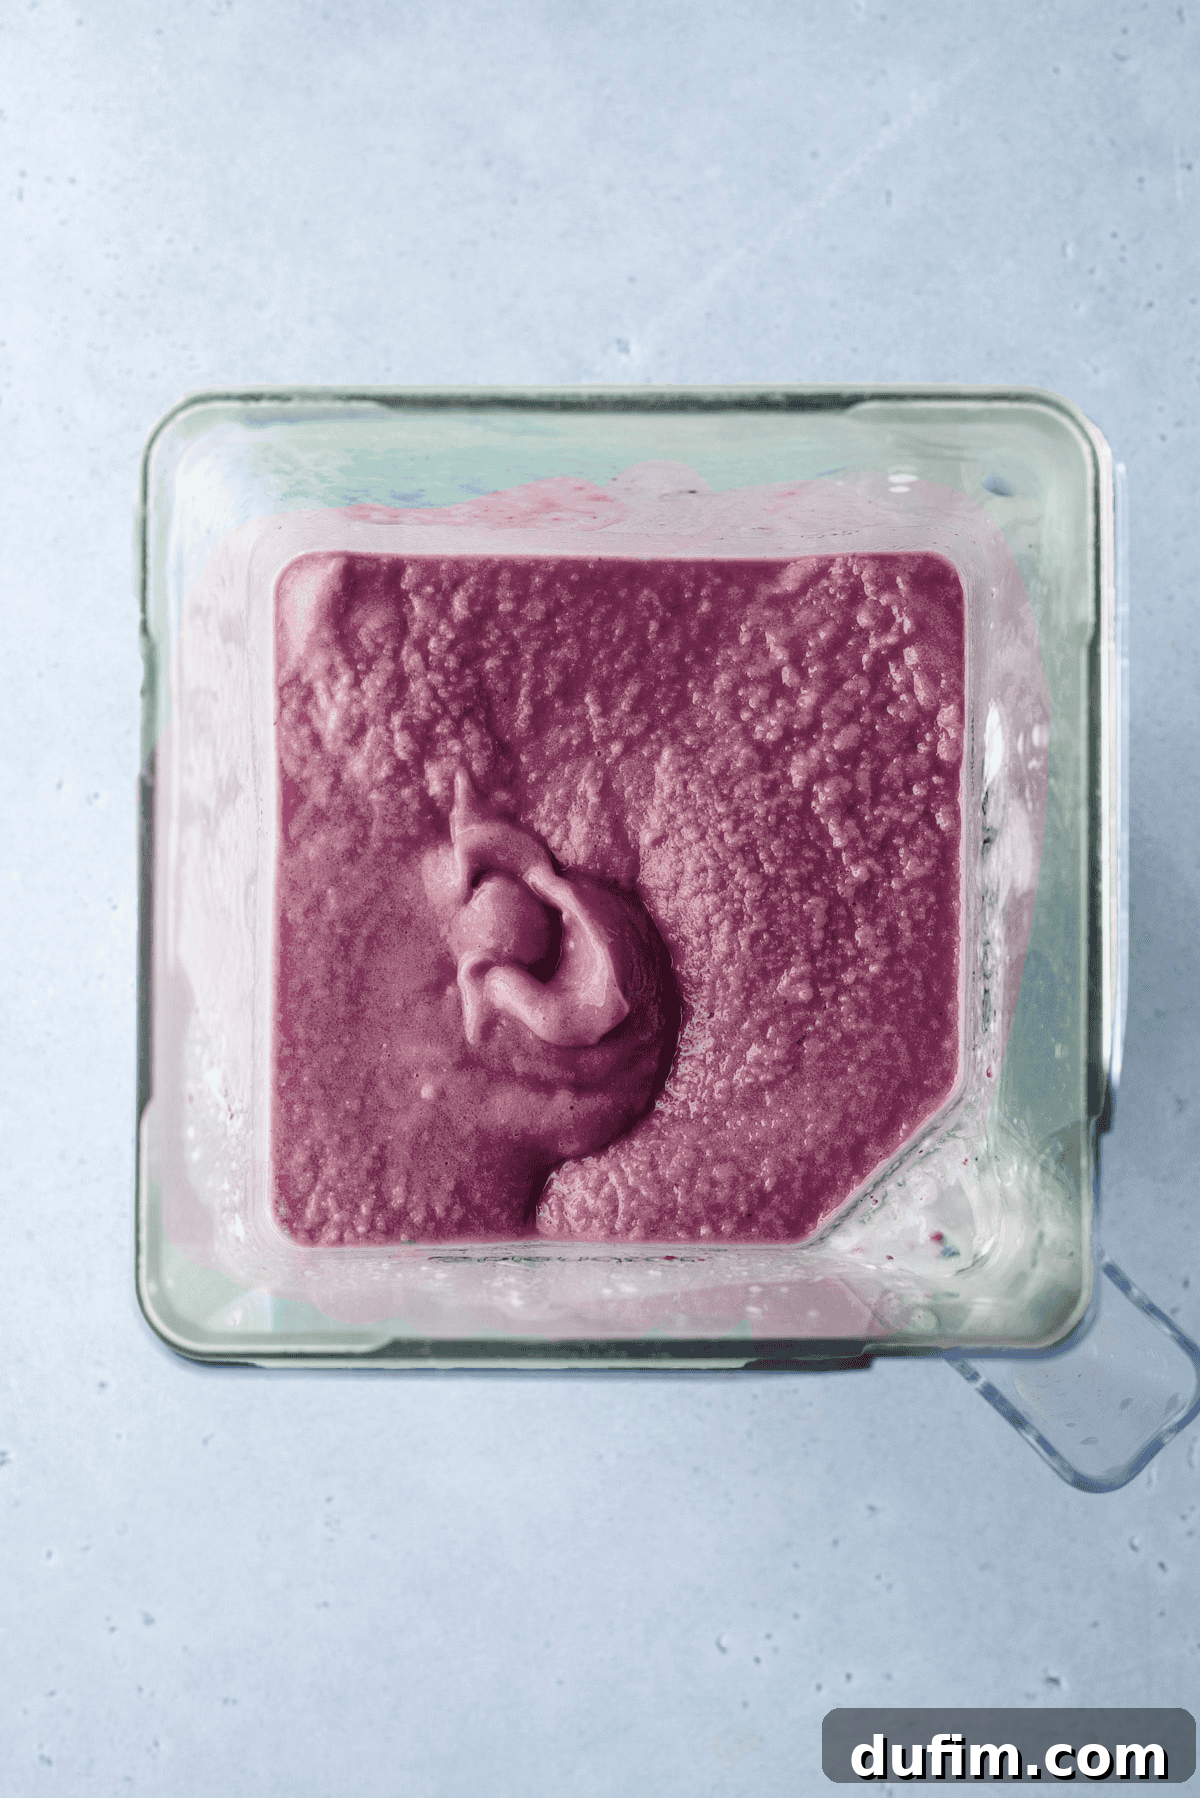
Purple Layer: A delightful berry-filled blend for the purple. Combine 1 frozen banana, ½ cup Greek yogurt (vanilla or plain), 1 cup frozen mixed berries (a combination of strawberries, blueberries, and raspberries works wonderfully), and liquid for blending. The mixed berries naturally create a beautiful, deep purple.
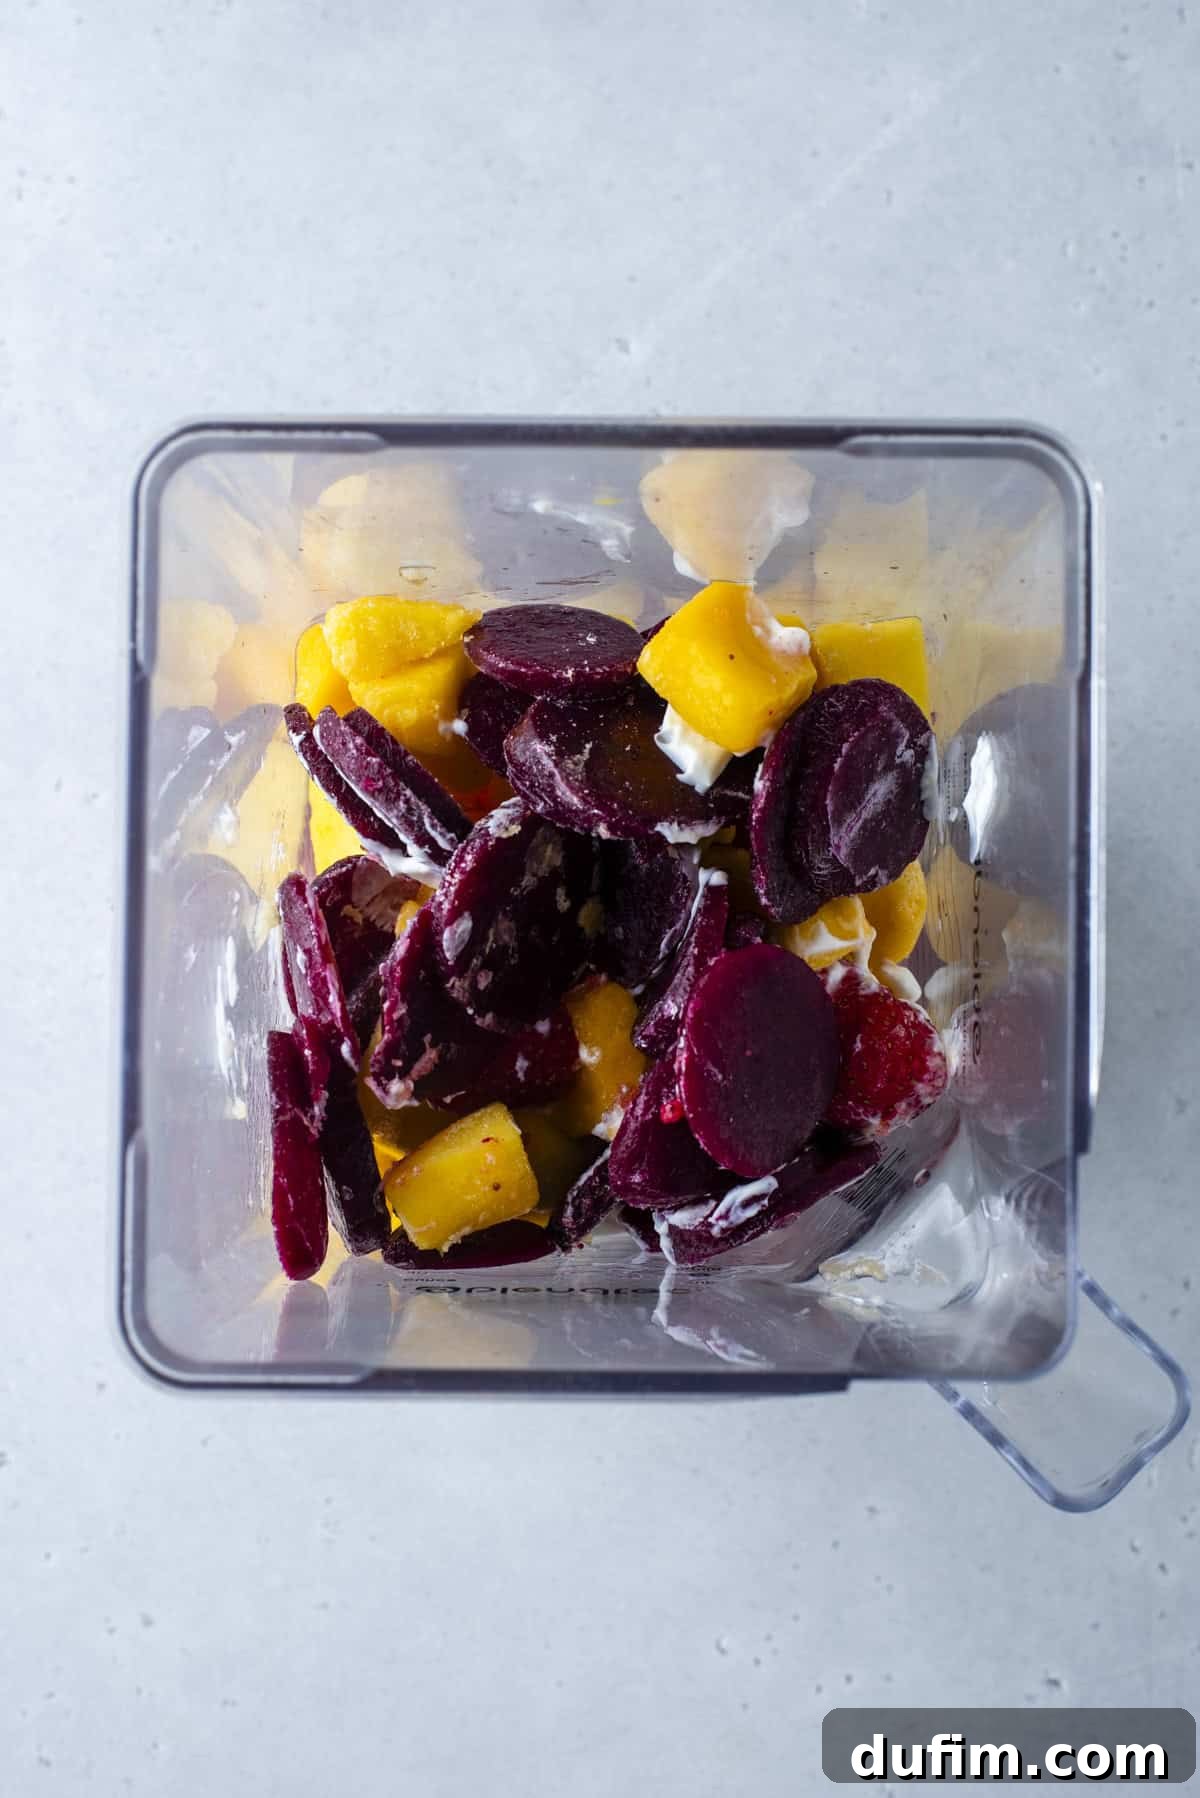
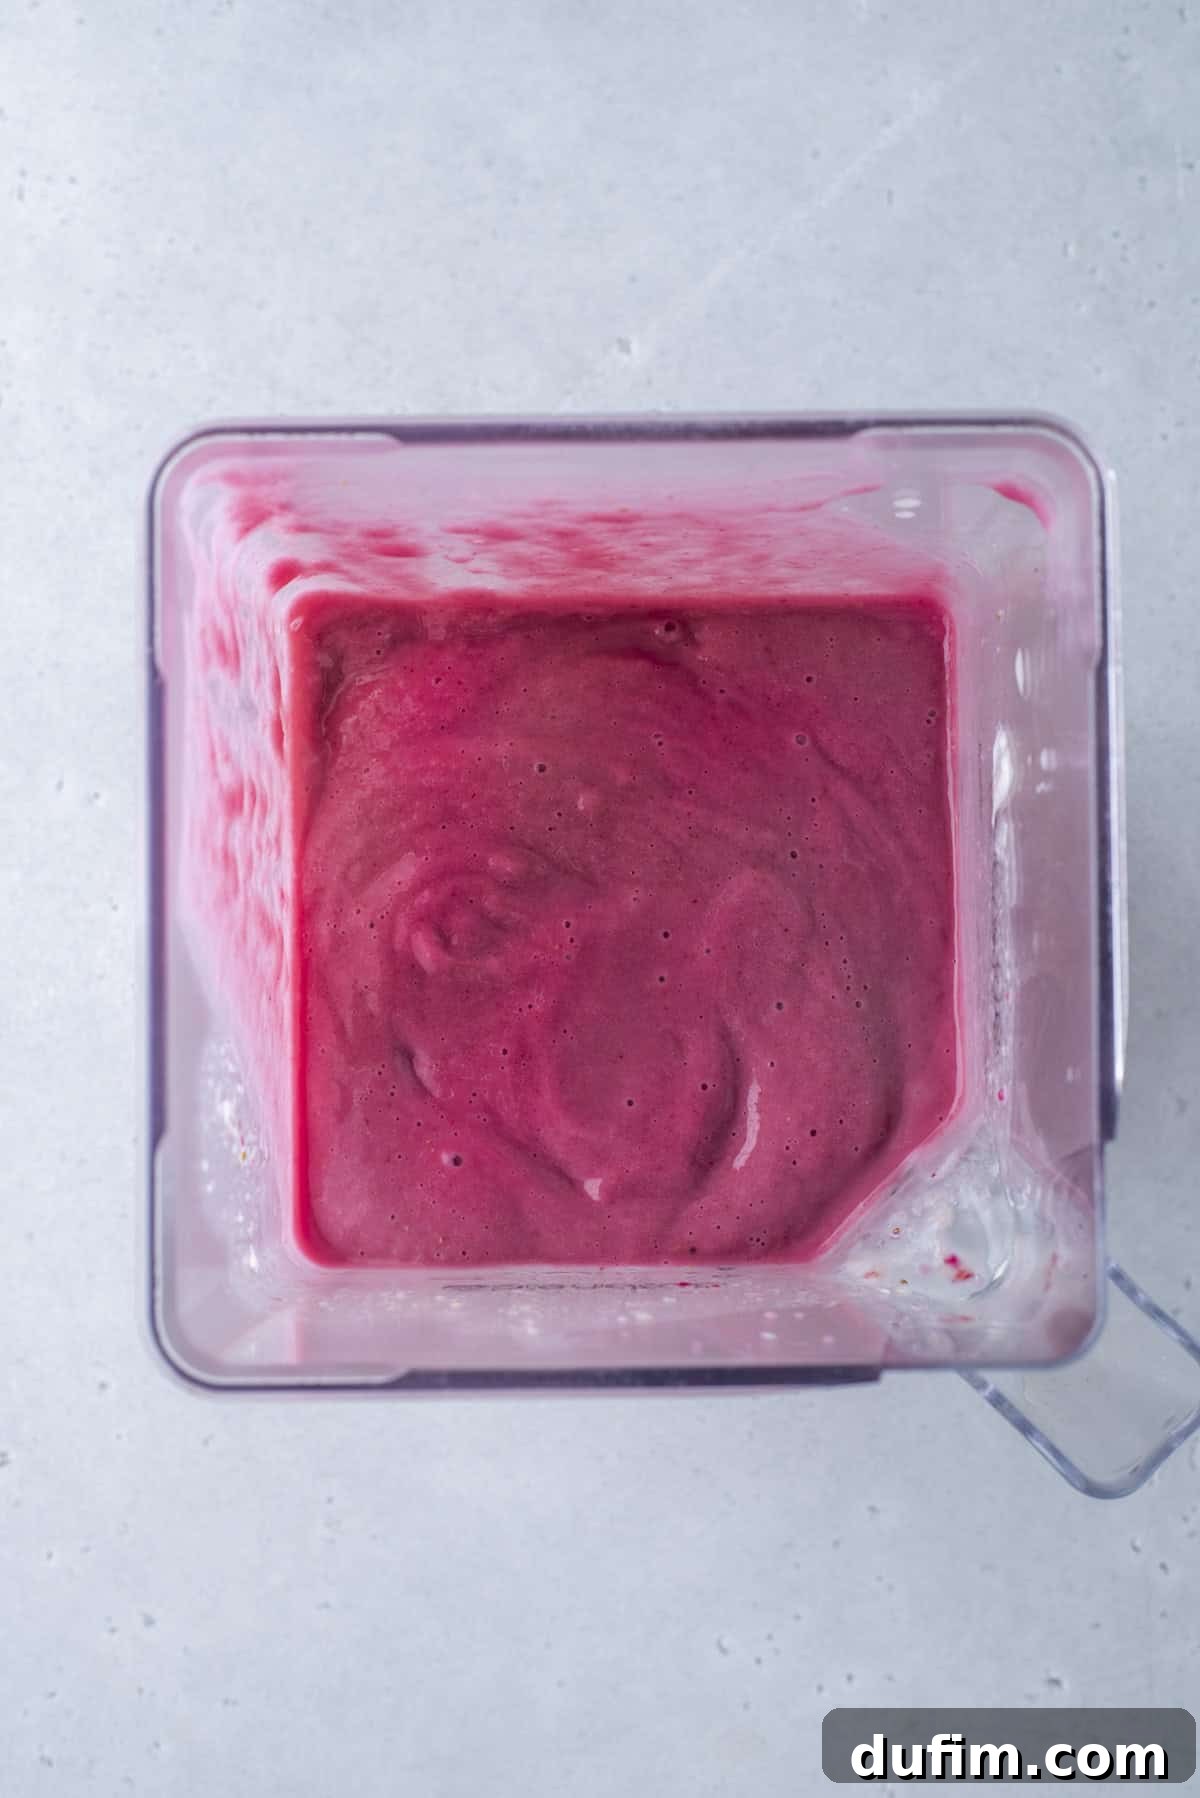
Magenta Layer: For a deeper, more unique color, try magenta! Blend 1 frozen banana, ½ cup Greek yogurt (vanilla or plain), ½ cup frozen mango or peaches, ½ cup frozen sliced beets (using canned, drained, and frozen beets is a great hack!), and 1 cup liquid for blending. Beets provide an incredibly rich, natural magenta hue and a subtle earthy sweetness that complements the fruit.
How to Layer a Rainbow Smoothie: Tips for Picture-Perfect Results
The magic of a rainbow smoothie lies in its distinct, vibrant layers. Achieving this stunning visual effect is all about one critical factor: getting the right consistency for each smoothie blend. Since you’ll be carefully stacking one color on top of the other, every layer needs to be sufficiently thick and firm to hold its shape and prevent blending with the adjacent colors. If your smoothies are too thin or runny, they will inevitably merge, diminishing the beautiful separation that makes this treat so special.
But what if you find yourself with a layer that’s too runny? Don’t panic! It’s a common occurrence and easily fixable. If a freshly blended layer turns out a bit too liquidy, simply pour it into a plastic bag or an airtight container and pop it into the freezer for a short period. Check it every 10-15 minutes until it firms up to a thick, spoonable consistency. This quick chilling process will make it perfect for layering, ensuring clean lines and vibrant separation.
Essential Tips for Flawless Rainbow Layers
Once all your individual smoothie layers are perfectly prepped and have the ideal thick consistency, it’s time for the exciting part: bringing your rainbow to life in the glass! Follow these simple guidelines for a truly show-stopping creation:
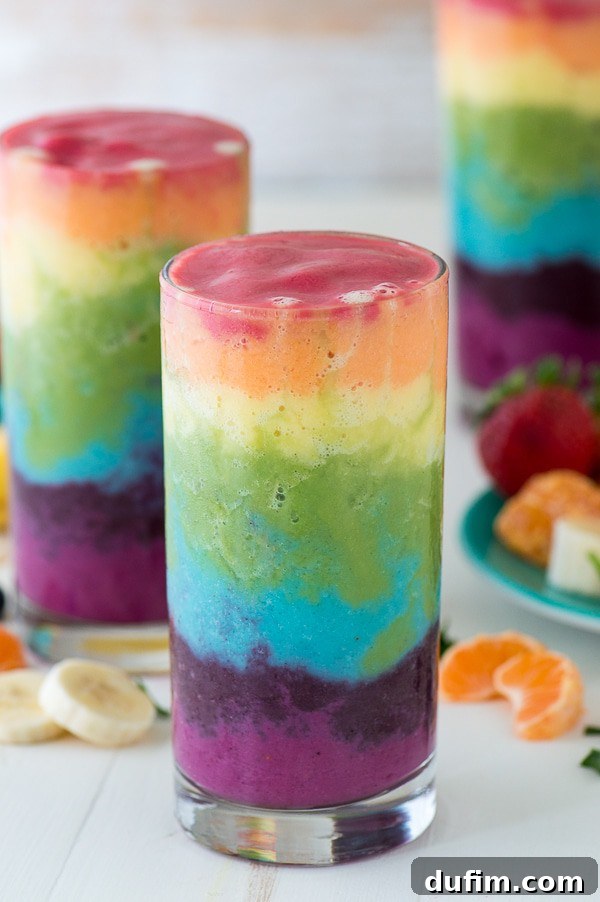
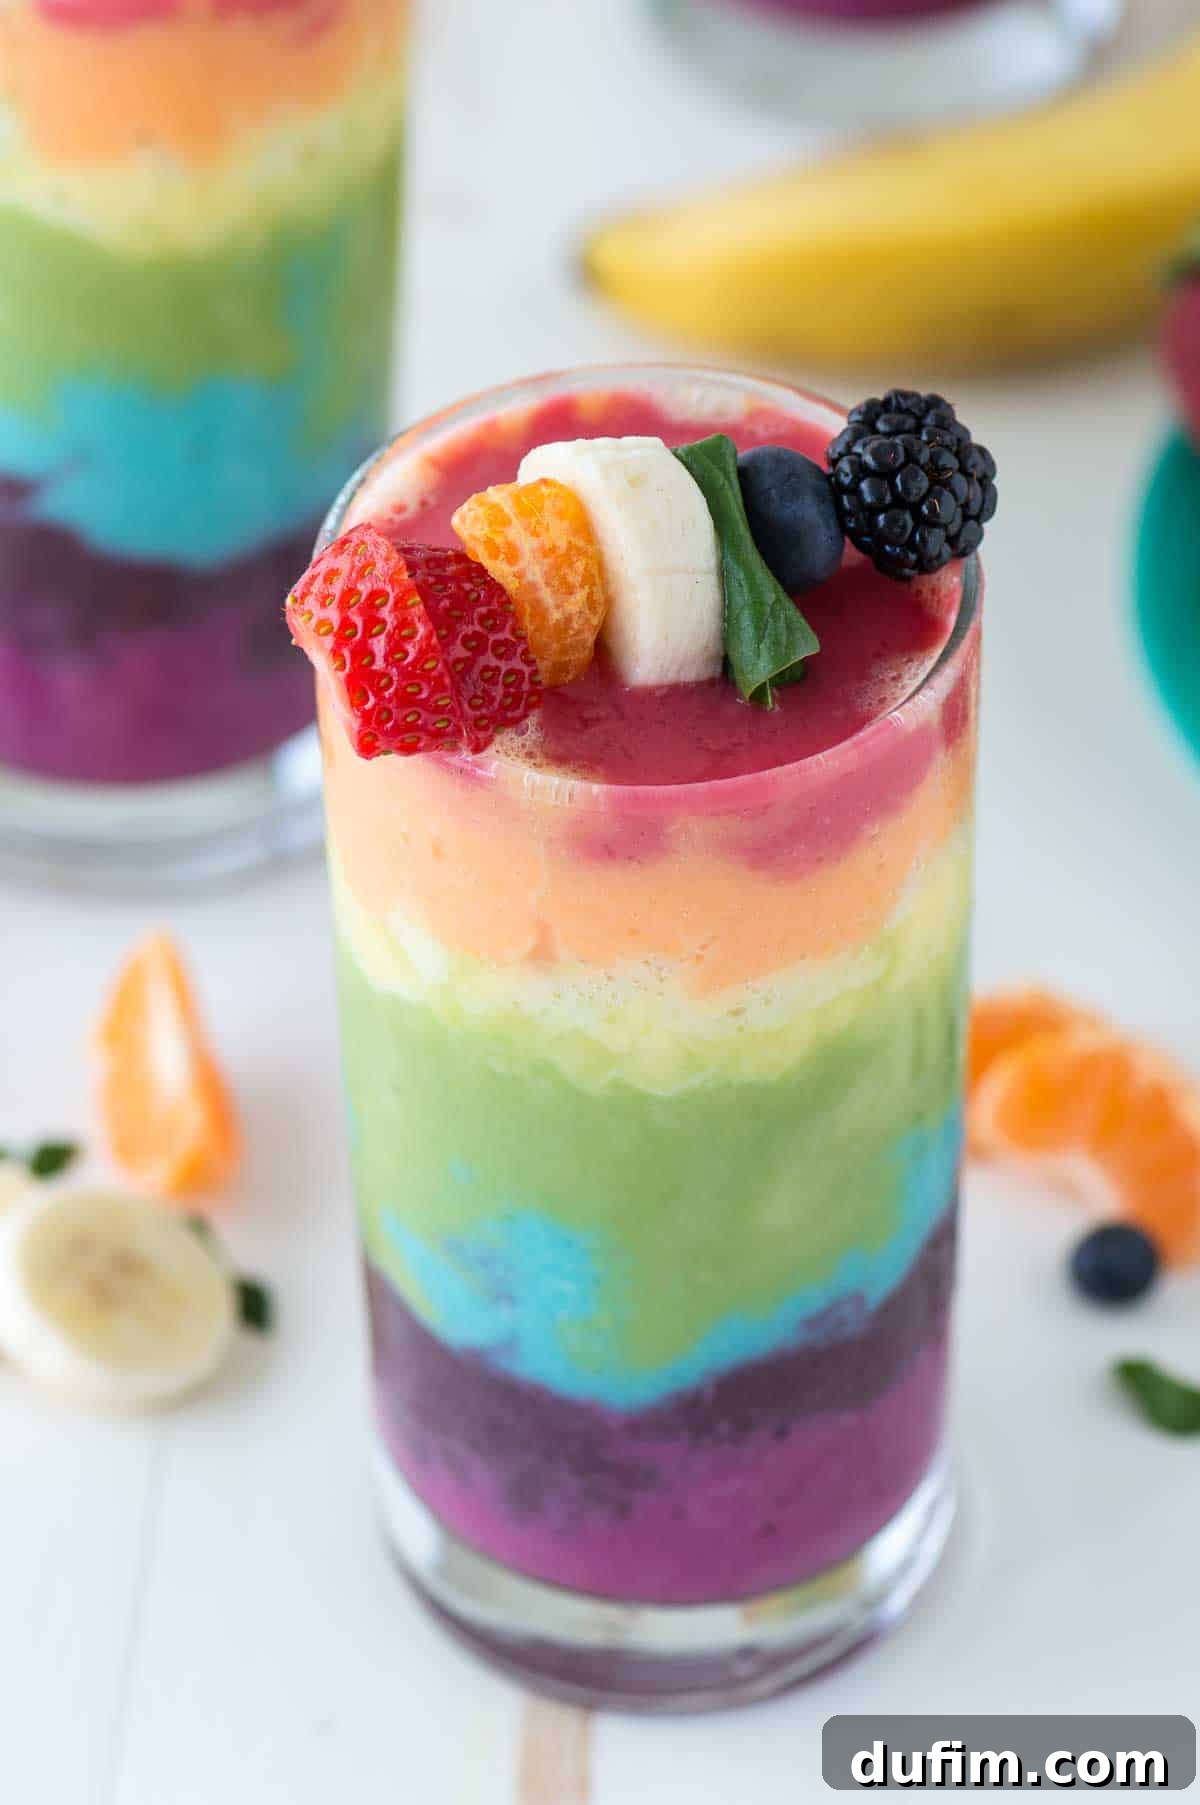
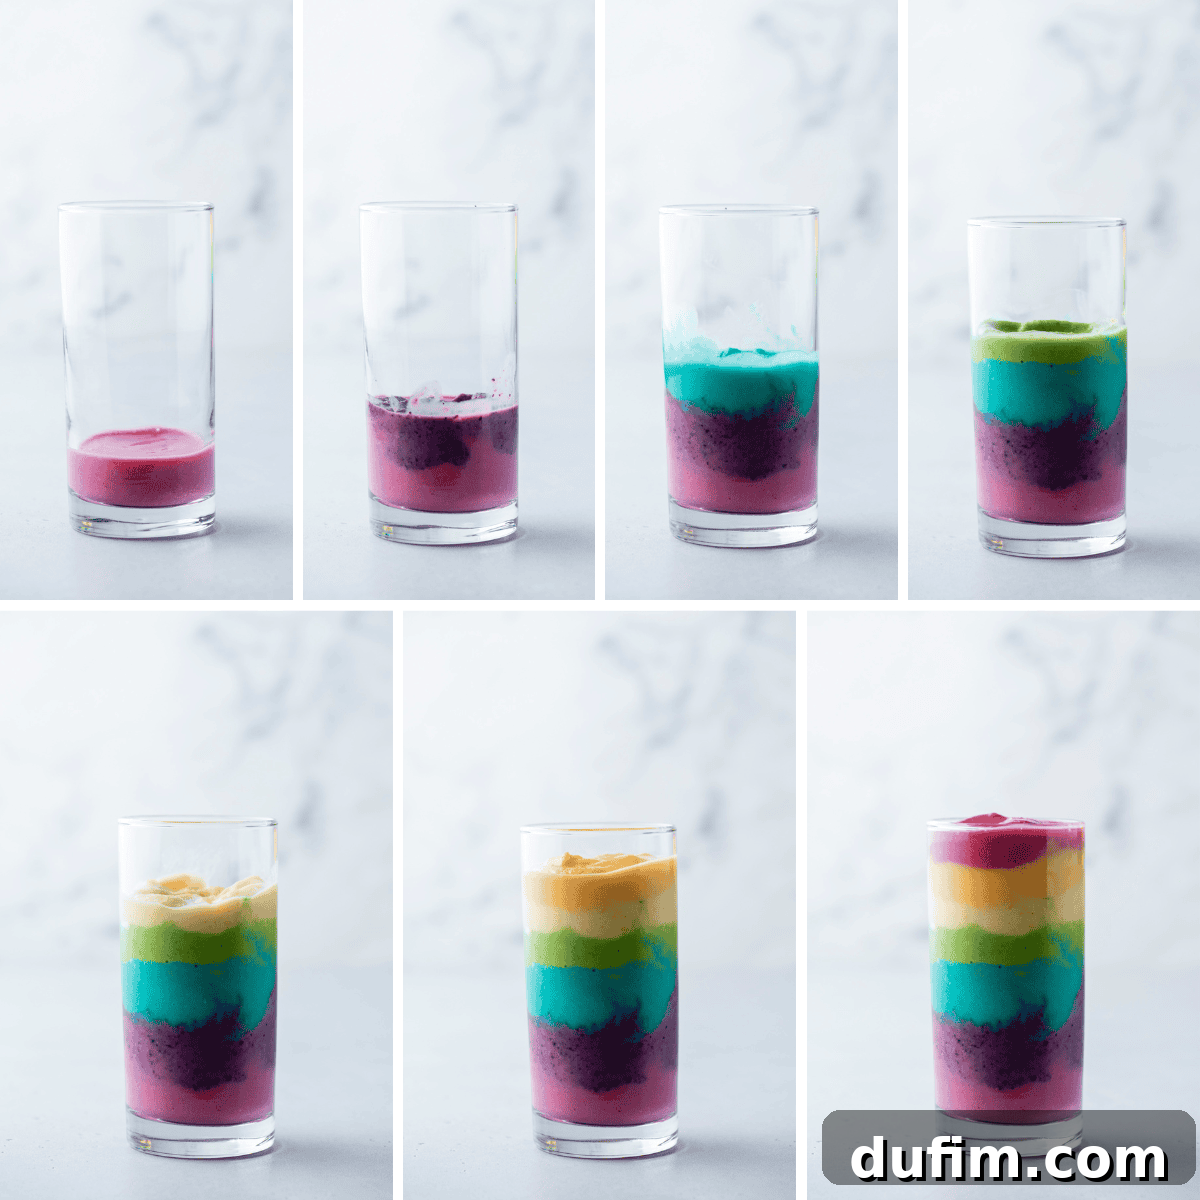
- Follow the Color Order: Always layer your smoothies in the traditional rainbow color order, starting with red at the very bottom of your glass, followed by orange, yellow, green, blue, purple, and finally magenta or violet at the top. This classic progression is key to the aesthetic appeal.
- Gentle Spooning is Key: To maintain sharp distinctions between layers, use a spoon to carefully and gently add each smoothie layer to the glass. Do not pour directly from the blender or container too quickly, as this can disturb the previous layer and cause colors to bleed together. Instead, spoon the mixture onto the center of the previous layer, letting it spread out naturally.
- Embrace Imperfection: If you accidentally blend two layers a bit or if your lines aren’t perfectly crisp, don’t worry! The beauty of this smoothie is in its vibrant colors and delicious flavors. It’s still going to taste absolutely amazing, and the effort you put in will shine through. Remember, homemade creations are meant to be enjoyed, not just to be flawless!
With a little patience, a gentle hand, and these easy-to-follow tips, you’ll be able to create a stunning, colorful rainbow smoothie that’s almost too beautiful to drink… almost! Prepare for compliments and joyful smiles with every sip. 🌈🥤
The Tricky Blue Layer: Achieving a True Azure Hue
Let’s have an honest chat about the blue layer—it’s often the most challenging color to achieve naturally and can be a source of frustration for many smoothie enthusiasts. My initial attempt at a vibrant blue, using blueberries, yogurt, and banana, predictably resulted in a lovely shade of purple. Blueberries are notorious for leaning purple when blended, which is beautiful in its own right, but not ideal for a true rainbow.
So, here’s my reliable method for getting that distinct, sky-blue color that truly completes the rainbow spectrum: I use the base for the yellow smoothie layer (which is light in color and flavor) and then add a precise amount of blue food coloring. This simple adjustment ensures the blue stands out boldly between the green and purple, making your rainbow visually complete. After all, a rainbow simply isn’t a rainbow without that quintessential blue!
For those who prefer to keep their smoothies entirely free of artificial colorings, that’s absolutely fine! You have a few options:
- Omit the Blue Layer: You can choose to skip the blue layer altogether and still have a beautiful, multi-colored smoothie.
- Natural Blue Alternatives: If you’re committed to an all-natural approach, there are innovative ways to achieve a blue hue. Consider using natural blue spirulina powder (a vibrant superfood), butterfly pea flower powder (which turns blue with liquid), or checking out this helpful tutorial for homemade natural blue food coloring. You can also purchase natural blue food dye here or here.
Similarly, when working on the orange layer, I observed that the natural blend of peaches and mango, while delicious, didn’t always produce a color as bold and vibrant as I envisioned for a true rainbow. To ensure it really popped and held its own against the other bright hues, I added a small amount of orange food coloring. This subtle enhancement makes a significant difference in the visual appeal, helping the orange layer stand out brilliantly in the rainbow lineup. Of course, if you prefer to skip food coloring, the natural peach and mango blend will still yield a lovely, albeit softer, orange. But for that striking, eye-catching rainbow effect, a dash of food coloring does the trick perfectly! 🍊✨
The Ultimate Rainbow Smoothie Experience
Once you’ve meticulously crafted each vibrant layer and gently spooned them into your glass, your ultimate rainbow smoothie is almost complete. To truly elevate the presentation and add an extra touch of fun, consider these finishing touches:
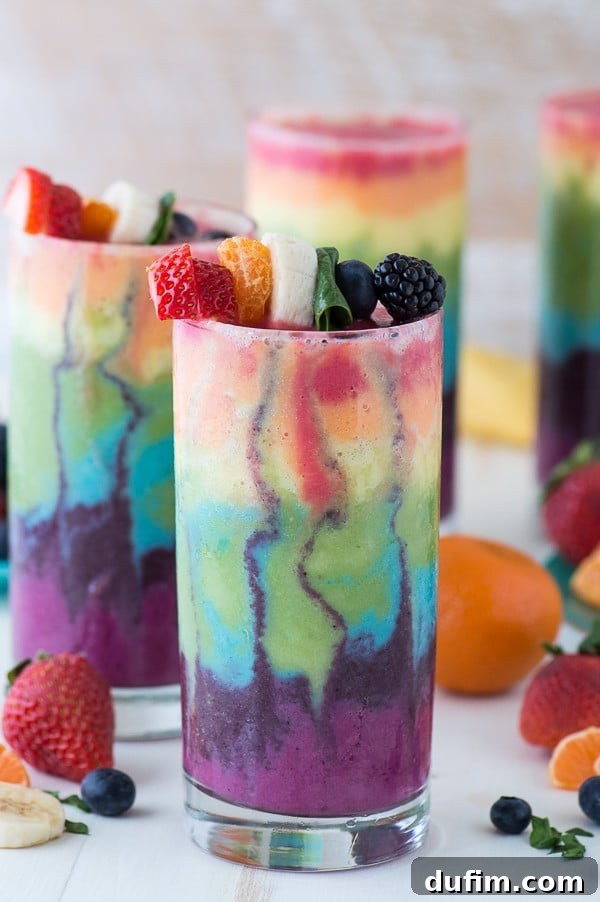
- Fruit Skewer Topping: For a delightful and playful presentation, thread some leftover fresh fruit onto a small toothpick or cocktail skewer. Arrange pieces of strawberry, orange, banana, kiwi, blueberry, and grape to mimic the rainbow colors. Gently place this fruit skewer on top of your smoothie, adding both visual appeal and a delicious garnish.
- Swirled Effect: If you’re aiming for a more artistic, marbled effect, similar to some of the pictures you might see, you can gently swirl the layers together. Once all layers are in the glass, take a straw or a stir stick and carefully pull the bottom layers upwards towards the top of the glass. This creates beautiful, flowing patterns, blending the colors just enough to create an ethereal, blended rainbow design.
And there you have it – the ultimate rainbow smoothie, a true feast for both the eyes and the taste buds!
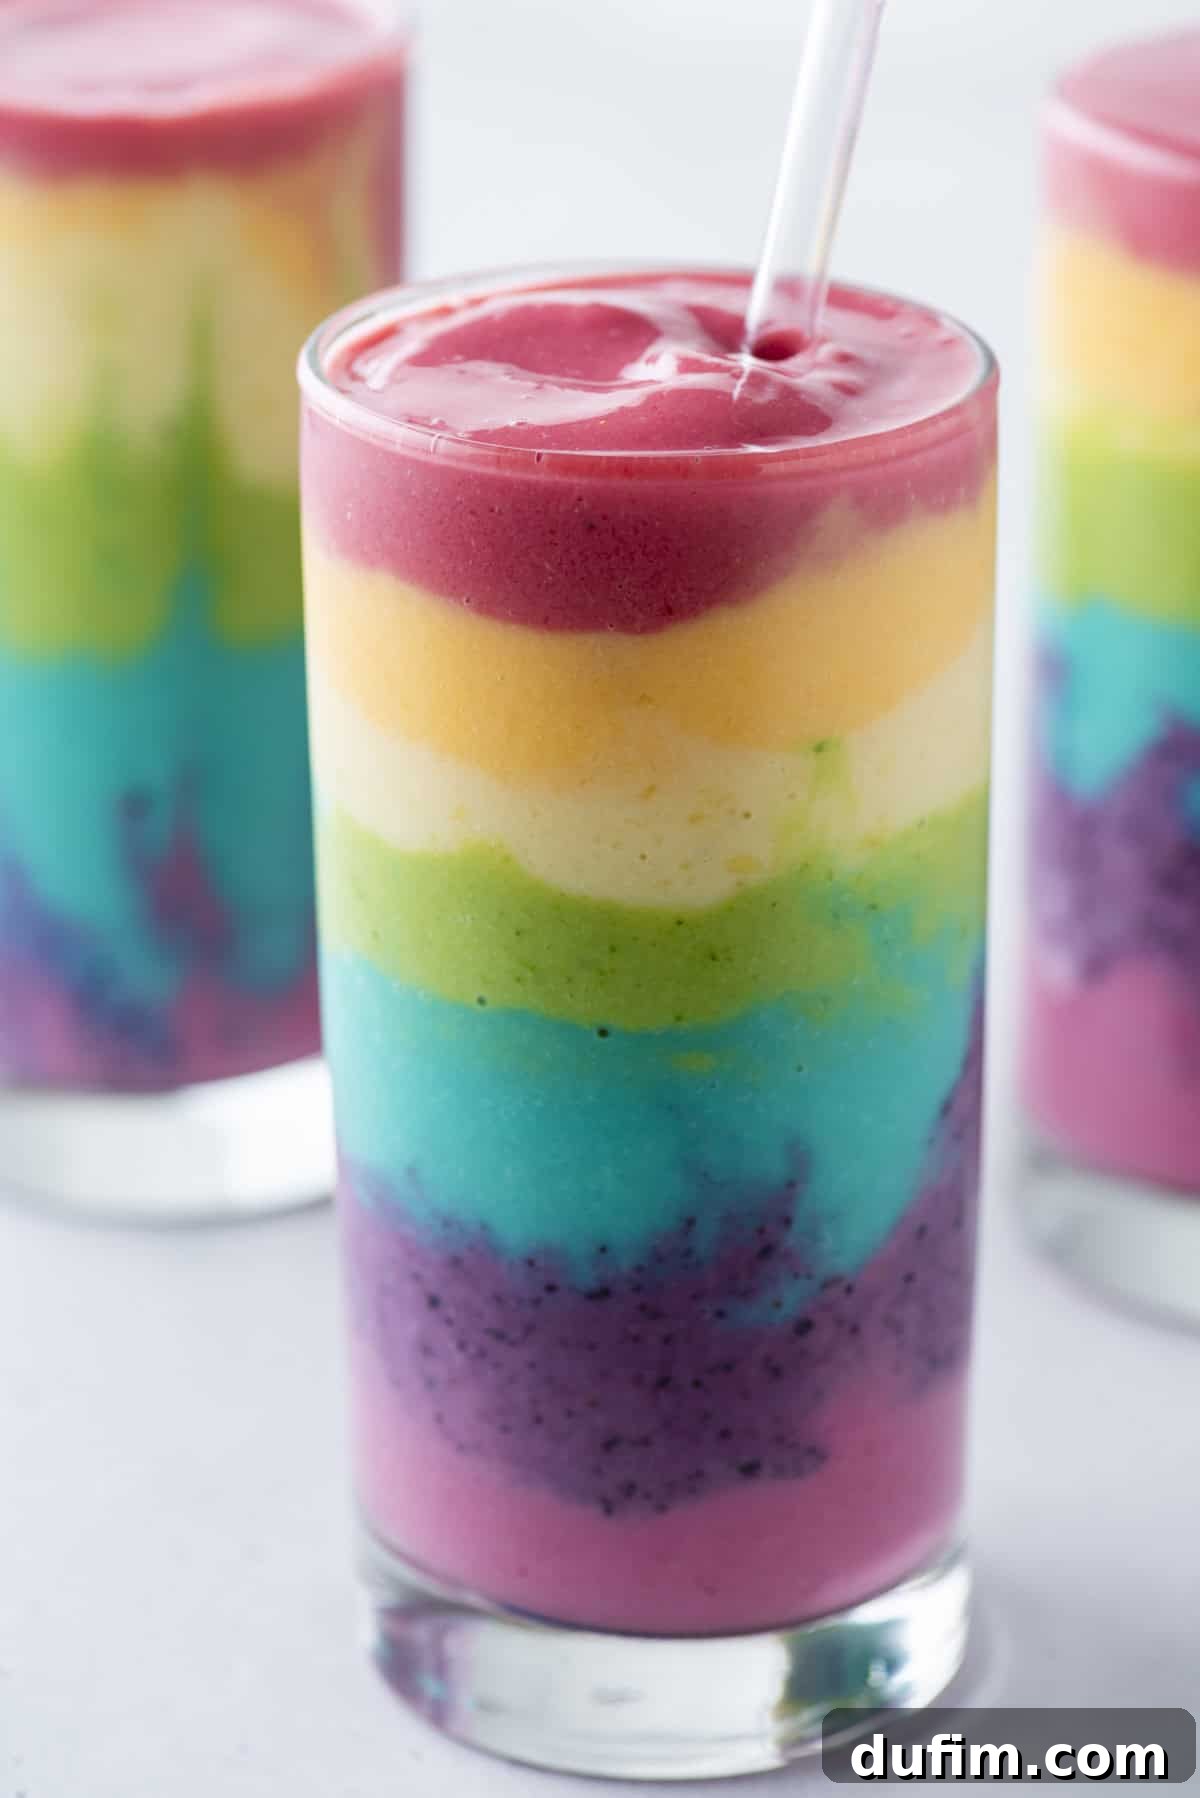
“So cute! What a great way to get kids to eat their fruits and veggies too!”
-Eden
Discover More Favorite Recipes
If you loved creating and enjoying this Rainbow Smoothie, you might want to explore some of our other cherished recipes that are perfect for any occasion:
- Classic Cheesecake – Experience the silky smooth and creamy perfection of this versatile dessert, a blank canvas for your favorite toppings.
- Pina Colada Sangria – A tropical and refreshing adult beverage, ideal for those long, hot summer days and festive gatherings.
- Lemon Sugar Cookies – These delightful cookies are like a bite of sunshine, with their bright, zesty flavor and tender texture.
4.41 from 50 ratings
Tap stars to rate!
Rainbow Smoothie
Rate
This Rainbow Smoothie is a colorful, seven-layered treat topped with a fruity skewer—perfect for special occasions like birthdays, St. Patrick’s Day, or celebrating anything with a bang!
Equipment
- Blendtec Blender
Ingredients
Red Layer
- 1 frozen banana
- ½ cup greek yogurt, vanilla or plain
- ½ cup frozen raspberries
- ½ cup frozen strawberries
- almond milk or milk, liquid for blending
Orange Layer
- 1 frozen banana
- ½ cup greek yogurt, vanilla or plain
- ½ cup frozen peaches
- 1 small orange
- ¼ cup frozen mango
- almond milk or milk, liquid for blending
- small amount of orange food coloring (optional, for vibrancy)
Yellow Layer
- 2 frozen bananas
- ½ cup greek yogurt, vanilla or plain
- 1 cup frozen pineapple
- almond milk or milk, liquid for blending
Green Layer
- 2 frozen bananas
- ½ cup greek yogurt, vanilla or plain
- 1 handful, or more spinach
- 1 cup frozen pineapple, peaches or mango
- almond milk or milk, liquid for blending
Blue Layer
- 2 frozen bananas
- ½ cup greek yogurt, vanilla or plain
- 1 cup frozen pineapple
- small amount of blue food coloring (recommended for true blue)
- almond milk or milk, liquid for blending
Purple Layer
- 1 frozen banana
- ½ cup greek yogurt, vanilla or plain
- 1 cup frozen mixed berries
- almond milk or milk, liquid for blending
Magenta Layer
- 1 frozen banana
- ½ cup greek yogurt, vanilla or plain
- ½ cup frozen sliced beets, (canned, drained beets and frozen)
- 1 cup almond milk or milk, liquid for blending
Instructions
For each smoothie layer
- Place all the ingredients for one layer in a blender and blend until smooth. Add more liquid to help it blend if it’s too thick, but aim for a thick consistency for layering.
- Transfer the blended smoothie to a bowl or container, place in the fridge to keep cool (or freezer if too thin), rinse the blender, and then prep the next smoothie layer.
To assemble the rainbow smoothie
- Use a spoon to gently add each smoothie layer to the glass, starting with red at the bottom and working your way up. Pouring too quickly can cause the colors to blend together. If desired, you can create a swirled effect by gently blending the top layers with a straw or stir stick. Top each smoothie with a toothpick filled with leftover fruit for garnish.
Notes
- I was able to make 8-10 rainbow smoothies using 15.5 oz glasses.
- The recipe can be scaled back to yield a smaller portion. Simply cut each smoothie recipe in half.
- If you’d like to avoid canned fruit, use fresh fruit. I would suggest cutting it up and freezing it so the smoothie will still be frosty and thick.
- I added a small amount of orange and blue food coloring to enhance those specific layers. The orange layer often needs a little boost to make it more vibrant, and for the blue layer, it’s nearly impossible to achieve a true, bright blue hue without some form of coloring. If you want to go the all-natural route for blue, here is a tutorial for how to make natural blue food coloring, or you can buy natural blue food coloring here or here as well.
Nutrition
| Carbohydrates: 21g
| Protein: 4g
| Fat: 1g
| Saturated Fat: 1g
| Polyunsaturated Fat: 1g
| Monounsaturated Fat: 1g
| Trans Fat: 1g
| Cholesterol: 2mg
| Sodium: 17mg
| Potassium: 336mg
| Fiber: 3g
| Sugar: 13g
| Vitamin A: 240IU
| Vitamin C: 25mg
| Calcium: 51mg
| Iron: 1mg
Nutrition Disclosure
All nutritional values are approximate and provided to the reader as a courtesy. Changing ingredients and/or quantities will alter the estimated nutritional calculations.
Loved this recipe? Share your thoughts below!